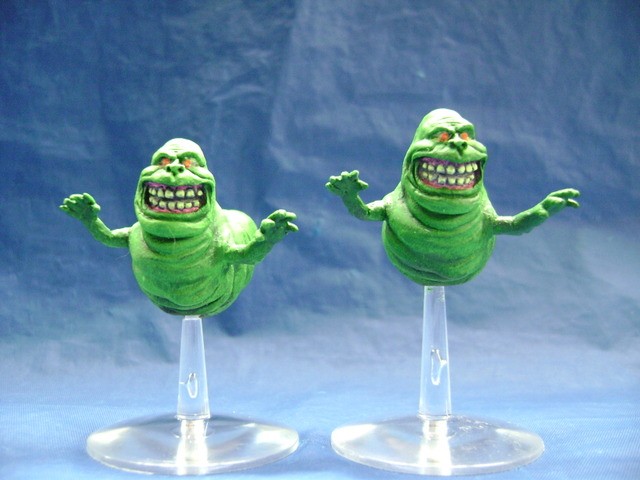
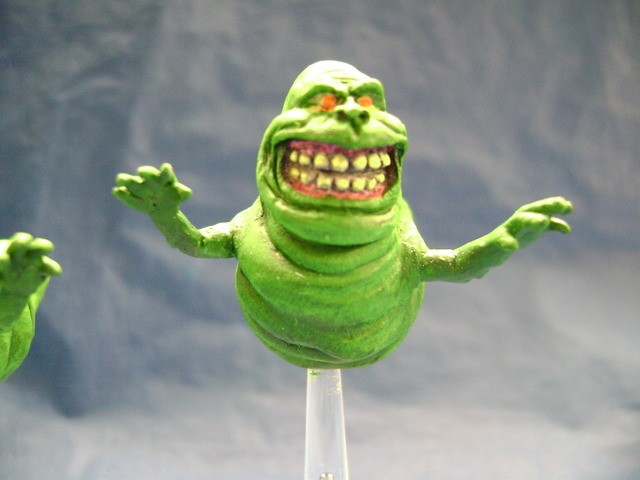
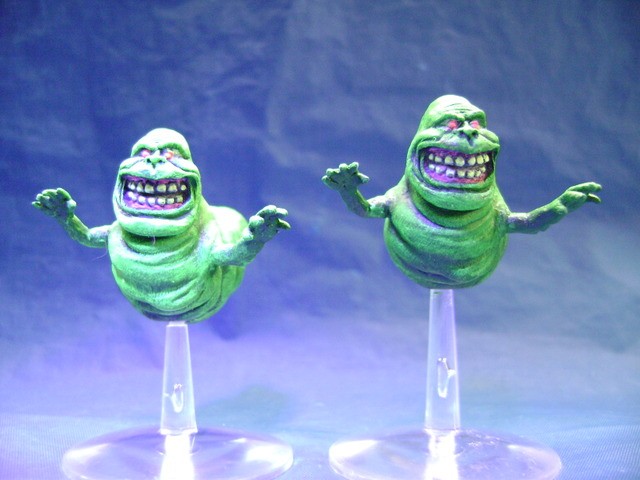
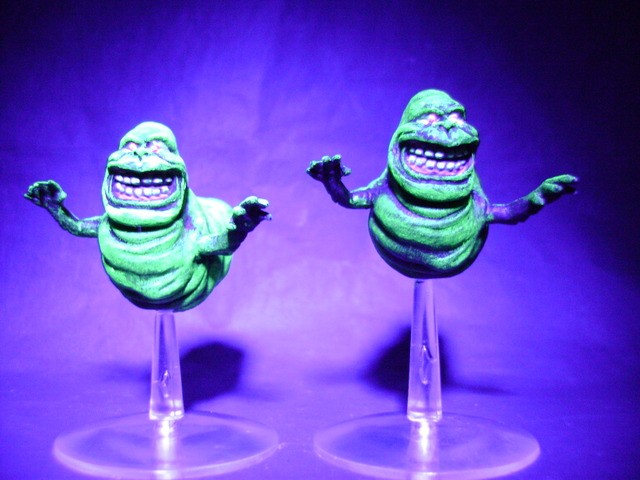
dude, you are freaking amazing. seriously, you hit this out of the park. and Im not just saying that because you’re painting my set, I would be blown away regardless. cant wait to see what you do with the busters.
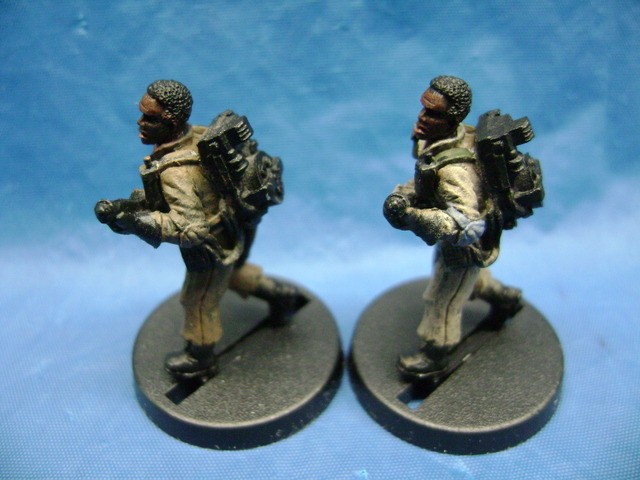
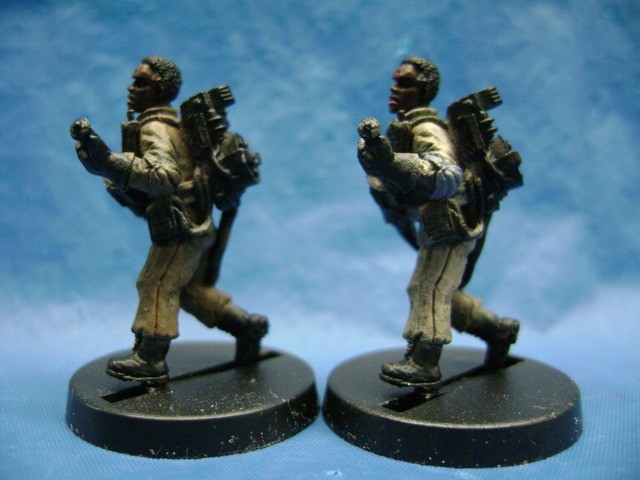
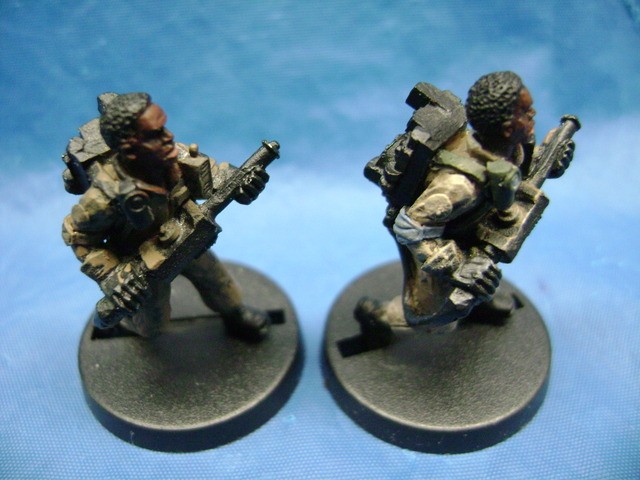
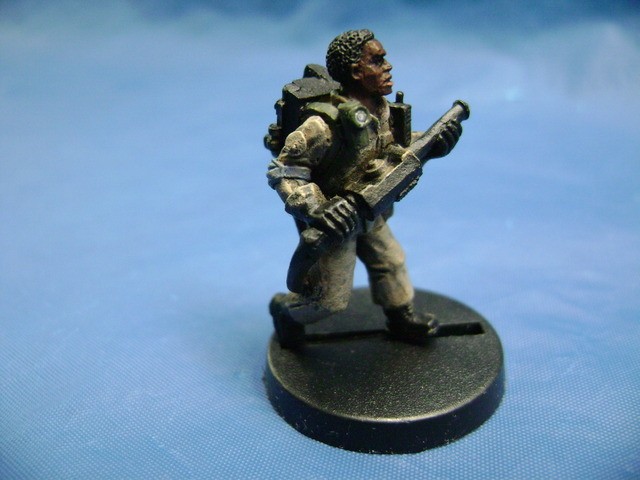
Well then, here we go. After giving all the Buster’s uniforms a coat of “Graveyard Earth”, I started working on one Winston to see how my chosen colors will look. First I highlighted the uniform with Kommando Khaki. Pads were done with a base of Shadow Grey with Codex Grey highlights, his belt with Bleached Bone and the straps with Catachan Green .
Looks like I’m off to a good start. Still need to do the boots, gloves, name tag and patch on his uniform.
I was thinking about doing the Packs with a blue/black highlight color to define their shape a bit better before “scratching” them up with silver highlights…and making the Pack Lights dayglow red, of course. We’ll see how it goes
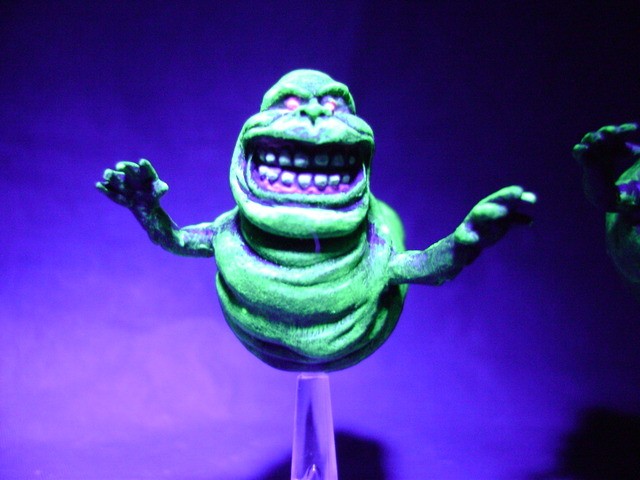
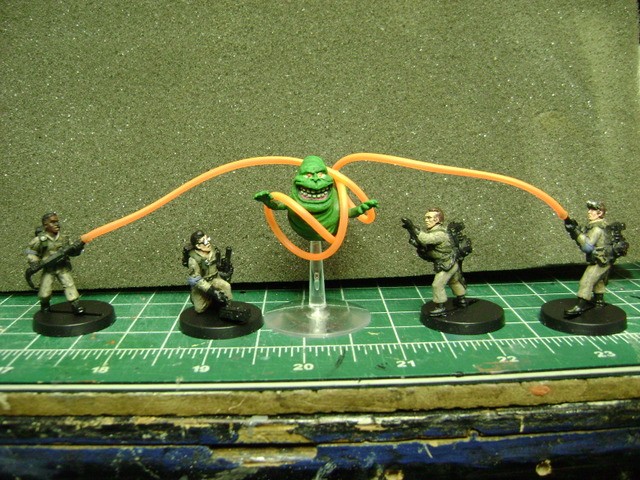
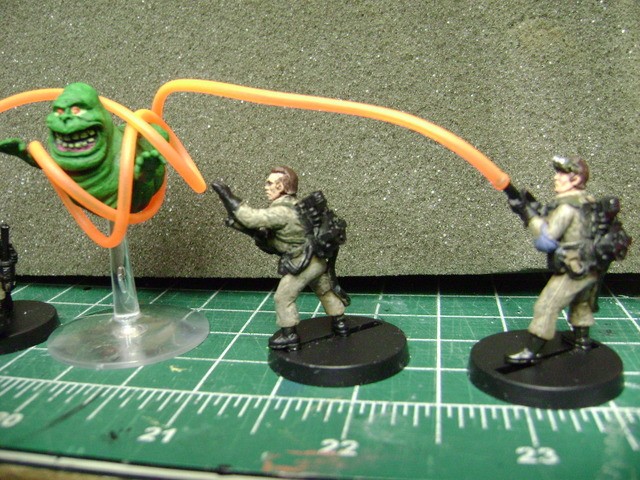
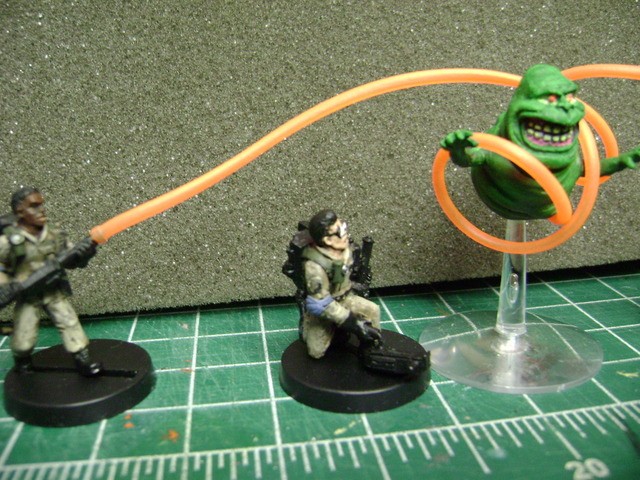
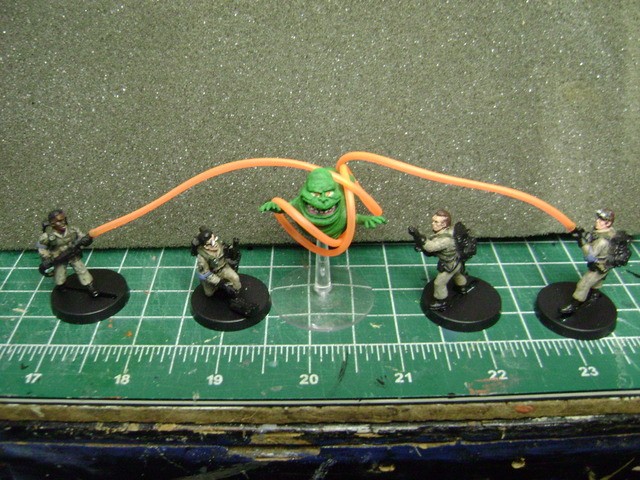
It’s real purpose is for making Necklaces with Pony-Beads. I found it a while back in an A.C.Moore Craft Store when I was hunting down “Slime Tubing” for the Rookie Project. They make both Solid and Semi-Transparent colors like this one.
The tubing in my pictures is “as is”. If I shove a thin wire through it, I should be able to make it hold shape and bend tight around Slimer’s Arms, like the original Artist did. That being said, with a little bit of fudging, it should also work for the Kenner and Matty Figures as well.
How are your Faux- Busters coming along? Post up some pics here, I could use the company.
I haven’t begun painting yet. I’m still awaiting a couple more things in the mail.
I did go ahead and buy some acrylic paint, including some glow colors.
I’m a little nervous… although I did paint a TON of Star Wars RPG minis with intricate detail and really enjoyed it, that was half my life ago. Before my eyes worsened to the point of wearing these bifocals.
That’s been part of the appeal of working on life-size props, actually. Not as hard to see!
Still, I’m game to get back into it, see what I can do.
The relief on these figures is really sharp and nicely raised. Just get a few Ought / 3 and Ought /5 Brushes and the Figures will almost paint themselves…well, not really, but they aren’t that hard to do.
Hey POJay!
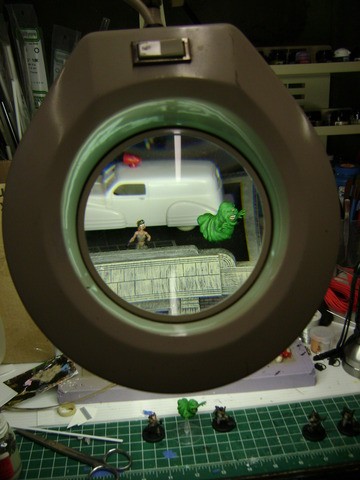
I’d check back with their website as the seem to replenish quickly. The magnifiers Dana used would work. I happen to use a Magnifying Lamp with a Swing Arm, serves the same purpose.
Jay, that’s an excellent suggestion. Yes, I do own an Optivisor just like Dana’s from GB2.
I hadn’t considered applying it to a practical use, but it wouldn’t be the first time I’ve used a replica prop in real life. I was once changing a lightbulb in a ceiling fixture of a windowless room and needed both hands free for the various nuts and washers. I went and fetched my ‘Ray’ hardhat with lamp so I could see what I was looking at.
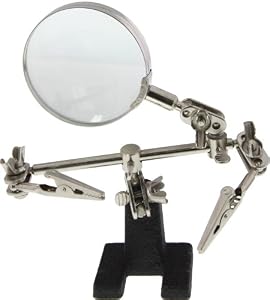
But back to painting minis, I also have a little ‘helping hands’ for soldering etc. that would make things easier.
It’s a magnifying glass and some alligator-clips on sturdy ball-jointed arms, attached to a weighted base… although at the moment it’s hidden inside an old KennerSlimer puppet to keep him upright on display.
I really like that magnifying lamp of Capt’s, though. May have to look into one of those.
Gathered everything together… only awaiting the ‘Velma’ figure from that other website at the moment.
The five sets of GB gear arrived a couple of days ago. They had been out of stock when I ordered my GB’s and Slimer.
I had missed the Hallmark Ecto when it came out, kept putting off the purchase, but seeing Capt’s pic showing its close scale with these cinched the deal.
Also picked up some acrylic paints, including two that glow.
The plastic stands arrived last week. Big thanks to Capt for correcting me when I almost ordered the wrong kind.
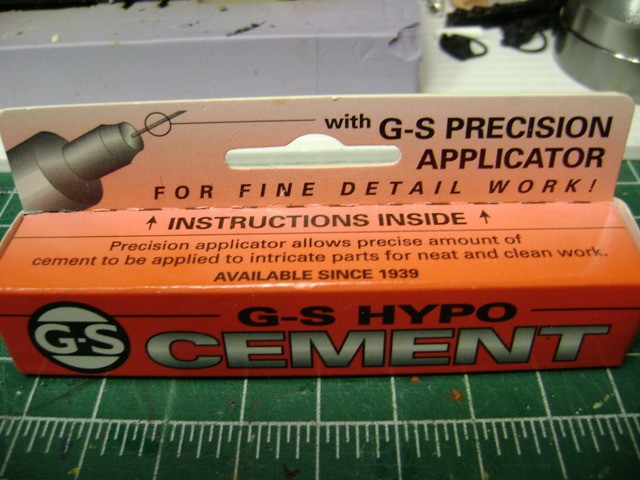
Question! After this pic was taken, I assembled the clear stand for Slimer, but the post is very loose in the base. What glue would you recommend?
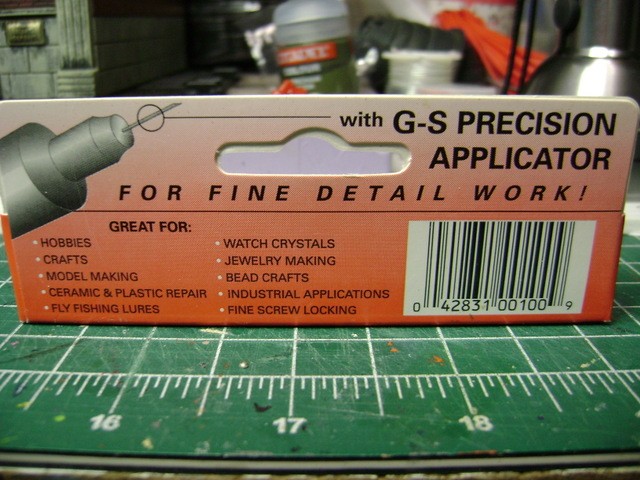
I purchased mine at my local Hobby / Train Store. It’s available online at Micro Mark, only thing is they make you purchase 2.
Michaels Craft Store sells it under the Beadalon name. Different packaging but the description is the same down to the use on Watch Crystals. It’s online and most likely in store. They are a little bit pricey, but you can buy one at a time.
Did some more painting and a few other things during the week. Still painting the Fauxbusters.
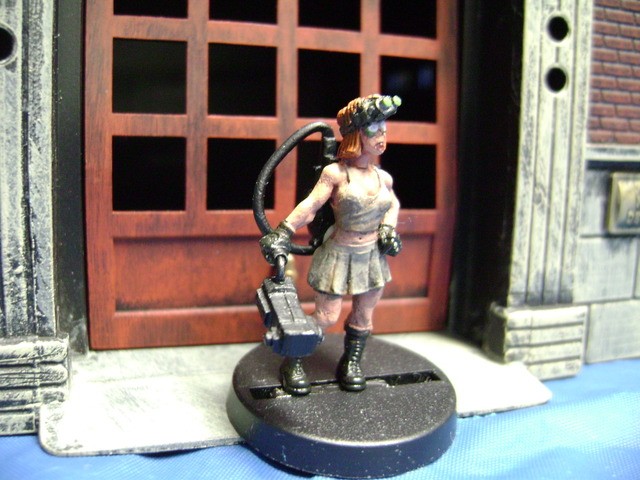
Janine has her Trap.
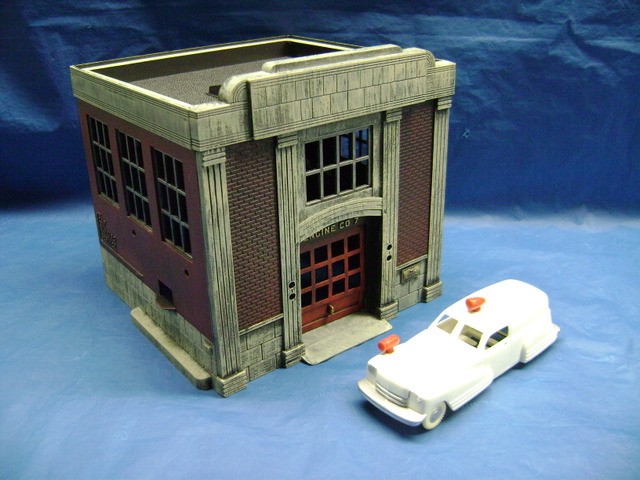
The Friehouse has another wall done.
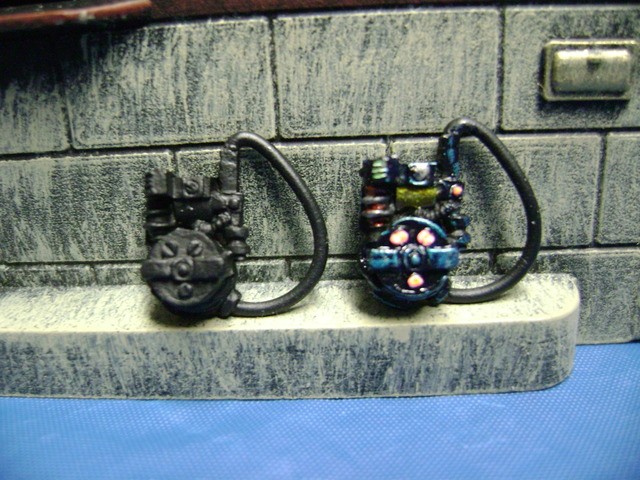
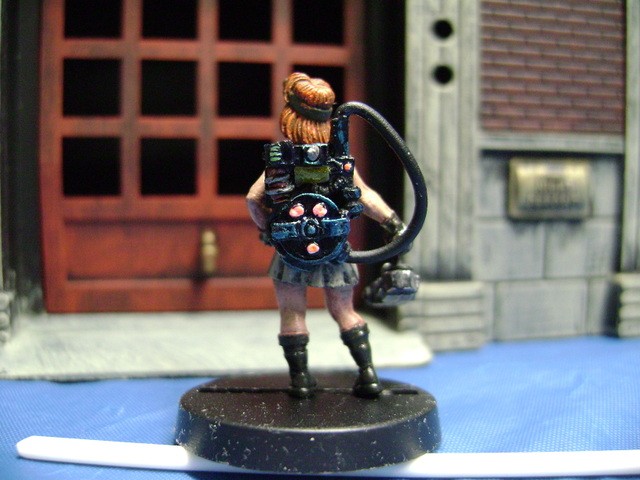
Worked out a color scheme for my Proton Packs. As the Packs are designed like the RGB’s, it echos the Cartoon Pack colors but in a subdued pallet. Now I have to see if Joeghostbuster want his done the same or Movie style.
Here’s Janine with the Pack putty tacked on her back. I need to make the straps.
This is a better shot of the Cartoon Colored Pack…
These are coming out terrific! What do you use to attach the trap and pack the “Janine”? I’ve never worked with models like this before so it’s going to be a whole new learning curve of skills I’ll need.
I filed the excess Chainsaw Handle from Janine’s fist and slowly hand drilled a hole for the Trap Handle. The hole was a bit too small so I shaved down the Handle. It’s secured with Super Glue.
Right now the Pack is temporary, being stuck on with Museum Putty. I’ll Drill into the backs of Janine and the Pack and use a small bit of Metal Rod and Super Glue to peg them together. Once that’s done I’ll use Milliput Putty to fill in the gaps and make her Straps.