I got a chance to get a few final things done on this build last weekend. I got the GBFans light kit installed, wiring harness made for the light kit, made some plexiglass lenses for the powercell and cyclotron, and mounted my Multimedia Mayhem resin thrower to the pack.
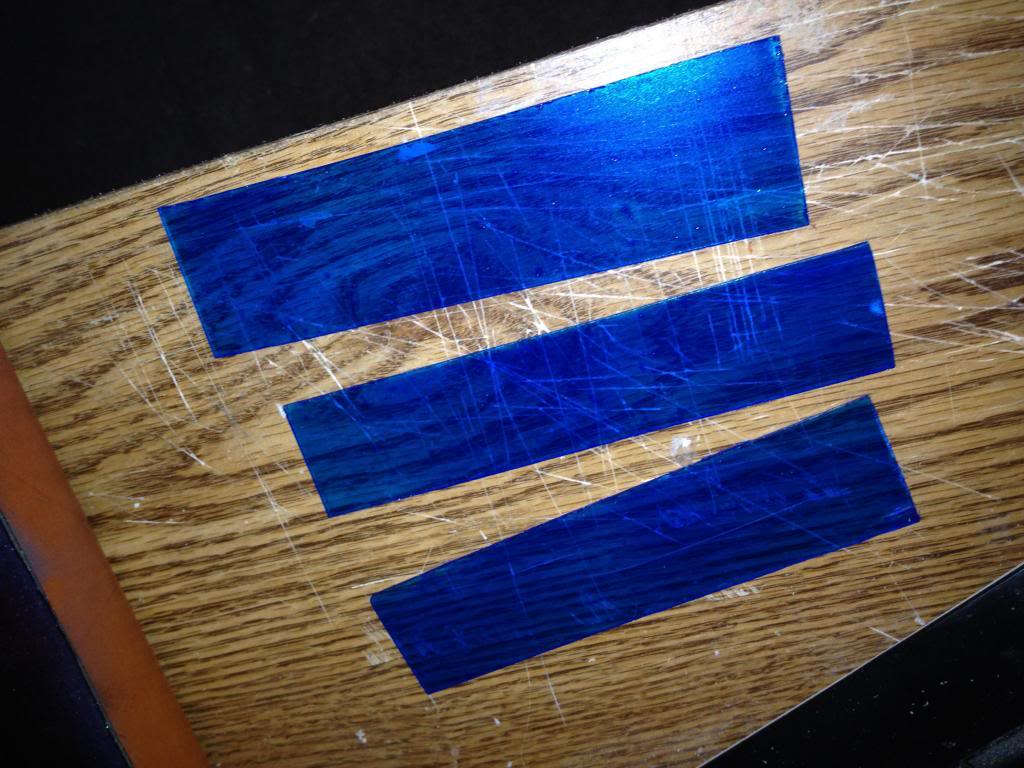
The plexiglass powercell lenses were made by cutting out strips of clear plexiglass just a bit longer and wider than the powercell window on the pack. I then spray painted them with translucent blue r/c paint by Tamiya Color. R/C paint is designed to be sprayed onto the inside of polycarbonate plastic car and truck bodies for r/c vehicles. It will adhere to plastic and not chip off very easily.
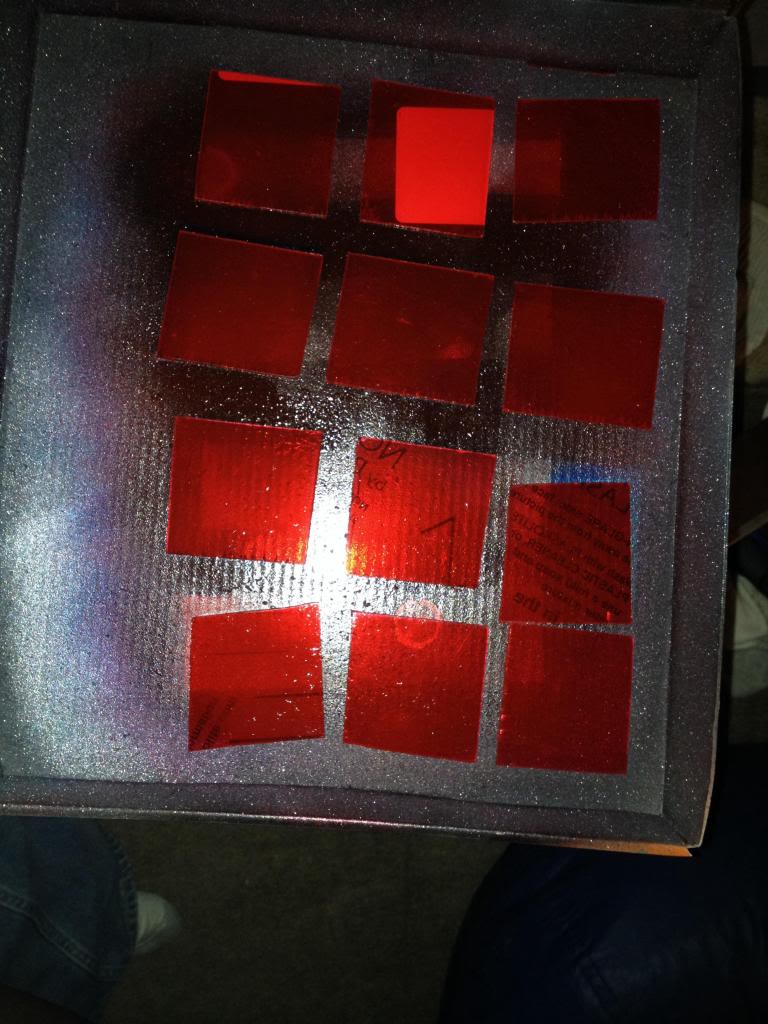
The plexiglass cyclotron lenses were created the same way as the powercell lenses only when spray painted I used Tamiya Color translucent red r/c paint.
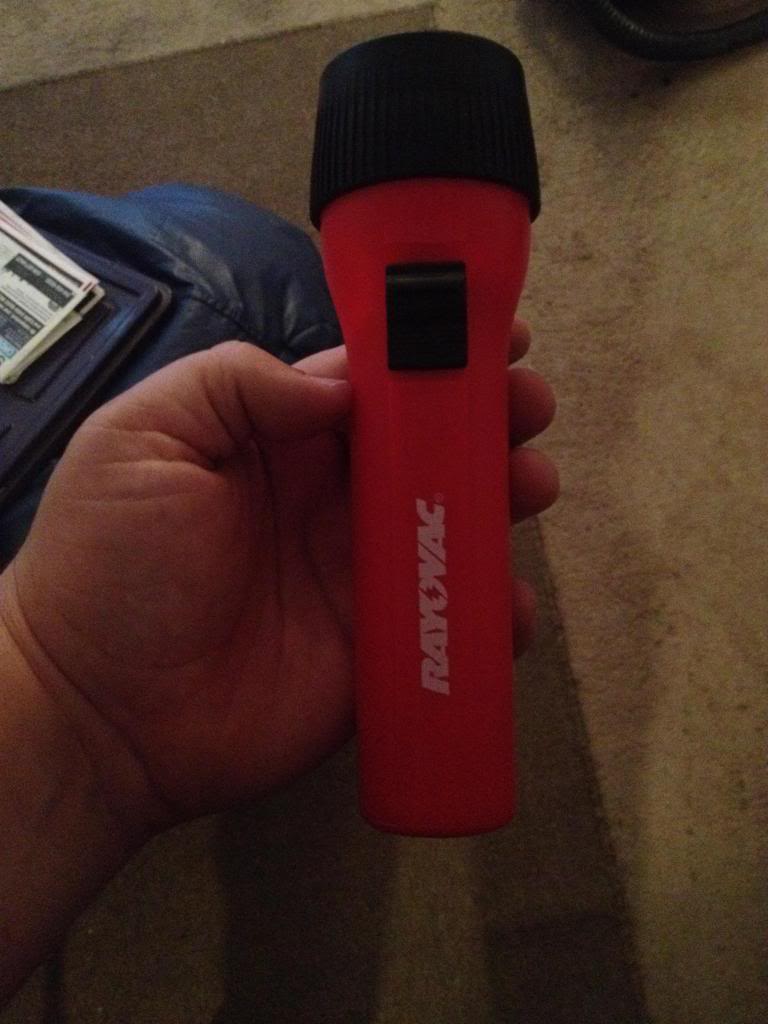
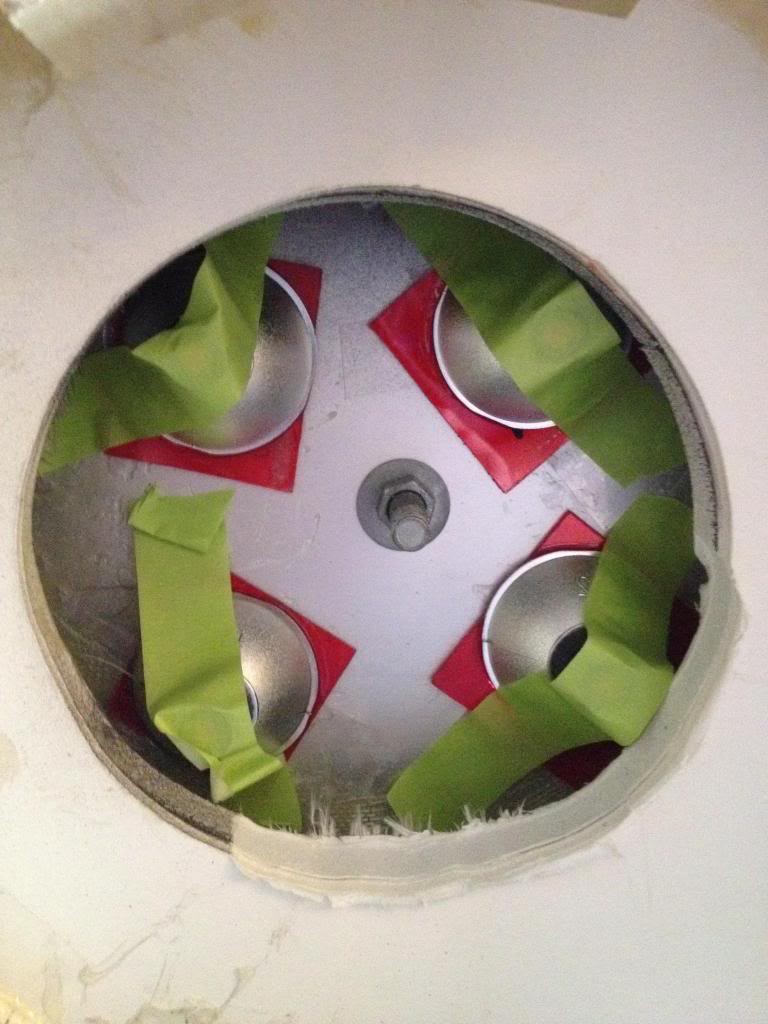
I then purchased 4 cheap Rayovac flashlights at Walmart just for the reflectors inside. At $.98 each they make good financial sense, good advise.
The reflectors scavenged from the flashlights.
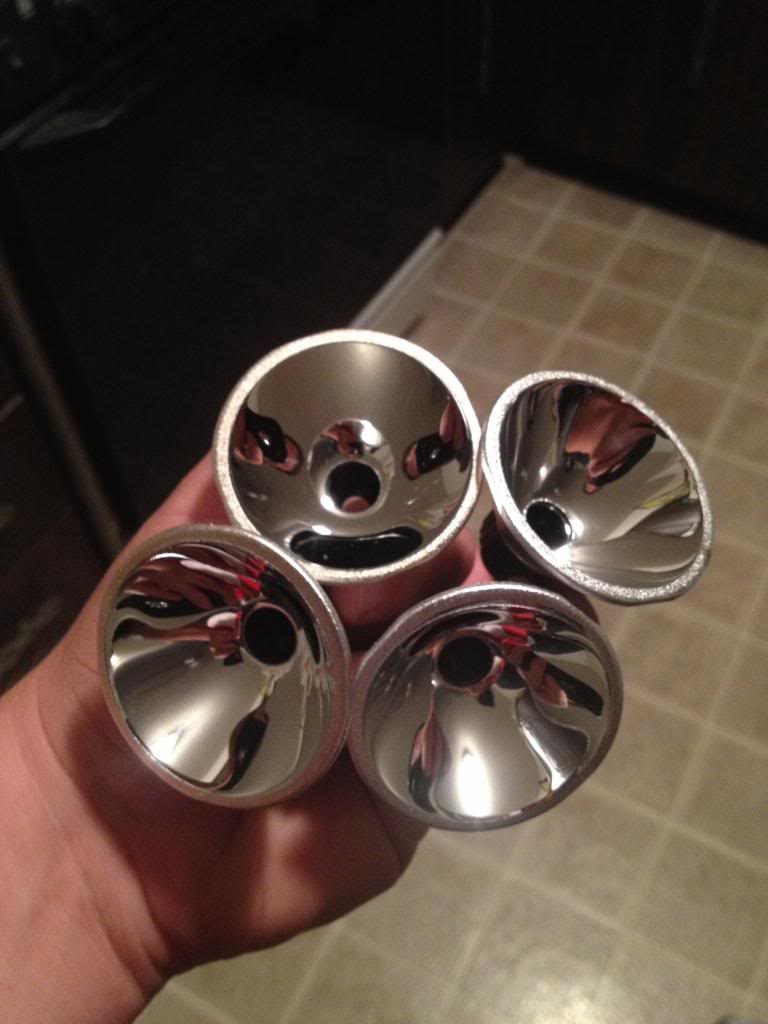
I epoxied the lenses and the reflectors together and then epoxied the entire assembly behind the cyclotron windows. I taped the reflectors in place to hold them until the epoxy set.
For the gun mount I used some of the square wooden block that I had purchased and cut it in half to make two blocks and epoxied those two halves inside the gun mount. This was done to added support to hold my MMM resin thrower.
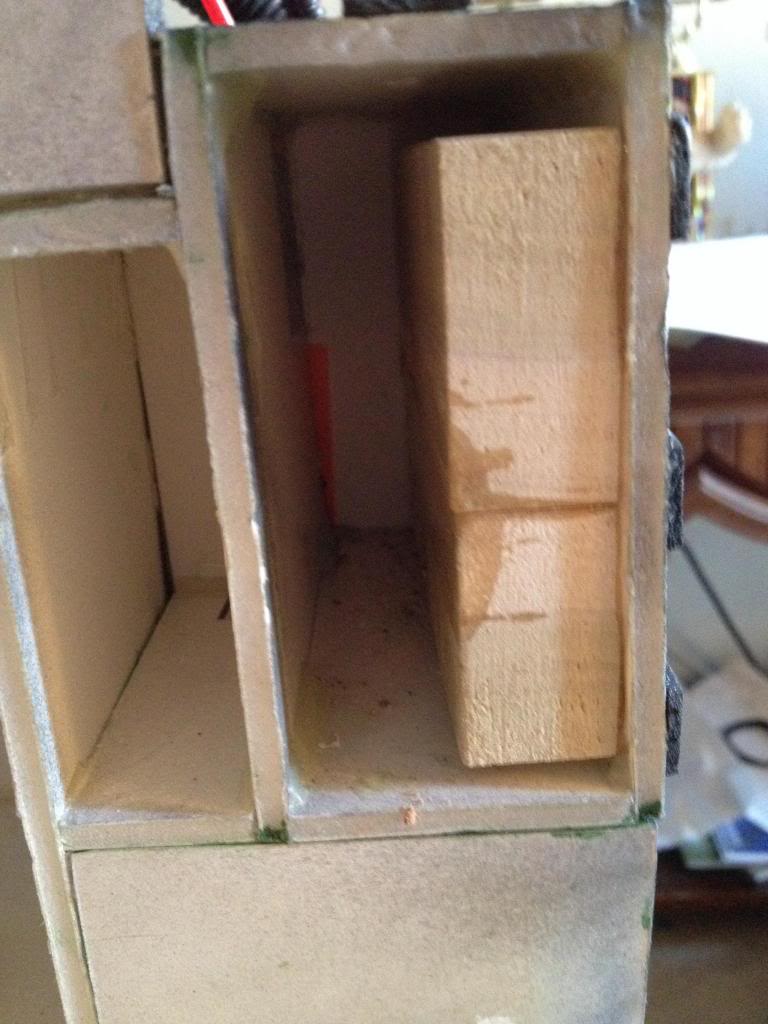
Here I cut out a small piece of MDF for a mount plate and mounted the dixie cup bracket to the pack. This setup for the gun mount works quite well! It held the weight of my MMM thrower and it is still holding it with no issues other than I need to move the bracket around a bit because the thrower is just not in the right place.
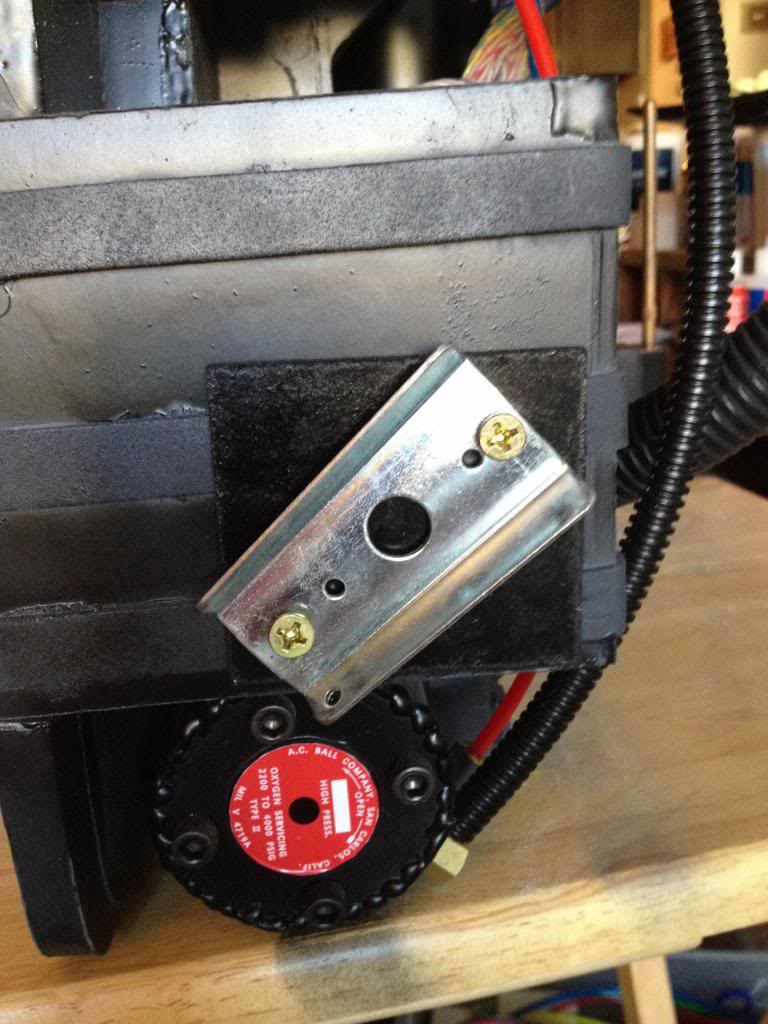
Kind of a bad photo but I mounted the GBFans pack light kit to the motherboard with some aluminum stand offs and button head screws. the Cyclotron lights I hot glued into the ends of the reflectors which have a black cap on the end that screws off so the lights can be disconnected if need be.
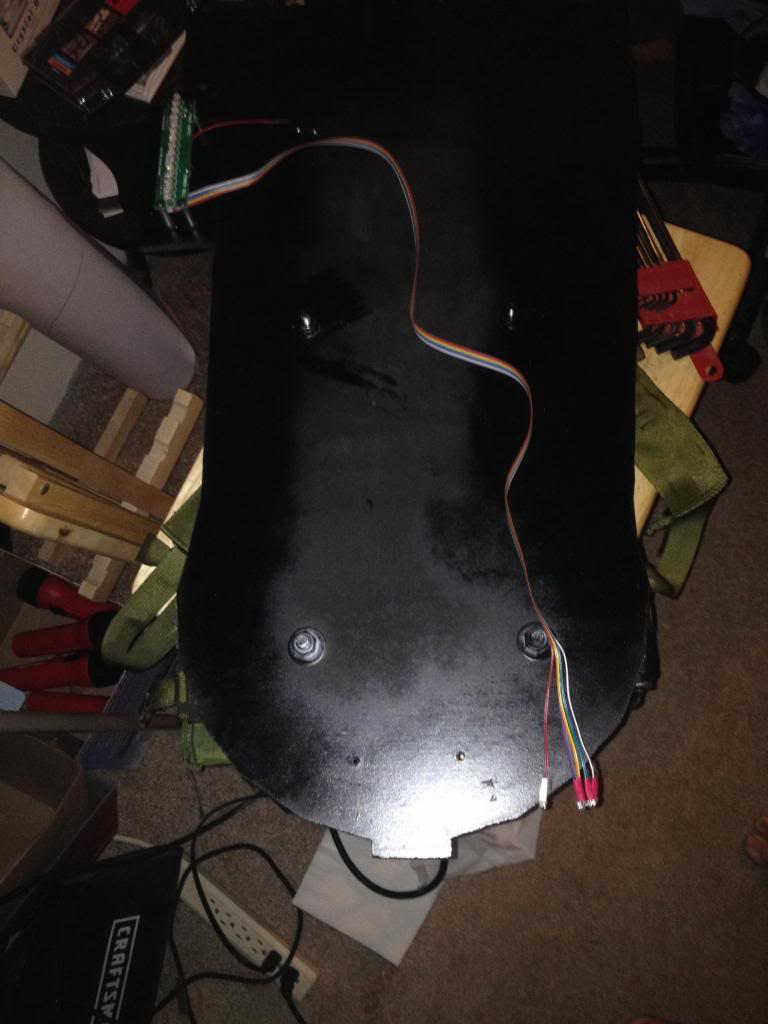
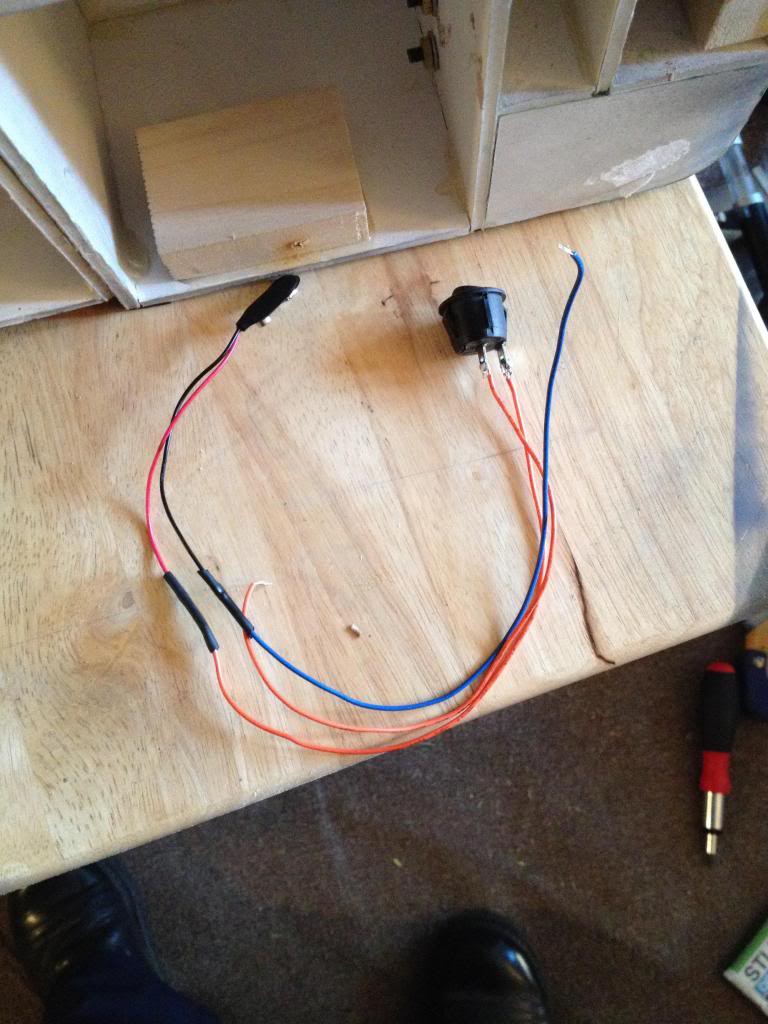
Here is the wiring harness I made for the light kit so that the lights can be turned on and off without removing the battery. Just used a rocker switch that I had in my toolbox, some wire, and a 9v battery clip.
I will get some final shots of the pack and post them here in the next few days. This has been a really fun build and it has really taught me a lot of new building techniques. I think this build can officially be completed once I get the gun mount bracket repositioned, unless anyone has any suggestions.


](http://s1281.photobucket.com/user/unreal05mustang/media/Mobile%20Uploads/image_zps11aa5c93.jpg.html)
](http://s1281.photobucket.com/user/unreal05mustang/media/Mobile%20Uploads/image_zps638ac137.jpg.html)
](http://s1281.photobucket.com/user/unreal05mustang/media/Mobile%20Uploads/image_zpsfbf648c2.jpg.html)
](http://s1281.photobucket.com/user/unreal05mustang/media/Mobile%20Uploads/image_zps2dc06e56.jpg.html)
](http://s1281.photobucket.com/user/unreal05mustang/media/Mobile%20Uploads/image_zpsfe4e670f.jpg.html)
](http://s1281.photobucket.com/user/unreal05mustang/media/Mobile%20Uploads/image_zps20a27b9e.jpg.html)
](http://s1281.photobucket.com/user/unreal05mustang/media/Mobile%20Uploads/image_zps4c0cca4e.jpg.html)