Yeah, as I mentioned above, I think the CountDeMonet thrower upgrade for the Spirit packs is a must-have because of how easily the stock thrower on these Spirit packs breaks.
I loaded those files, but I haven’t started printing yet. I’m curious if it will be too big for her? I think I’m going to print the grips first, that would give me an idea of how much bigger it is to the spirit
Another benefit from the print is you could also make a pop mech for it!
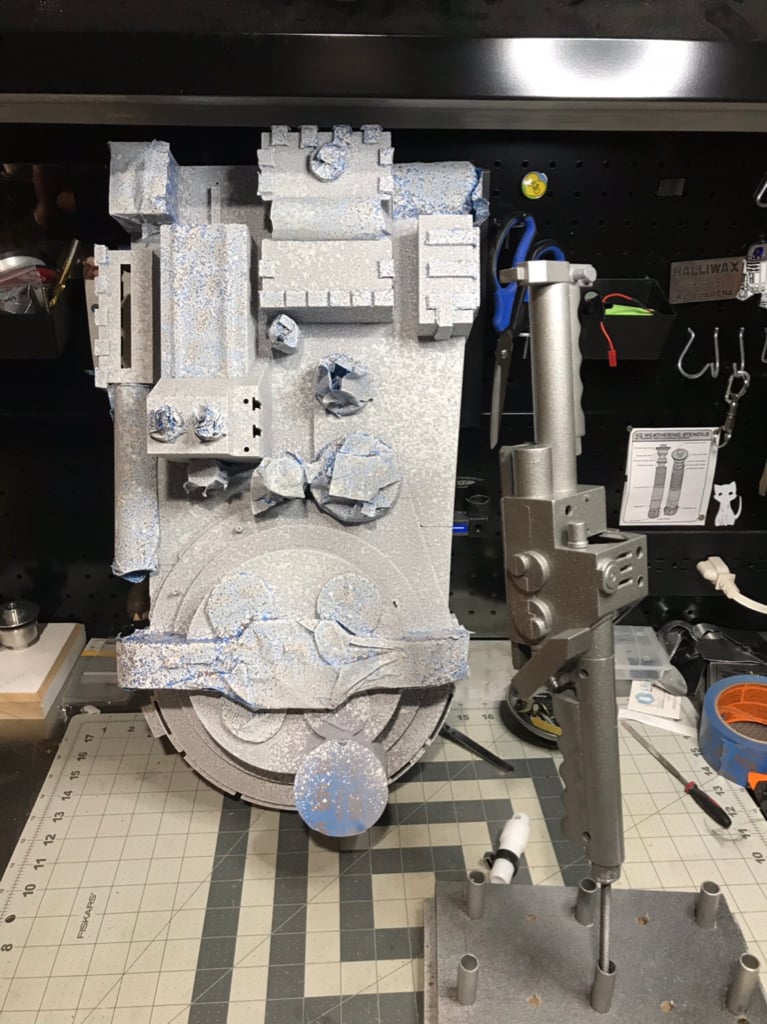
Before the rain drops fall I got first coat in. But this first cost exposes all the extra filling I need to do
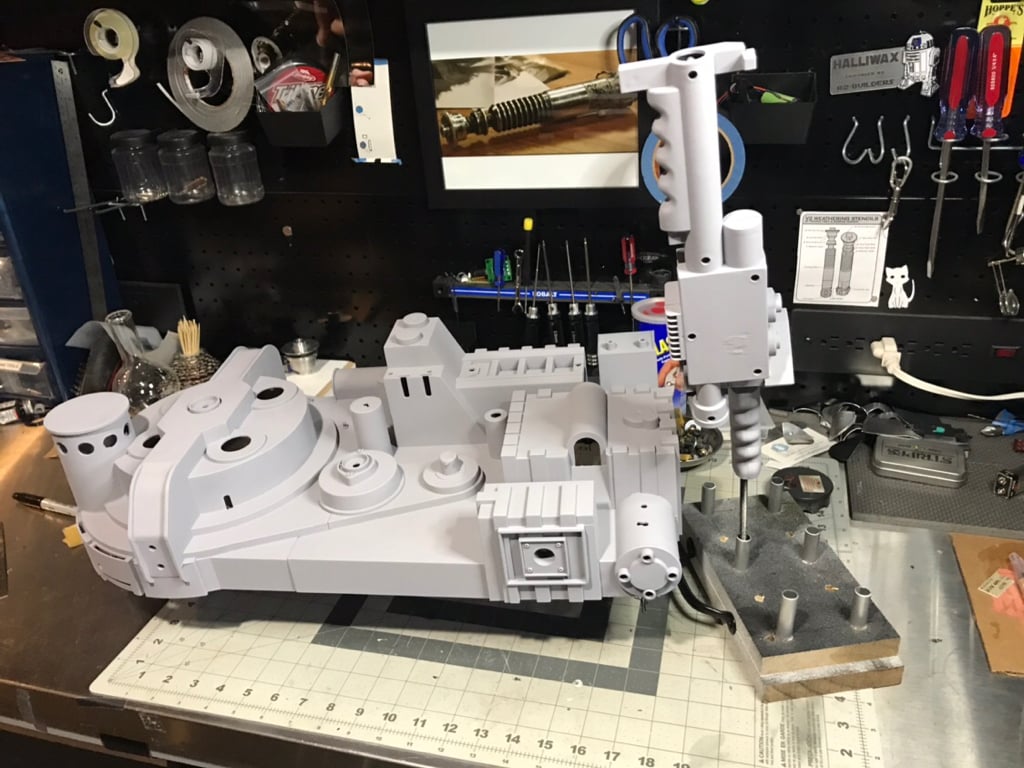
Any advice on how to print the thrower box?
Like what orientation to print it. Seems like every way is going to need support material
Yeah, that main box takes a ton of support material. I just printed it in its normal orientation so that all the support material was on the inside. There was a lot of it, but not too hard to remove and it didn’t mess up the exterior because it was all internal.
It may be worth just going with the stock proton thrower until it breaks since you’ve already done work on it. I love the look of primed parts!
Also, just for your reference, here are some pictures to consider with the size of CountDeMonet’s thrower:
Here it is (not quite complete) in the hands of my 7 year old son:

Here it is in the hands of my 4 year old daughter:

And here are some side-by-side comparisons (The broken up one is my stock one):


Wow!! Thank you for taking the time and doing this!!
The comparison is great!! I think I’m going to print this regardless, but I think the thrower is gonna be a little bit for her today
BUT next year maybe it will be a better fit? Like I said might as well print it now while everything is fresh in my mind
As for “fixing” the spirit wand, I don’t think there’s too much one can do to fix it
I was wondering if I could fiber glass it somehow together but seeing how the Bobbi eats the plastic I think the fiberglass would turn this to mush in minutes…
Maybe once I get the electronics installed, epoxy the hell out of the handle?
Dunno yet..
But seeing that cracked handle has me concerned
Thanks again for those pictures!
A possible fix for the handle - Find some tubing that will fit inside, cut a slot along the whole length (you wind up with a “C” section) so you can drop it over the wires without having to disconnect them. Glue the parts to the tubing.
Wow!! Our boy Doug at ghostabs42 doesn’t ■■■■ around!! These were delivered today!! Super fast shipping!!!
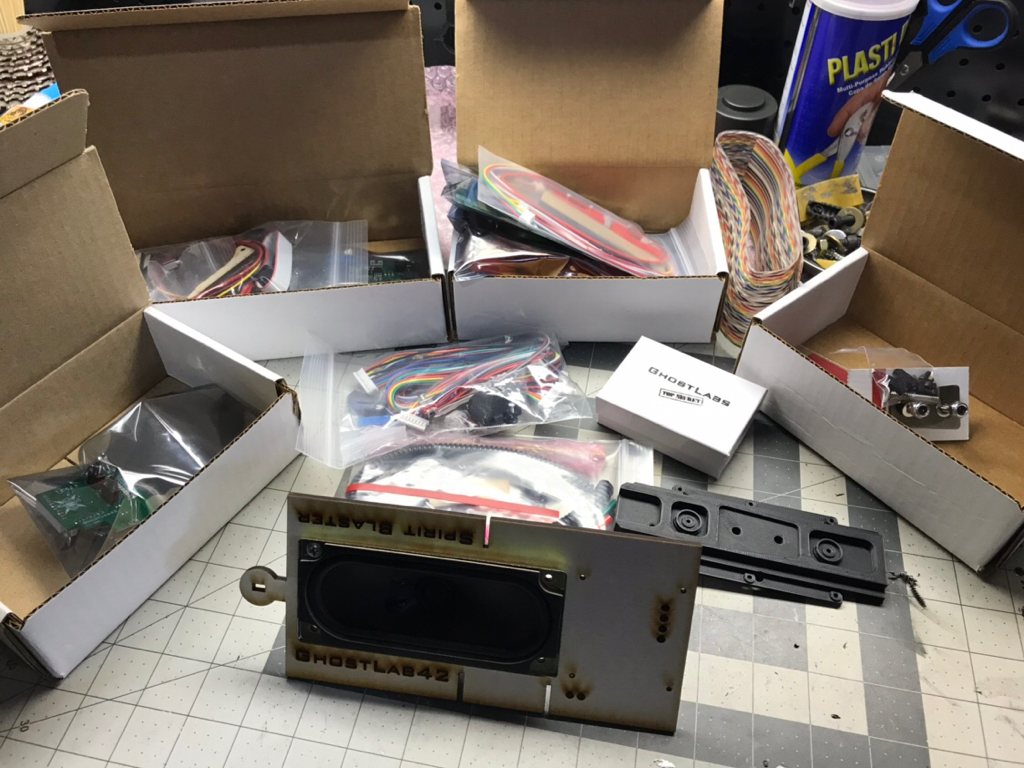
Doug is a God among Ghostbusters! My kits arrived, yesterday. Can’t wait to get going on it!
I didn’t have much time to look it over yesterday, I still can’t believe how easy he makes this..
I just read the instructions and it looks like it will work on a 9v battery. His instructions also say to keep everything in the bag until it’s ready for final installation..
This is gonna be tough. I can’t finish painting because the last 3 weekends we have had rain.. terrible
I also ran to Lowe’s and got some texture wall paint
I figured this would be a good opportunity to try it before using it on my biggishell.
Was really hoping to have this painted this weekend.. hopefully one night this week I get how early enough. Gonna work on drilling the final holes on the wand tonight
Got home from work early because of rain.. couldn’t paint so I figured I’d play electrician.. which can be dangerous
Anyway, Doug’s guide made this a breeze!!
I used this drillbit tip to sand the inside like Doug’s guide
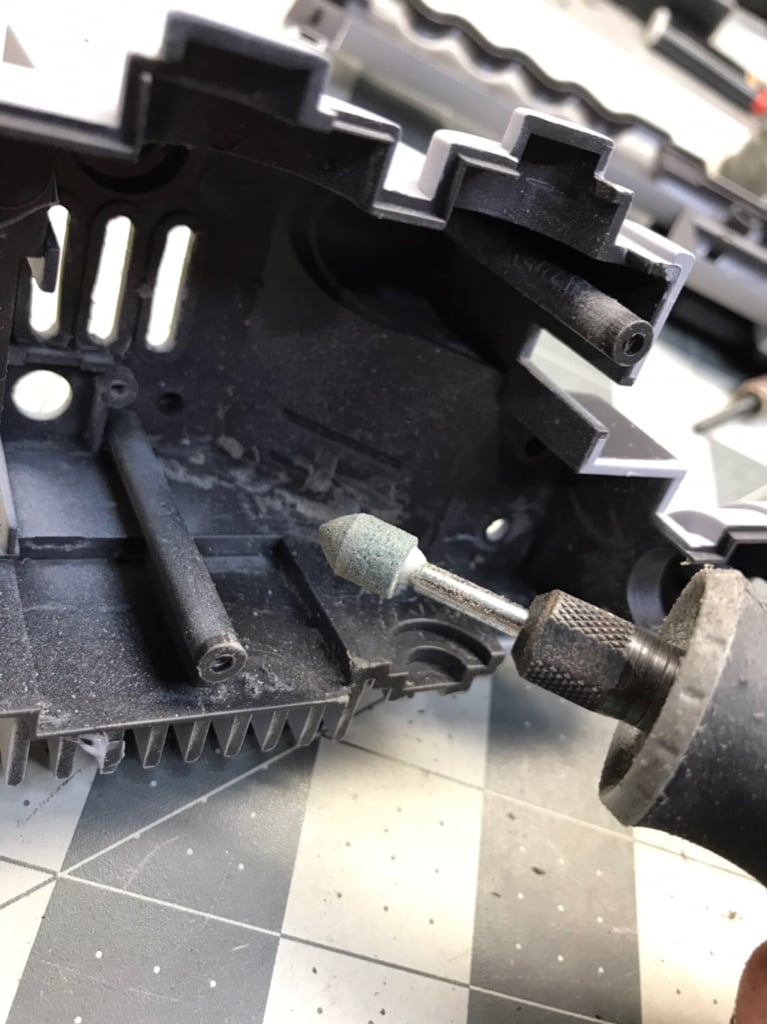
Just like how I drilled the vent holes, I started with small holes down the center of the bar graph. Then used my cutting wheel on both sides, and cleaned up with this bit and a bunch of flat files. I buy these files cheap at Lowe’s, basically throw always once they clog
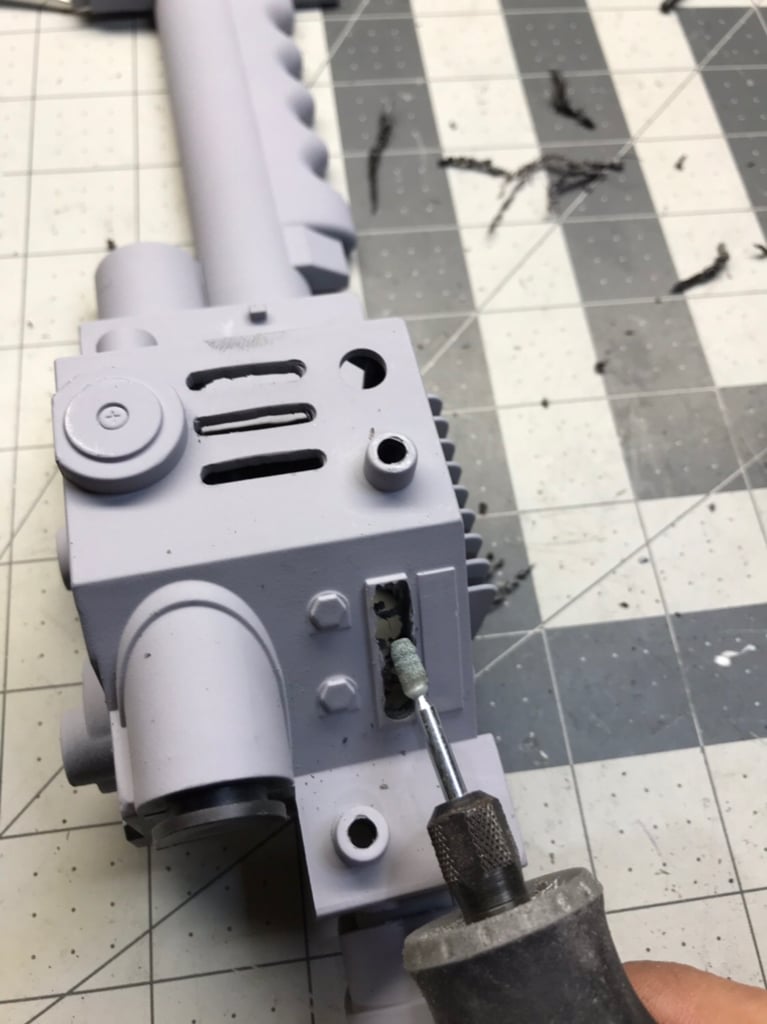
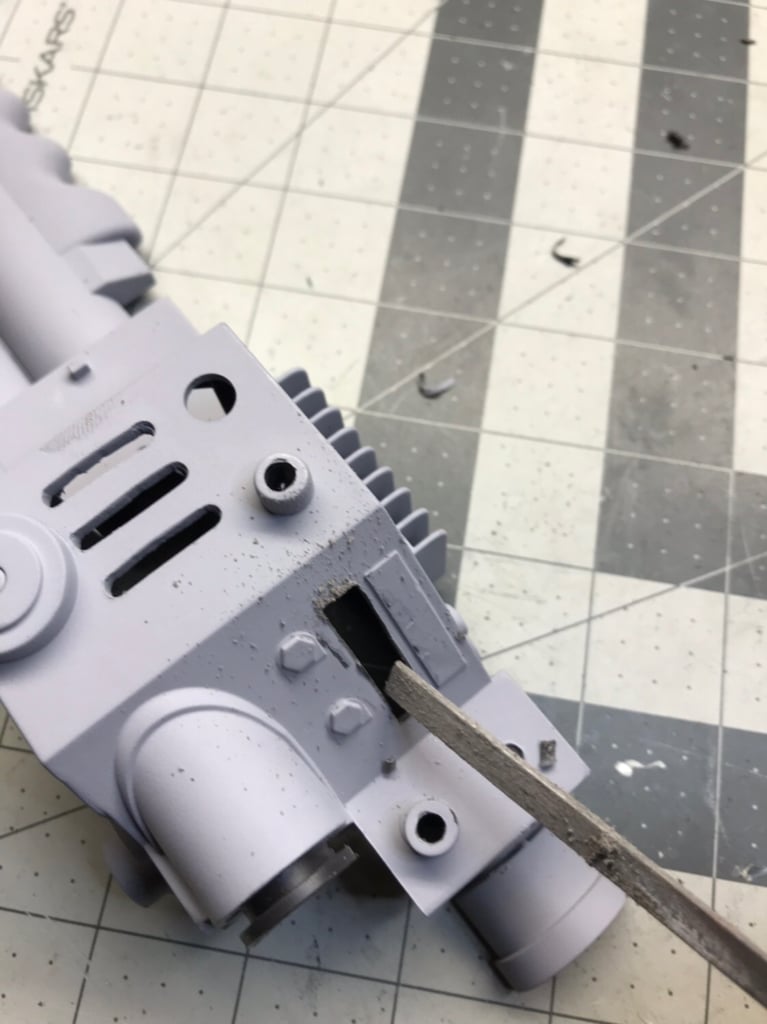
He made the bar graph a breeze too
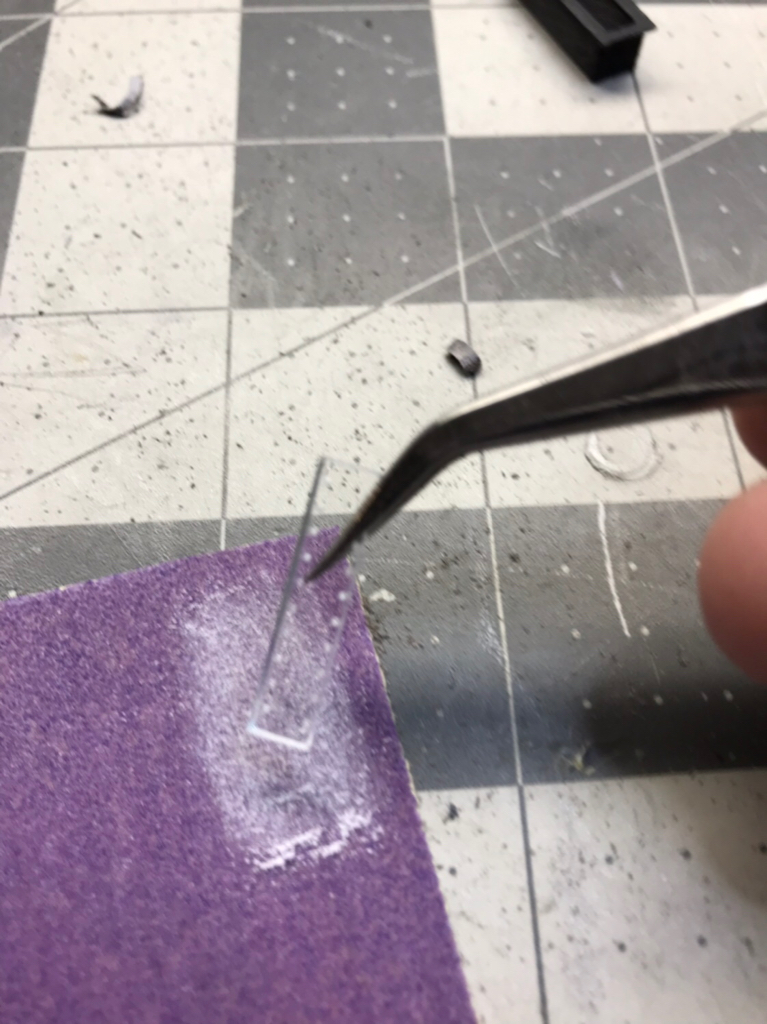
When I installed it you got dust on the lens, I just used a napkin and tweezers to clean it up
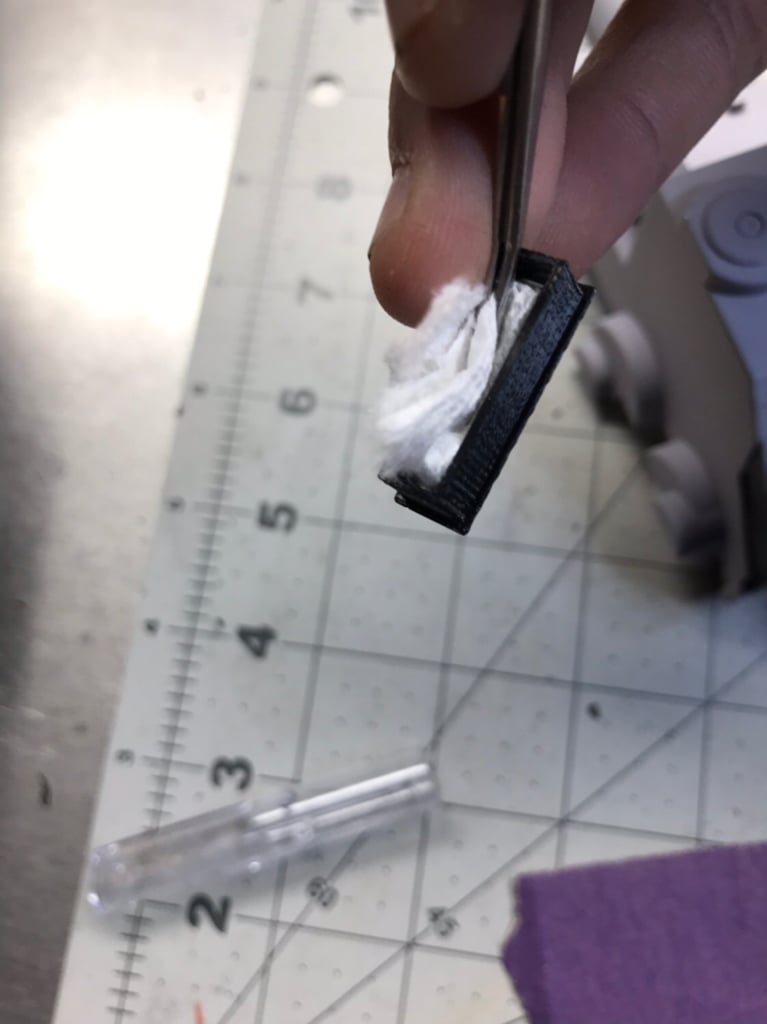
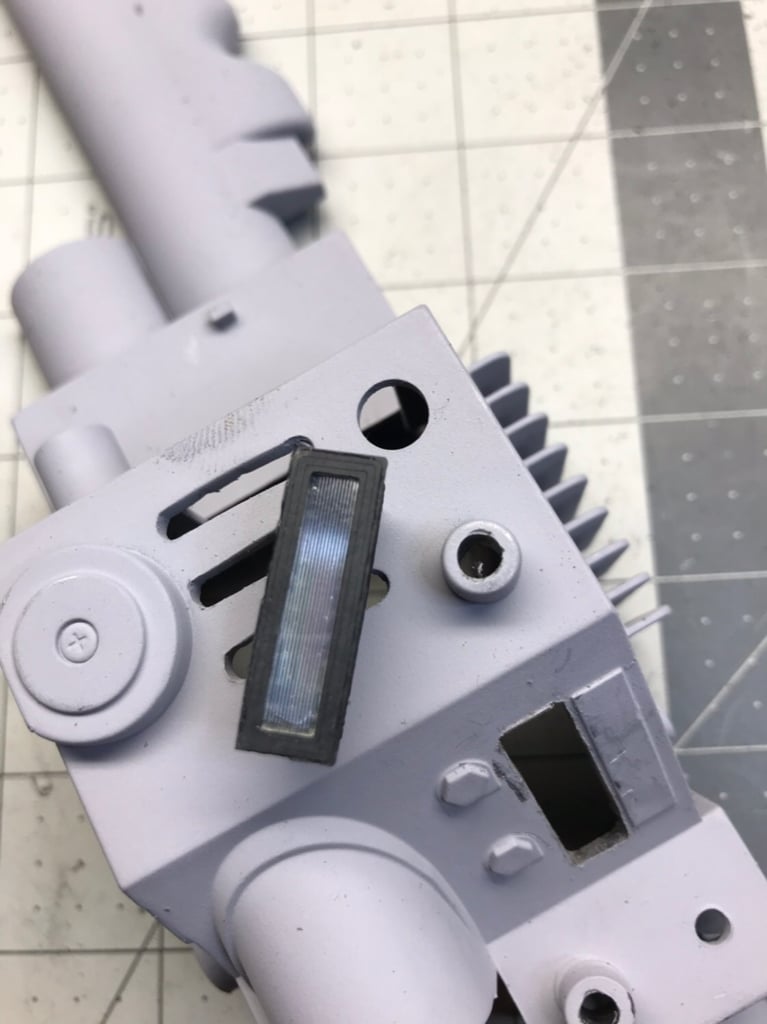
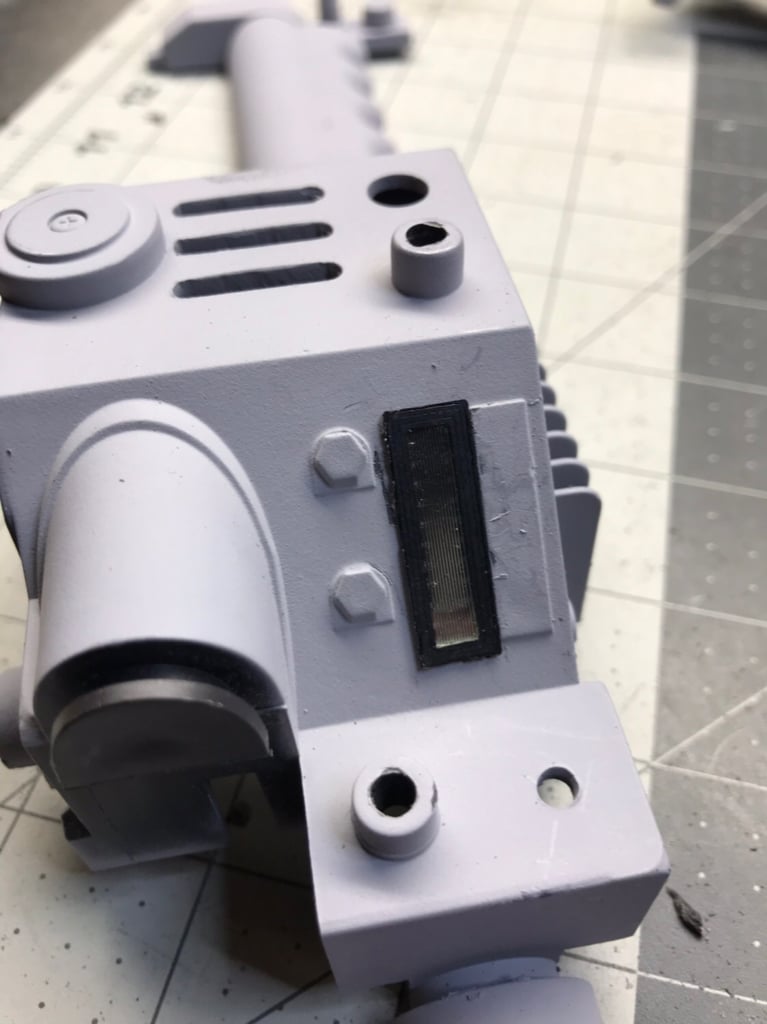
Started to drill some holes. I drilled them from the inside out to keep them perfectly center
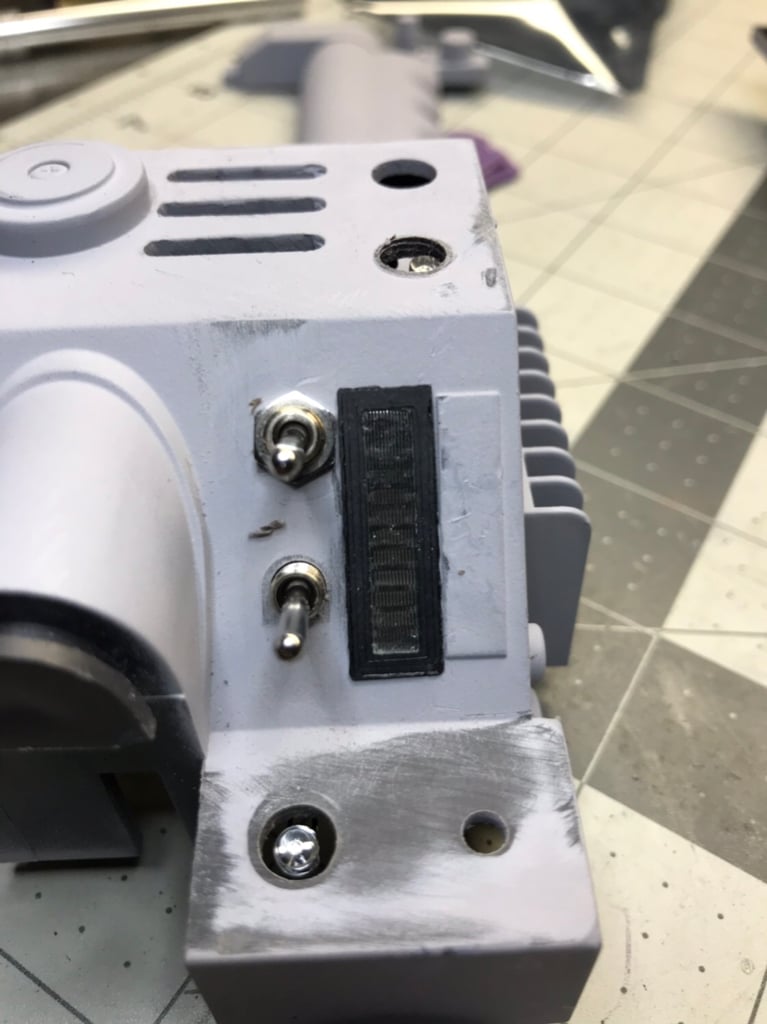
Next trick was sand the trigger button, I sanded it smooth like Doug’s instructions, but I know we have to oblong the hole to get the button in.
I didn’t want to make the hole larger then the washer so I put the washer centered on the hole. Then traced it with a pencil, now with oblonging the hole I stay inside the circle and I’ll be fine
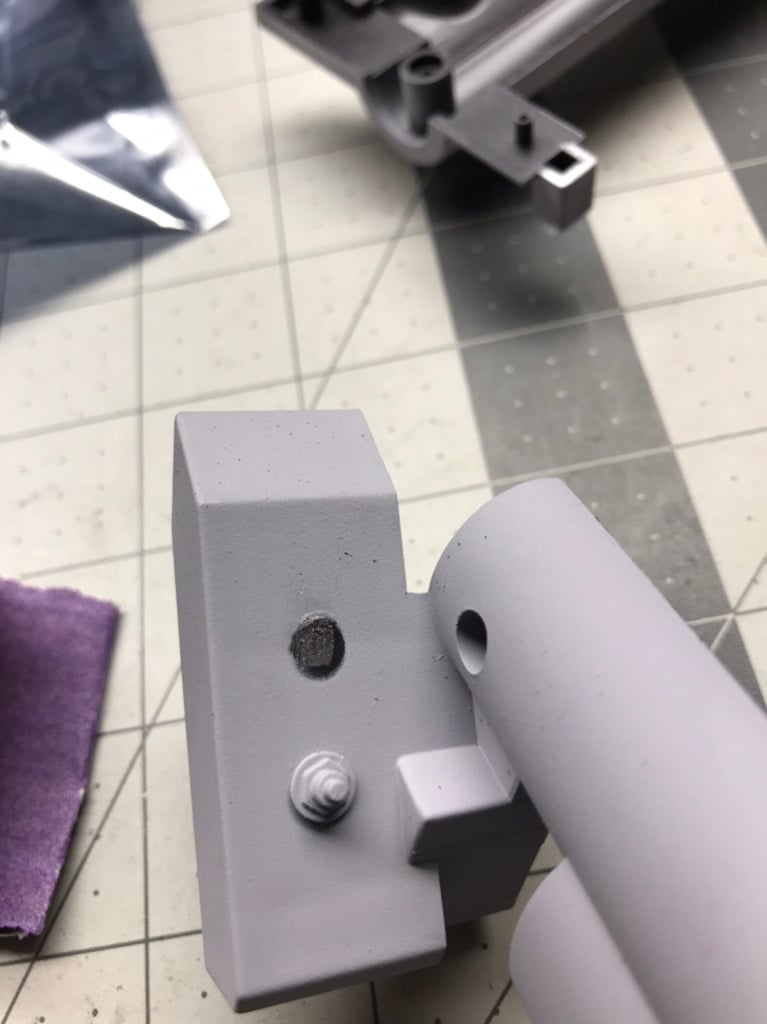
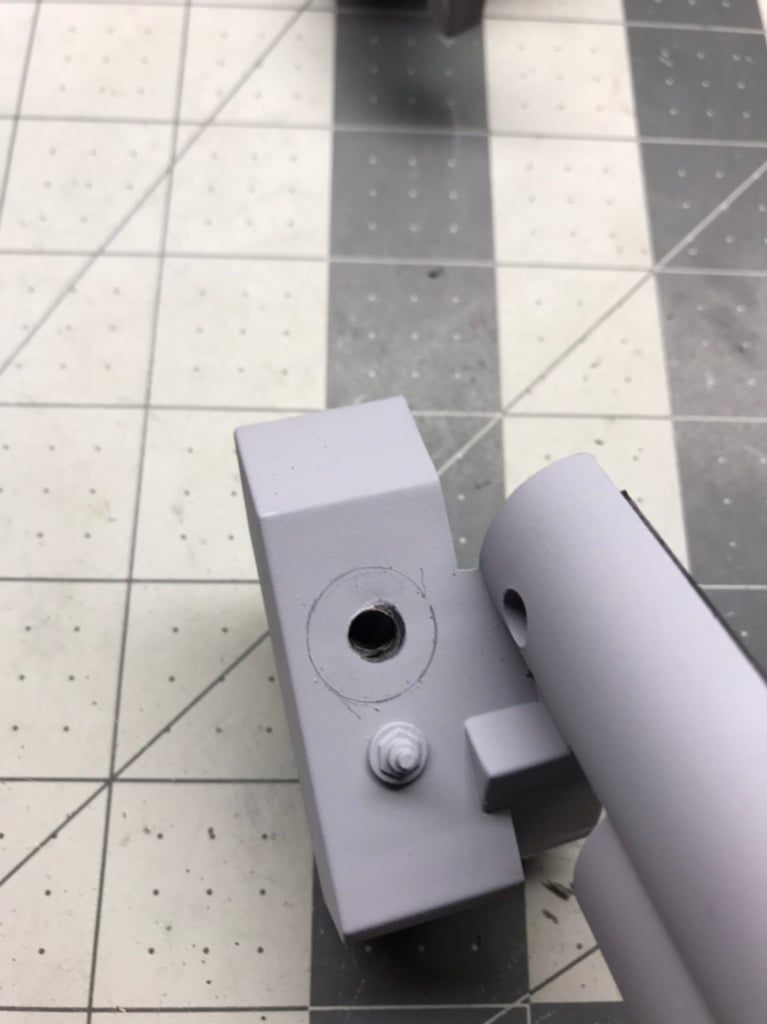
Worked out great
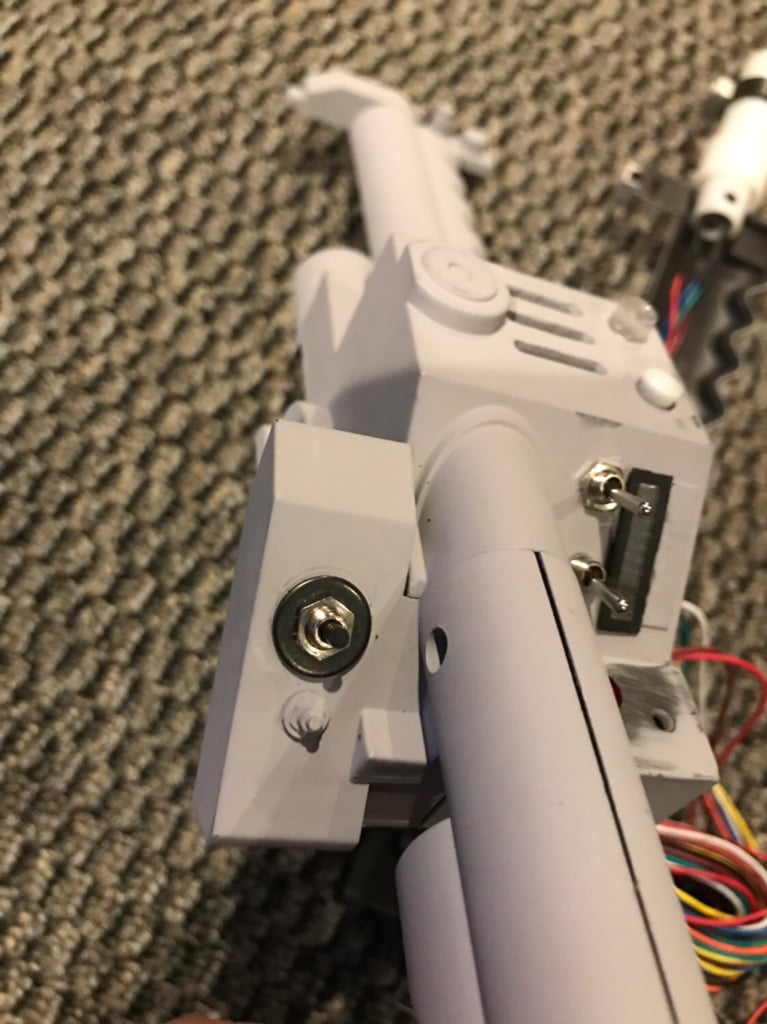
I got it all wired up. Works phenomenal! I can’t believe how easy Doug made this kit!! I’m so happy with it, I would have never dreamed you could bring the spirit to this level
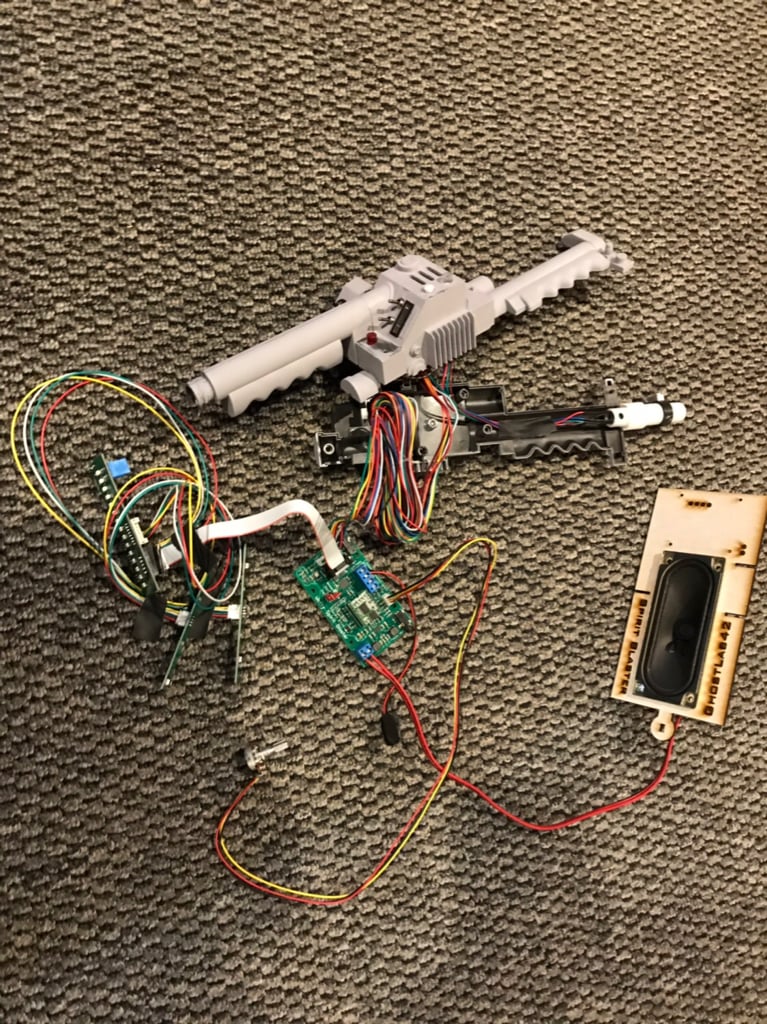
I have to go read his instructions again, because while fooling around with the switching in single pack mode. I got the theme song going! I had no idea that was even possible!
Got the ghostlabs42 magnet hook up and running
This is perfect!! He even supplies small hex bolts for it!!
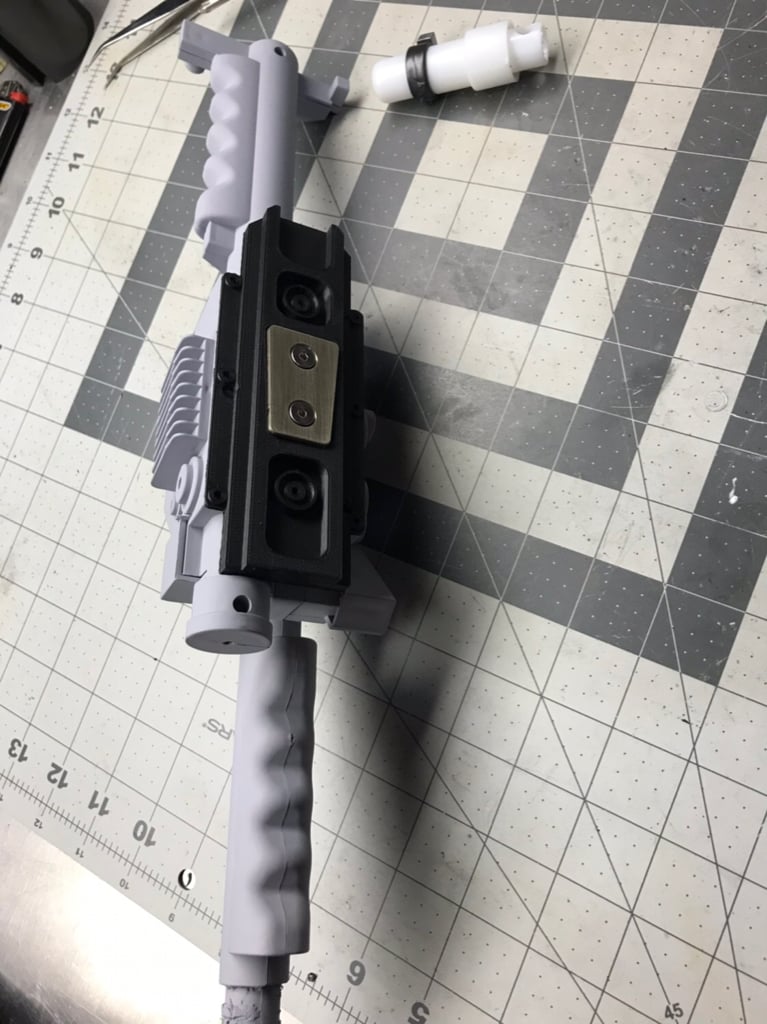
Literally dodging rain drops… been beautiful all freak’n day at work.. but once in our the clouds form and it starts to rain
Added some texture
Whaaaaaaaahhhhh??? I don’t remember this little gem being mentioned… that’s freaking sweet!!
Yup!! Honesty to god I got it to play the theme song, don’t know how I did it. I think I had both toggles up and held the thrower button, it’s all apart now so I can’t ■■■■ around with it
I read all Doug’s instructions and don’t see anywhere on how to play the song
I looked up his older threads for the Matty wand and GBfan board to see if the same combo would work with the spirit board, couldn’t find it
I swear I got it to play
Tonight I was able to seal the texture. I highly recommend sealing it. I could brush the texture off by hand. Now with the matte clear coat the stuff is stuck on there good!!
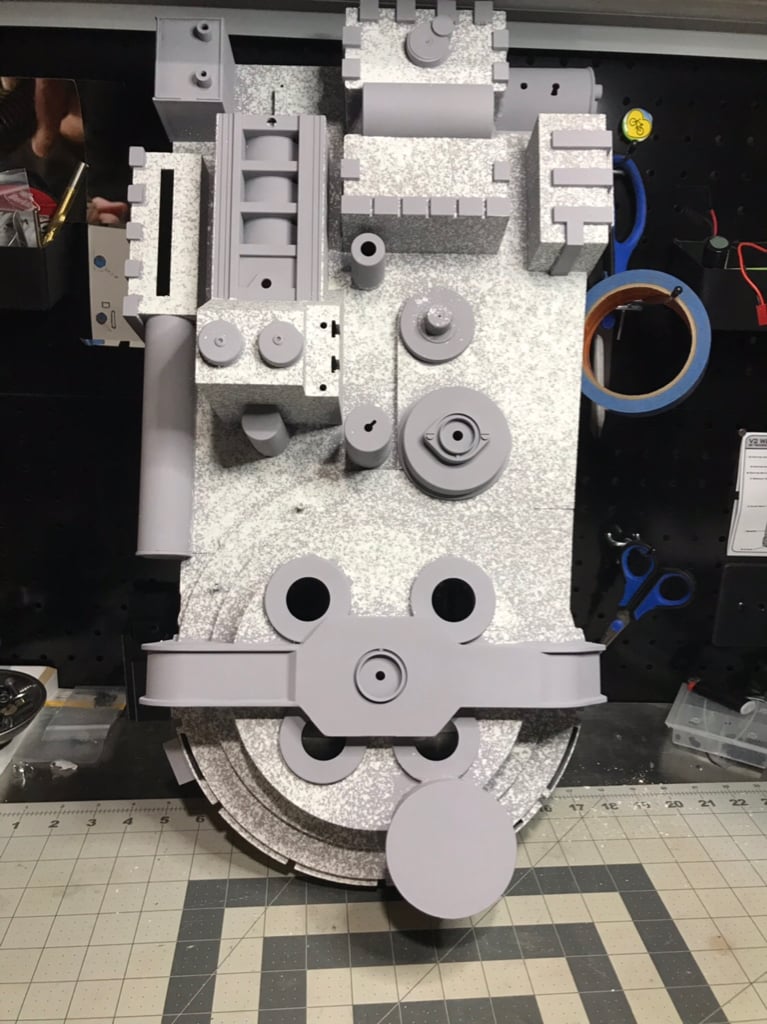
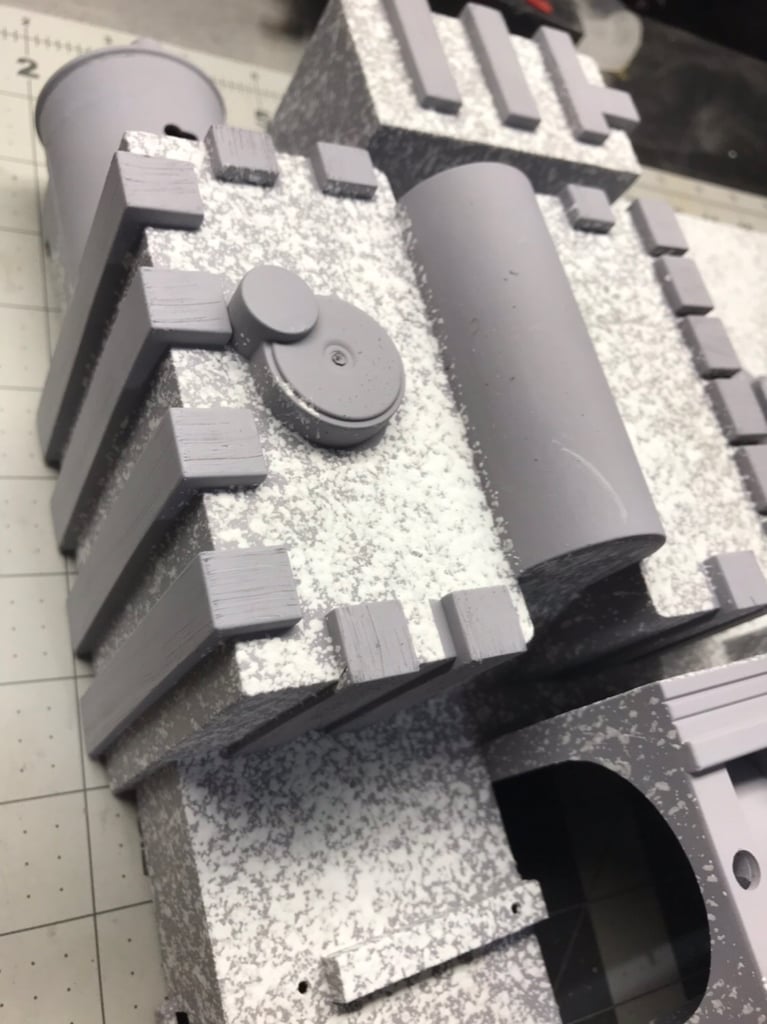
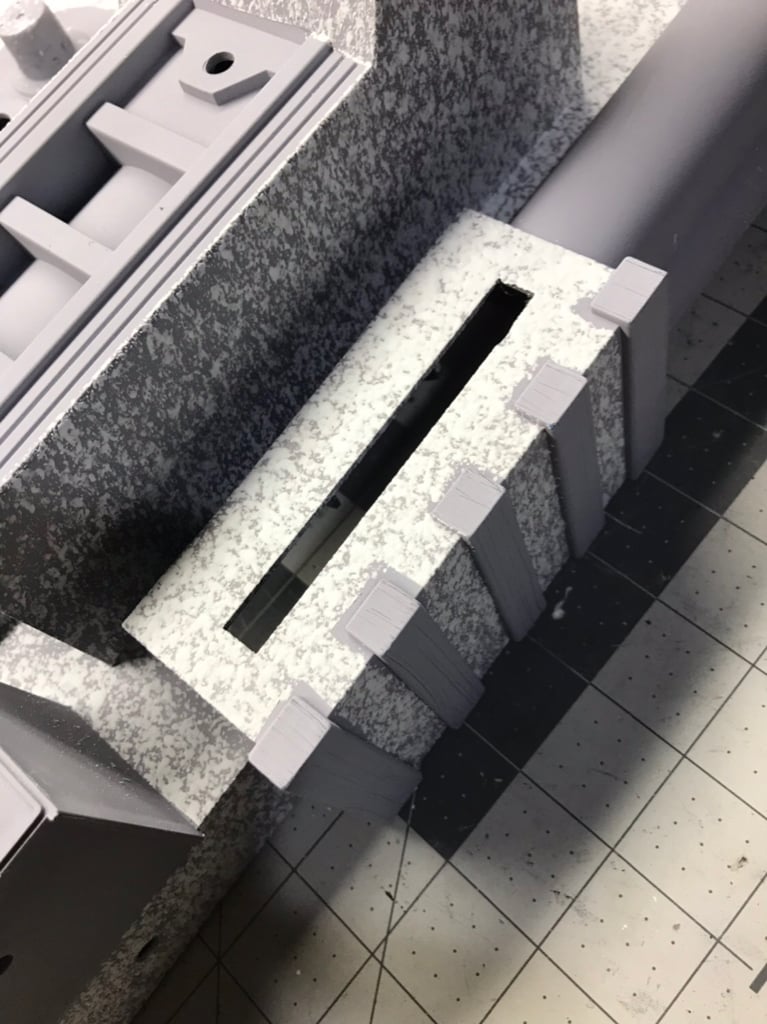
I used some 100grit sand paper to add wood grain texture to the strips
Also got some resistors from heavyprops!
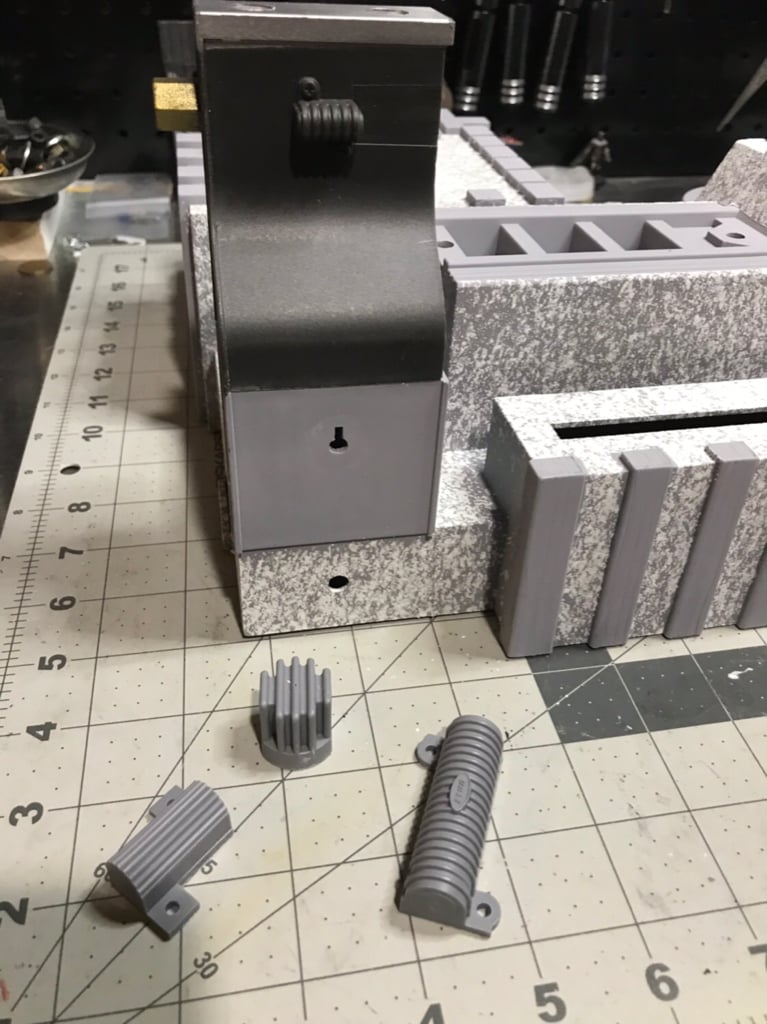
Once the rain clears I’ll give it a good coat of satin black
I had some left over silver but it’s far too metallic for my liking.. hopefully Lowe’s has some cheap silver so I can start painting the aluminum parts
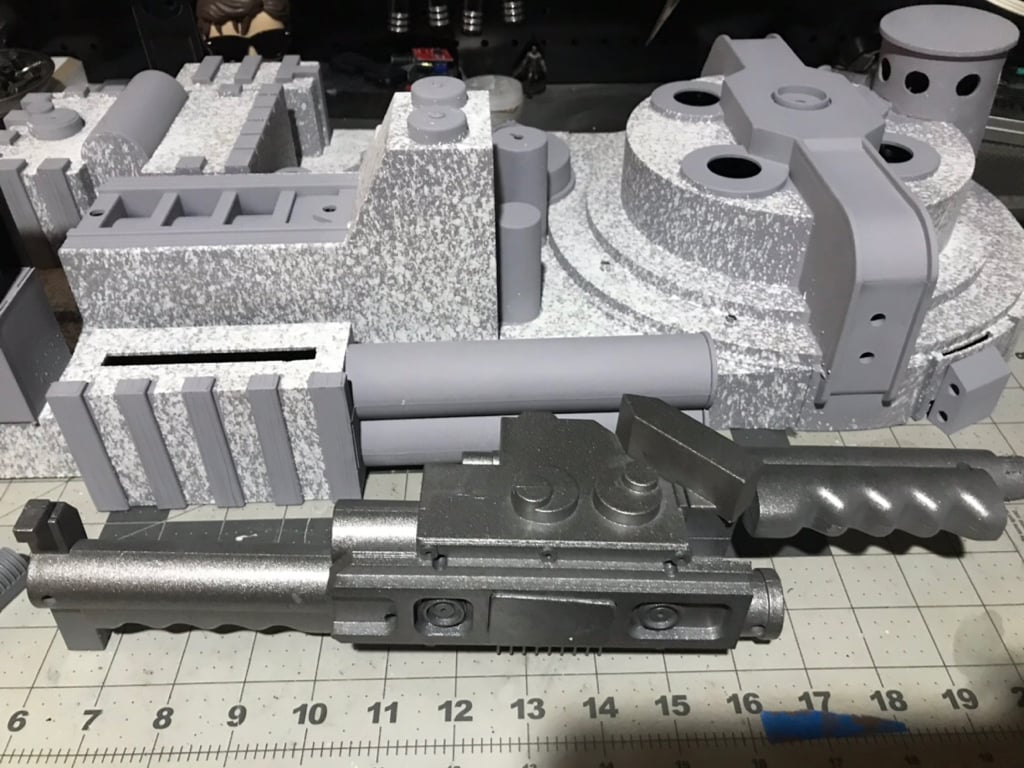
After reading, above, I went and found the guide for the blaster installation. I found where there v are other sounds that you get out of it in single pack mode. This just keeps getting more and more fun!
Can you link me or give me a page number? I can’t find to see it