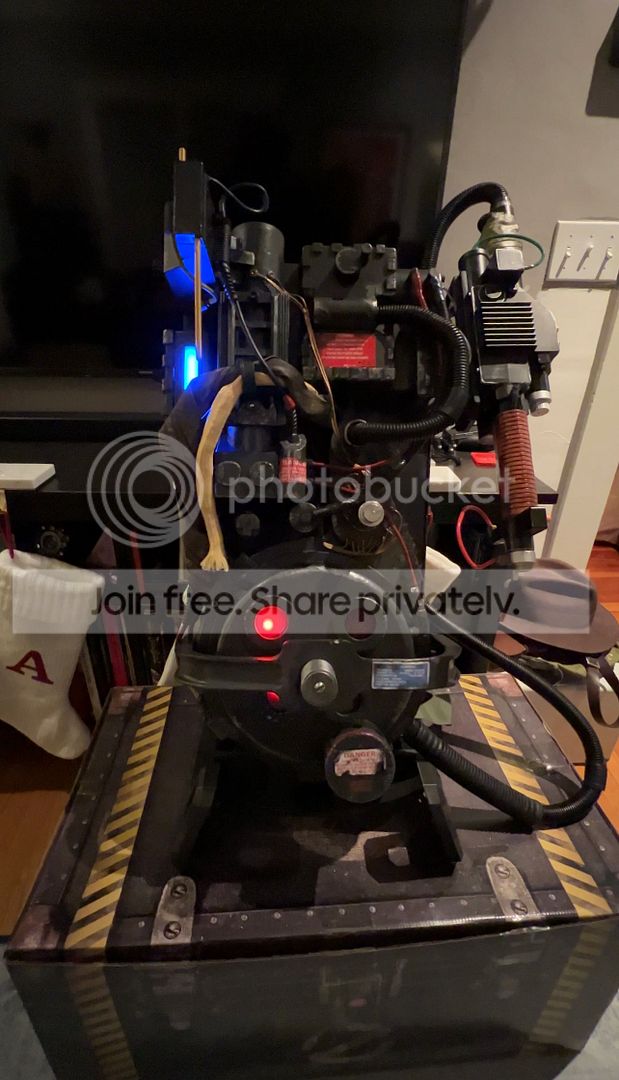
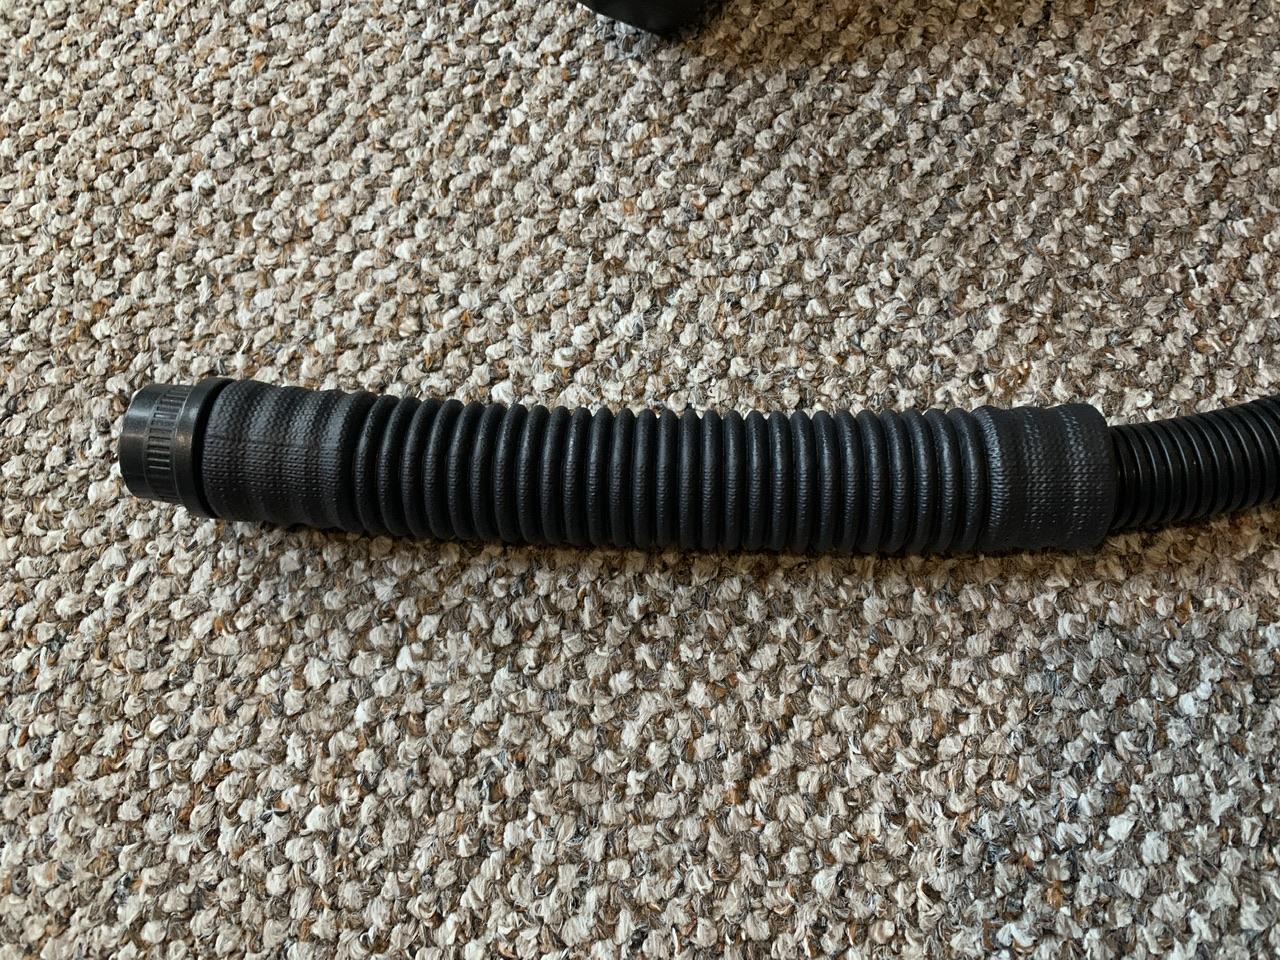
I have the same question!! And wondered if I missed anything. When he compares his version witht he stock one… its clear that the stock weathering is different. He also mentiones it how the stock was too chunky. SO I wonder if he just got a special one weathere dwith more care… or if he just rmeoved the weathering. In that case.. HOW THE HELL did he did it>???
Got an email here too in Upper Michigan saying it’s left the building. 
2 of my 3 are out for delivery today here in Pasadena, CA.
Probably a rubdown with 91% isopropyl alcohol. You don’t want to use too stringent stuff on plastic. That with a little high grit sandpaper should remove most decals or paint from plastic and if it doesn’t then you paint black over it.
That’s the Spirit Halloween version lol
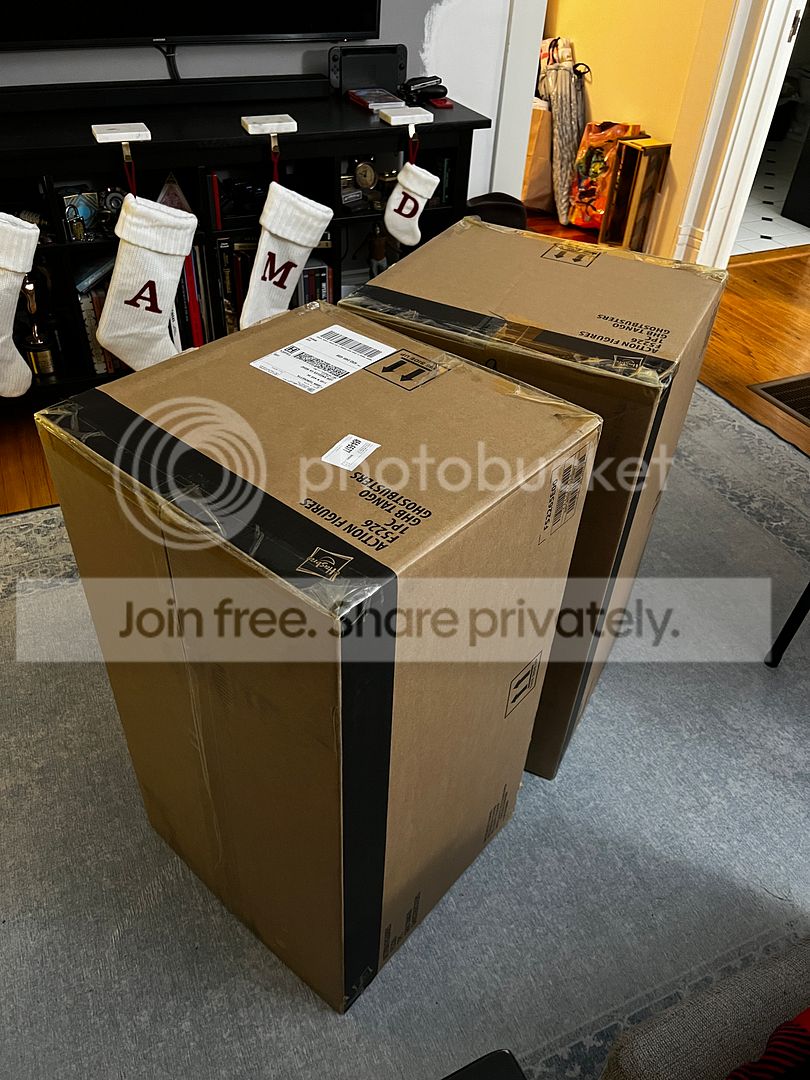
Received my shipping email today, and was frankly shocked . . . . Will be delivered next Tuesday . . . several months in advance! Damn, wasn’t ready for them yet! Wonder what the box dimensions are, I have to find a place to put them! Anyone know what the shipping box dimensions are for the proton pack?
Received my pack earlier today and it’s fantastic!
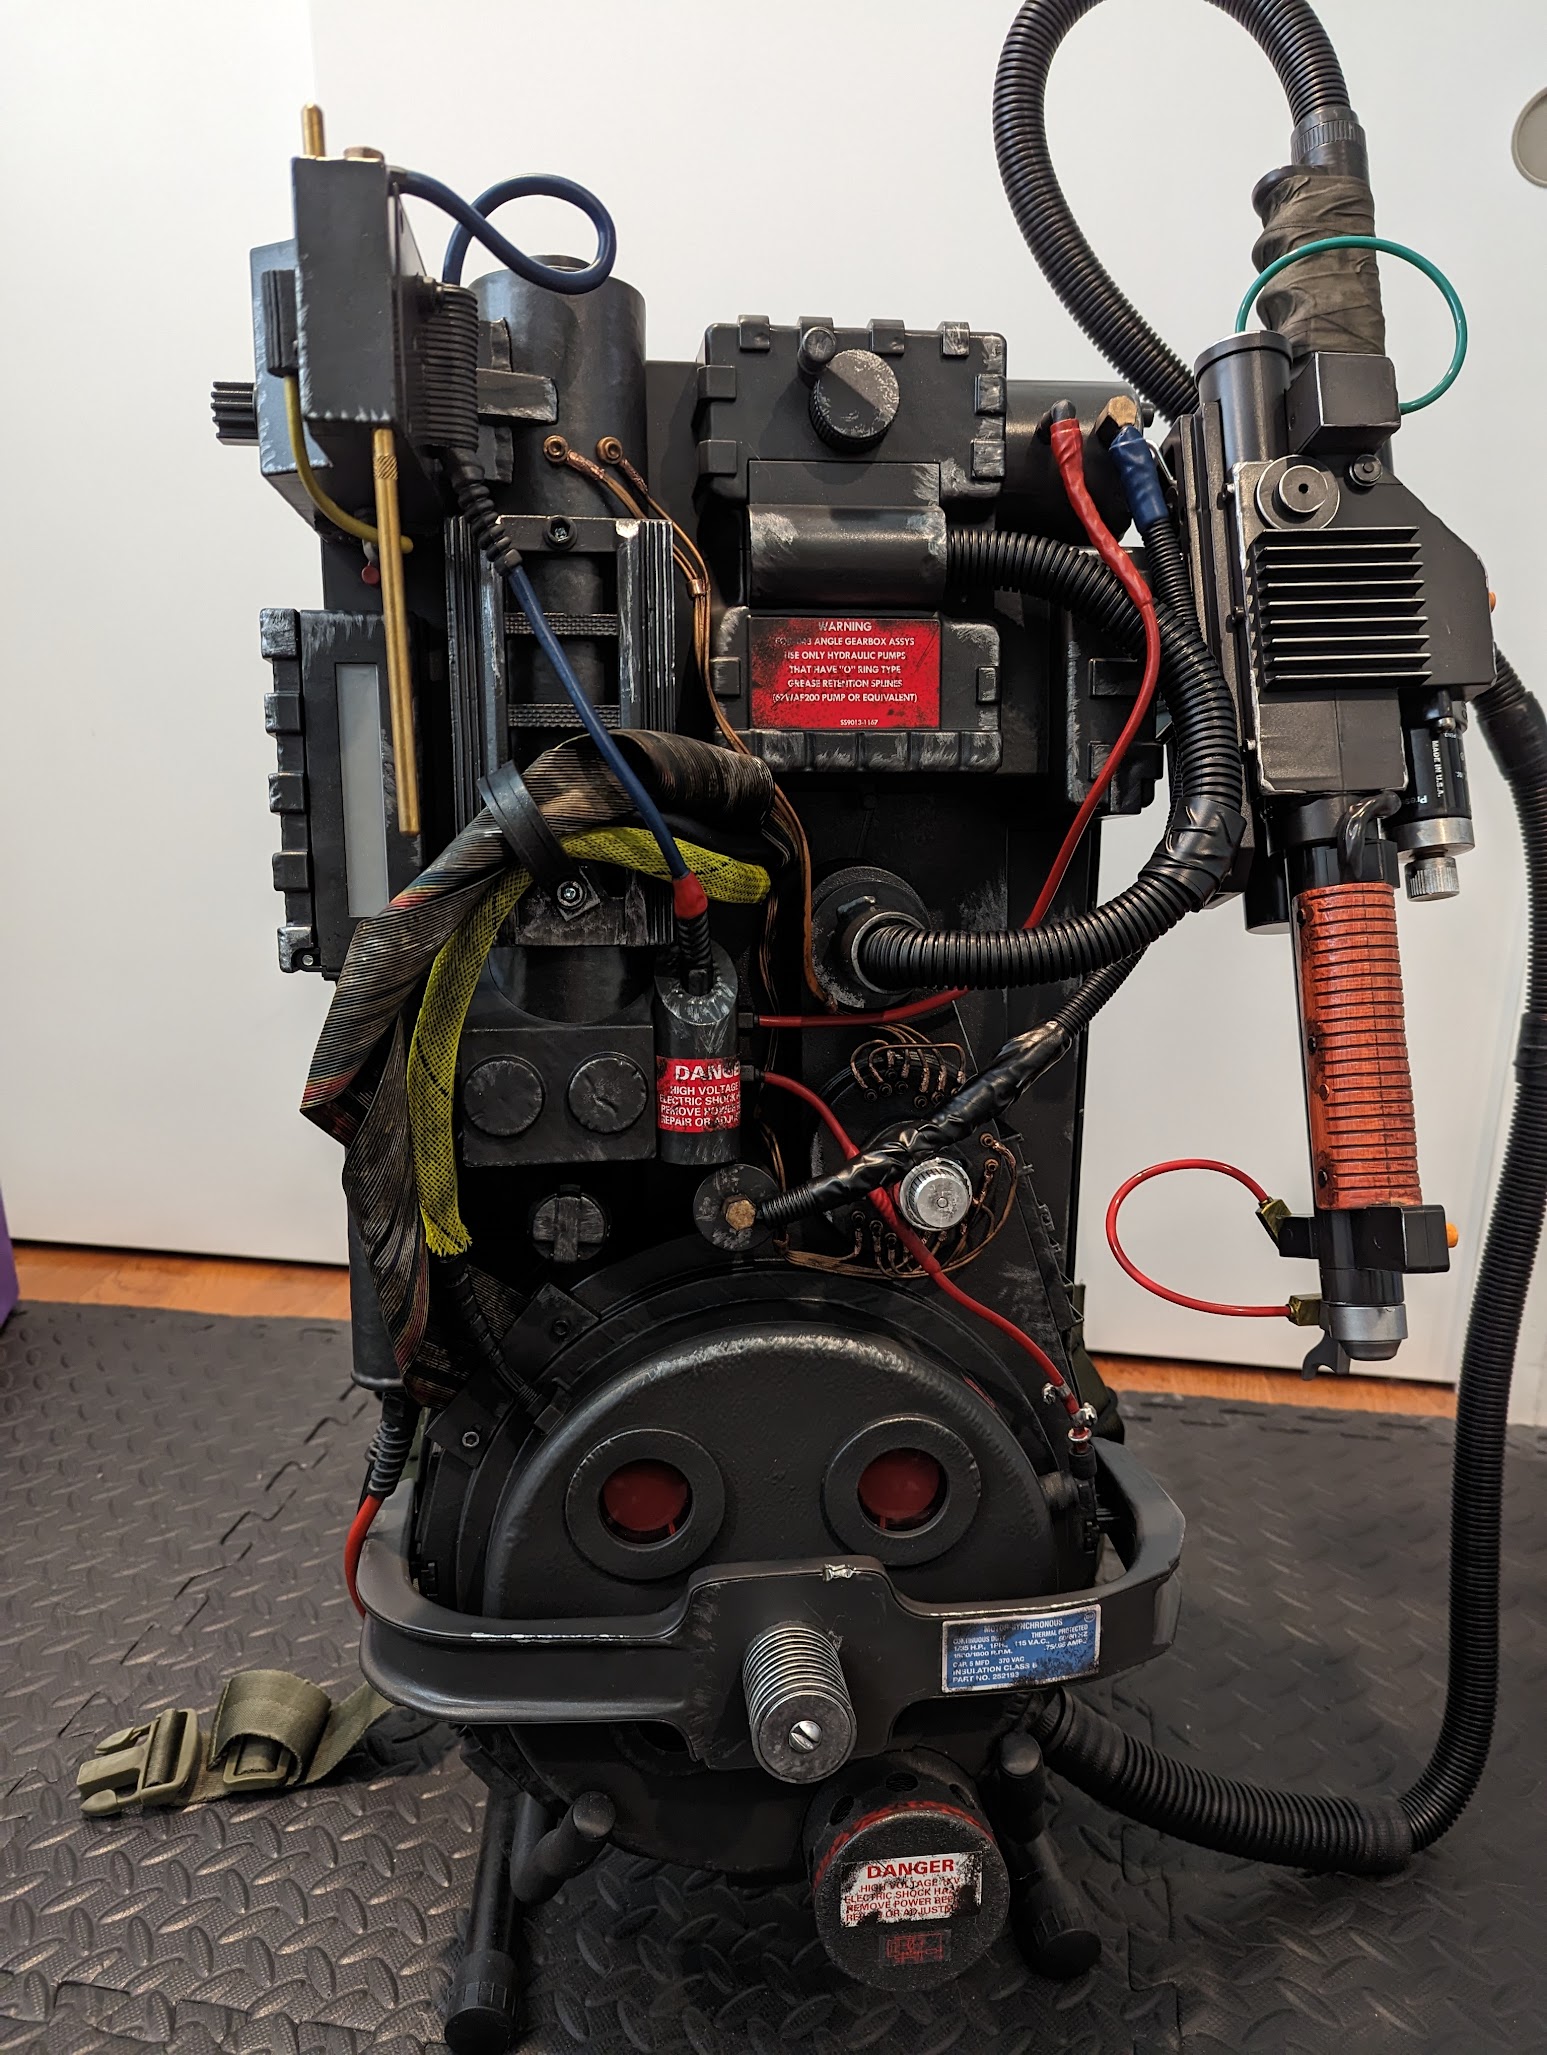
Made some quick mods already. Replaced the yellow sleeve like most mentioned. Also did the Adam Savage trick of applying some copper tape to the “copper parts” and reversed the twist in the ribbon cable to match the screen used one.
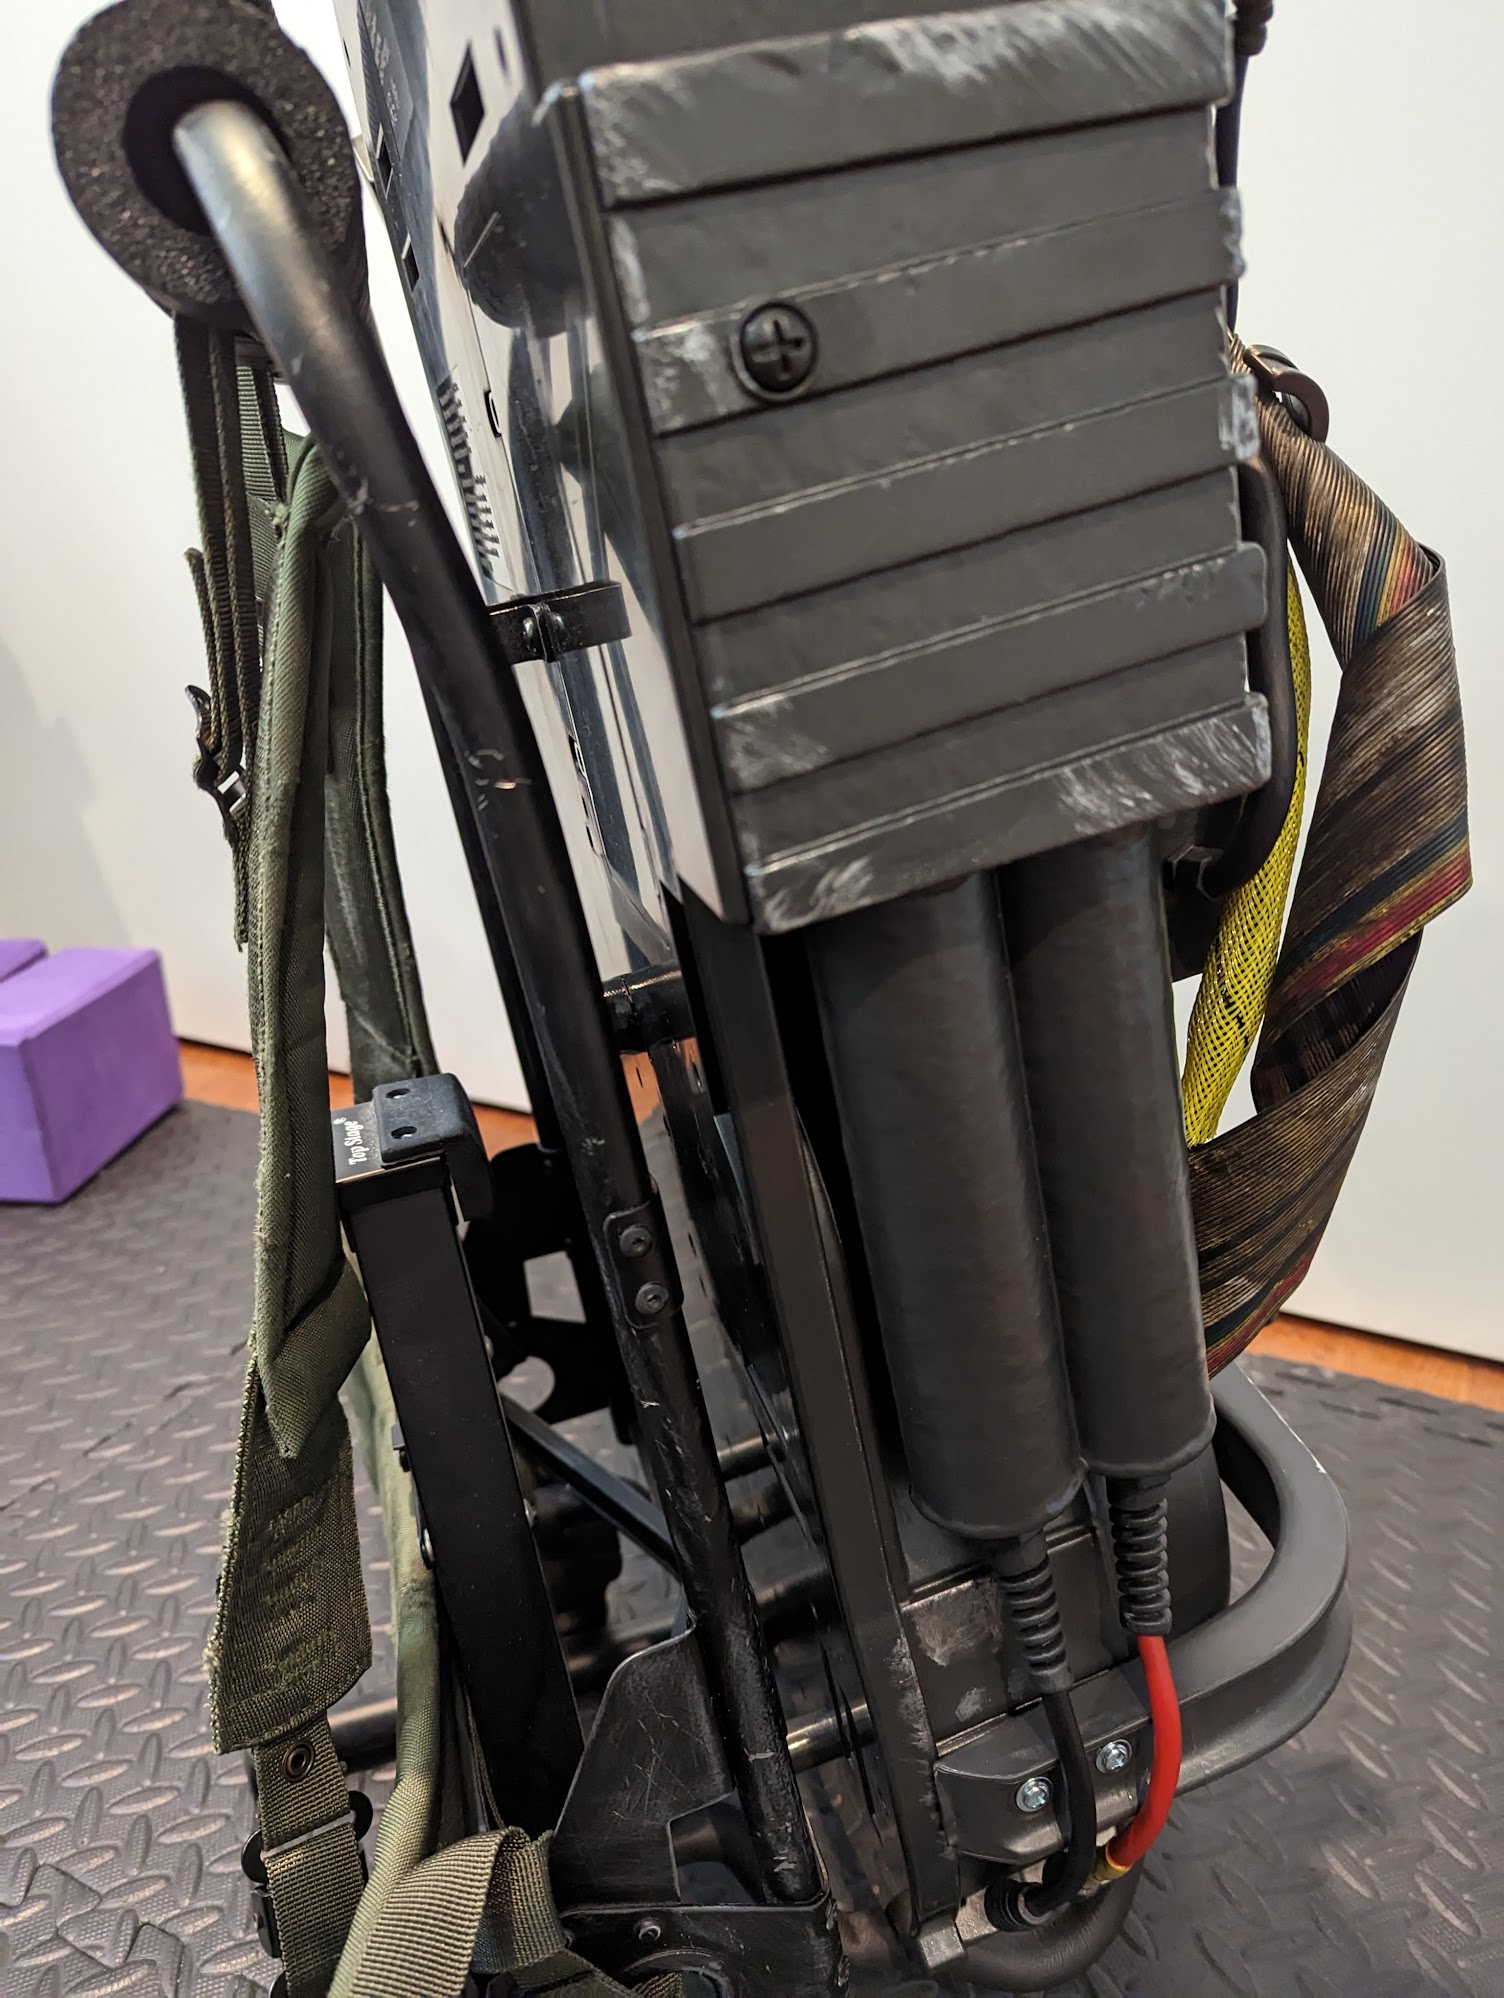
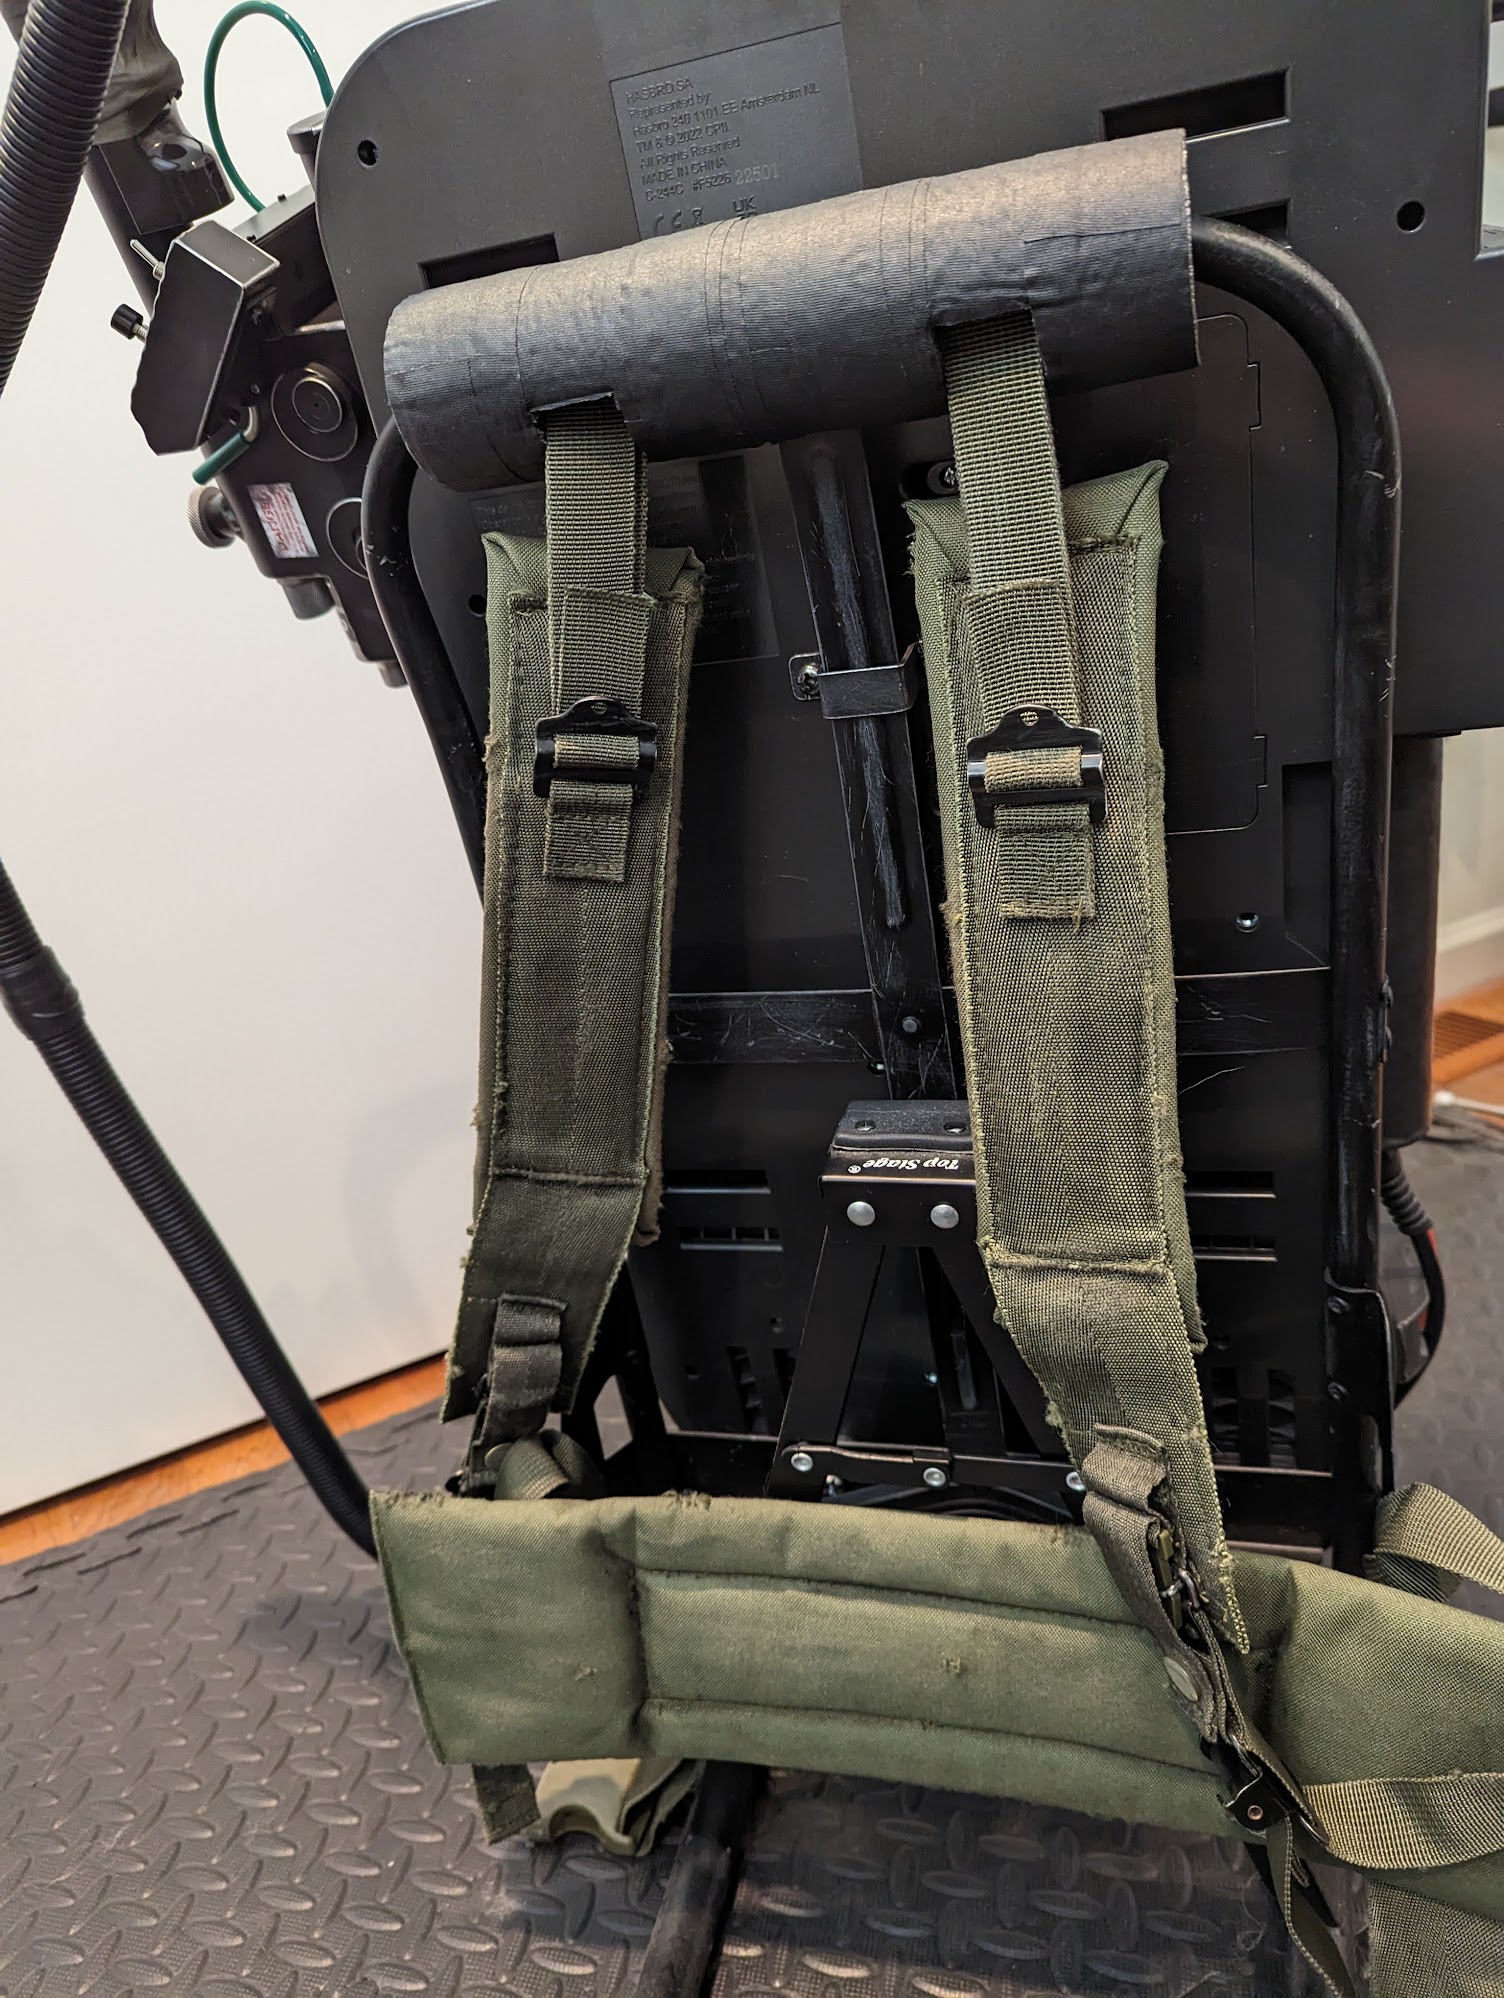
For the ALICE frame, I only used one of the brackets and the two main screws on the bottom. I made a spacer using some plastic caps that go on the end of furniture for hardwood floors and black duct tape. This allows me to attach the frame without that weird angle and having the neck pad squish against the back of the pack.
Only thing left I’m planning to do is apply the colored electrical tape and maybe replace the clippard valve with an R-331 I ordered.
Overall, SUPER happy with this purchase and hope everyone gets the same joy that I did!
Many more tips and tricks videos on this channel:
90% alcohol does not work on the pack (like it does on the wand)
-The stickers are easy to just peel off
Did you use a bracket that wasn’t intended for the top middle area in order to fit the spacer in?
The one listed in that topic is sold out or just doens’t show up on the website anymore, only the regular Neon Yellow withotu black strip.
I only used the tallest bracket they provided. I believe it’s supposed to towards the bottom middle of the pack but I used it on the very top. The height ends up being about the same as the two big screws and spacers on the bottom of the pack
Hope this helps!
And you feel the integrity is fine with less brackets?
Would be awesome to see more in detail pictures of every single attatching/supporting point
And my Hasbro Pulse app is asking me to update version, if not, it closes… Sadly In Canada there is no official app so i can’t update. I had to find an apkg on internet to install it manually. Anyone else in canada knows how to get the app in a legit way, or has the latest version?
Just login through a web browser.
The app crashes a lot – especially during peak usage events – and the website lets you search orders by keyword and updates delivery date more reliably.
The only real perk to the app is Selfie Series, which you can’t order from in Canada anyway.
Tracking info has not updated past Chino CA. I just want an idea of where it’s at on the map, FedEx.
Wow. So, after 3 days of no tracking… an update!
My pack is now arriving TODAY instead of tomorrow.
Way to let me know at 3:10 AM on a Friday that I need to stay close to home. Ha!
Thanks One time, but I meant the one on the pack end of the wand loom.
It’s definitely a separate piece and I think it’s only attached at the connector end (there is some movement/stretch of the loom within). I’ve given it a decent pull and it won’t shift, I suspect it’ll need cutting to get it off - but can’t tell if this will expose anything ‘bad’. Hoping someone else has already taken the plunge lol
Yes I’ve removed it. You need to remove the cyclotron innards then take all the screws off the back (two go into the sticky out tube things in the middle). There are about 15 screws to remove.
Then once inside the ribbon cable and two loom things (one sheathed, one without) are screwed into the same 3-hole retainer. Remove all cables from that, and re-turn the ribbon cable in the right direction and refit to the retainer.
Worth doing all this before you then remove the old straps and put the frame on .
2 of the 3 packs arrived and my lord is it a beaut!!!
The photos and videos you have seen so far do not do this thing justice. I have my own scratch built pack, and my girlfriend has a fully modded and custom Spirit pack, and we are in awe of the HasLab one!
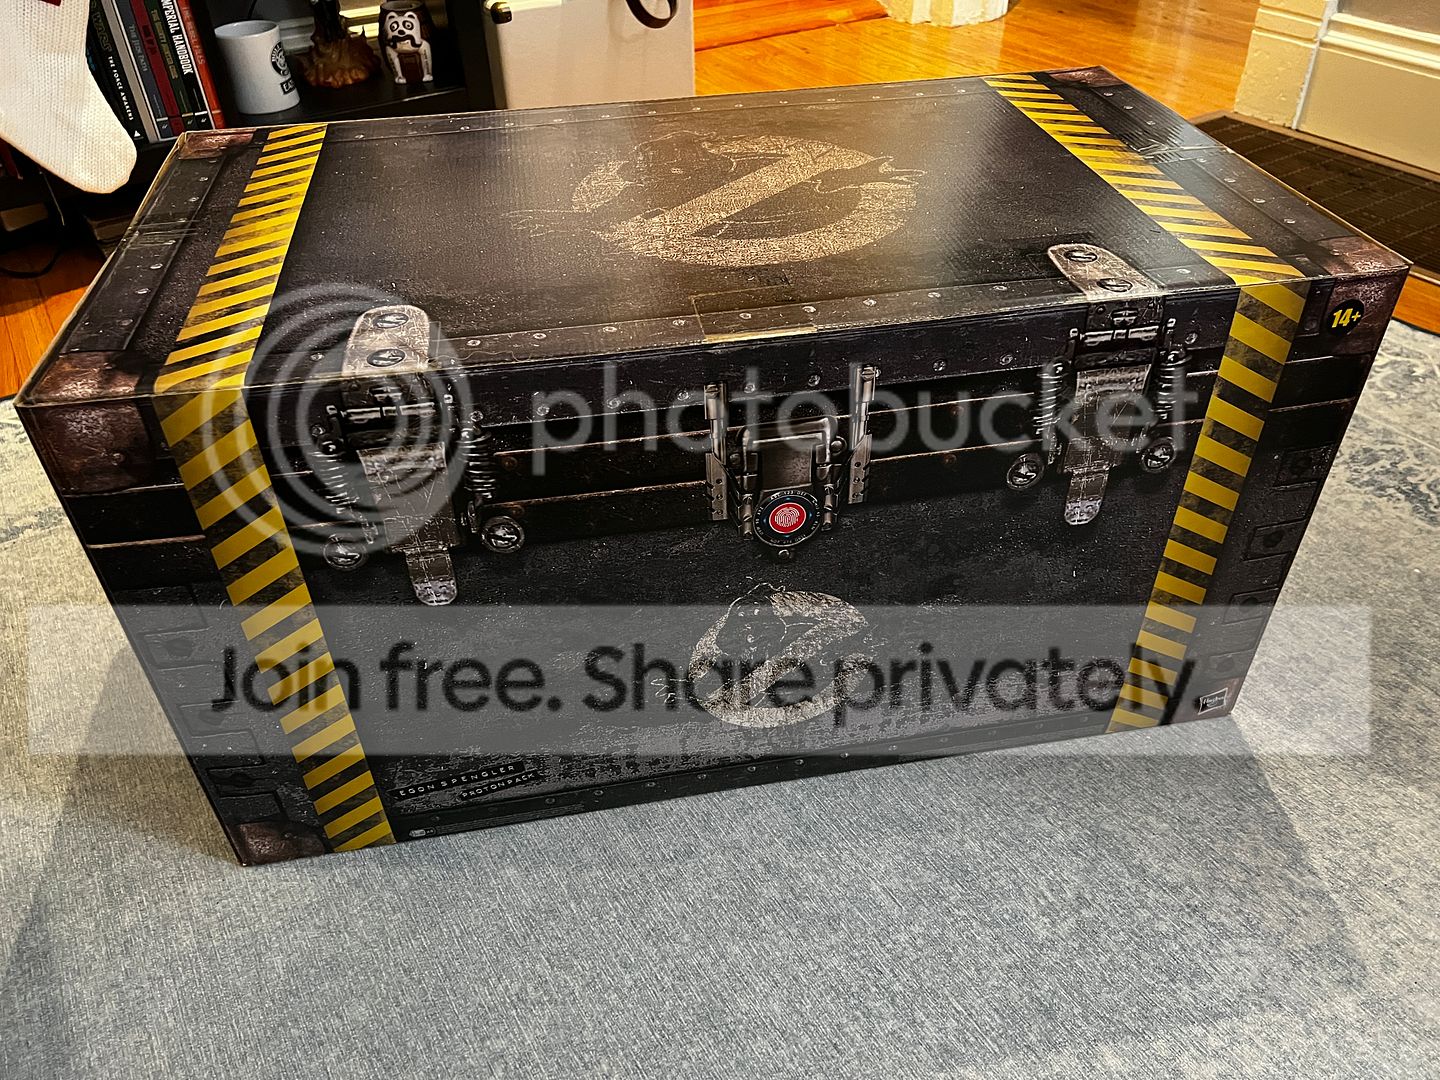
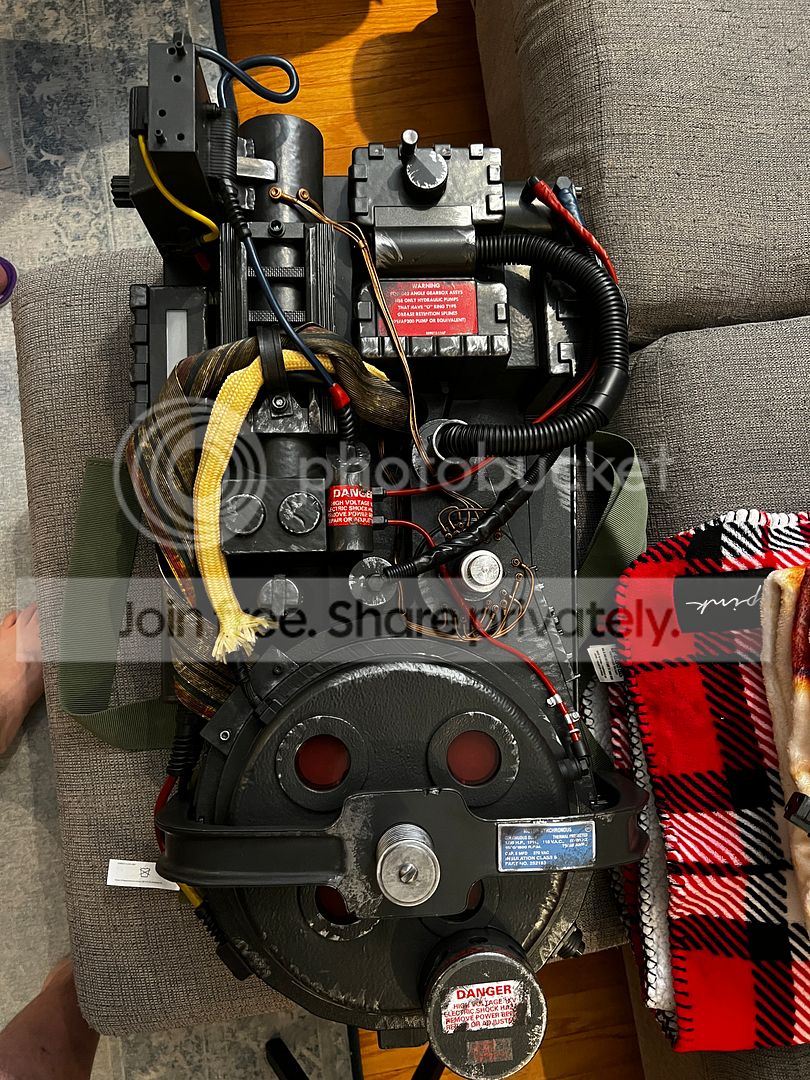
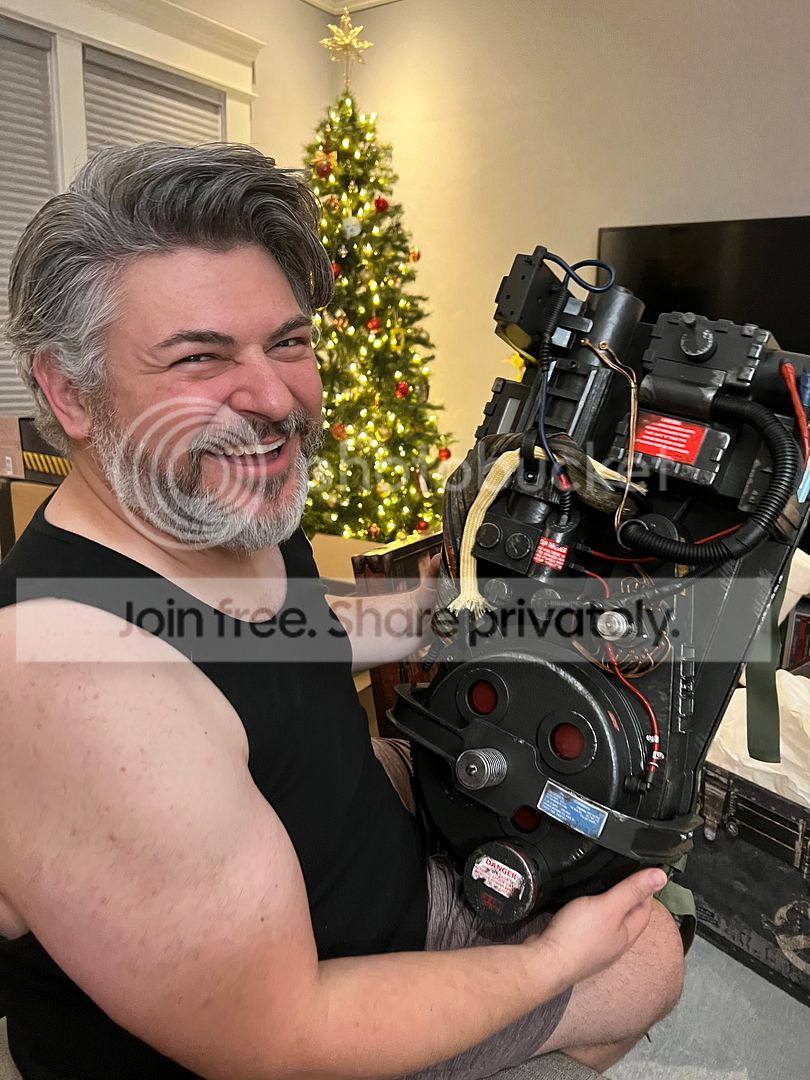
(In case you were wondering what pure joy looks like…)