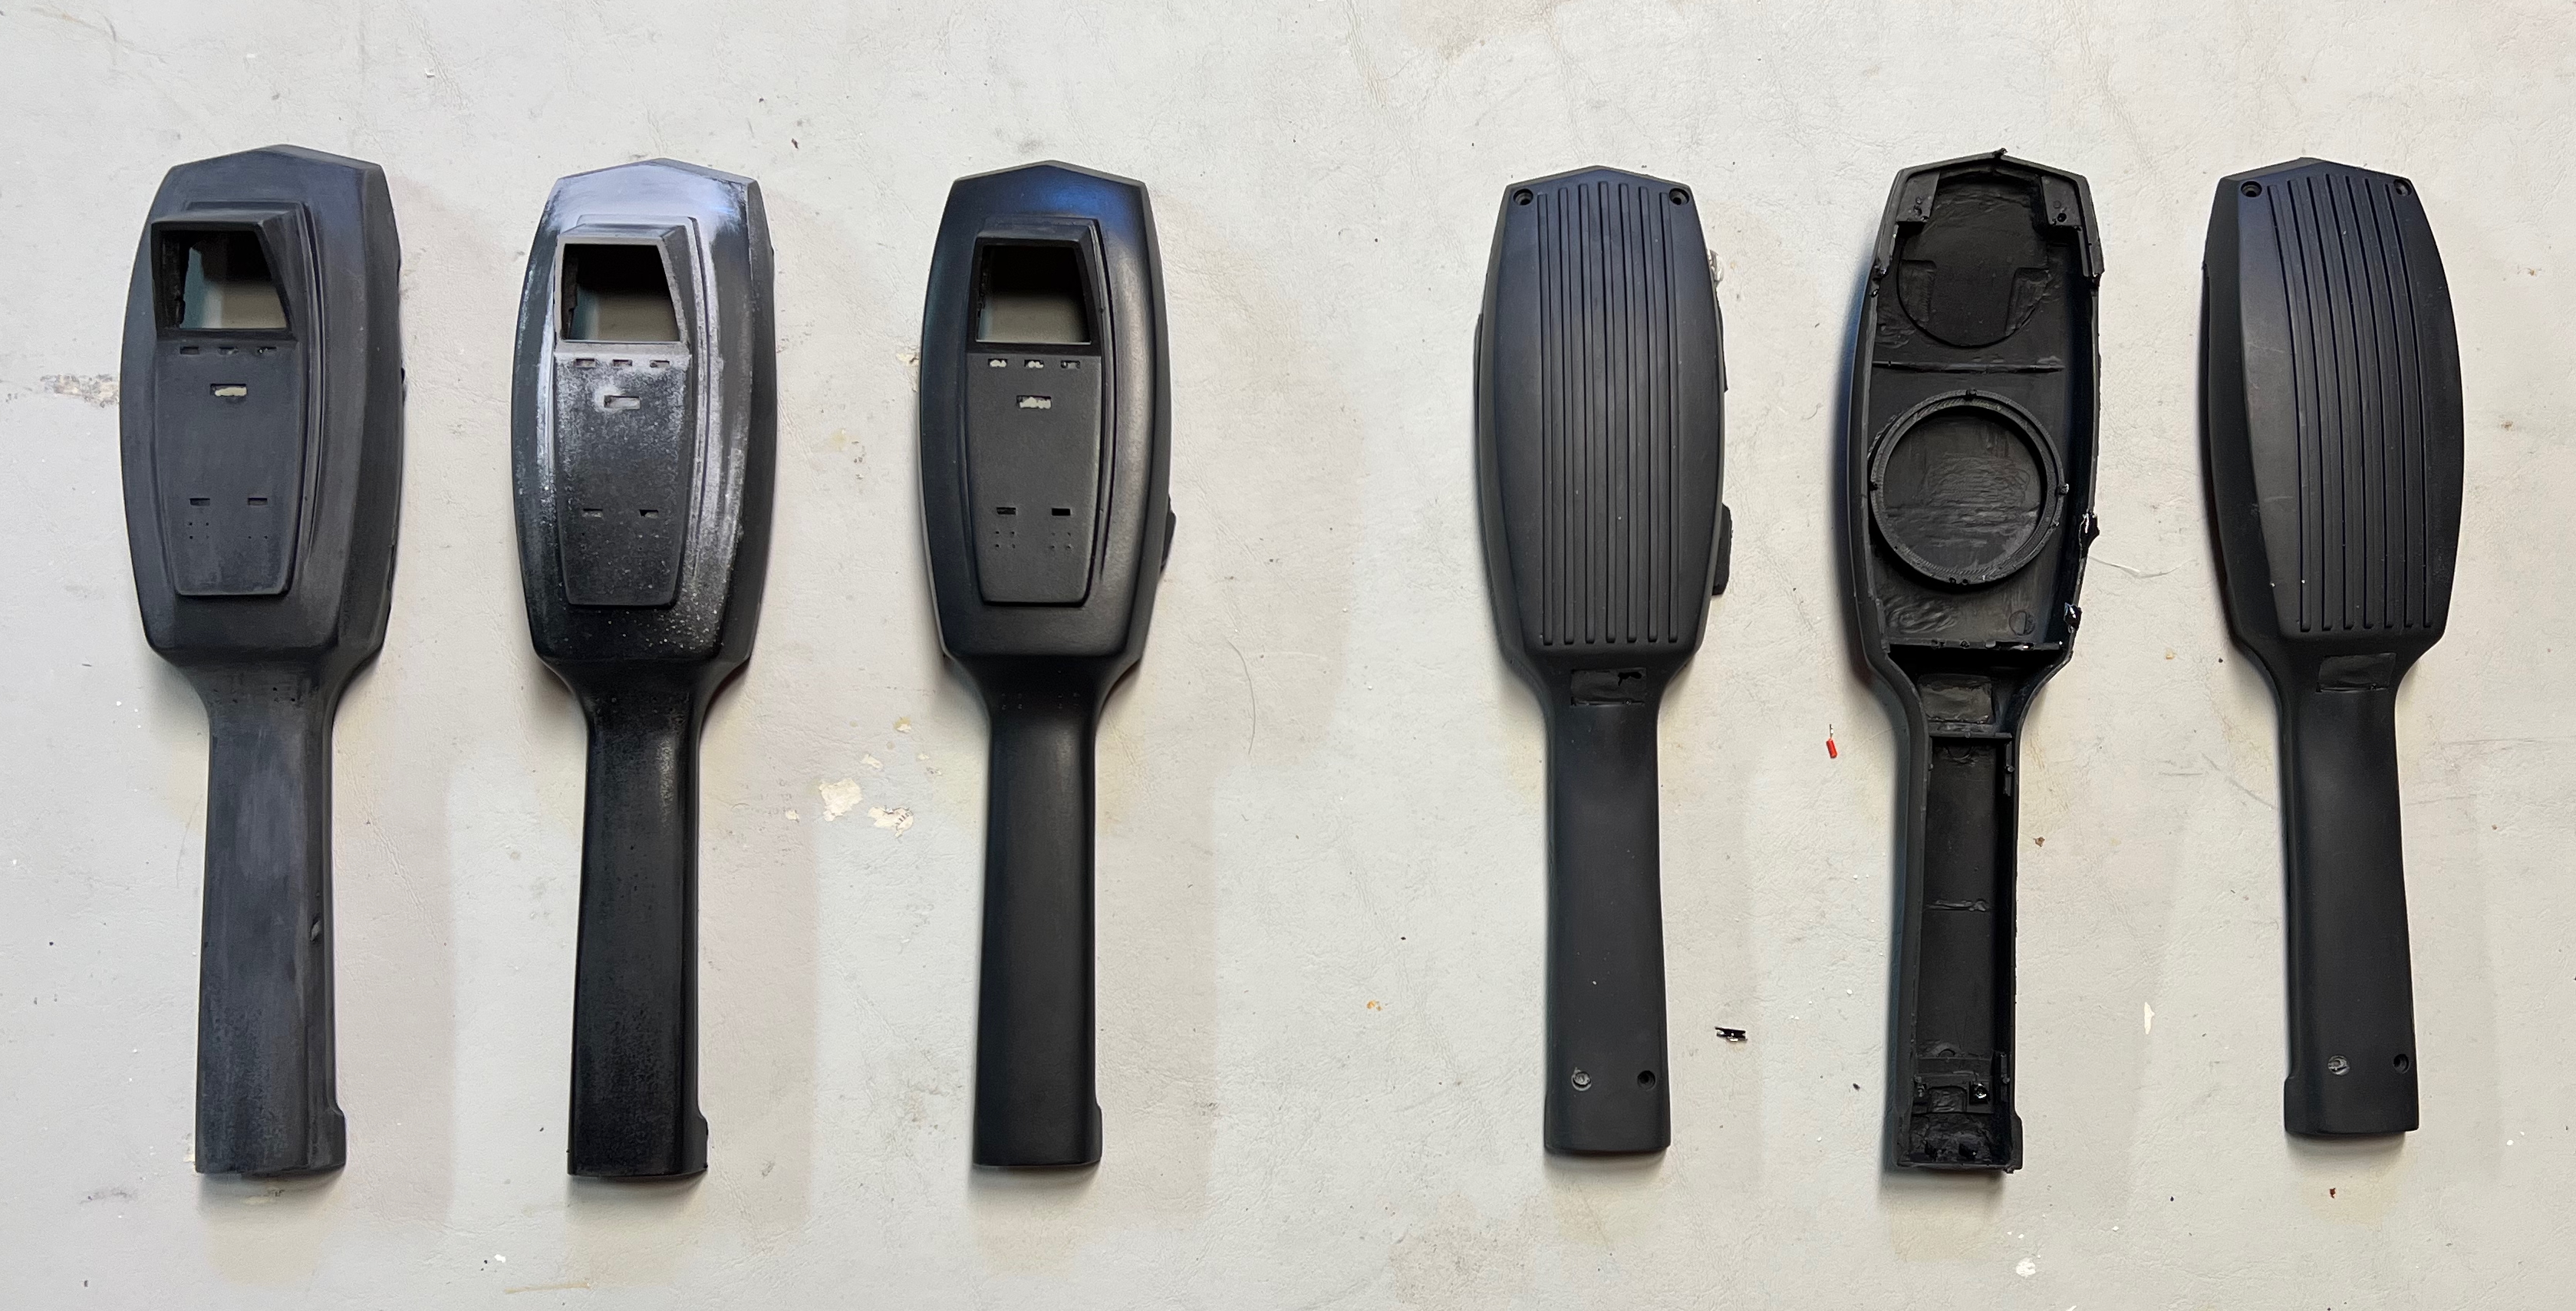
PKE meter kits?

I know there’s requirements to be met and you need to develop a working model before considering sale…but I’d almost certainly buy one just to support the project if nothing else!

I’ll be keeping an eye on this project. Out of curioisity, have you ever considered tackling the other great handheld prop that requires extensive electronic work! (Giga!)

Hi Shawn, you can certainly count me in too if you’ll ever decide to sell a kit, whenever you’ll think the prototype is solid.

I’ve followed your thread in 2018 and I loved it. There’s definetely a great interest in an accurate PKE Meter and if someone can pull this off, it’s you :slight_smile:

I am also interested in a kit and would be available to help with anything you need as well.

You can also count me in for a kit. Day 1 purchase!

Good to know, thanks. I’m still around but haven’t made much progress in the last six months. 2020 sapped a lot of my creative energy (big surprise), but I hope to make a push on designing the arms in the next few weeks.

I also need to buy a supporting membership here soon so I can officially discuss this.

Cheers!

I’m desperate to see these kits come to fruition so looki forward to seeing progress and any help I can offer

Count me in I would purchase 1 or 2 of these at least

Hi Shawn! I’m super interested as well. Did these kits happen? Building an Afterlife replica.

Between my business and pandemic malaise I haven’t made much progress on finishing my PKE meter and possible kits, but I hope to make a push this spring and summer and get it done. That said, my PKE will be the version from the 1984 and 1989 movies. The Afterlife version is very different, not just in the “ghost taser” additions but in the overall shape and bulk of the shell. It looks closer to the Matty prop than the original, slimmer, Iona-based version.

Hey there. I’ve had an Iona polisher for almost a decade… about time I do something with it. Following this. I’m really only looking for an electronic kit as I’d rather fab everything else myself.

Hey, Shawn. Am wondering if you made any more progress on this in the last couple years.

I also was wondering this.

Thanks for being patient. I have made progress, but, of course, it’s been slow. I bought a new batch of silicone late last summer in preparation of making new molds for the final shell, but weather and work weren’t cooperative.

The PJRC Teensy 3.2 Arduino microcontroller on which my Mk I version of this prop ran is no longer in production. This gave me the opportunity to rework and upgrade a bunch of stuff to produce a better prop.

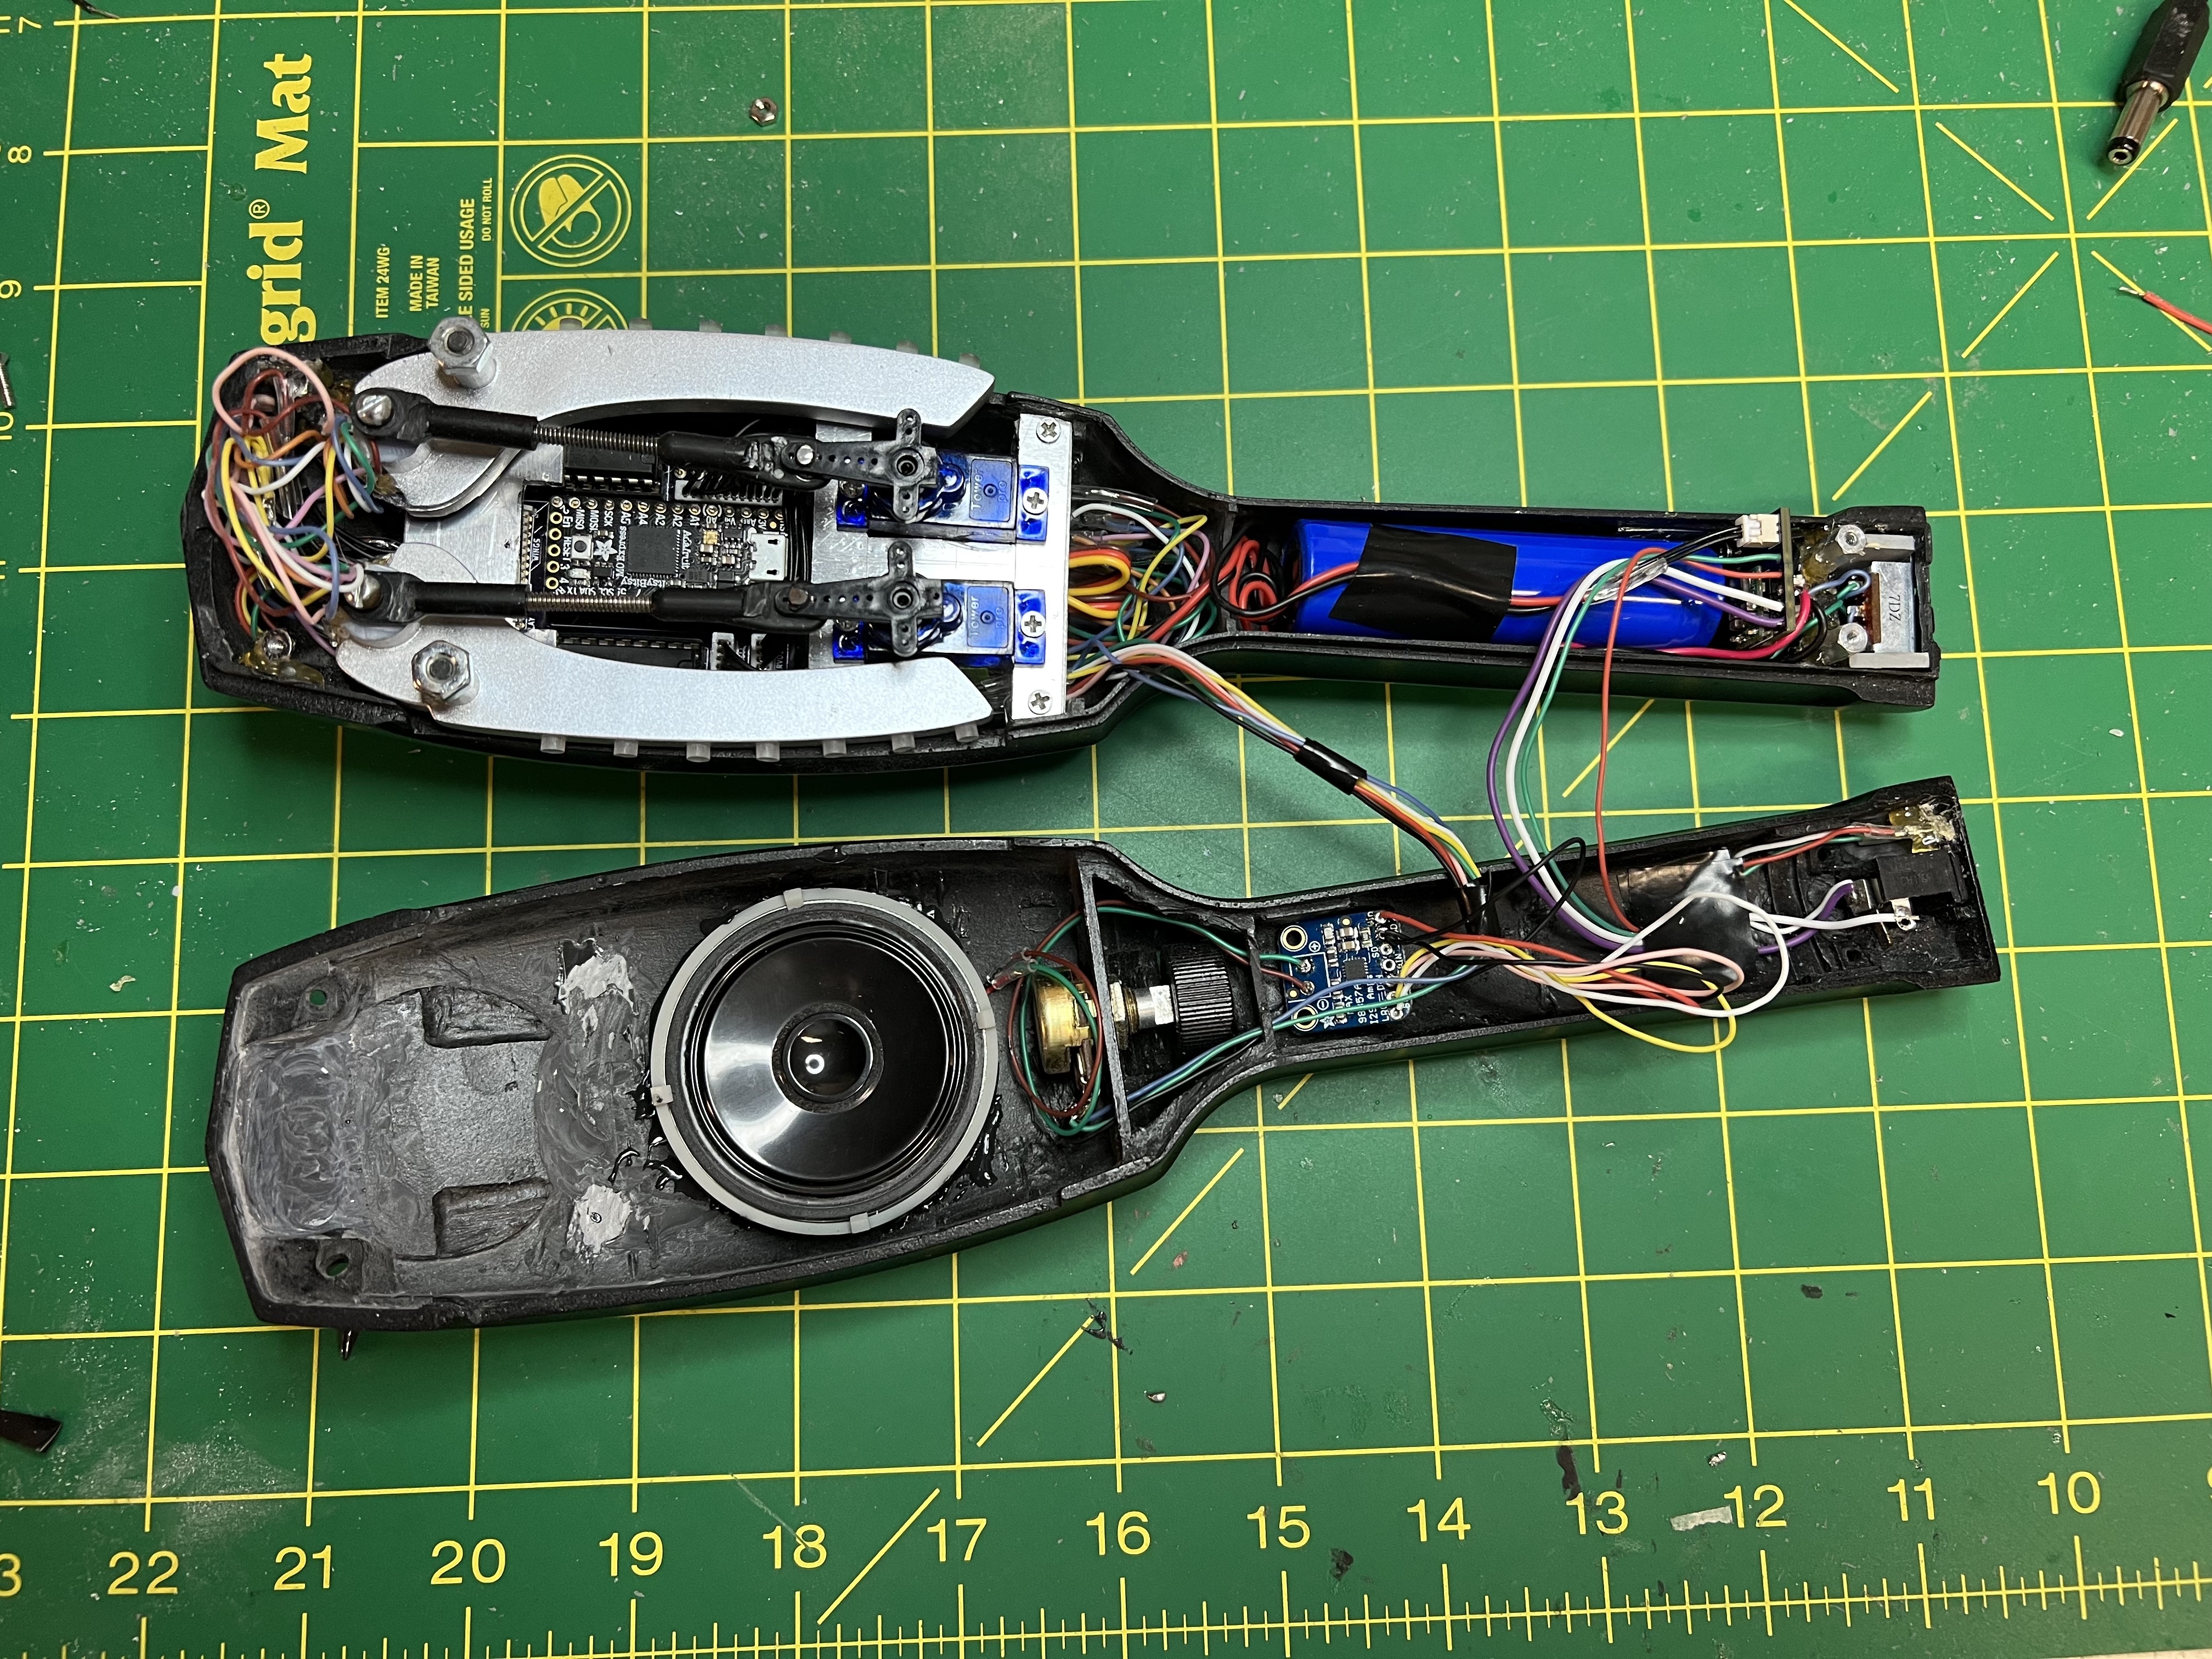
I replaced the Teensy 3.2 with an Adafruit Itsy Bitsy M0 Express. Patrick Benton did the coding again but this time using Circuit Python; it was a struggle getting everything to fit in its paltry 32 KB of RAM.

I replaced the five 1.2V 2/3 C cell NiMH batteries with a single 3.7V 2200 mAh Lithium Ion battery that can just live in the handle, leaving space for a much bigger speaker in the main shell. I’m using a small Adafruit LiIon charger board to manage the charging (the NiMHs required an outboard charger).

A 3W Class D I2S amplifier board from Adafruit drives the 5 cm speaker. It’s much louder than my Mk I prop.

I’ve switched to micro servos that also free up more space (though they’re somewhat noisy).

By incorporating two shift registers into the circuit I can change the chase pattern on the wings from the GB1 pattern to GB2 with the touch of one of the touchswitches.

This Itsy Bitsy has built-in capacitive touchswitches, whereas I had to incorporate extra components for resistive touchswitches in the Mk 1. These capacitive ones seem to be working reliably. With the old resistive touchswitches if you got caught in the rain, or even a light sprinkle, it would trigger the arms and you couldn’t home them until you dried off the unit.

I designed in KiCad and had OSHPark fabricate a new main PCB along with a smaller board that combined the LiIon charger board and a Polulu boost converter to regulate and increase the battery voltage from 3.7V to 5V. This also includes a circuit to drive a charge status LED in the handle that glows red when charging and green when complete.

I modeled and 3D resin printed a thing to hold the speaker, for now just epoxied into the shell. Perhaps I’ll mold that into the master before making the molds.

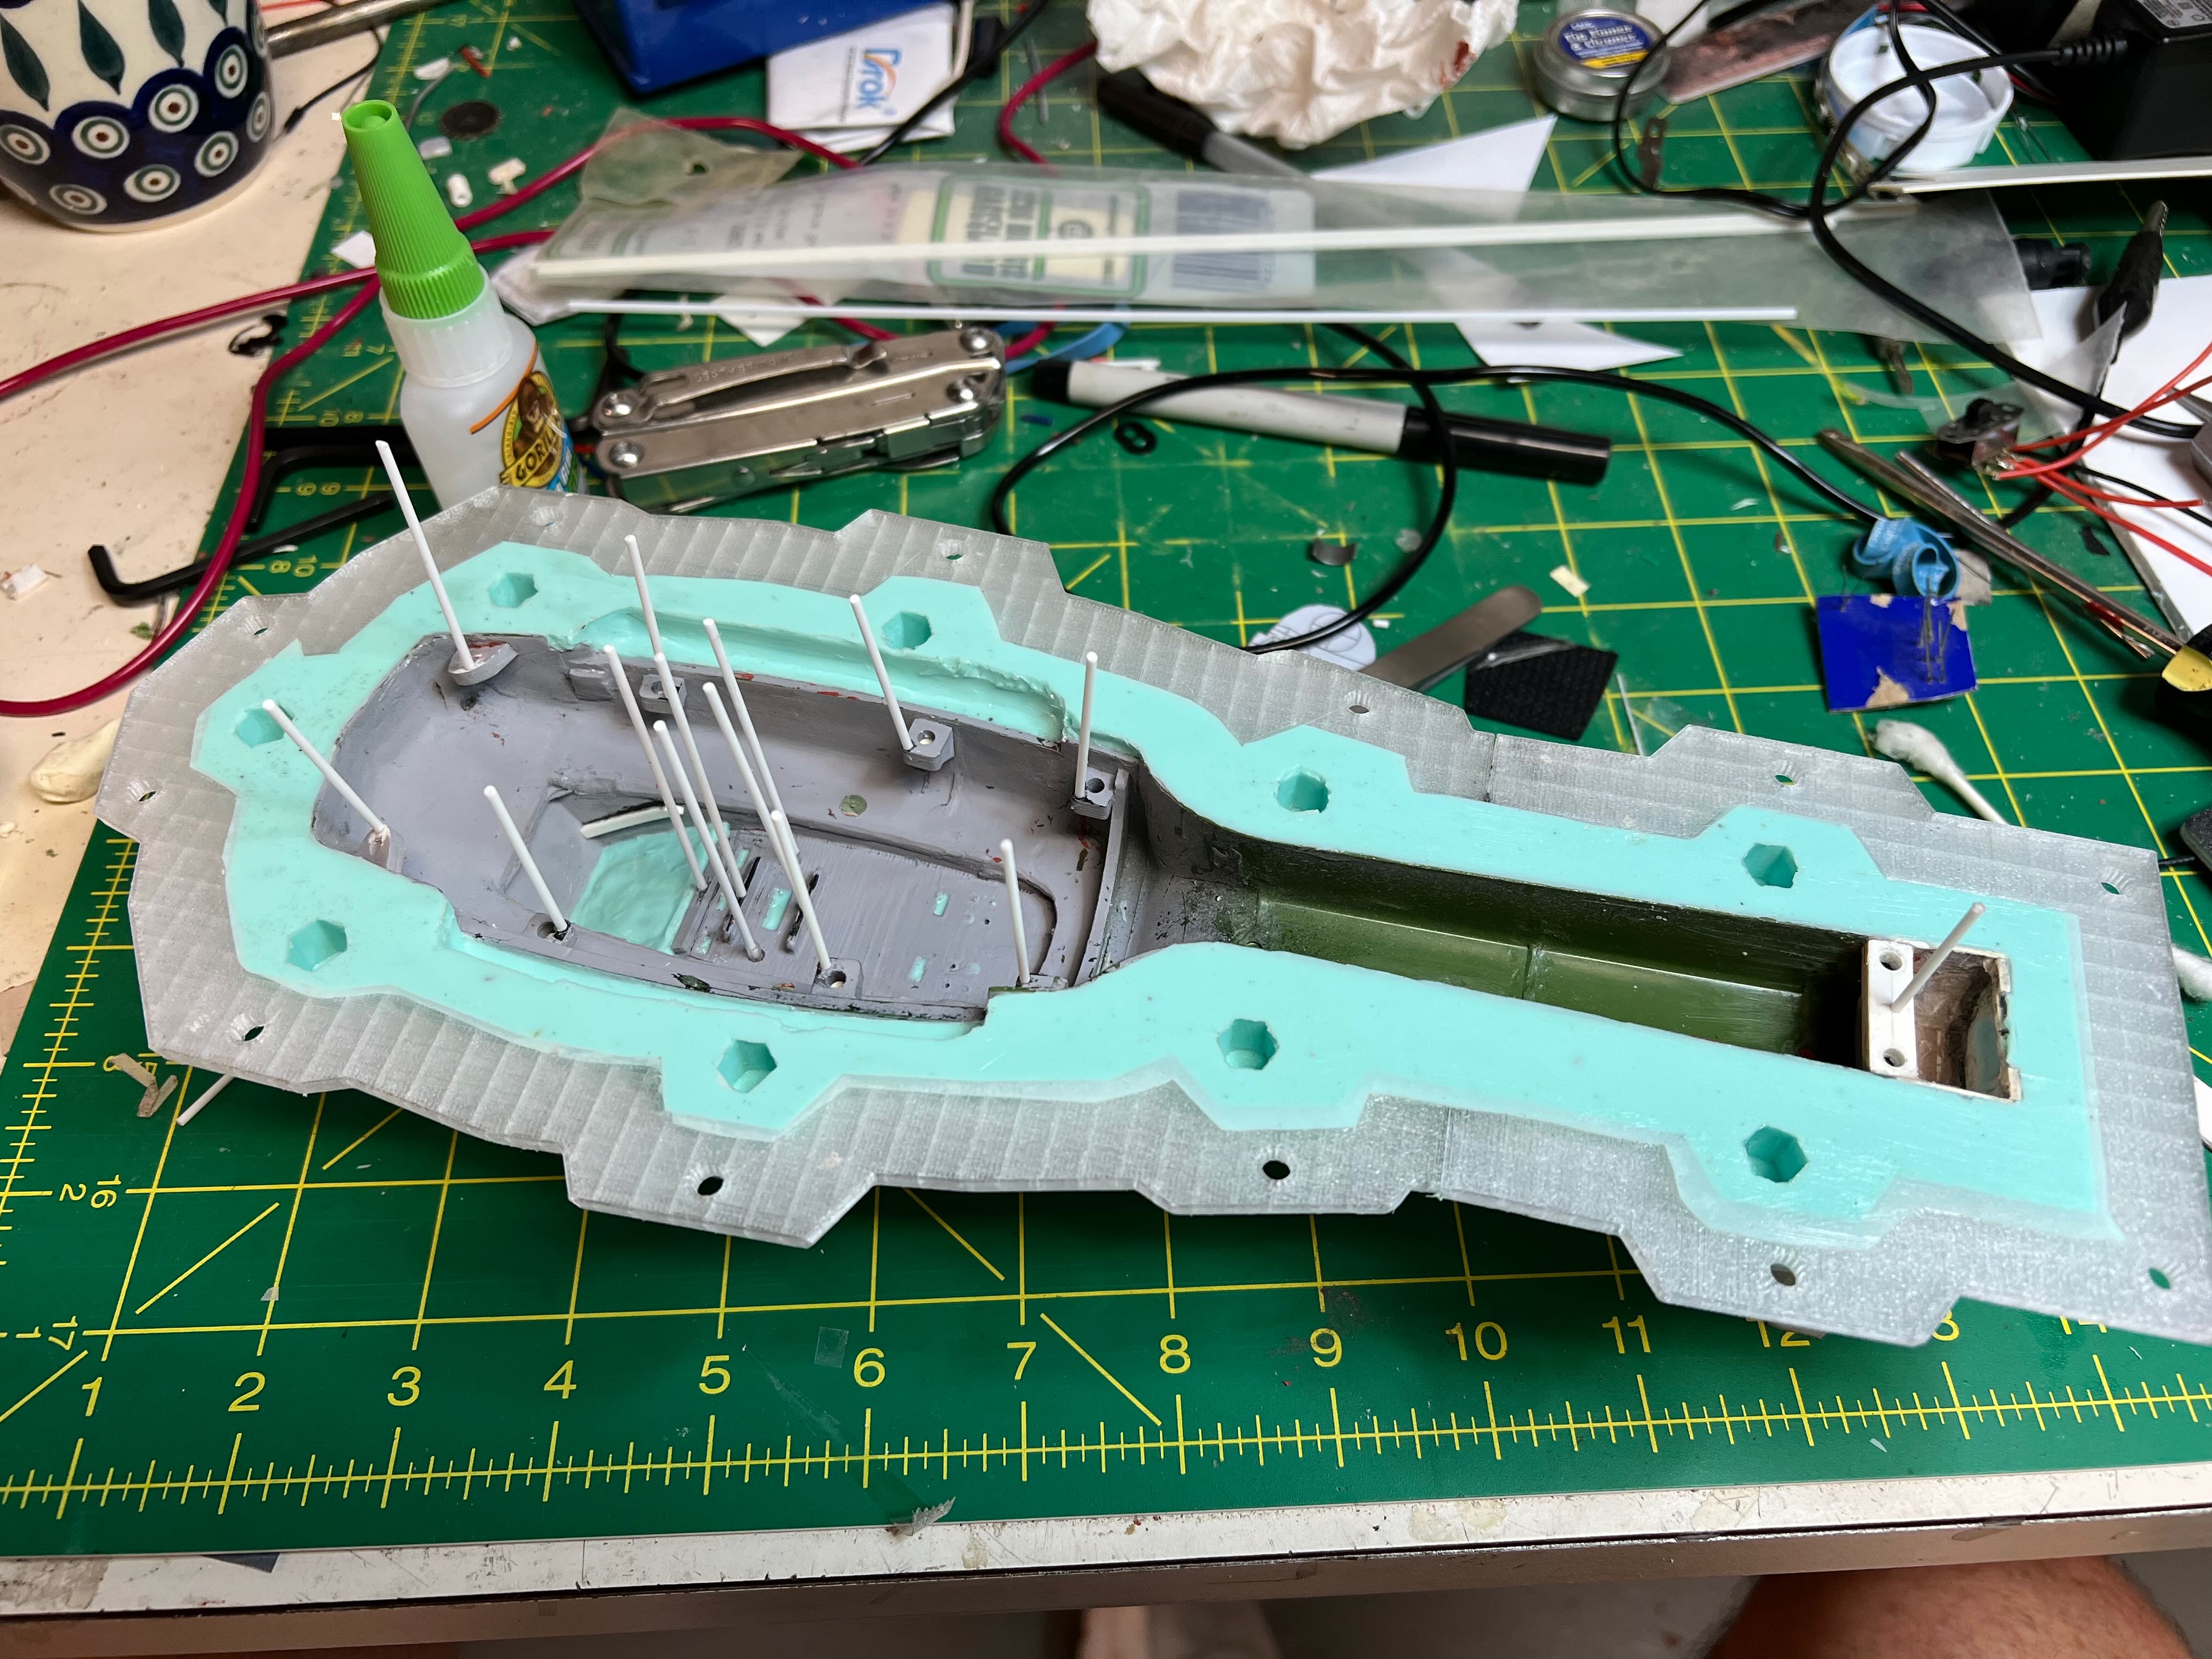
I’m looking to make some tweaks to my Iona buck at which point I’ll make new silicone molds to crank out more resin shells. The main issue is the display “hood” is just a TINY bit asymmetrical on my buck/master. My plan is to model and 3D print one, but SLA UV resin doesn’t play nice with platinum-cure silicone, so I’ll have to jump through a bunch of hoops to graft a new display piece to my master and pull clean molds.

I’ve taken this Mark II to multiple cons and events since September, 2023, and it’s behaved perfectly. I’m hoping that as the weather gets nicer for molding, casting, and 3D printing I get start making kits.

Cheers.

Hey there, Shawn! Hope you’re doing well. Figured I’d reach out and see how things are going with this PKE kit you’ve been working on for a while now.

Have a great one–the progress pics in this thread have been quite tantalizing!

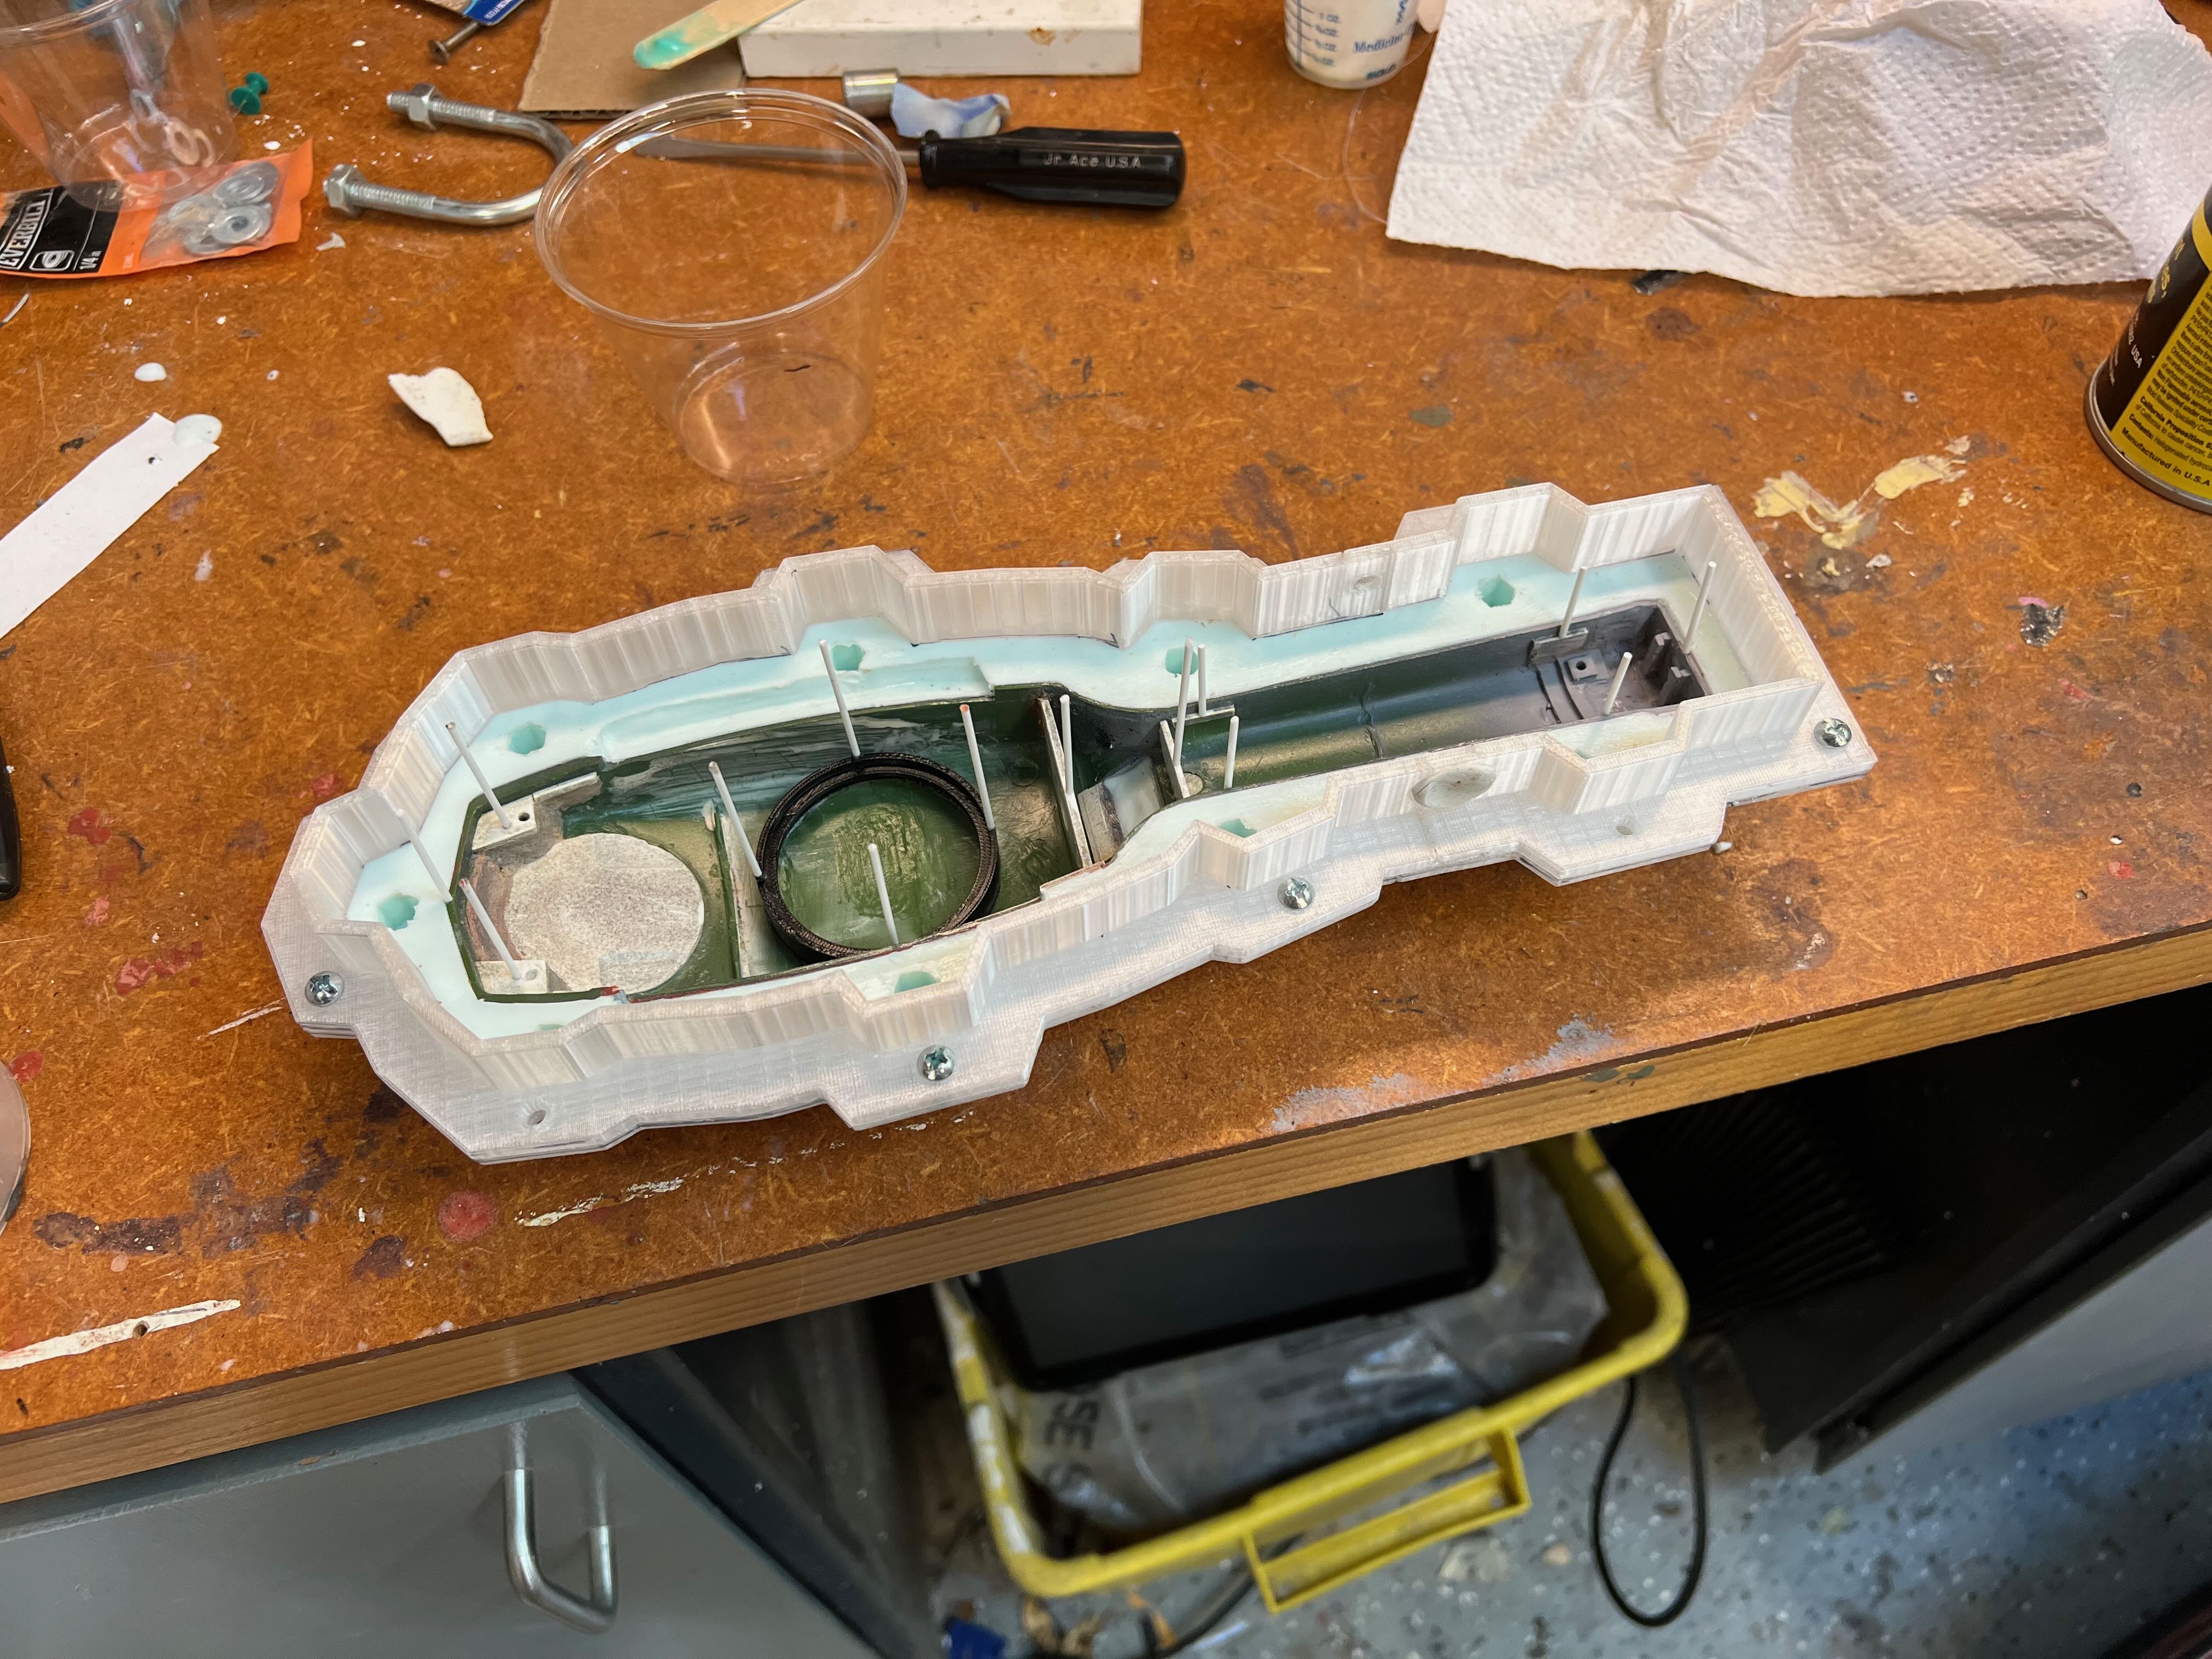
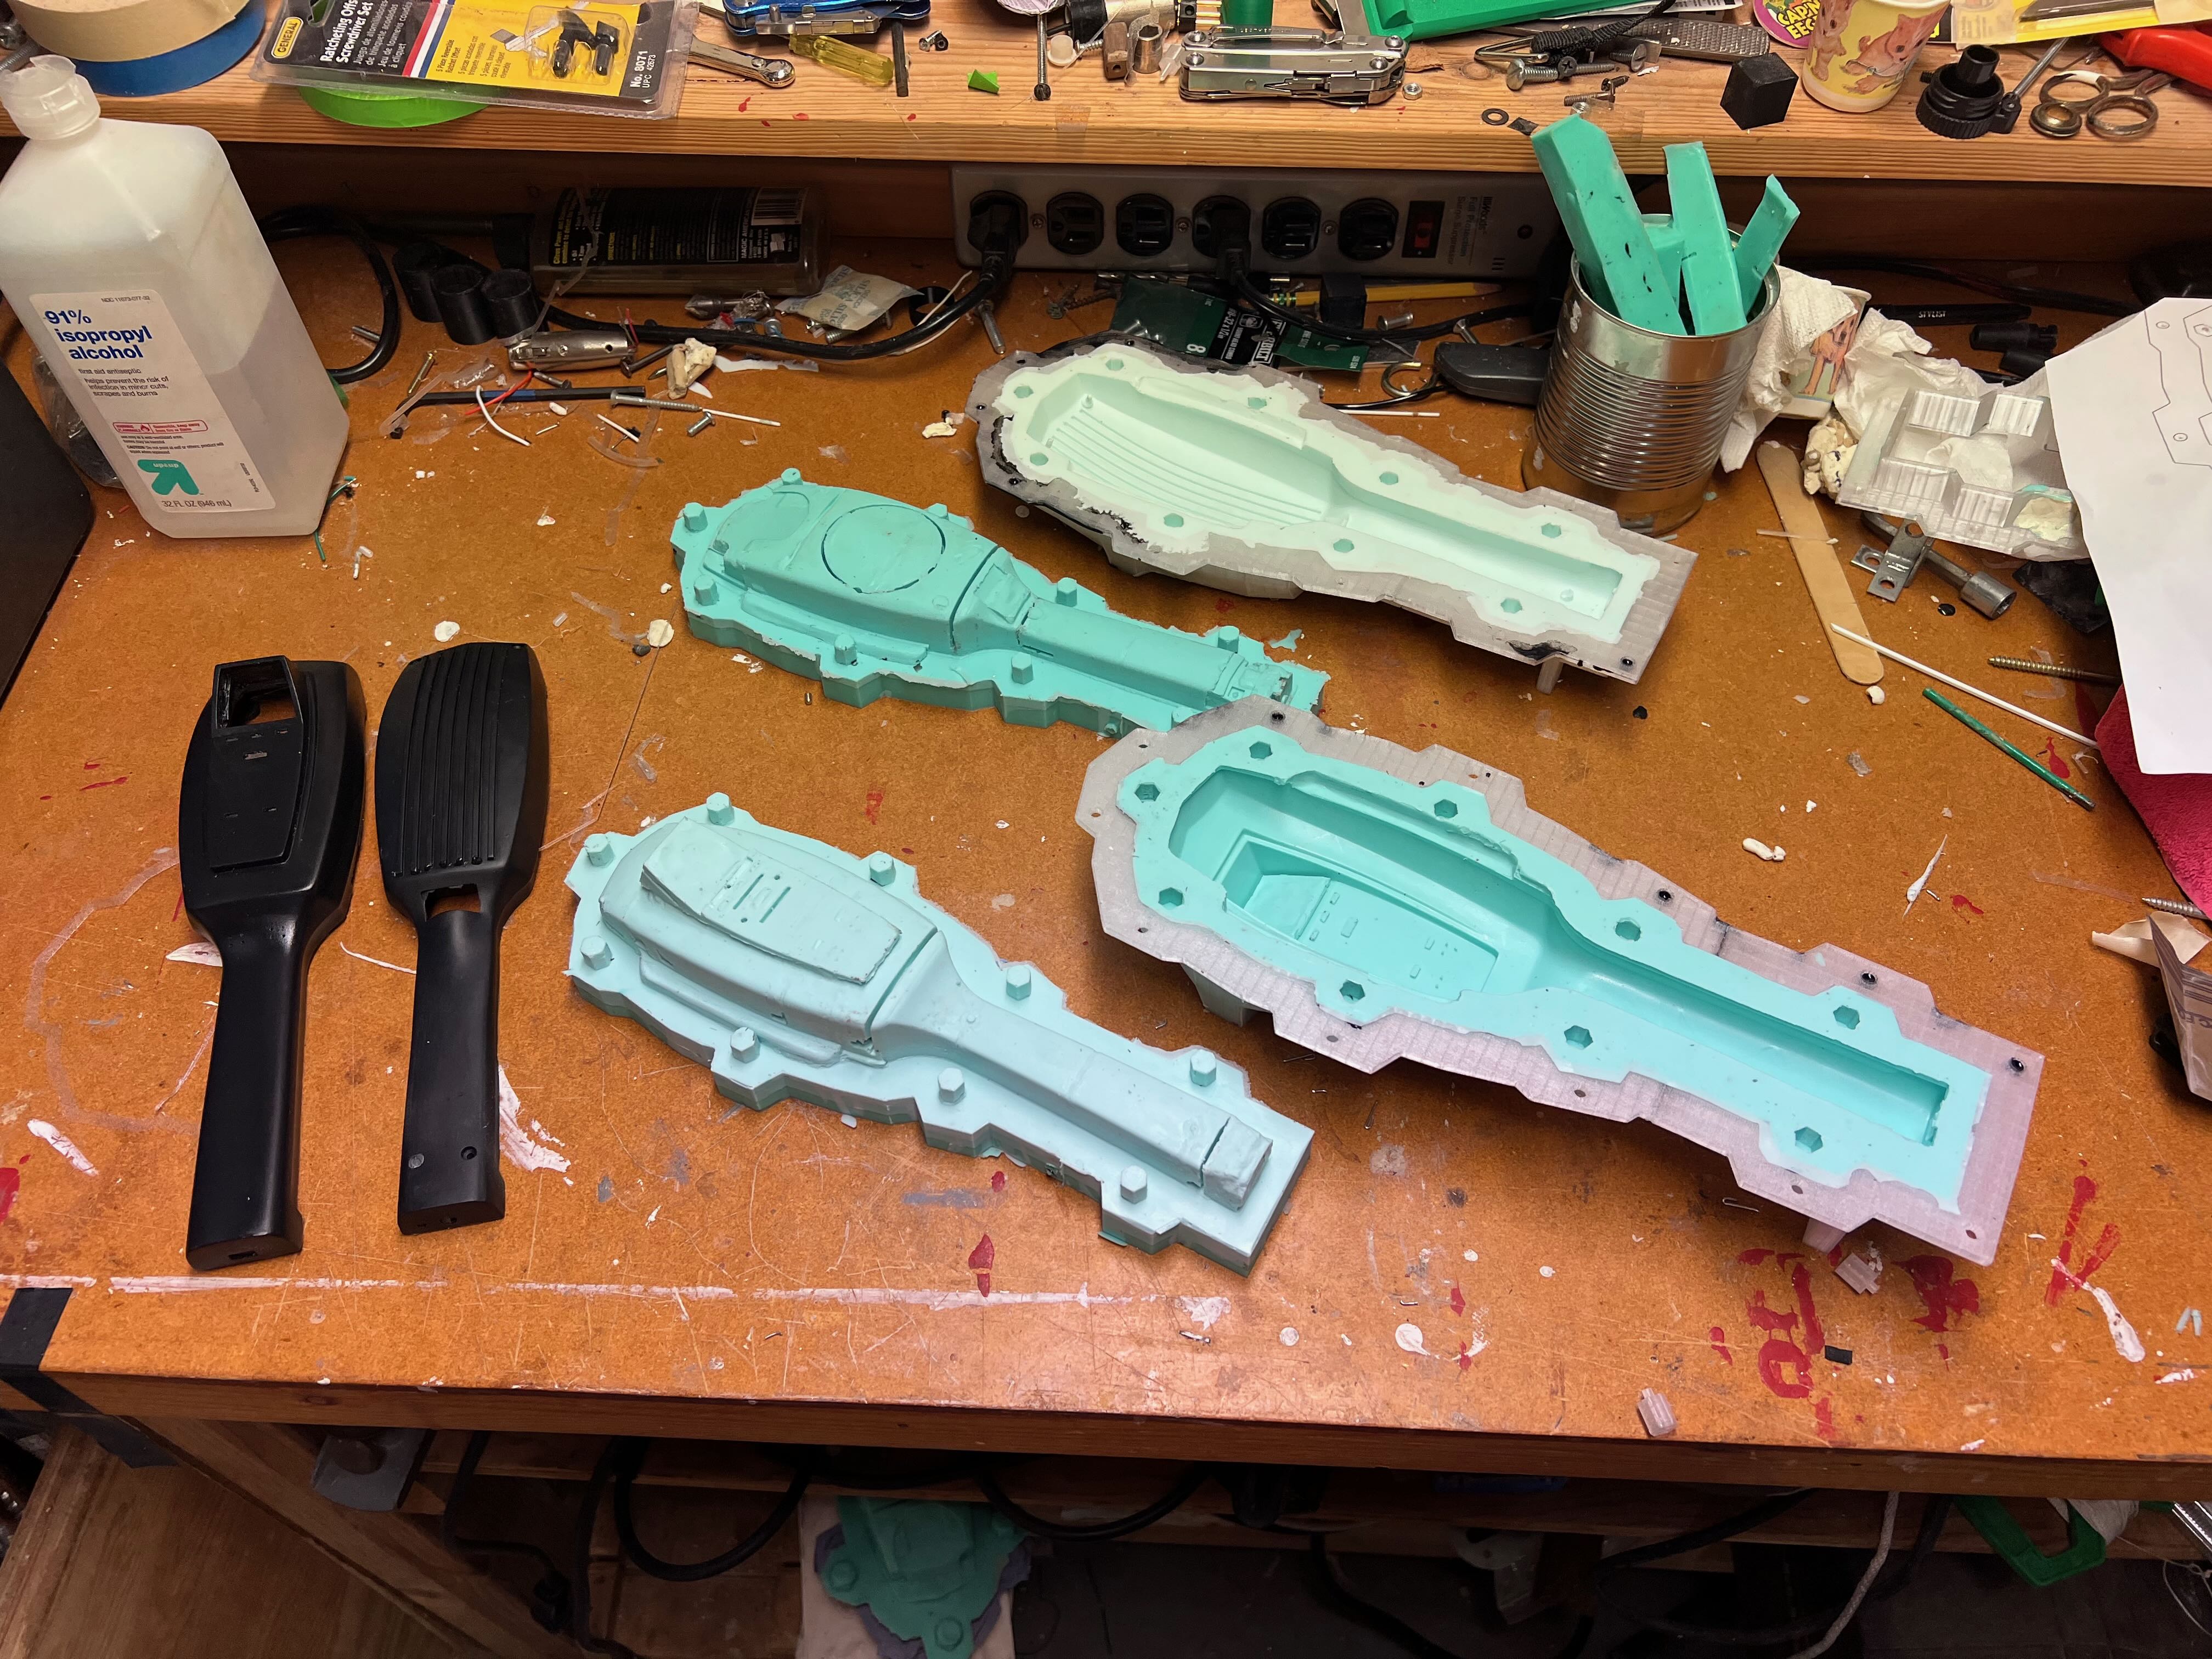
I had a good burst of progress last fall, creating new molds that give me a much better yield on resin casts. The display hood (that I originally fabricated from sheet styrene) was a fraction of a millimeter asymmetrical, so I modeled a new one in Cinema 4D, incorporating some new reference material. I printed out the model on my Bambu P1S, cleaned it up, and attached it to my Iona buck. I designed and 3D printed new mother molds to produce 2-part squish molds of a tin-cured silicone.

I made a little tweak to the main PCB to facilitate calibrating the servos, and my coder friend modified the code to make it easier to dial in the correct servo values for home, half, and home.

I’ll also be tweaking the wing PCBs a bit.

I could probably have some sort of kit available in the summer. The question I’m facing is would the kit just be a box with every part where someone has to solder all of the components onto the PCBs and the various wires? Or would I also have to offer kits where I’ve done that soldering, and it’s just a matter of plugging in various wire harnesses? In that case I have to work out how much to charge for my labor to do that work.

I personally wouldn’t mind the totally DIY kit; soldering is my friend, we get along just fine.

Awesome work, thank you for your dedication to detail!