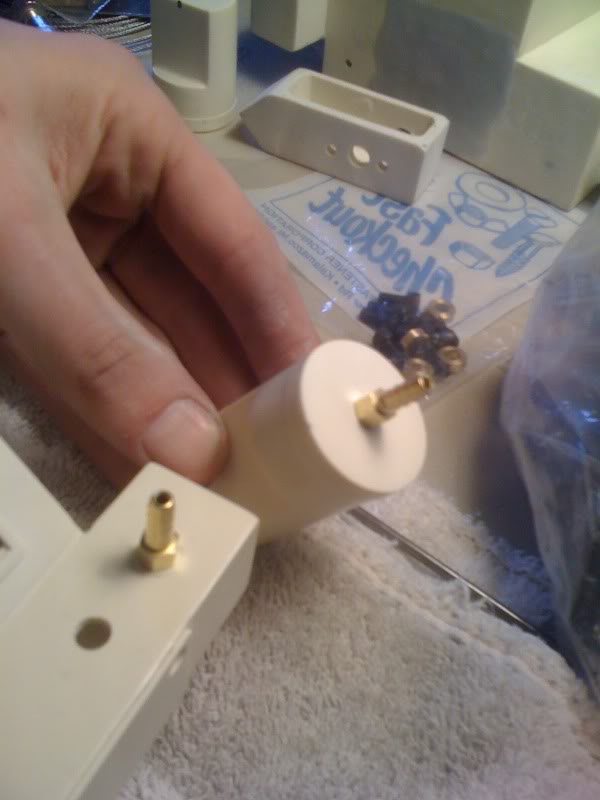
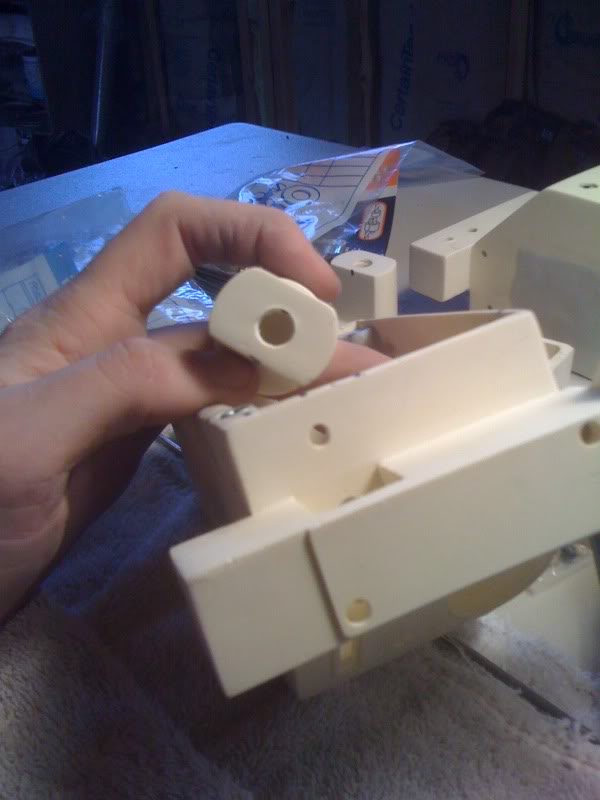
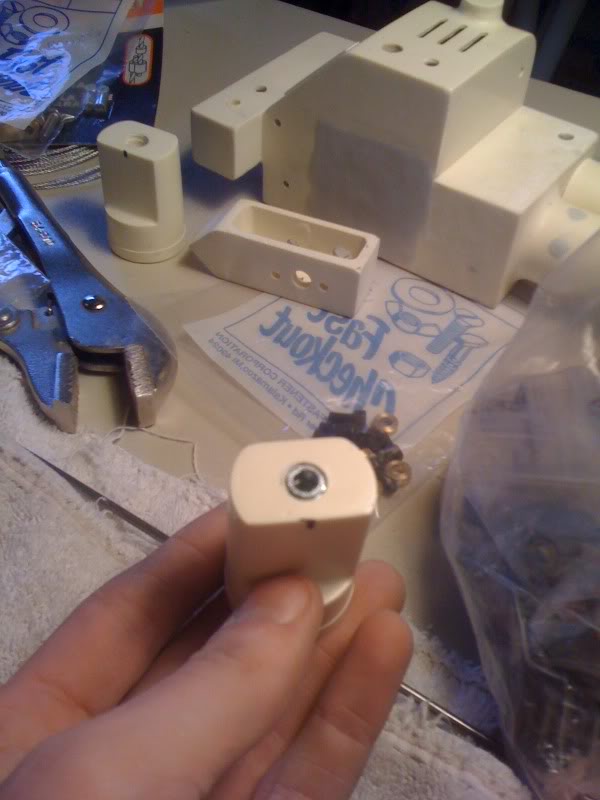
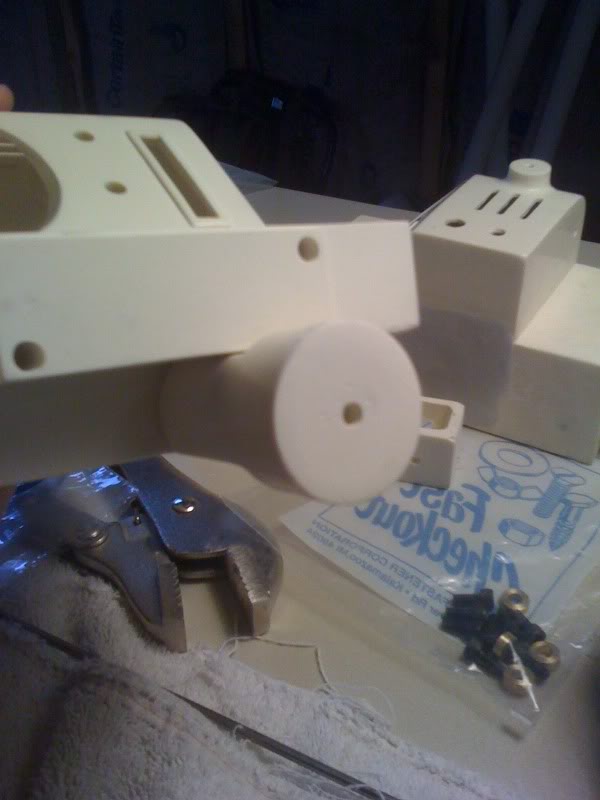
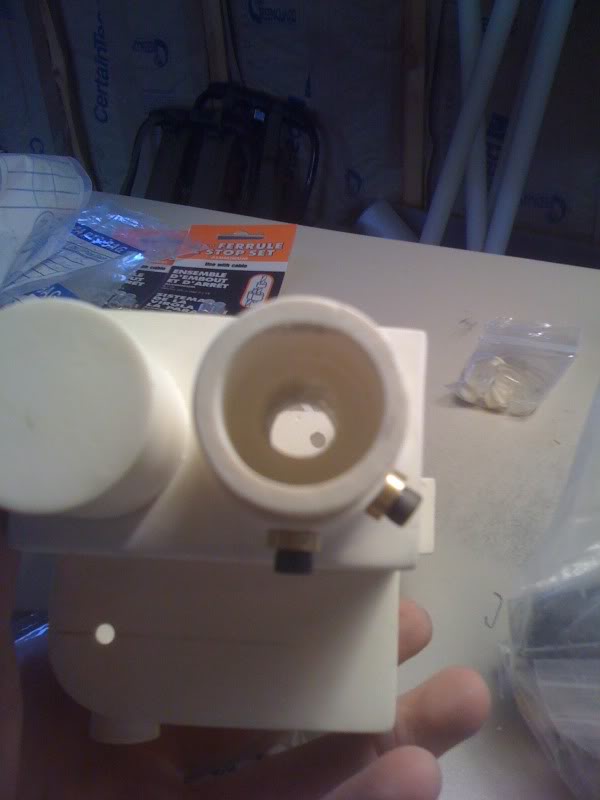
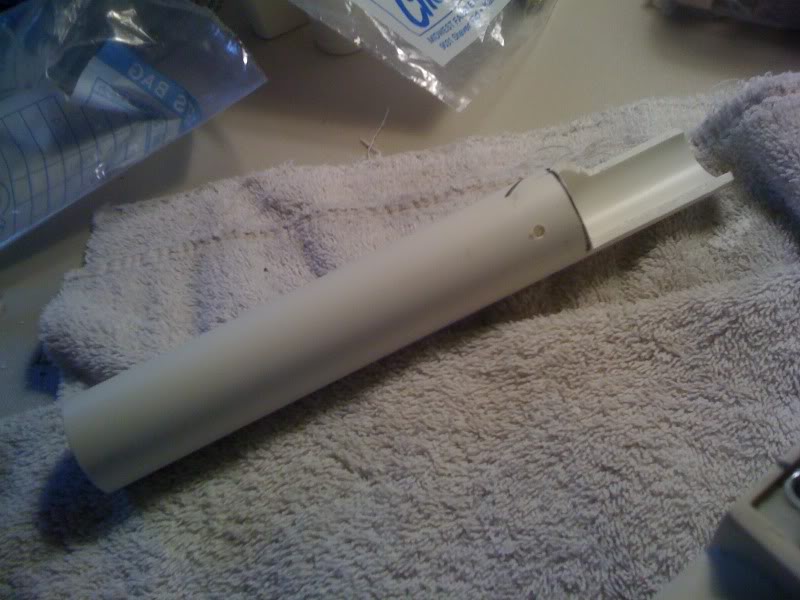
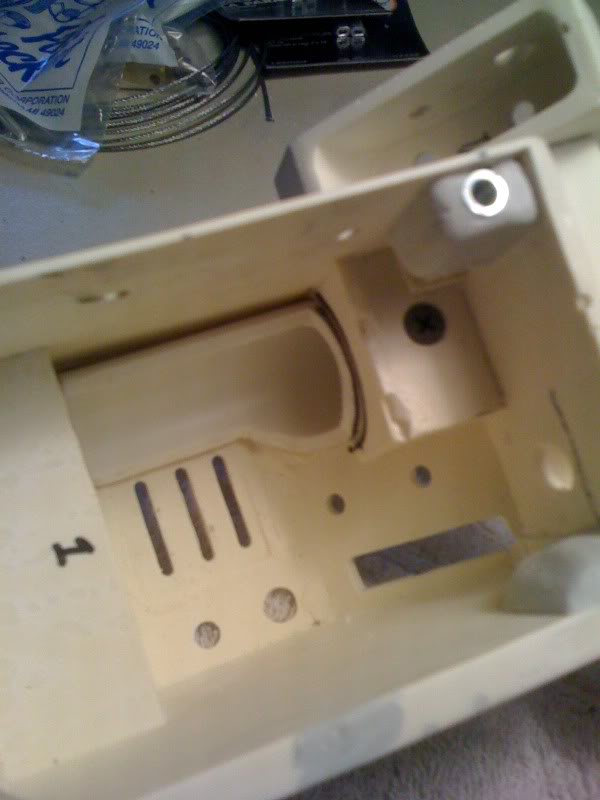
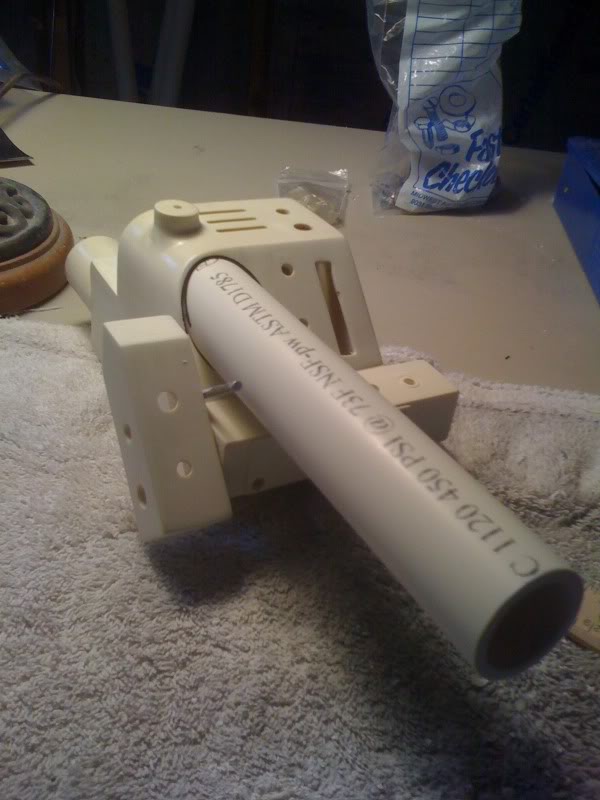
these packs are gunna kick ass! (arse).
keep it up 
these packs are gunna kick ass! (arse).
keep it up
Man, your work is looking great! I have pretty much the same set-up and I’m working on mine and kinda following along right with you.
I’m curious how you cleaned up the tops on the filler and injector tubes and did the weld sculpts. I’m going to start on that soon using some Aves Apoxie Sculpt. Any tips before I start my own trial and error?
This is truely a beatiful pack build right now man. Kudos.
Damn dude, you built that thing like a tank! I thought I put some serious effort into making my pack able to withstand people yanking on stuff a bit, but yours takes the cake.
FOUR bolts in the booster tube alone? Jeez! Two would have done!
My booster tube slides into the shell at the bottom, so I glued the bottom in place with Loctite, and applied a bead of loctite down the back side, and used expoxy putty to create the weld at the top, and to create a thin weld around the bottom as well, so that sucker’s not going anywhere most likely. I did want to put a couple bolts in there as well like you did, but I was in a hurry to finish, and getting those holes to line up with the shell would have been a real pain.
Great pack build! Love the mounting ideas.
2 quick questions.
What size dowels did you use for irricanian’s injector tubes?
What size socket head cap screws did you used to mount the bumper?
Thanks!
I am flattered! Thanks, to you man! I must say, you really improved those techniques by far! Your build is looking awesome!
A copy of this thread should be posted in the tutorials section. Great job!
I can’t wait to see how the hammered metal finish looks on the pack, as I’m thinking about doing that too.
Sunday update time, I’m not going to be throwing up many pictures tonight though as I am exhausted and need a little sleep before work again tomorrow lol, I’ll throw the pictures up later on. Pretty much what I accomplished today was one more coat of primer on everything for the pack and 2 coats of the silver metallic. I also, between coats of paint, started the throwers. I have drilled all the holes for switches, lights, bolts and other misc parts that attach to the main gun body (I have pics of it all) as well as puttied up all the imperfections so it’ll dry all week and be ready to sand Friday. I didnt do any work on the rear or forward handles yet. Gives me plenty to do between the hammered black paint coats.
Now to answer a few questions…
Well I’m using magic sculpt on my build, so im not to sure how your sculpting epoxy works. With my magic sculpt I can use water to smooth it out and give it a pretty nice finish. I just spread my epoxy over the surface making sure its fairly even across the tops. The just a touch of water on my fingertip in a light circular motion to smooth it all out. As for the weld lines make sure you have some latex or similar gloves on (you don’t want fingerprint marks) then use the tip of your finger nail to kinda poke small notches all the way around, as you poke your finger nail into the putty, push back into the putty slightly to create a little raised lip against the last nail line you made. Its really hard to explain with just typing. I’ll do a small quick tutorial on this next weekend and post it up, be way easier to explain that way.
Yea well I figured I’m investing lots of time and money into these projects wanted to make sure it’ll last lol. And your right getting the holes to line up on the shell and booster tube was a pain in the ass but I think it will be worth it in the long run.
The dowel was a skosh small for irricanian’s injector tubes but I wanted room for the 2 part epoxy. 1 1/4" is the size dowel I used and it worked perfect.
The socket head cap screws are 1/4 x 1.5"
I might just do that once im all done, make on big post and start a thread over there in tutorials. Thanks for the idea.
You and me both, Ive never used this type of paint before It looked pretty good on the n filters. But don’t know how it’ll look on a larger scale.
And one big thank you to everyone’s great comments, I love hearing the feed back/constructive criticisms!
And one little picture to say goodnight with…
2 nice shiny silver pack shells
If I didn’t know those were fiberglass painted silver, I’d think they were powder coated metal.
Great, thanks man.
wow that looks great!
You guessed it its update time again. Today started off great but didn’t end so well, but I’ll get to that later.
First thing I did today was spray the first layer of the hammered black paint onto all the pack related parts. No pics of that because its not very exciting lol. While the pack stuff was drying i started tackling the guns.
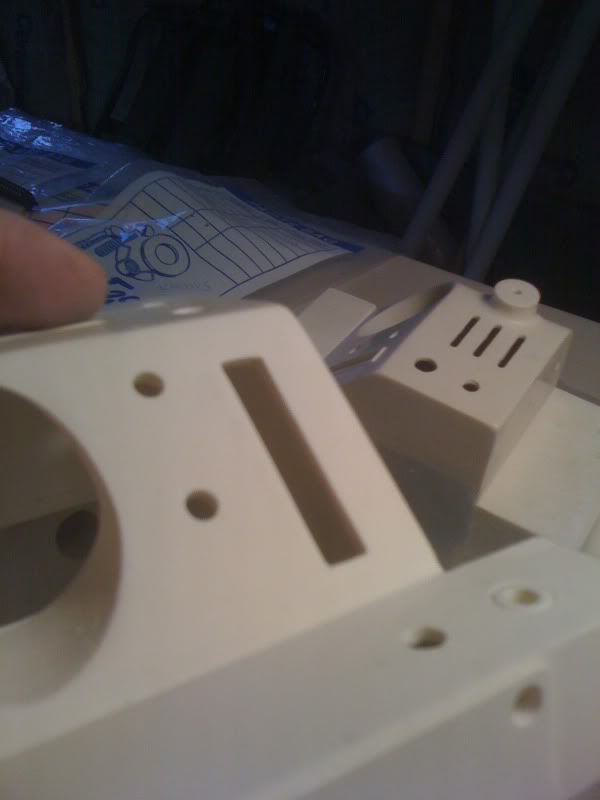
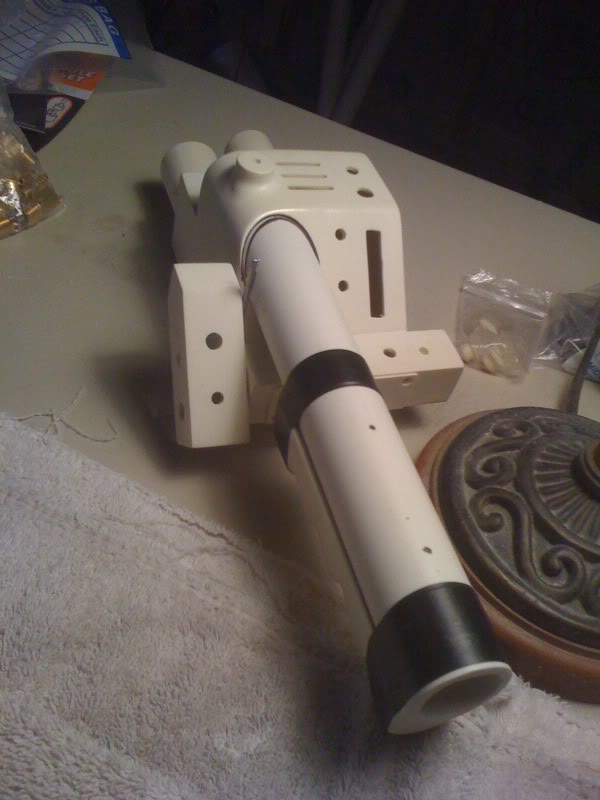
To start off I pretty much cleaned everything up with a file, my dremel and some sand paper. Then drilled the holes for the side disks, the green lever, the holes to mount the trigger box as well as a large hole to run the wires into the gun body…
Here you can see a little better how I’m going to run/hide the wires for the slow blow led and the 2 switches in the trigger box…
Bent and cut the 1/8 rod for the green lever…
Inserted the green lever rod into its hole and installed the trigger box with 2 screws and 2 part epoxy…
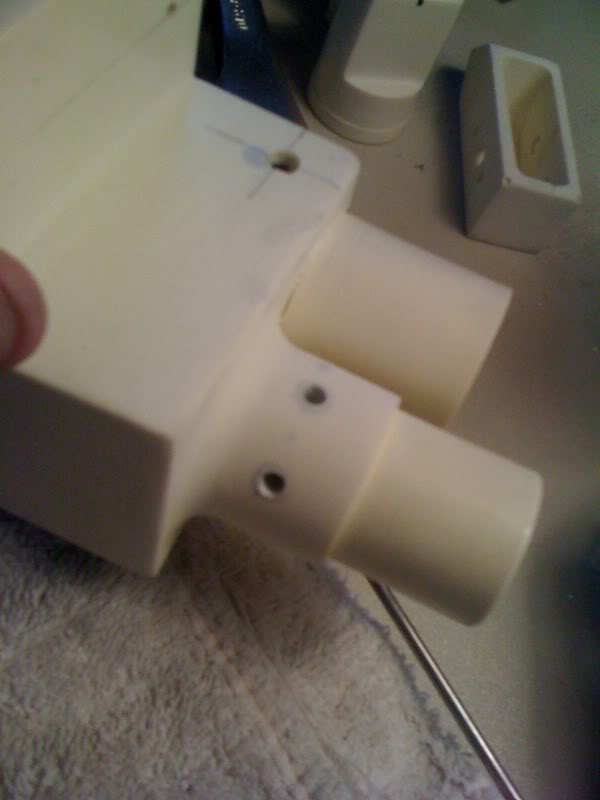
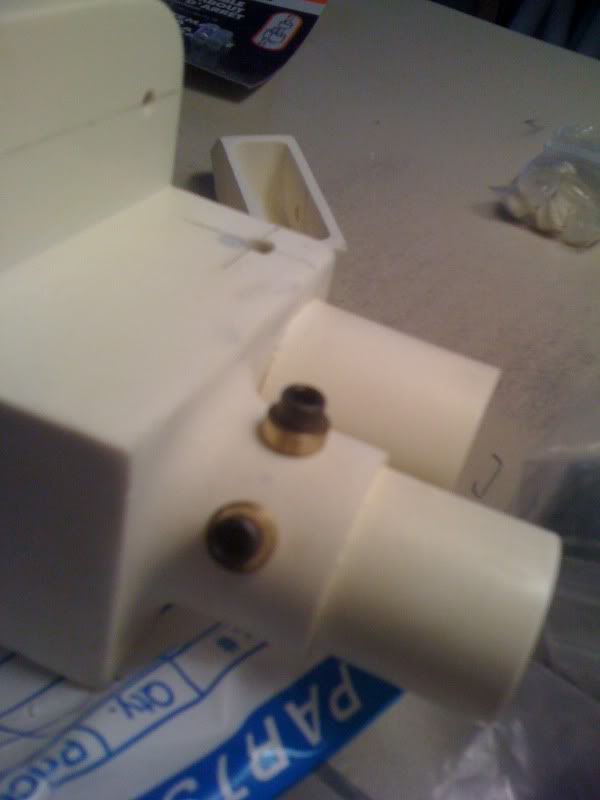
Drilled the holes in the rear instrument bar and cylinder for the hose barbs and dry fitted both barbs…
Now to install the rear cylinder I drilled a small hole through the gun body and then a larger hole into the cylinder itself that fits a threaded insert. I wanted to be able to remove and reinstall this part so id still have access to the slow-blow led if the need arises…
Installed the threaded insert into the rear cylinder and then dry fitted it onto the gun body…
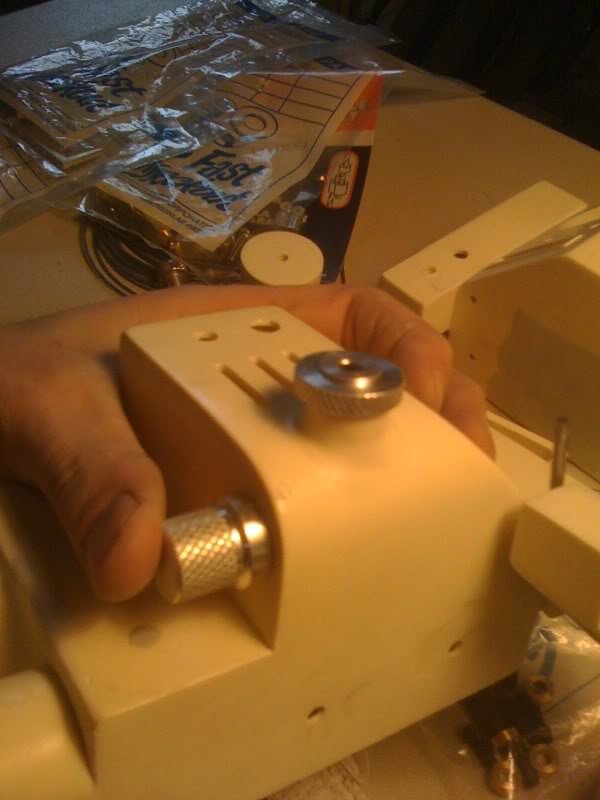
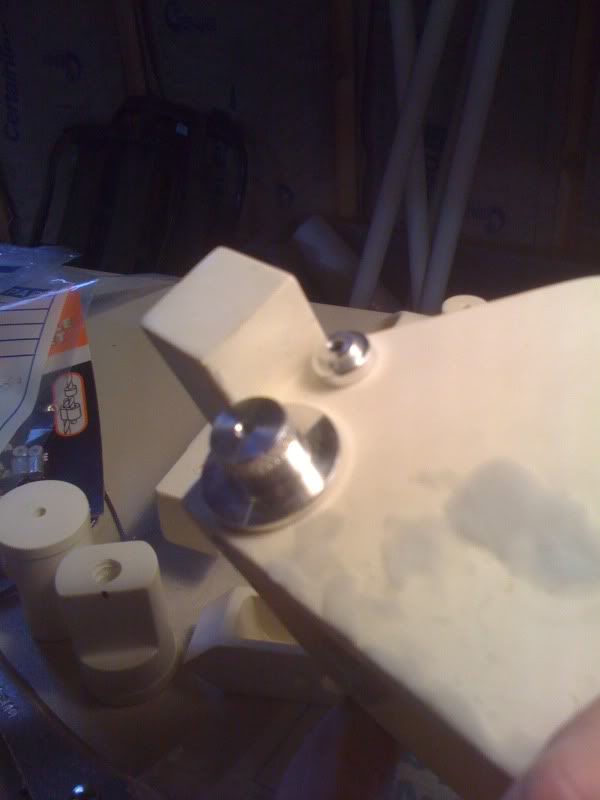
Next I drilled all the holes for the gun knobs and dry fitted those as well…
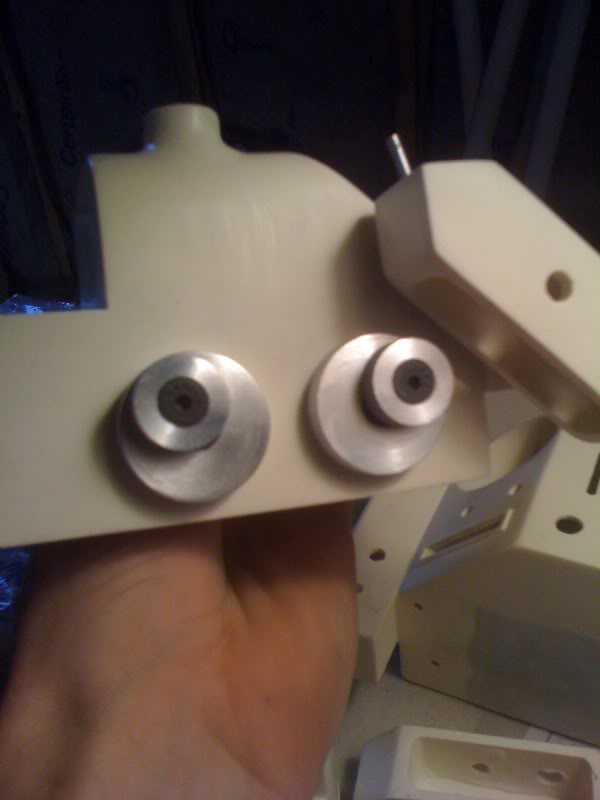
Also dry fitted the side disks into the holes I drilled earlier…
Drilled the holes for the socket head cap screws in the rear instrument bar and test fitted the screws…
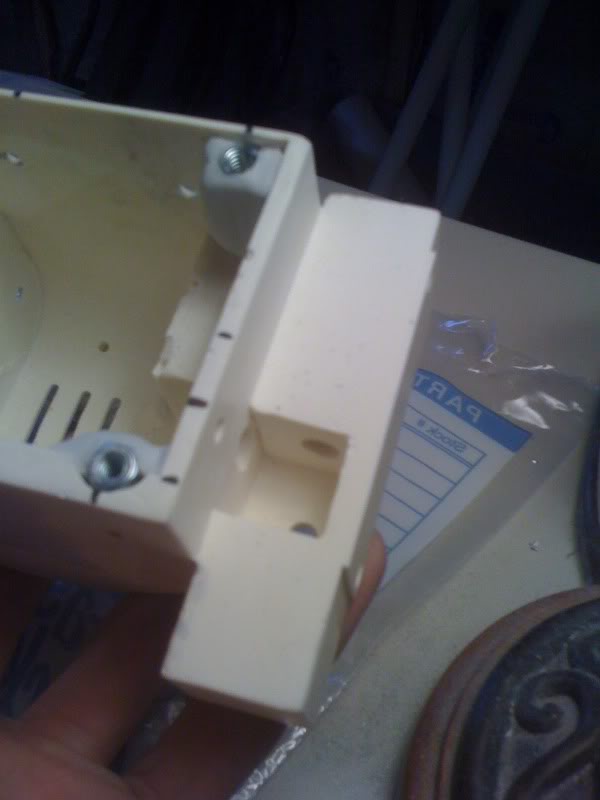
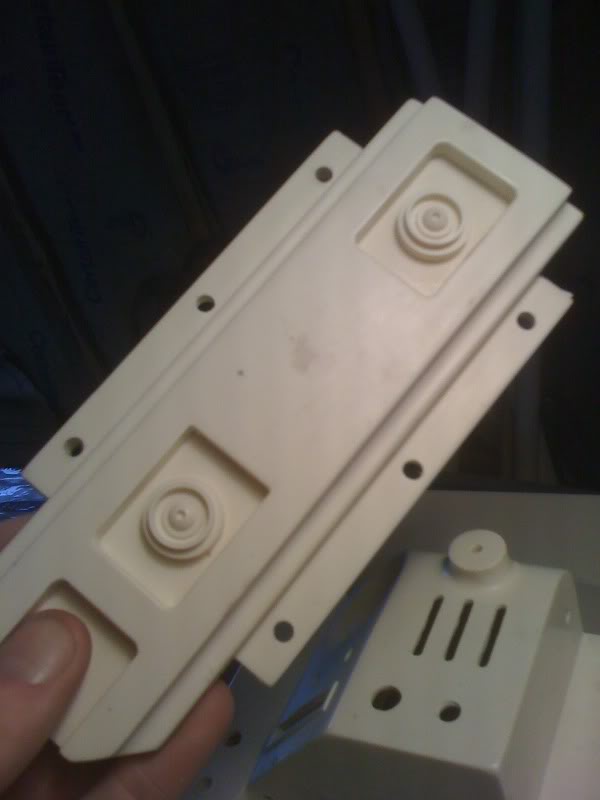
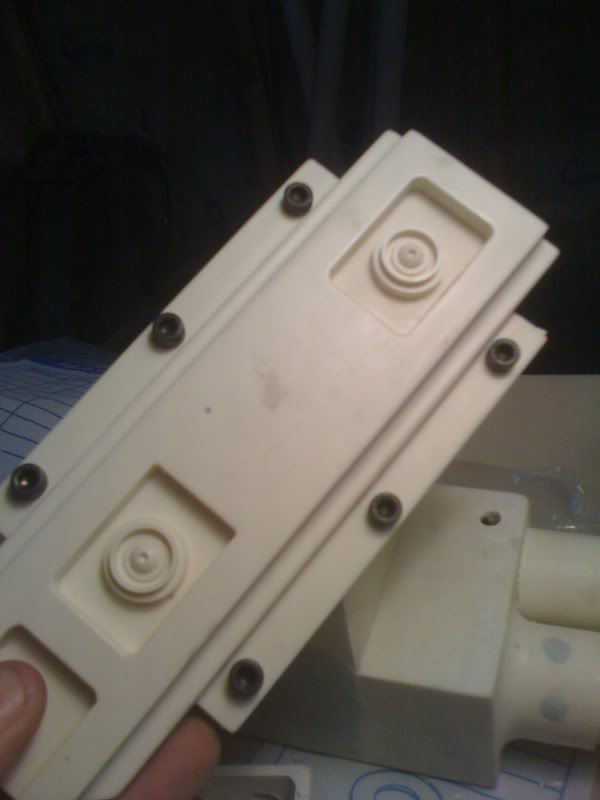
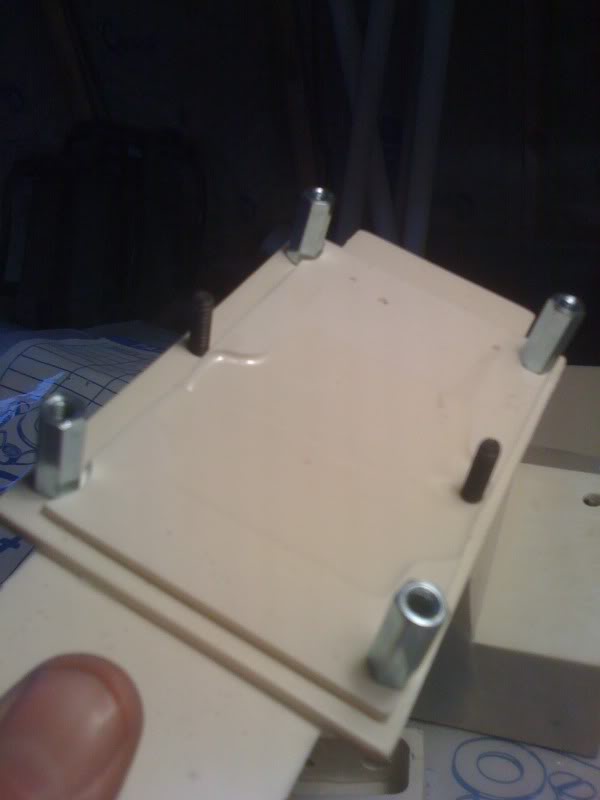
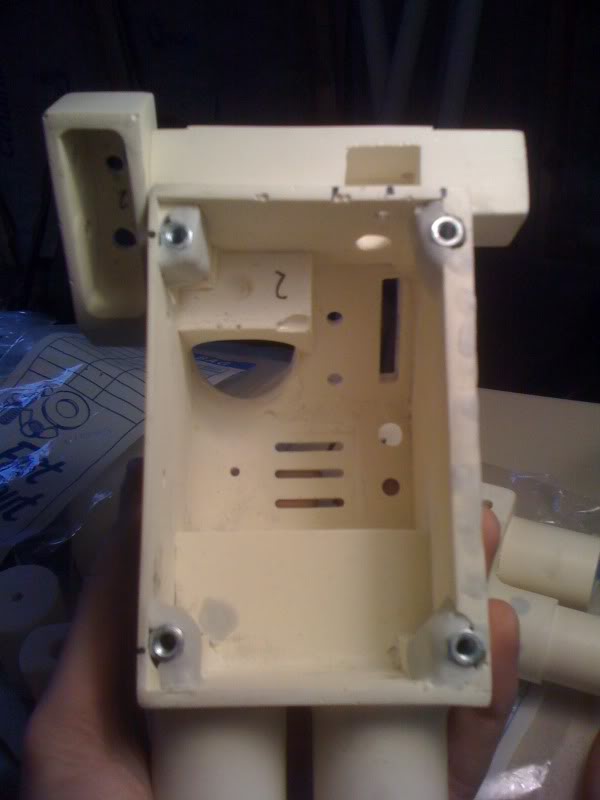
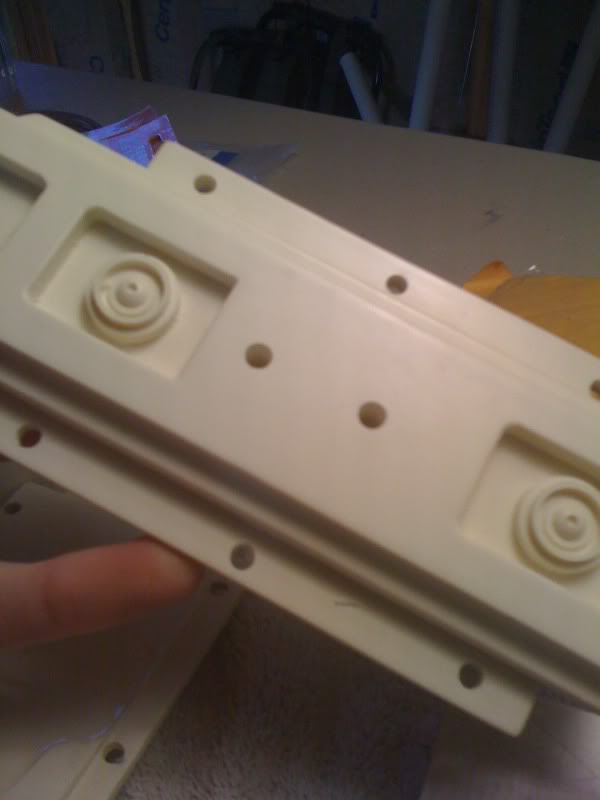
Moved on to the bottom plate/gun track. First I drilled the holes for the 6 socket head caps. The next part was a bit tricky, as most of you probably know TC kinda messed up this part on his kits. What I did was router out spots in the 4 corners of the gun body where I could glue and epoxy threaded inserts to so I can remove and reinstall the bottom plate so I have access to all the electronics…
Here you can see the threaded inserts I’m using in each corner, the 2 middle screws I’ll just cut down and they’ll be dummy screws…
And here’s the threaded inserts installed into the gun body. Used 2 part epoxy to hold them in place, once that dried I encased them in magic sculpt so there solid…
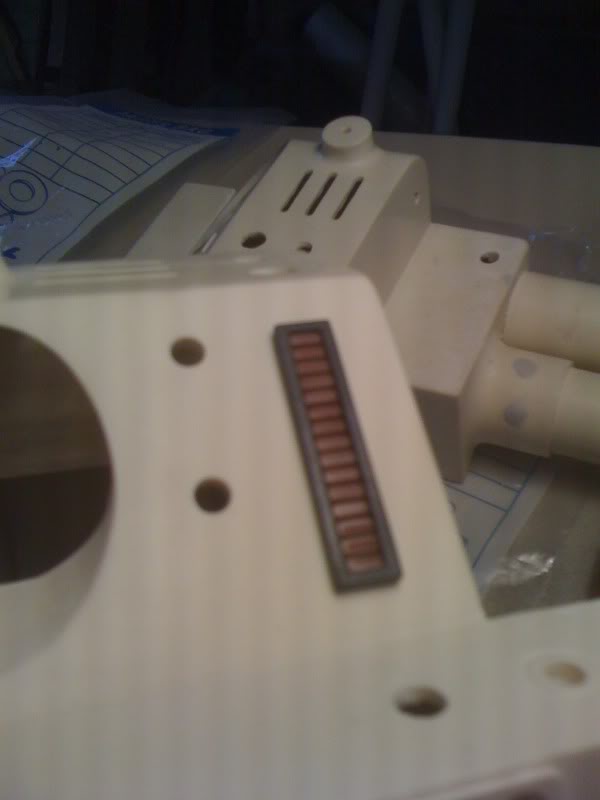
Next I had to file TC’s bar graph opening a little bigger to fit Exoray’s bar graph. I also had to file down the pre made lip TC has molded in around the bar graph opening…
Exoray’s bar graph from his gun light kit fit perfect and look damn sexy I must say…
Next came the holes for the 2 bolts located just behind the barrel lock on the forward handle…
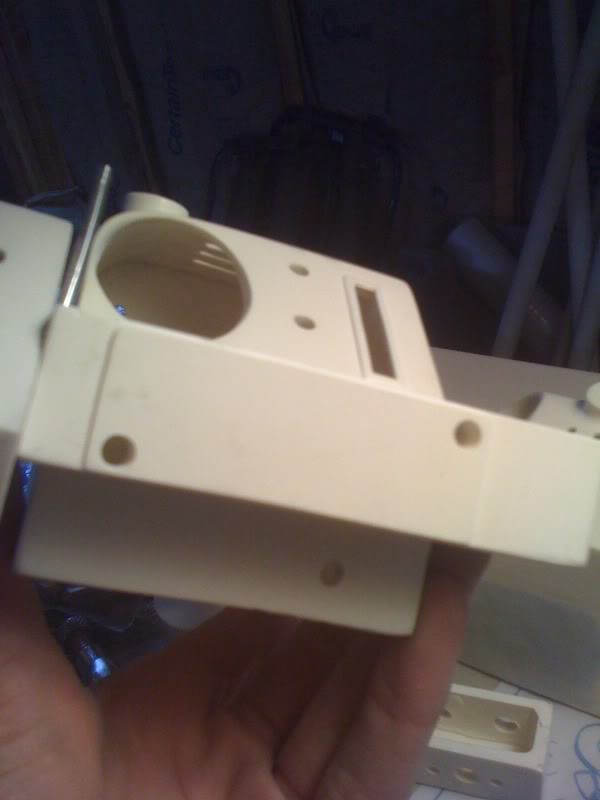
Then drilled a large hole to be able to run all the electronics to the forward handle…
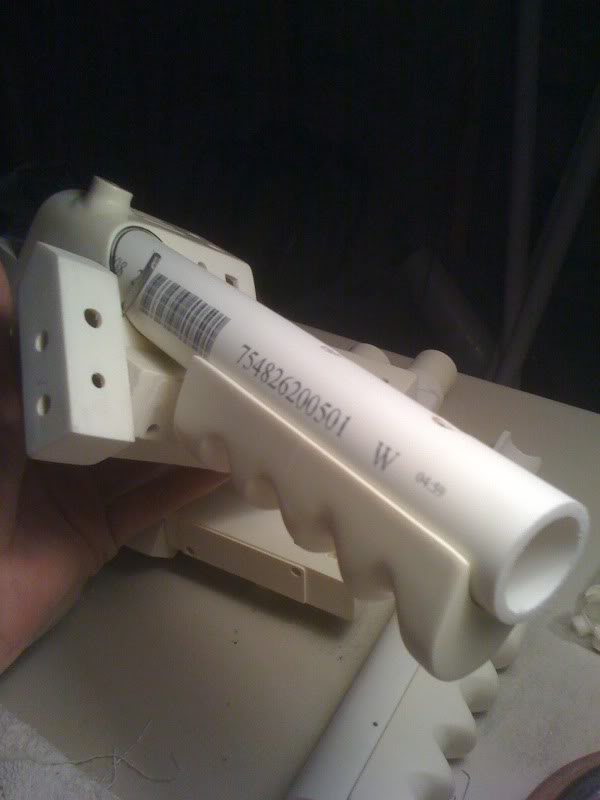
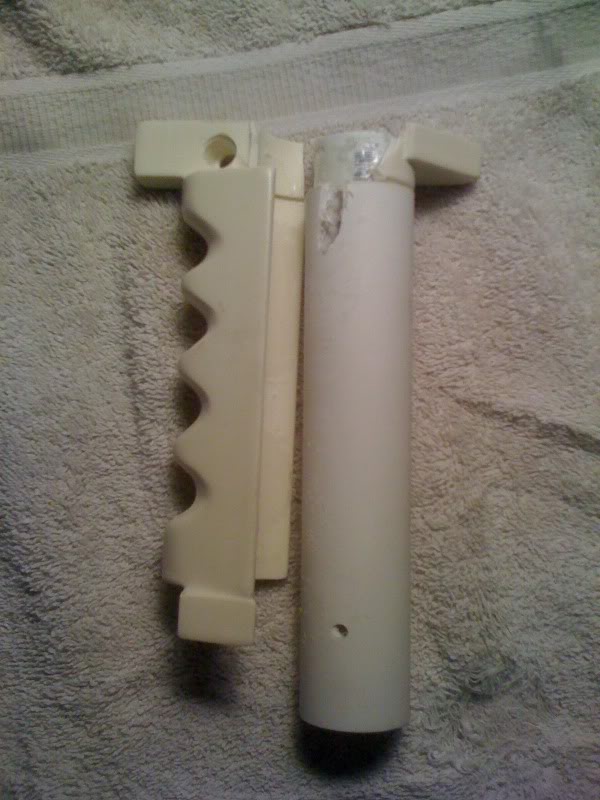
Time to start on the rear handle, cut the pvc to length as well as cut a bit off the end so you don’t see it through the vent grill…
Test fit the rear tube into the gun body…
Glued and screwed the rear grip onto the pvc tube…
Began working on the forward handles got the holes drilled for the 2 socket head cap screws on the barrel lock as well as the hole for the first banjo drilled…
Alright here is where my night started turning bad :0( it was only a matter of time, this build was going wayyyy to smoothly. It was about time for something catastrophic to happen
I went to work on drilling the holes for the button and led on the gun ear as well as trying to devise a way to run the wires so they are semi hidden and clean looking. What I came up with was drilling a hole just big enough for the 2 wires right in the corner of the gun ear and grip so the wires run up into the front tube and back through the large hole I showed you before. Well the first handle worked perfectly no issues whatsoever…
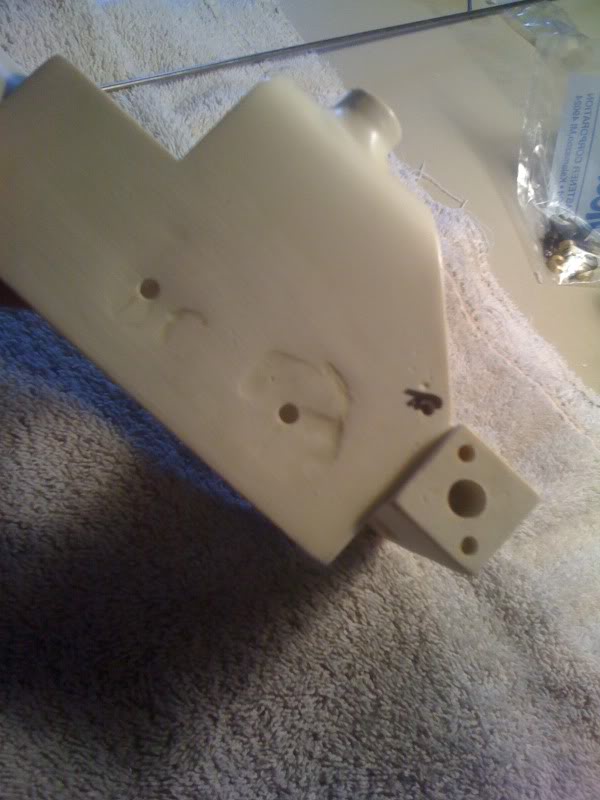
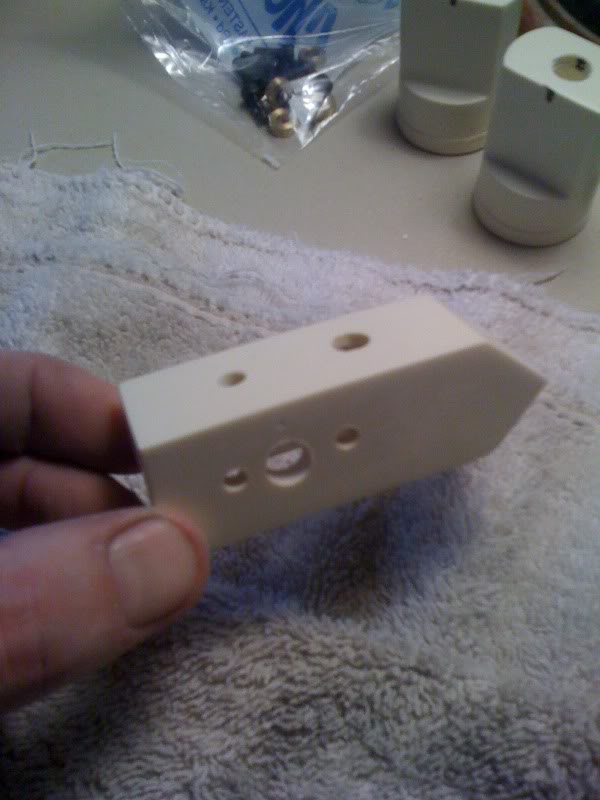
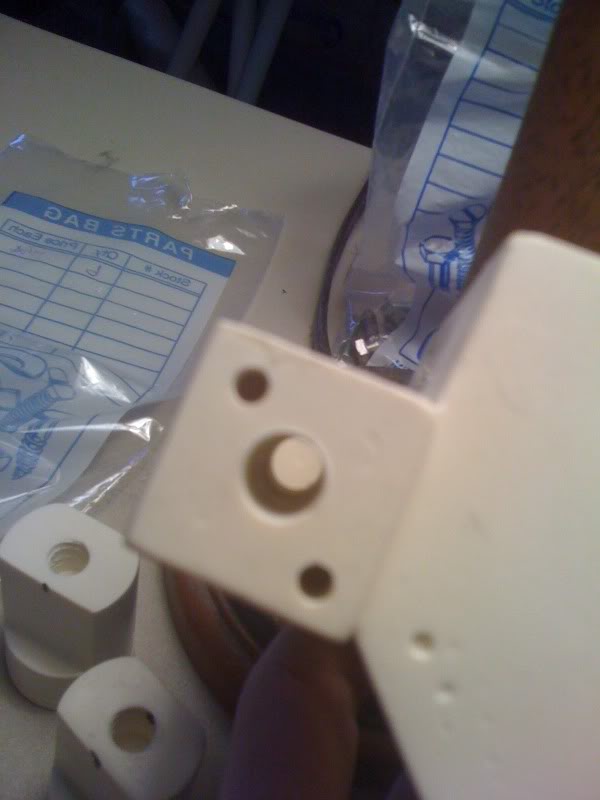
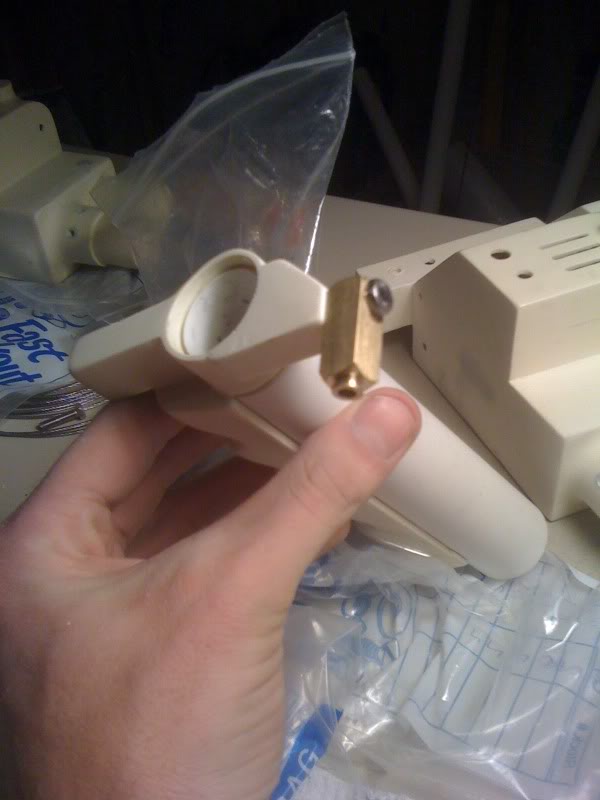
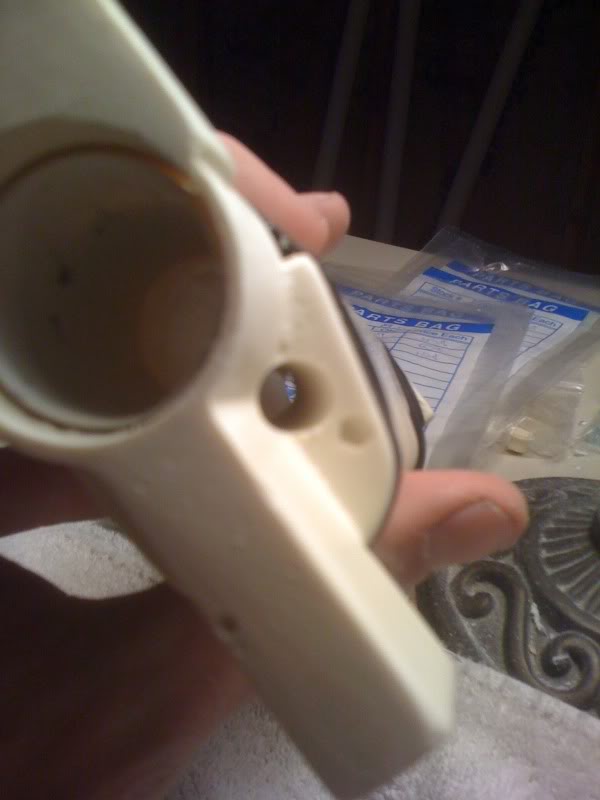
But the second forward handle for some reason as I was just about through with the last bit, I started with tiny bits and worked my way up to the size I needed to fit the wires, and boom the ring exploded…
It literally shattered. I’m missing almost 3/4 if an inch of the ring that the 2 gun ears attach to because its scattered all around my garage in little tiny bits. That was my cue to call it a night. Not sure what I’m going to do now for the forward handle on that thrower. I’m pretty sure its beyond fixable. I’ll most likely try to hit TC up (unless anyone has a spare TC forward handle they’d want to sell) see if I can buy a replacement. Or contact a few other sellers who have some forward handle items and see if there’s another route I can go that might work just a little bit better for what I’m trying to accomplish.
wow, what a bummer. but like you said it was going too smoothly, on the other hand i can relate when fixing cars and something goes wrong, you can feel that much better once its complete. it brings value to the finished product. maybe not to others but to you. good luck and may that be the only bump in the road.
It doesn’t look like you’re planning to finish this in time for halloween or I’d suggest that you go with a quick fix of epoxy putty to recreate the ring. I used it to fill in parts of my gun ears which were made for smaller PVC than what I decided to go with.
I’ve run into similar problems as you. Mine didn’t explode; it just didn’t hold up to my handling, and cracked to the point of “why bother”.
I’ve decided to redesign the whole thing and allow for a rotating front grip and a green lever actuated extending barrel while still fitting in Exoray’s light kit with the vibration module and barrel light and laser.
Looking at the money you have spent so far it’s clear you’re not just trying to build a Proton pack, you’re building “THE” Proton Pack(s).
My recommendation is that you visit umoribawar at the link below and upgrade to aluminum handles and ears.
Yea I used to work on cars for a living when I lived down in California, that’s why I know when any kind of build is running to smoothly to expect the worst. Thats what makes it so that when something does go wrong I’m not throwing parts across the garage and stuff lol. Just called it a night and go back to it in the morning.
Nope not a Halloween build for this year at least, there actually xmas gifts to myself and my father.
Dude great minds think alike it seems. As soon as I was done with my update post I shot Umori a message about ordering up 2 front and rear handle sets with those cool rubber grips lol I think that will go better with what im trying to achieve in this build as far as strength and all around bad ass-ness goes lol
Atta-boy….as one Tech to another…I’m right behind ya!
Alright end of the weekend update. I didn’t work on the pack at all on Halloween, even though I didn’t do anything Halloween night. I just needed a little break from the packs after that forward handle assembly broke on me. But that problem is remedied now because I put an order in yesterday with Umori for 2 rear and 2 front aluminum tubes, 2 left gun ears, 2 right gun ears, 2 barrel locks, and 4 of his new rubber grips. I’m also having him weld everything all together for me. Shouldn’t have to worry about any gun parts breaking anymore.
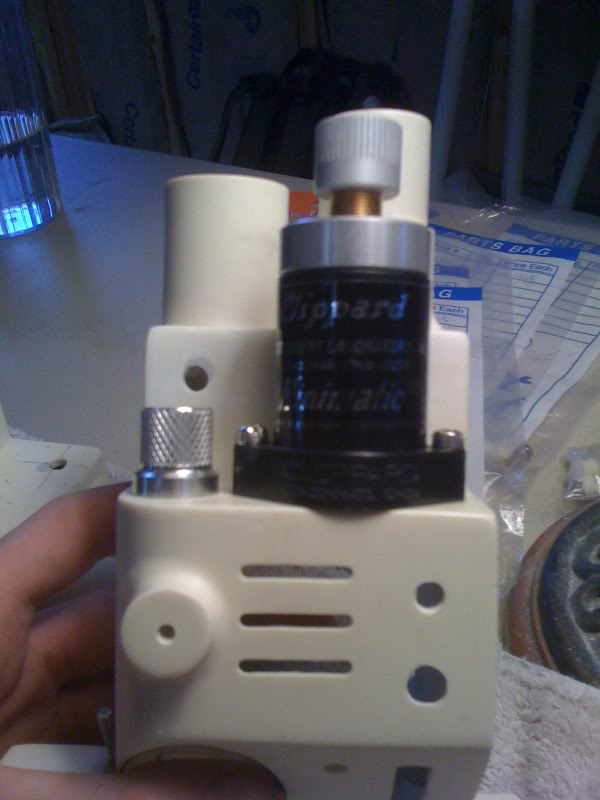
I didn’t really have to much I could do today since I’m at a stand still with the guns now. I did still have a few small bits that kept me occupied. First thing for the day was drilling the holes for the clippards on the guns…
Test fitting the clippard with the aluminum knob that sits next to it to make sure my spacing and everything is alright..
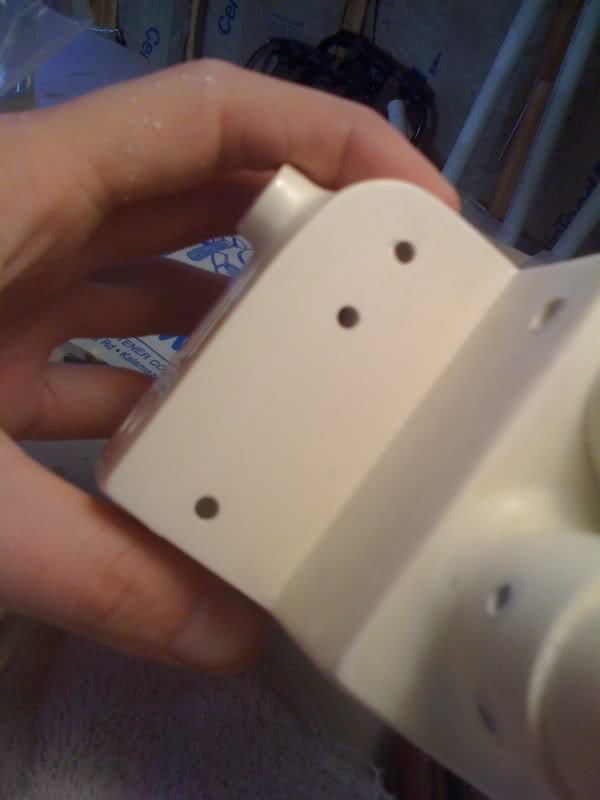
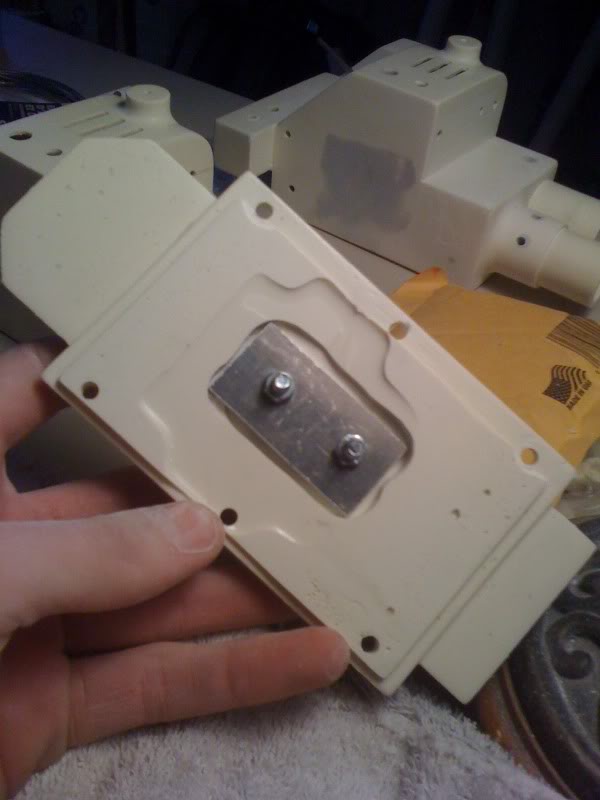
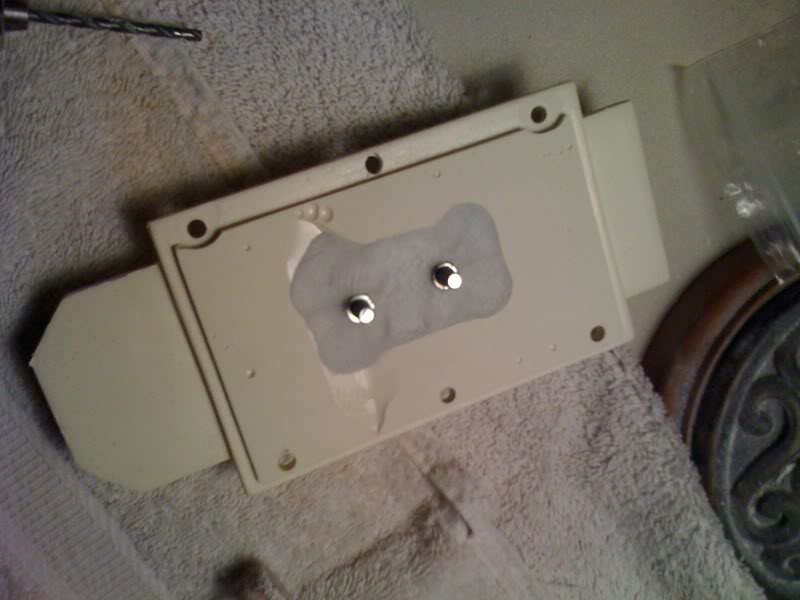
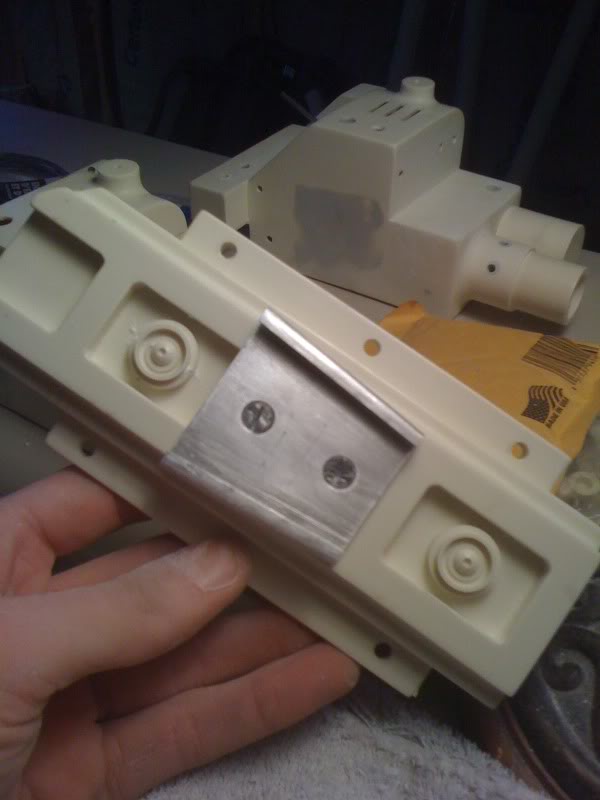
Next thing to tackle was the v-hook on the gun track. So I drilled 2 holes through the gun track…
Then on the inside I came up with an idea for mounting my in gun electronics. What I did is router out a small rectangle in the back of the gun track so the my ssw for the v-hook would be recessed into the gun track…
That way I can fill in over the top of the ssw and around the bolts with magic sculpt and cut the ends off of the screws once I mount the v hook permanently. Then I can just mount the motherboard for the gun electronics right to the bottom plate/gun track of the gun with motherboard standoffs, and cover what little bit of the v hook bolts that will still be exposed so it doesn’t short out the electronics…
Dry fit of the female side of my momeraths24 v-hooks…
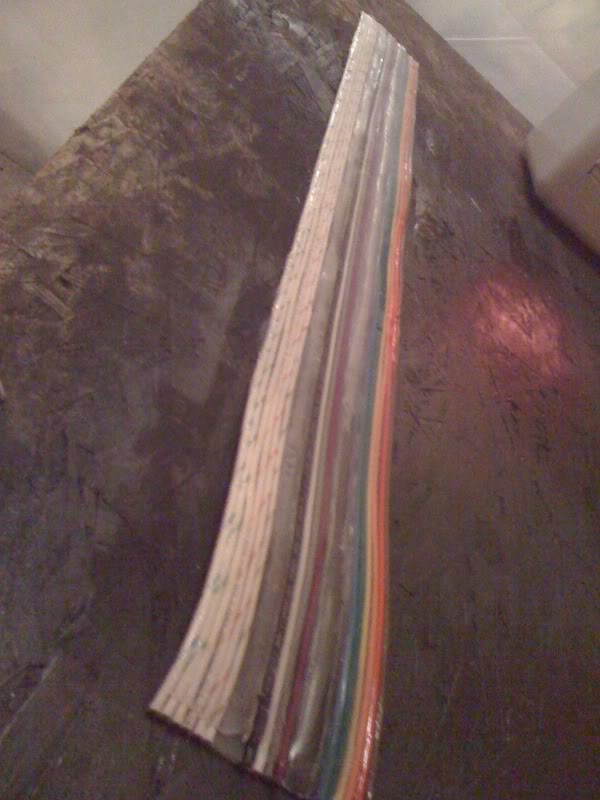
Next thing on the agenda for the day was my ribbon cables. I bought these from SolidGoldCaddy and wasn’t to stoked on the double taping method. So what I did was just pull off one side of the tape. I cut some clear vinyl strips from shower seals that I bought from home depot to fit between each wire grouping like Javamonkey explains in his tutorial. Then used the e-6000, also like Javamonkey uses, and spread it out over the front of the whole thing. Worked perfectly…
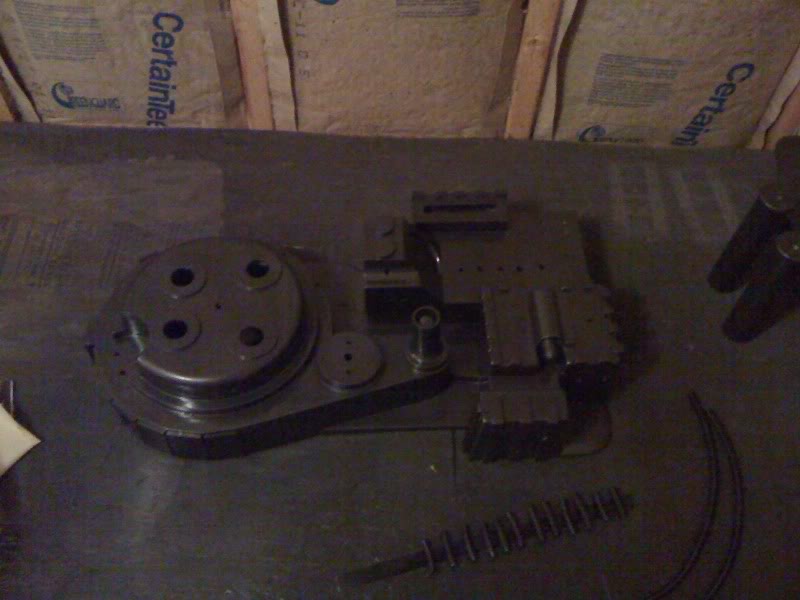
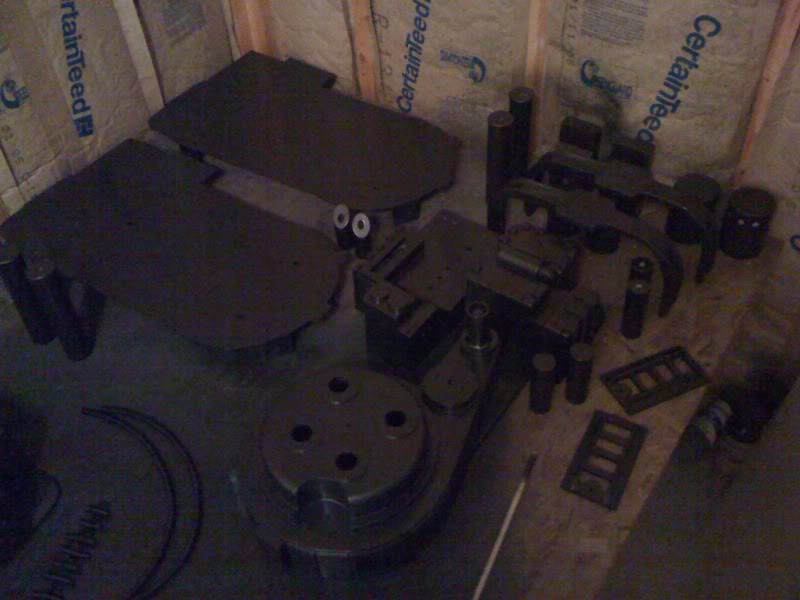
Last thing for the night was the final coat of hammered black on all the pack parts. I have to say I really recommend this hammered black paint. I’ll admit it is just a little to glossy for me, I’m not going to do any weathering I want it to happen on its own so I wanted that fresh out of Egon’s lab look but its to shiny even for that. Here’s why I liked the hammered black Rustoleum. I’m no pro at spray painting, yes I know the basics of using spray paint, but theirs so many different angles and small nooks and crannys on these things. Over spray, smudging, orange peeling, ect. is almost inevitable and this hammered black hides a lot of the paint flaws. Spray painting is an art and most of us will probably never do it enough to actually get good at it. So its good to have some paint that can take a little bit of the stress out of the painting aspect of things.
Now these 2 pictures totally suck ass because it was kinda dark in my garage. Once I get both the packs and guns all assembled with the stickers and everything, I’ll see about borrowing a real camera instead of using my iPhone for pics so everyone can see how the paint and everything actually turned out and looks. These were just to simply get the point across that the Pack related stuff is done with paint…
This is probably going to be the last of the updates for a few weeks unfortunately. I have a big weekend planned for me and my girlfriend next weekend. So no pack work during that. Hopefully I’ll get all of the stuff I ordered from Umori late next week or early the week after, then I should be able to wrap both of these packs up the weekend of the 13th…
Thanks for checking out my builds and keep the questions and comments coming.
I was looking around at paint this weekend and I saw that Rustoleum Hammered Black also. From the look of the cap on the can it appeared to be a little too glossy as you mentioned. I too liked the idea of it hiding some minor imperfection and was wondering if you thought about maybe using a flat clear sealer after painting to tone the shine down a bit. Testers makes a product called Dull-Cote and Krylon has a clear Matte sealer.
Maybe try a test of it on a smaller piece first and see how it looks.


Yea that stuff looks like it might work perfect. You could also just do a coat of flat black over the hammered, both just add more painting and drying sessions though lol. Which, for me personally, painting is the worst part of building these things. I love the building, using hand tools, turning nuts and bolts squirting glue or what have you But I gotta say the painting just str8 up sucks.
I think a better option would be to get some 0000 steel wool and just rub it around a bit, would dull it out pretty quickly I think as well as weather it, if that’s what your going for. I think after handling everything during assembly and stuff will kinda dull it down if not it’ll happen naturally. So I’m I’ll just roll with it