this is getting better by the post
You have GOT to be kidding me.

Charles Foster Kane approves.
Nice work!
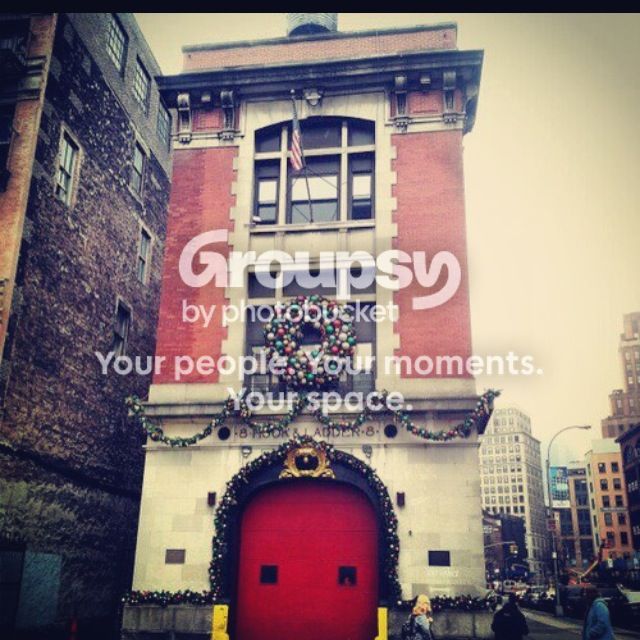
MERRY CHRISTMAS! HAPPY HOLIDAY! FROM THE FIREHOUSE!
UPDATE 12/15:
ALL THE LEDs ARE INSTALLED! And she is a sight to be seen! I am in the process of finishing the wire install so I can piece her back together! Only a few more hours of work left before she is all done and I can not wait for the final product! I want to be all done with her by Christmas, kind of like a childhood gift to myself. Anyway, here are the update photos:
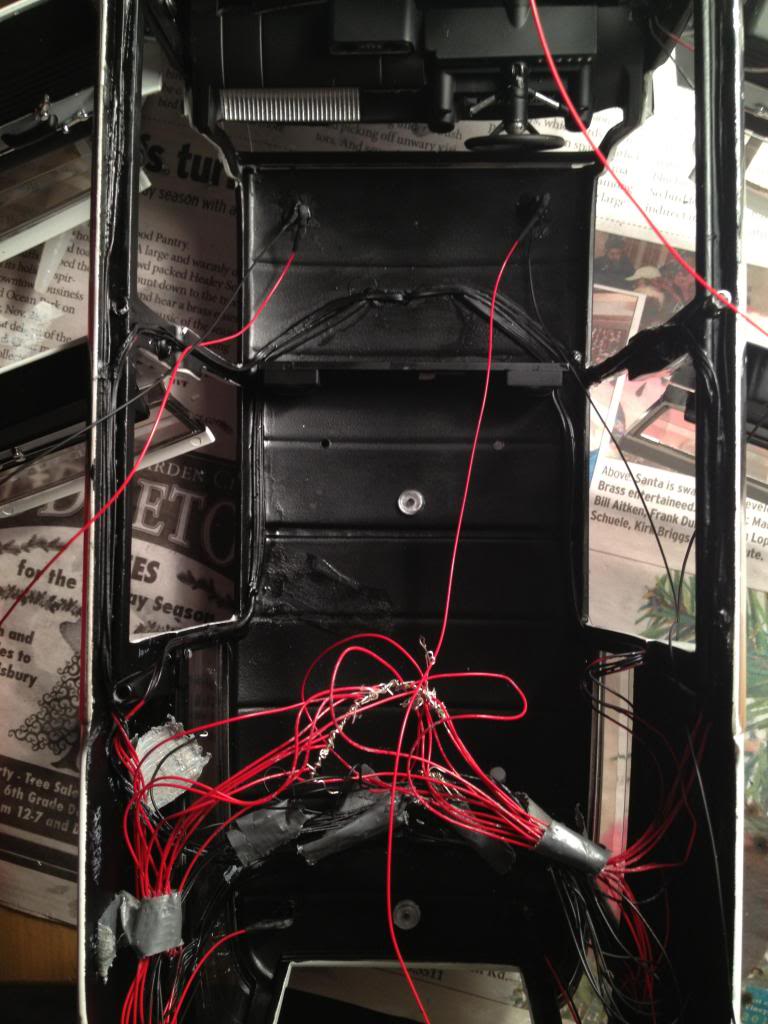
Final LED install, four more flashing blue flood lights.
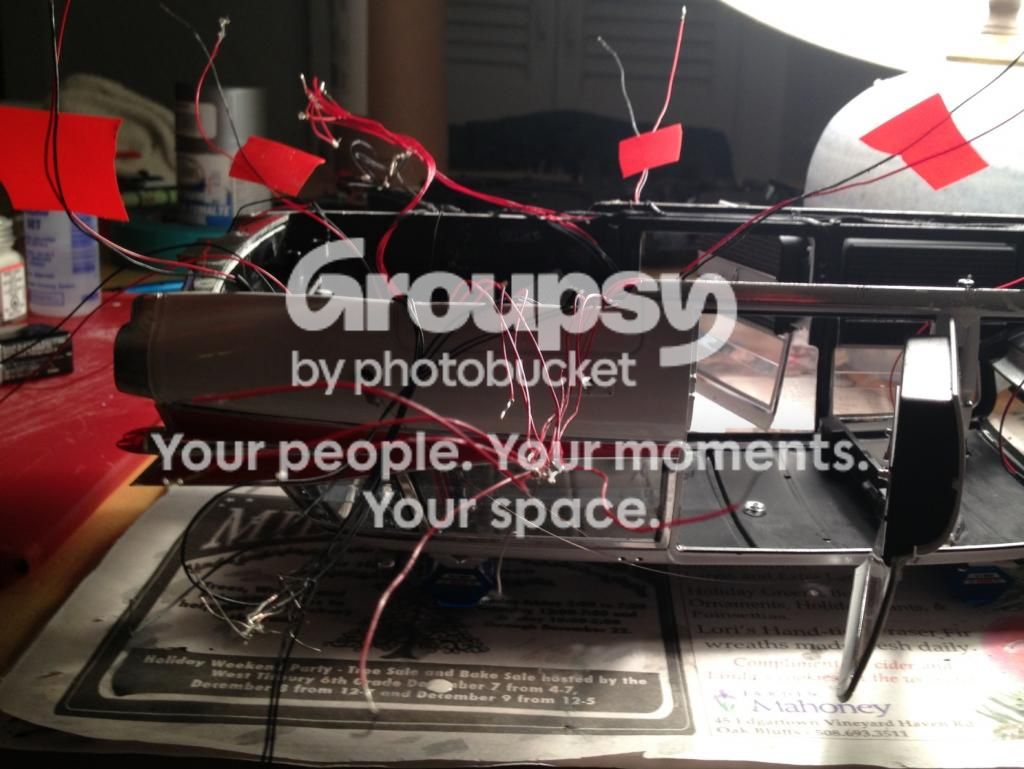
Oh good, the wire jungle is back ..
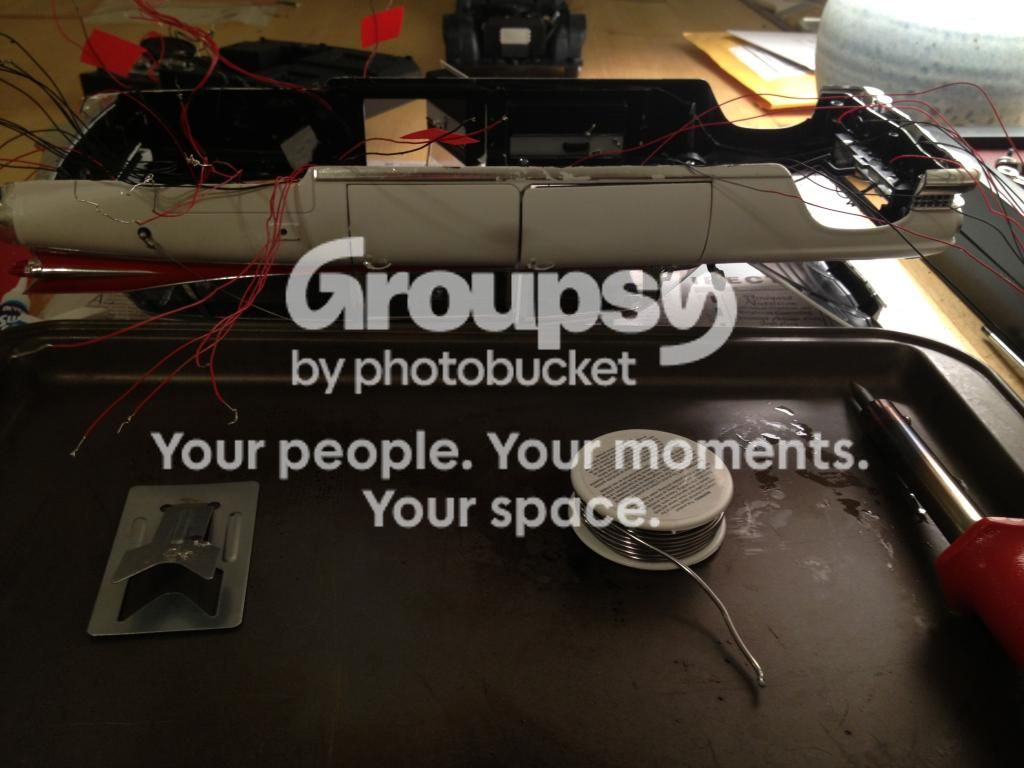
Let the Solder war begin! Me and a solder iron vs. the wire jingle.
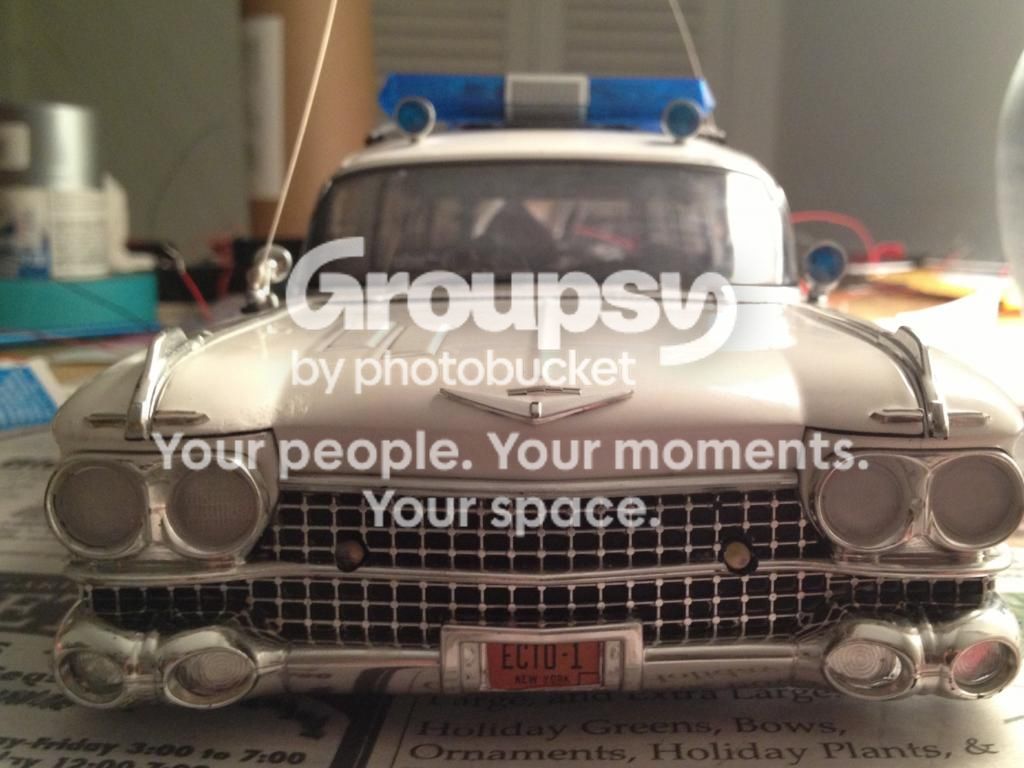
She’s beginning to look a lot like Ecto!
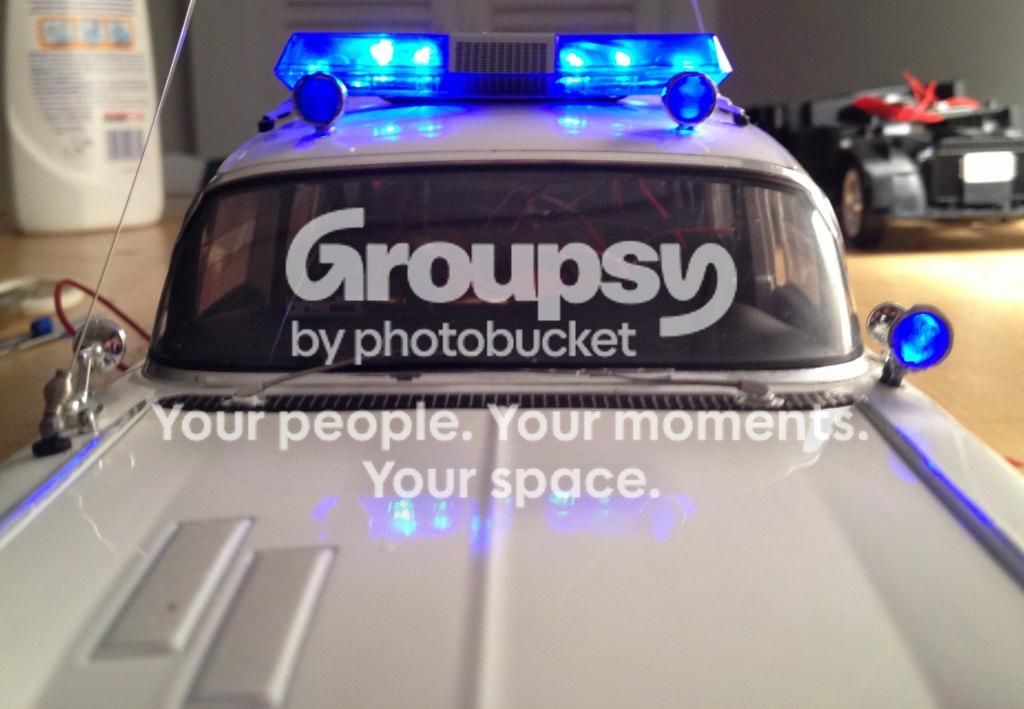
Light 'Em Up!
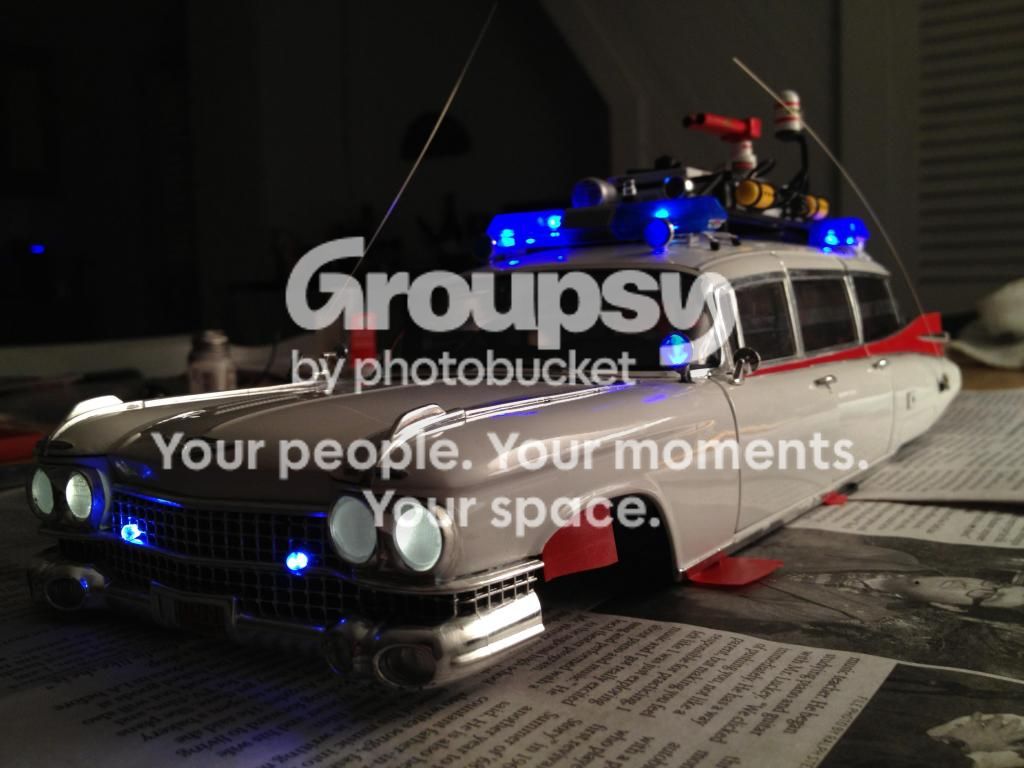
Wow. Shes awesome.
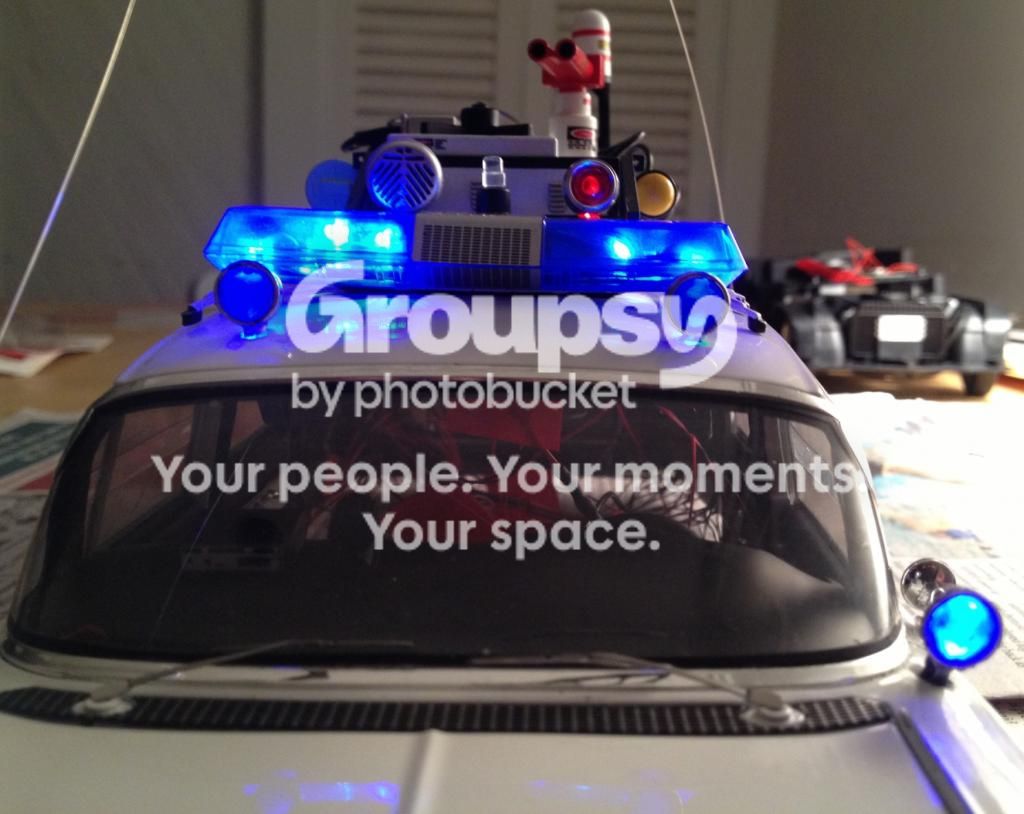
She looks as good as the real deal!

Everything I had hoped for and so much more to come ..
Stay Tuned ..
jP
Wow, you have some serious talent. I am in awe
So sooo awesome!
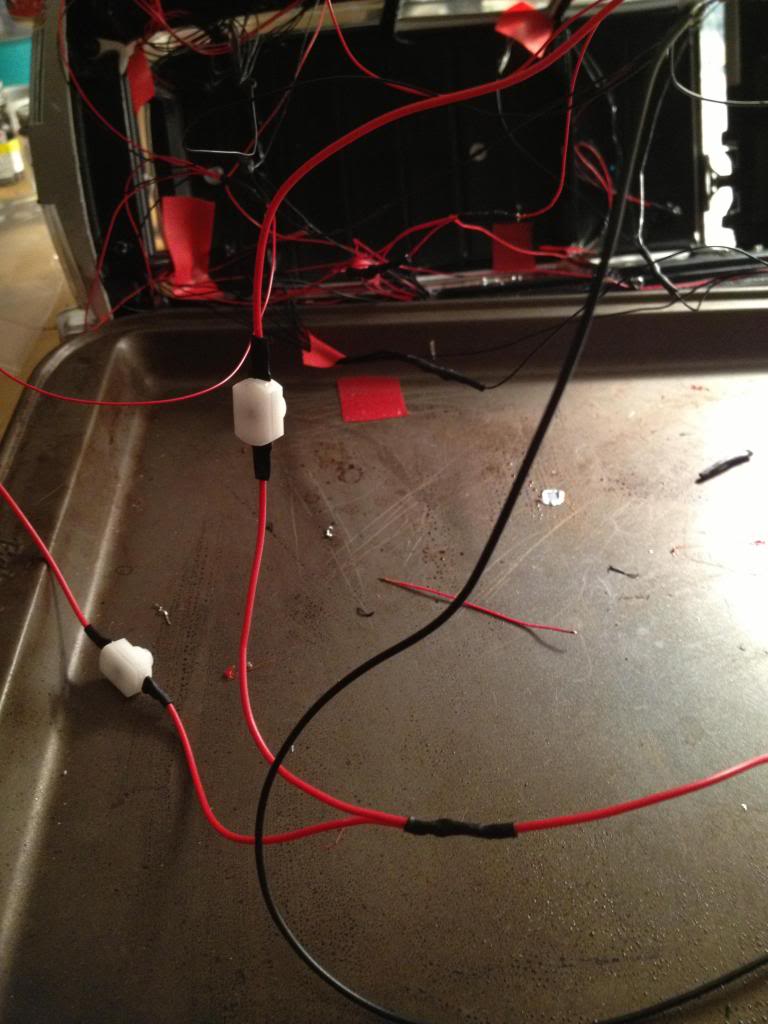
In order to separate the headlights/taillights/white roof beacon from the flashing lights, I crafted a two switch power source.
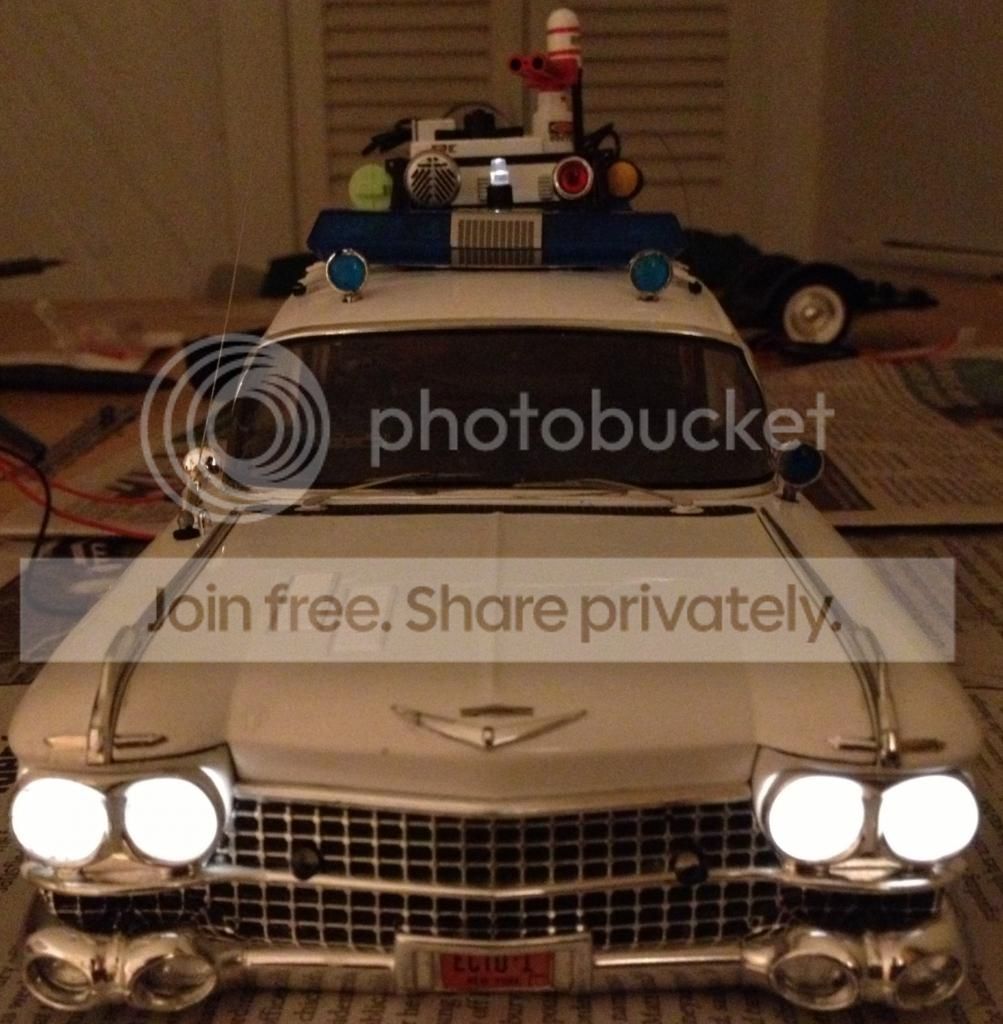
Swtich 1-Front
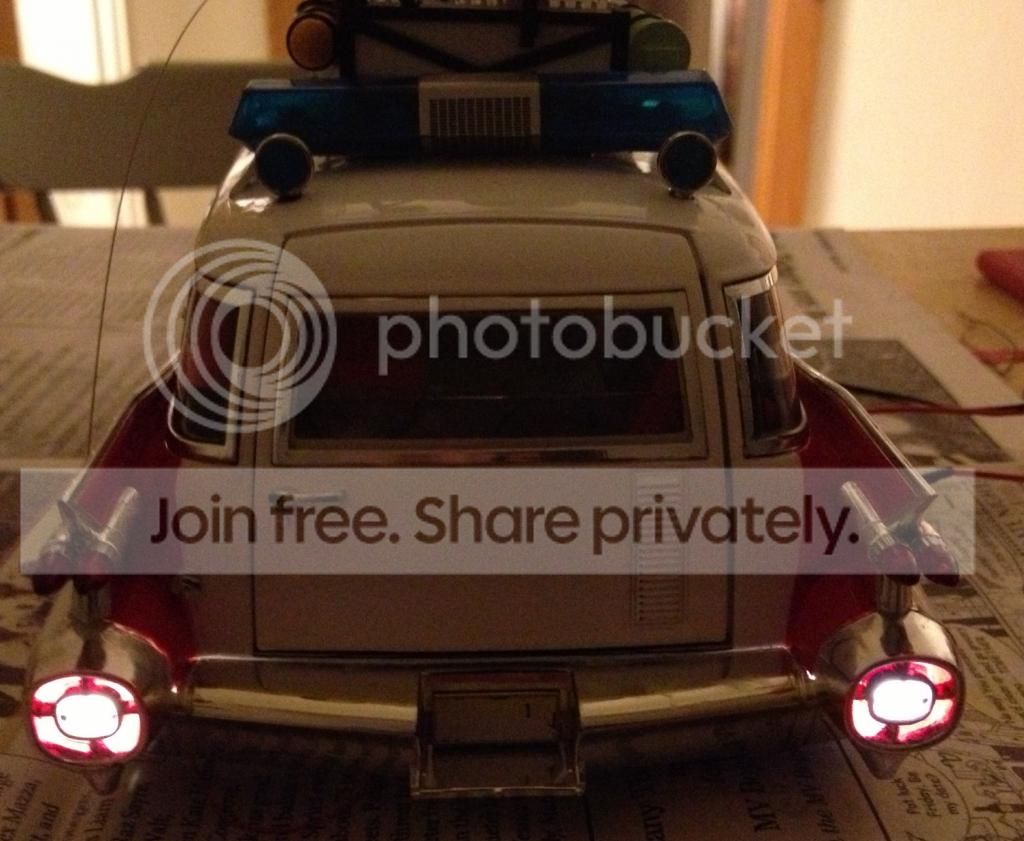
Switch 1:Back
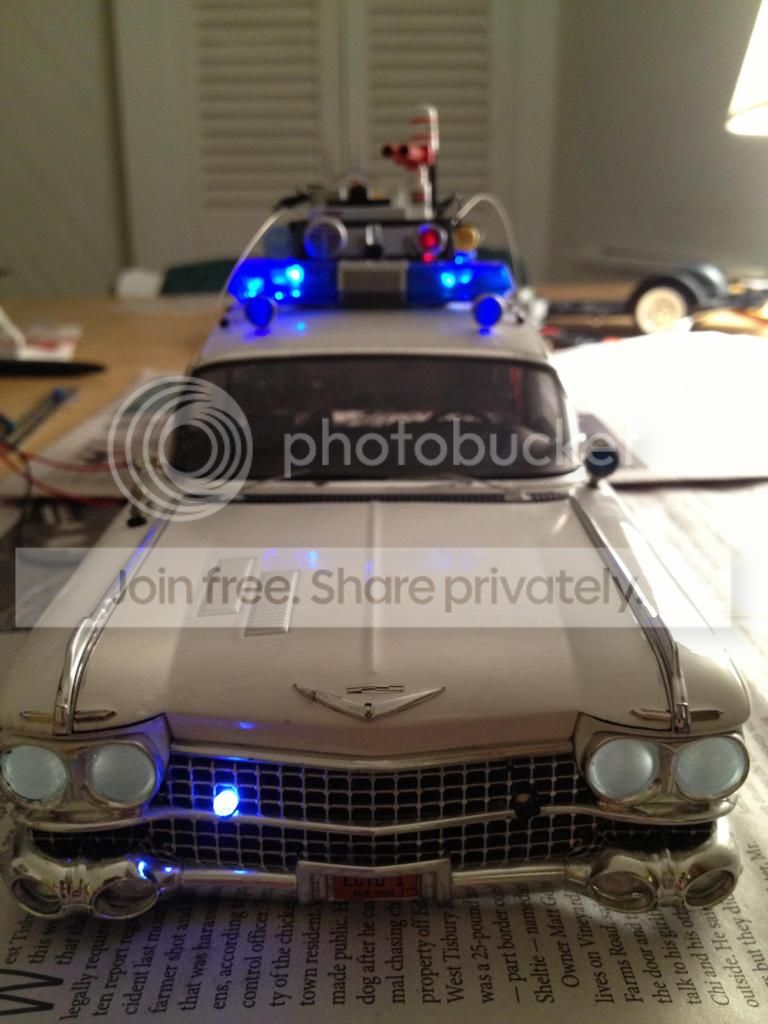
Switch 2:Front
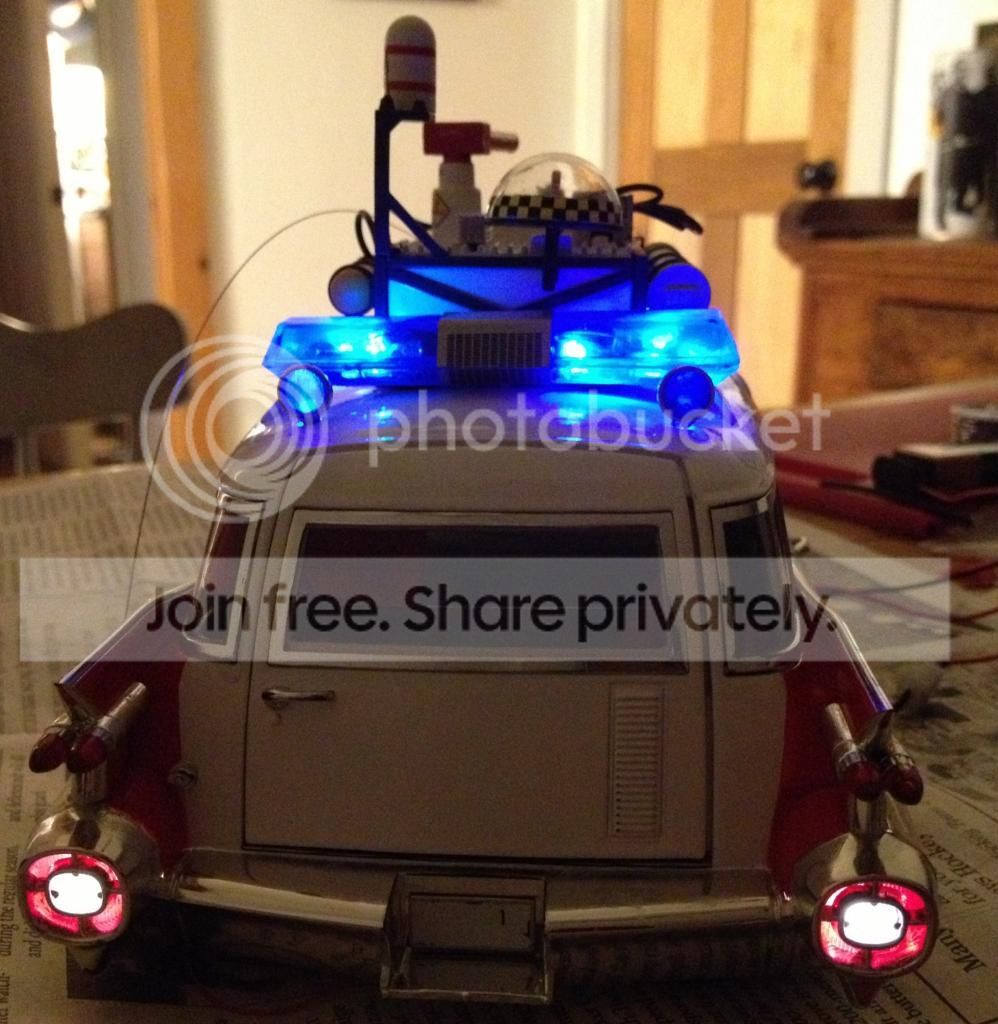
Switch 2:Back
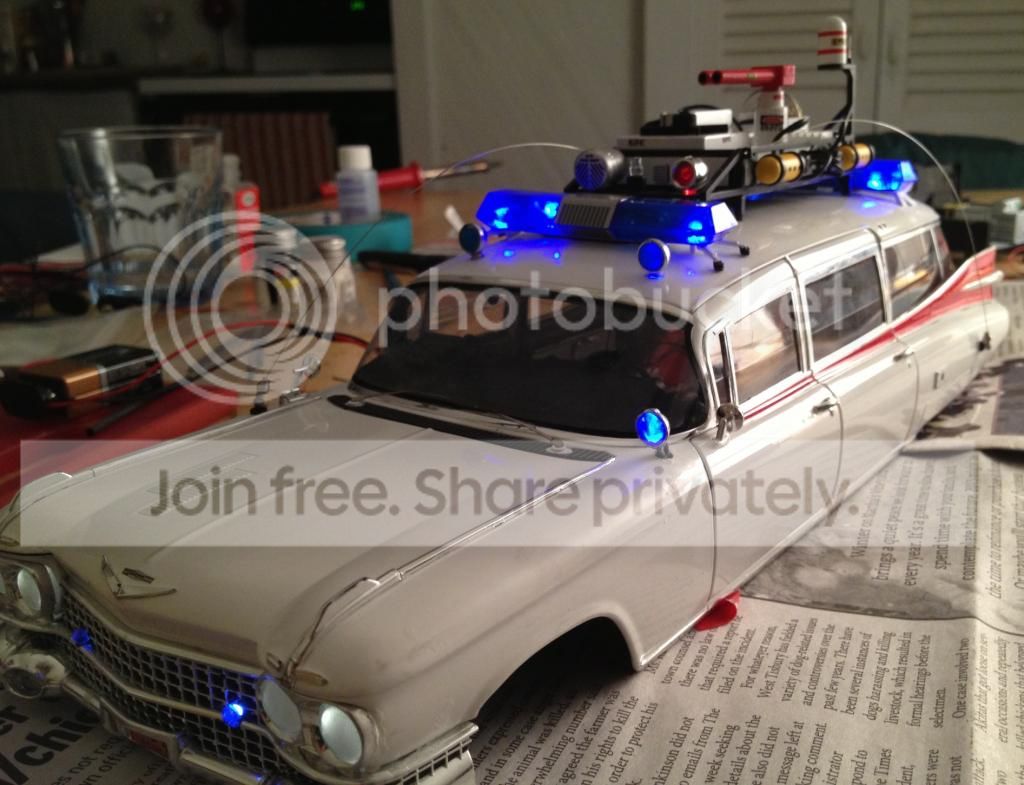
All lit up together in happy harmony!
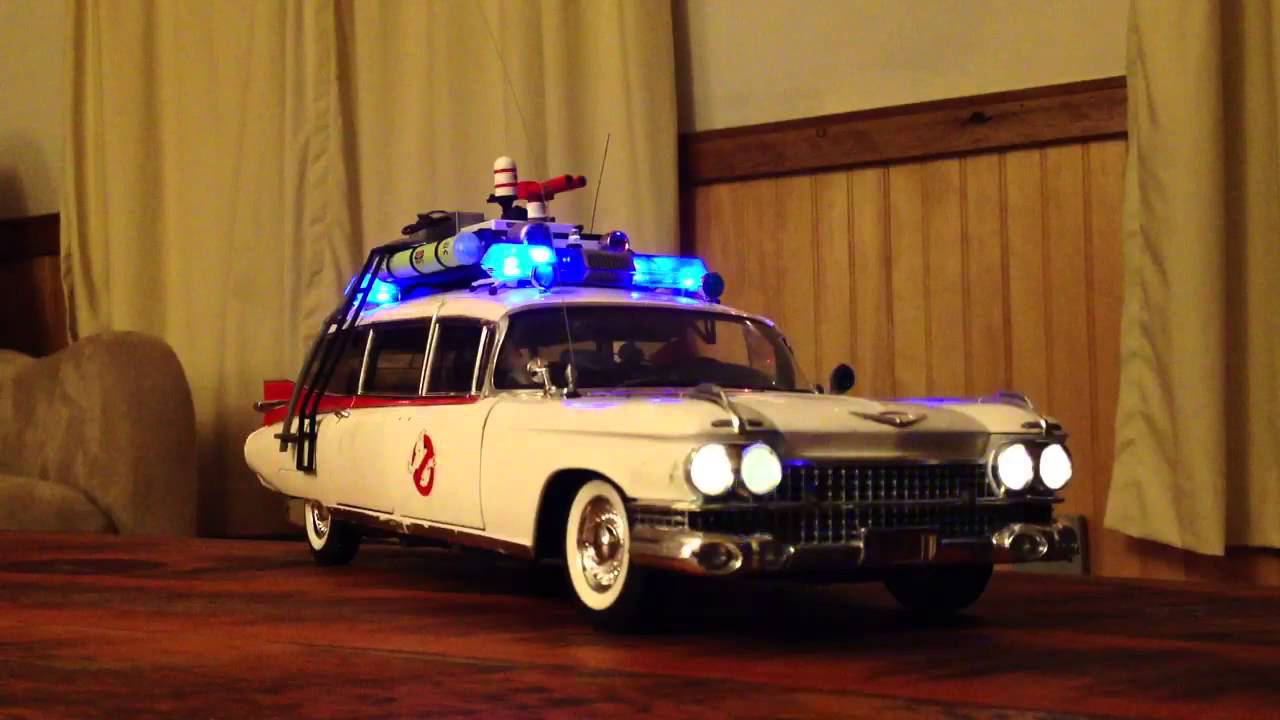
I’m going to sleep a very happy man. Thanks for the sweet dreams!
In other words- Ecto looks GREAT!
WOW, that is an amazing work of art.
Bravo sir, bravo!
I look at this, and want to know how to do this. Amazing work my good sir!
Sent from my DROIDX using Ghostbusters Fans on Android
Looks great :nicejobyoudid:
What size leds did you use and if you can post the exact colors you used that would be helpful also.
-Mike
Jay are you using fast flashing or slow flashing for your leds?
this is absolutely beatifull!
the onlky thing i saw is that u choose blue instead of white grillestrobes!, but the general outcome is exelent! the lightbars reminds me of my ecto1 1/24 with 2 wigwag flashers set to a slightly different speed! how did u do yours? can i order a set of decals?
Hey Guys!
Sorry its been so long since I’ve been able to get back to the project. Thanks for all the kind words and support, she’s actually not finished just yet, but so close I can see her now! And just in time for my Ecto-1A to arrive too! Hmmm .. the possibilities.
Okay so I’m going to take a min here and answer your “viewer questions” as many of you have asked some good ones and again I apologize for not getting back to them sooner!
The lighting scheme I used was as follows:
Headlights/Taillights: (4) 3MM soft white solid
Front Strobe: (2) 3MM cool white fast fash (NOT BLUE! @ JOGI82)
Flood Lights: (5) 3MM blue slow fash
Roof rack: 3MM red slow flash
Roof beacon: 3MM cool white solid
Light bars: (4) 1.8MM blue fast flash (2) 1.8MM cool white fast flash
All of the flashing lights are wired to a switch button, and the headlights/taillights to another button, all wired to one battery source.
The decals are available from @Slaysghosts. I’m actually ordering more door decals myself to fix an error on my part
All lights and lighting questions answered courtesy of @EvanDesigns http://www.modeltrainsoftware.com
I can not wait to jump back into this and finish it soon! More pictures and updates still to come, so stay tuned!!
Thanks jay and how did you go about fitting the leds in the 4 blue slow blinking lights on the roof? Also how did you go about taking the light bar off and all the little lights?
The answer to both questions is two fold, you need a drill with different sized bits, and you need to be very careful! All the fixtures are secured with melted plastic and you must drill through it to sever the connection. Once the drill releases the part, they all pop right off. You also have to drill more holes in the roof and make the flood light holes slightly bigger. The hardest part is using the smallest drill bit to drill into the little flood light fixtures. You have to drill up the middle and then pop out the blue lens to create a big enough hole to allow the light to shine through. The flood light by the door is actually just the LED painted chrome because that is the only way to make it work. You have to accept that when customizing Ecto-1 you will compromise some of the original integrity, but not much. And trust me, it’s BEYOND worth it!
WOW I can’t believe how much I thought correctly on this whole process.I just needed to double check with you.I was able to actually pop off the blue guards on the top roof rack so I’m just gonna whind up drilling right in the center then run the wires through one hole rather than make alot of holes in the roof. then super glue the leds in place.It’s just the little ones that will be a problem do you know what drill bit size you used for yours?.
I don’t remember, and you have to remember there will be a lot of wiring and such and they get bulky and won’t fit into the drilled holes. You will have to drill another hole to make room for the wires. Other than that, have fun and good luck!!
thanks for the answer! and sorry, the strobes just appeared blue in the video!