3D Printed Pack Build

For just over a year I have been modelling and 3D printing my first pack build. It has been a way longer process than I thought it would be, but I am really enjoying it and have learned a good number of new skills. Anyway, I thought I would show my progress thus far and outline some of the troubles I have had to deal with.
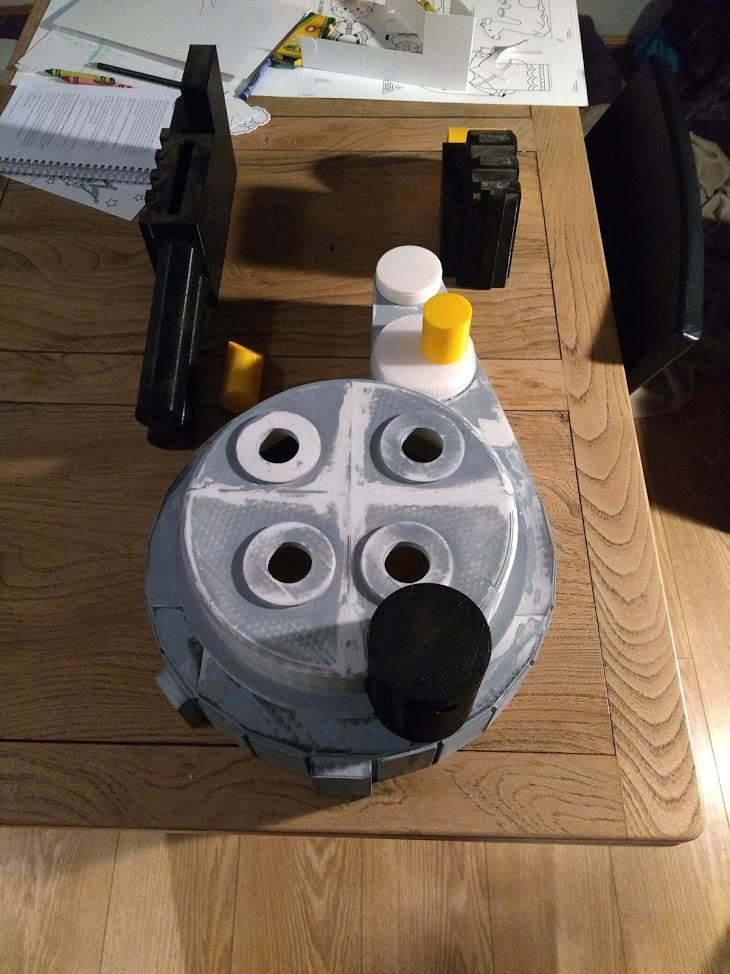
This was from that start of this year. I have a fair bit printed but not much done in the was of prep work. The biggest problem with 3D printed stuff is that even if you paint it, it still looks printed.

After some research I found a product called XTC-3D, which is a low viscosity epoxy you can paint on to a print to help even out the layer lines. Here is an example of a piece I have prepped.
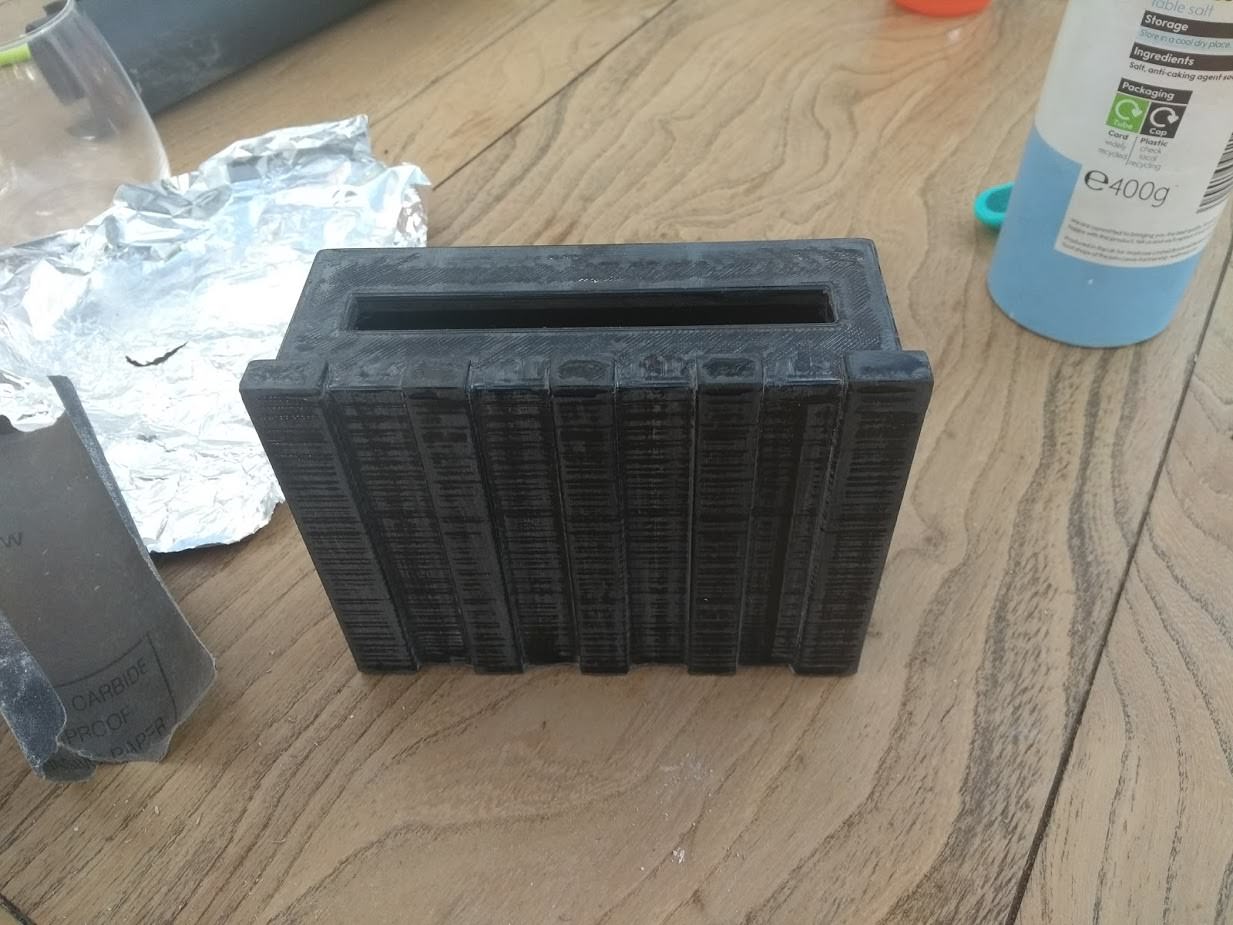
The base print with some preliminary sanding.
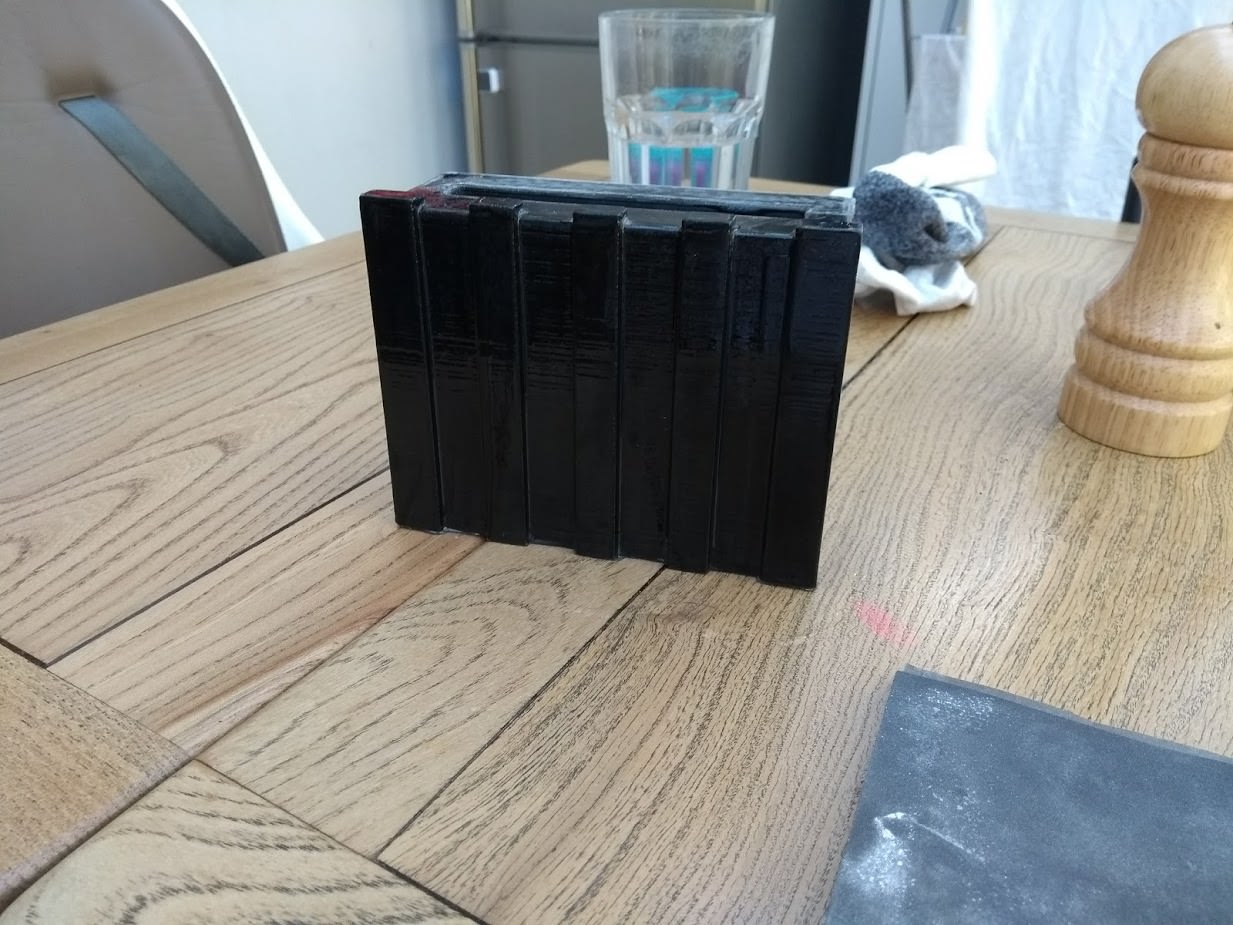
The print after two layers of XTC-3D. This then got sanded.
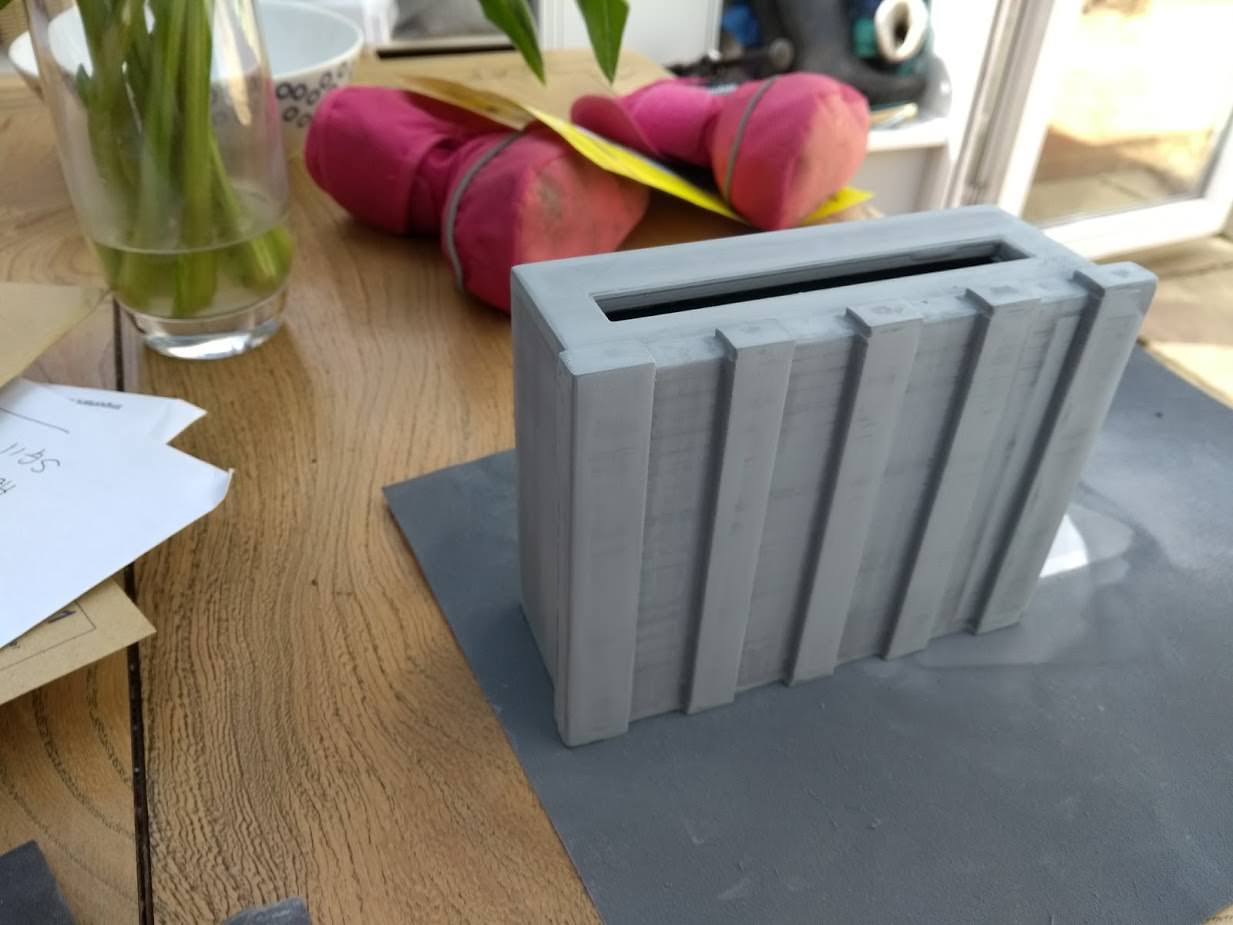
After primer and light sanding. To hold and look at it has got far enough away from the print look.

The hardest piece so far has been the bumper. Not only is it one of the more complex pieces to model, but the size of it meant I had to print it in four pieces. This was not only to fit it onto my little printer, but also to help me deal with warping at the print bed level, which is pretty common with cheap printers.
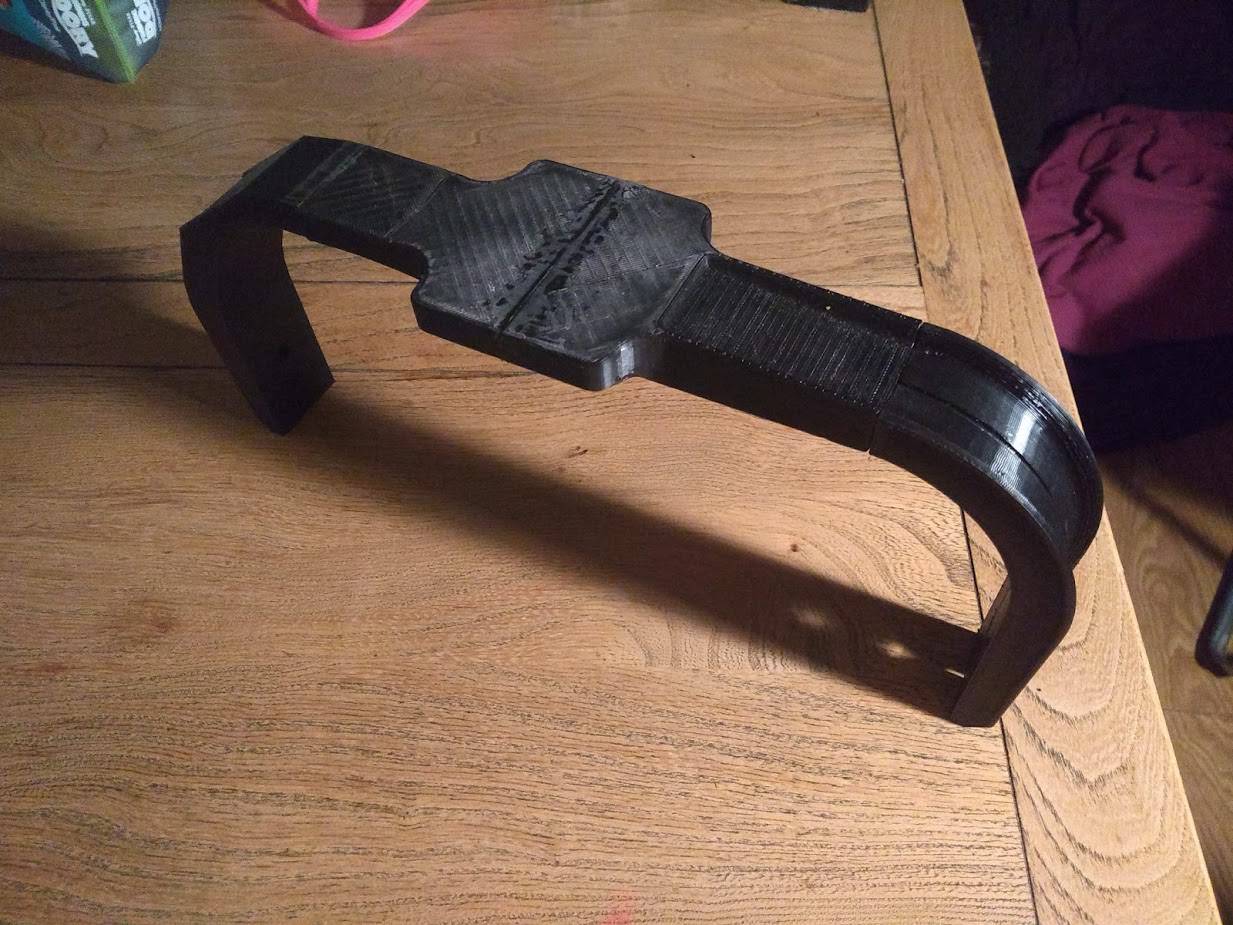
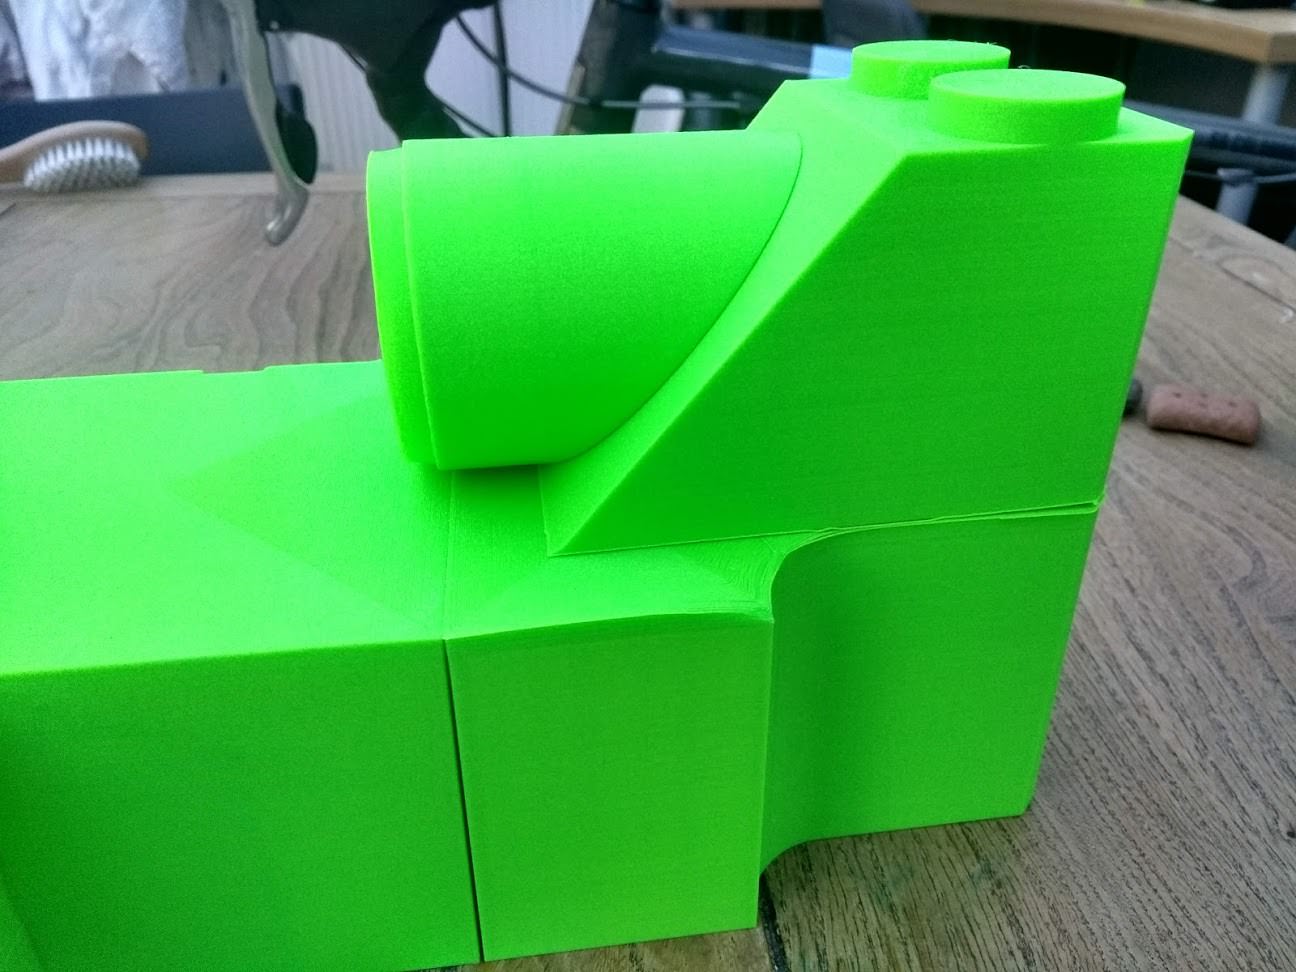
You can see the joins quite distinctly here. This was just after I had it all glued together. I use Gorilla Glue to join pieces. You can also tell that different pieces were printer in different orientations. It was the cleanest way to print them, but I was a little worried I would be able to cover all the variance up.
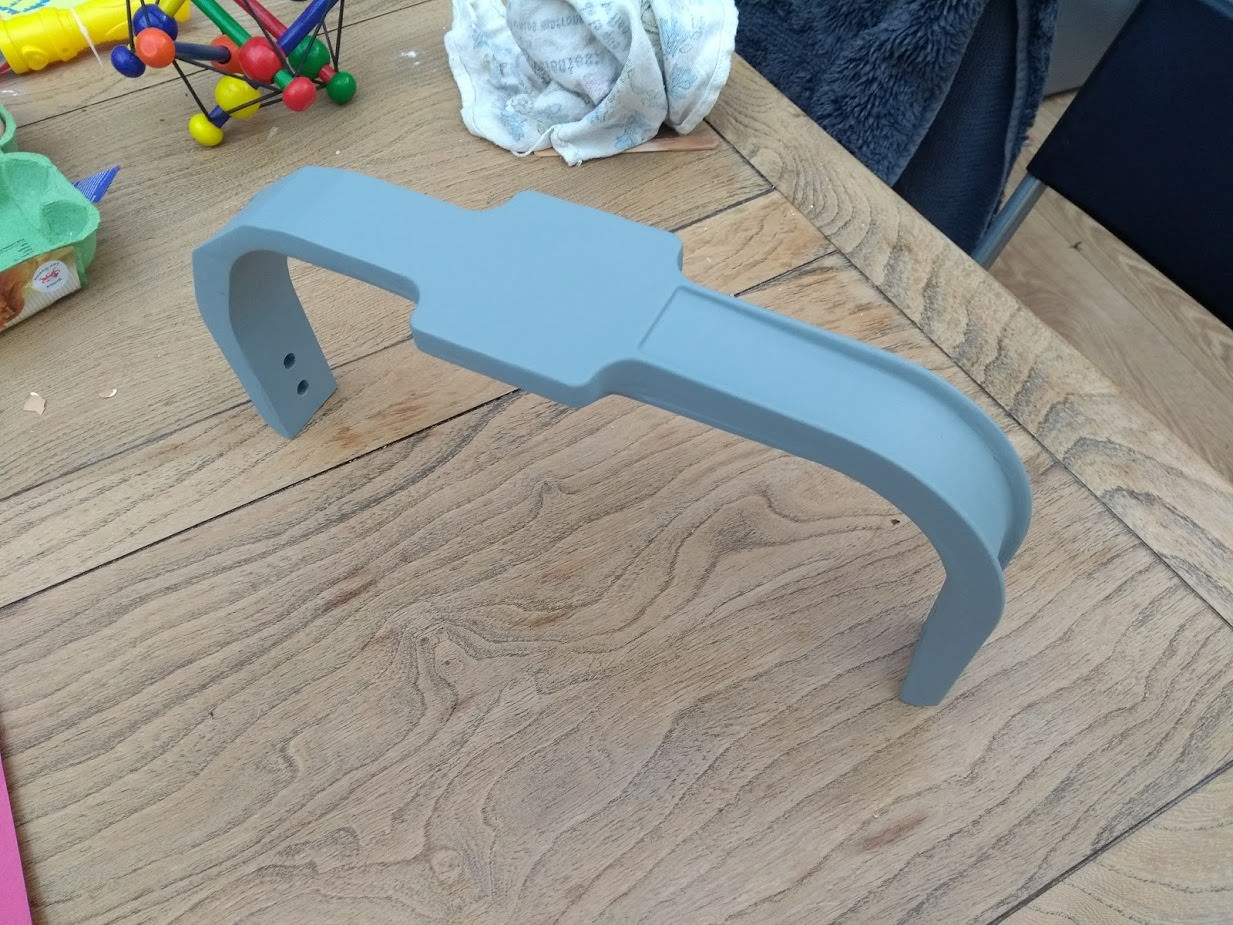
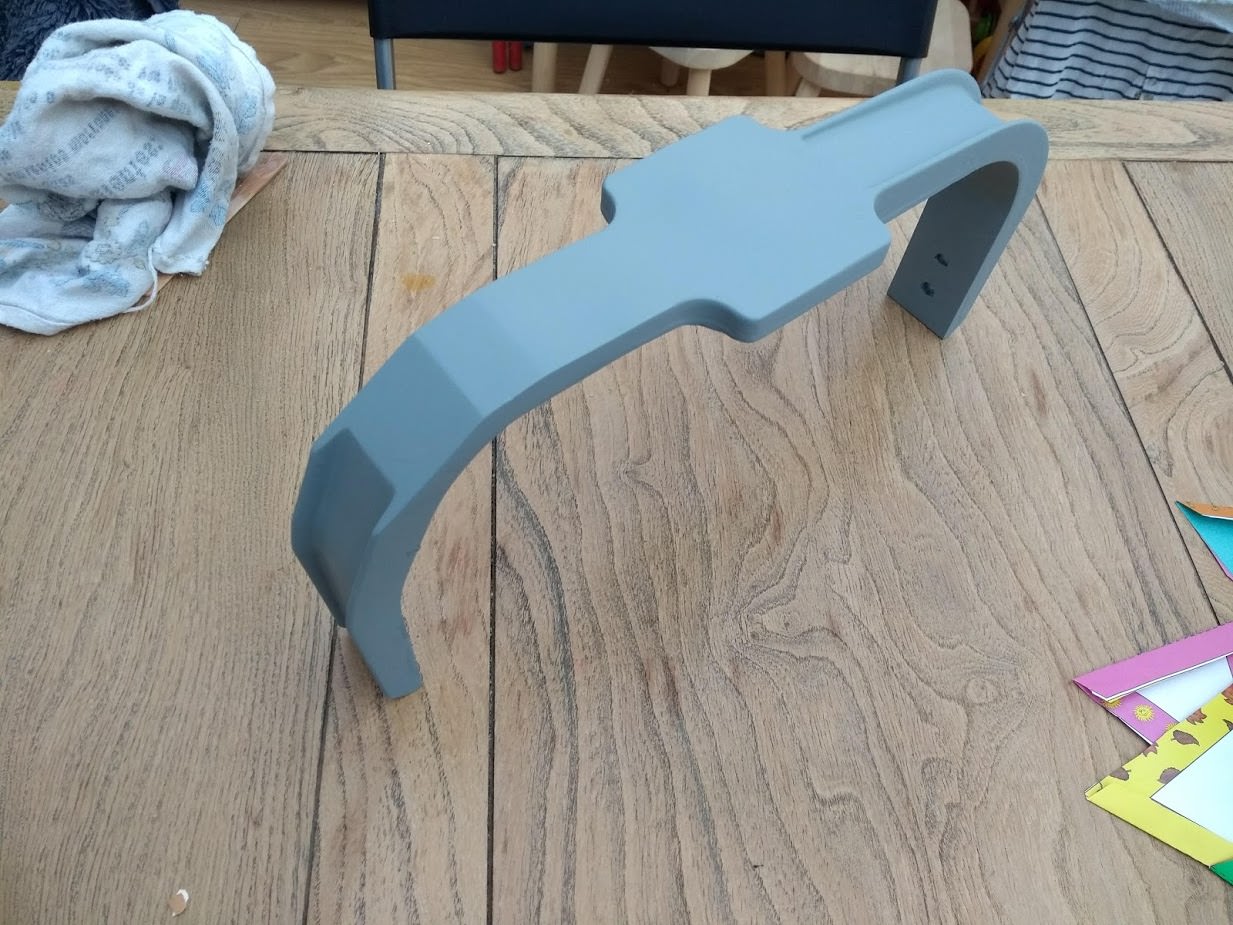
The fully prepped bumper. I was so happy with how it came out. Hard work and LOTS of sanding, but well worth it.

I have lots still to print, but I think I have the hardest work behind me. Biggest thing to model and print is the gearbox. Doesn’t look overly daunting though.

I will try and update as I make more progress, and any tips are welcome!

Looks great! I will be 3D printing some of my parts.

Thanks a lot! I don’t think it is the easiest route to take and certainly not the cheapest! I reel of filament costs me about £22, and it looks like the gearbox with take about 1 and a half reels to print.

I modelled the gearbox this morning in a rare day at home without kids etc.

image

Here is the front side. I modelled in some form to hopefully allow easy and secure attaching of the hose.

image

The view of the rear. I modelled the fins all the way to the base as it is easier to print that way, and it is easy for me to slice that shape out of the EDS box section.

image

How I decided to split the model for printing. My build volume is only 15cm cubed, so it was too big to go in one. I also hollowed it out to save on final weight.

image

And the print of the smaller section in progress! It has been going about 2 hours at this point. I have my printer on its slowest setting as any faster has been causing my prints to go wrong recently.

The diagonal lines are the supports that it will print the lid onto and will be removed when complete.

You can also see the honeycomb structure inside that reduces weight but keeps it pretty sturdy.

I will update again at a later date!

Impressive modeling work. I have been trying to learn Blender off and on for the last few months. Thinking about taking classes cause there is just so much it can do, it gets confusing and frustrating. For my Proton Pack I am starting with Studio Creations shell, and printing the rest on my CR-10S. I should start a thread in the next week or so.

Not gonna lie…I am so jealous of that printer. Being able to print out the cyclotron in 1 piece would have made my life so much easier. I have a Da Vinci Mini and it is pretty sucky. Major print errors are pretty regular and you get locked in to the company’s less than amazing filament.

I am using Houdini as that is what I do for a living. If you are wanting to get more into the world of 3D, and especially if you like the idea of making explosions and stuff, then Houdini is perfect. The free version is all singing and dancing with just a few restrictions on render resolution and it sticks a watermark on the images you render. It has a bit of a learning curve, but the fundamentals of modelling is the same in most software, plus you can spit STL files straight out of it.

Blender is amazing and free, but Houdini is used on all the biggest films in the world, and I love it!

If you want to have a look, go here.

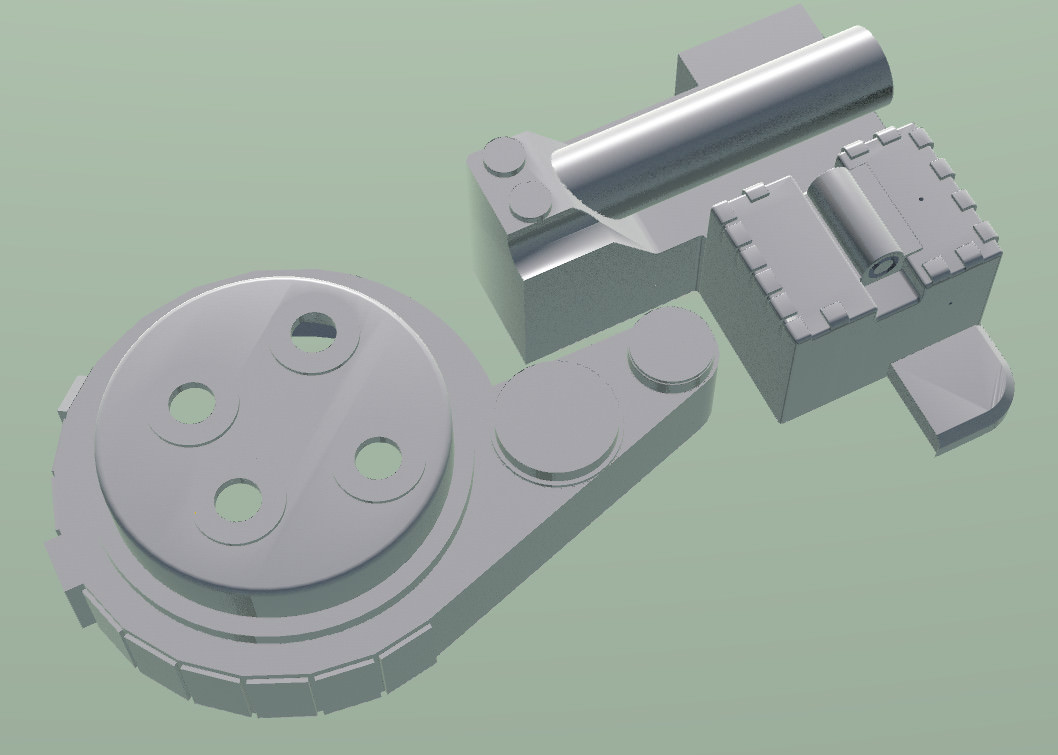
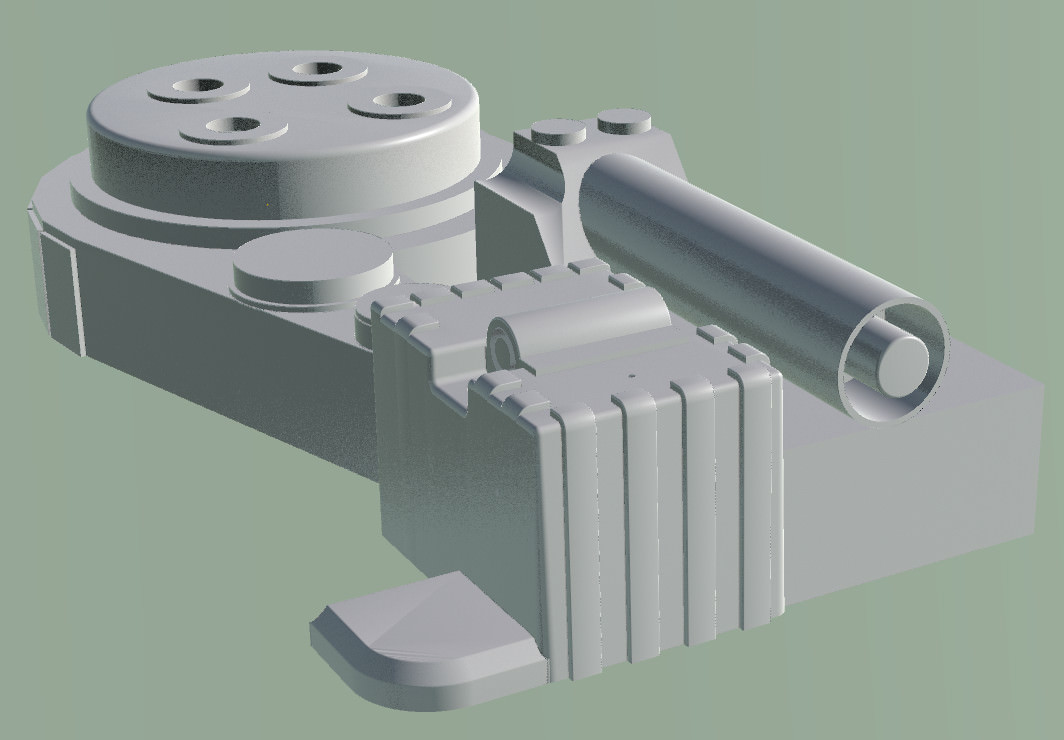
Another update before bed! Just about done with modelling the corner plate, EDA box and booster.

After the hell that was the bumper, it is nice to be able to smash out so much so quickly. Now all I have left to model is the filler plugs and centre cover for the pack. I still have the whole proton gun to do, but that mostly looks quite simple…I think.

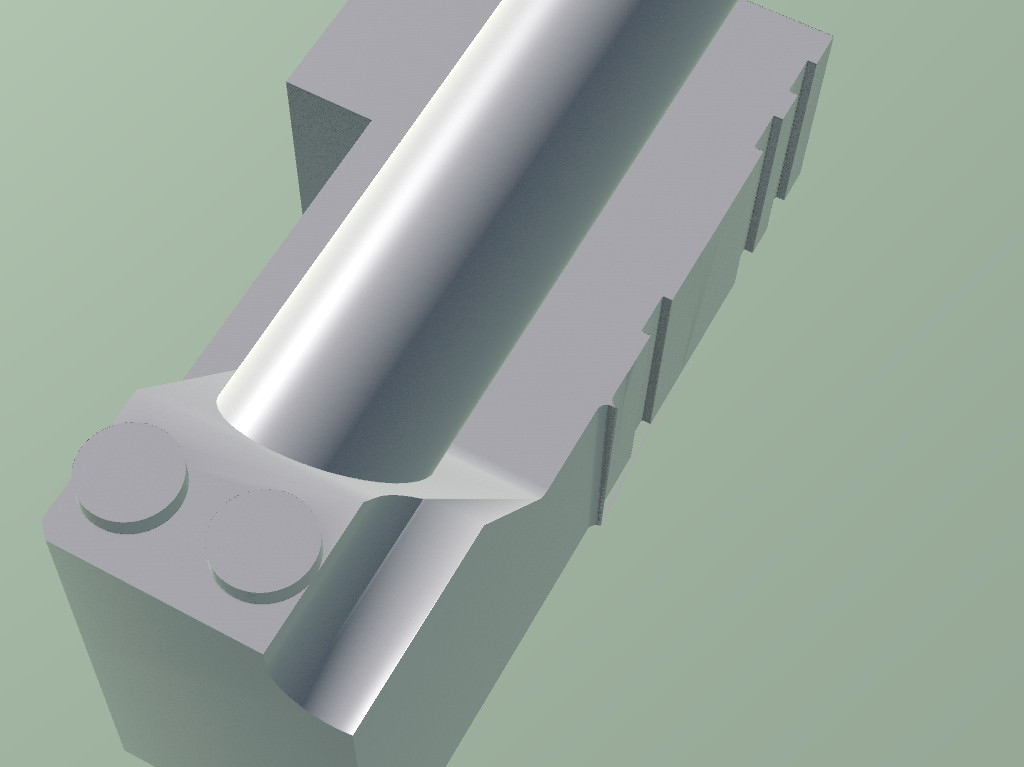
Below you can see where I have contoured the side to slot right up against the gearbox. I expect I will still need to do so prep work on the pieces to get them all to slot together, but it gives me some solid points to work from!

Two attempted prints that wasted about £10 of filament has convinced me to buy a new printer. As I don’t have lots of space I have opted for the Creality Ender 3.

image

I have really liked my Creality CR10, my next buy will likely be an Ender 3. I think it will work well for you

Looks like you have the davinci mini. I had that one as well. The filament is rediculously expensive for that. I think you will like the Ender 3. I’ve been thinking of getting the CR-10 mini. Bangood has a great deal on it right now.

Whatever you choose I recommend the hatchbox filament on amazon.

Links in this post may be affiliate links. Purchases made through them help support this site at no additional cost to you.

Just to say I have a davinci mini as well. The XYZ filament is expensive, but you can simply flash some new NFC tags with an android phone and use any PLA.. the tags are about 20p each.

I am LOVING Flashforge PLA on my mini. it prints really nicely.

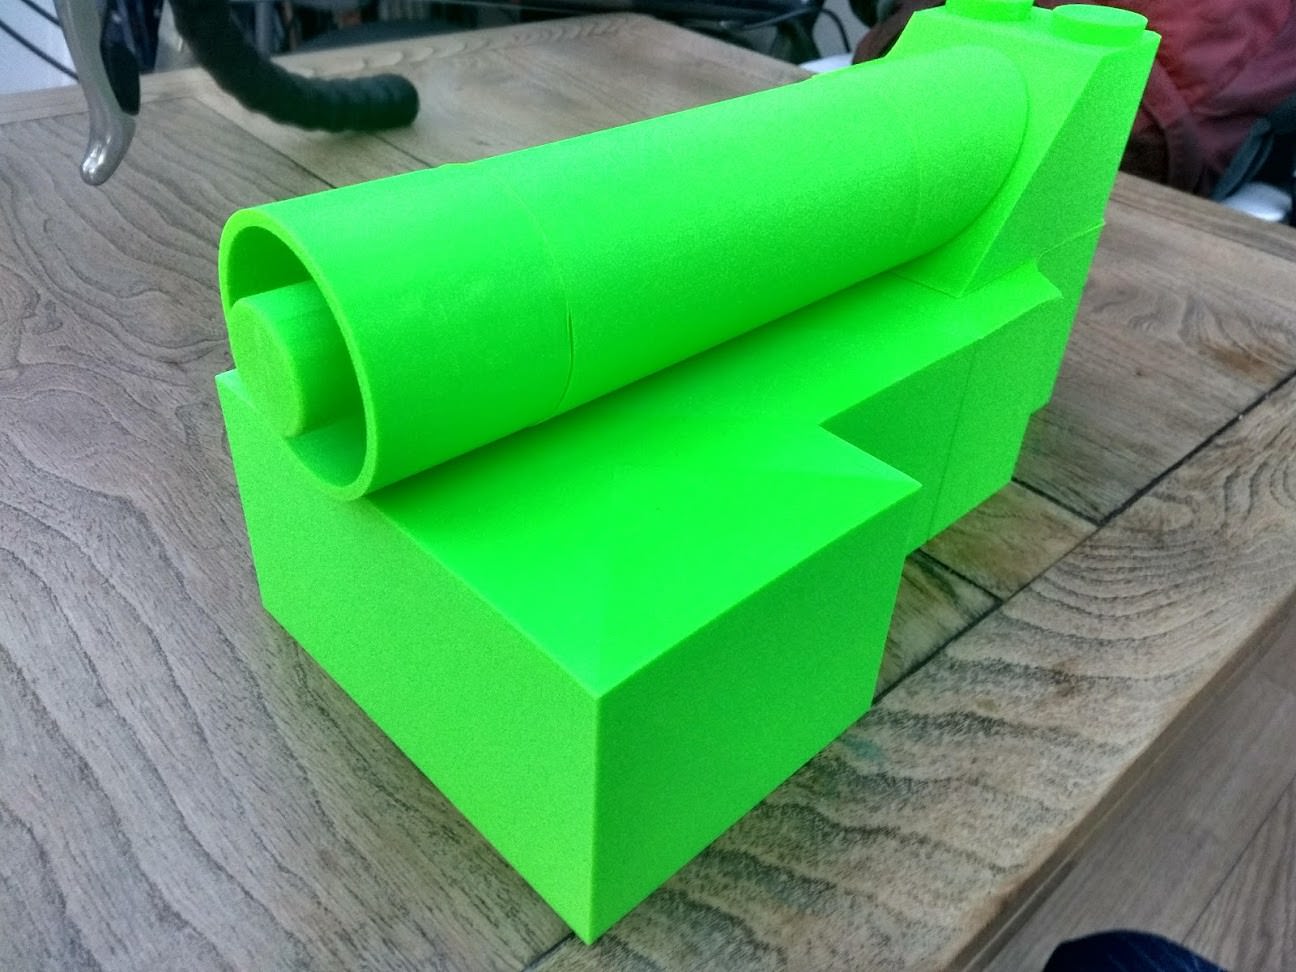
Just finished printing the gearbox on the Ender. I thought about doing it as one single piece, but the print time and amount of filament it would have taken put me off.

image

image

image

The filament for the Da Vinci was expensive and pretty variable in quality and I though about flashing NFC cards, but to be honest I have kind of been waiting for a good excuse to upgrade, and the recent reviews of the Ender convinced me to make the switch.

So far I am pretty damn happy! New to Cura and the intricacies of tuning a printer…the Da Vinci was very much pre-calibrated.

Looks good, Yeah that was the nice thing about the davinci as it was easy to get good prints with it. When I had mine i looked into the hack but could not find an active seller. I moved on to the monoprice maker select which was a good printer to upgrade too. Now I’m looking to upgrade again and Creality printers seem to be the best bang for the buck.

Nice!

I’m not quite as brave/talented as you so I’ve been using models from Thingiverse. I’ve mixed and matched the pieces I like but it’s working out OK so far. :slight_smile:

My pack on the right, a pack from Karnivorous Creations on the left:

I got the chance at our last build day here in CT to check my pack against the Karnivorous motherboard and it’s a near perfect fit! So I ordered one. :slight_smile:

(yes, I know the ion arm is backwards, it’s not glued yet!)

All looks great! Nice to see a bit of PKE Meter in there too. You get those off thingyverse?

I got the EDA box printed out last week. Did it in 3 sections and the all came out really well. Booster next!

And my order from the GB Fans shop came in!

I’m not a fan of 3D printing…

But I have to admit that it’s a very good job!!! :smiley:

Thanks! I am working really really hard on the prep to make things not look like a print. I don’t mind the aesthetic of 3D prints, but not for something that is supposed to look like fibreglass or metal.

Printed out the booster over the weekend.

Here it is in parts. I built male and female sockets to help slot them all together cleanly. It does mean an extra level of prep down the line.

Here you can see how tight the tolerances are that I am getting from the Ender. Happy days.

All three parts slotted together and placed on the EDA box.

I am not sure what I will tackle now…maybe model and build the booster frame. I don’t think it will be a huge job…but I thought that about the bumper!

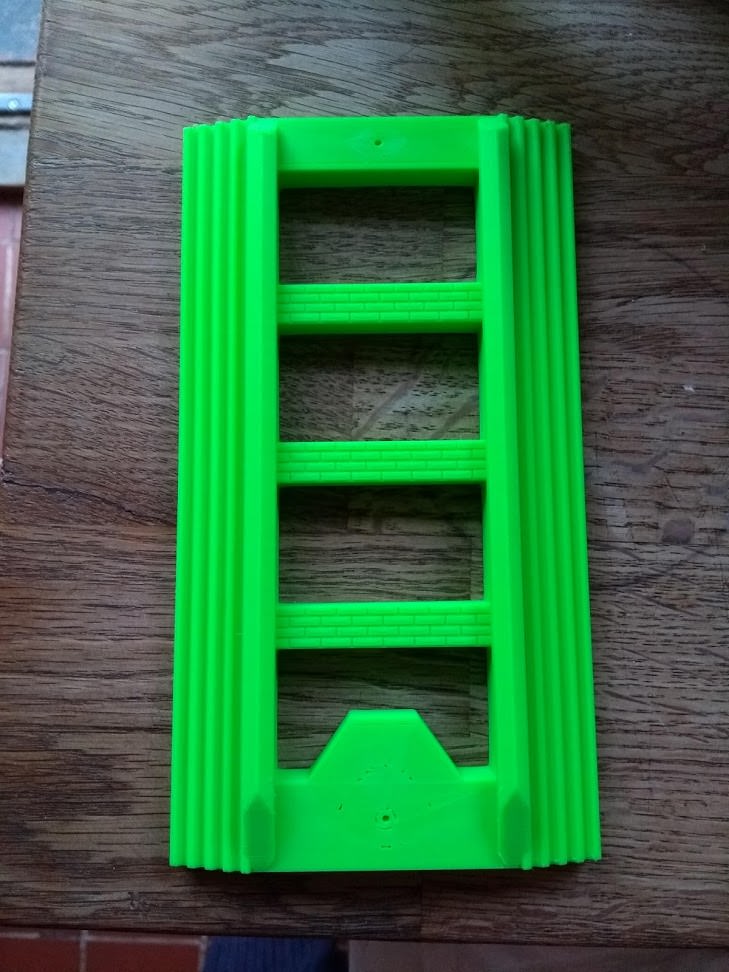
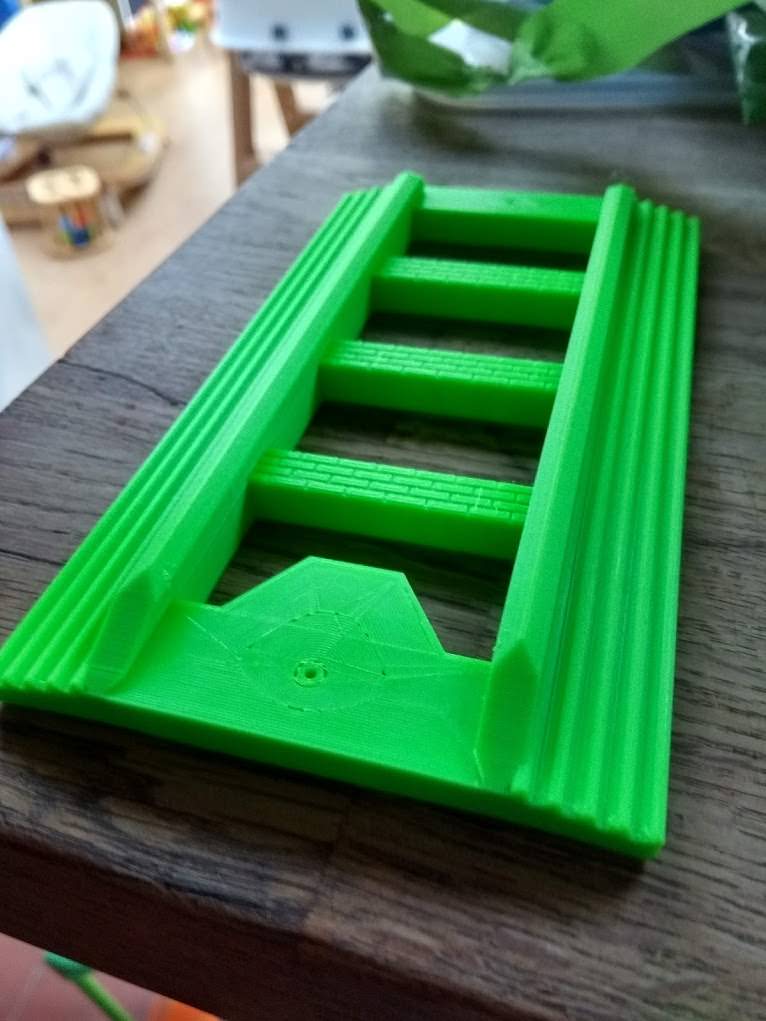
So I did indeed tackle the booster frame. It was pretty quick to model. I wanted to get some surface detail into the cross bars. It looked like a brick pattern in some of the reference images, so I went with that. It might not be what was used in the film, but it adds a subtlety that I like.

I printer this at 0.1mm layer height to ensure I got all the detail I was after.

Wow, nice!!! :smiley:

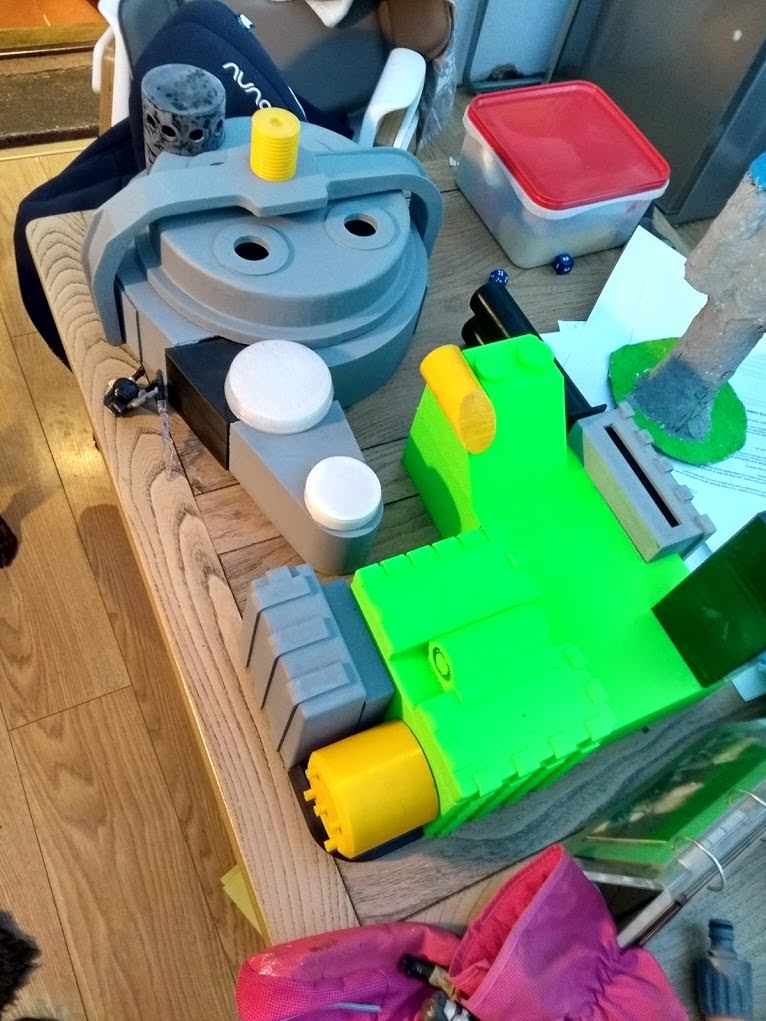
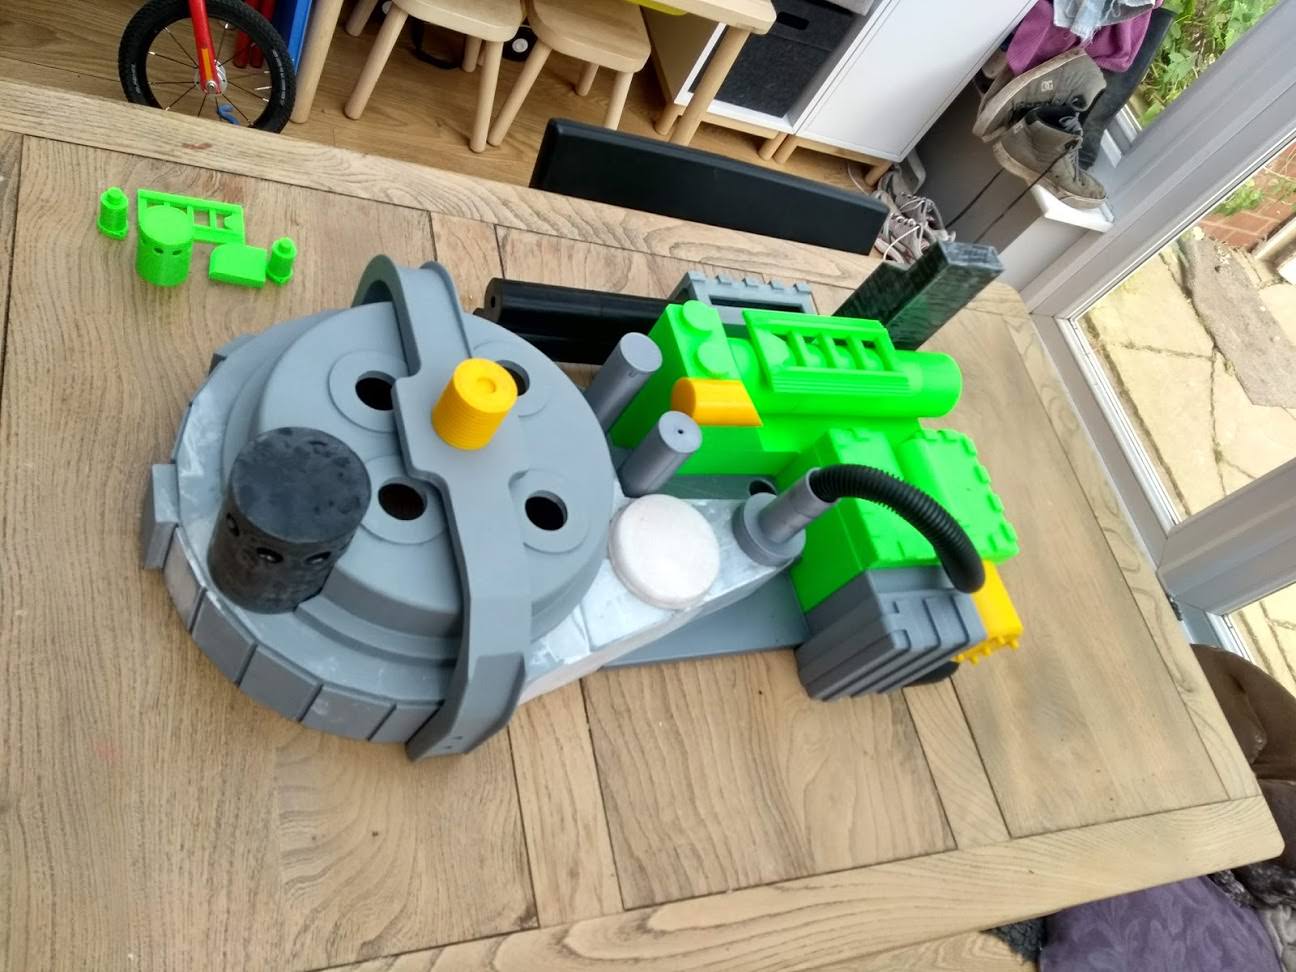
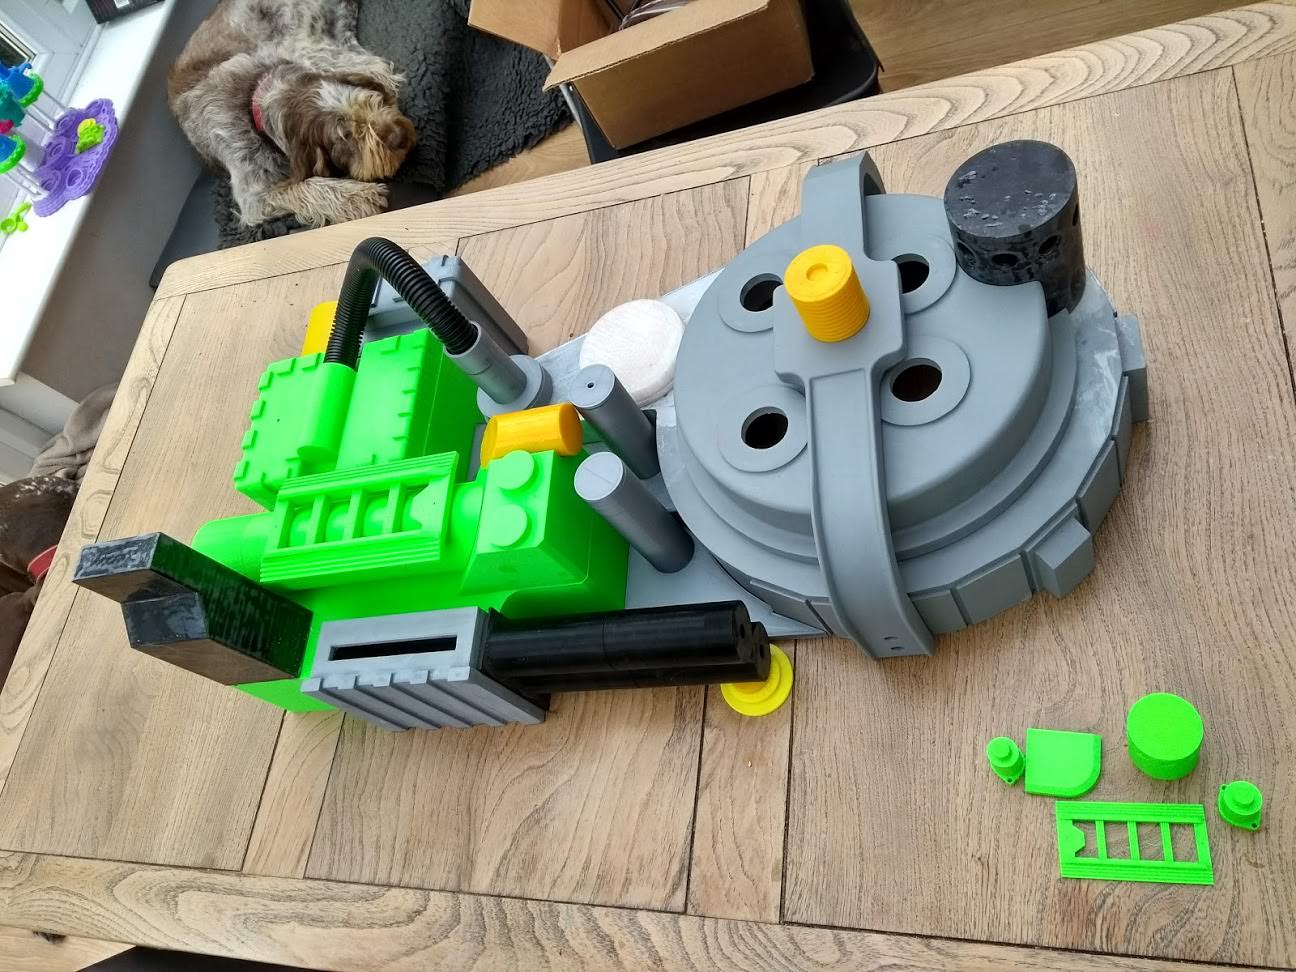
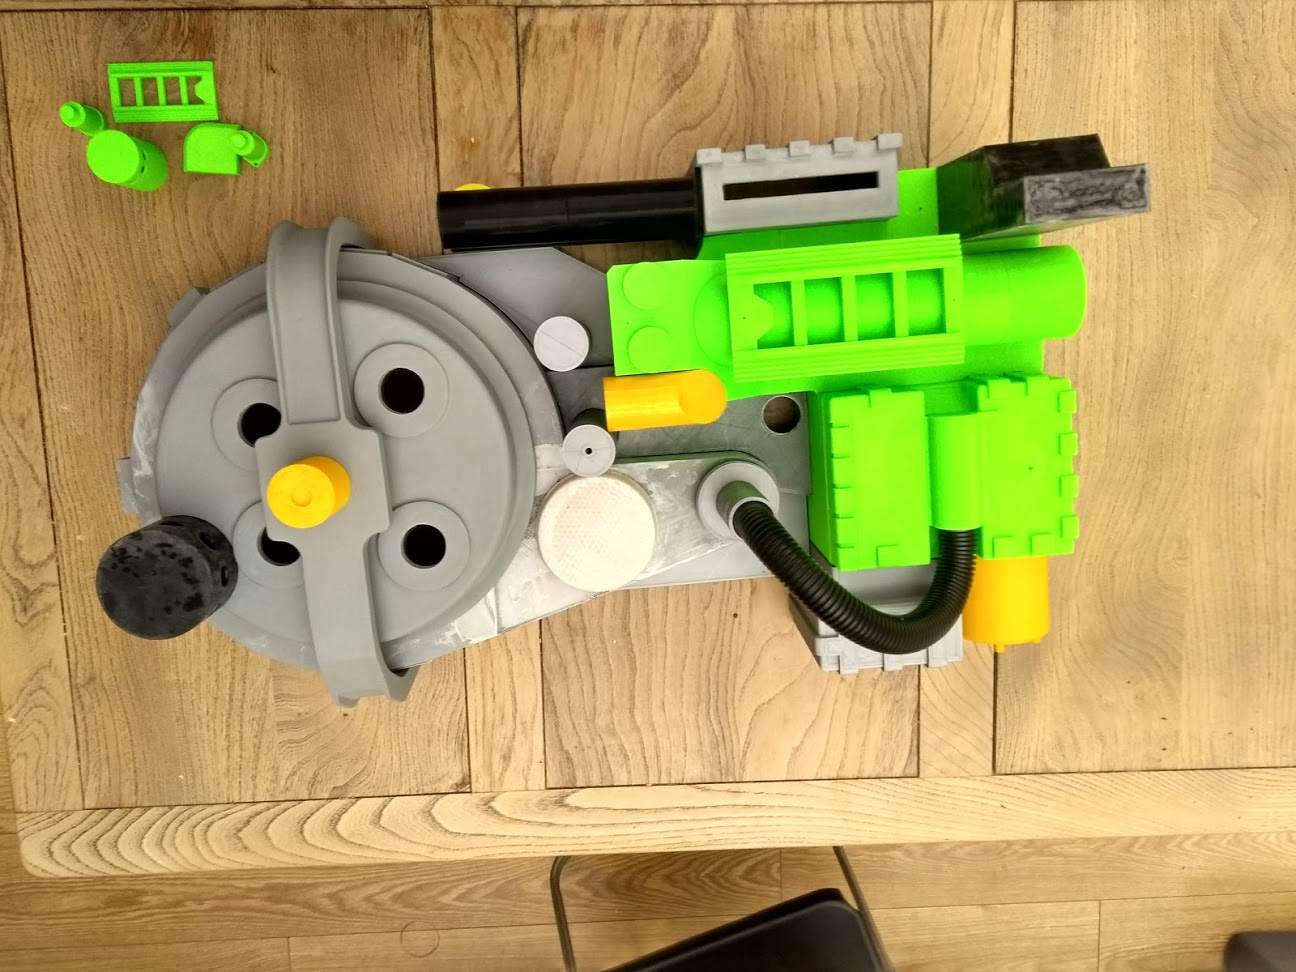
So I think I have now printed all the parts I need for the pack! It was a pretty nice moment when I laid everything in place and could see the full form of everything. I must admit I spent a looong time just walking around it and looking at it.

Next step is to glue it all together and prep. Mostly that will be filling seams, covering with epoxy, sanding and priming. I also need to sort out a motherboard. I am not sure how I will go about it yet. Though based on Stefan’s plans there is no guarantee that everything is correct when taking warping and gluing into consideration. I think I will make a wooden motherboard first for easier cutting and shaping, then use it as a template for aluminium.

Anyway, here are the pics. As a bonus, you can see some of the 50% scale parts I printed off from the end of a reel for my daughter’s pack. She is not even three yet, but she has watched Ghostbusters a lot and asked me for a pack last week. It was a happy moment in my life!

Looks great very nice work. That is the nice thing about 3d printed parts. They can be scaled and manipulated. I built my 7yo son a left handed pack/wand. Be careful on weight for the little one. The pack got heavy once everything was together and he maxed out at about an hour trick or treating with it on. He slept like a baby that night though :slight_smile: Anywhere you can save weight I’d recommend trying to do it. I’ve seen some kids packs that compress it height wise which I think would be a good call after building a scale version for my son.