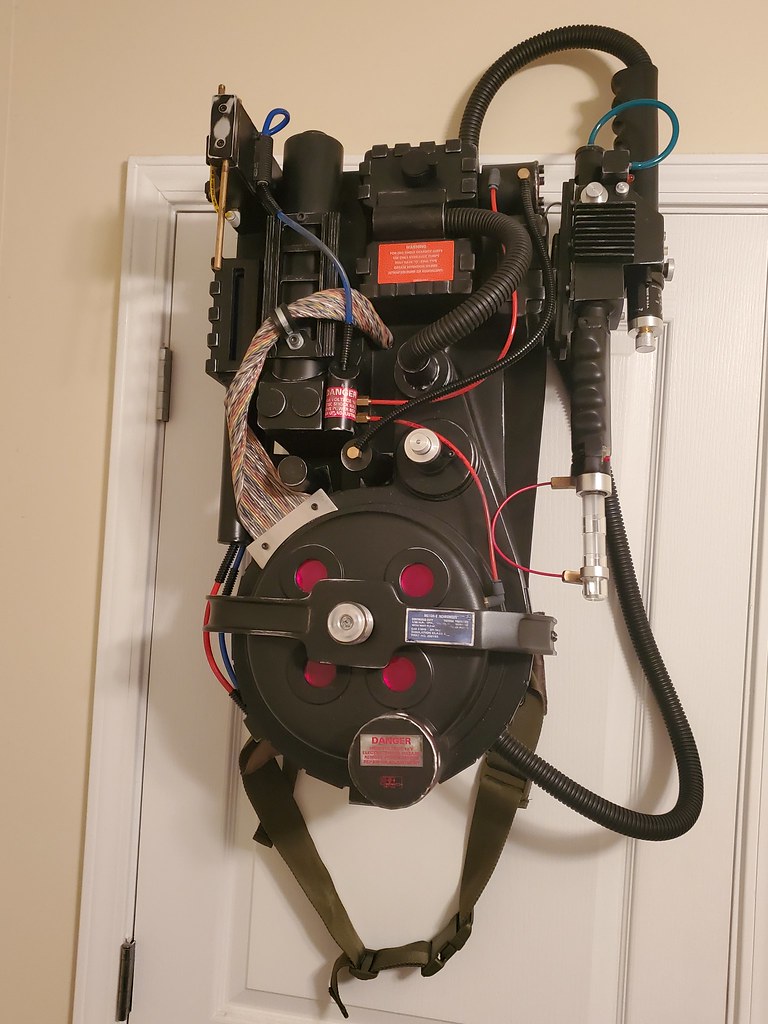
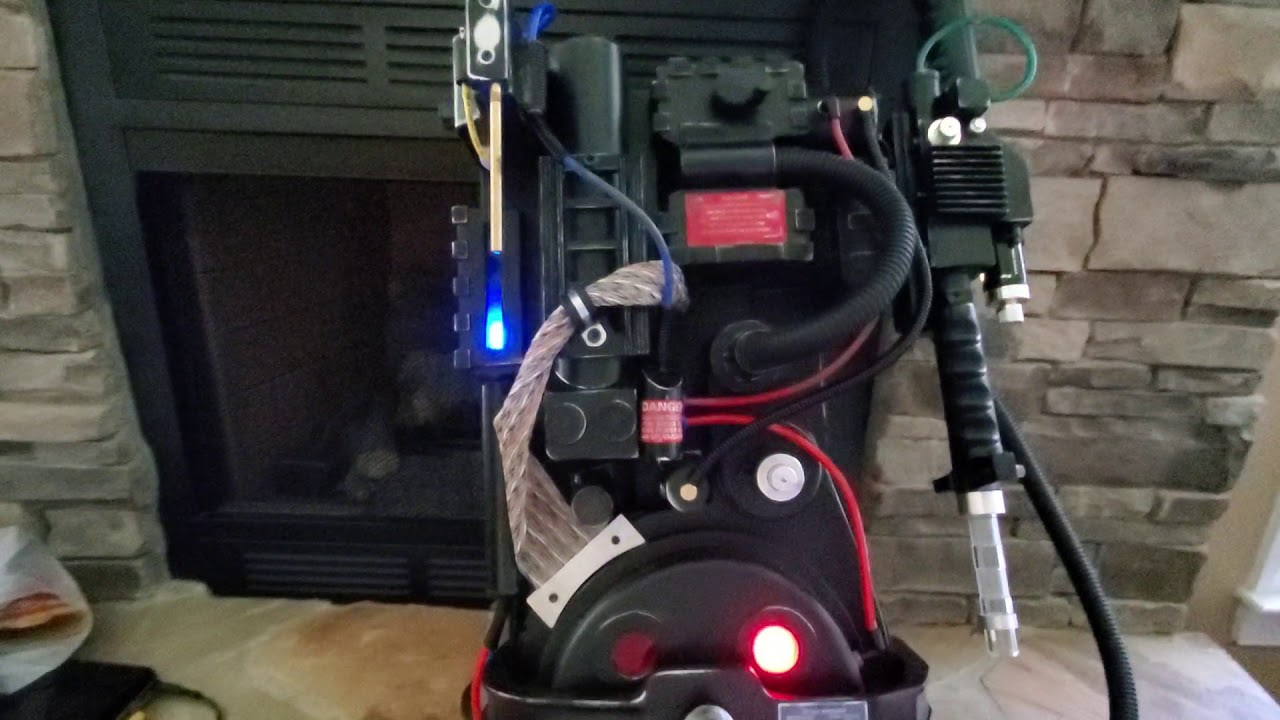
Anovos pack build beginning now...

Hey, all! At long last I have a pack kit - after pre-ordering the thing so long ago - and I’m about to start the build.

I’ve been going through the forum looking for threads where others have done the Anovos kit, and I’m reading those now. I want to learn everything I can before going into it… Can I ask, is there anything I need to know right off the bat? I want to replace all the parts that should be in metal or resin, but of course I don’ t know which those are yet. I’m an almost total pack ignoramus currently. Someone hinted to me that there were inaccuracies that need correcting, but he wouldn’t say more and I couldn’t even tell whether he was serious… Should I start by getting a better motherboard, or is this one acceptable? Should I sell the whole thing and buy a different kit? Which electric kits should I buy? Am I asking stuff that has already been written down somewhere? I’m open to any advice anyone can offer.

Thanks!

I’ve now finished reading all the threads I could find on it (well, not all of them… quite a few), and I’m… intimidated. And possibly arriving at the conclusion that I’ve made a terrible mistake.

Nah, not a mistake at all! I was a total novice at this stuff, and managed to get it all together, and I love the thing!

There were some… learning opportunities along the way, but it’s all very doable.

  1. Definitely take inventory of your parts, and make sure nothing’s damaged… that was a theme I saw pop up a lot on later kits, but everything in mine was, fortunately, intact.
  2. Decide up front what parts you want to upgrade, and have those on-hand before you start building. There’s a lot of stuff super glued to this kit, and it’ll be easier if you don’t have to remove that stuff later to replace it. (Kind of worried about knocking out the crank knob here soon, as I try to replace it with the new GBFans version) I really only upgraded exterior parts on mine… Clippard valves, tubing, hat lights, switches, trigger tip, labels, etc… I kept all of the resin body parts like the booster tube, N-filter, and all of that stuff.
  3. Make sure you have a corded Dremel tool, and a round diamond-tipped bit. I got this on Amazon It’ll make cutting through areas of the fiberglass shell, like the power cell window and the ribbon cable hole, so much easier.
  4. I still have the original mother board on it… Seems sturdy enough, but I did order a replacement metal one from Etsy earlier this year. I haven’t switched to it yet because it just shipped recently to my office, and I haven’t ventured in there yet since quarantine started. I’ve worn mine quite a bit with the plexi motherboard, and it seems fine so far.
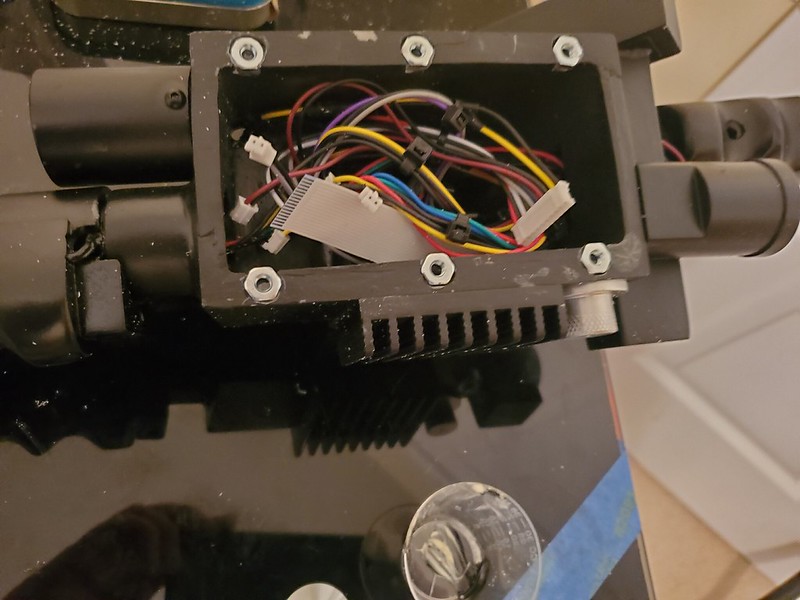
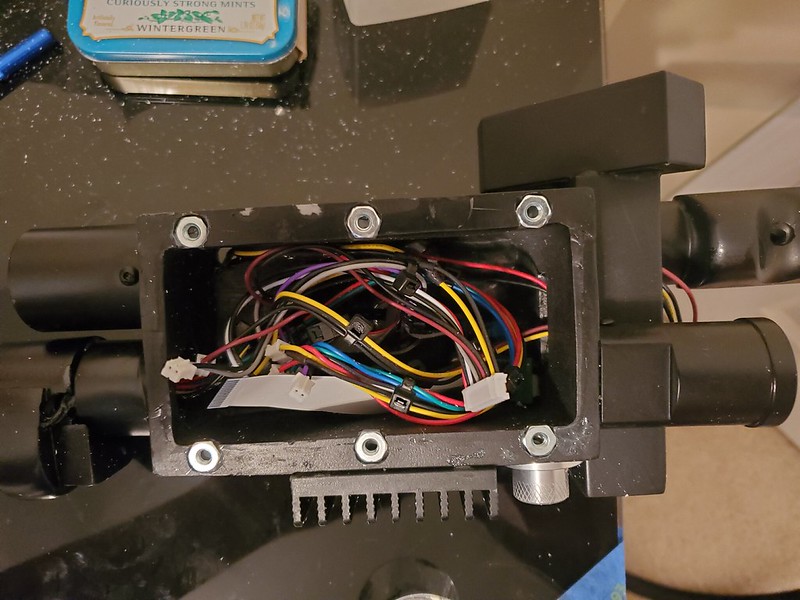
  5. I’d highly recommend getting a tap kit, and larger socket head screws to hold the plate on the bottom of the wand. The holes in the plate and the holes in the wand body didn’t line up right, and the screws they sent ended up stripping out a bit of the resin due to them going in crooked. I tapped out larger threaded holes, and the new larger screws hold it together very snugly.

I’m sure there are a million other little things that could pop up along the way, but those are the big notes I remember from building it out a couple years ago. I definitely had fun with it, despite the long wait for it, and the little inconsistencies in the kit.

Links in this post may be affiliate links. Purchases made through them help support this site at no additional cost to you.

I would also upgrade the 3/4" hose to the GB Fans offering, as the one included in the kit is stiff as hell and doesn’t maneuver quite right.

Also will notice the booster ladder will not sit flat but at an angle. To remedy this, I used some gorilla putty on the back side of the frame to compensate for the spot that was causing it.

Thanks, guys! I really appreciate it!

I’m feeling a bit less intimidated than I did last night. My only big concern now is that I’d like to texture it, and later seal it, and I don’t have a garage or other space where I can store it while it dries, so as not to be inhaling the fumes for a week. Maybe I can borrow a friend’s garage…

Hi Prydonian,

I completely agree with everything Mike and 8BIT stated.

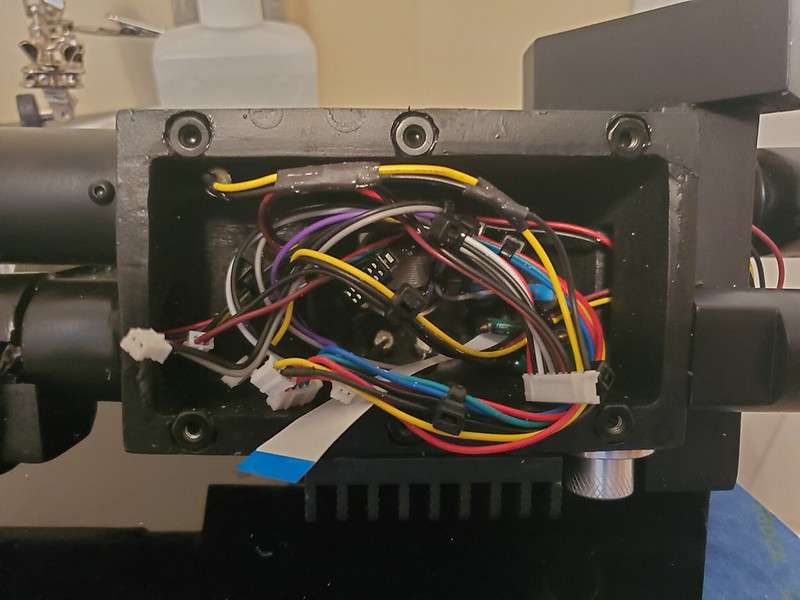
I have pretty much completed my pack, but haven’t really updated my build page on here. The wand is the trickiest part of the build. The alignment for the holes is TERRIBLE. I actually decided to graft in nuts and epoxy them into place after they pulled out of the resin parts. The holes did NOT line up, and it looked horrible. I dont recommend trying to hold that bottom plate in place with just the provided screws if yours do not line up!! I tried re-tapping mine, and the threads just would not hold after having to pull the bottom off a couple of times. After I added the nuts, I have taken that plate off a half dozen time with zero problems.

The last pic shows how off they were.

Upgrade parts. I don’t like the Anovos stuff. It’s not bad, but when the pack was about done, I did not like the width of the red tubing coming out of the cyclotron and the HGA. it is way too thick compared to what is available. Also, I upgraded the fake Legris elbows to the ones available in the GBFans shop, as well as the receiving fittings. It just looks so much better.

You will need 2 part epoxy and some GOOD adhesive. Forget what those instructions say!! I used E-6000 for my adhesive and some JBWeld steel reinforced 2-part epoxy. Also, every part on my pack that is glued into place is also held in place with screws. Do not trust glue alone to hold your pack together!

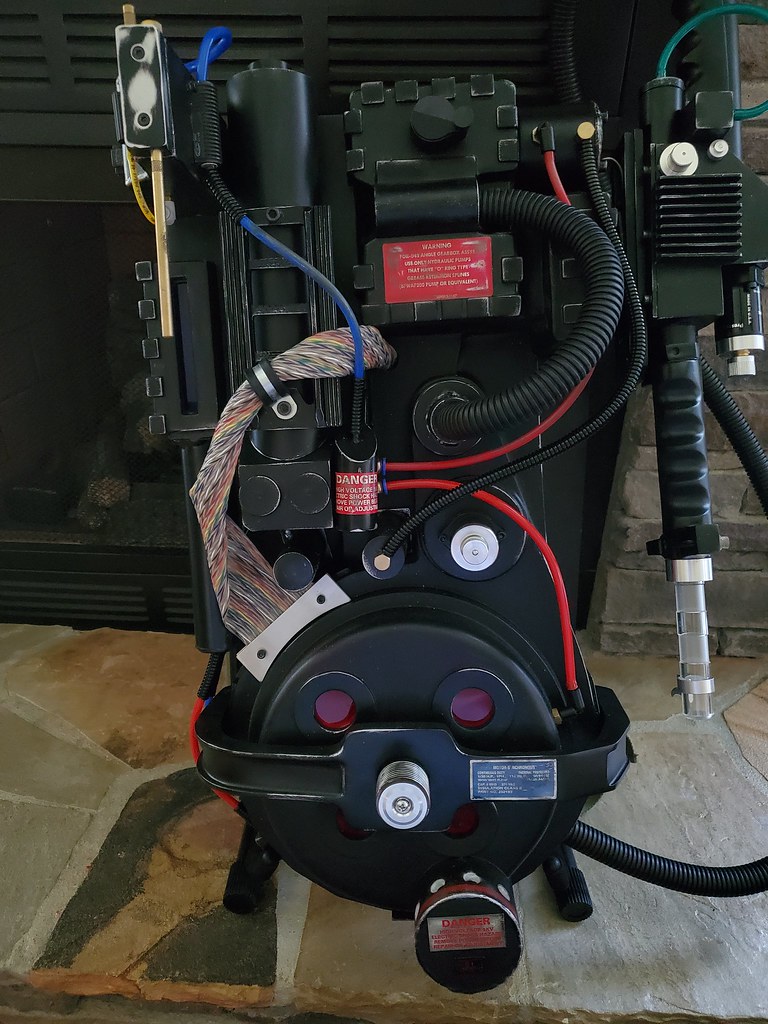
Here is what my pack looked like before upgrading all of the fittings and hoses and being about 95% done:

Here it is now, about 99% done:

The decals are not great. I have since upgraded mine to both the metal plate decals from the GBFans store and also from MobySignCompany on Etsy. HUGE impovement. The ones in the kit are paper, and mine barely stuck.

8BIT is right about the hose from the pack to the wand. It is horribly stiff. I too ordered the split loom from GBFans and will be installing that next weekend. It is very flexible and better.

For electronics, I’m using the GBFans kit and an 8ohm 6x9 speaker I got from ebay that fits a Chevy Cobalt.

I still have some weathering to finish up and mount my now primed aluminum motherboard. But it’s fully functional.

Here’s a short video I shot a while back. This was shot the same time as the 95% pic above (was 99% complete, but I wasn’t happy and wanted to change things), and before I upgraded the lines and fittings.

If you have any questions or want more pics, I have documented pretty much everything I did.
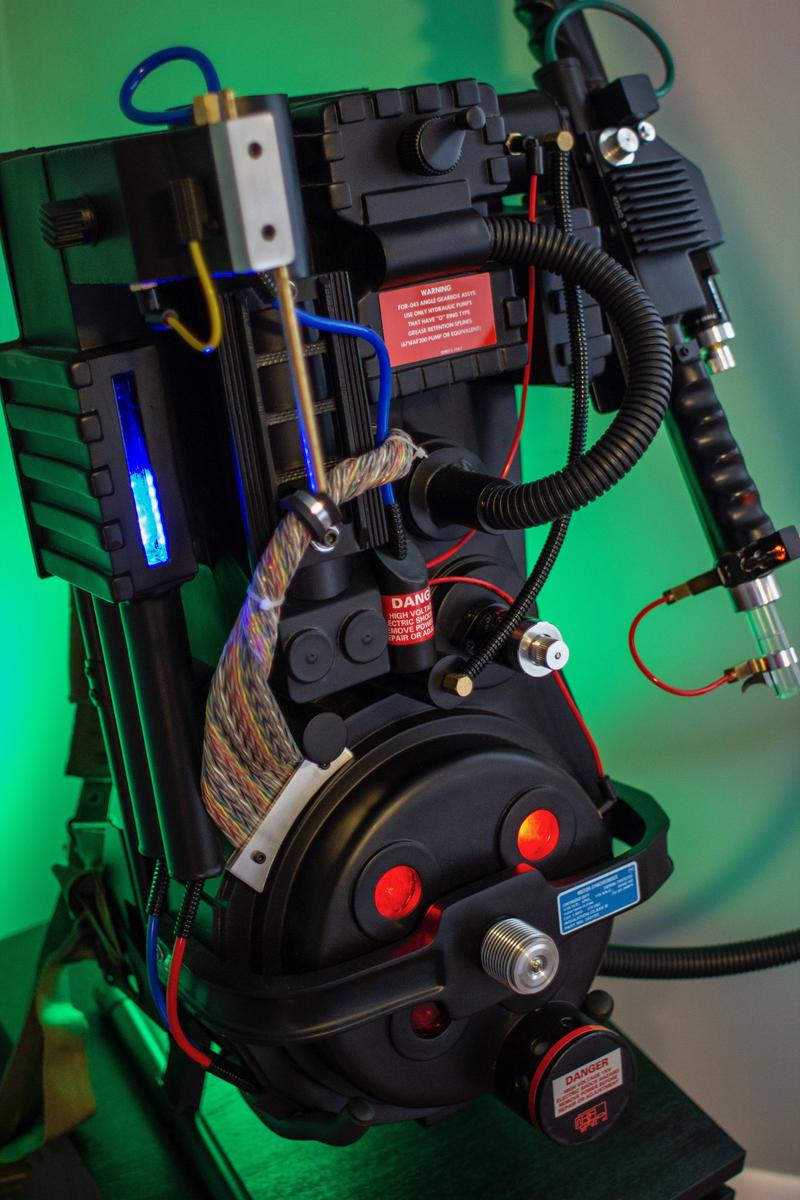
I may hit you up for pics of certain things Stainless. I’m about to start my build on this damn thing. lol

Can you show how / where you mounted the alice frame?