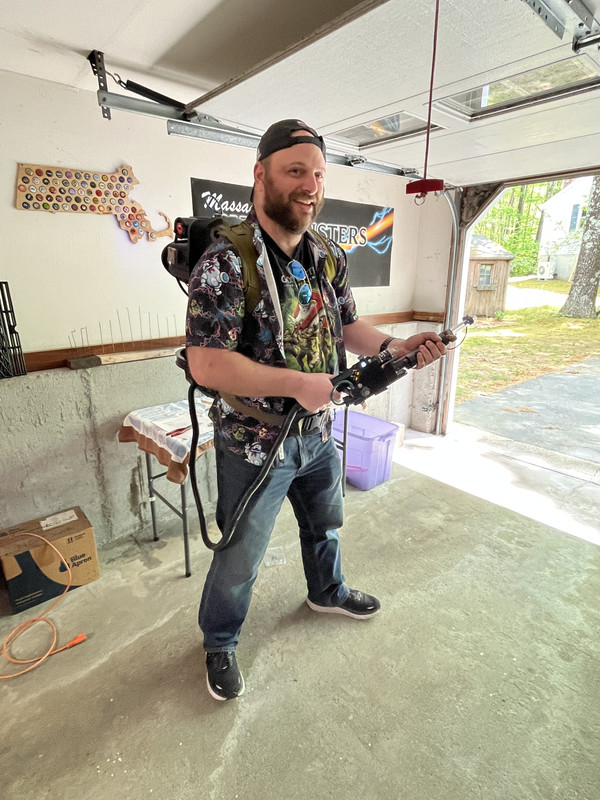
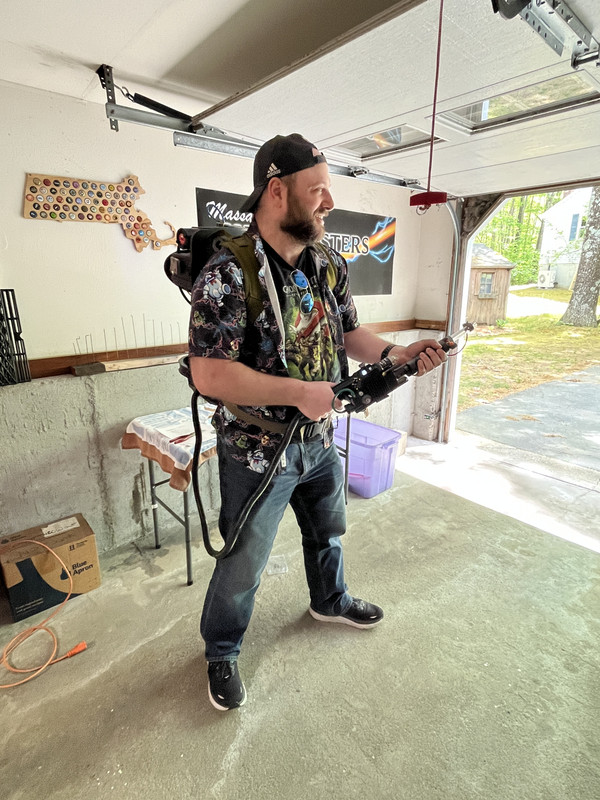
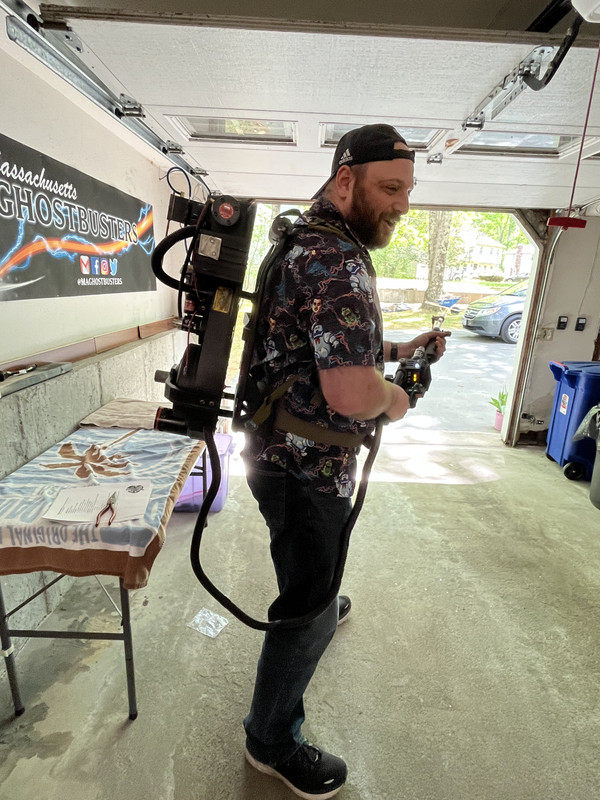
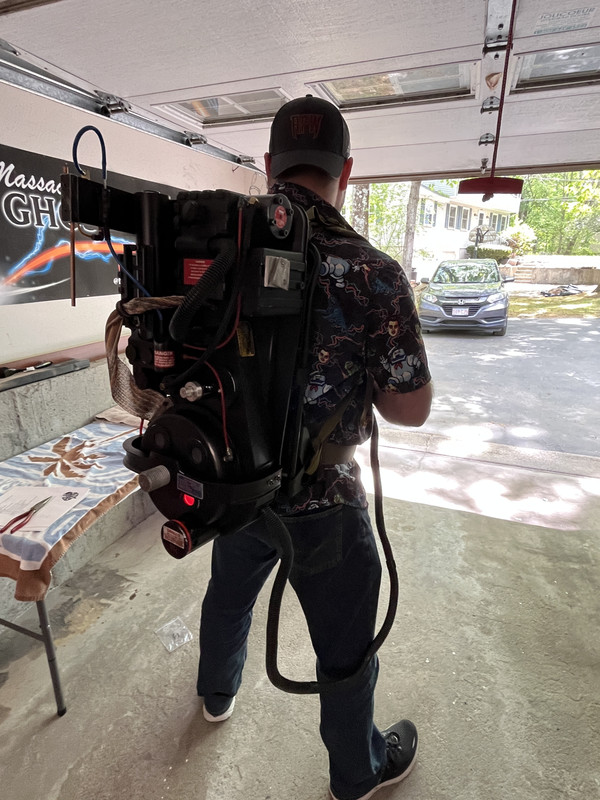
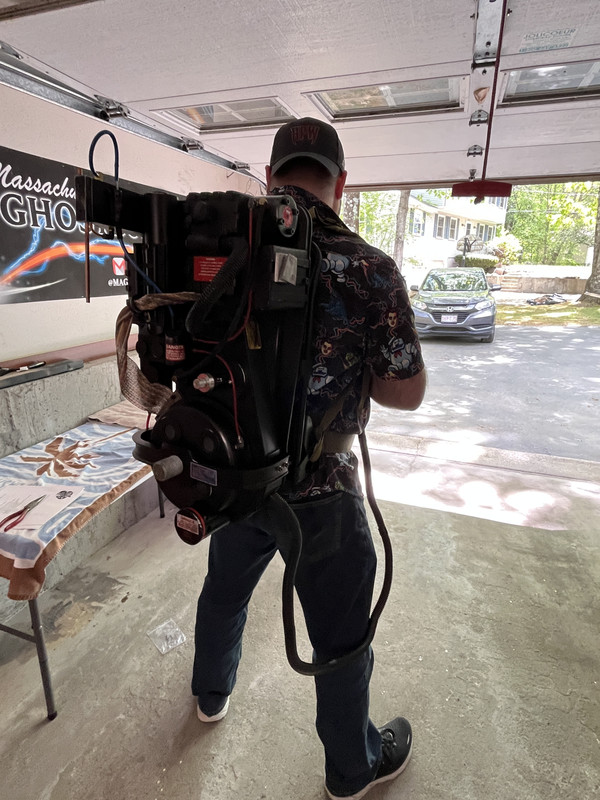
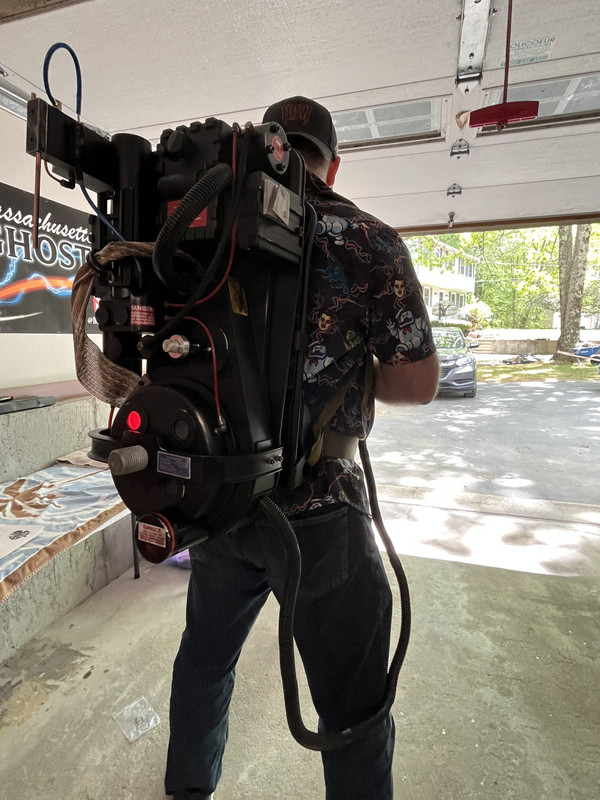
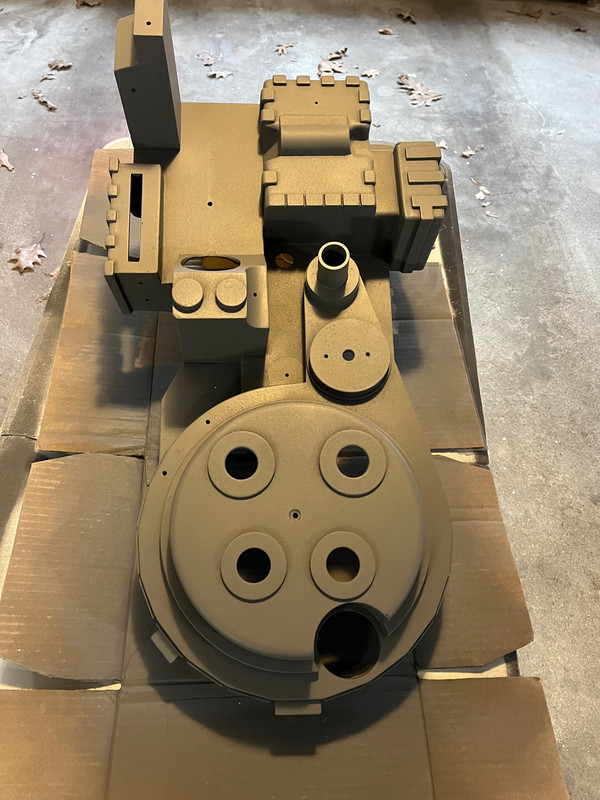
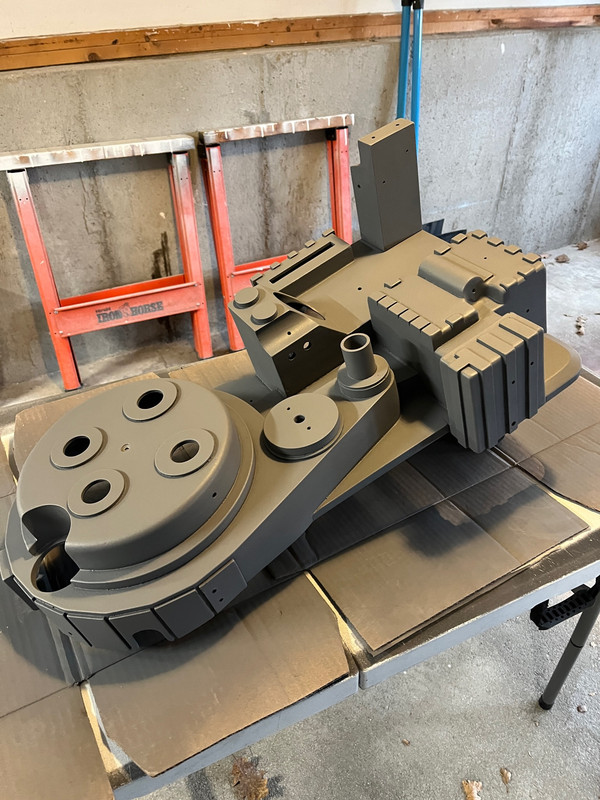
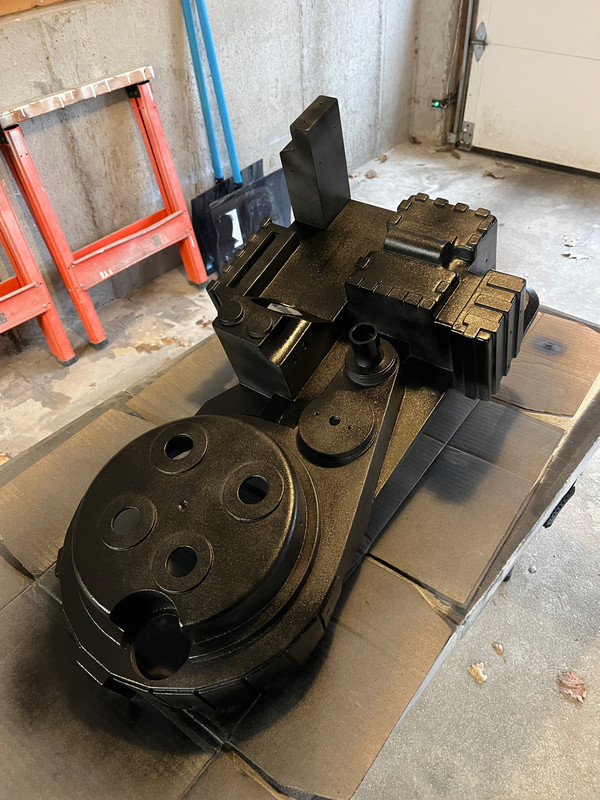
Not much to documents tonight as more priming before we move to the first and last few coats of black.
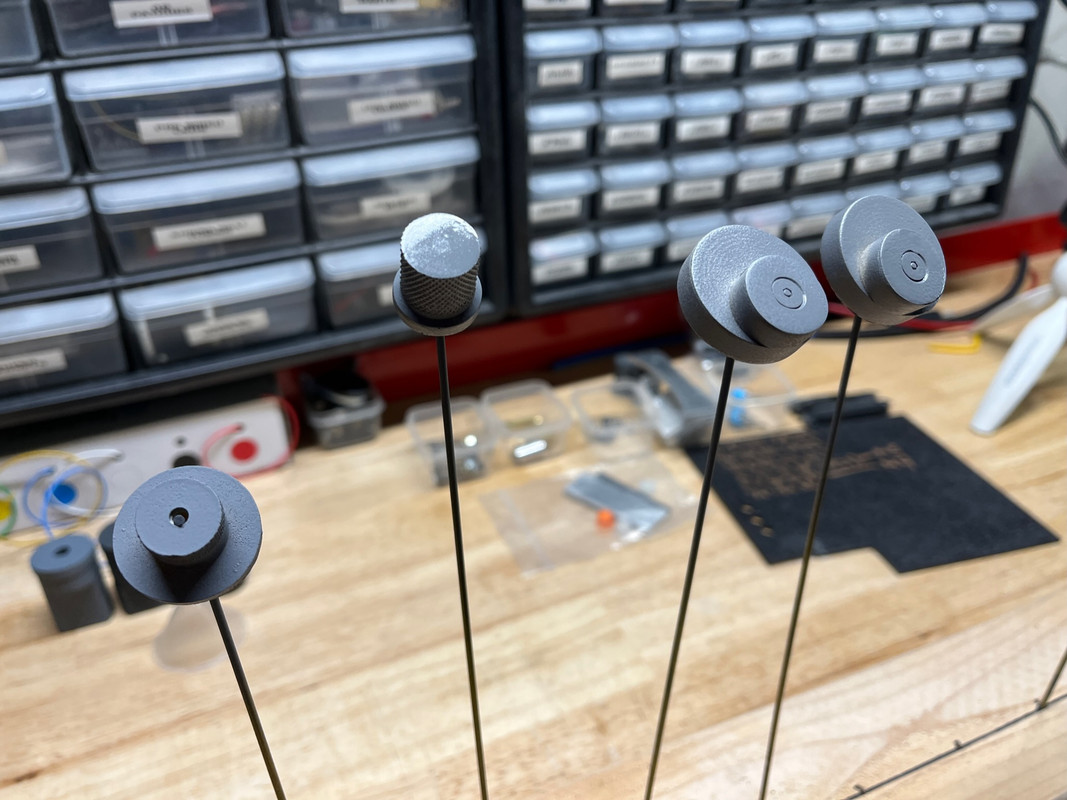
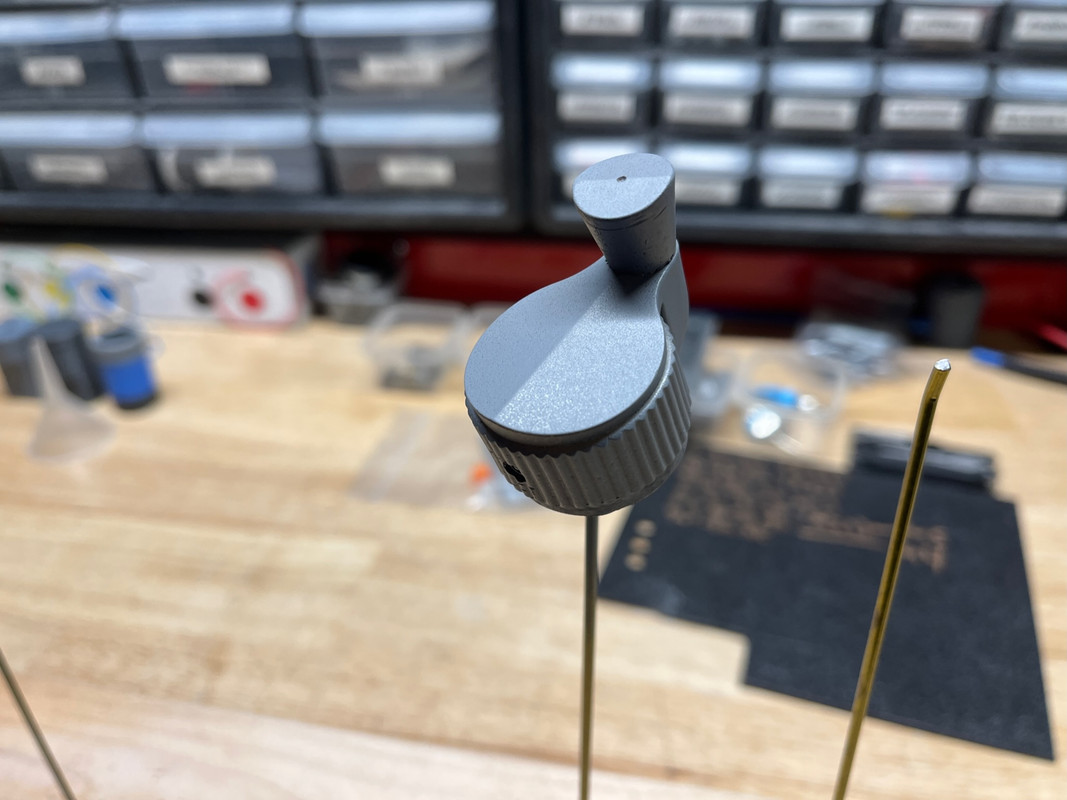
Last night after all the stripped knobs were dried I hit them with a very light coat of primer.
Unlike the rest of the pack I am not going to use spray paint for the knobs that are “metal”.
I bought some acrylic paint and going to use an airbrush gun to apply it.
Keeping my fingers cross it comes out good as I’ve never used an airbrush gun before.
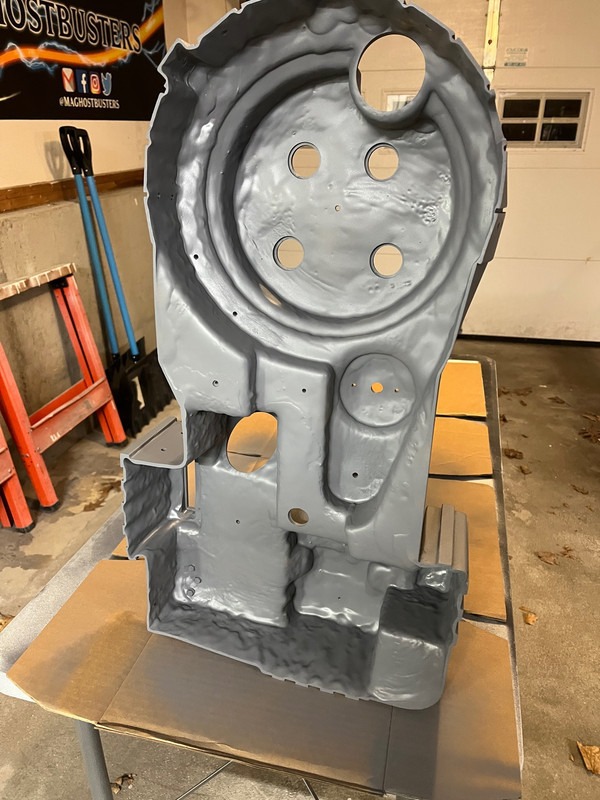
I finished giving the inner/outer shell the last coat of primer before we repaint the whole shell.
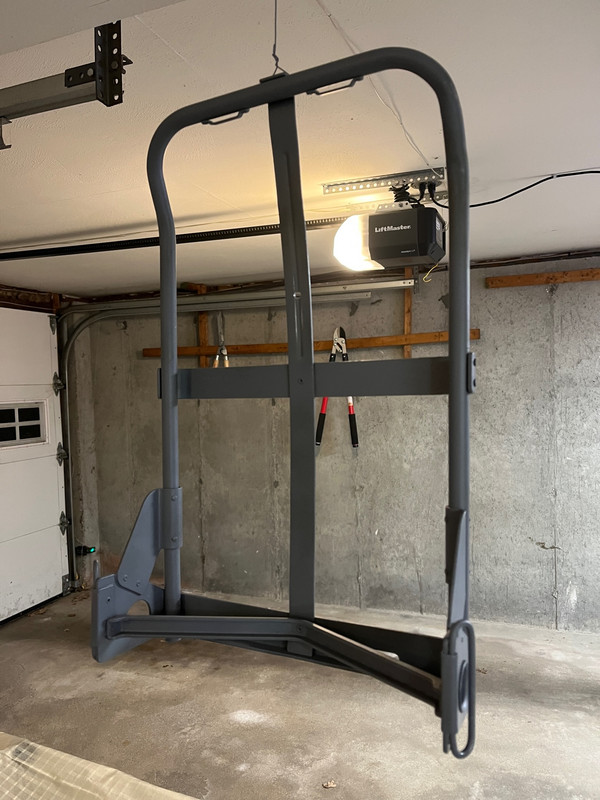
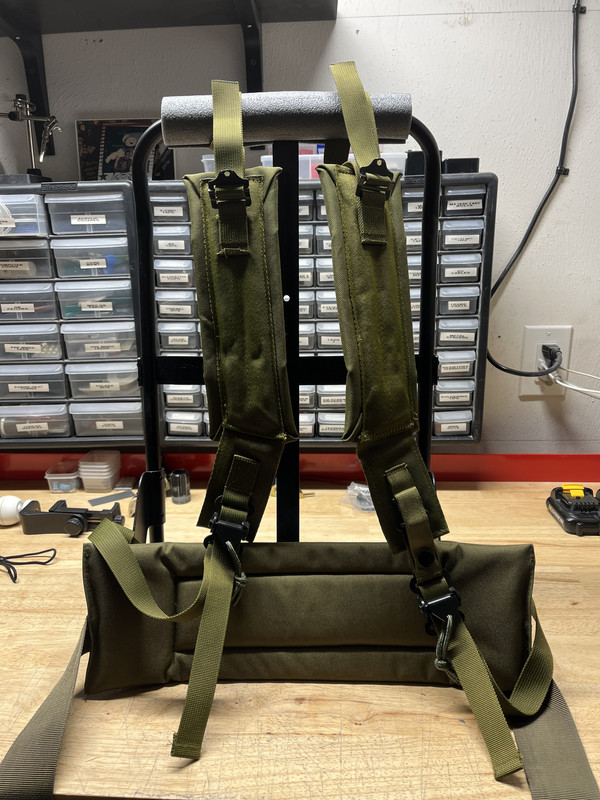
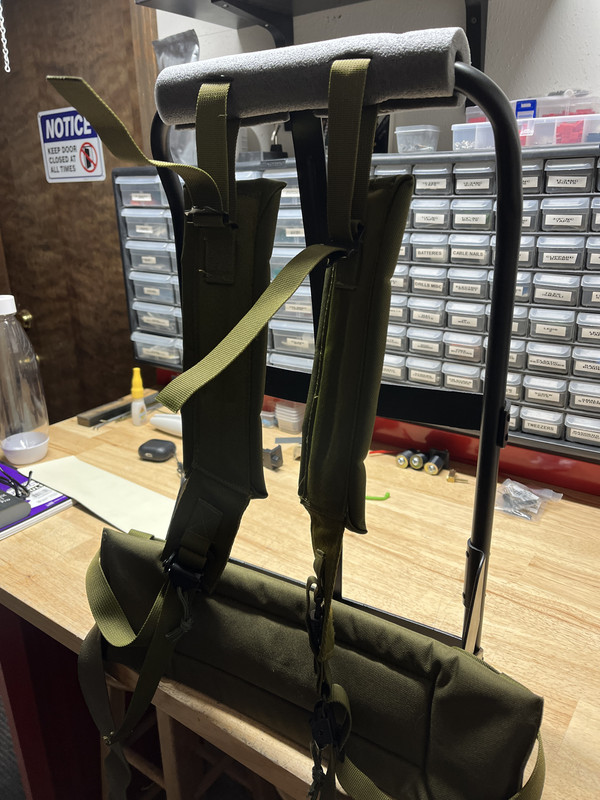
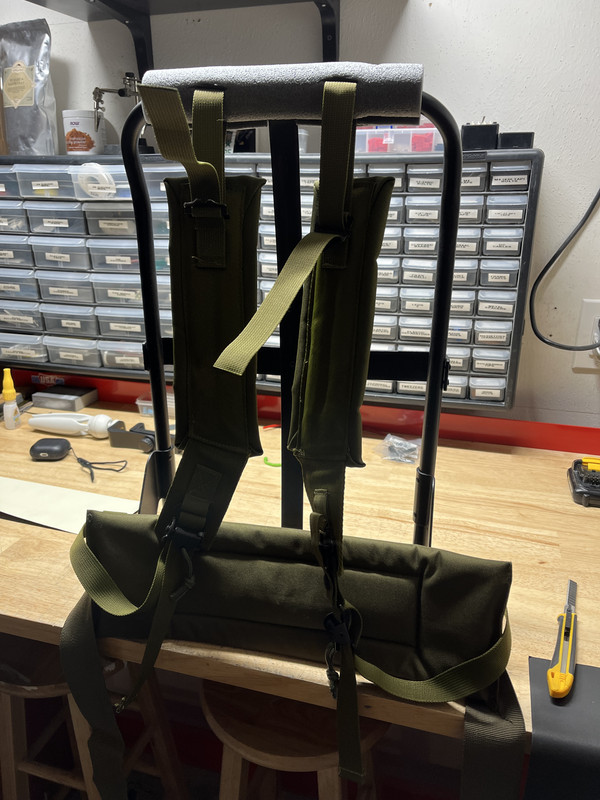
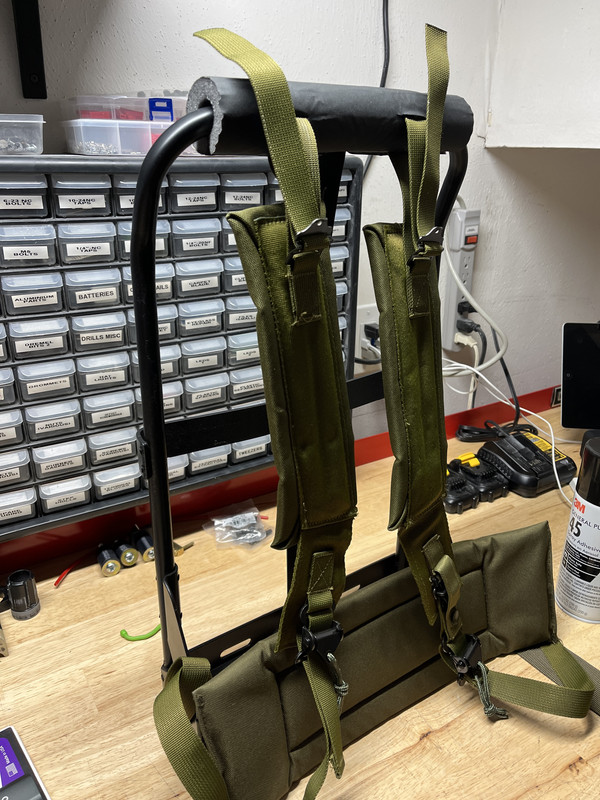
Lastly hung up the Alice frame for its first coat of primer paint too.
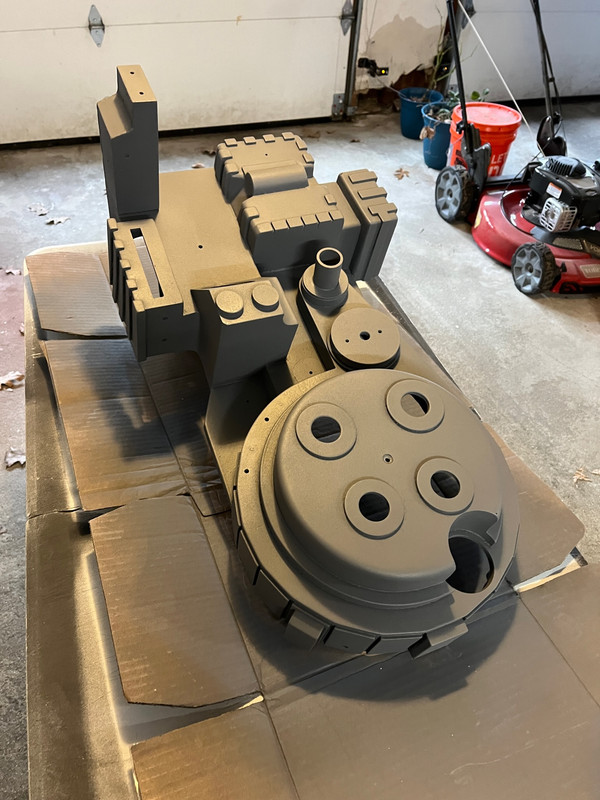
The last few days I’ve been hitting all the remaining pieces with their final coats of paint.
I dry fitted the bumper onto the shell and it looks great!

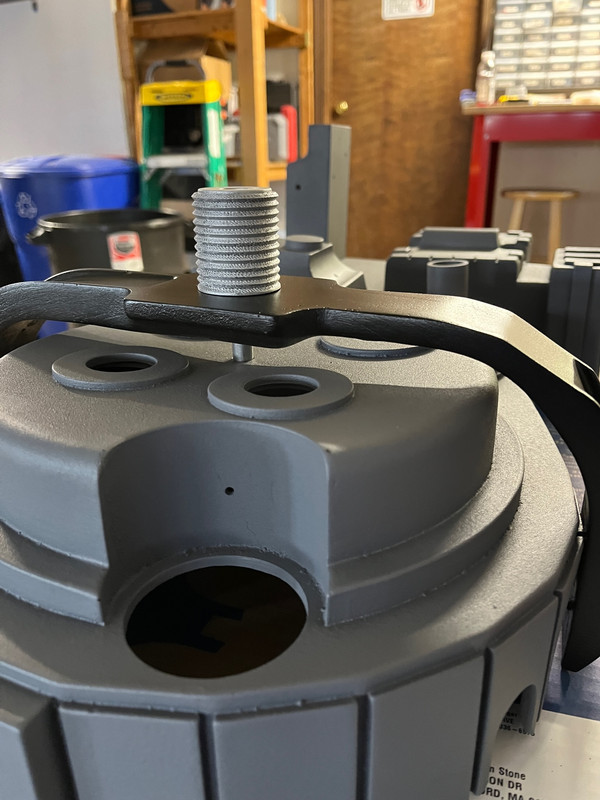
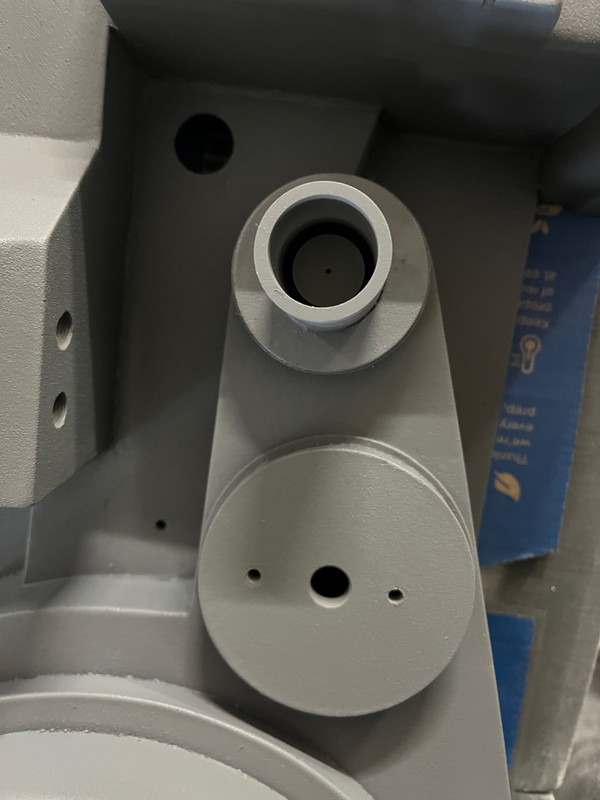
Since the BOK Vac Tube does not come with anything to help secure the loom in place I made a 3D printed “thing” (for lack of better word) to hold it in place. I made another one for the top part of the split loom but the way the shell was case it is pretty difficult to drill a hole at the angle I want to mount it in. I’ll figure it out.
I am expecting by next weekend the thrower and pack will be fully assembled with the parts that were provided to me.
Then it will be just a matter of time before electronics come in a couple months via Ninjatunes.
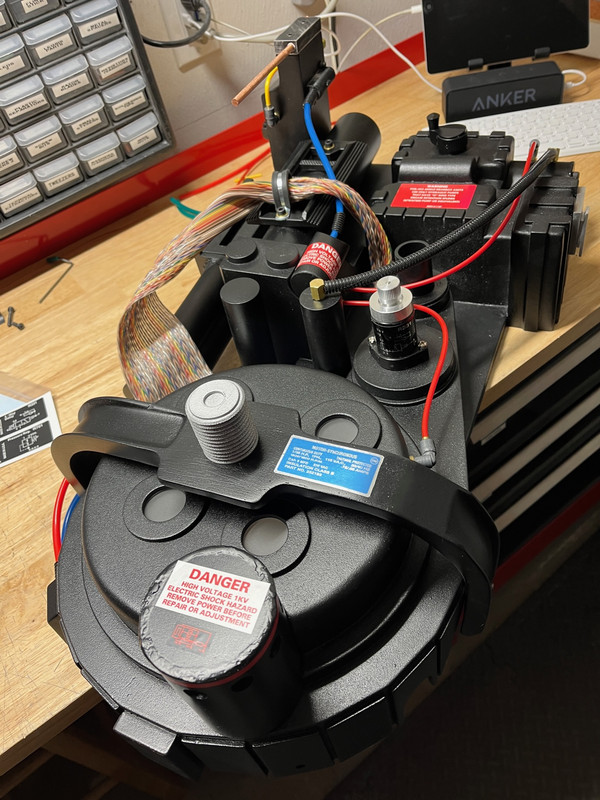
Hey, it’s been a while. No, it did not take me a month to put together the shell and resume my work :roland:
I’ve been hard at work documenting the build and getting the project wrapped up. I actually finished 80% of the build a month ago and have been waiting on Ninjatunes electronics to arrive before completing the inside.
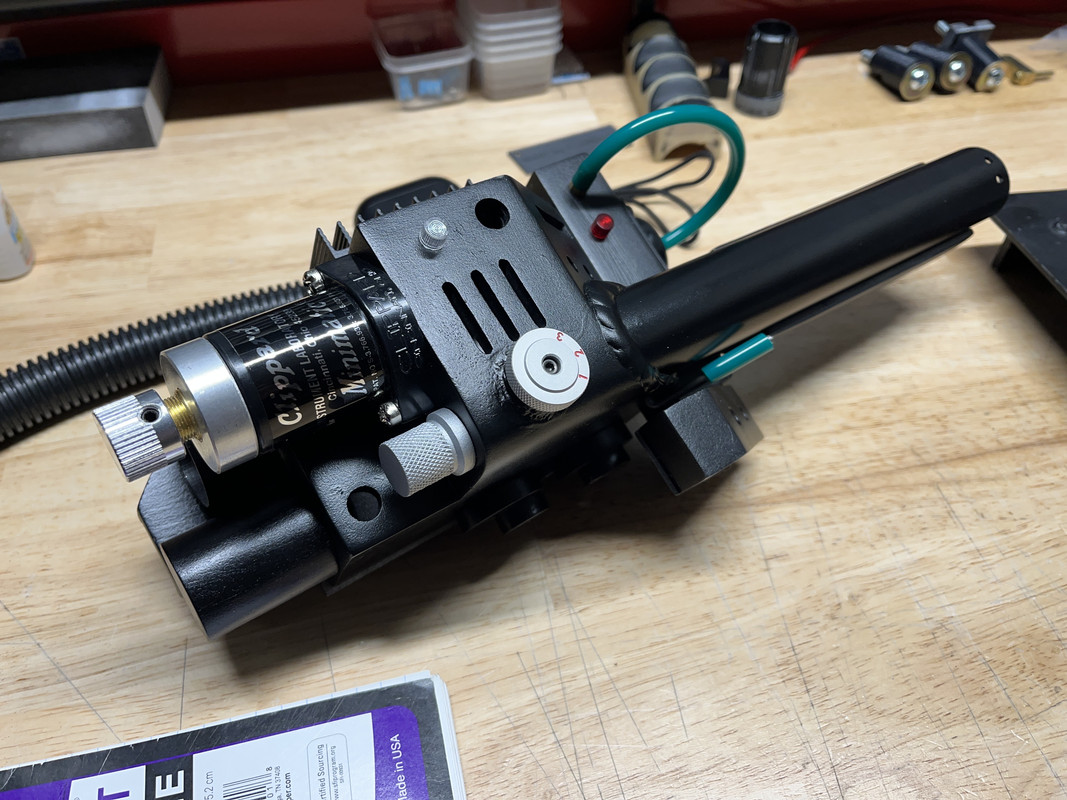
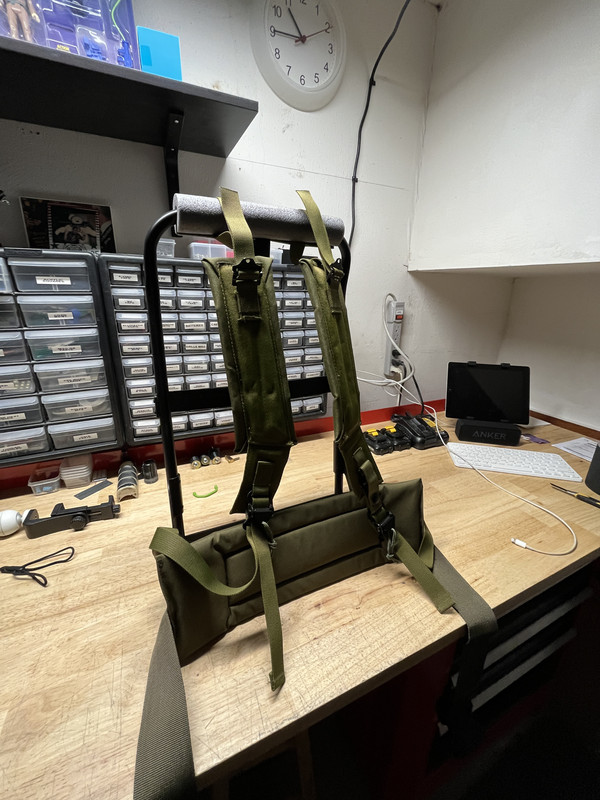
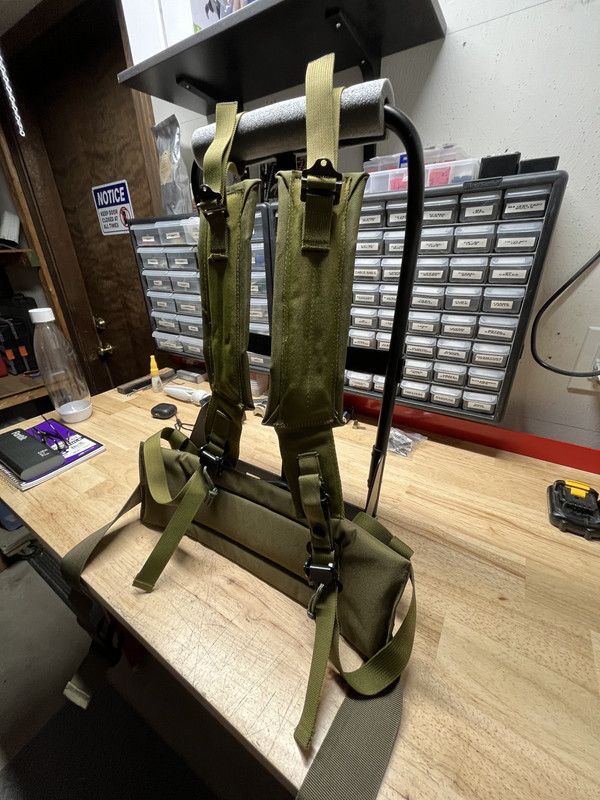
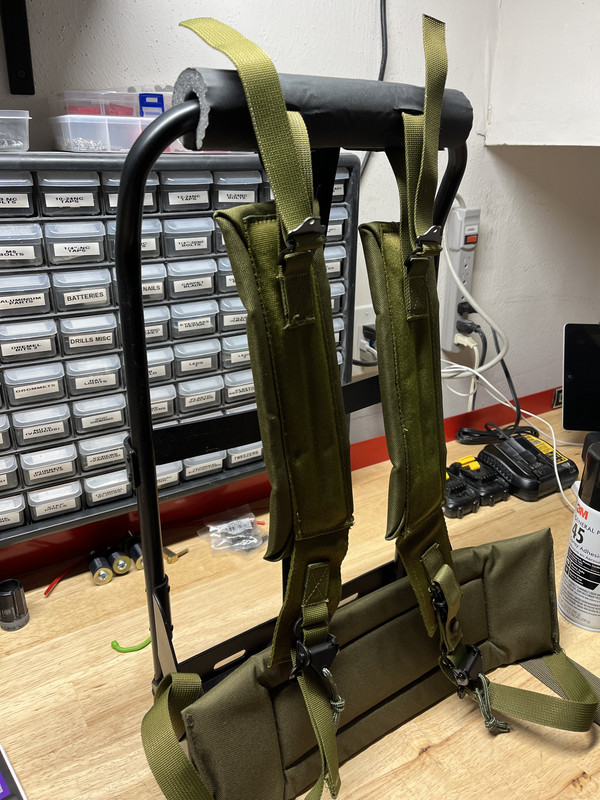
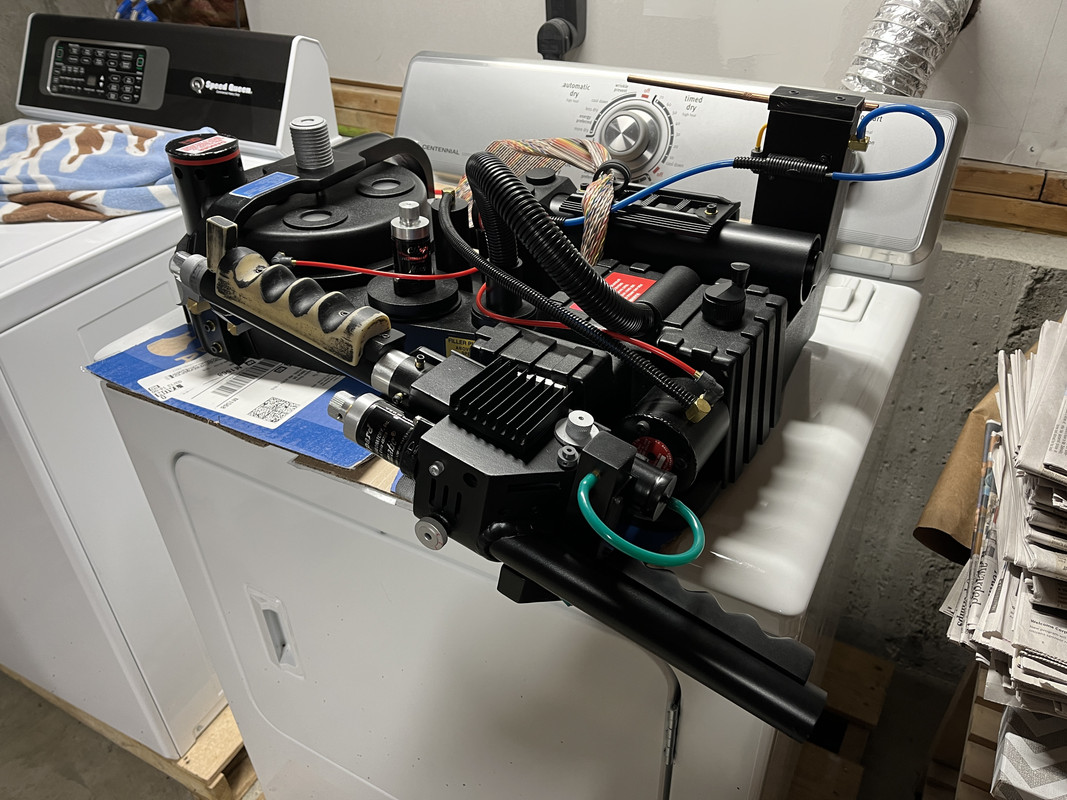
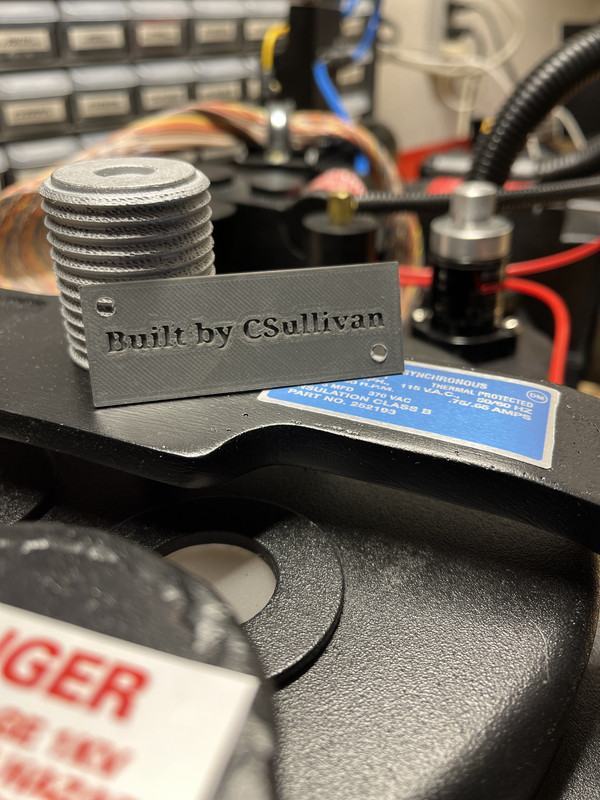
I’m also working on a video showing the assembly too.
And funny enough, once this build hit 80% done a friend dropped of his Karnivorous Creations pack to be repaired after the wand took a fall. That will be documented in another post soon. And from being a person who’s now worked with Throwing Chicken, BenofKent and soon Karnivorous Creations kits no two kits are build the same or have the same dimensions.
My personal feelings:
-
BOK Trigger box is easier and better to work with than Throwing Chicken.
-
Throwing chicken is good bang for you buck, local (to US) and having the metal collar built into the body makes the front grip so much easier to work with than BOK.
-
Karnivorous…needs a lot of cleanup but also the quality isn’t there like you’ll find in BOK or TC.
Sorry, it’s been a while.
Following the shell being completed I needed to move onto the motherboard. Thankfully BOK sends mobos with his kits as they are becoming increasingly harder and harder to find. (More on that in another post.)
Using the Q-Pack files I was able to print out shelving for the power cell, cyclotron and ninjatunes kits. You are expected to use M3 bolts with these kits and it’s important when it comes to the cyclotron. You do not have to use the exact lengths but M3’s are best.
What I like to do in MY builds is mount everything with the goal in mind that you never have to open it again…more or less. Carefully aligning and mapping out where I want to place things is important. I find the best places to put the batter back and sound boards are underneath the Booster Tube area. This usually has the best room as they can be a bit bulky.
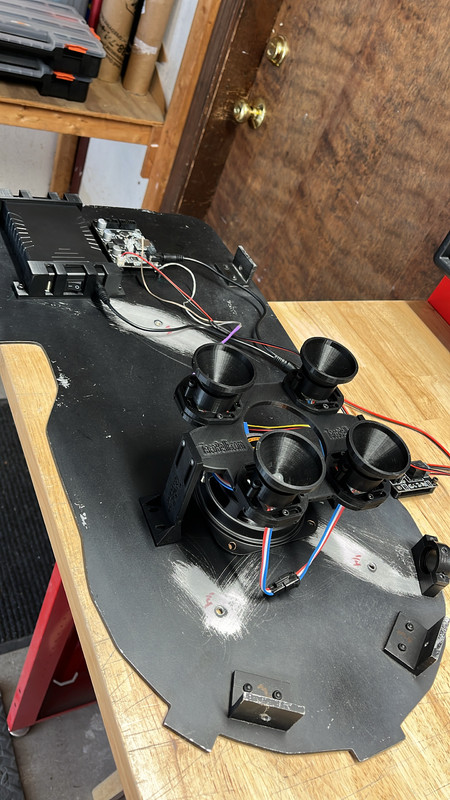
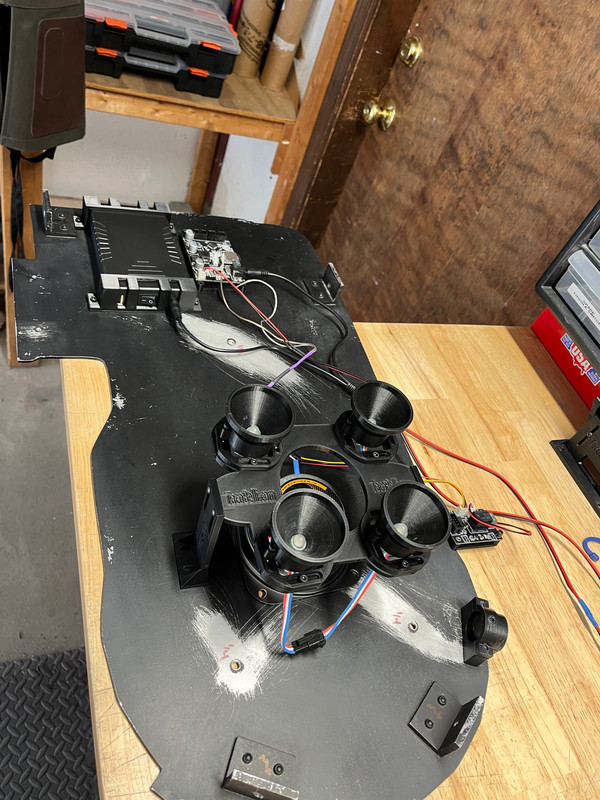
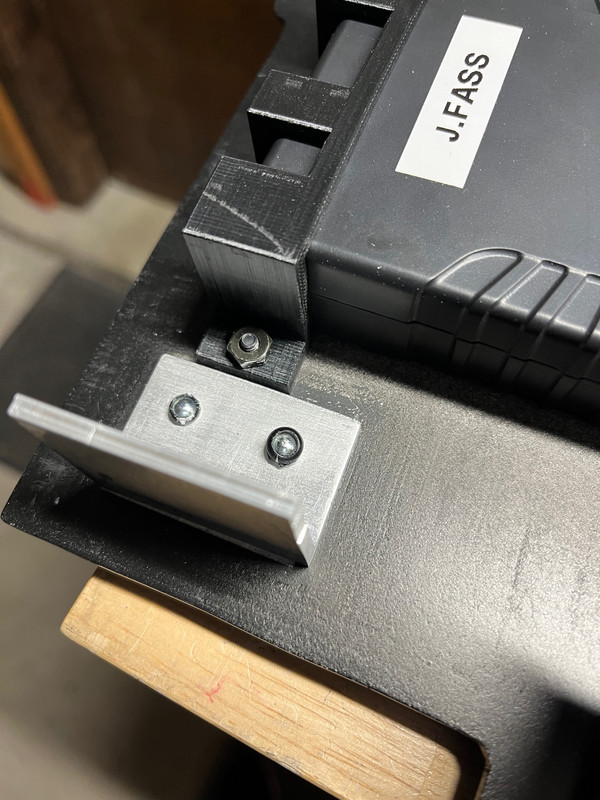
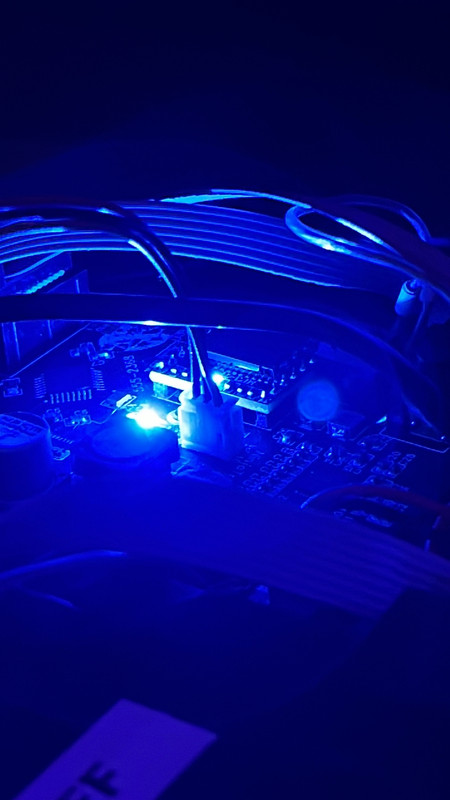
Wiring the electronics is not too difficult with the Ninjatunes. Most people like to use the brackets and charting port at the base of pack, but as a minimalist I prefer just a DC input jack on the motherboard with a master power on/off switch.
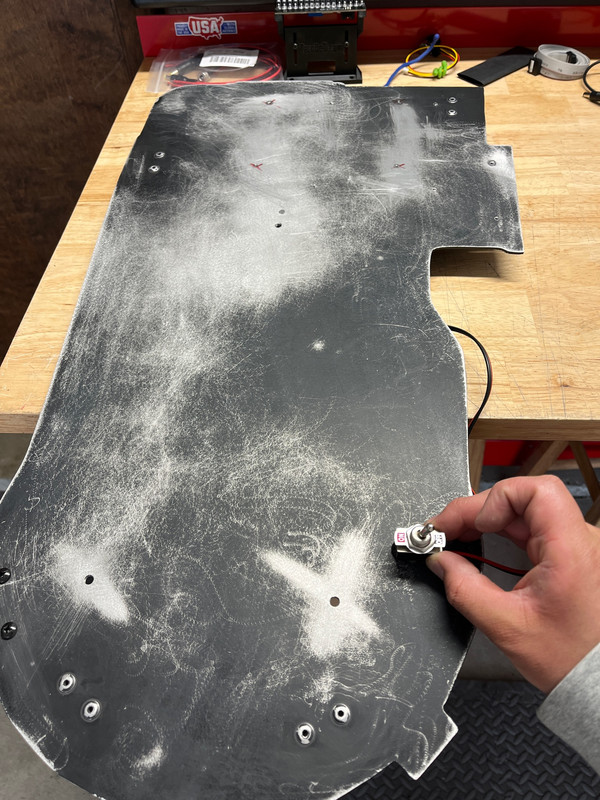
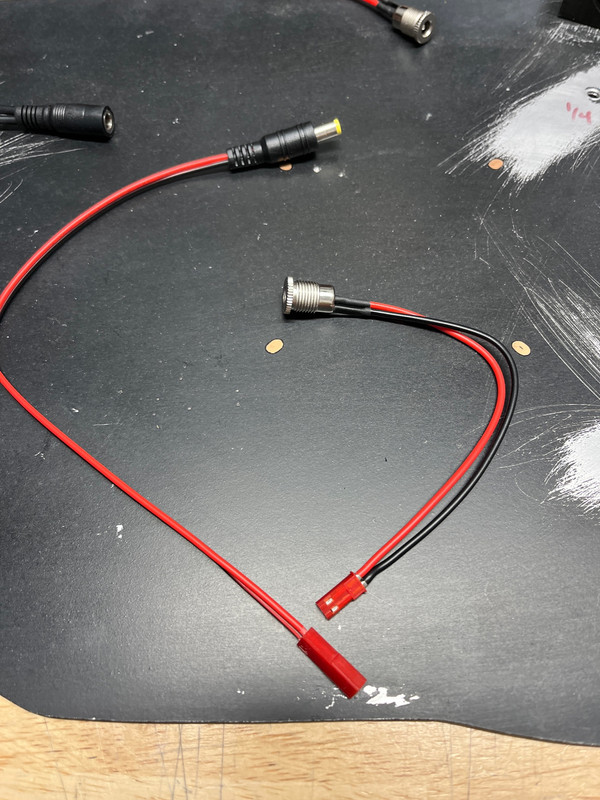
After everything was fitted it was time to drill holes and paint.
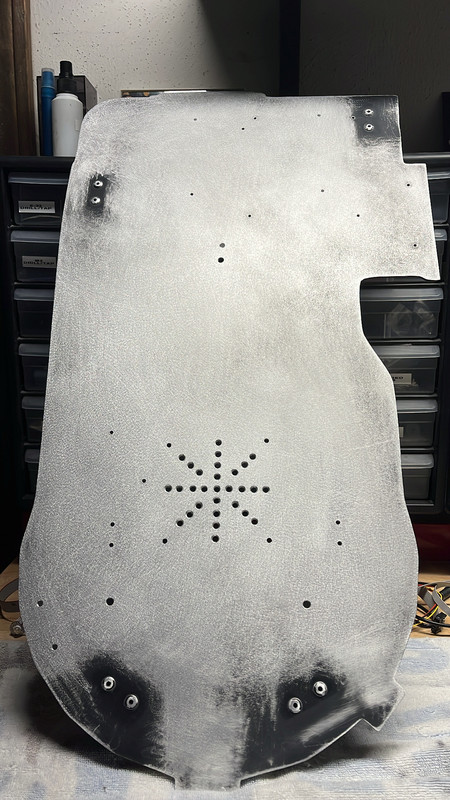
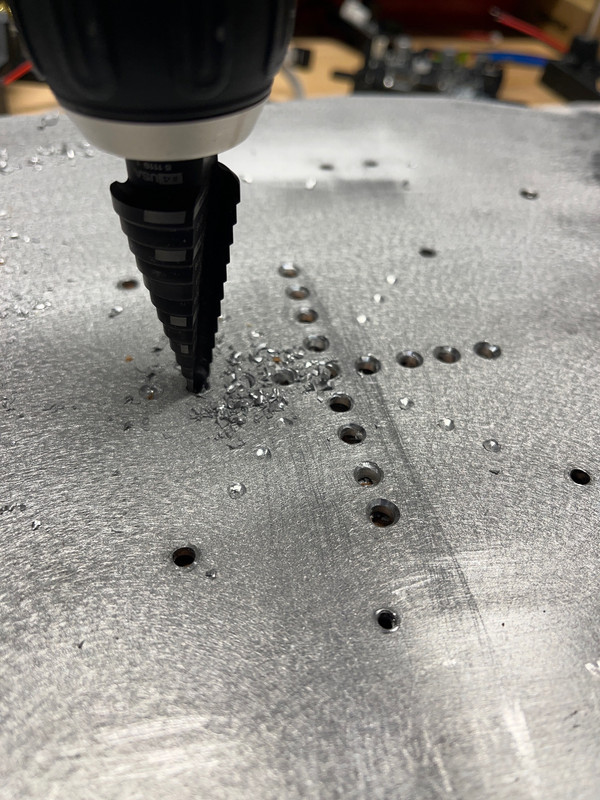
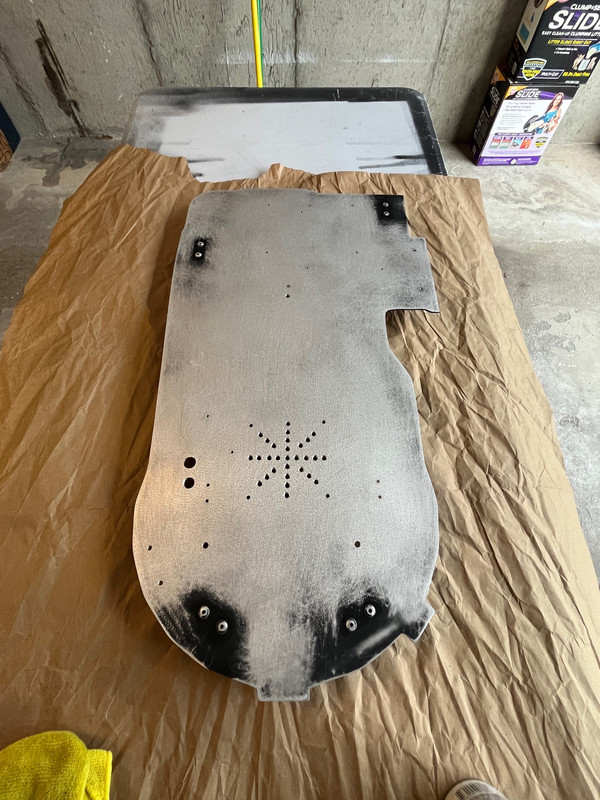

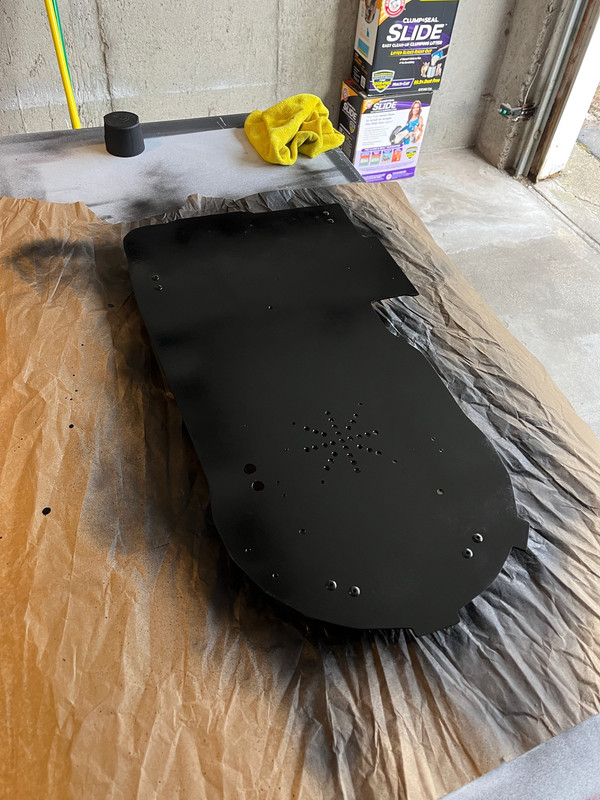
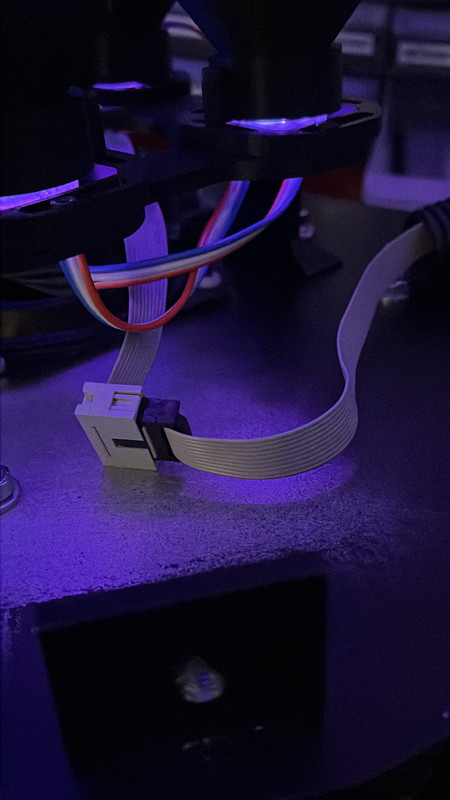
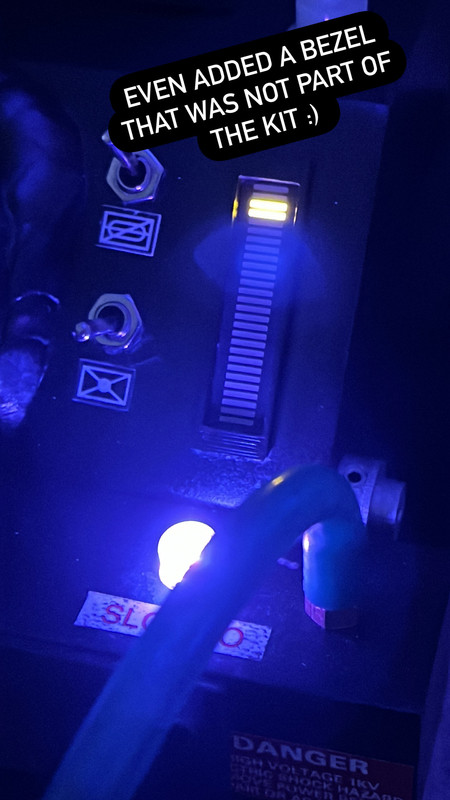
Testing the electronics and even added a 3d printed bezel that was not part of the kit for the light bar.
Then it was finally the day of the big delivery or in this case pickup.