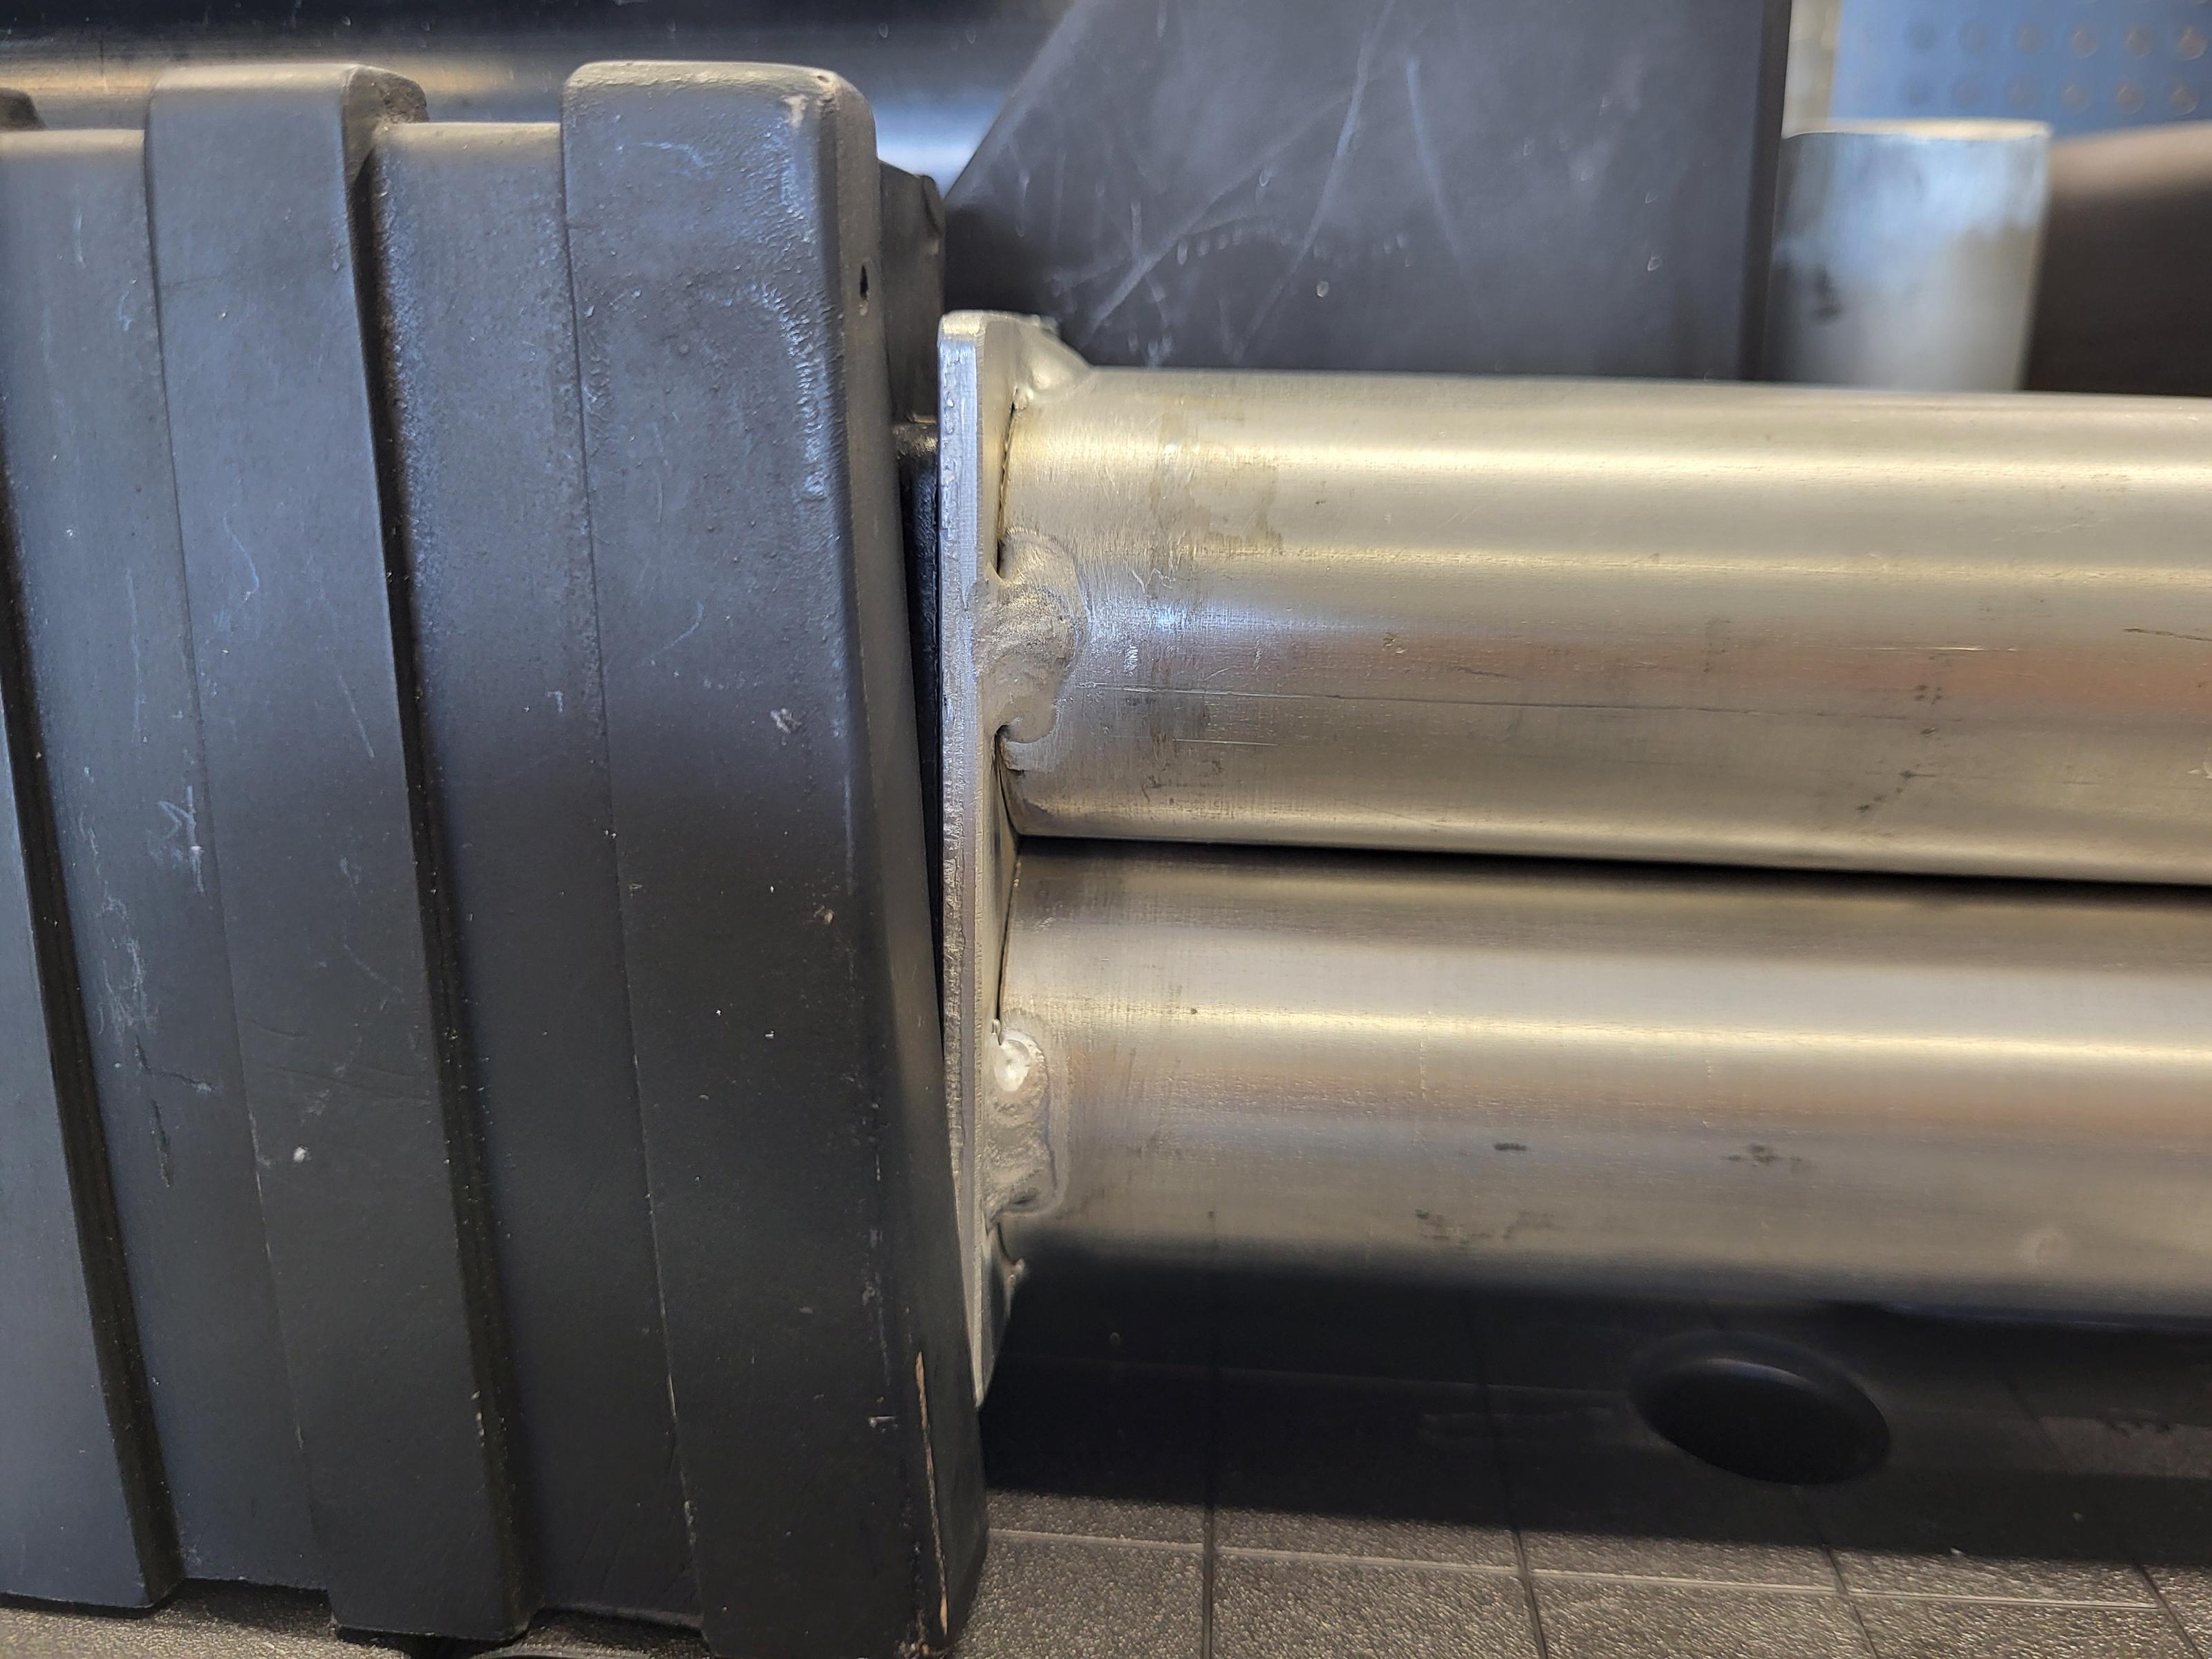
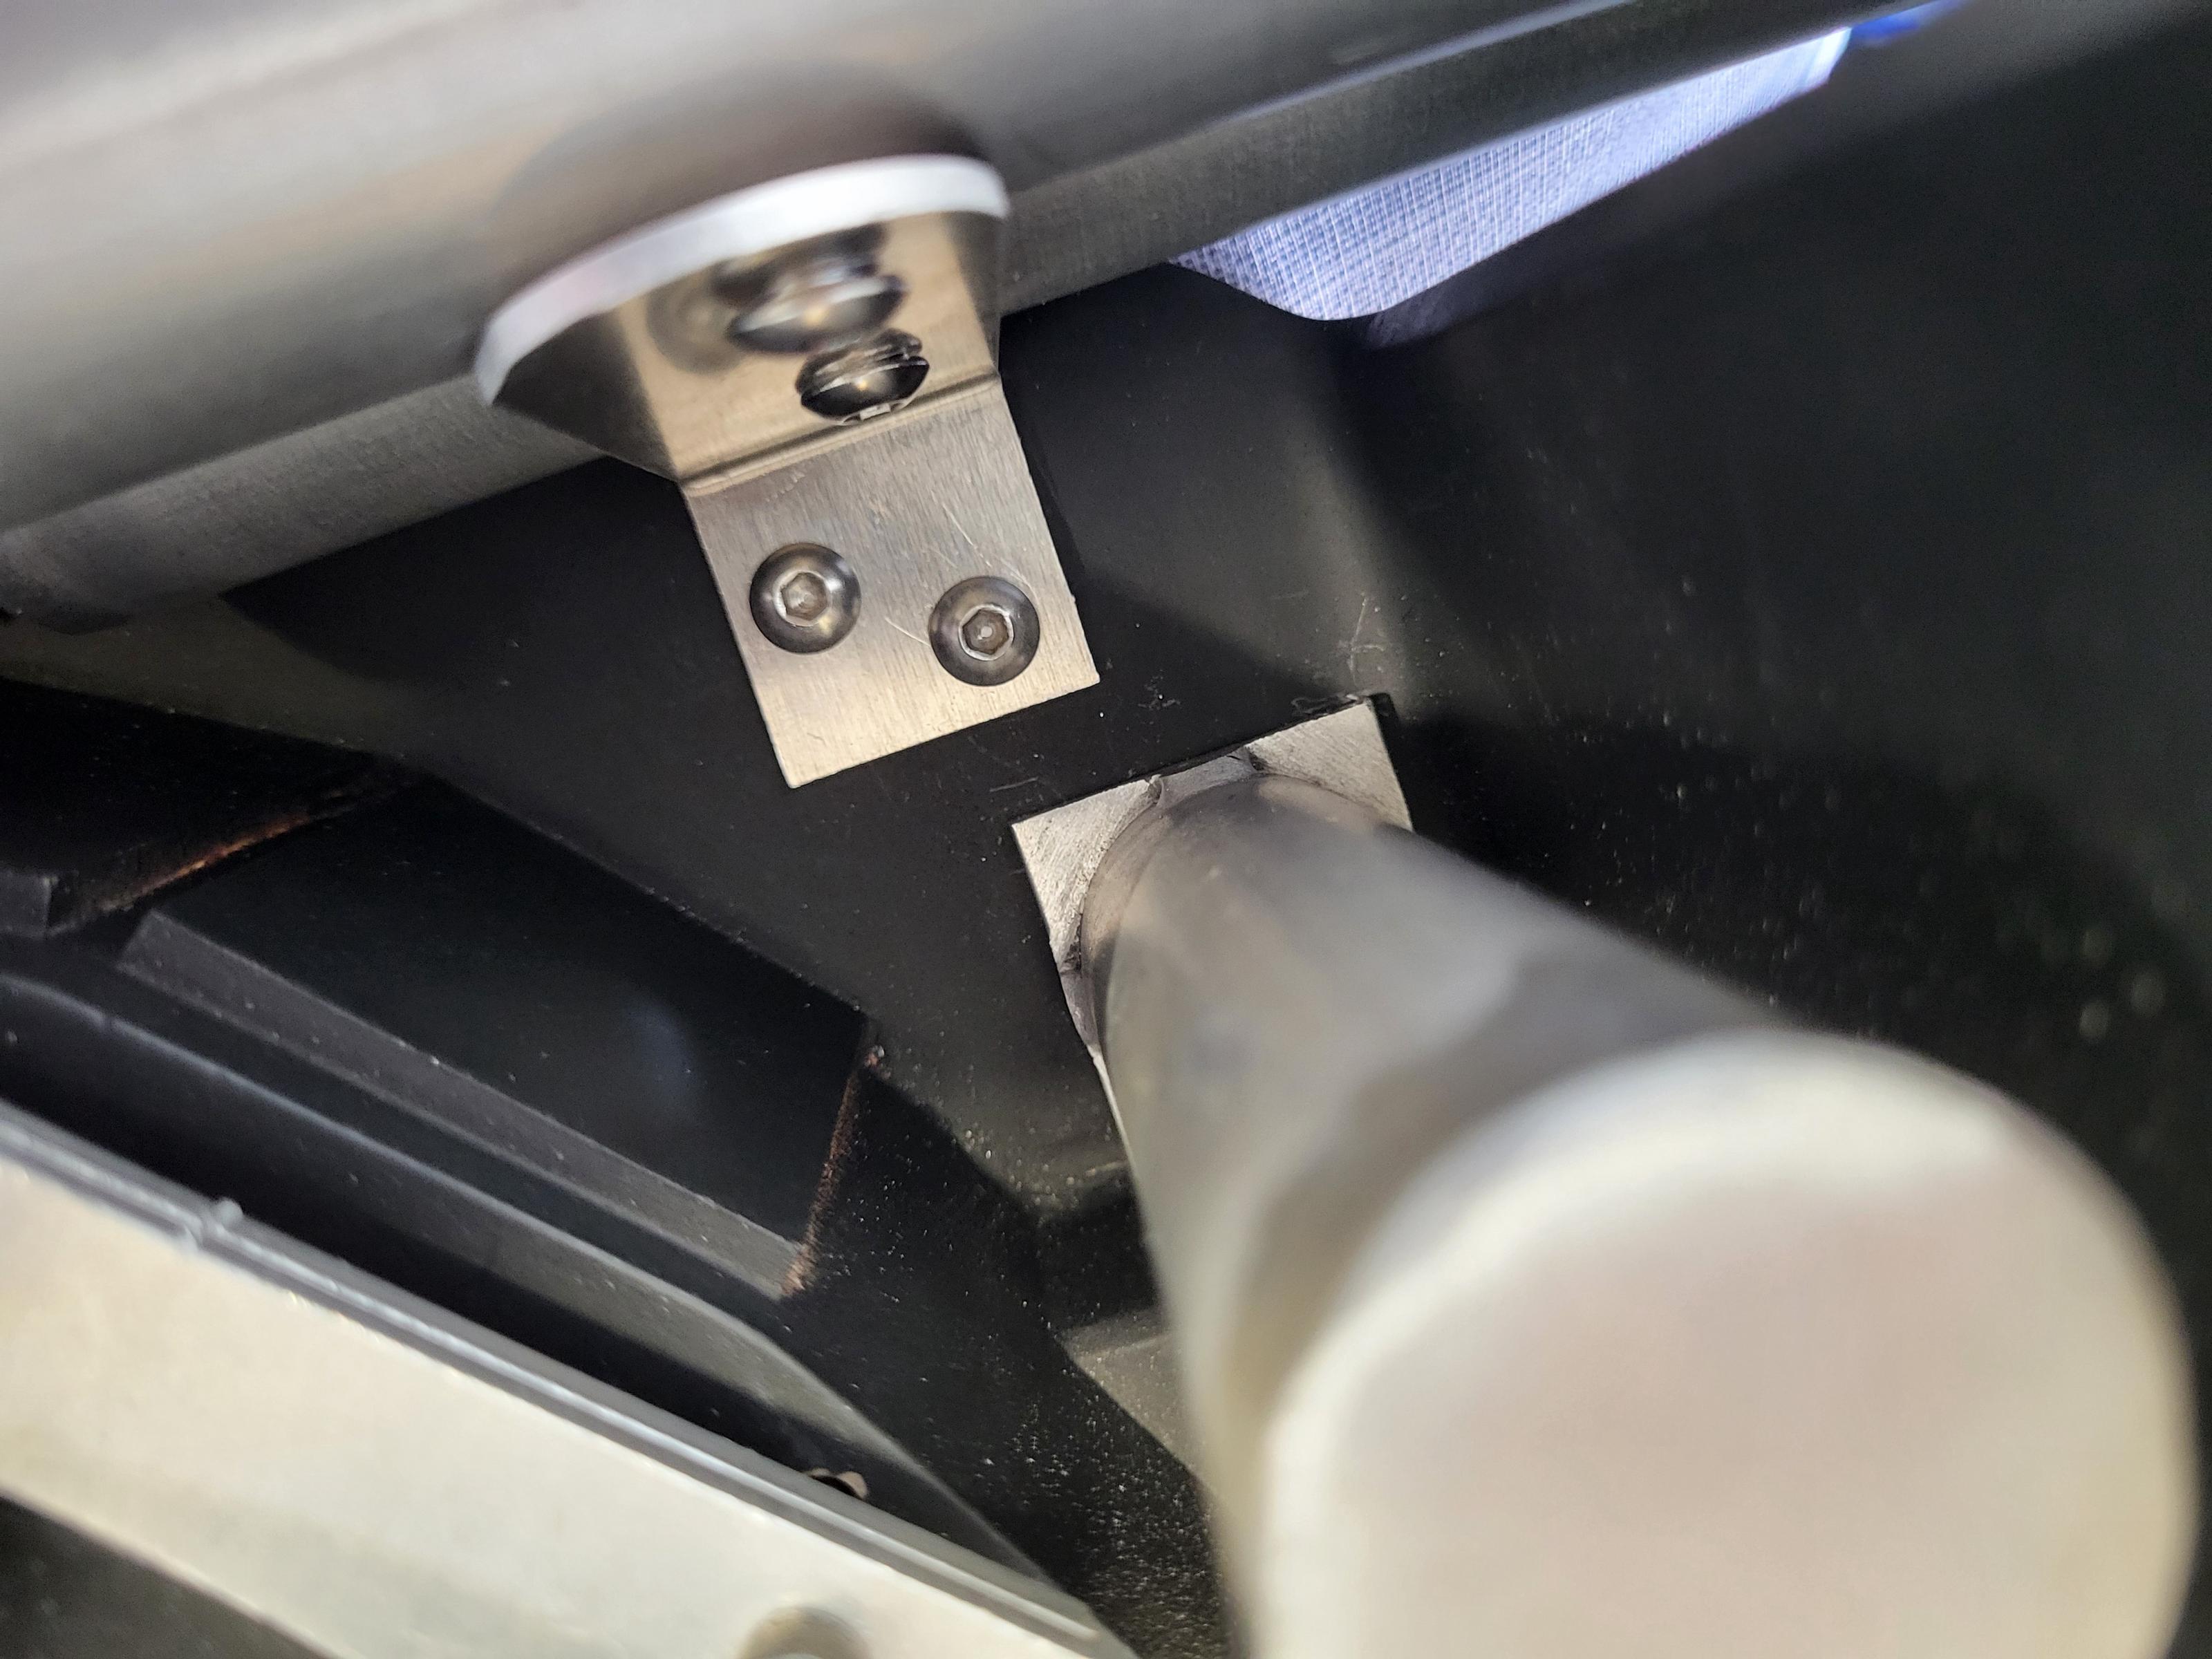
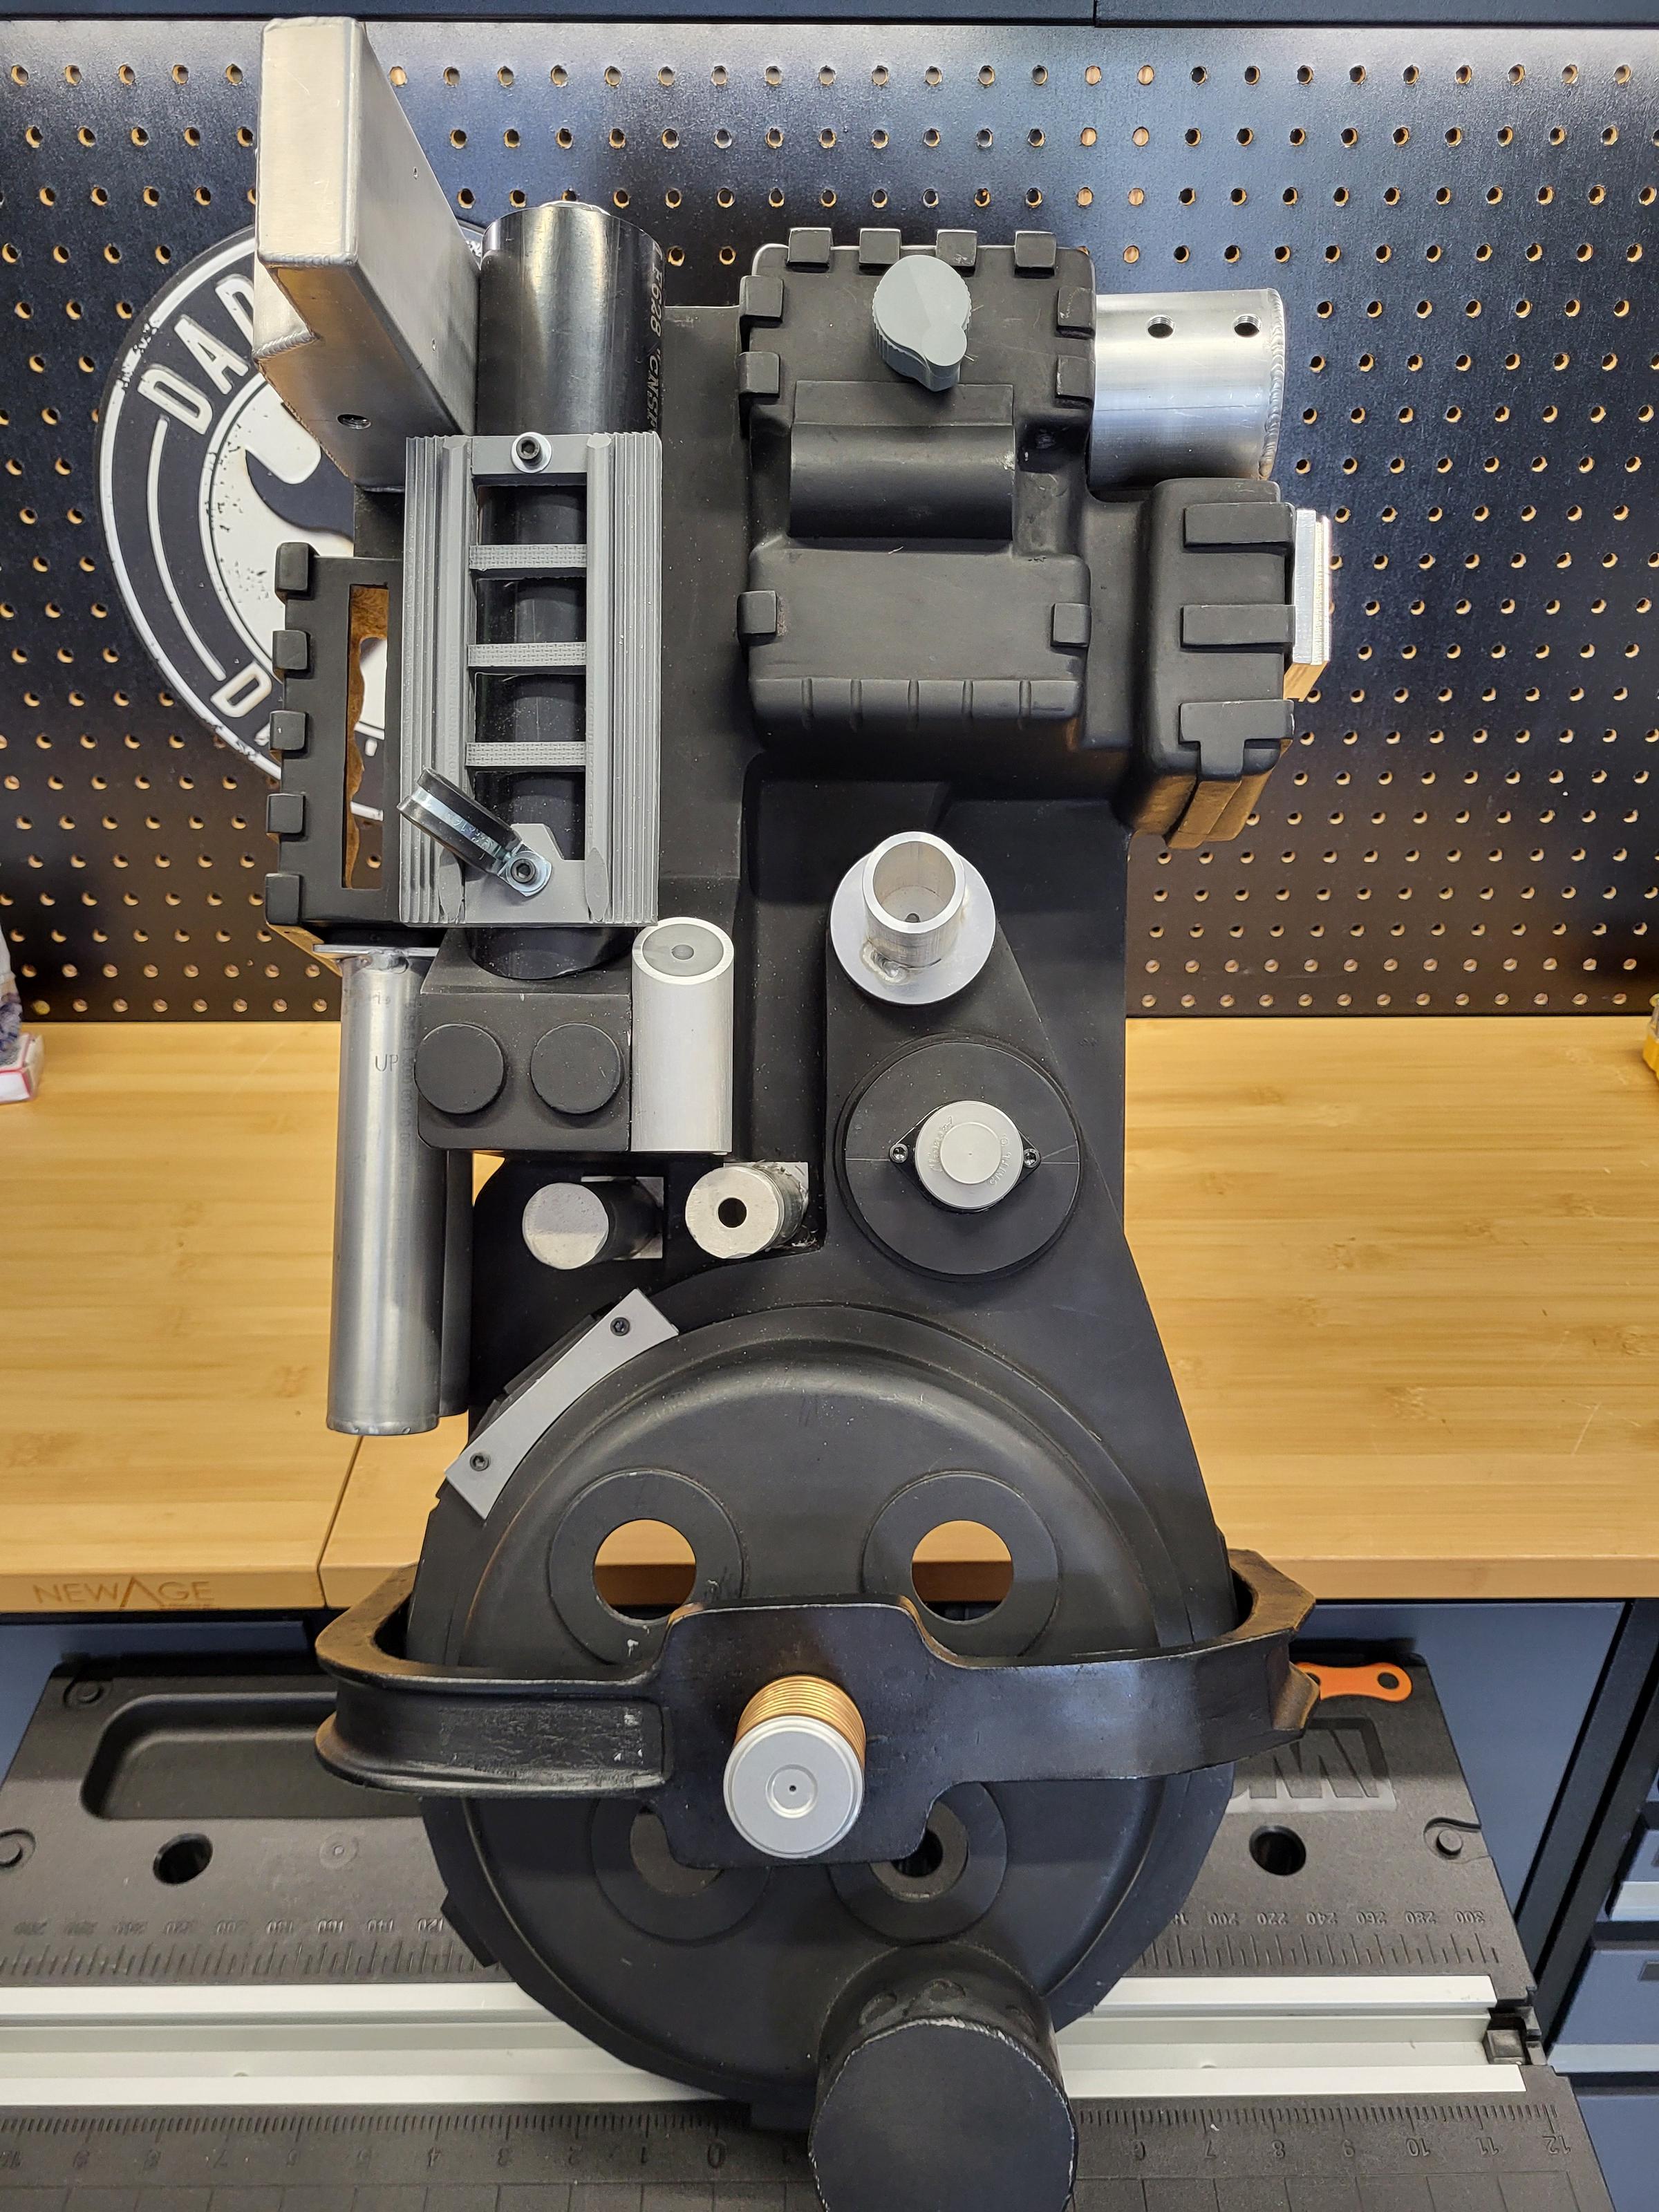
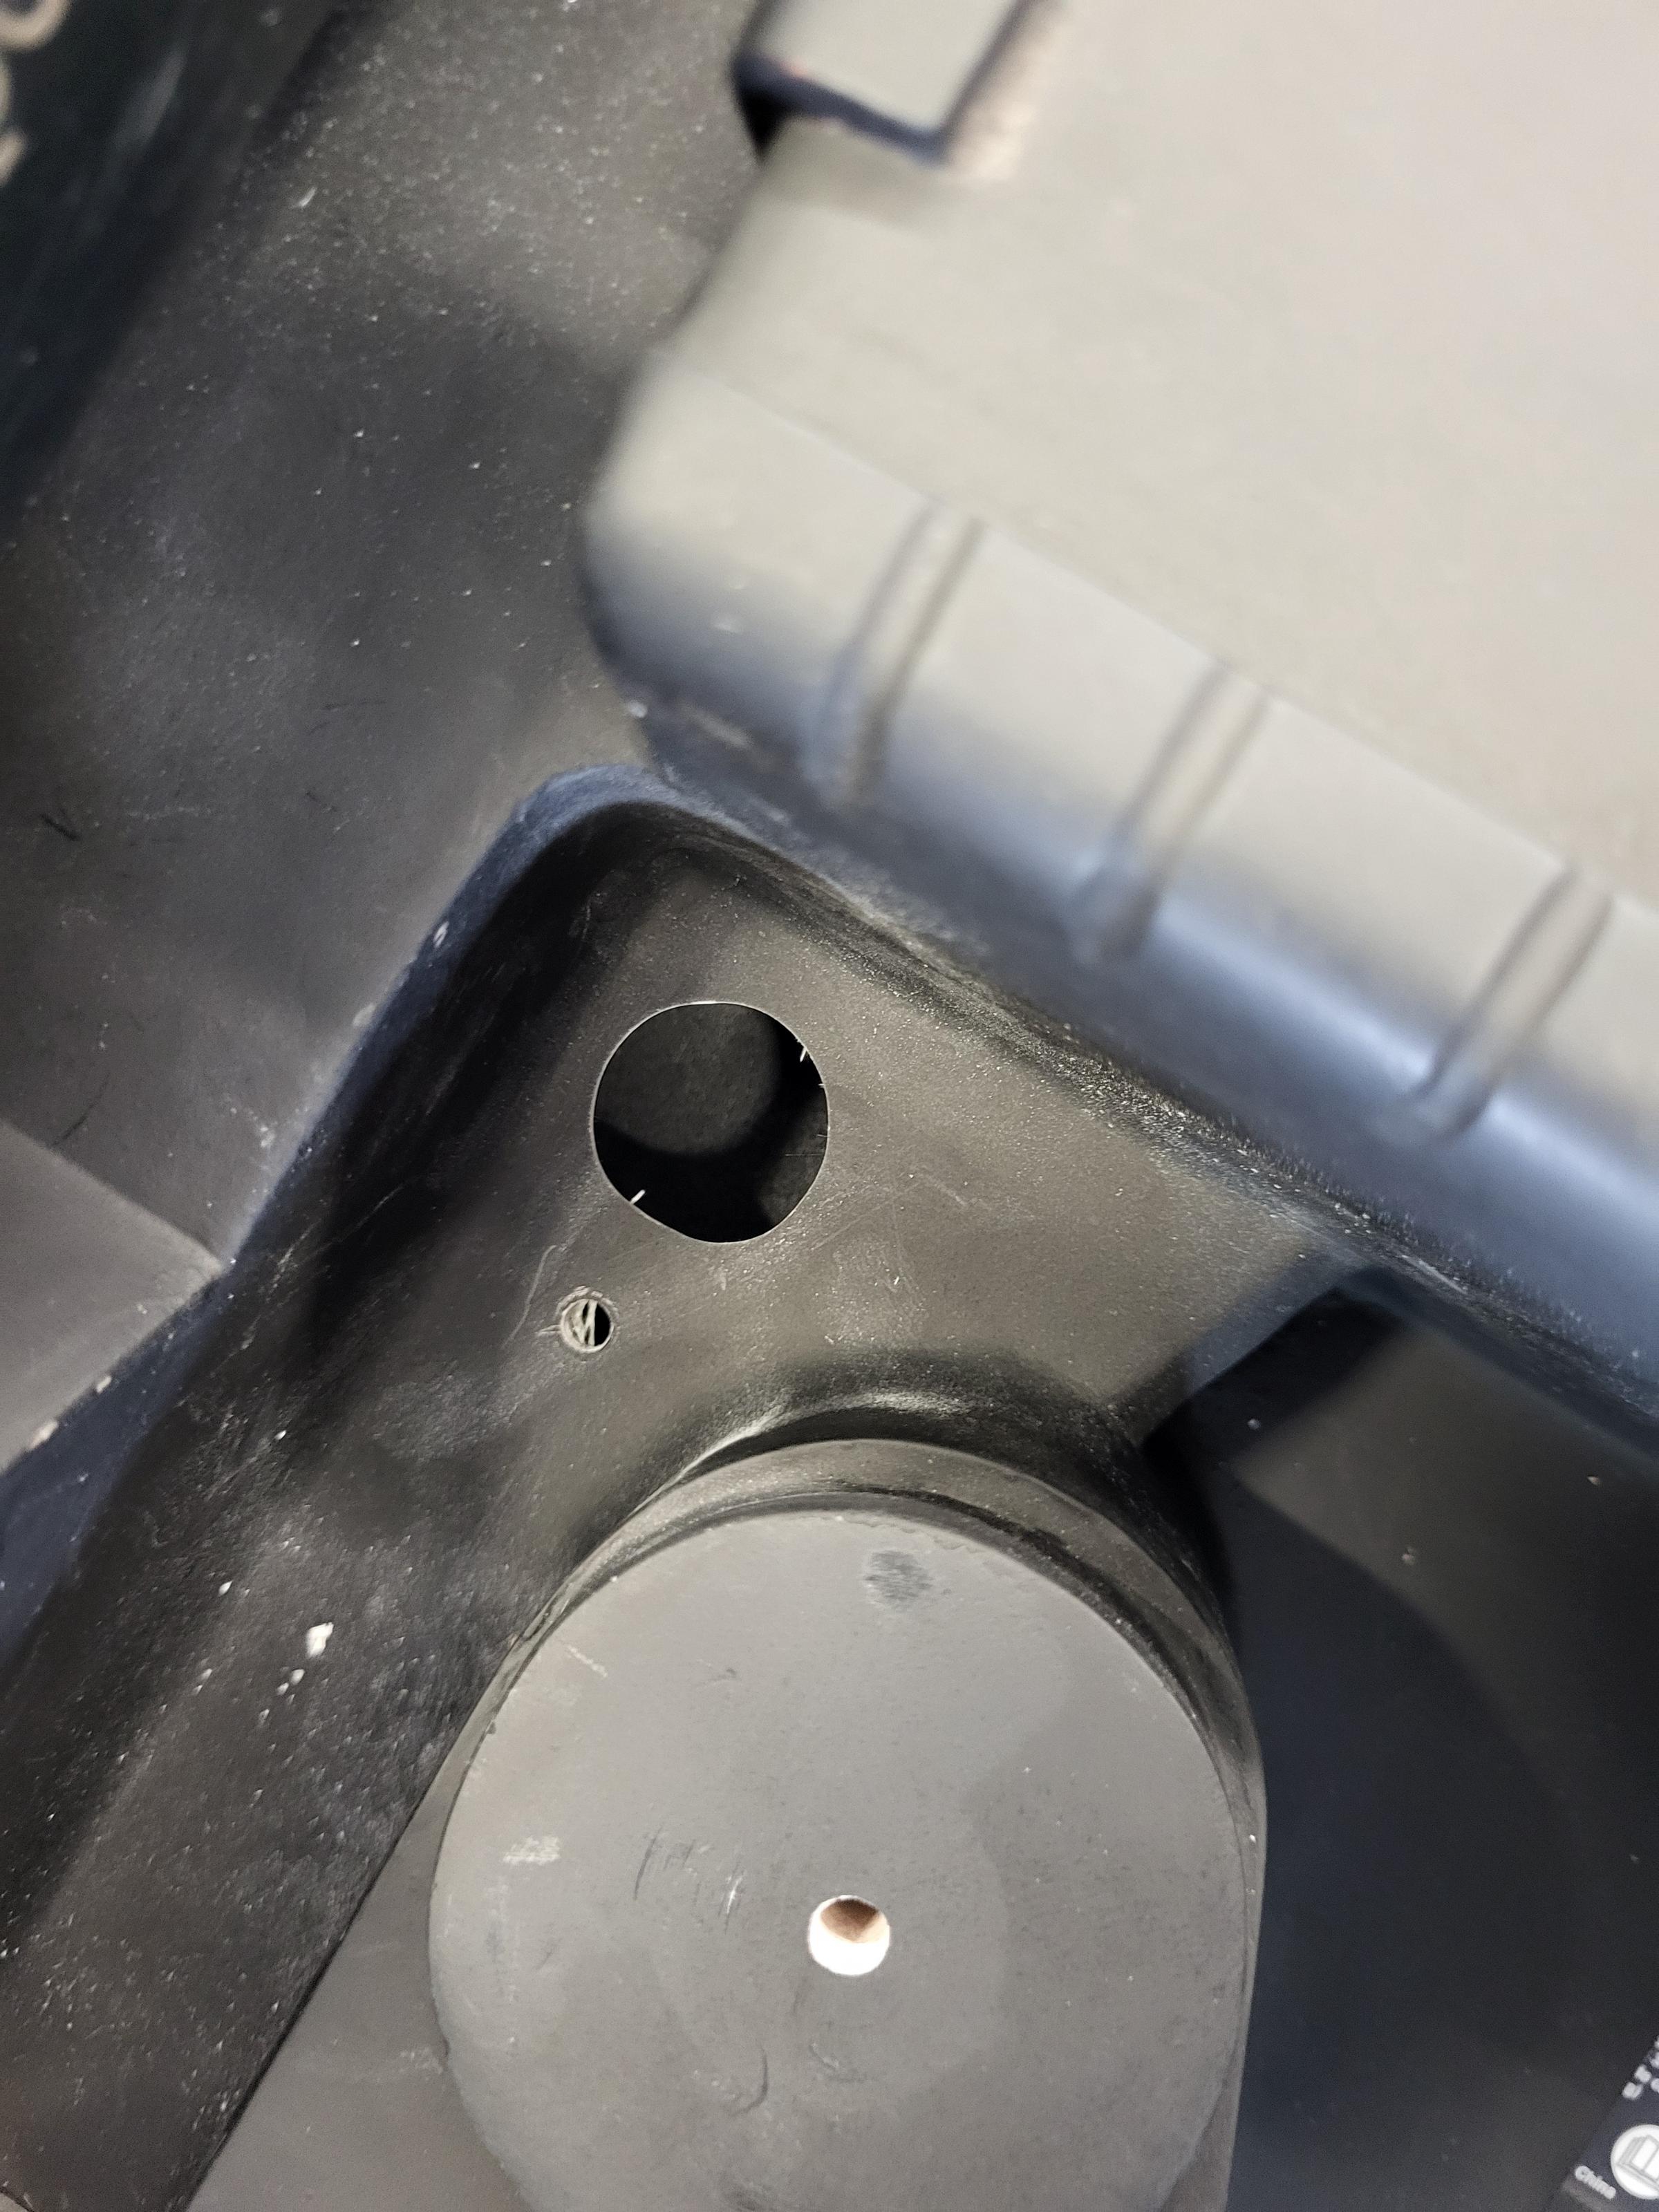
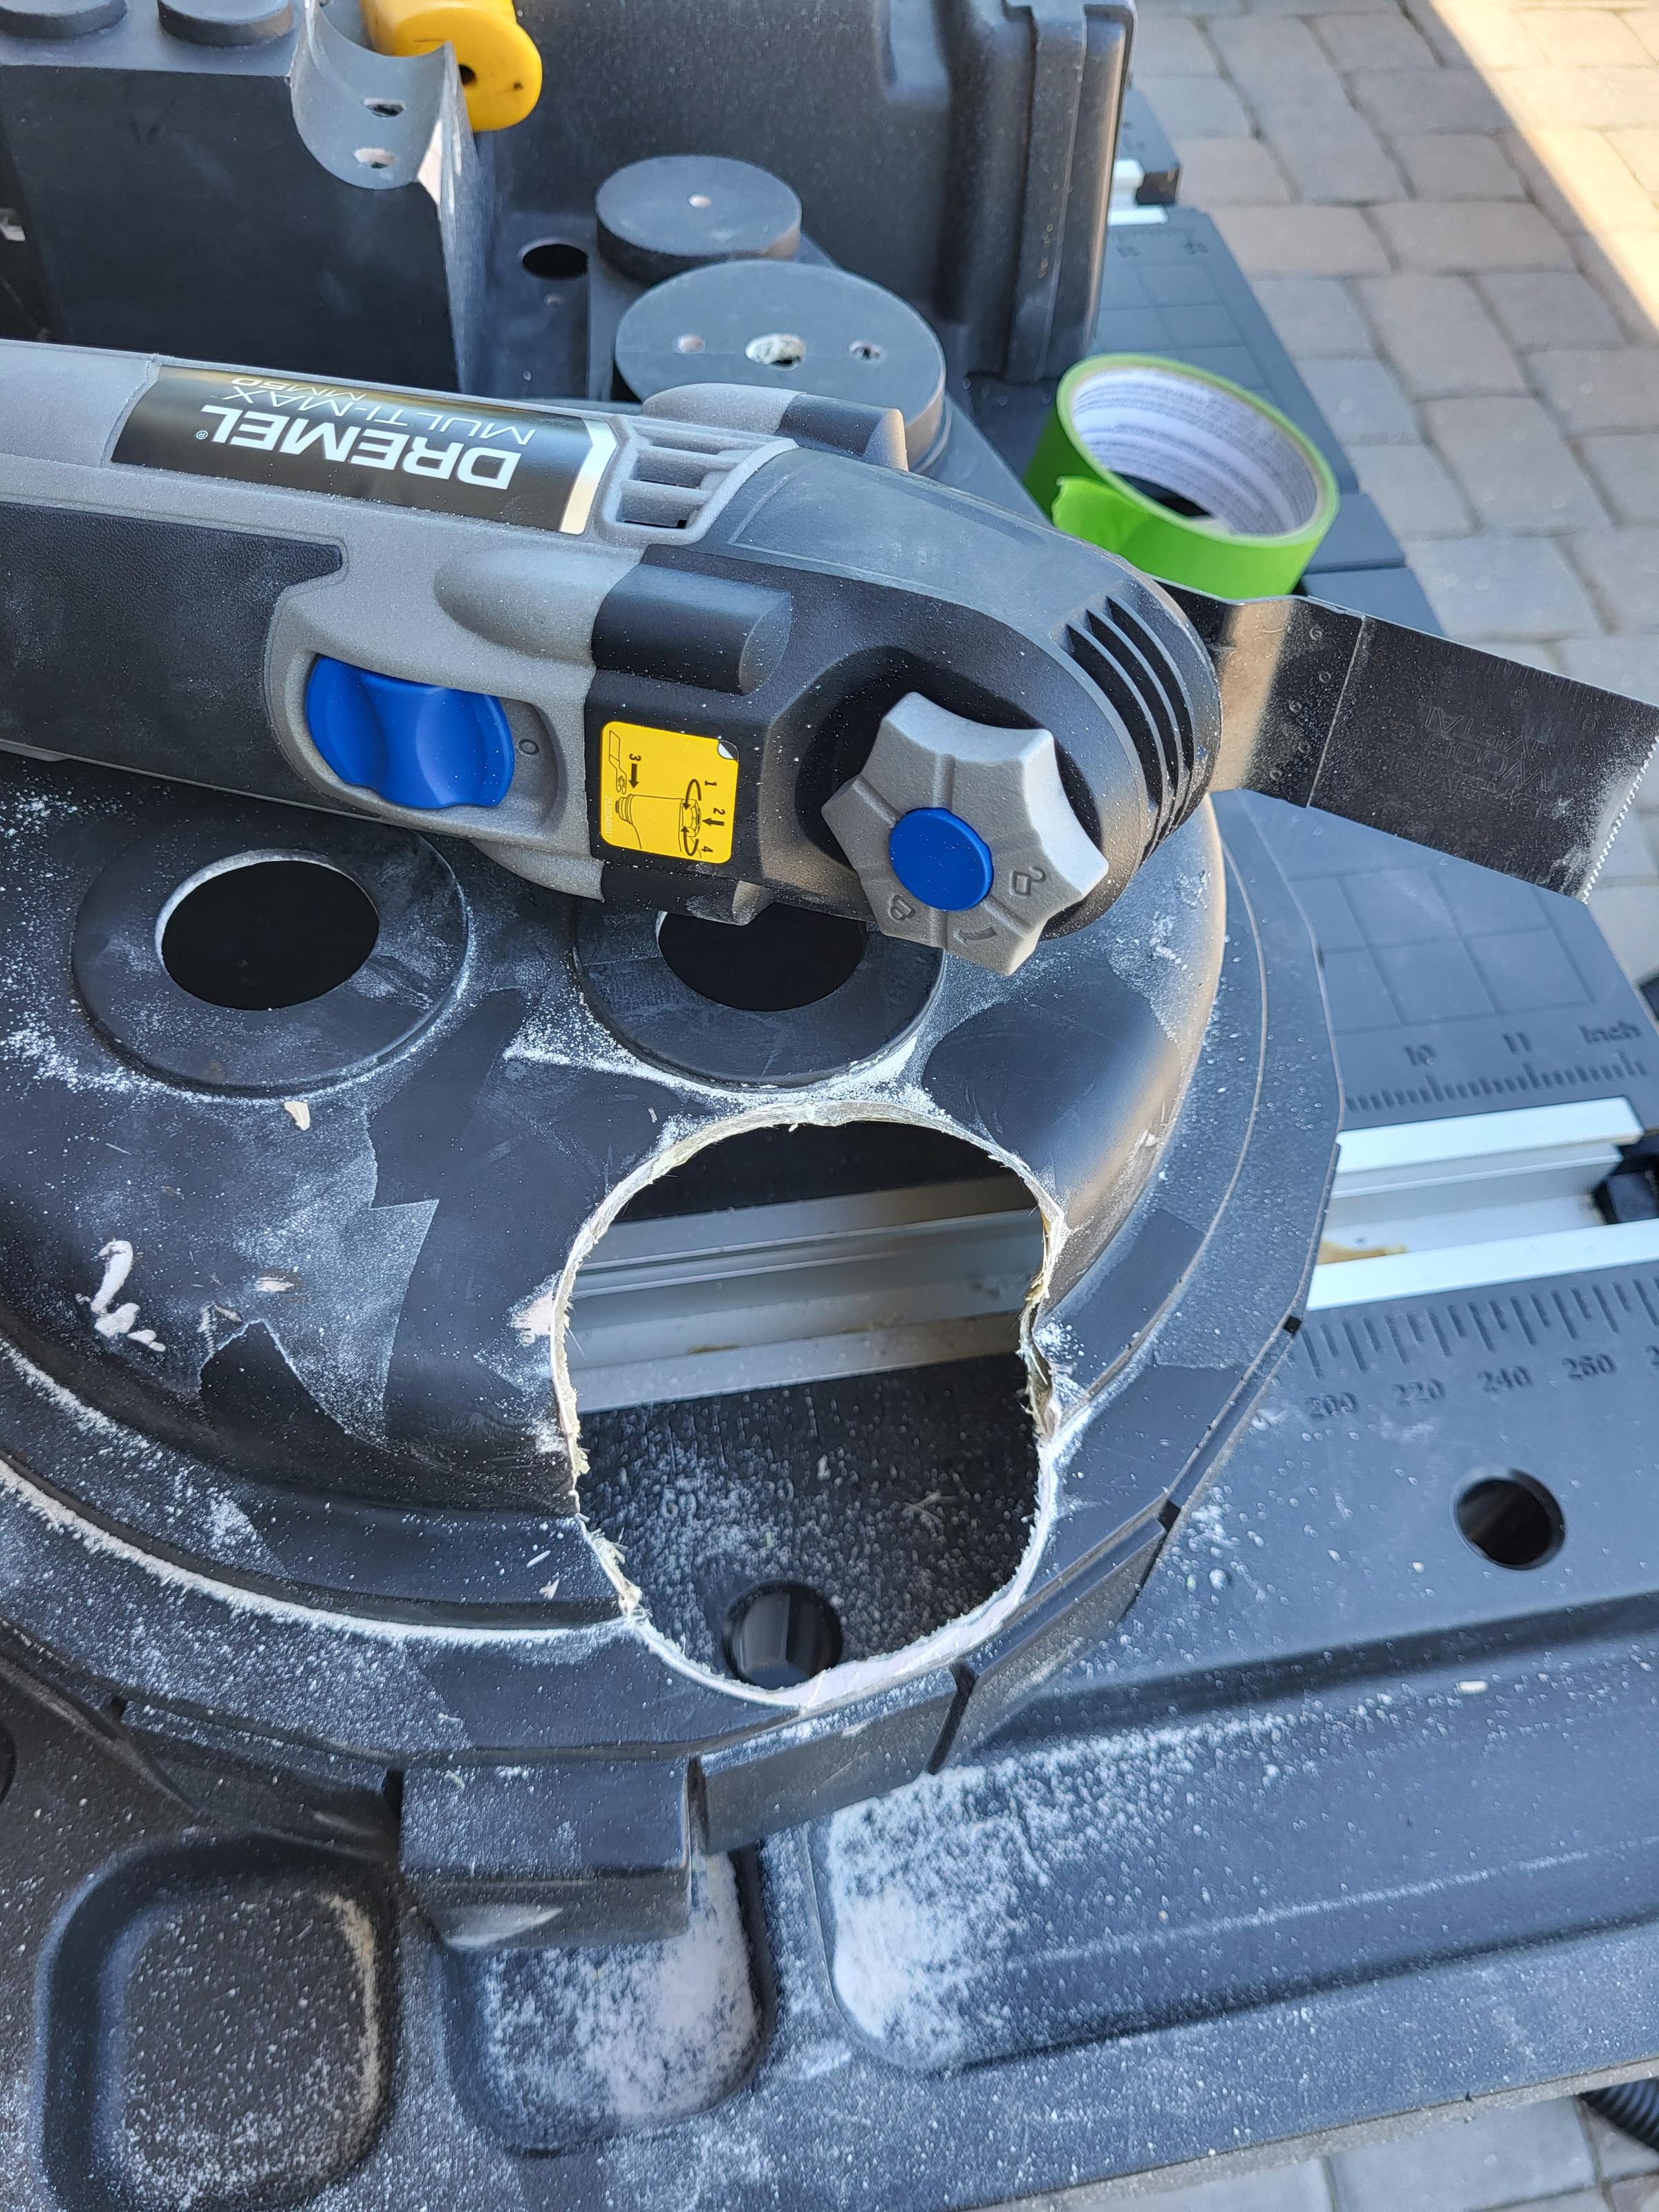
Let’s talk about holes. I needed to grind/sand down the inside of the shell around the powercell window and cyclotron holes to create a flat surface for mounting the acrylic lenses. This is one area of my shell that was not done well in my opinion. The area around the powercell window was very uneven on the inside, with excess material only in some corners. The shell around the cyclotron ring areas was very thin and similarly uneven.
First the powercell window. It’s really hard to get a tool in that area. I used a dremel to grind on the area, but I wasn’t at all happy with the results. I also made mistakes and nicked the window itself a couple times.
I fixed this by filling the area behind the powercell window with milliput. Then I took my blue powercell acrylic lens and wrapped it in painter’s tape. I pressed the tape-covered acrylic into the milliput as evenly as possible. After the milliput hardened, I removed the acrylic and had a perfectly molded rectangle in exactly the correct size. I used a file and sandpaper to clean up the excess milliput around the window.
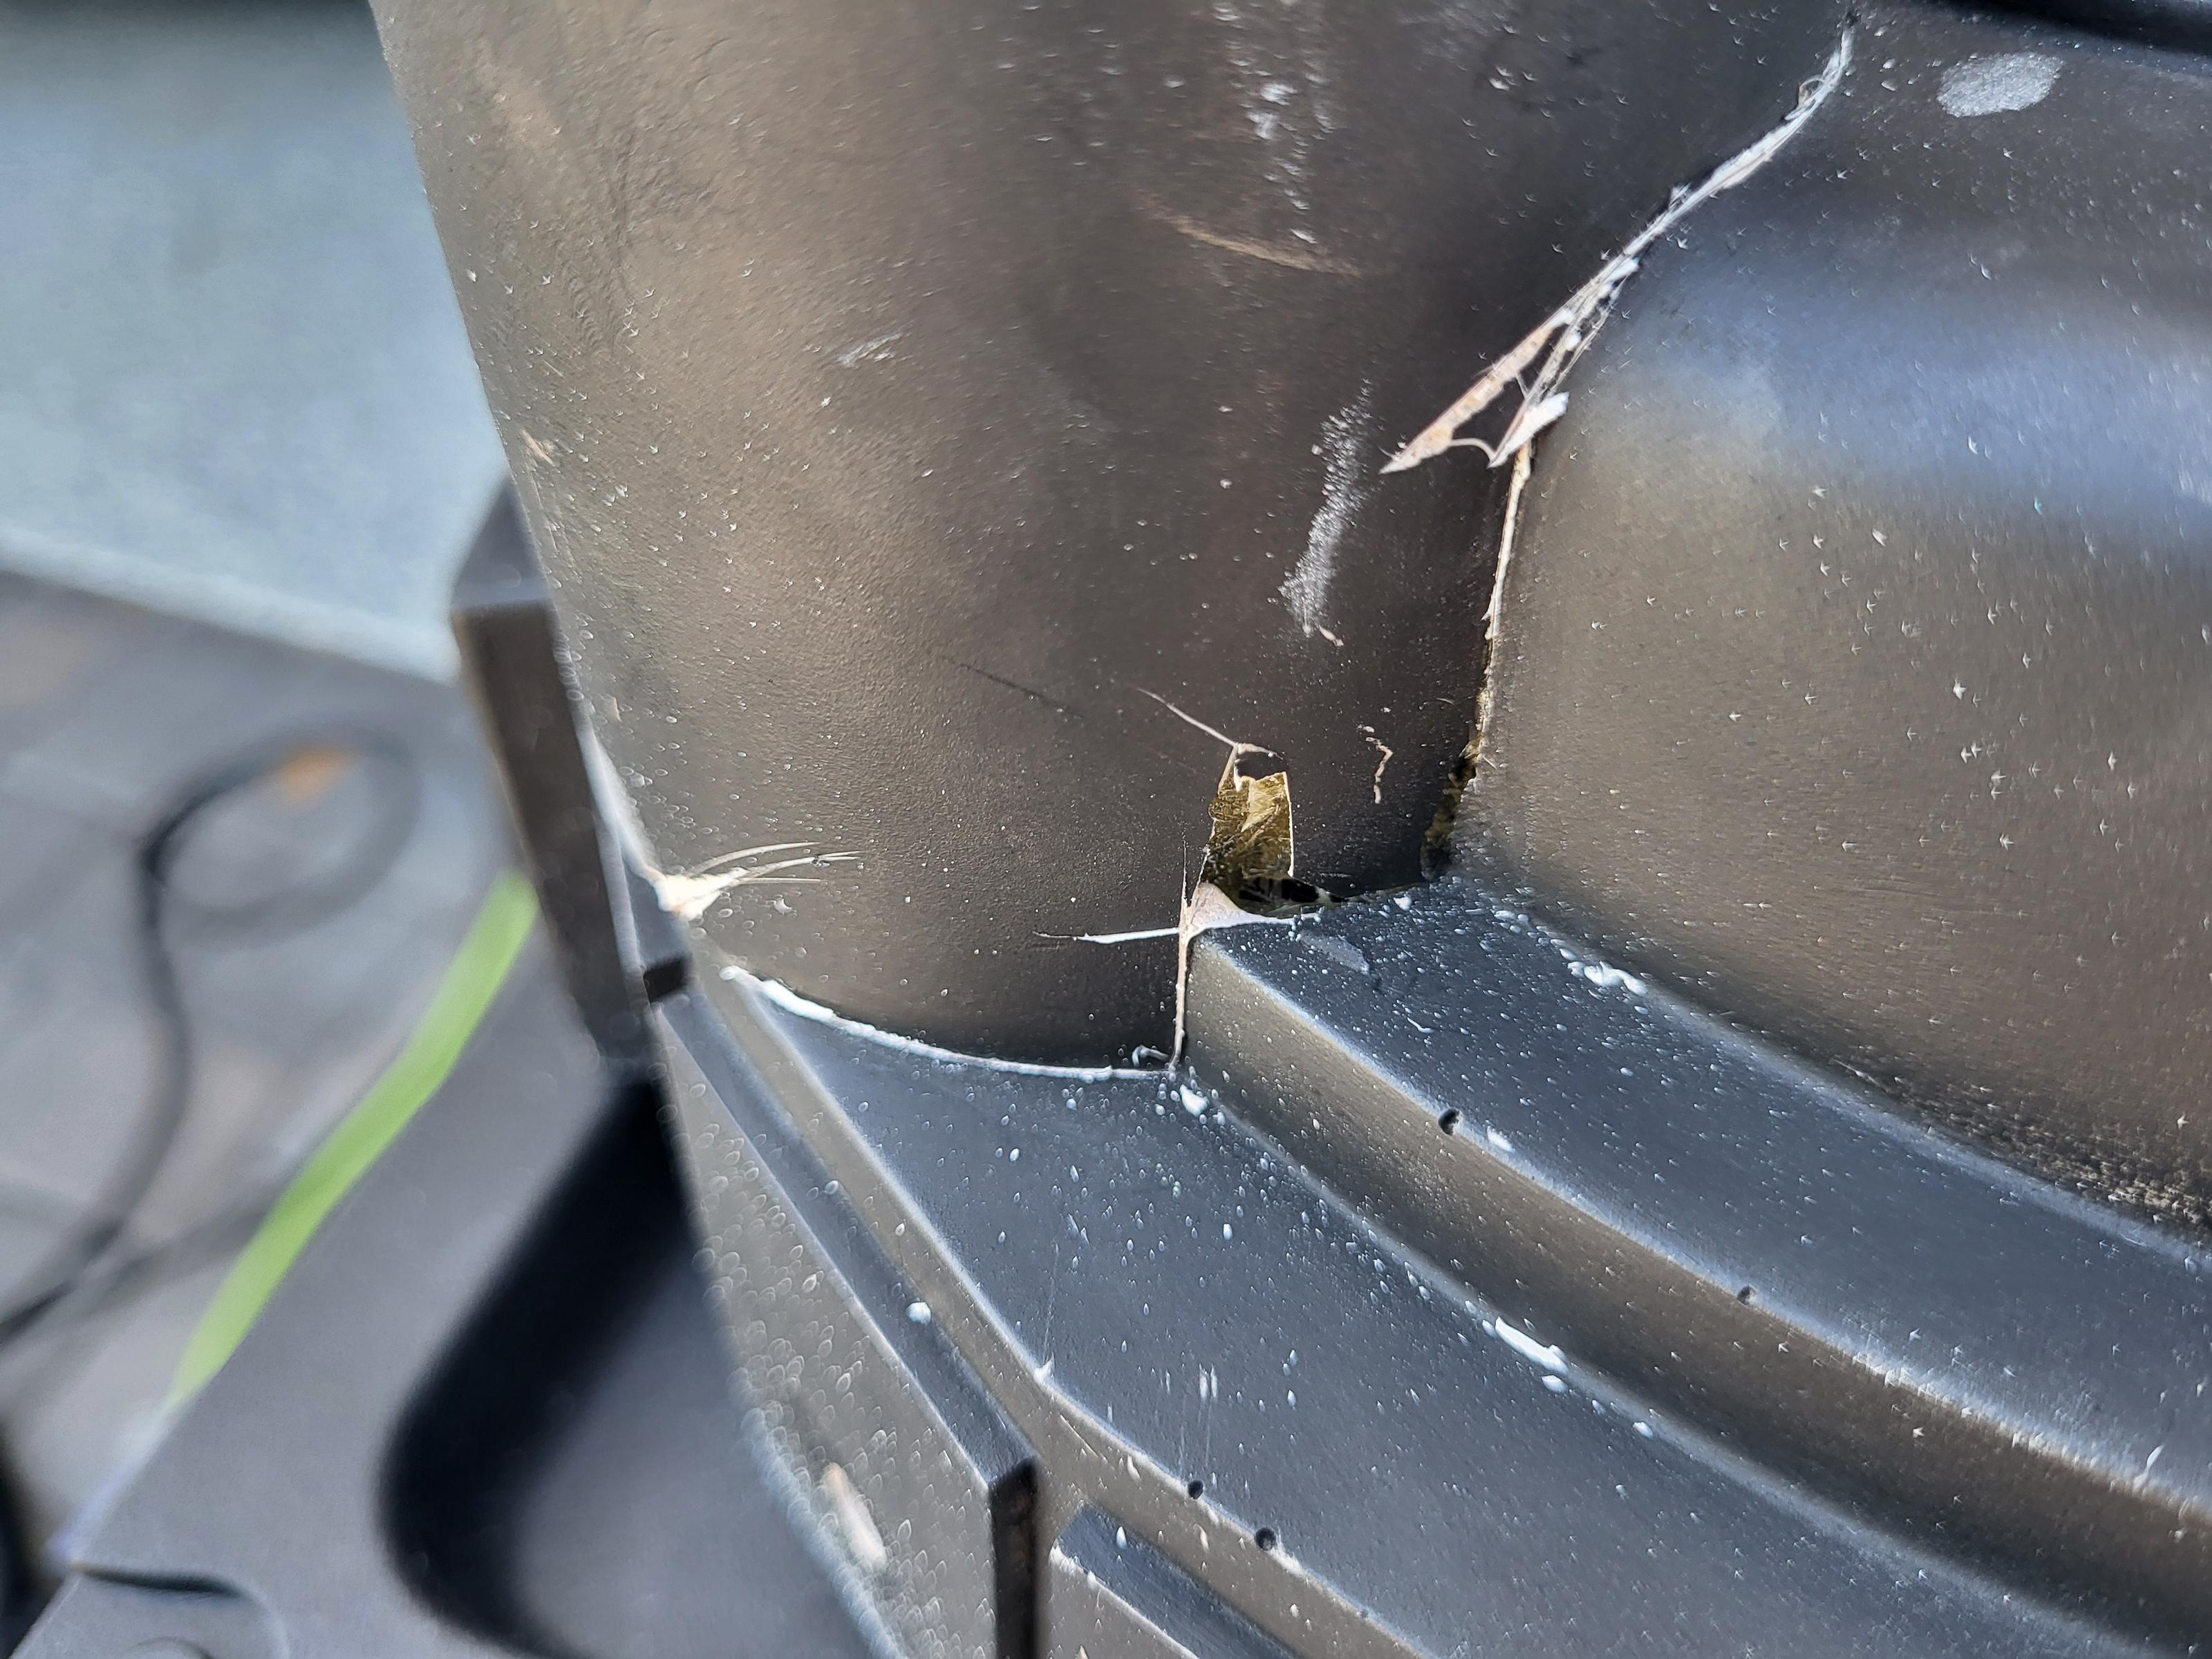
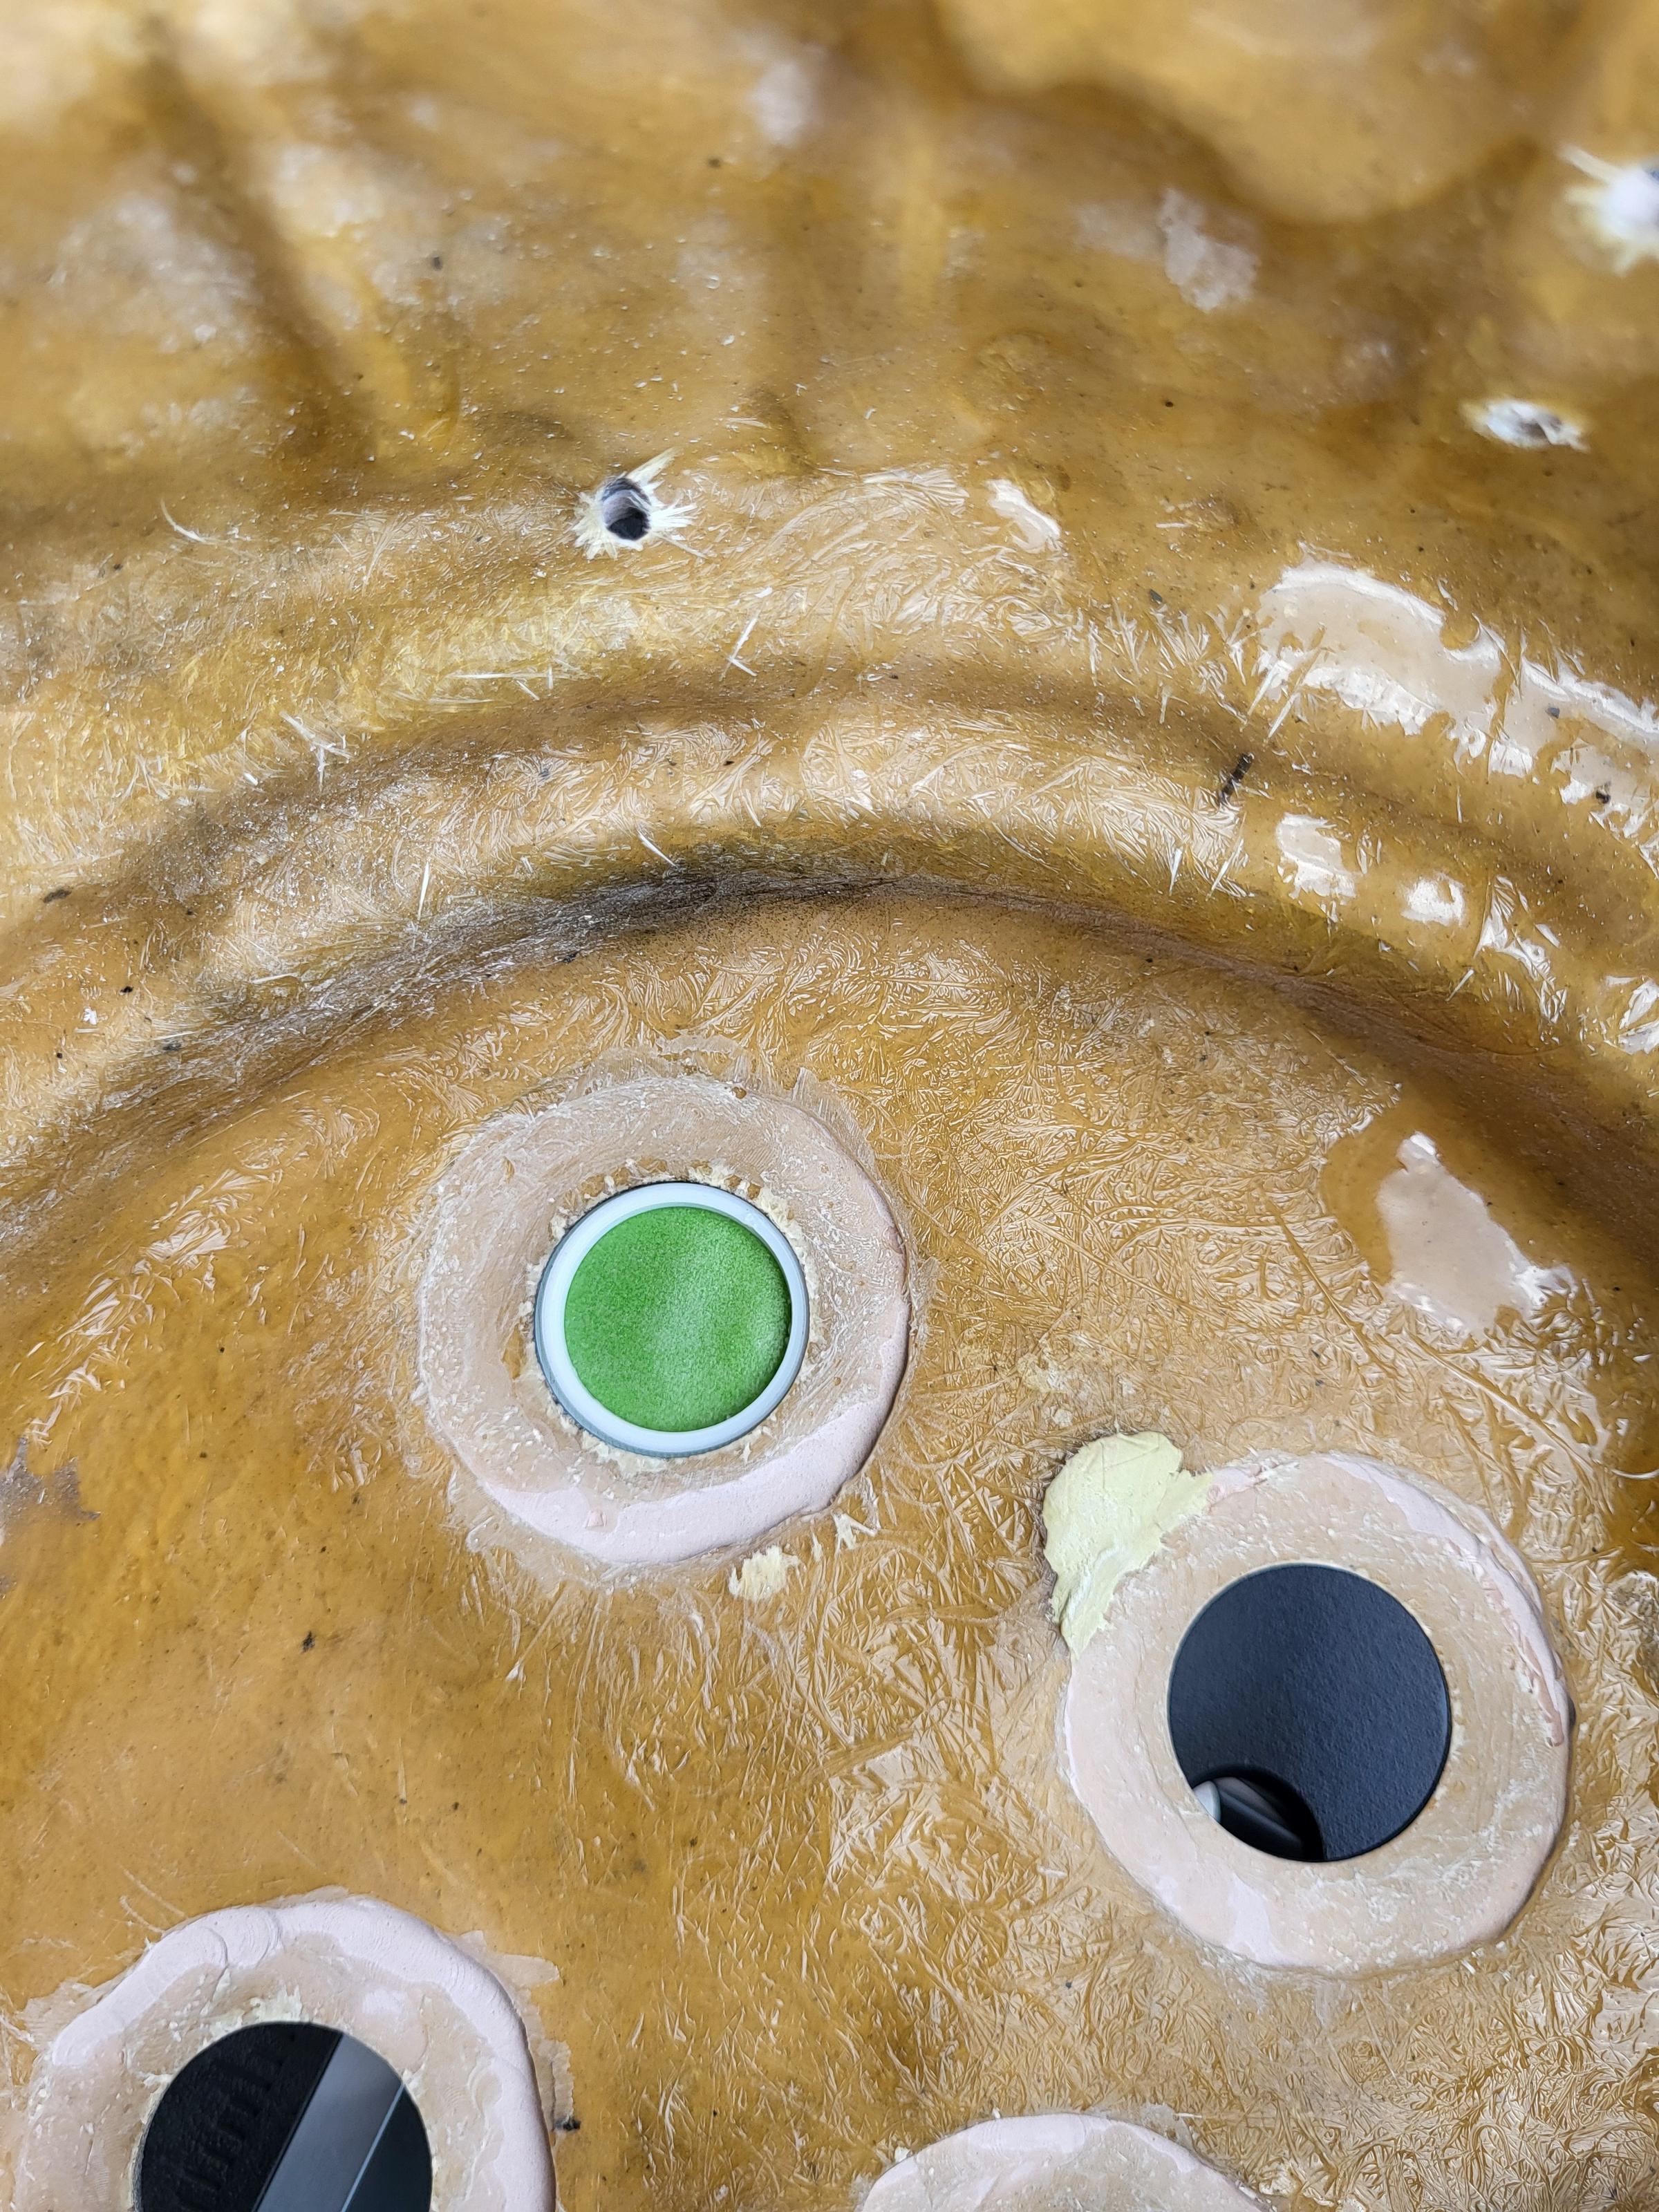
The cyclotron holes were an even bigger disaster. I had a lot of trouble getting the surface both even and also uniform among all four holes. As the shell was already thin, and I was a bit overzealous, I actually started to see areas of pink. This is not good because it means there is no fiberglass left and only the brittle gelcoat remains in those spots.
This picture shows how bad it got.
Not only did I need to support the structure, but I much preferred a thicc cyclotron with deep set lenses and didn’t like the thin look at all. I considered a few methods to fix this. I could fill it in with new fiberglass and redrill the holes, I could use epoxy somehow… finally I came up with a unique solution.
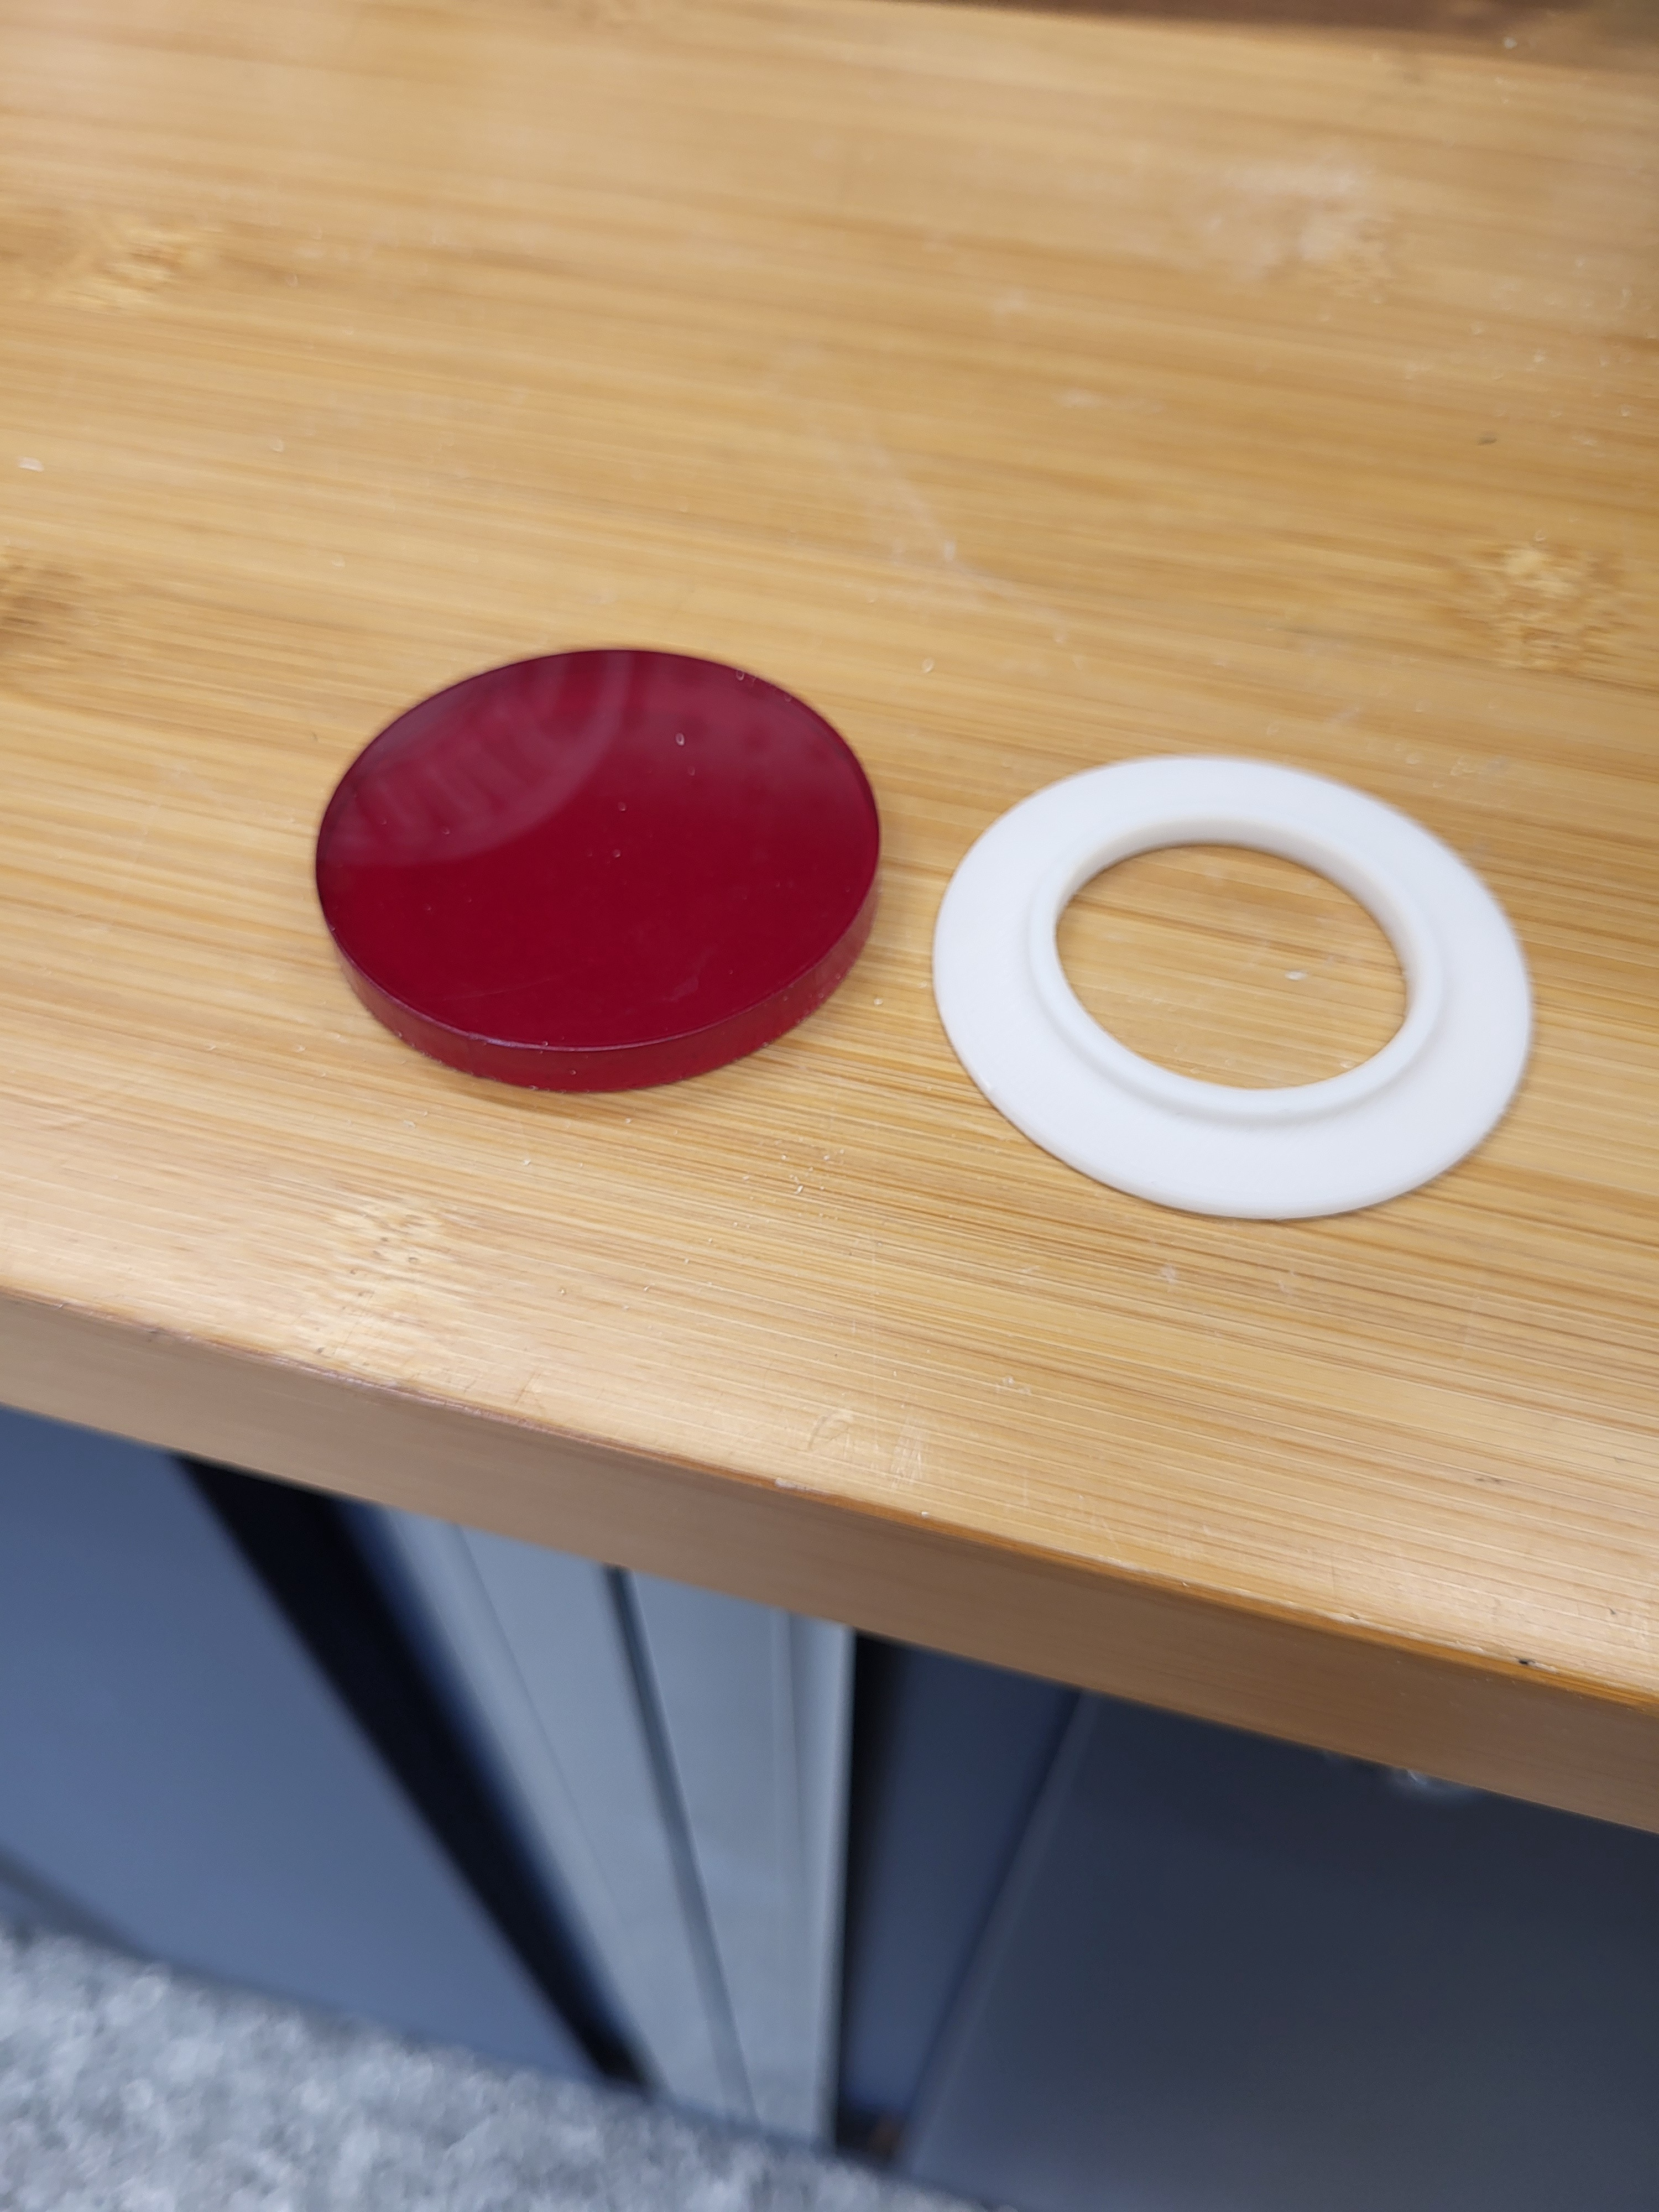
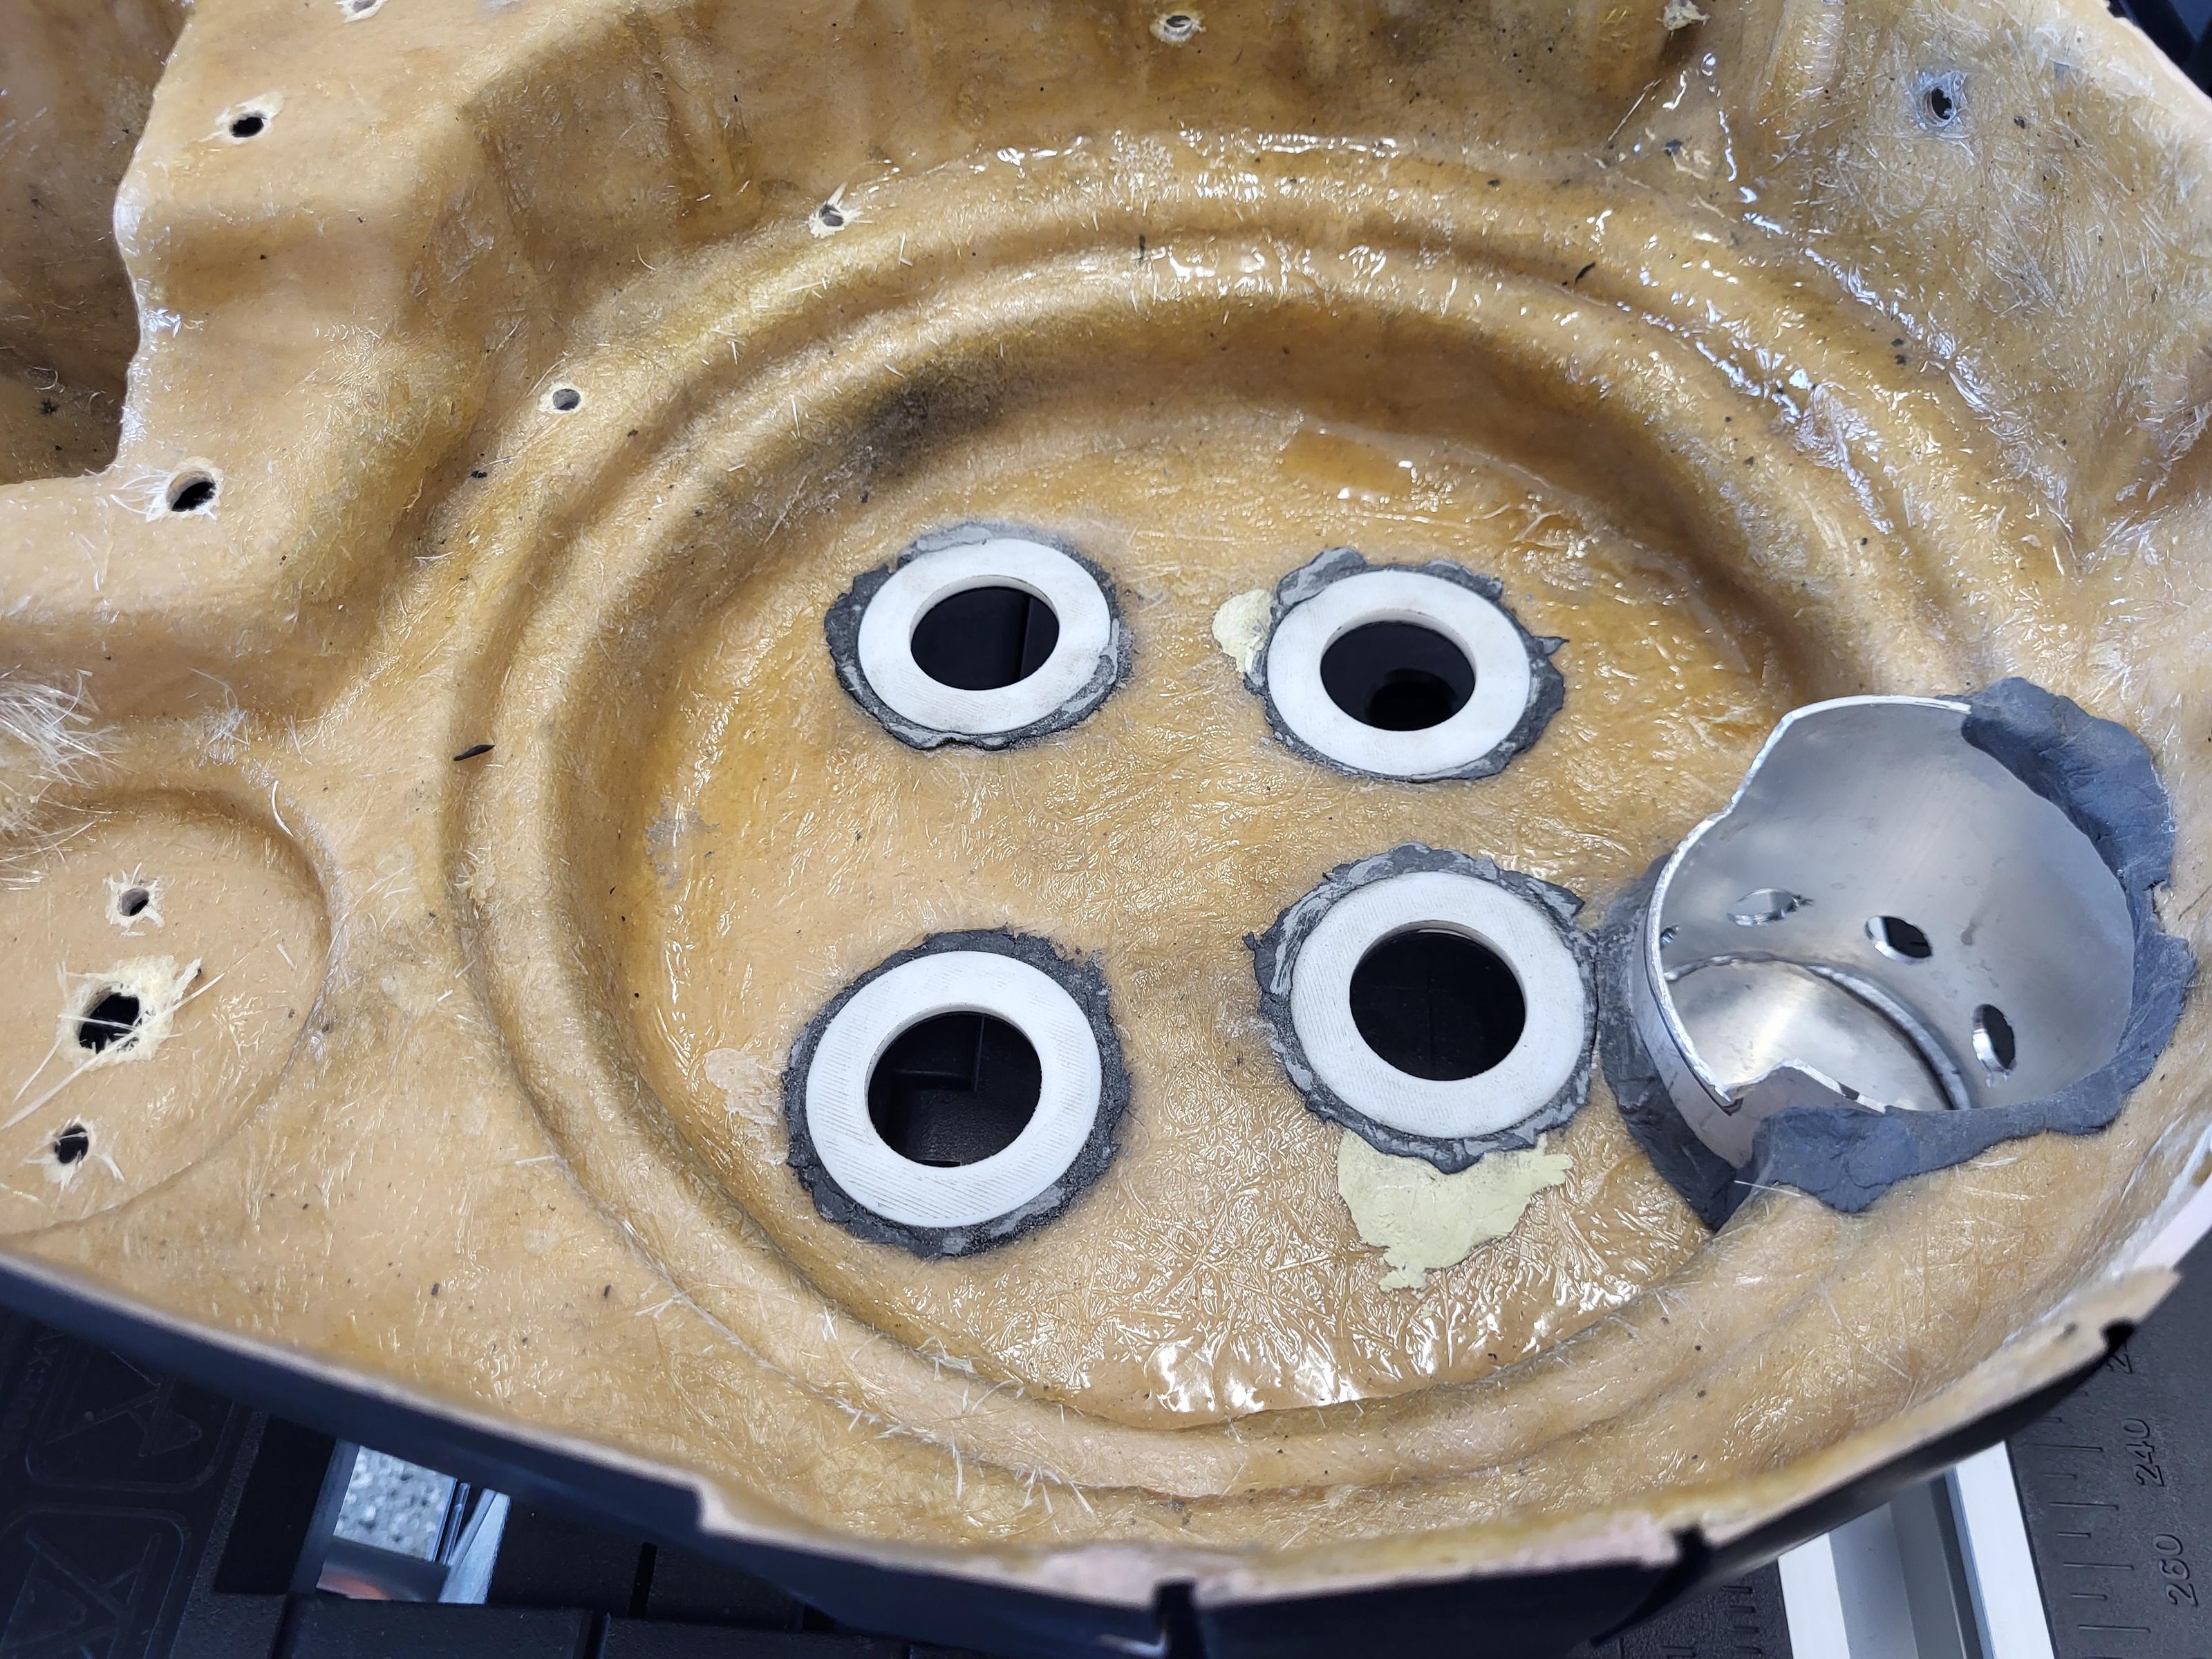
I 3D printed these cyclotron support rings. These will be epoxied behind the cyclotron rings. The epoxy will strengthen the thinned out areas, while the support rings will provide a perfectly flat surface to mount the acrylic lenses to. They are printed to the depth that I want for the holes.
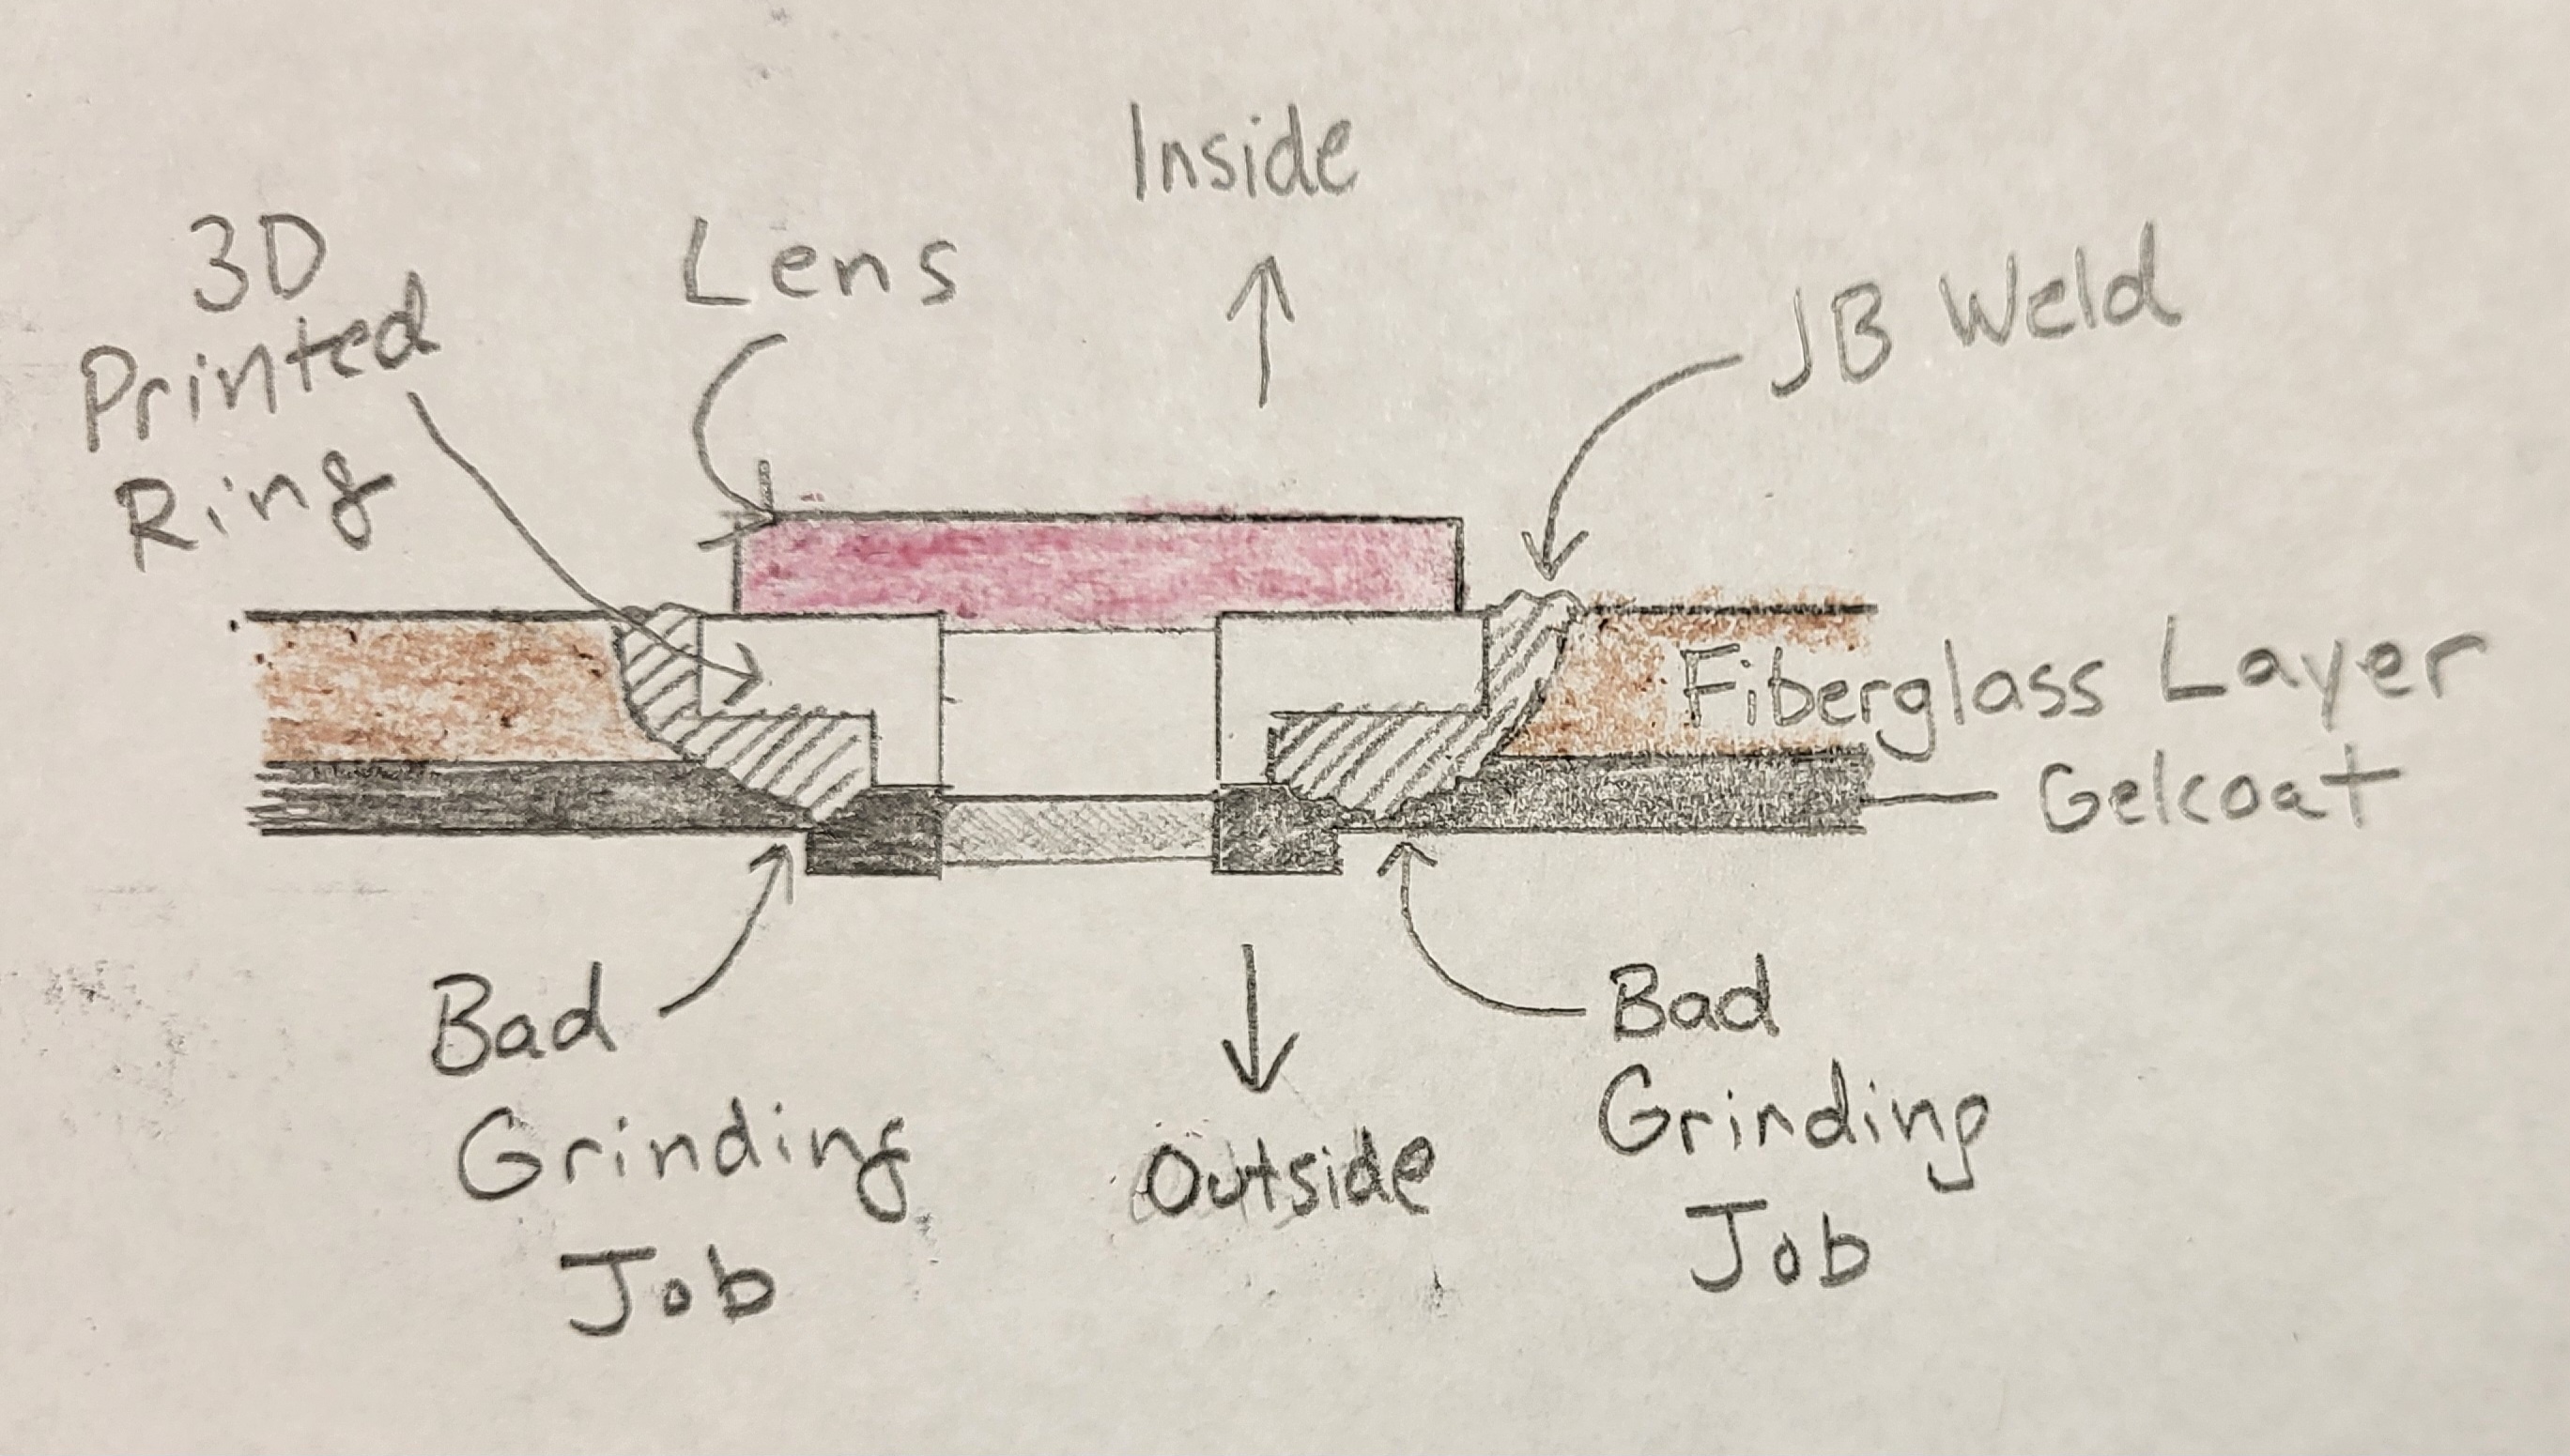
This drawing is a cross section of a cyclotron hole, to attempt to show how this works. Please excuse the crudity of this drawing; it’s not to scale.
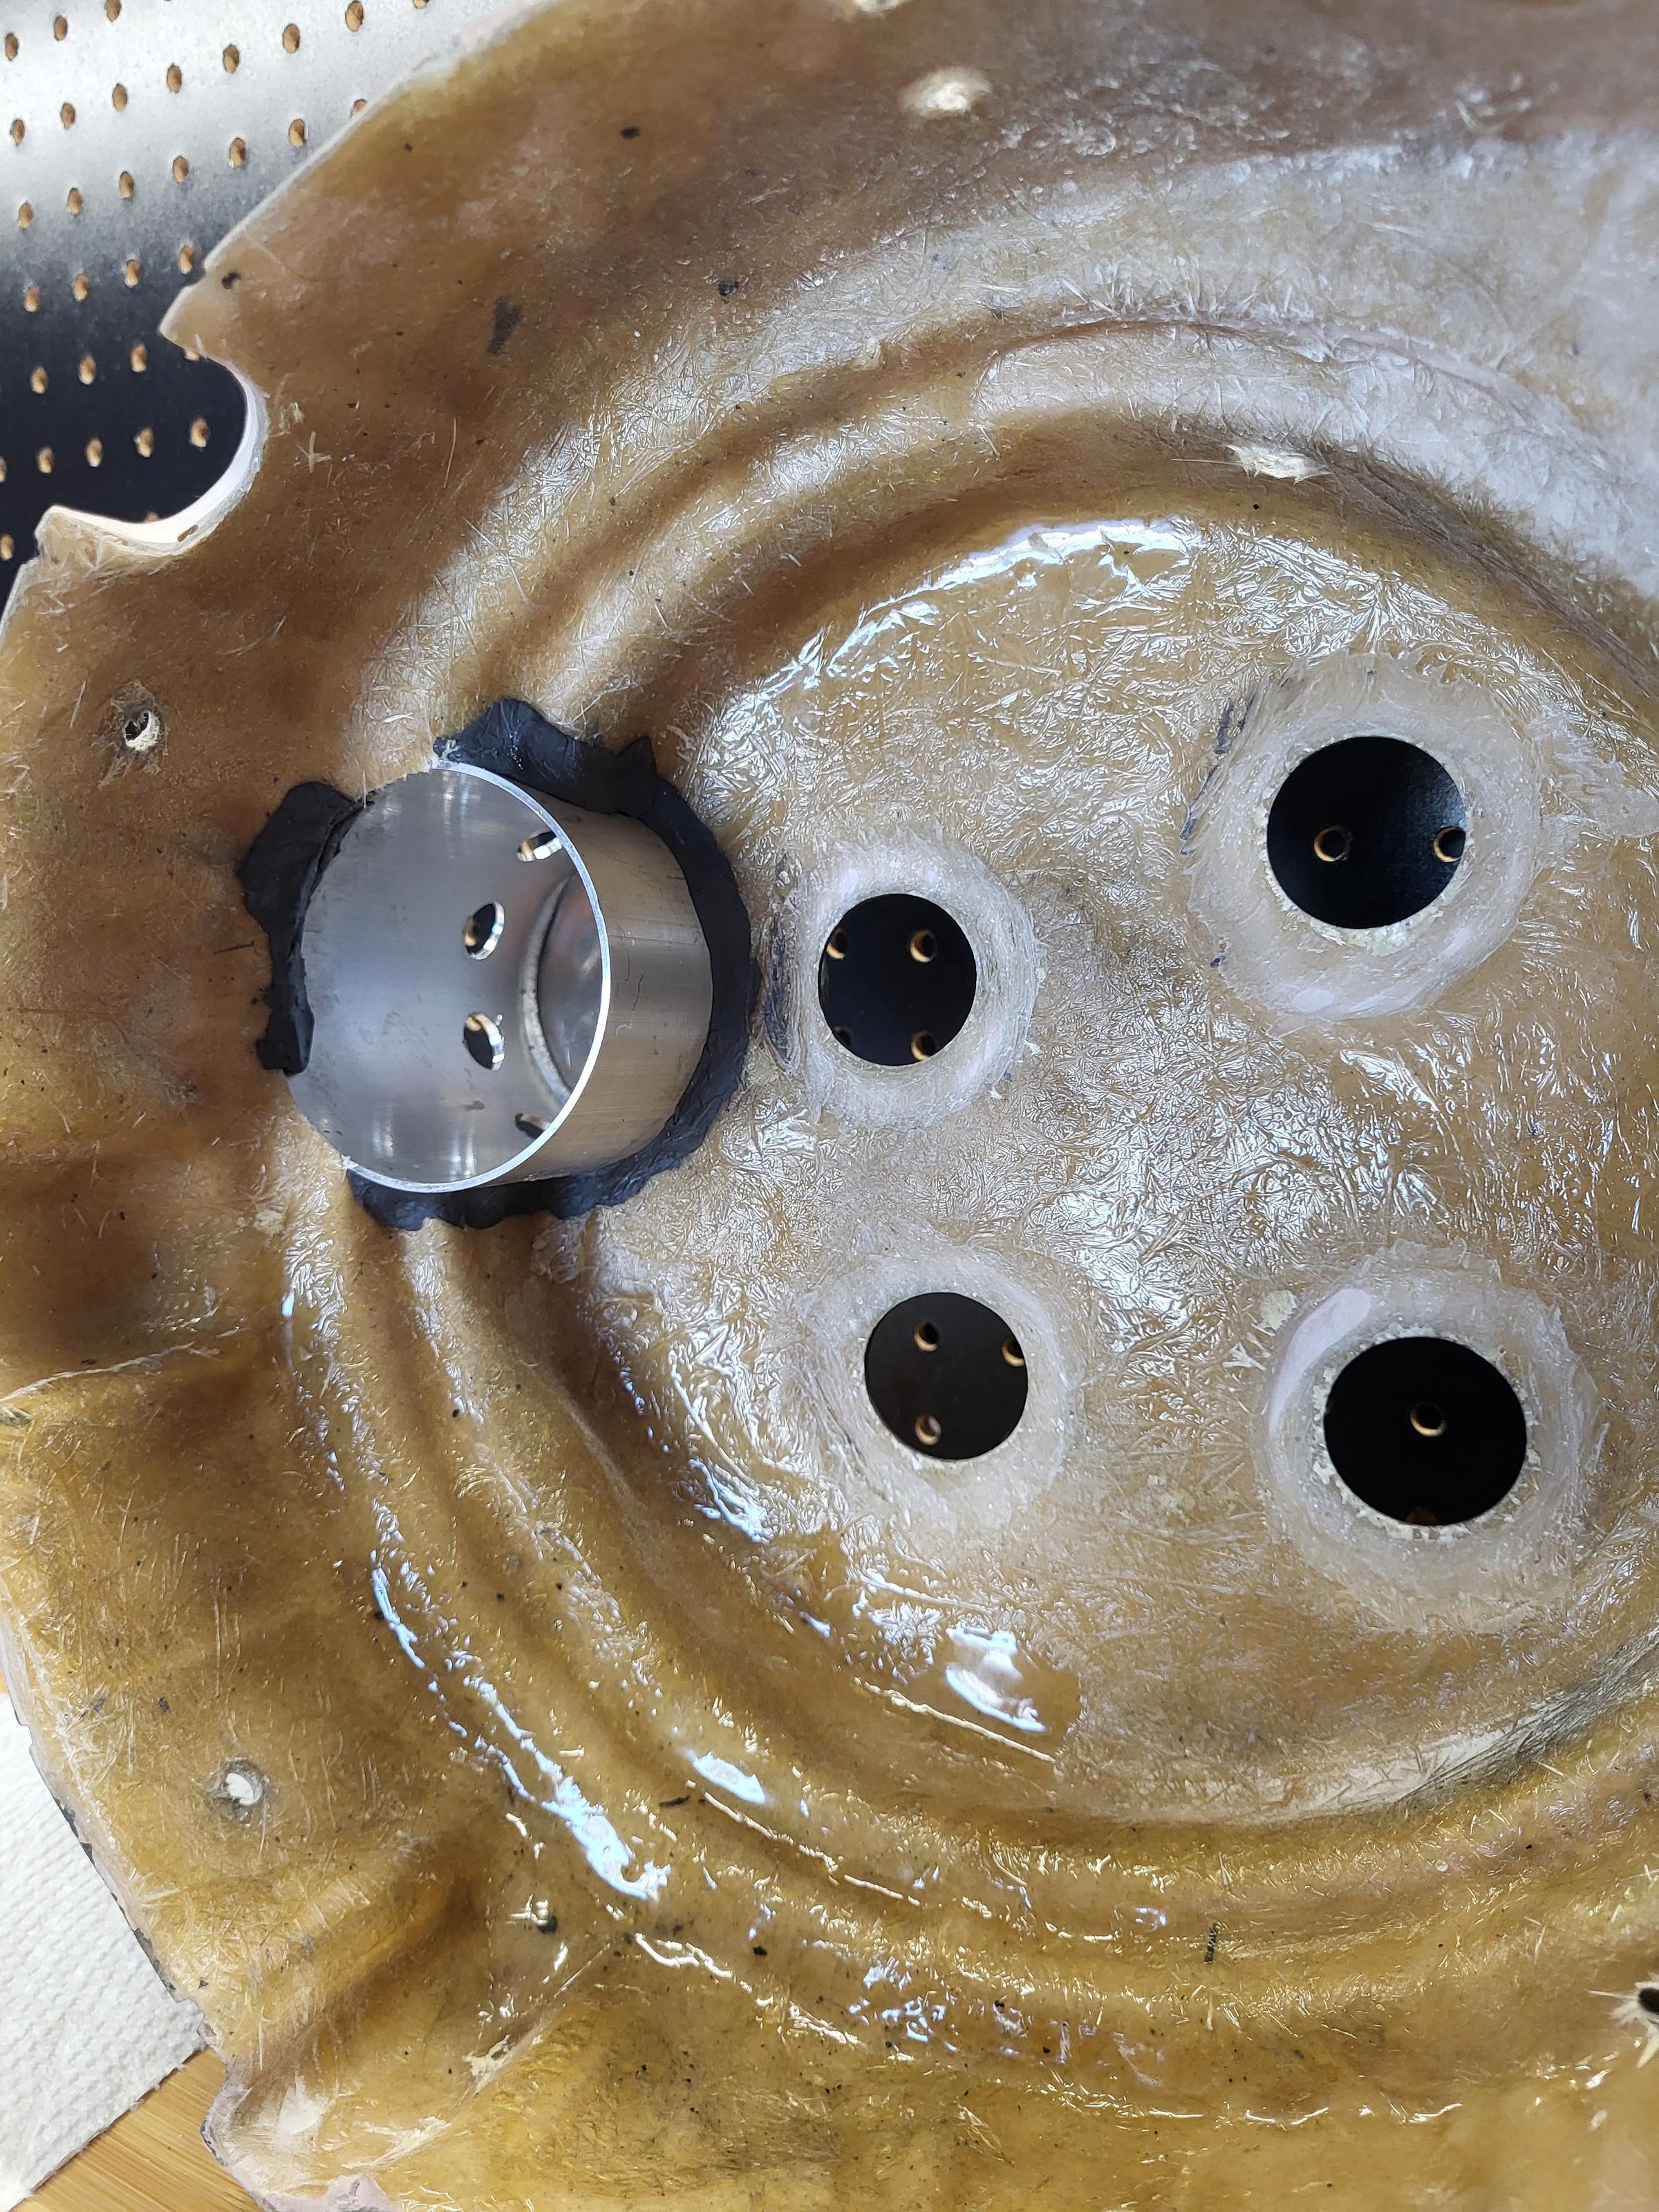
Here is what they look like from the inside once epoxied in place.
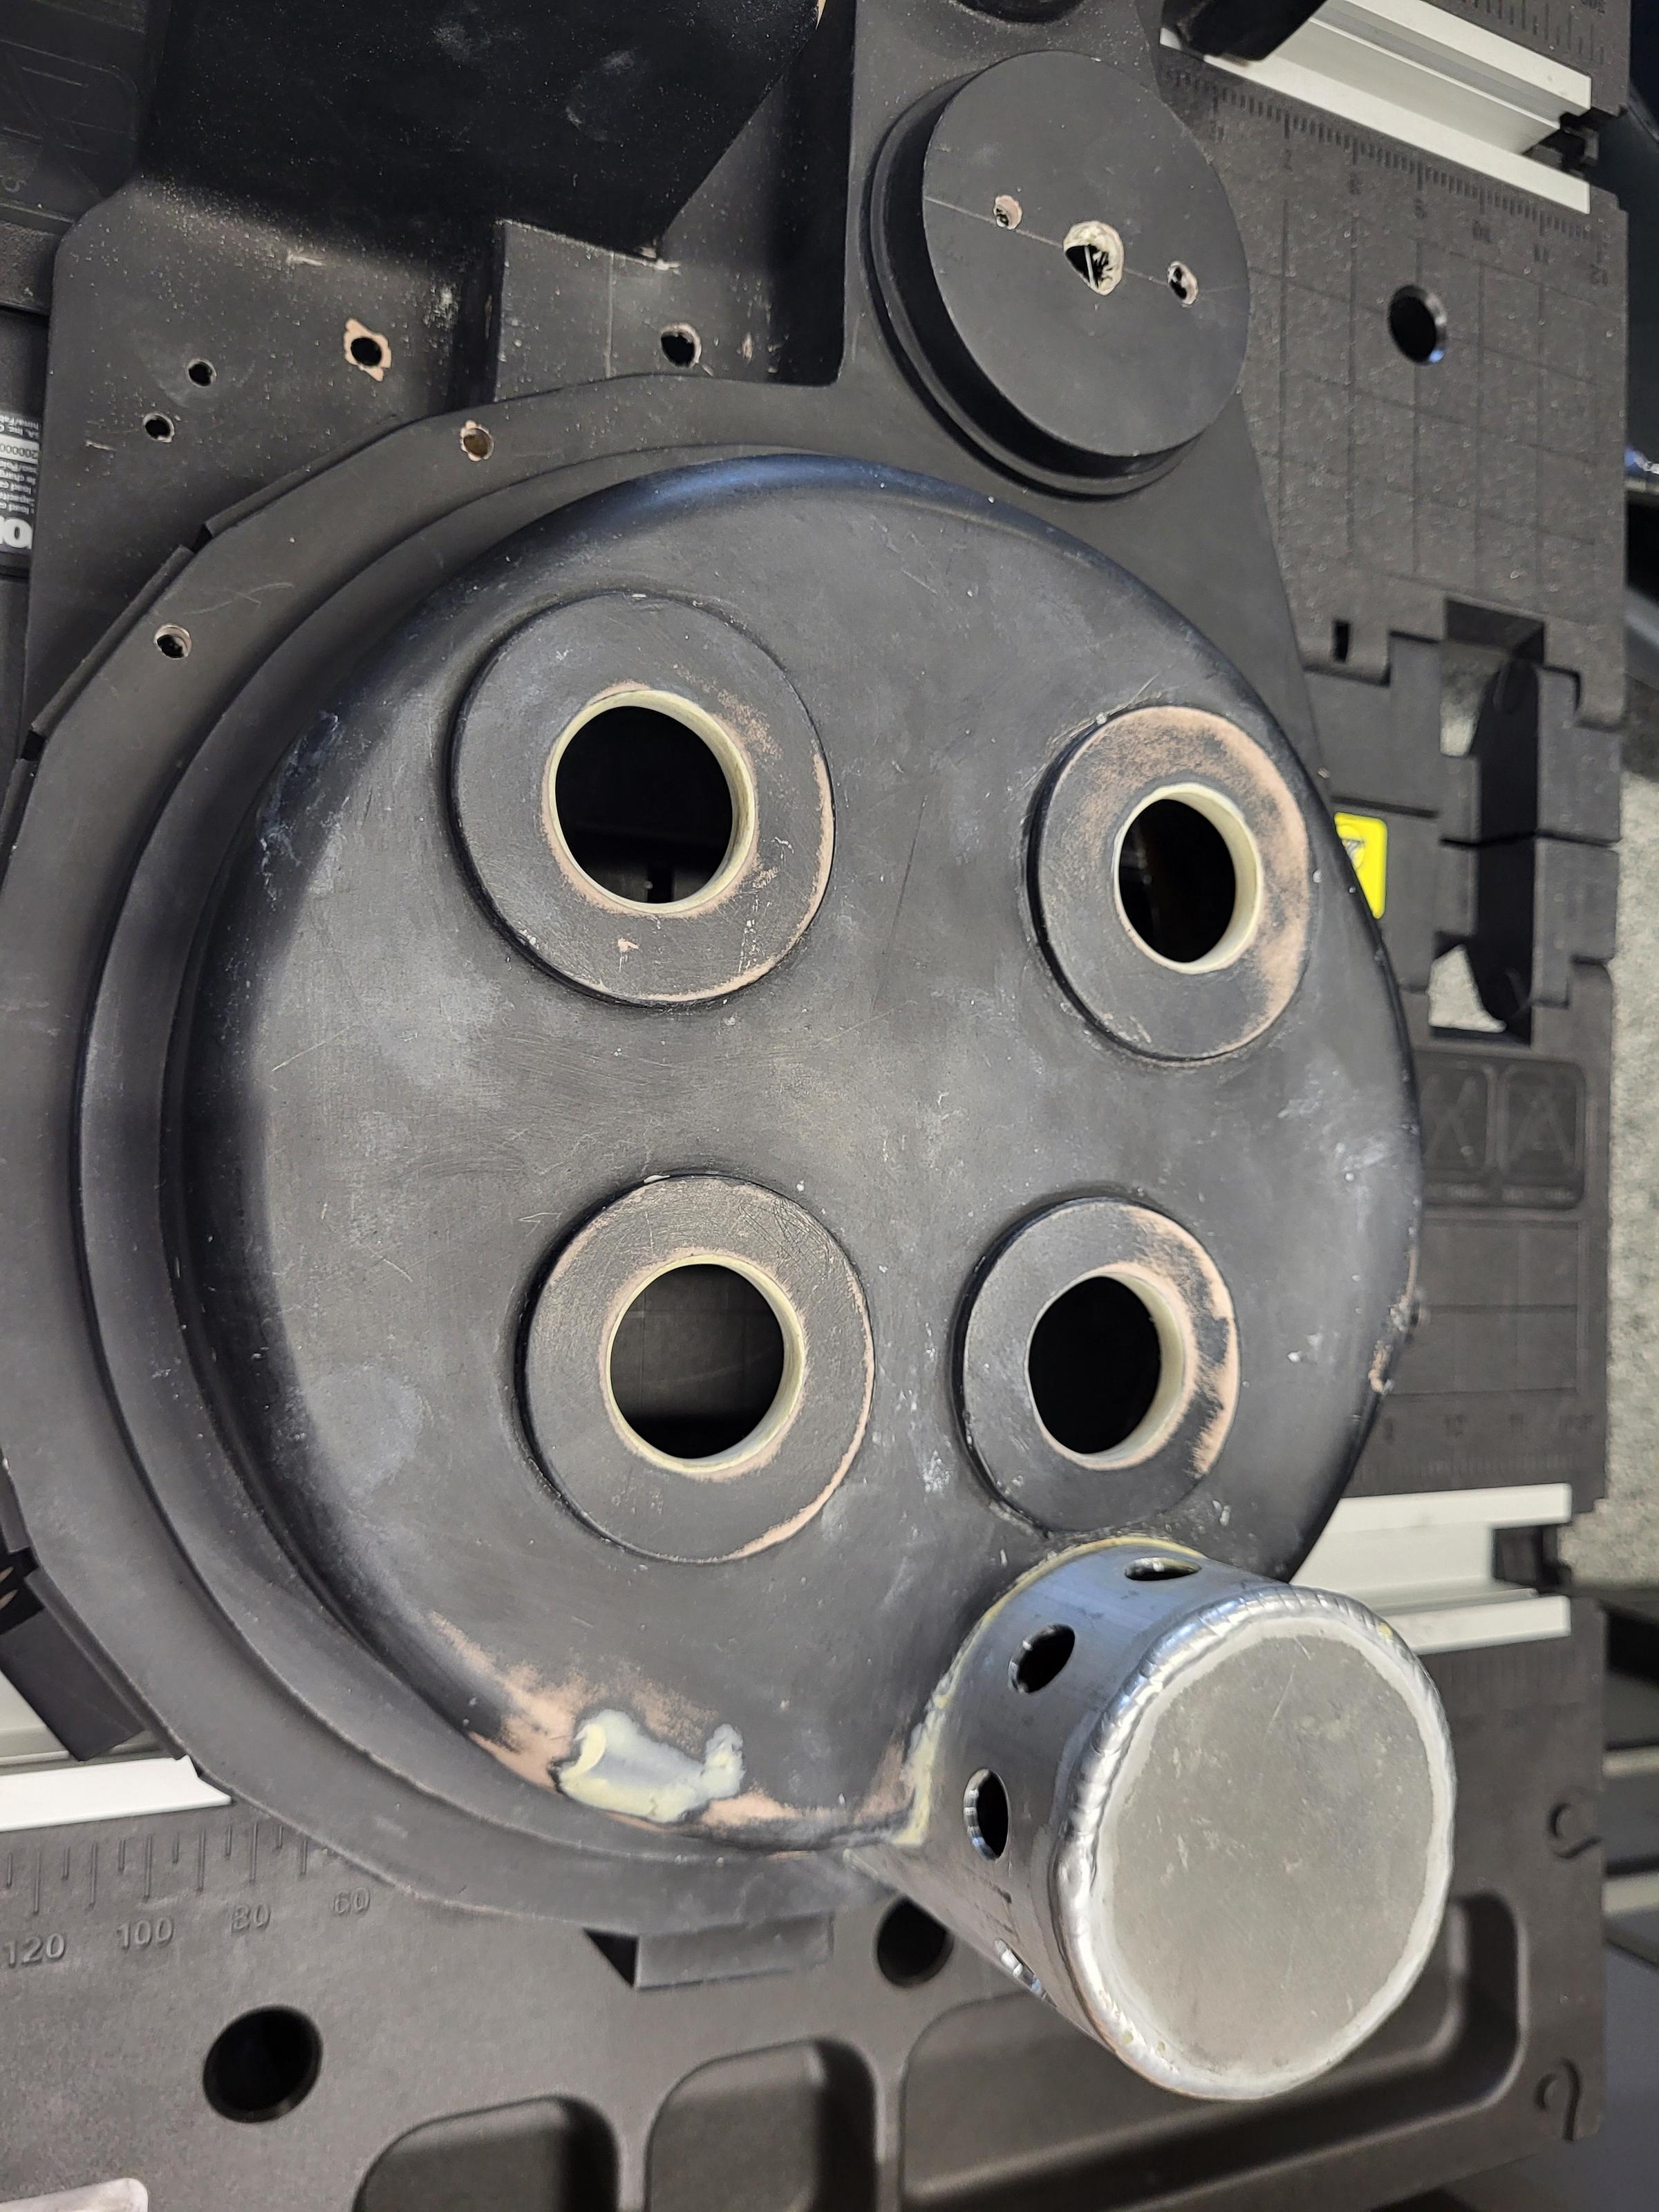
And here is how it looks from the outside after using milliput to hide the seam. Nice thicc cyclotron.