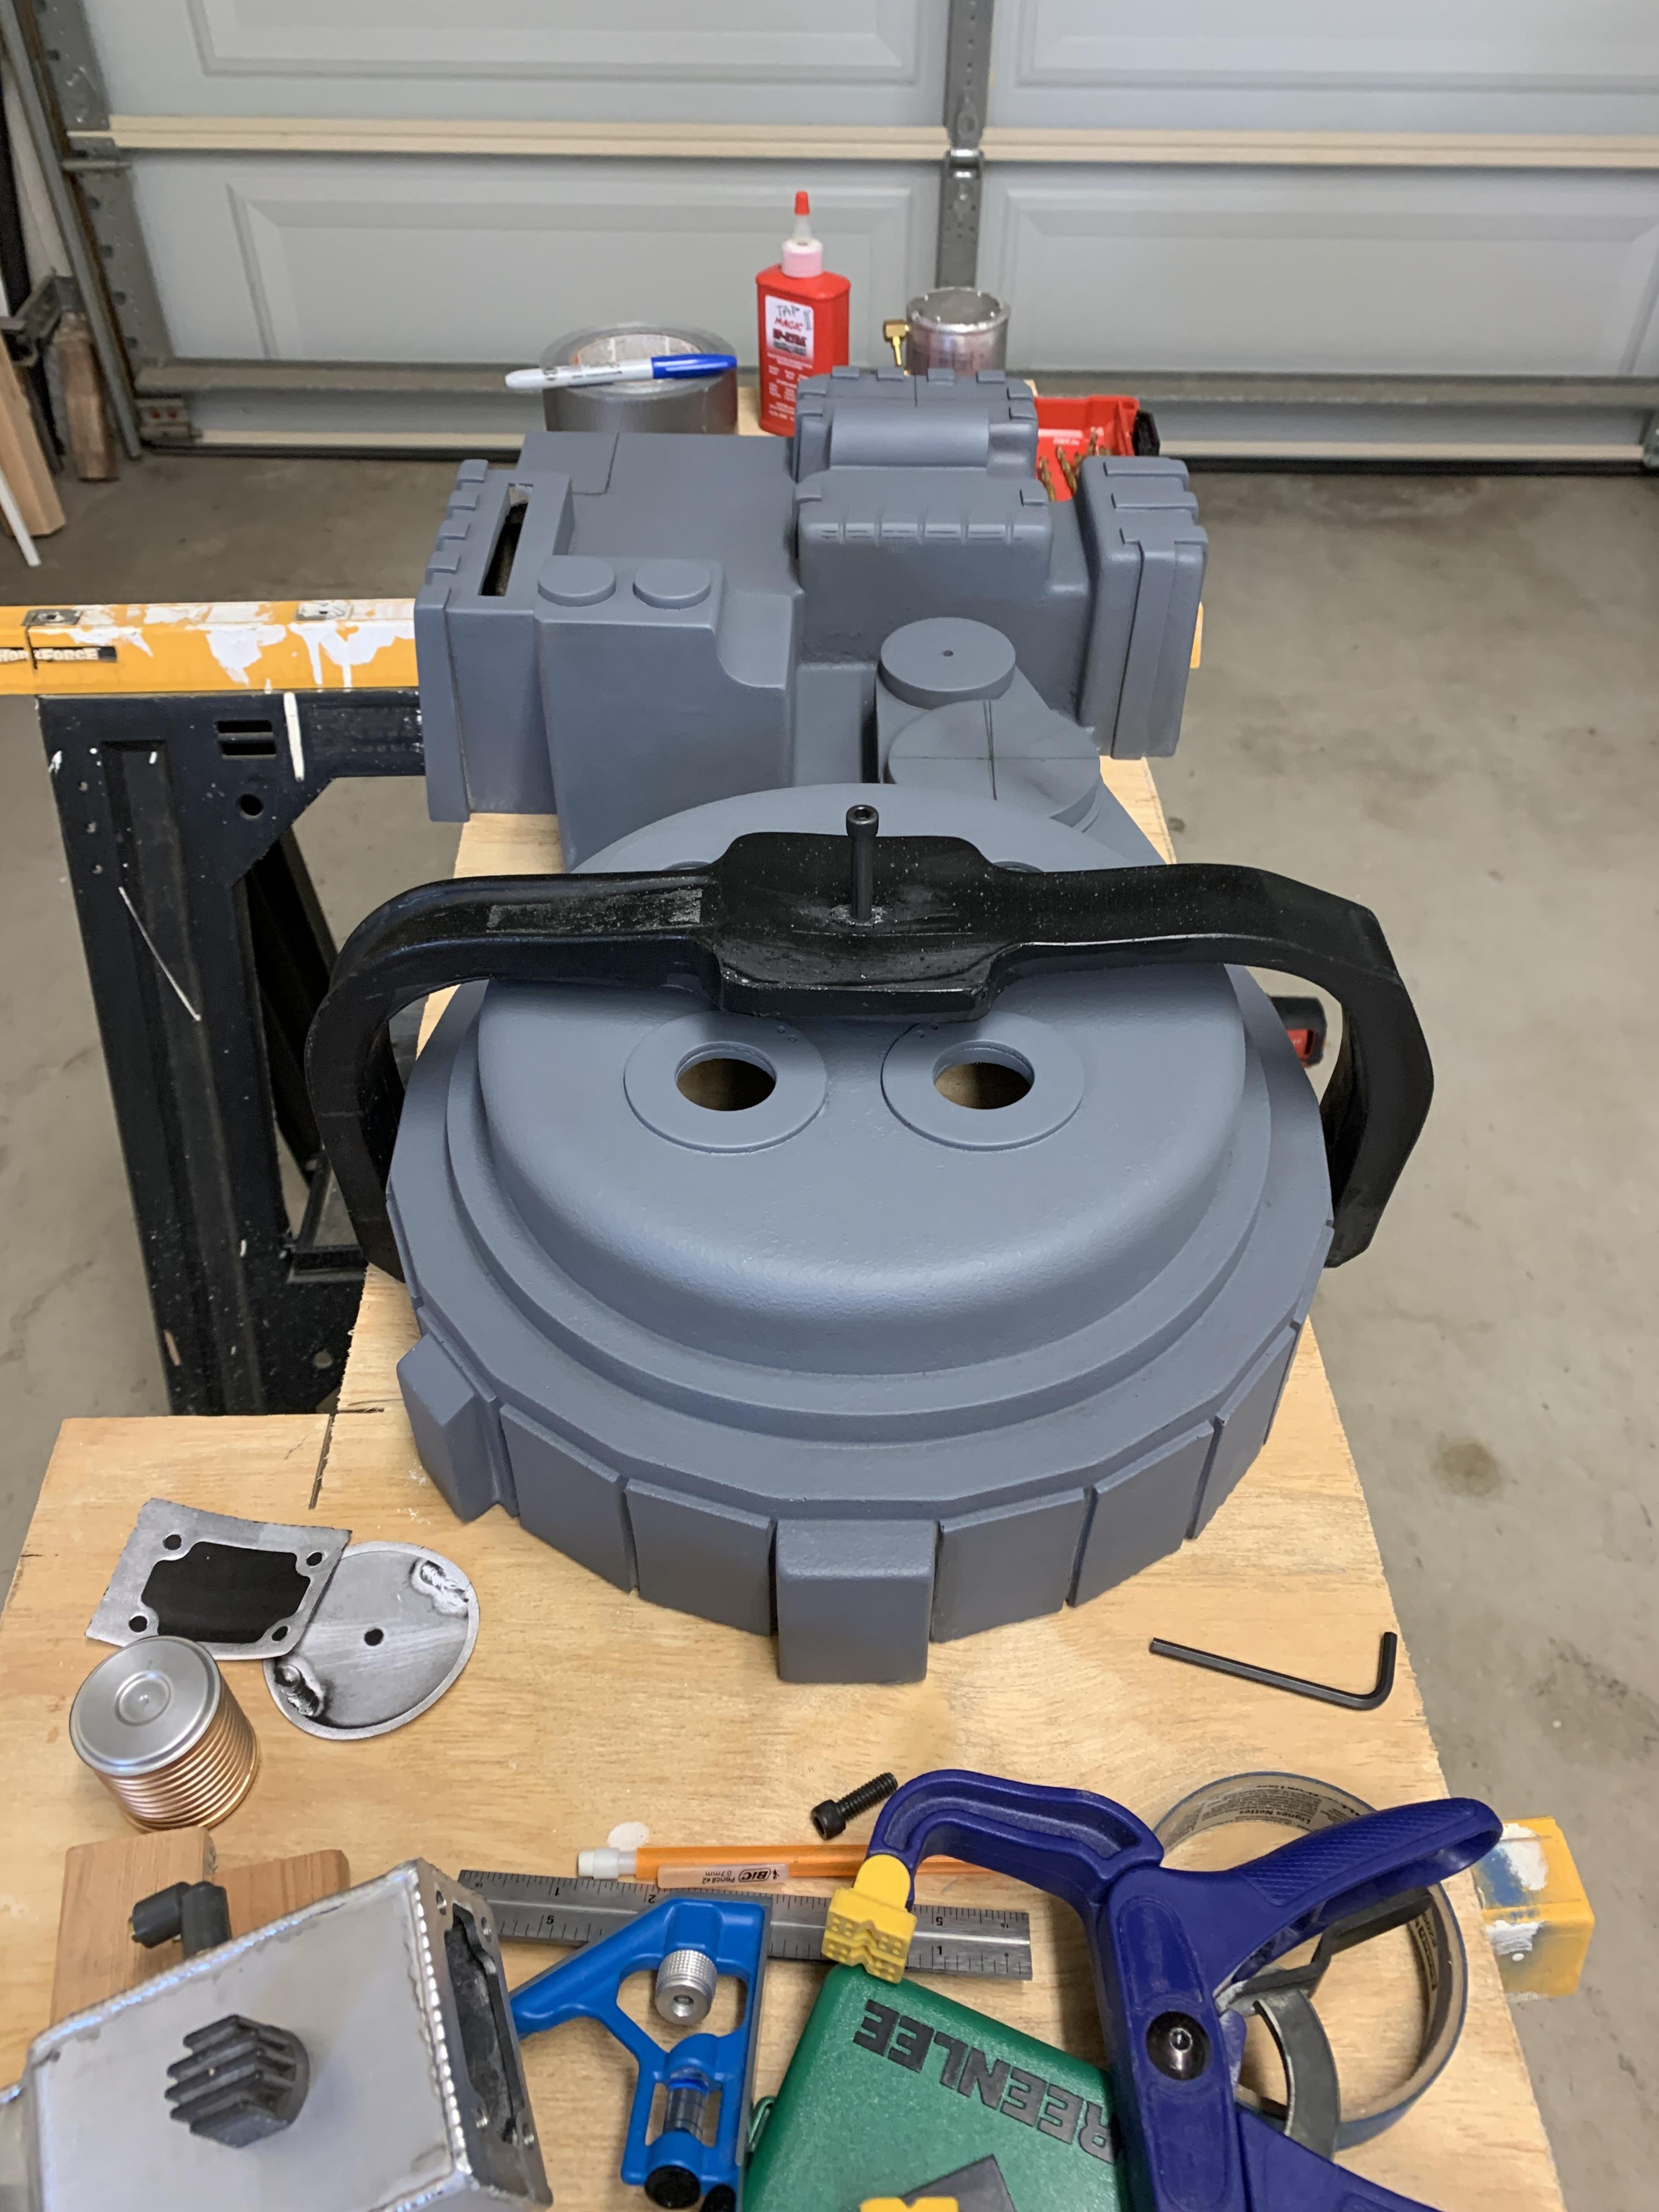
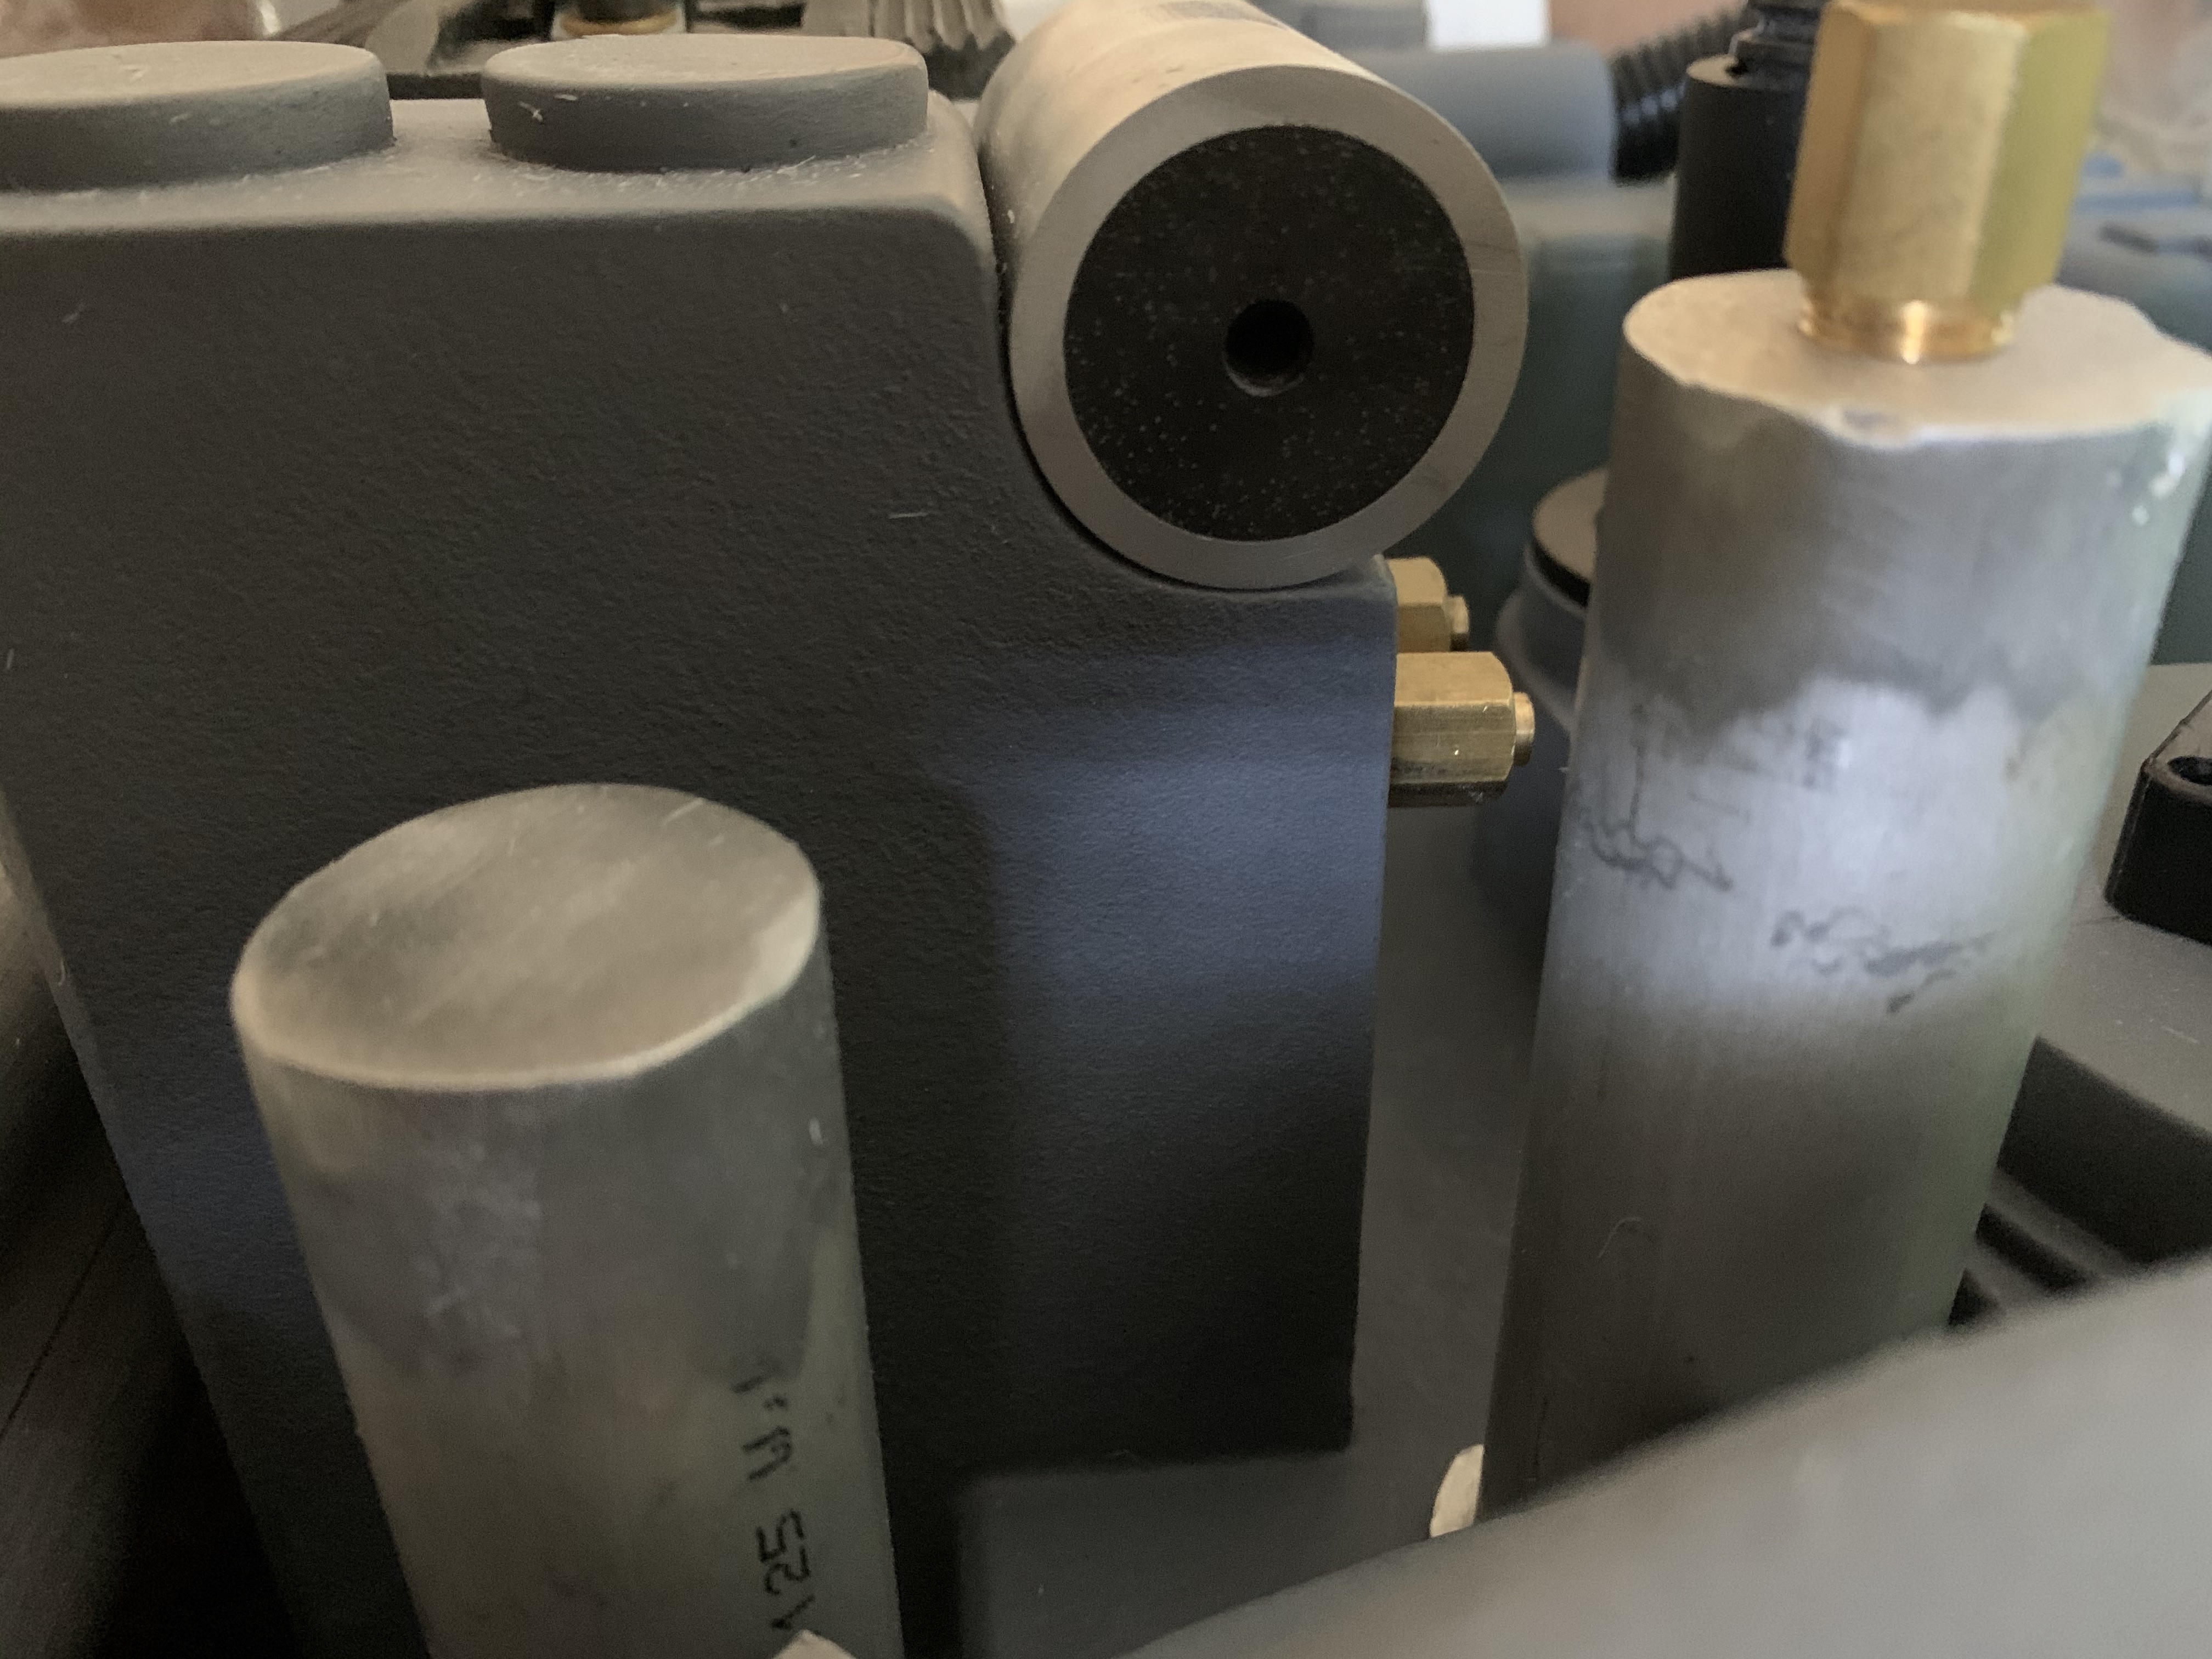
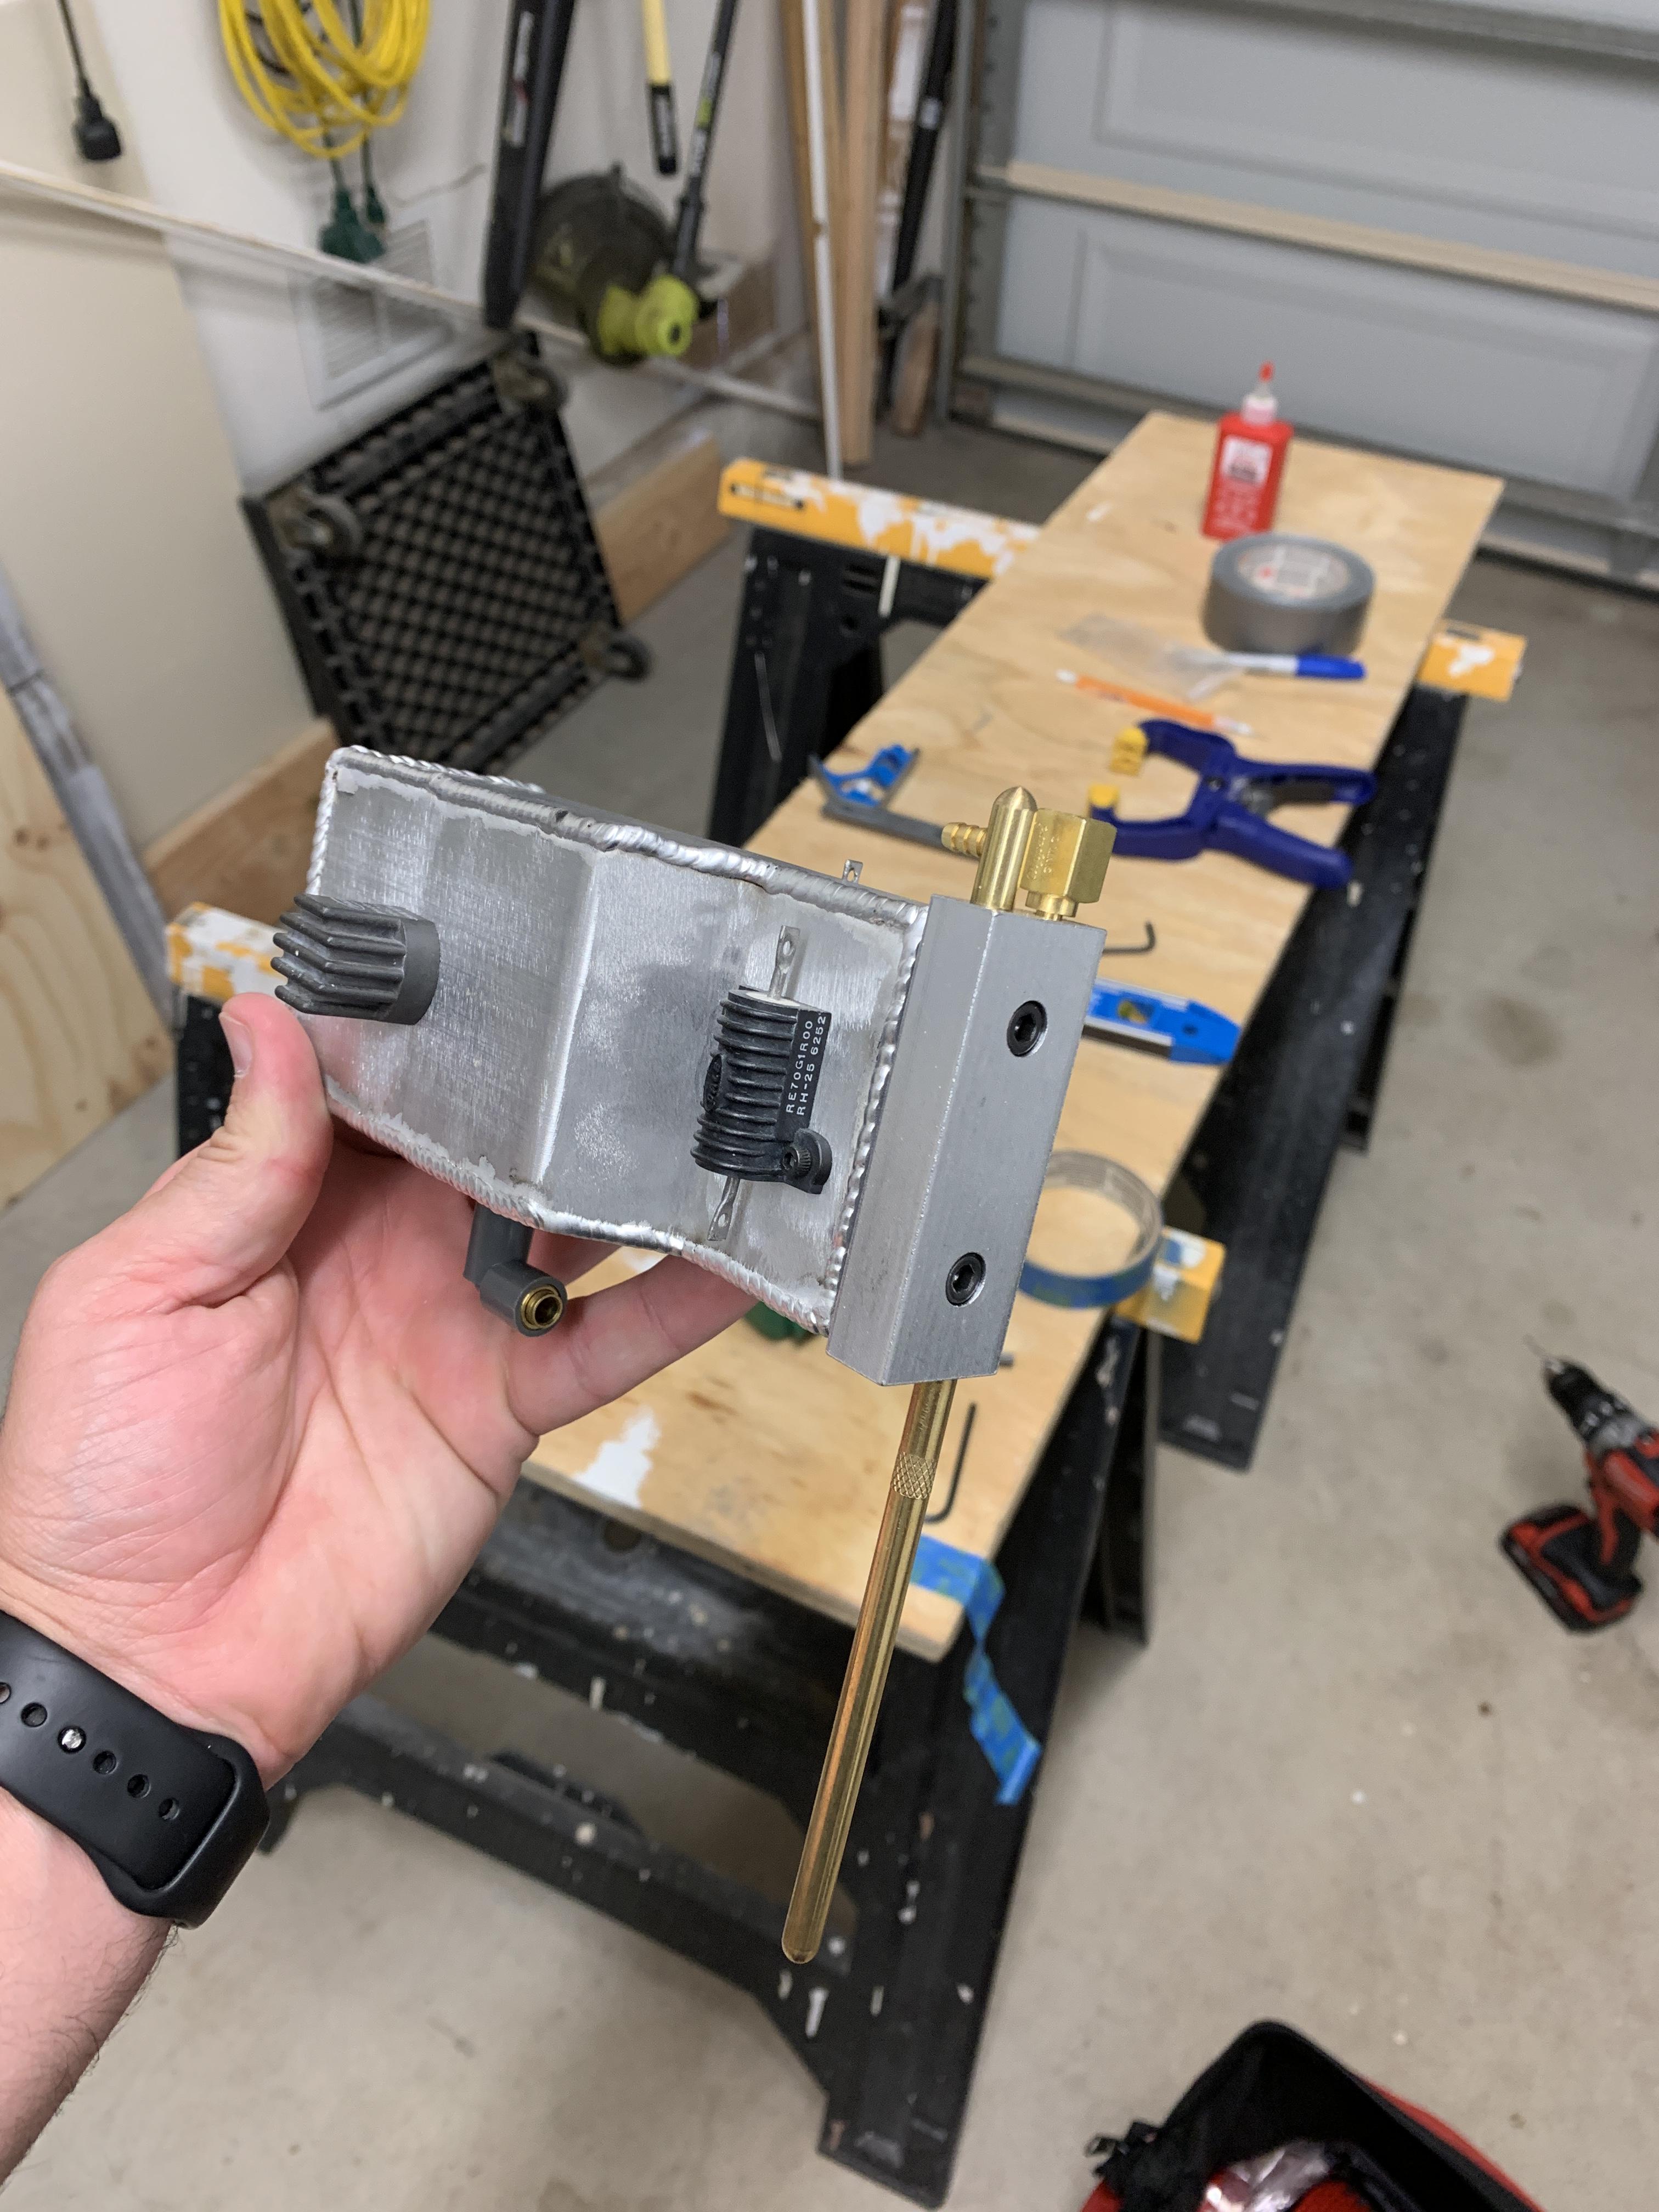
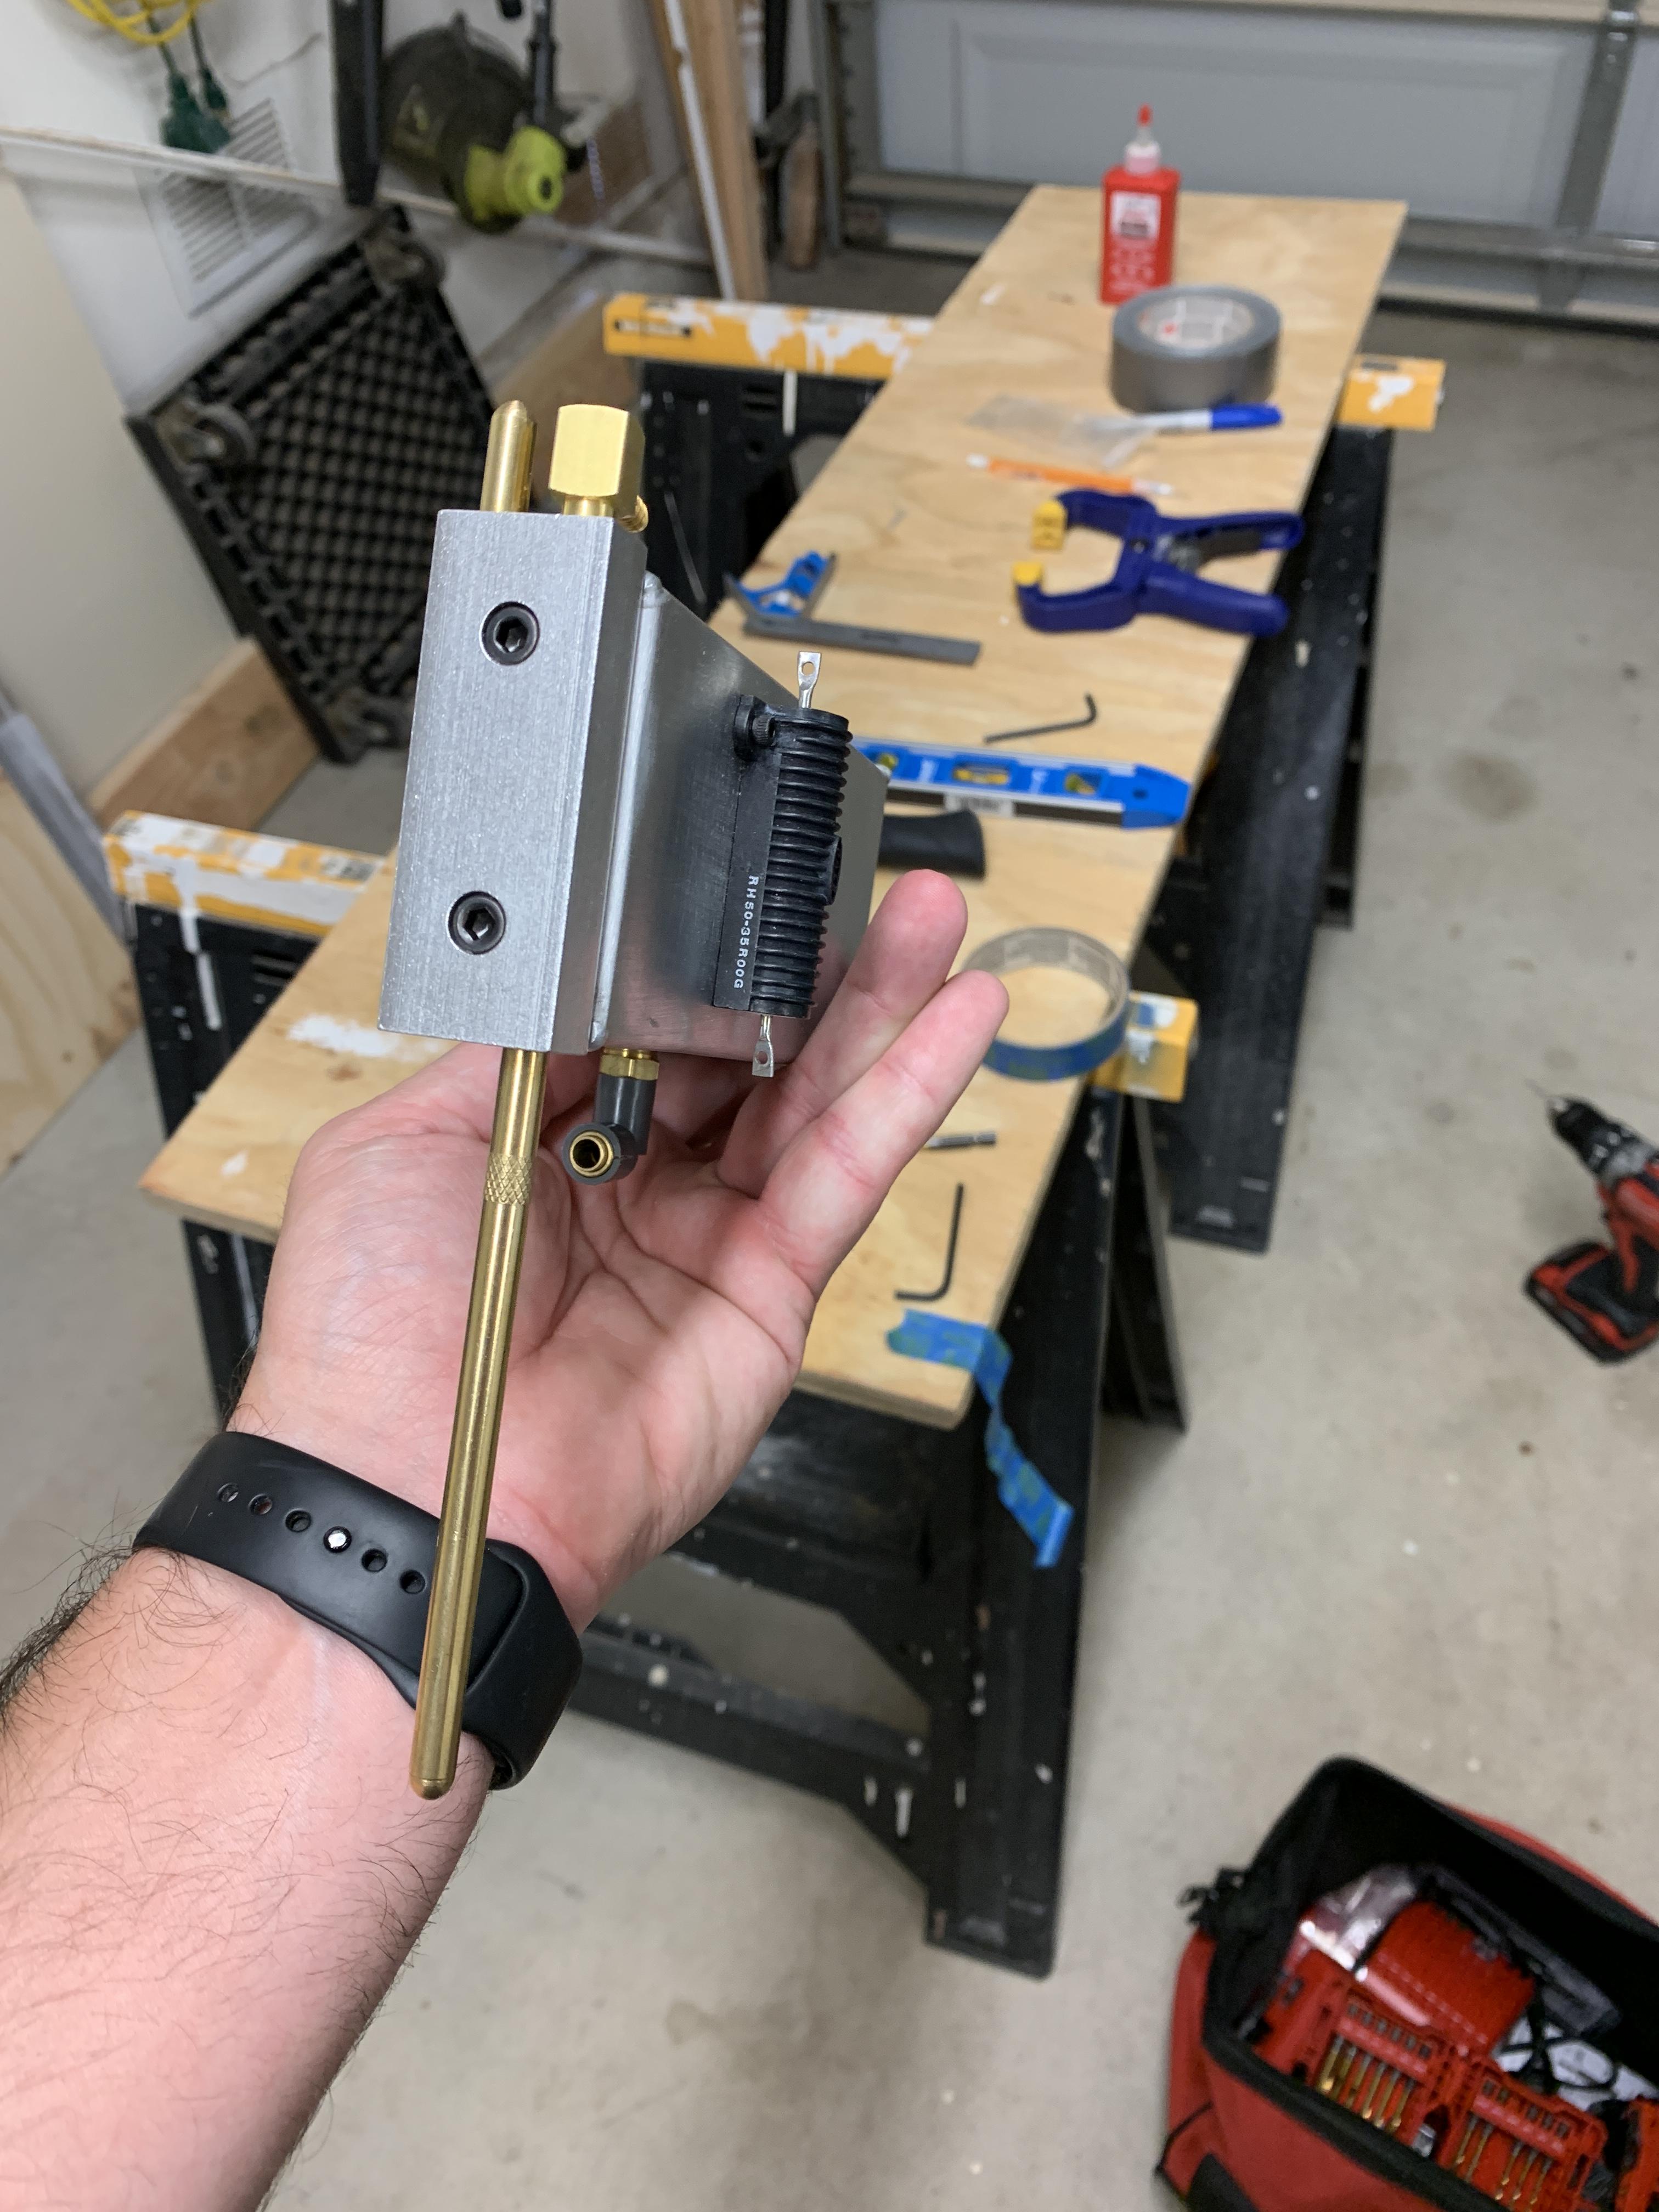
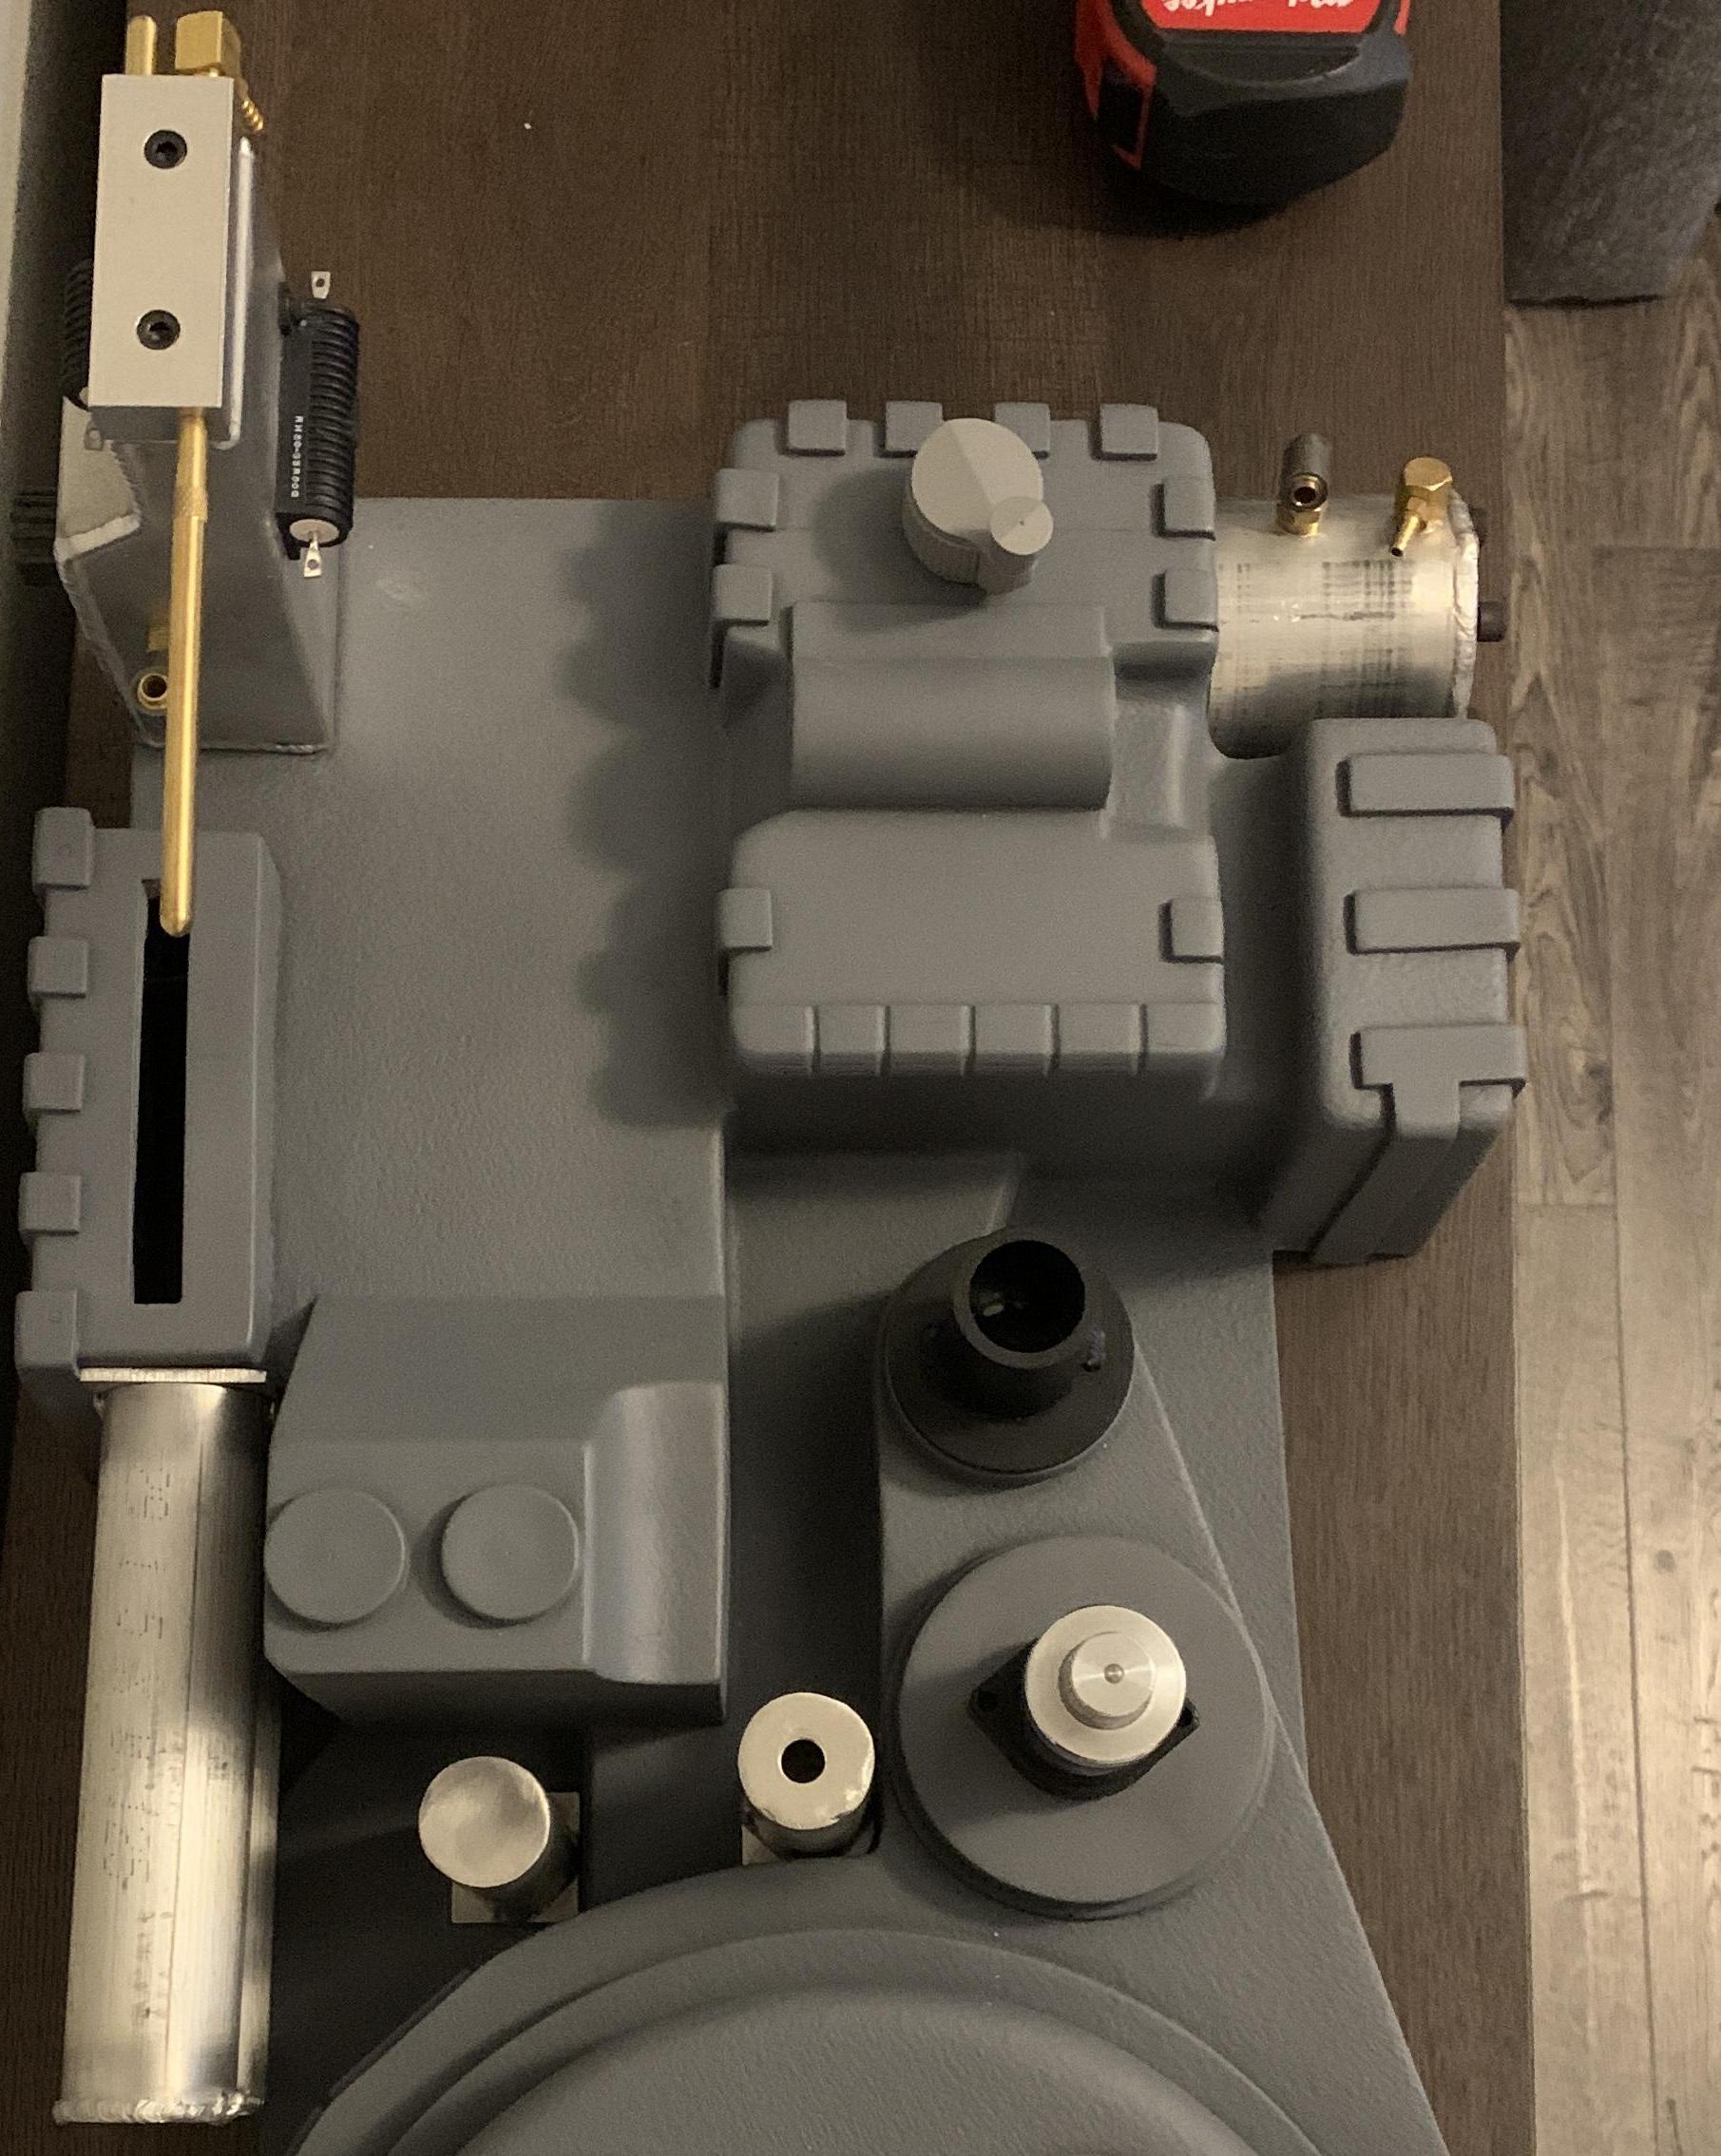
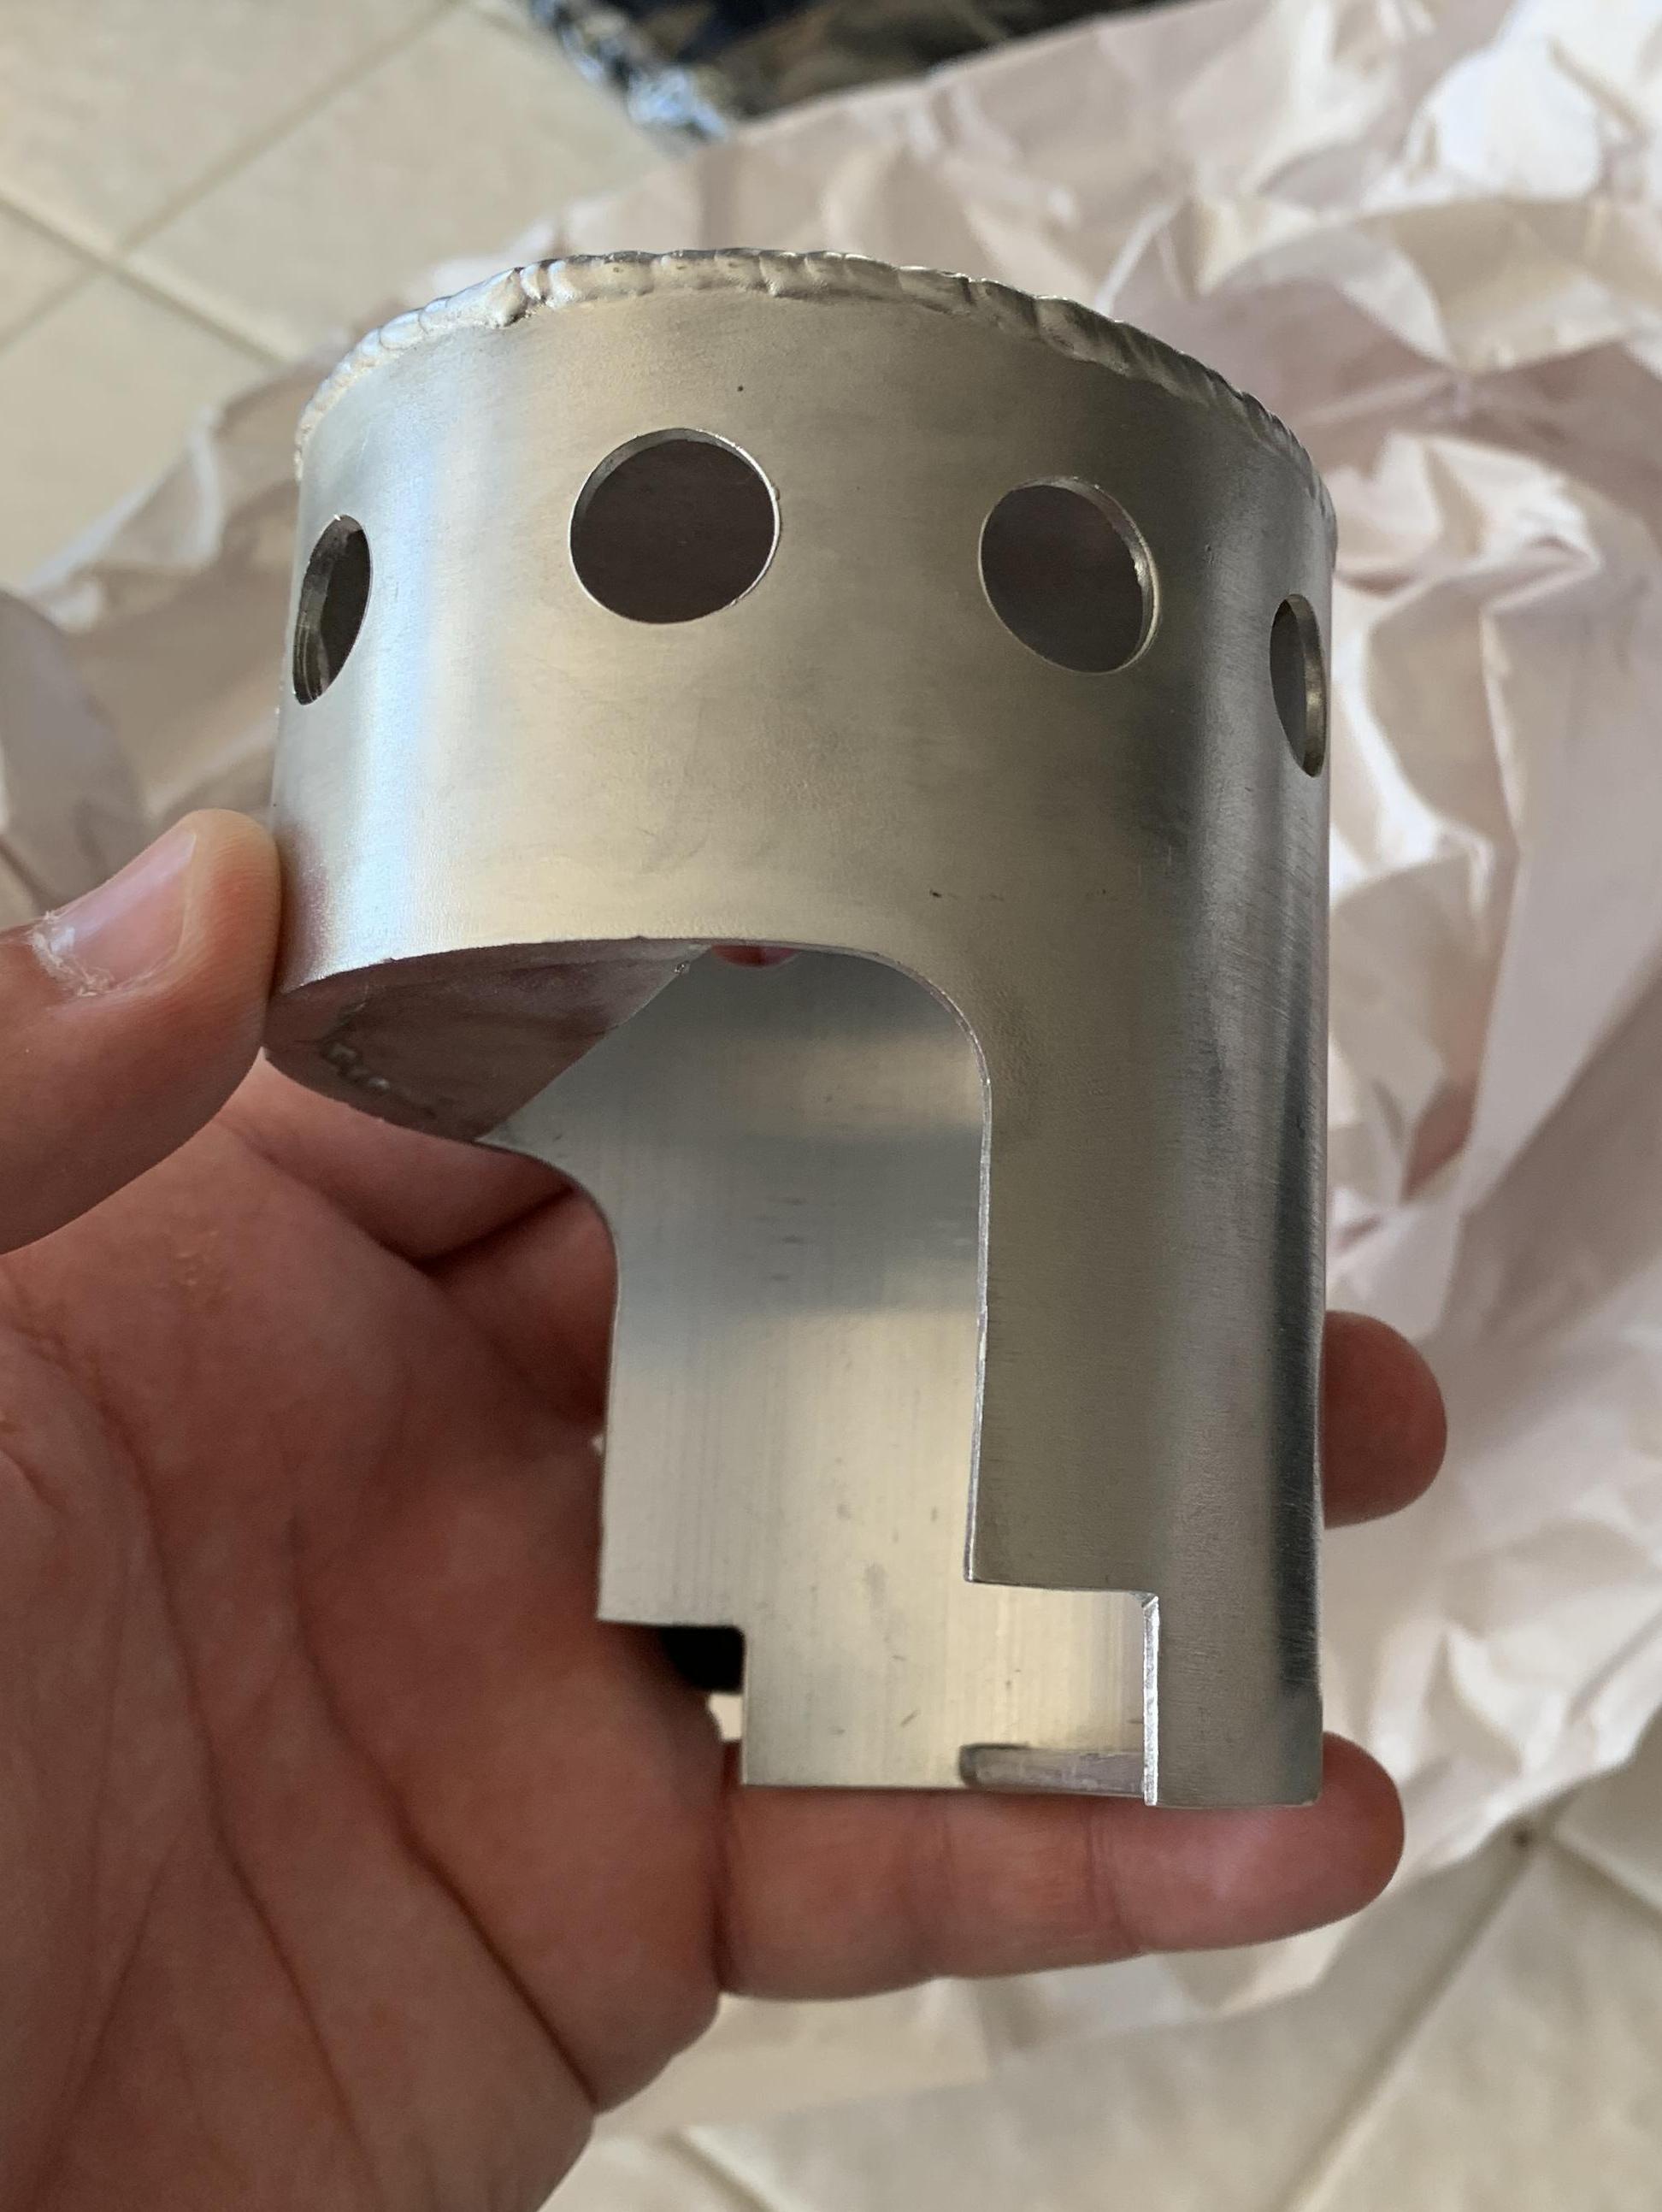
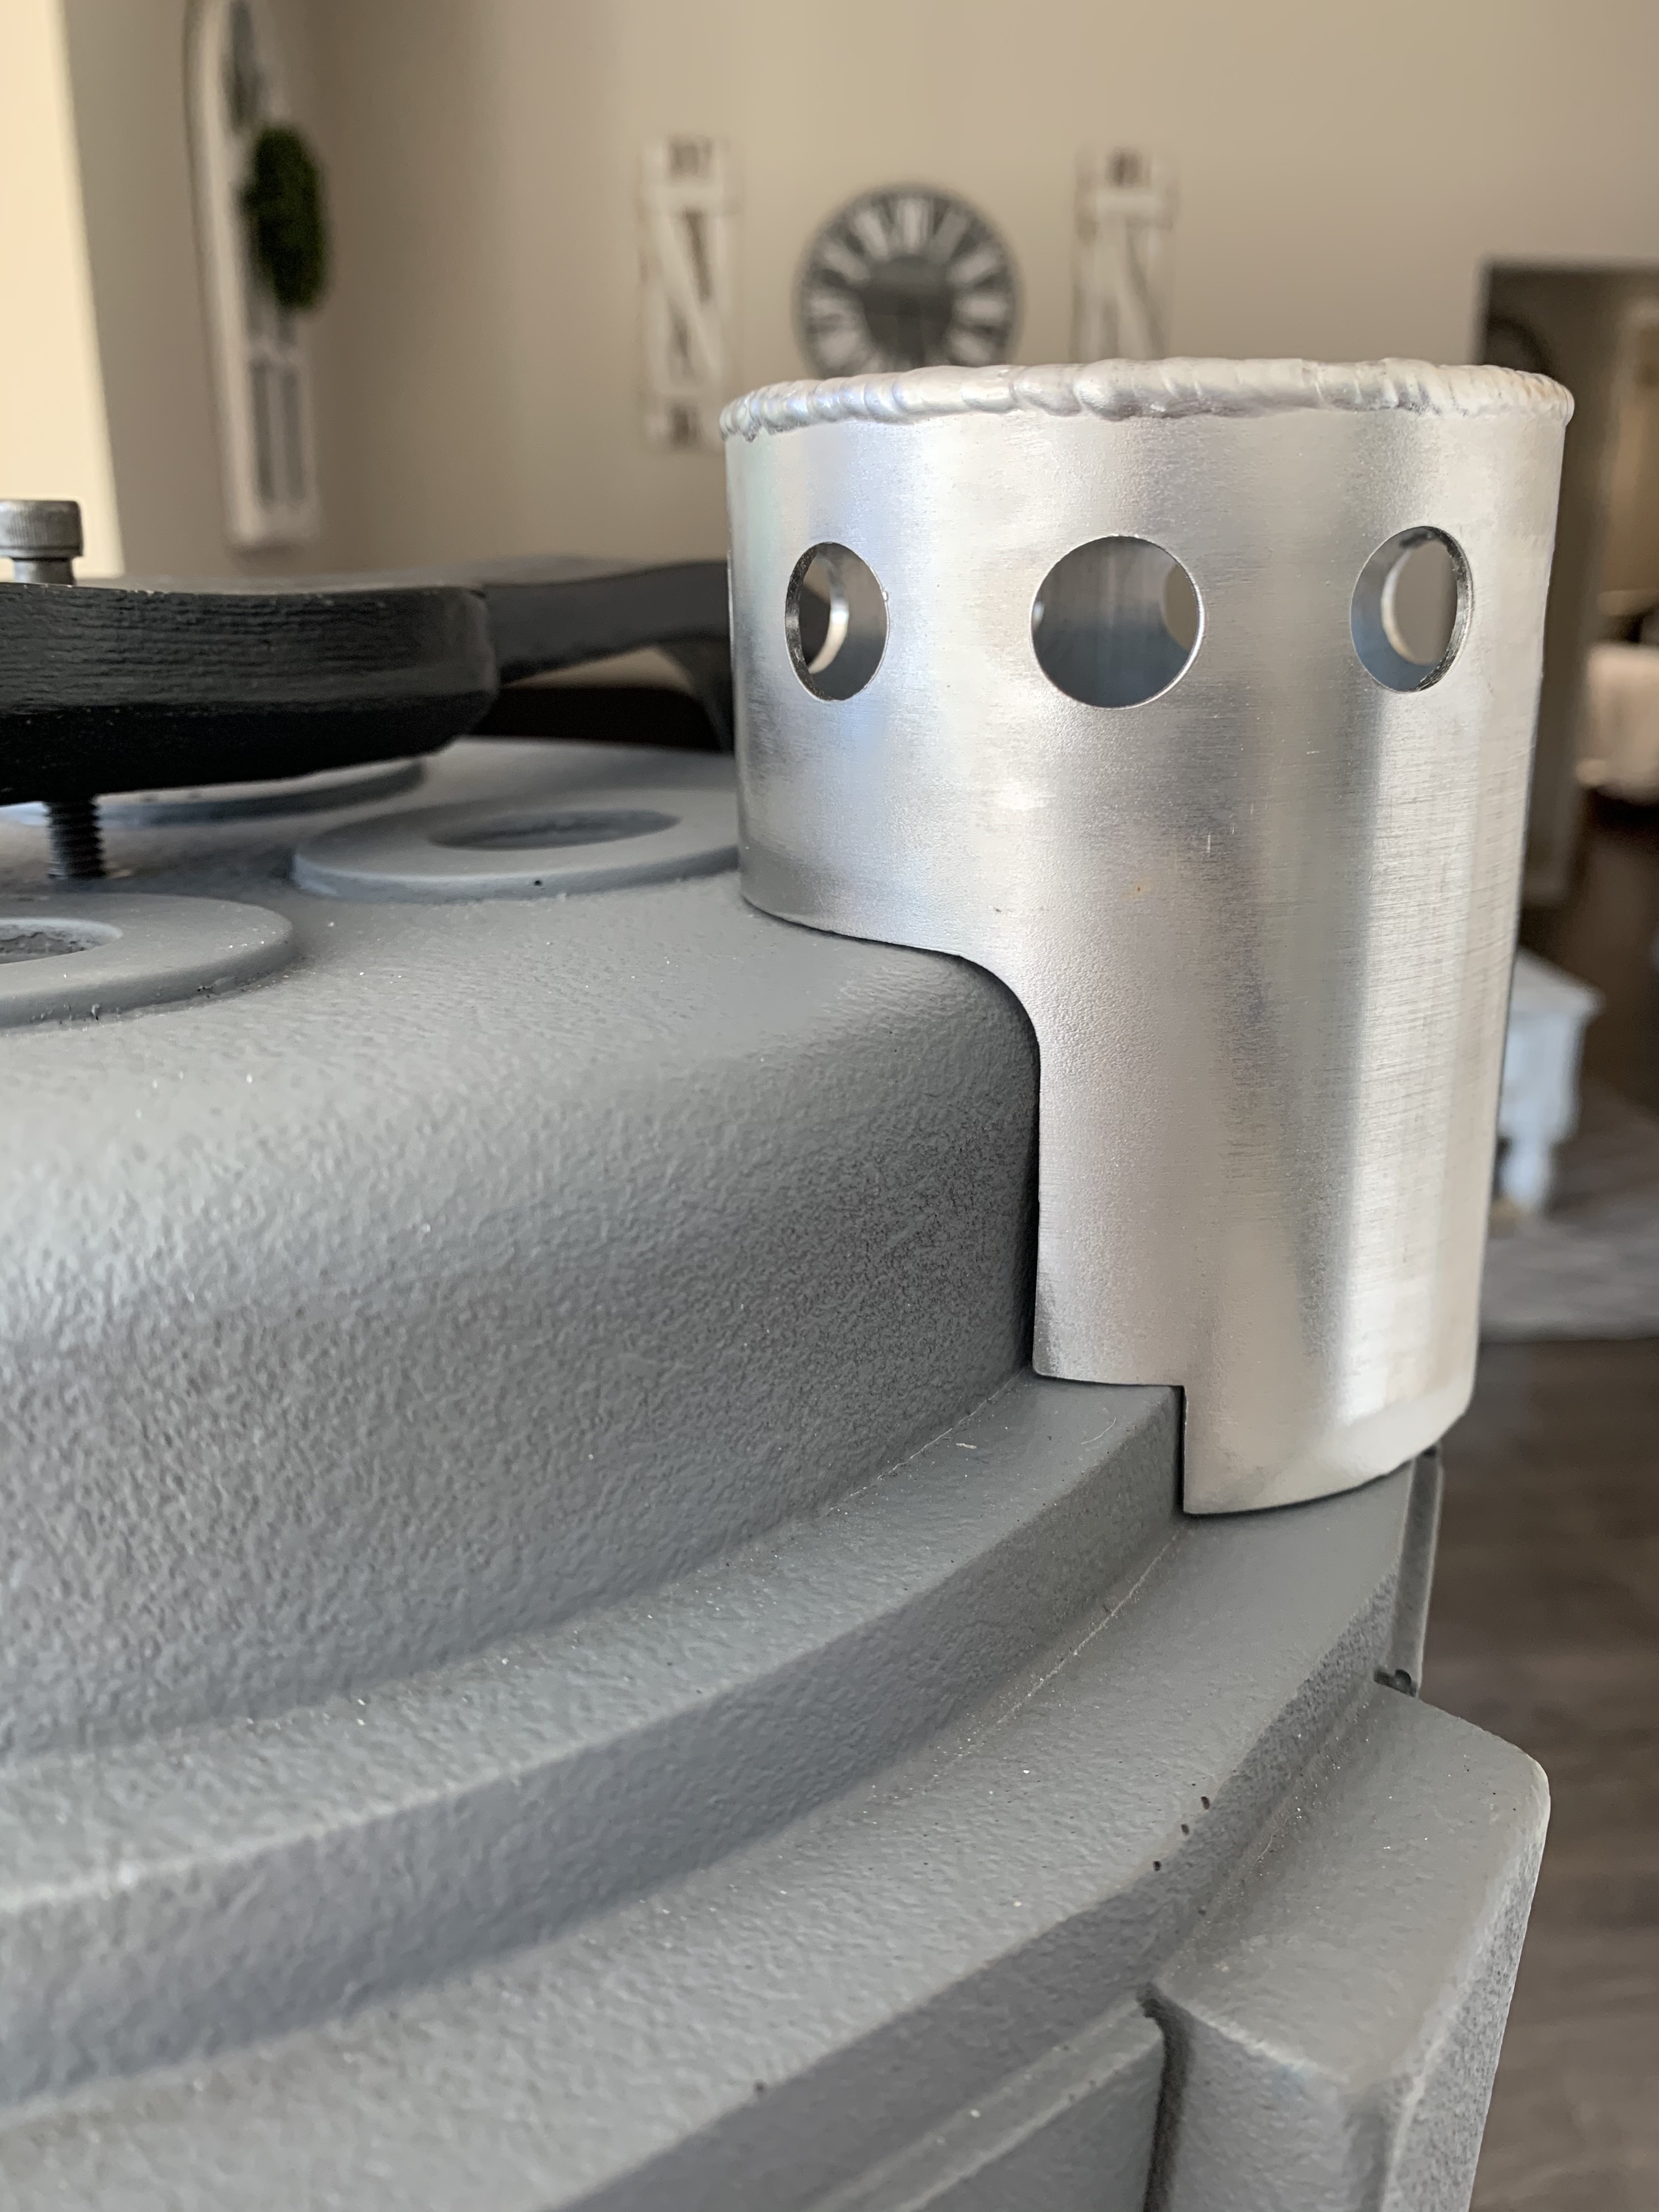
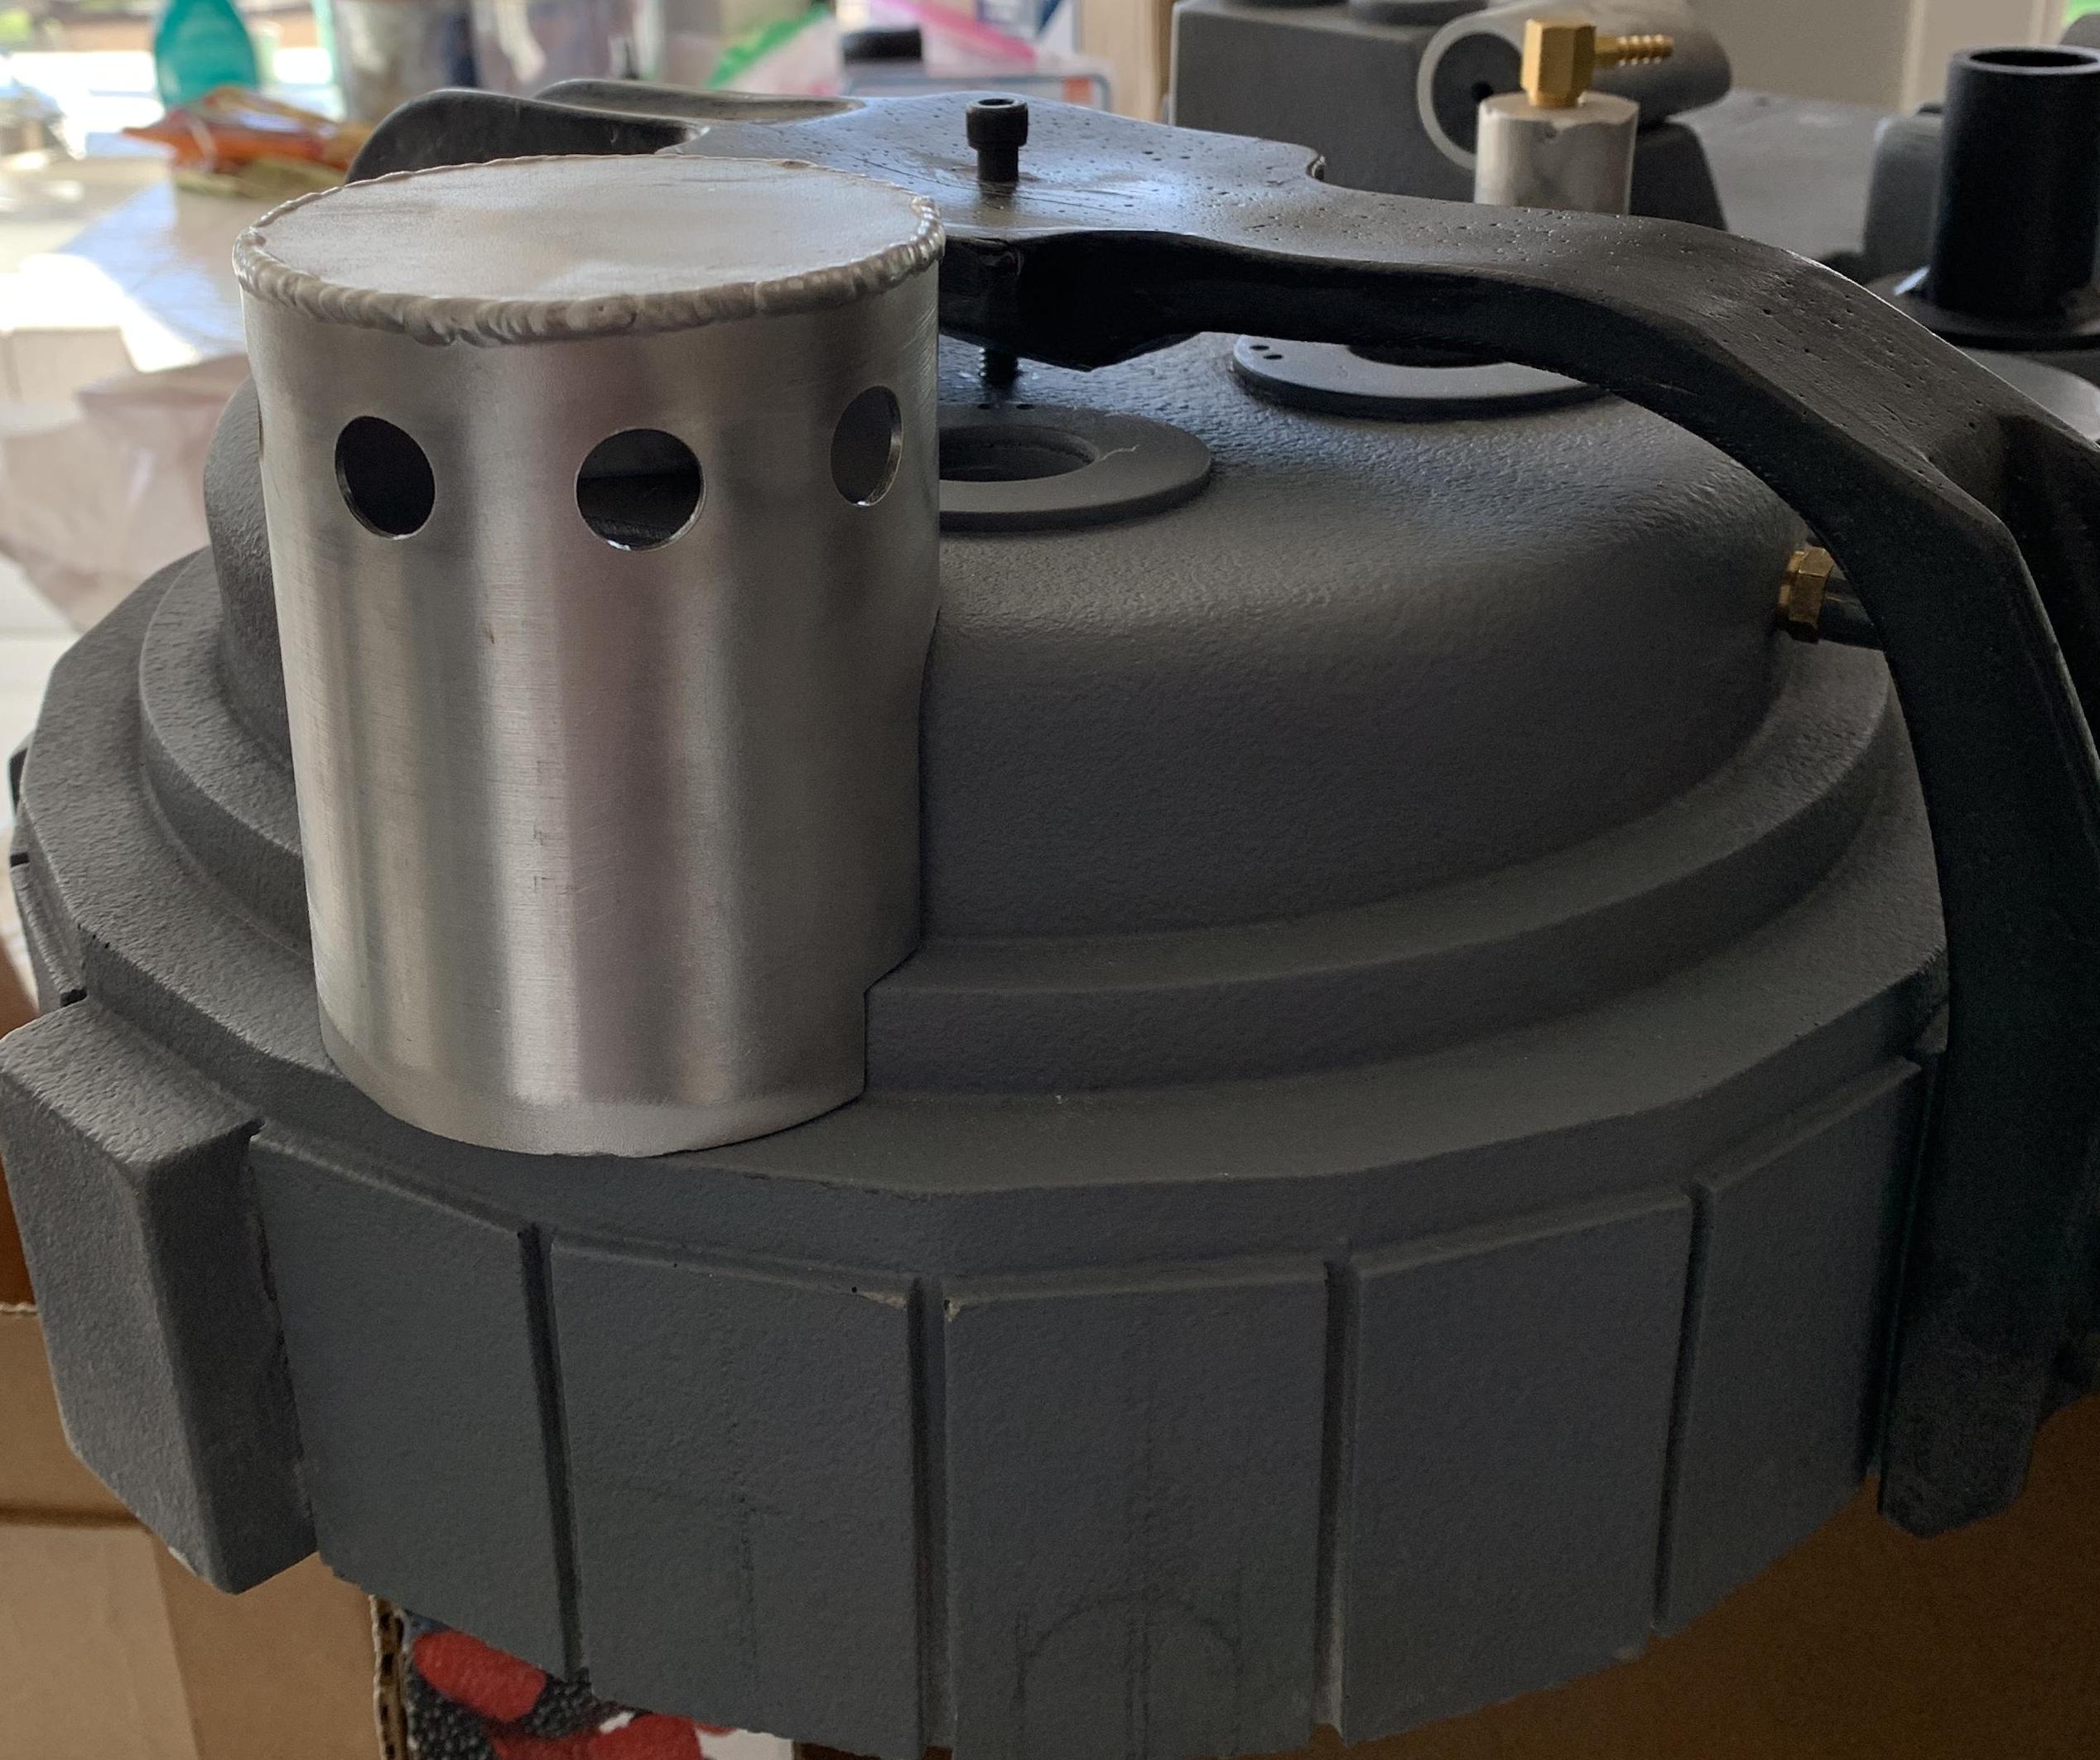
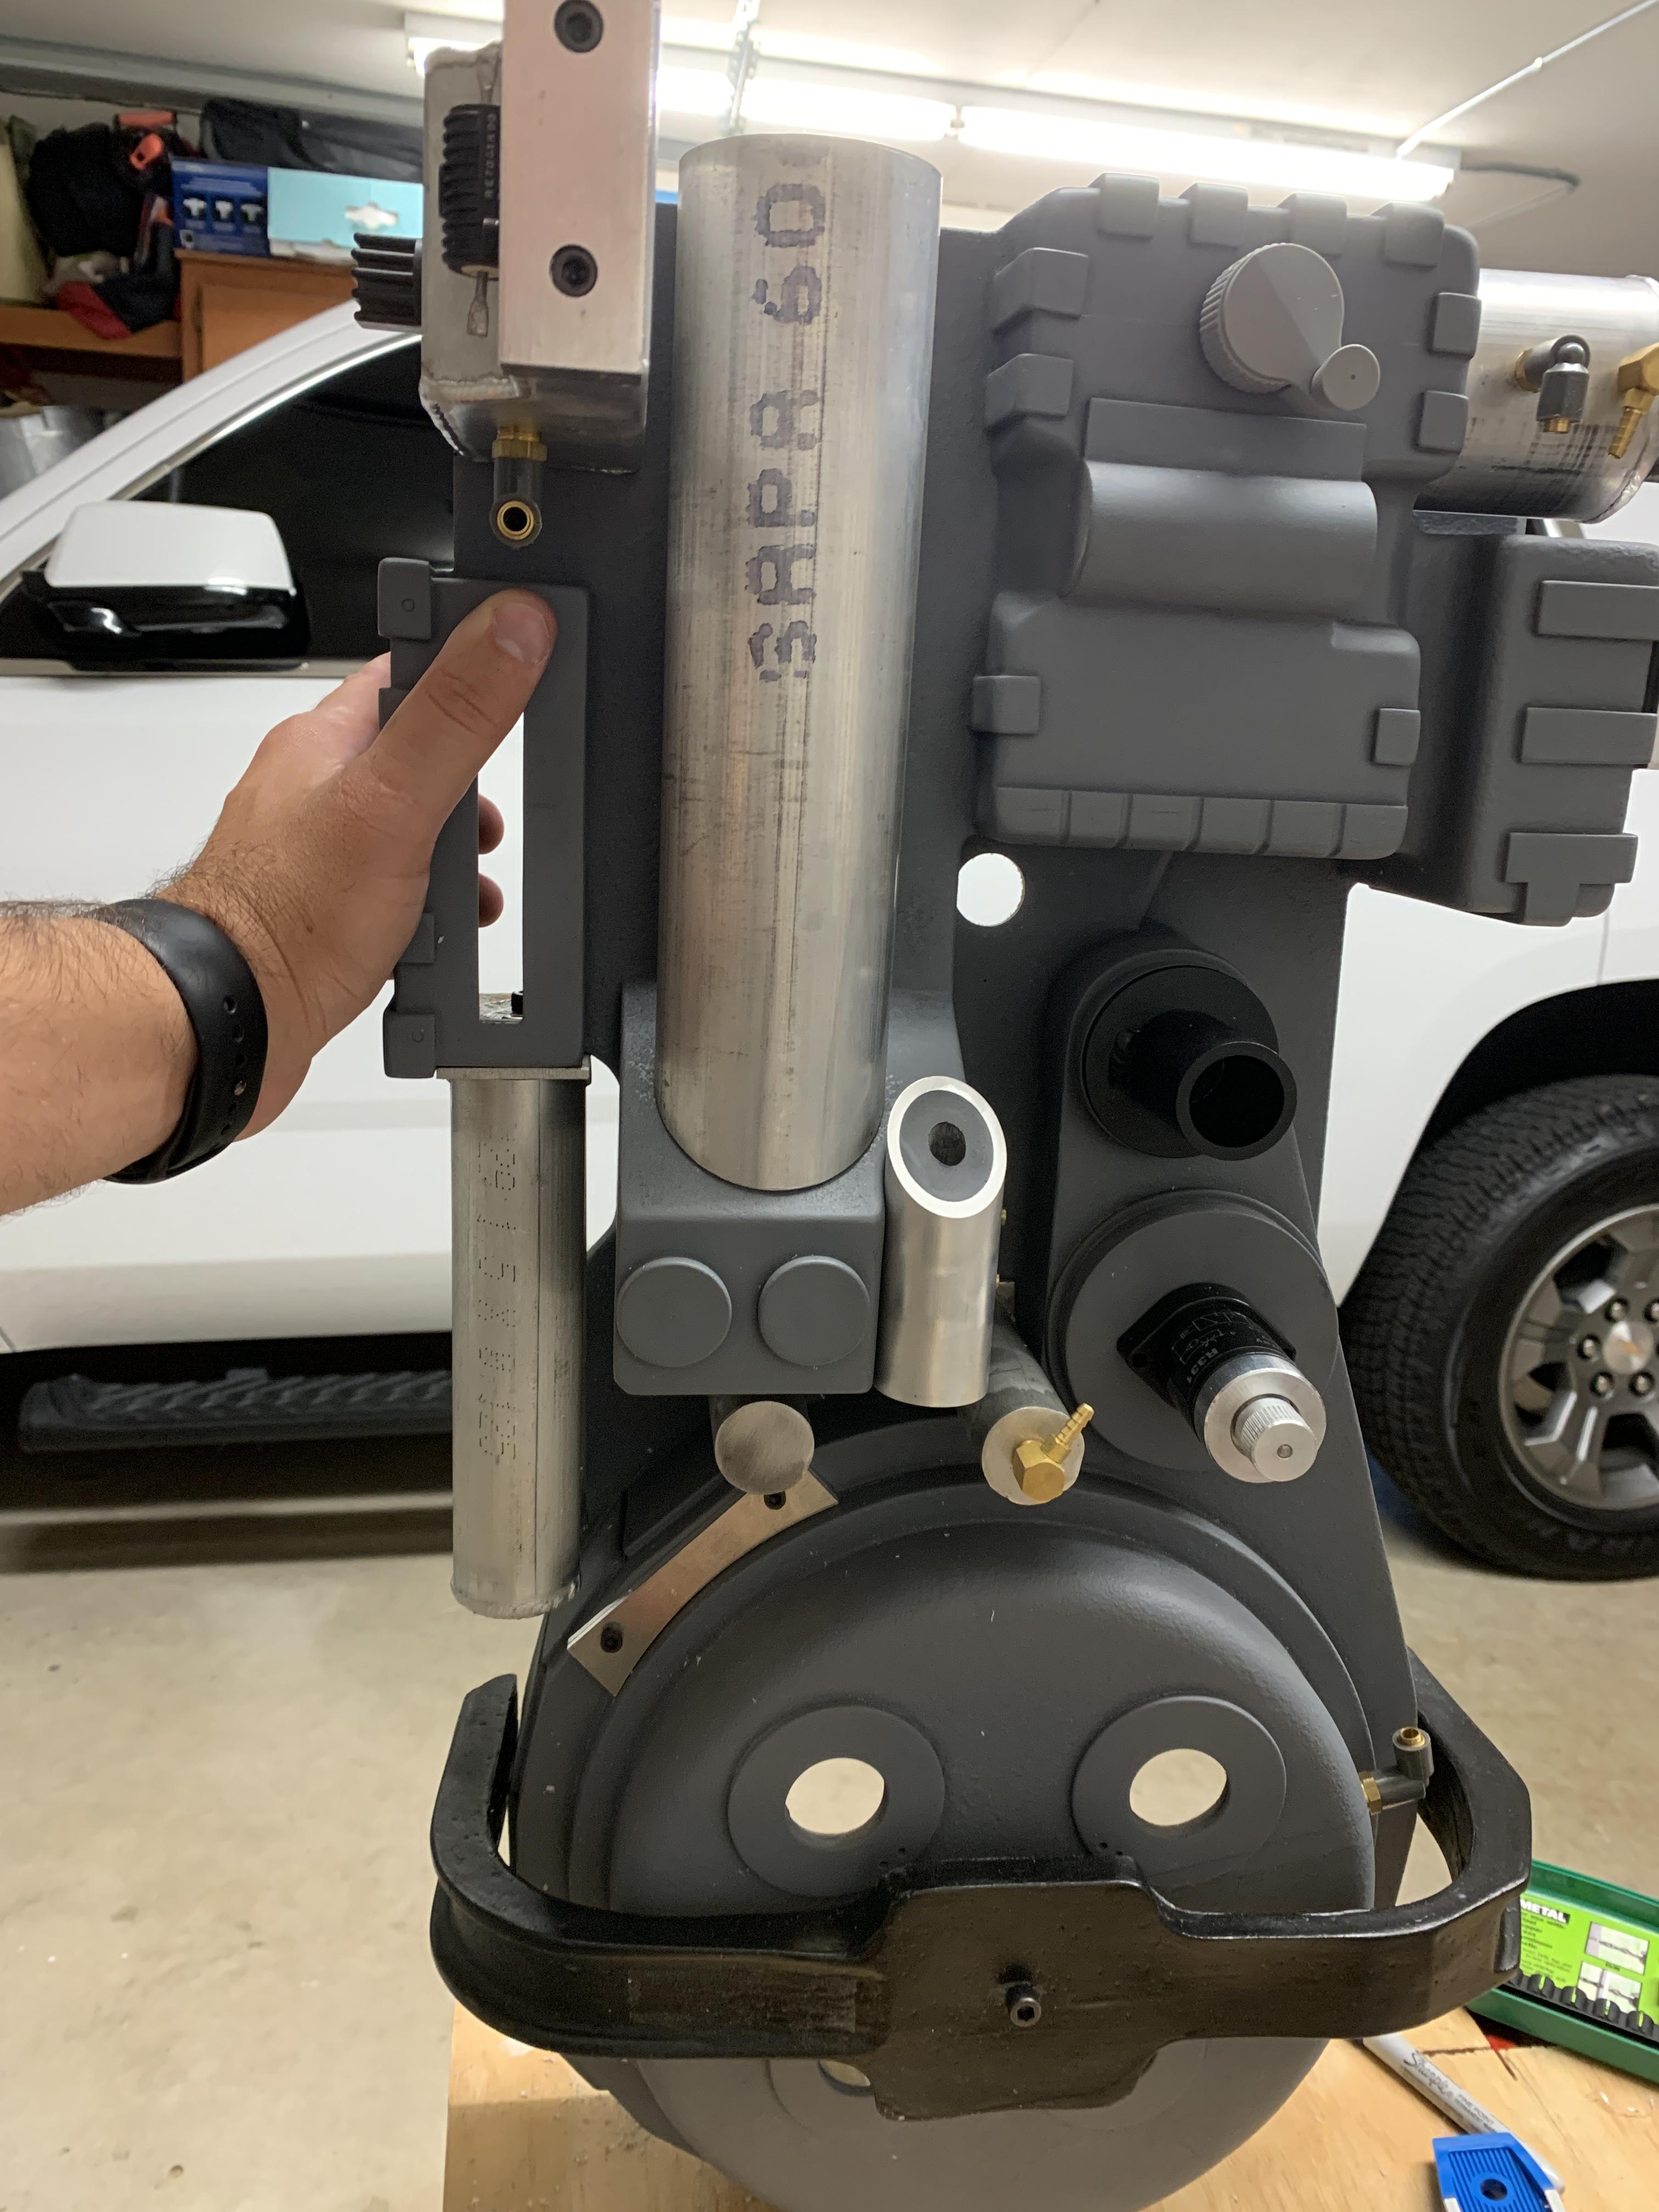
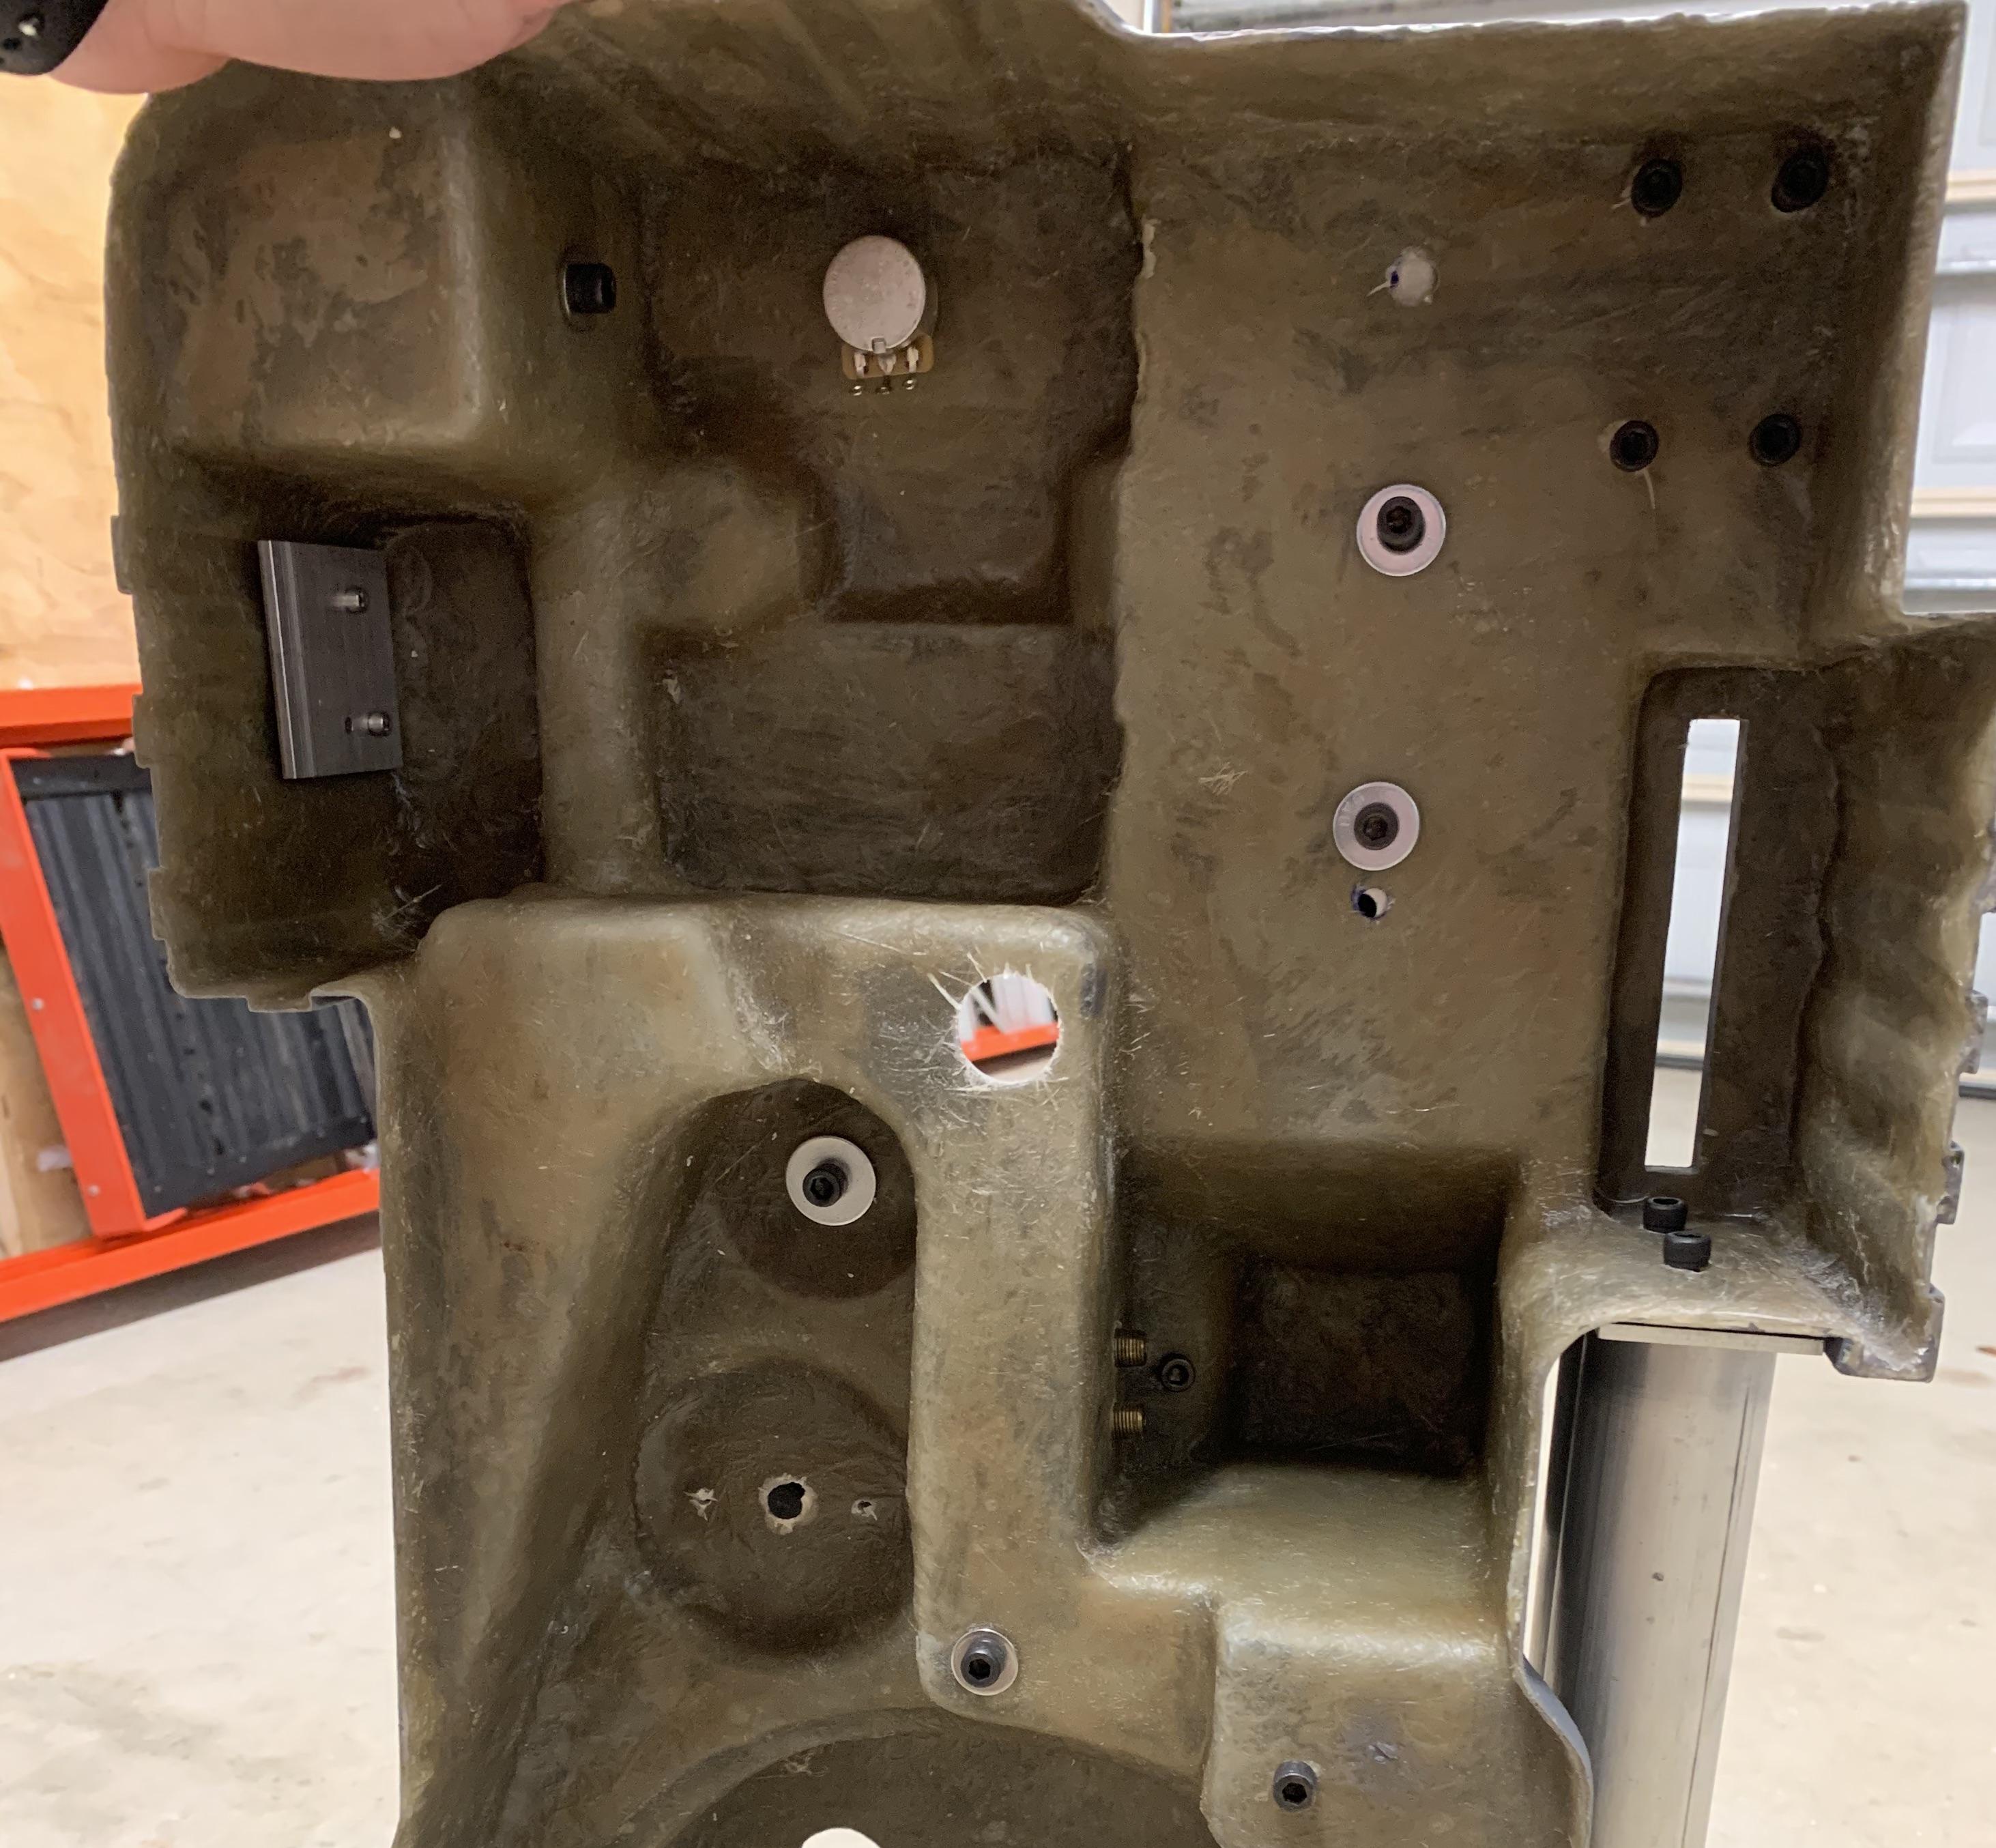
I know what you’re thinking, seriously another GB1 build?? Well yes, seriously, another GB1 build! After modding out a spirit pack a few years ago and falling in love with prop building I set out to build a Hero pack. I’ve been collecting parts for over a year and a half and while I’m still constantly looking for the vintage parts, I’ve acquired enough vintage and reproduction pieces to get the ball rolling. I’ve definitely been lagging on getting this thread started between work and life in a pandemic but finally I’ve had some time to upload photos and get it going! A big thank you to many of the members on here who have let me pick their brain relentlessly, especially Dan (DanAKA) and Stuart (Redspecial) who have been more than gracious answering questions from part placement to light bracket construction and everything in between.
Now that the pack is done I’ve updated the list of components.
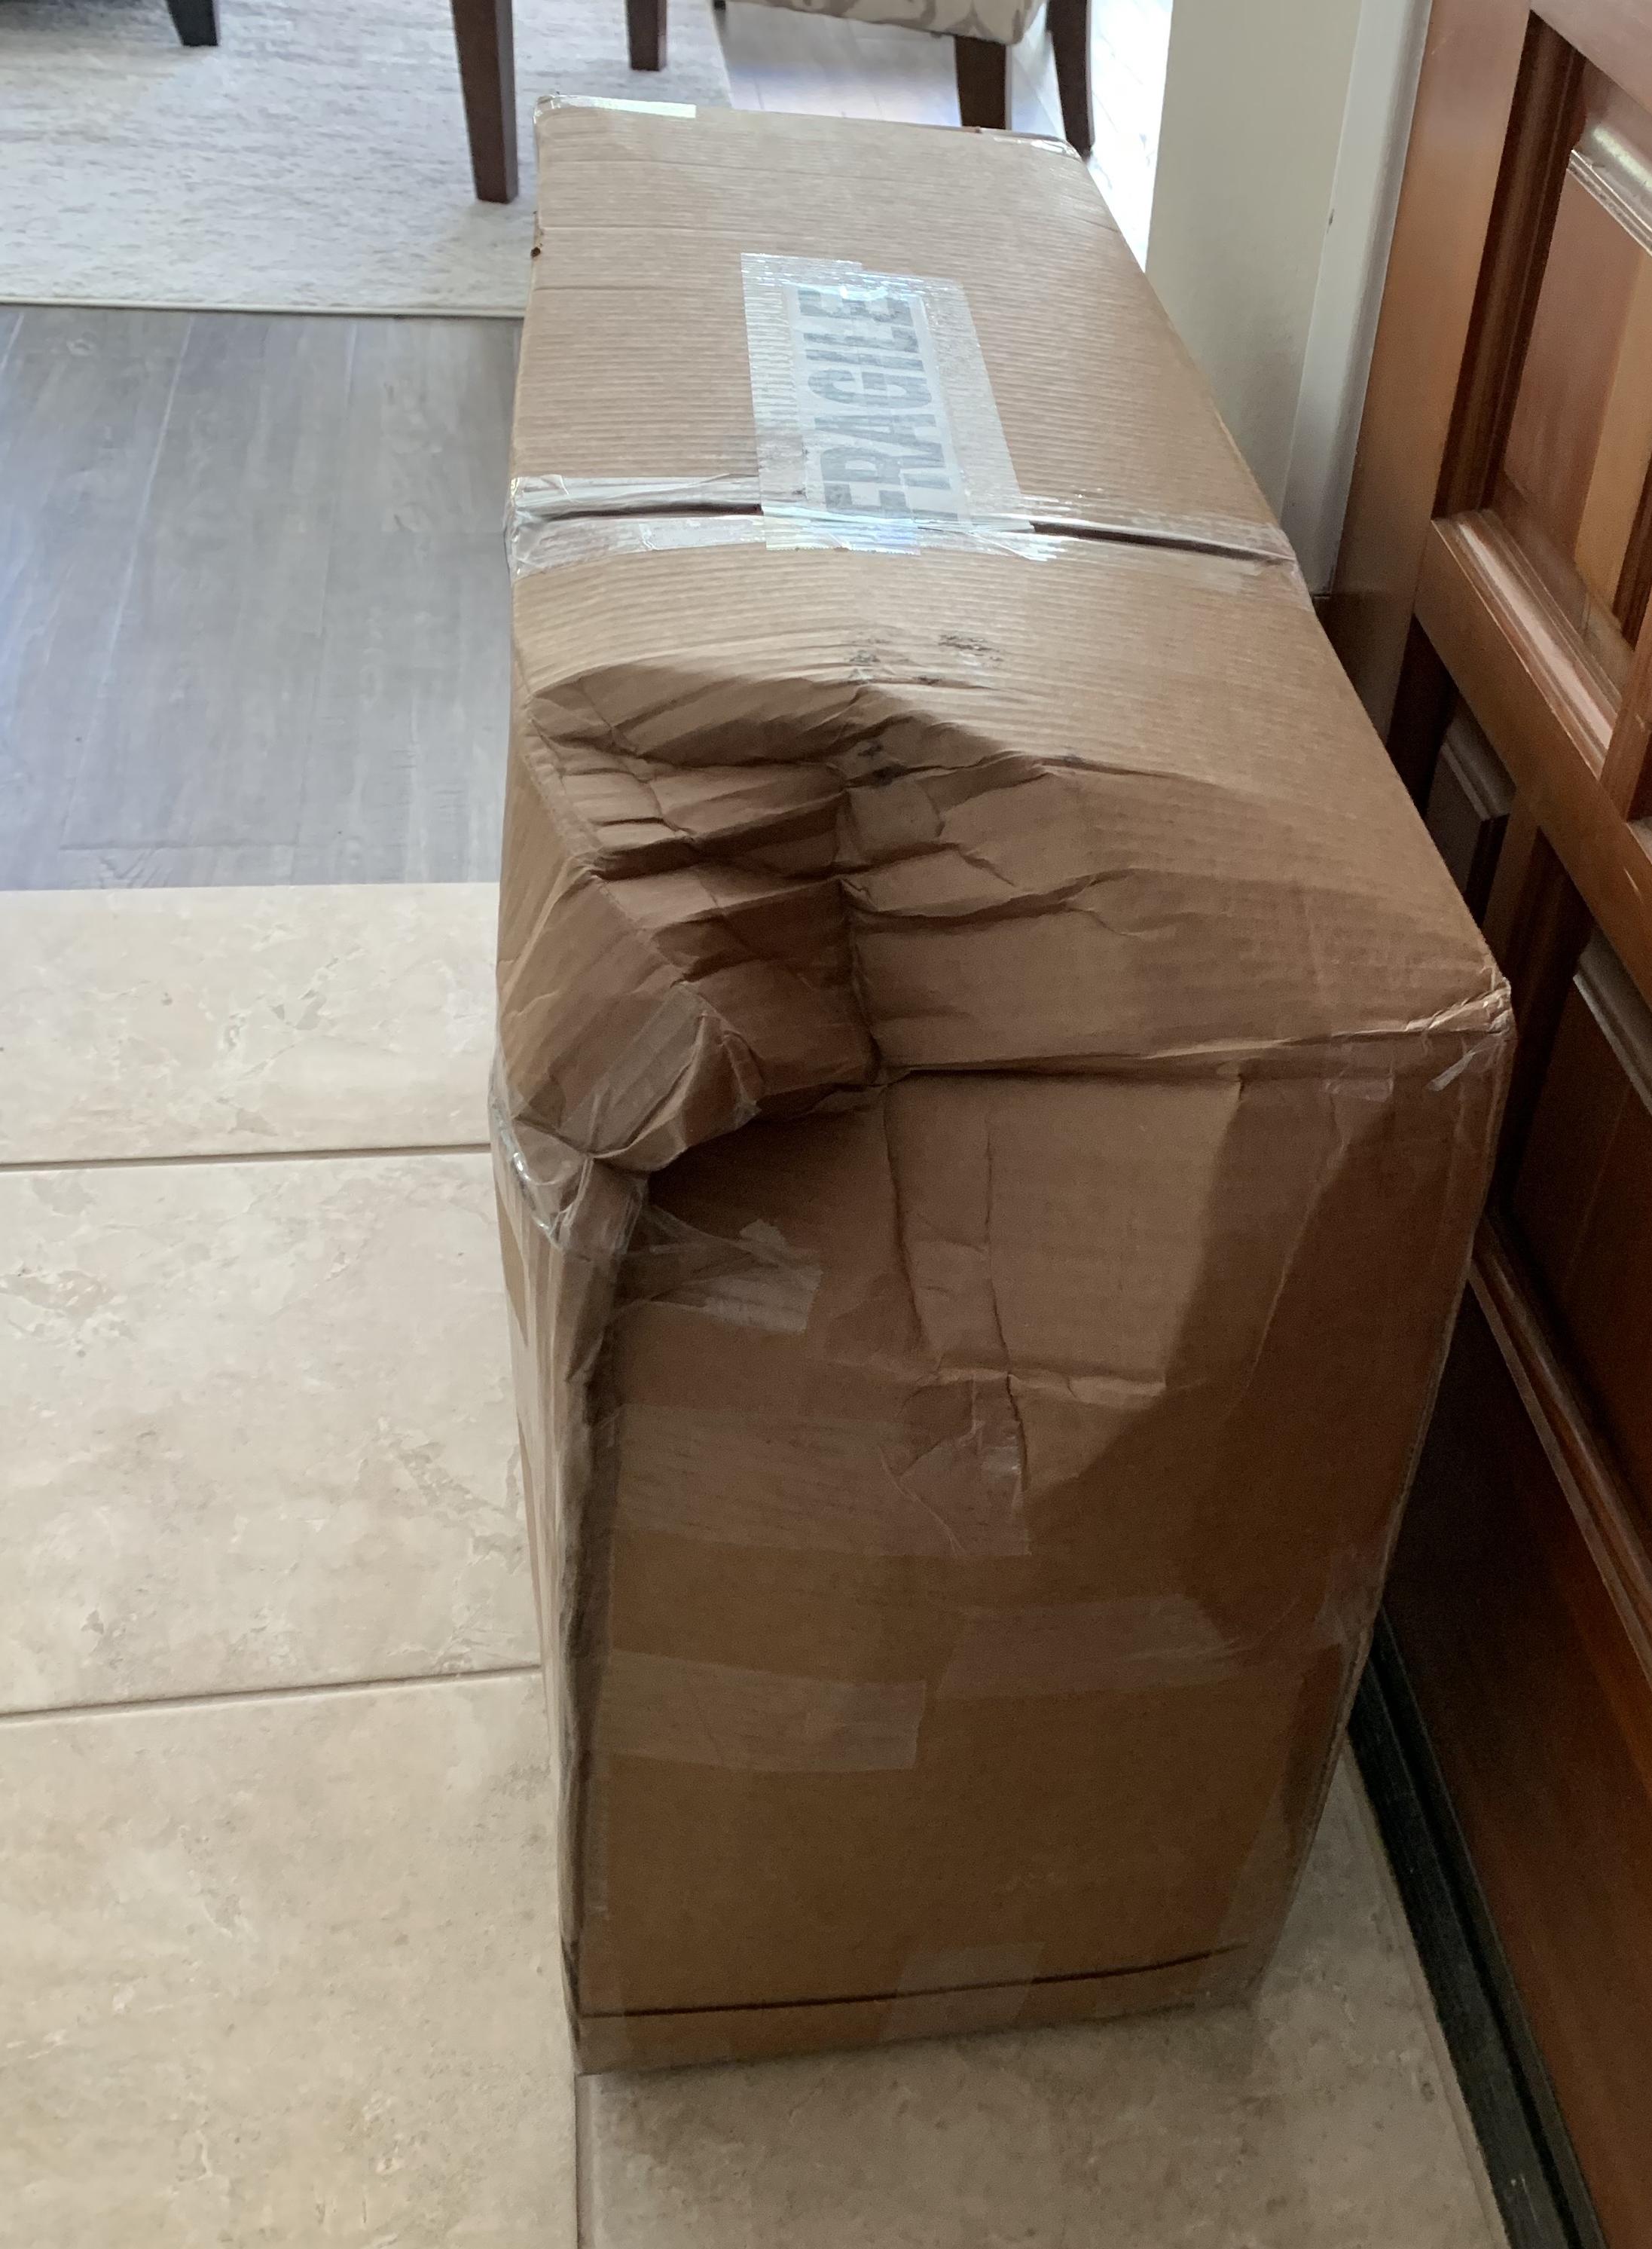
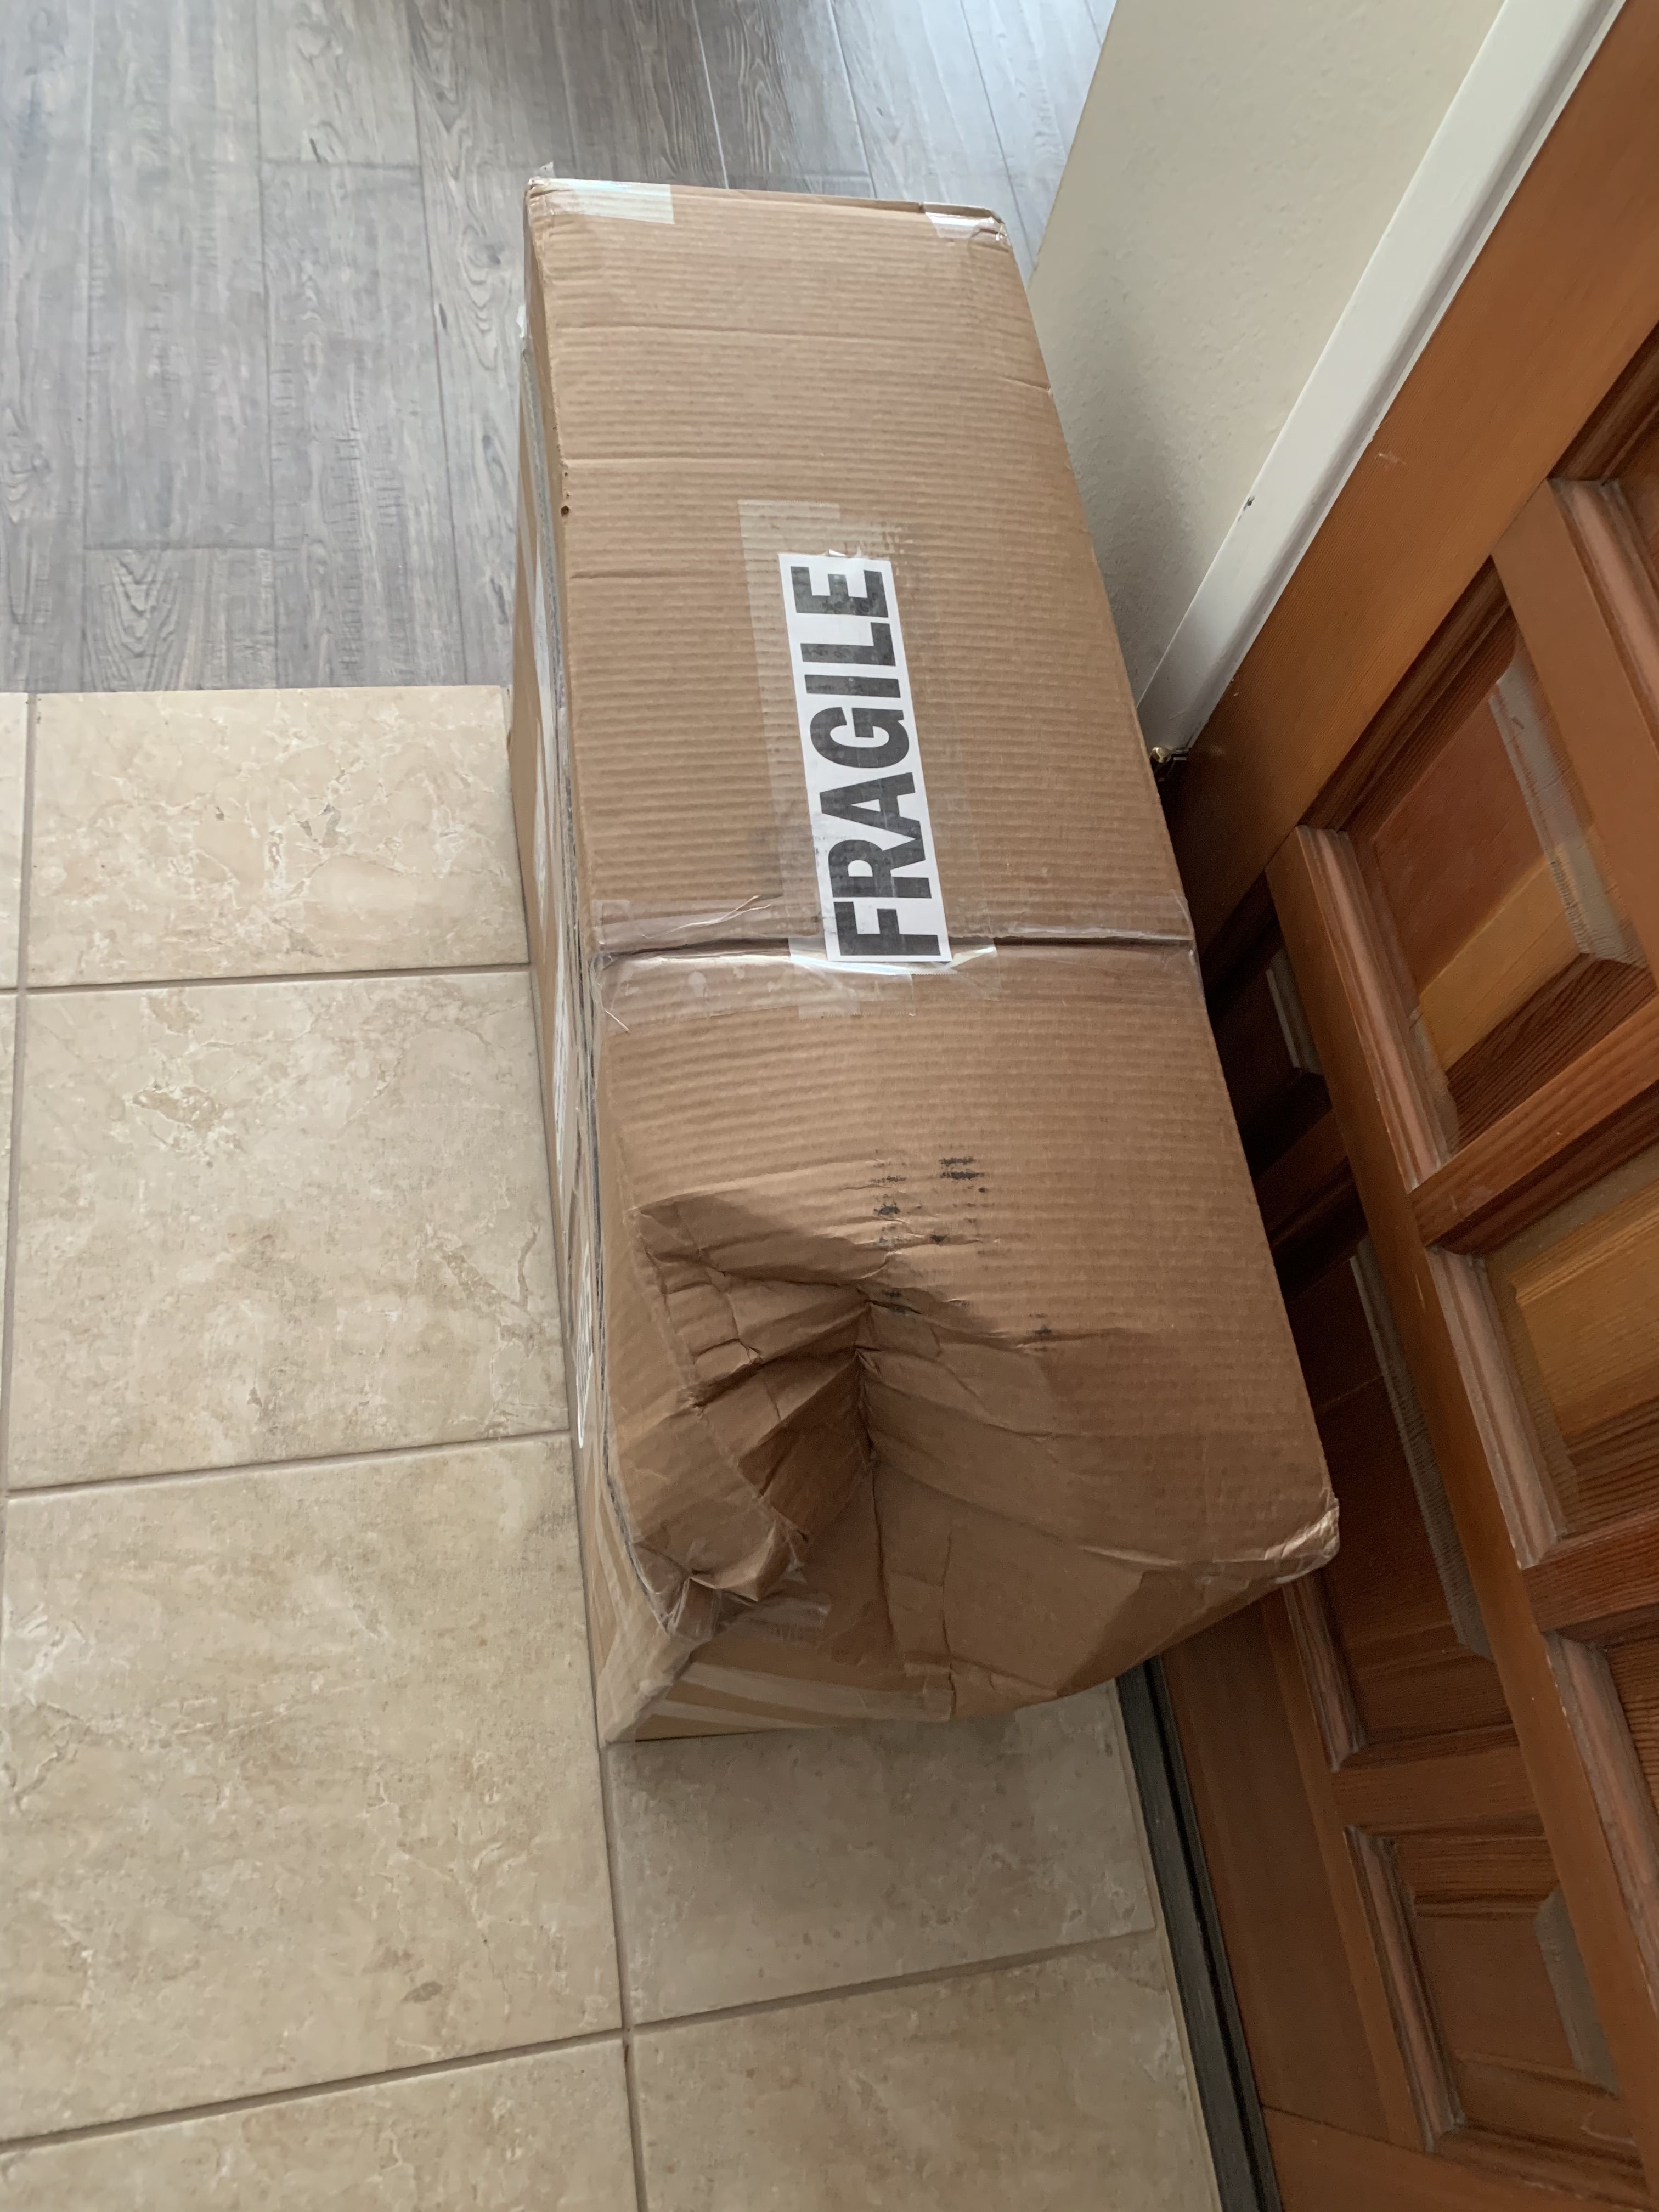
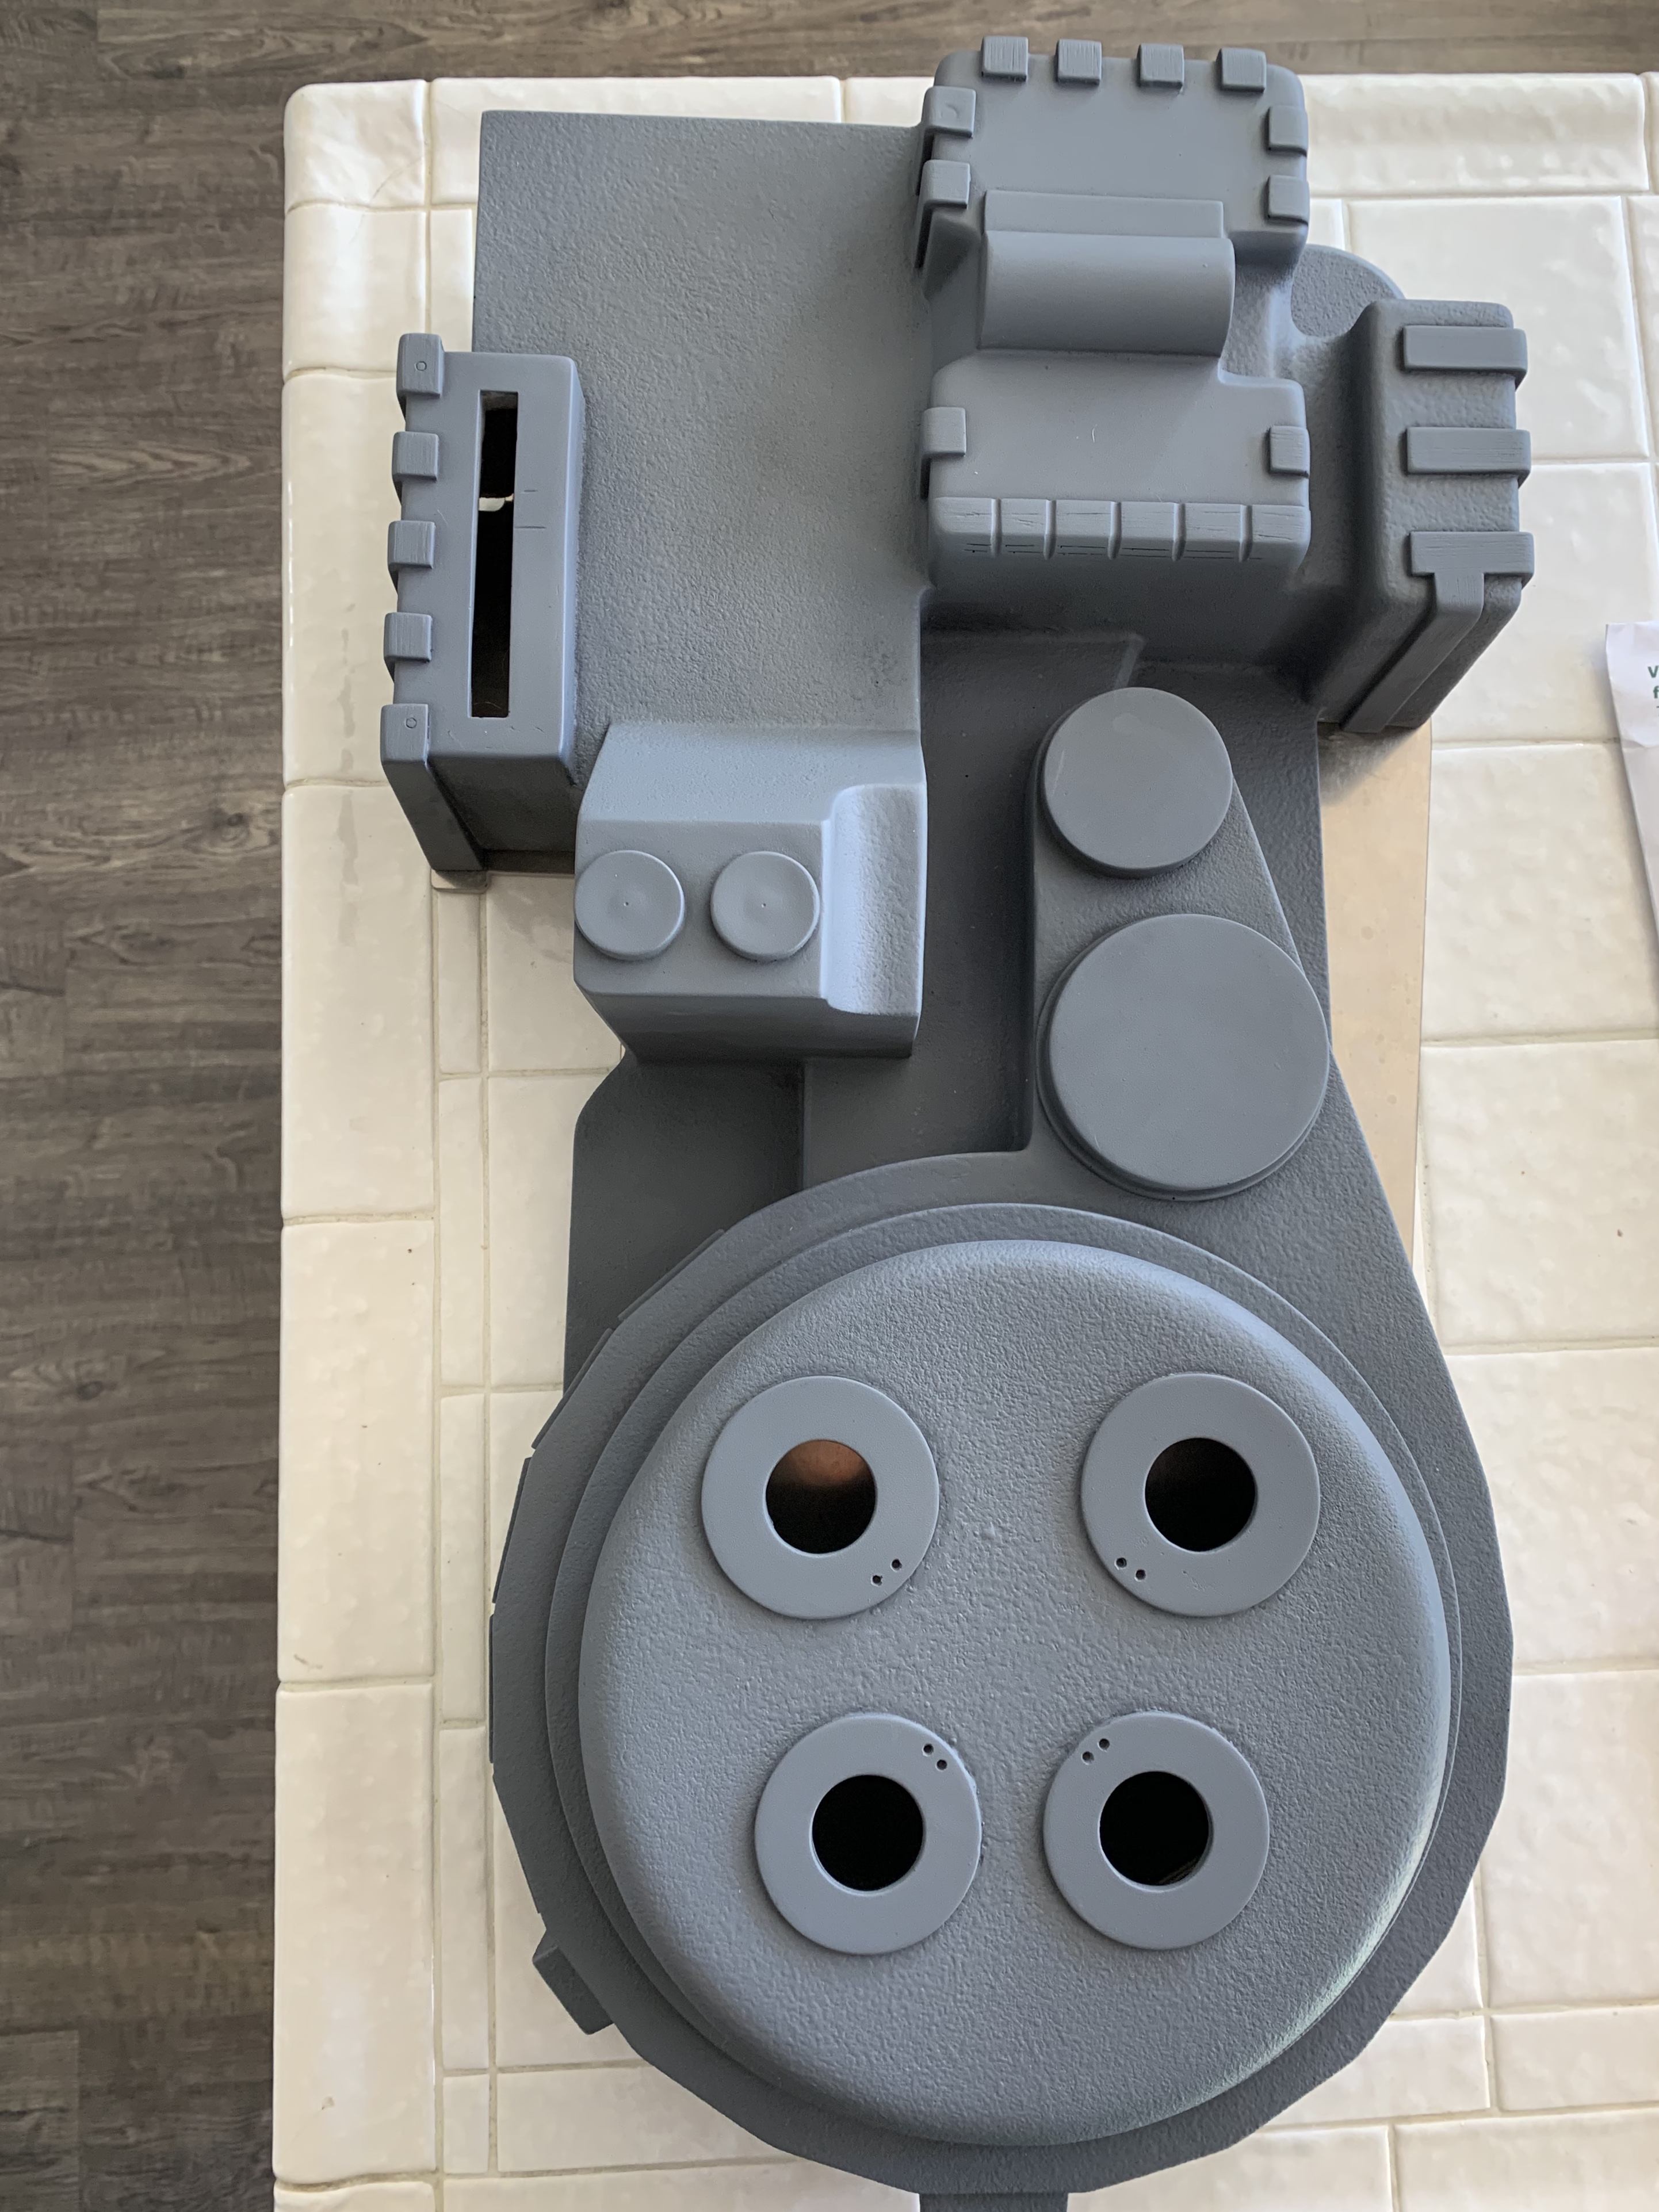
I was lucky enough to be working from home and browsing GBfans (definitely not while working…) a few months ago when Chris offered up some shells for sale and I jumped on it. I’d been hoping to one day come across one of his shells and be able to snag it so I was super excited to get in on the run and especially since I had already been acquiring parts be able to start as soon as it got here. Of course I was nervous when it was delivered and one corner was smashed in (thanks USPS) but Chris did such a great job packing the shell she arrived unharmed.
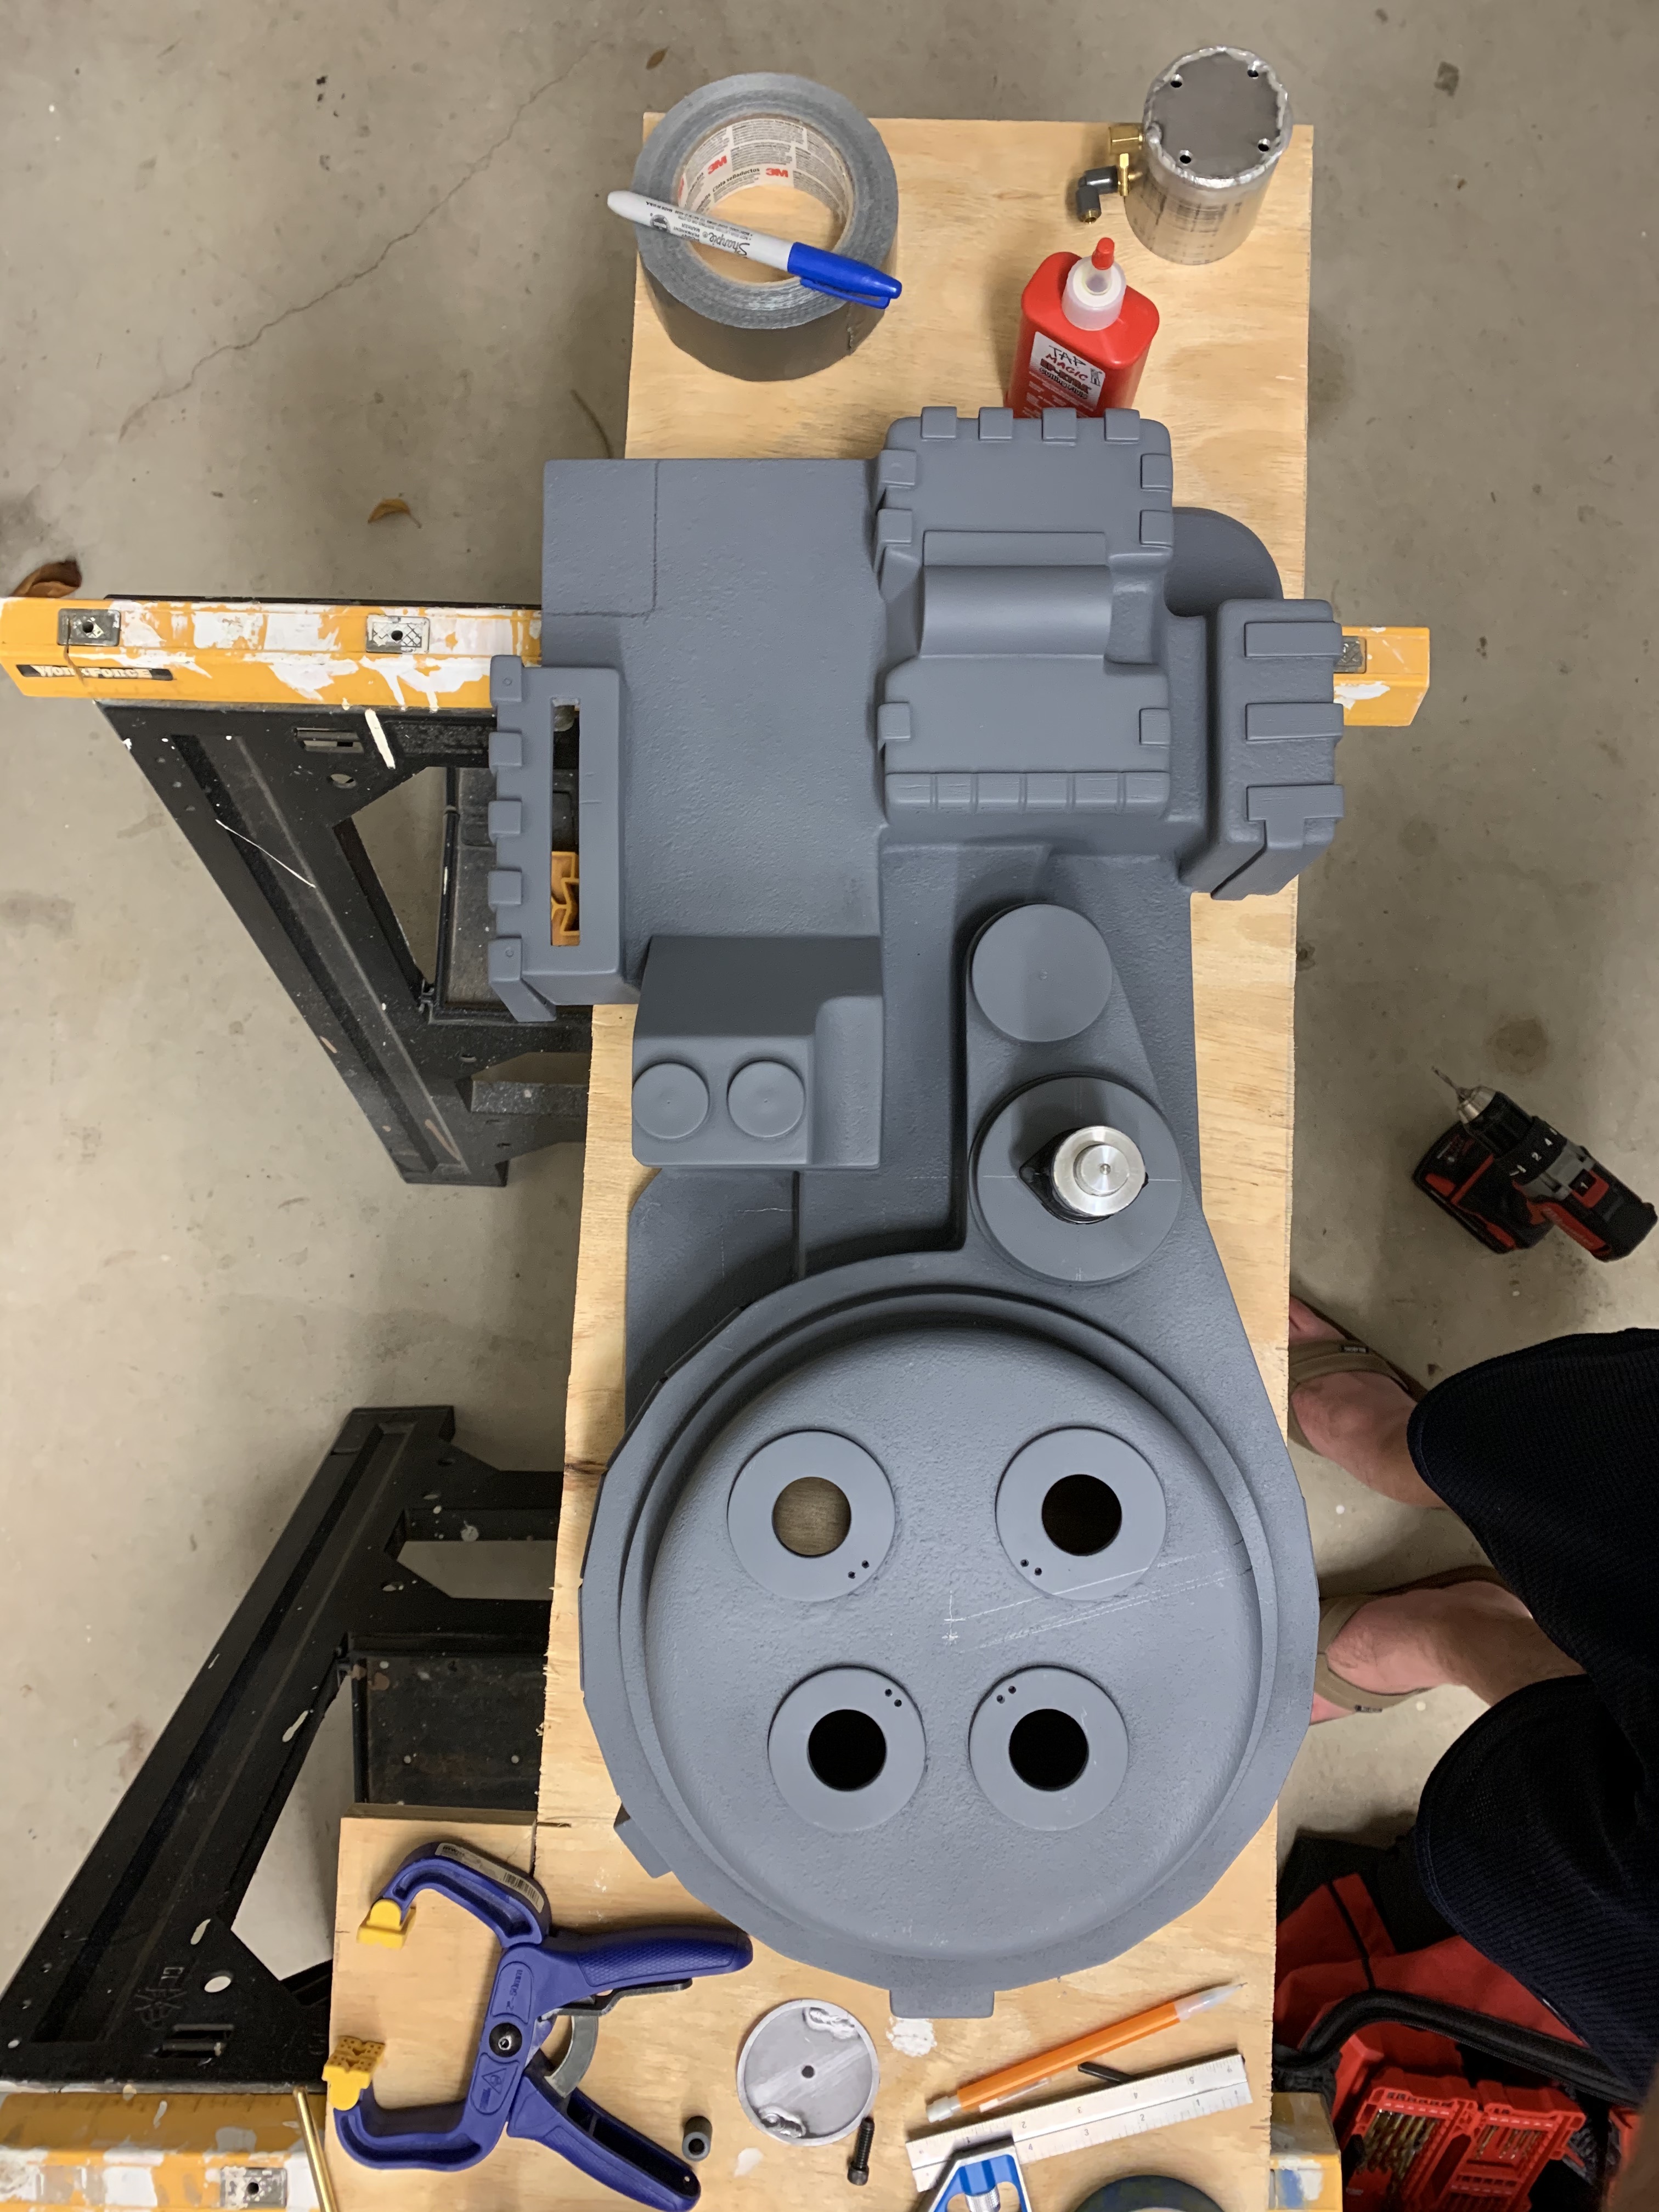
After some measurements and marking it was time to start working. Honestly Chris’ shell is so beautiful I almost didnt want to drill into but it had to be done.
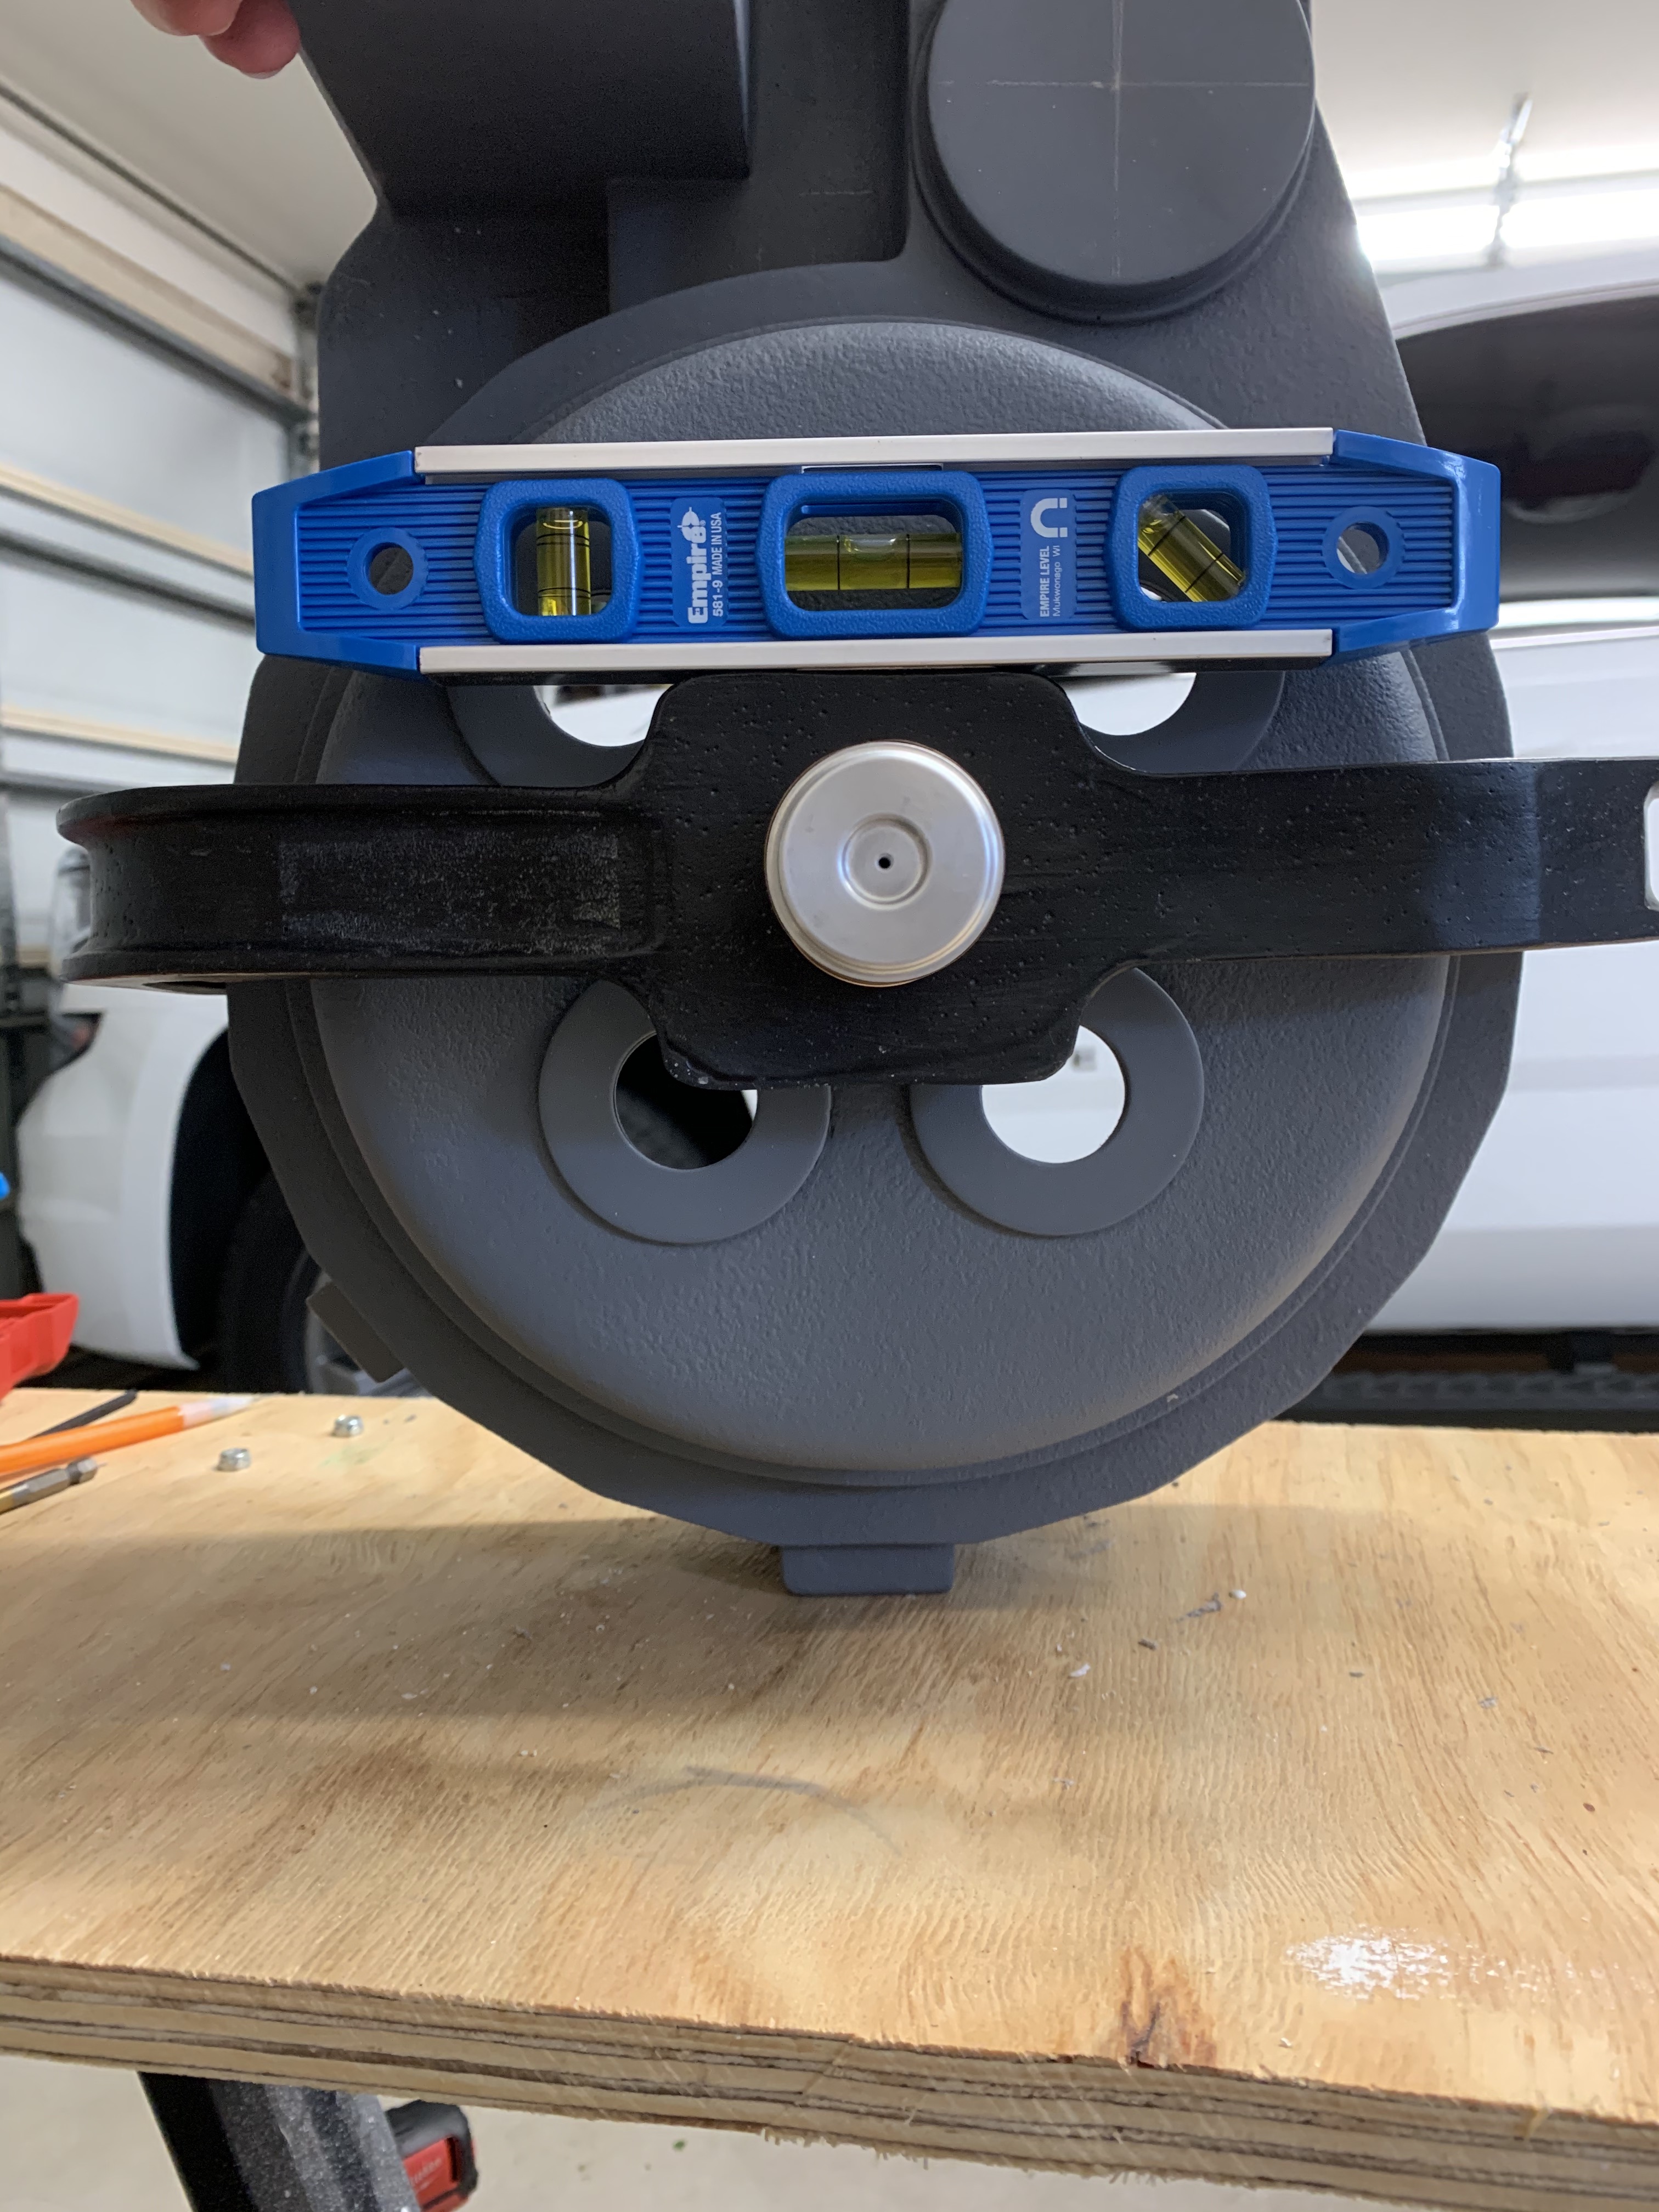
I opted to use the lineage bumper for this build and getting it mounted defnitely was a chore. Theres is for sure a little warp in the casting so getting it level took a lot of time and I thought that would be the hardest part to mount (booster tube proved me wrong). But eventually I got it on there and got it level.
Nice!!! Great shell! I did one GB1 Bosch build and it was so much fun. I have a 2nd shell I’m saving for either a GB2 build or Afterlife depending on how much it will need to be modified. Those things are TANKS!
It really is a beast, Chris does a great job on them. I was nervous at first to work on it thinking it might be fragile or chip easily but it’s super stout. I have a venky shell which I’m going to make into a GB2 build and I feel like it’s much more fragile than this one.
On a side not, I’ve definitely checked out your builds and used some reference points too!
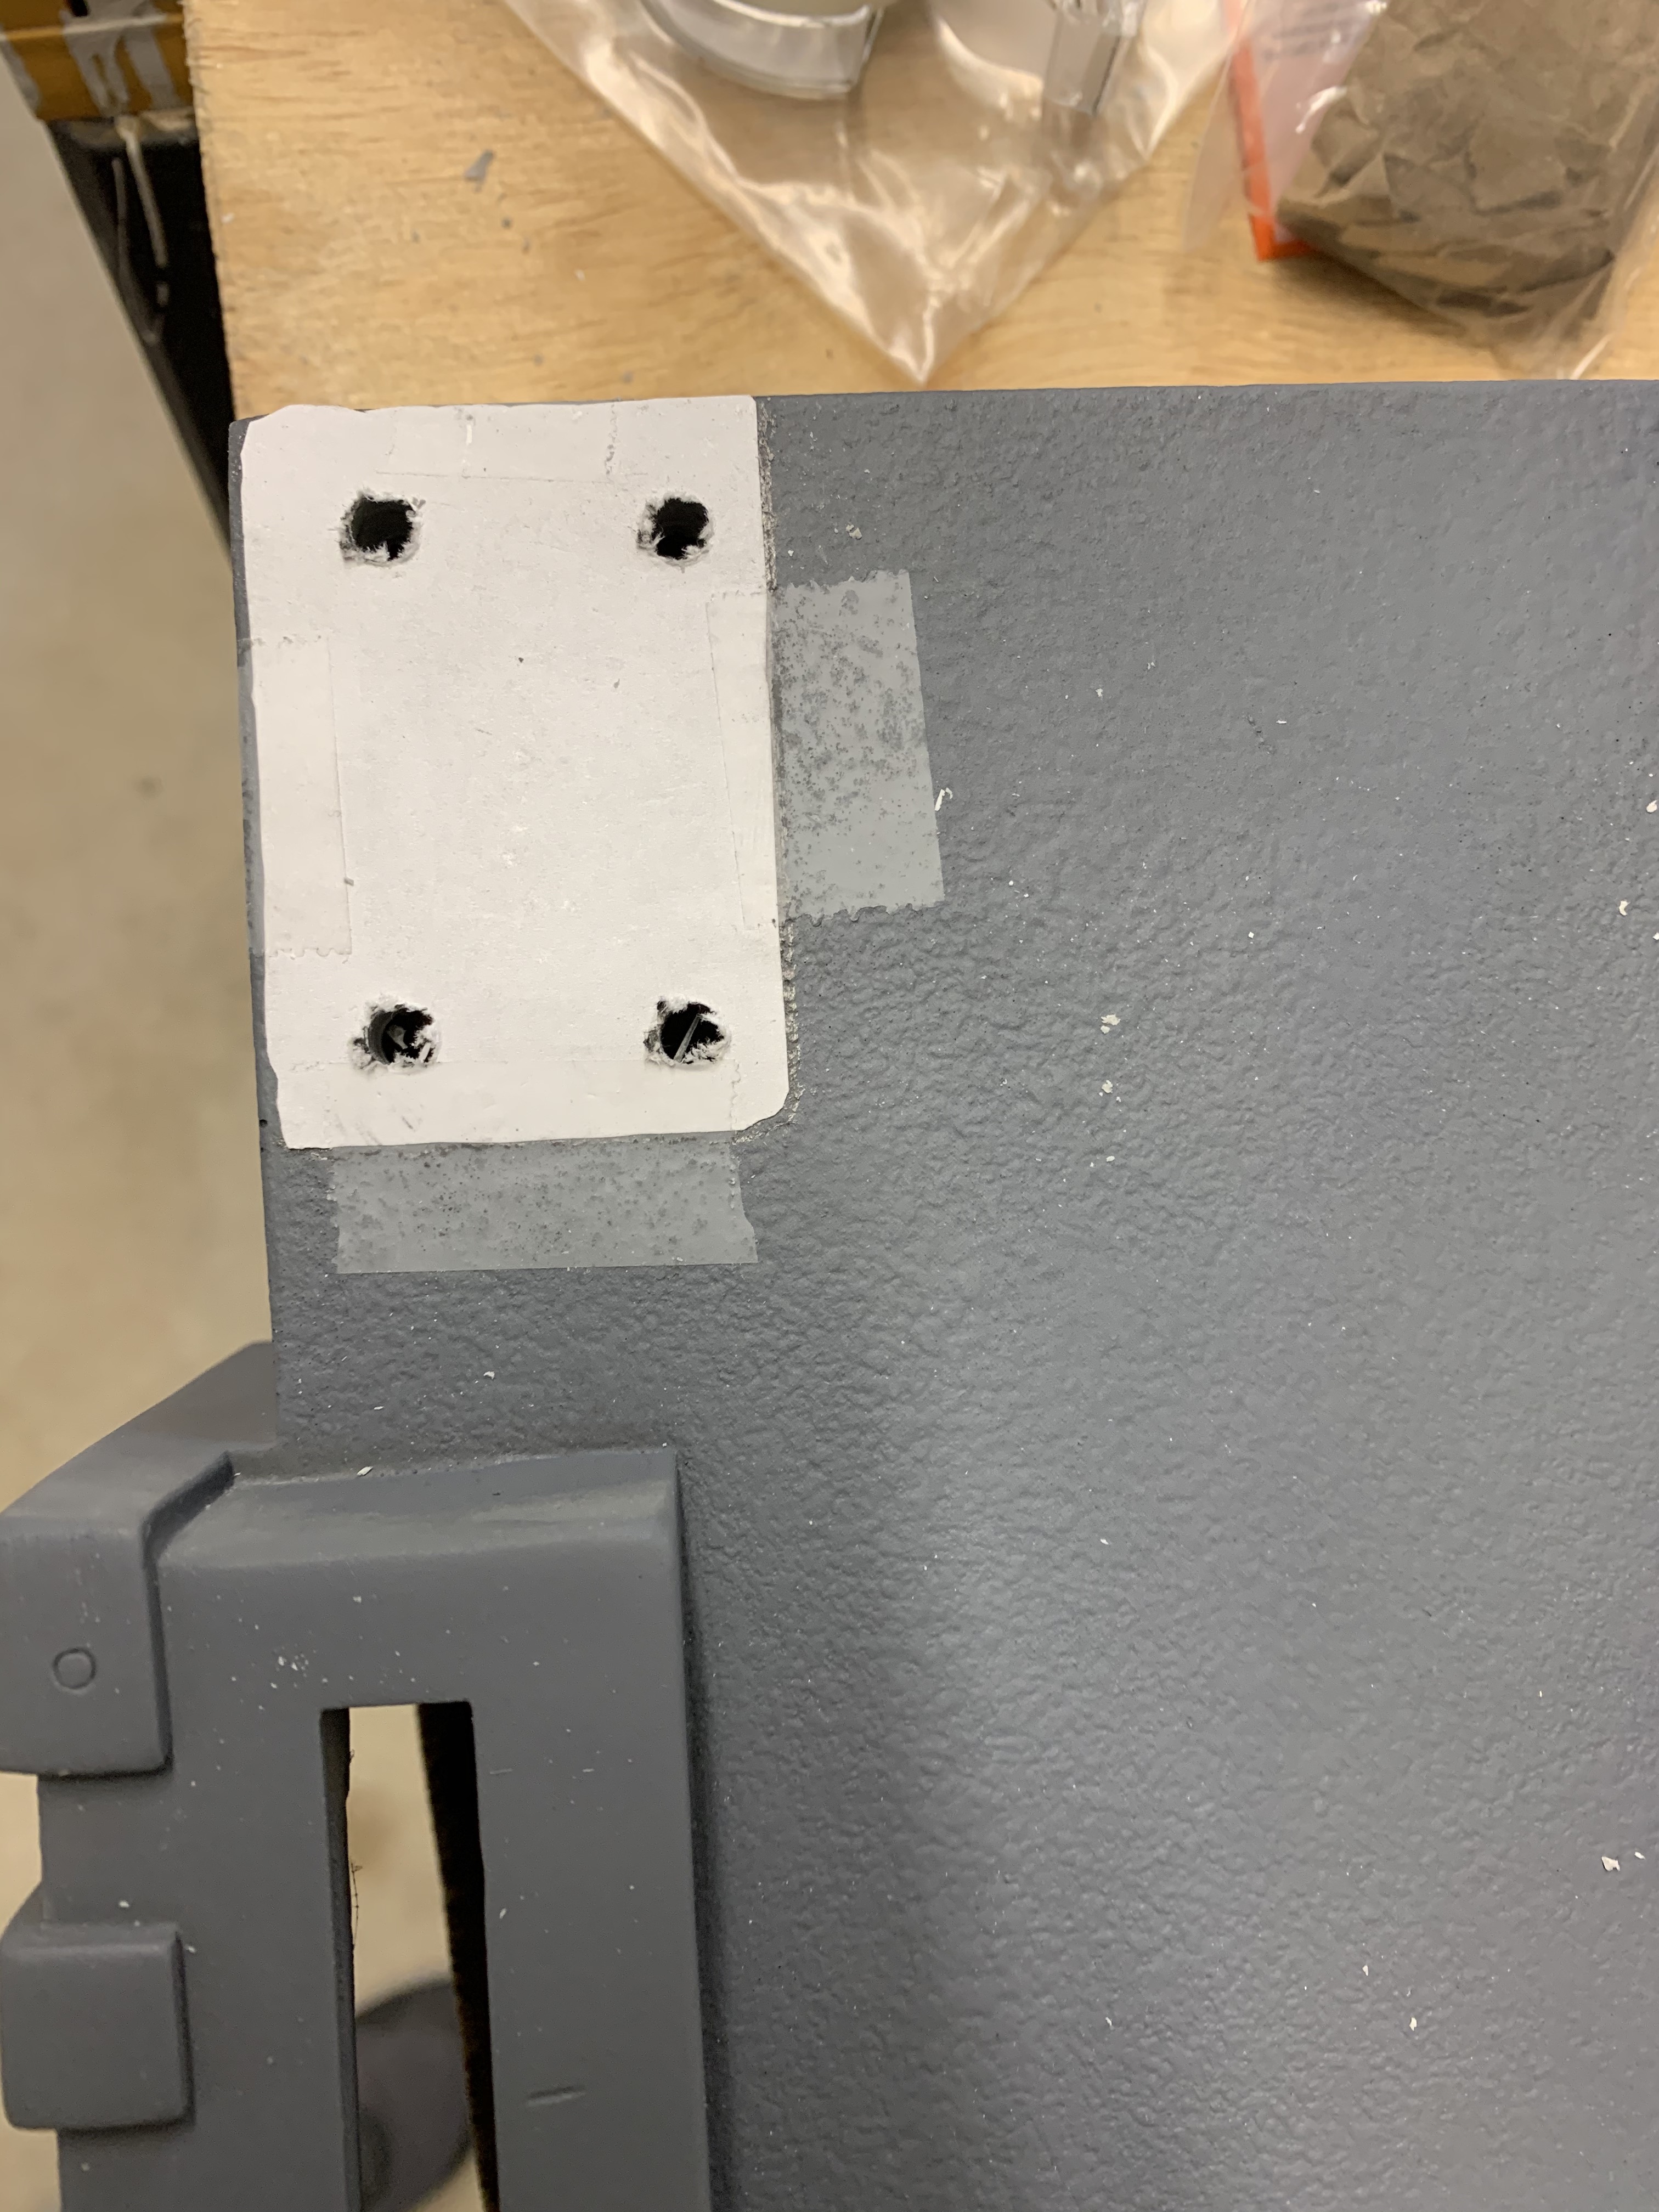
Once I got the bumper mounted I moved onto installing the aluminum parts I had picked up along the way. I saw this in another build thread and I wish I could remember whos it was so I could give them credit but I photocopied the bottom of all the parts and then cut them out to use as templates for drilling. It really made things alot easier and I would recommend it for anyone who is nervous about trying to mount parts. Just remember to flip them! I have to give credit to Lowberg for this idea, check out his build thread for some great ideas Lowberg's GB1 Hero Pack Build - Proton Packs - GBFans.com
Also for anyone that doesn’t have a drill press or struggles to drill holes straight I used this little hack. Take two blocks of wood that have square edges and make a right angle with them. Then you put the bit in the corner and it’s a straight line everytime (I realize that my bit isn’t exactly in the corner but that was just for the picture haha).
I wanted the beam line to really fit into the elbow of the sync gen so I got the grinder out and rounded two corners on it, fits nice and snug now. Also installed the crank knob on a pot so it has that little bit of resistance when you spin it. I might run the volume control to this later on, but that’s still up in the air.
I really agonized over the placement of the straights, and they took me way longer than I would have liked to get done. I went back and forth looking at the Spengler pack, the Sony lobby pack, and the Minnesota pack trying to guesstimate the right placement and then marking and re-marking where I thought they looked best/right.
After that I used 1 1/4-20 socket cap screw to attach the PPD, I mounted mine straight rather than slightly turned like the Spengler pack. I also drilled out the bottom center of the PPD like the Venkman and Spengler packs.
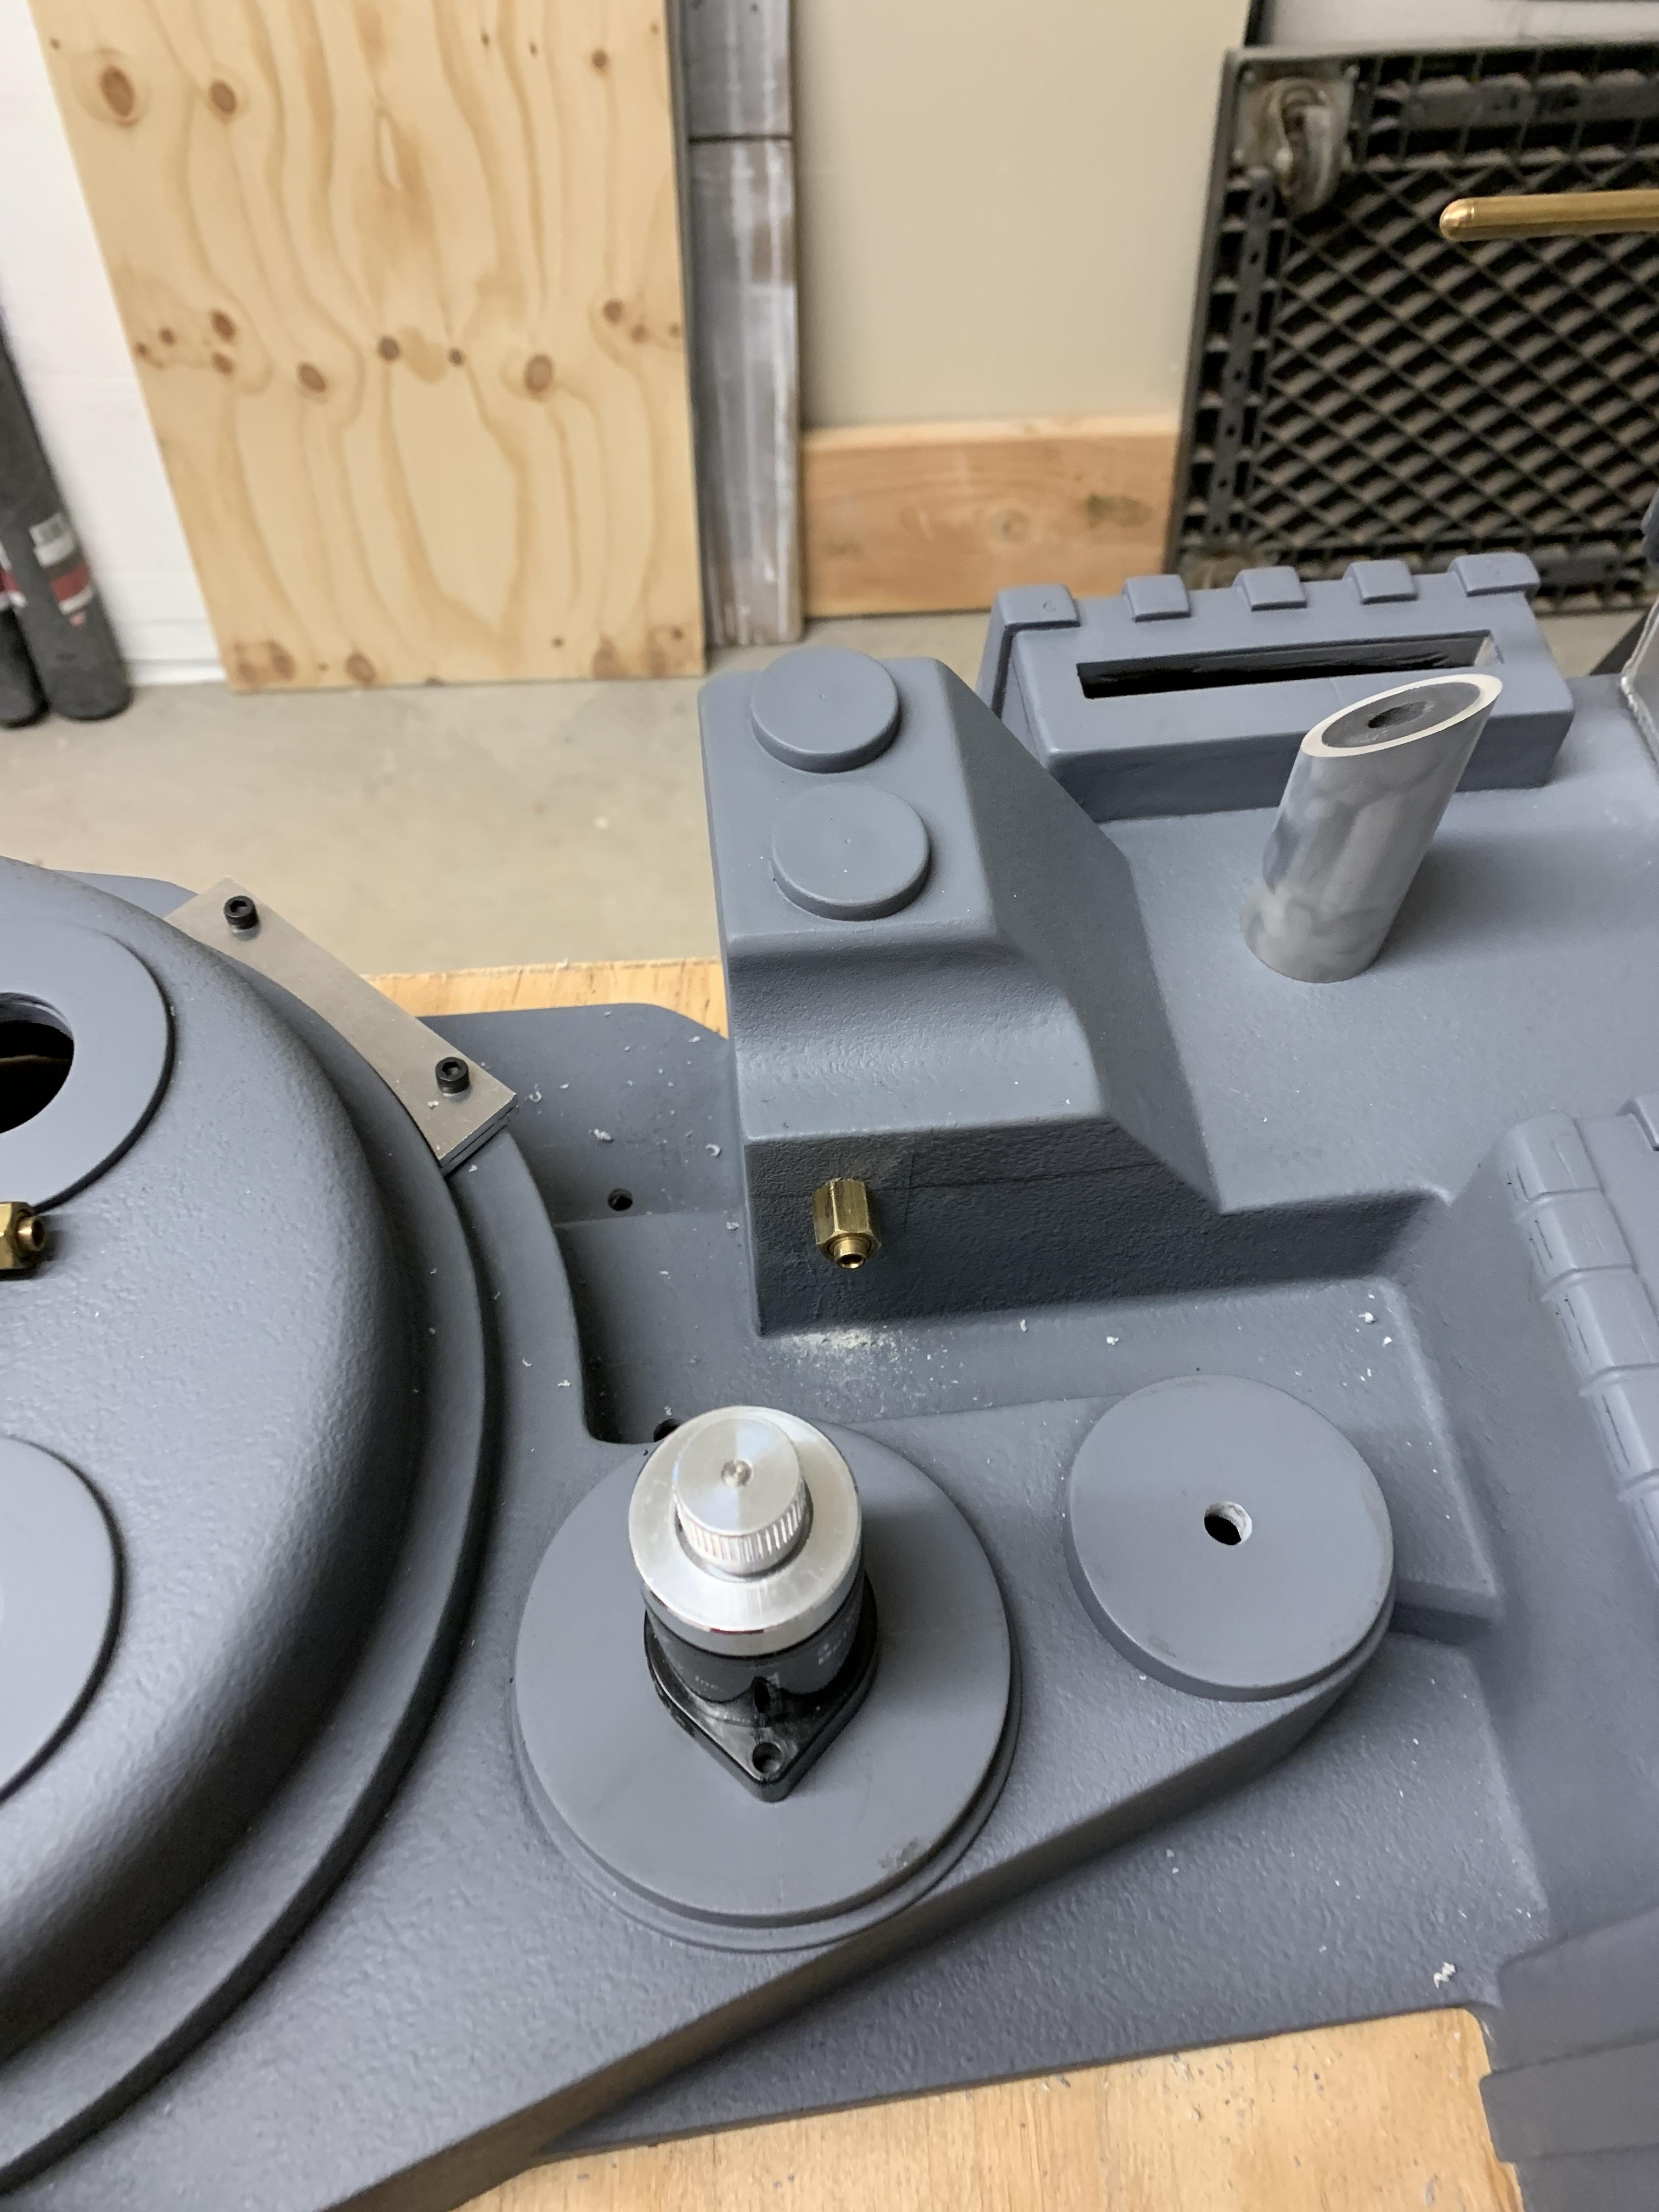
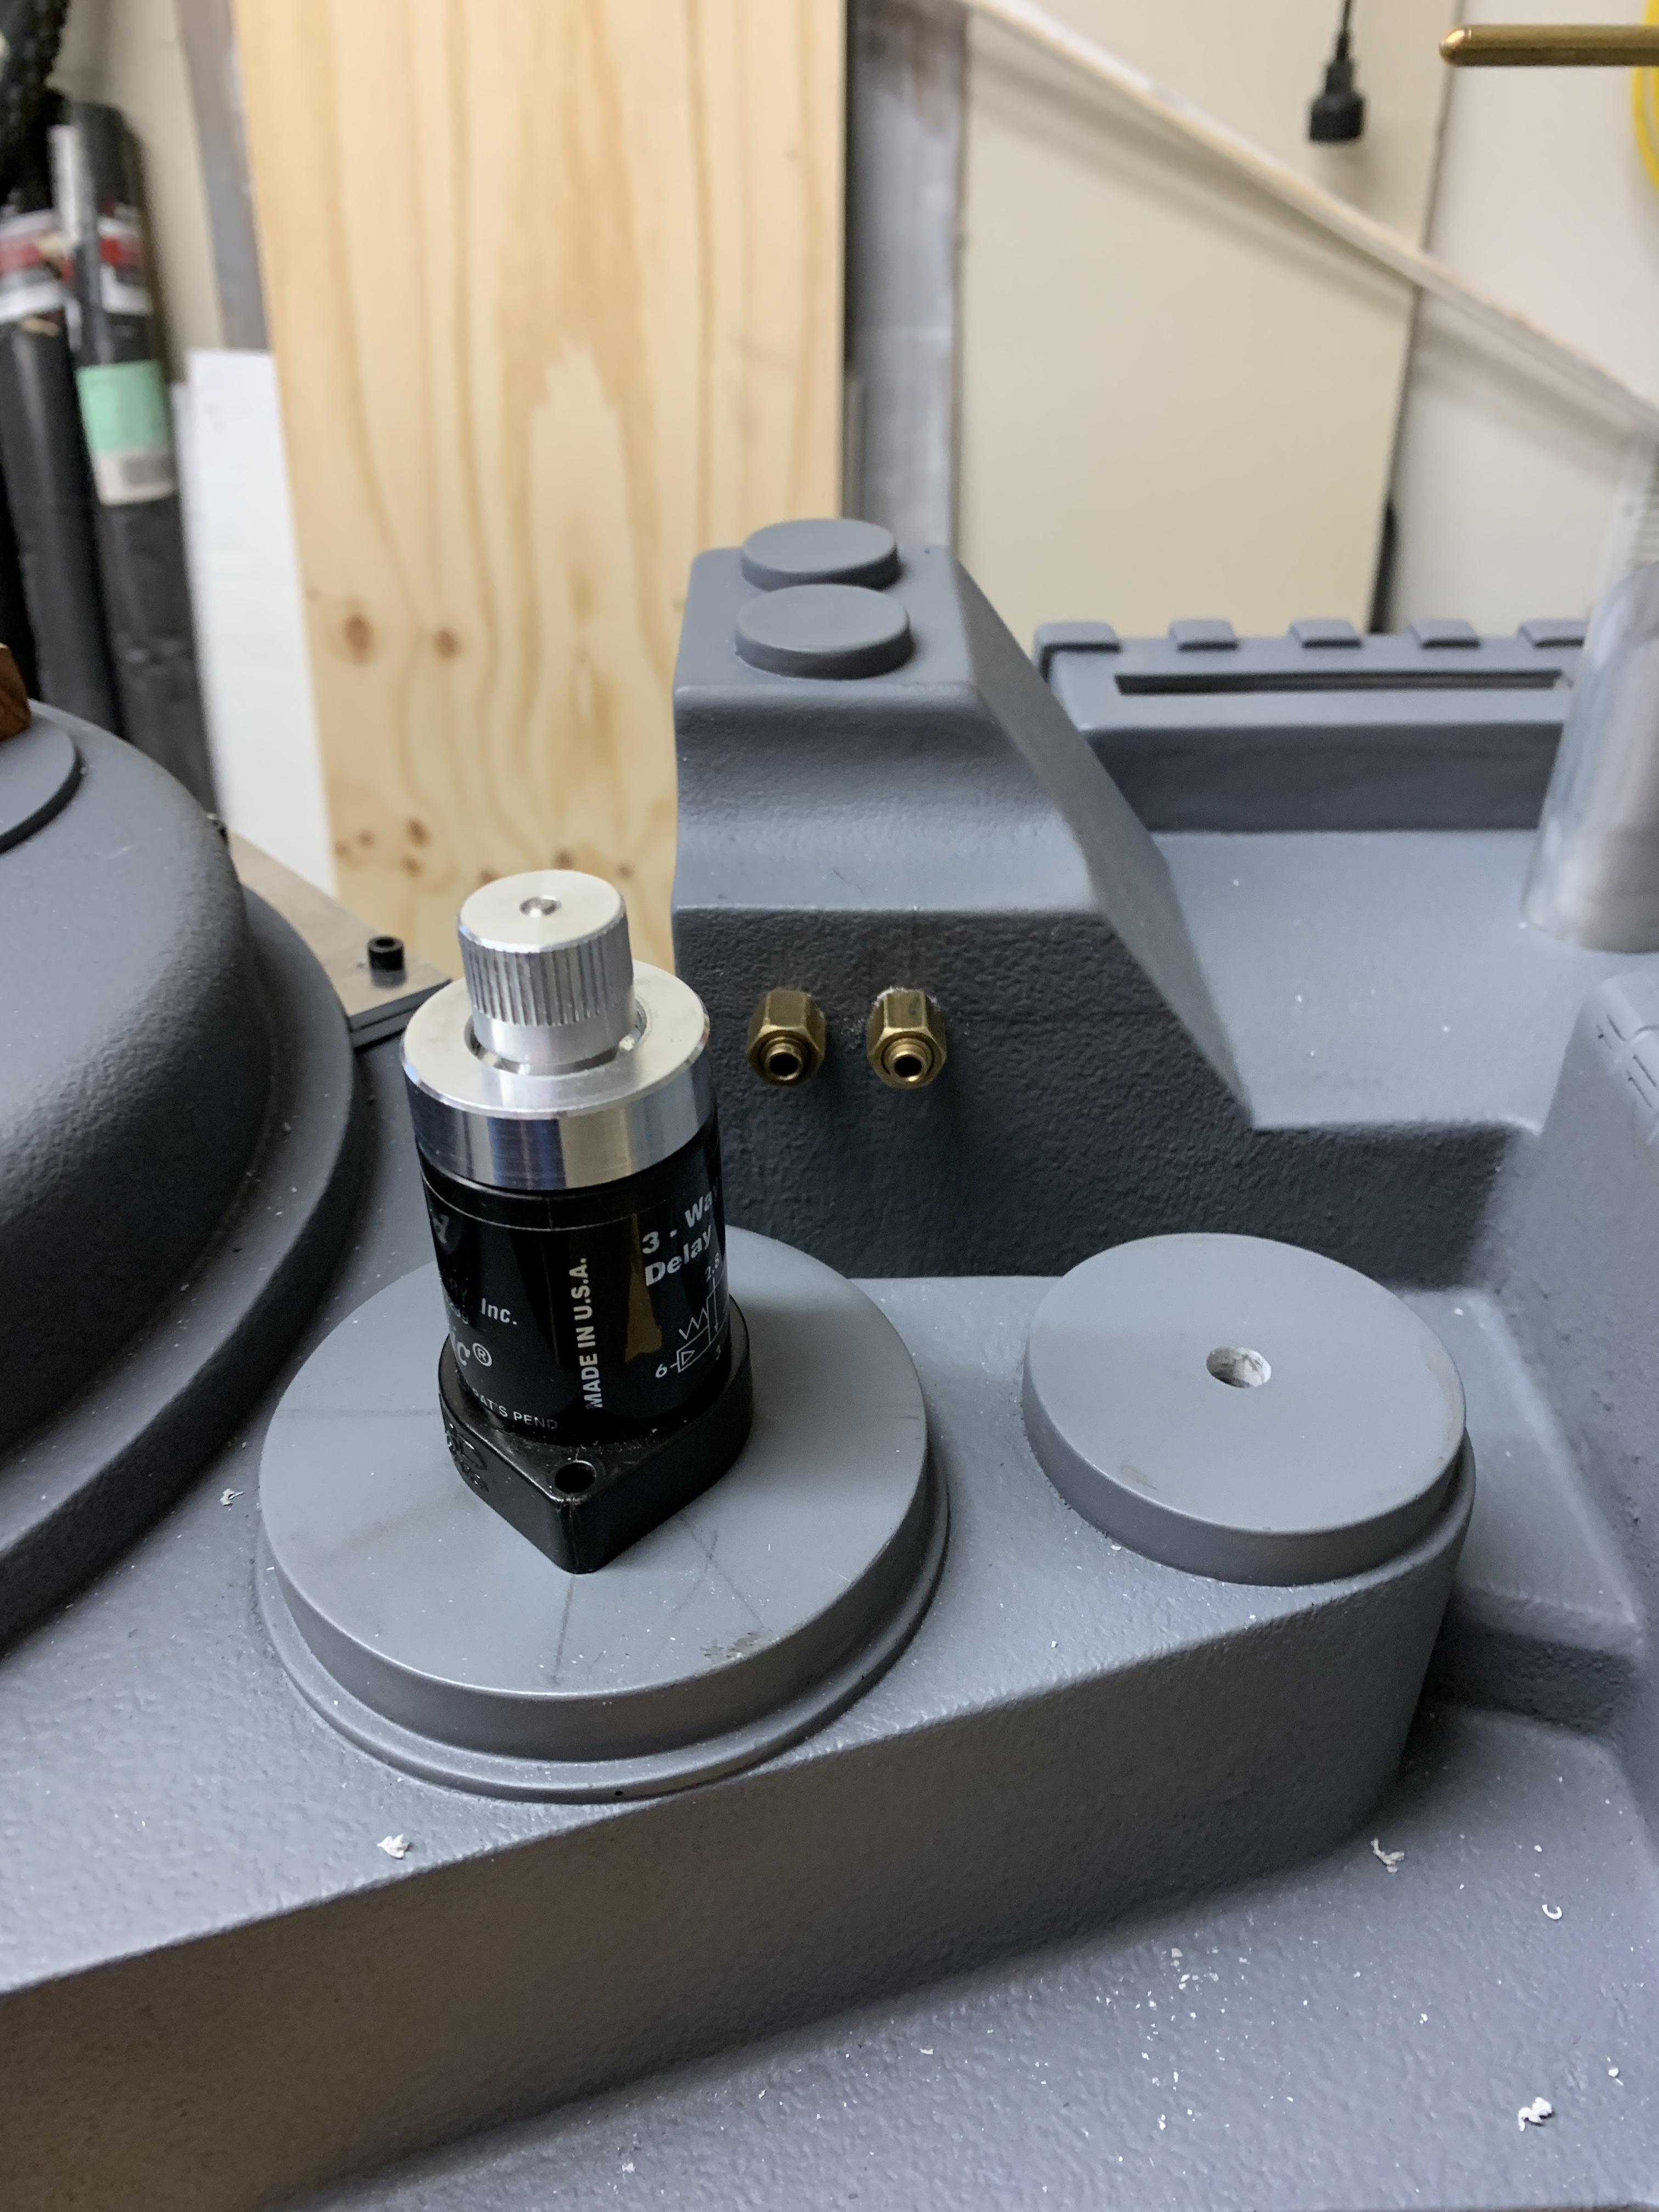
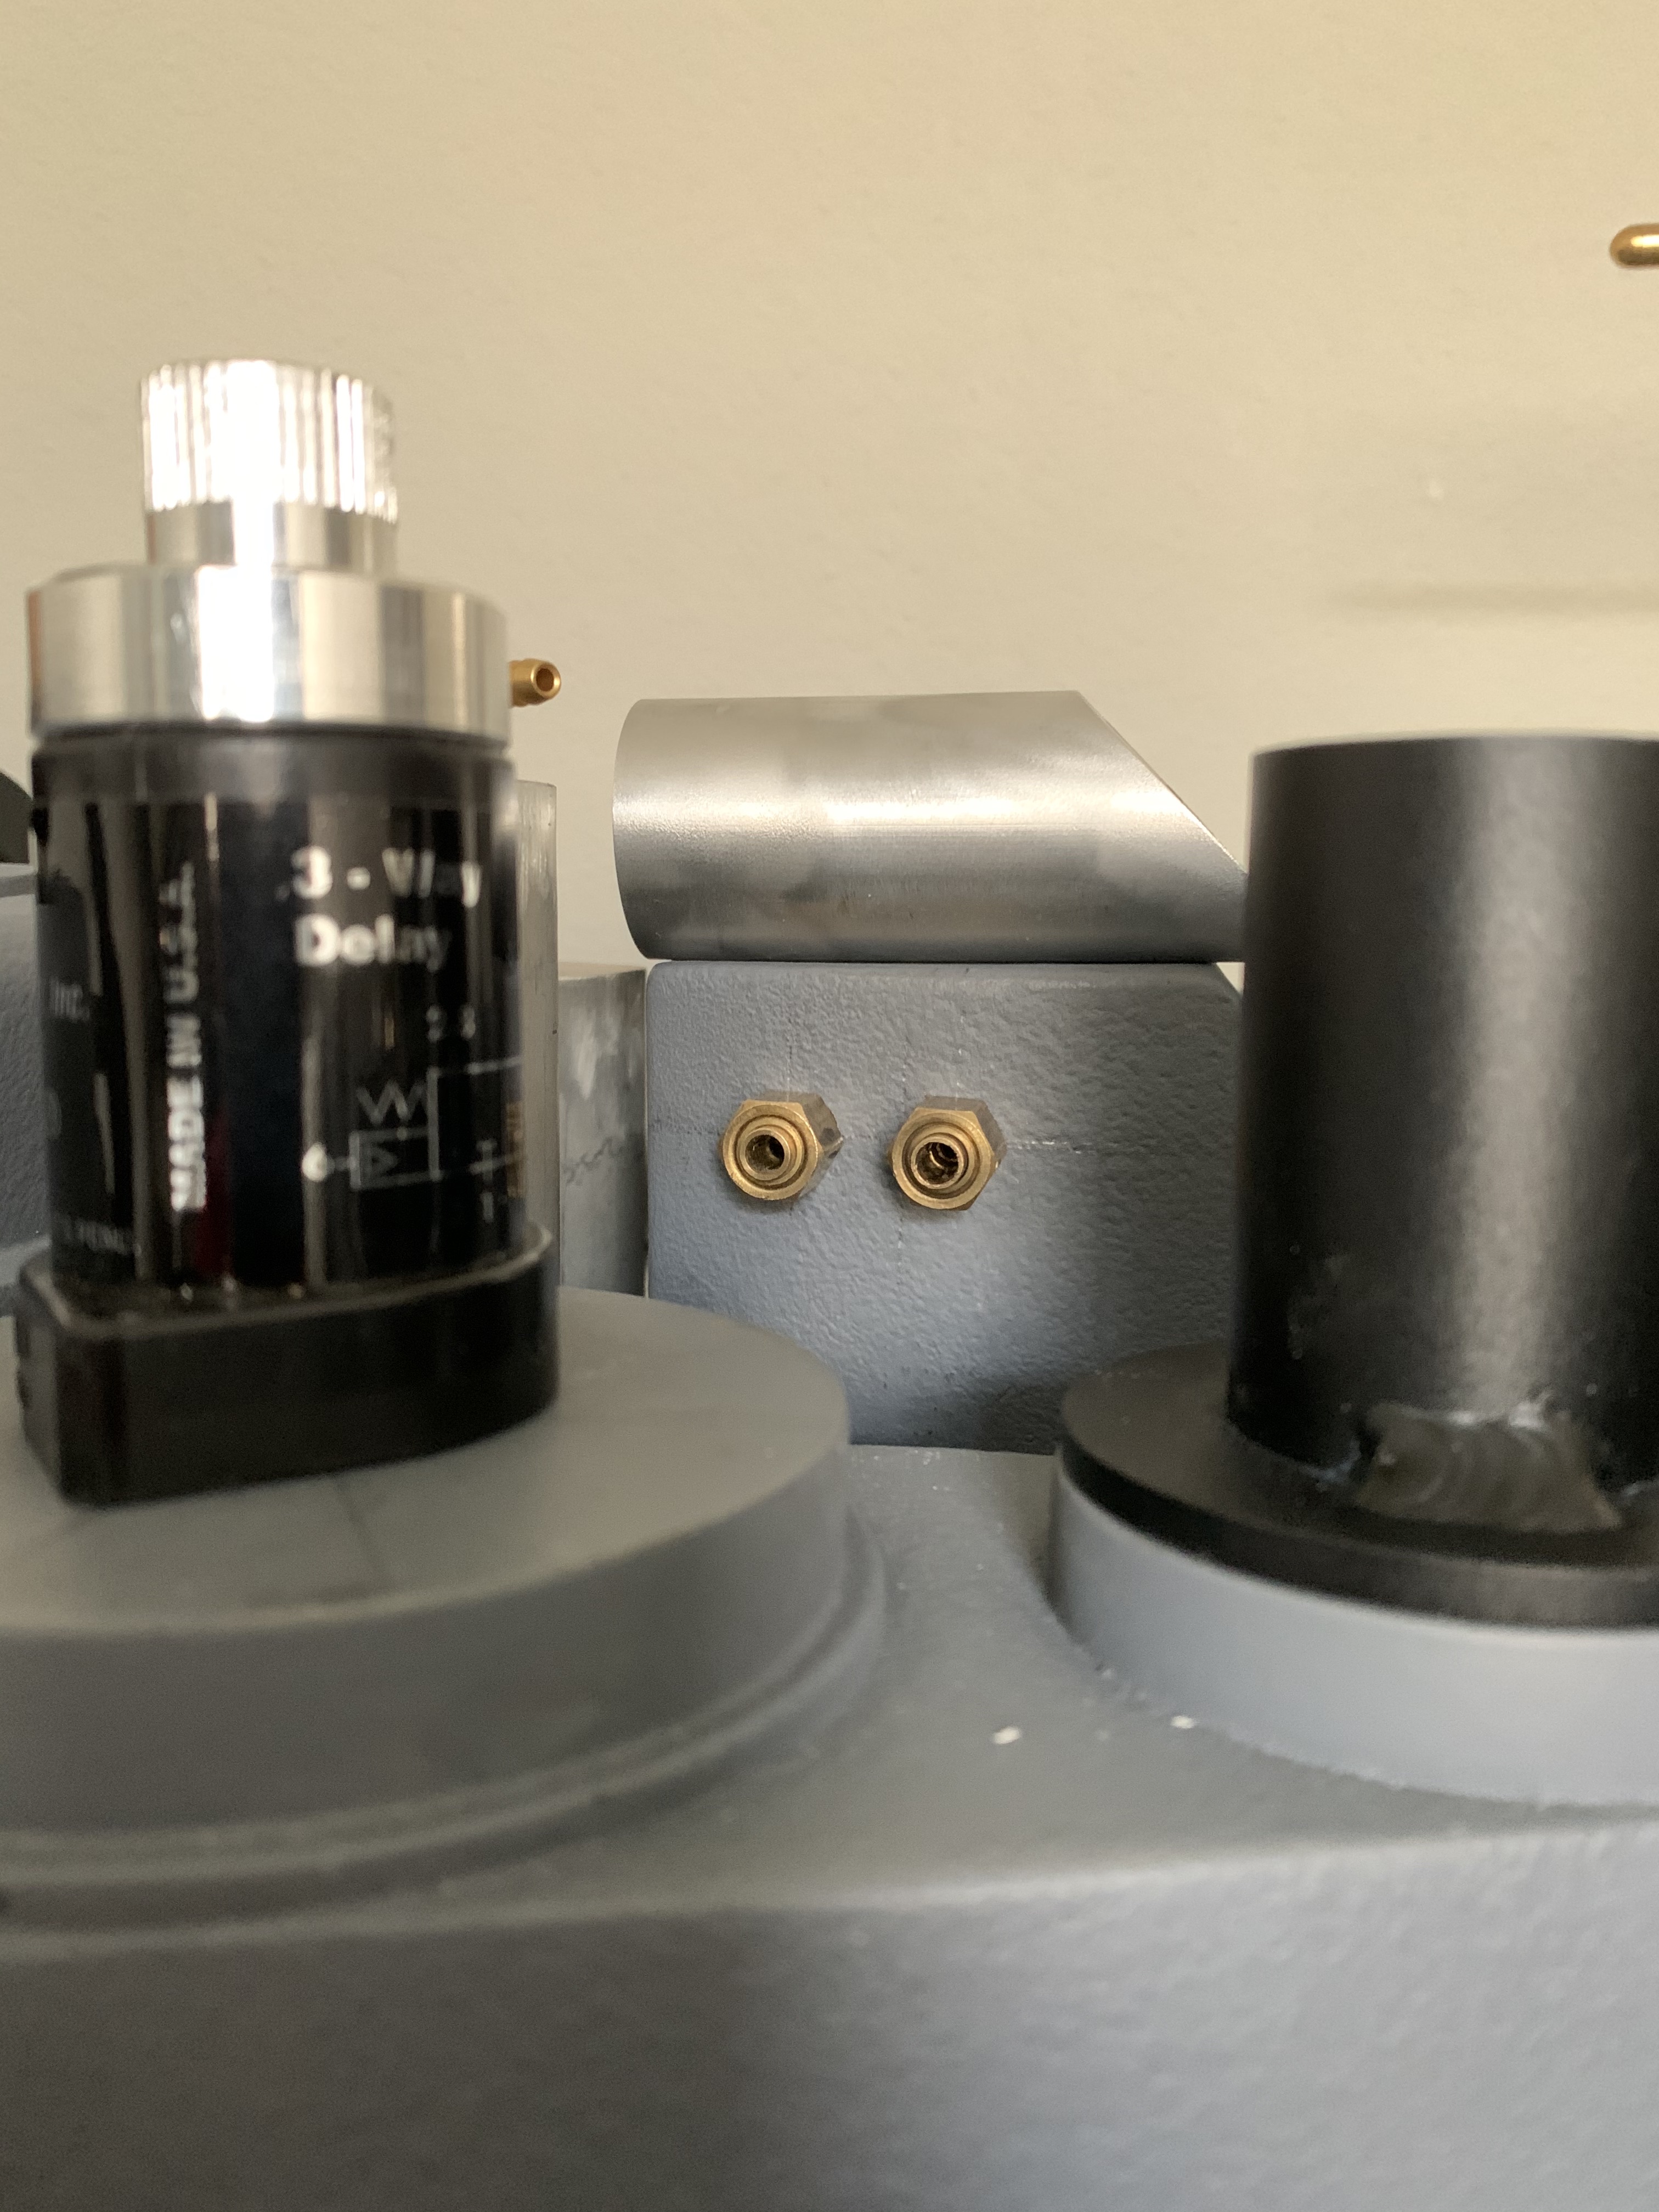
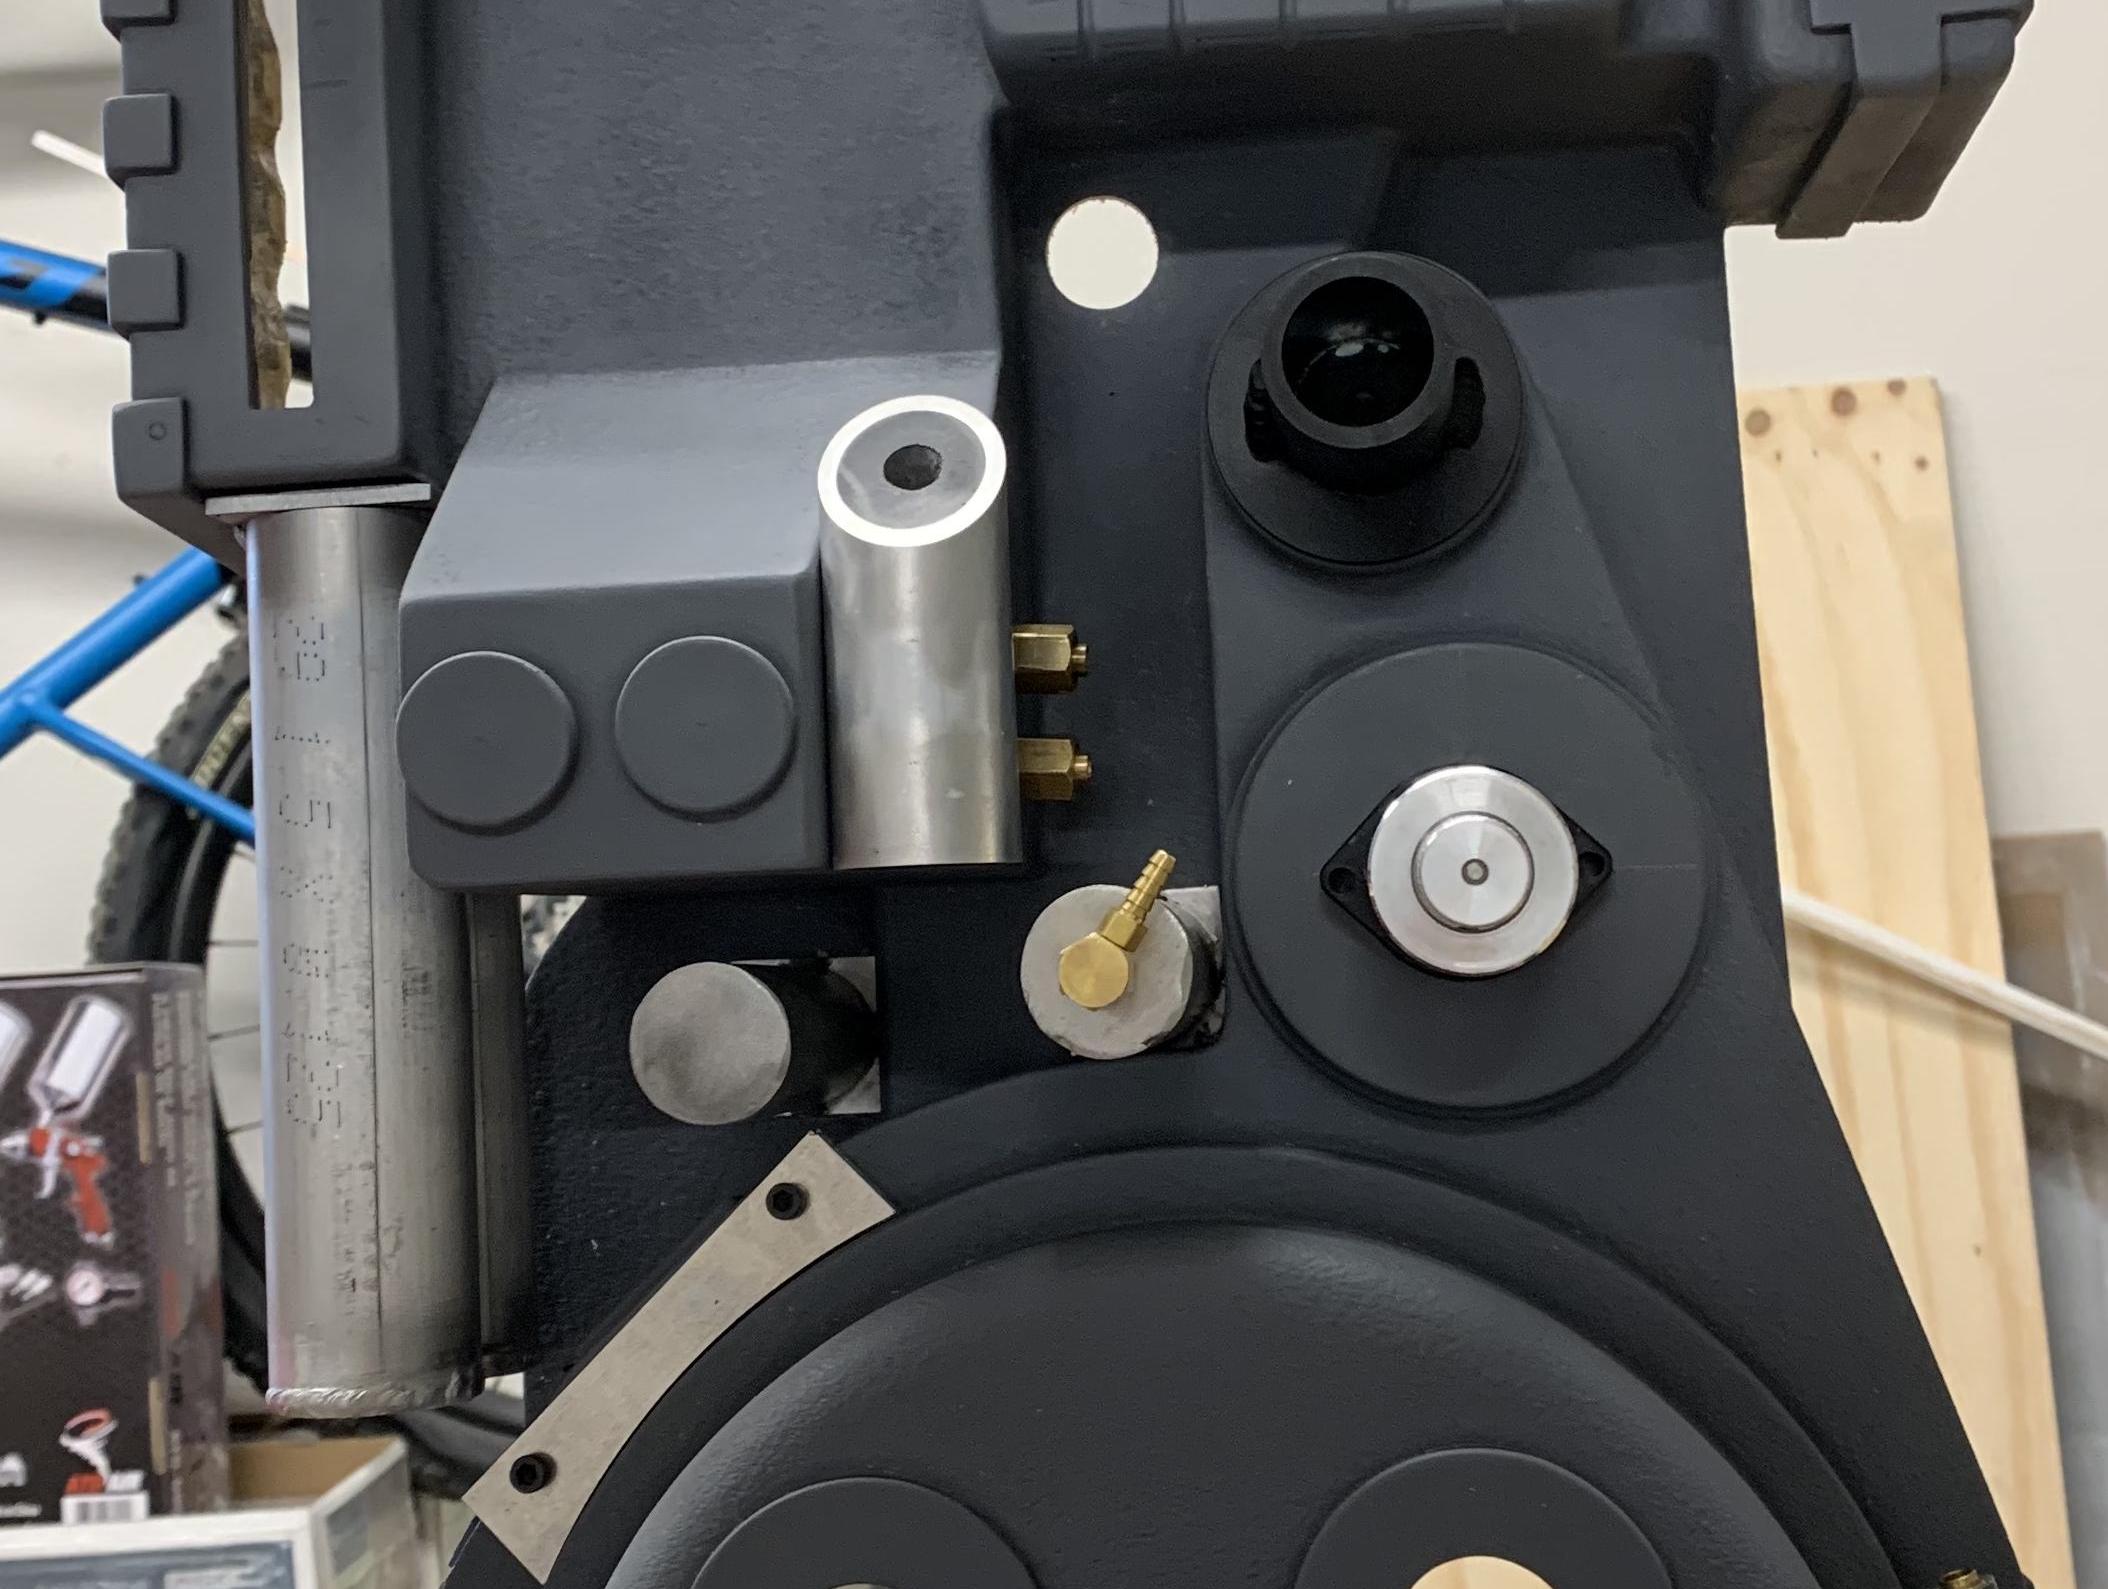
Thanks bud! Nope, they’re actual Legris elbows but they’re 3/16 instead of 4mm. Just slightly bigger but still hold the 4mm tubing well. There’s a guy on eBay who sells them pretty regularly, in fact he just put up a bunch last night. I went through and found the ones that looked the best (minimal cracking/wear) and snagged them.
Got the V-hook installed, this one comes from Eric and it’s very well done. Really stout with the 3 piece construction too. I had to modify the back plate inside the shell a little in order to fit because the thickness inside the shell didn’t let the original holes line up. But easy fix, just flipped the plate and was able to use one hole as an anchor and then mark and drill a new hole. Just have to trim off the excess threads on the screws.
Couple more updates while I have a little lull in work…
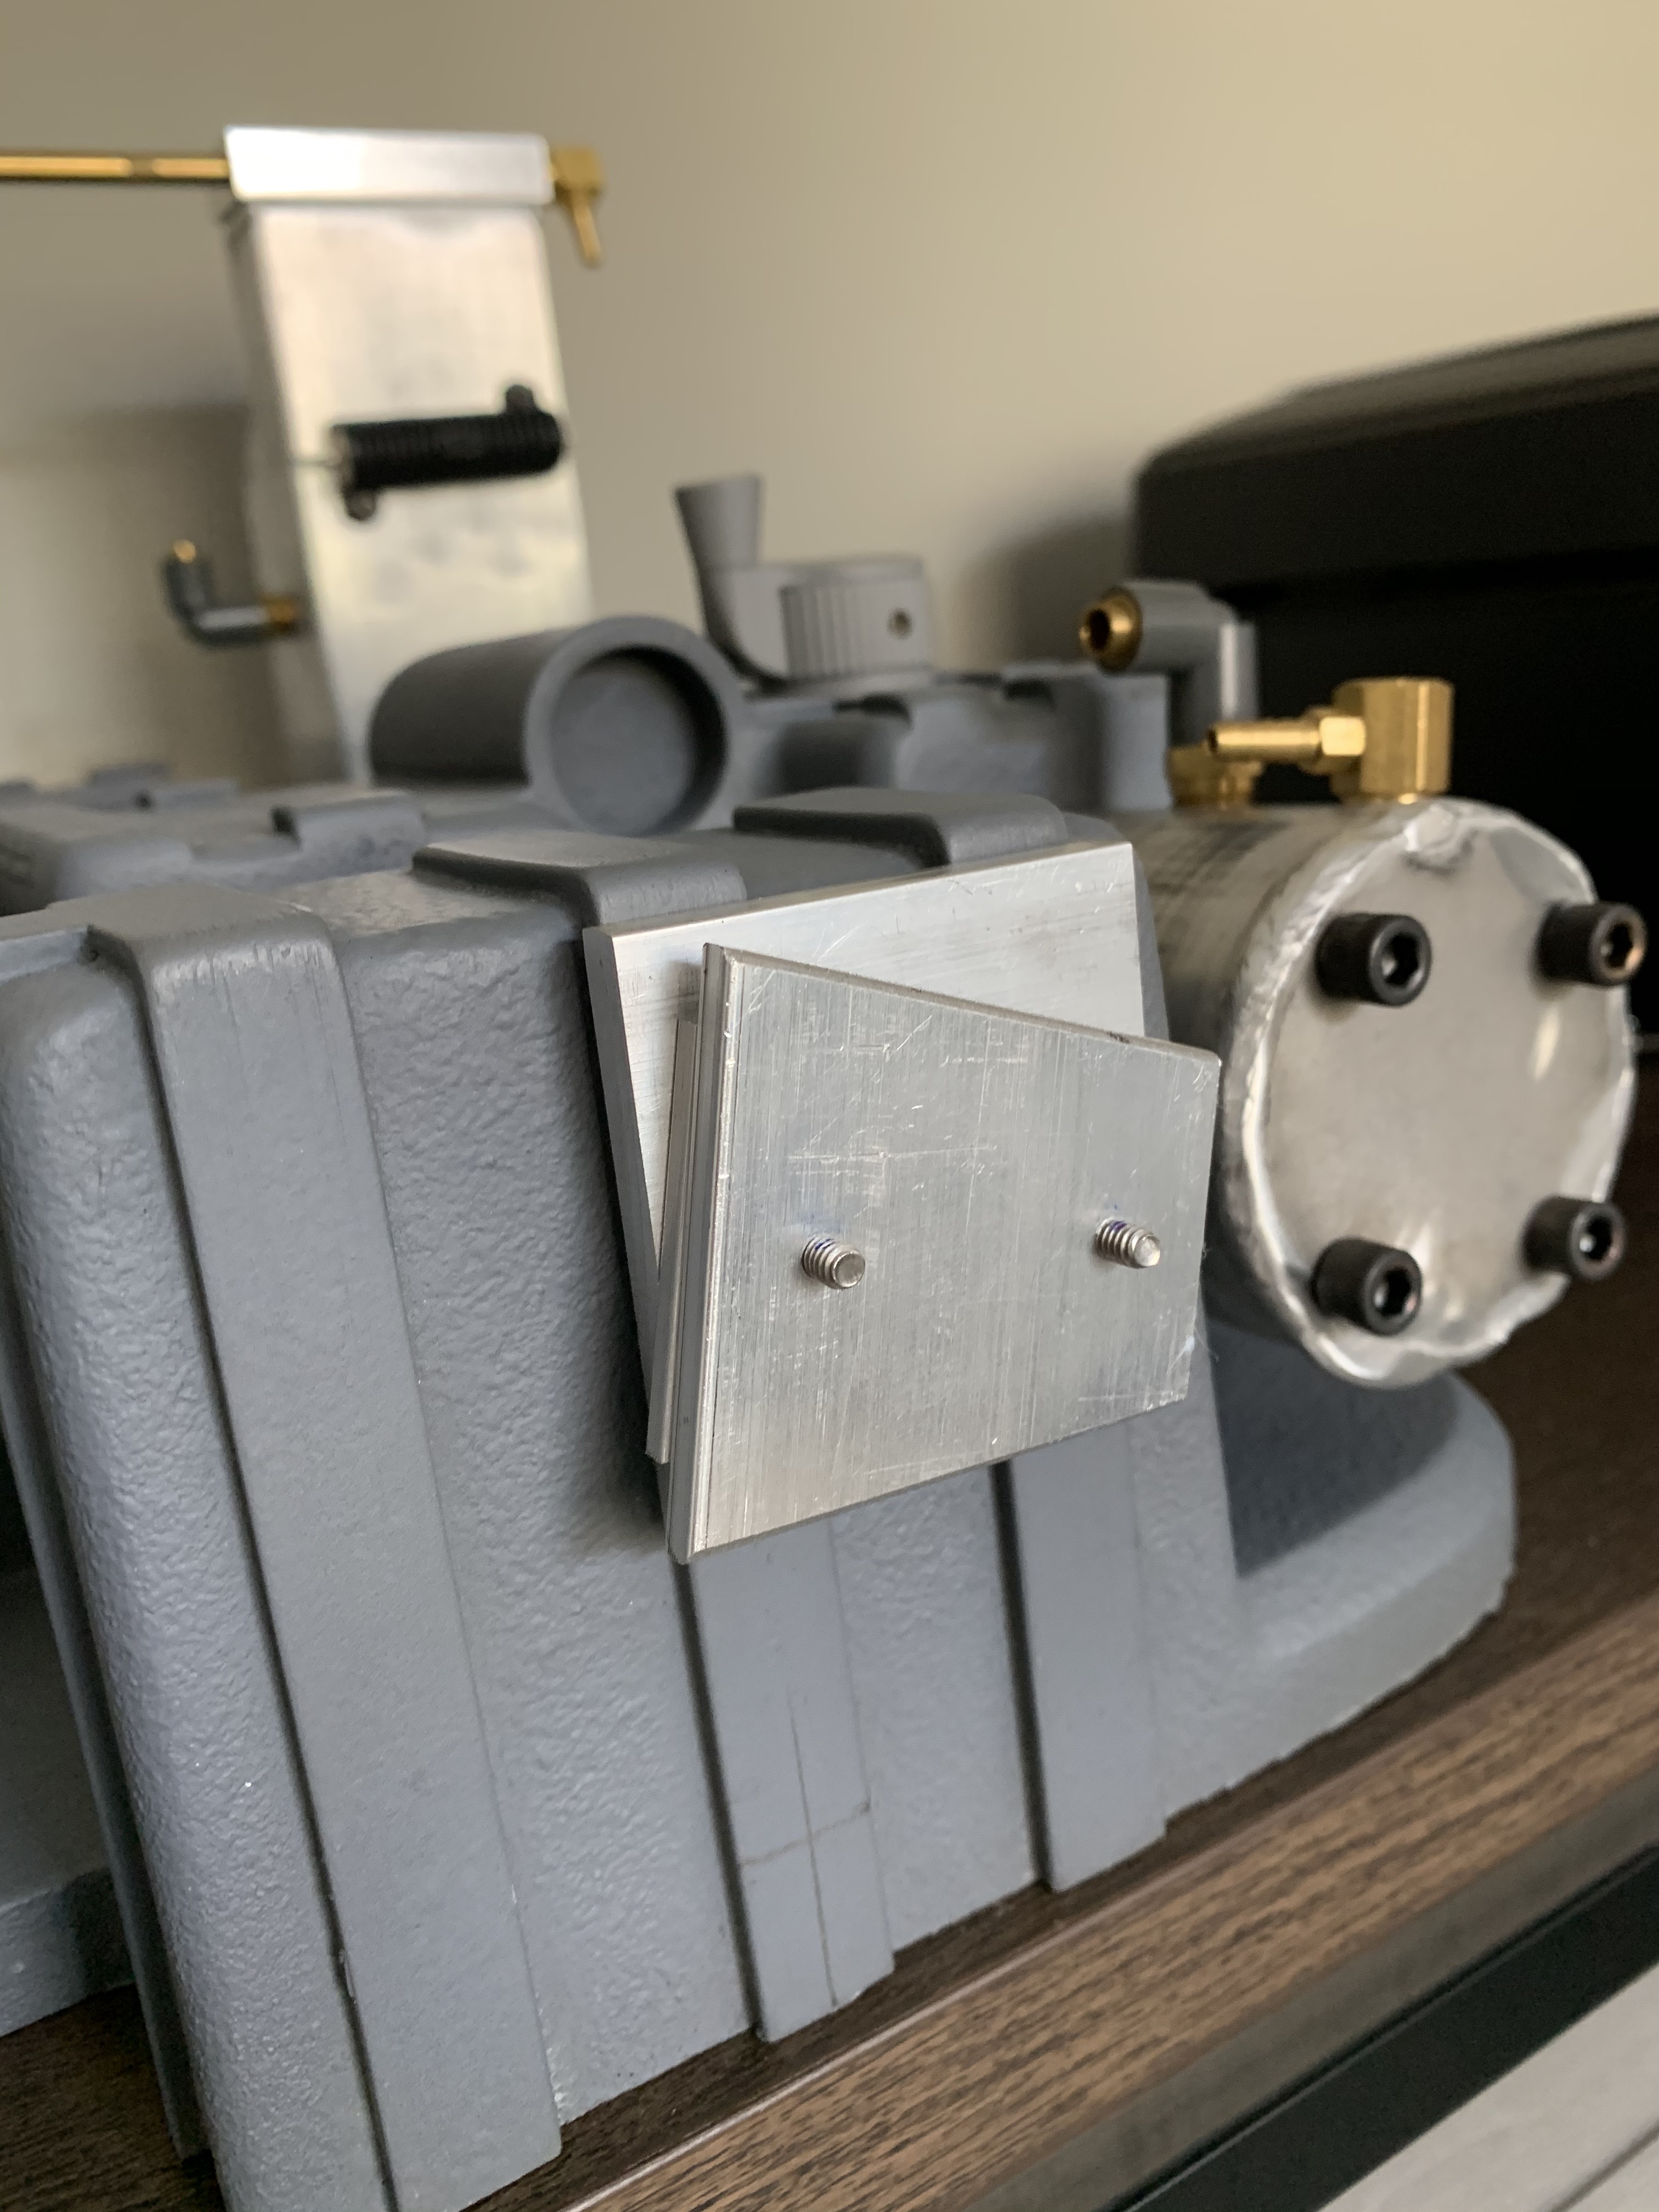
RJ at Freeky Geeky does the side cut N-Filters and I really can’t say enough about his stuff, it’s always top notch. Close up that shows the welded in mounting plates and quick test fit below.
There are slight gaps but as Dan pointed out to me, the filters on the screen used packs also had gaps so I think I’m going to leave them. We’ll see how it looks once everything is painted.
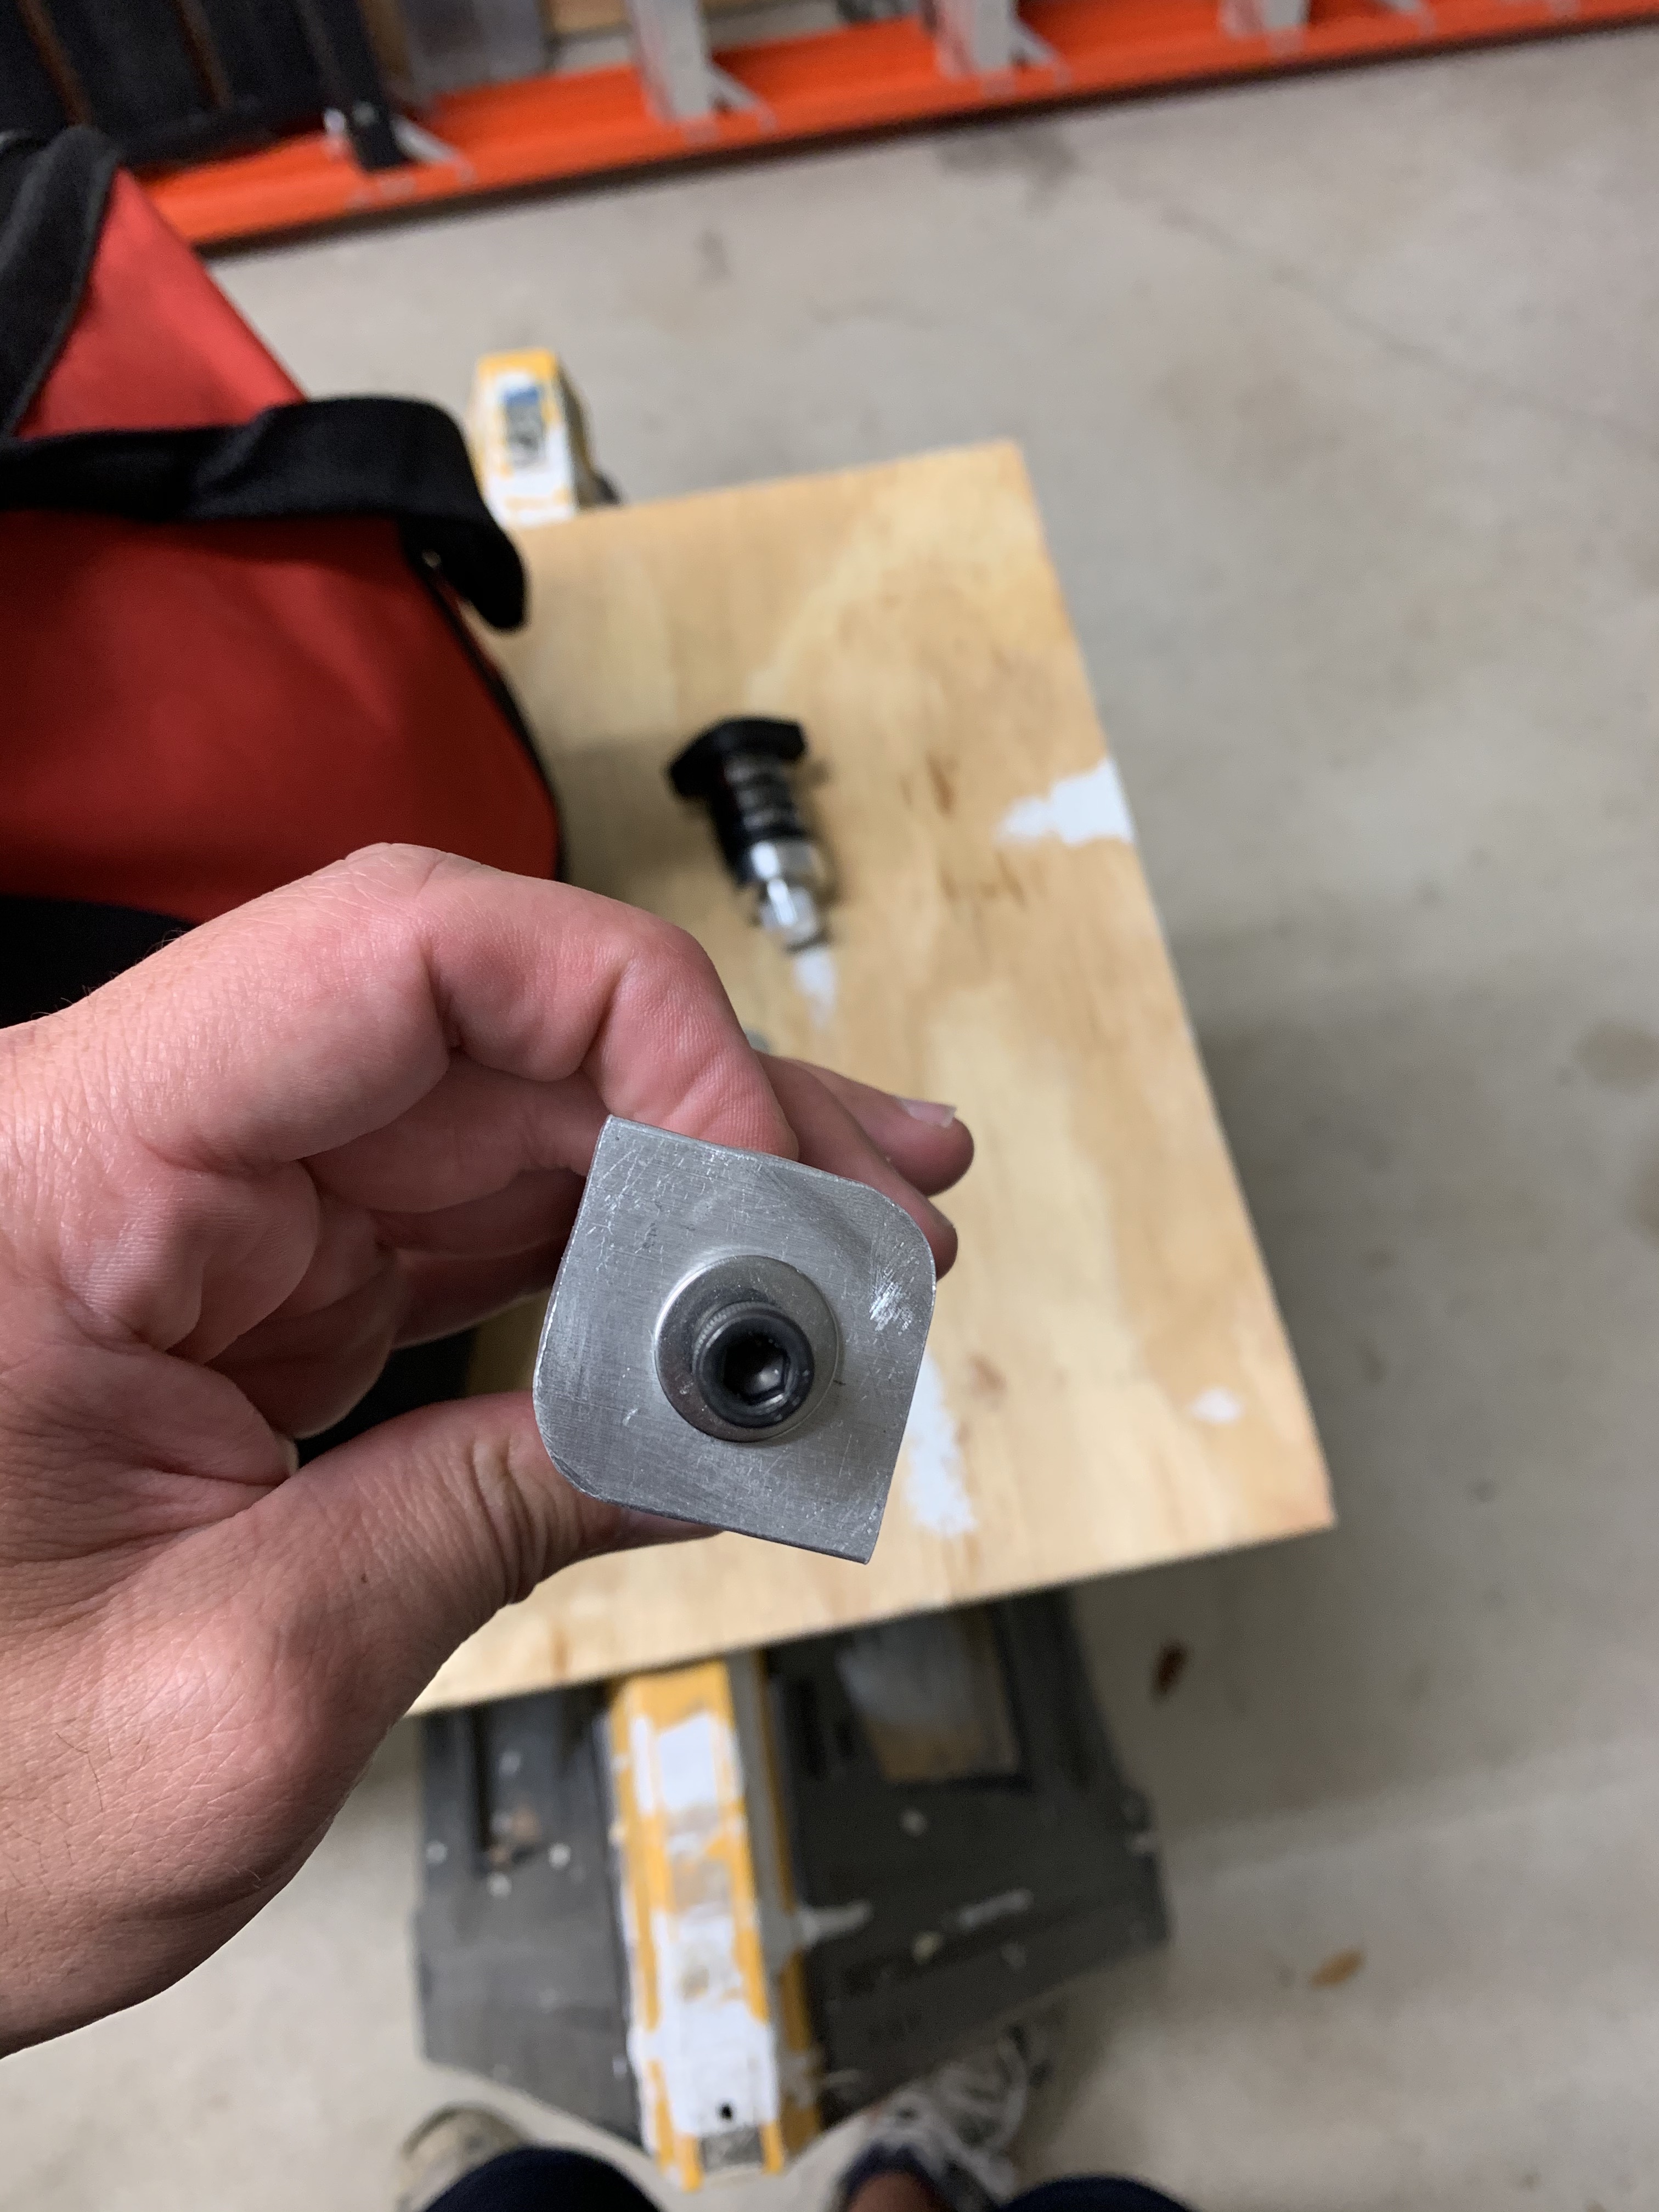
After I got the placement where I wanted I traced the filter outline on the shell, then measured the width/length of the mounting plates and did a rough mock up to mark where I wanted to place my screws. I opted for 3 to get a nice tight fit and hopefully keep this thing from every getting knocked off. I also stuck with 10-32 socket cap screws over rivets should I ever need to remove it for any reason.
It really is amazing, his work is great. It’s funny, I was browsing your thread yesterday and I realized two things. The first being it was your thread that I got the idea of photocopying the bottom of my parts to use as mounting templates. I’ll update that post and give you some deserved credit! And second, I saw we mounted our N-filters practically the same way which was funny because I totally didn’t realize we had the same.
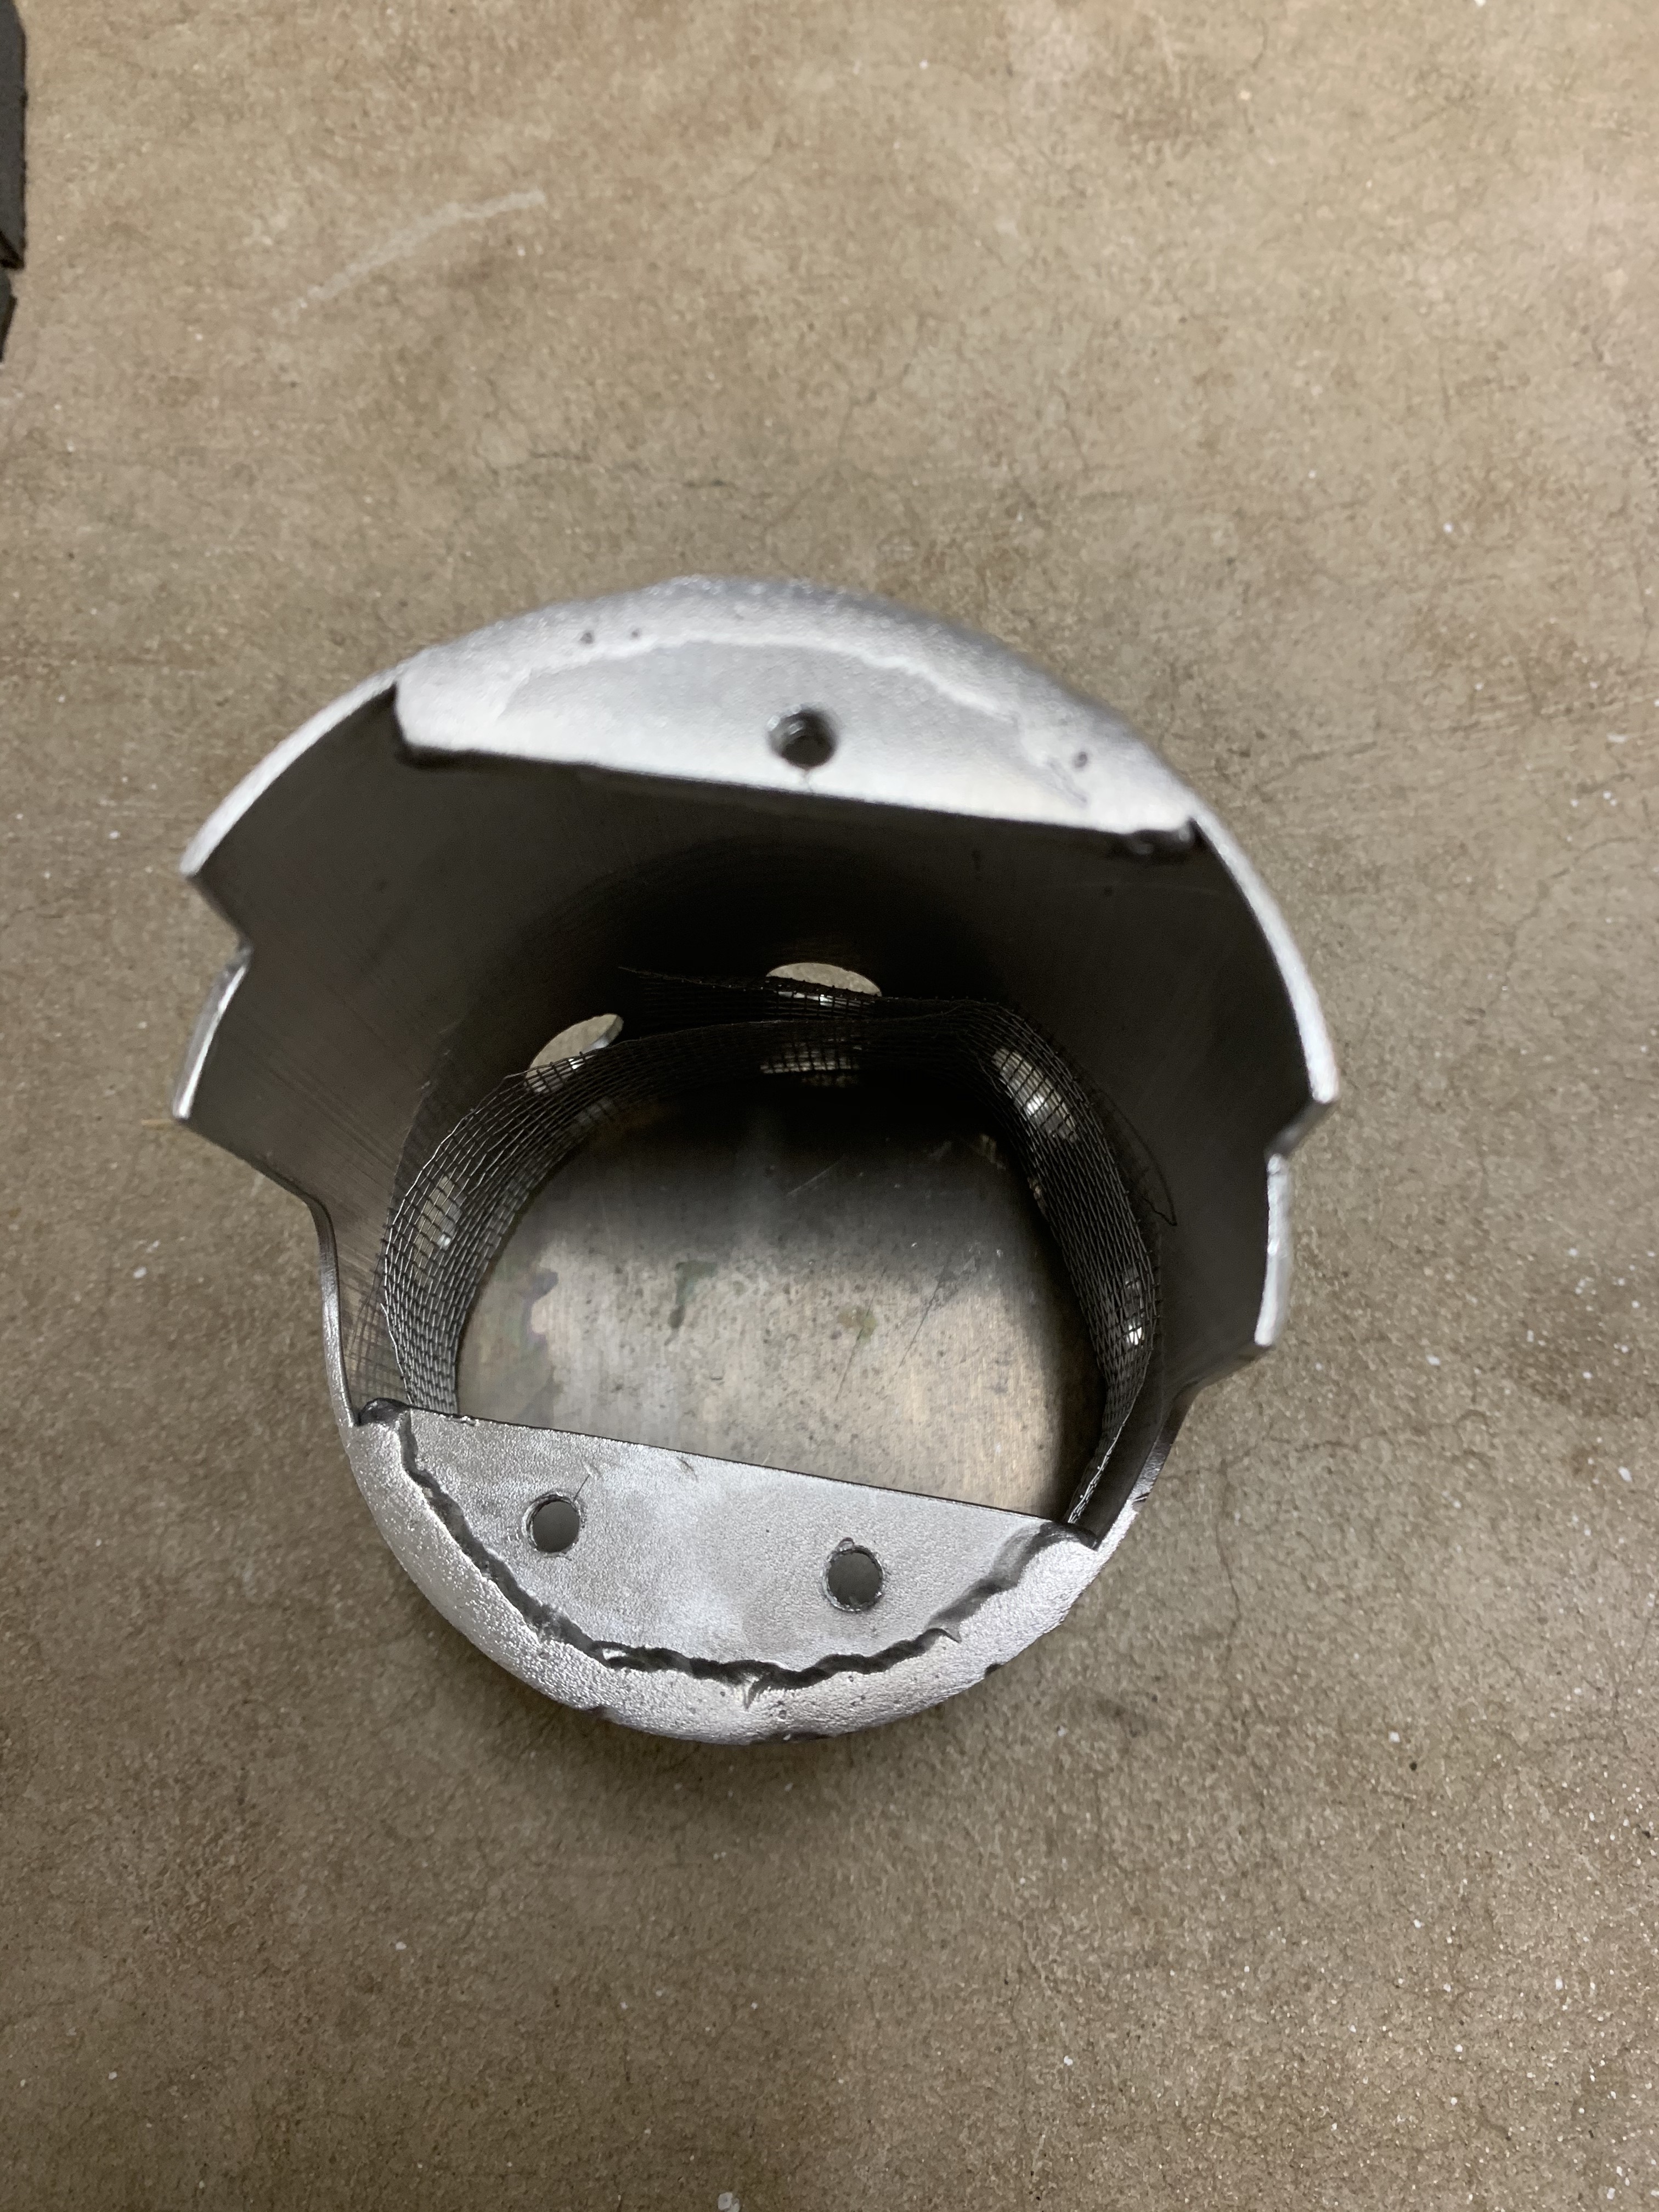
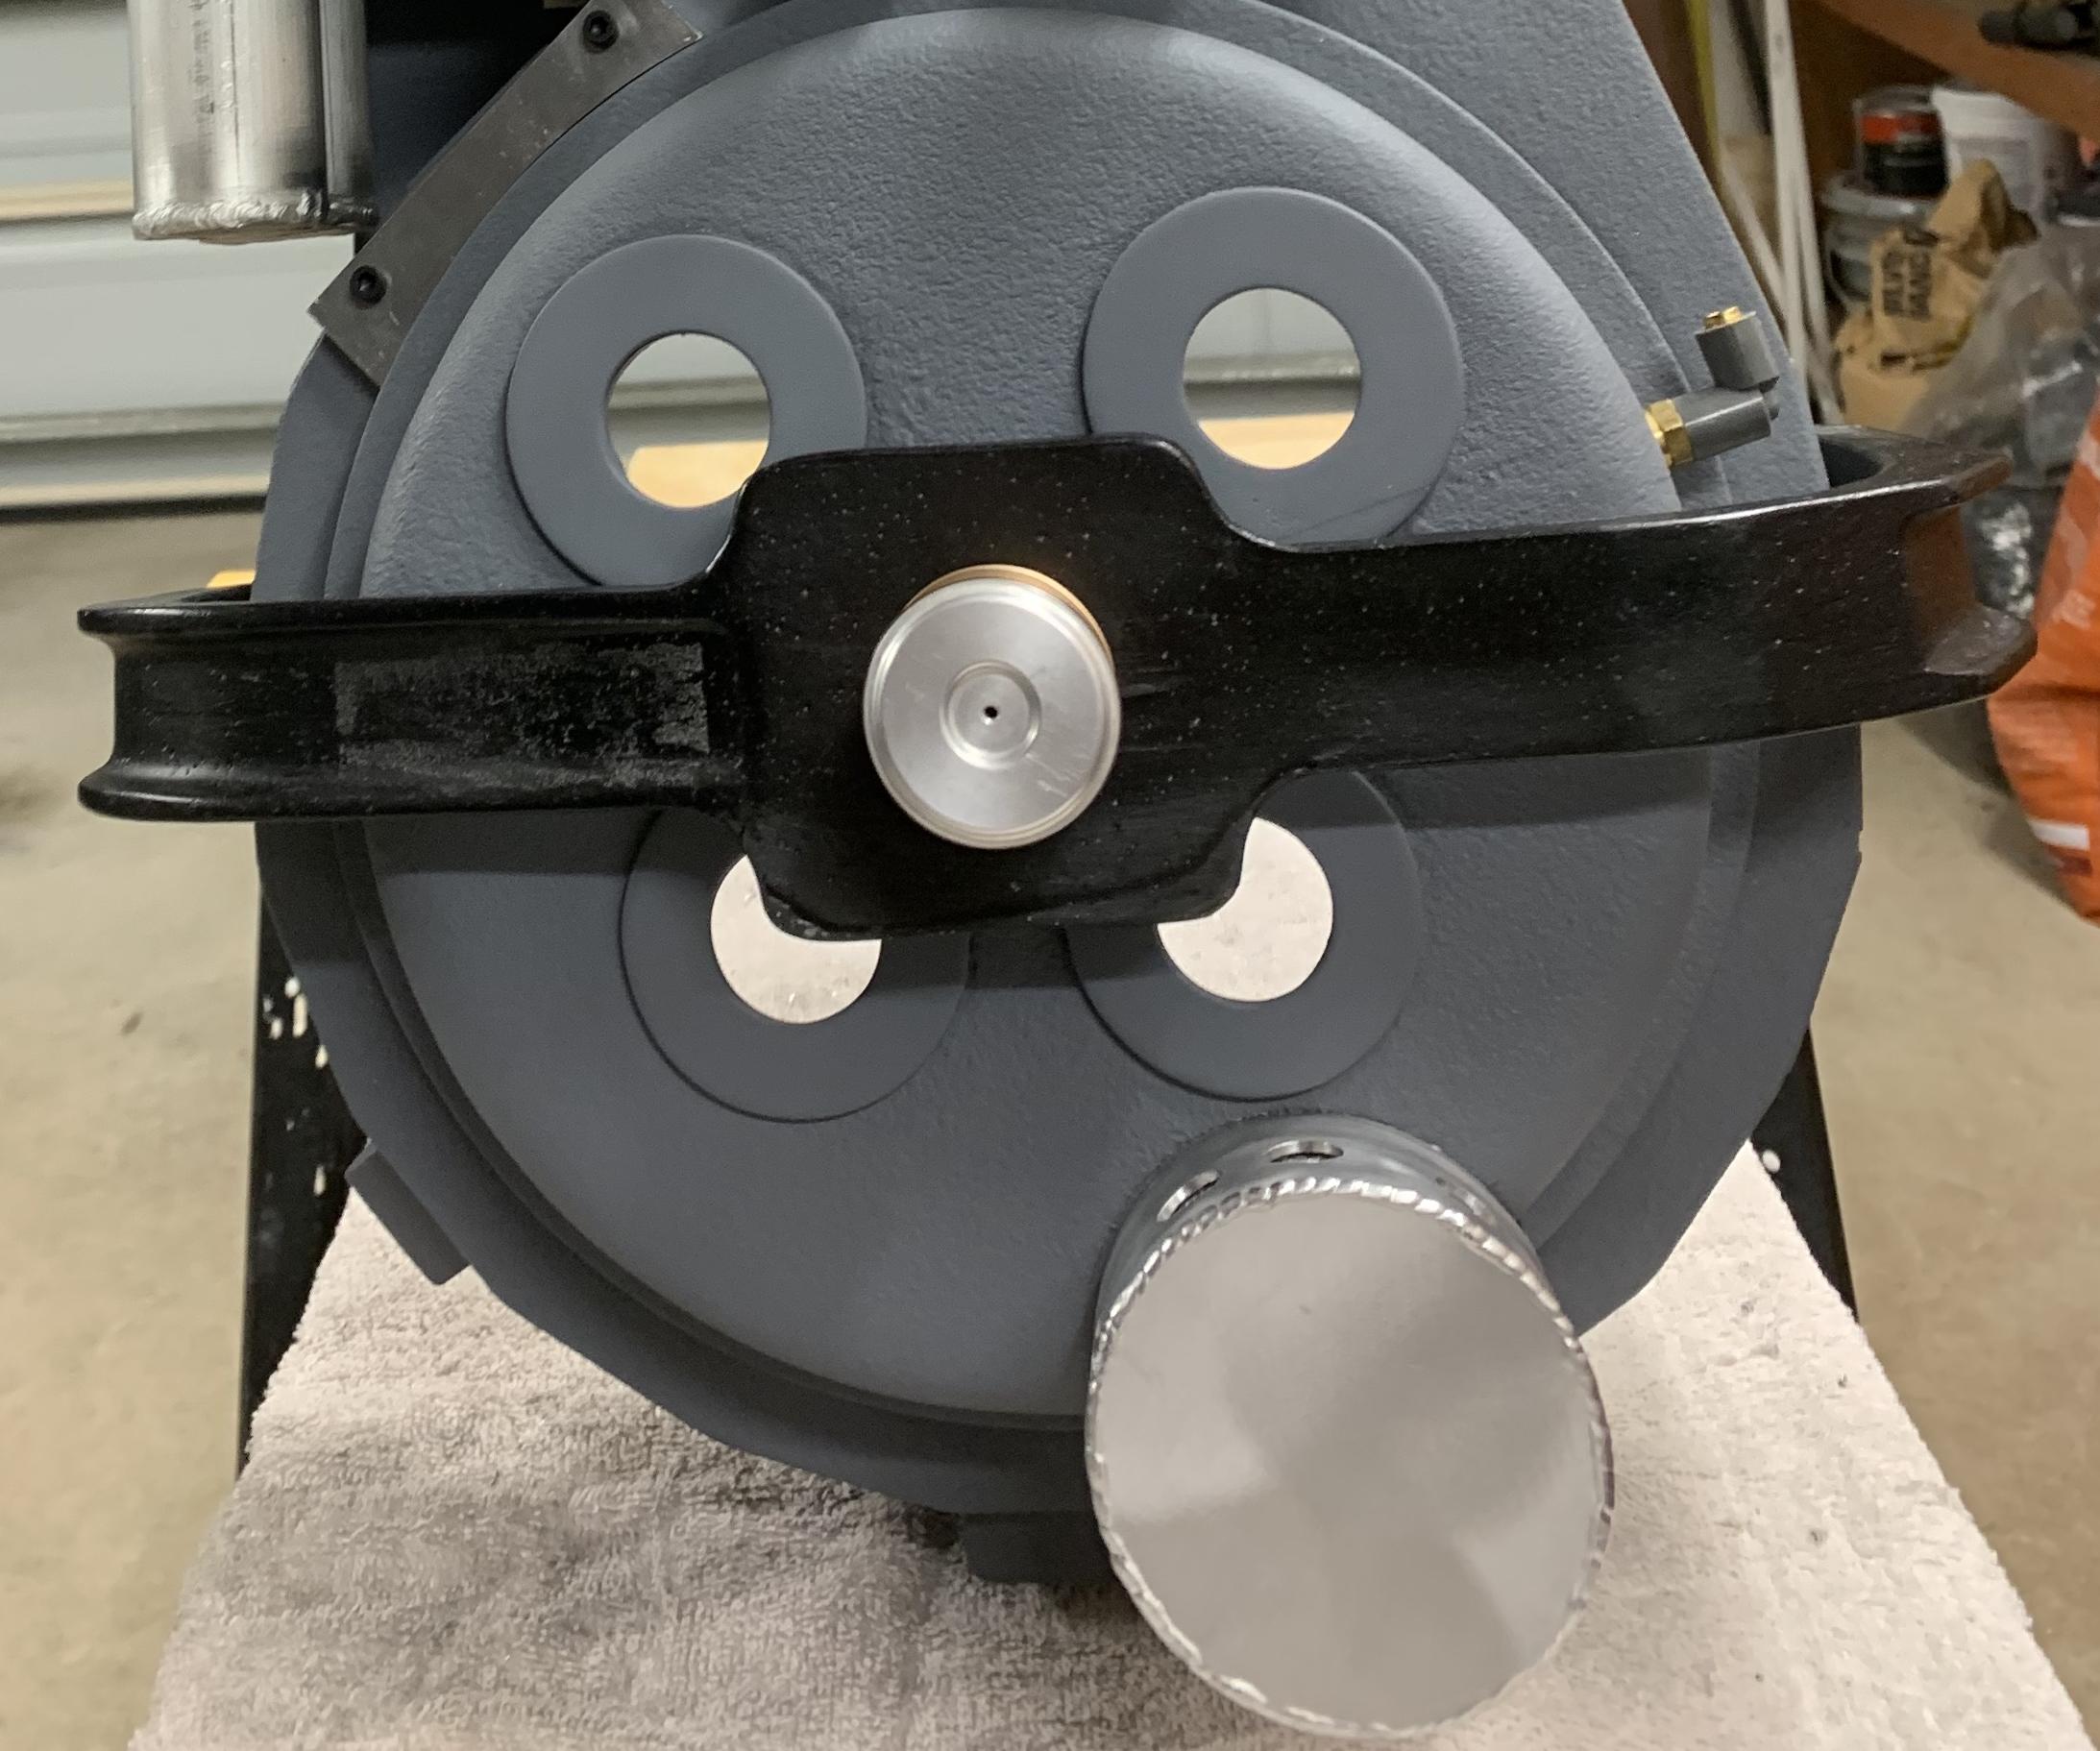
Now we get to a fun one, mounting the booster tube. Originally I thought mounting the bumper would be one of the most difficult things to get done, getting it in the right spot, getting it level and fighting some of the warp in the lineage cast but I was wrong. The booster tube definitely took me a lot of time to get it where I wanted it and to get it straight. Partly because I had a brain ■■■■ when mounting it. When I made my original marks on the shell for mounting points I missed that the upper mounting point was exactly where the the booster plug sits in the tube, so no way I was going to drill into that and try to tap it. Of course I realized this after I had drilled the inital holes in the shell, so I went back and marked new holes and then drilled and tapped the shell and tube. I definitely had to do some finess work on the shell holes to give me a little wiggle room for very minor tweaks to get the tube exactly where I wanted it but in the end I got it!
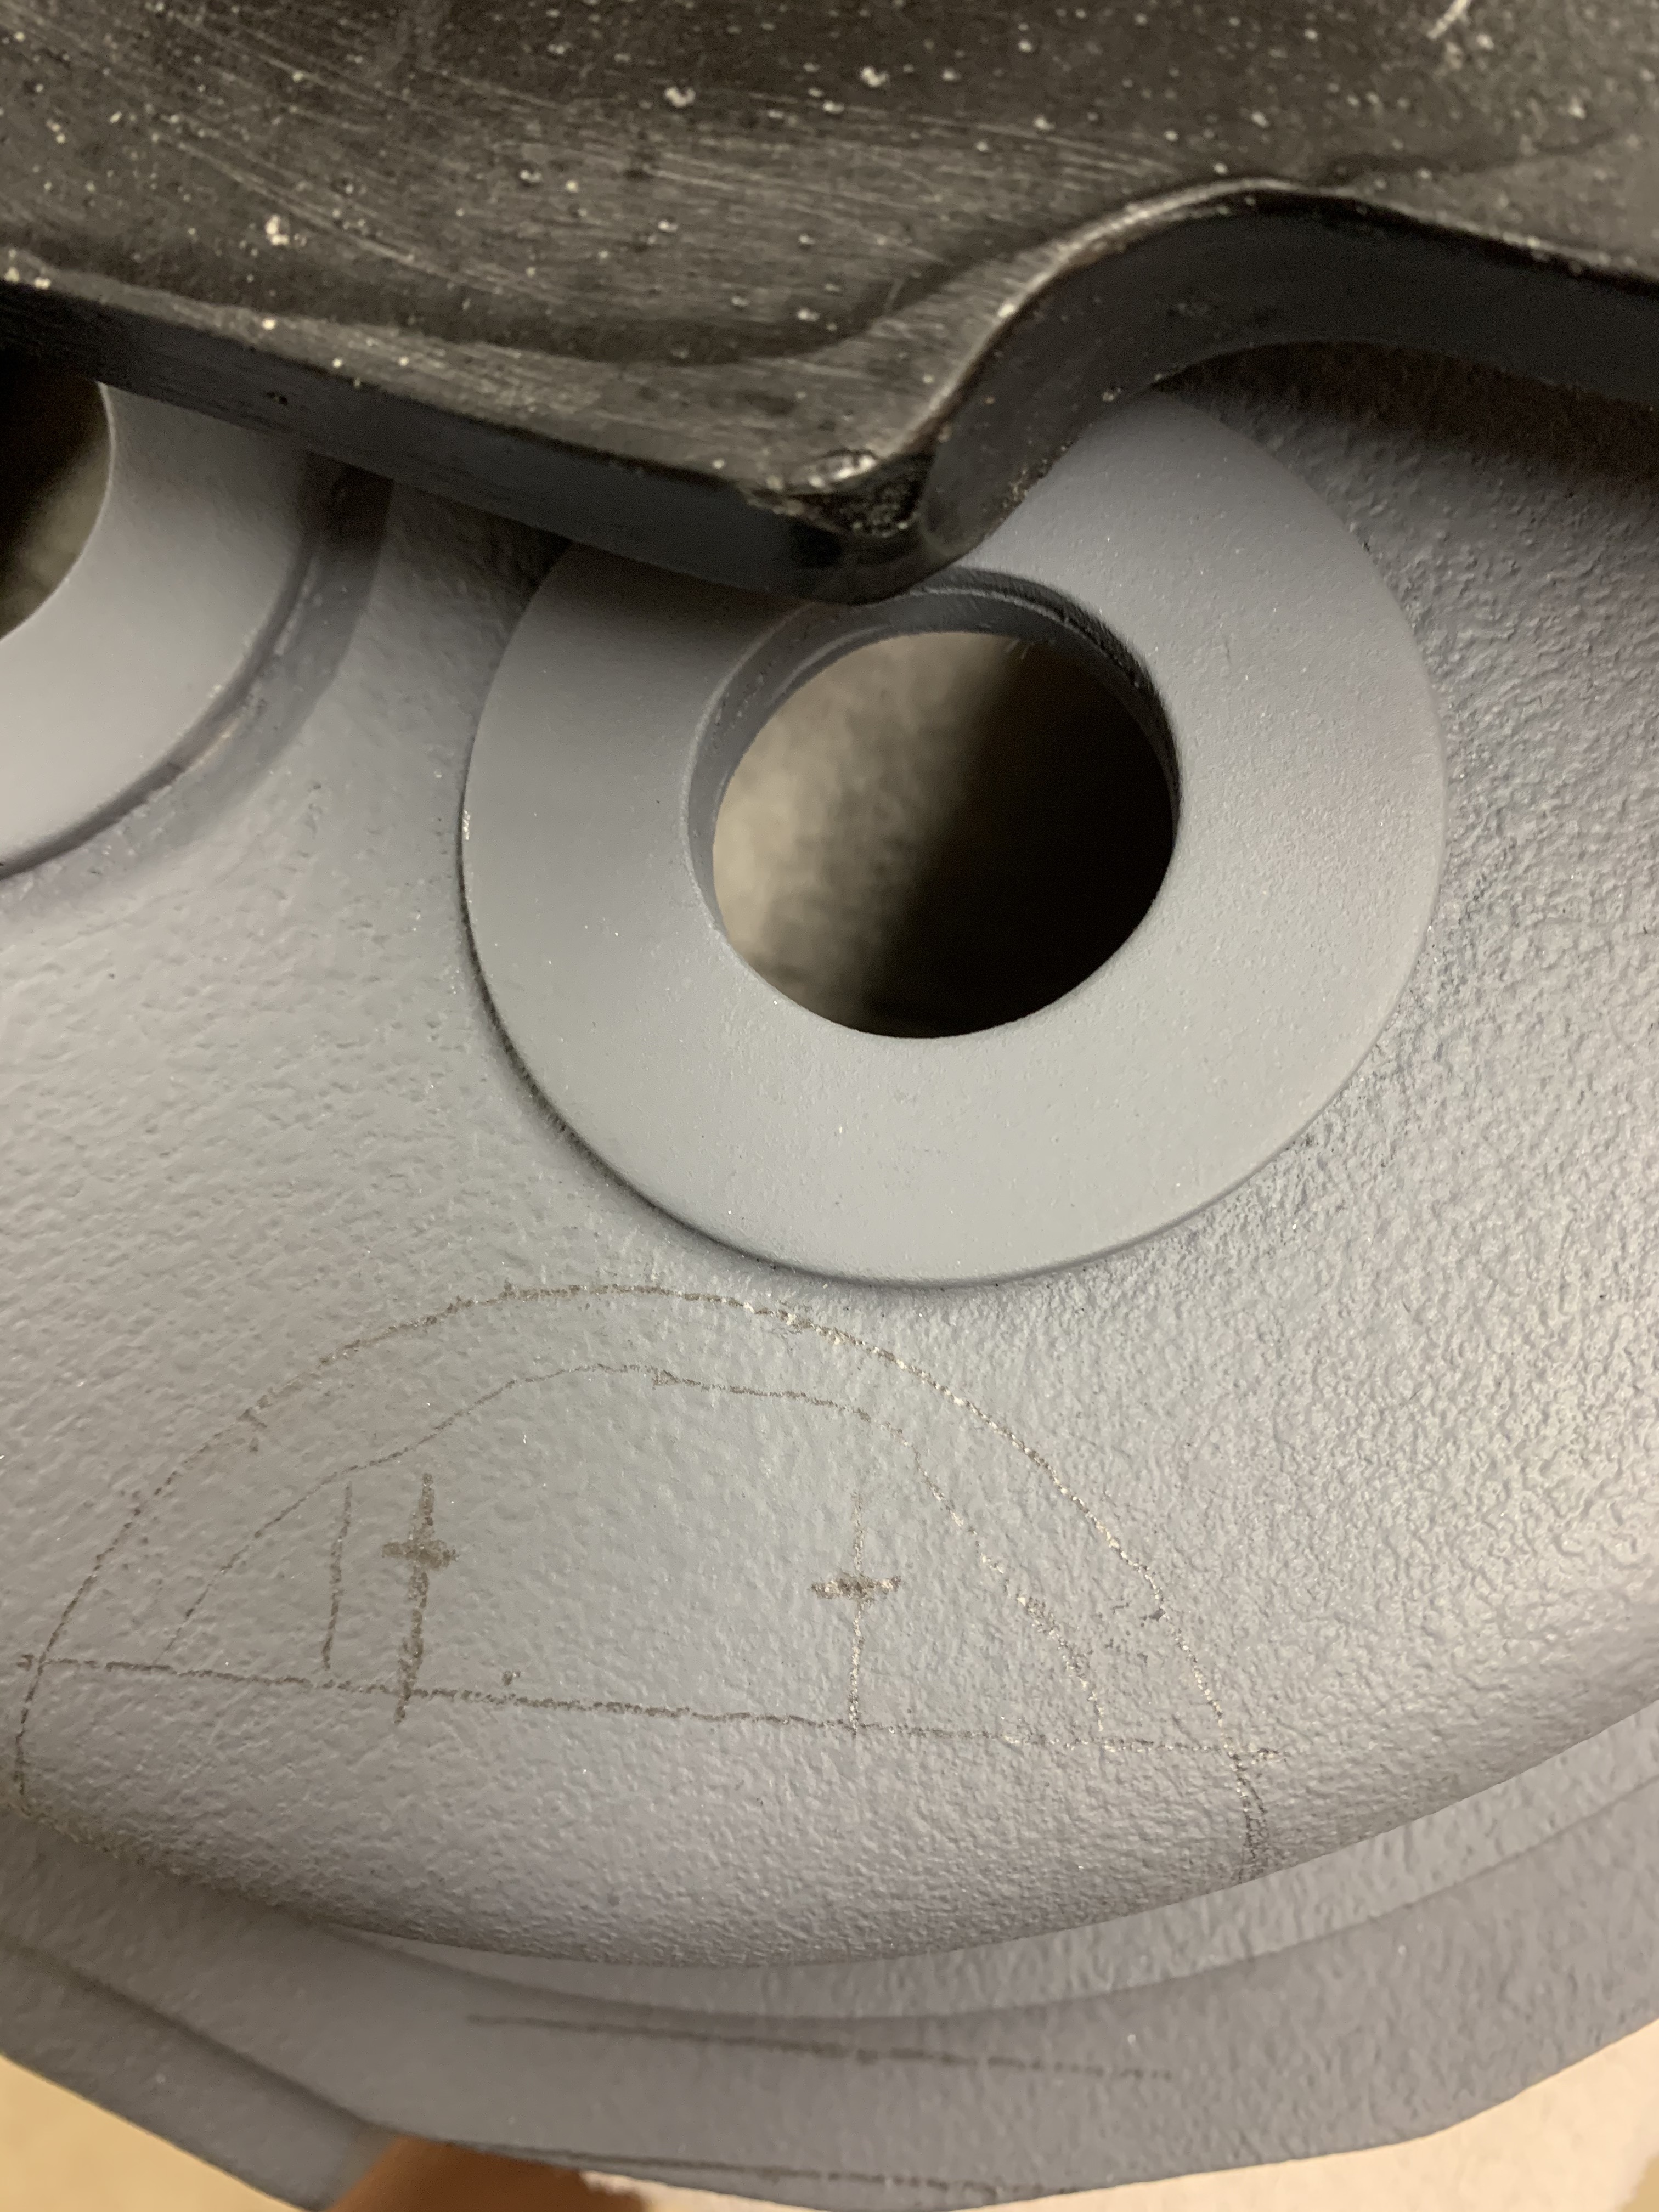
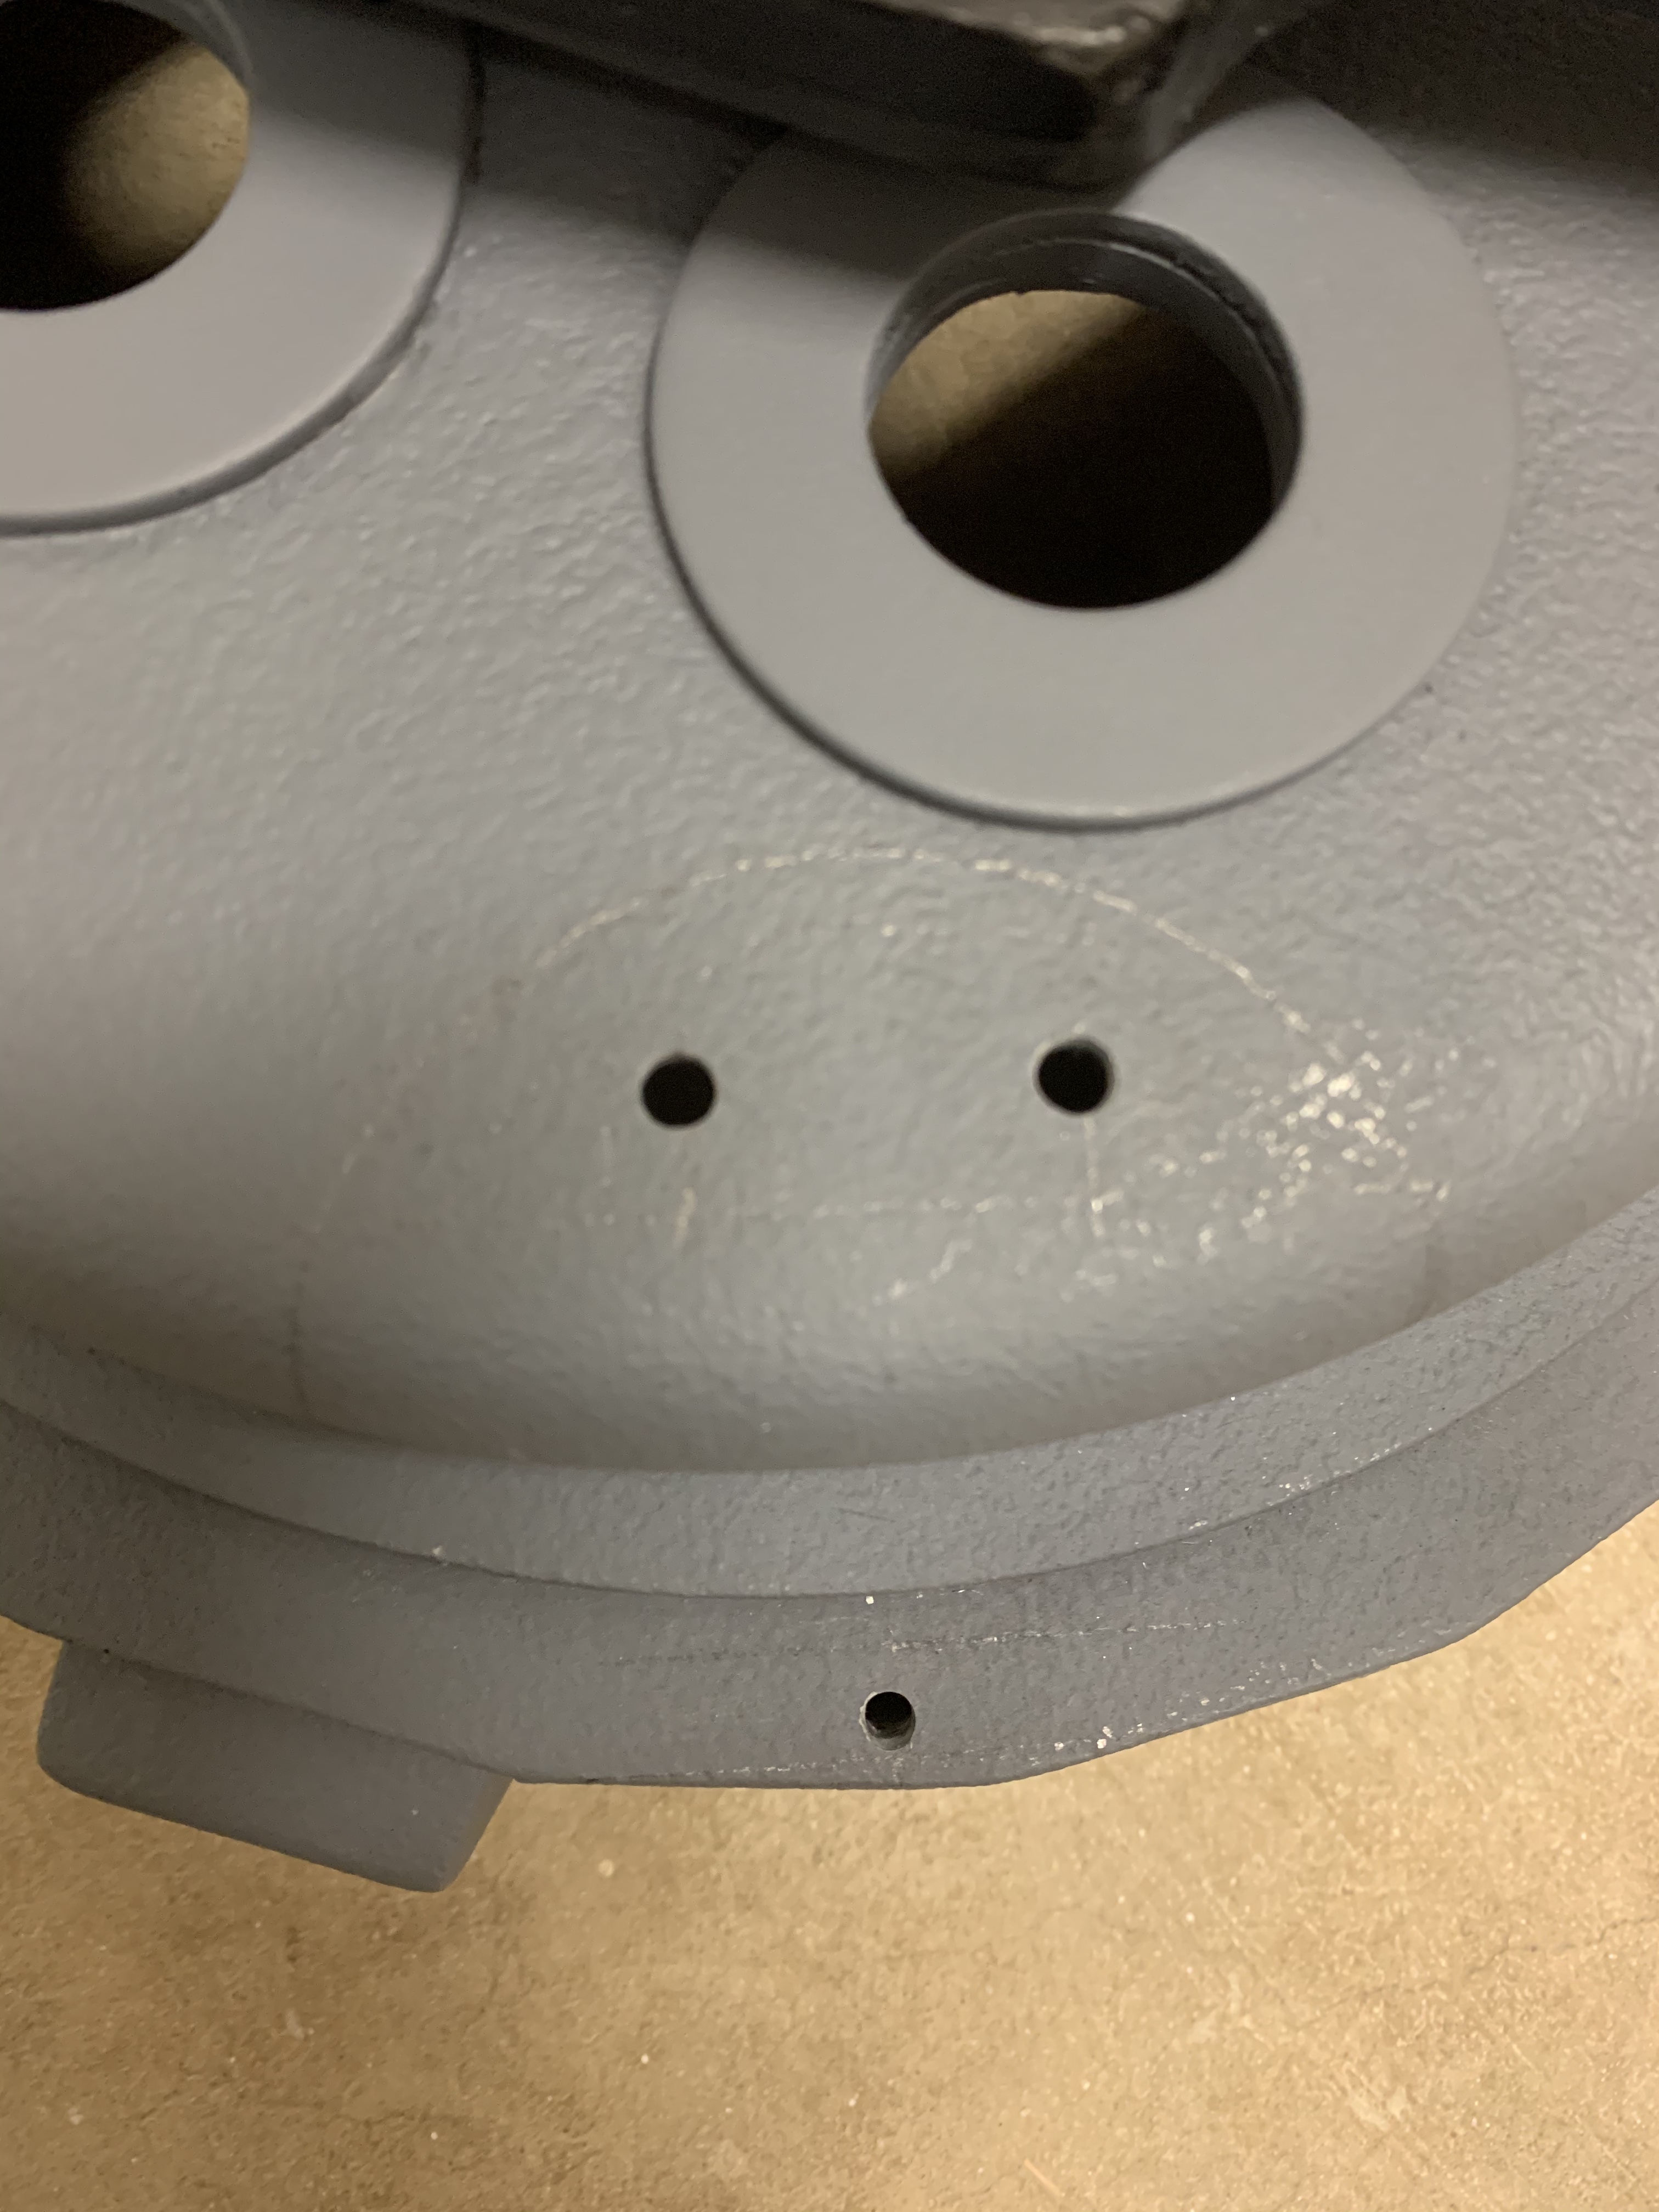
You can see the wrong holes and then the mounting holes just slightly off line, but live and learn because no one will ever see it (Unless the read this thread haha)
How long did it take to get everything you needed from Freeky Geeky? Did you commission a thrower too? I just got my body from him and am now waiting on the rest and all pack parts.