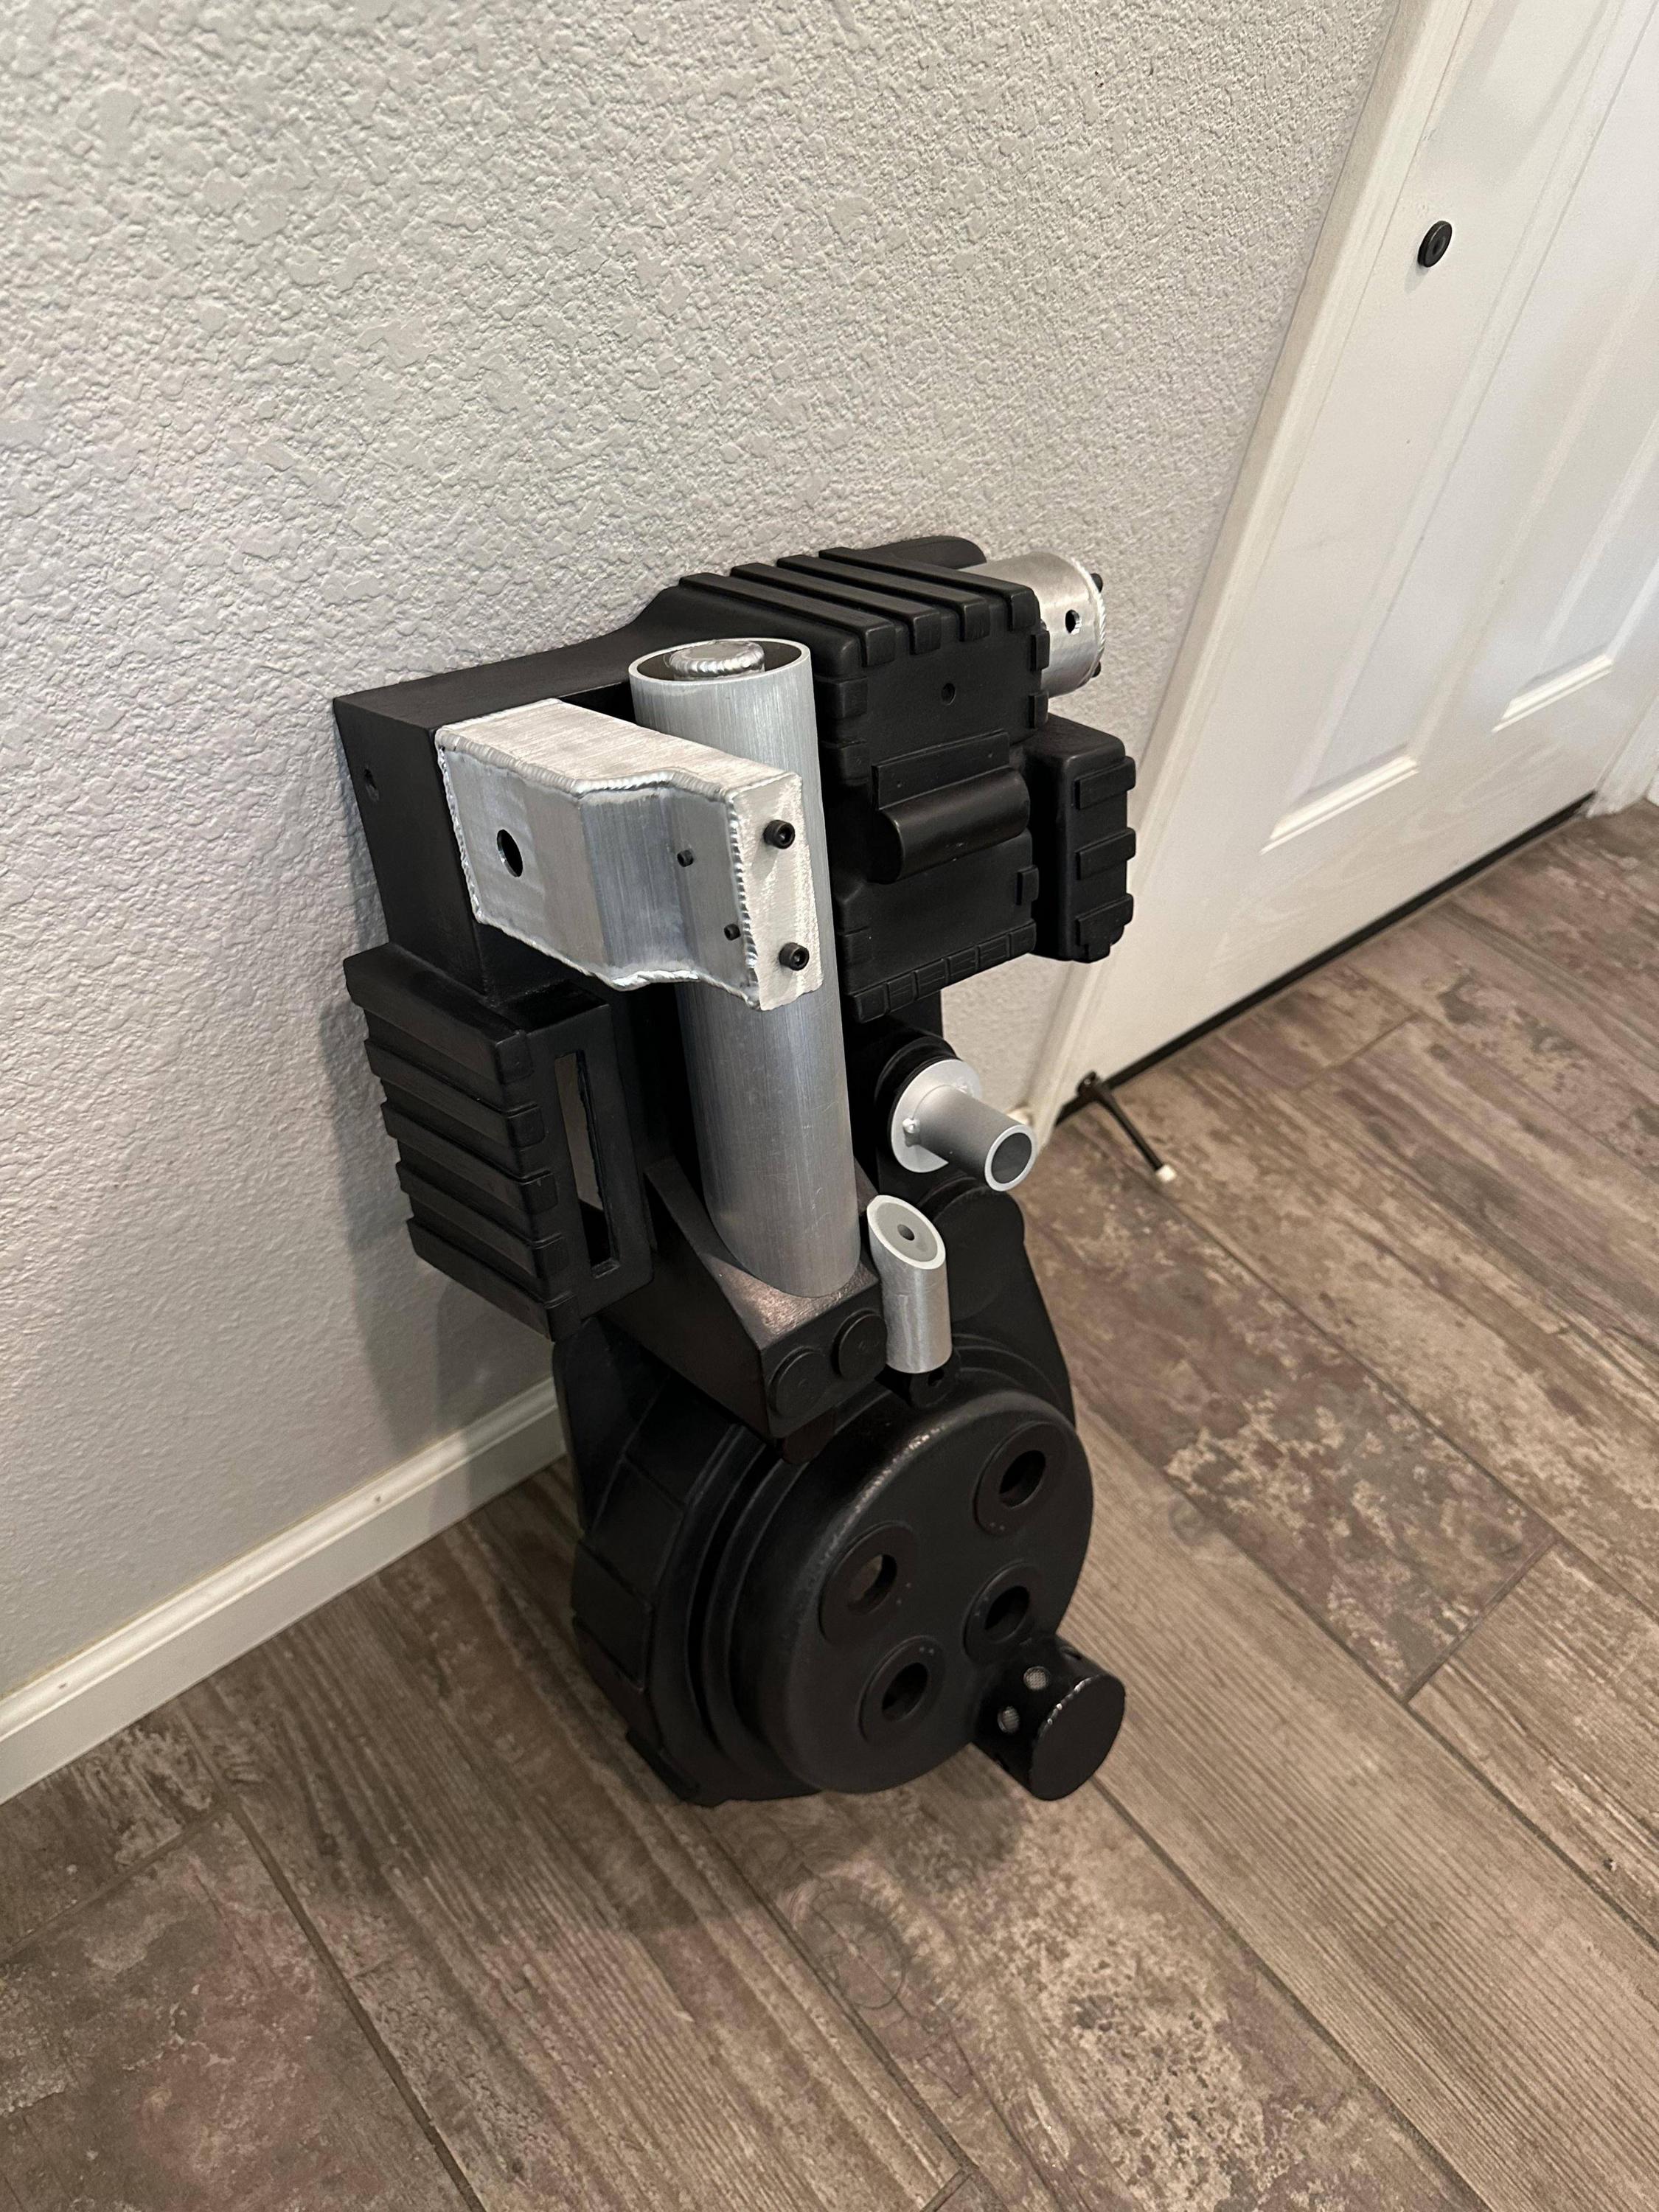
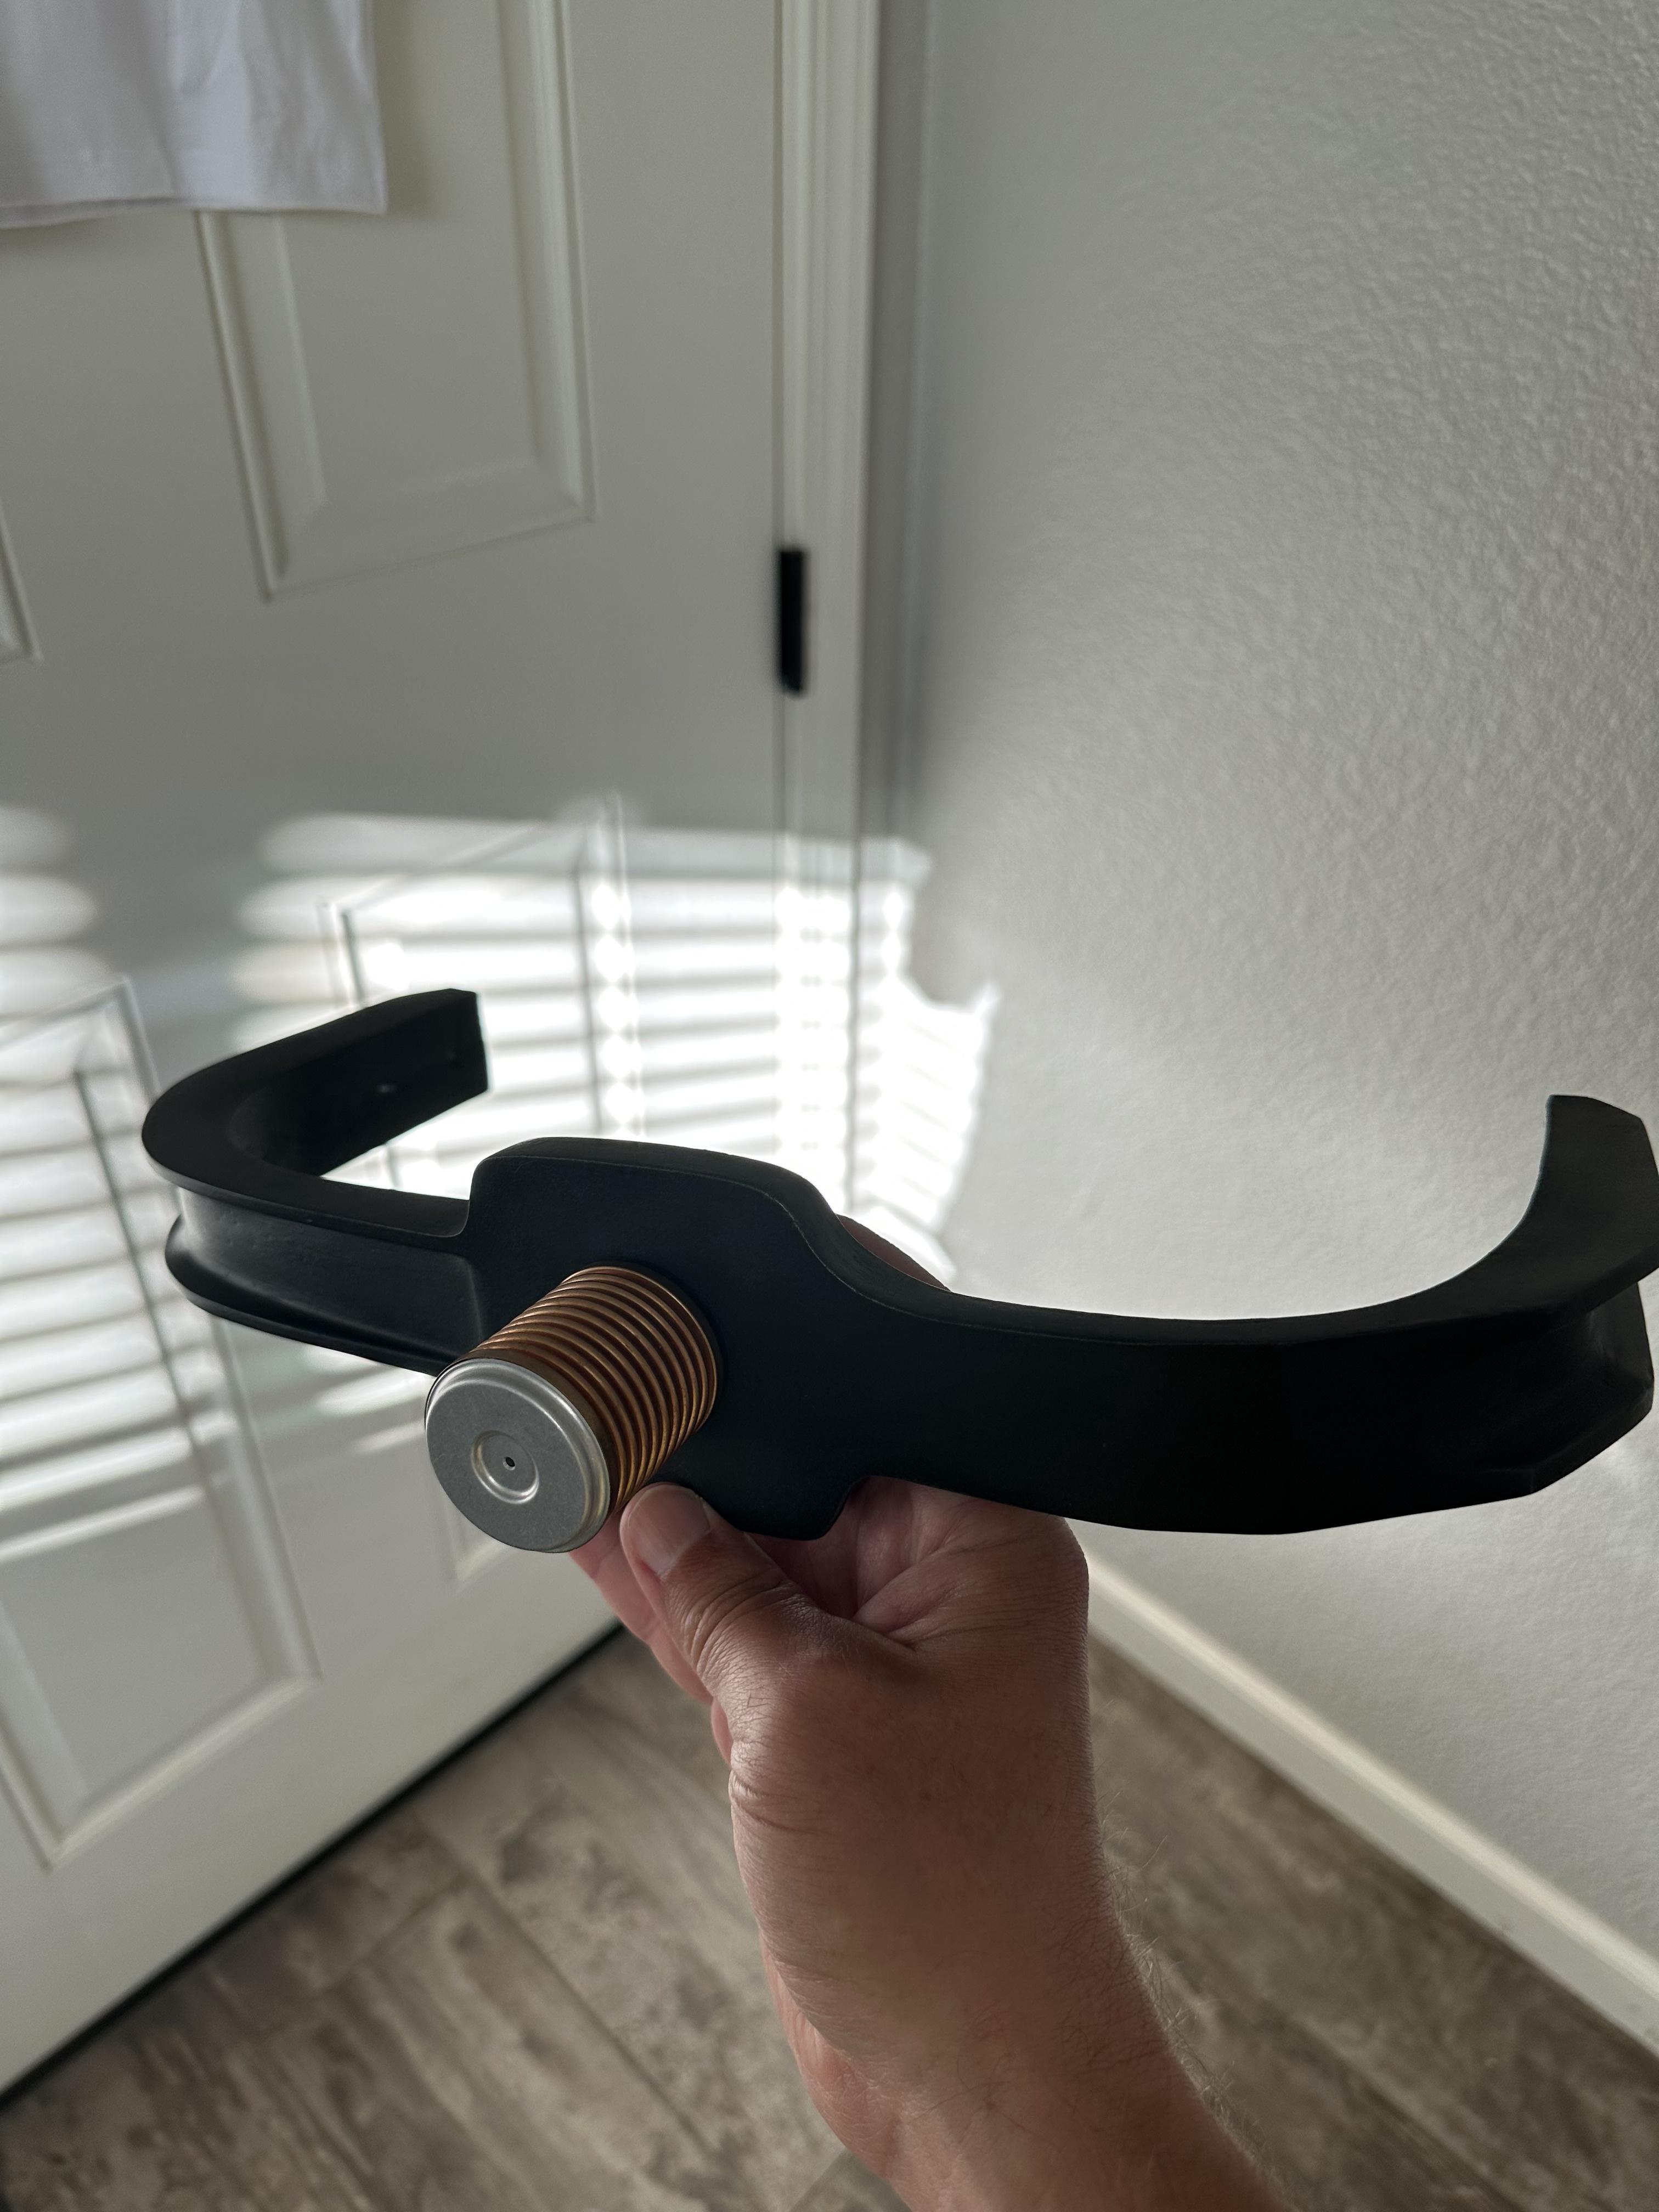
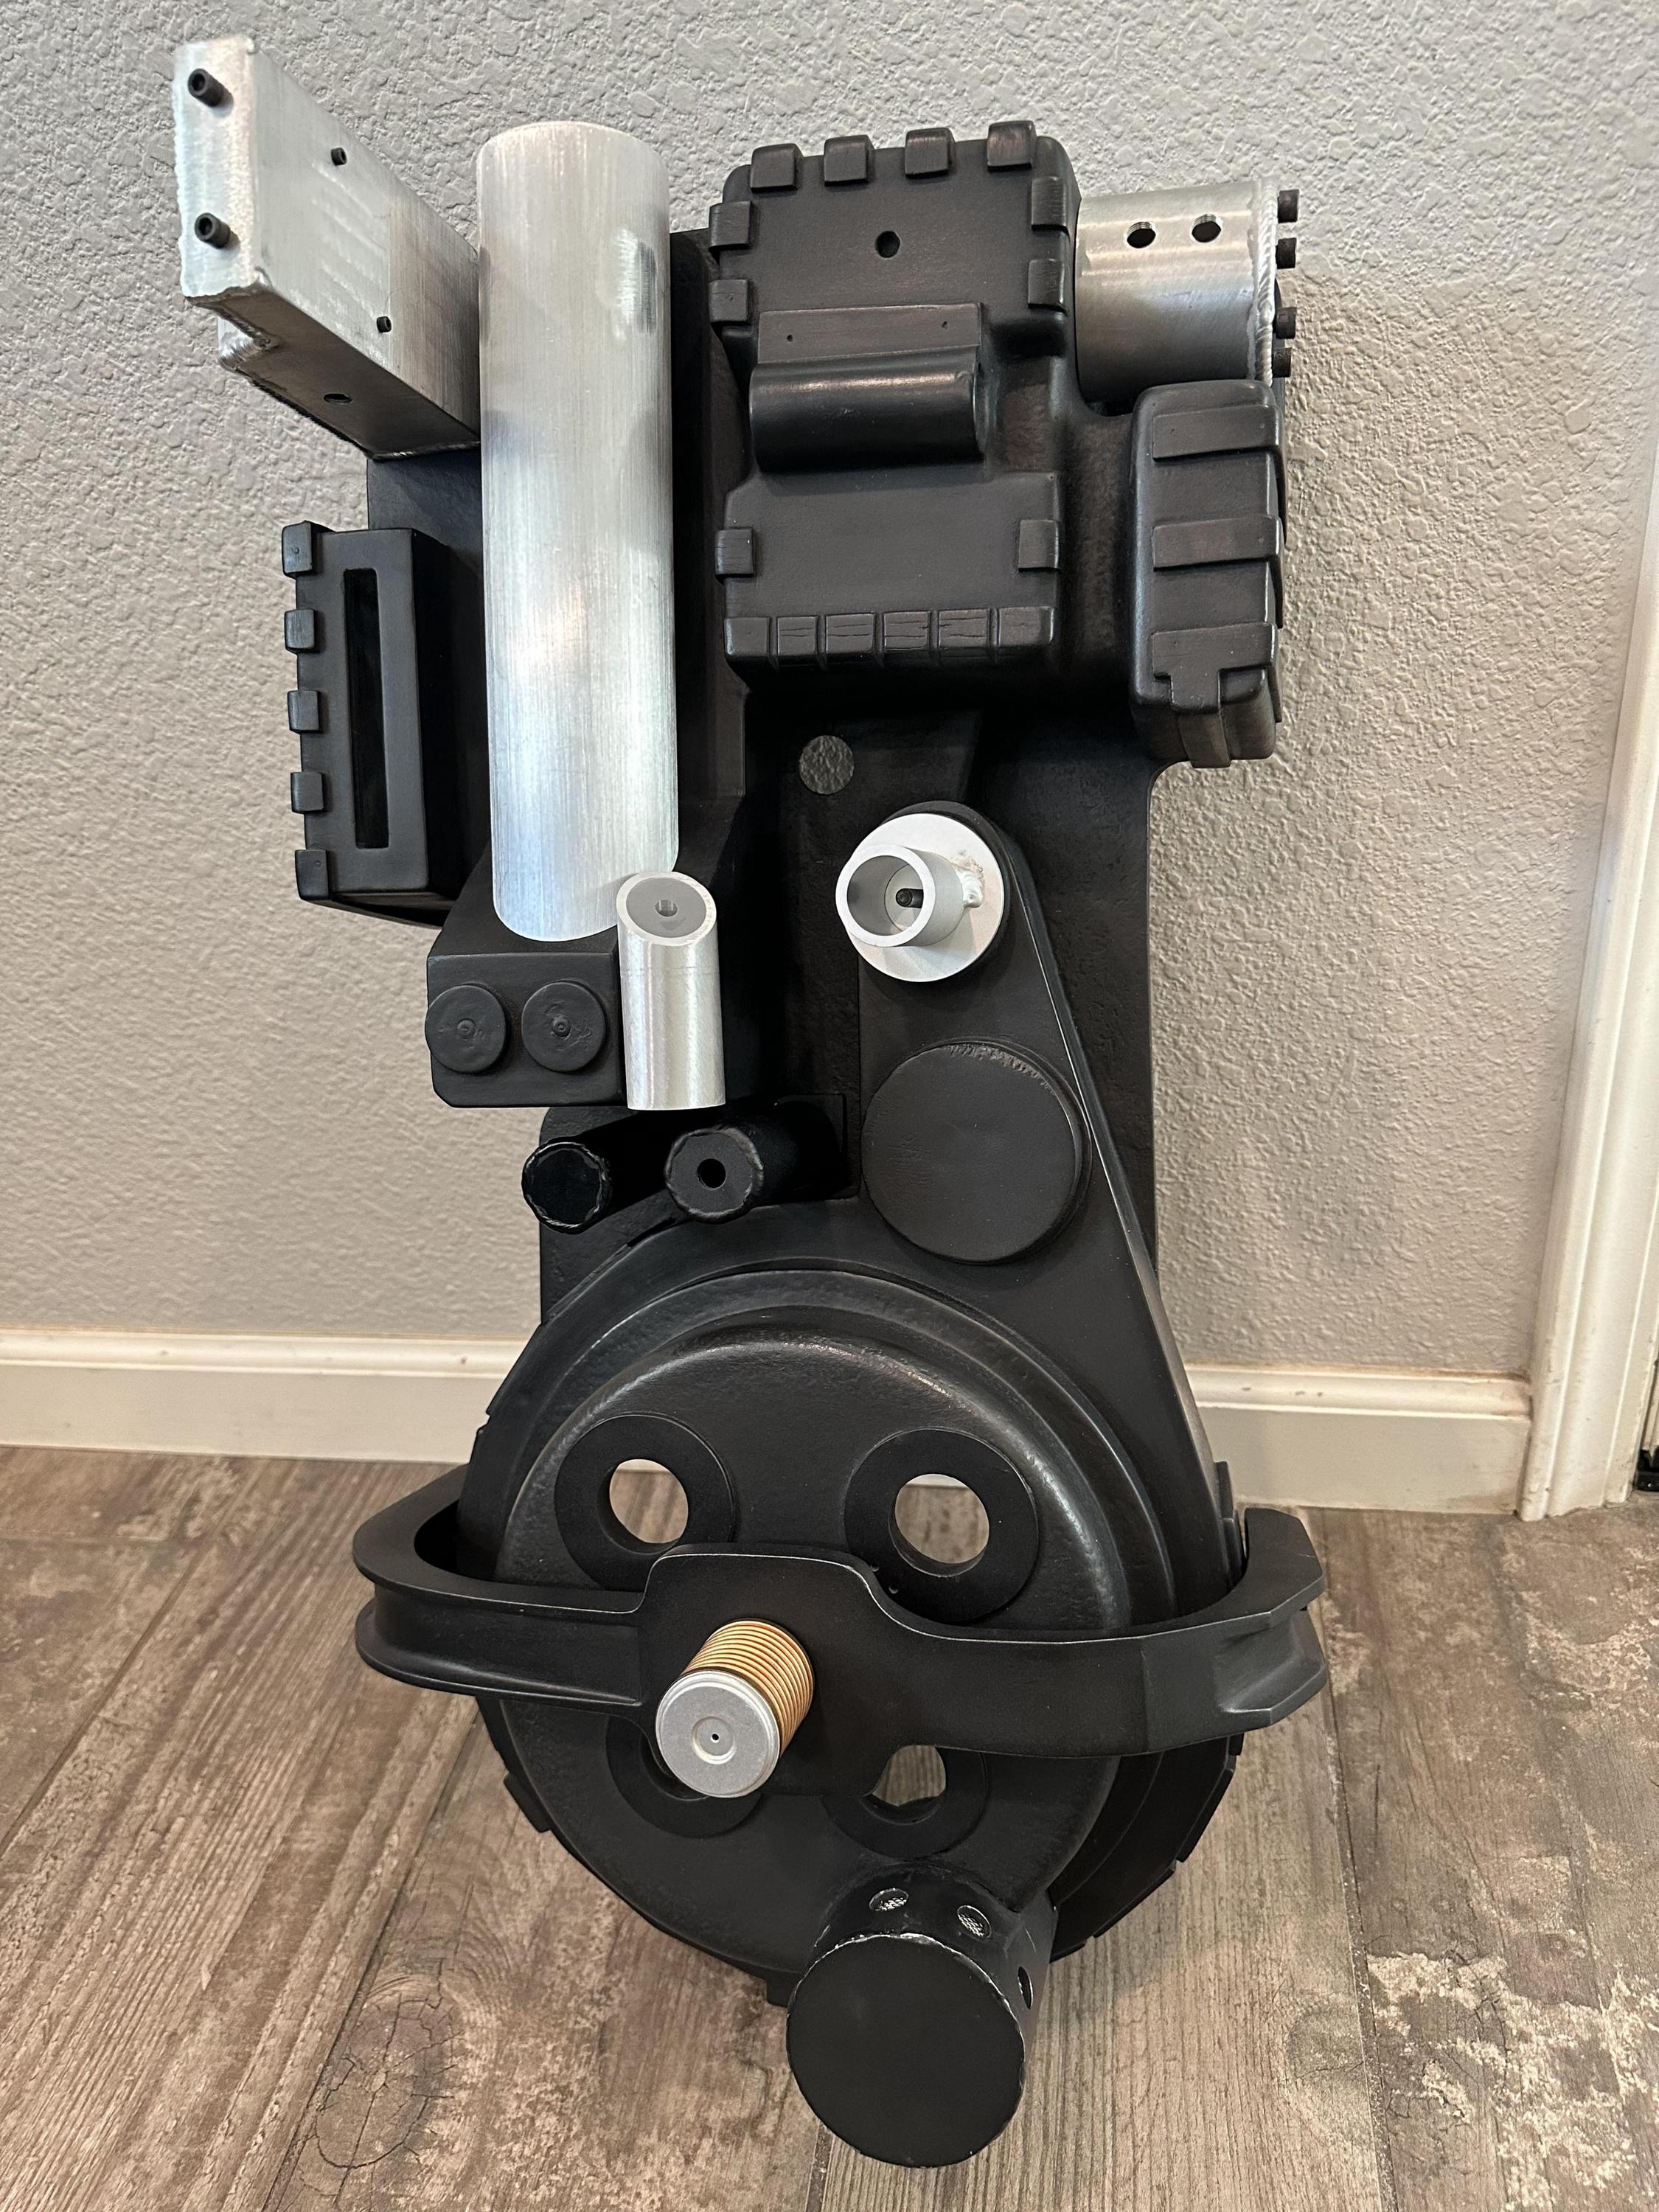
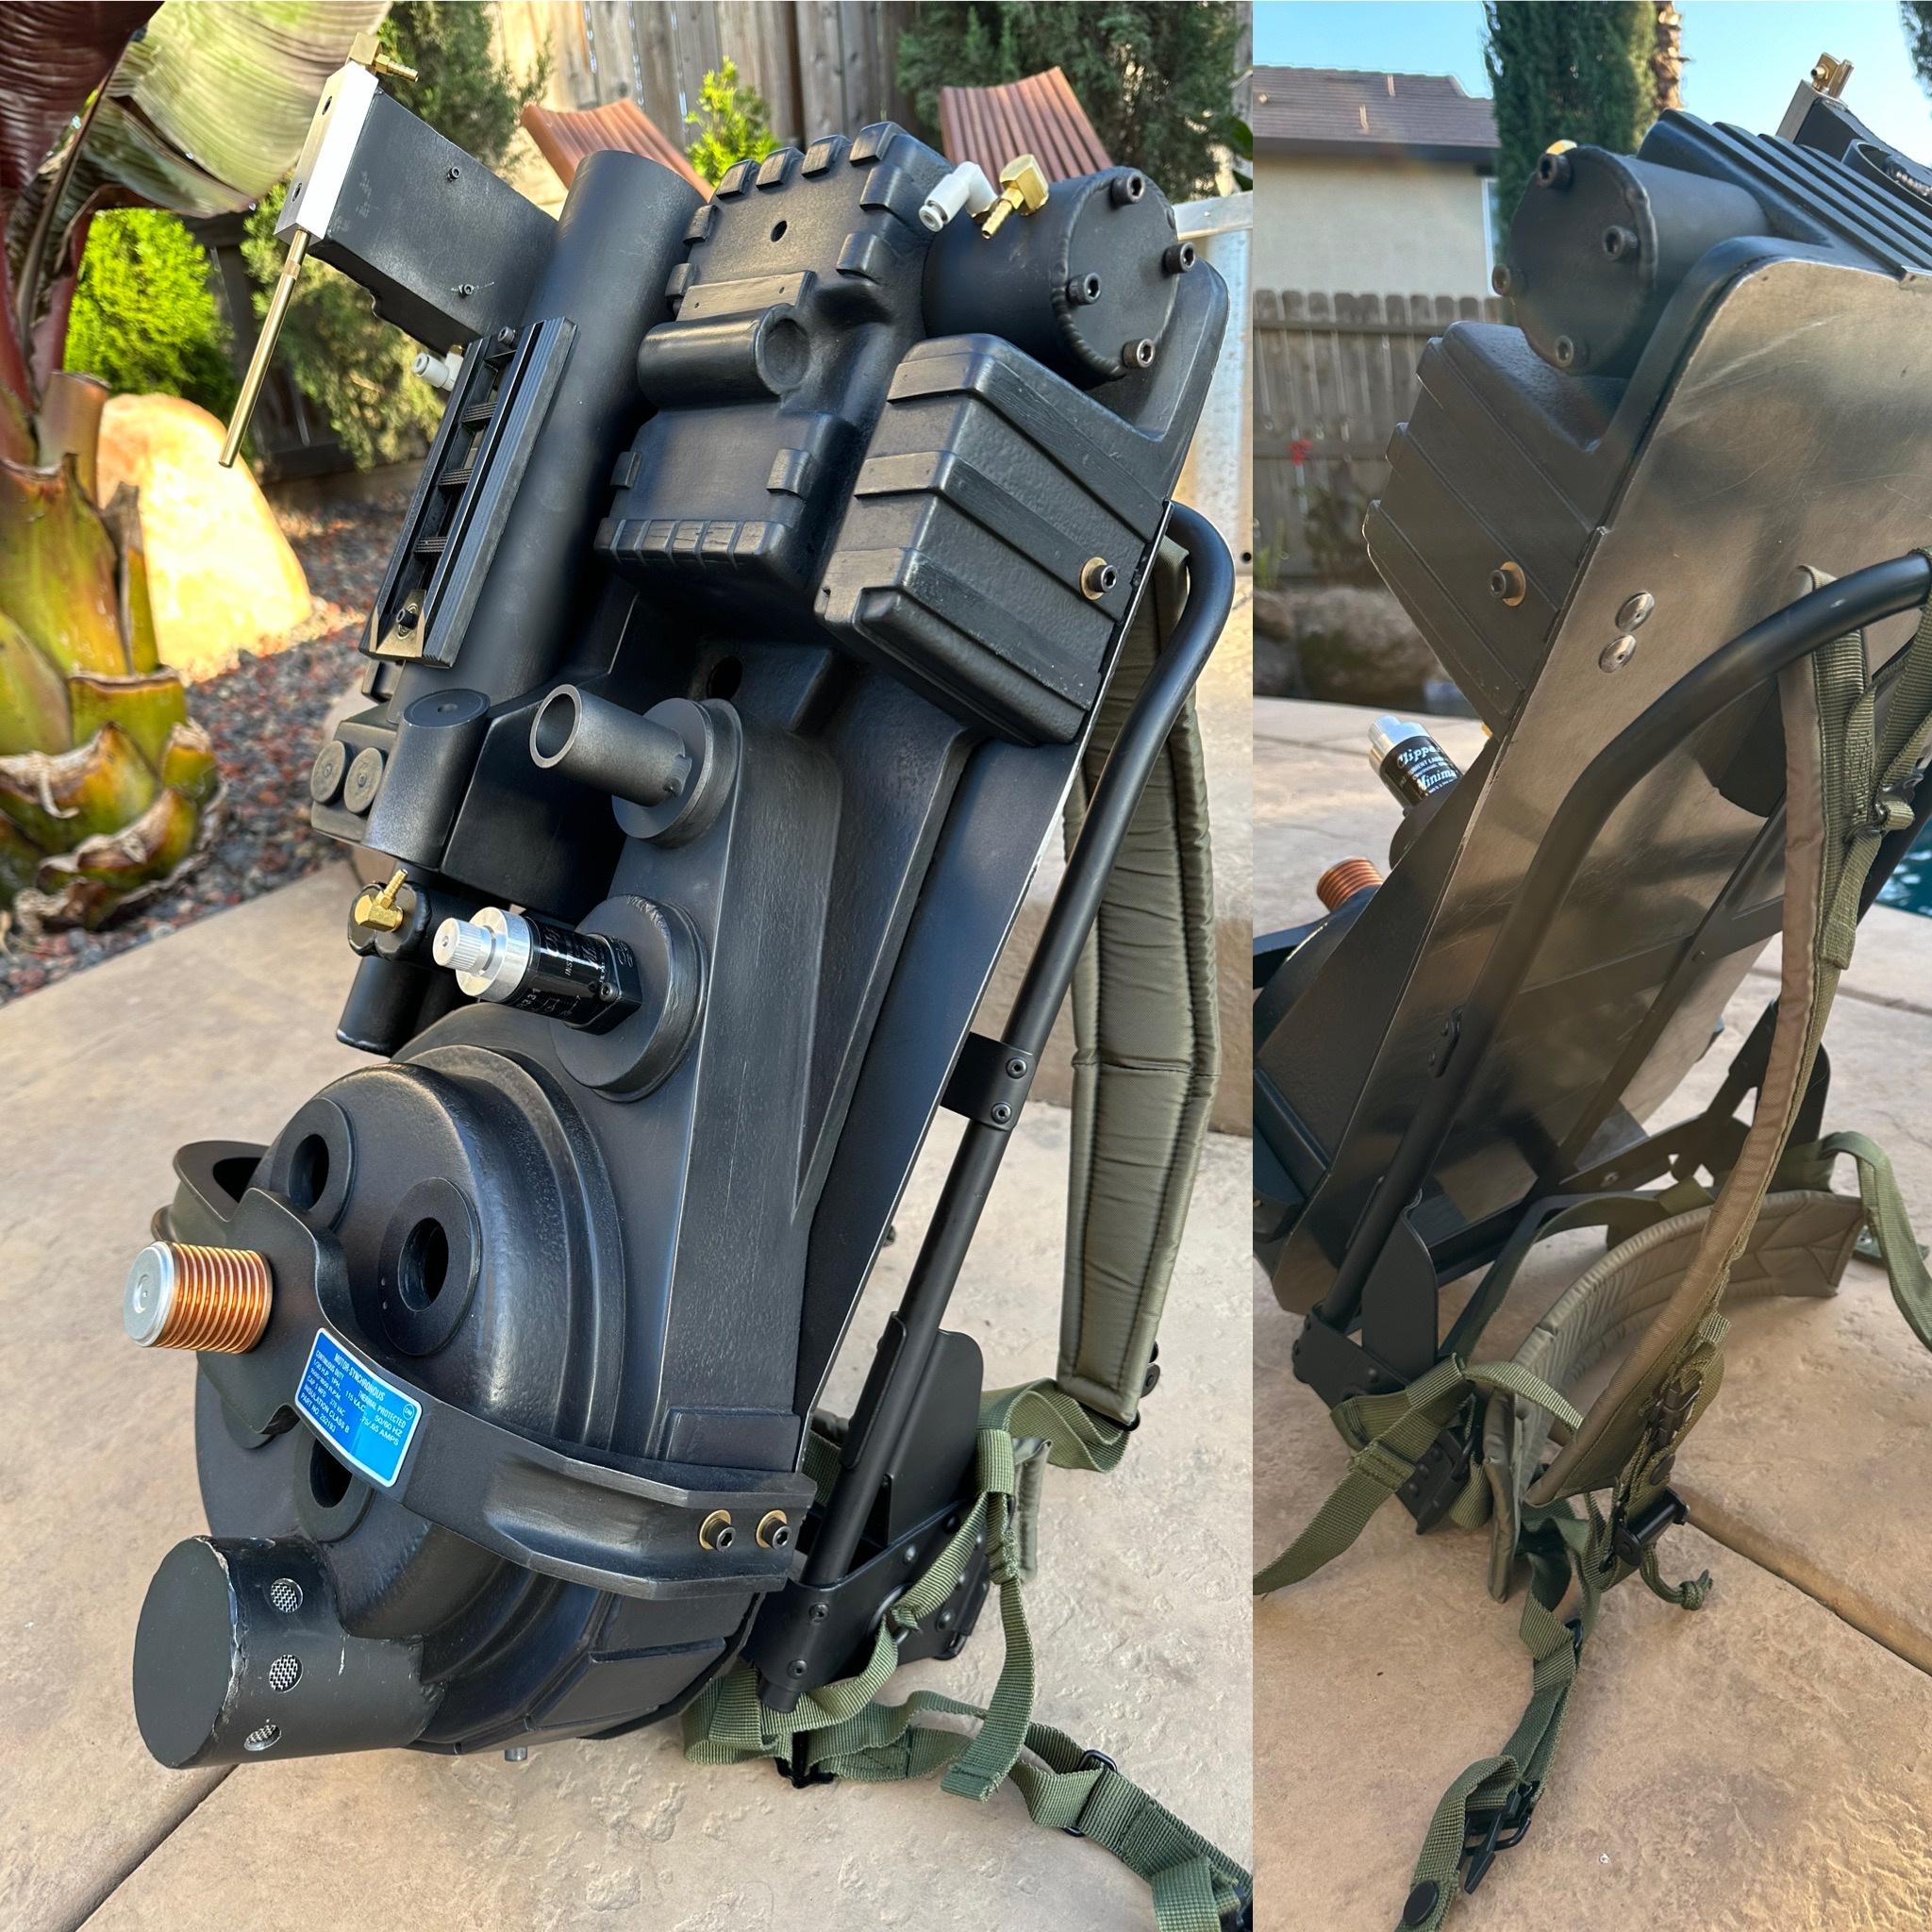
So after about 2 years of collecting parts I’m finally ready to start bolting things together. But wait! First step will be to think everything through first to try and avoid any regrets. Instead of subjecting you to my various tribulations of analysis paralysis I will share my major parts list.
Wand - various including Mack’s, GBfans, and Freeky Geeky (and likely a few more to come)
Electronics- GBfans
Smoke kit (custom color) - C&A Prop Design
My goal is to bring this build as close as possible to an 84 Spengler, however this may need to turn into an idealized 84 depending on my abilities to reproduce certain details.
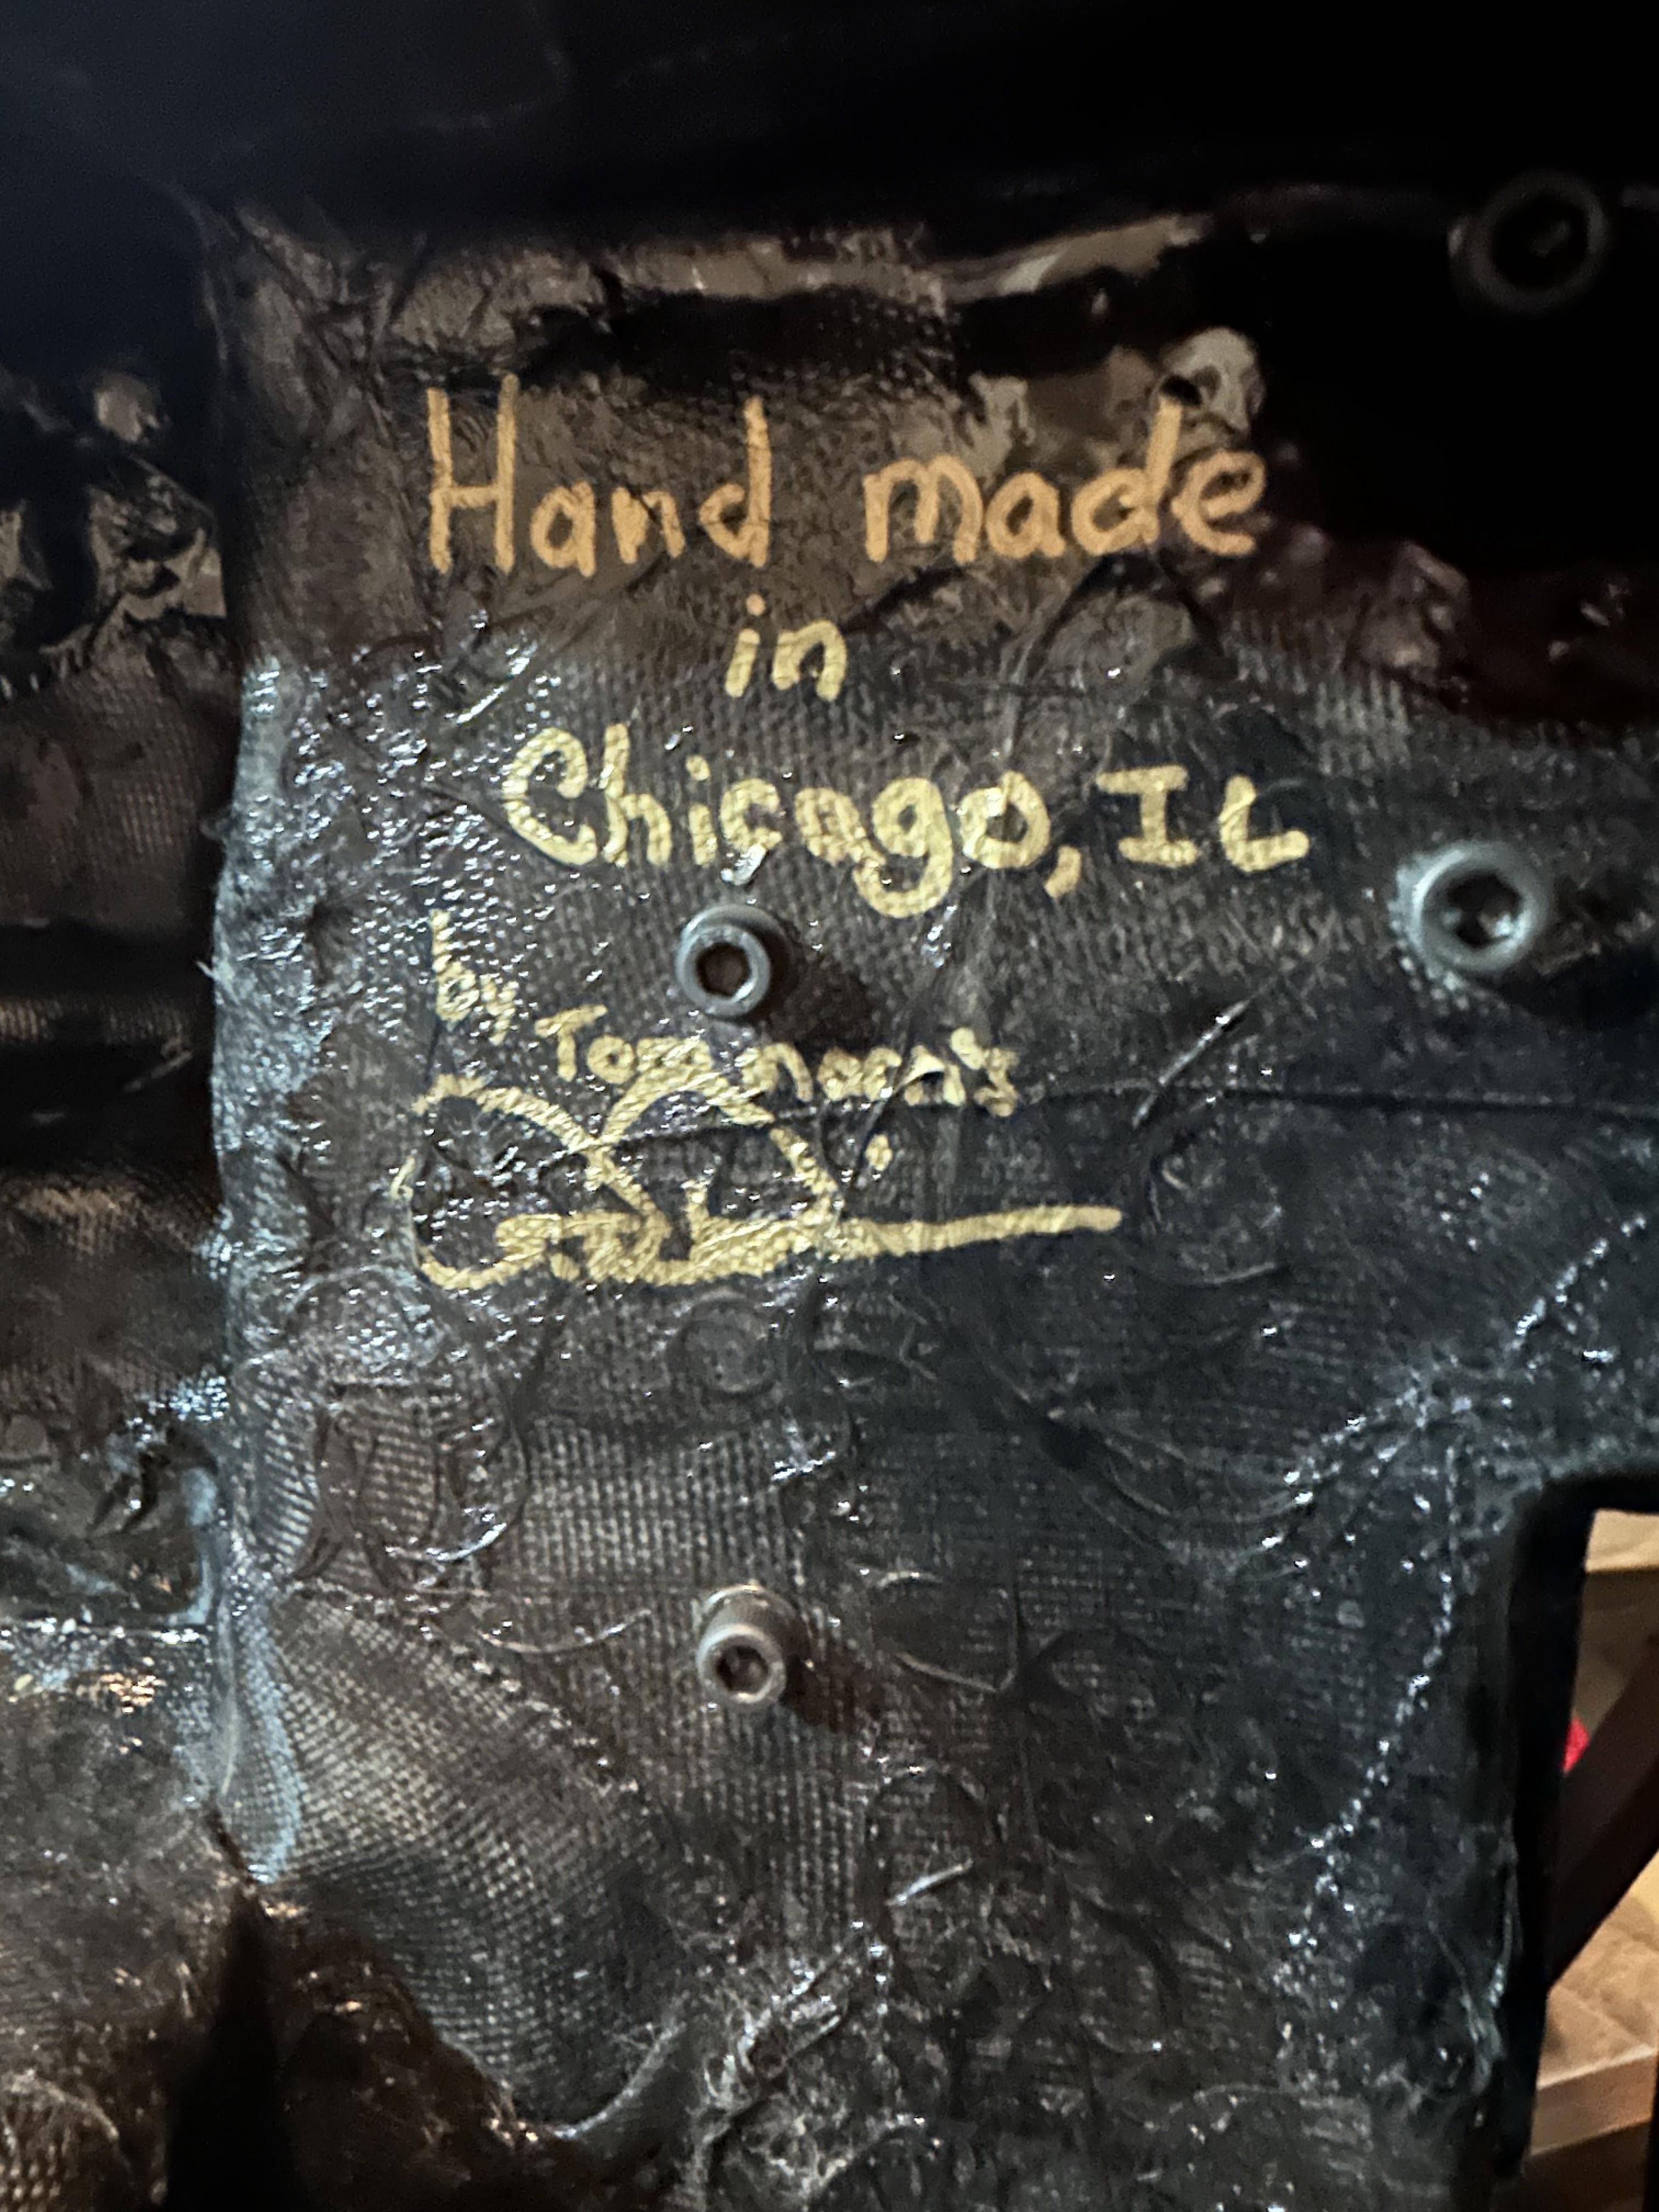
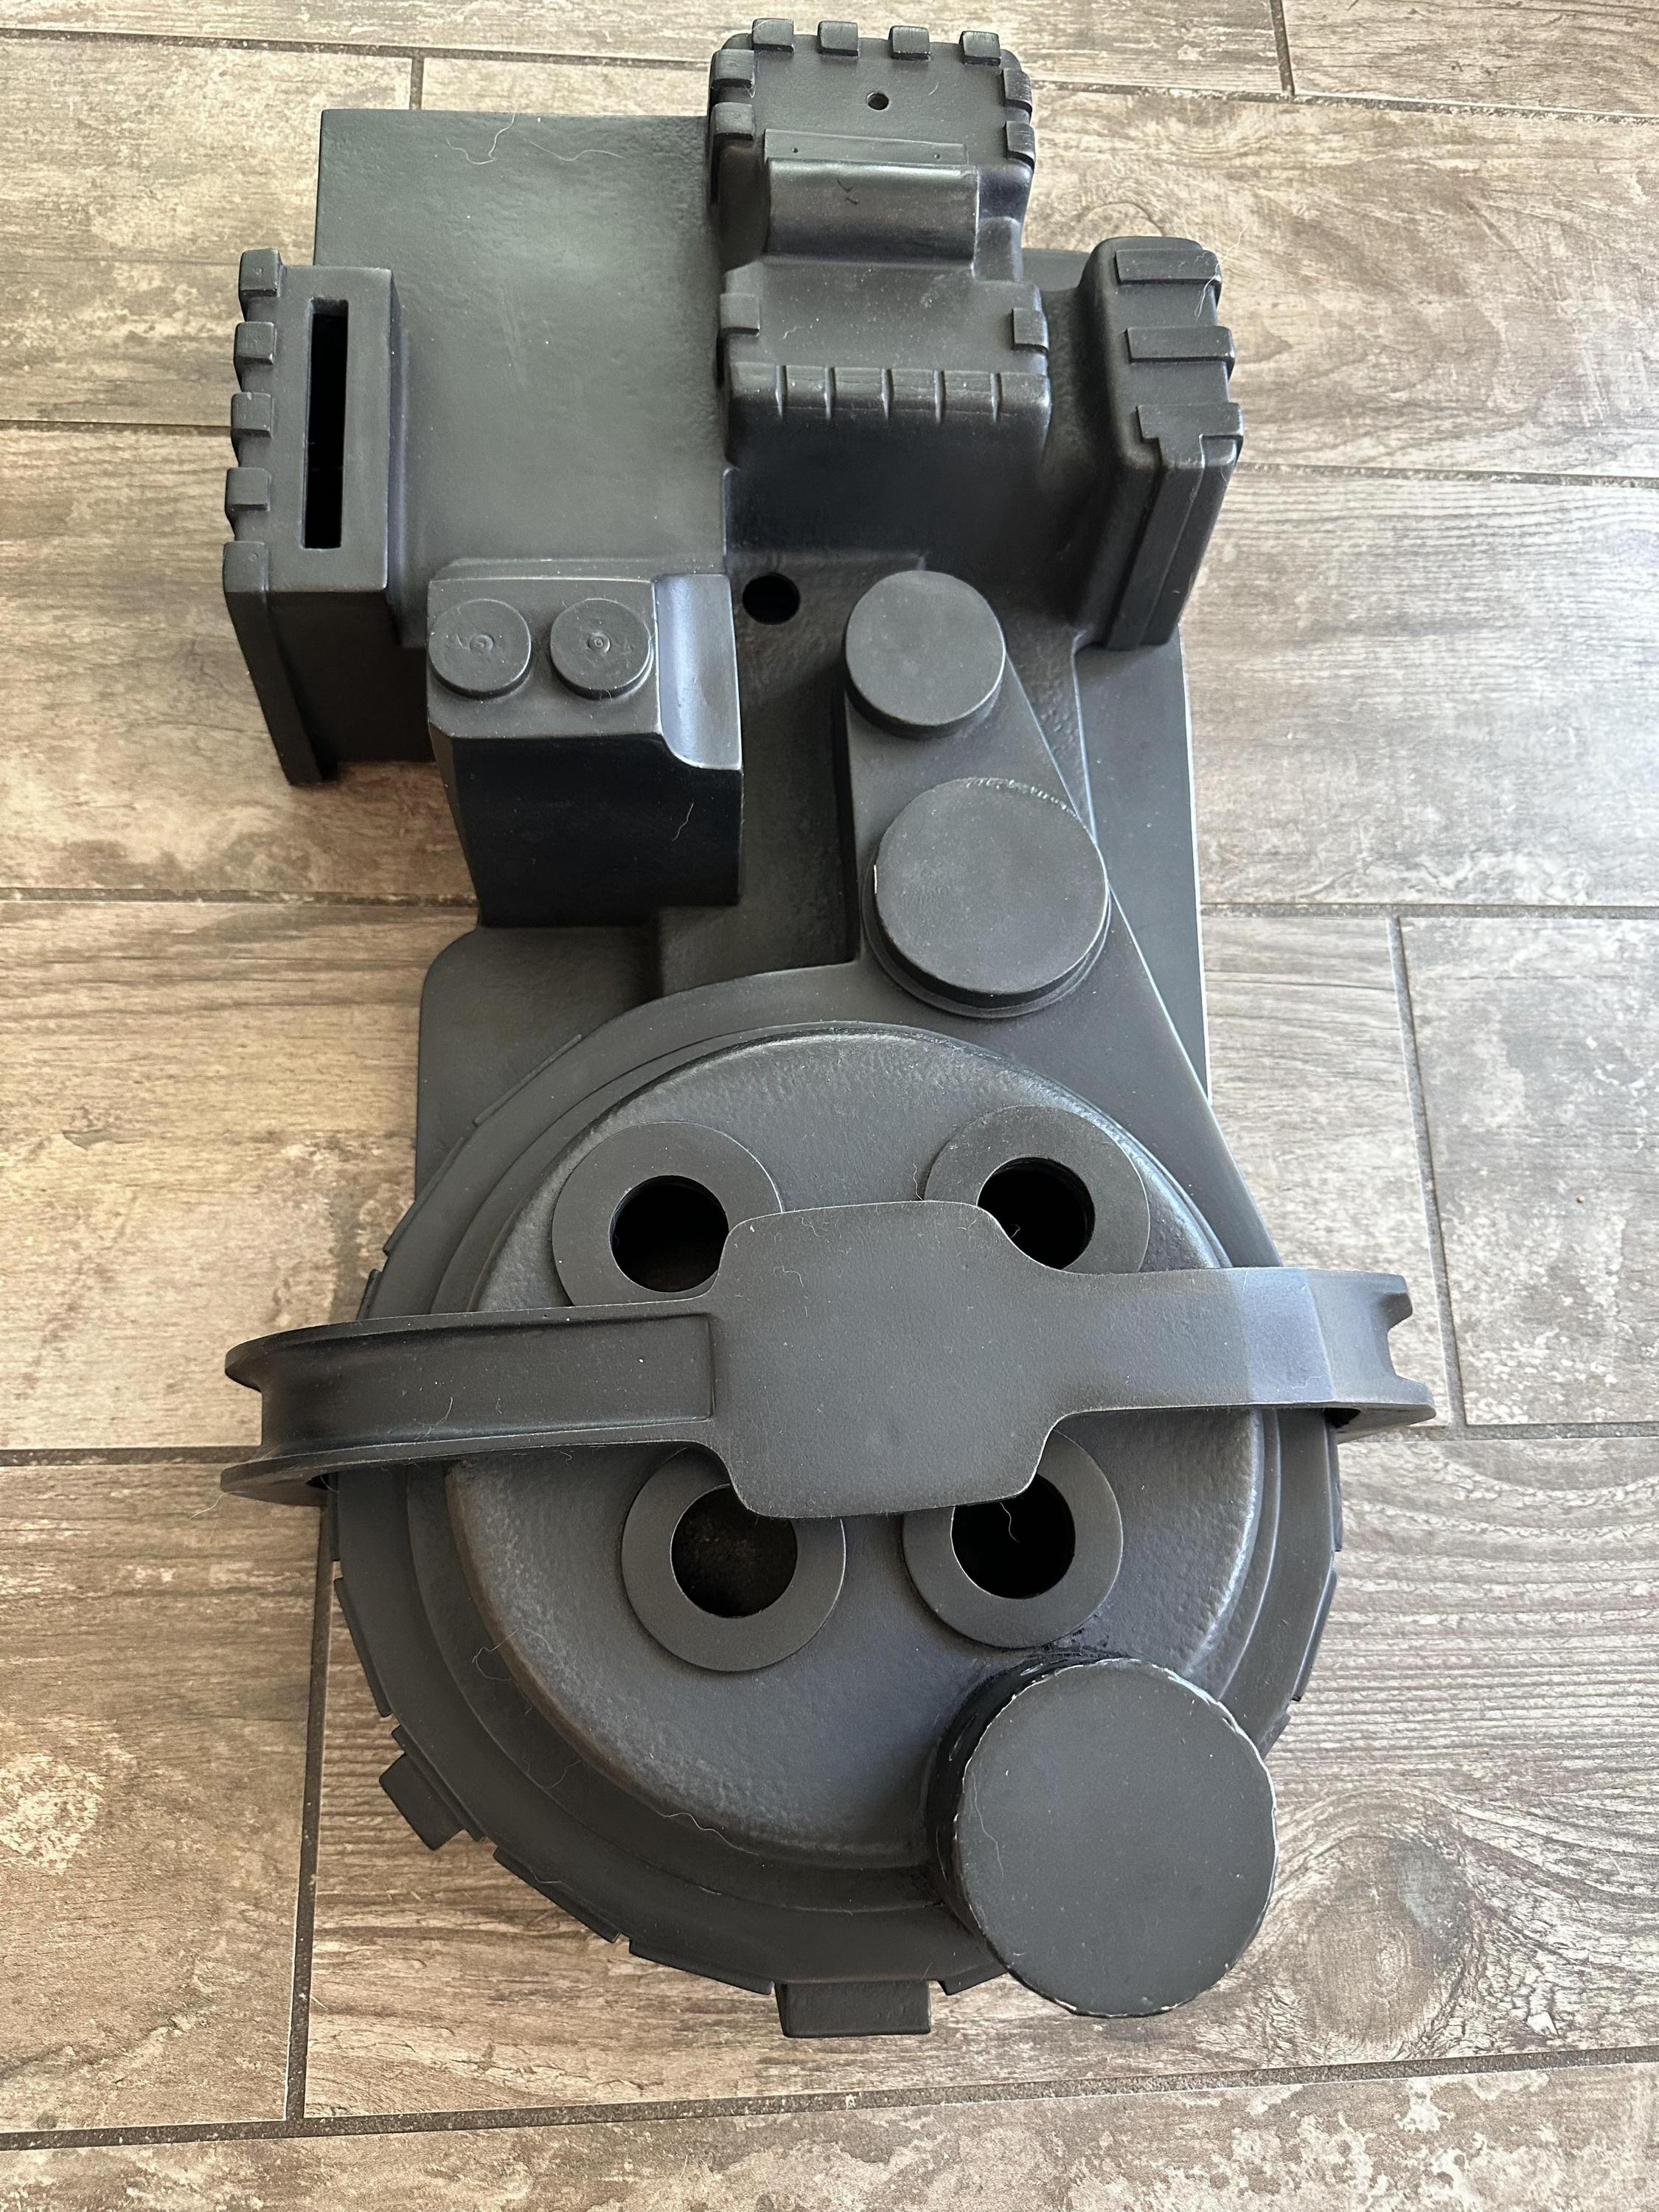
Side note on the shell: Tom’s work is absolutely stunning and I could not be more pleased with it. Highly recommend if you can get a hold of one of his shells. This one will even hold a magnet!
My process will begin with drilling all the required holes in the shell and then finishing and mounting all the aluminum parts. More updates to follow! :love:
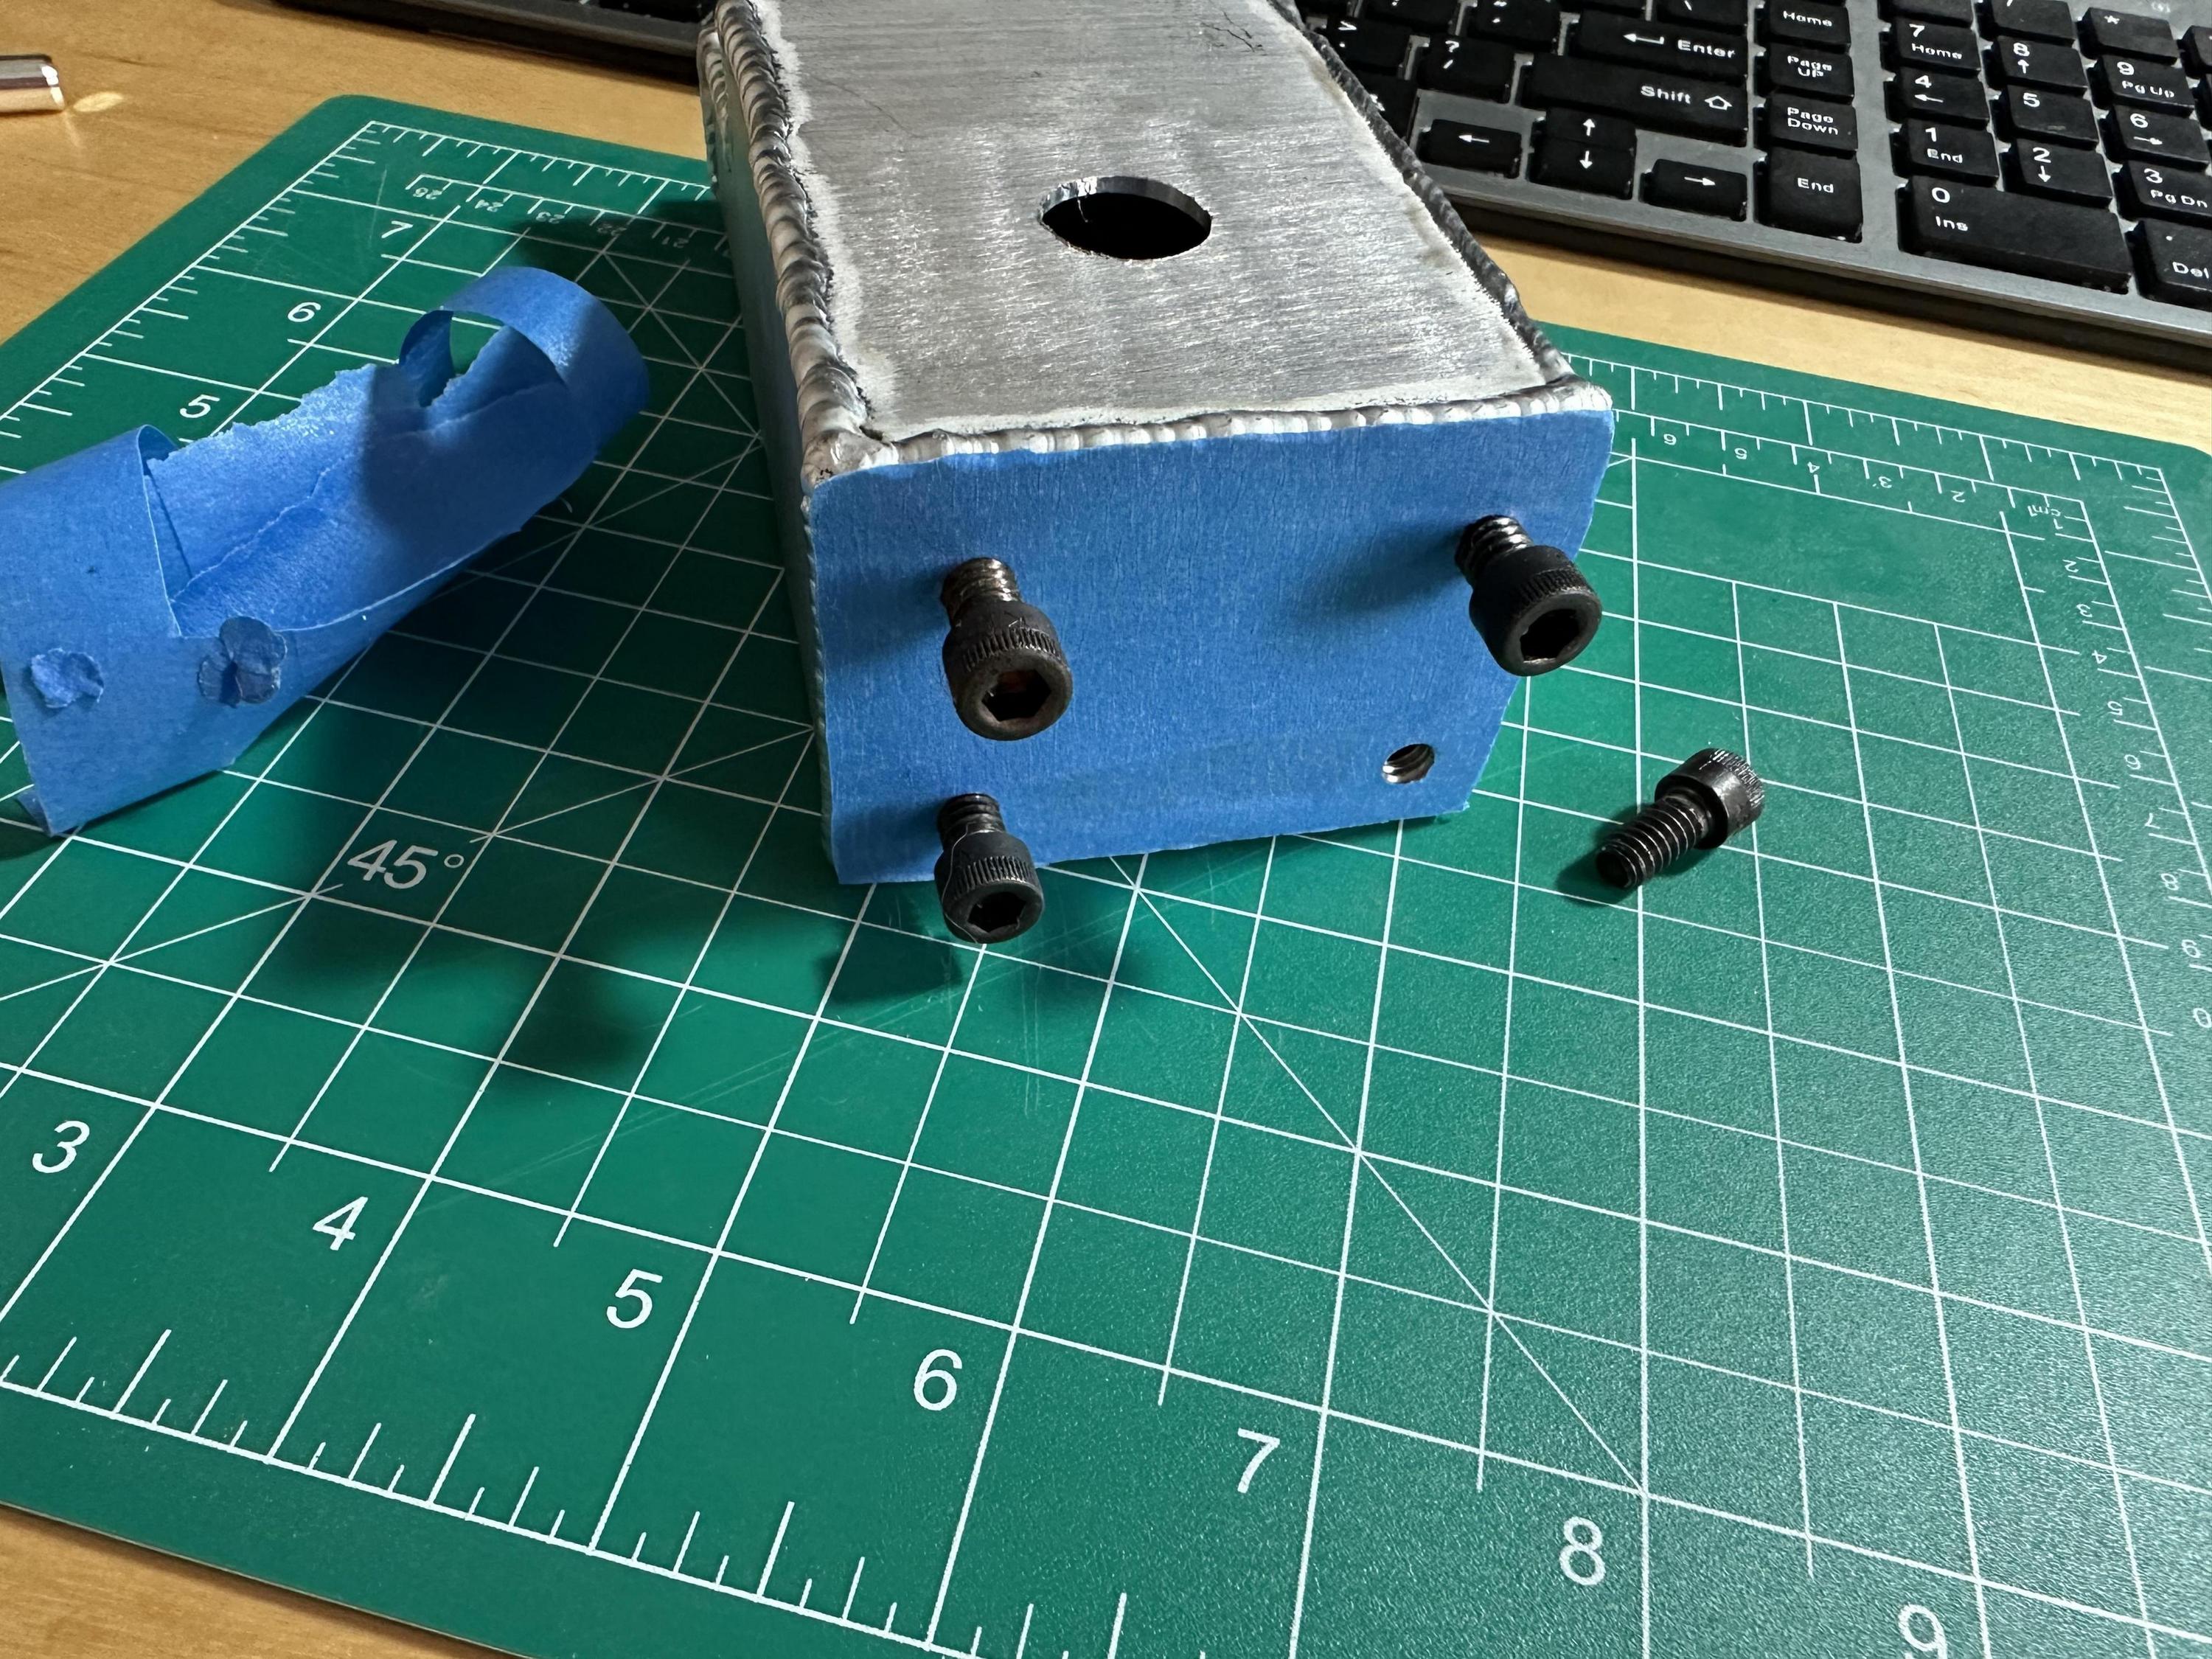
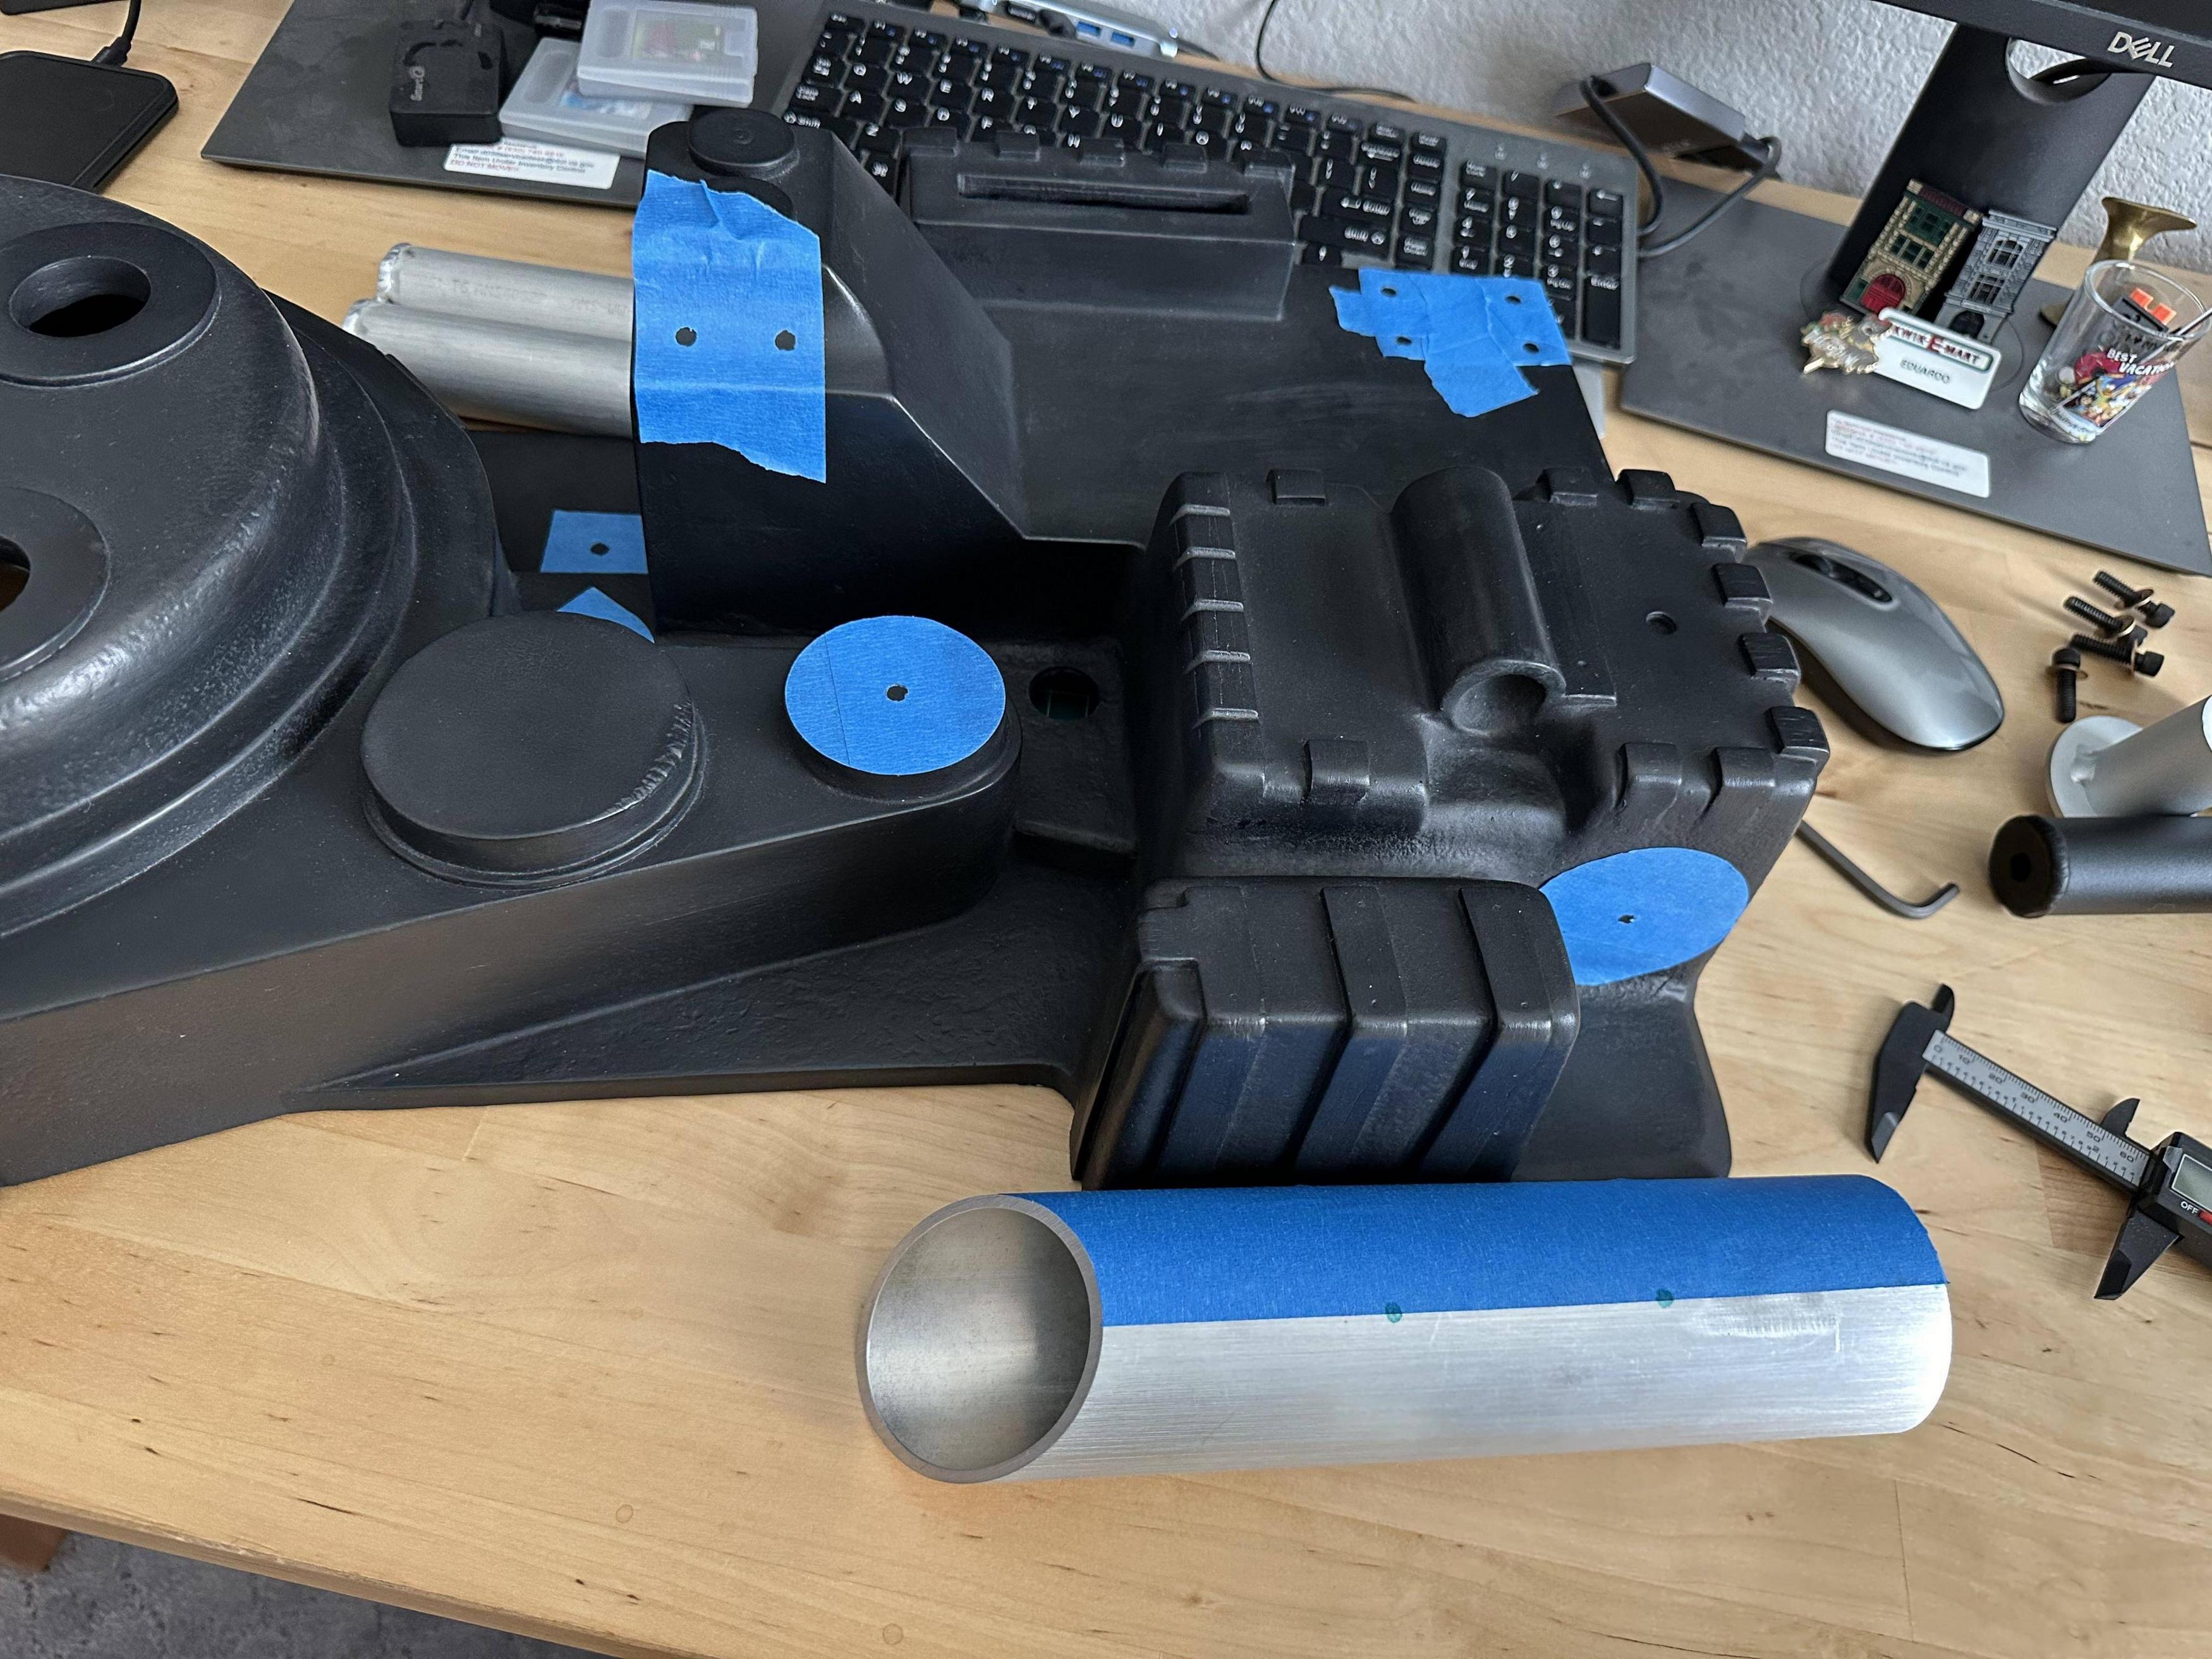
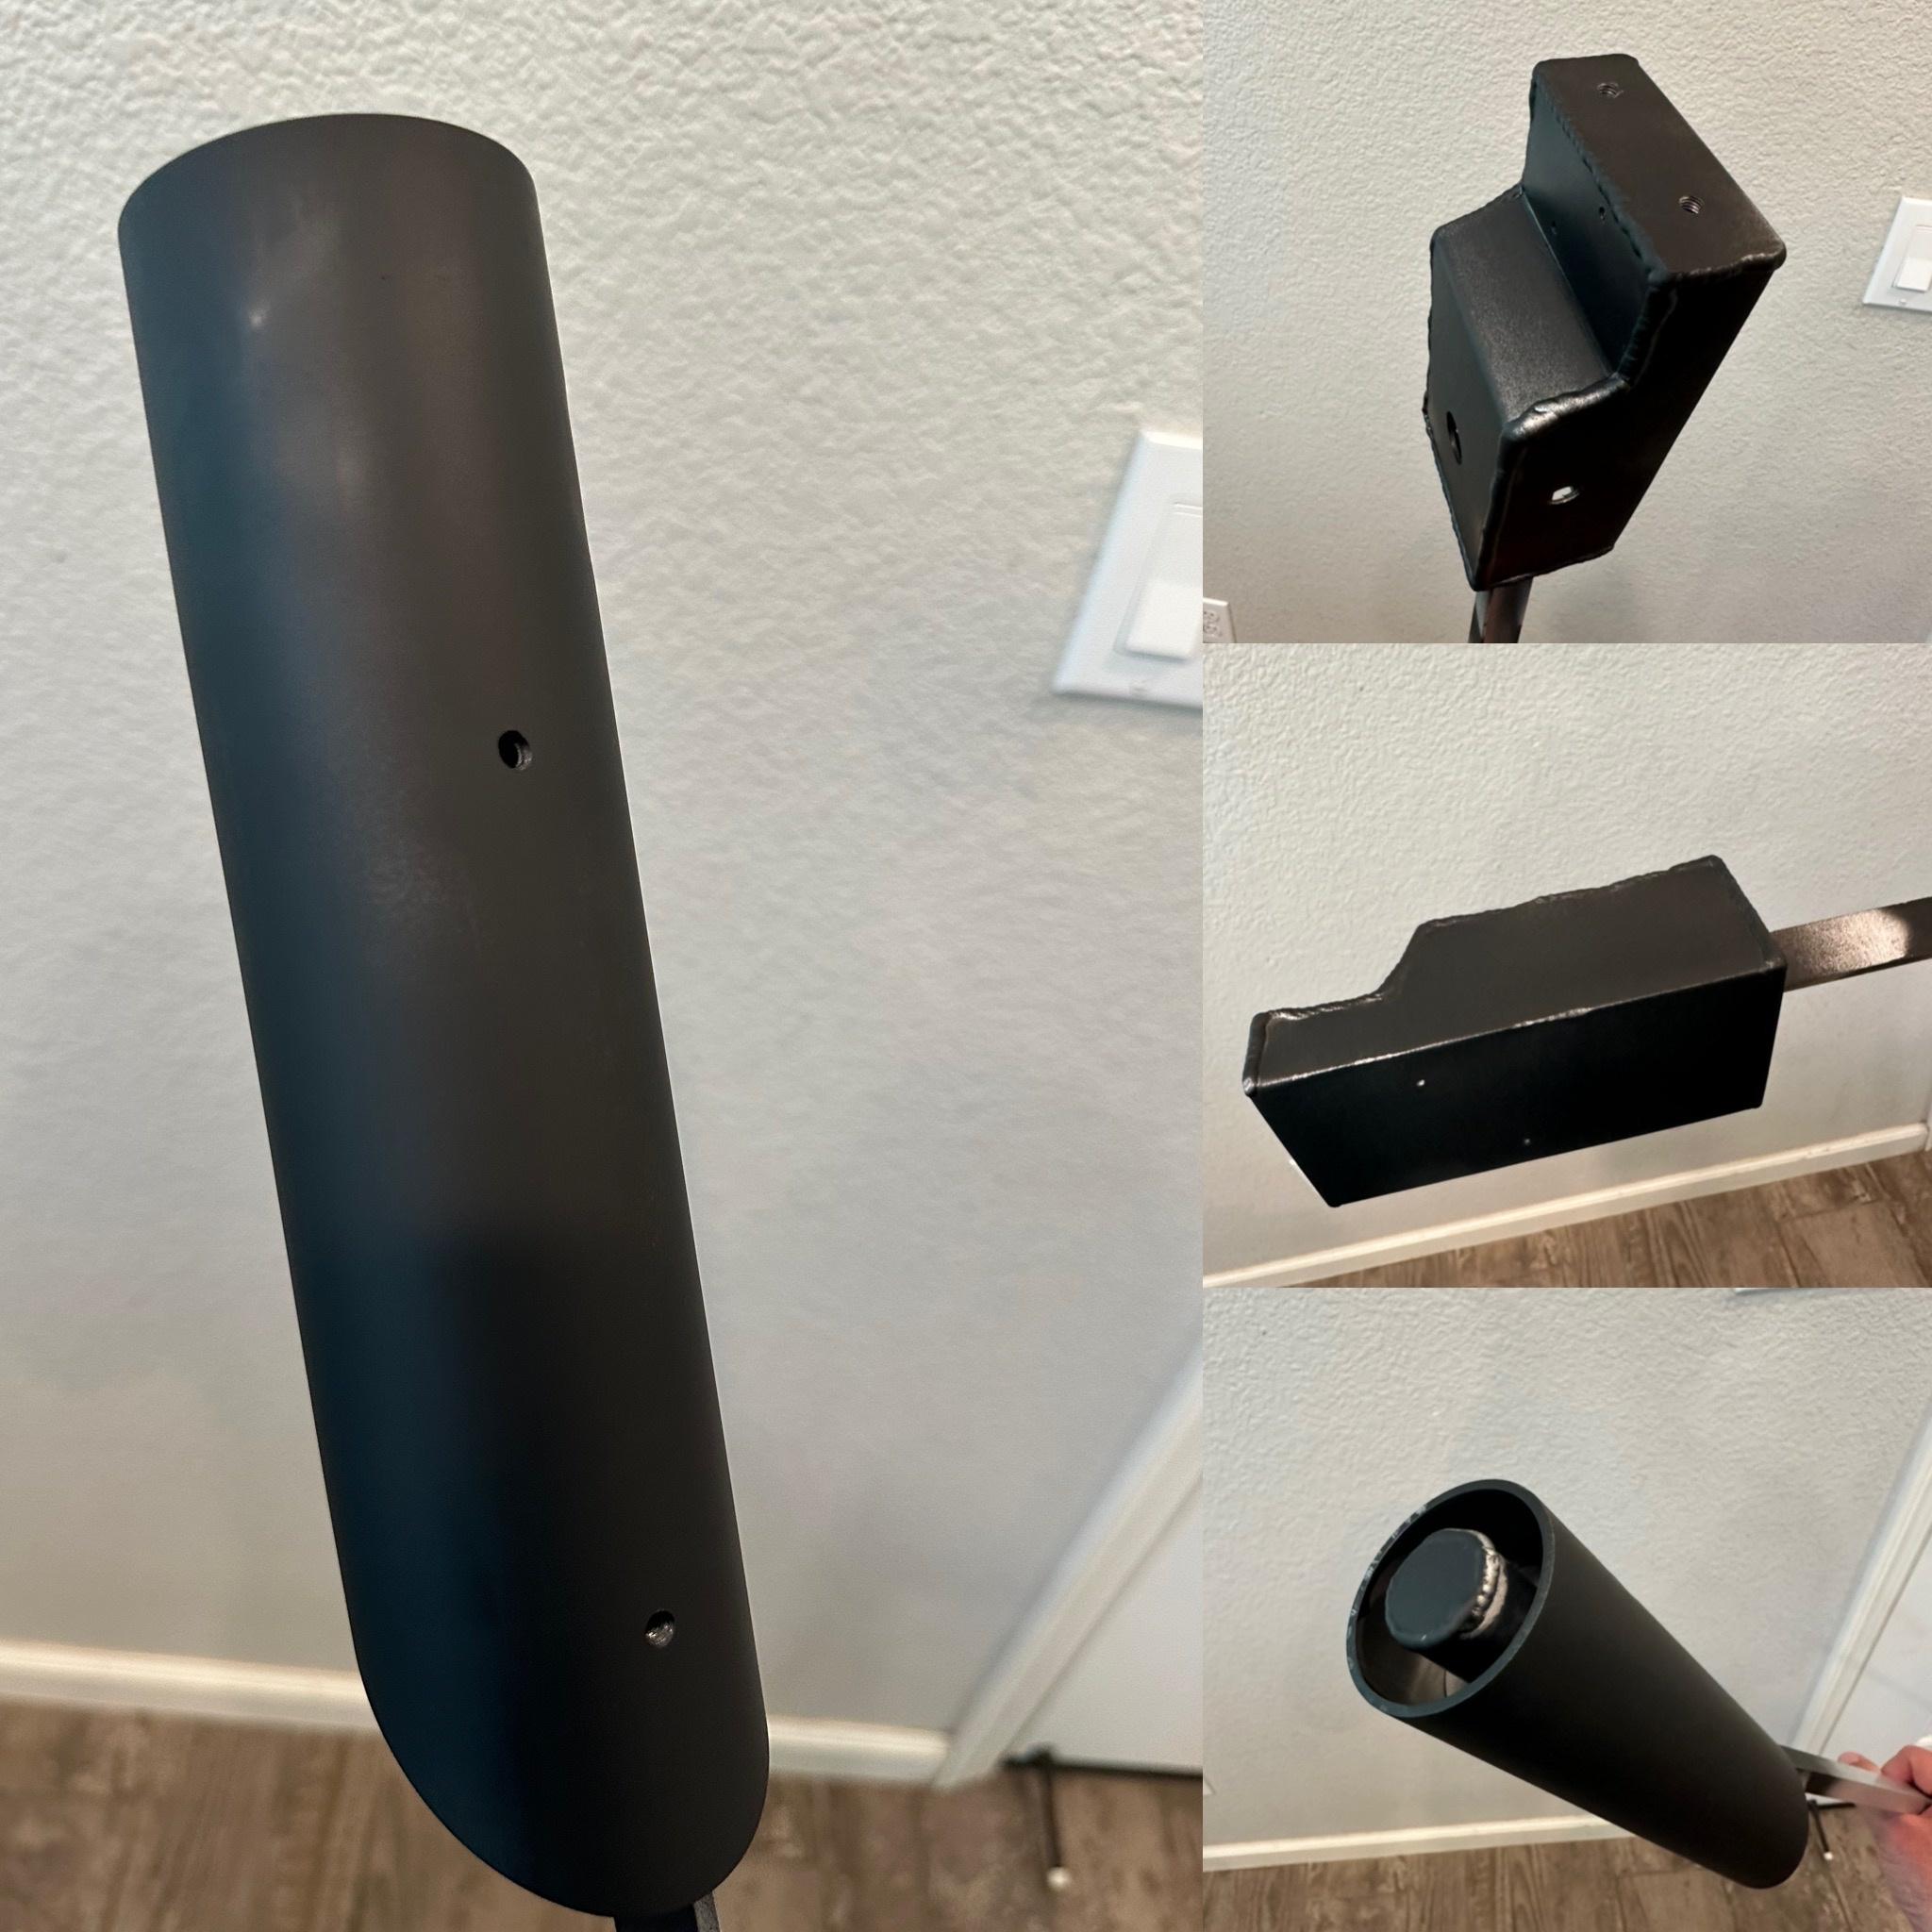
Big step complete today, got most of the major aluminum test fitted. I was particularly cautious with this step because I didn’t want to mess up this amazing shell and I wanted things to line up just right. I placed blue painters tape on the bottom of each aluminum piece and then carefully cut it out :
Then took each blue tape template and placed it where I wanted it to be on the shell. This took several tries of placing and removing the tape to get it just right. One important thing to note is the GBfans ion arm stencil base cannot be mirrored and had to be placed on the shell sticky side up.
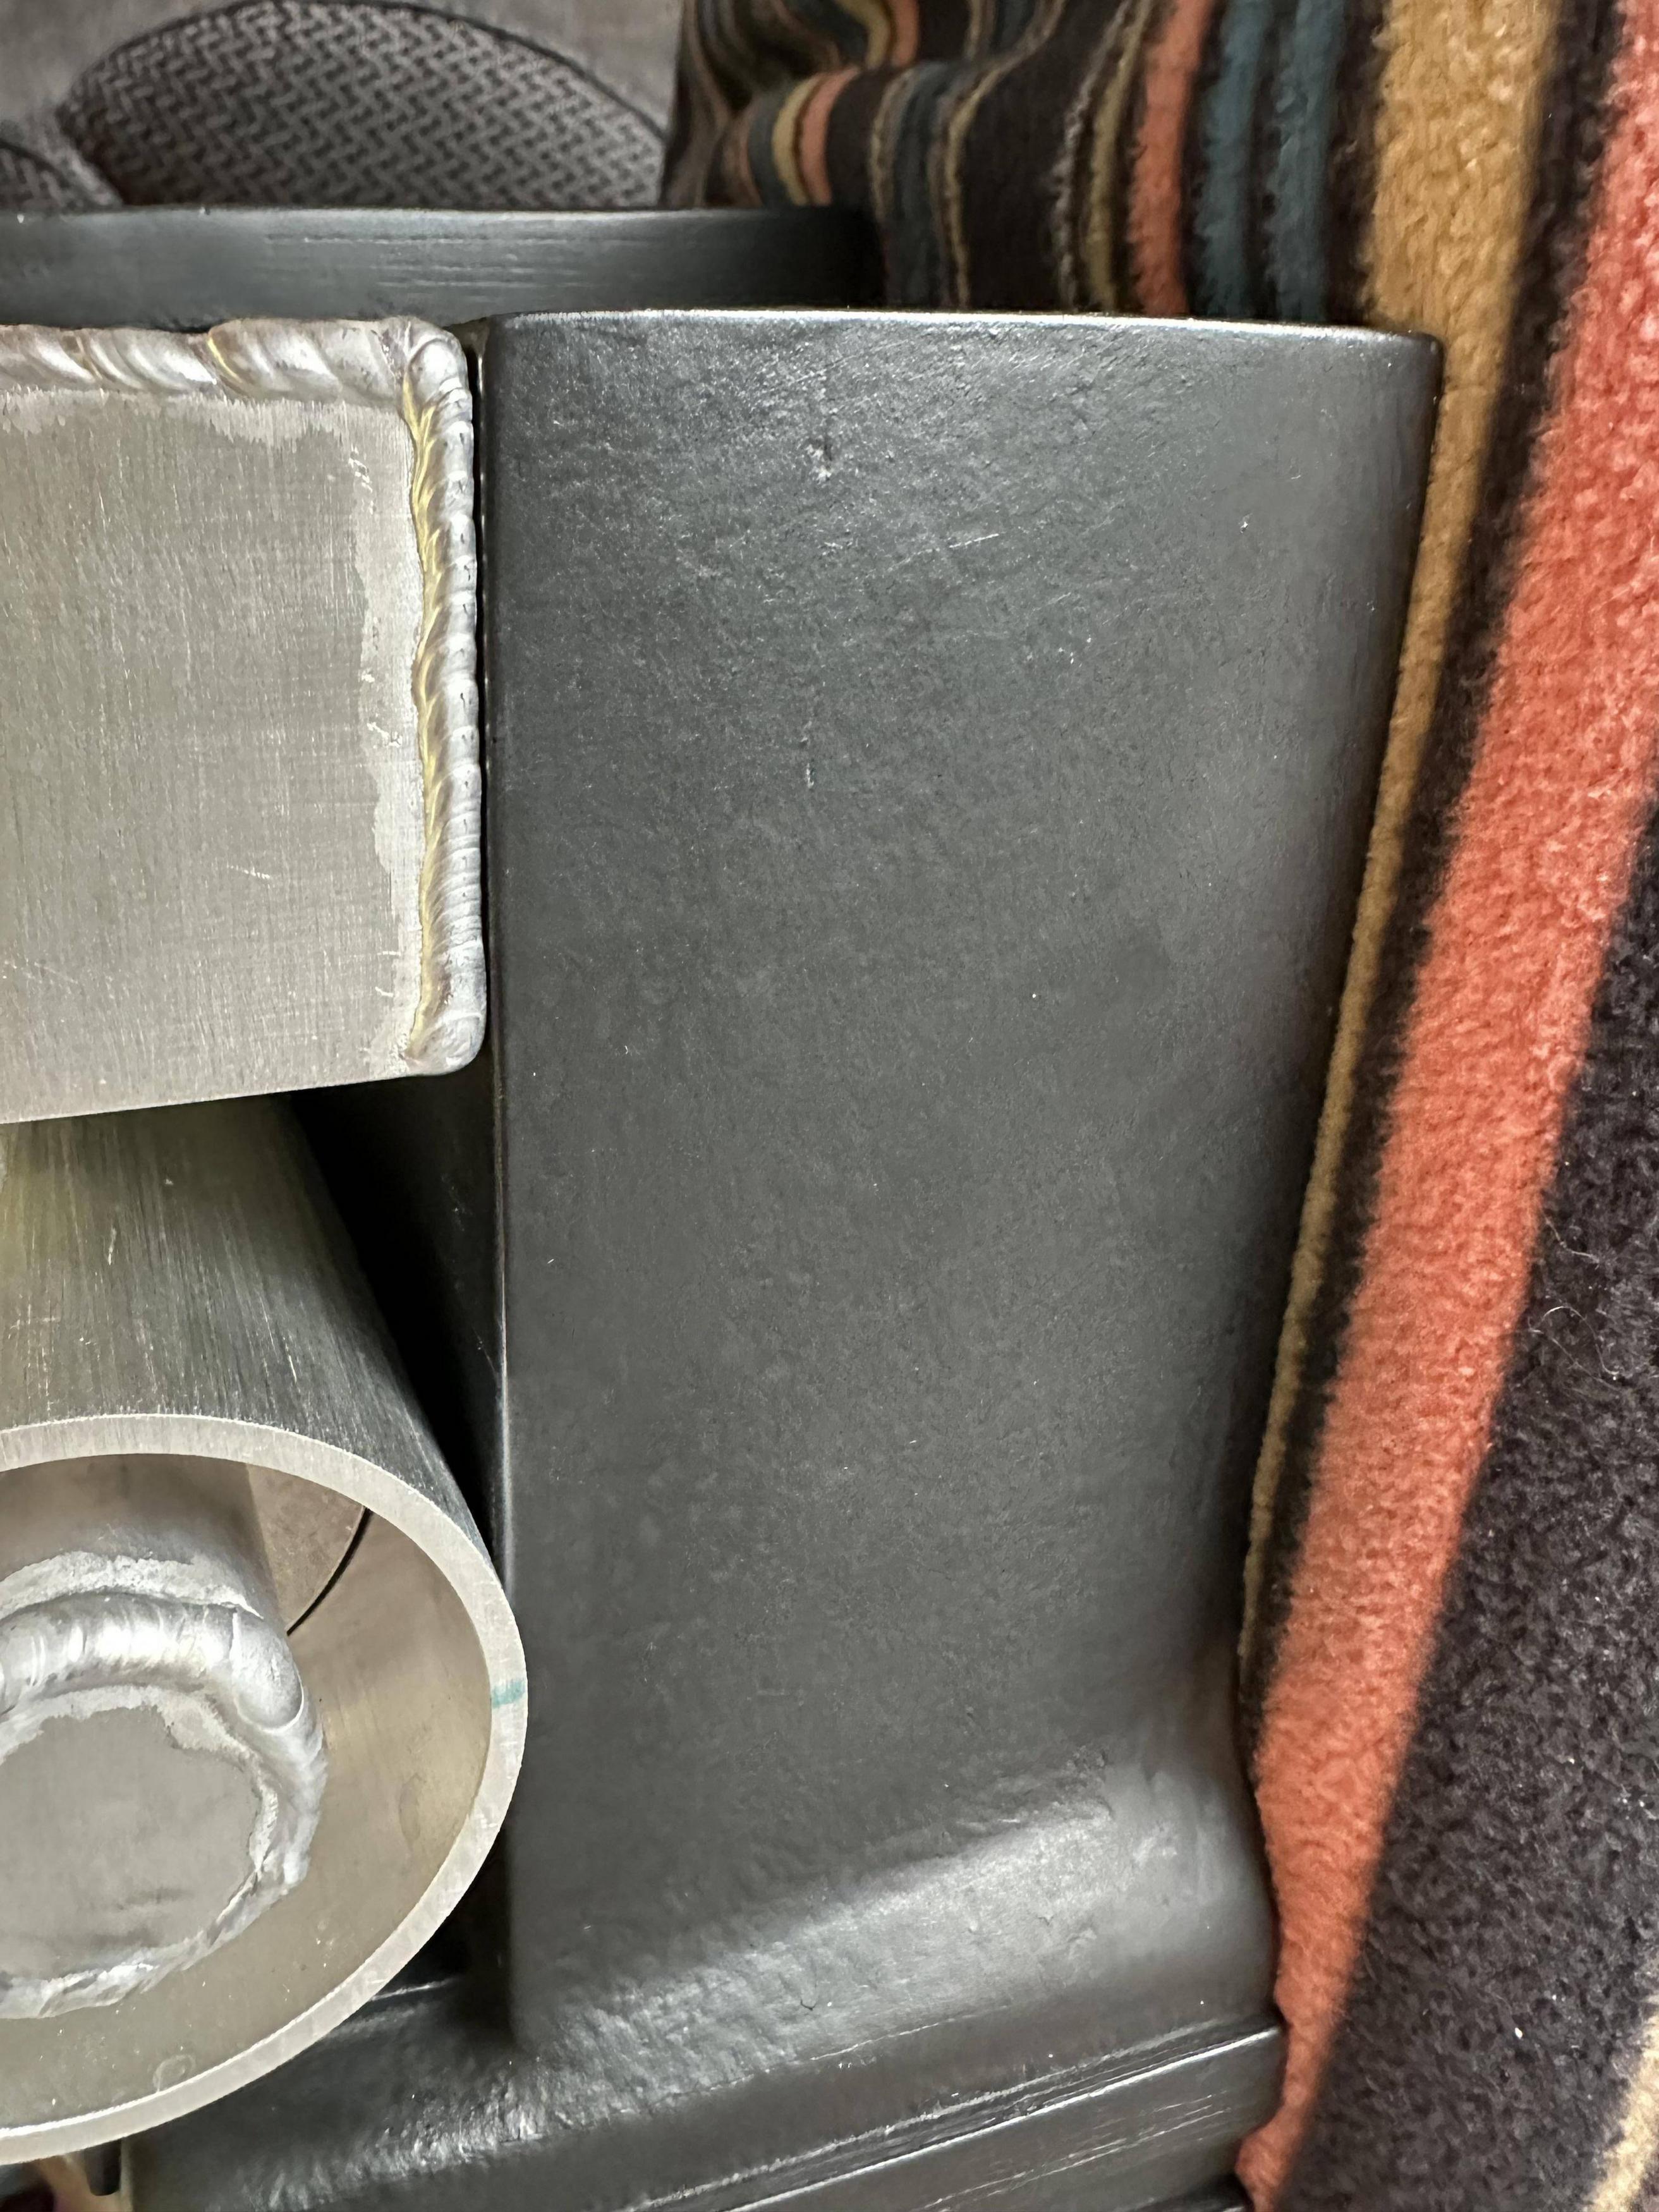
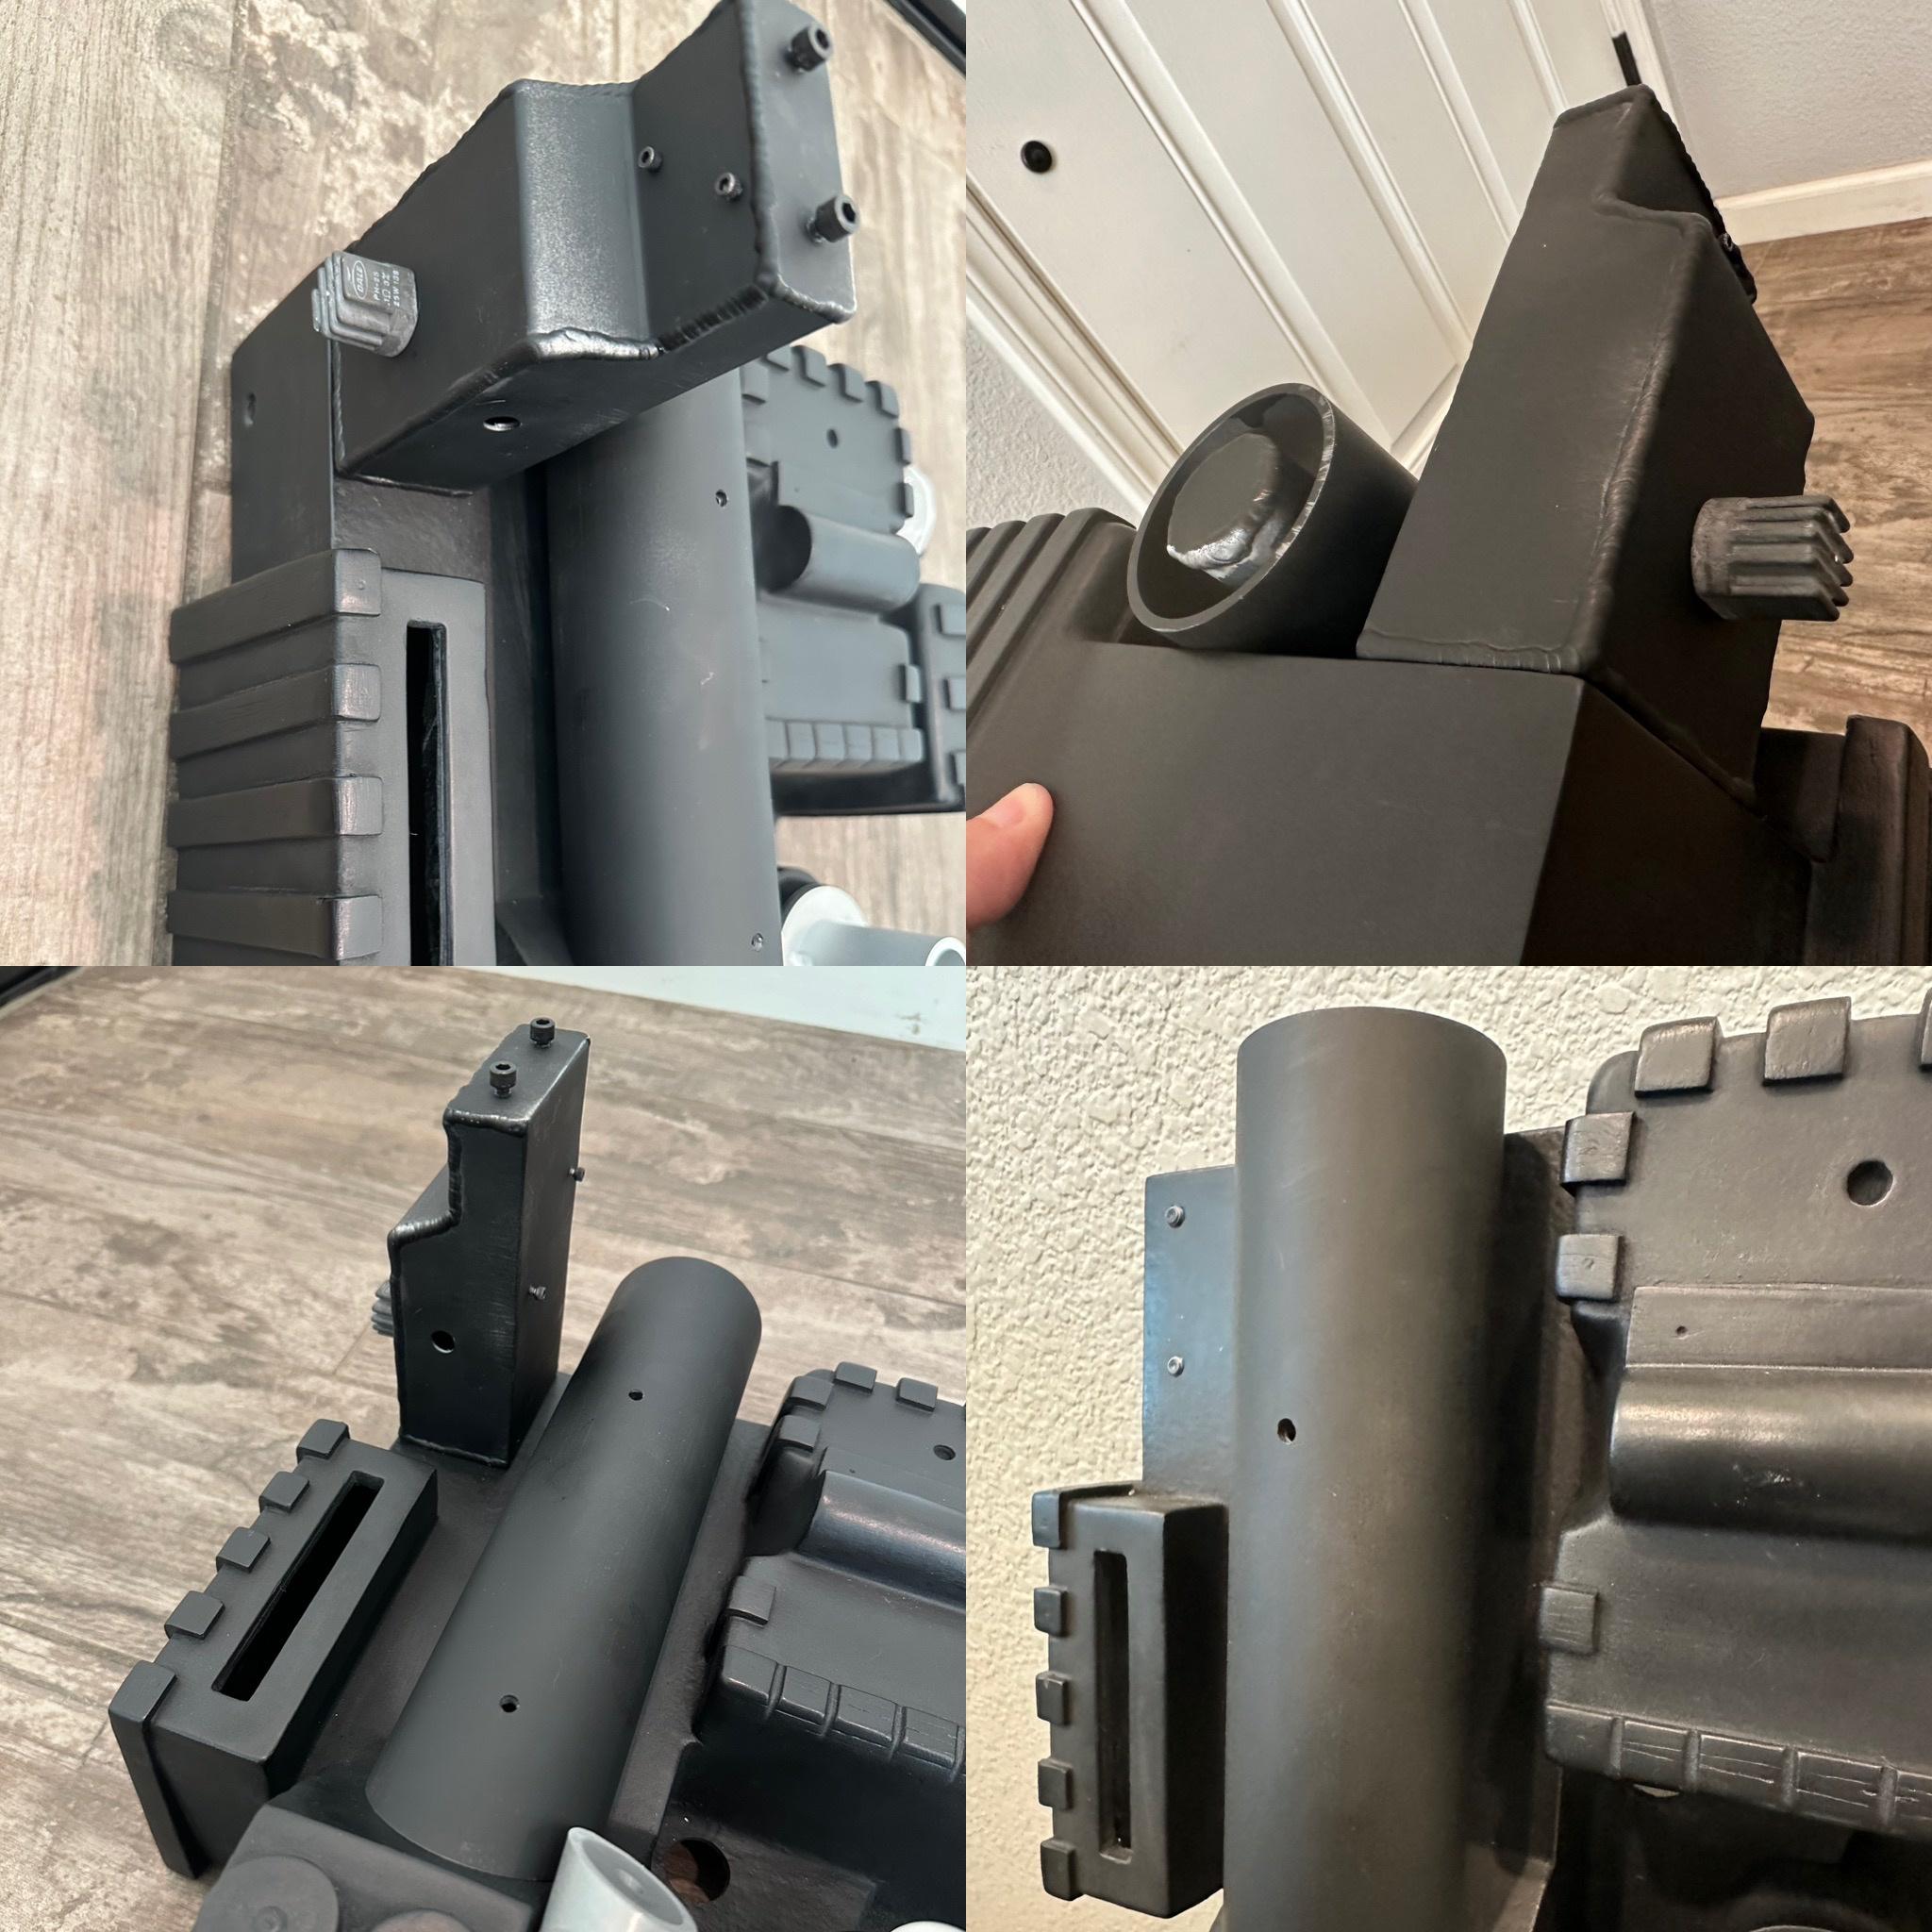
The booster tube was a bit tricky as it did not come with pre drilled holes. I used some marker and more tape to determine the center point of the tube that rests against the shell, marked the points with a center punch, then drilled holes 2.5 inches apart starting from the bottom of the booster using a step bit, and tapped them for some M5 bolts that I already had. Then placed blue tape over the booster, cut the holes out, and placed the tape on the shell.
That’s all I’ve got for now, but this was a major piece that had to get done right! I have to trim the base plate of the injector tubes to more closely match the images of the Spengler pack from the library pictures. Putting this aside for now to get ready for the work week. :love:
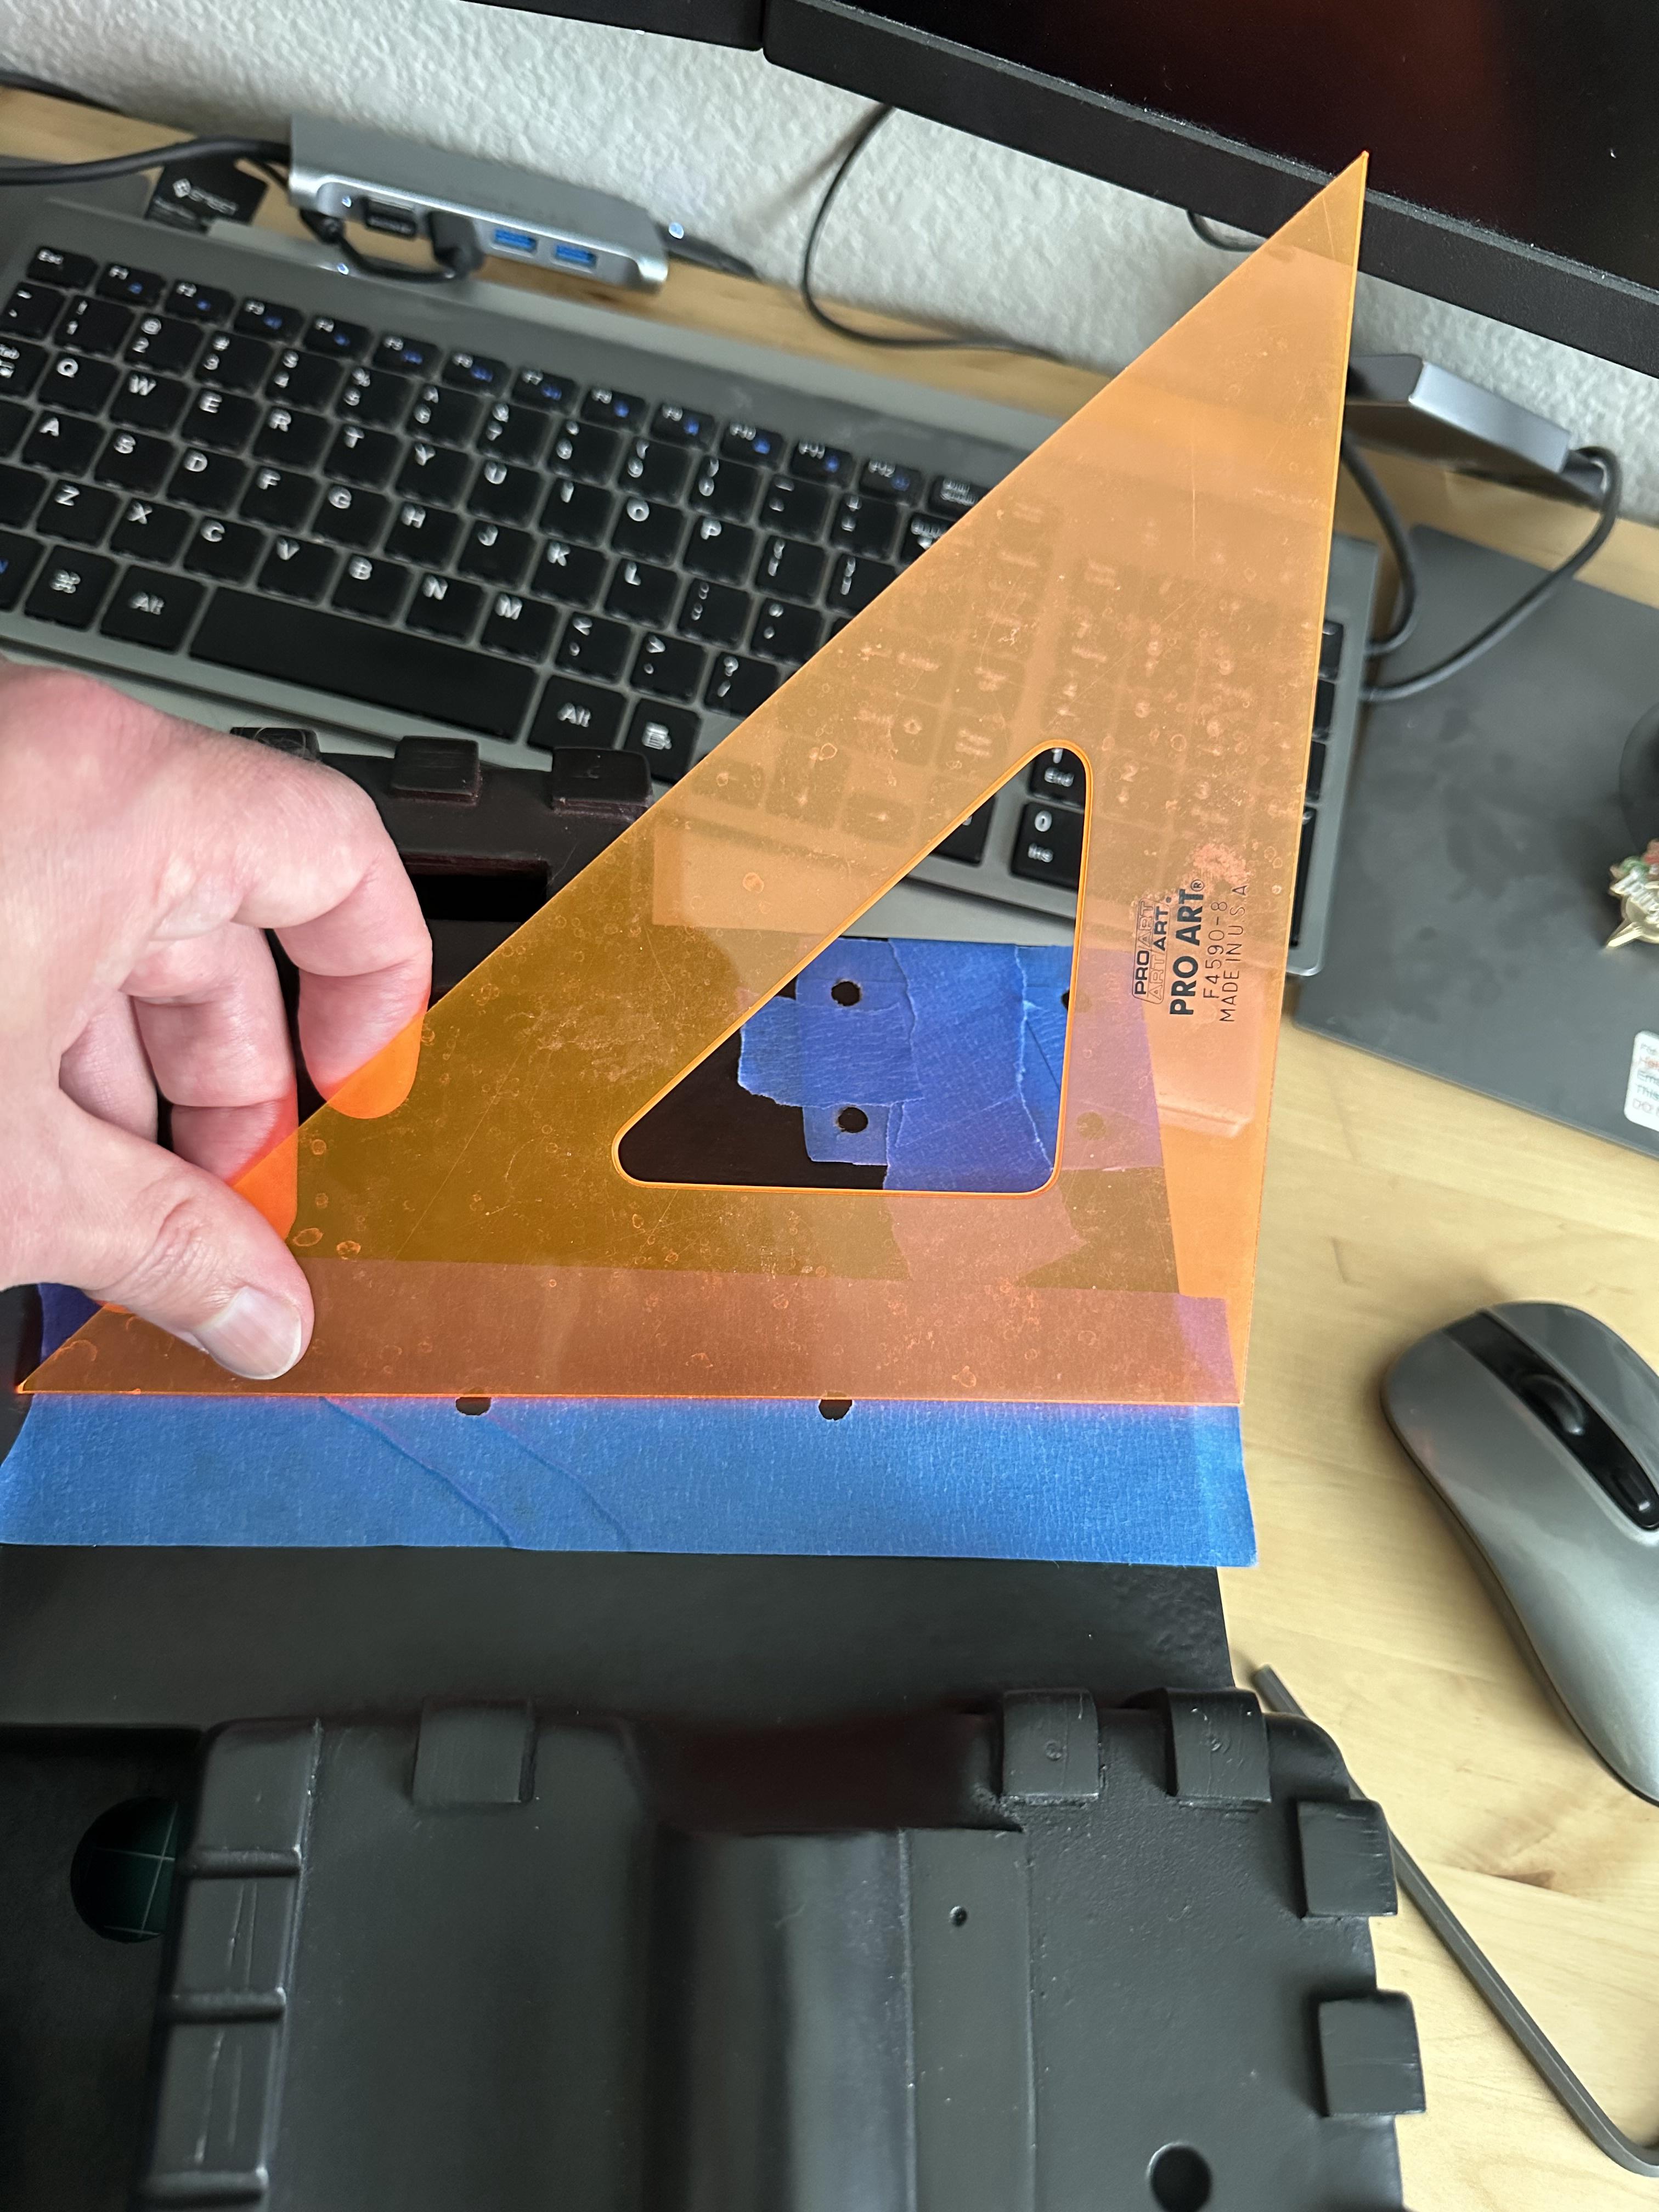
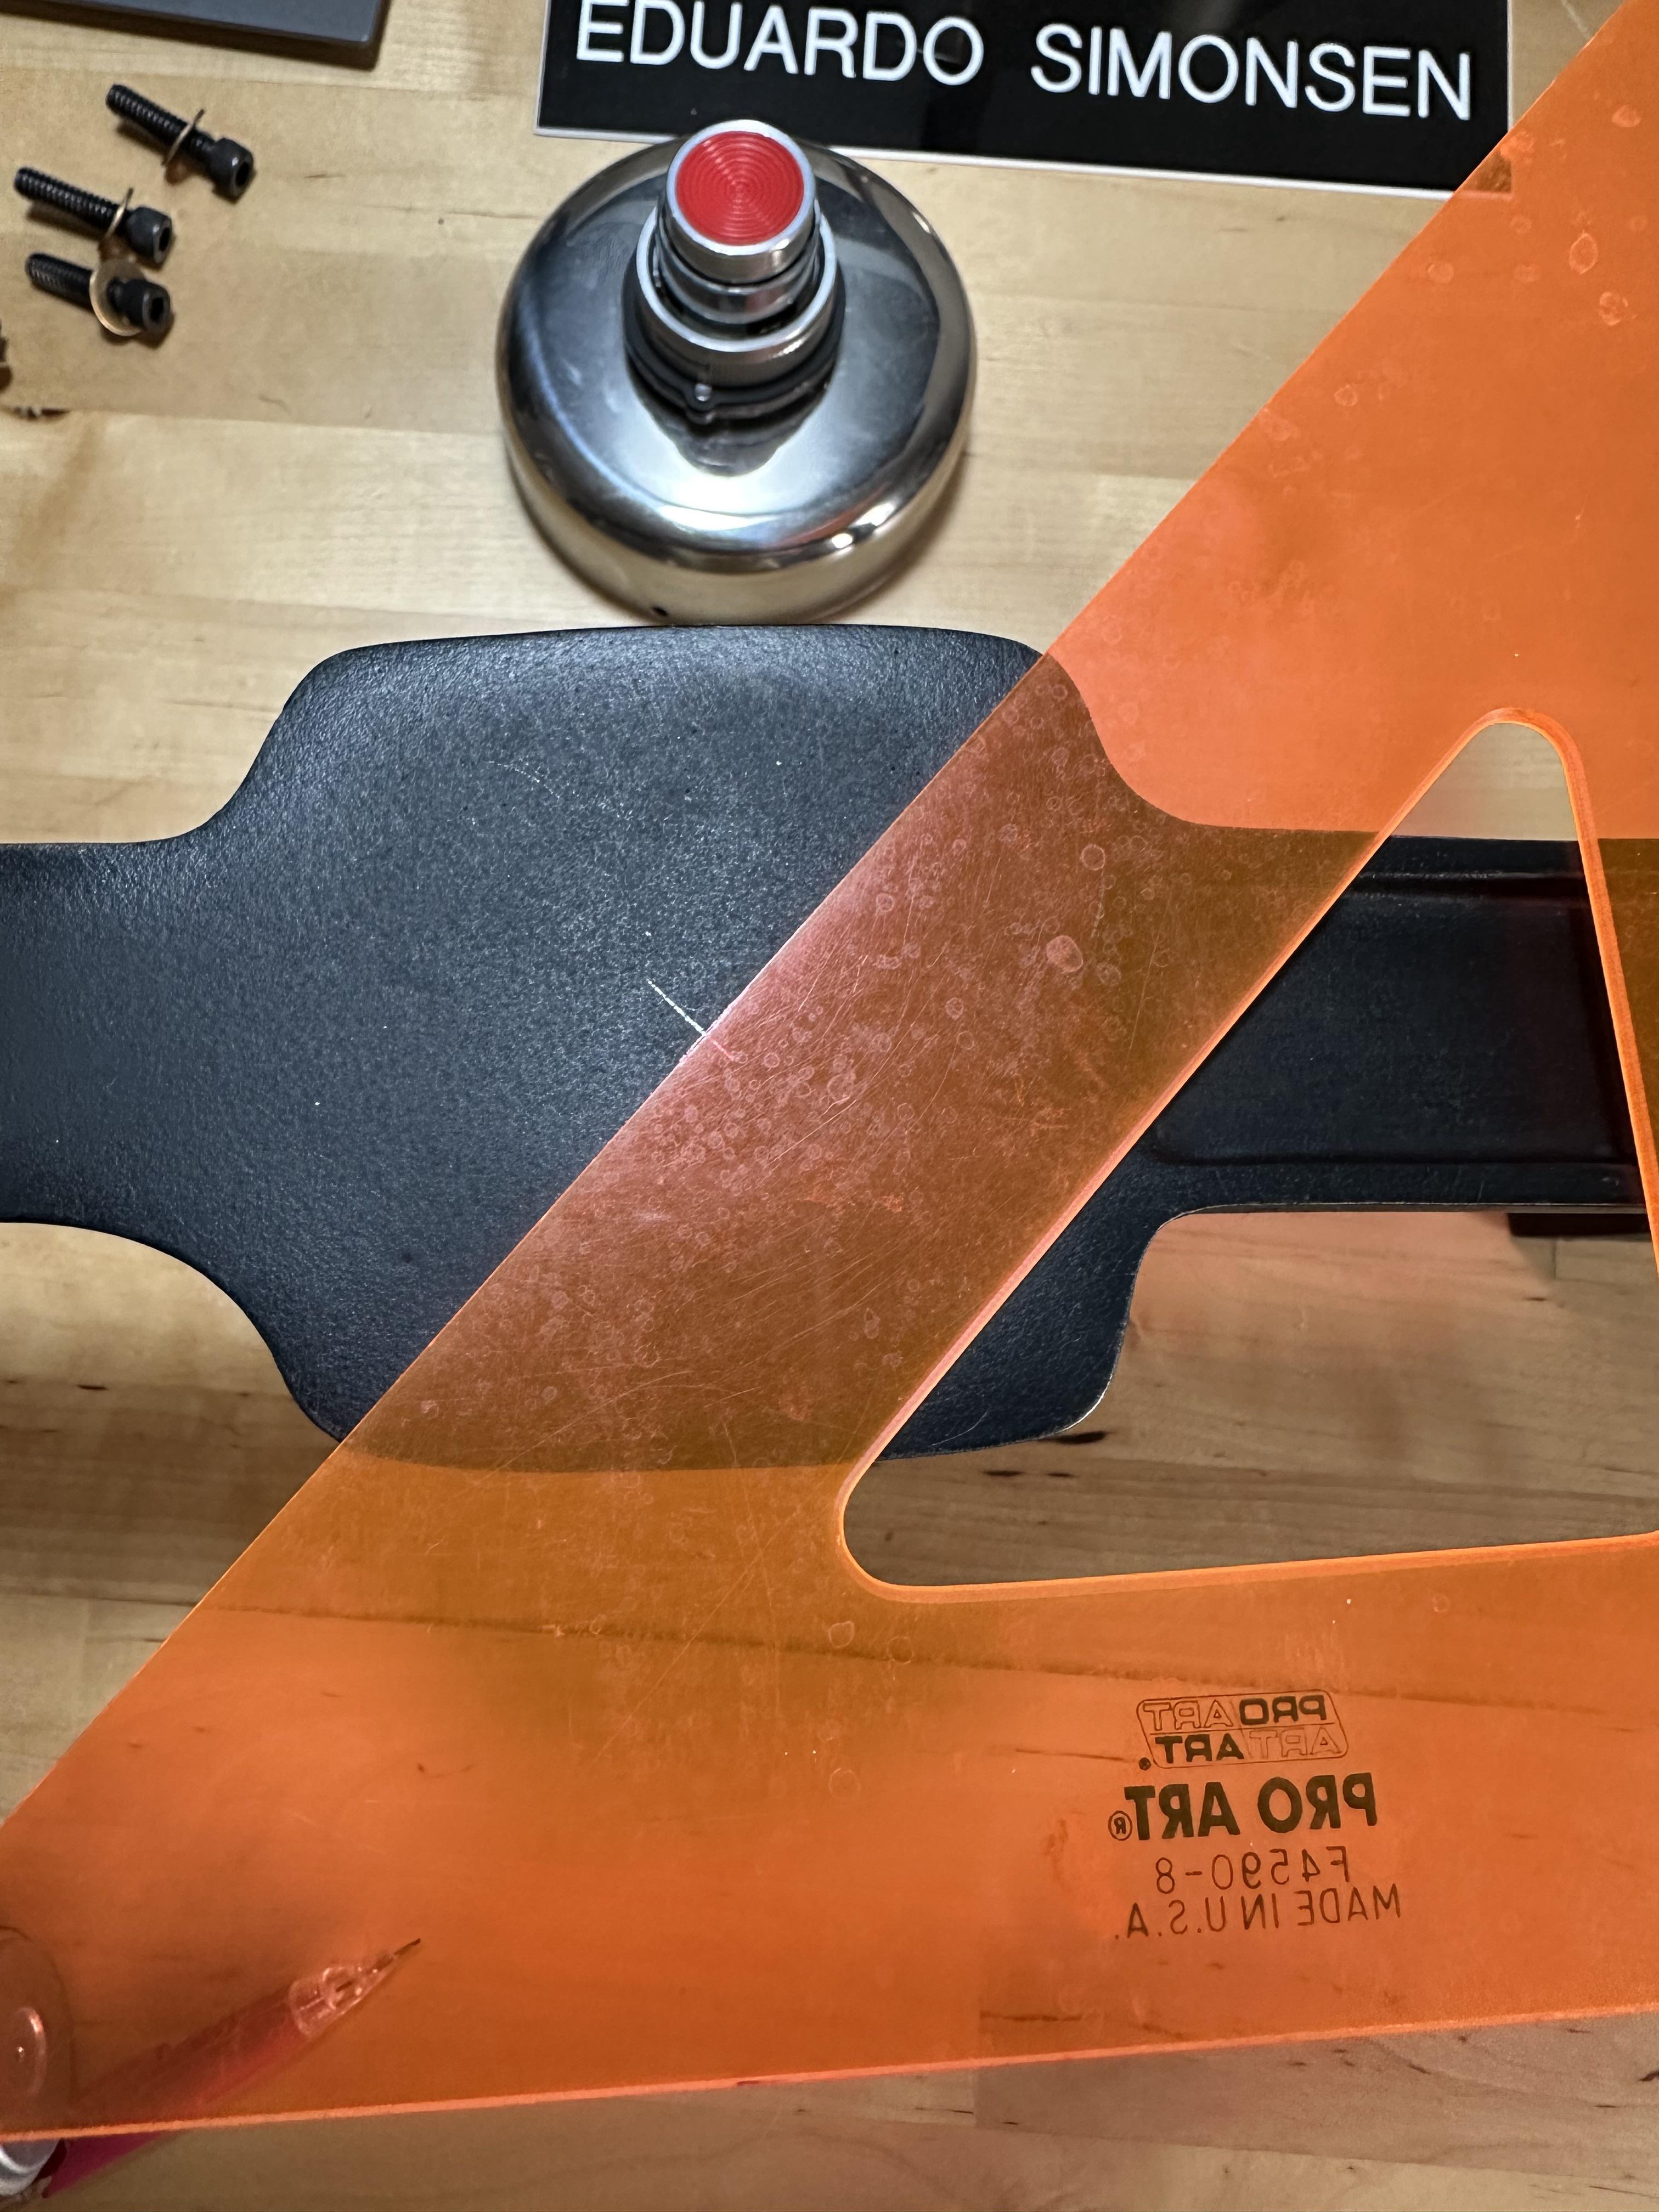
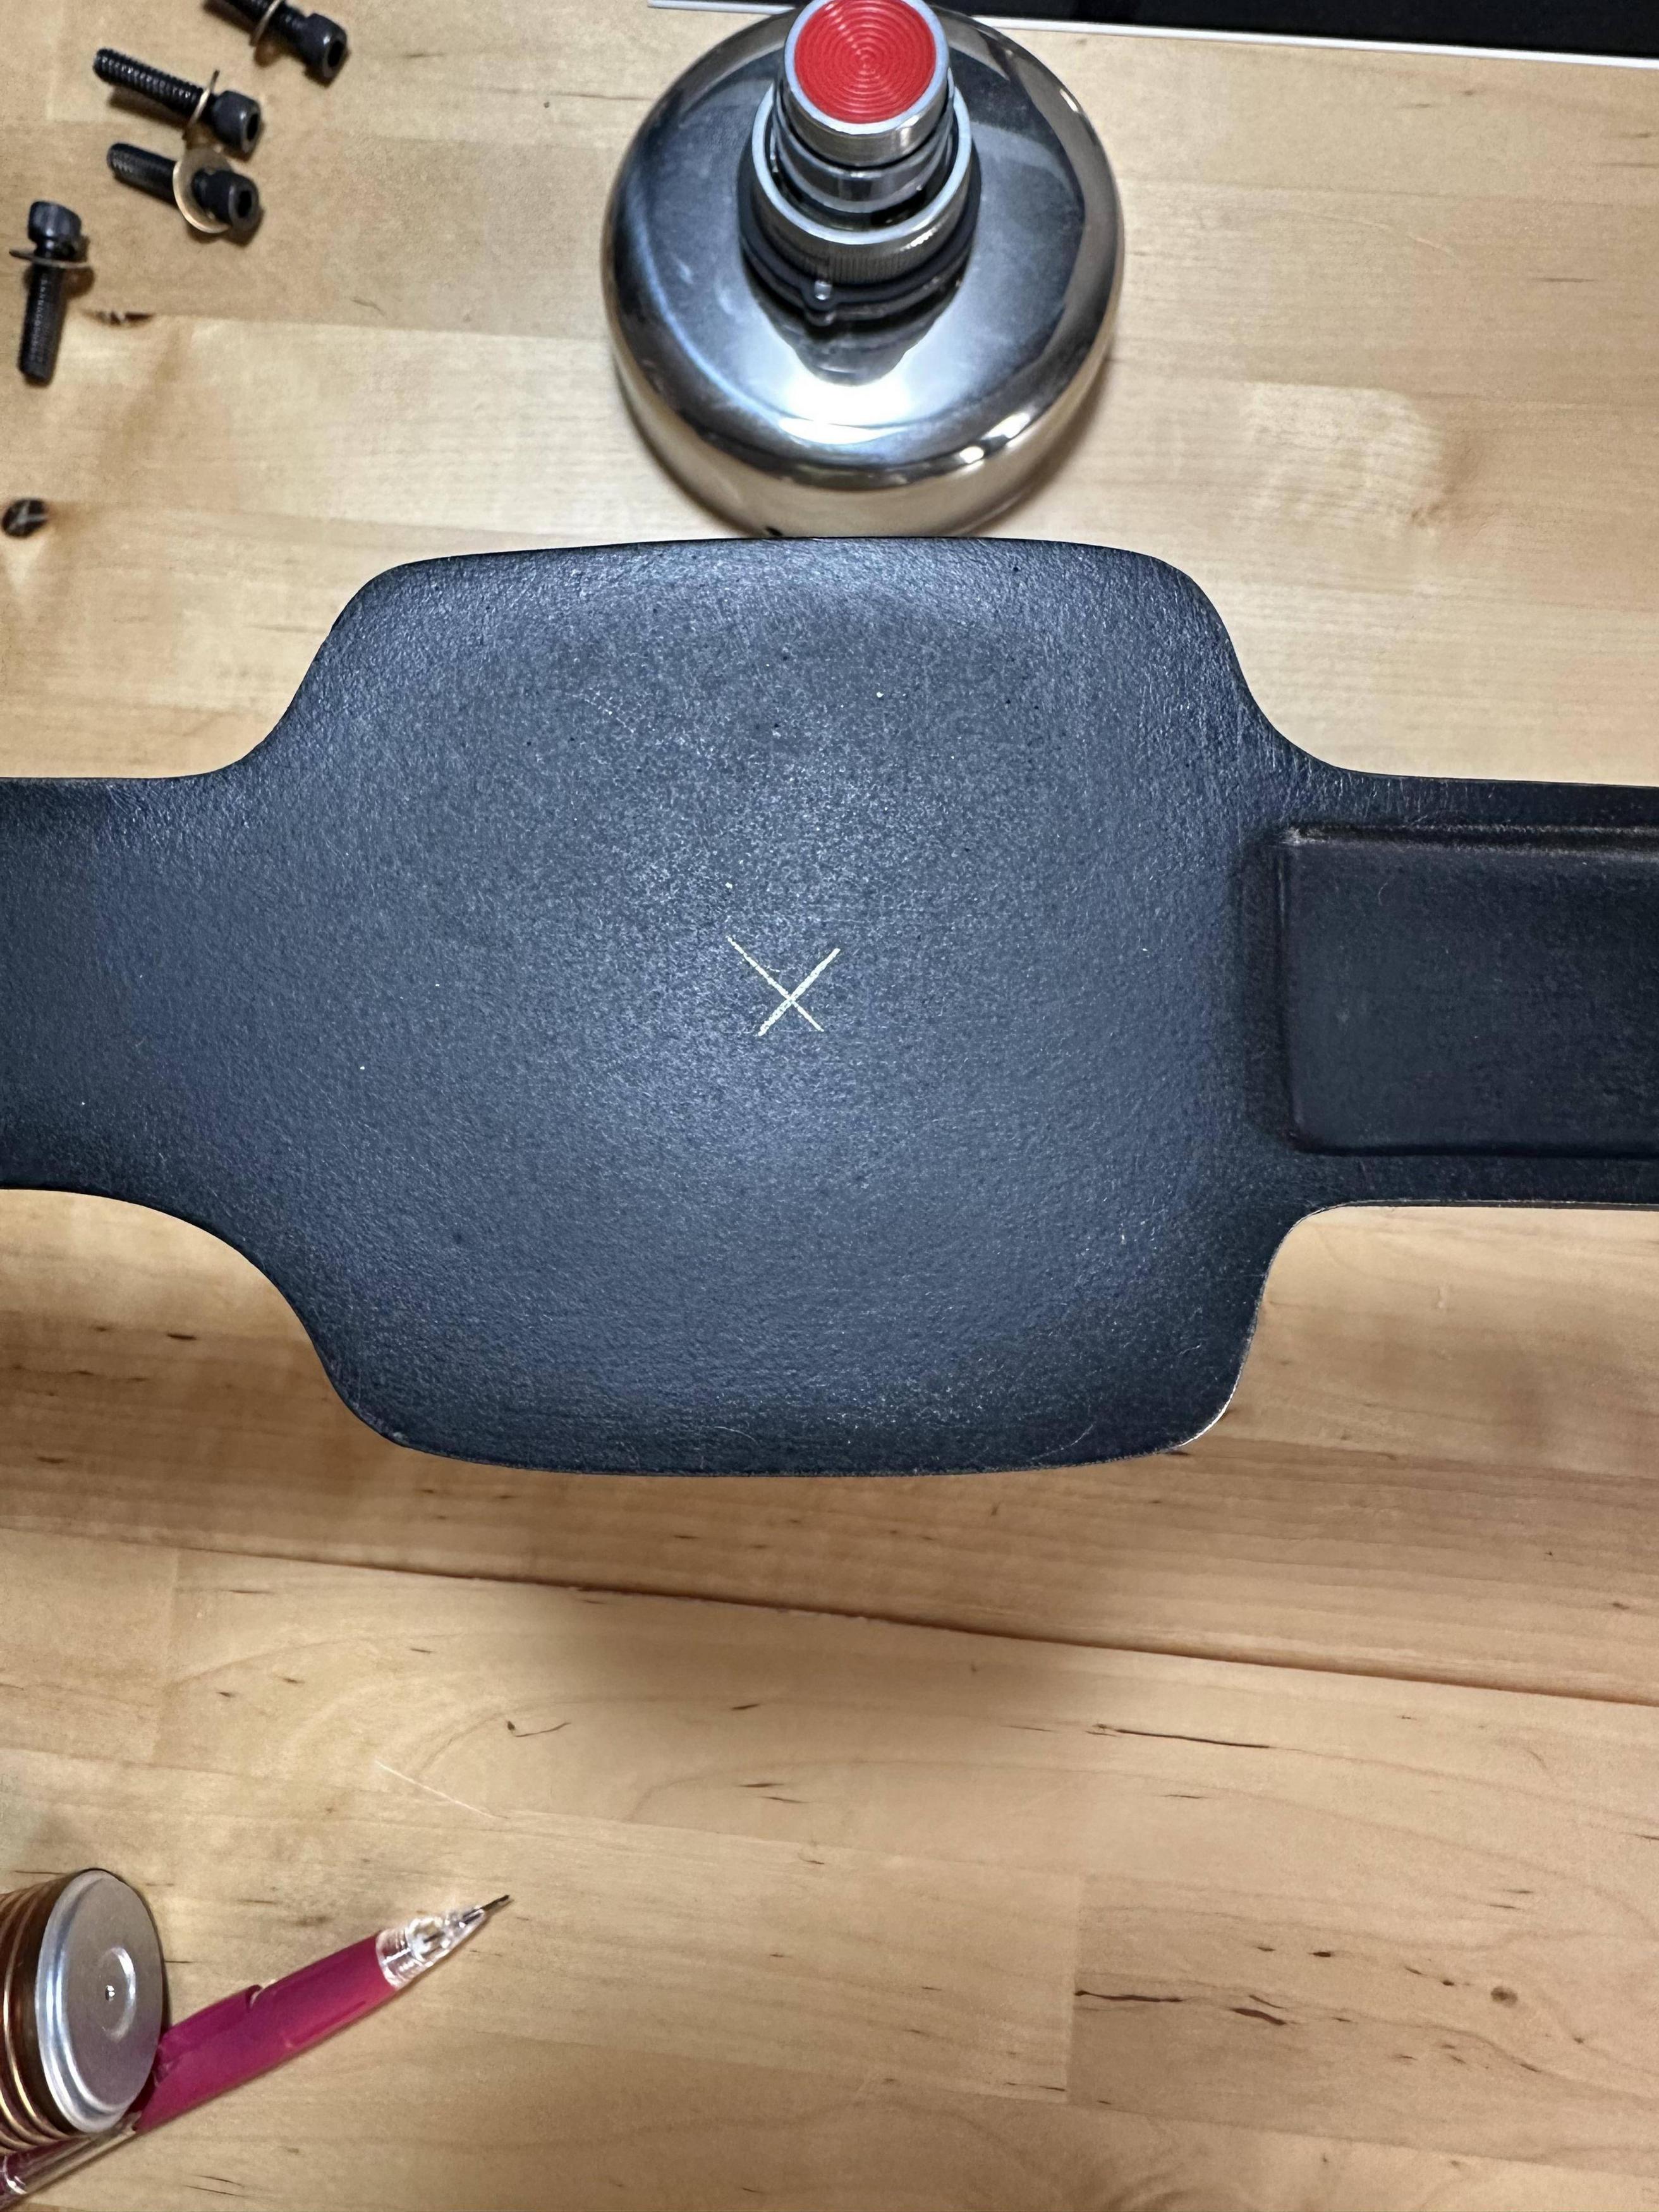
So I had just enough time for a quick task after getting laundry done and folded, kids and dogs fed , etc…. used a straight edge to mark the center point on the bumper:
Now it is all ready for the next time I get to work on it. I’ll remove all the aluminum parts and paint them, then maybe apply some decals and adhesive aluminum plates from GBfans
One detail I forgot to share in the earlier post, but still a very important one. When mounting the booster tube I made sure to preserve the signature block inside the shell.
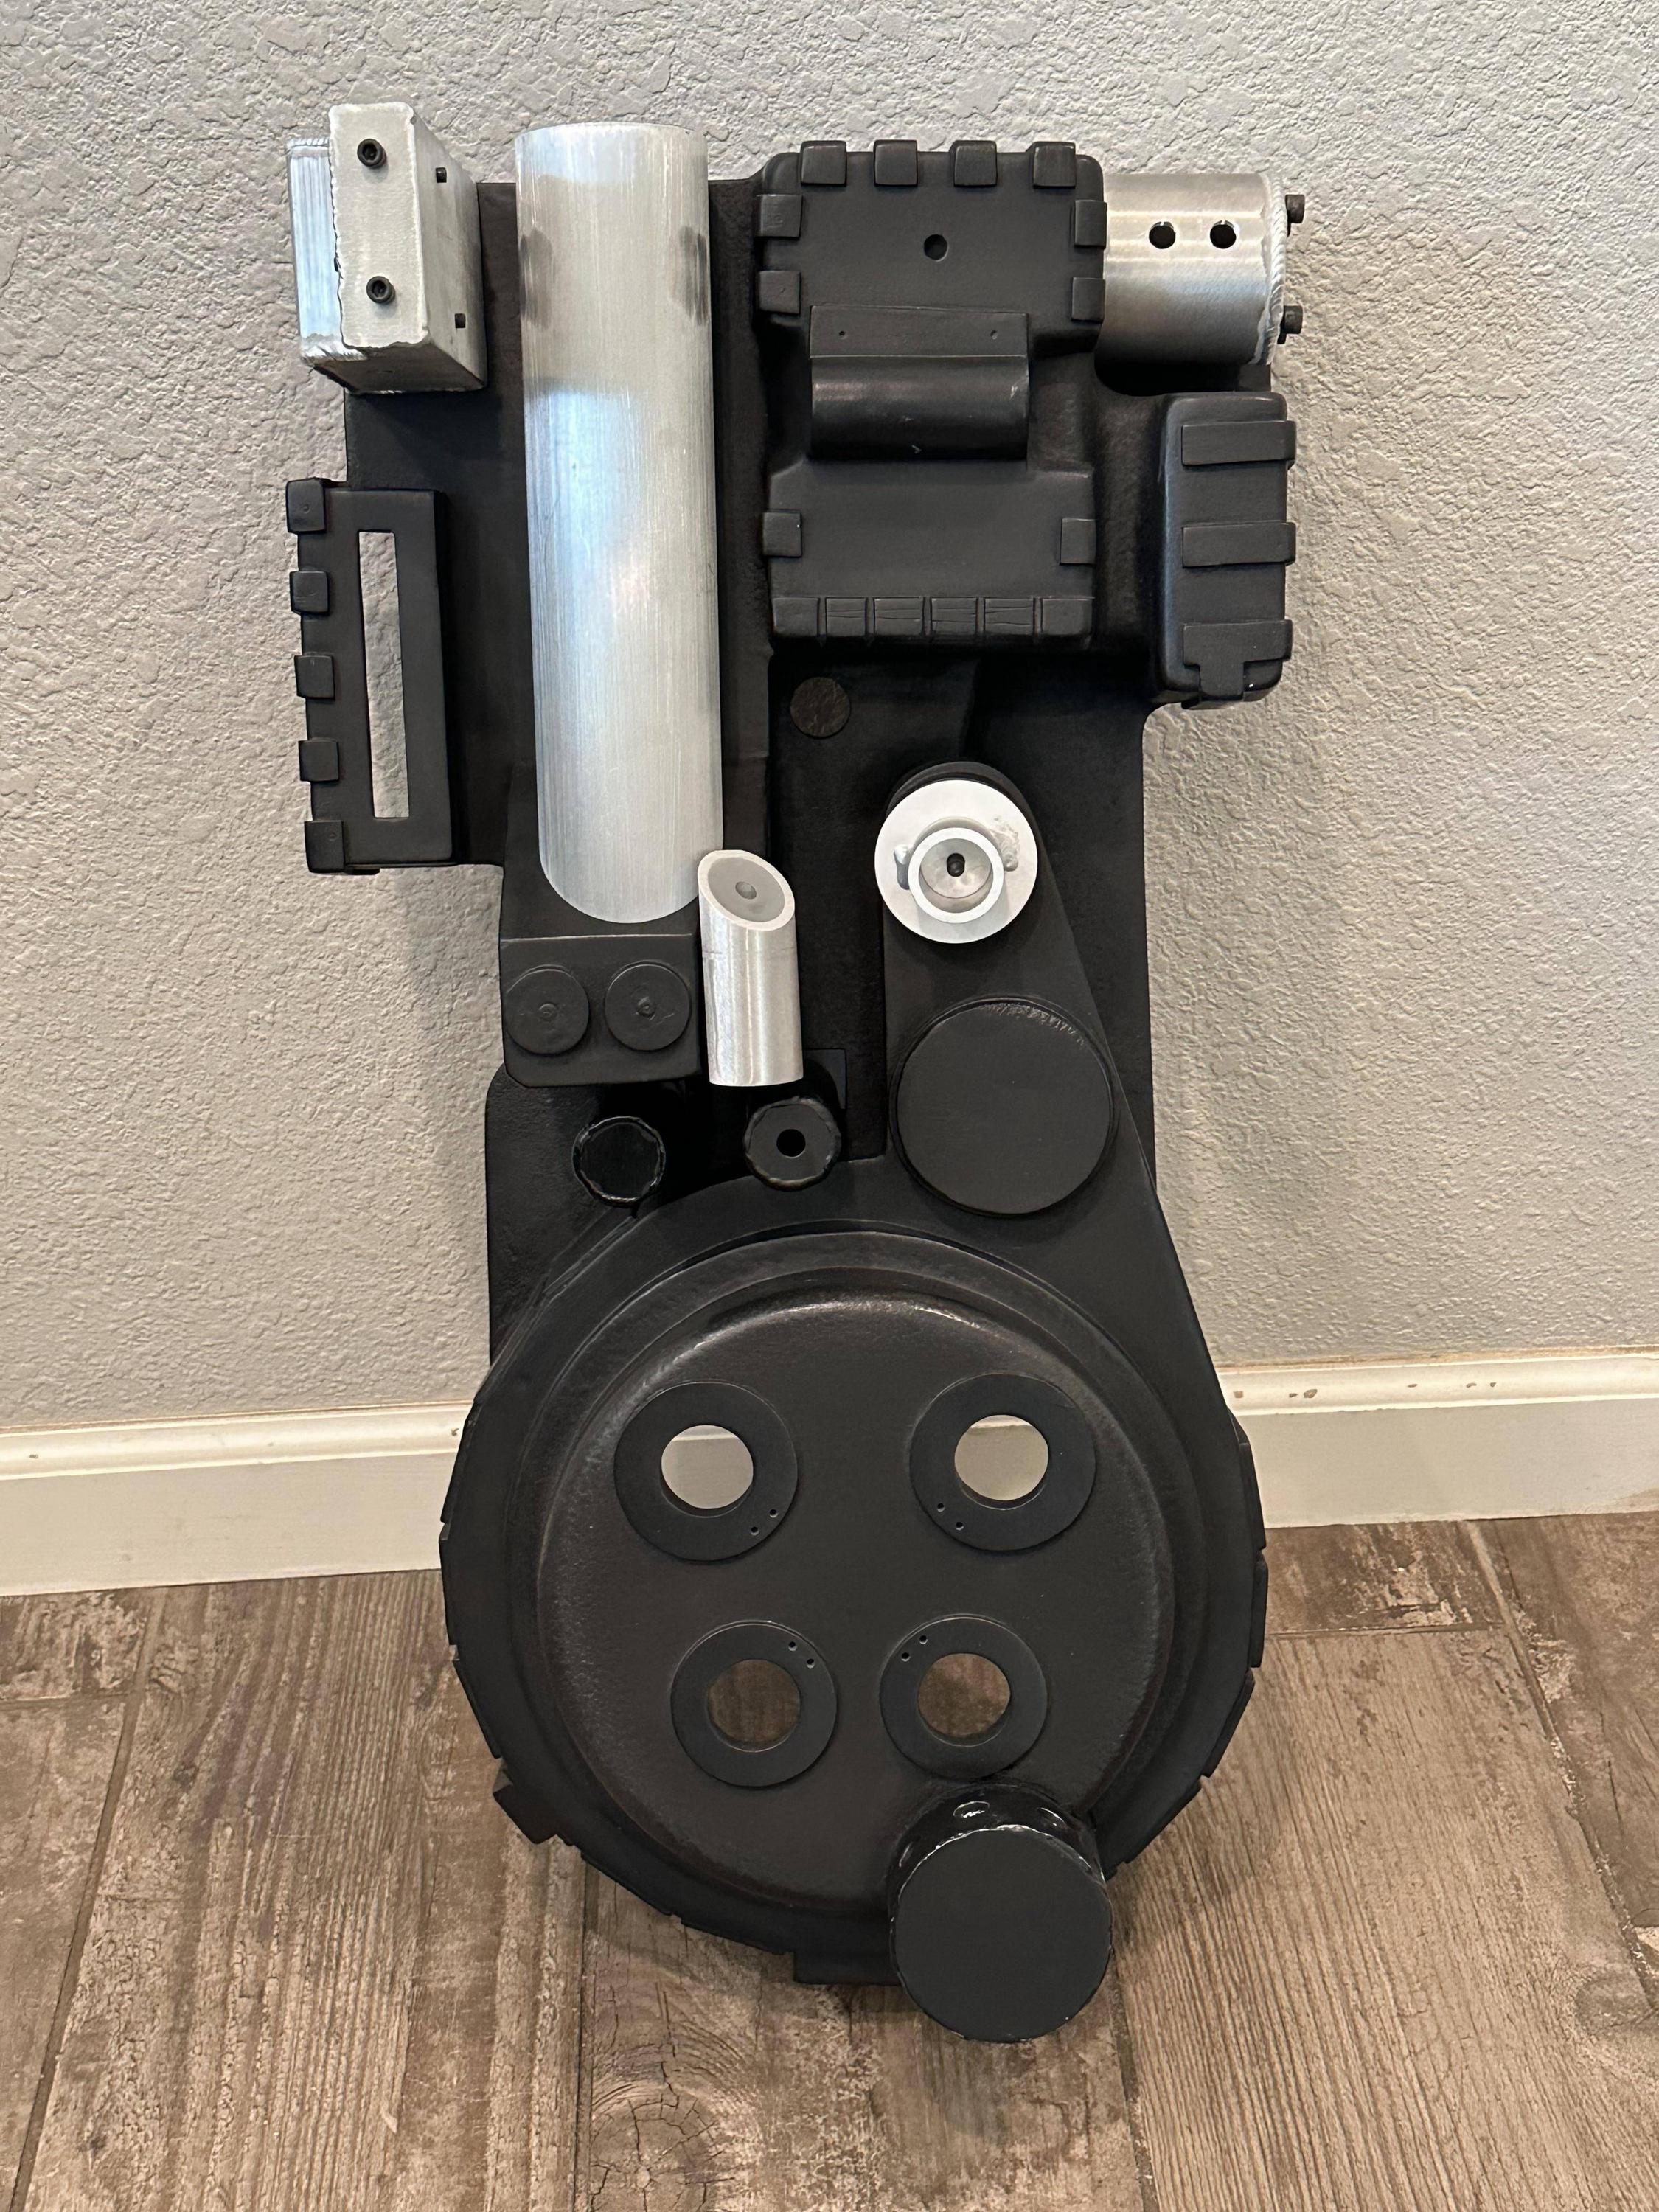
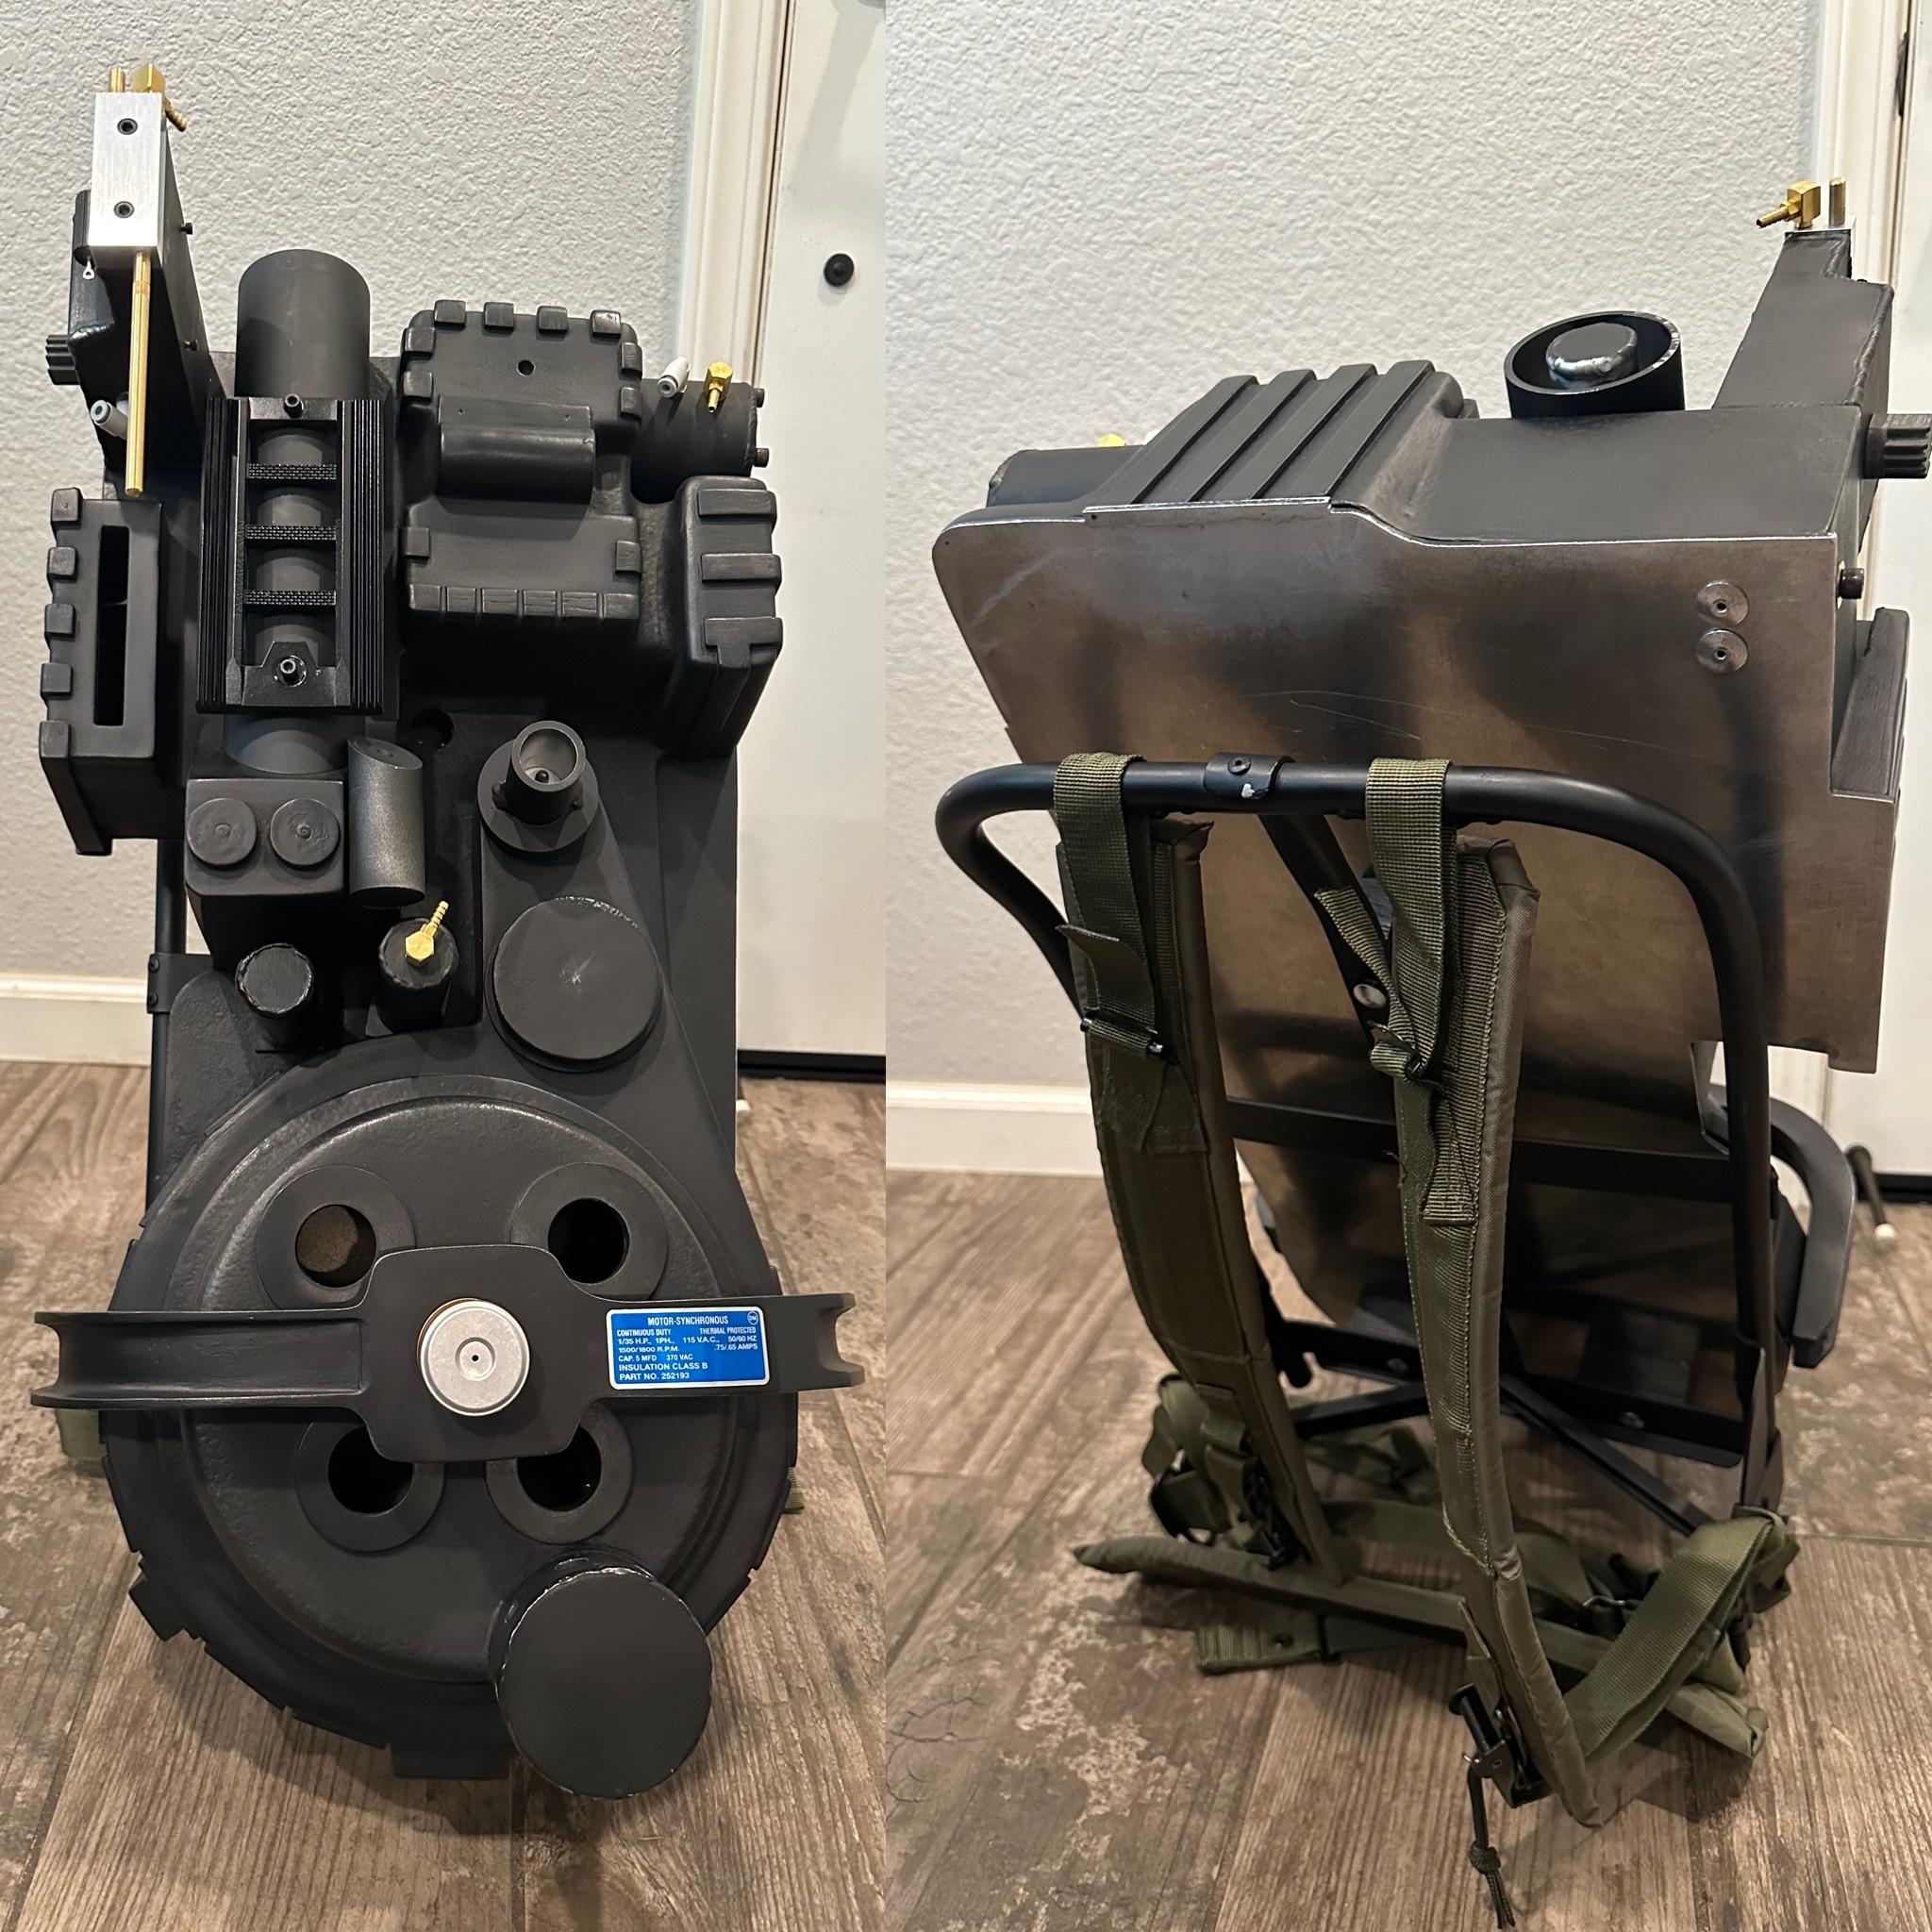
I was able to paint and remount the booster tube and ion arm today, used a light coat of flat black enamel and I am very pleased with how it matches the shell. I know the screen used packs used satin, but flat just looks so damn good in person. While paying homage to the screen used packs in other details, I also want this to be an “interest piece” that can be appreciated close up. I also let some of the metal show through tastefully to appreciate the underlying aluminum. I will repeat the same process with the remaining aluminum pieces. More to follow!
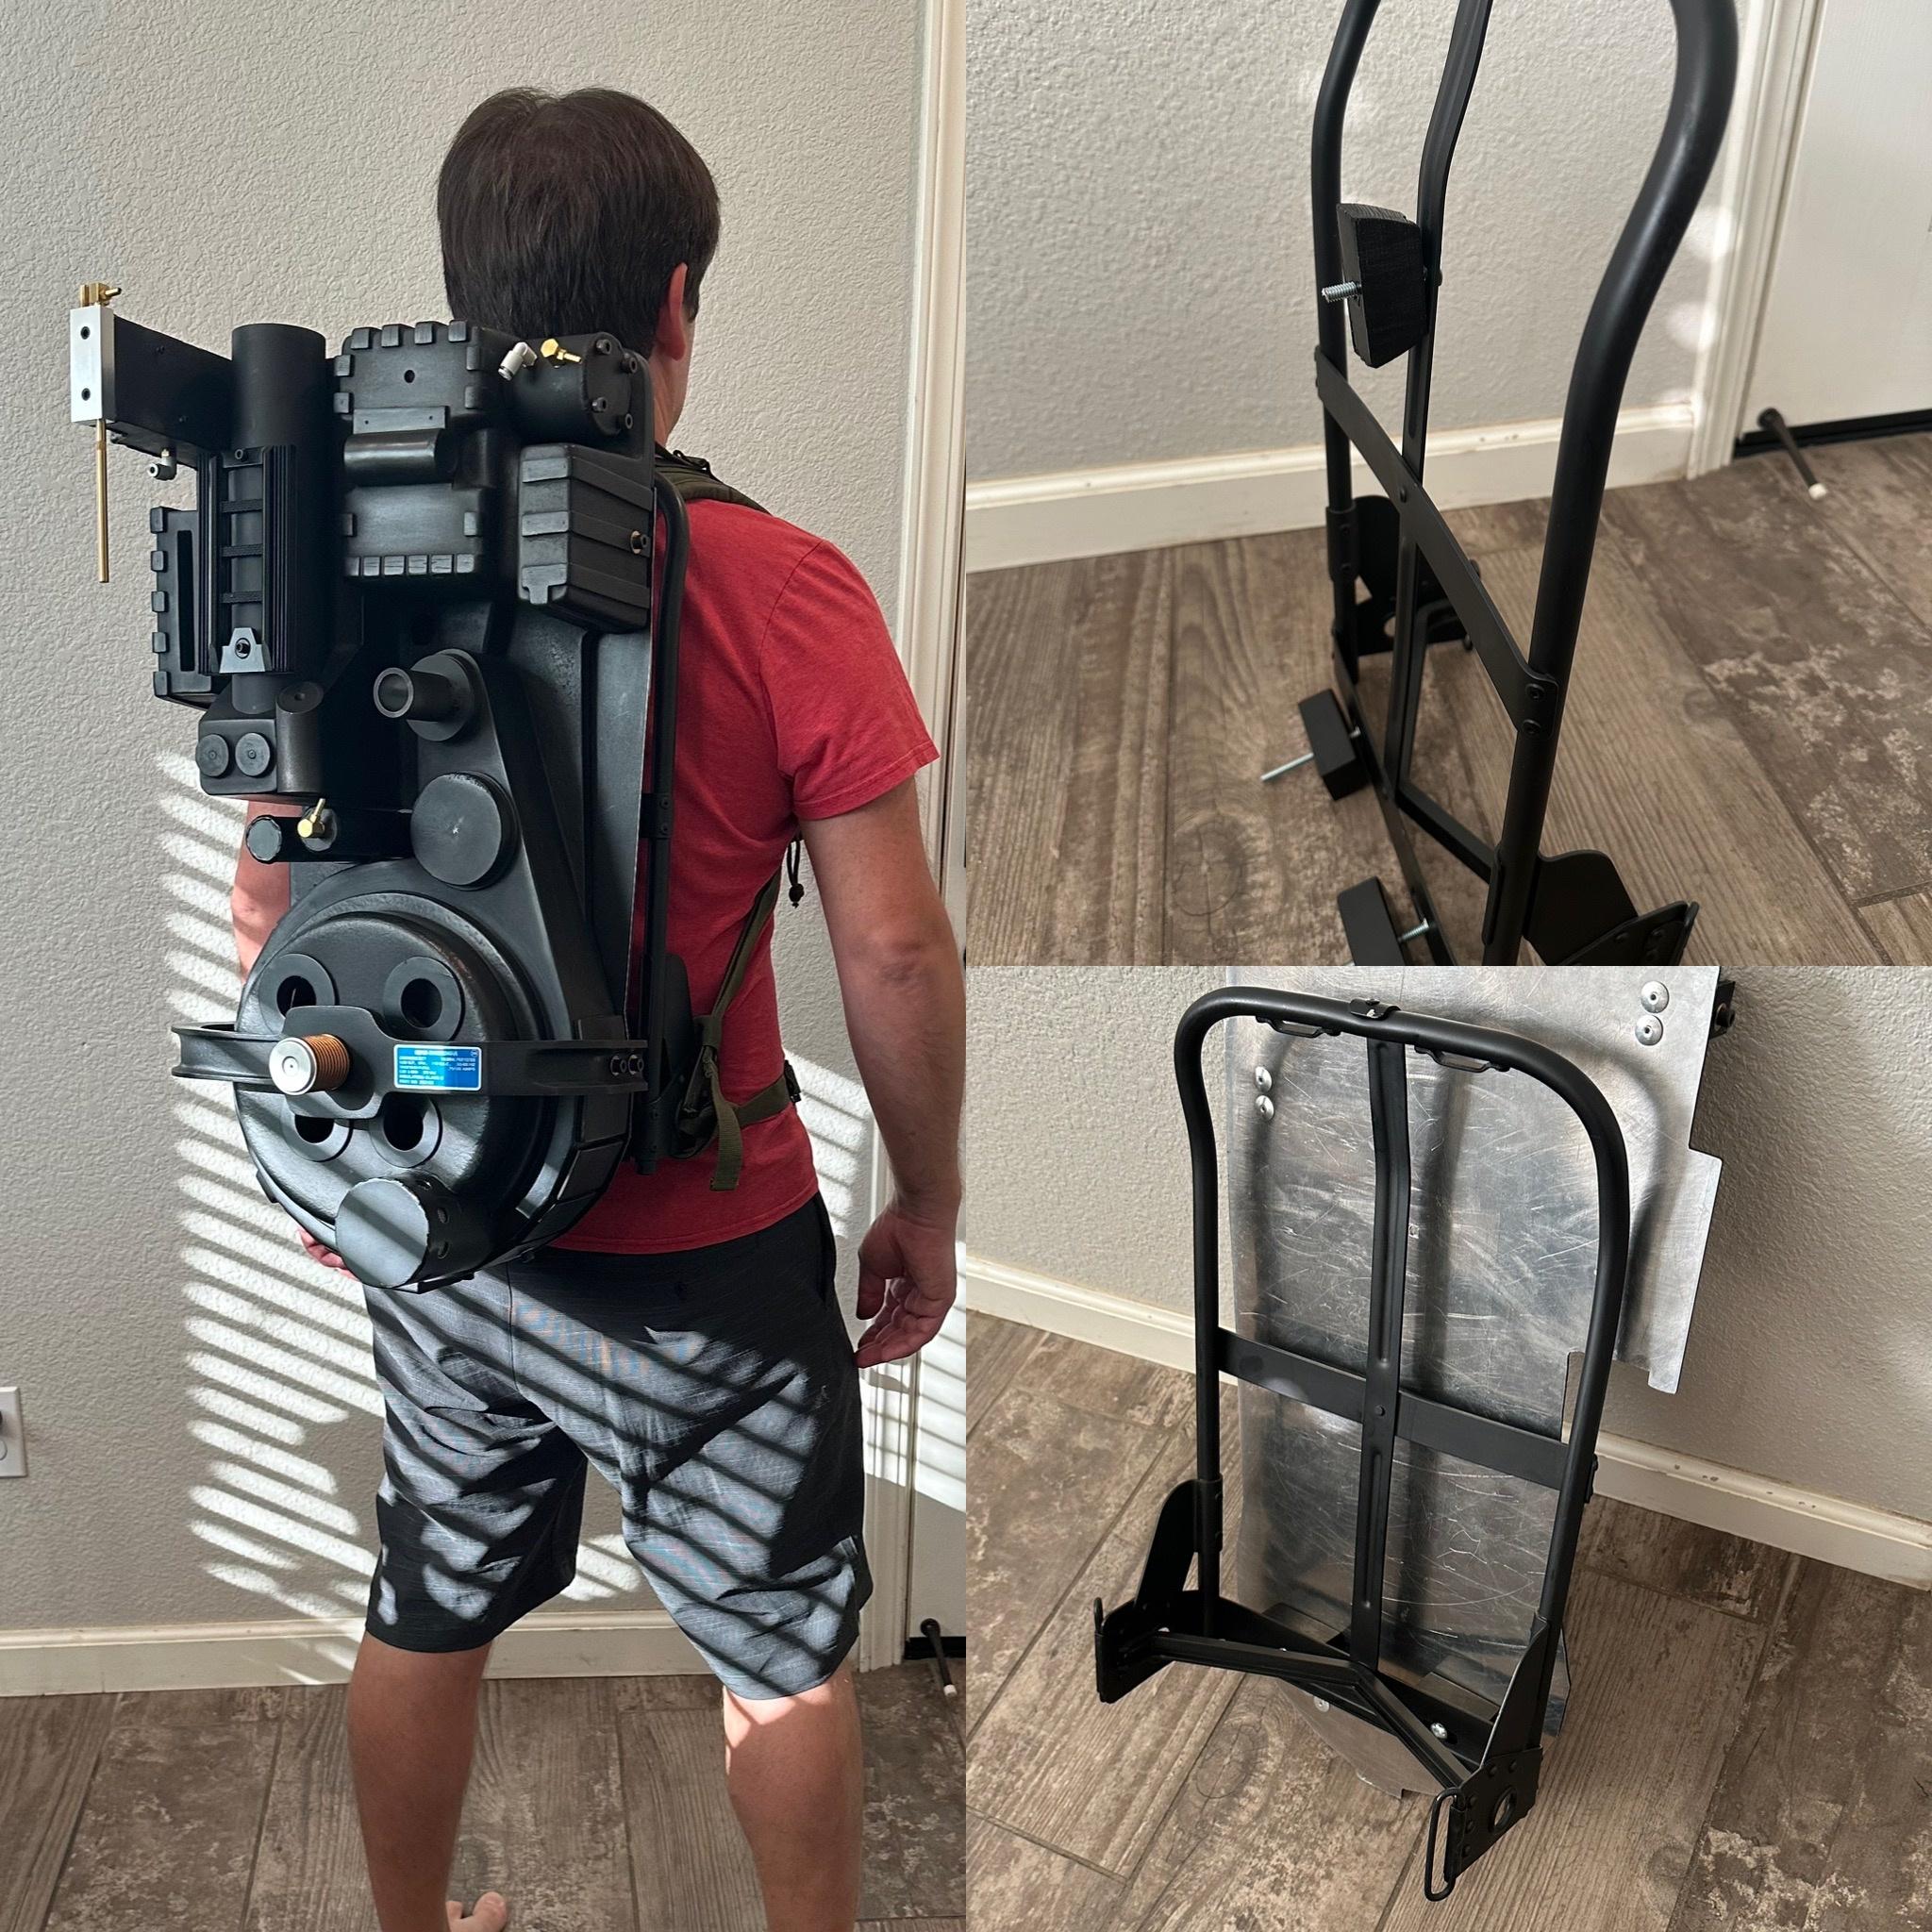
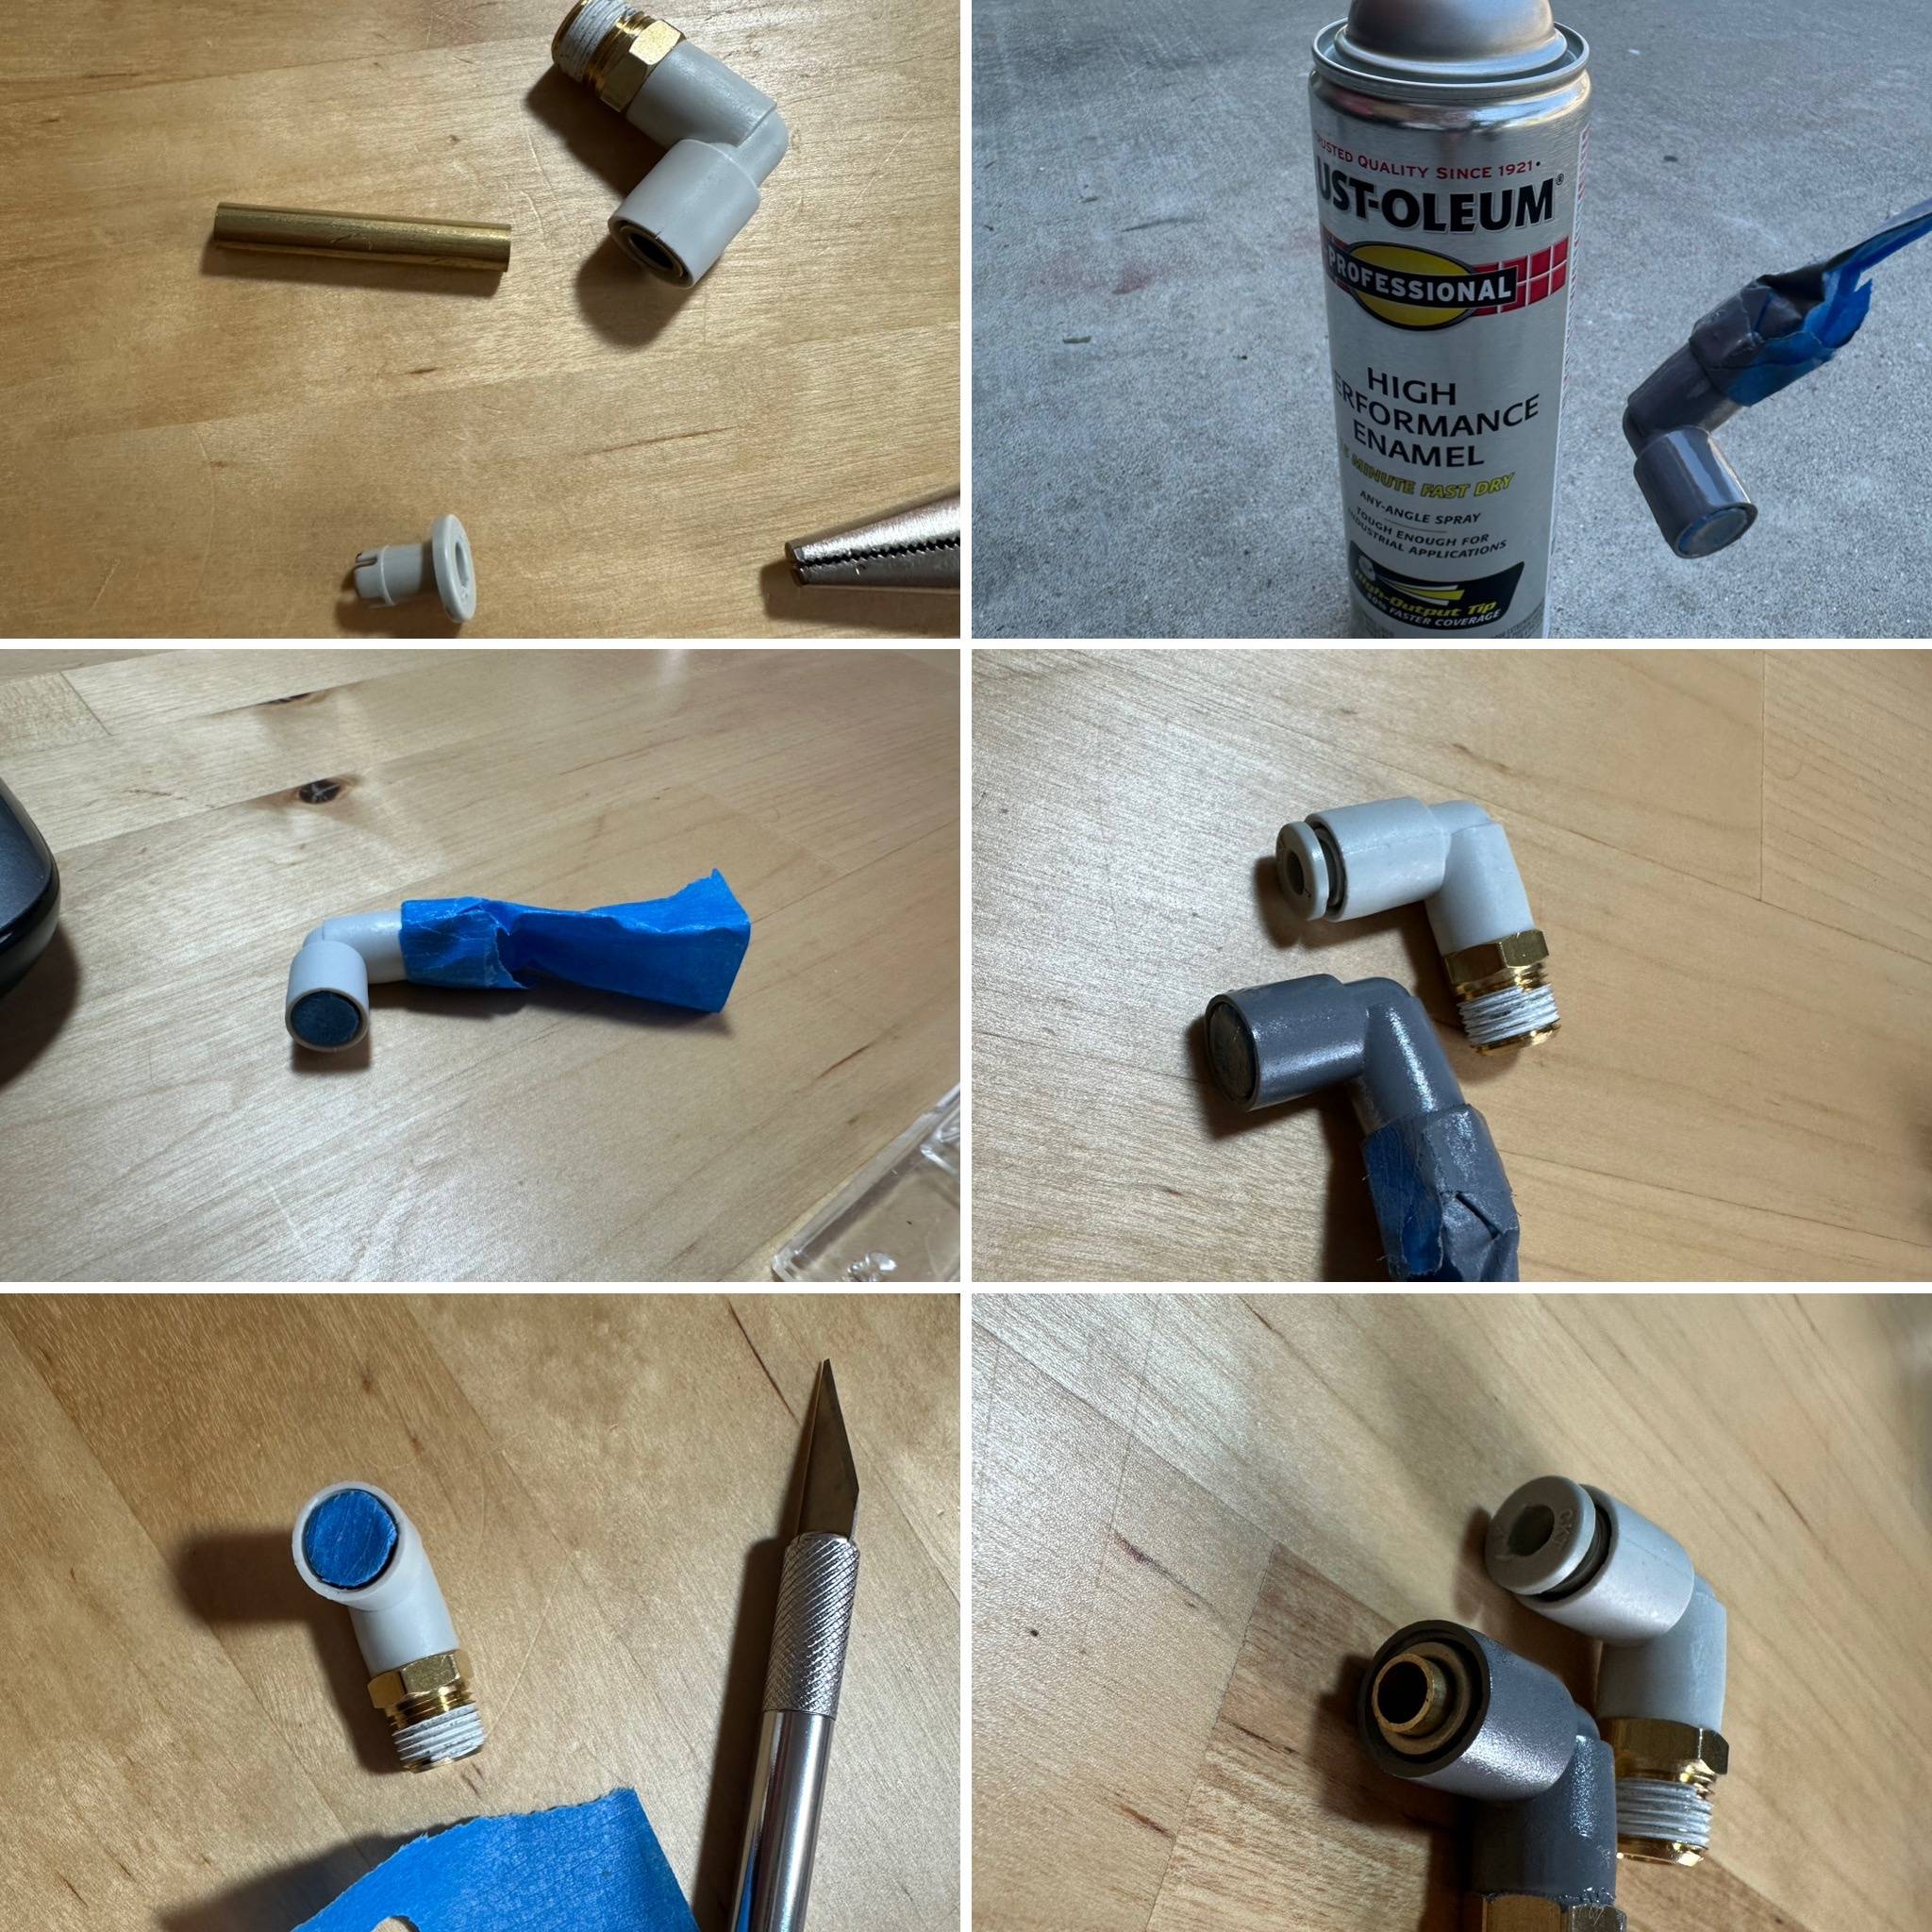
I painted and remounted a few more aluminum pieces as well as drilled the middle bar of the ALICE frame to mount it to the MB. I have to say the GBfans reproduction Alice frame is absolutely rock solid, no flex whatsoever. Also added the aluminum plate label to the bumper and a few fittings. First time trying it on!
It is definitely more awkward to walk around with than my original scaled spirit pack (the one that started it all for me).
I ended up getting stuck on the basketball hoop that is on my office door and had to carefully remove the hoop from the door while it was still stuck to the top of the ion arm.
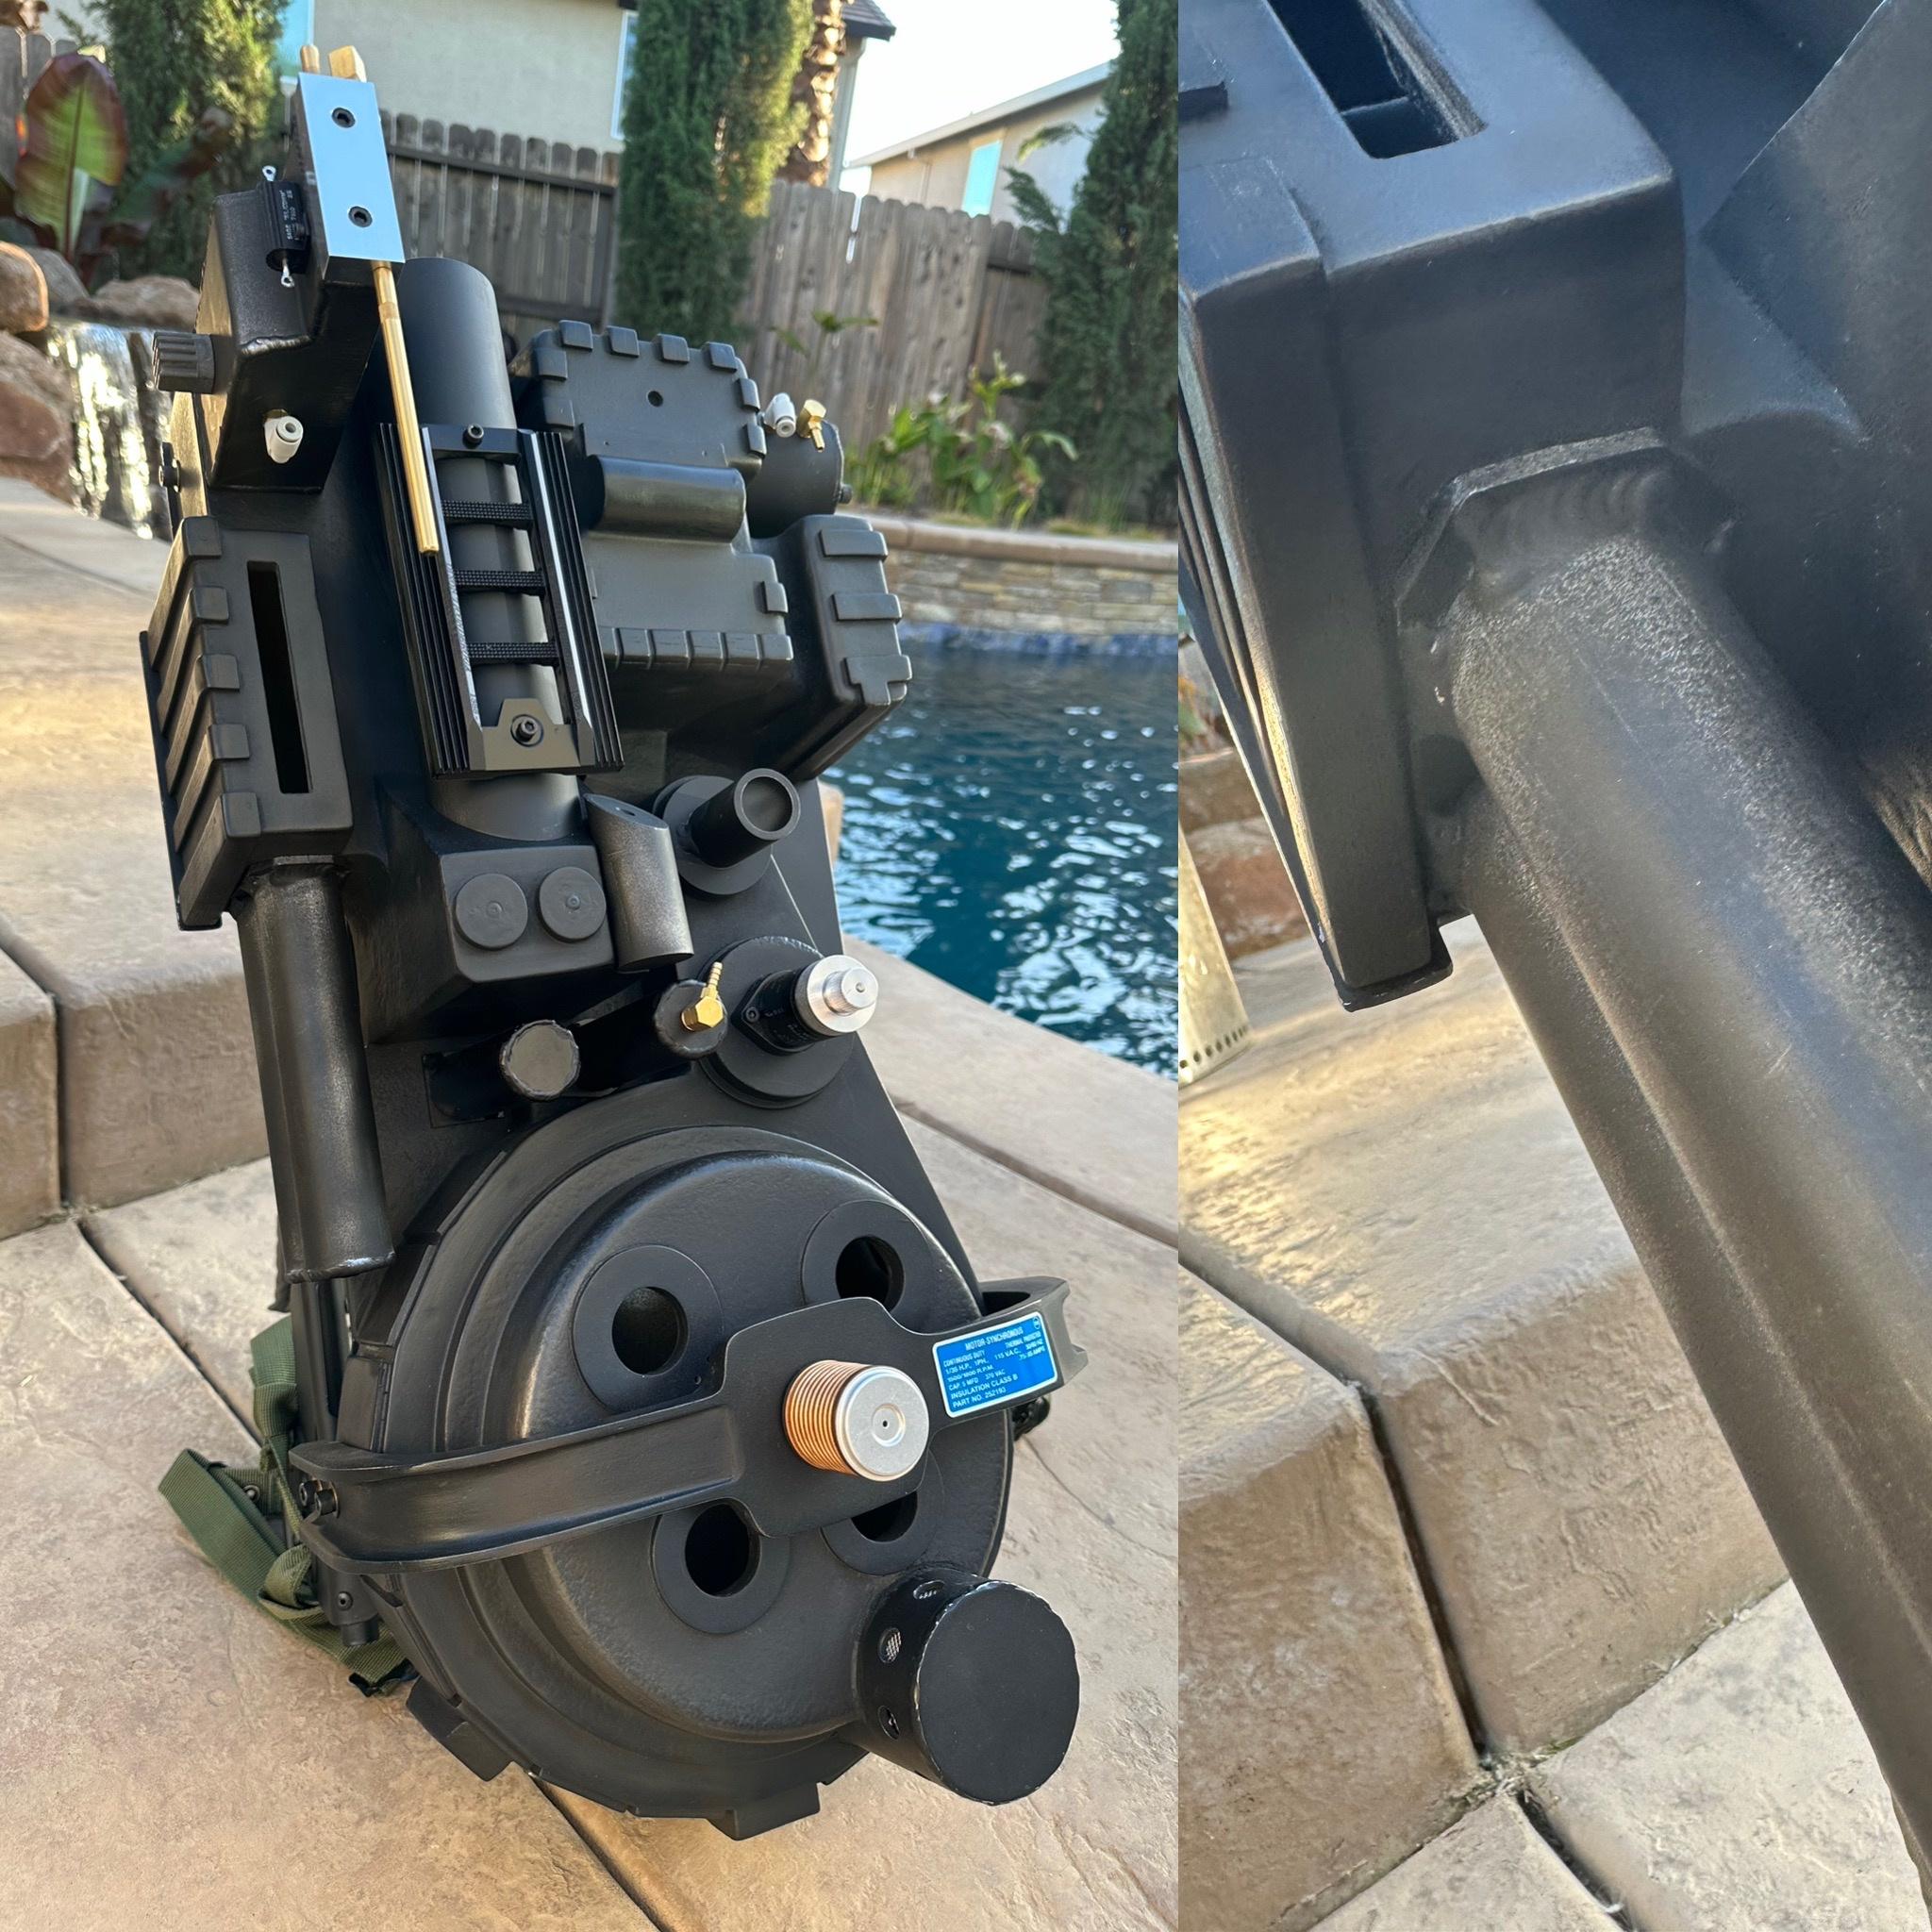
By now you might be wondering where the injector tubes are and why I haven’t put them on yet. I noticed during the dry fit process that the base plate for the injector tubes fit a bit awkwardly under the power cell with one side a little longer than the other. I ended up trimming the plate today to more closely resemble the injector baseplate on the Spengler hero pack. Here are some photos of the end product and process compared to a library photo of the Spengler pack.
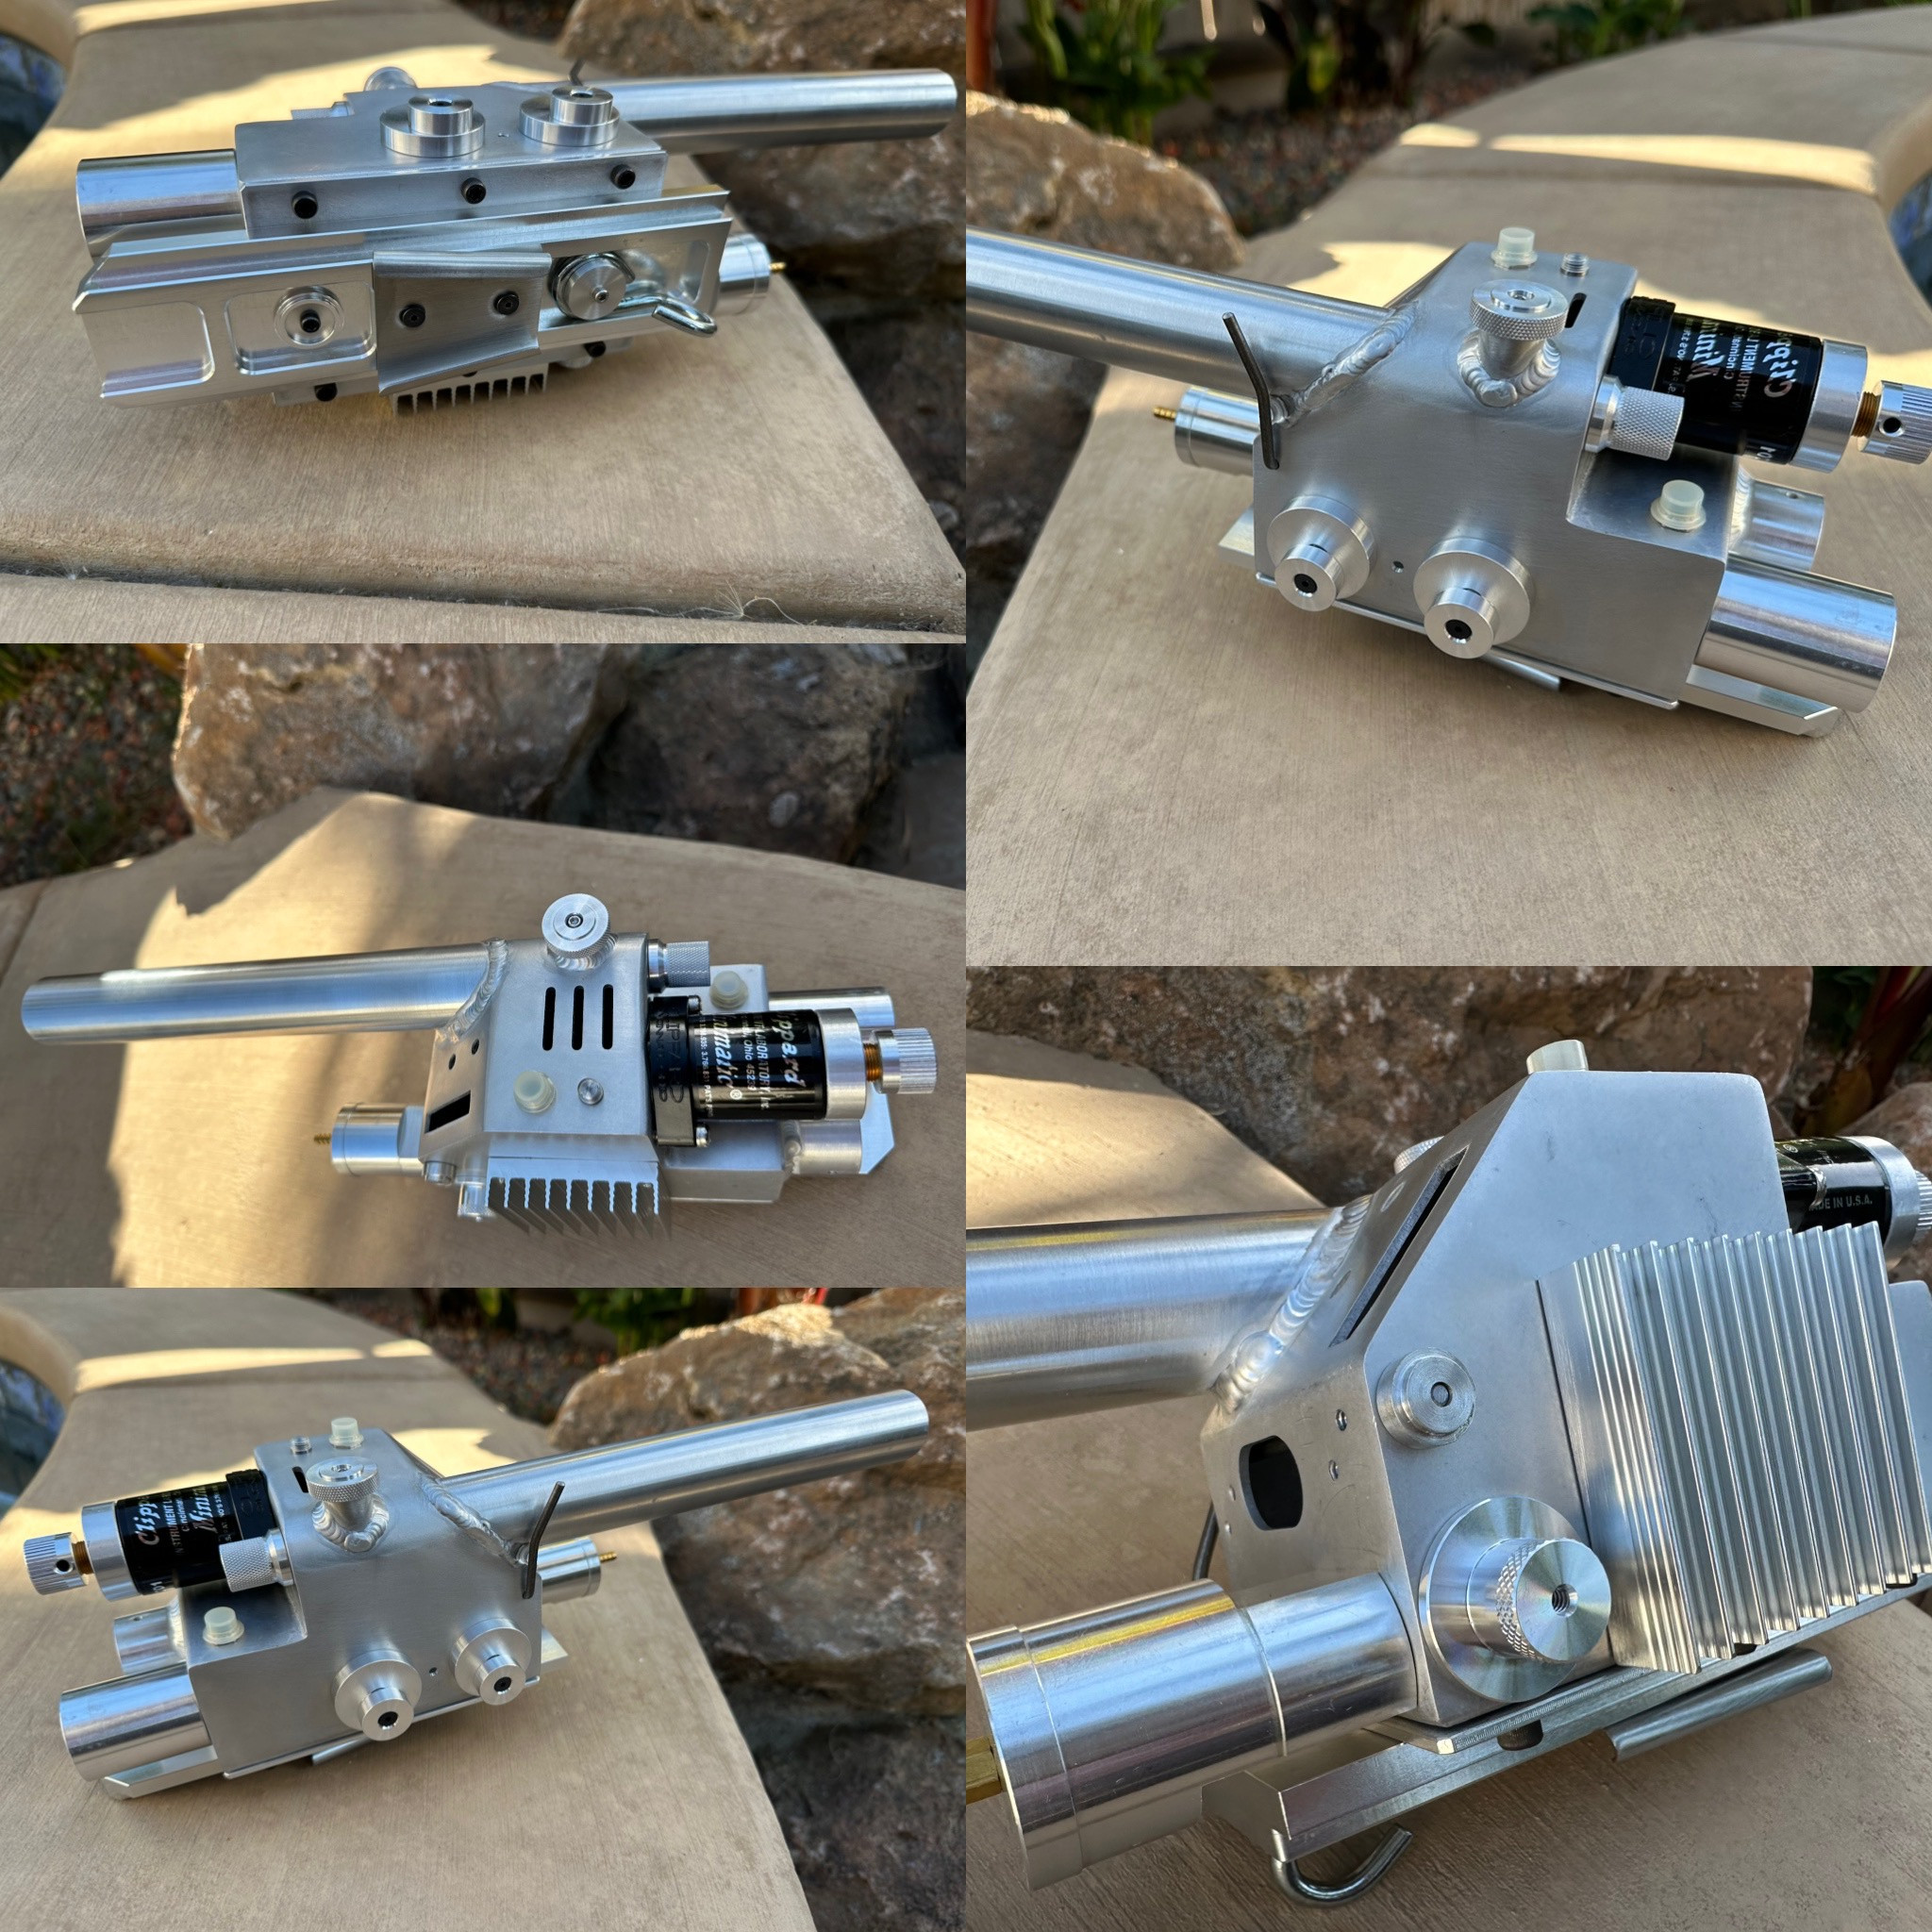
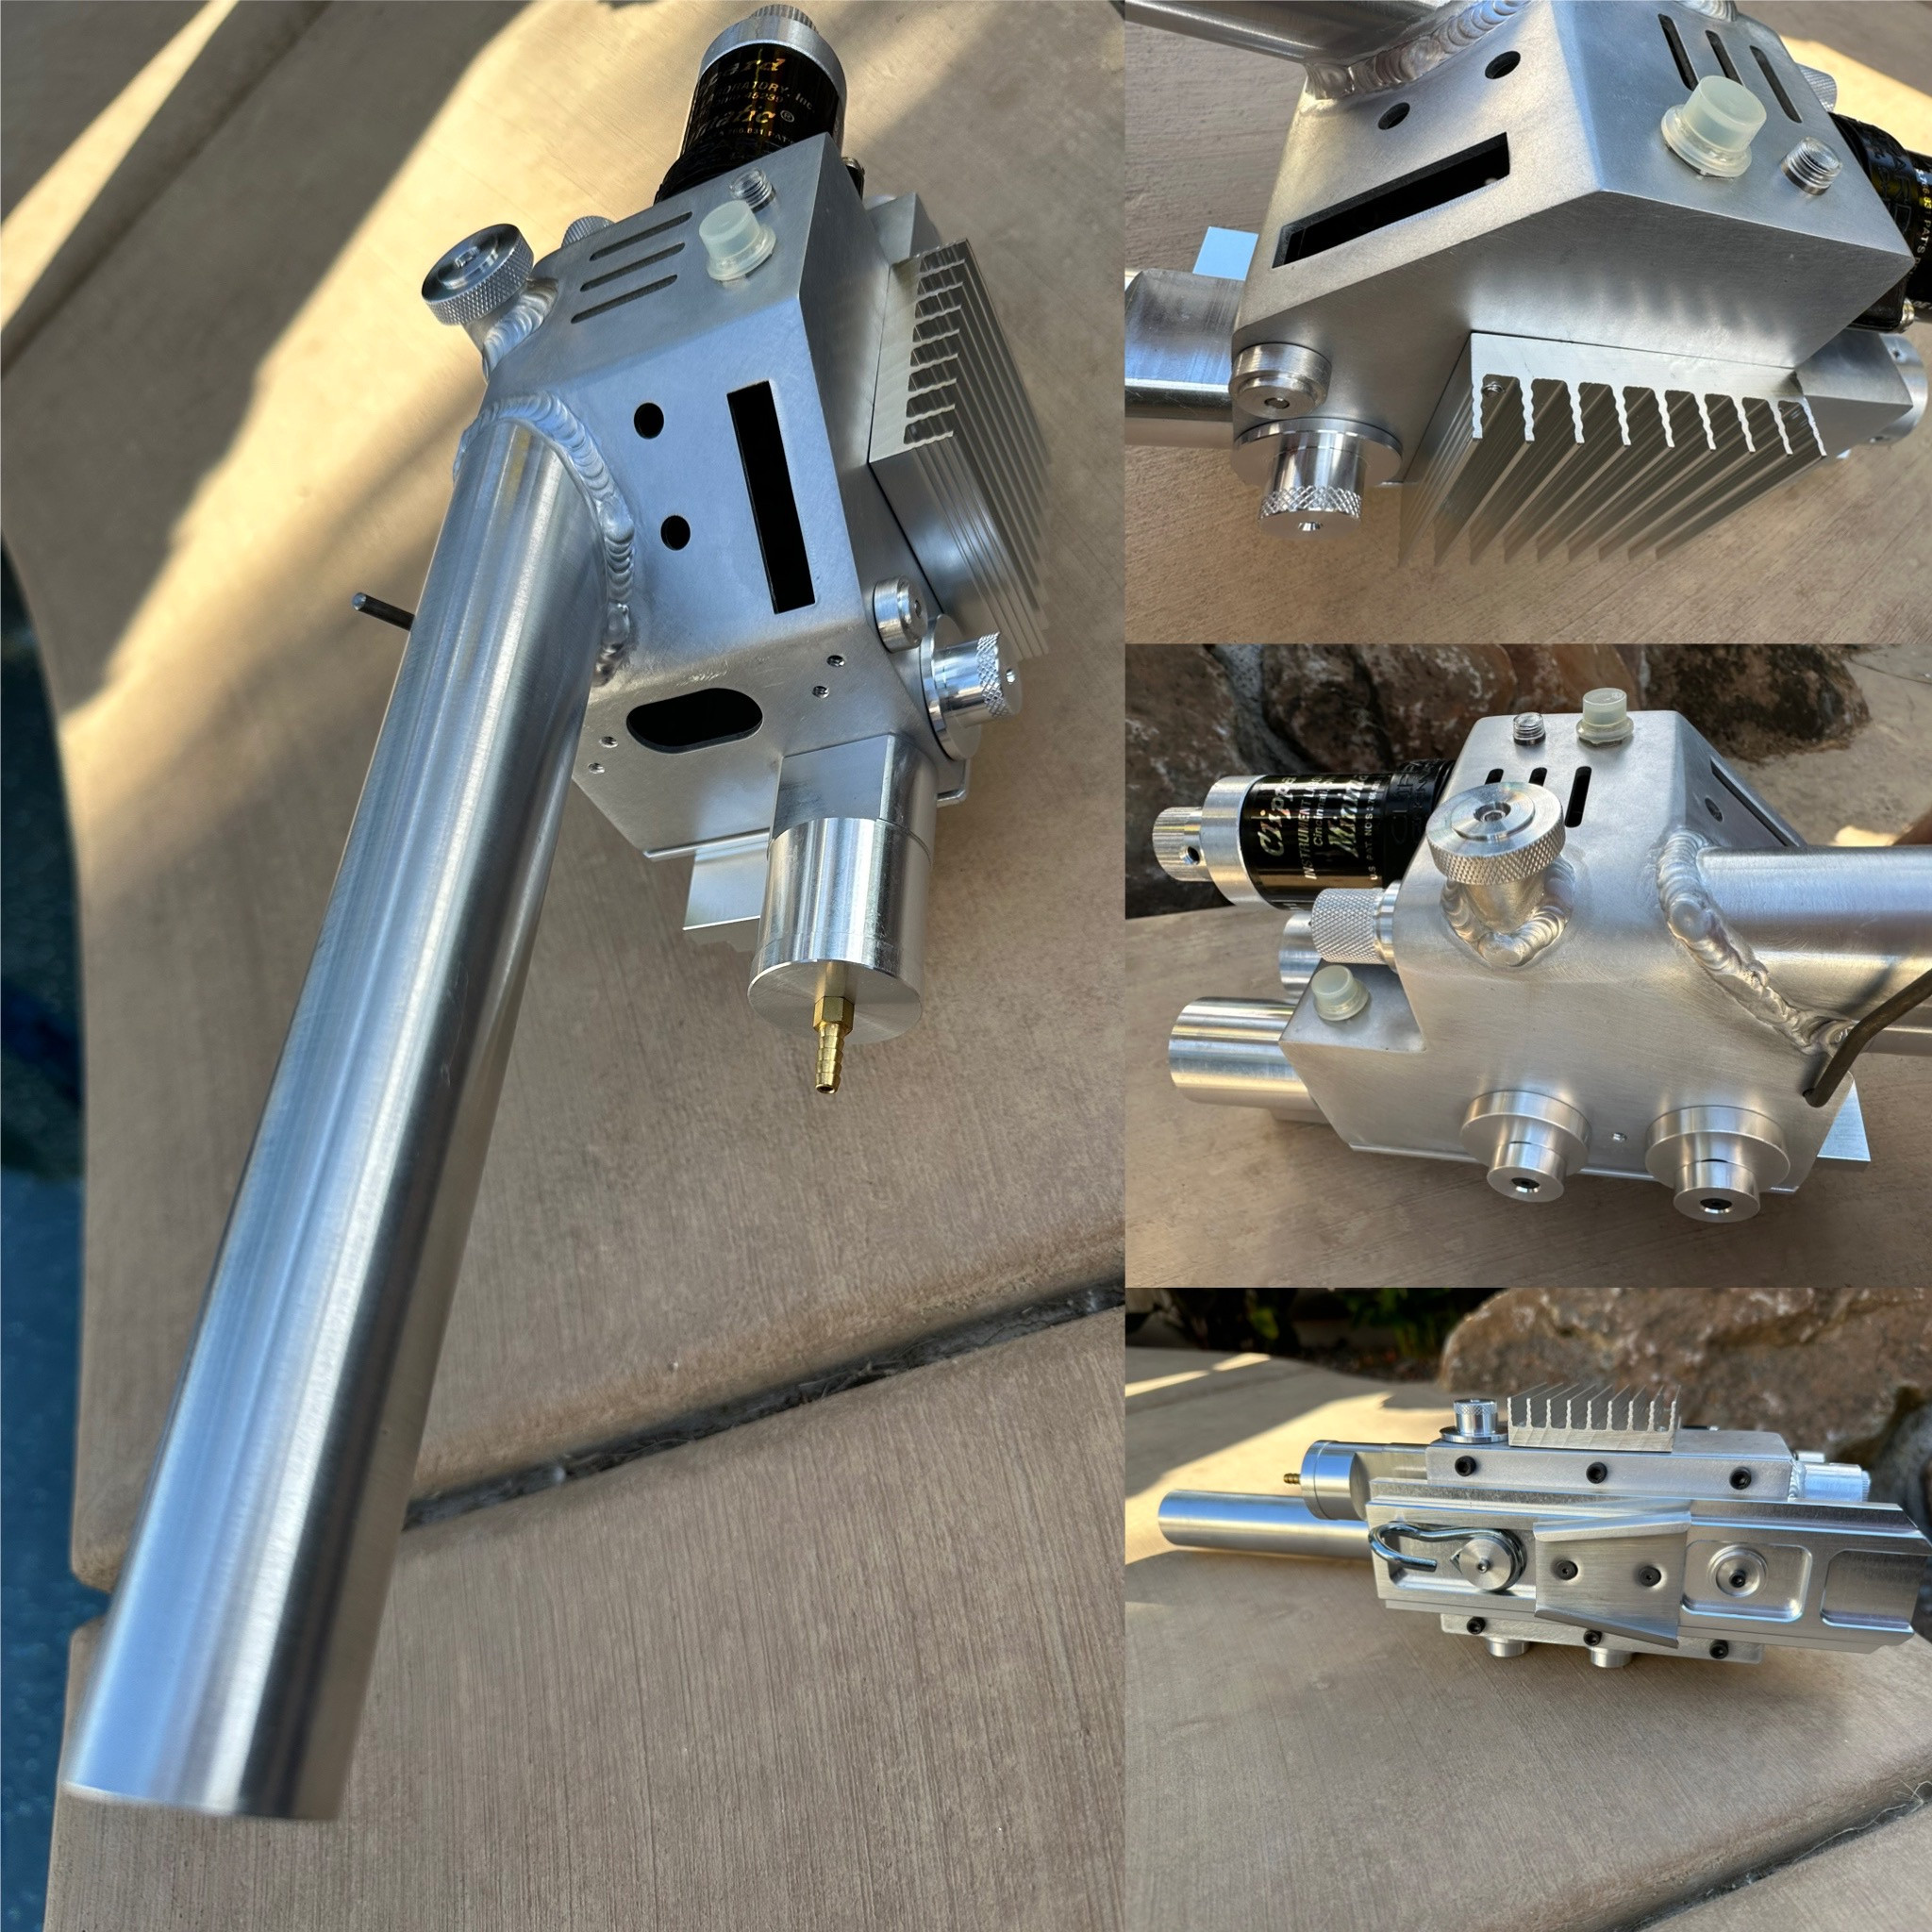
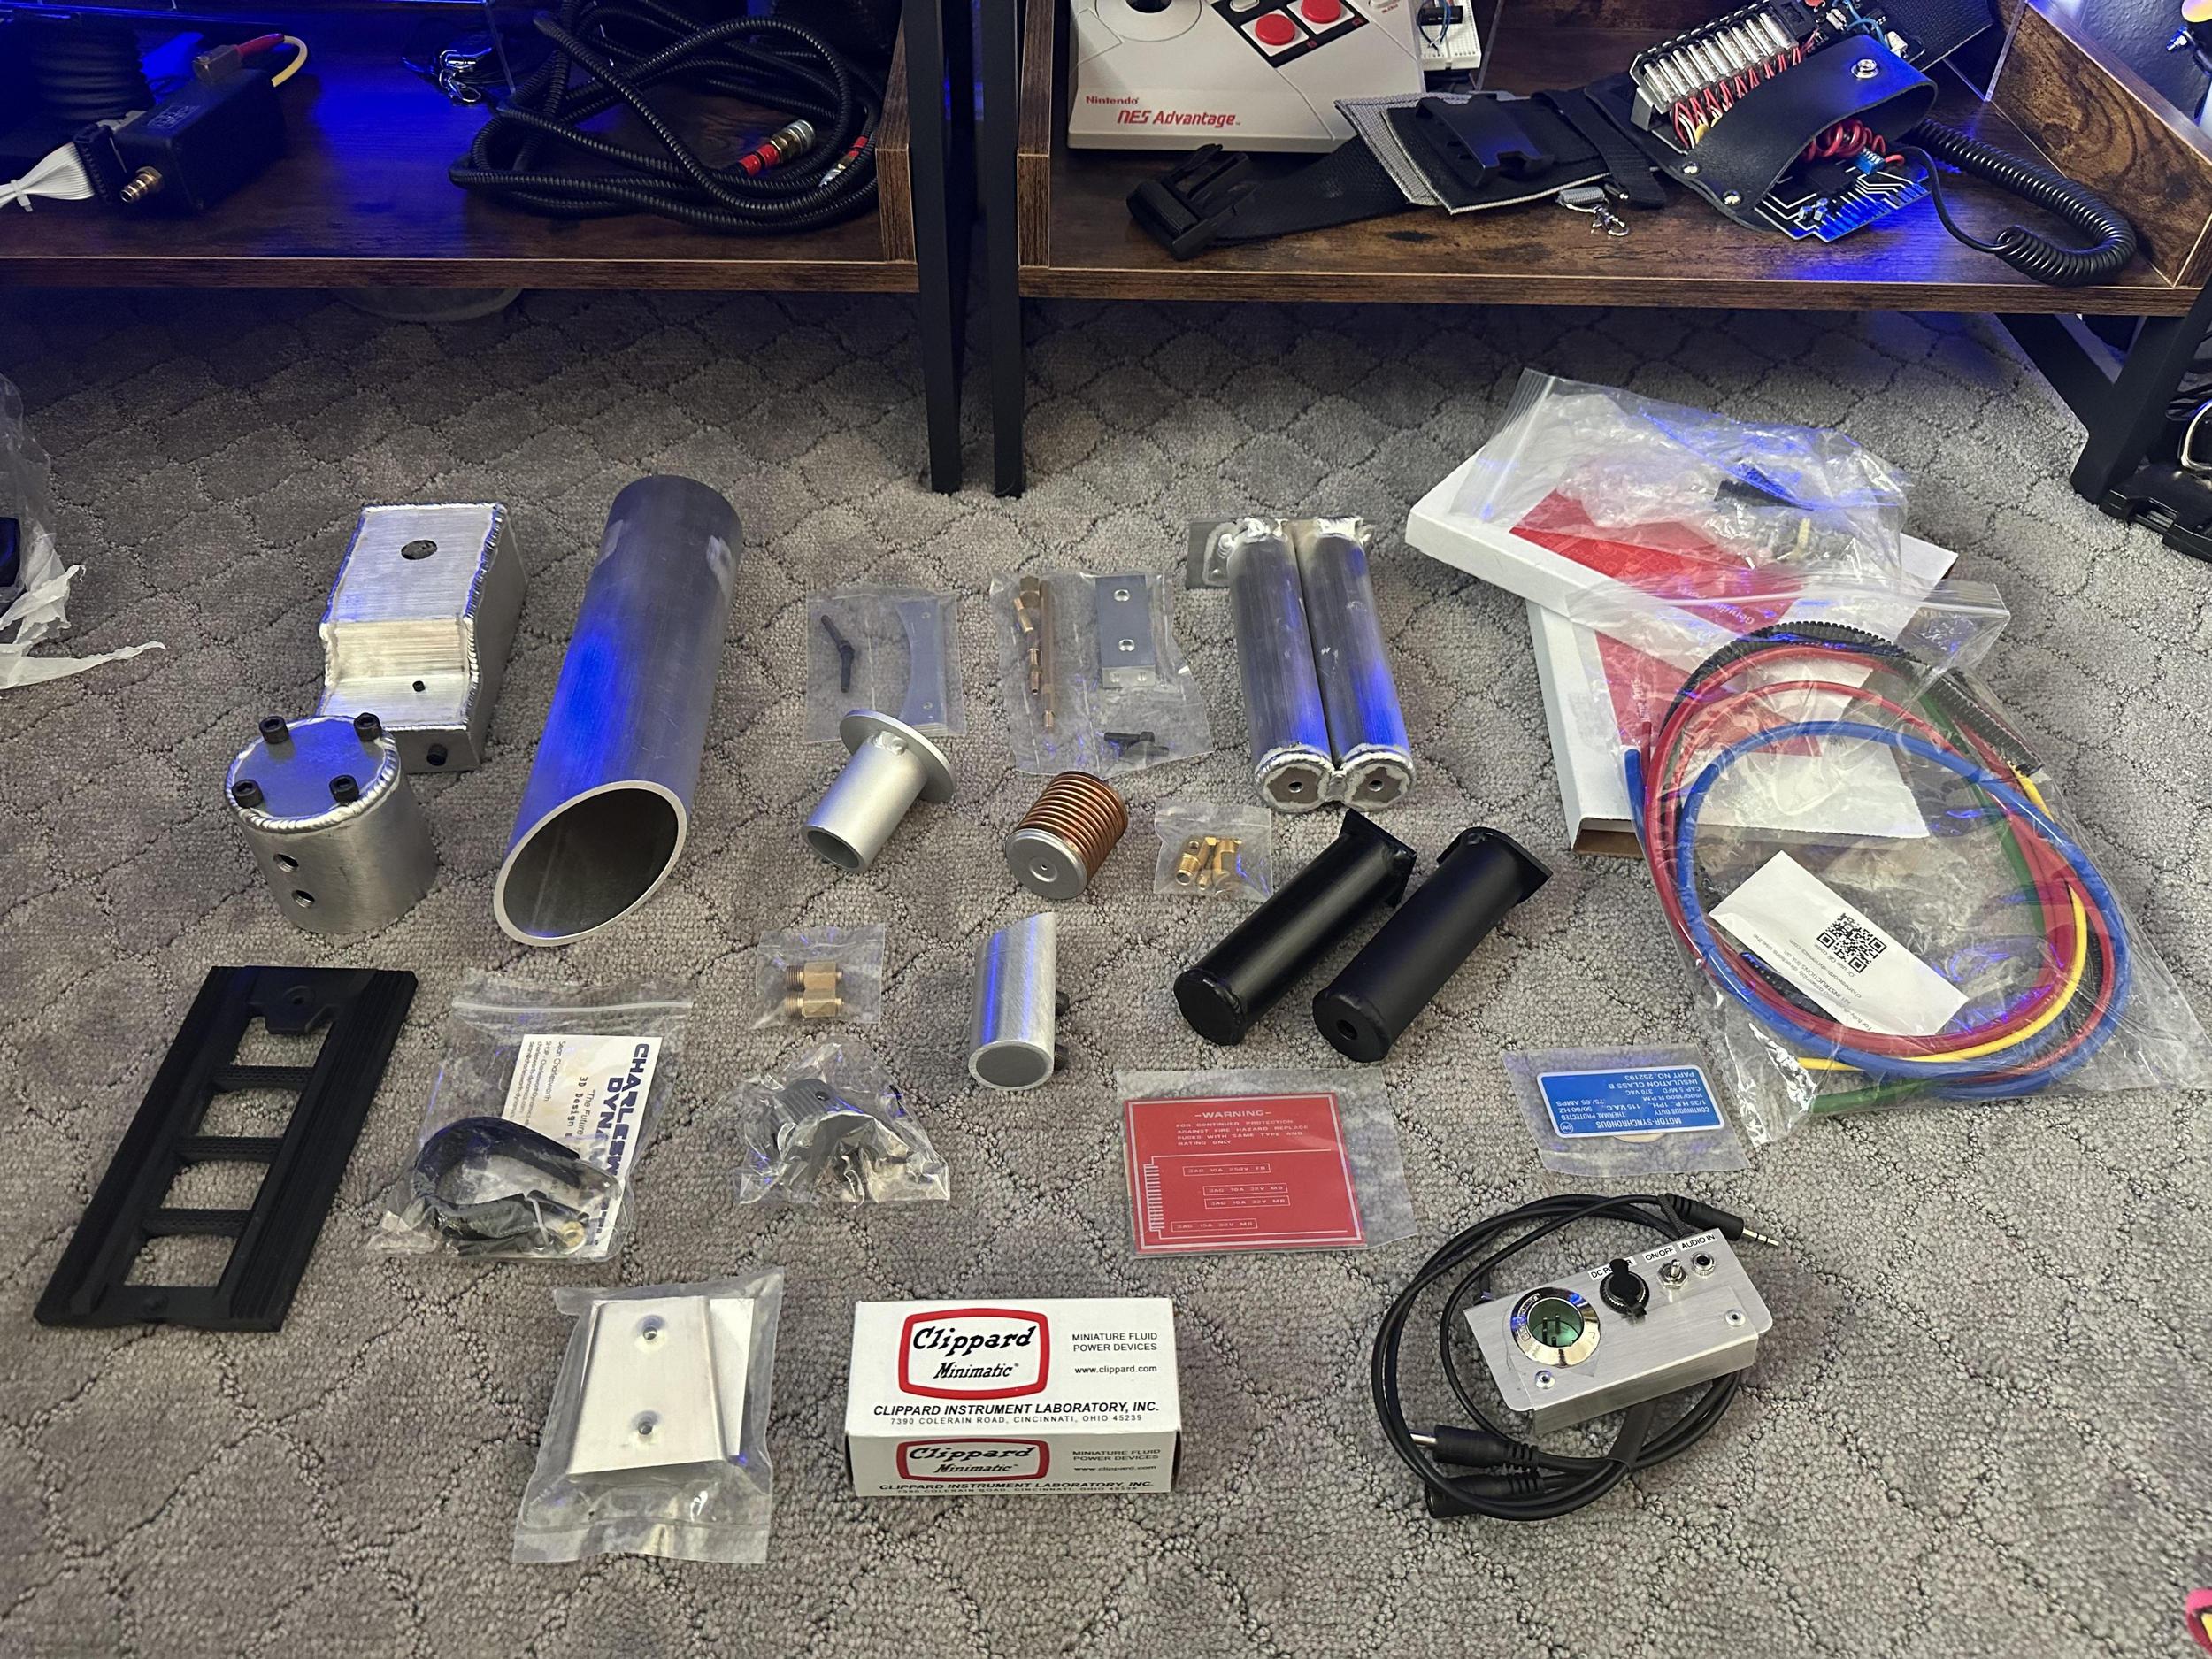
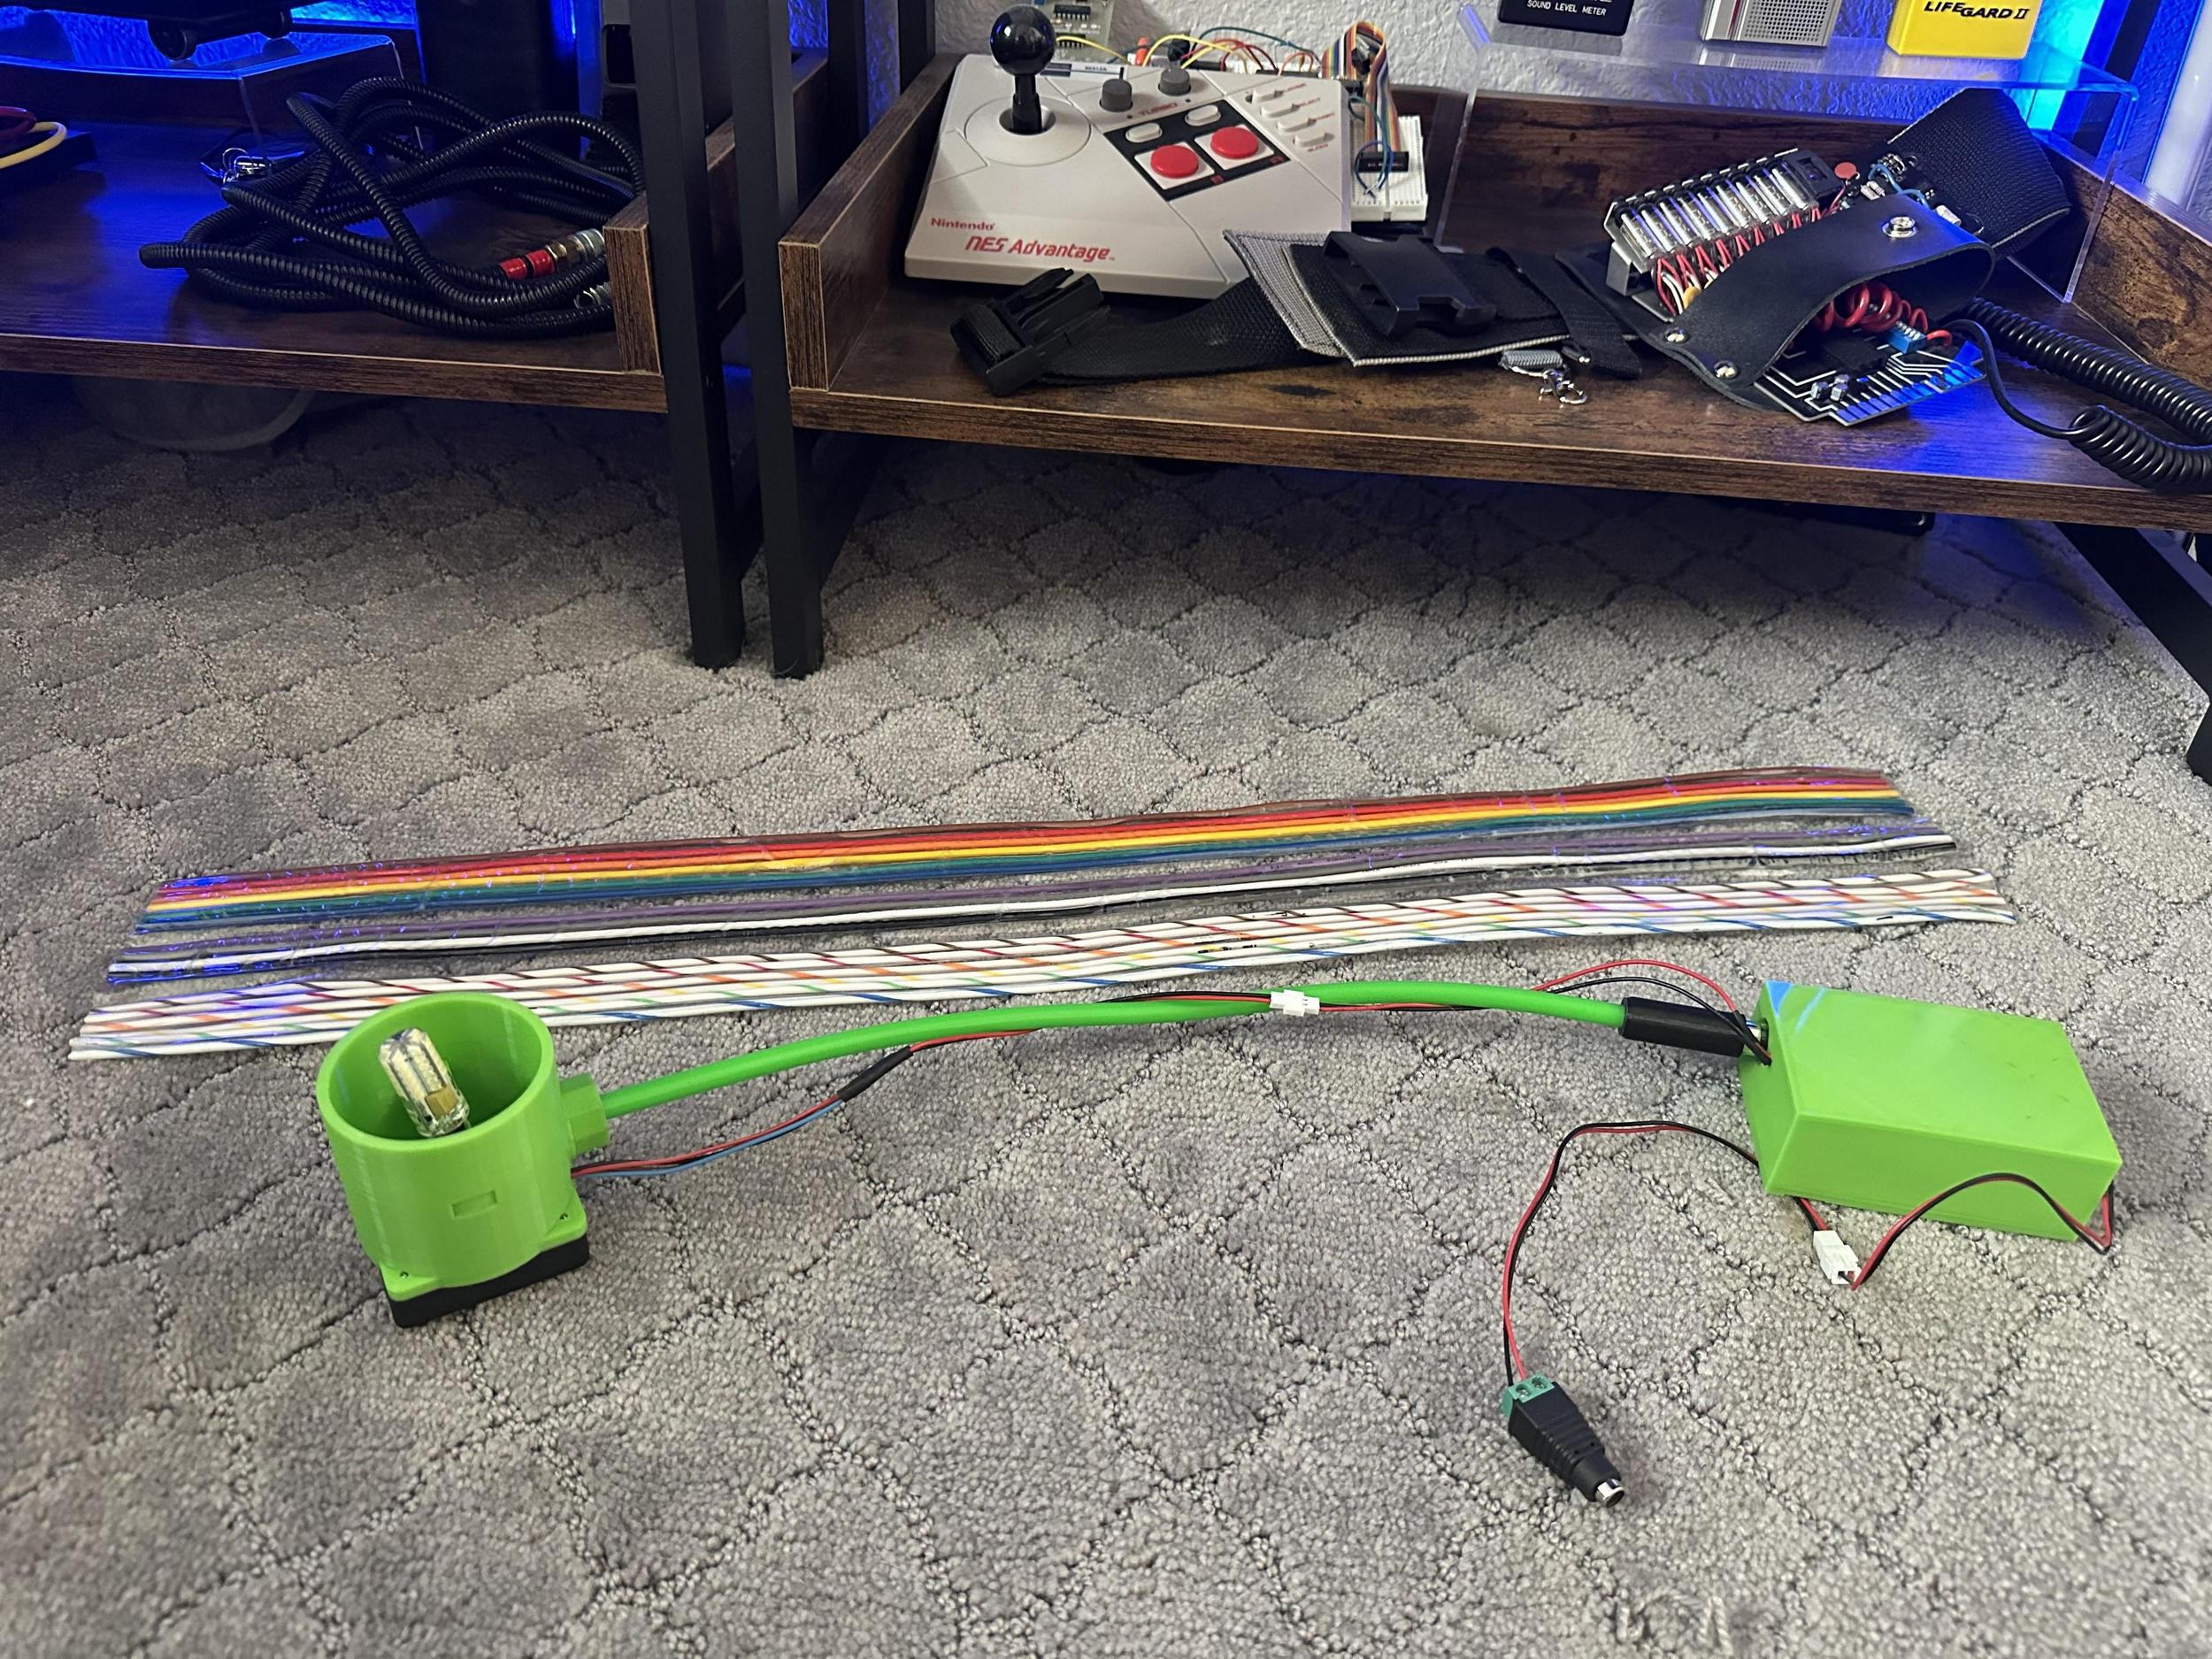
Time for an aside from the pack, I received the Mack’s Factory/Gbfans wand body this week and I am incredibly impressed. I had to dig out all the pieces I have collected to dry fit as much as possible. It will still need the trigger box and the front assembly, hopefully I can obtain those in the somewhat near future - but really, so much of this build has been a waiting game for parts, what’s waiting a little more at this point? While screwing things together I had forgotten what an absolute pain it is to assemble a wand. The last time I put one together it was a scaled one with full sized electronics. Here are some pictures of what I have screwed together so far. Parts are a combination of Mack’s, GBfans, and Freeky Geeky.
Hopefully I get some time to continue on the pack this weekend, things have been busy with the family and my day job. I am hoping to get a few more items mounted on the shell and then start mounting all the innards to the MB. Thanks for stopping by!
Back on the wagon! Other projects (such as my goggle build) have taken precedence as well as life events. I spent most of the day repairing the garbage disposal unit in the kitchen sink, but after replacing the gfci outlet and cleaning the unit it works again and I’m glad it doesn’t have to be replaced. I hate working under sinks.
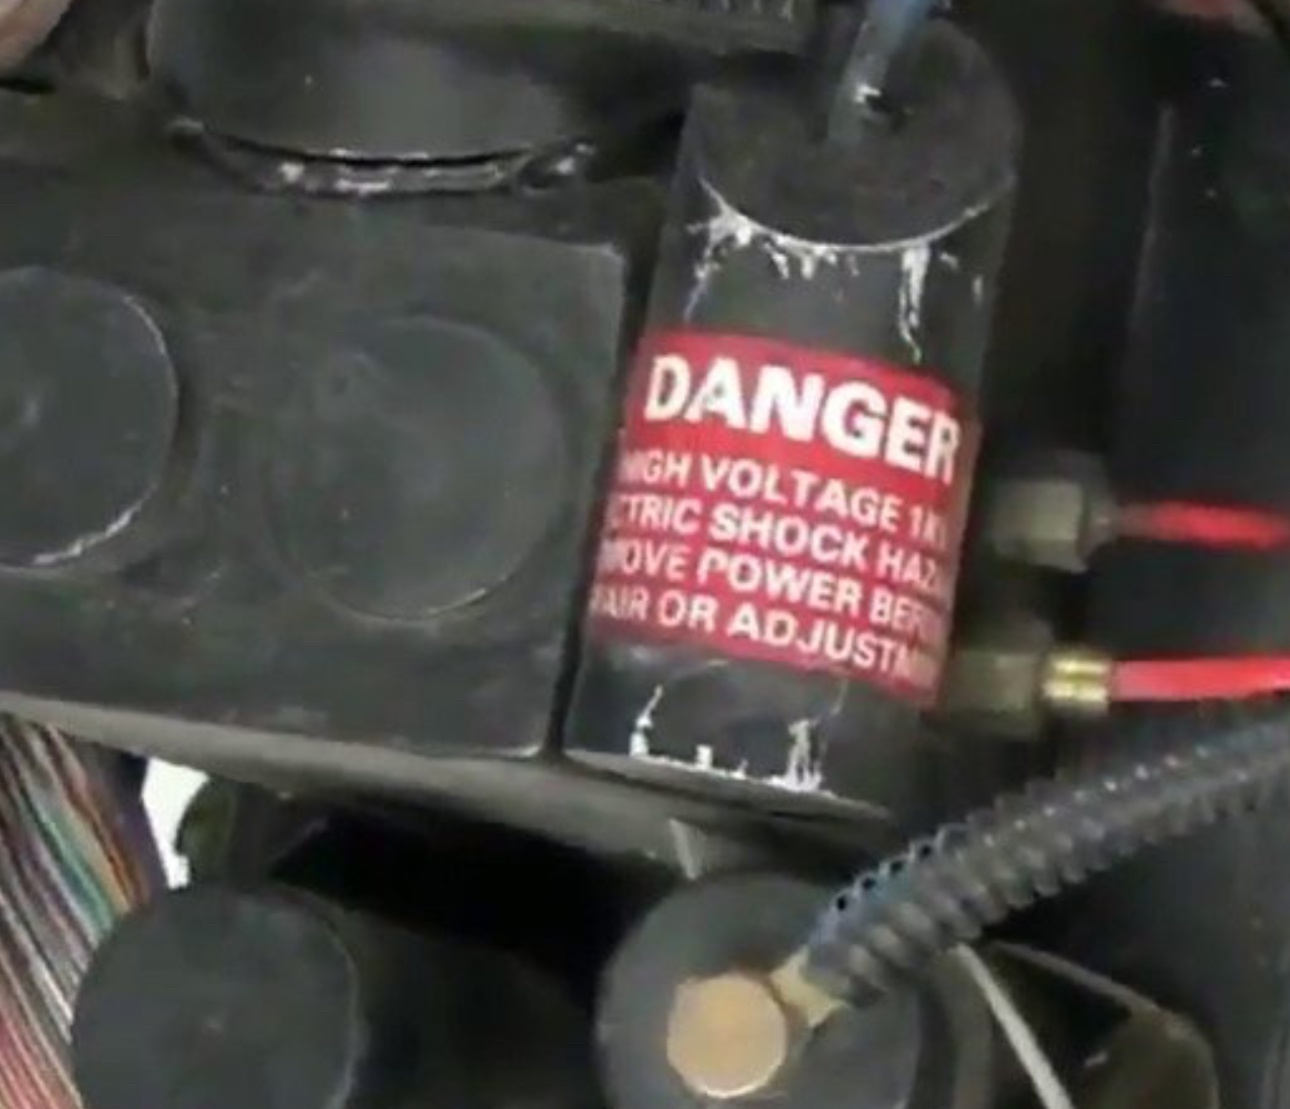
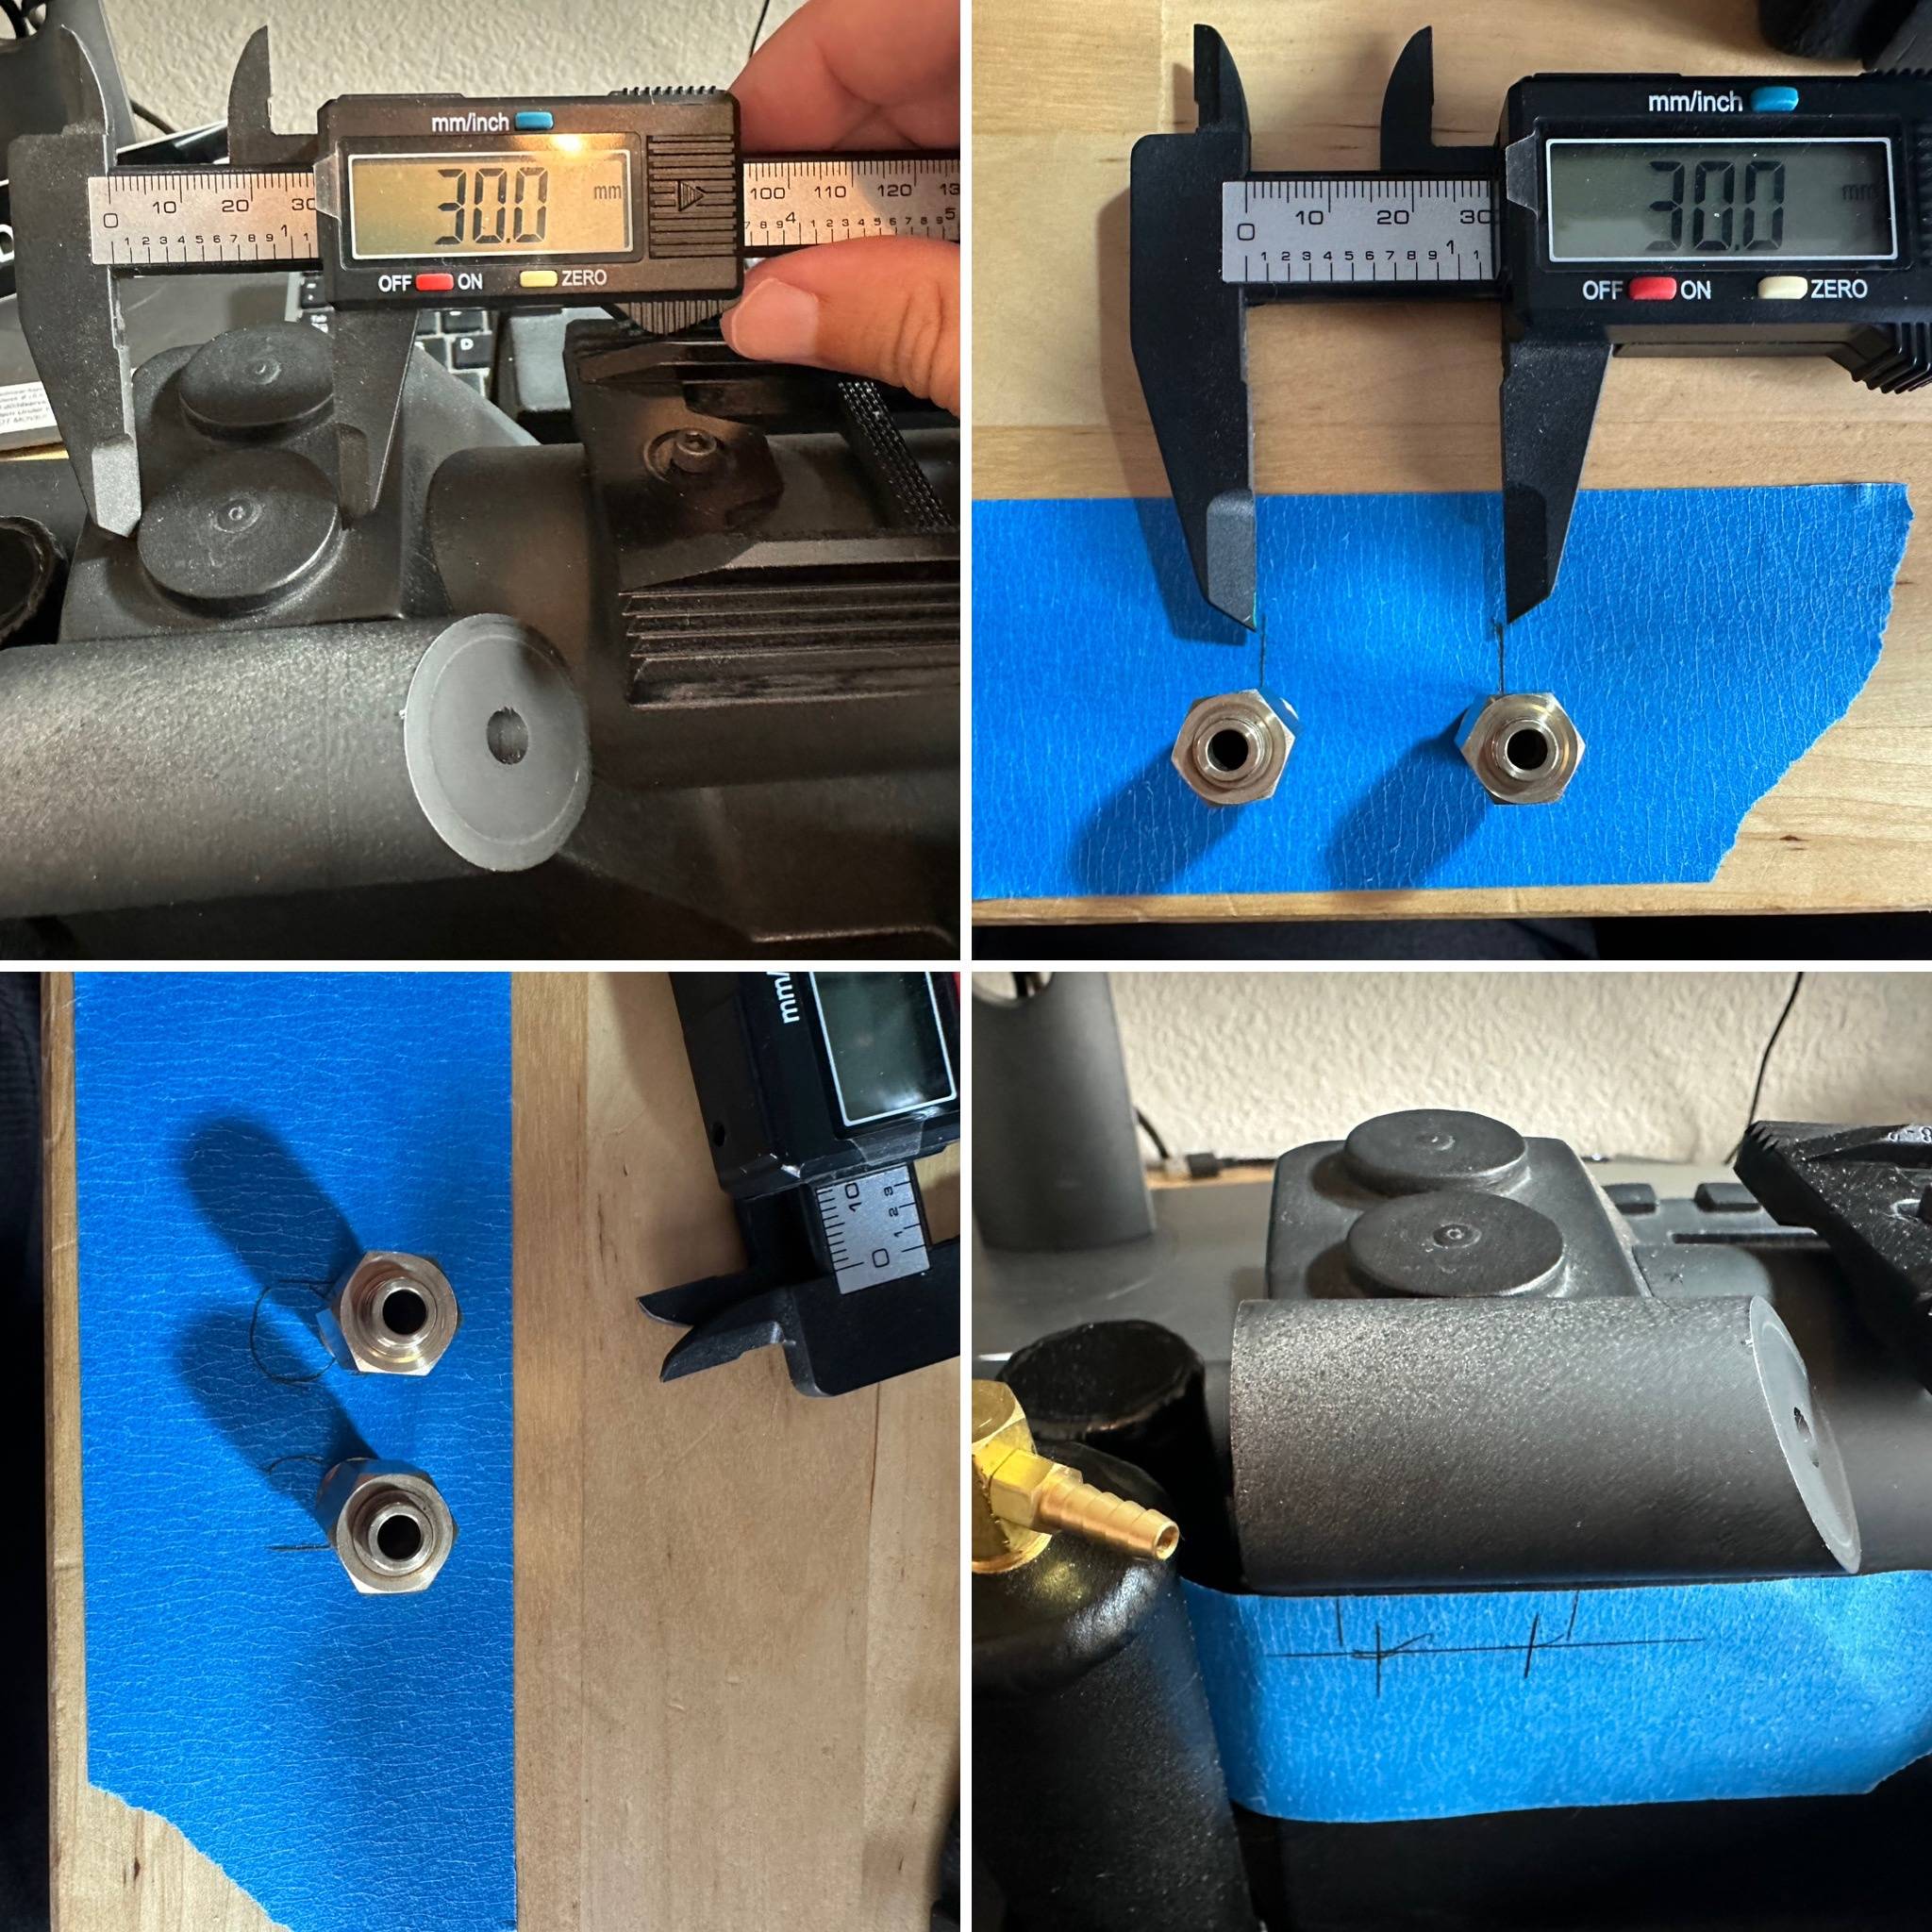
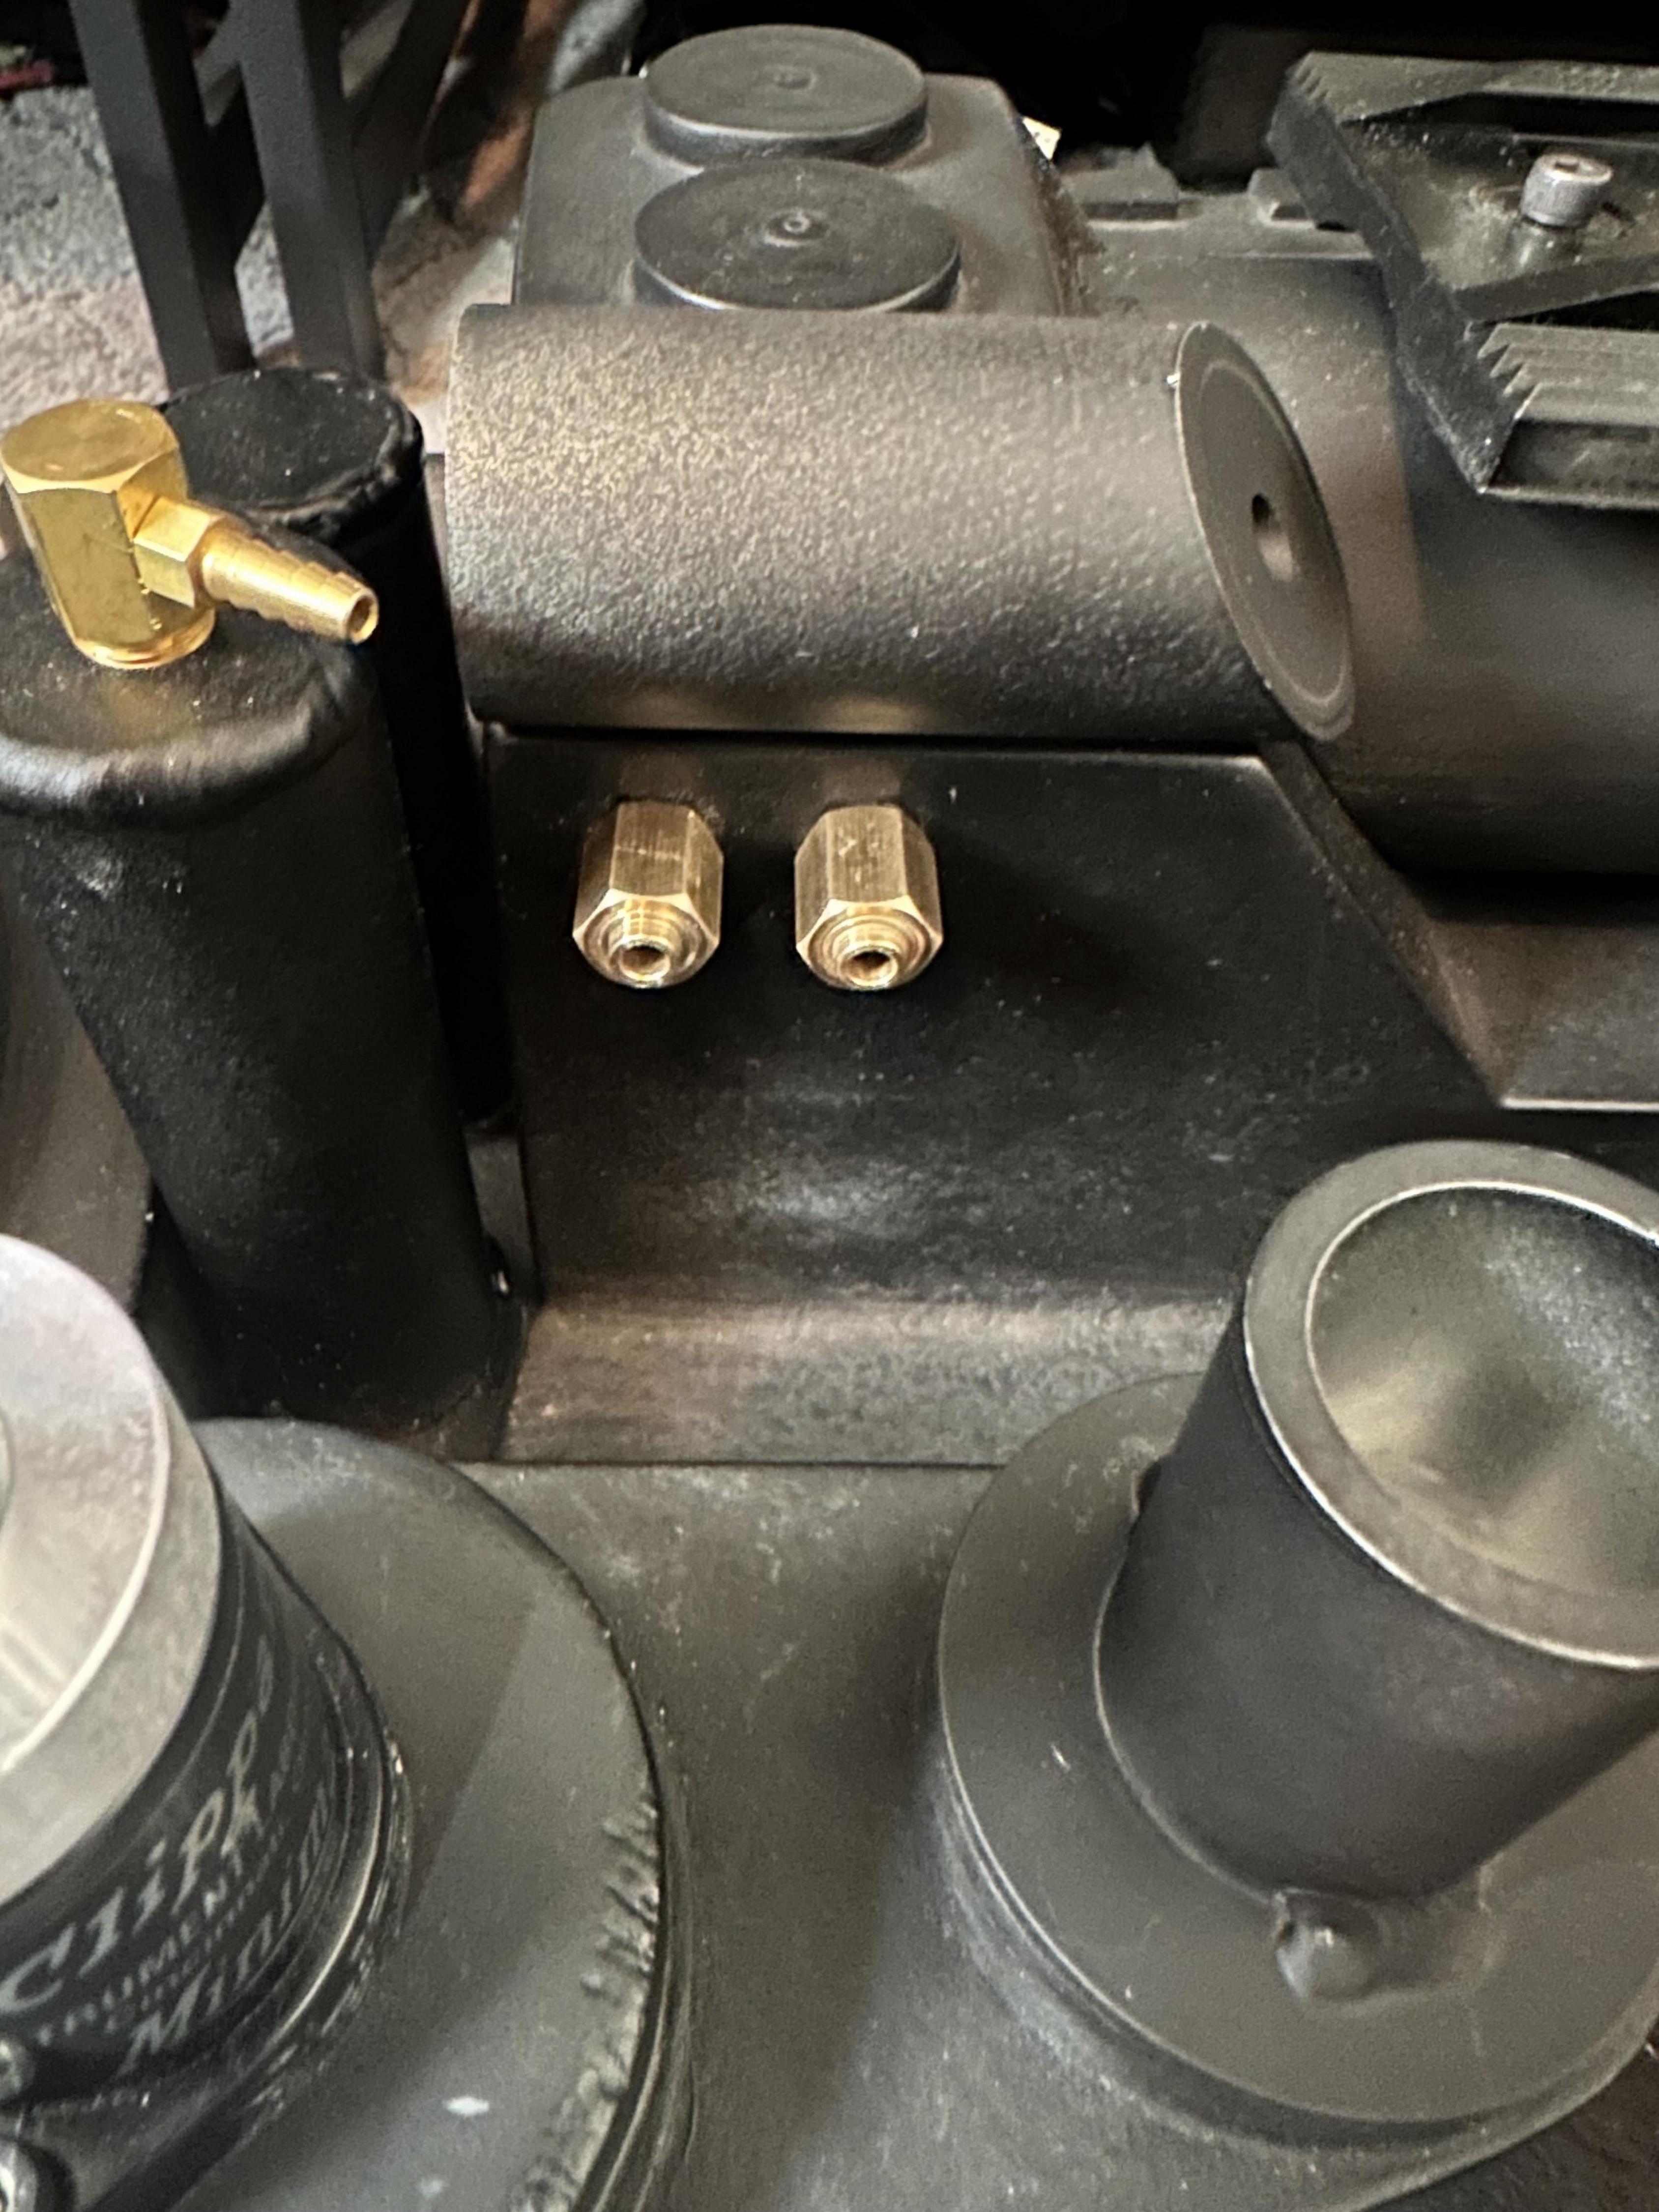
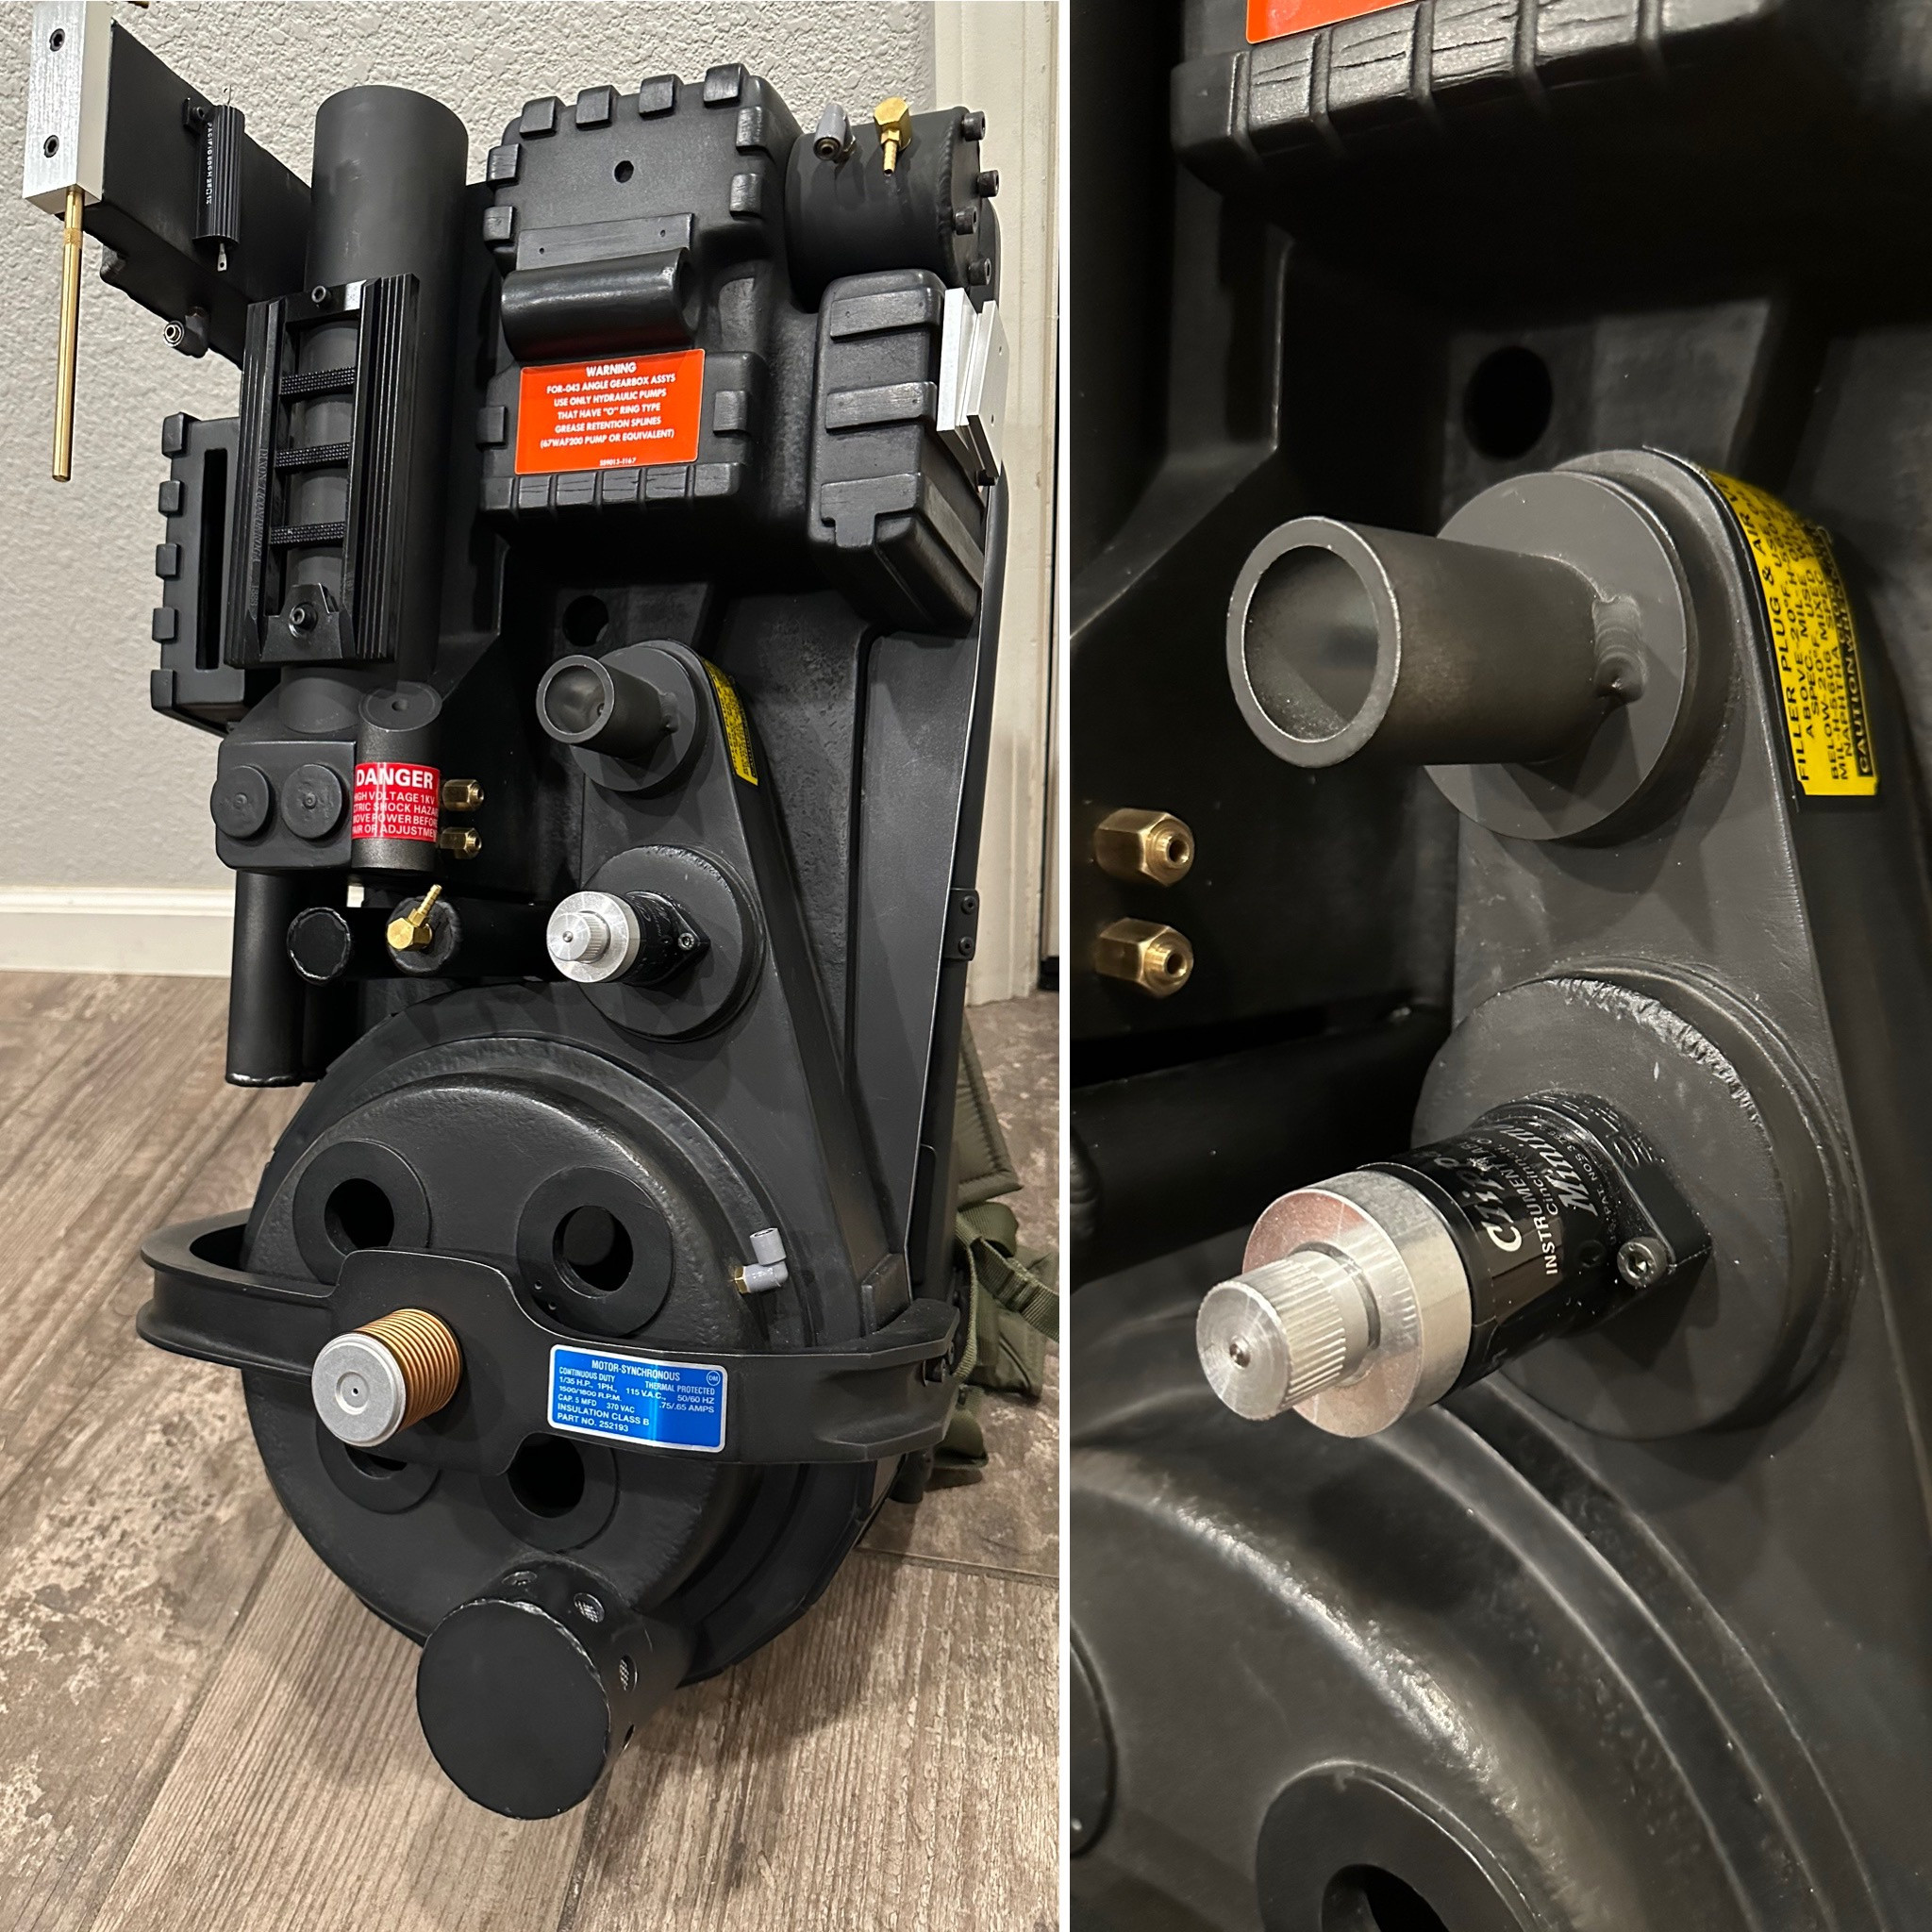
Today’s major task on the pack as drilling and tapping the holes for the brass straight fittings and adding a few decals. My shell doesn’t have these points marked so I had to determine the drill points myself. From reviewing images on the reference library of the Spengler pack, the straight fittings are confined within the diameter of the circular points.
The first step was to measure the diameter of the circle as well as the diameter of the threaded portion of the straight fitting. I then determined the center of the brass fitting and offset it from the diameter of the circles.
I transfered the measurements on to a piece of painters tape using my straight edge to make sure the holes are in line and square. Then drilled and tapped the holes, and installed the brass fittings.
 :crunch: