The first hurdle with the pack was figuring out how to thin out some of the fiberglass resin on the inside. I’ve never worked with it previously, my packs before it were just soft plastic that were easy to cut.
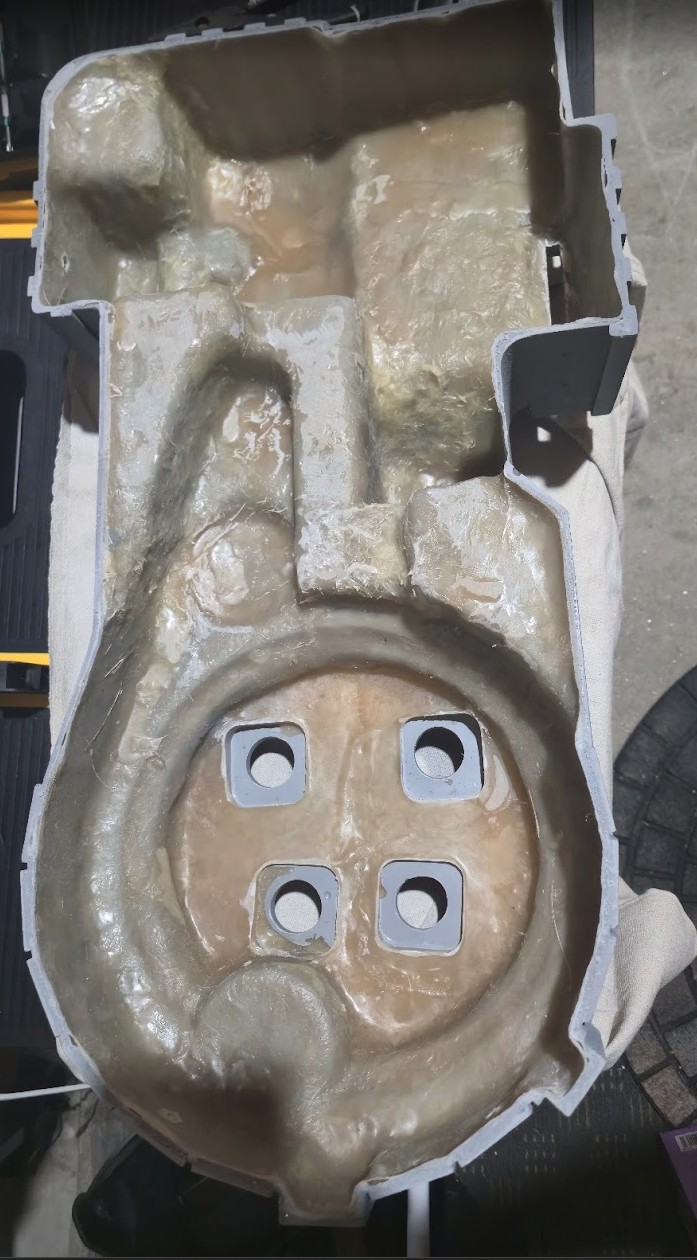
The area by the power cell lens was especially thick which was going to keep it too far back from the opening, more than I would want.
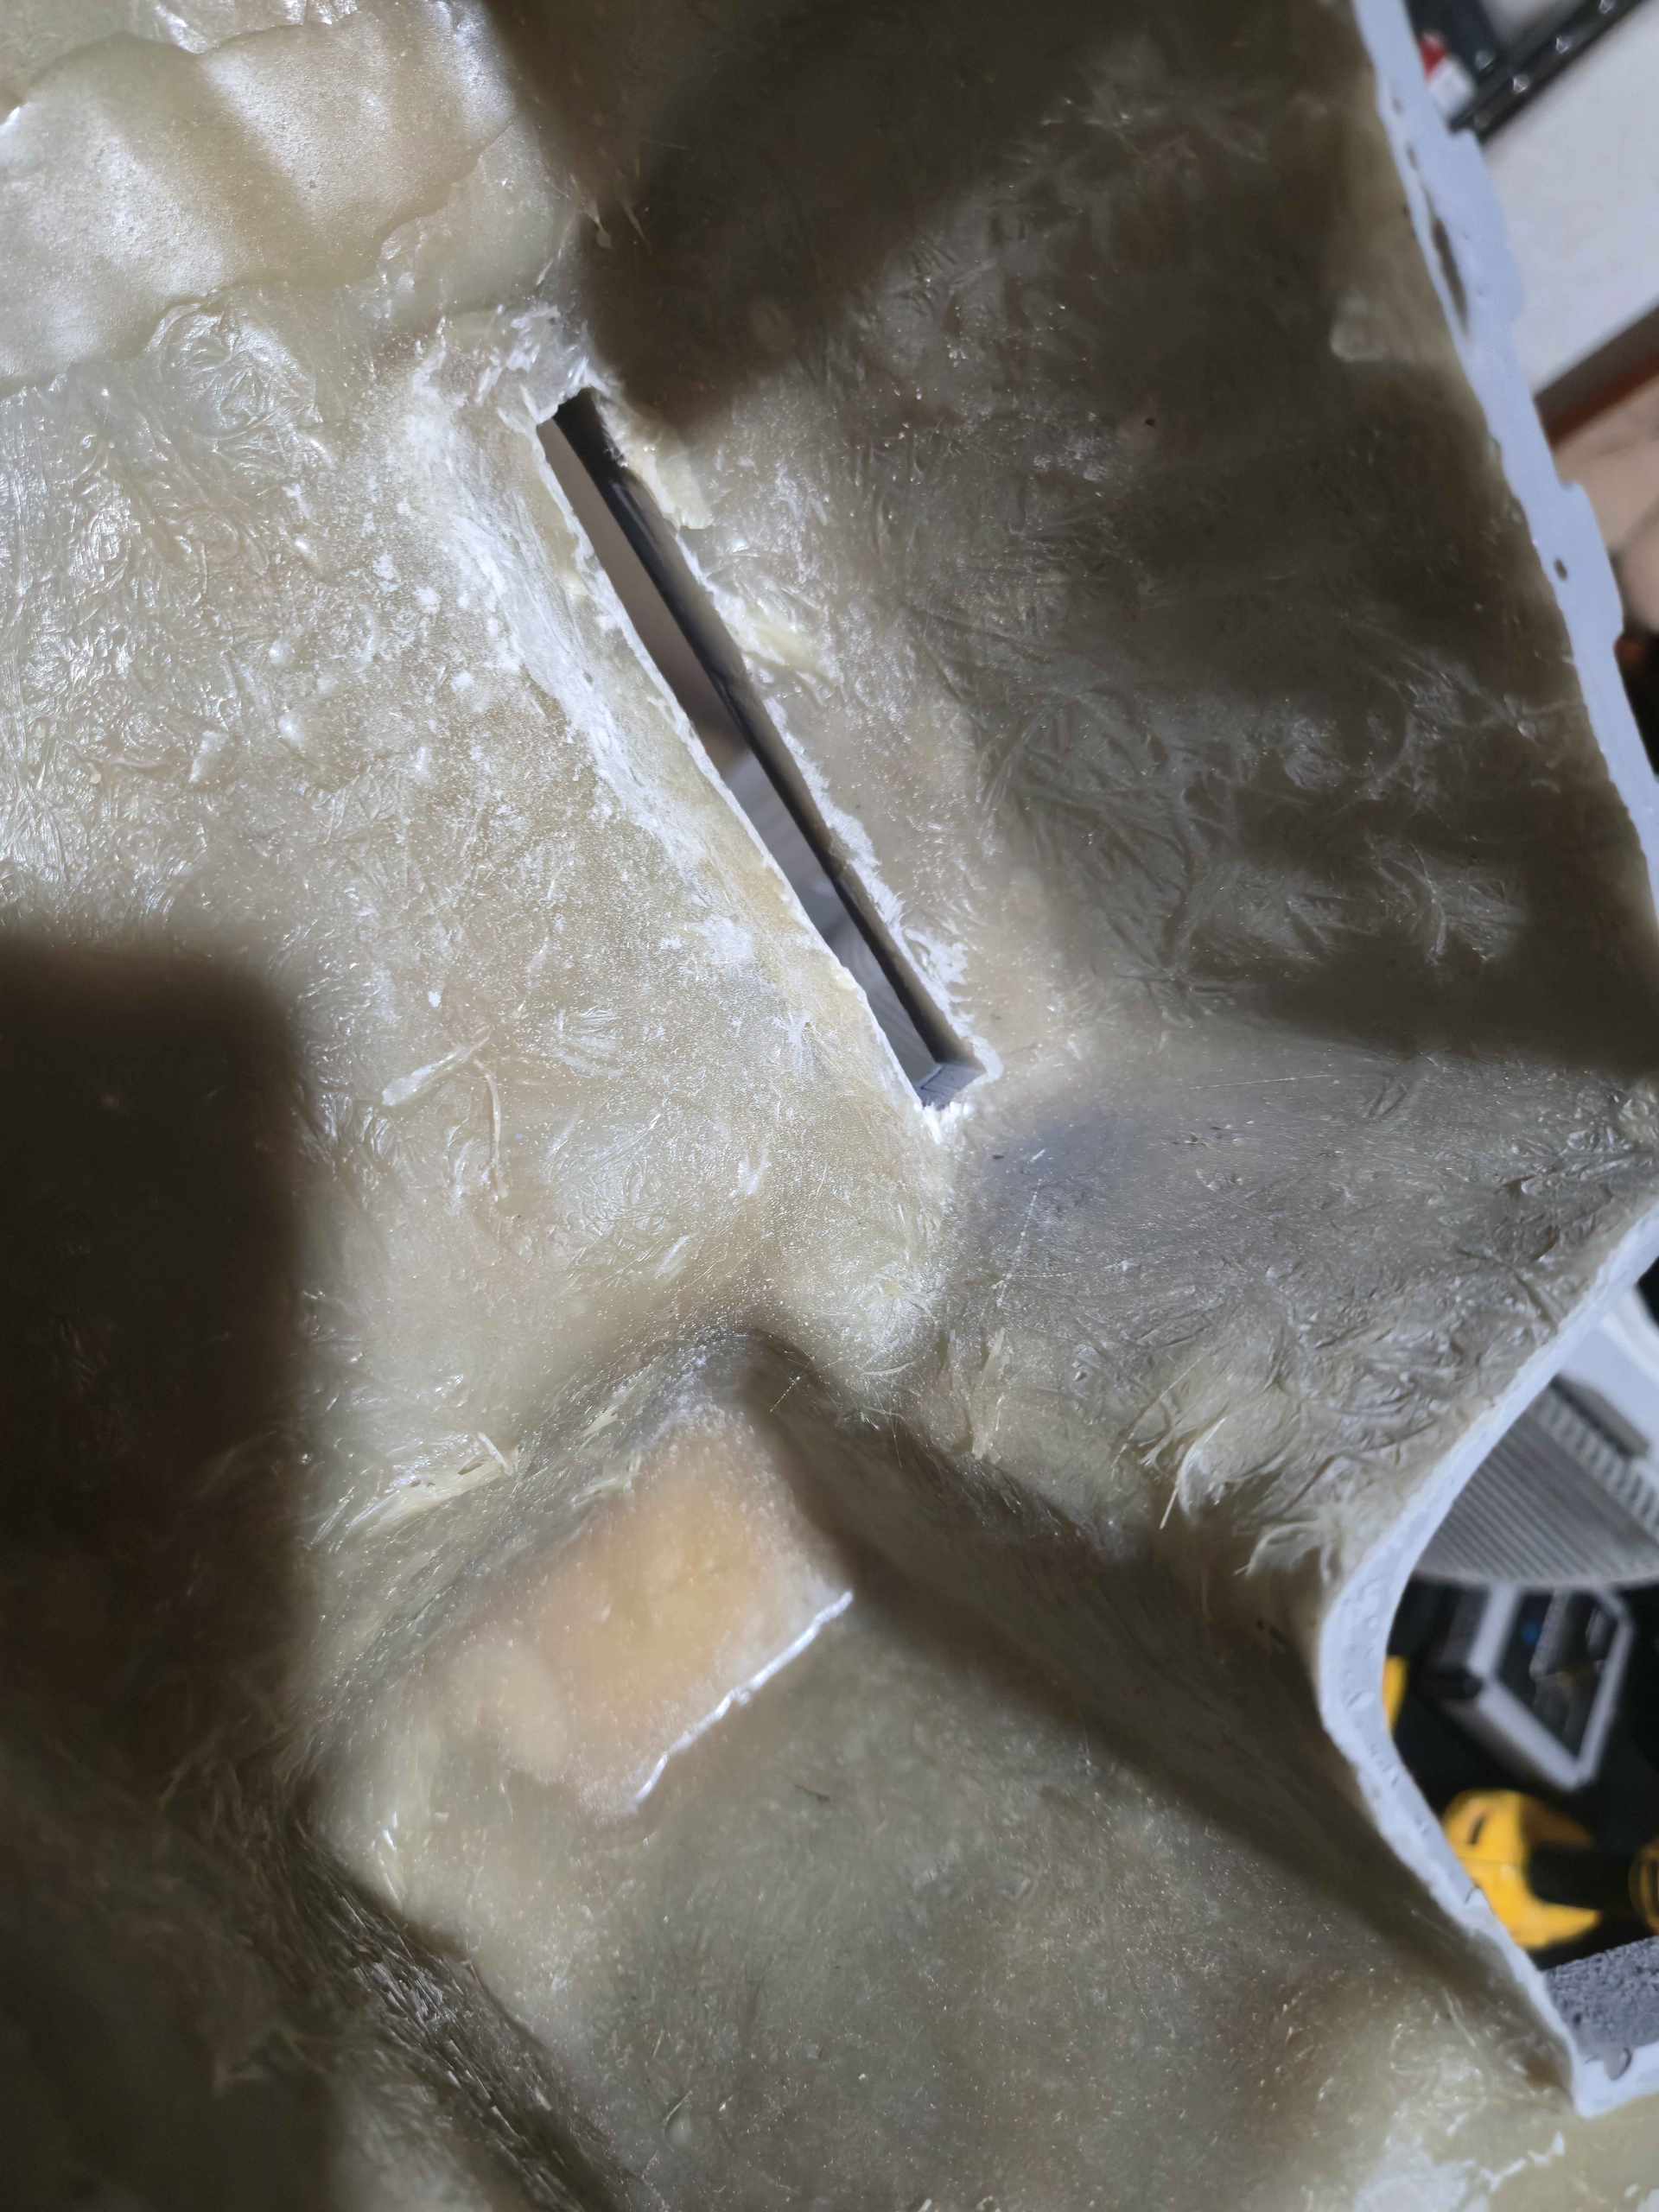
I tried hitting it with some 60 grit sandpaper and various dremel attachments but all I was really accomplishing was making a dusty garage with little progress.
I posted this question on the How to Build a Proton Pack facebook group and I got a great tip from Austin Young of Rust City Studios, to use a carbide cutting bit
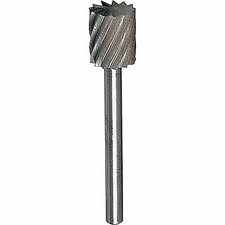
I placed an order for that and a shop vacuum as I figured this would be making quite the mess. After picking it up, the bit made short work of the resin! This one dremel attachment has been monumental in helping me prep the pack.

After carving out the area for the lens, I started drilling and tapping the holes for some of the easier parts of the pack like the beam line and filler tube, nfilter and vacuum line.
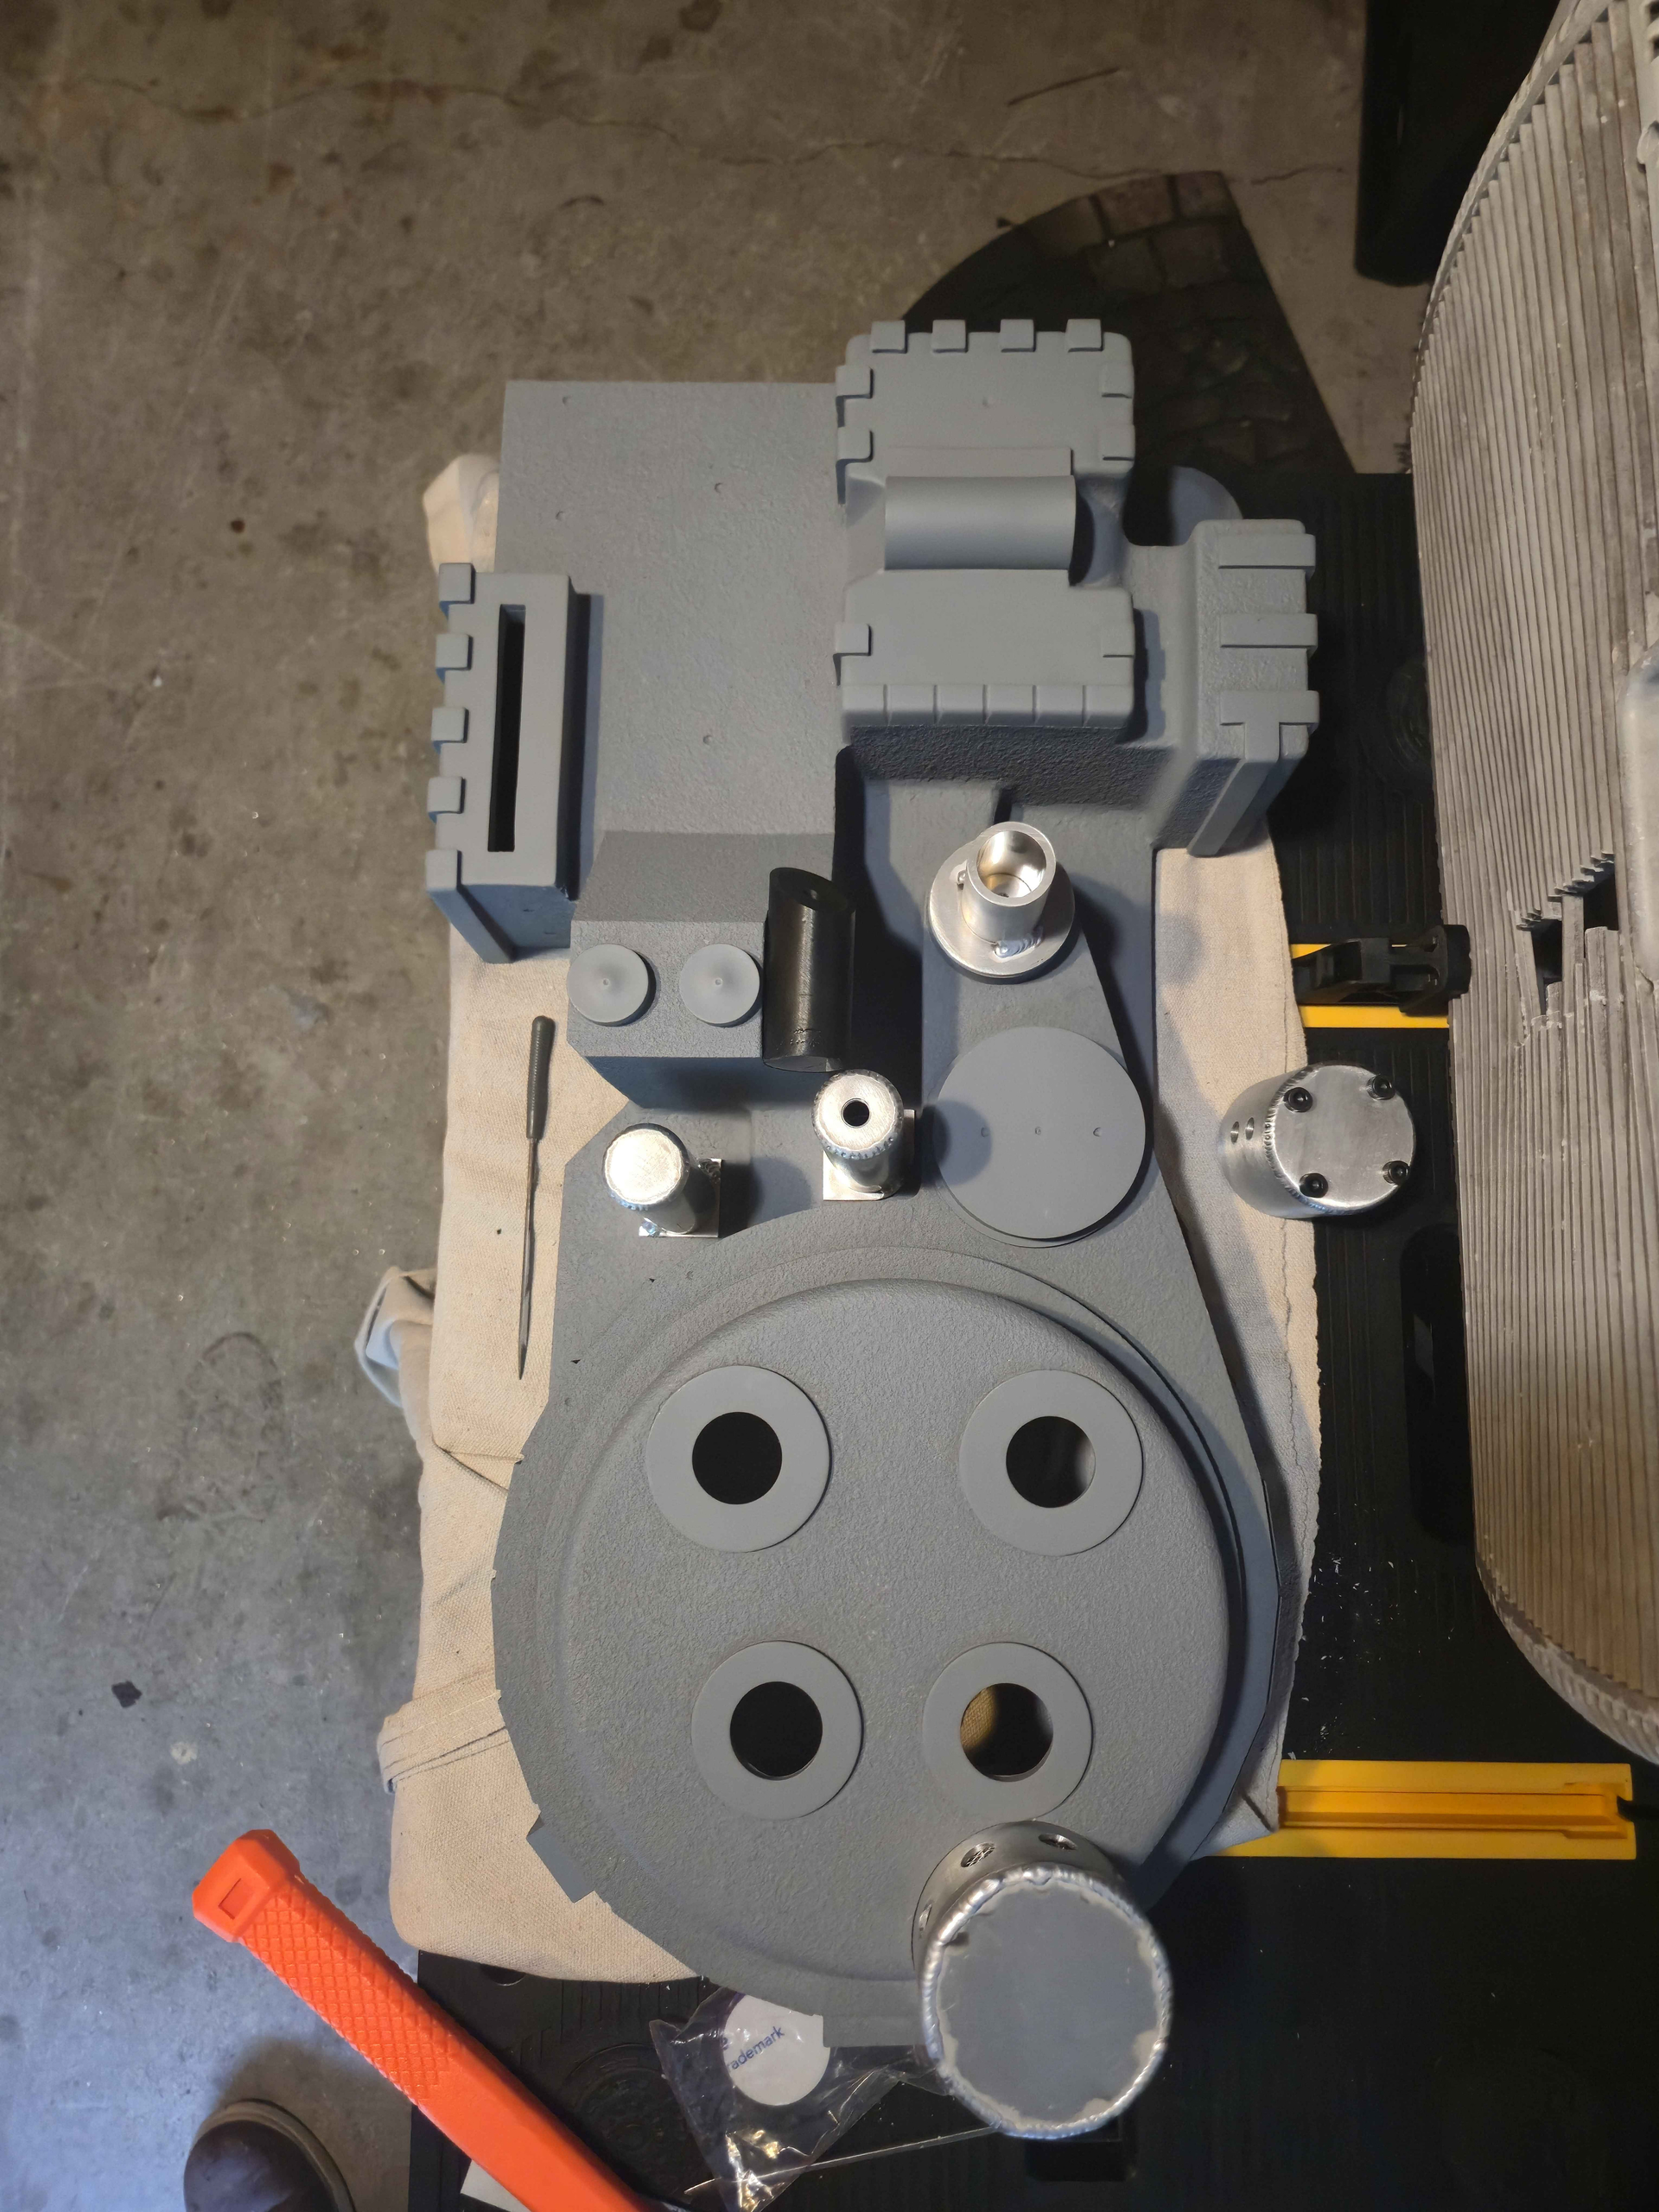
Fortunately this pack has dimples in areas to give a rough estimate of where they would need to go. (Later on I would be relocating the filler tube higher up as it sat too low and would be interfering too much with the ribbon cable)
The aluminum n-filter is a bit larger than the resin one that came with the pack so I had to dremel out the space just a bit to allow it to friction fit. It’s extremely snug, I’m considering that once painting is done, I may epoxy this in instead of trying to figure out how I’d screw it into the pack shell.
After that, I decided to install the ion arm. As I’ve followed @edspengler build thread for a long time, he demonstrated a great way to align the holes to the pack was by making a template out of painters tape. He also made a very helpful point in saying that the ion arm template cannot be mirrored due to how the holes line up so that it has to be placed sticky side up.
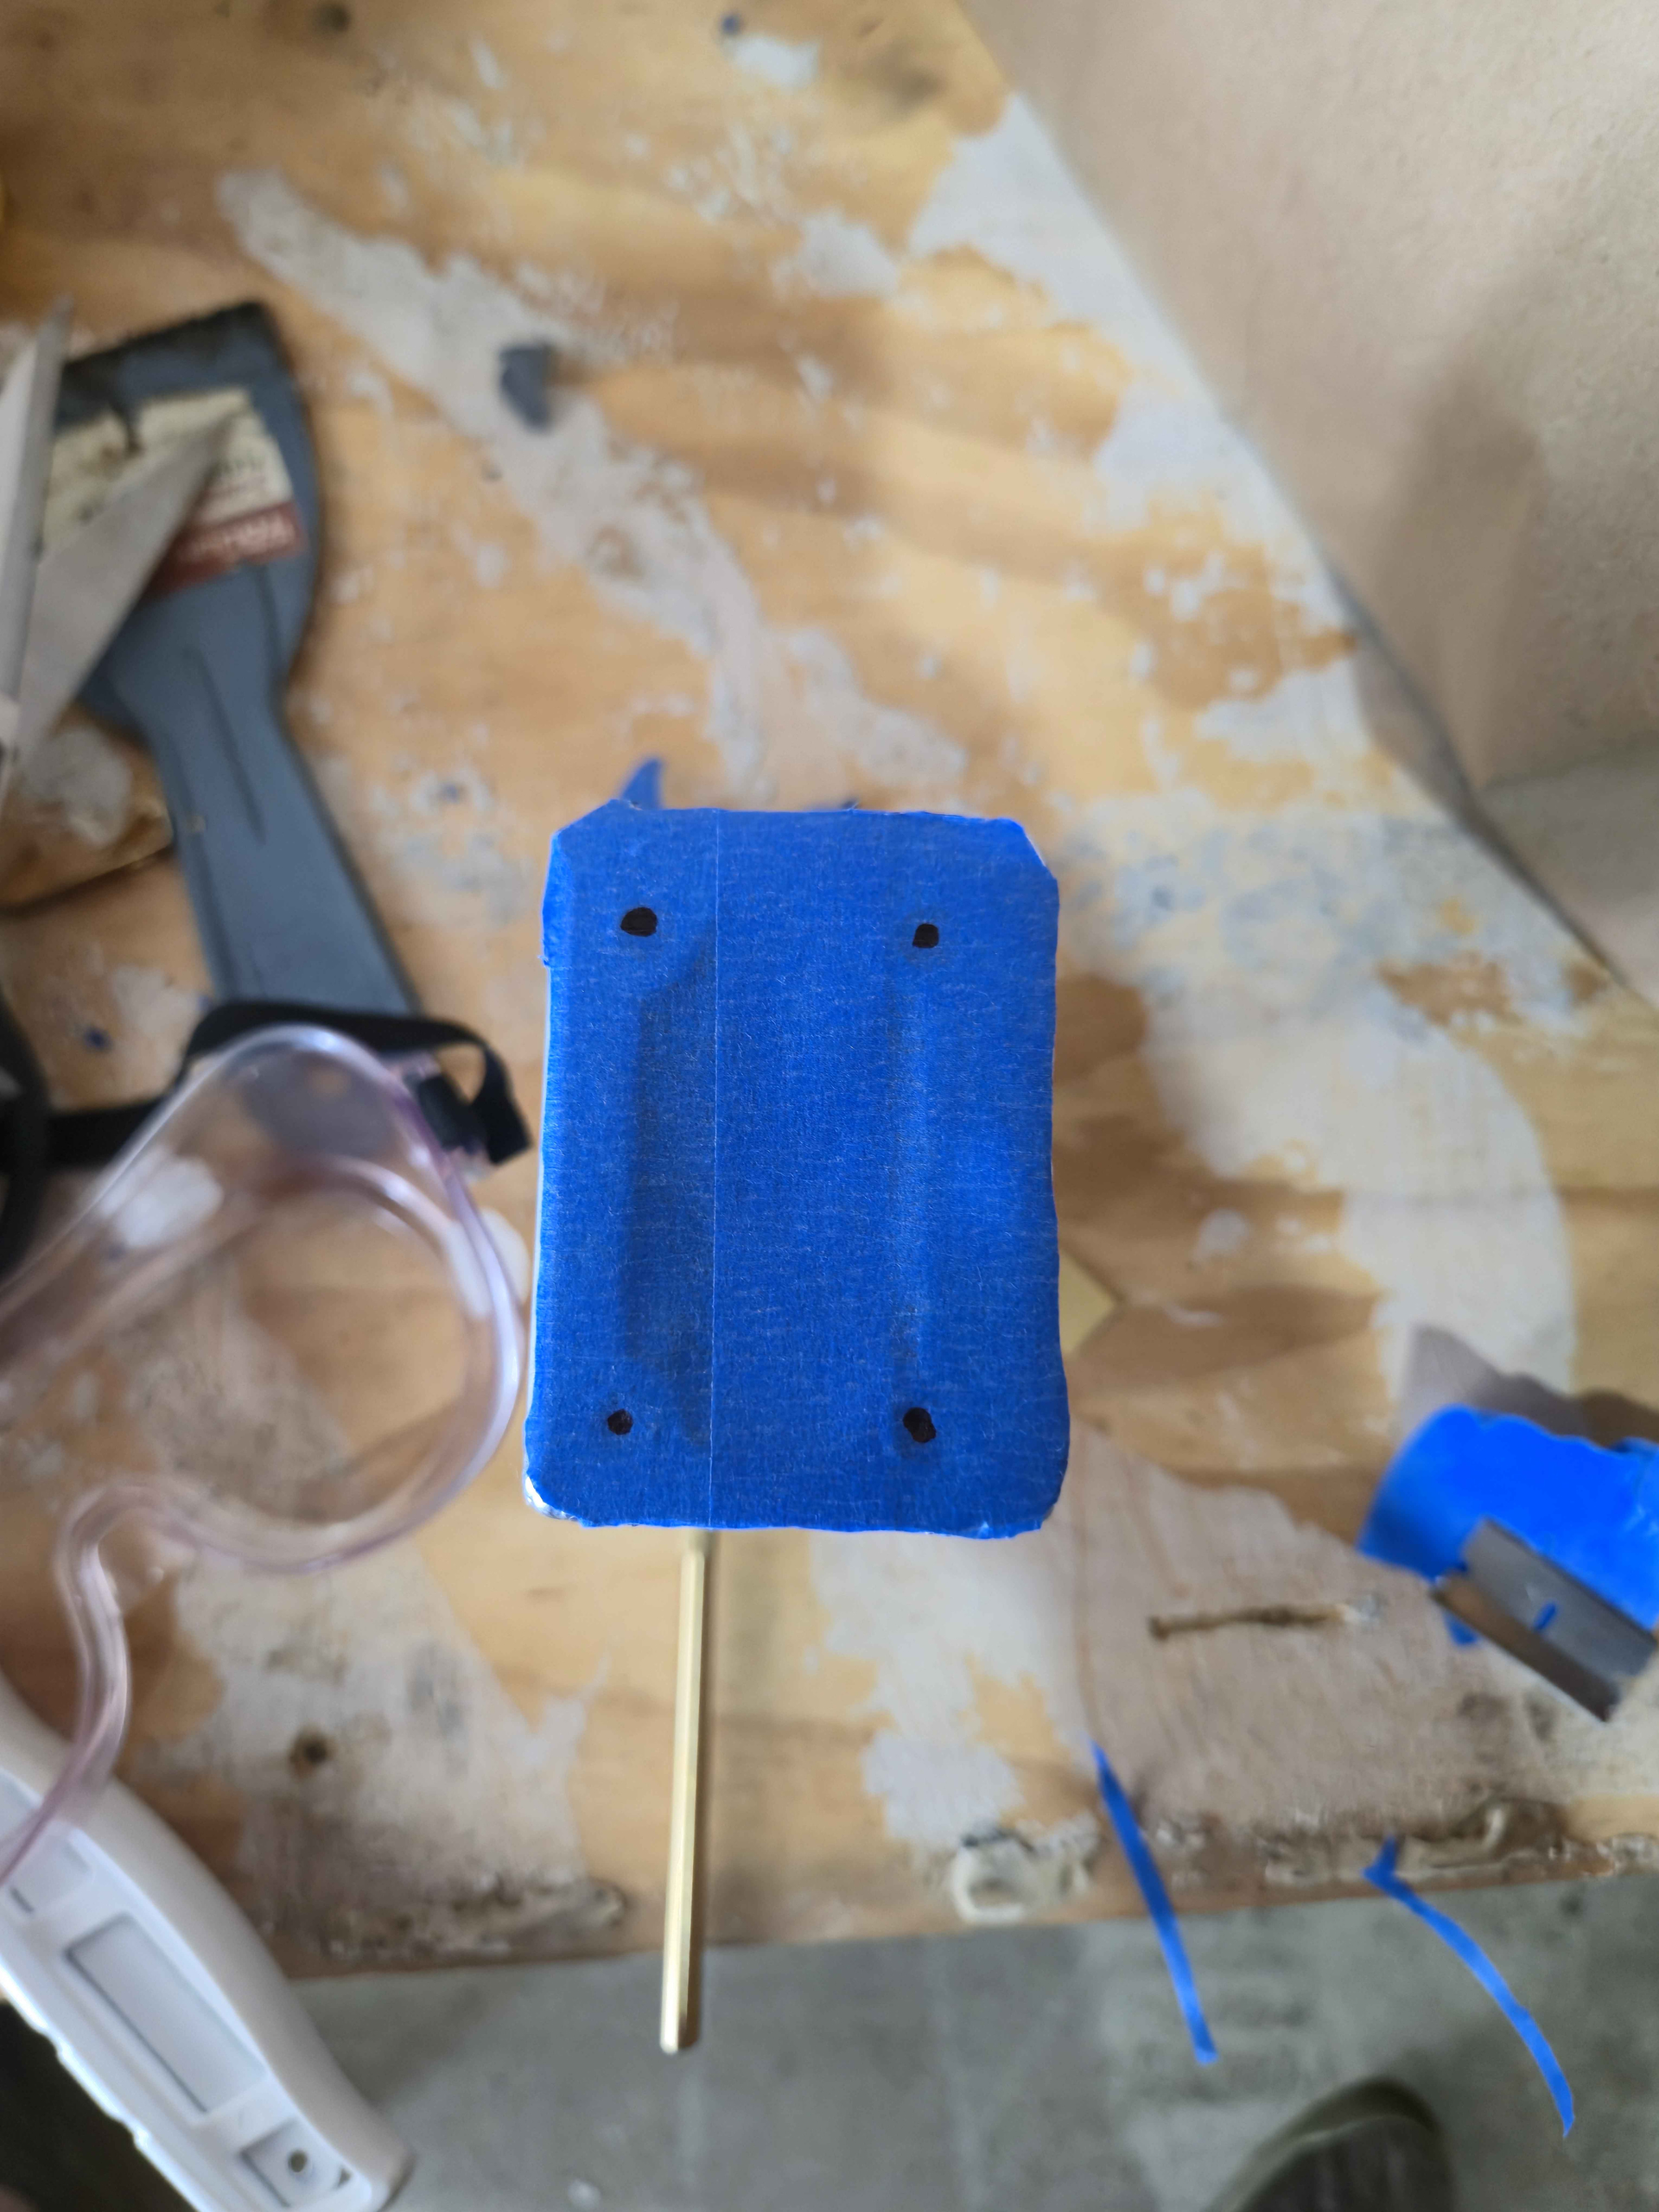
Despite his excellent advice, I still managed to set the template juuuuuuuuust wrong enough where I could only get 2 of the holes to line up
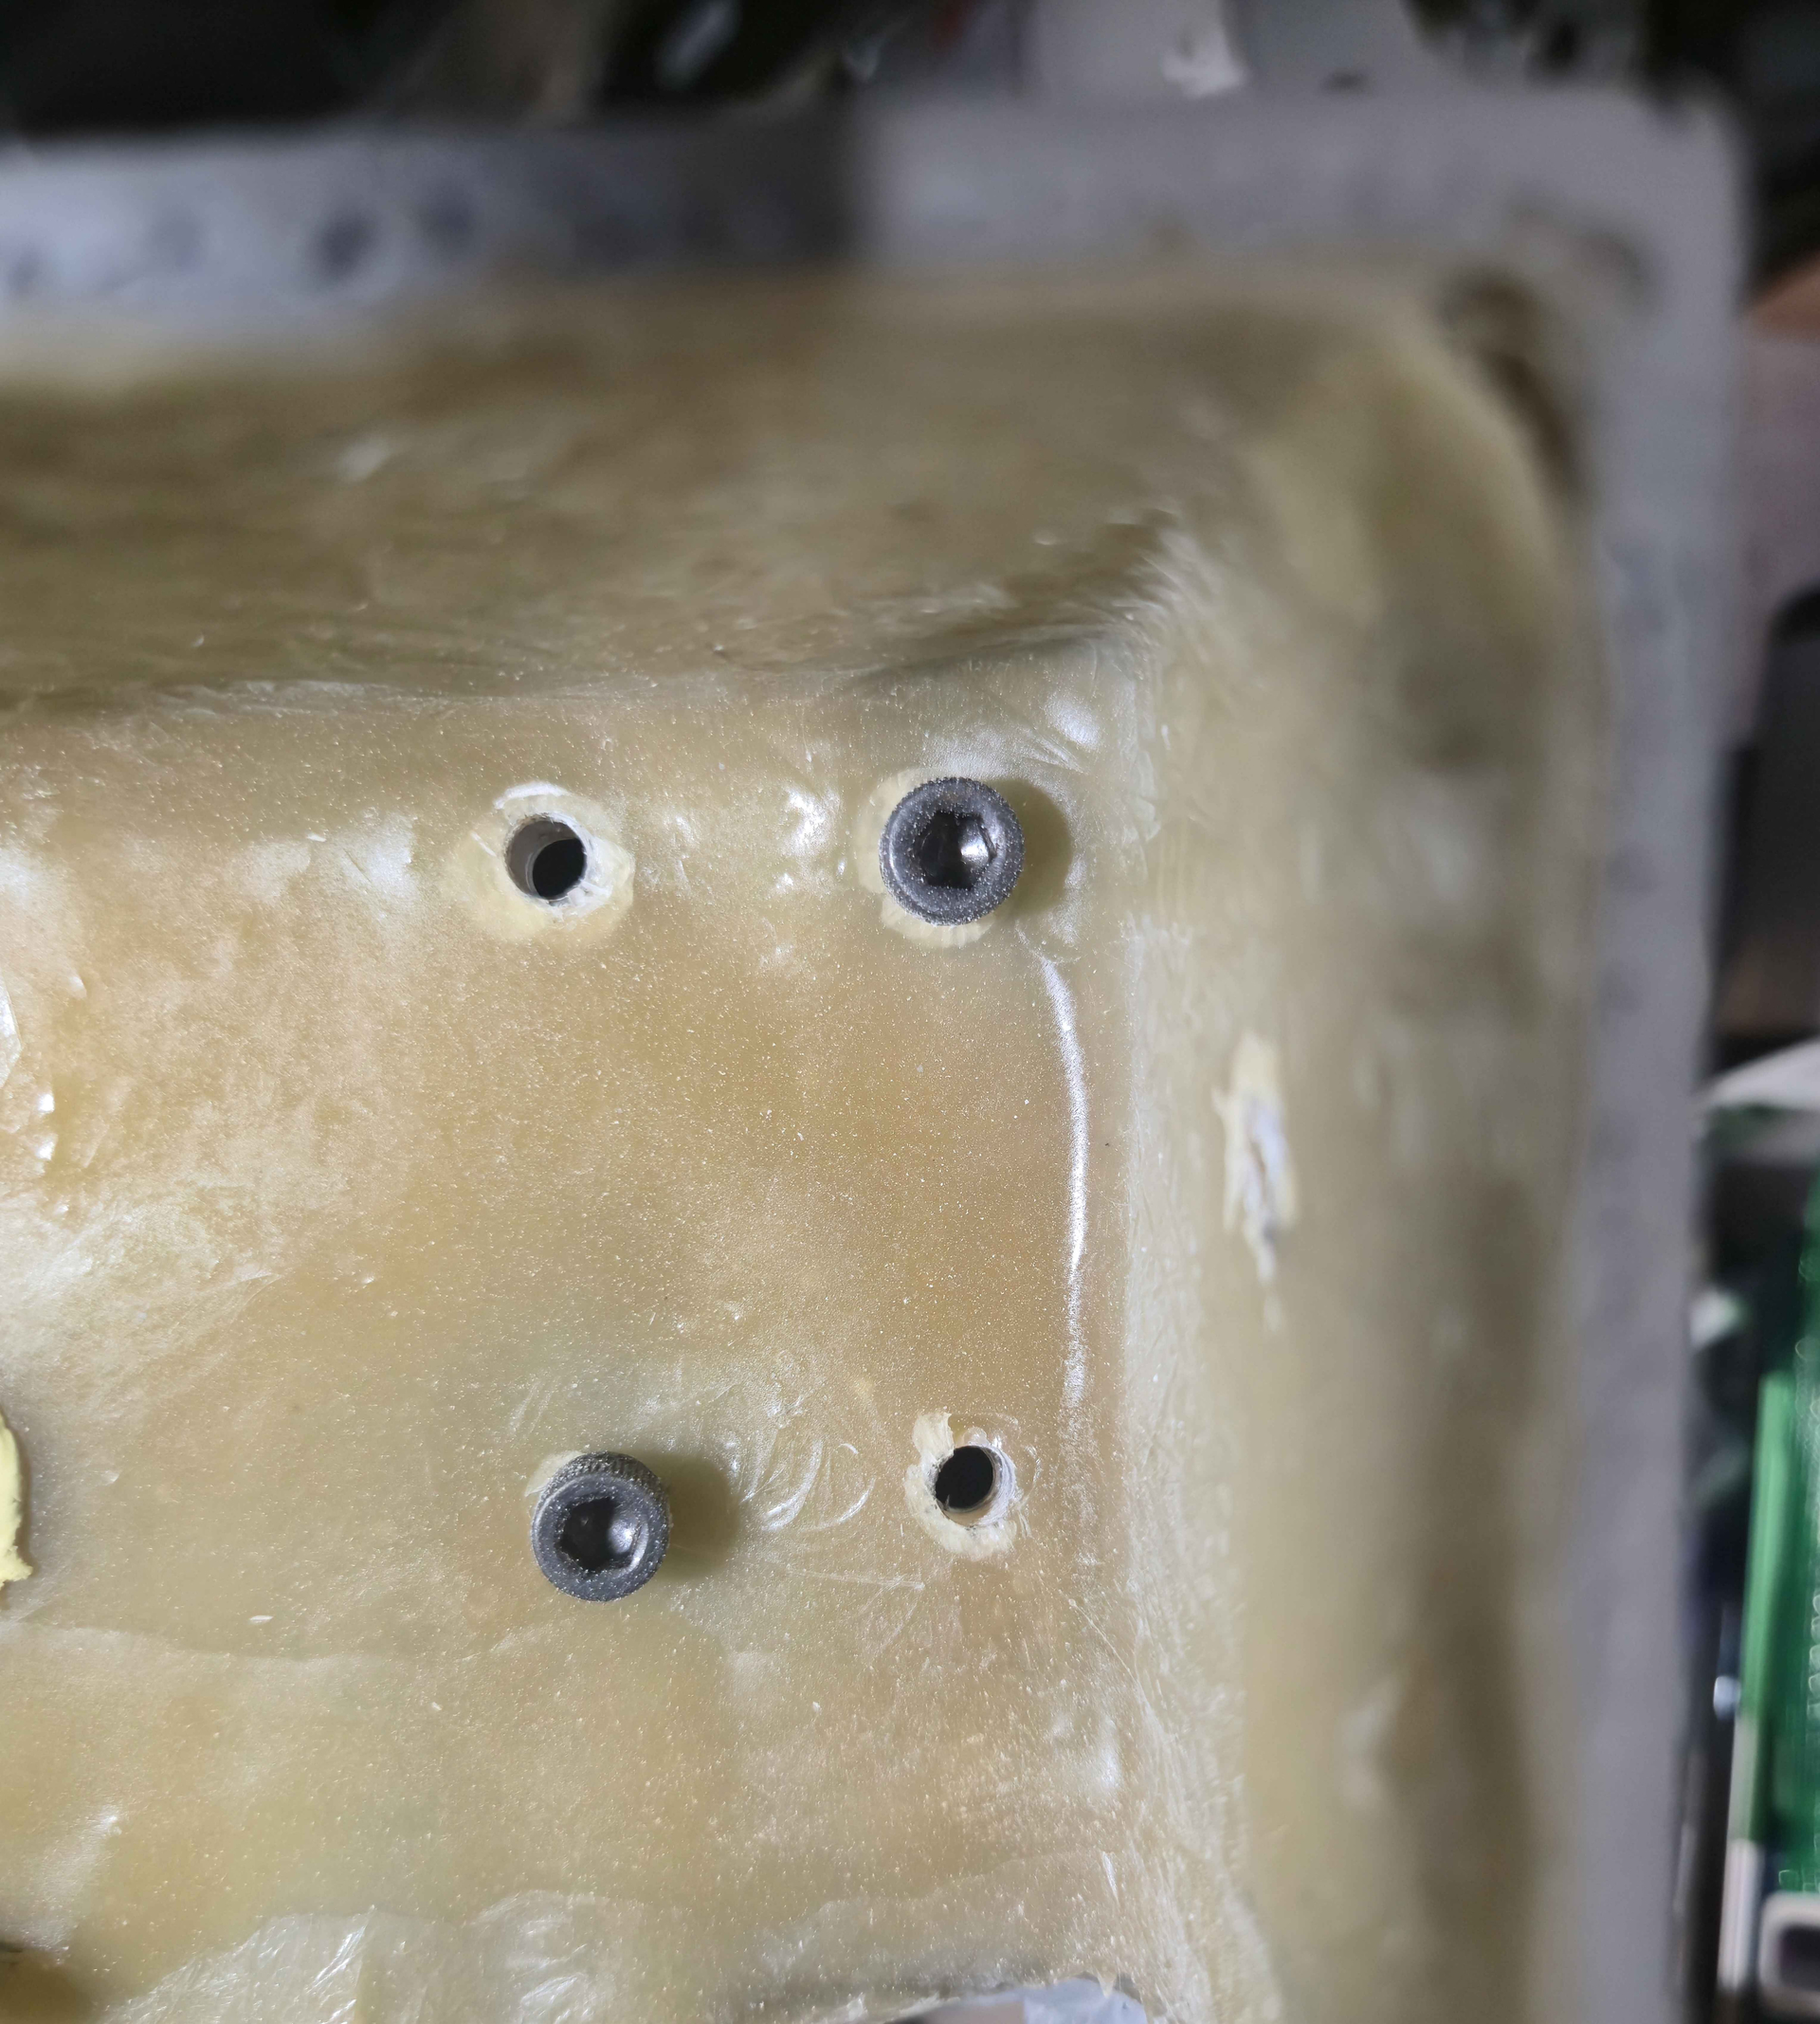
While I was not thrilled with my first mistake on drilling holes in this pack, the ion arm looked pretty good to me where it was sitting.
Little did I know that my janky drill holes would be a recurring theme with the other parts of this pack.