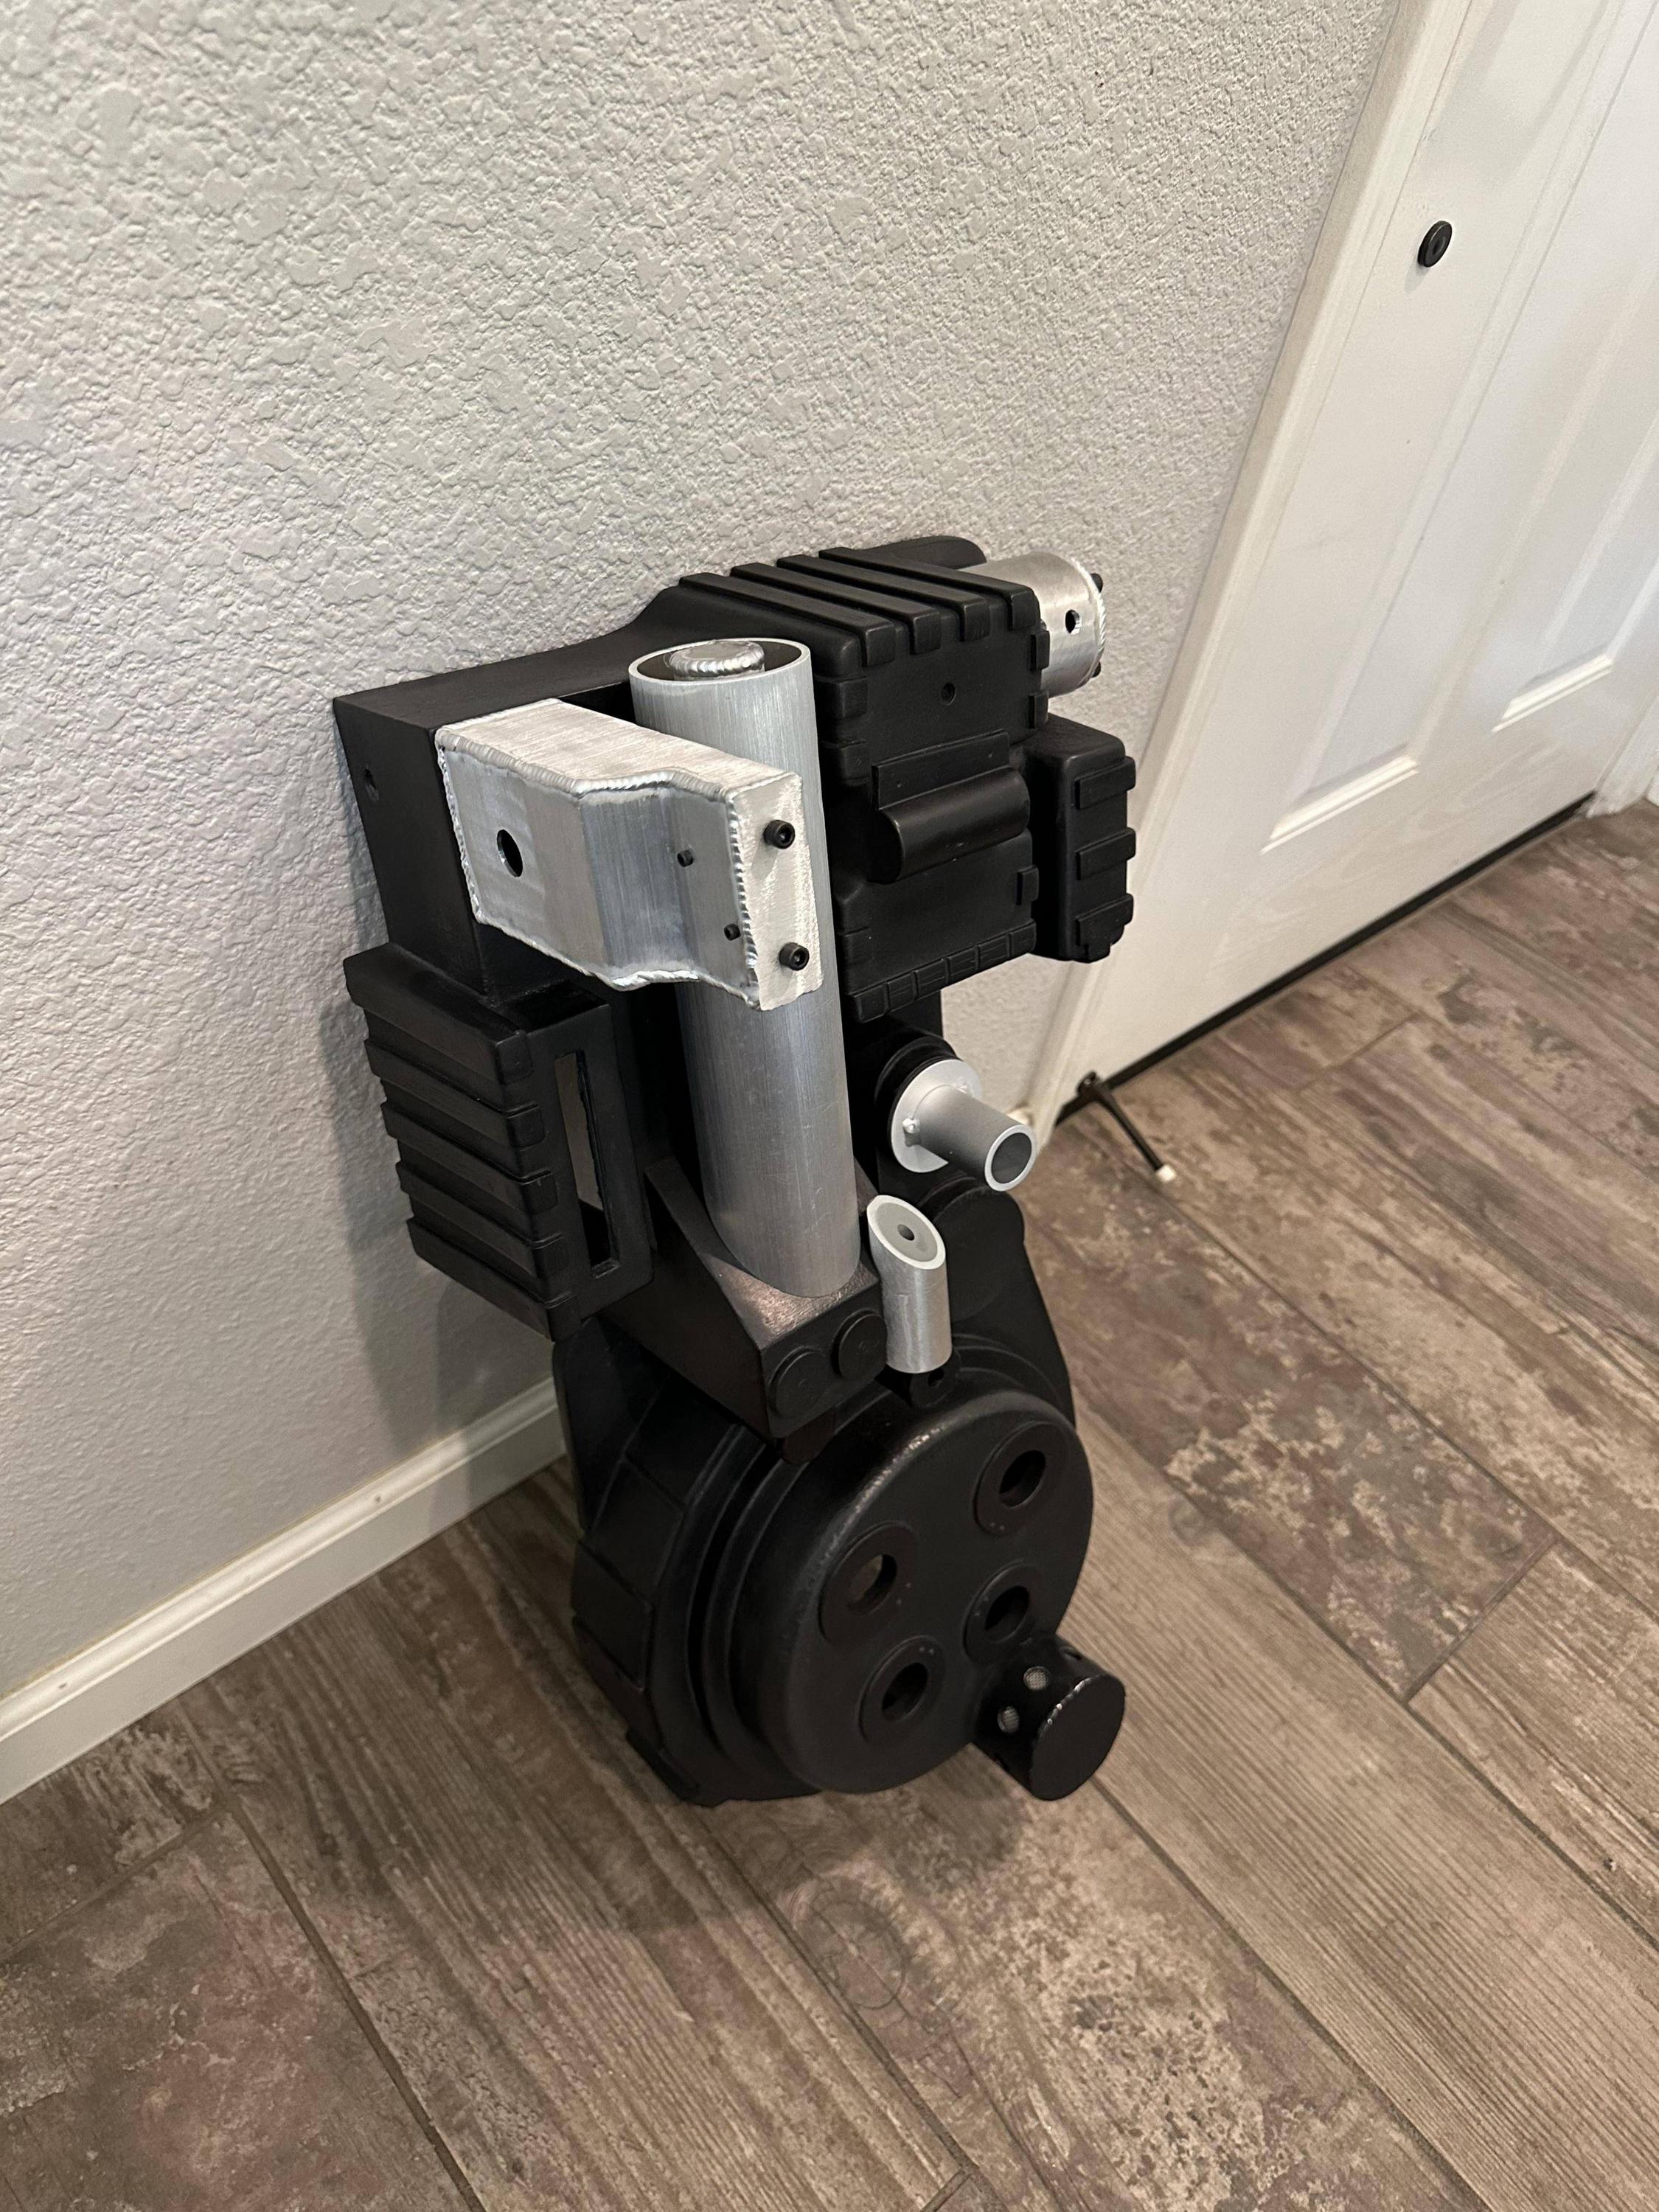
Big step complete today, got most of the major aluminum test fitted. I was particularly cautious with this step because I didn’t want to mess up this amazing shell and I wanted things to line up just right. I placed blue painters tape on the bottom of each aluminum piece and then carefully cut it out :
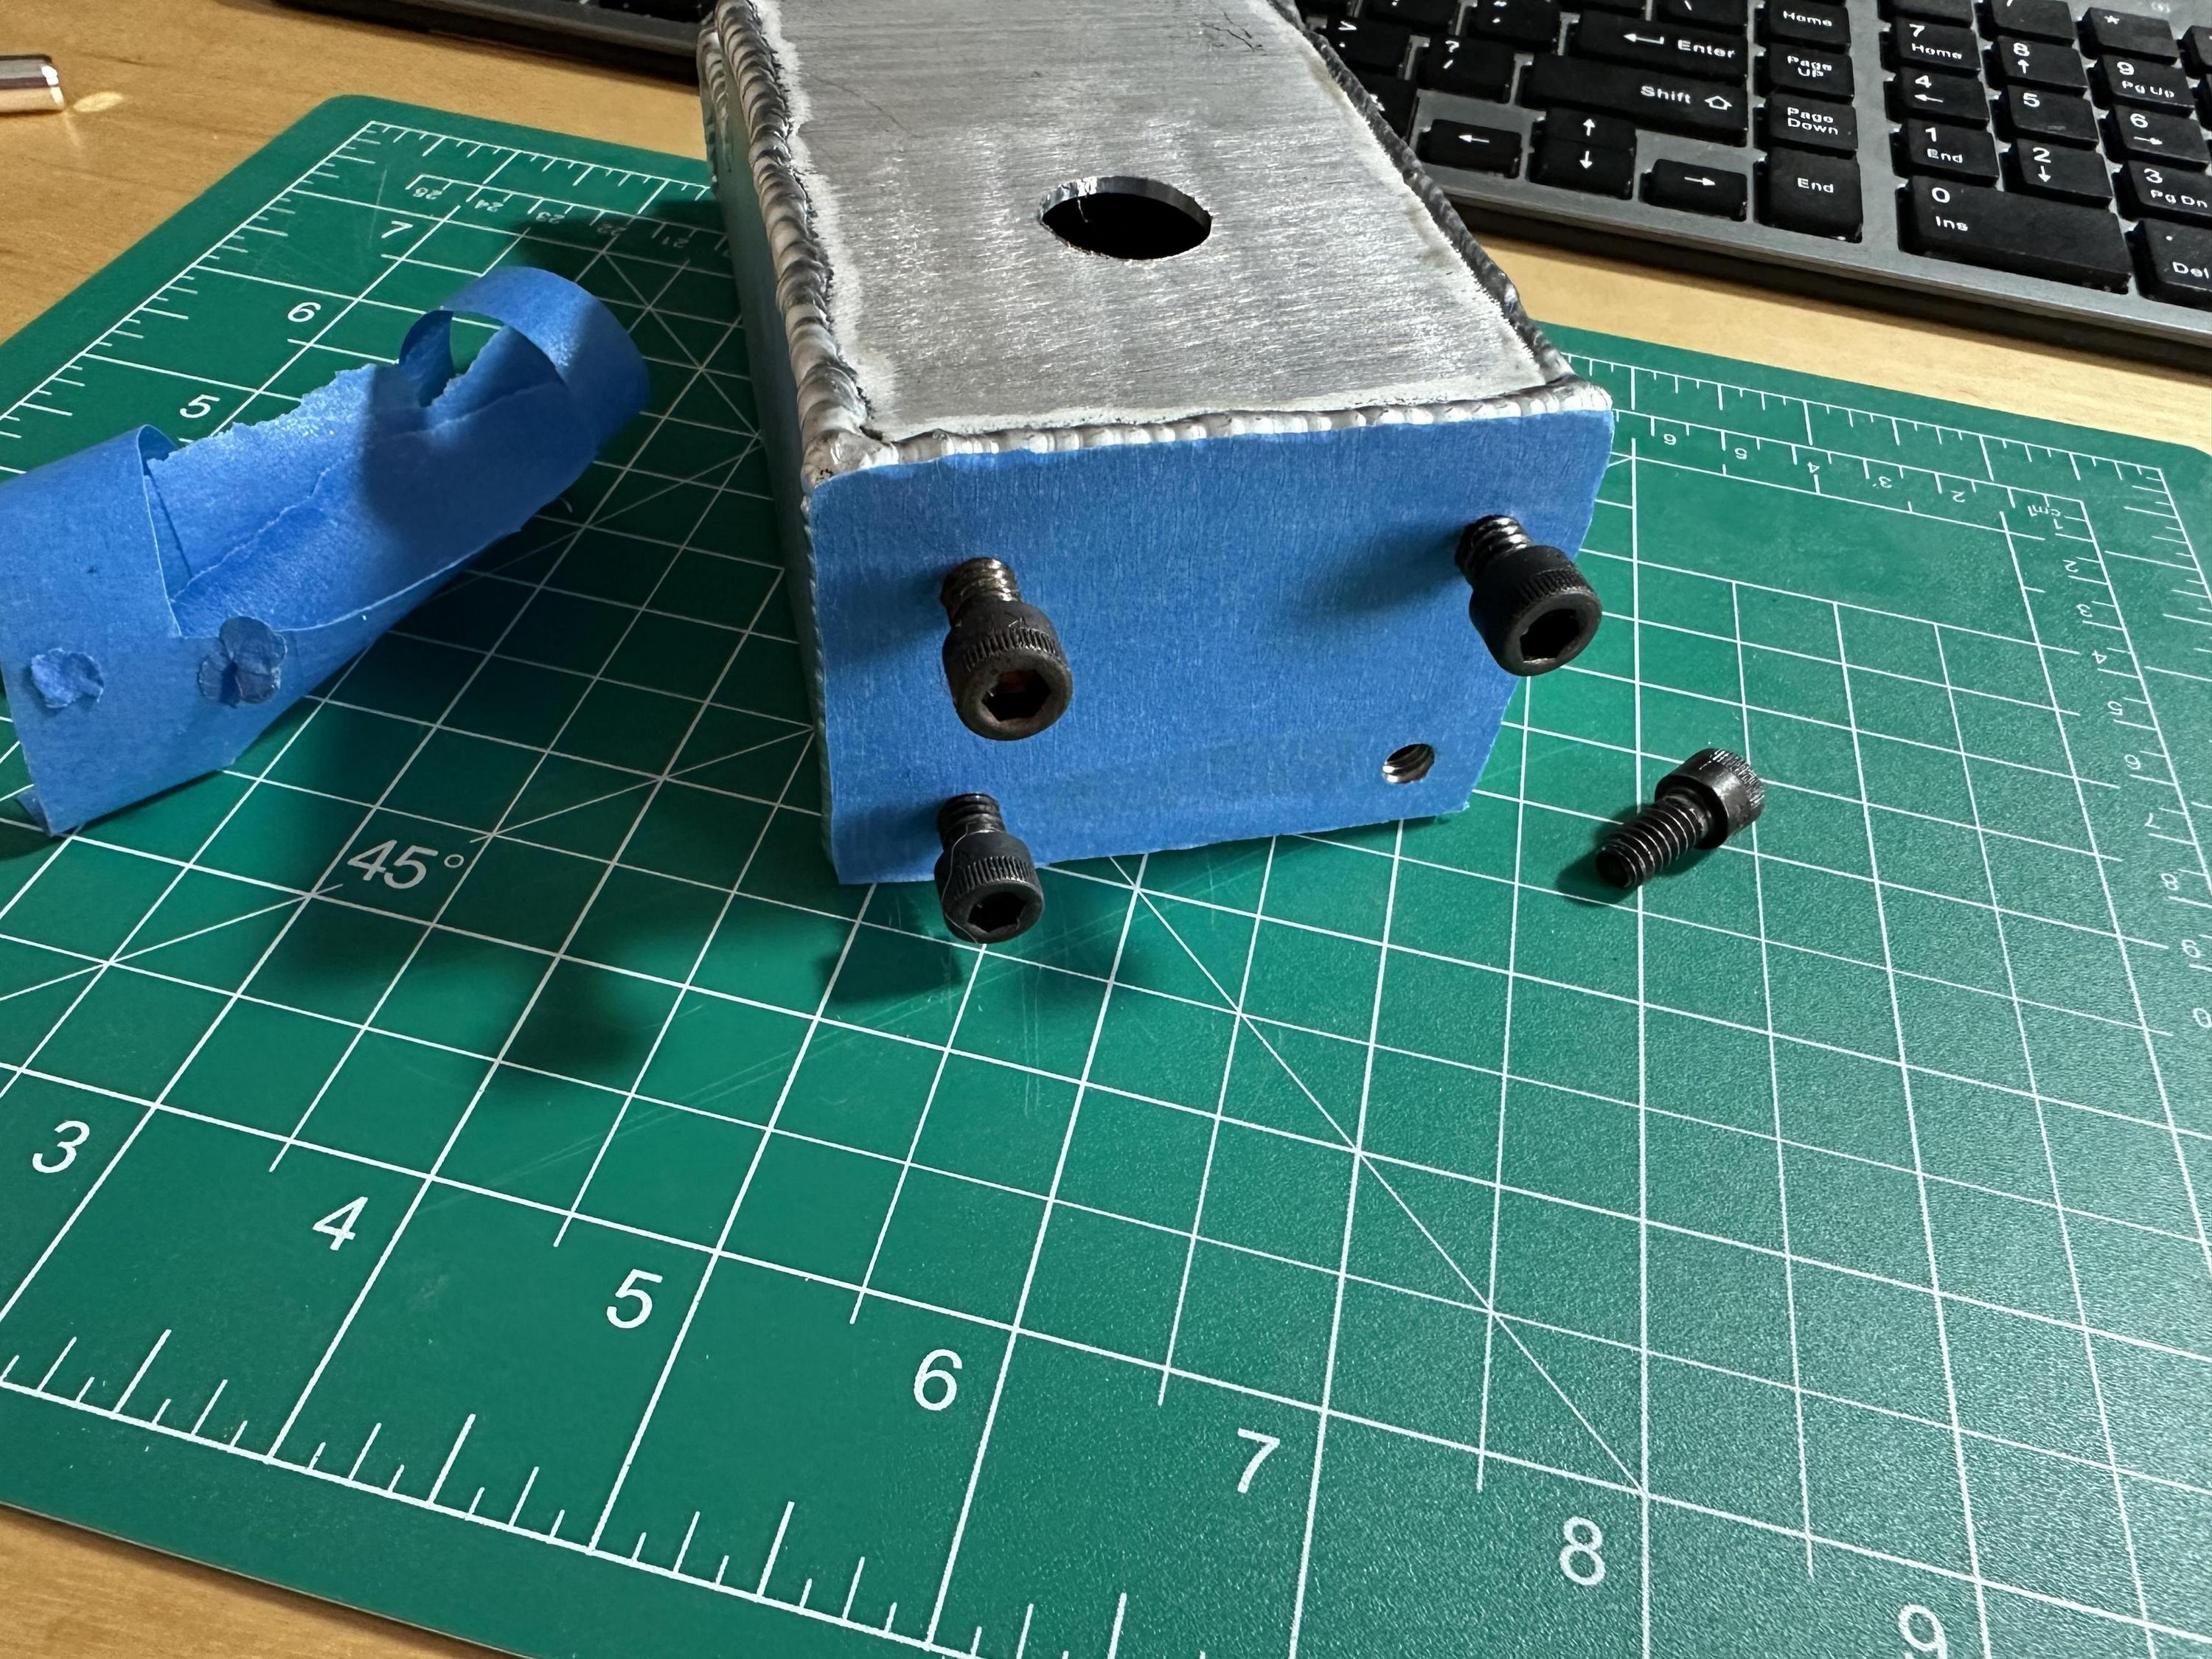
Repeated the process for each piece.

Then took each blue tape template and placed it where I wanted it to be on the shell. This took several tries of placing and removing the tape to get it just right. One important thing to note is the GBfans ion arm stencil base cannot be mirrored and had to be placed on the shell sticky side up.
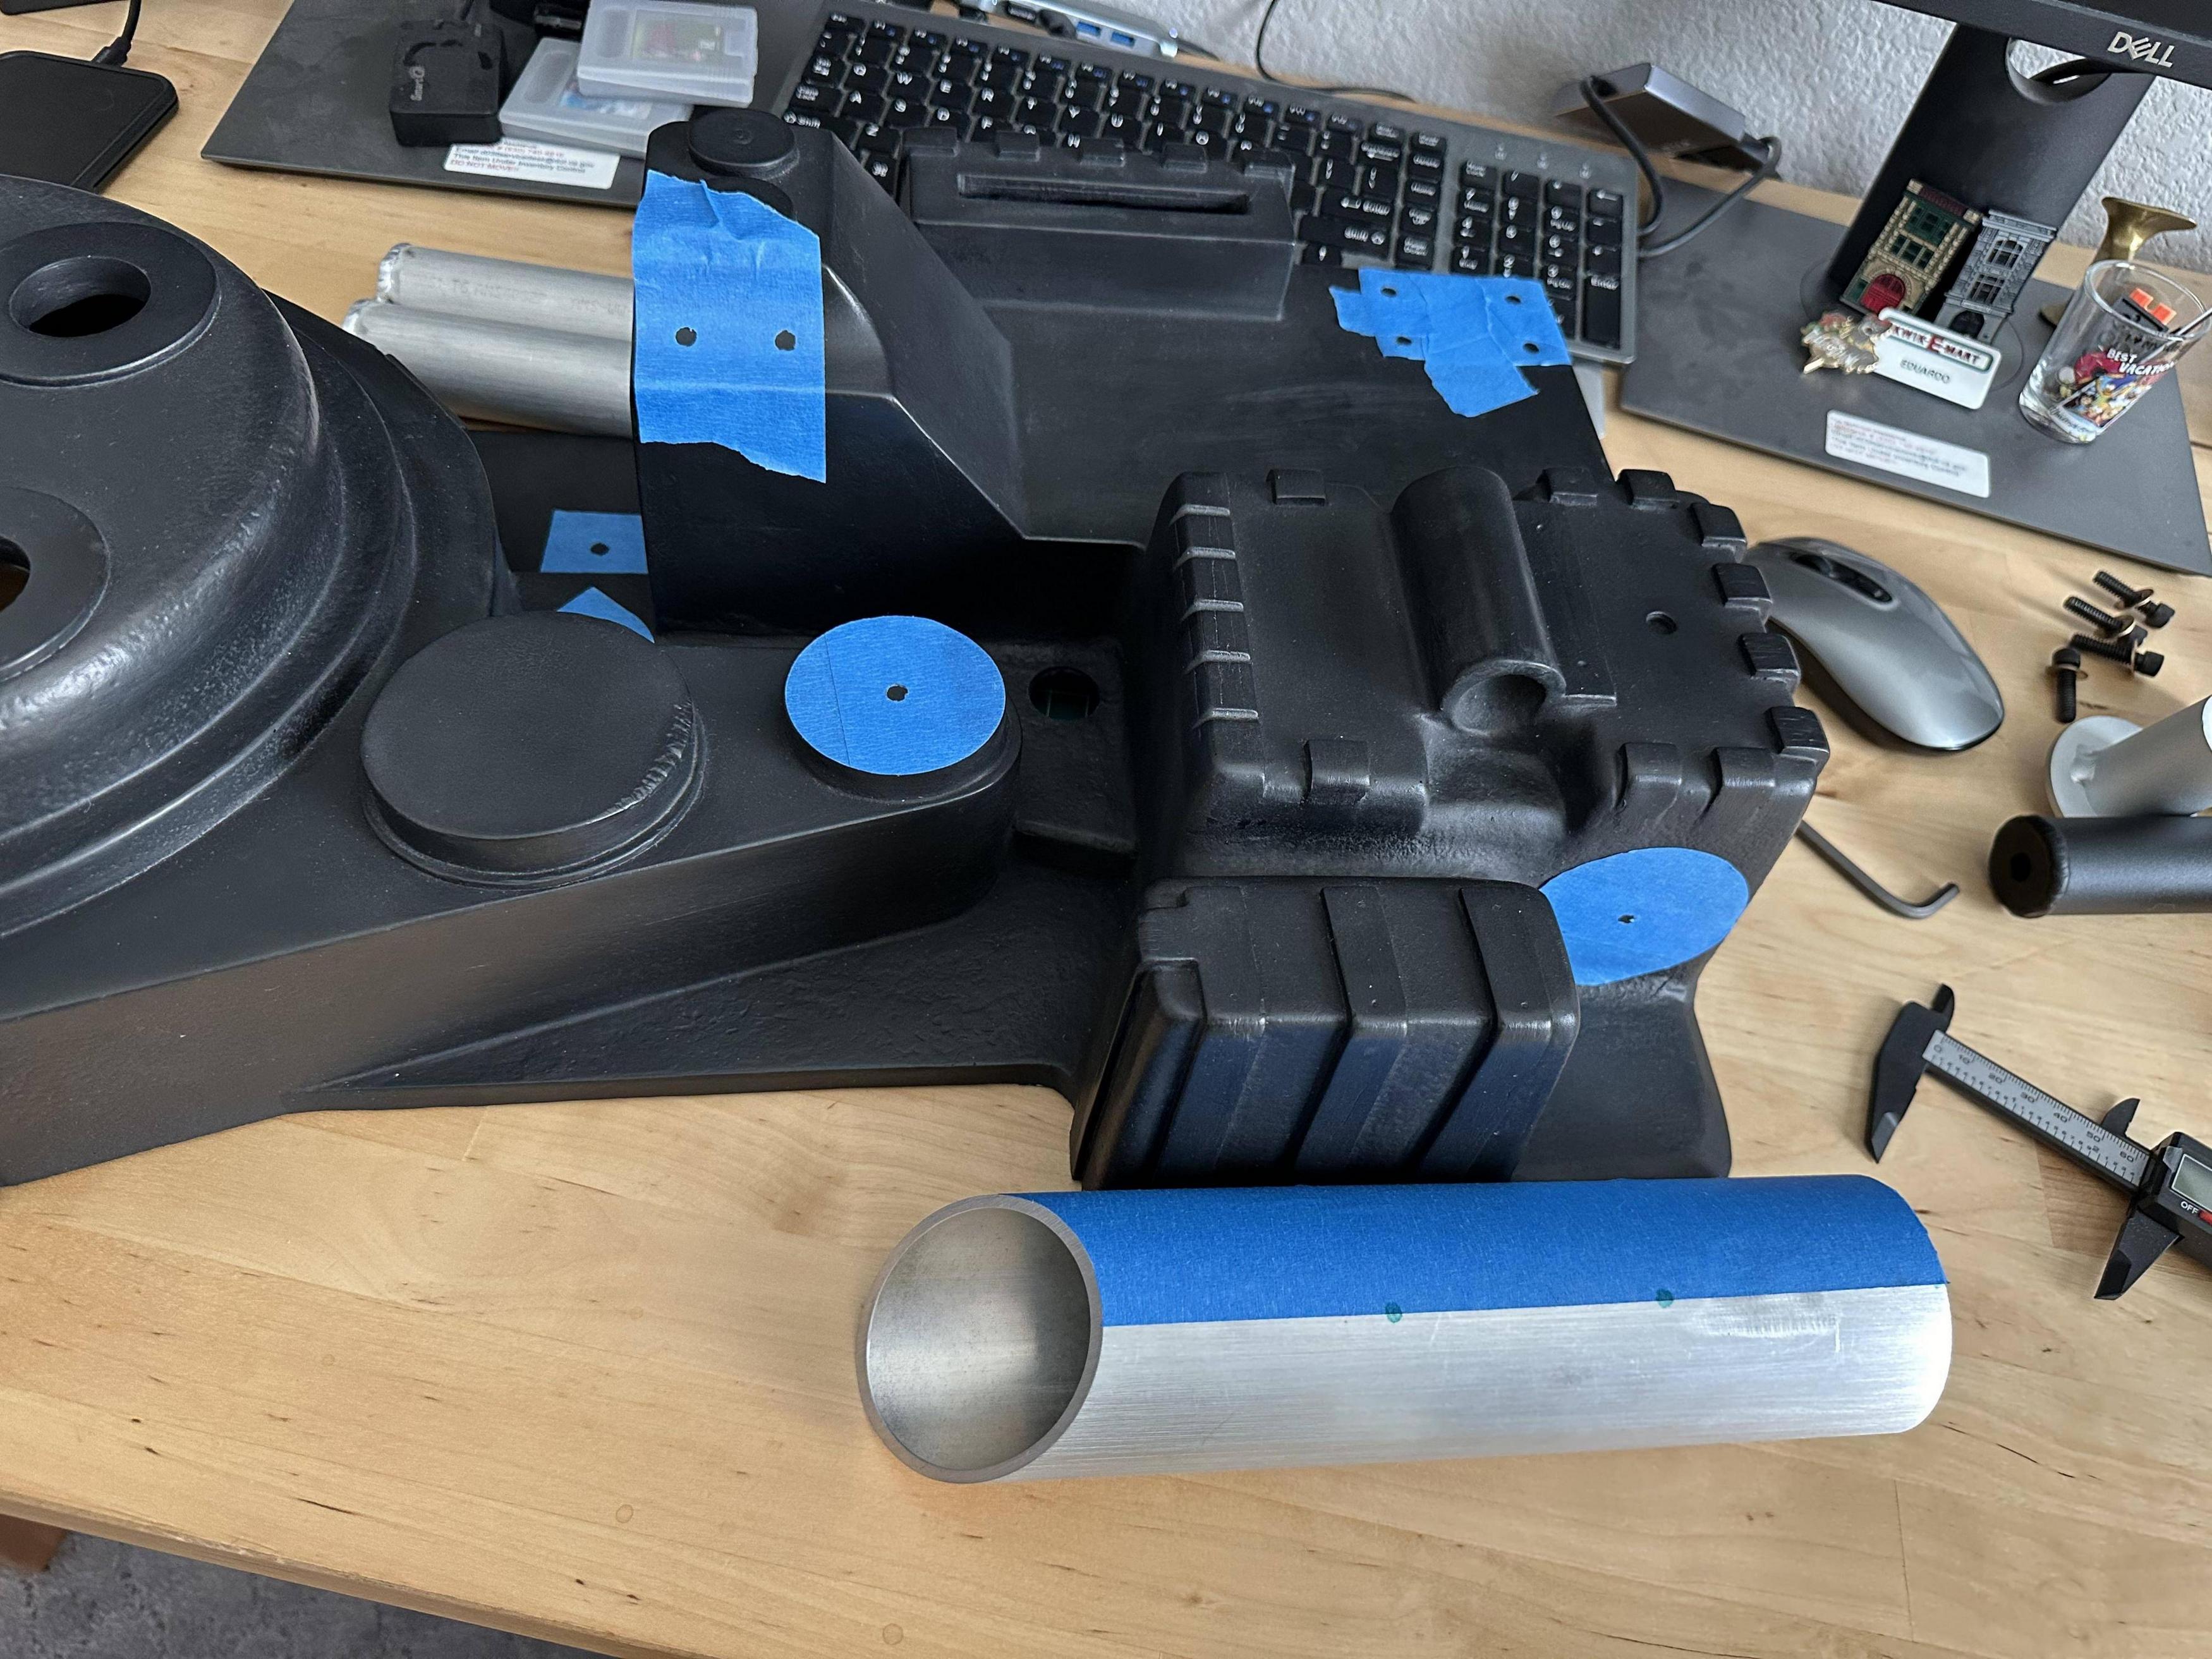
The booster tube was a bit tricky as it did not come with pre drilled holes. I used some marker and more tape to determine the center point of the tube that rests against the shell, marked the points with a center punch, then drilled holes 2.5 inches apart starting from the bottom of the booster using a step bit, and tapped them for some M5 bolts that I already had. Then placed blue tape over the booster, cut the holes out, and placed the tape on the shell.
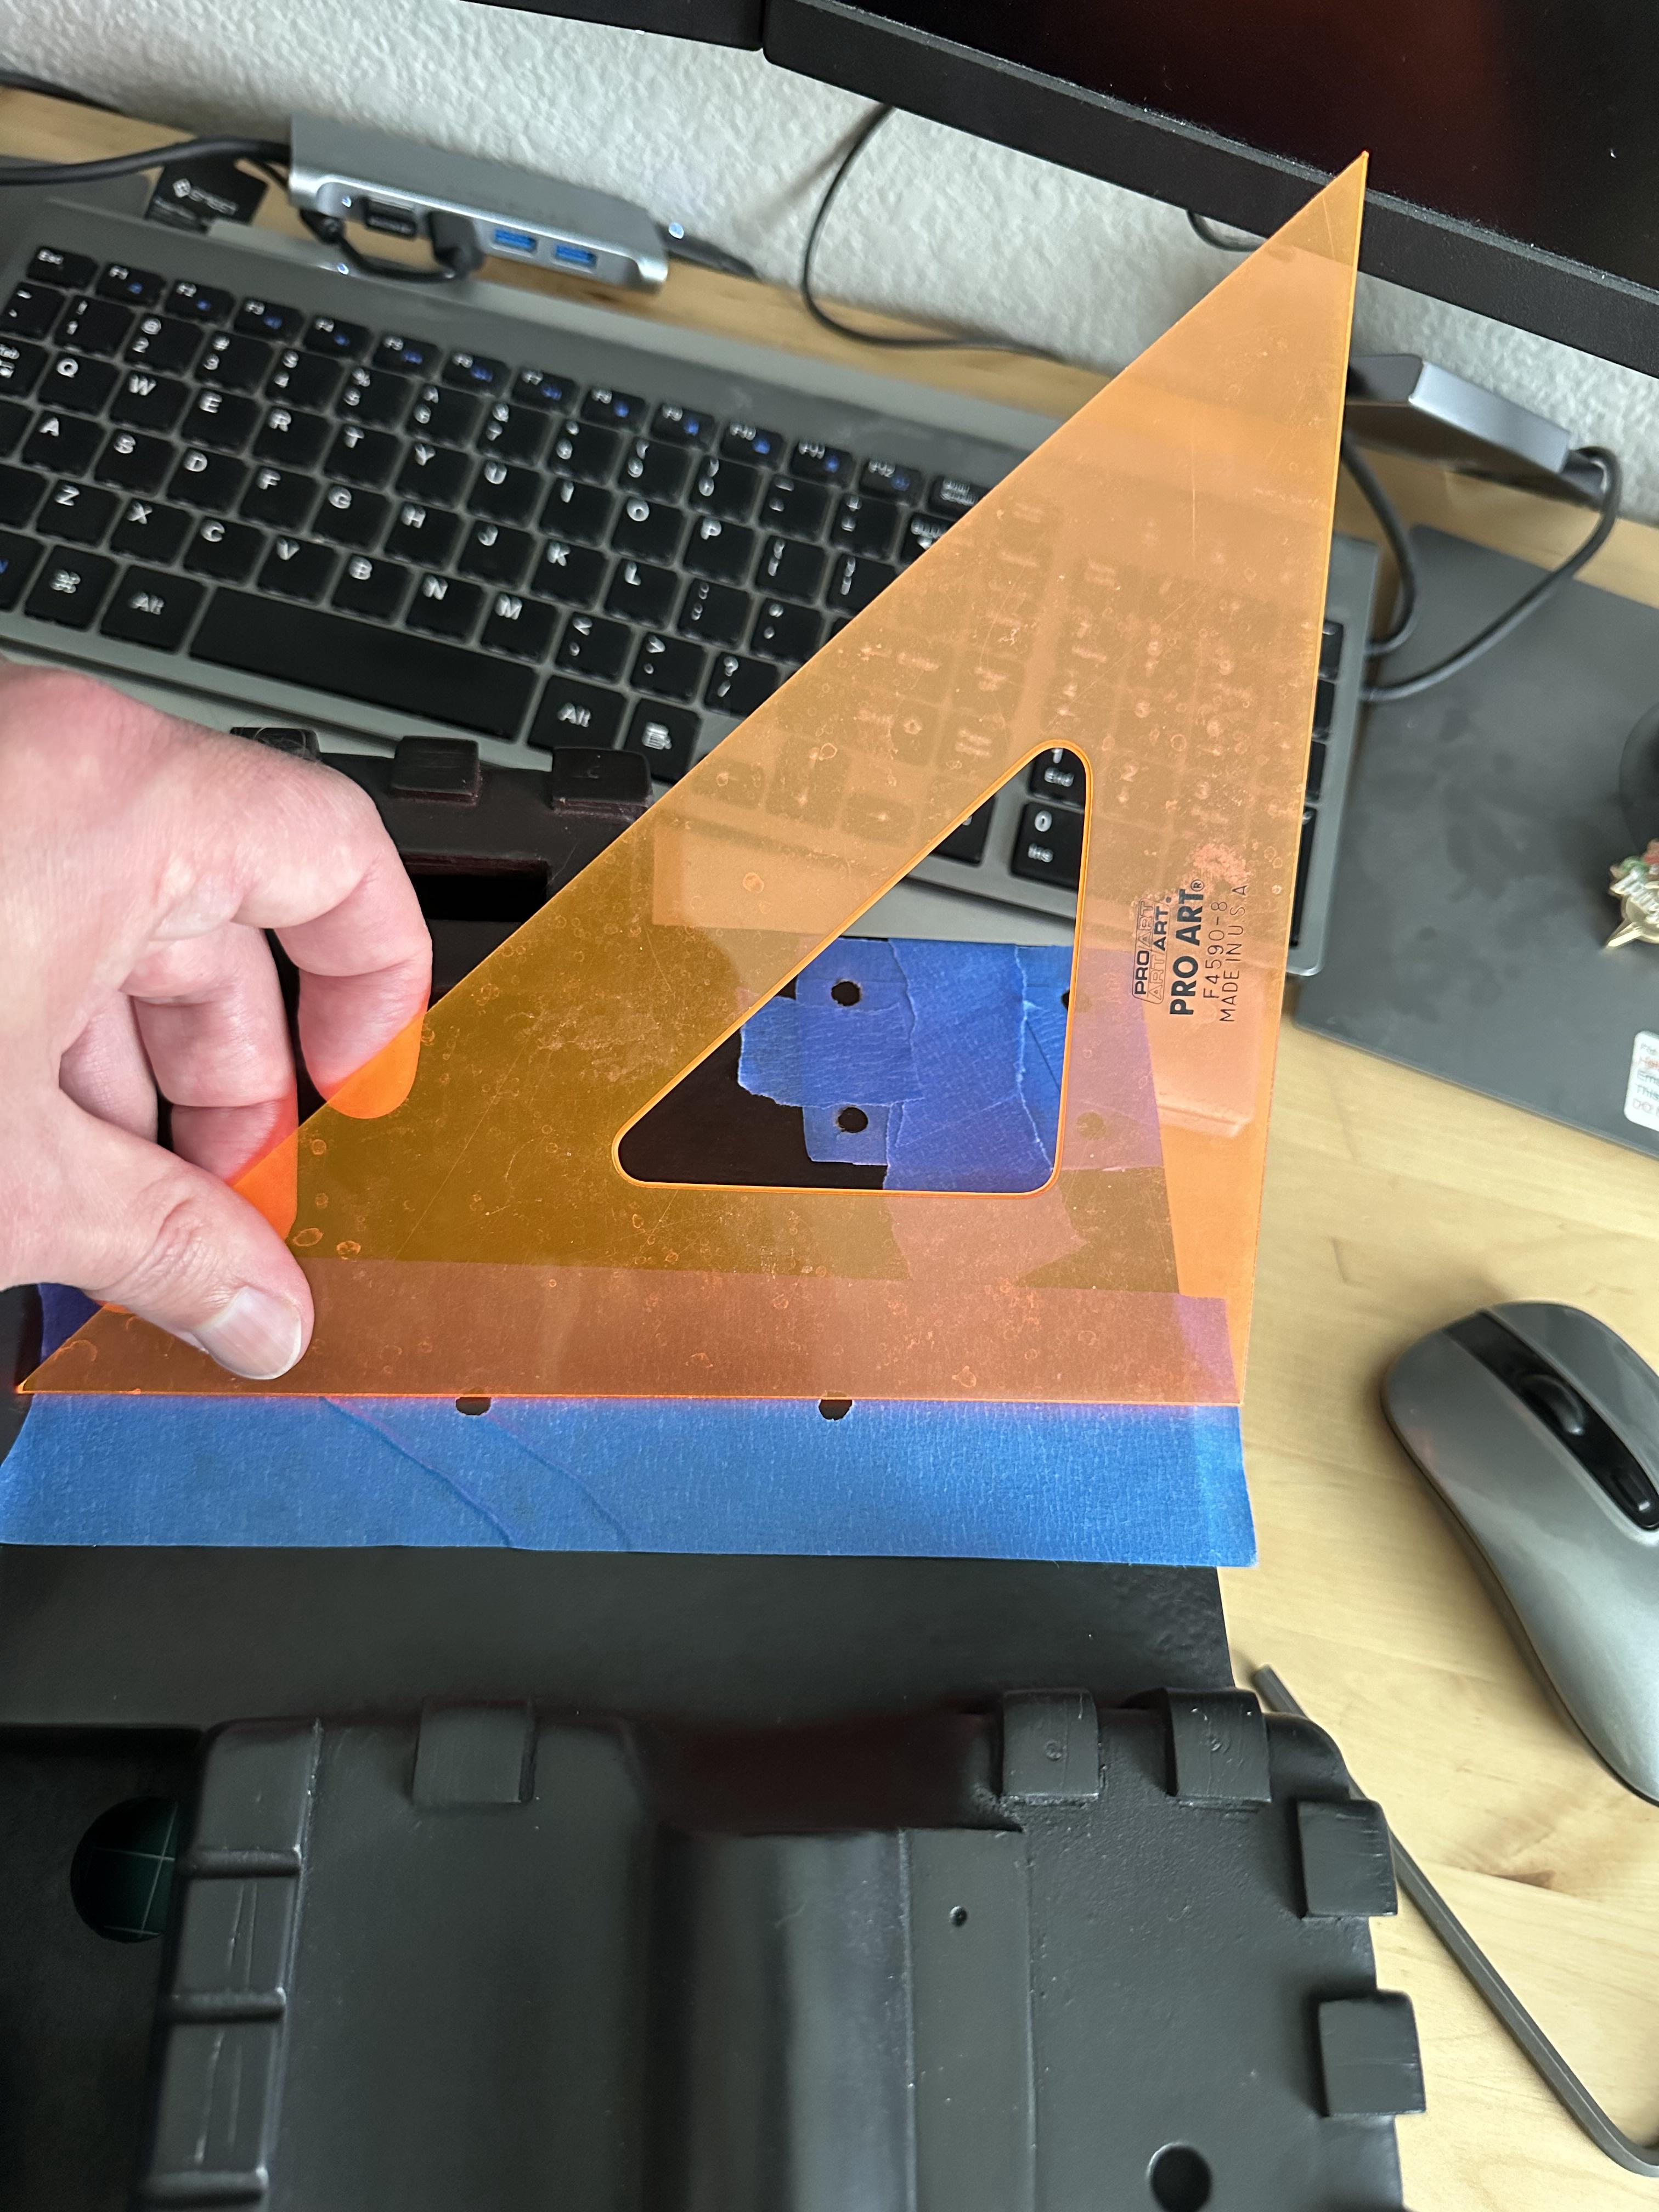
Then came the moment of truth to drill. The tape method worked beautifully and everything lined up perfectly, only drilled holes ONCE for each item.
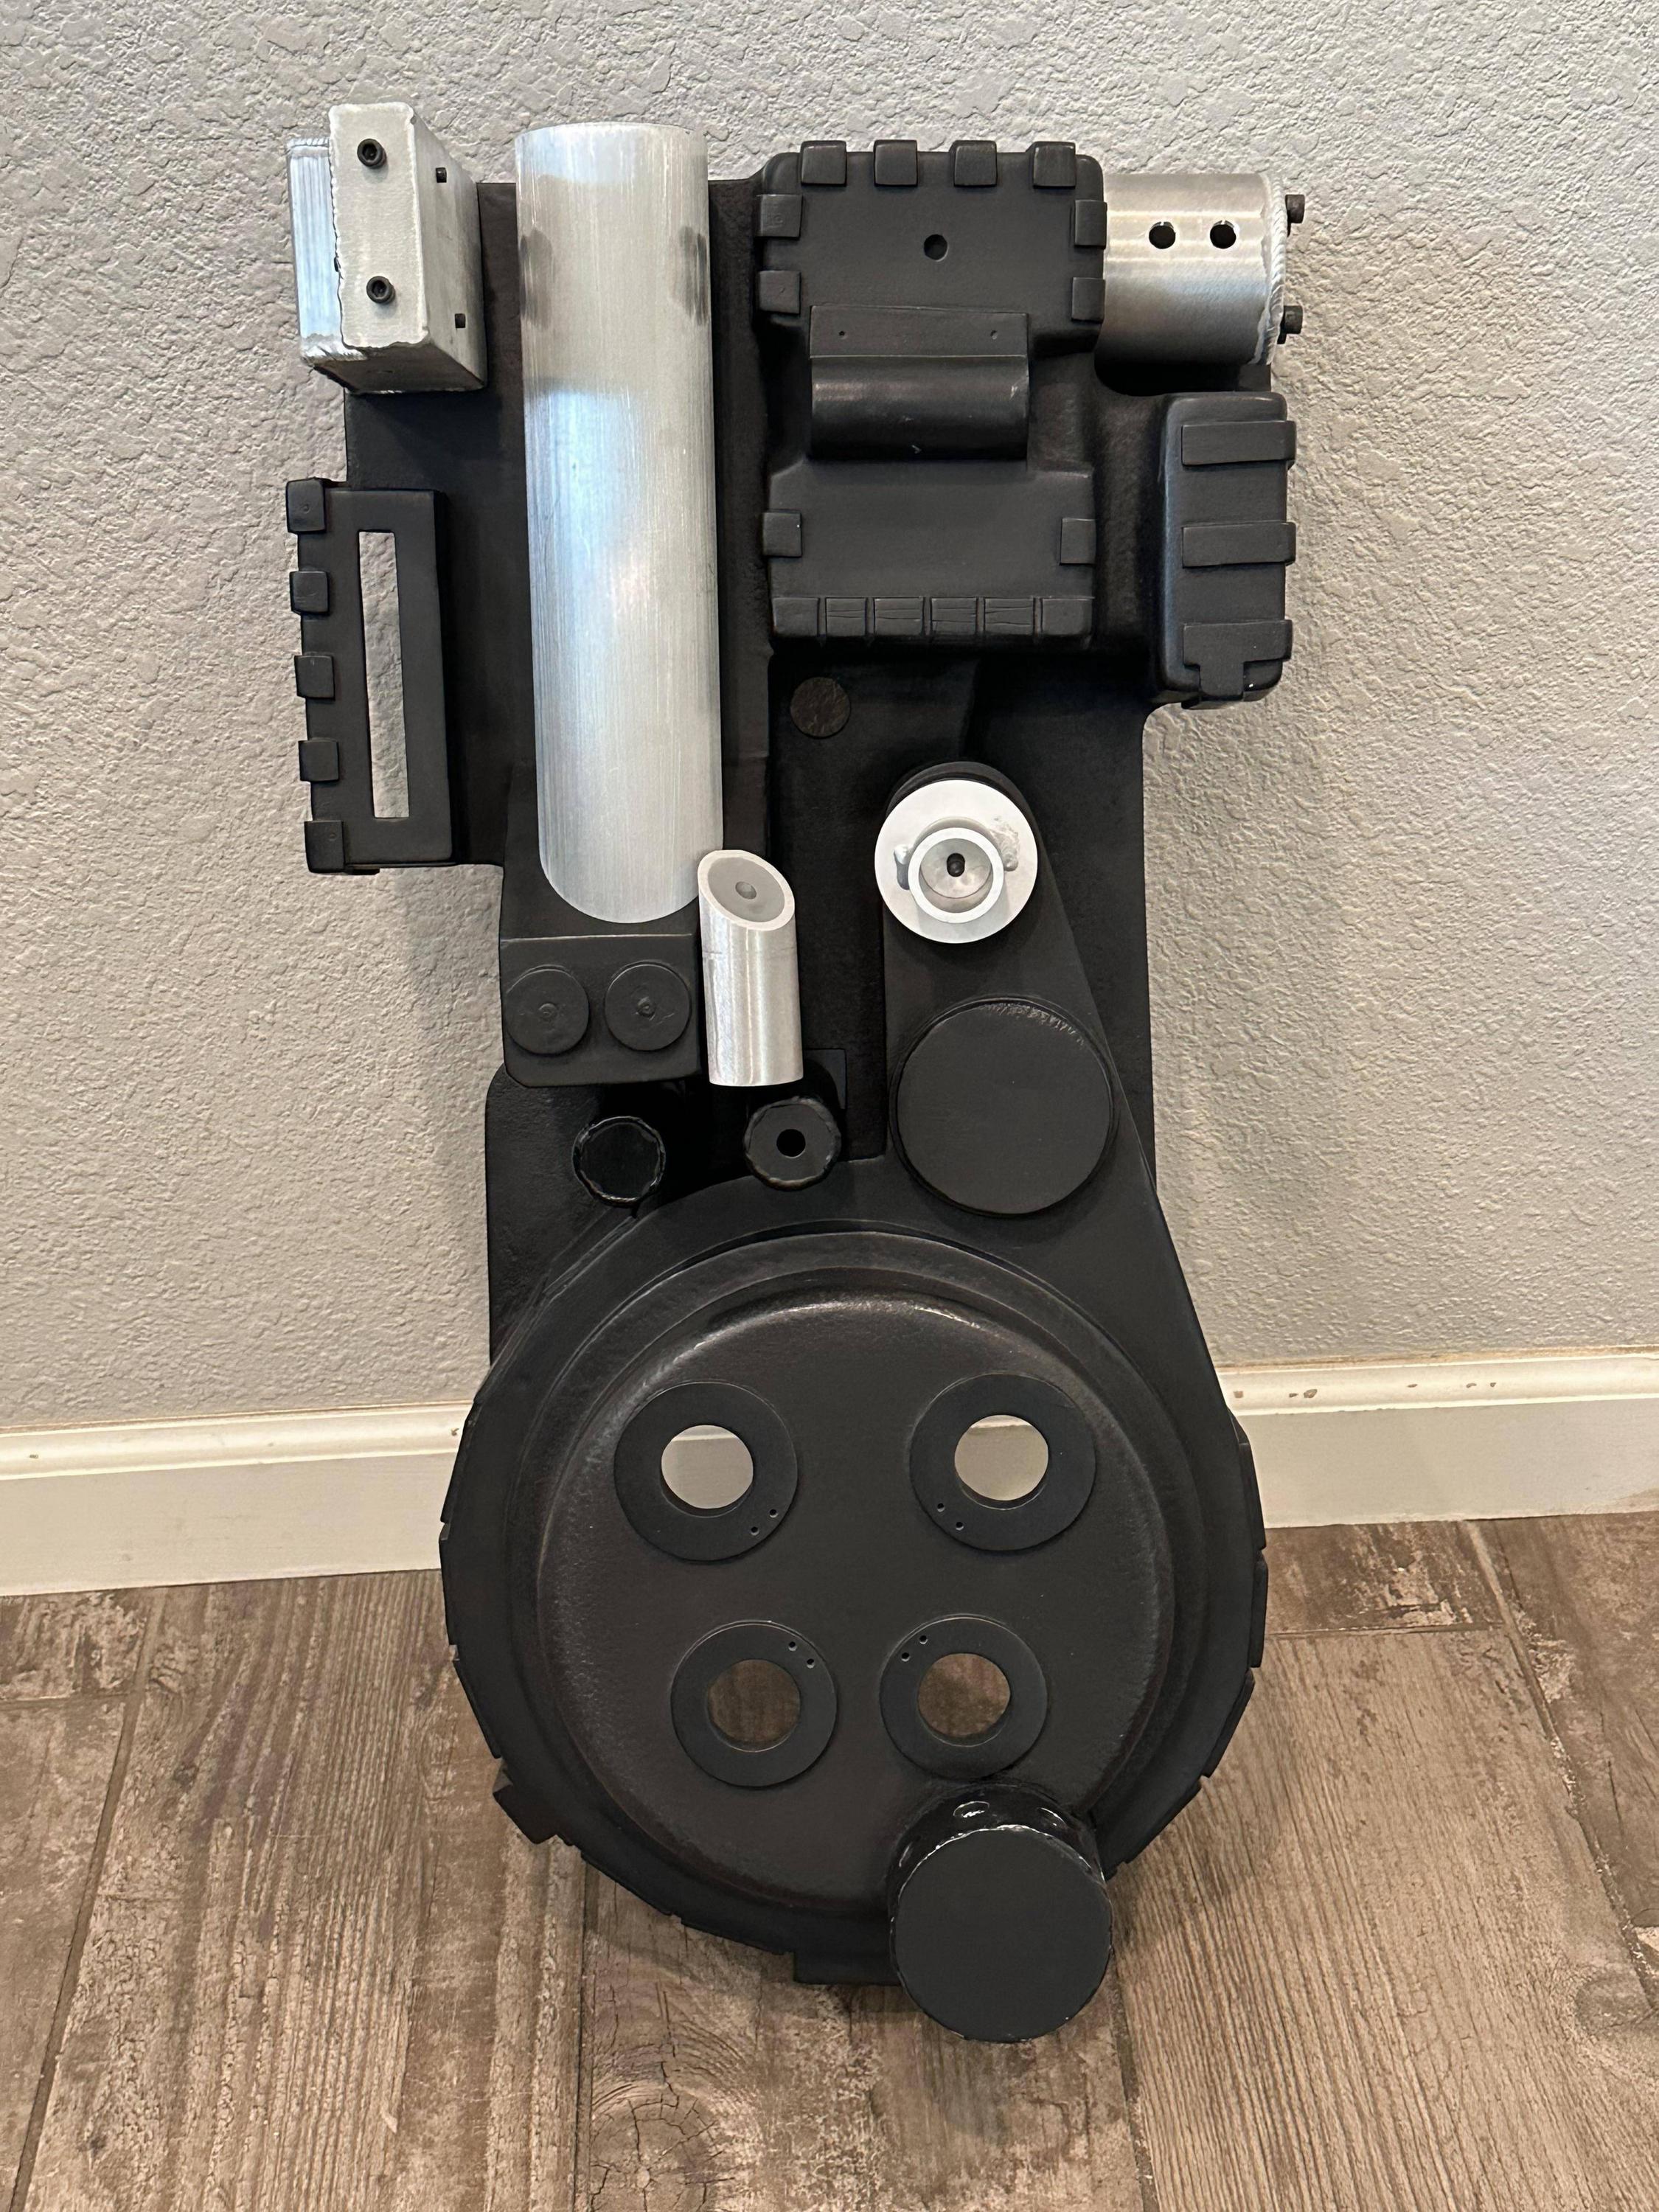
Corners line up perfectly:
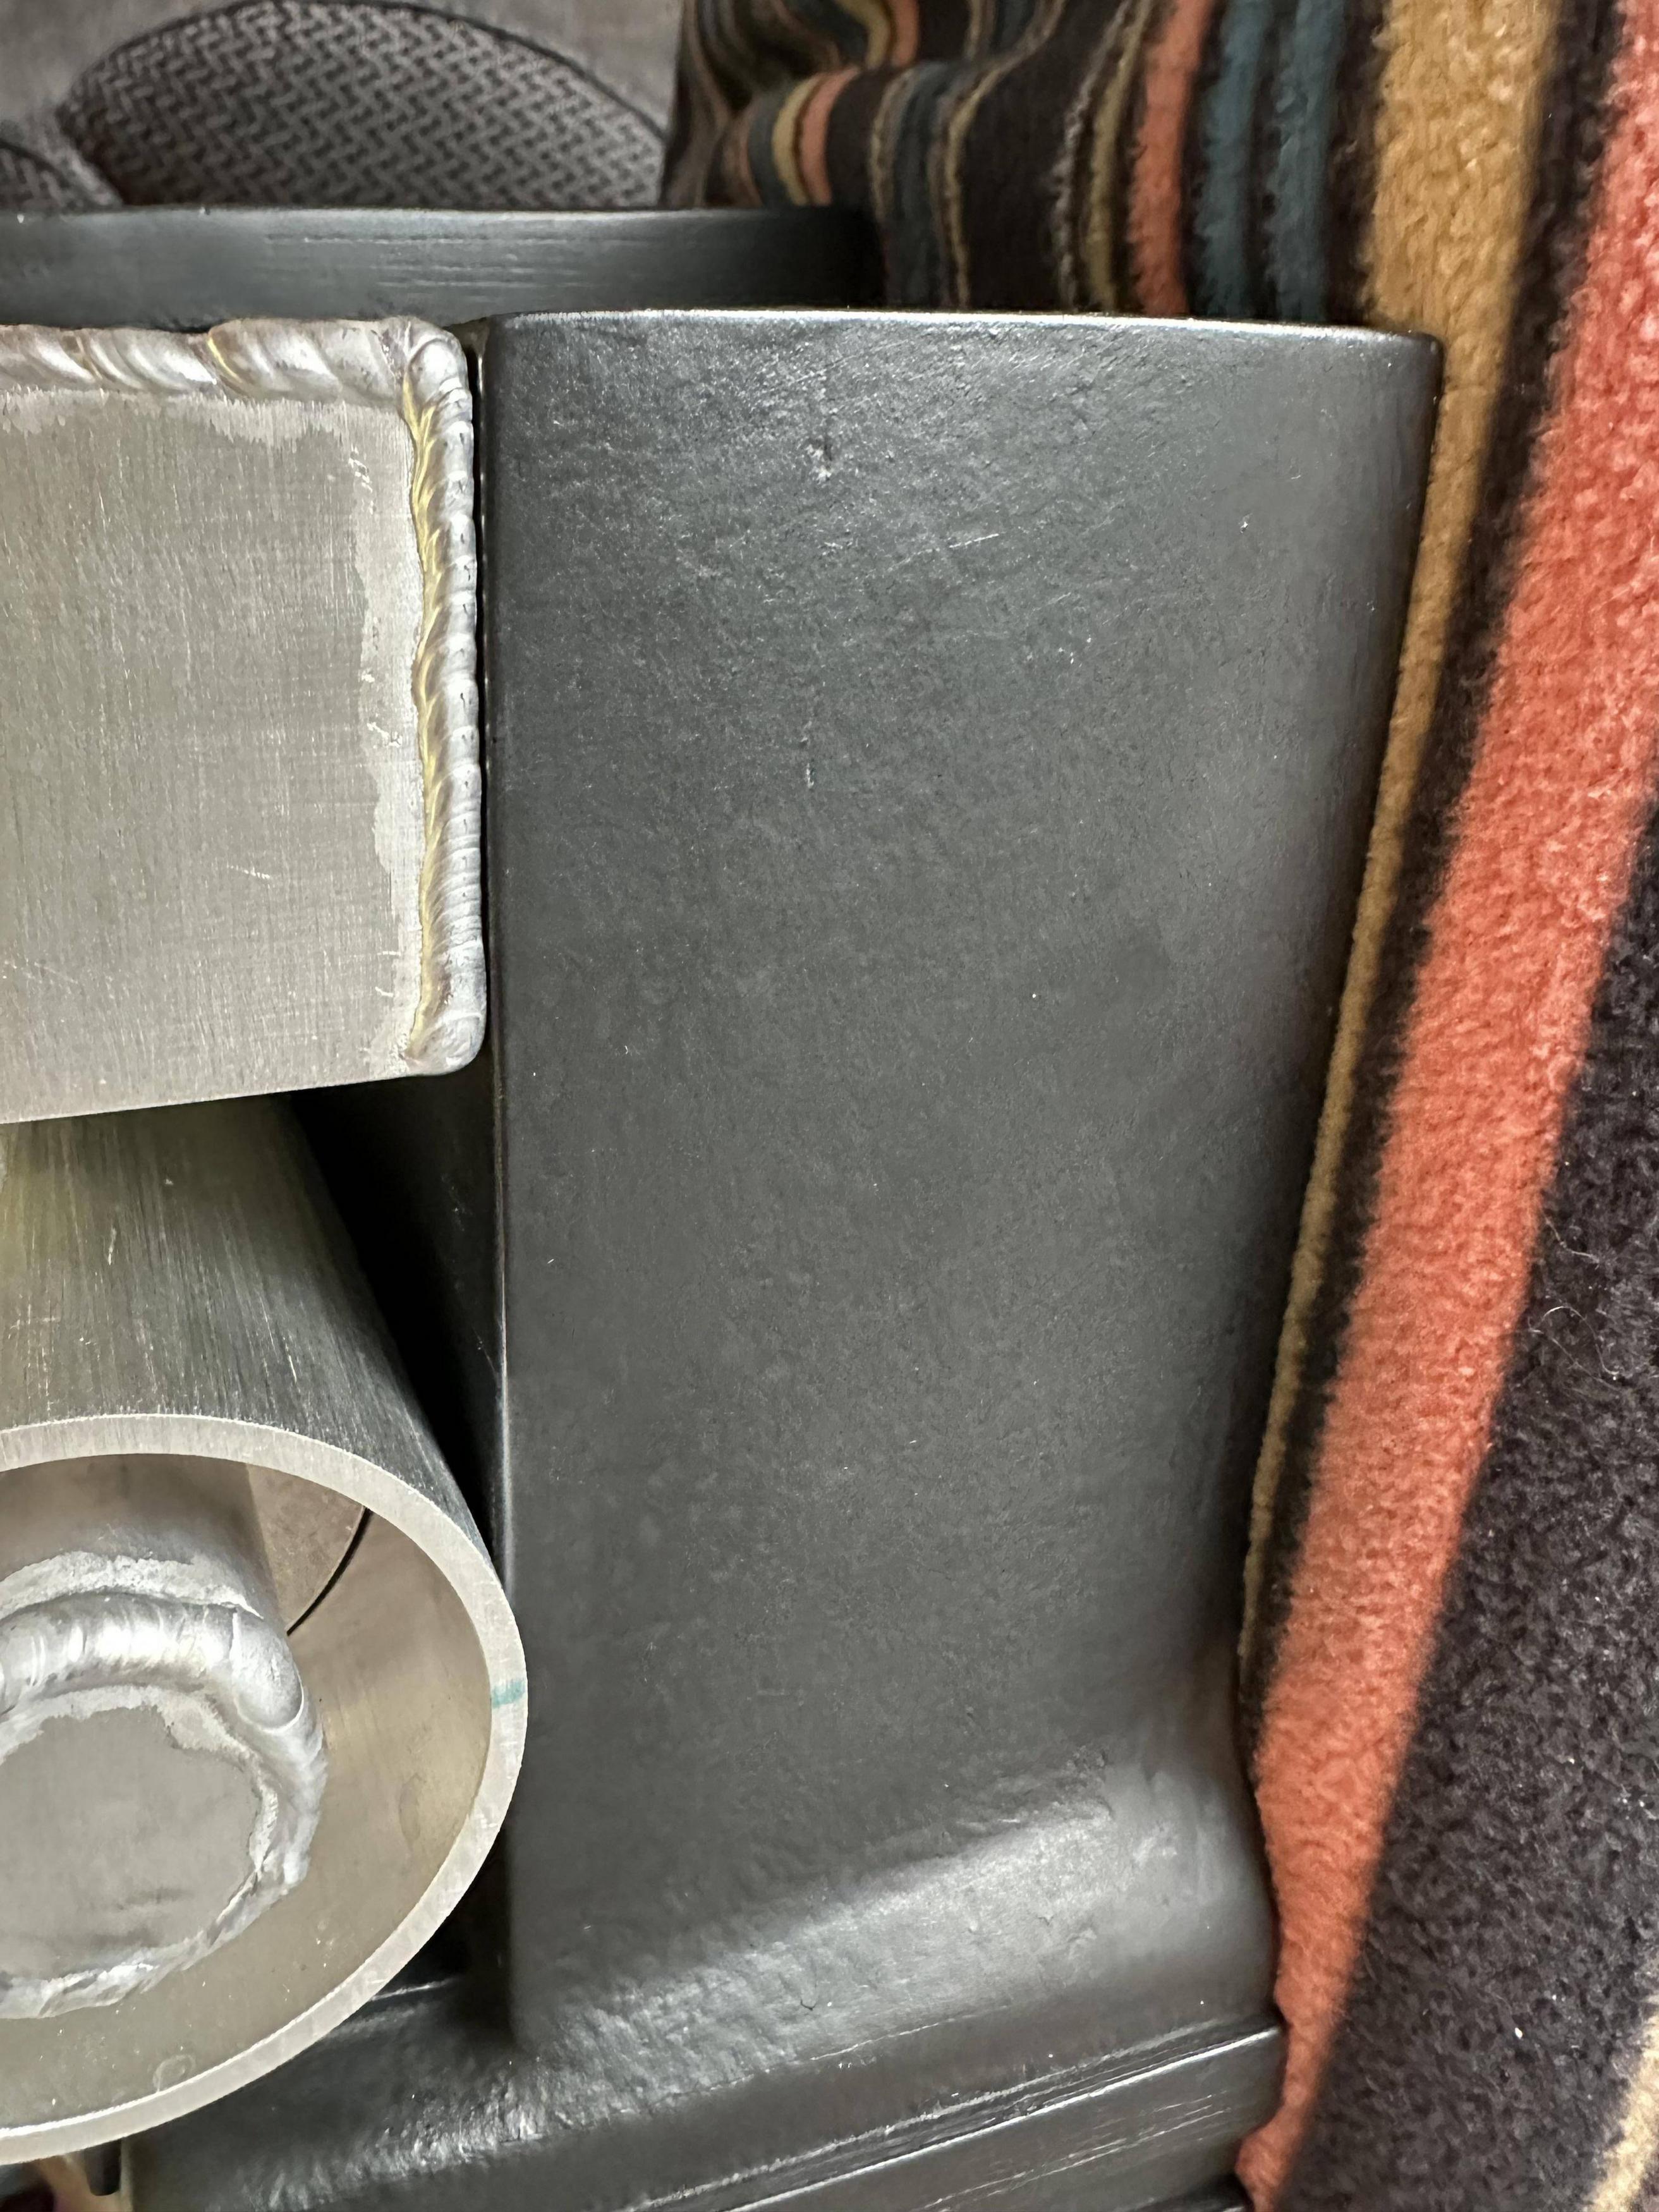
That’s all I’ve got for now, but this was a major piece that had to get done right! I have to trim the base plate of the injector tubes to more closely match the images of the Spengler pack from the library pictures. Putting this aside for now to get ready for the work week. :love: