Could the booster portion of the mold be filled with silicon, and a new booster be made seperately? That might salvage the mold from future damage.
Gareee,
That should be a good option, in case the mold breaks. And, if it happens, that should be the way we’ll take. 
Thanks guys!
Hi there ghostheads!
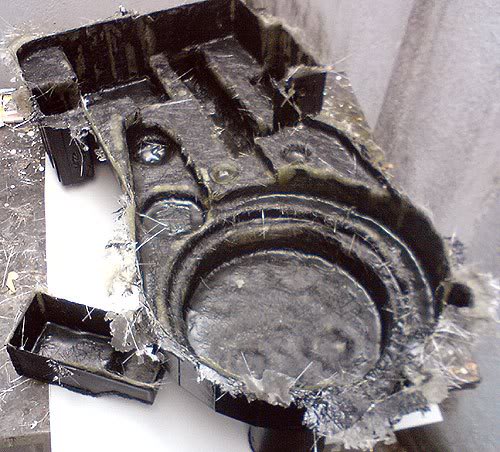
We are very proud to announce we got our very 1st proton pack and proton gun shells!
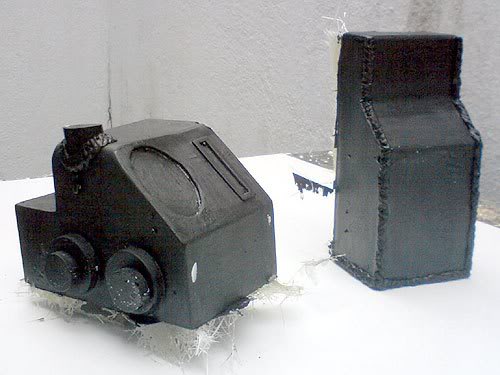
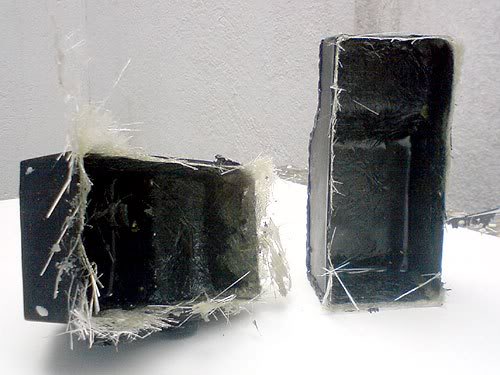
Photos below shows it exactly how it came out from the silicone mold (untrimmed), so, don’t repair this detail.
Now we are working in a second pack’s and gun’s shell and finishind the 1st pack.
1st Proton pack shell
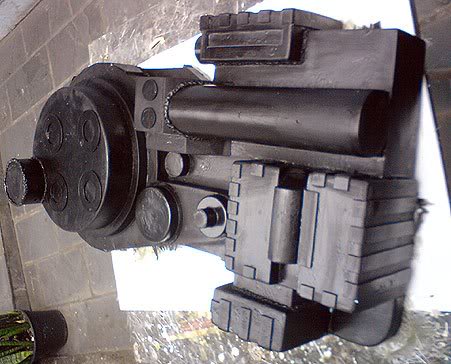
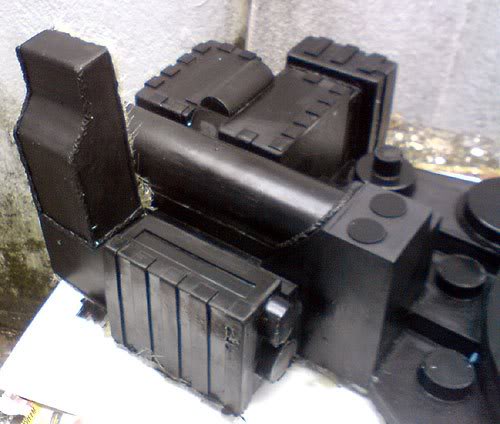
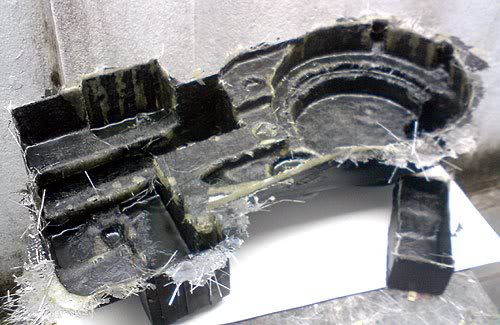
Here are the proton gun body and the ion arm’s tower (not sure if this is the correct name).
Any comments, guys?
Awesome job!
It looks pretty cool. Are you going to sand out the booster tube top part and add the thingy ma bobber in it. and what are you going to use to seal up the ion arm
Guys, yes!
We will still work on this shell. There are some other details that aren’t pictured.
So, I ask you all to keep the eye open in this topic for future updates.
The most important is: our project is going well (thanks God!)!
AND more shells are in the “oven”. My partner said me he plans to make 10 (ten) shells at once. Then we will go ahead to the details.
And keep sending us your feedbacks.
Thanks again!
sick work , mold looks great , price is great too
Oooh looking good guys!
Hope you get all the kinks out, and can start shipping soon.
Eh, shipping might get high over here, but I might be interested.
shipping from Brazil…?
That should be interesting.
Looking good. I really like the raised areas on the proton pack for easy pvc addition for the various pvc tubes that attach to the front. Kind of a snap in place and done kind of look. I am noticing a few minor items that could easily be fixed, but would require a new mold. For example, the booster tube (next to ion arm) could benefit with a bored out hole. Then you just a little three inch down in the middle, paint it, and done. Under the booster tube there are two discs. I am not a 100% positive, but the look a little thin. You may want to double or triple the height of those discs. Some of the surface is a little scuffed. Particularly behind the booster tube. I am wondering if a little bit of sanding your original should fix that. My final little nit picks is the ion arm. It would probably be easier to copy how exoray does it. Have the opening where the ion arm touches the pack rather than the side of the booster tube. It is coming along nicely. Did you make the general shape yourself? I know your original proton pack is a Jeremy Moore pack. I’m rooting for you, but I hope nothing from Jeremy Moore rubs off on your creations. As long as you respond, don’t go thin on the material, and deliver, you should be lightyears above him. I am still waiting on my pack and it has been over 3 years. Sorry if I was a little rough on your mold, but I am a little picky. Better to make changes when you are first starting.
Aburns84,
This project followed one plan available here and I assure you it is NO WAY connected to any Jeremy Moore’s creations. So, you can sleep well this night. LoL 
My “associate” followed all plan’s instructions. In fact, it’s Stefan Otto’s Prop Plans, available at http://www.gbfans.com/equipment/plans/stefan-otto/
I’m not quite sure, but I guess he followed it each inch, but I’m not sure…
Thanks!
Hi there Ghostheads!
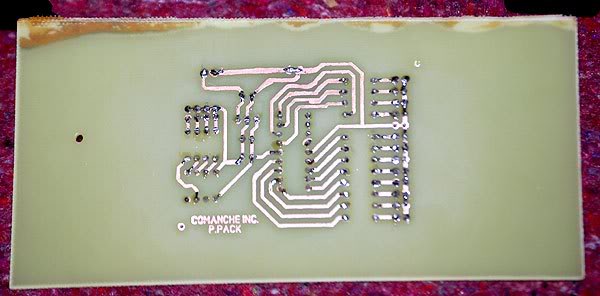
I have just finished to assemble our very 1st proton pack’s lights board prototype. I named it as “COMANCE INC. P.PACK”, since “COMANCHE” is the nick I use when I play online games (like Battlefield 1942, Battlefield 2, etc…).
I got R2DEV0’s open source board design and followed it. I noticed some missing points on original board scheme and I had to make some changes and correctons on it’s design and here is our brazilian proton pack (cyclotron and power cell’s) lights board!
Final board should have 6cm x 8cm measures (something about 2.37in X 3.15in). As you can see, it will fit on any pack with a lot of free room remaining.
PIC’s (microcontrollers) program are from R2DEV0’s and we changed nothing on it (he is a master in this and, of course, a master has no need to be corrected!). 
Thanks R2DEV0!
PLEASE NOTE: It is only the PROTOTYPE! This is why it is made with low bright red LEDs. The final board will have the correct red and blue high intensity LEDs and some minimal adjusts, to let you take the cyclotron’s LEDs on its position, a bit away from board.
Check some photos from our board.
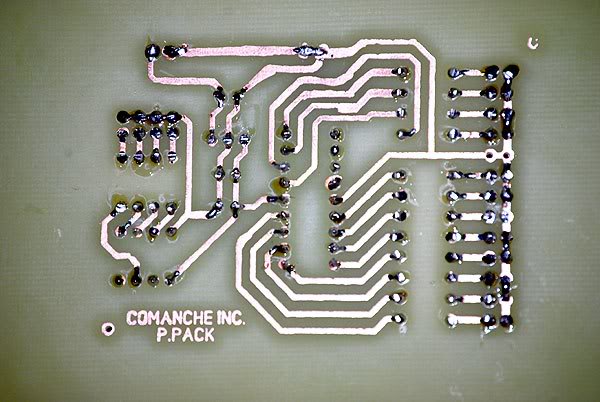
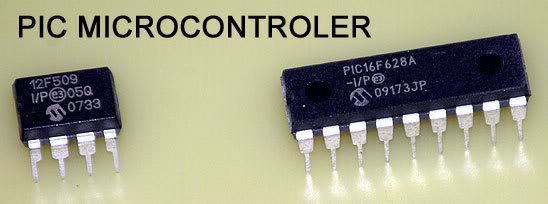
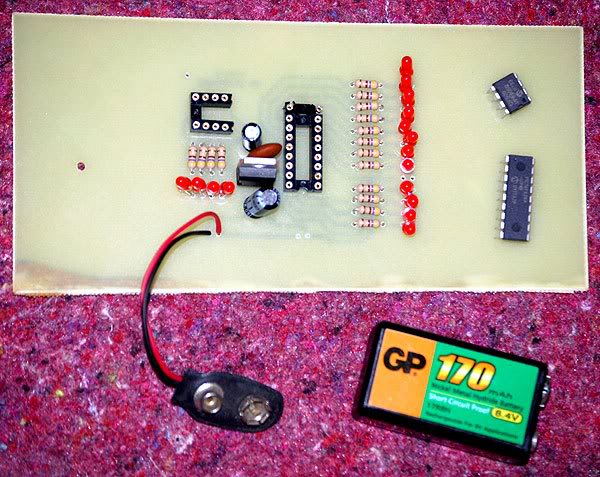
And here is a quick video from our prototype lights’ working.
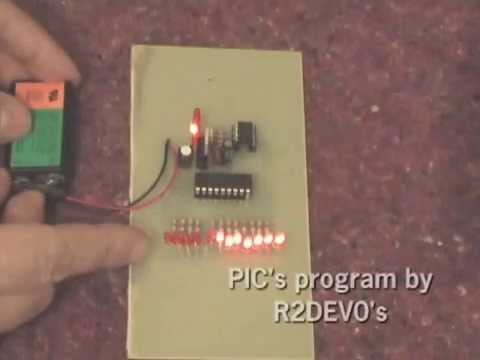
We are still working on this light’s project and I don’t have an estimate price for this light board yet. BUT I’m working hard to have it sold from $60 to $75 + S/H each.
And soon we’ll post more news from the pack itself.
Comments welcomed, as usual.
Thanks!
haha, oh buddy I’m no master! Far from it! But thanks
I think that was my 2nd successful circuit board EVER, it’s very crude and inefficient, but got the job done and I’m actually still rockin’ it in my own pack. I believe the “missing” part is where I put my on/off switch. I’m happy you got something working.
R2DEVO,
First of all, people, I was writing his name as R2DEV0 (with ZERO in the end) and he alerted me the correct it use an “O”. So, sorry for that, but from now on, I’ll make no more mistakes.
The missing item was not the switch. It is missing a negative “leg” conection in your board drawing. I’ll try to get the original image and make the connection in blue, to show what I mean. I’ll post it here later, so you can correct it in you open source as well.
R2, my idea is to offer a cheap option to light up someone’s pack, specially the ones we will offer. For many Brazilian guys, it is hard or almost impossible to order a light circuit or anyting from abroad (specially thanks to language’s difficulties) and this is the guy I want to attend, in a first moment.
Of course, I’ll be pleased to supply the lights for someone out of Brazil, under requests.
But as you mentioned to me, in your nice PM, it requires a lot of dedication (and some investiment as well).
The next step is to make the power cell’s board. I’m breaking my head with it, but I guess I’ll successfull in this too. If you have any hint, I’ll be more than happy to hear them.
And, anyone who can teach something to others, without fear to make a competitive “enemy” is really a TEACHER! And only MASTERS knows how to teach well. You are the man, R2DEVO!
Let me hear from you, about the point I explained here.
Thanks again R2DEVO!
Hi there guys!
I got some update from our pack’s project today.
My partner just sent me some photos from our 1st run of packs. He got 9 (nine) pack shells out of our SINGLE mold! Check the photos below:
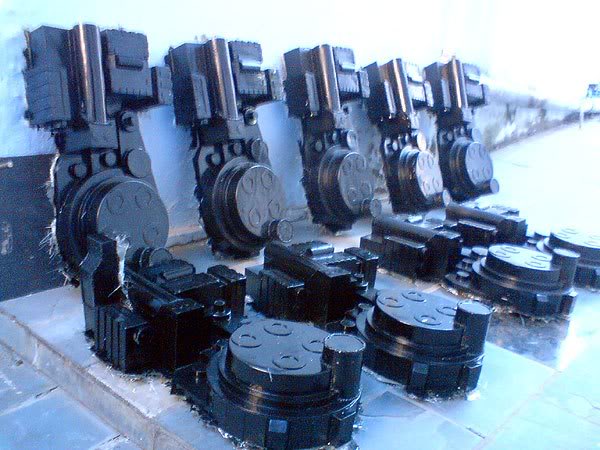
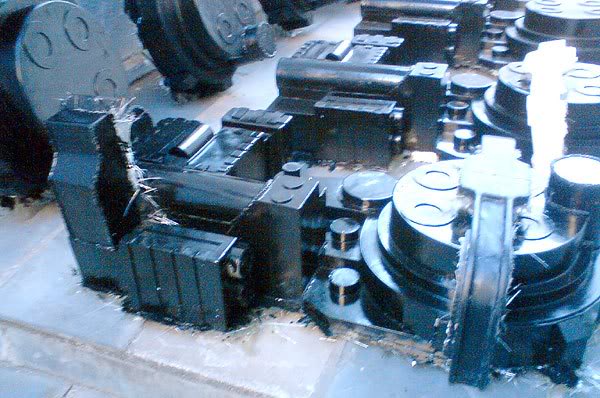
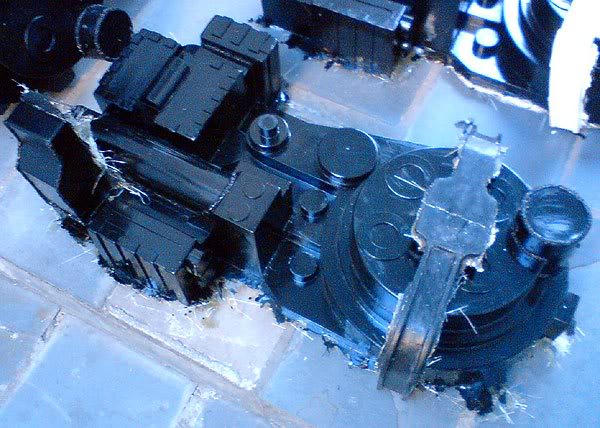
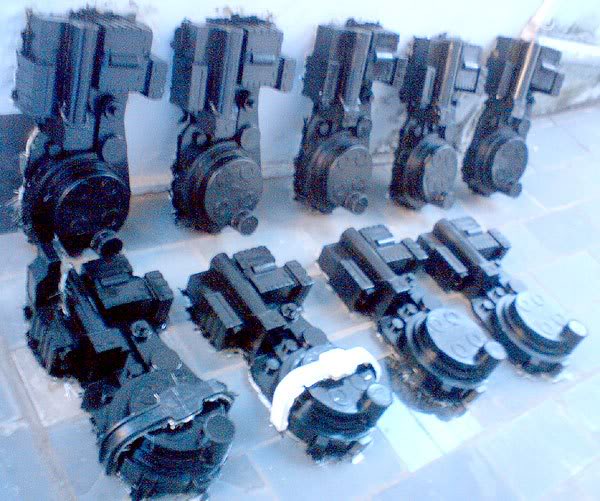
More than these, he is now taking some small pieces now. Here we have some photos from our bumpers.
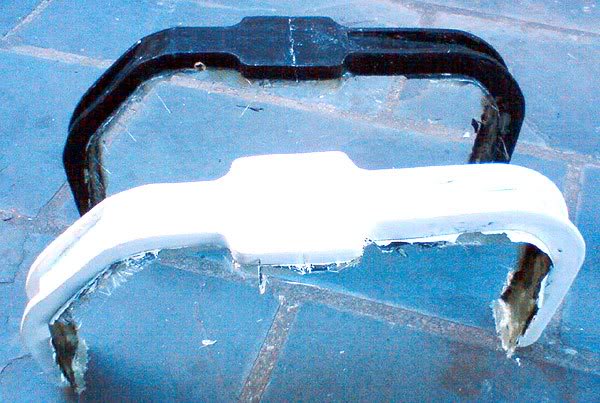
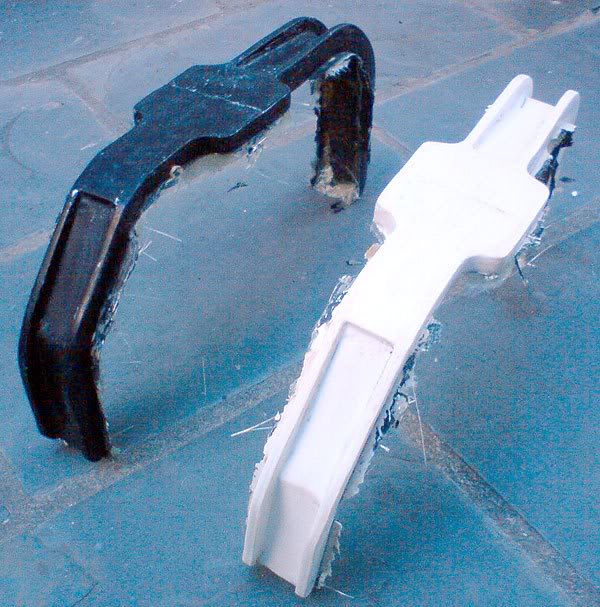
And, to end this update, we see some photos from our gun’s pieces.
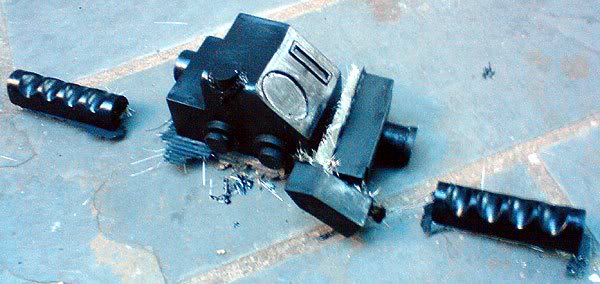
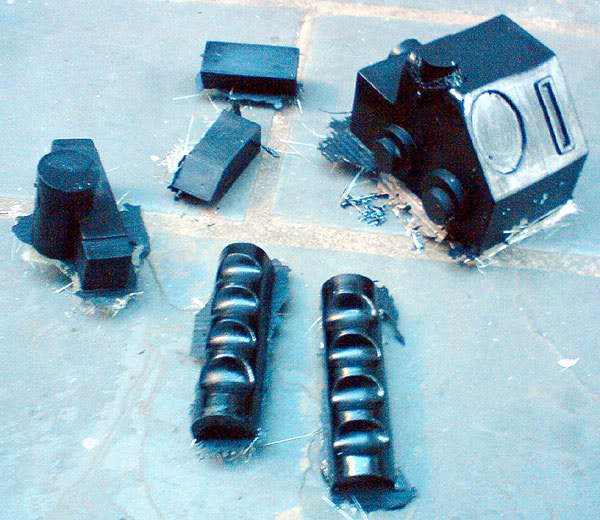
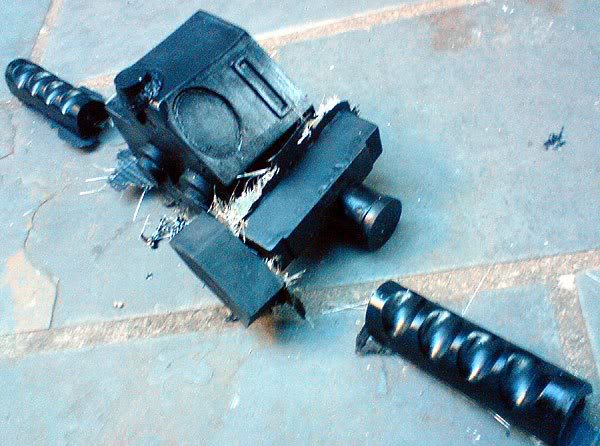
All pieces are fyberglass, so I guess it may be a bit more resistant than resin (I guess - not affirming, since I’m not sure).
And all photos shows the pieces without trimming, since we finished the big pieces’ molding process and we are now making the smaller pieces.
Let me hear from you all, guys.
Those untrimmed pieces do look like they could use a ‘Brazilian.’
Kevin,
I did not get the joke… Sorry… Maybe thanks to language’s matter… 
Can you explain, please?
The “Brazilian” he’s referring to is a “Brazillian Wax”…a method used for hair removal. He’s saying that all the fibers and hairs on the raw pack pulls need trimmed or removed. 
Hi there ghostheads!
It took a long time before we could have some news about this project and we hope you all could forgive us. The money (that this kind of work requires) is always near to “zero” and we should collect some bucks before having some progress made.
Well, let’s stop the “crying” moment and show what’s new:
We have some shells made. Now we are modeling the smaller pieces and getting the sources to supply us the details.
Adhesives are done and awaiting to be glued in their final places.
Check the photos below:
One of the pack’s shells in detail

Isn’t it a lovely collection?

Well, here you have a small video, from where these photos were taken from:
http://www.youtube.com/watch?v=yO5BRVqoFI0
Our next steps are:
***- Get all hoses and cables
-
Put together a proton gun
-
Finish our pack’s lights electronics prototype.***
Of course, as soon as we complete these steps, we’ll post news here.
Hope you all enjoy it, for now.
Thanks!
Guys
I’m here to announce a small update in our pack’s projet.
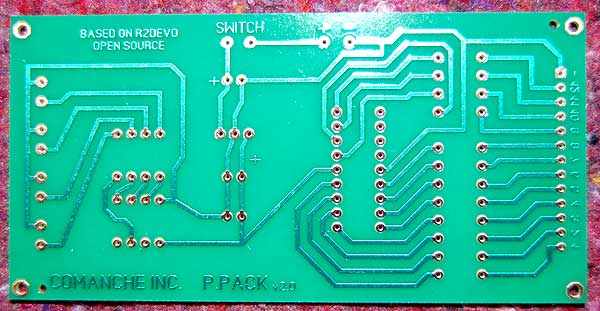
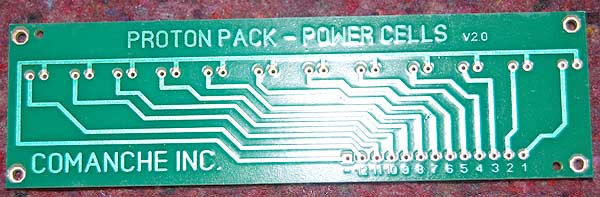
I just received my 1st run of proton pack’s boards. These boards are based on R2DEVO’s open source, but I made some changes on it.
Since R2DEVO participated on these boards’ development and, in fact, supported me a lot, I’m pretty sure I’m not flaming none or even could be considered a “recaster” either.
So, please, check some photos from our 1st board’s run.
Here we see all kit’s boards:
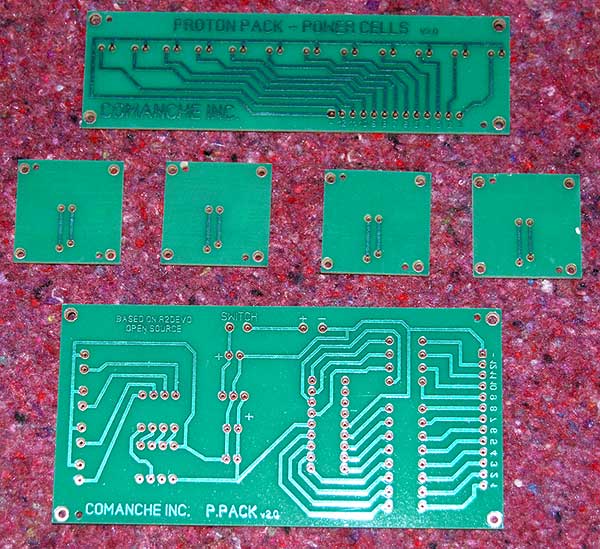
The main board, where all electronics will be (see the “credits” to R2DEVO on its upper left corner)
This is the power cell’s board, where we’ll have the blue LEDs
Here the cyclotron LED’s boards. Each LED has its own board, not directly wired on.
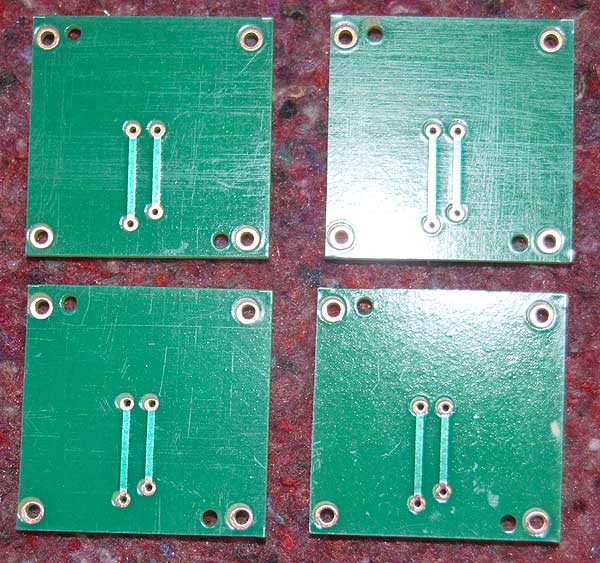
In some days I’ll upload a video from it, working. And some pack’s news may come soon too!
Let me hear from you all.