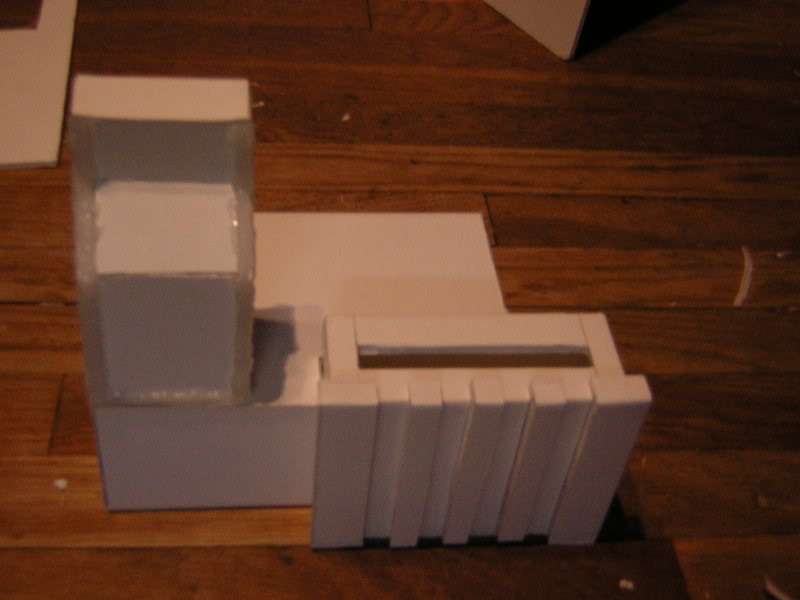
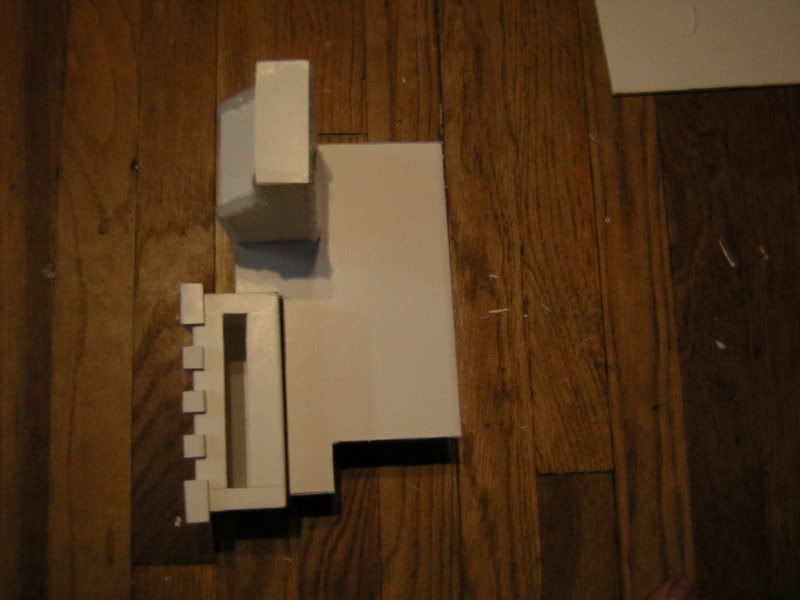
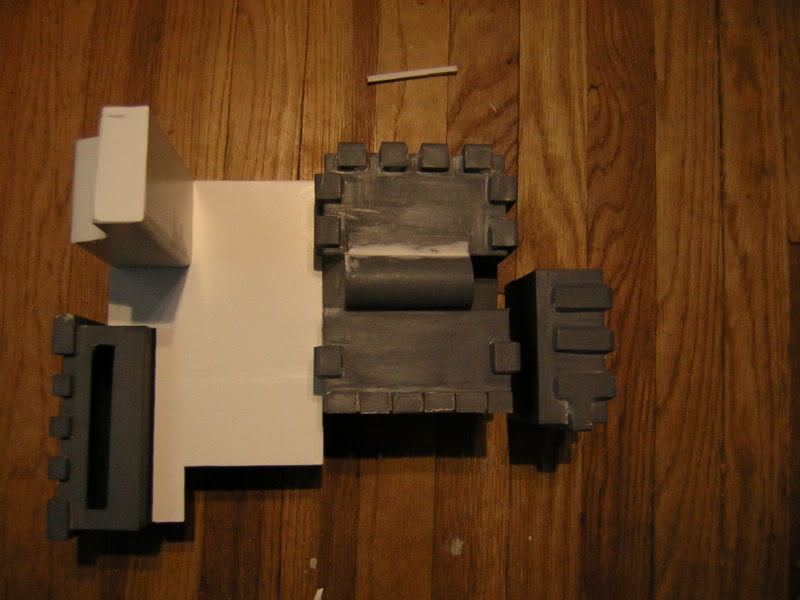
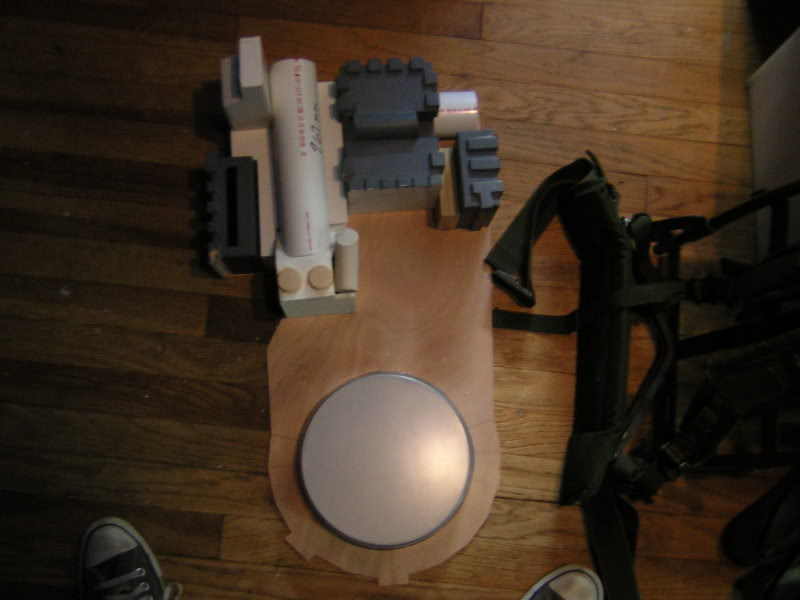
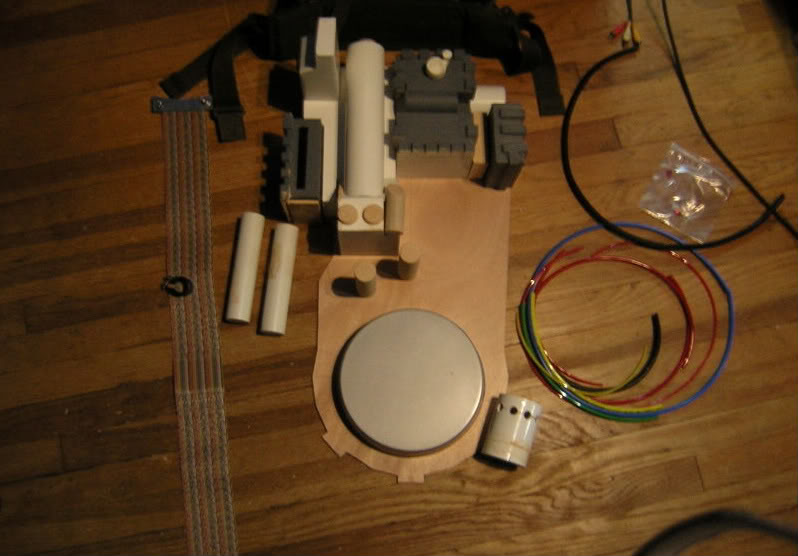
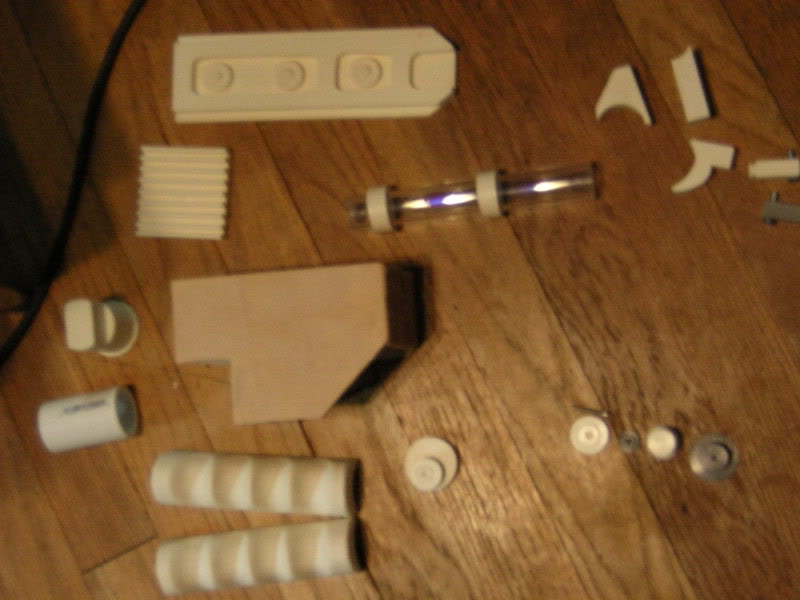
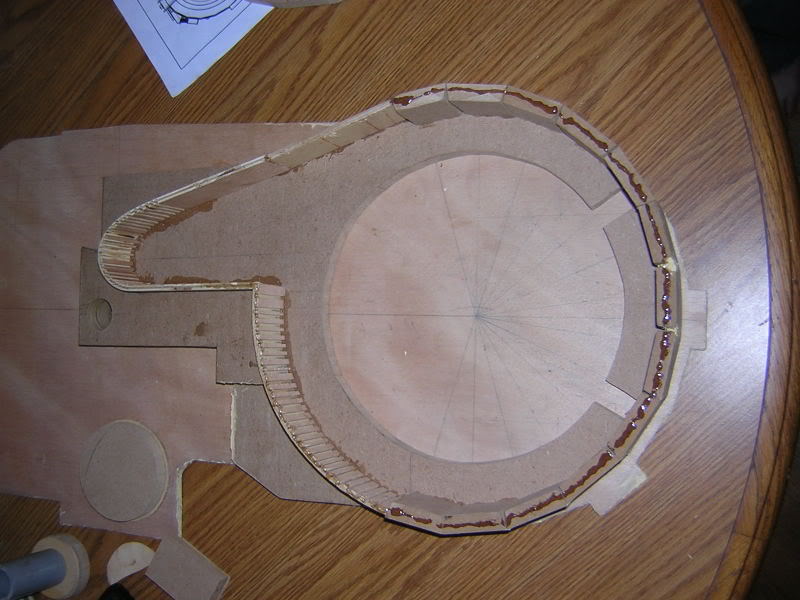
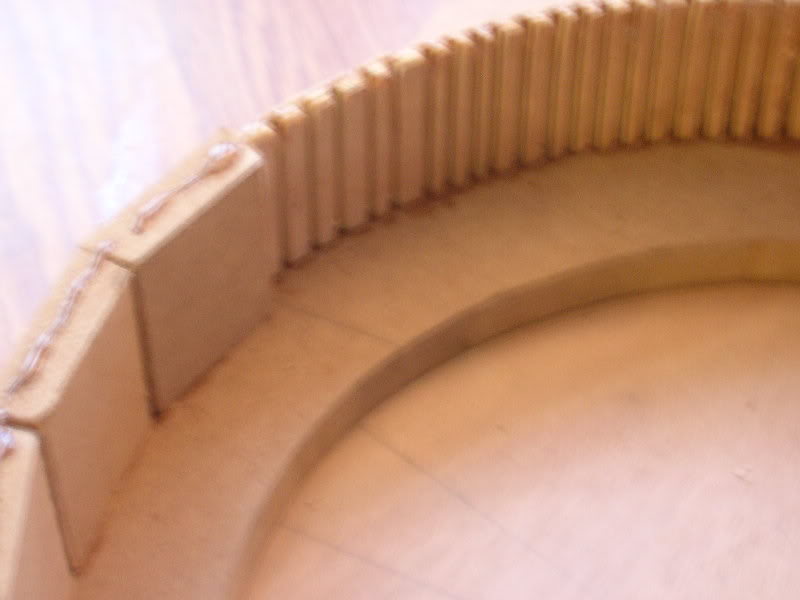
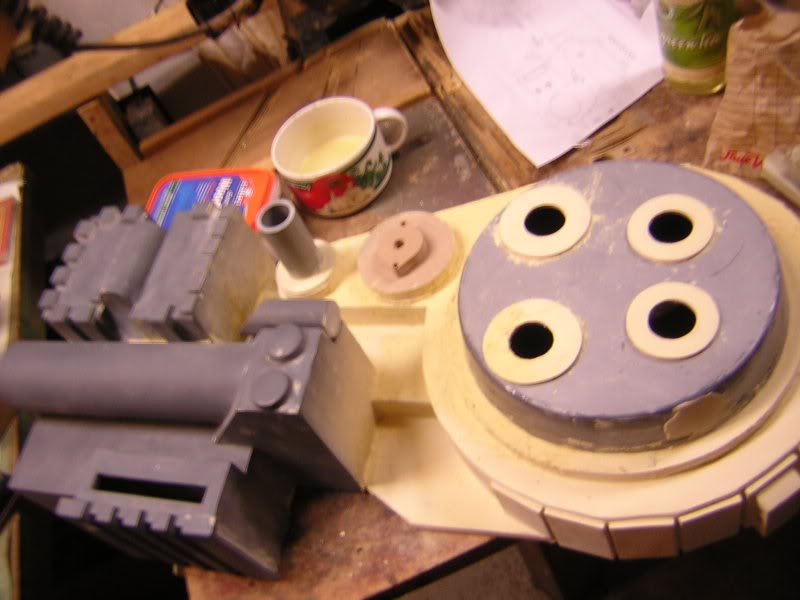
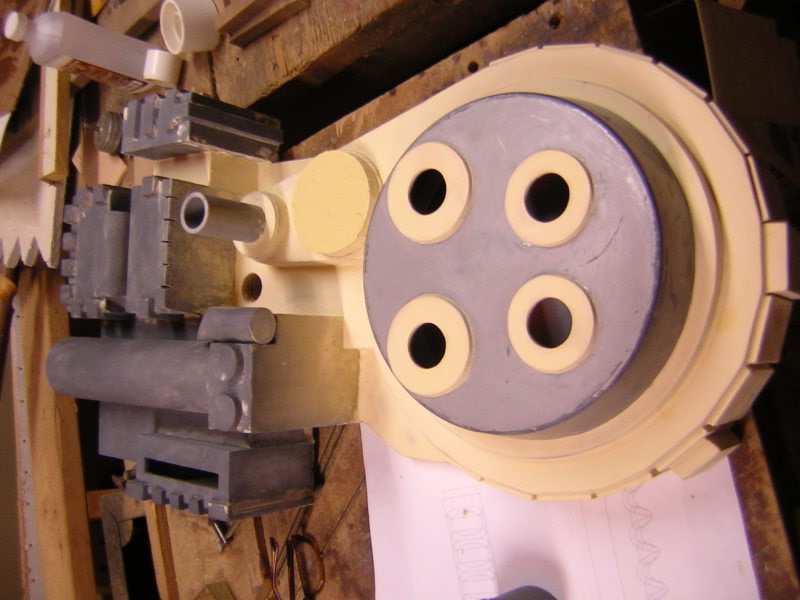
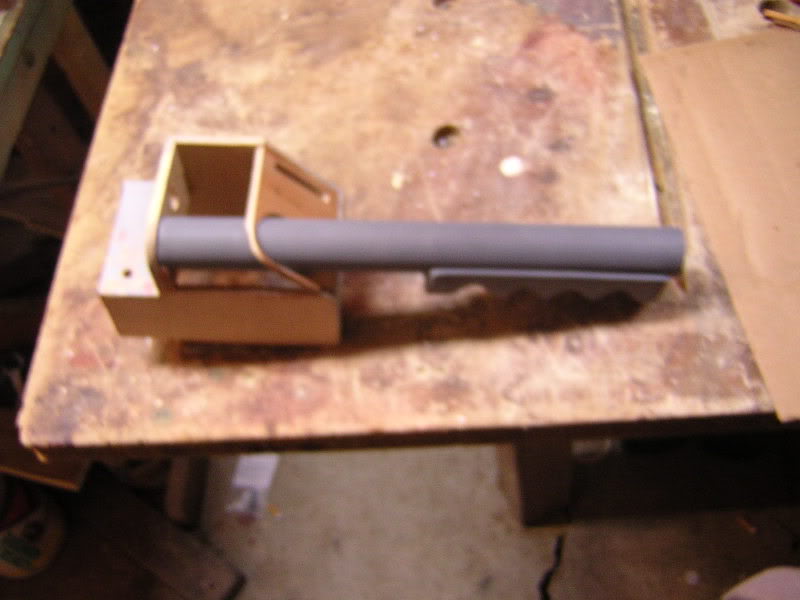
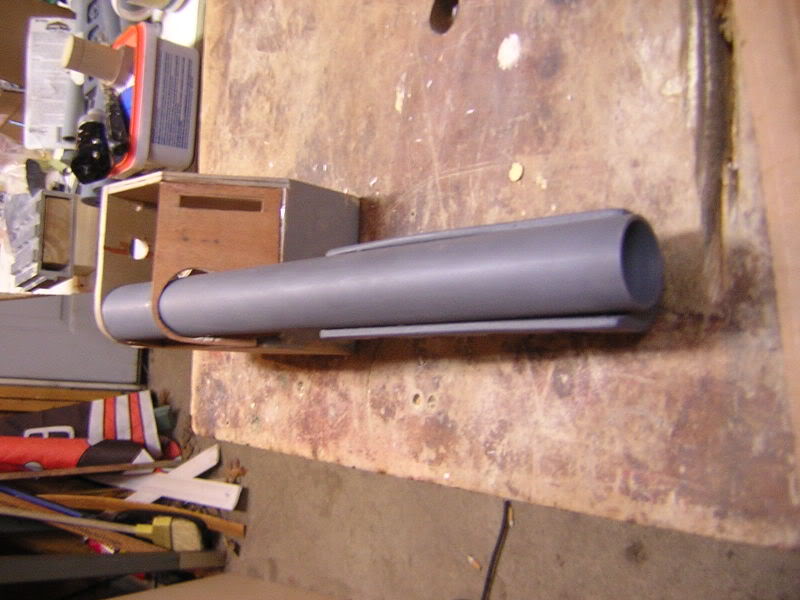
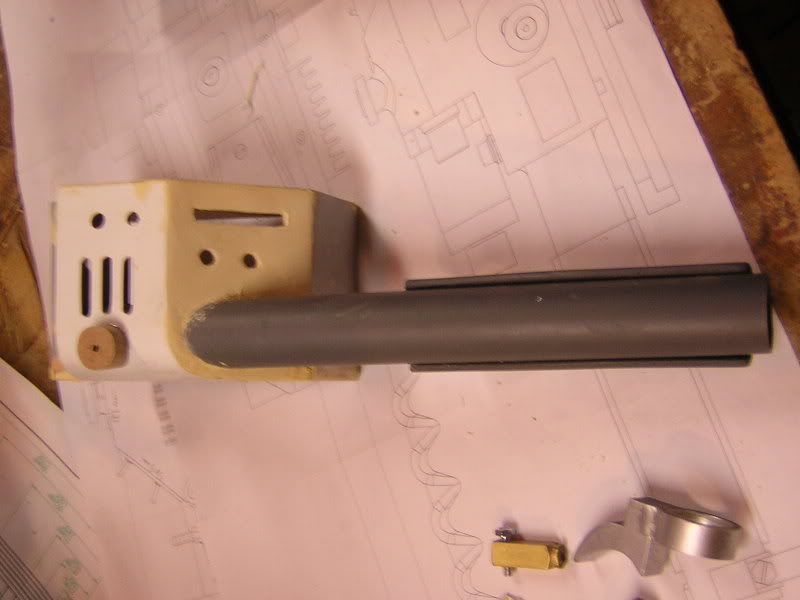
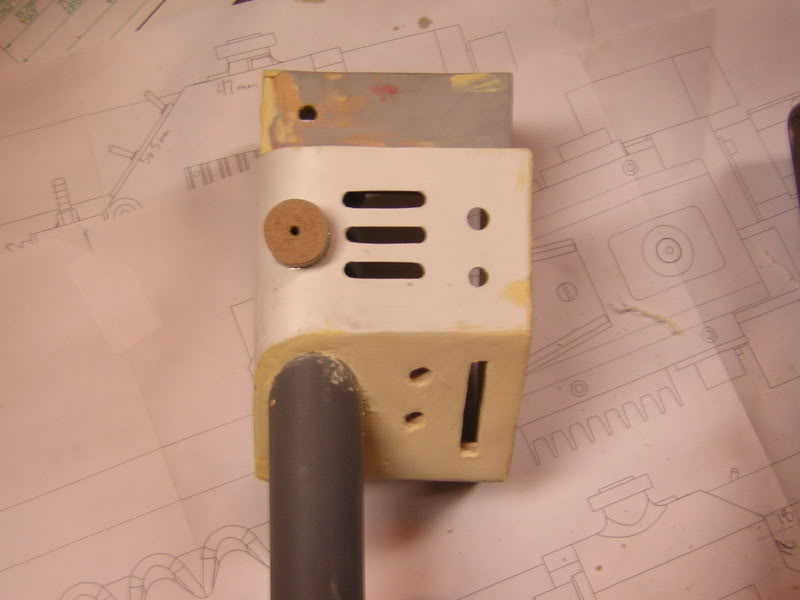
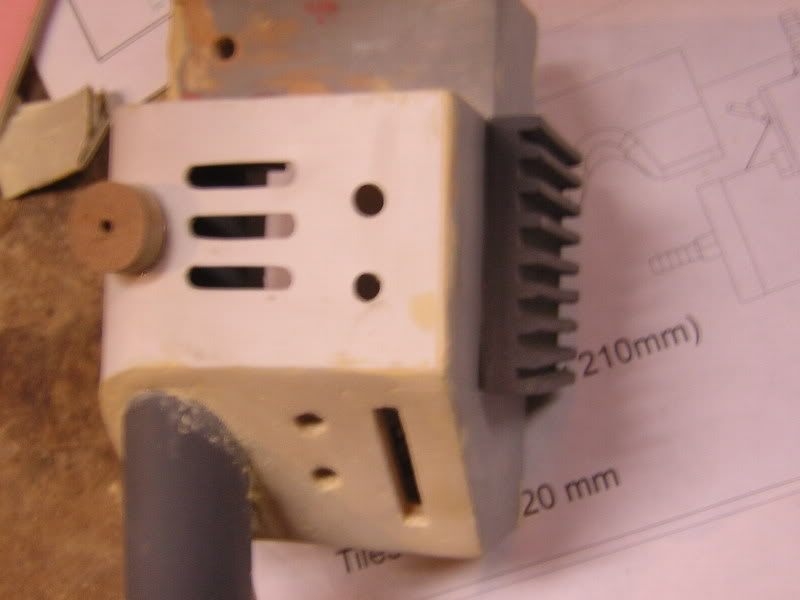
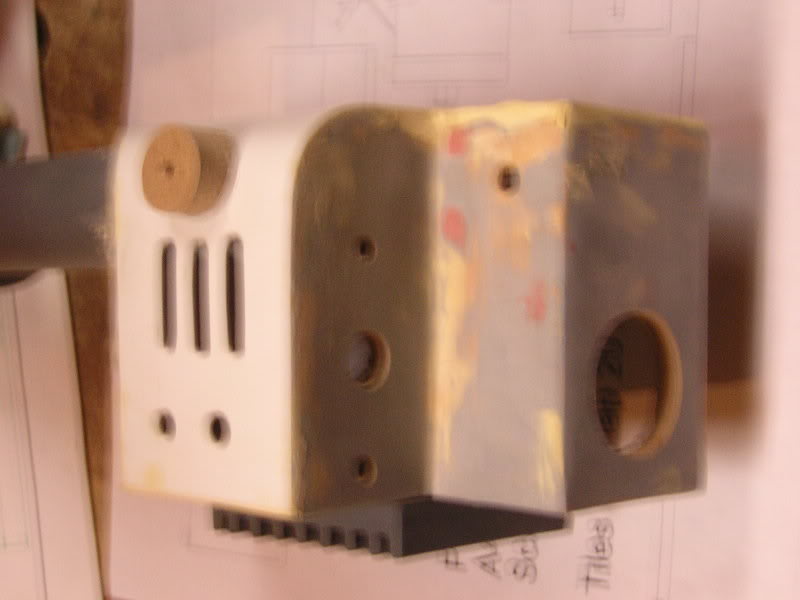
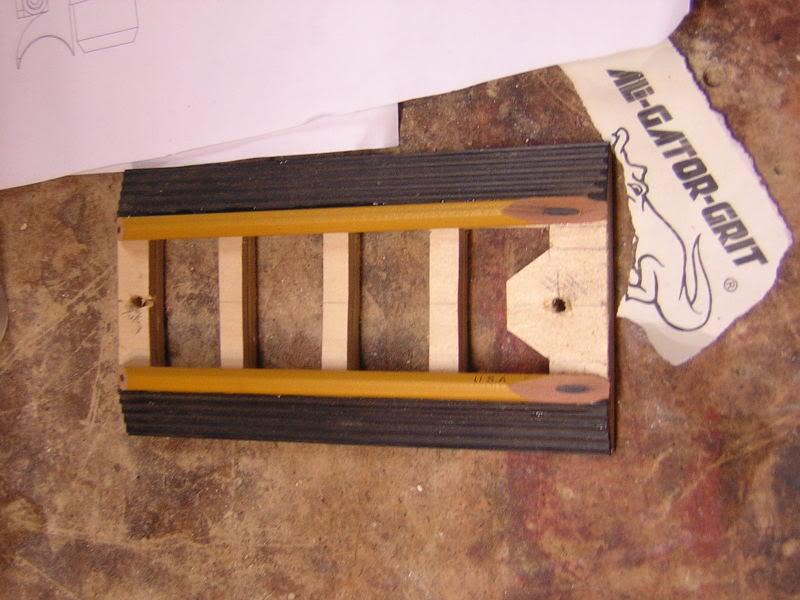
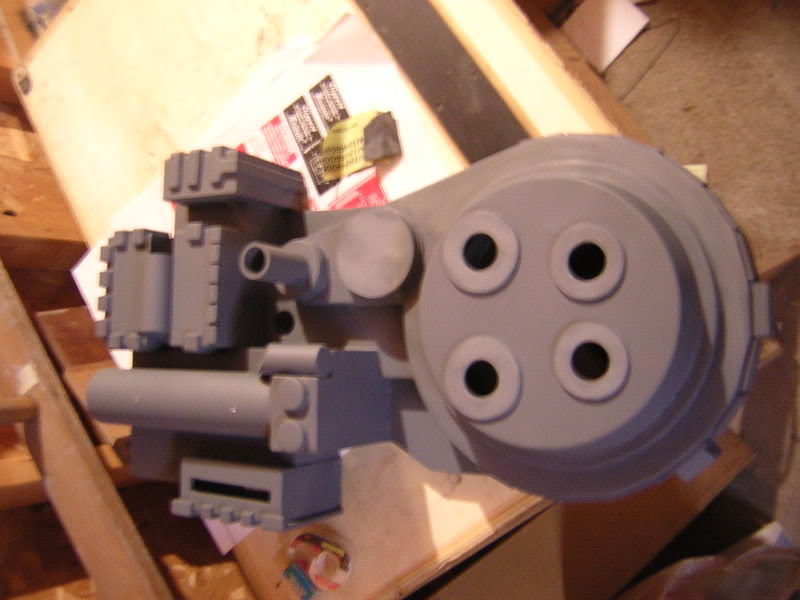
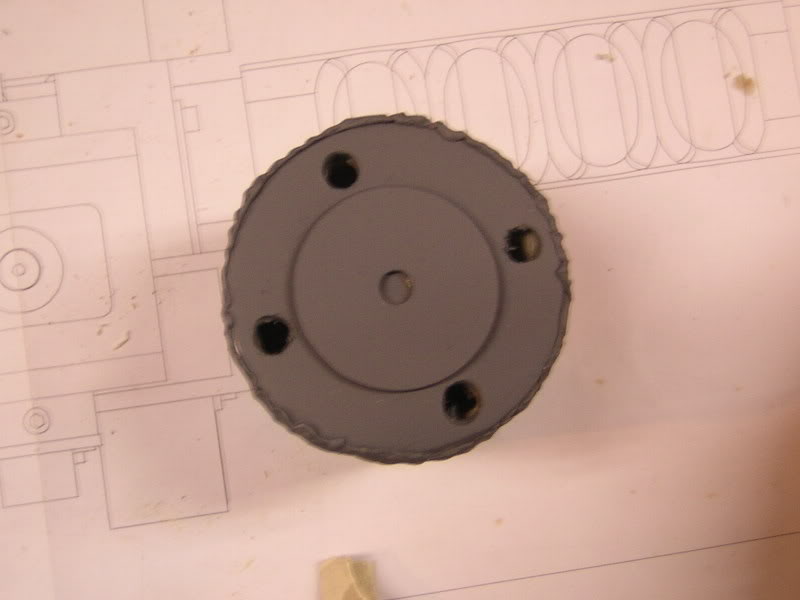
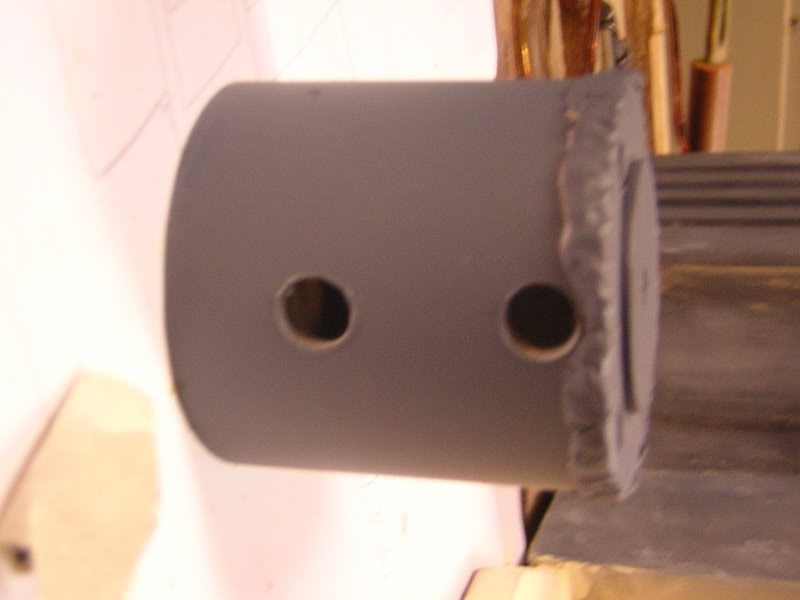
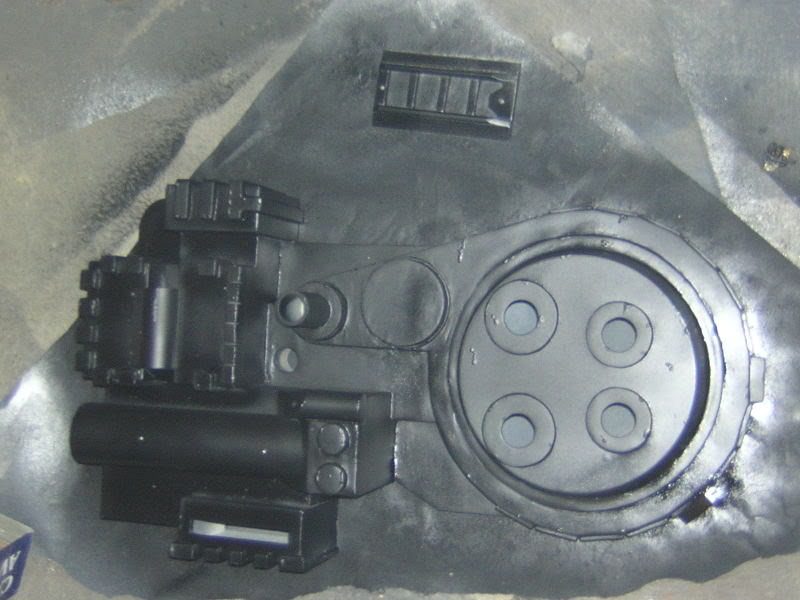
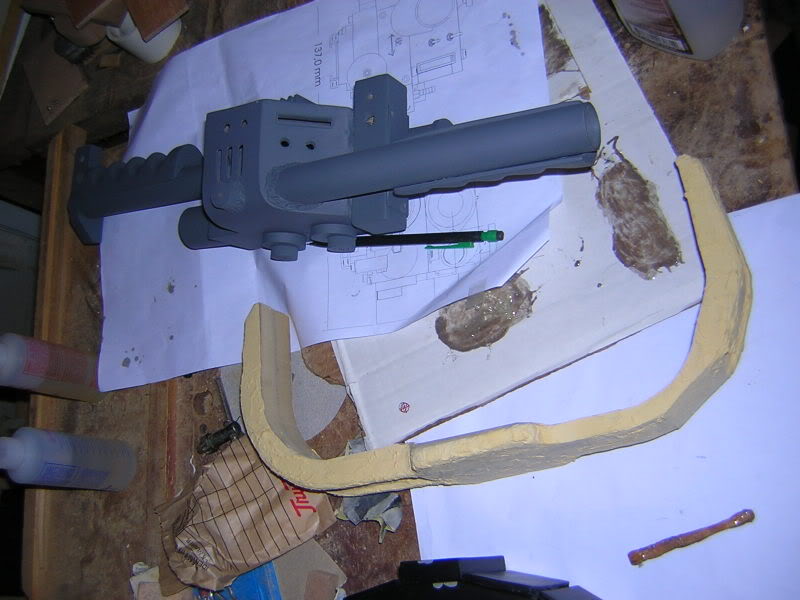
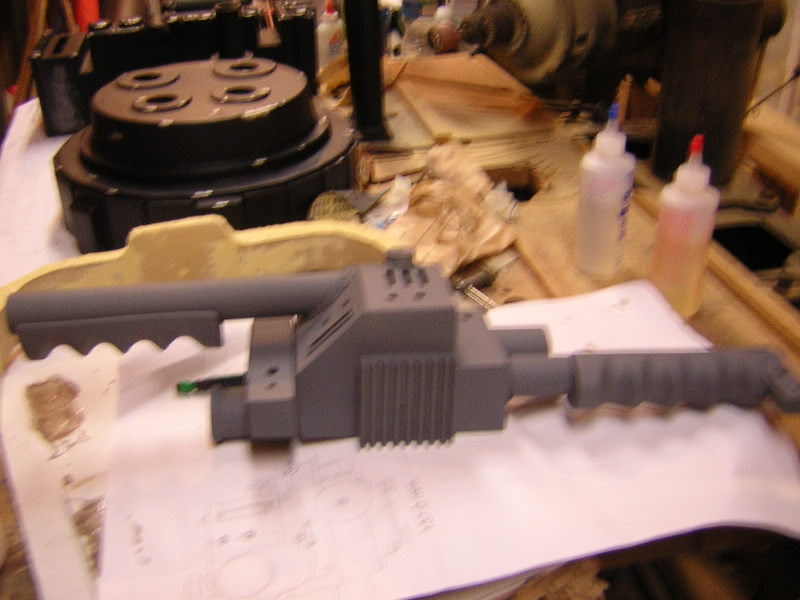
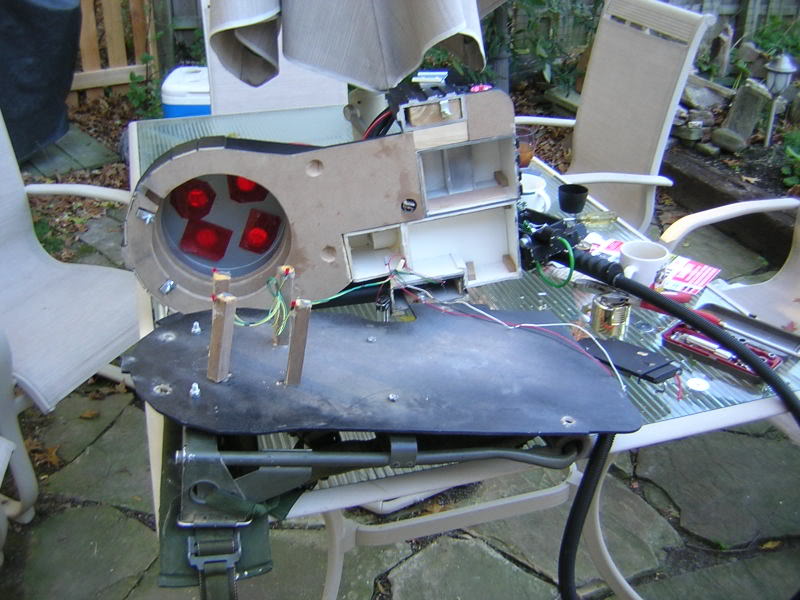
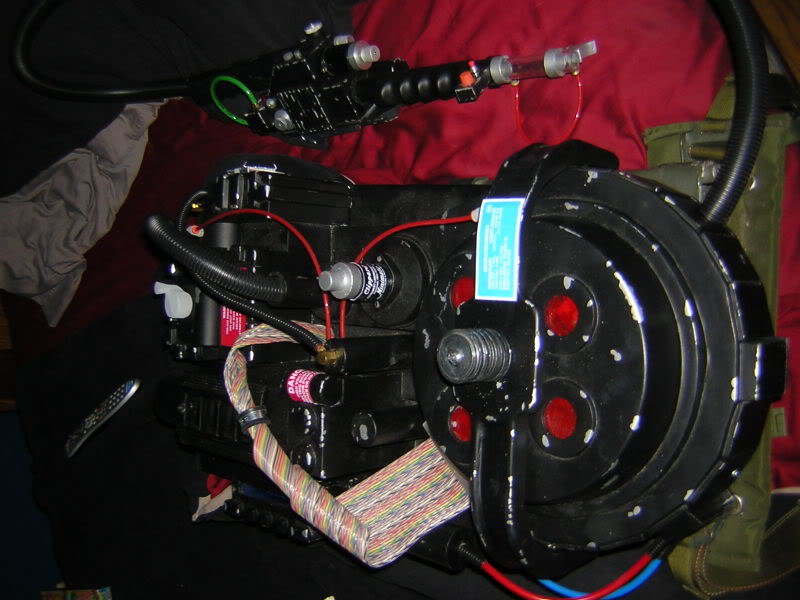
Bump from years ago. Whole bunch of pictures of the rebuild!

I’m pretty sure I’ve never posted here, but I’ve been lurking this site as well as the other GB communities for years. Ever since Bill Emkow’s board disappeared I haven’t really been active in the community. So, first of all… hi.

At any rate, I’ve obviously been wanting my own proton pack since I found Norm’s original plans, and now I find myself with a bunch of free time on my hands before Halloween and a whole shit ton of foam core. So far I’ve mostly been practicing the cutting, as I found the material kind of a pain in the ass to cut in a straight line all the way through. Now I’ve managed to make the ion arm. I have no pictures but I’ll try to get some up as I make more progress.

So, this is the first real prop I’ve built, and I’ve never worked with foam boardI have a couple of questions for now and, more than likely, more to come.

I’ve already looked through the other topics about this but I don’t recall seeing anything about this. For the corners of things I’ve been cutting the edges at angles. This works, but the pieces still aren’t flush. Any suggestions? Should I just be more patient and precise about the angles? Or is there something I can fill these gaps with? I wasn’t sure if there was any bondo or filler that would work on the foam. Similarly, is there something I should use to cover up any edges where there is no choice but to have the foam center exposed, or will that not be noticeable once it’s primed and painted? Also, any general tips as far as going about the construction with this material would be appreciated.

By the way, this community is fantastic and it amazes me how far Ghostbusters prop building has come since the days of people using nothing but plywood and bottle caps.
I’m pretty sure Bondo works on anything. Just be careful to not put too much on. It might start to get too heavy for the foam board. There are also other kinds of filler. I know a company named “Dap” makes a vinyl spackle. I used it alittle on my trap. Its ok. Doesn’t sand as easy as bondo, but its lighter weight. Good luck with this man, foam board is hard to work with, I hate the stuff personally. But go for it. If you keep a cool head with it i’m sure it’ll look great.

Thanks for the tips. I still haven’t worked out what I’m going to use just yet. I’ll go shopping for something this weekend. After some trial and error and a couple of parts that came out looking terrible, I’ve finally gotten the hang of this stuff. It isn’t turning out perfect but, especially considering this is my first prop ever, I’m really happy with it. Foamcore isn’t exactly a pleasure to work with but I don’t hate it. At least it’s in the realm of my skills.

I was going to toss some pictures of my progress into this post but my camera is being rebellious. Hopefully I’ll get some visuals on here later tonight.

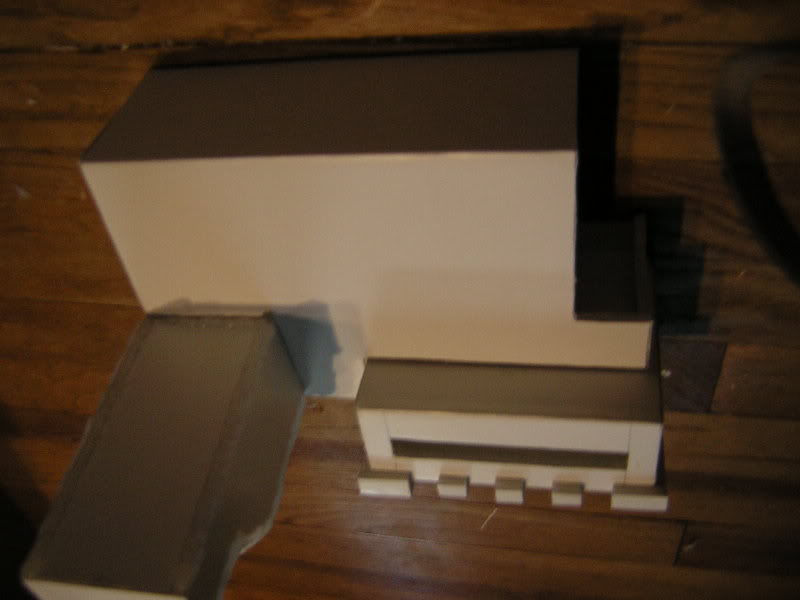
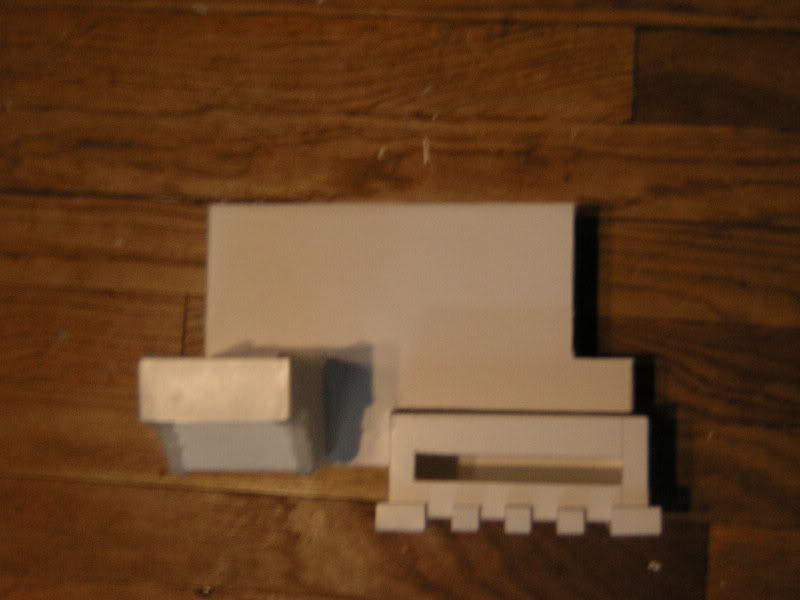
Okay. Kind of a busy weekend, so I didn’t get around to posting these until now. I’ve made a bit more progress since these were taken. I’ll take some more pictures in a day or two once I’ve got a couple more pieces done and I get everything sealed, sanded and primed. At any rate, here’s the status as of a few days ago.

I’m pretty satisfied with how it’s coming along, especially given how quickly I’m working. They’re not exactly perfect, but I’m still happy with them. I didn’t think my first stab at this would look this good. I’m hoping to put a lot of work into it over the next couple of days, so hopefully I’ll have another picture filled update soon-ish.

1 Like

You’re good with foamboard. Keep it up! :cool:

It looks a lot better than mine! I am halfway through my foamboard build. I made my cuts kind of sloppy, not as nice as yours. I just used premixed wood filler to cover the foam edges and fill in my gaps, etc. I am hoping that once I paint my whole thing you wont notice the imperfections. And even if you do, it is just a pack I built in 3 weeks :stuck_out_tongue:

Quick one picture update.

Haven’t made too much progress as I’ve been mildly busy and I decided to re-build the pieces that are still white. Those were the first two pieces I built and as I worked on the other parts I decided they weren’t really up to par. I think it’s coming along pretty well. The other three pieces are nearly done. Just a couple more sands and primes and then I move on to paint. I should have some parts coming in next week and I hope to get the spacer, cyclotron and gun body done over the weekend. More updates once I’m farther along.

I’m thinking that for the weathering I may do a coat or two of silver underneath a coat or two of black and just do some sanding, so I need some suggestions for that and the gun knobs and other metal details. What’s a good color/brand of spray paint for that?

Thanks for the compliments, by the way. Good to know it doesn’t look terrible.

I am exceedingly jealous of how this is turning out…it took many failed attempts for my pack to look that way…I wont even mention what my first pack looked like. Awesome job

Encouraging, since I’ll be walking your path in the next week or so.. I decided to do the gogles first, since they were pretty easy.

Once again guys, thanks for the compliments. I’m really happy to not have to read “not bad for a first try”.

Well, here’s where it’s at now. Got the motherboard cut, various other parts constructed and trimmed up the cake pan. I need to cut down the block between the gear box and the gun mount. Apparently I measured that one wrong. I think I’ll probably attach a block of wood inside of each of those boxes and put a couple of nails or screws through to make sure this thing can hold the weight of the gun. Excuse the crookedness, as nothing is actually attached to anything else yet.

I don’t really think more than one picture is required at the moment. Once I start getting more done I’ll take some shots that show the details, but it’s pretty bare bones at the moment. I think I’ll probably be making the spacer out of wood because I just don’t trust the durability of foam board. Same deal with the gun body. I may also end up re-making the ion arm out of wood as well, or just supporting the inside with a block of wood, because I’m not sure how stable it will be once it’s covered in resistors and has a metal rod hanging off the front.

Last weekend was kind of a bust as far as building progress. I spent most of Saturday and Sunday shopping around for materials. Hopefully this weekend I’ll get some more parts built, and I have some MMM parts on the way(which I can’t wait to get. Every day that I see a packageless front step I’m forced to drink the pain away). It’s looking like I may actually get this done for Halloween. The only things I’m still a bit stumped on are the bumper and shock mount. I’d prefer to have a resin bumper but no one seems to be selling them at the moment.

Also, since I can’t afford Exoray’s lights at the moment and I know nothing of circuitry, I’m probably just going to have basic lights. If anyone is interested, you can get prewired LEDs for a pretty decent price here:

So I’ll probably invest about 30 bucks and get the whole thing lit up nice. Hopefully by my next build I’ll be able to cough up the cash for those fancy man lights.

I can’t wait to get this thing done so I can stop thinking about it all the time. Jesus. But it’s nice to see it actually starting to take shape. Sorry for rambling. I do that.

I think I have a workable solution for the bumper. Not 100% film accurate, but I think it’ll come out pretty close.

For lights, I’m using a flashing lanyard jogging stick from walmart for $4, and for the cyclotron, some target flashing battery powered skeleton lights, minus the skellies.

They don’t chase, but they do have a nice fading action, which looks pretty cool, plus they are cheap and readily available. (Both those solutions also give you easy access on and off functions, as well as battery replacement as well.)

Rad. I’ll be interested to see how that comes out, particularly the bumper. I’d like to have my lights do more than just be on so I was thinking of doing something similar, but I’d like to be able to control all the lights from the gun, so I think this will be the easiest way for me. Although, granted, your lights will probably look better and certainly be cheaper. Eh, oh well. I’m lazy.

Nice to see another last minute builder or two around here. I’ll be keeping an eye out for your bumper.

Here’s a couple pictures from a few days ago.

I’ve gotten a bit more done since then but mostly I’ve been filling, priming and sanding. I’m hoping to finish up the spacer this weekend and get the booster frame built. I also need to find a good looking Clippard alternative. I’ll probably go the small shampoo bottle route. I saw that somewhere and it looked pretty good to me. If anyone has any other suggestions, let me know.

I ended up using KC’s new bumper tutorial in the tutorial forum. His looked very durable, and doable.. :wink:

If you check my wip thread, there are pics. if you know woodworking, I’d say you could easily do one n a few hours if not, (like myself) then 2 took about 5-6 hours.

I have a lot of experience with foamcore..to edge it, i use ceral box material and tacky glue. it’s amazing how well and easy it works. My ghost trap uses this for the lage side plates. The ceral box material is painted silver from another project i was doing. here’s the link http://www.gbfans.com/fans/props/ghost-traps/1624/4/

That trap looks great, man. I may go that route and make one next year.

yeah, i wish i had figured out that technique back when i was building the pack..

Man, it’s been a while. I had really been hoping to update this more regularly, but I literally ended up spending 80% of my free time trying to get this thing done, so by the time 3 am rolled around every night I just didn’t feel like posting. I also wish I had taken more pictures during the progress. Oh well.

At this point it’s almost done. I took it out Thursday and Friday and it was an enourmous hit. At any rate, here’s some pictures. Actually, a whole lot of them.

I’m pretty awful at working with wood, so around this time I started getting quite a bit of assistance from my dad.

We made the curves of the spacer by taking plywood and notching it so that it would bend. At first we tried to just cut the shape out of MDF, but the method we settled on worked much better.

At this point I obviously hadn’t taken pictures for quite a while. Everything is attached and covered in wood filler.

Some of the gun progress.

Home made booster frame.

Everything primed and pretty.

The pack after strategically brushing mustard on(thanks for the idea, Marsupial) and spraying a few layers of flat black.

The gun mostly together and the bumper, which we ended up making from two pieces of MDF glued together. I’m pretty amazed at how nice it came out. I don’t have any better pictures of it at the moment.

These last couple were taken yesterday. I stayed awake from about noon on Wednesday until about midnight on Thursday. I had promised to help my girlfriend pass out candy and her city was doing Halloween a day early. I managed to get almost everything done, but was scrambling at the last minute exhaustedly trying to get the lights put in and the pack mounted to the motherboard. Unfortunately, I didn’t get there until trick or treating was almost over. At any rate, these pictures are from yesterday, fixing the problems of my hastily thrown together attachment.

And here’s the last picture which I quickly took while it was laying on my bed right before I left for a party. I’ll get some pictures that show more details once I fix some things that didn’t hold up last night(the trigger box and the bottom plate of the gun in particular). The Clippard on the gun is real and the one on the pack was made with MDF, a dowel and a white out cap. I used the washer method for the shock mount. Everything holds together well, but the motherboard is a little bit too small for the pack in some spots. Also, I’d like to re-mount the Alice frame, as it’s annoyingly off center. Aside from the few things I need to fix, I also have to put on the N-filter and the Ion arm, which I just couldn’t get finished by Halloween.

Sorry for the long post with tons of pictures all at once. Let me know what you guys think. I’m honestly shocked at how well this thing turned out, although I do think I may have overdone the weathering a little bit.

Oh, also, the lights are by proptronix and they’re really fantastic. Very professional and compact. I’m impressed.

By the way, big thanks to proptronix, irricanian, uscm buzz and anyone else i bought parts from. You’ve all been a big help. I couldn’t have done any of this without this community.