It is coming along very nicely!
1 Like
I agree, it does just kind of look like a weld. Seems intentional. Looking good!
1 Like
Thanks for the support! I slept on it and after looking at it now that its dry, I think it’ll be fine. The patch job weld is a good angle, fortunately these packs are forgiving.
I’m pretty much done with the shell at this point. I attached the vacuum line tube, and stole an idea from @edspengler (again) and used a small magnet in the end of the hose to attach it to the top section. I just wrapped it in a few layers of electrical tape, it’s holding pretty well.
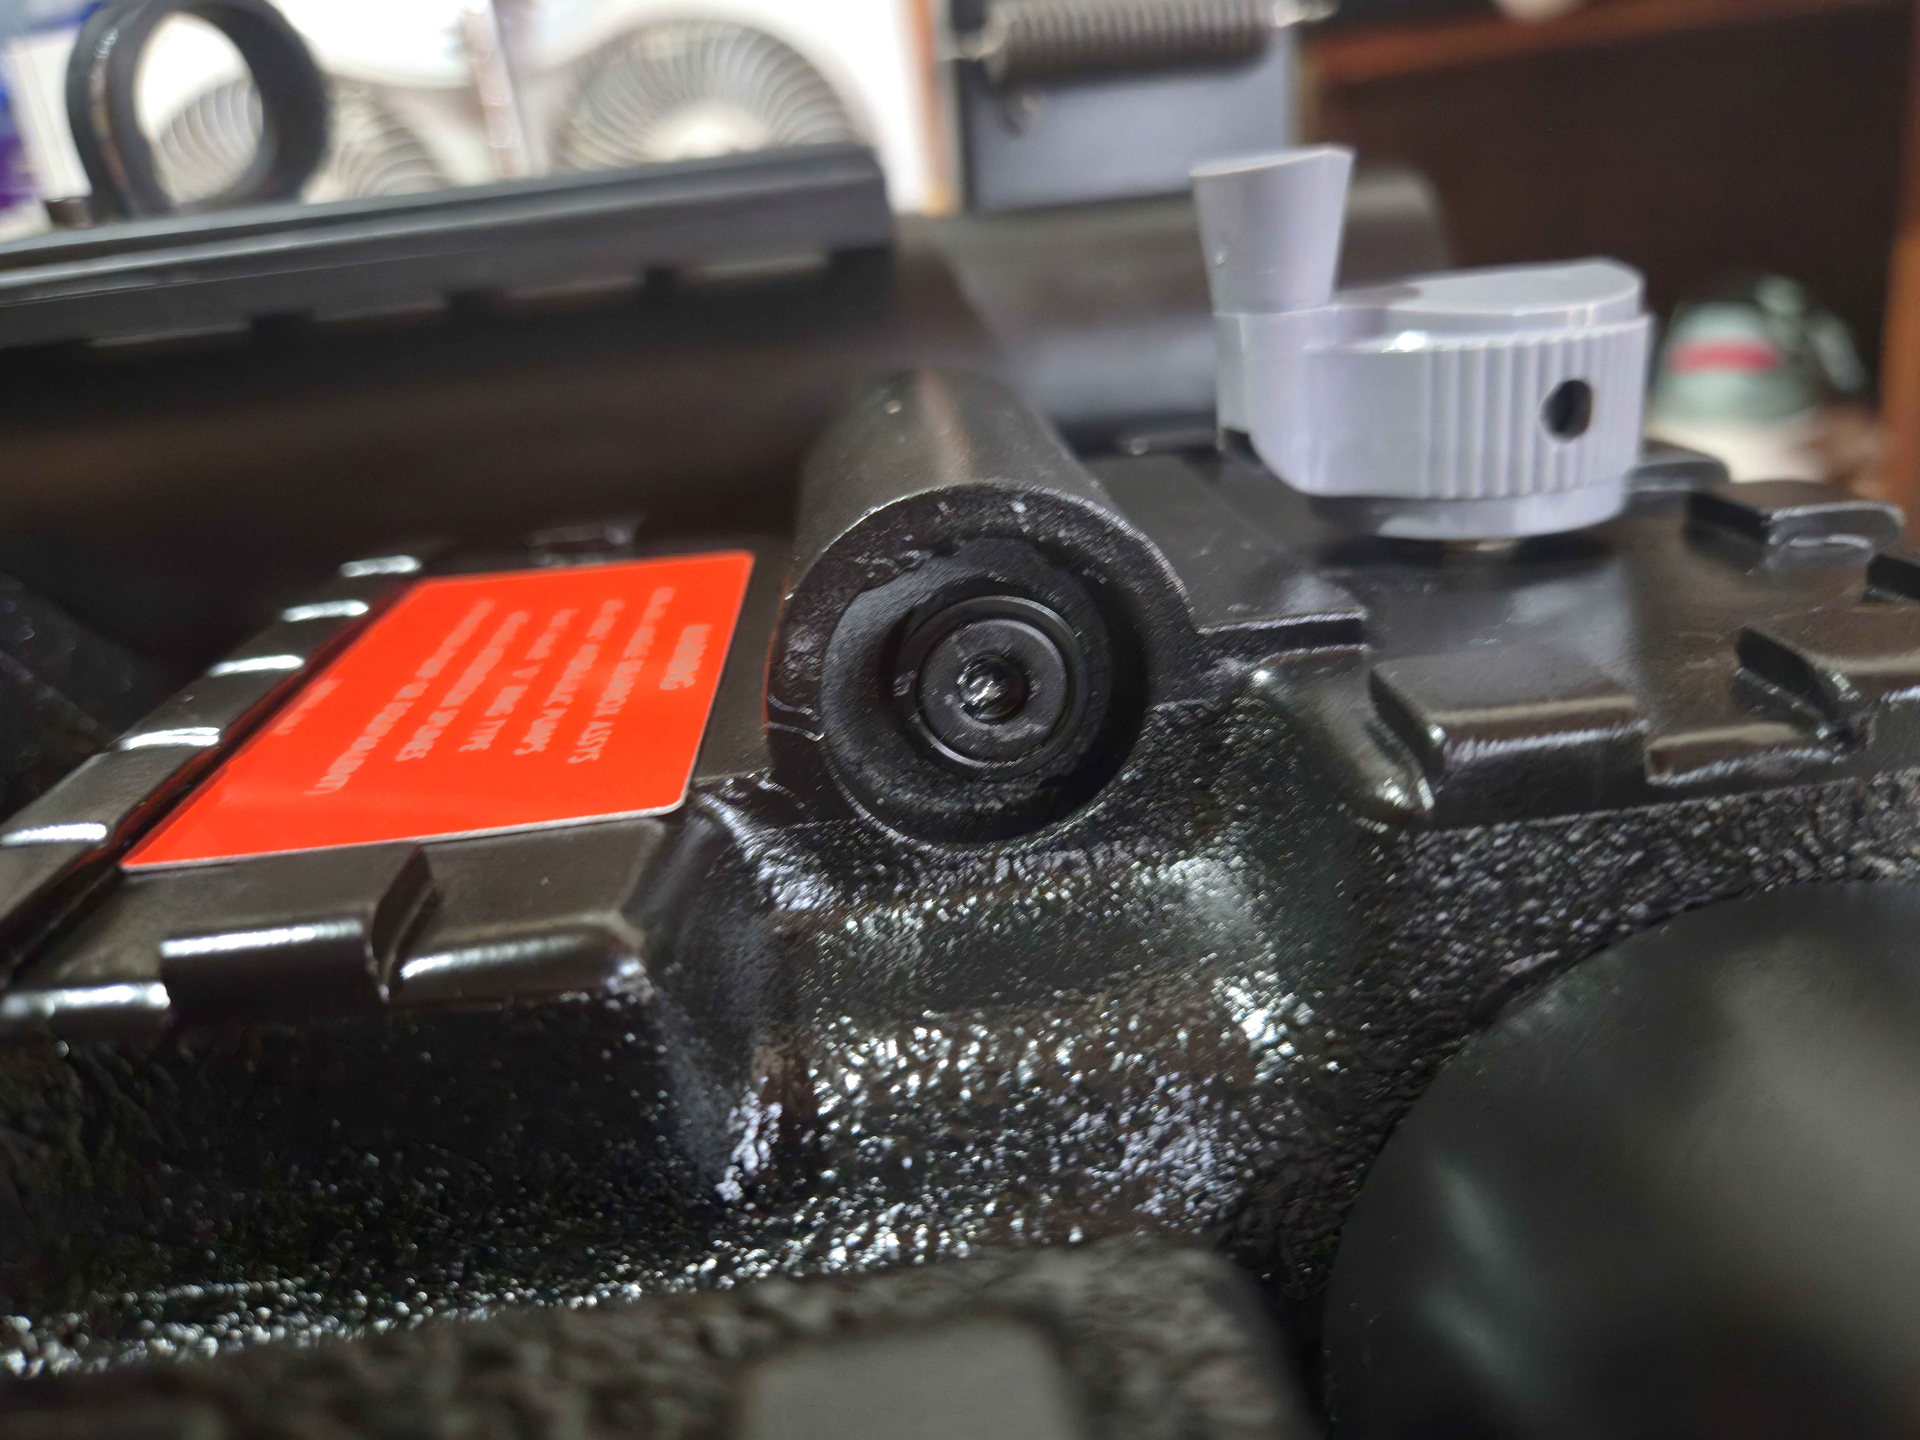
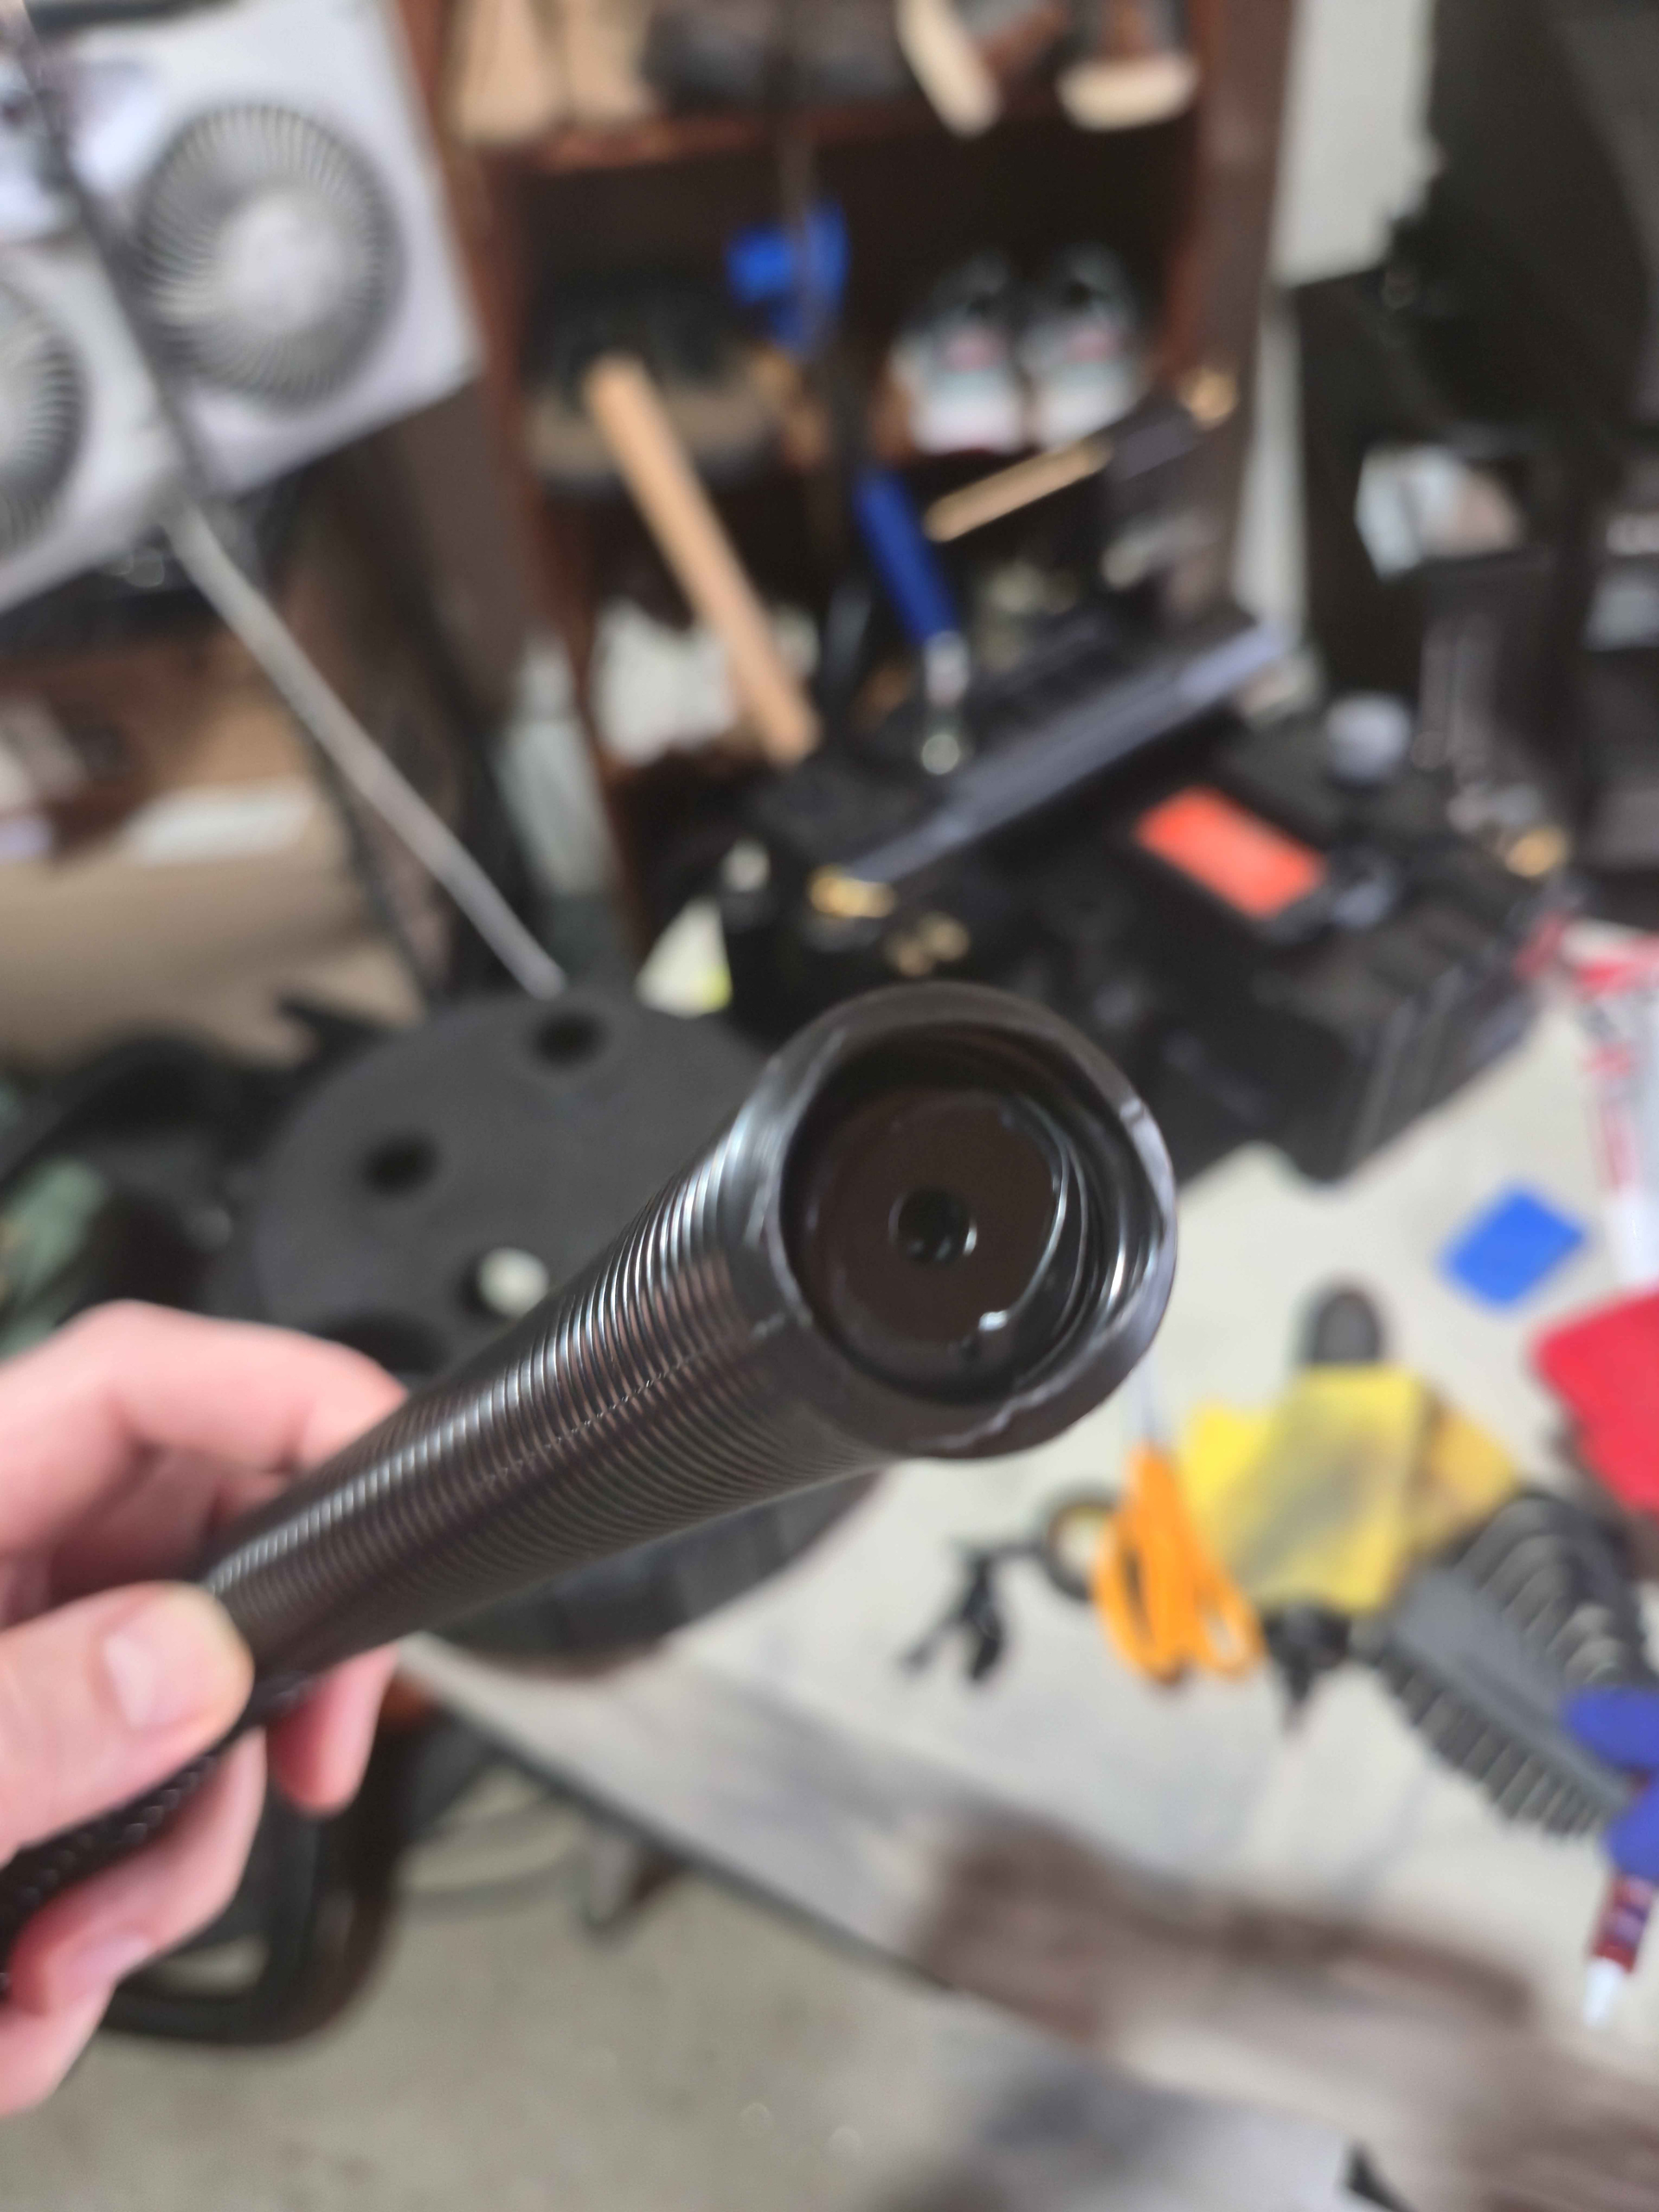
If anyone has tips on how to make the tube more…squared off like this?
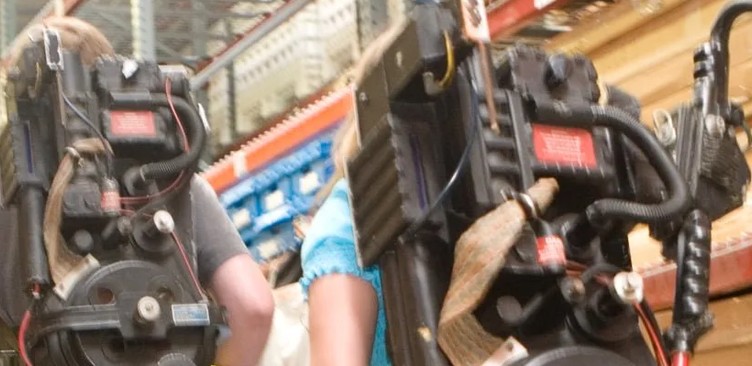
Let me know, the one on my pack is more of a curve. Is it just a matter of it being split loom instead of solid loom like I’m using? I tried laying a heavy object on it for a day or so but it popped right back up.
The rest of my labels came in today, the Moby darker red ones and a few from Charlesworthsdynamics for the nfilter. Couple of the labels had a hard time sticking due to the rough texture of the pack, not a knock on the manufacturing at all. Spoke to some folks in the gbfans chat and ended up going with some loctite vinyl glue which seems to have done the trick.
I hot glued the lenses for the cyclotron and powercell, they’re the diffused/smoky lenses, I do miss not having the red/blue when its off but I’ve used these on my hasbro pack and they look great when they’re on.
Barring gluing the small tubes and maybe cutting some longer pieces of the 1/4 loom for them (anyone know how to make that part on the PPD not look janky?), also as I’m typing this realizing I didn’t cut out the mouse hole for the loom to the wand, I’m calling the shell done.
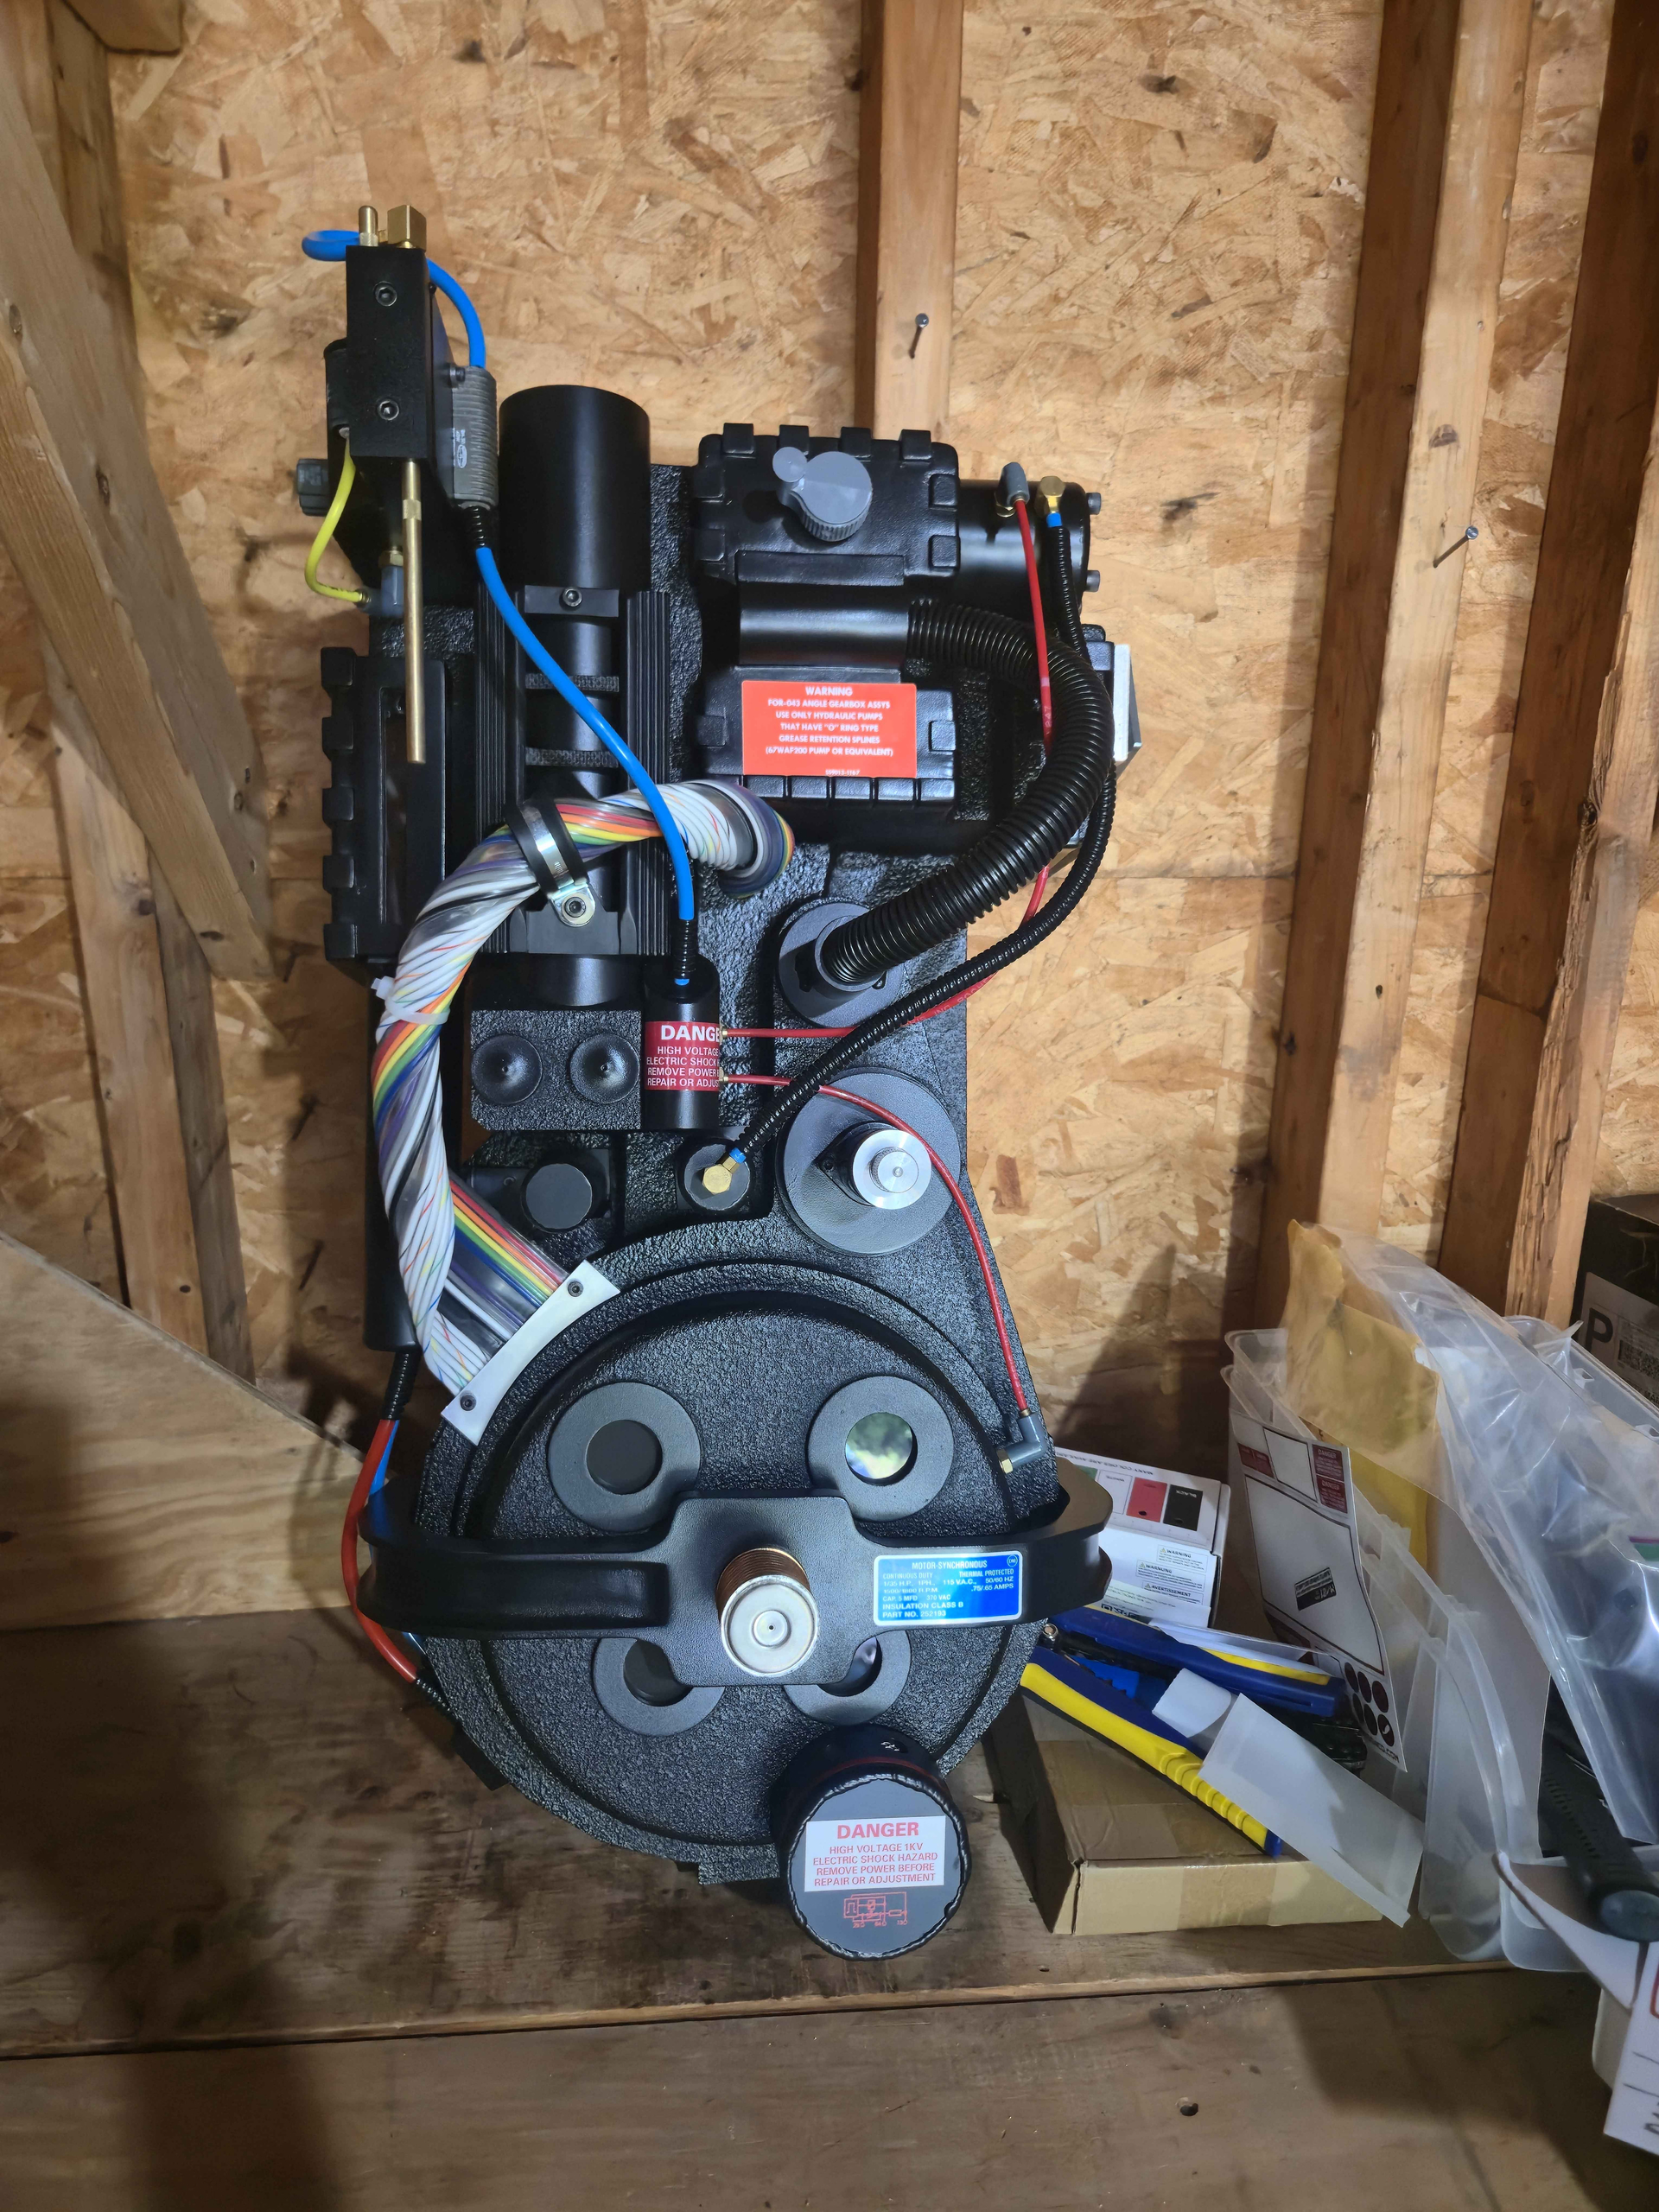

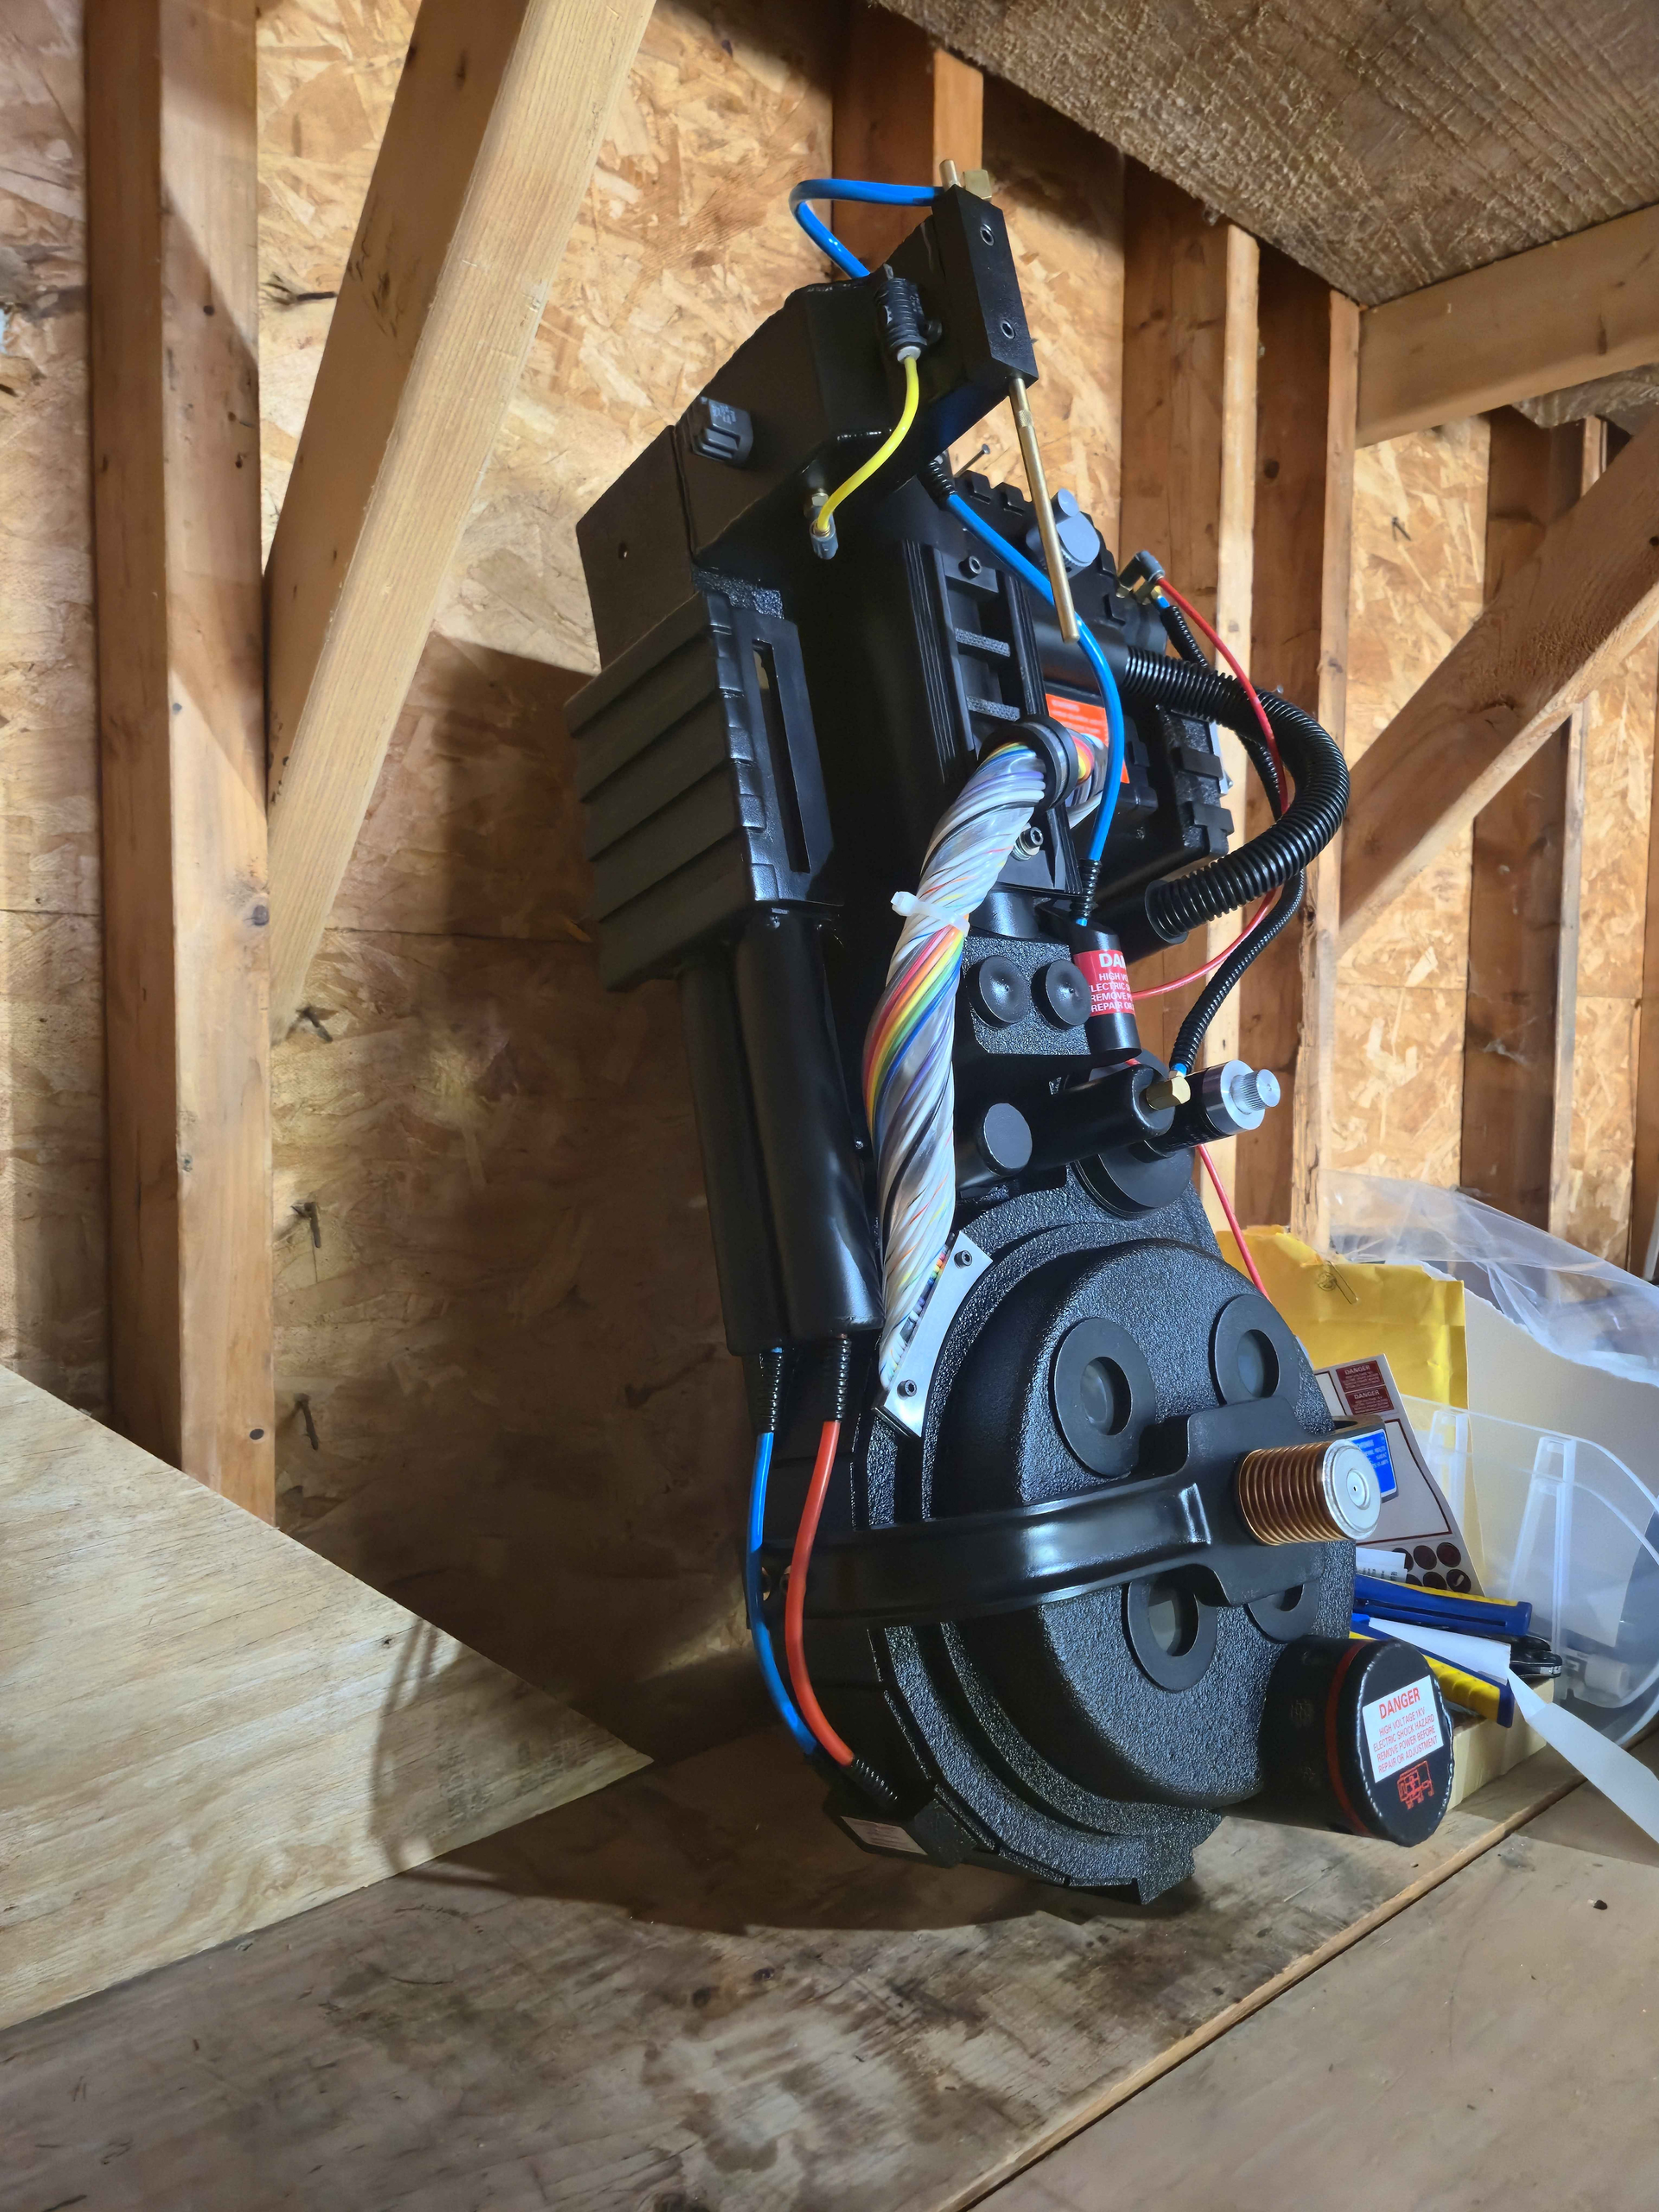
I’ll be working on fitting where the mounting points are for everything and where I’m putting the speakers over the next few weeks. The wand is sitting on the bench since I put like 65% of it together a year or so ago, but I’m still figuring out the grip situation.
1 Like
I have measurements for the 84 spengler looms for the pack…
Injection tube blue top- 15
Injection tube blue bottom- 9
Injection tube red top- 15
Injection tube red bottom- 8
PPD-resistor top- 17
PPD resistor bottom- 12
the HGA-beam line- 134
3 Likes
I think split loom for that bend would help, as you can slightly overlap the two edges more at that bend. But that particular pack may just have a slight bit more loom to work with too.
I wonder if hitting the loom with a hair dryer, or a heat gun on low would allow it to be more malleable.
2 Likes
Maybe also adding in some thick metal wire?
Any build updates?
Hit some snags on trying to mount the internals of the pack. Since the inside of the shell is so thick, it’s hitting and shifting where I place the cyclotron light mount while I figure out where it needs to go on the motherboard. I’ve been cutting out small pieces to make it fit.
On top of that, since the powercell window space is so jacked, despite me carving it out BEYOND the space of the actual mold, the board for the powercell simply does not fit cleanly. This means I can’t use the motherboard mount for it and I have to glue it into place instead. Since I’ll have a component glued to the shell connected to a controller board attached to the mobo, I have to price out if its cheaper to buy the jst-xh connectors and rewire it myself or just buy some prefab extensions off of Amazon.
Been plugging away at things
A good chunk of time lately was testing where everything would fit in the shell, I was able to finagle the mounting situation for my electronics - originally I thought I was going to have to mount the power cell to the inside of the shell and not the motherboard, but after a little bit of careful sanding and changing the mounting bolts for the injector tubes (went from cap socket to pan head), I was able to get it to fit cleanly
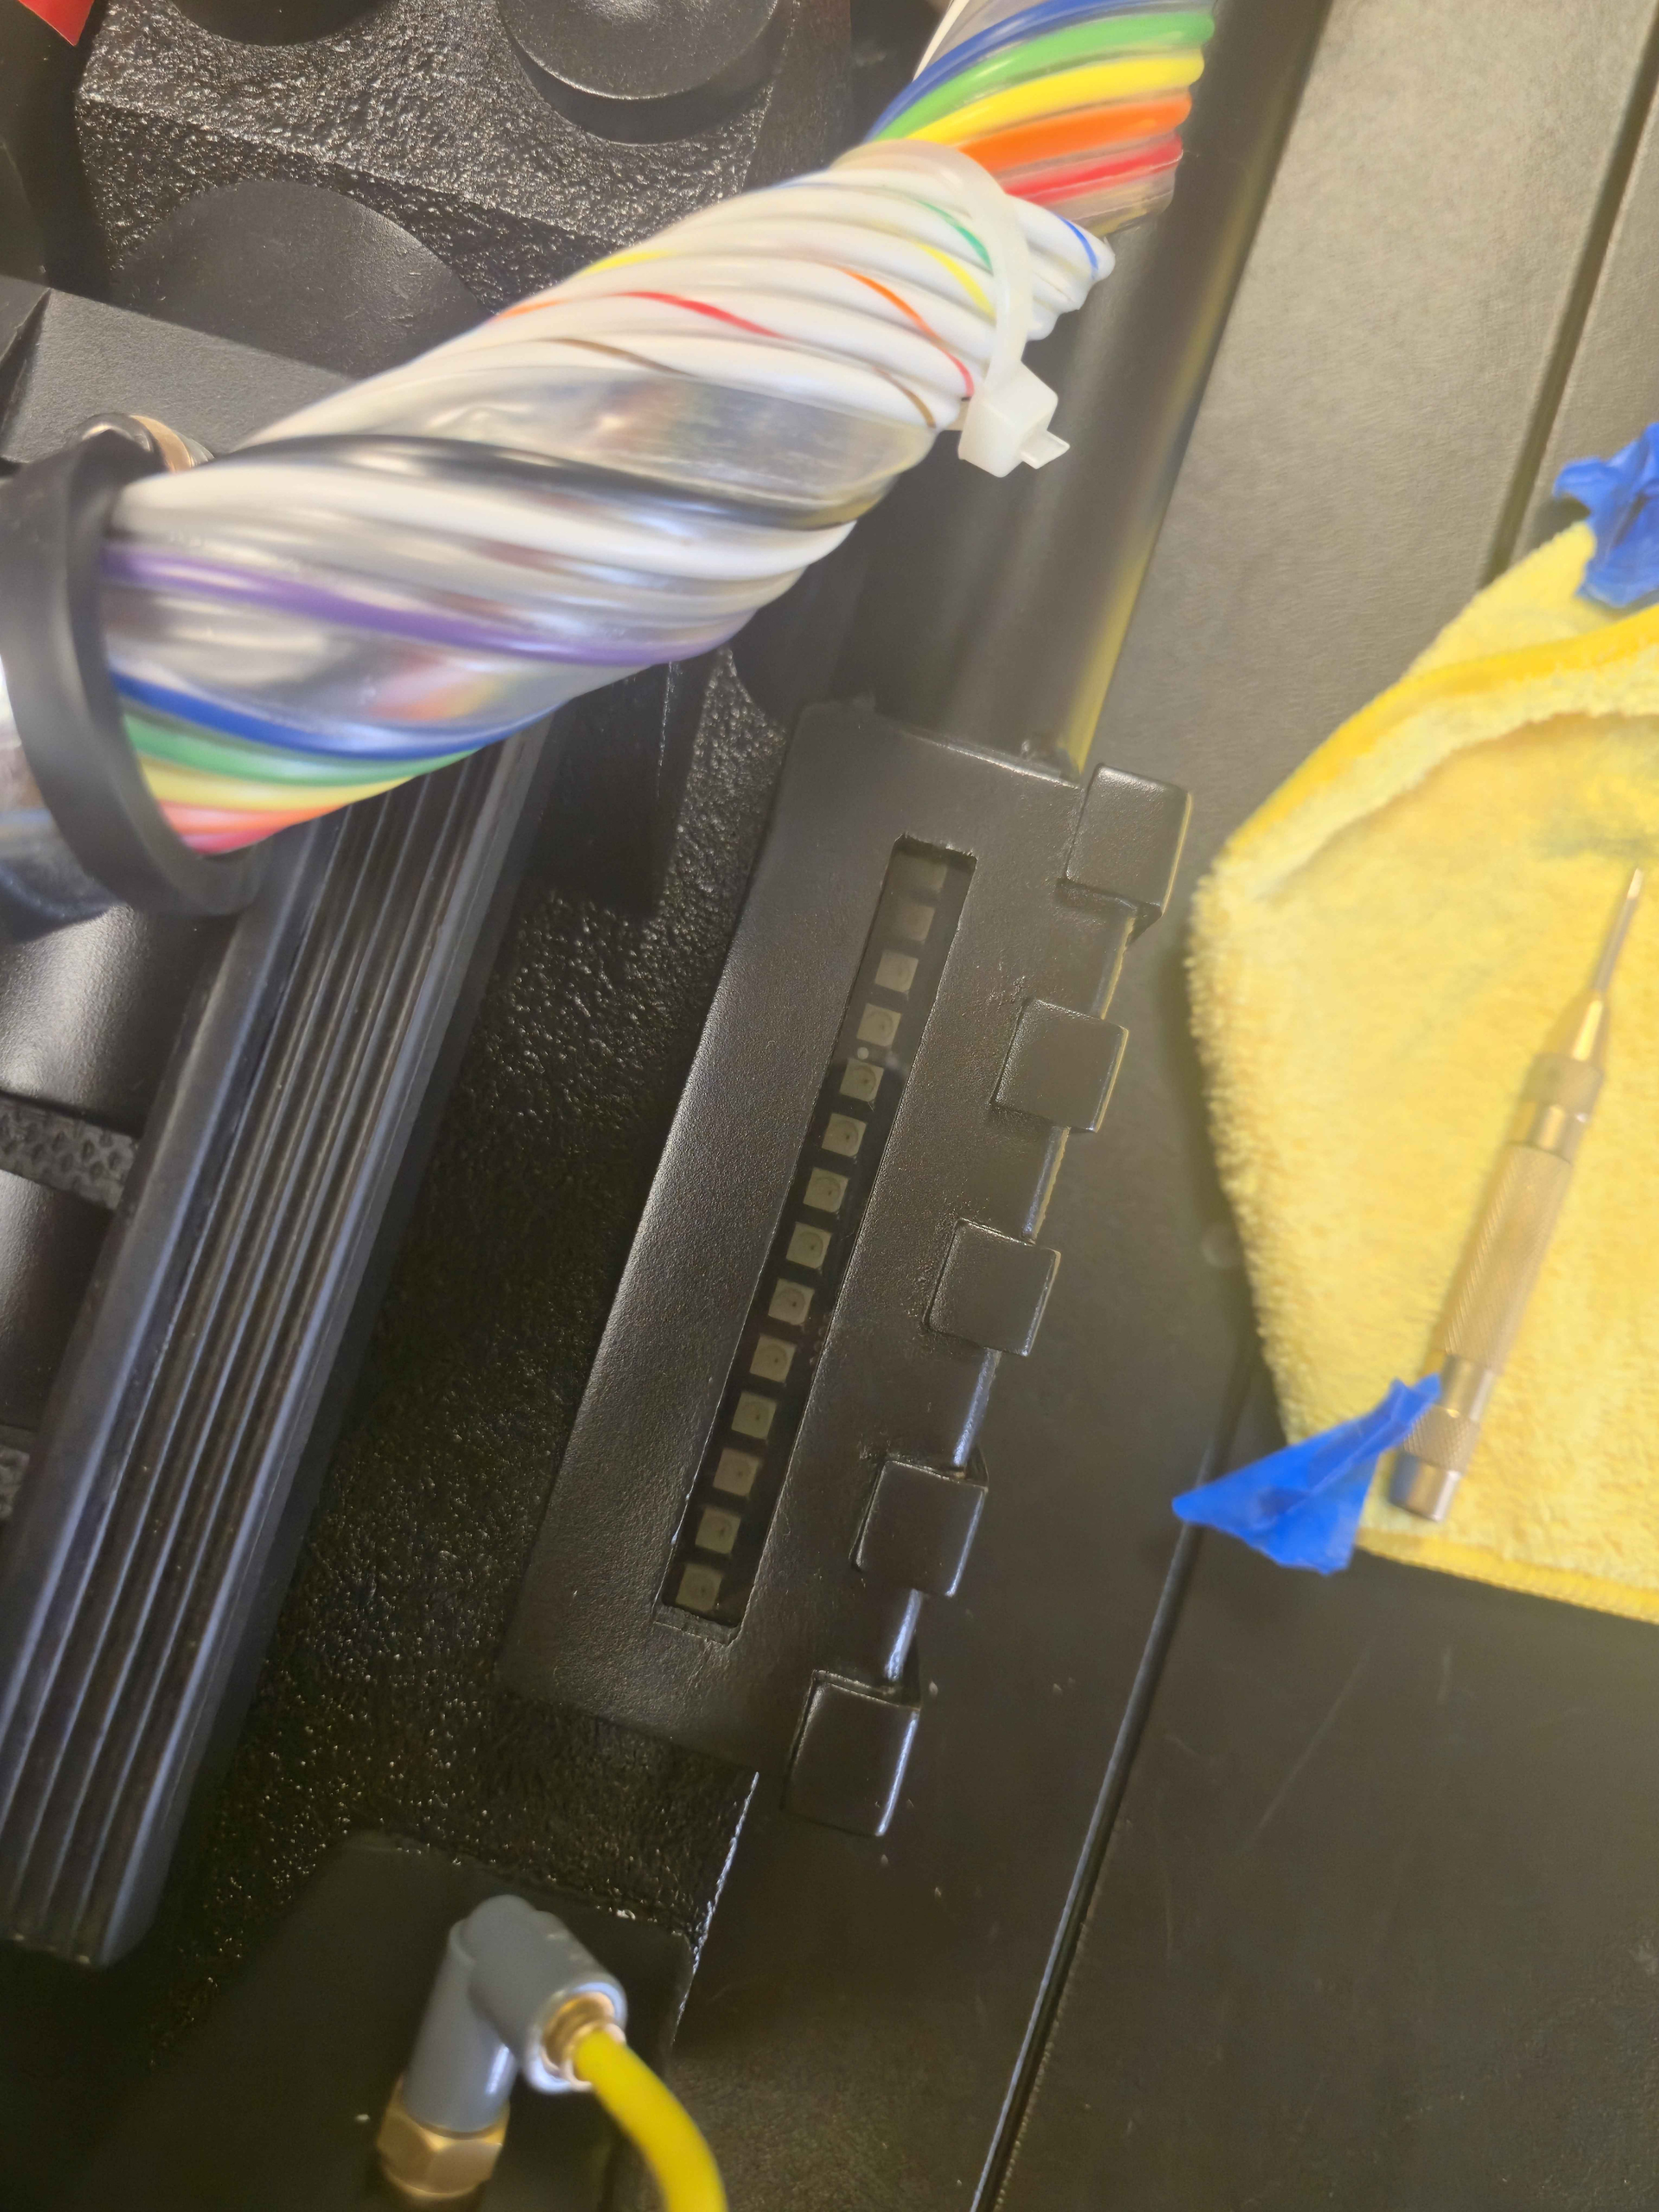
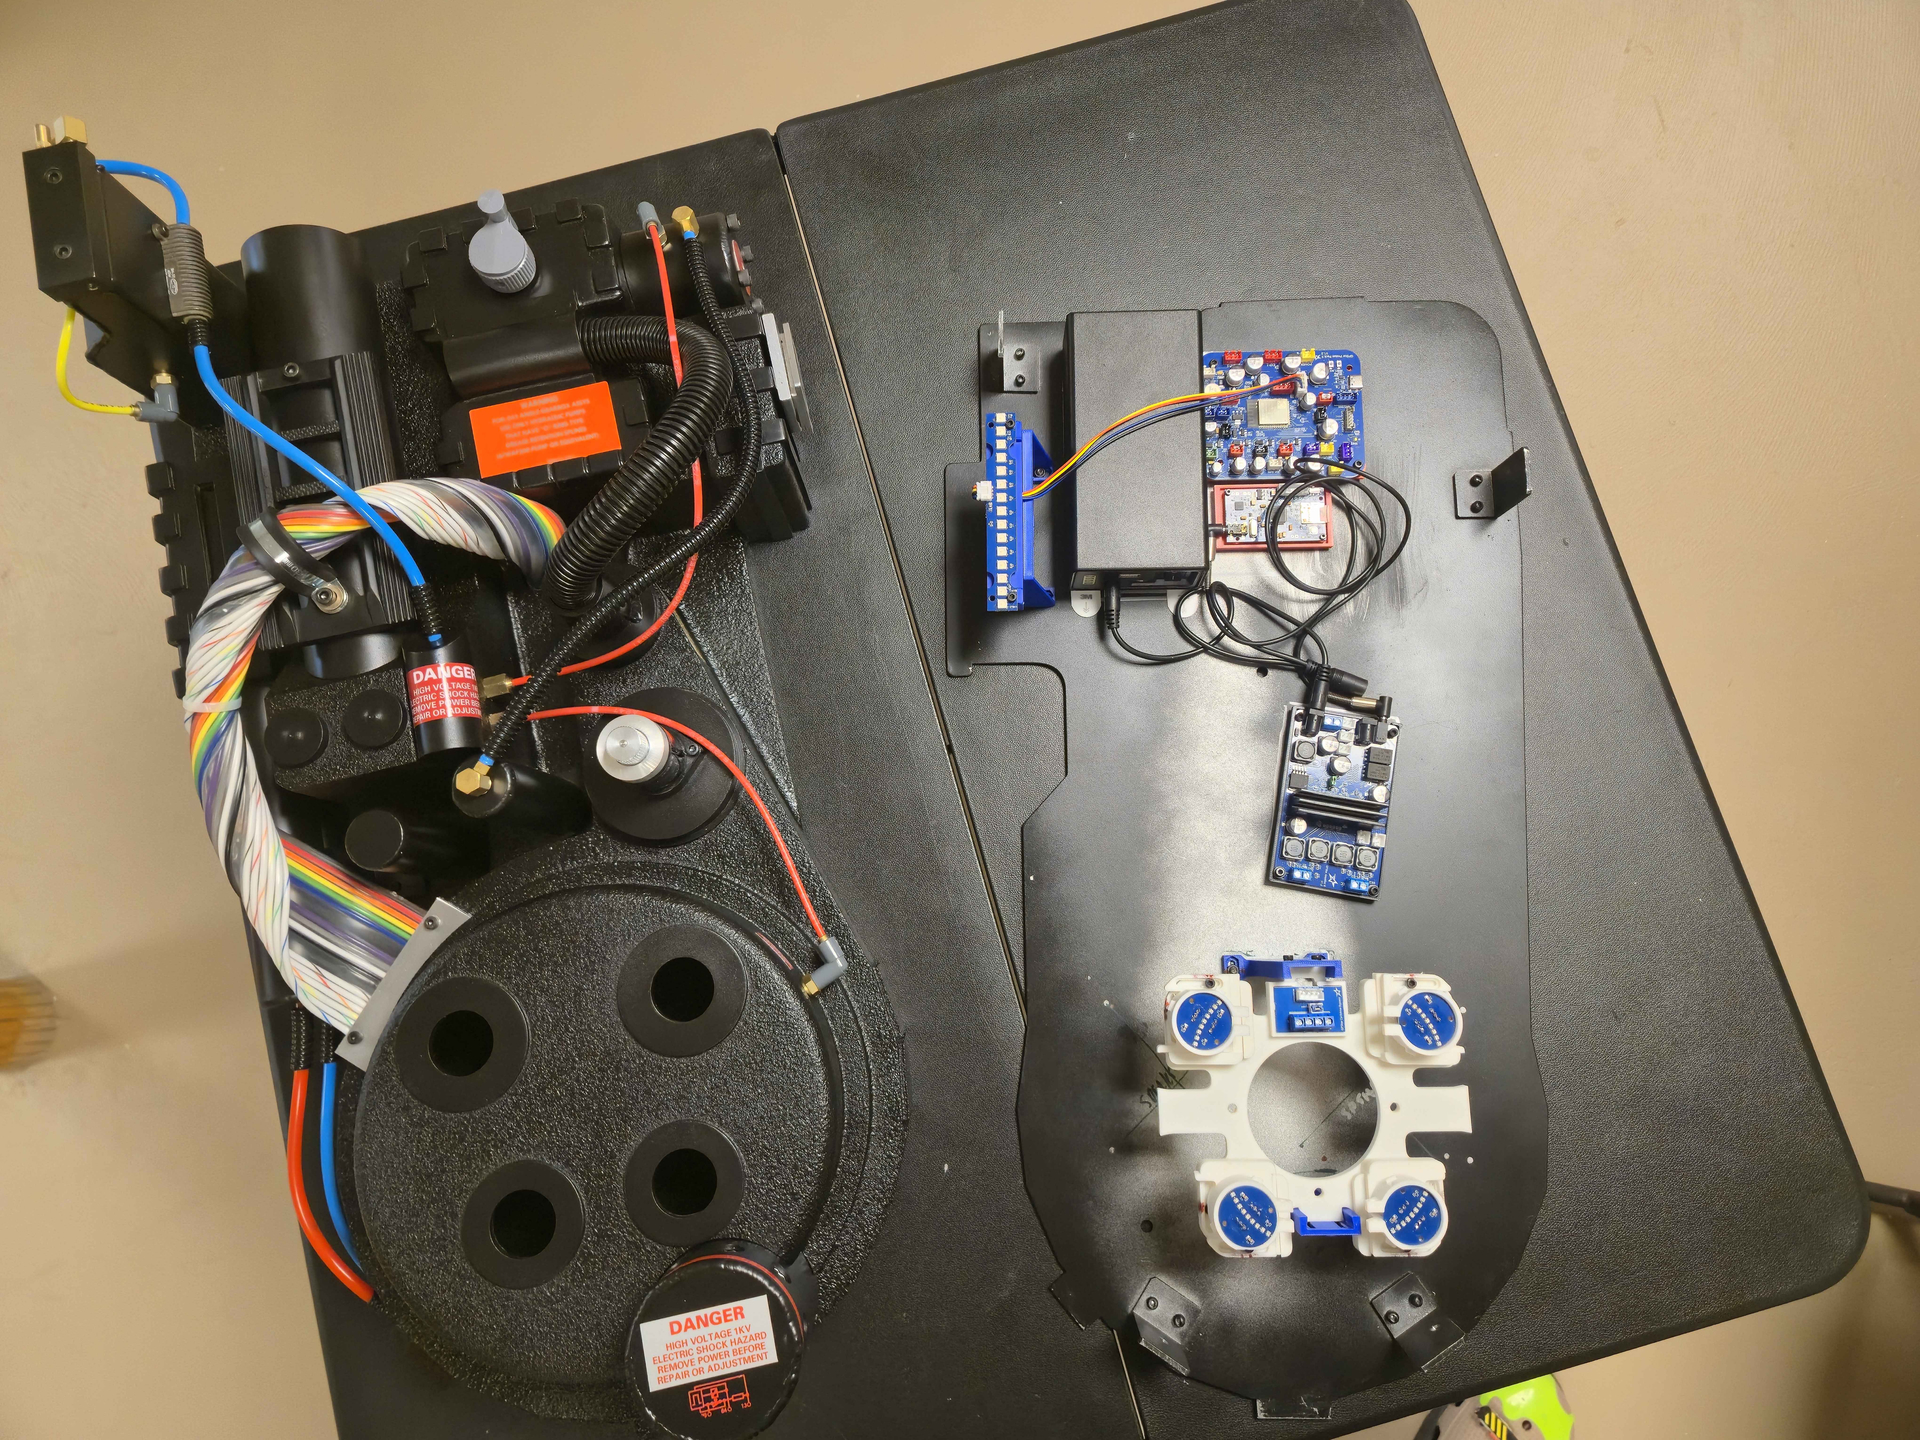
I spent a while adjusting the mounting plate for the cyclotron lights and bolted those in along with the powercell using button head screws. The other electronics are mounted with 3M industrial tape or velcro
Due to the size of the battery I’m unable to place a speaker near the top so both of them will be fitting underneath the cyclotron mount. I am holding off on drilling out holes for the speaker until later.
I also spent a long time trying to fit the C&A Prop Design smoke kit but due to the nature of how thick the pack walls are and how narrow the opening is for the n-filter area, I had to shelve it. The bolt for the bottom right shell mount interferes with exactly where it needs to go. I put in an order for a wasteland industries smoke kit as it seems to have a smaller profile, I should have that by the end of the month.
I then switched my focus to the wand - I had painted and assembled some parts of the main body a little over a year ago so I first focused on the wand grip situation. Since Macks factory grips have been a white whale for me as far as catching them when they’re on sale, I bought a resin set from Caramacs Prop Shop (the makers of the shell) earlier this year. After test fitting them I found them to be undersized for the macks wand to the point where it looked funny,

I still have my old wand I had built when I bought a throwingchicken wand a few years ago so I cannibalized those instead. Since I needed to redo the mounting holes for the front and rear grips, I decided to sand them down a bit so I could repaint them. Of course the first thing I promptly did after finishing the sanding was dropping the front grip on the concrete floor because WHY NOT?
I ended up breaking off the corner of the grip so along came milliput again.
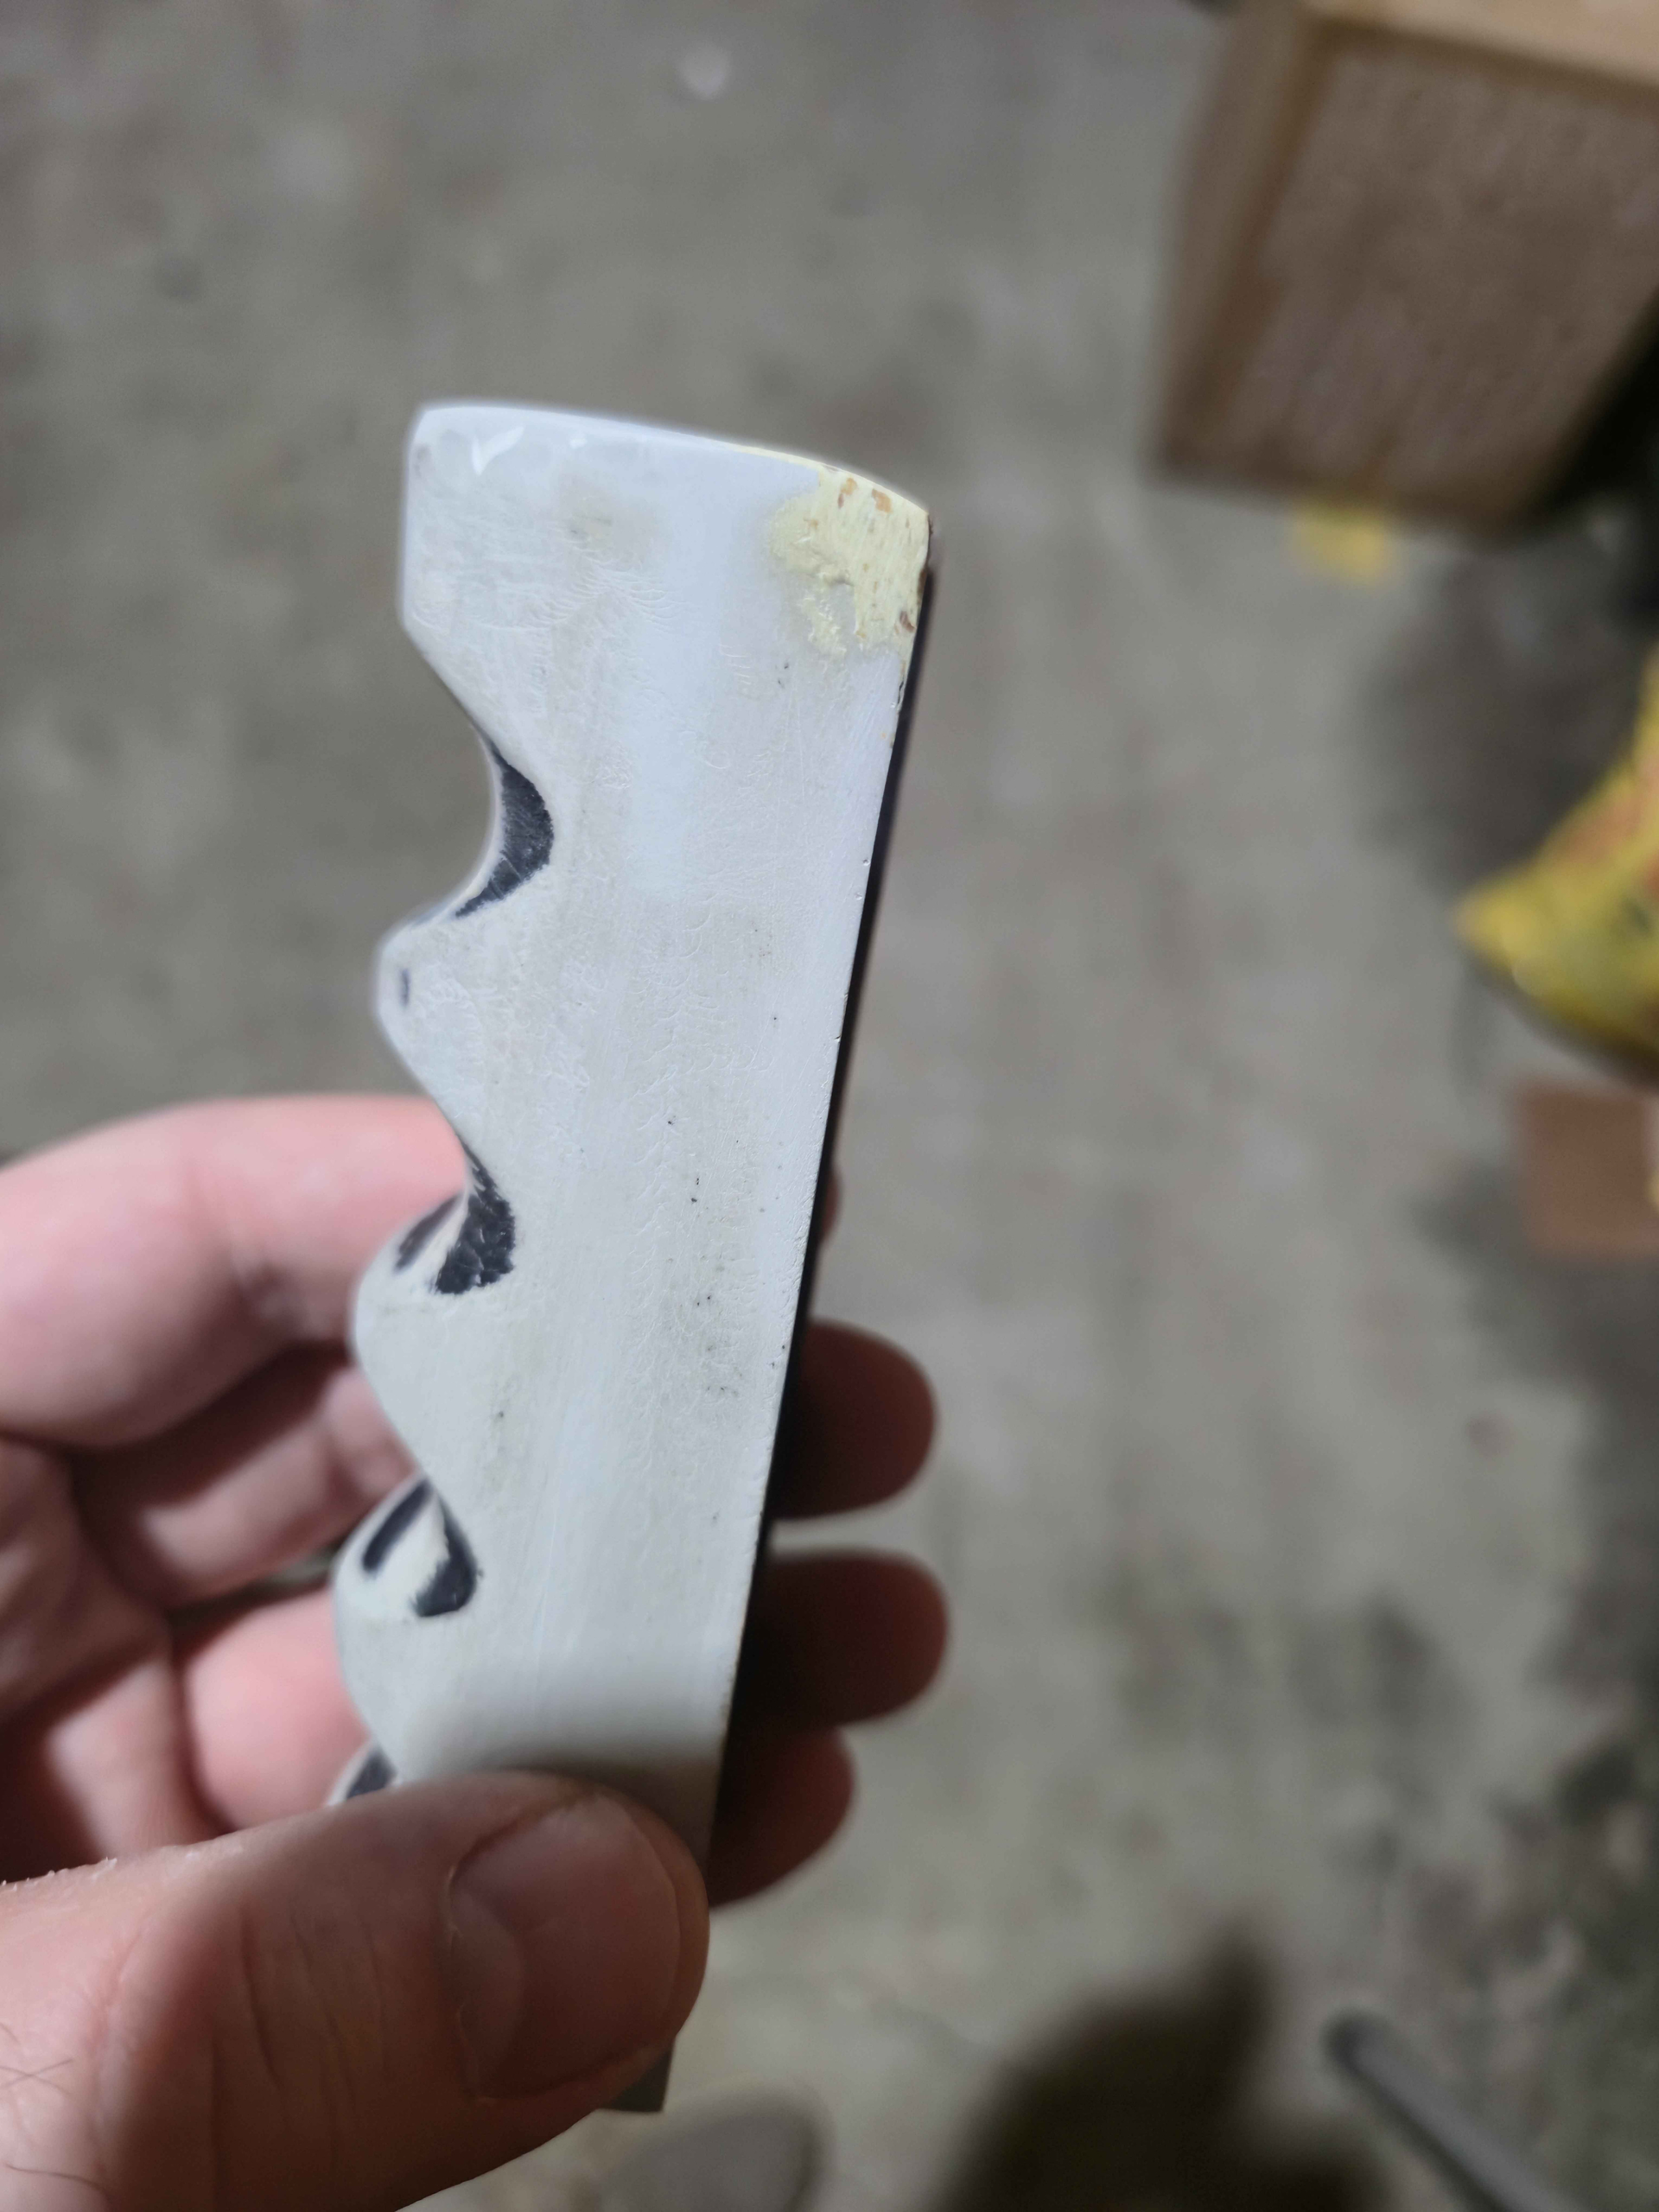
I did some test fitting, marked where I needed to drill using the set screws on the front grip
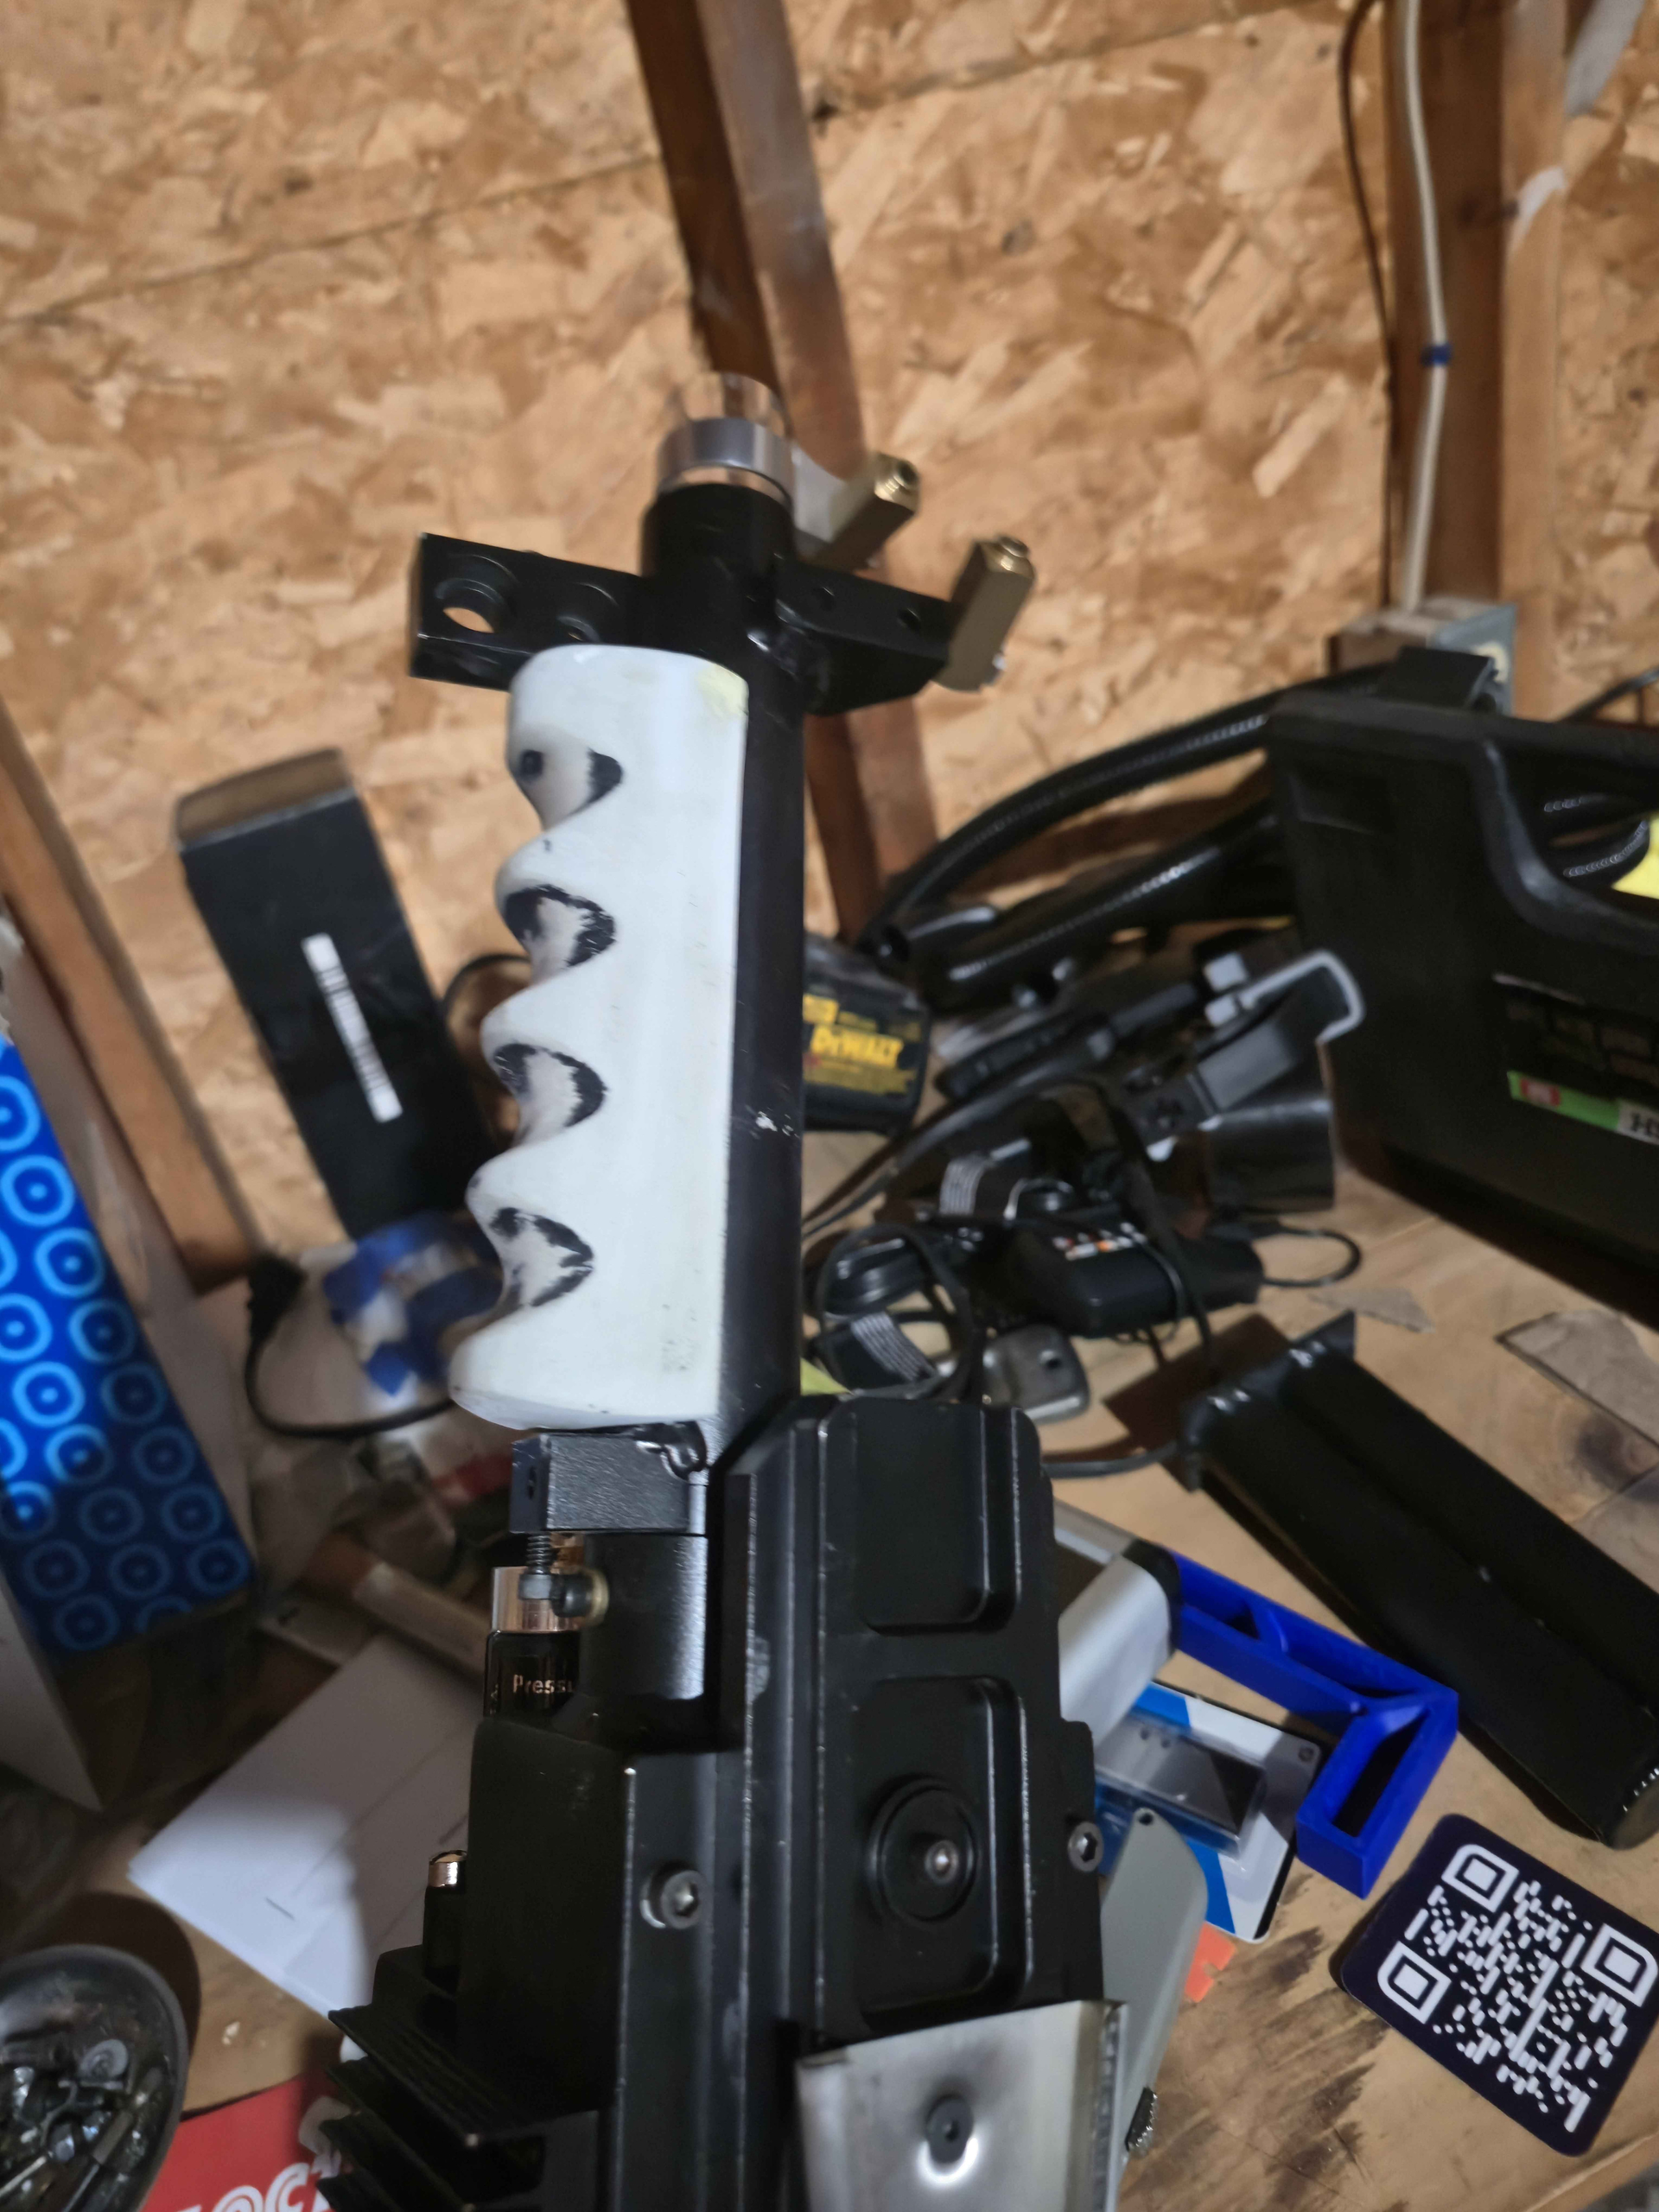
Noticed the front grip wasn’t sitting correctly and after looking at the wand grips on the macks factory site, realized I needed to dremel out a hole for the set screw that holds the outer and inner tubes of the front of the wand. I decided to also carve out a channel for the wires running from the ear to the body while I was at it
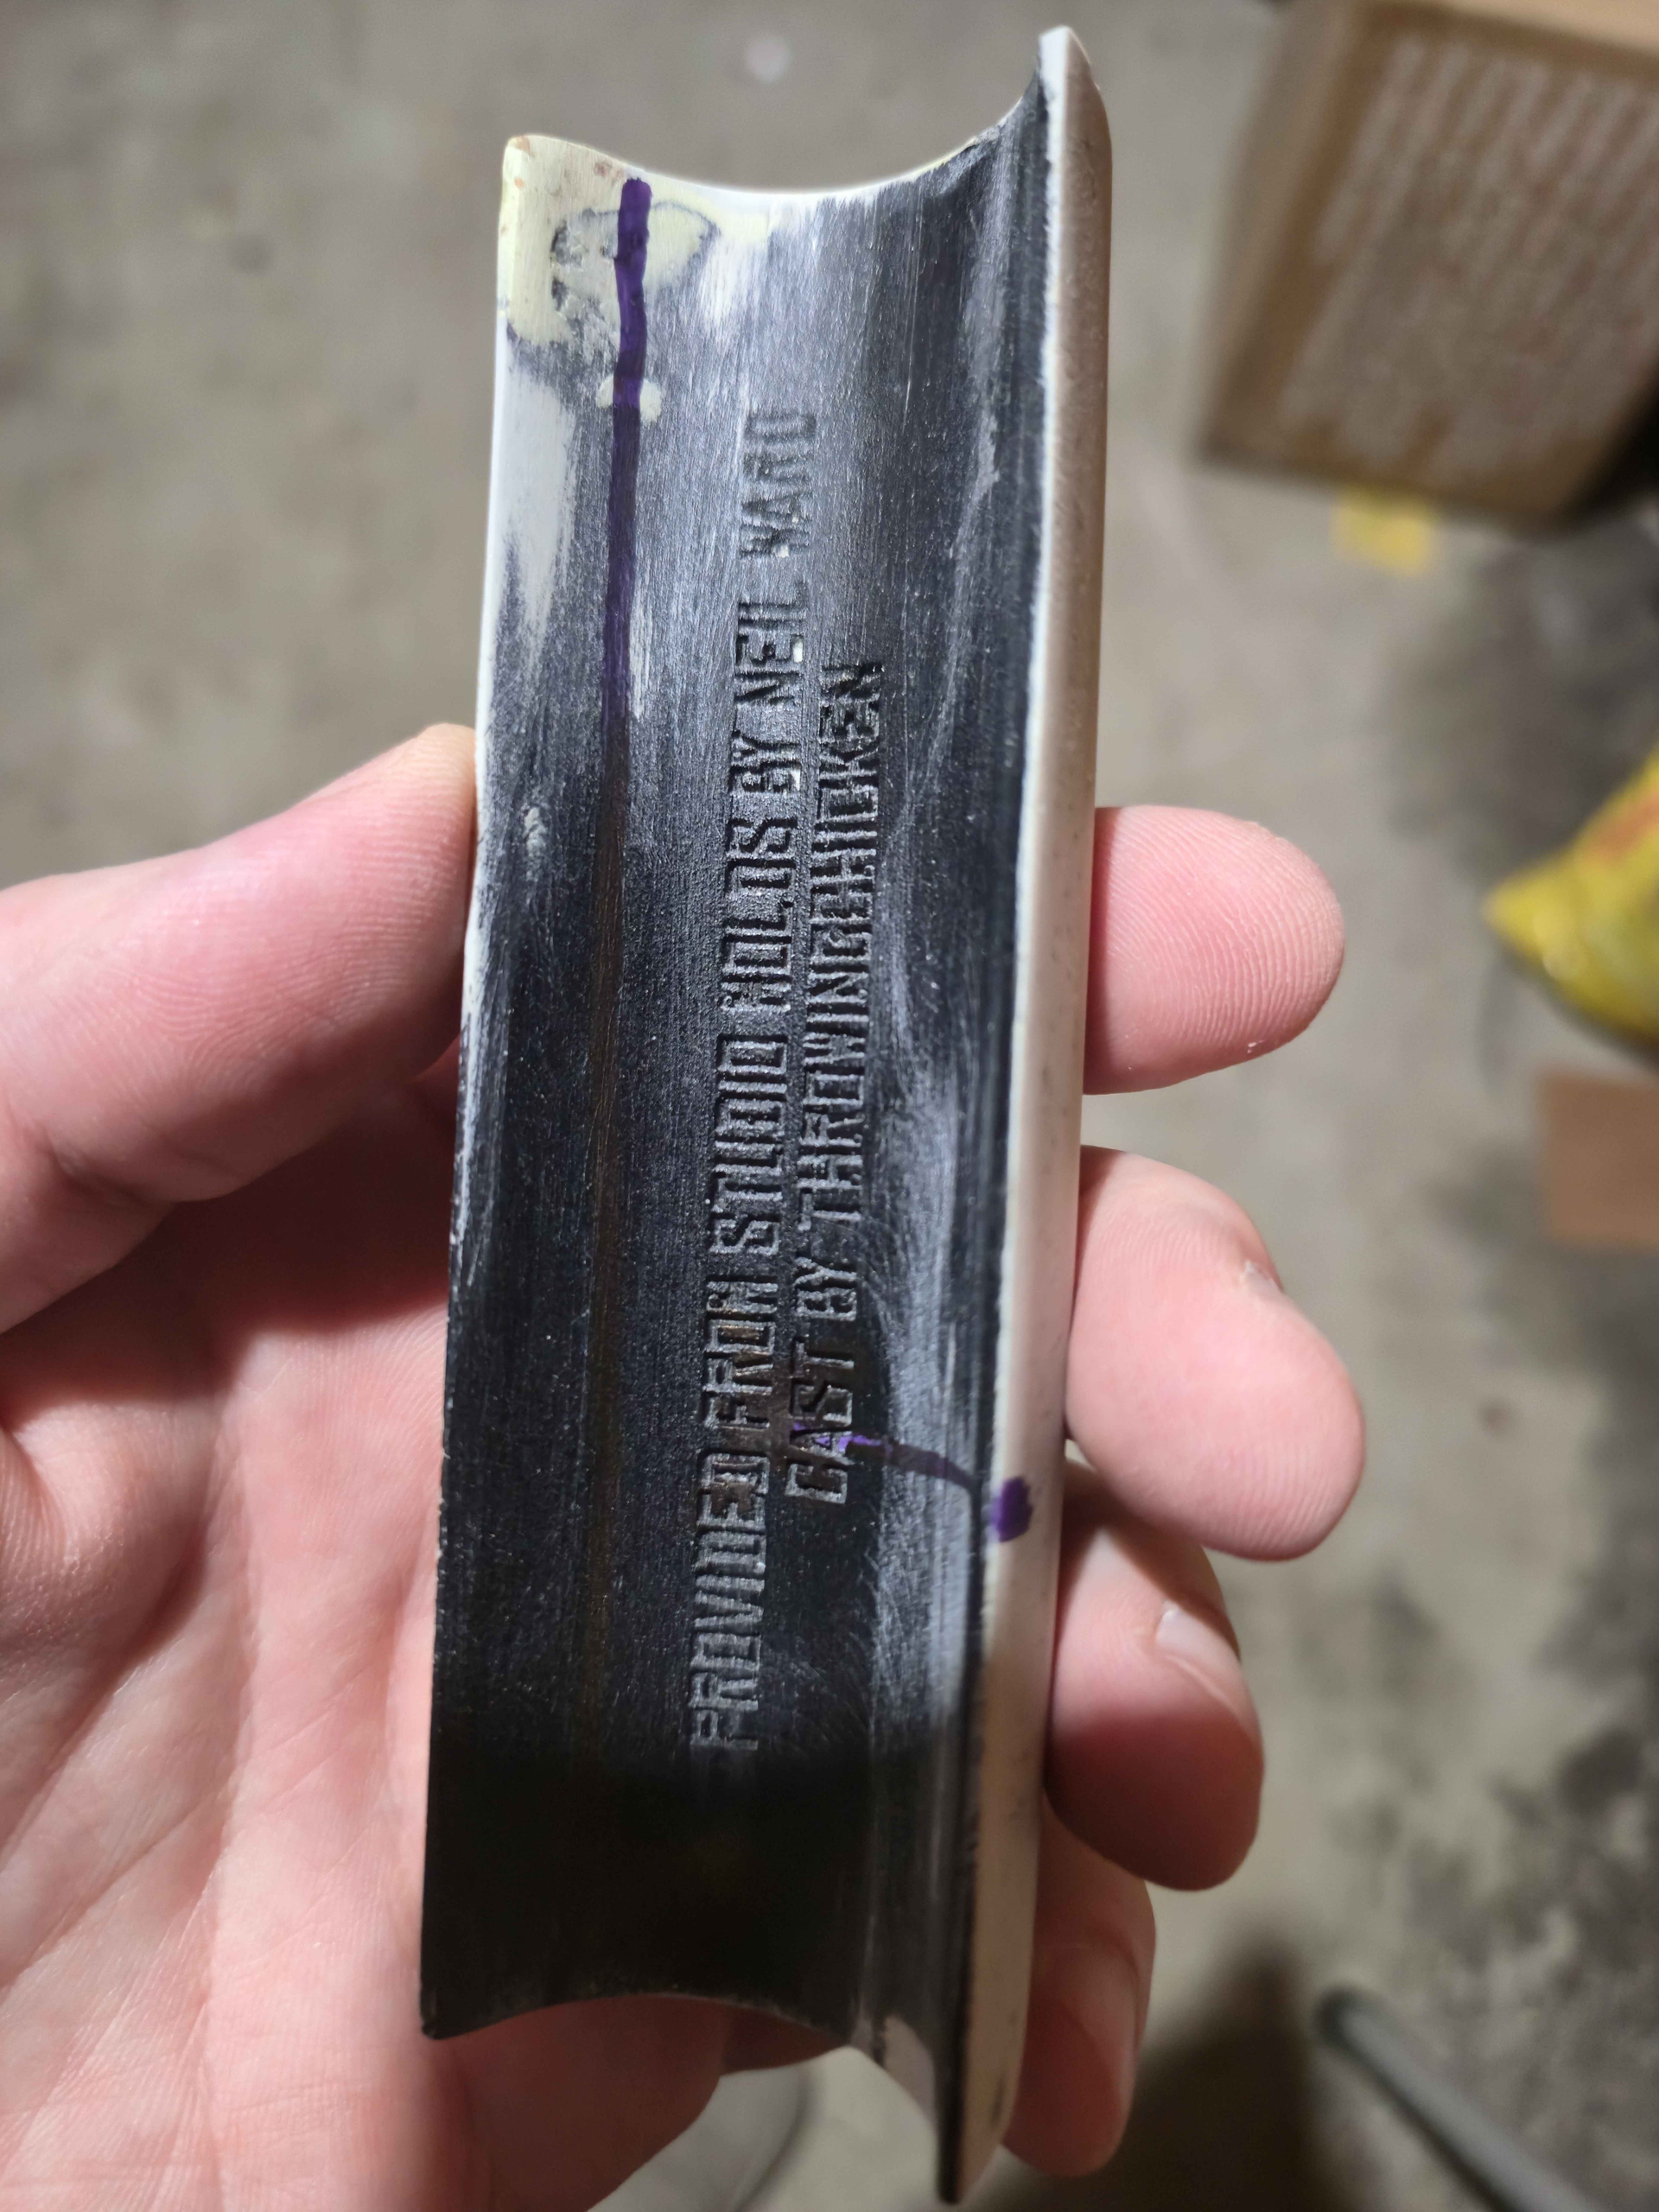
The rear grip didn’t need as much work, I just had to increase the size of the holes for the larger screws. I ended up using m4 button cap screws instead of rivets. In a rare turn of events that process went smoothly.
For paint, I wanted to do a base layer of brown and clear coat it before painting on the black. All of the black paint on this pack is unsealed as I want it to naturally weather (this is happening a lot already as I work on the wand) but I want the grips to eventually wear away a bit showing the brown underneath. The color may not be accurate to the movie props but I think it will have a nice effect.
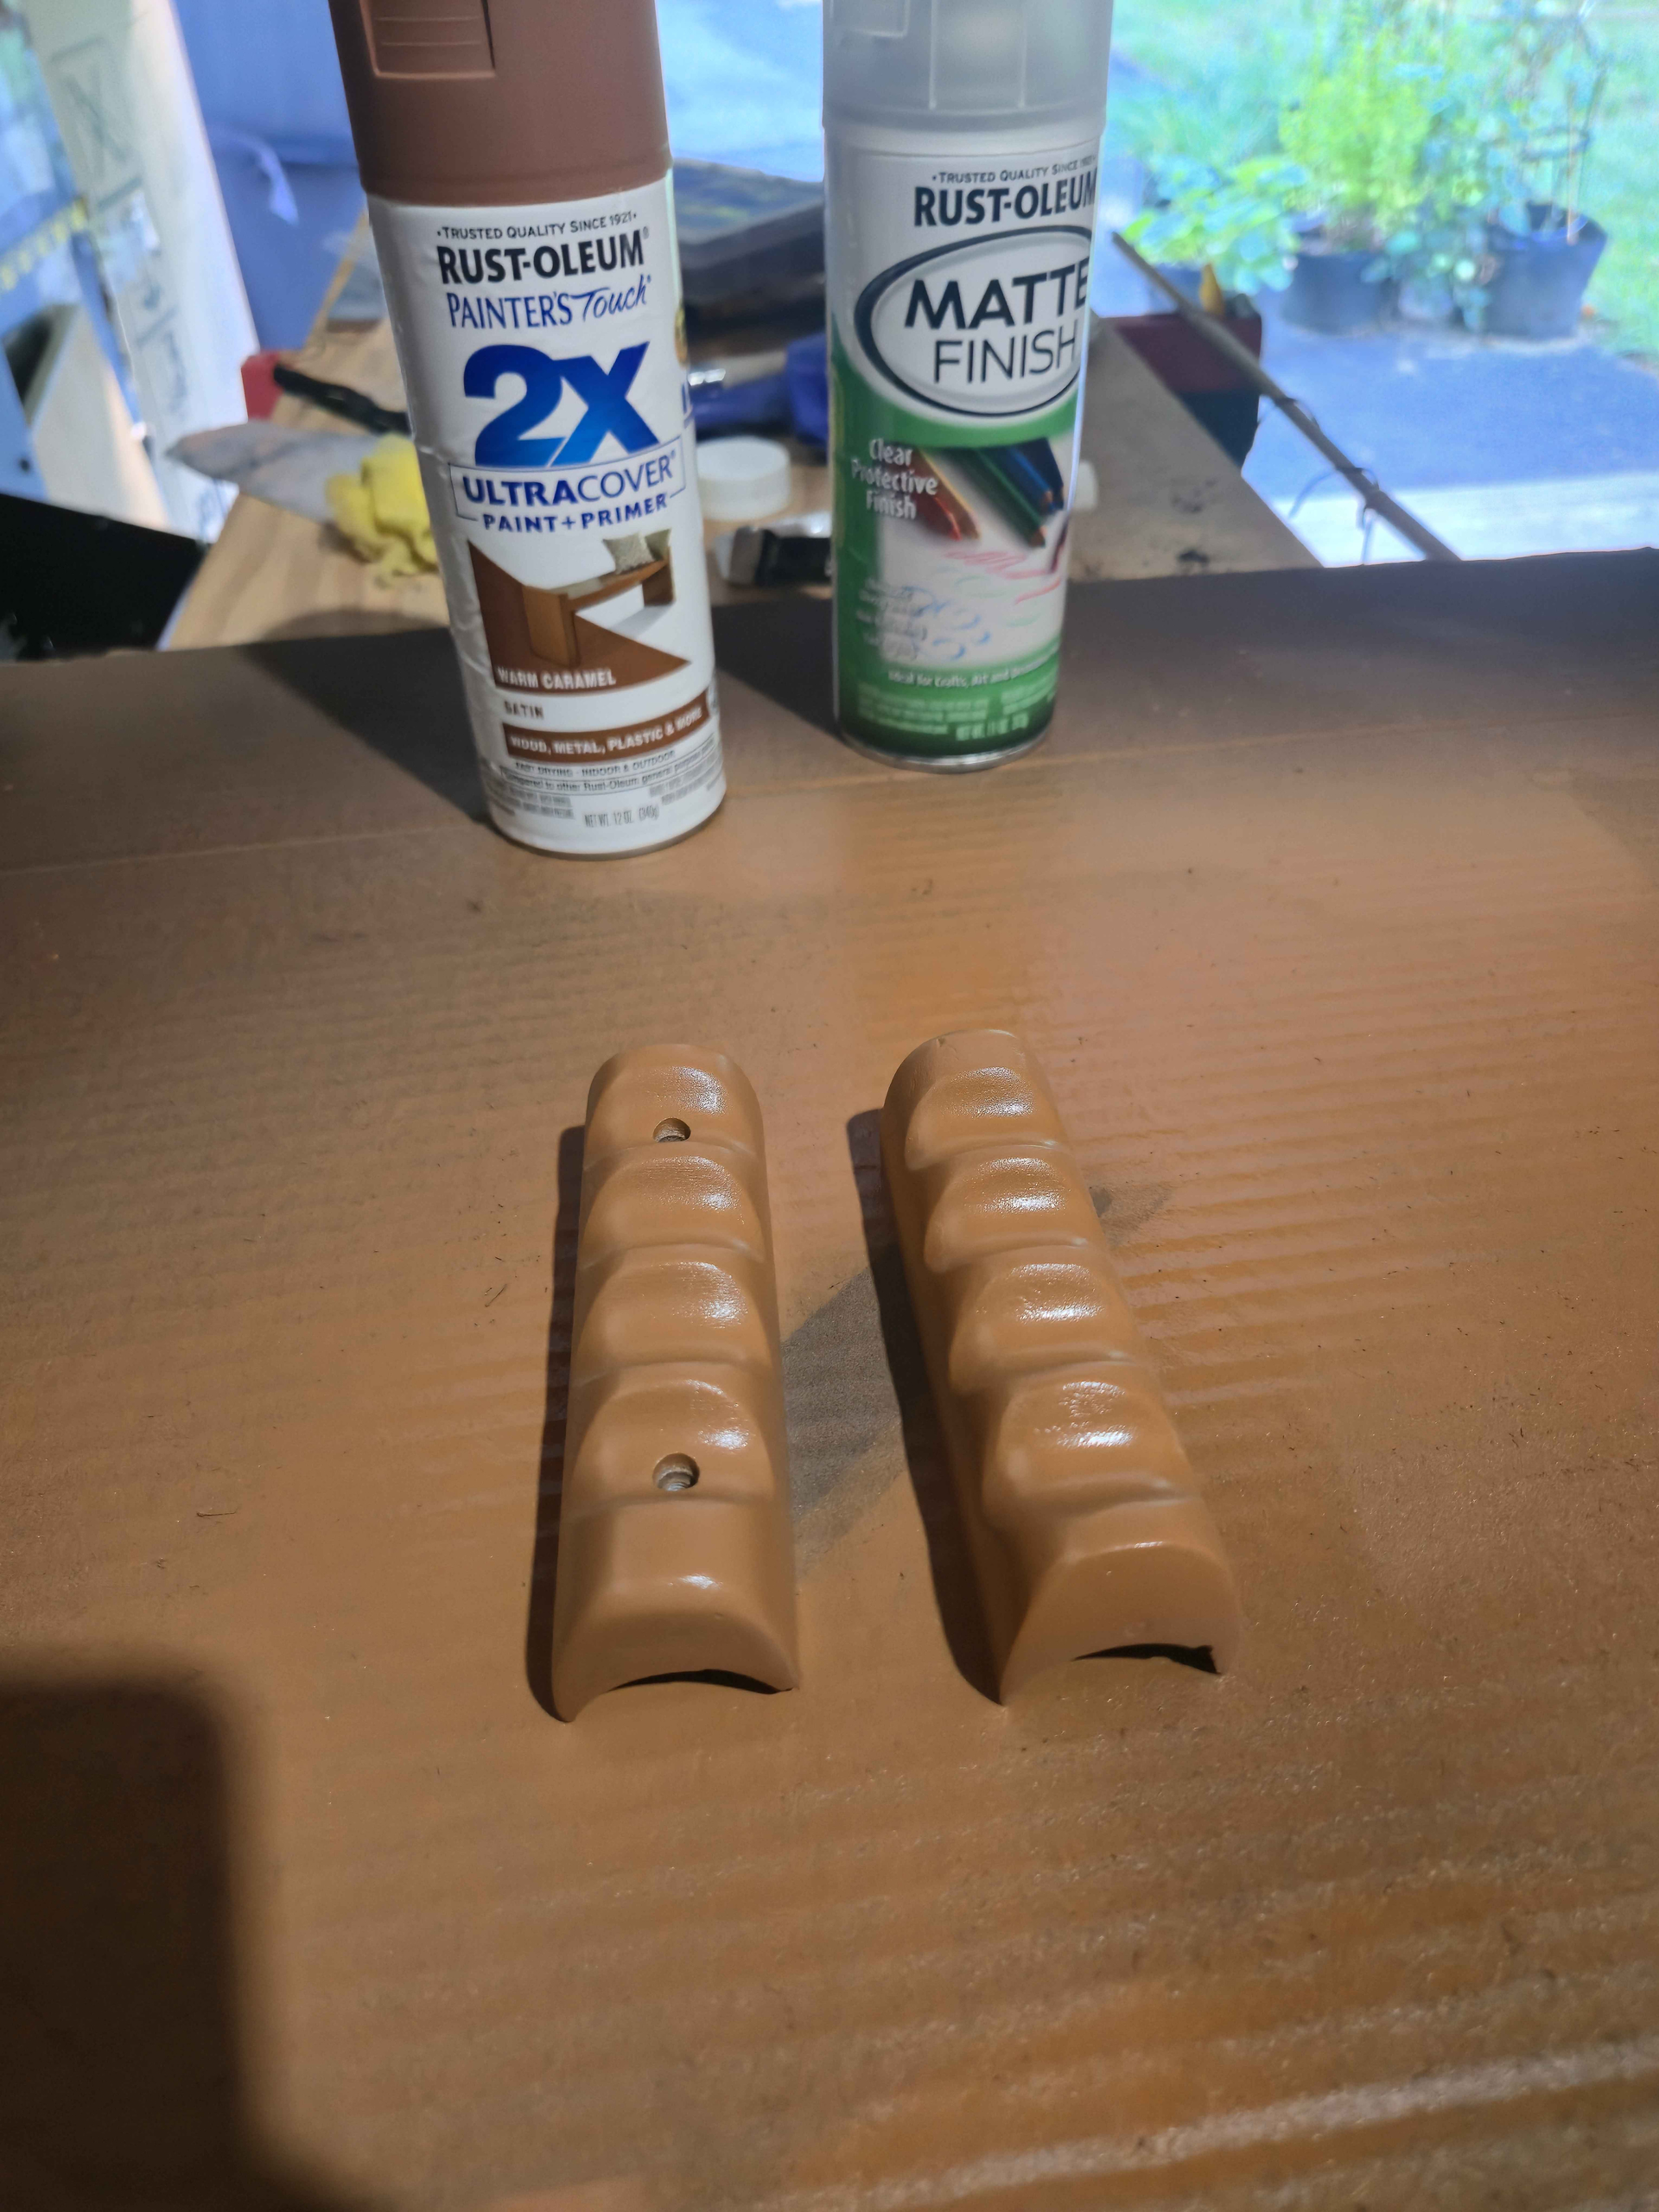
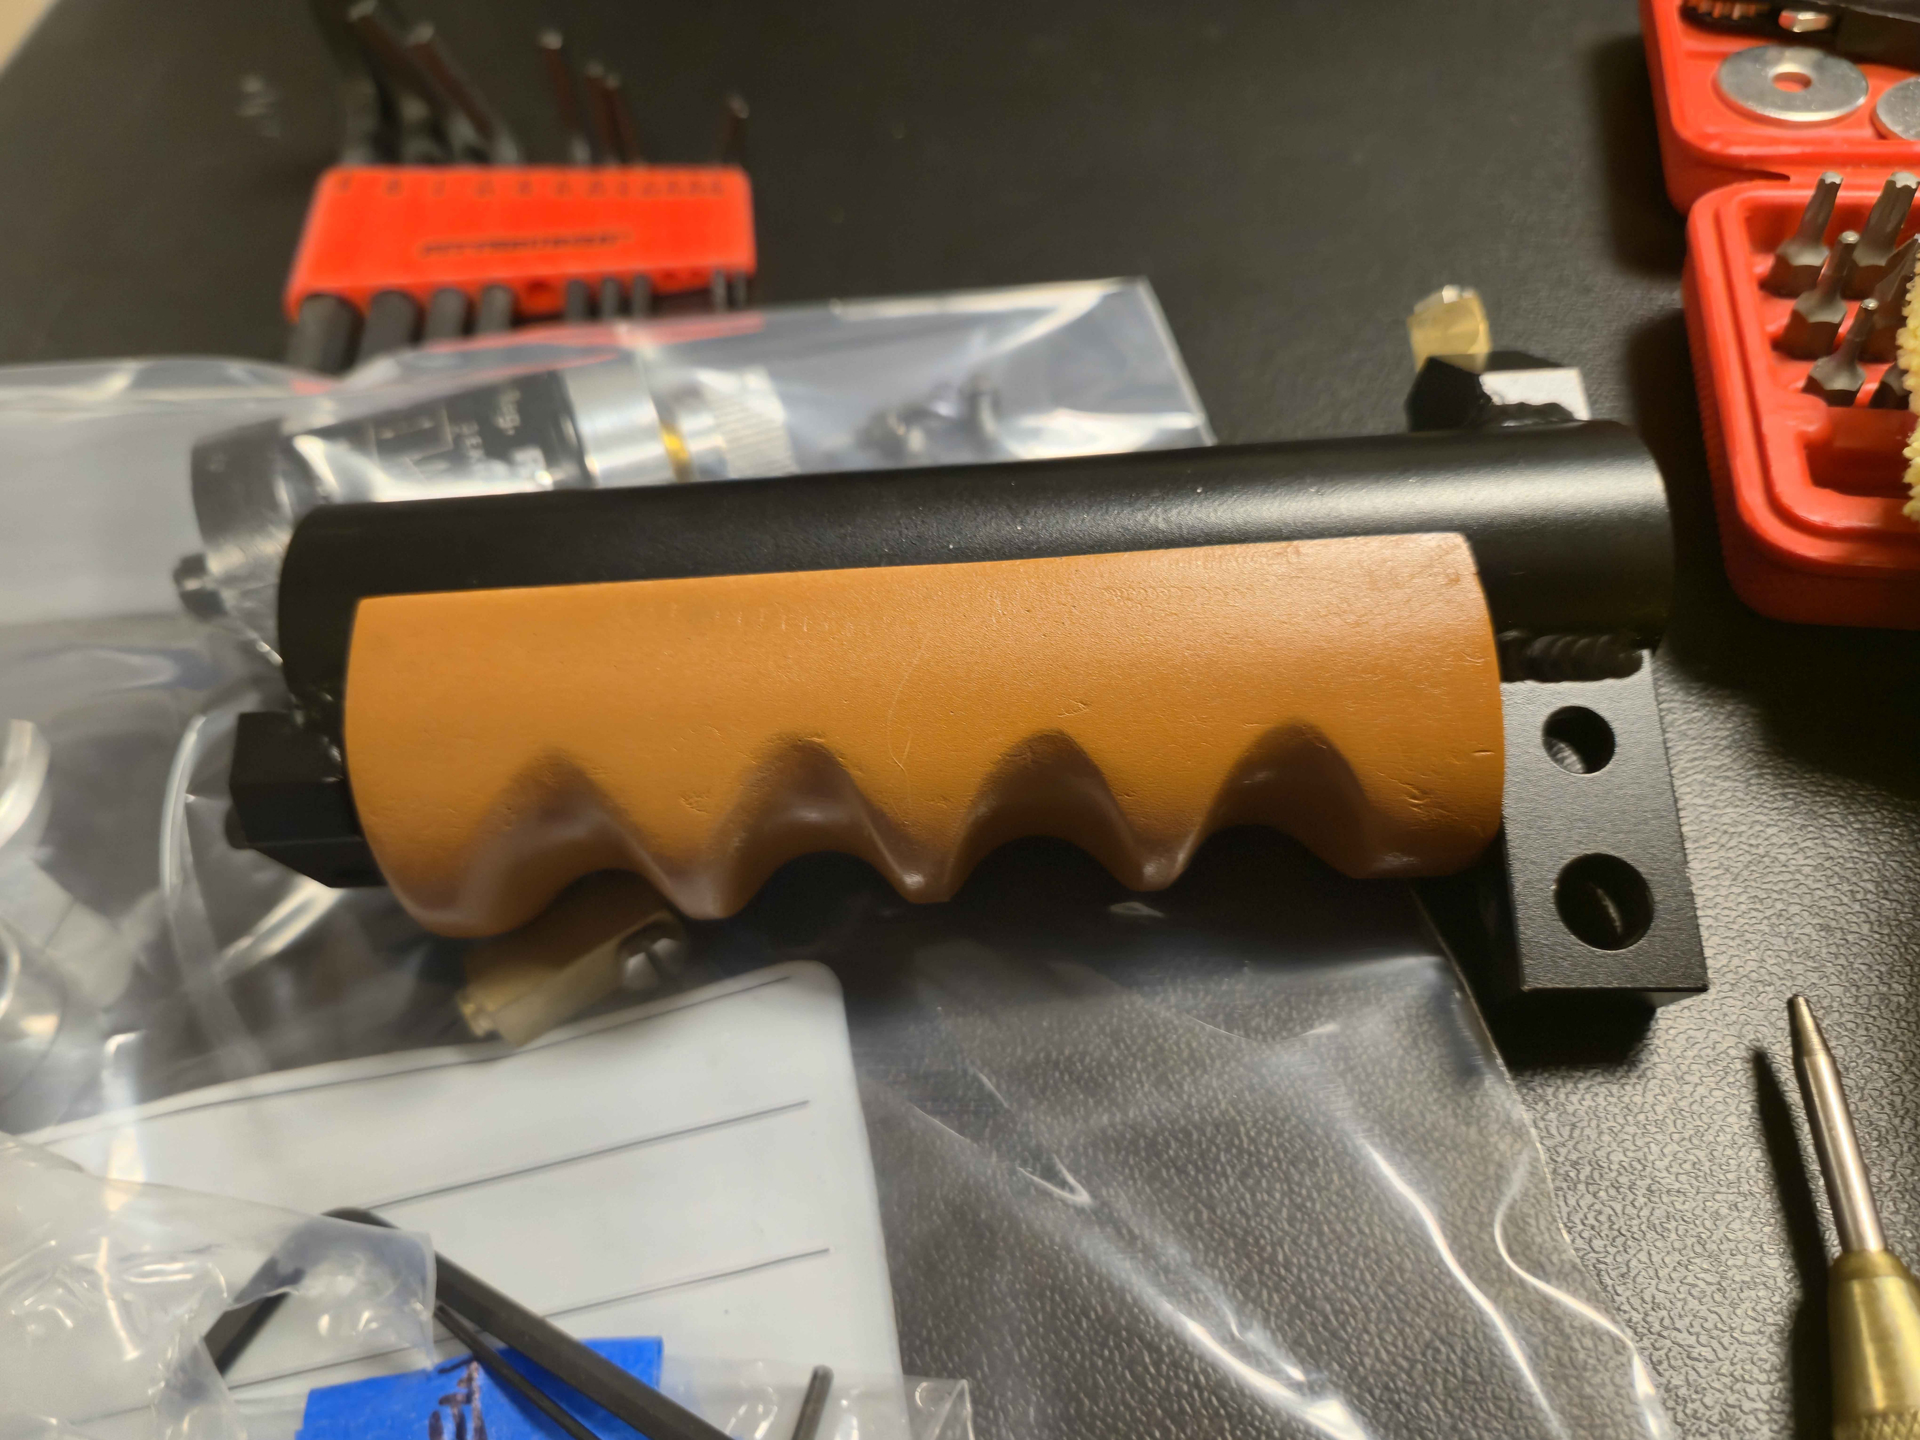
After test fitting them one more time, I painted the grips black and mounted the rear grip - the front is staying off until I finish the wiring.
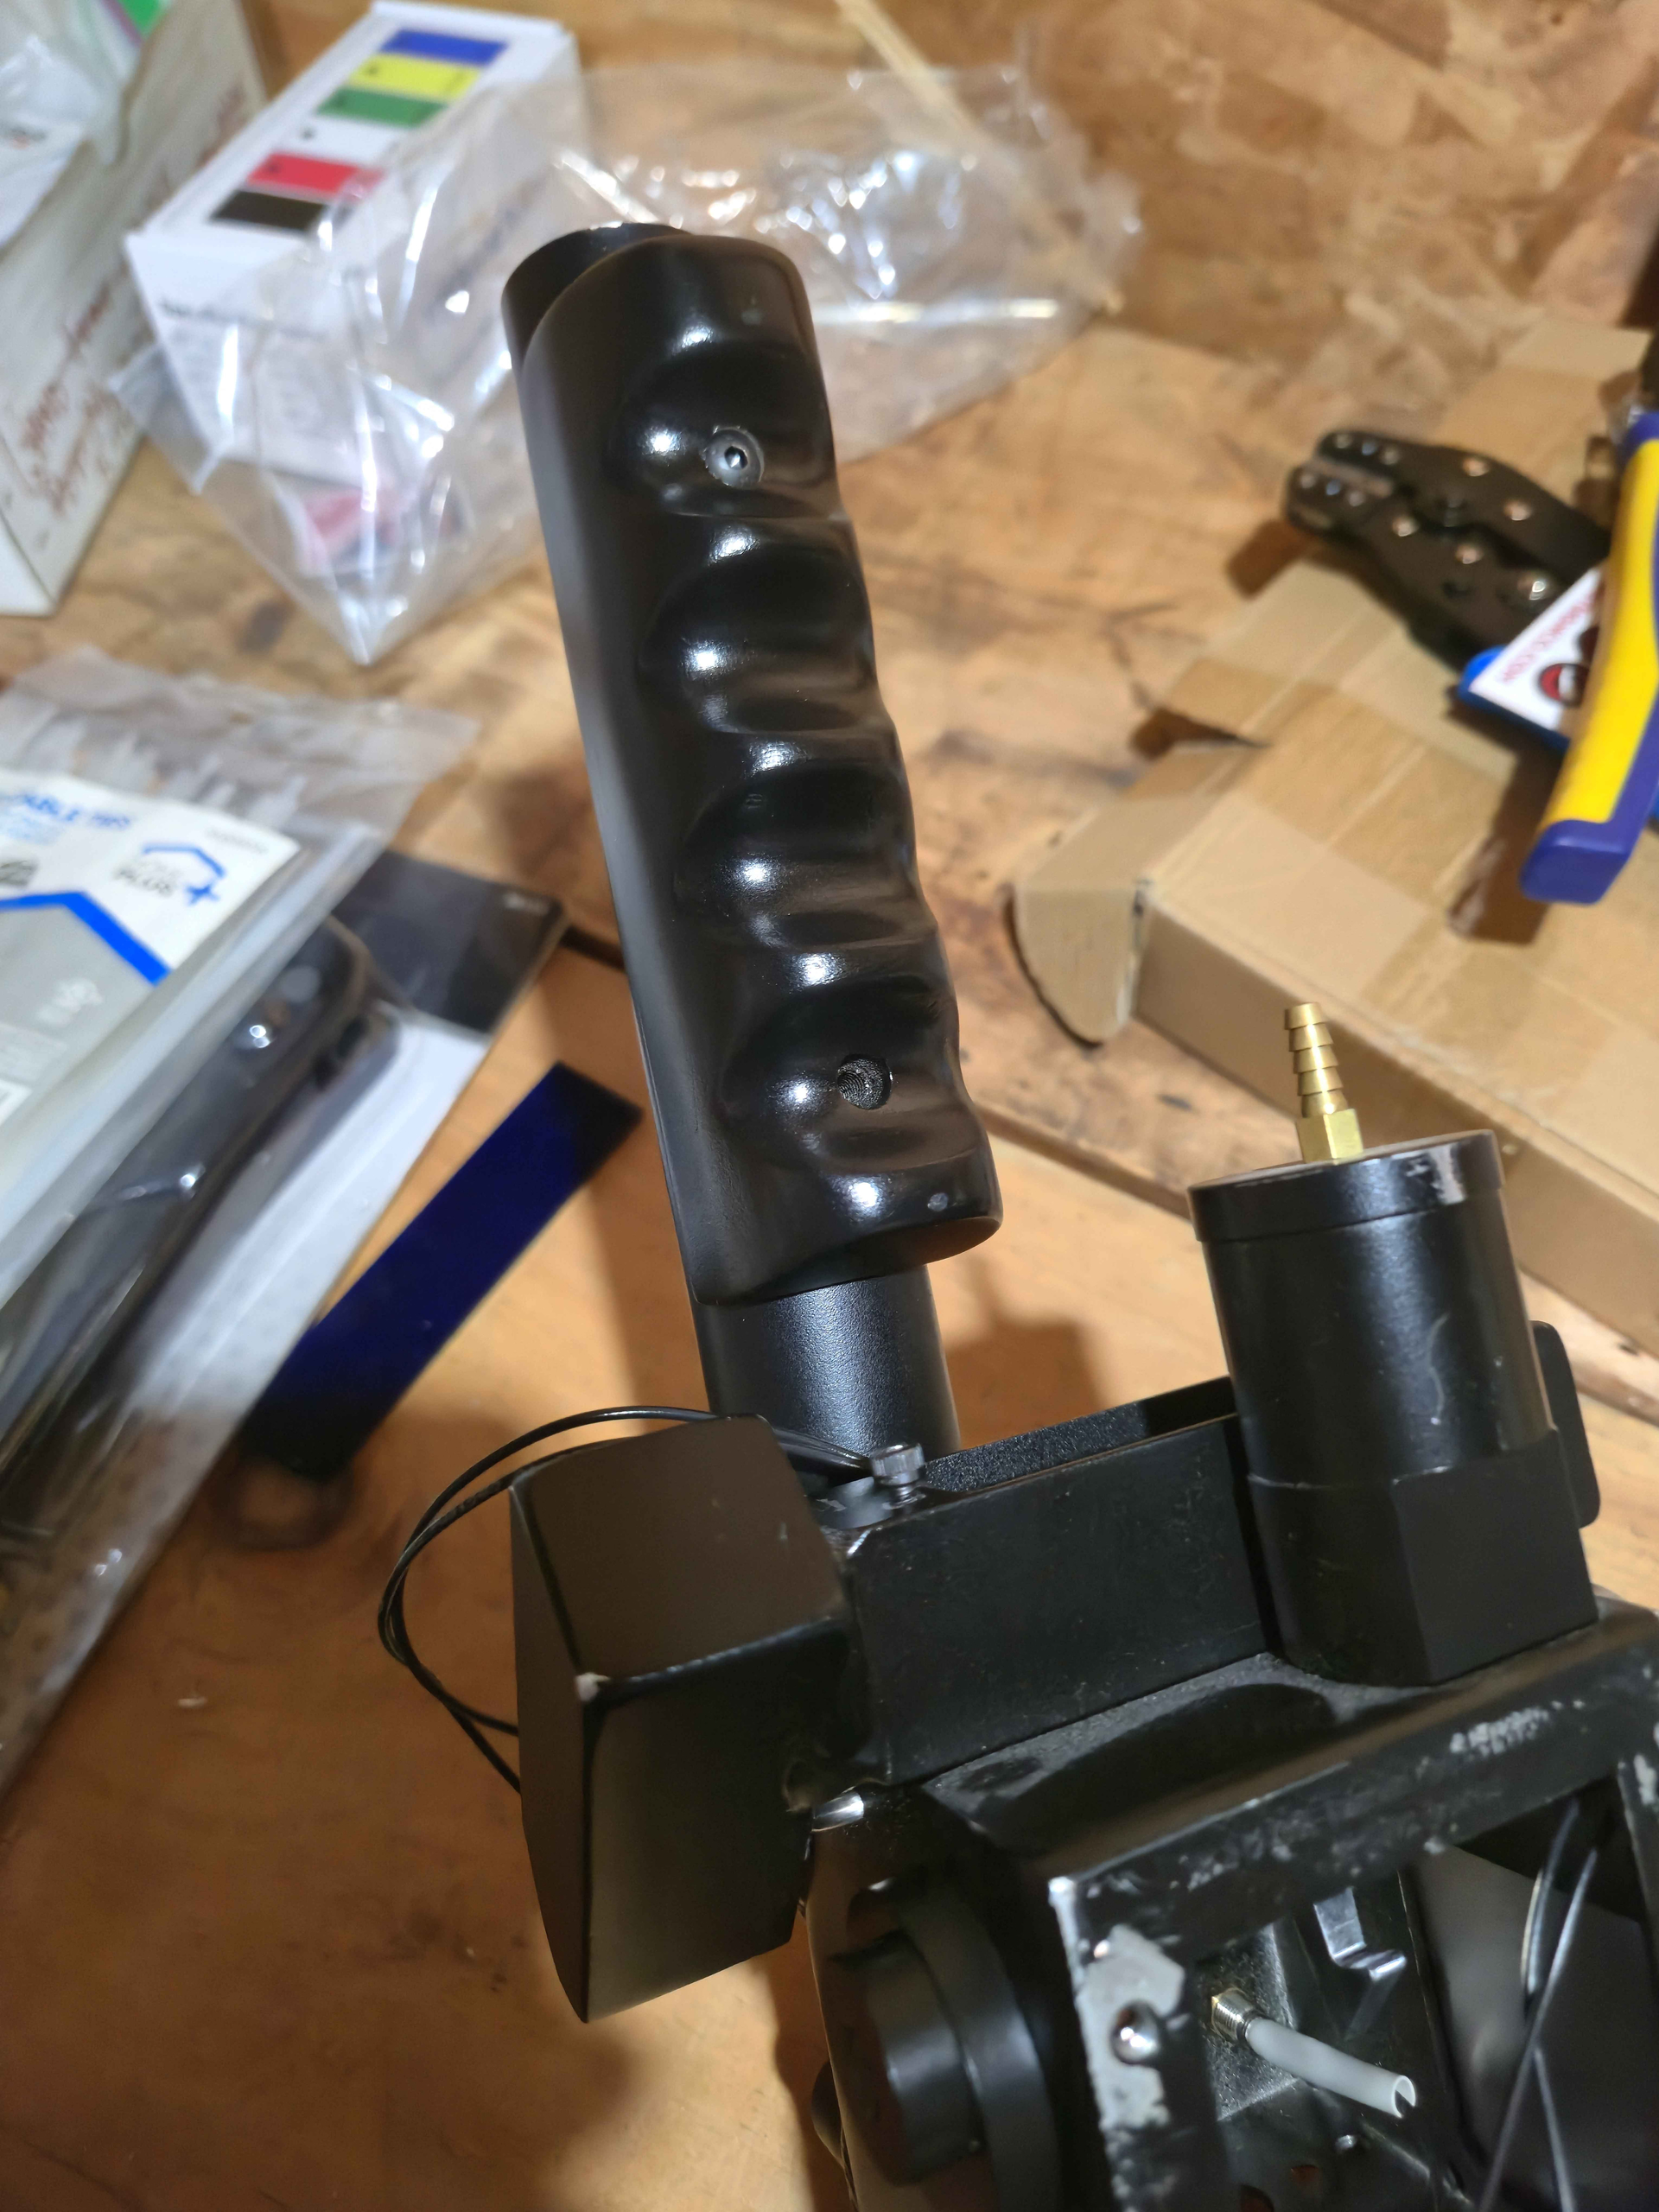
I drilled the two holes on the back of the handle, they’re a little cockeyed but the longer I work on this pack the more I’m enjoying the mistakes
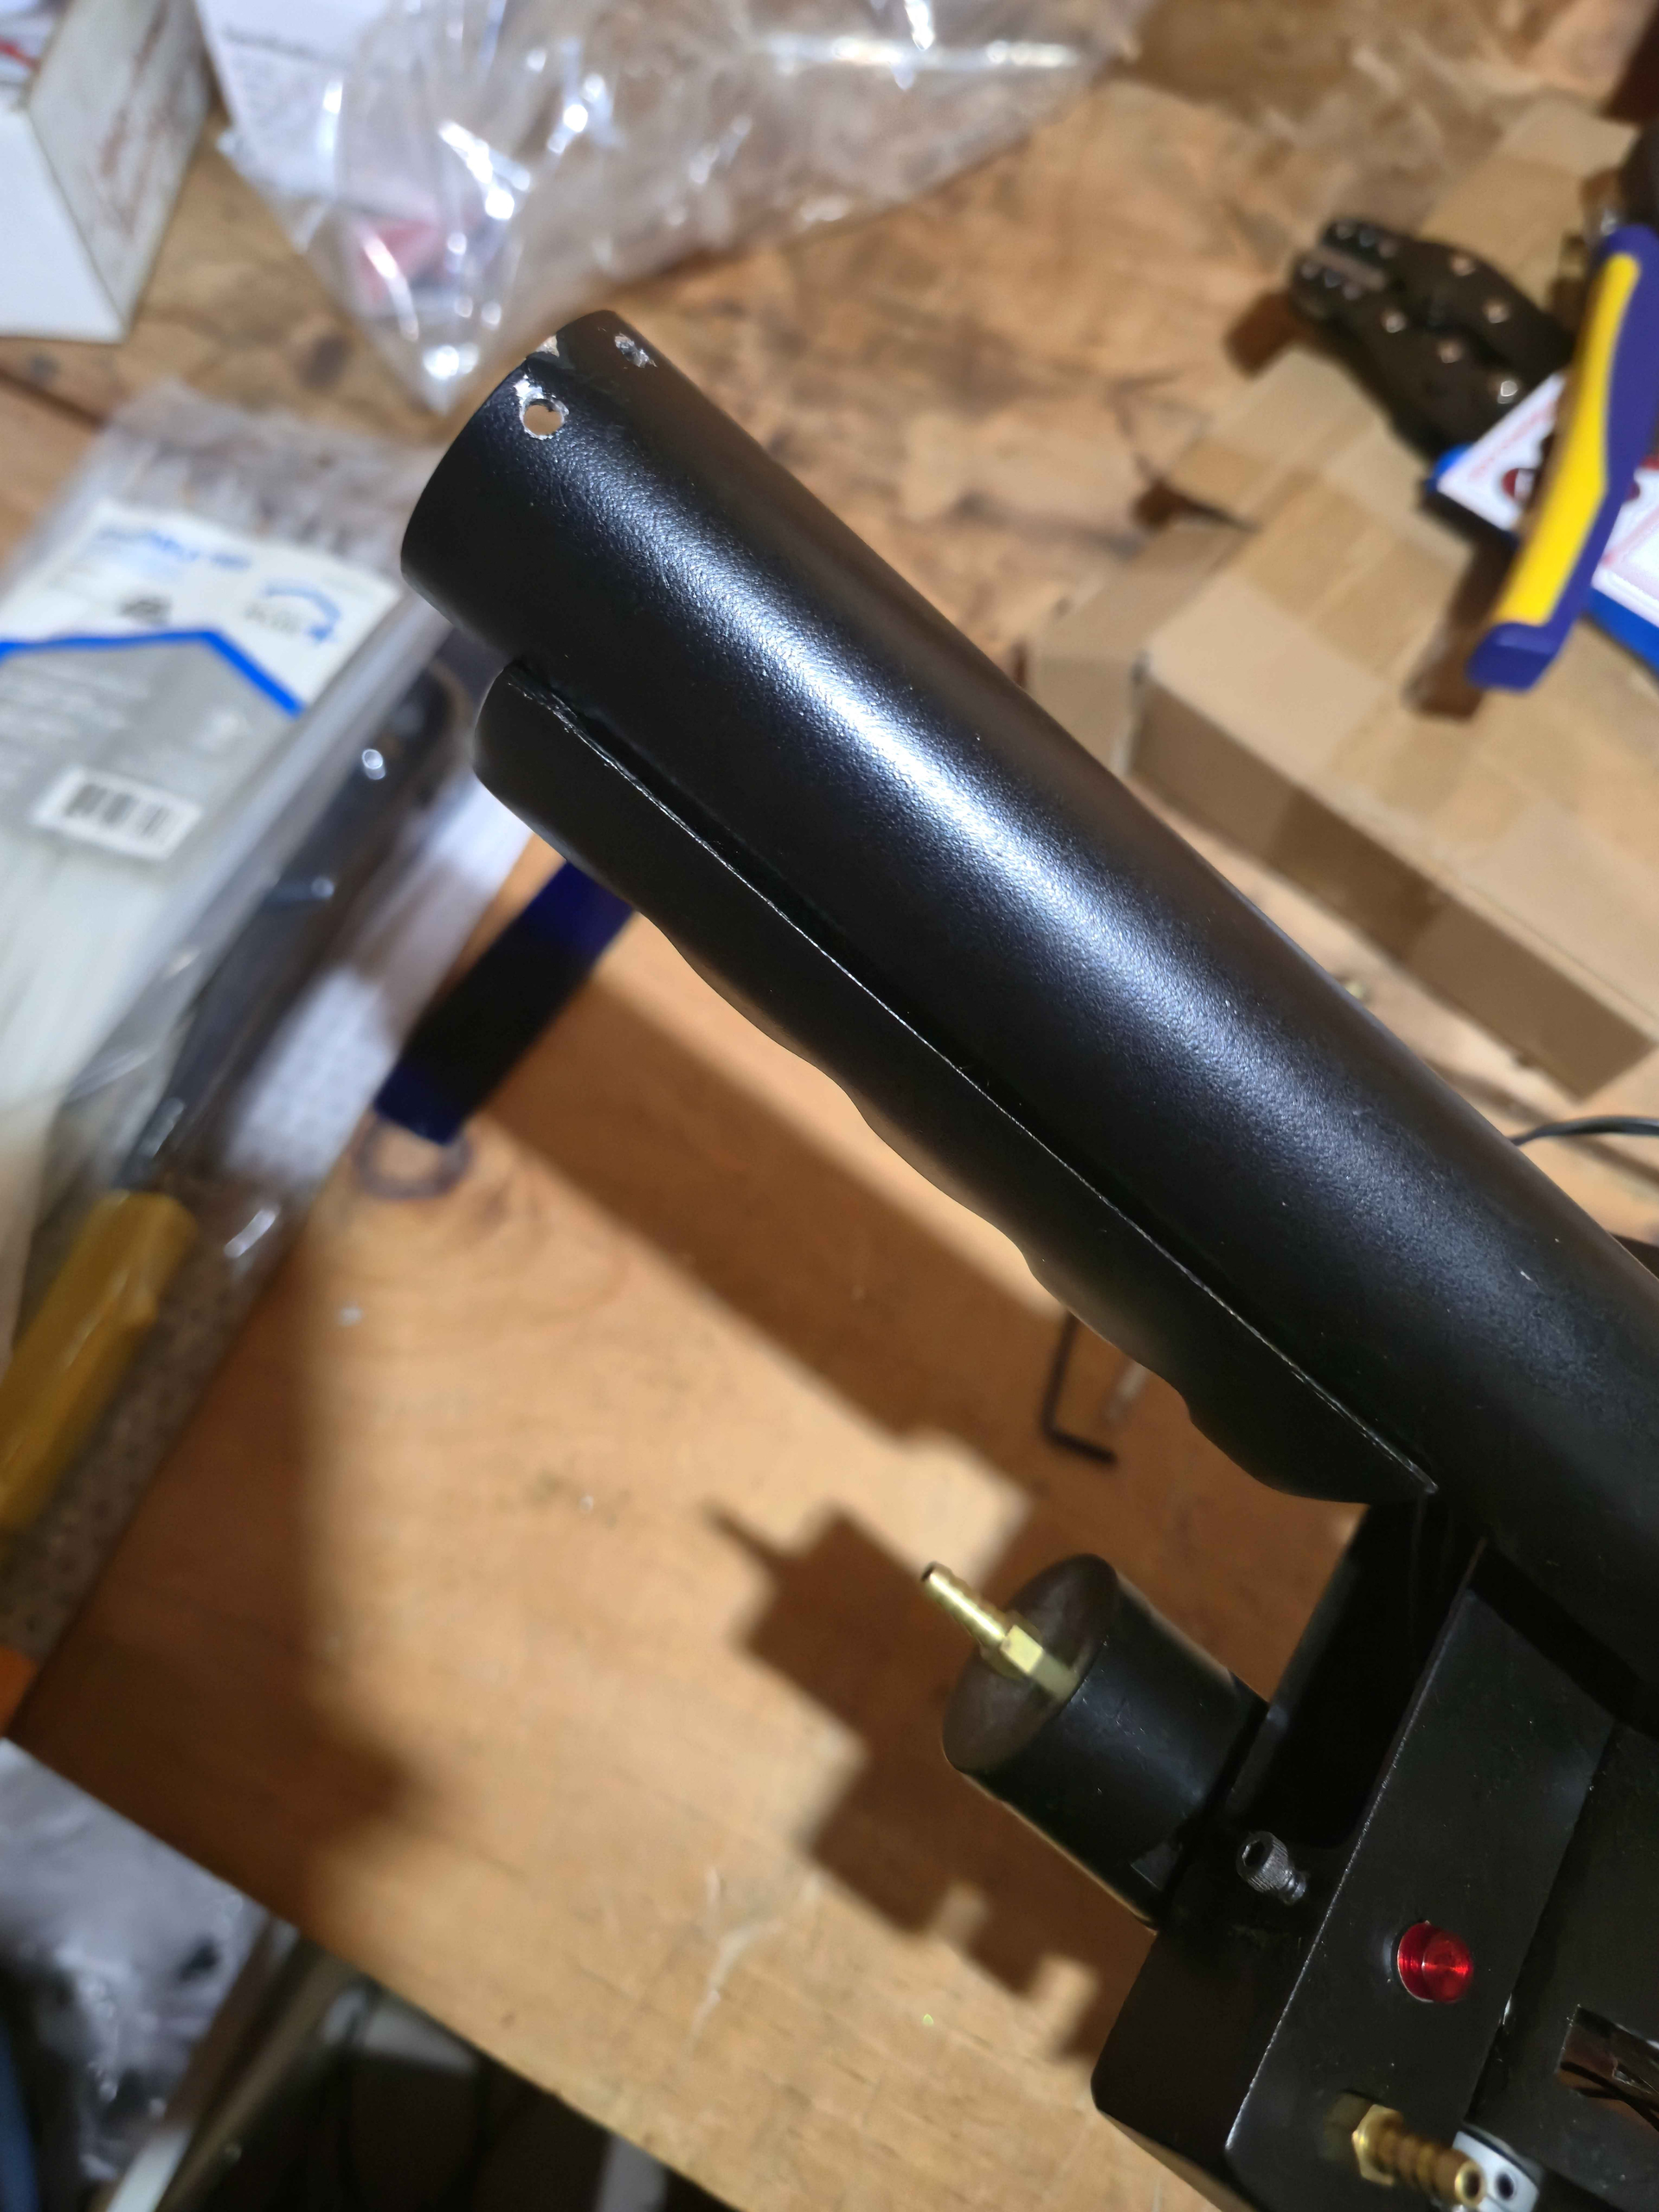
As of now I’m working on installing the gpstar electronics into the body of the wand - since it’s difficult to take pics of a lot of it, I’ll summarize the process so far
-
I installed the trigger box switches and like many others, cried while doing so. Since this is a gbfans part, it doesn’t have the door panel behind the switches for the easy installation. I used @edspengler tech that I saw where he wrapped painters tape around the top of them to help pull them through the holes. I also appreciated his warning from his build thread that he forgot to test fit them first which reminded me to drill out the holes before attempting the install.
-
I mounted the other switches and lights on the main body. It took me a bit to get the rigging for the vent light seated properly but it’s in now. I used a the cone from a cheap headlamp from harbor freight suggested by Joshua Gross on the gpstar facebook group. He provided a mounting solution to hold it in place as well. I like it better than the 3d printed one provided with the gpstar kit
-
I was up late as I was running into issues with the top dial mount. The gpstar kit requires a 9mm hole through that area to account for the rotary encoder tube that it uses to operate certain features. While I had drilled it out, it was just janky enough that it wasn’t fitting properly so I had to use the grinding dremel attachment to clean it up.
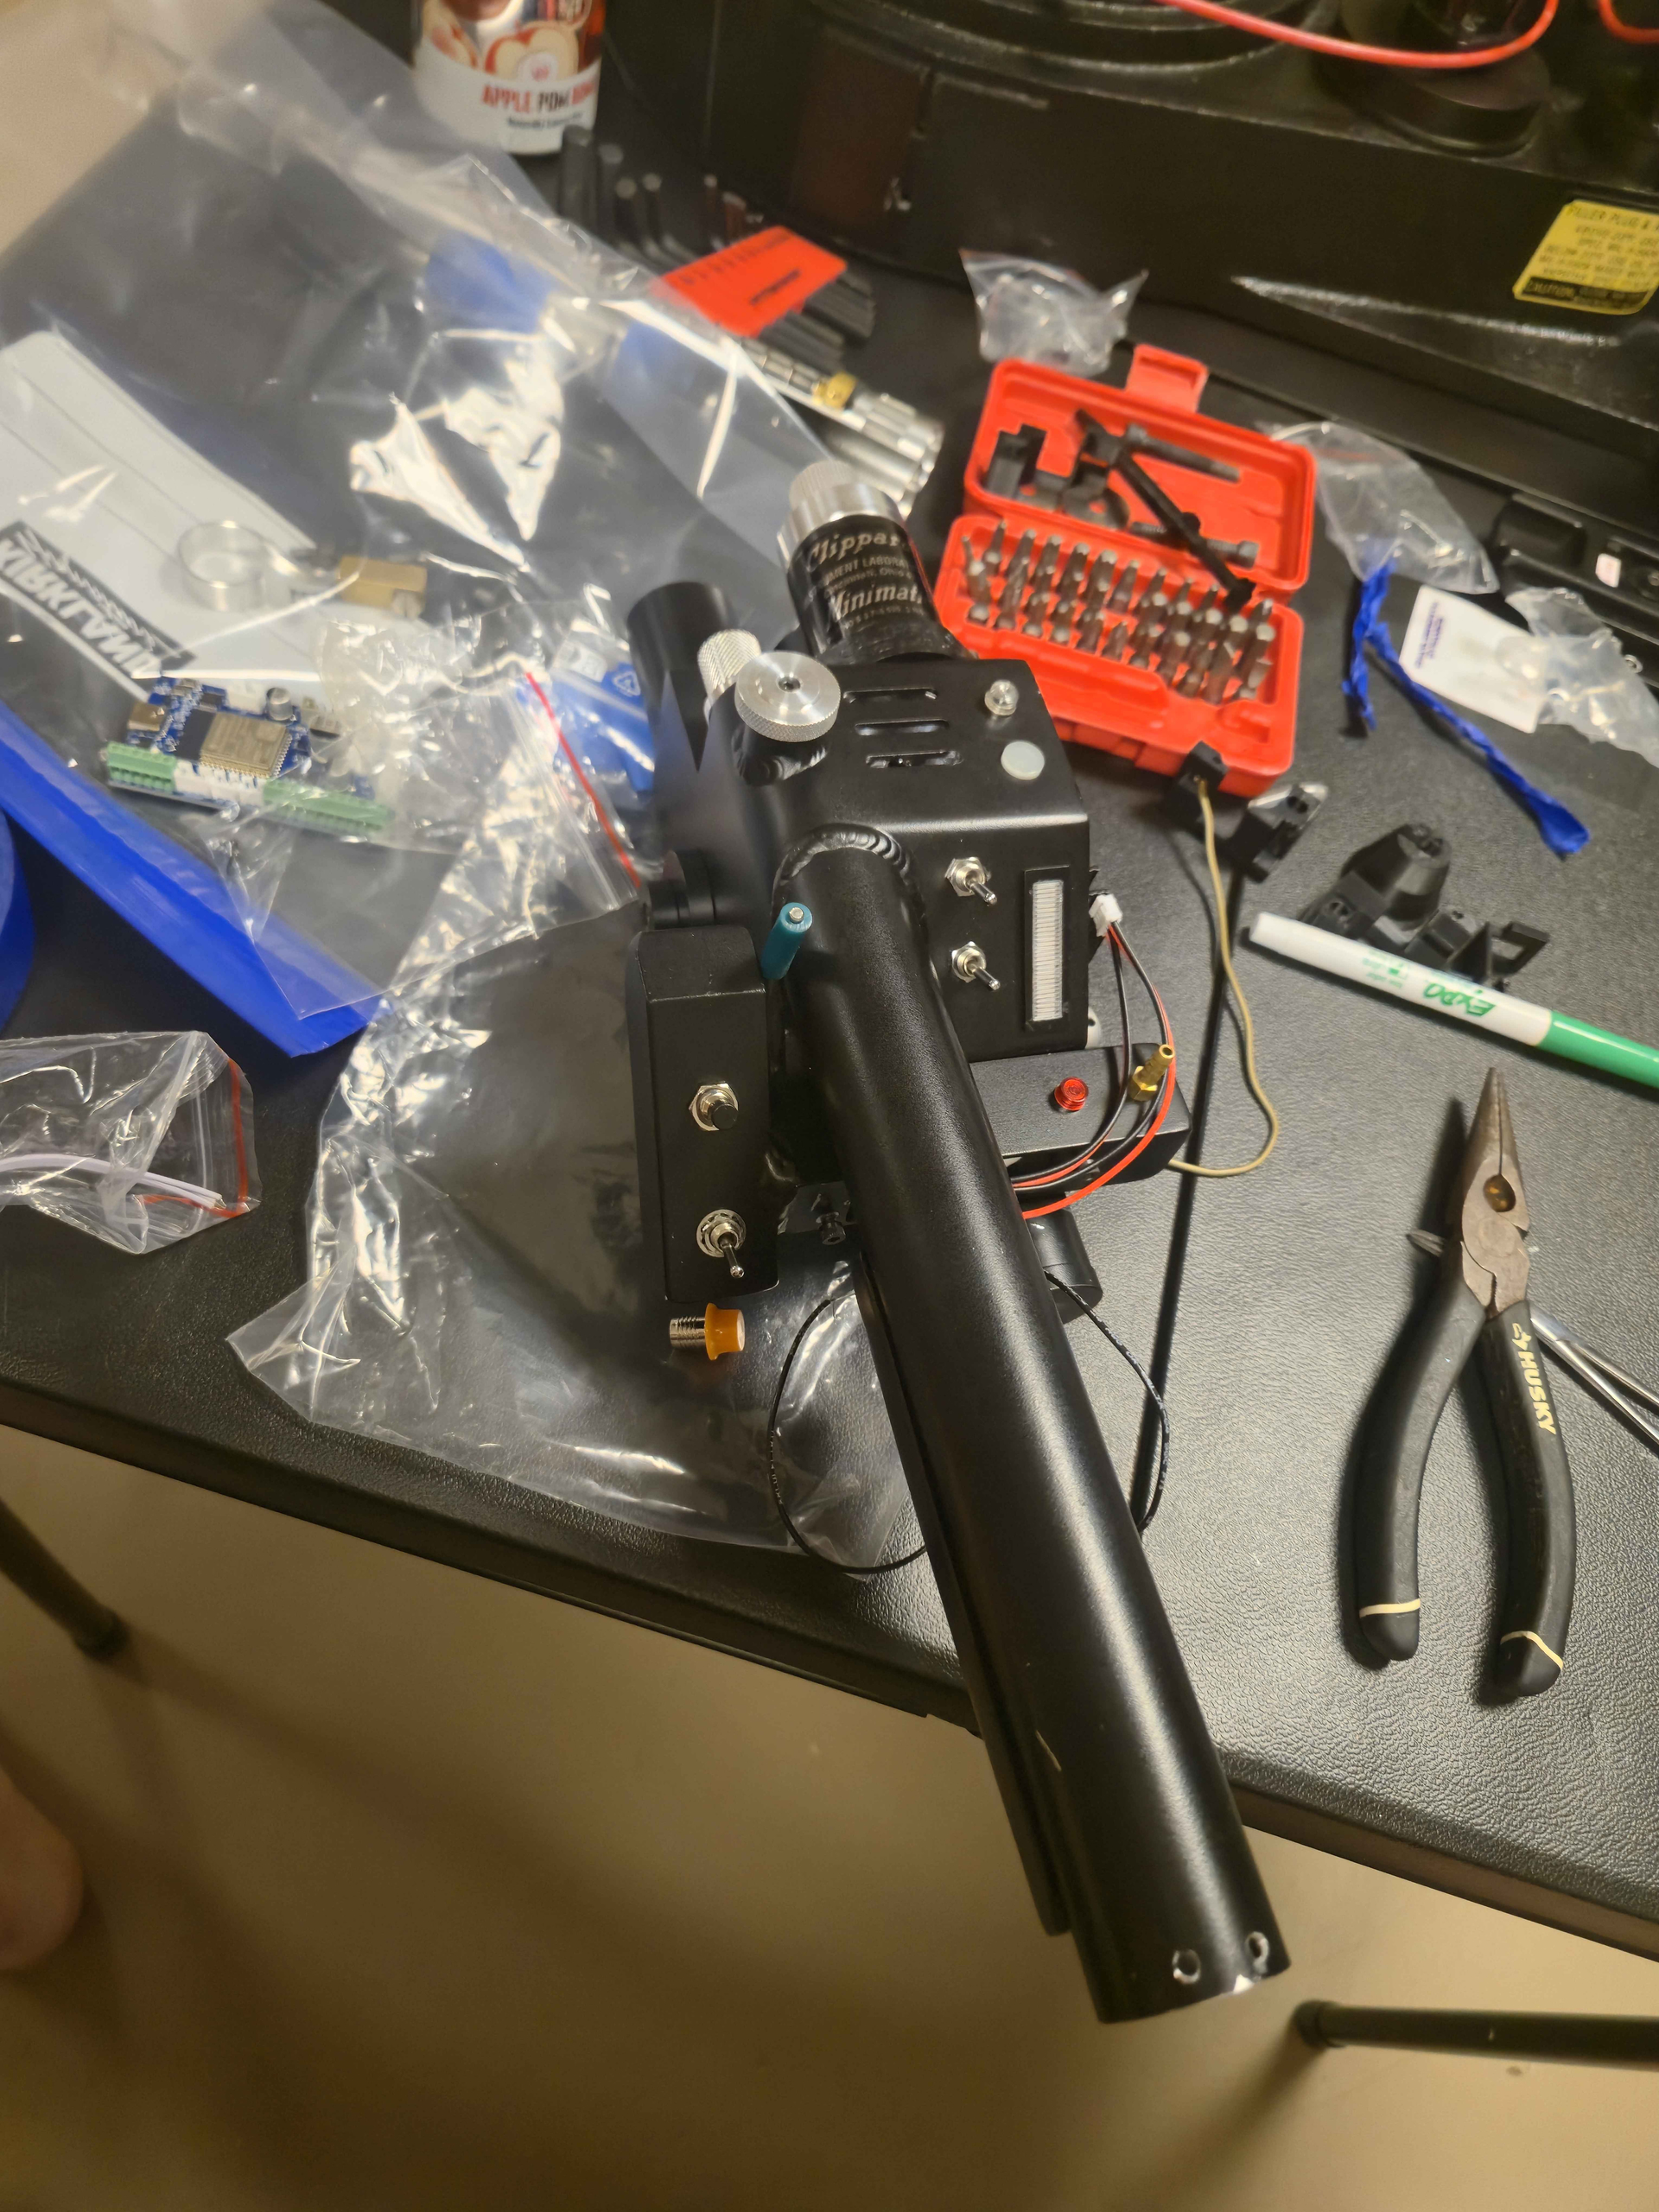
I realized last night that I misplaced the dark orange hatlight I had purchased from GBHQPartsDepot so I’m going to have to use a standard orange one for the time being when I work on the front grip. I’ll need to figure out a temporary solution to hold the led in it so I can swap it out when I find another one.
2 Likes
I have an extra dark orange. It’s gently faded but you’re welcome to have it.
2 Likes
This build is coming along great! It is so exciting to see it take shape.
2 Likes