Finally got some sleep but I was still up this morning at 5:30 am. I don’t know when it started to happen, but I think I’m getting too old to pull all nighters anymore, lol.
Anyway, on the fun stuff:
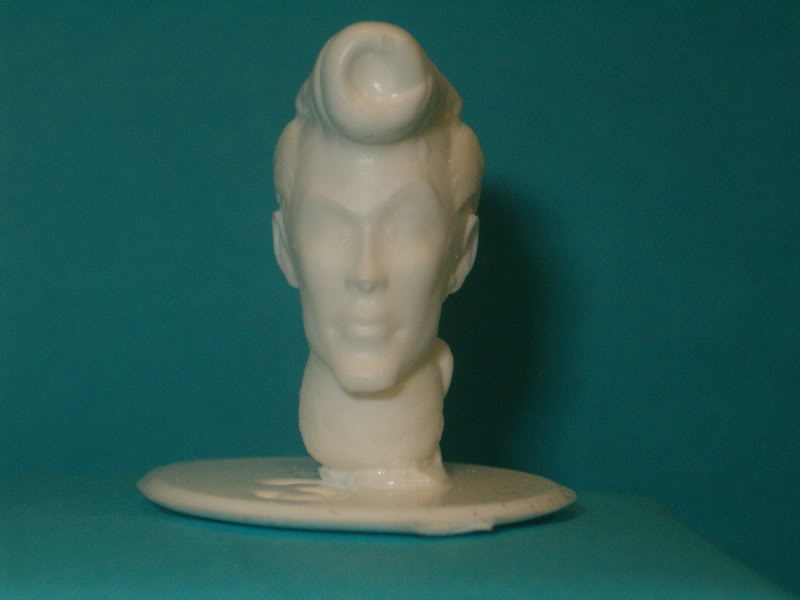
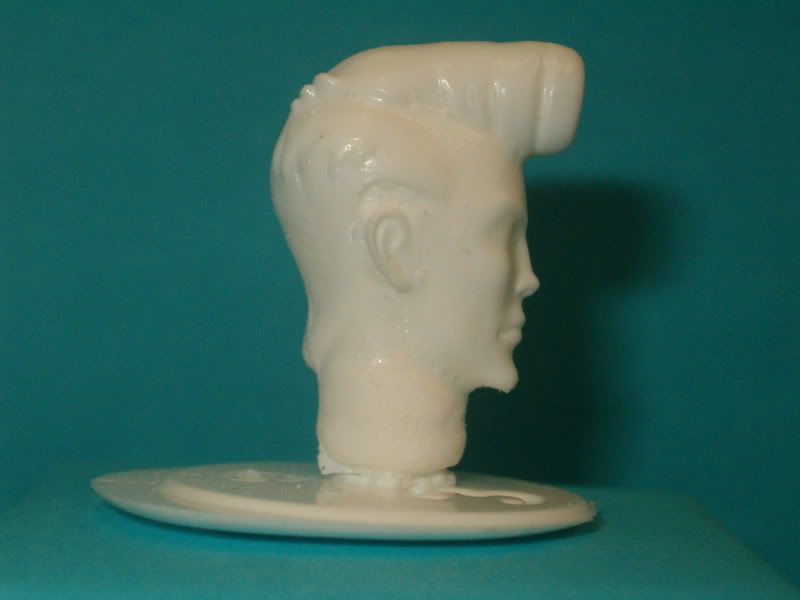
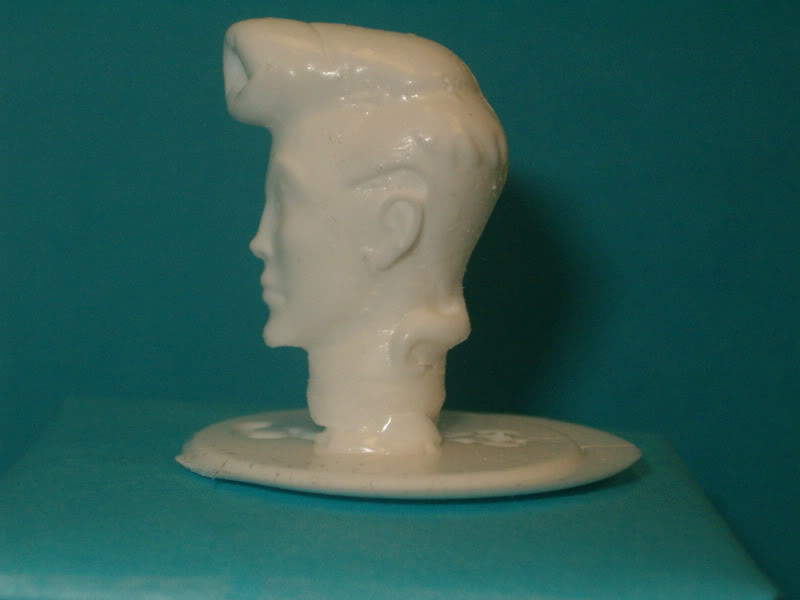
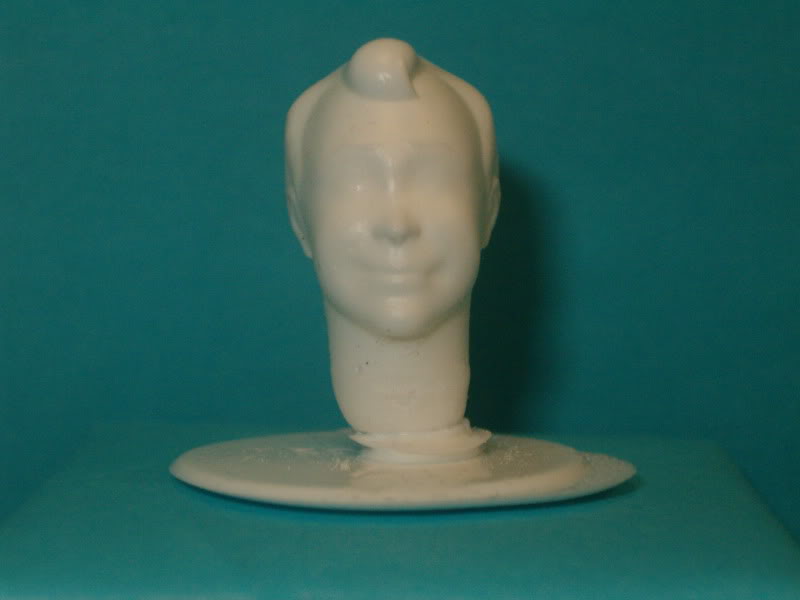
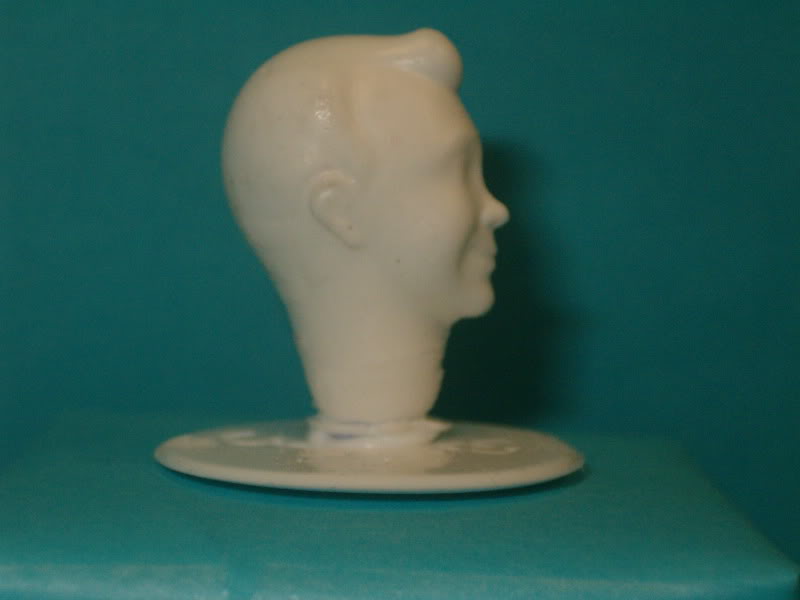
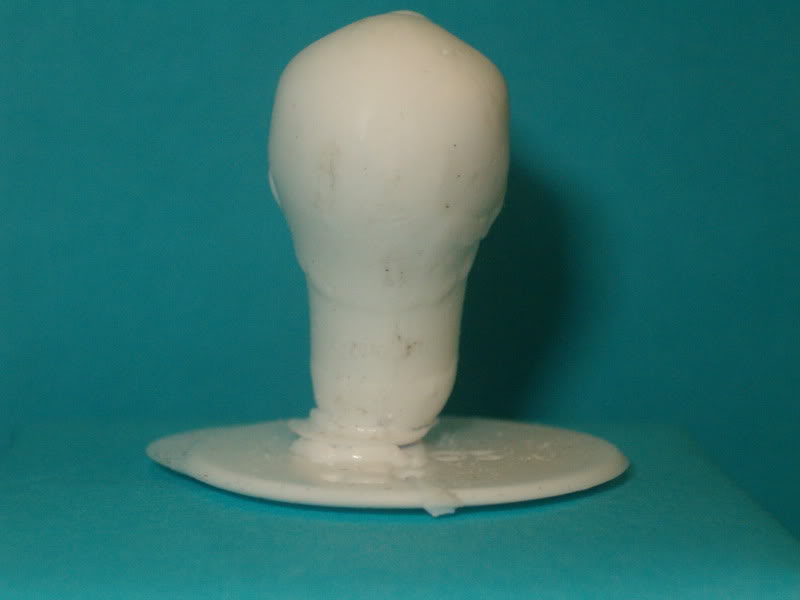
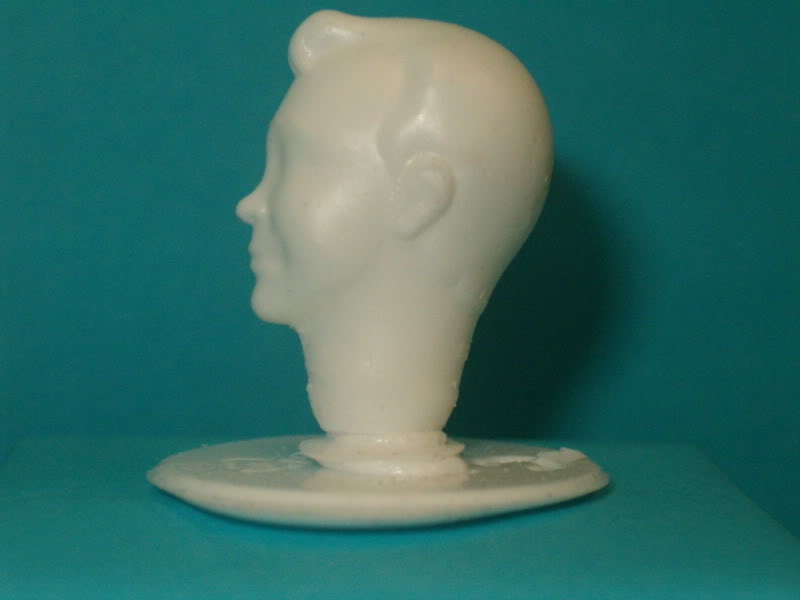
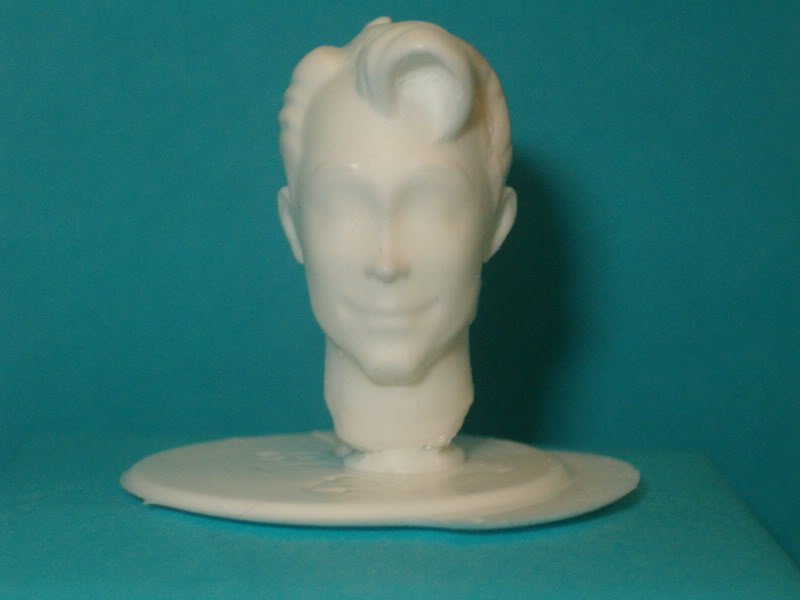
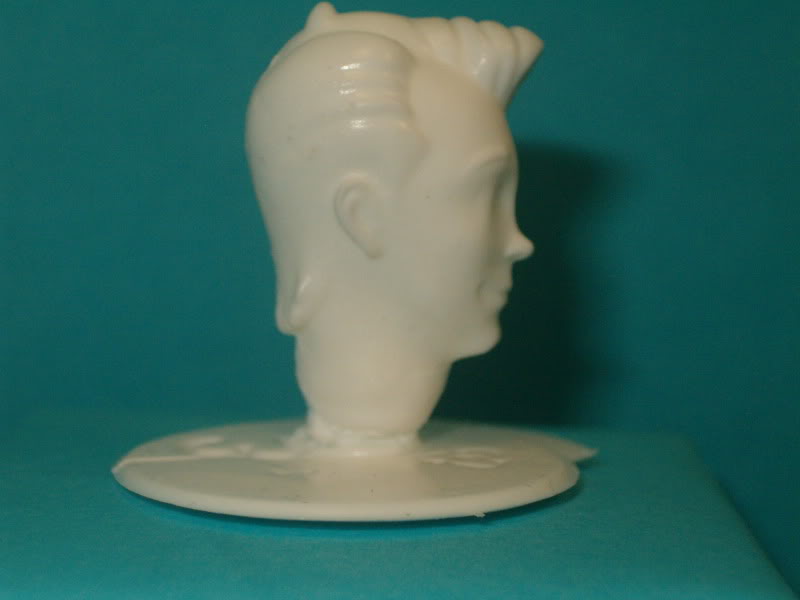
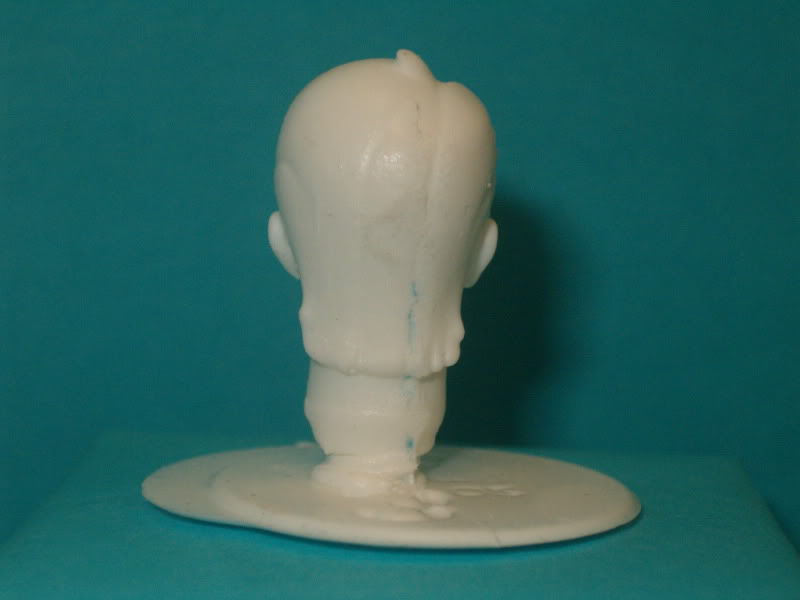
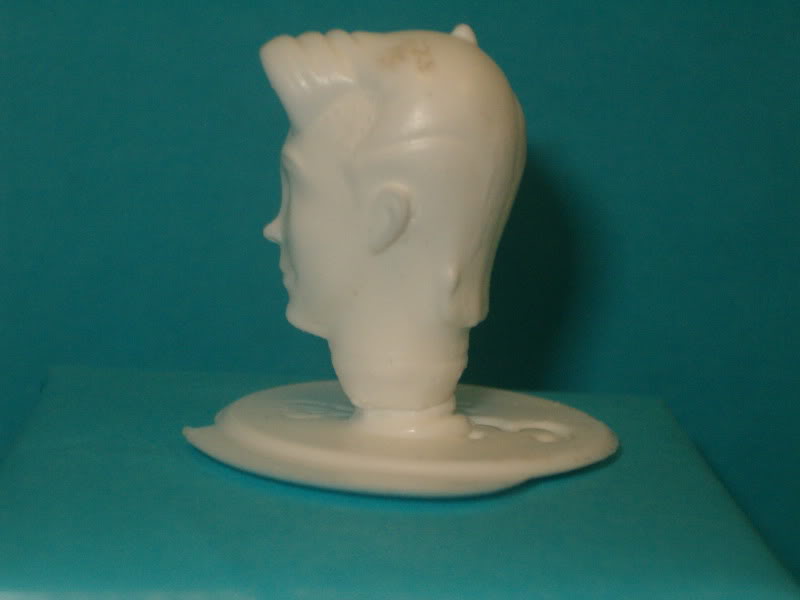
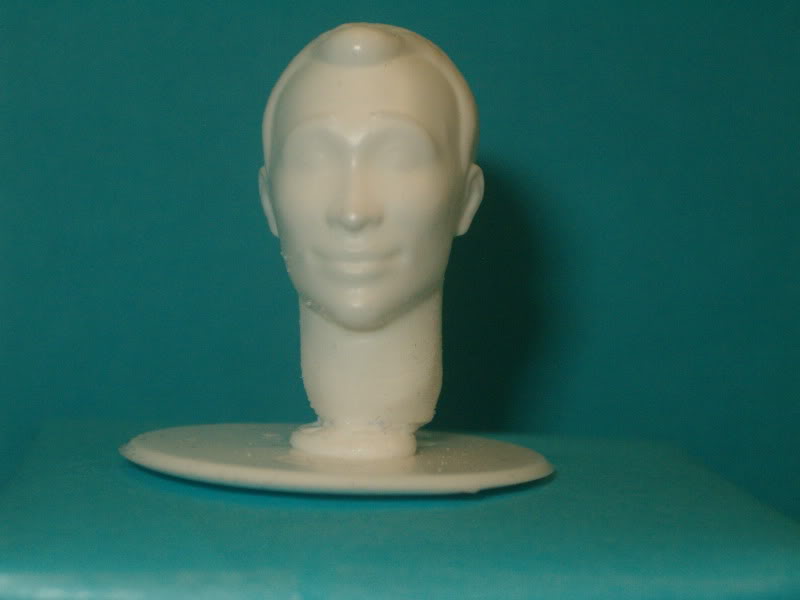
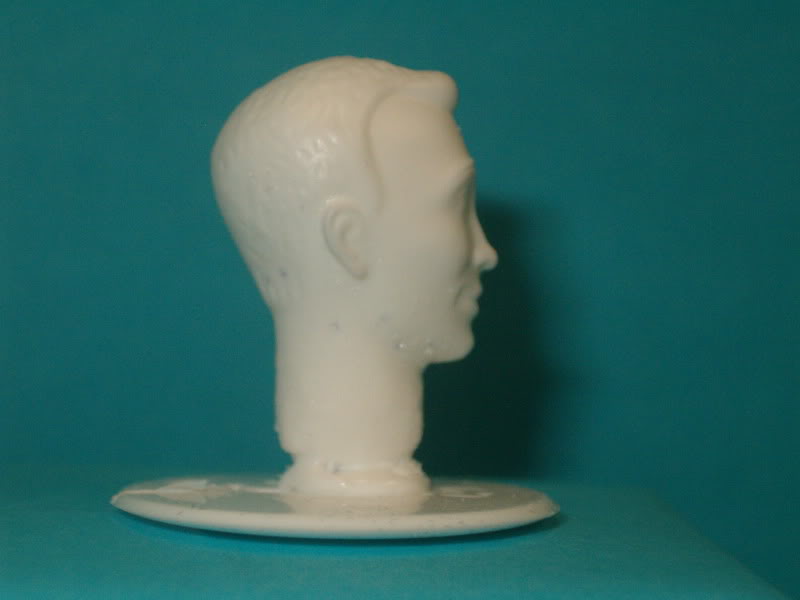
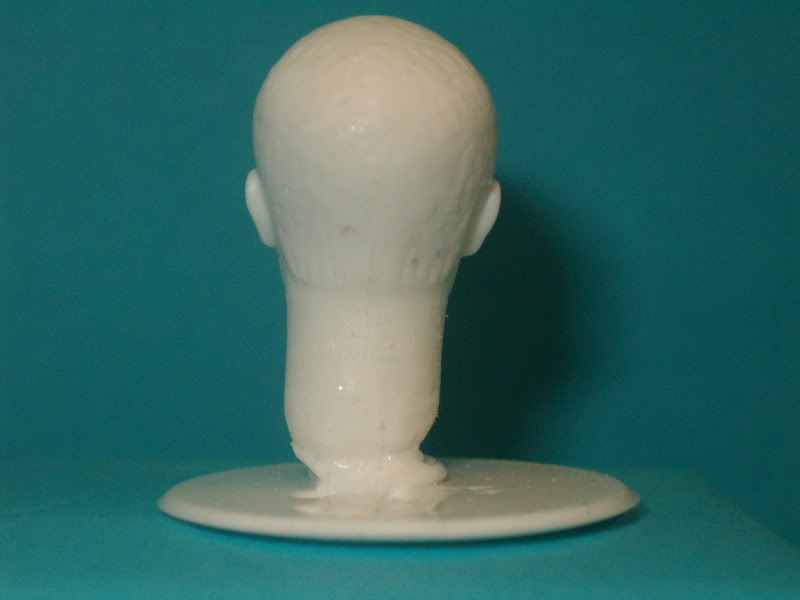
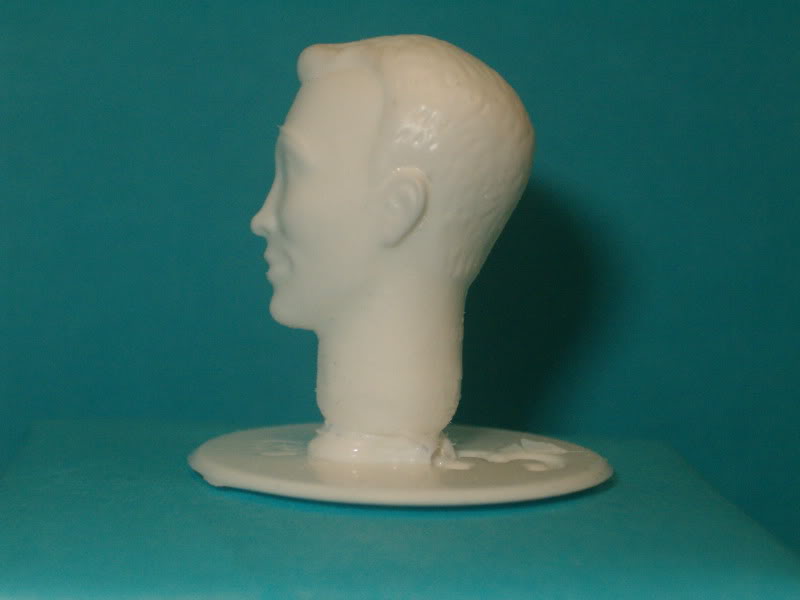
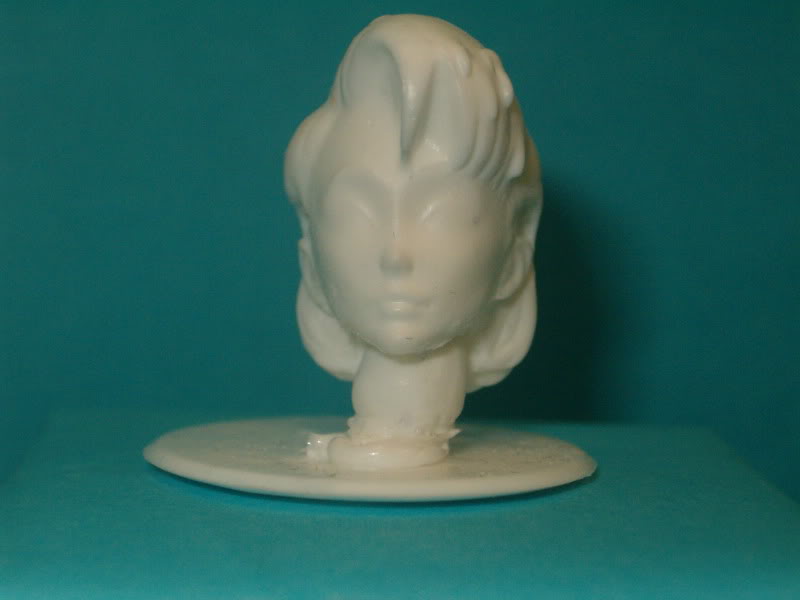
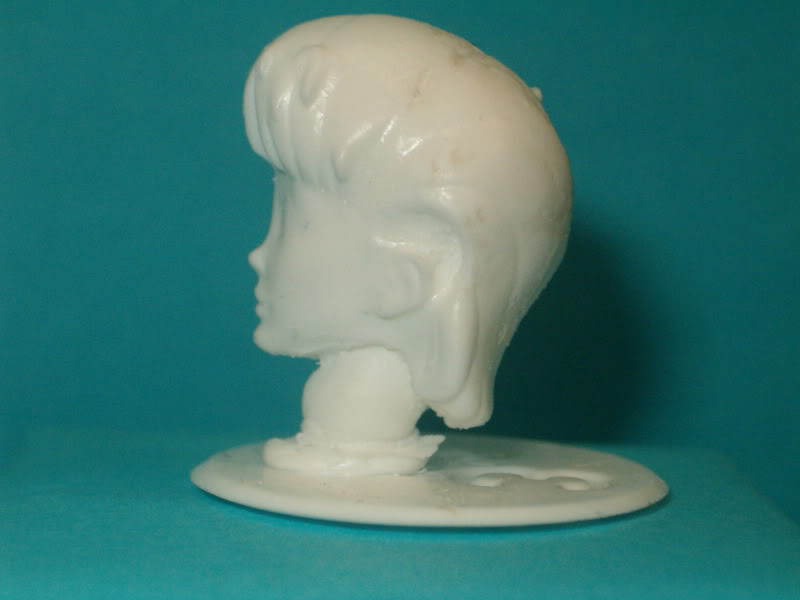
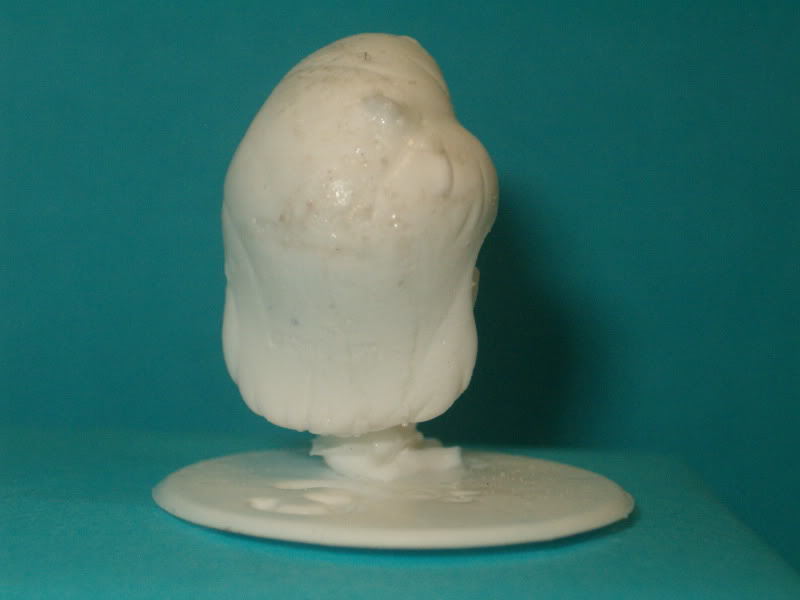
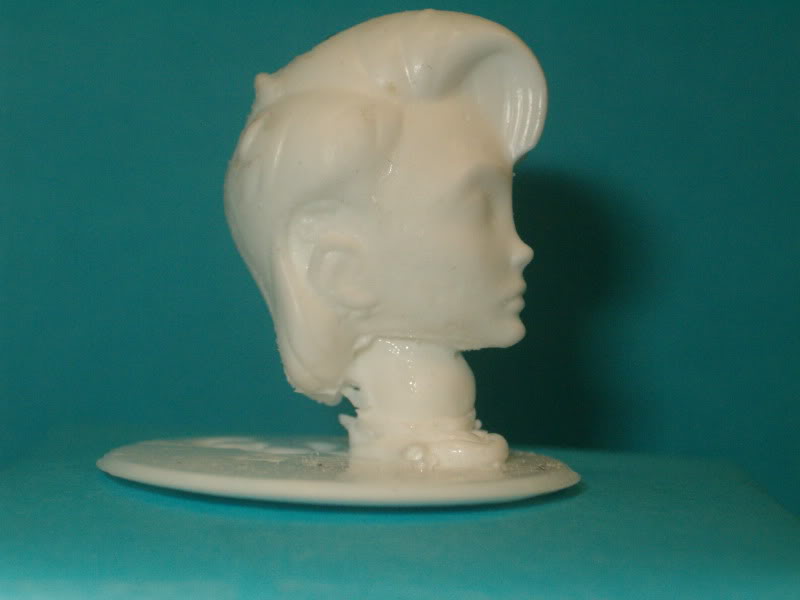
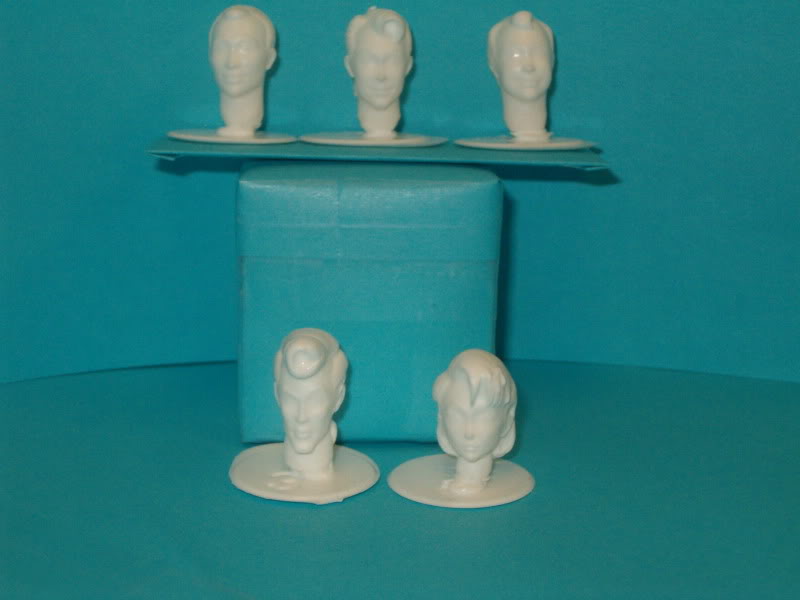
I have successfully cast all five of the heads with next to no blemishes, so only slight modifications will be needed. (Janine’s neck needs to be removed, and all of them need peg holes drilled into them.) here are the pics:
Egon: (You’re probably sick of seeing his mug by now, but I created a new mold for the newly shrunken head. For some reason I currently have three Egon head molds, but only one of them has produced a perfect casting, lol.)
Ray:
Peter:
Winston:
Janine:
Group Shot:
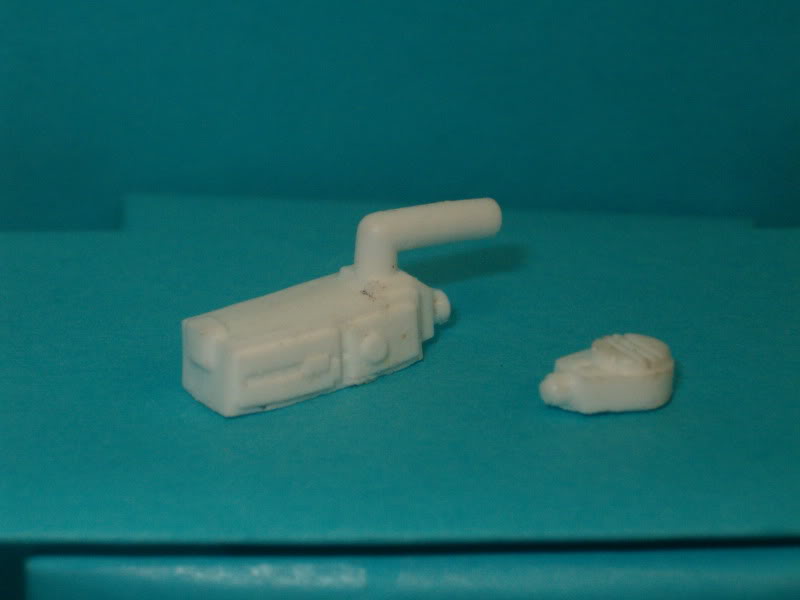
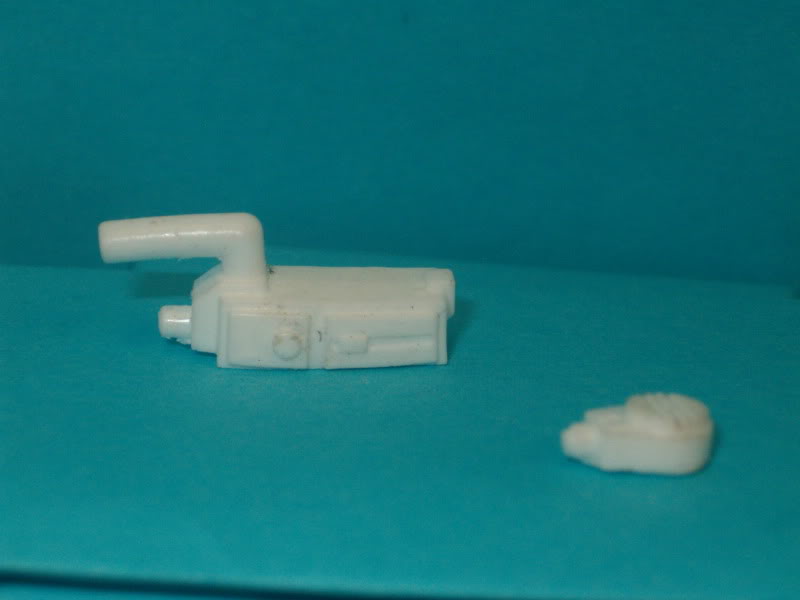
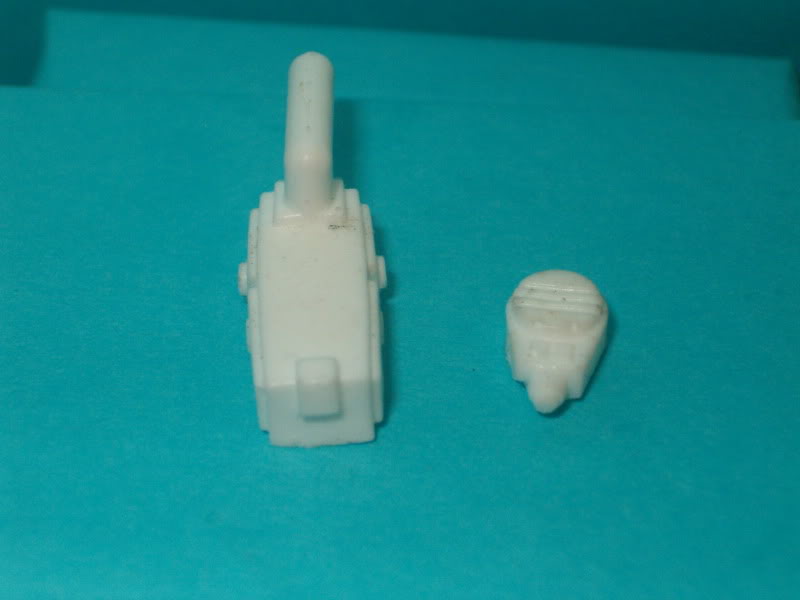
The Trap and Pedal:
So now I can move on to the next step. I’m going to make up new molds for the purpose of casting the heads and hands in a solid rubber that I can dye instead of painting them. Anyone who has ever tried to paint flesh tone knows that if you custom mix it and run out then you’re pretty much stuck if you run out of your custom mixed paint color. Casting the pieces in rubber will also allow for no paint rub when removing the thrower from their hands, or turning the heads in the torsos. The only paint rub that might happen hopefully is with the hair, and if I can find the type of paint that I want then even that shouldn’t be an issue.
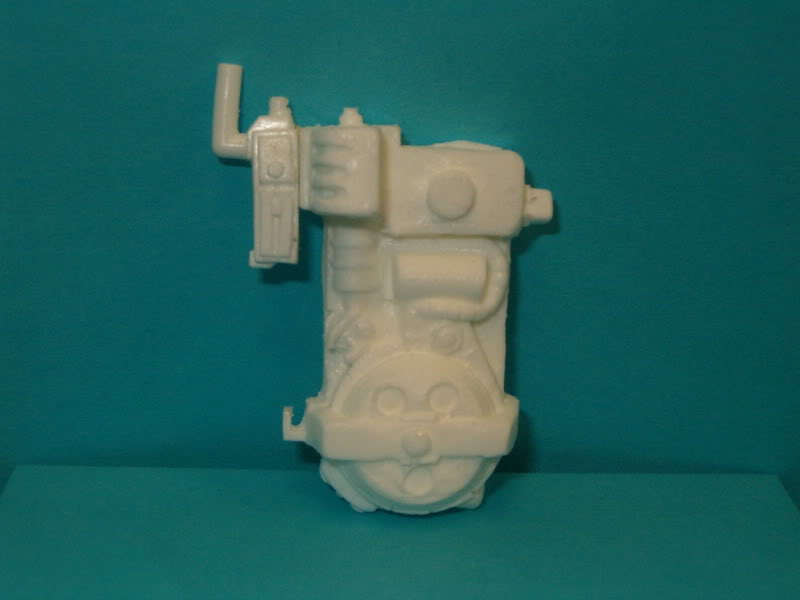
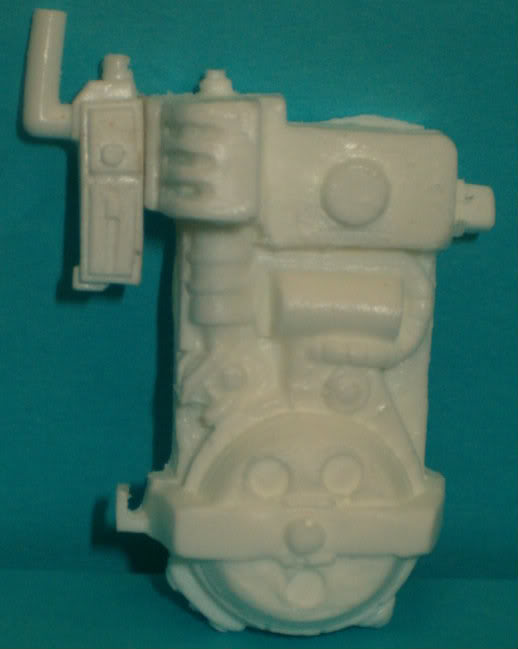
Extras: Proton Pack with Trap attached to the Side
You’ll notice that the original nub on the left side is gone and that the trap is attached to the upper corner just like on the cartoon. it’s only attached with Kleen Klay at the moment, but I plan to make this possible on the figures by using Apoxie sculpt on the underside of the trap to create a negative of the side “light” or whatever that this supposed to be) that it’s currently “hanging” from. This will allow it to snap into place. If this doesn’t work I’ll just use very small magnets and imbed them in the trap and pack. I have some that are not bigger than a felt tip marker tip so they’ll work if the snap idea doesn’t.
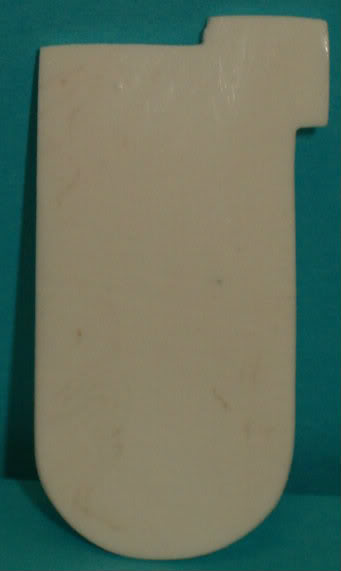
Motherboard:
I have not made any of the alterations to the MB yet but I will be making the vent hole, then covering it with a vent cover that will be made from Styrene, and then cut the holes for the four part straps. I hope to get this done tonight after the wife and kiddo go to bed. I’ll take pics if I can and post again soon. Everyone have a great day!
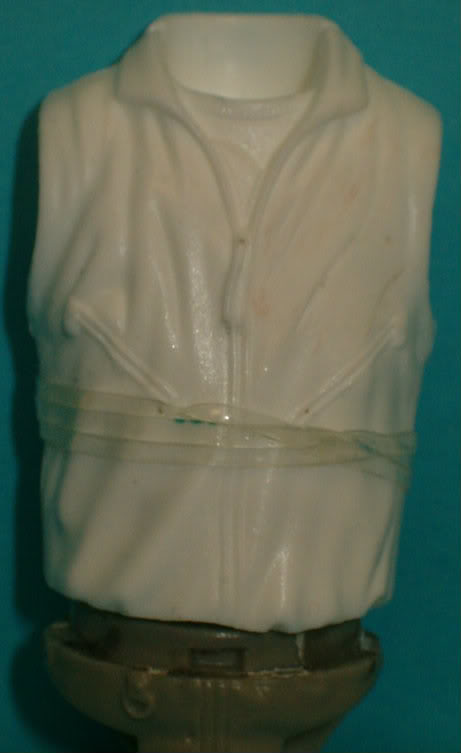
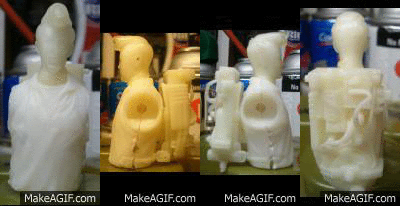
Bonus Extra: My first attempt at removing the name tag from the strapless torso
I will attempt to better blend the sanded areas with Apoxie Sculpt before casting the casting. I plan to cast these, then modify those casting to better resemble the individual characters i e make Spengler a little taller, Ray a little heavier and Winston and Peter a little bit different. I might make Winston a little taller, but not taller than Egon. I think the Torso like this works fine for Peter as he is the most average built one.

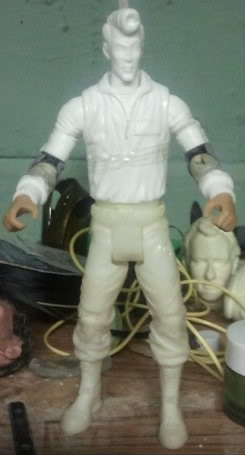
Second Bonus Extra: Body Update
This shot was taken before I altered the torso, and before I changed out the boots with those from Kamandi from DCU Classics Wave 14 (see picture below the text) and sanded the arms between the hands (which are also from Kamandi) and the shoulder joints which for some reason are both right shoulder joints. The good news is, that the Alan Scott Green Lantern (which like Kamandi is from DCU Classics Wave 14, a Wal Mart Exclusive wave) uses the exact same arms, and should be easier to find. I’m not sure if this happened with all of the Brainiac 5 figures that were release or just the one I received, but I’m not going to call Mattel and ask. 
Kamandi Boots:
Alan Scott Arms:
Bonus Bonus Extra:
Just for fun. Egon Approved.
:sigh:


 The mass produced torso has more flex to it that the prototypes do.