Custom Six Inch Scale Real Ghostbusters Figures!

When we last left the Custom Six Inch Scale Real Ghostbusters Figures! thread Mark had just told everyone that he had run out of supplies, had ordered more, and had an update planned for today, and a brief announcement to make…

We now return to that thread already in progress…

In spite of my lack of updates the last couple of days I have been readily toiling away the late hours of the night reworking the Ghost Trap and Pedal, experimenting with So Strong Dyes, and trying to mold up two pieces that will be of particular interest to those who have been following the thread. Now on to the update!

Proton Pack Hose Color Test, Trap re-sizing, and display possibilities.:
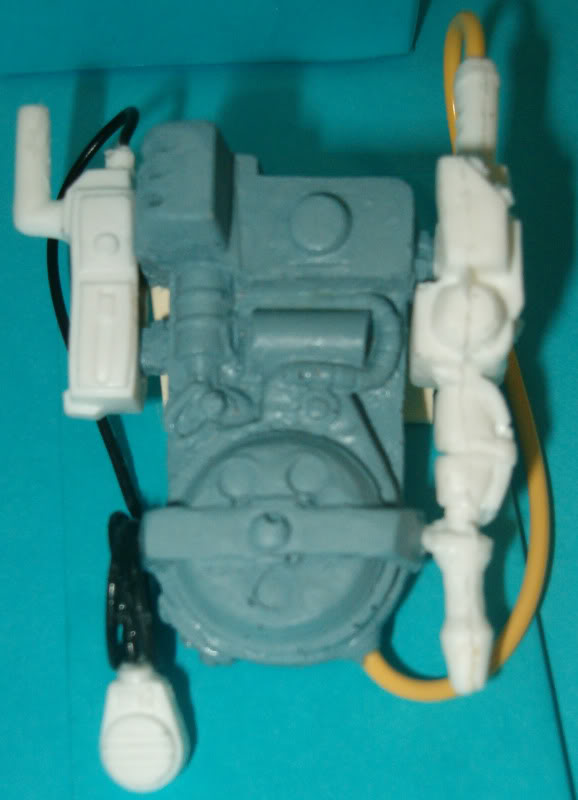
They really are different pictures, lol.

The first version of the Trap I placed on the Proton Pack seemd a little small to me, so after looking through my RGB Cell Archive (a folder on my passport with every single picture of an animated cell from RGB I’ve ever thought could be useful to me) I decided to resize the trap and pedal to better reflect the look of the series. I know it now looks to be slightly oversized, but I can always make another one if I decide I don’t like it.
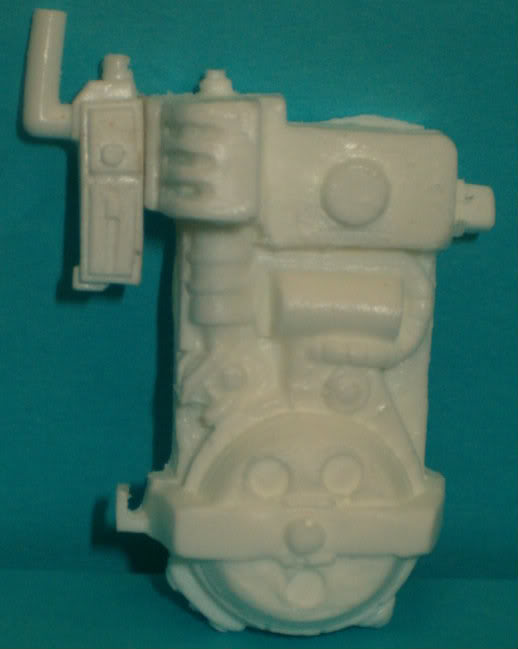
The First Version

The Second Version

Flesh tone Casting Test: Ray
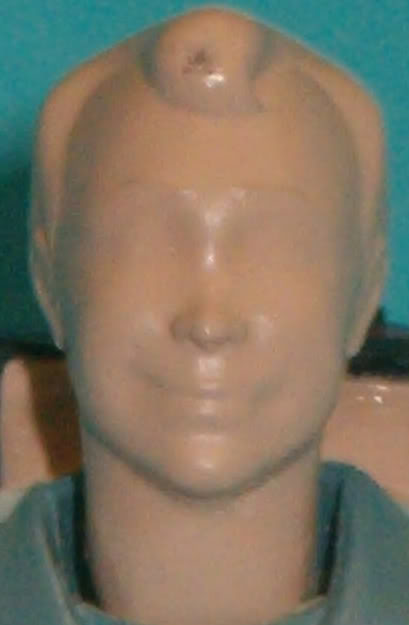
I cast all four of the guys in this color and I think Ray turned out the best. In this color though, it’s really easy to see the imperfections that have been created in the mold do to the frequent casting in it. This is why when I can I usually make molds in two or more parts. The final head molds will all be made in three pieces in order to retain the neck holes, making them easier to pop onto the bodies and allowing for the same level of movement as their movie counterparts.

One point of note here is that, when cast in this color Rays neck looks really long (this may have added to him looking really skinny before.) I will definitely be shortening the neck on the master to be cast before I do any molding.

Now onto the surprises I promised…

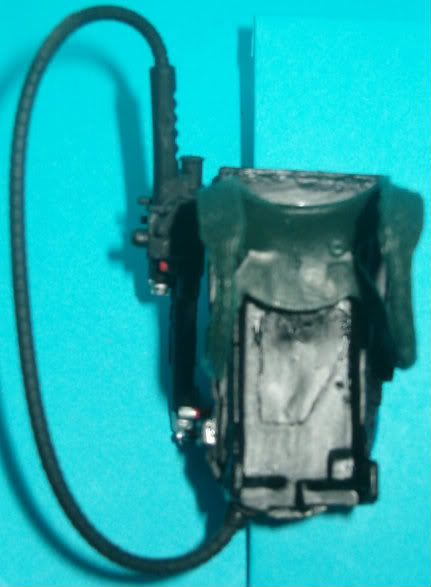
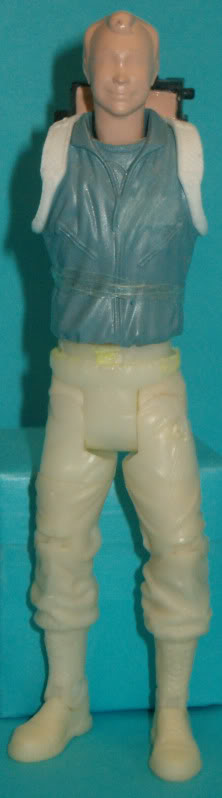
After I cracked open the Torso on the Winston Prototype, it occurred to me that I could probably use one of the chisels I had to remove the Proton Pack from the back of a figure more easily than I had before using the hammer claw method. I simply put the flat side of the chisel against the Alice Pack frame and “pop” the pack went (on to the floor, lol.) Of course the black plastic piece that connects the pack to the figure had snapped but I was now in possession of a singular Proton Pack that didn’t have any cracks, stress lines, warps or bends in the Alice Pack, or the Motherboard. That having been said, this particular MB easily came out and off from the Proton Pack with no damage of any kind. I filled the center hole after taping off the back and was able to cast the MB as a solid piece that would fit right into any of the movie packs that you manage to snap off of a Movie GB. But what good is a MB on a pack gonna do you with no straps to help your newly pack less GB wear it?
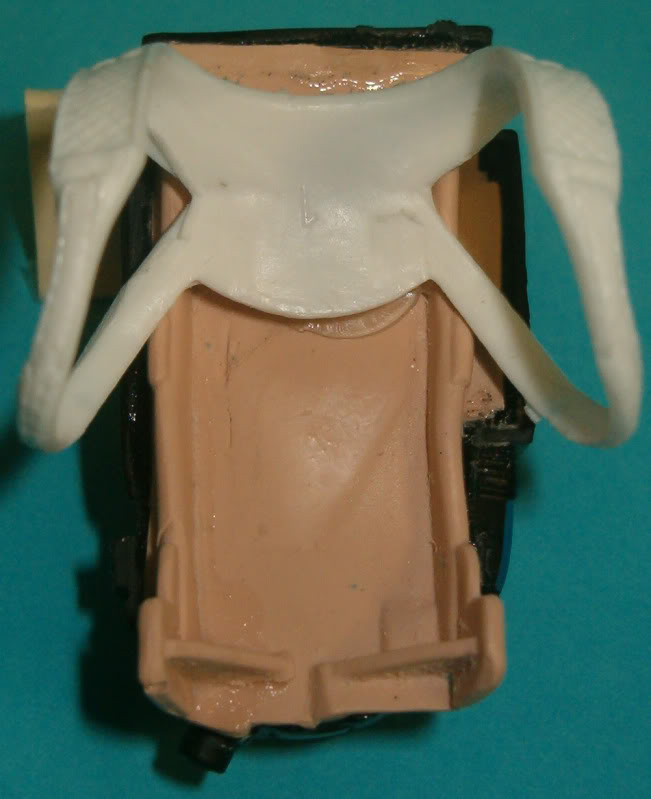
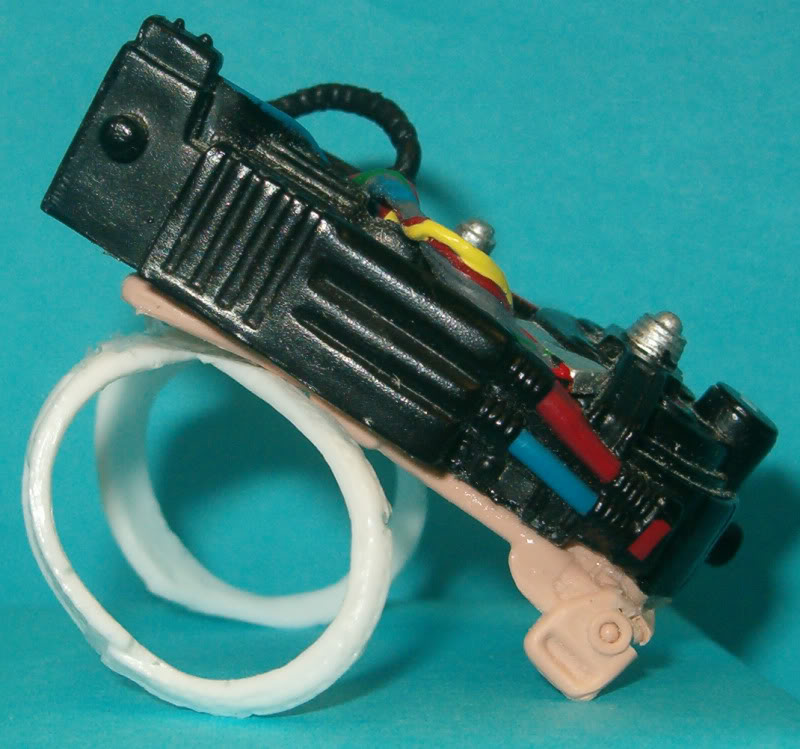
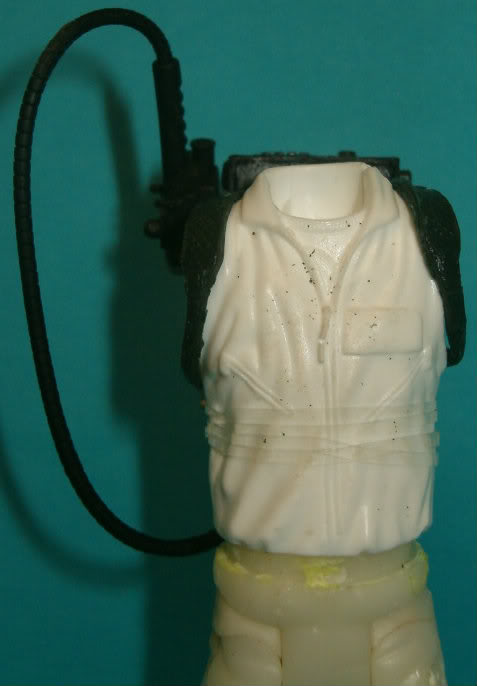
Ray modeling the pack while displaying a newly cast light blue torso from my Dye tests earlier:
Thank you as always for looking and please leave feedback.

A Brief Announcement:

I’m not sure how everyone will feel about this, but I’ve decided that I will be taking the 30 miscasts of the RGB Heads and the 12 Proton Pack (no throwers) miscasts I have from my attempts to get perfect castings and put them on eBay to help recoup some of the costs of this project. Most of you know that the materials used in this process are not cheap, and any extra money you can get back from selling rejected casts is always a good thing. It allows for more progress to be made on the project, and for more projects to be started. (I know that Capt Cyan will agree with me here.) I don’t want anyone to be offended that I’m not openly selling these to the members here or offering them here first, but if I decide that I am going to sell these pieces to board members I want you to be 100% certain that the pieces I’m offering are the very best pieces that I can. Again, I hope I don’t offend anyone here, but I didn’t want there to be any confusion as to what the buyer would be receiving. Thanks again to everyone of you for all your support for this project!
Very nice. So are the straps a rubbery type material?

if you have an extra “shrunk-i-fied” Egon head lying around, I would buy it off you to make a custom RGB figure for myself.

This paticular casting is not terribly flexible it is Smooth Cast 300. I should be getting the Smooth Cast 45D by Friday, and that material is supposed to be more flexible but not quite like rubber. I hope to be able to cast the heads and hands in this material if it is flexible but not too rubbery. It depends on how well it takes pigment. It’s an amber color apparently, but I’ll find out soon enough. I also ordered Smooth Cast 320 which is supposed to take pigment better than the Smooth Cast 300 does, so I’ll be able to cast the main body parts all in the appropriate colors. I’ll have another update soon. Stay tuned.

Sent from my SGH-T959V using Ghostbusters Fans on Android

And do you think the Smooth Cast 45D will be flexible enough to allow for the packs to be put on and taken off the figures without breaking the straps?

It’s supposed to be. It’s a special type of resin that is semi-rigid. I hope it cures to feel more like “real” toys plastic does.

From the Smooth-On Site:

*The Smooth-Cast® Semi-Rigid line of low-cost semi-rigid urethane casting resins cure quickly to semi-rigid plastics that offer excellent impact resistance. These plastics are easy-to-use (mix ratio is 1A:1B by volume) and have low viscosities for minimal bubble entrapment. Vibrant colors are possible by adding SO-Strong® color tints or Ignite® color pigments.

These semi-rigid plastics will really take a beating and offer exceptional abrasion resistance. They are good for making high-impact resistance tools, prototypes, abrasion resistant parts, foundry patterns, roller facings, vibration pads, fast concrete stamping pads, etc.*

Sounds like it will work pretty well. I ordered the 45D which cures in 30 minutes and is a carmel color. When I place the order for the pigments I will order the 60D which is white and cures in 15 minutes. I’ll see what I like better, and which is more flexible. The pigments lengthen the work time to some degree too which is always a plus. I should receive my shipment today or tomorrow so hopefully I’ll have an upadate sooner rather than later.

Hey Gang-

I didn’t want you to think I’d fallen off the face of the Earth so I wanted to stop in and post a quick update.

Project wise I had a bad weekend. I made eight new two piece molds of which only three are useable. I’m not quite sure what happened between the halves of each mold being poured, but the five that are bad were really stuck together badly. I had to cut my pieces back out of the mold with an X-Acto Knife. Needless to say I am in the process of rebuilding and repouring said molds (including both versions of the Torso, w/nametag and without), and I hope to be able to cast new parts by Thursday. The good news is that I learned Saturday that I can use Thyvex (a rubber strenghtener used with Silicon normally) to stregthen the Smooth Cast 45D. This does make the cure time much longer, but it may also be the amount of pigment I am adding to get it the right color. I will experiment with it over the next few days and let you all know. I also have a couple of new side projects to share. All related to GB, but geared more towards improving the Existing Matty GBs. Stay tuned.

Mark-

looking forward to it!

Myers, have a :crunch: you earned it.

This is highly radical.

My first Crunch bar! It is an honor, thank you so much Al.

Thanks Tom, I have a robot named after you in my front room.

Here he is last Christmas in my basement with me, or maybe it was one of his duplicates! Gypsy was standing behind me and missed out on the photo-op. I’m not sure where Crow was, but I’m sure he was getting into trouble somewhere.

I really love your RGB PKE Meter (and the rest of your stuff). You can expect an order from me in the near future. Hakeeba!

Today’s update isn’t related solely to the RGB project as such but it has led to some neat discoveries that I will be showing in the pics below.

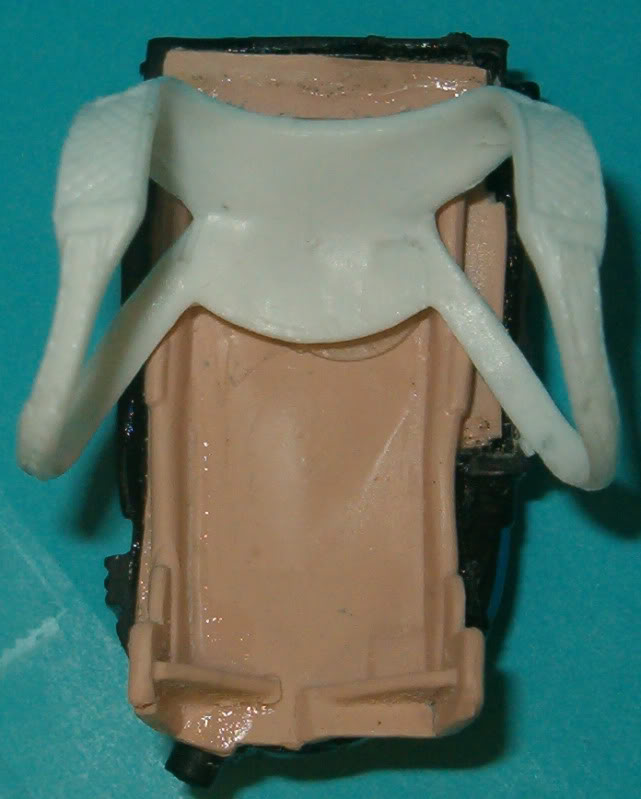
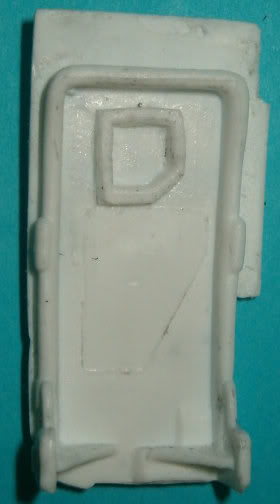
After a bit of research/dumb luck I’ve been able to successfully modify and cast the motherboard that attached to the backs of the Matty GBs packs and recast the pack straps from the prototype in the appropriate colors! Finding a nice balance of strength and give on the straps has been a bit of a pain but I finally figured out the correct ratios of Parts A & B of the Smooth Cast 45D to Color Tint to Thyvex. Thankfully it has worked out three times so far and I couldn’t be more excited. I won’t bore you all with the nit-picky details, but the straps attach to the motherboard (after painting it, I can’t seem to get the black tint not to come out grey) and the packs stay on the figures so for now that’s enough. I also tried out the mixture for the RGB straps and belt for the MB I’m creating and not only do the straps work just as well (so far) as the other set, I was even able to cast the RGB Pack belt with both the plugs intact and it actually closes!

First the Matty GB Proton Pack conversion process.

The Matty Pack after it has been removed from the figure:

Remove the remaining bits of the old MB if there is any and sand down the insides deep into the recessed areas as you can. It doesn’t need to be perfect, but get all of the original MB pieces out as not doing so will cause the new MB not to sit right.

Taking that into account see if anything from the new MB needs to be sanded from the back side of it (excess residue from the molding process, or the pegs that fit in the holes if the originals are broken inside the pack.

The front of the new MB as it is seen before adding the straps. It looks crooked in the picture but as you’ll see it does line up with the inside of the pack.

If you’ve sanded out the inside of the Matty pack enough it will sit flush like it should. You’ll notice the piece near the top that has been cast from the prototype MB to attach the new straps, unfortunately you’ll also notice the area where I filled in the hole from where it originally connected to the figure, lol. It can be sanded smooth before attaching the straps, just don’t sand off where the straps attach to the MB. =~)

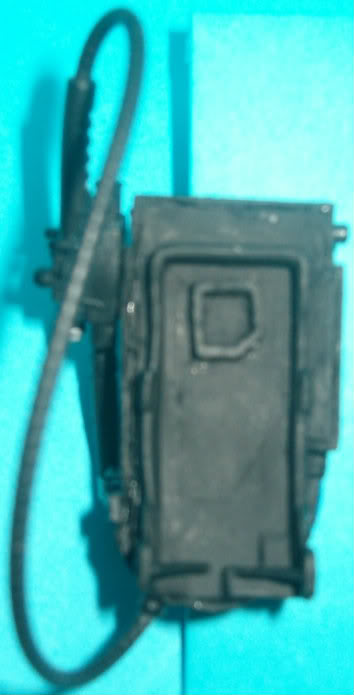
The new MB sanded and painted.

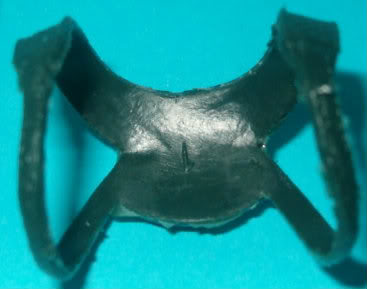
The new straps.

The last pic is blurry, I just couldn’t seem to get a good shot of the back for some reason.

The now-removable pack fully assembled.

My Generic Buster modeling the new pack.

Now onto the official RGB part of the update.

The new MB (not finished and yeah, you’ve seen it before, lol) pack straps, and belt.

The straps are very long, about twice as long as they need to be, but I did that on purpose as I wanted to be able to adjust the size based of the body style of the character before they’re glued into place. As kind of a nod to the RGBs movie origins I’ll be putting each busters movie style name badge on the backs of the packs to help identify them. A neat little touch I thought.

The Belt

Not the best picture, but even with the Macro setting it still didn’t photograph well.

More of the the belt.

The close up shows how rough the belt would look if I left it as is, but I’m making a buckle the will fit on top of or just over the closure so it not only will hide the roughness, but will help with show accuracy as well.

Close Up Shots

The pegs

The Closure

And Yes, Capt Cyan, they close, lol. =~) Not the best picture but I will take more for the next update.

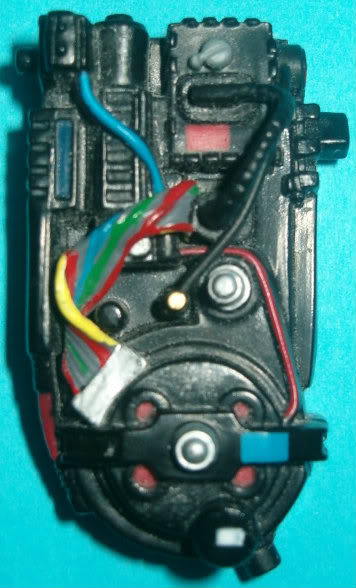
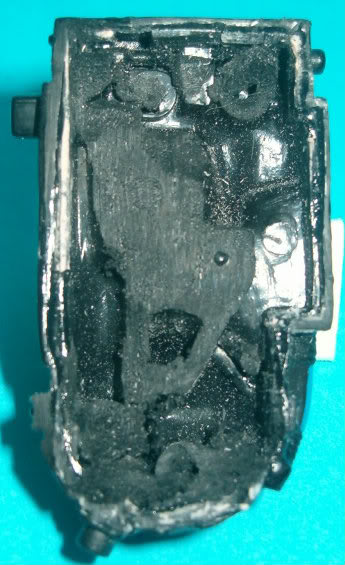
I’m currently working on a hollow version of the RGB pack that I will clean up, then cast again, so that the new mother board will fit inside like the Matty pack does. I’m also considering adding light to the pack if I can figure out how to fit it all inside. I know it can be done. I’ve seen the parts, lol, but I’m not sure about what all would need to be lit and it would only be an on/off type of light. maybe tiny reed switches that turn the packs on when the thrower is removed? I know I’m getting ahead of myself, but I want to put the idea out there and see where it goes or what kind of feedback I get from the idea.

One last thing, what do you all think of the trap size in relation to the pack?

I know I’ve posted this before, but even though it’s perfectly scaled to the figures (I’ve been using my Custom Bill Murray figure for size reference) but something still seems off. Is it the size? I know it needs to be lowered a bit, but I’m still not sure how to go about attaching it to the pack itself. Do you think it should be cast as one piece with the trap attached to the pack? I’ll have separate traps anyway for any scenes or pictures I want to take of the guys trapping a ghost (think one pack trap with pedal and coiled cord attached [like Capt Cyan’s] and one standard trap and pedal with cord unfurled [like Movie Style Winston] per figure.) I’m also considering a different means by which the thrower and trap would attach to the pack, maybe a different peg system, one that is smaller in diameter and won’t stick out as far away from the pack as the current one does (about the size of the foot pegs on action figure stands.) If I go this route it would certainly make it easier to display the trap and pedal because I could just put them on clear stands plus the thrower peg wouldn’t look quite so rough. Your thoughts?

Again, I just want to thank everyone for their continued support of this project, and as always thank you for the feedback!

Looks awesome, I cannot wait to see these customs when you’re all finished.

I have one word for you…neodymium magnets.

Sorry, that was 2. :lol:

Nice work on the buckles! :nicejobyoudid:

Thanks Cap. However, you have to think like Mattel. Cheaply, lol. They wouldn’t put magnets in the packs. Or, now that I think about it, lights. Oh, well. Gotta keep thinking cheaper…

Sent from my SGH-T959V using Ghostbusters Fans on Android

looking good!

This is kind of off topic, but since you’ve had success in downsizing things I had a thought while looking at my Neca figures. Have you ever considered maybe shrinking down Neca’s Gozer to 6 inch? Hell, even if you only shrunk the head it wouldn’t be too tough to take a plain female Marvel Legends body and use apoxy to add the bubbles and such. I’m sure a lot of people would be in the market for it since it doesn’t look like we’ll ever get one from Mattel. I’d also kill for a downsized Neca Slimer, as it’s leaps and bounds above Matty’s poor attempt.

DTB-

I’ll consider it. I never really felt like the Gozer figure was out of scale since whoe’s to say she/it was a “normal” sized human representation? If Gozer can become Stay Puft surely they can be slightly taller than an average sized human, lol. Slimer…That’s a whole 'nother ball game. I might attempt it at a later date. Let me get my RGB project in the can and then I’ll look for other projects to play with shrinking.

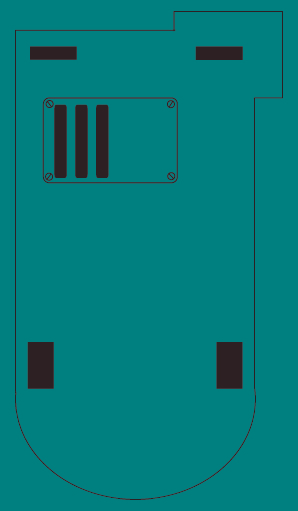
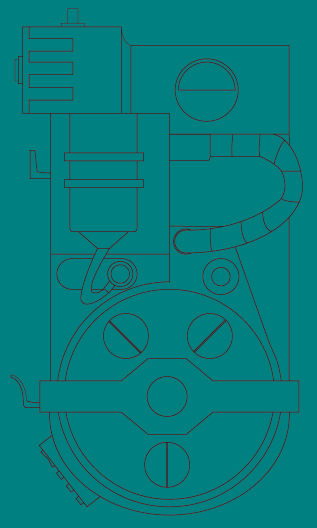
Update time, after discussing with Tom “Dave” Servo the possibility of him creating the RGB packs the same way he created his other GB goodies. I decided to teach myself how to use Google Sketchup. So far I have been able to create the Motherboard based on my “sculpted” model I showed pictures of earlier. I took that piece, scanned it into Illustrator, created an EPS model of it, and then imported that into Photoshop, saved it as a high quality jpeg, then imported that into Sketchup where I redrew it over the jpeg then proceeded to play with the sizes until I got it the exact size I needed it to be. It is currently being evaluated at Shapeways so hopefully I’ll get the good to go message from them and I can begin work on creating the pack in 3D. I just saw TDS’s newest version and though ours are slightly different I can say it gives me hope that someone was able to do it. I have attached the jpeg versions of the MB and Proton Pack as seen straight on for you to get an idea of what I’m working on. Thanks for looking!

Mark-

The Motherboard:

The Proton Pack:

Let me know what you think!

Yeah I’ve tried to use the same logic on Gozer, but she still just doesn’t look right to me amongst all the others. A 6 inch version of that figure, or even just the head would be a dream. Same goes for Slimer. I look forward to what the future holds.

Well, Slimer has two compatible figures in the six inch line, if anything, The Library Ghost and the Scholeri bros are undersized I’ll live with the sizes though, not like I have a choice on the matter but I’ll live with the size aspect . All that we can do is create dimension in our displays to create the illusion of a smaller Gozer. If you asked me, all the figures should have been as large and well sculpted as Gozer.

Agreed. However I plan to try out Hydrospan next. Scolari Brothers anyone?

Sent from my SGH-T959V using Ghostbusters Fans on Android