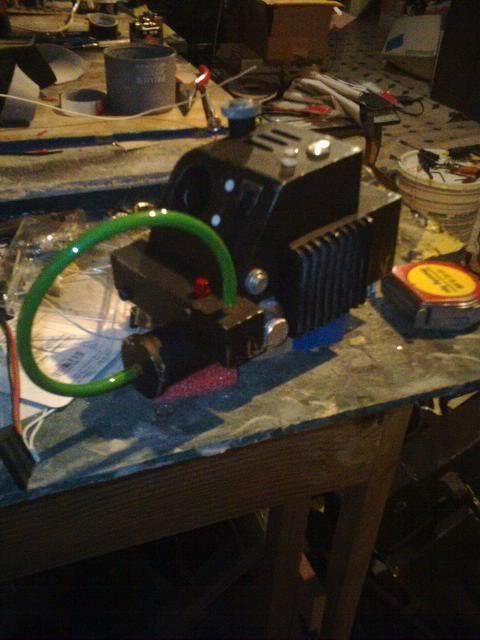
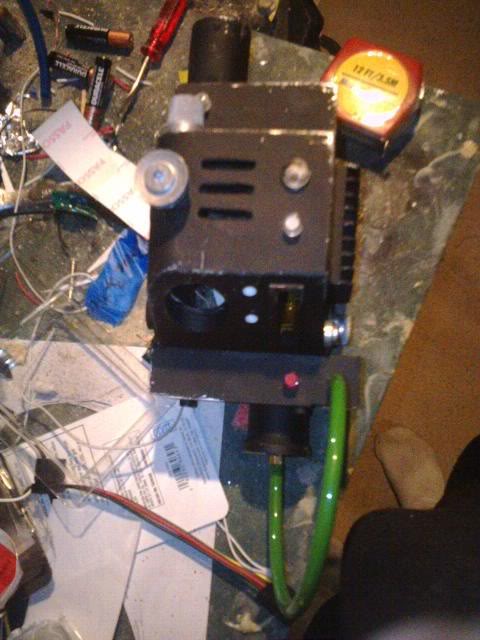
D-42 vacuum form GB1 budget pack

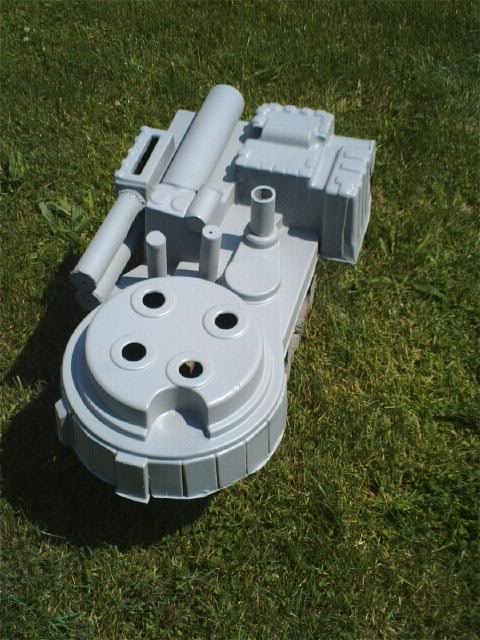
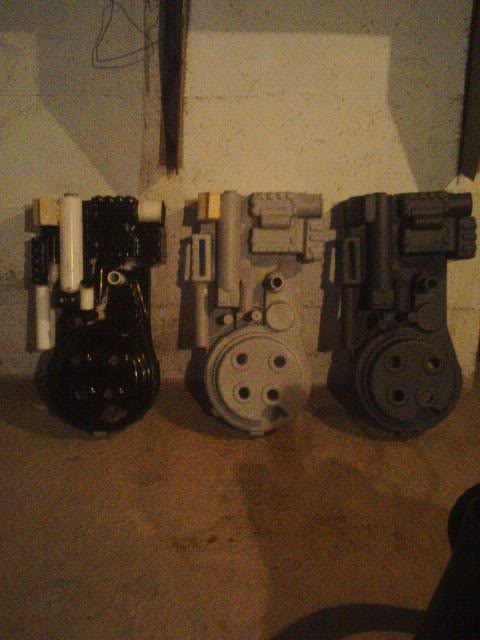
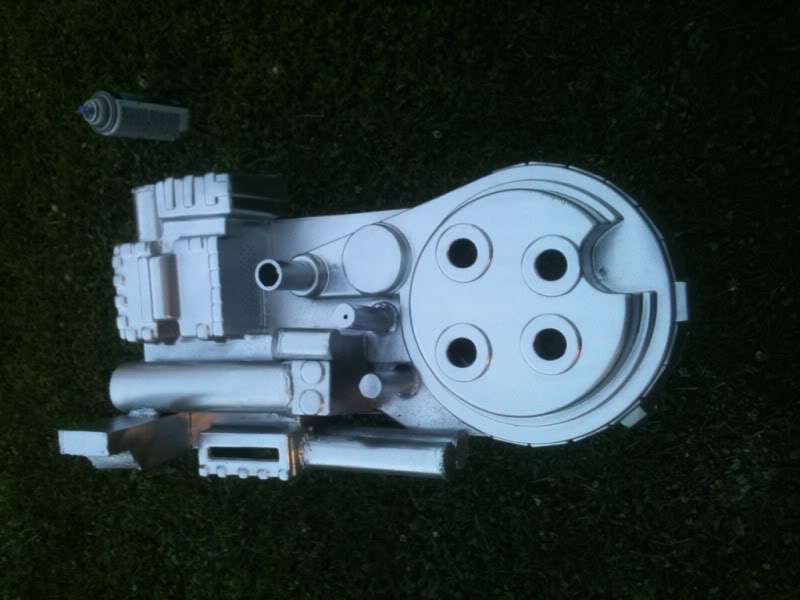
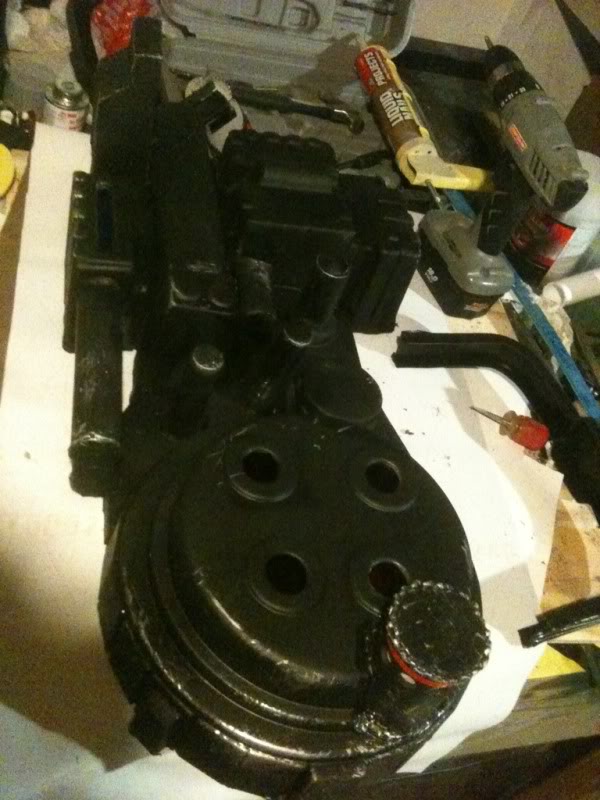
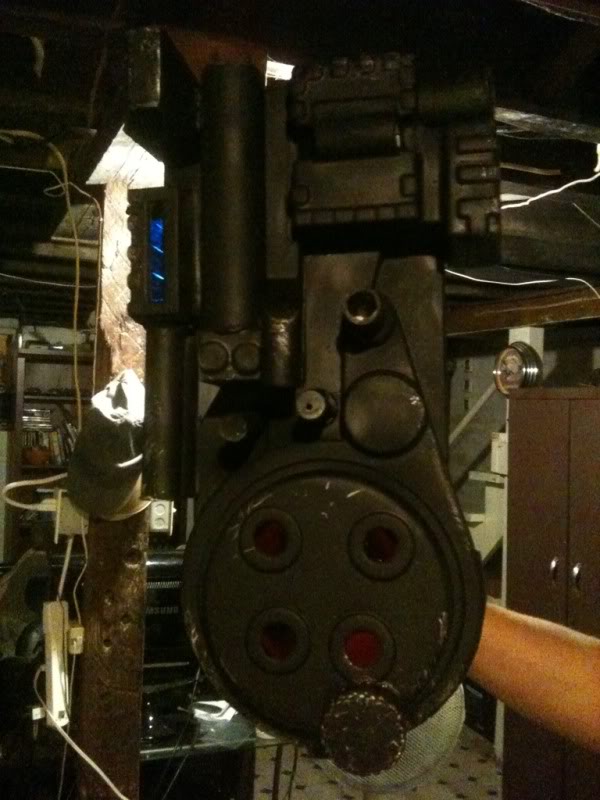
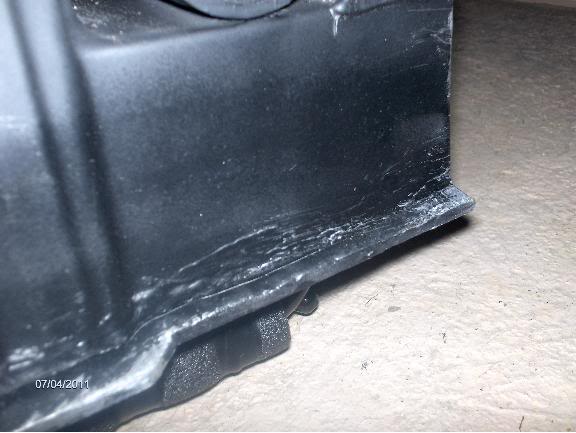
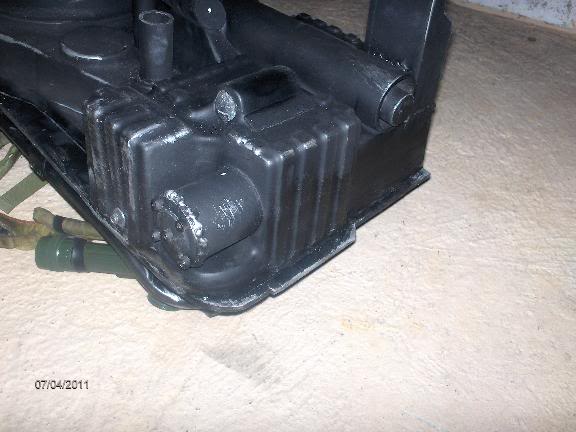
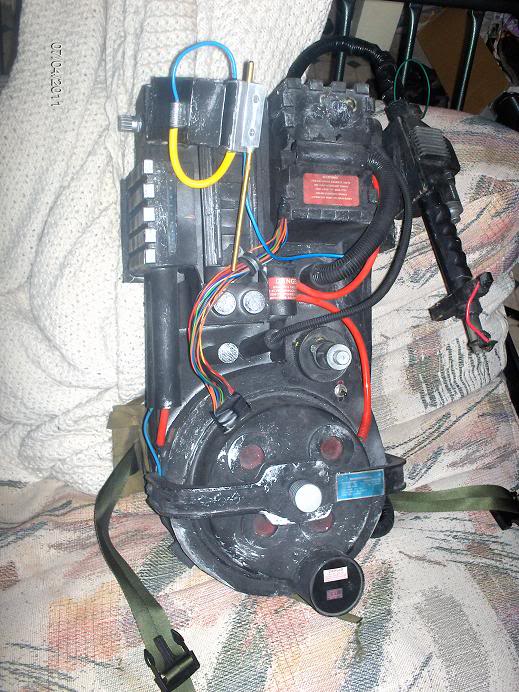
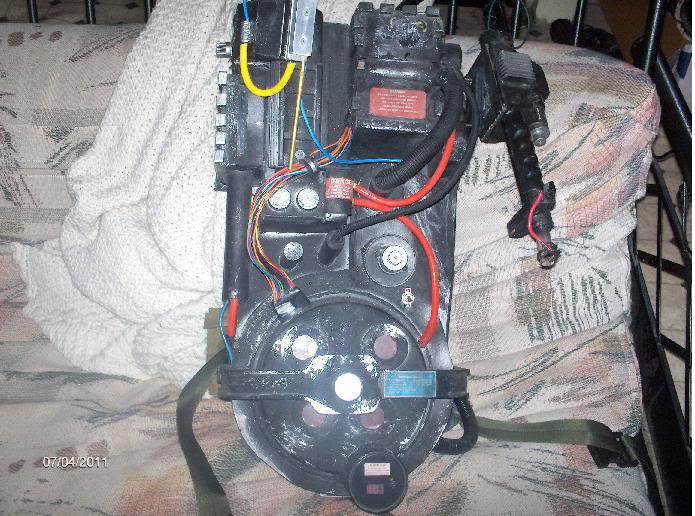
So I got a D-42 shell some time ago and finally got the chance to start on it. I figured I would post the progress pictures for suggestions and feedback. It’s my first build so go easy on me.

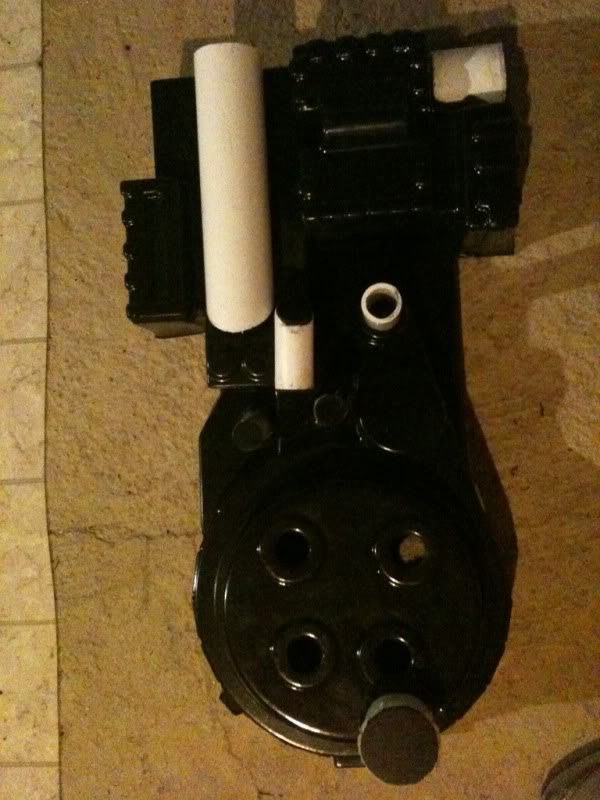
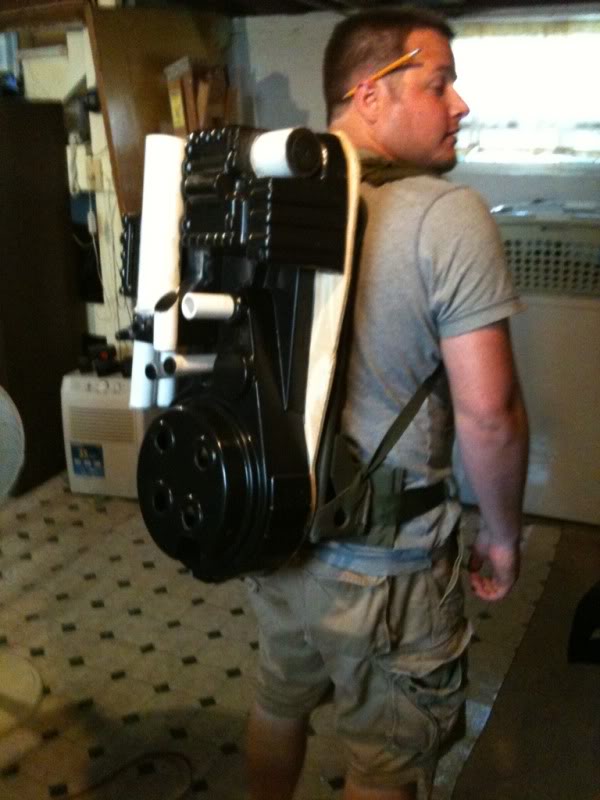
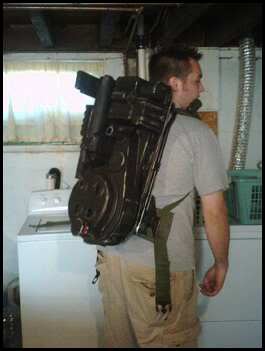
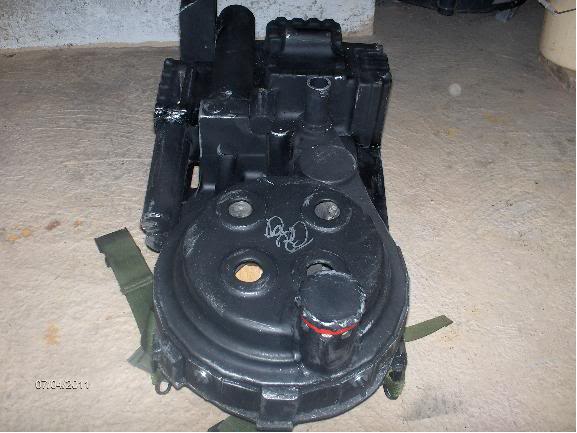
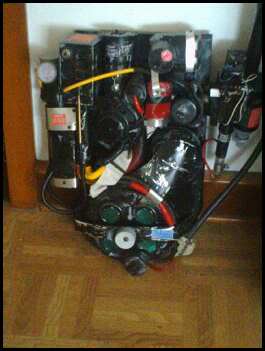
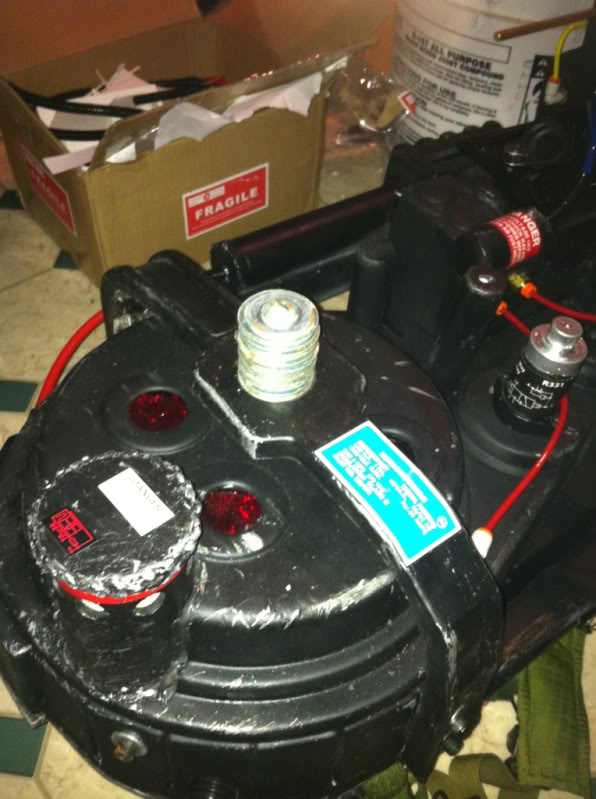
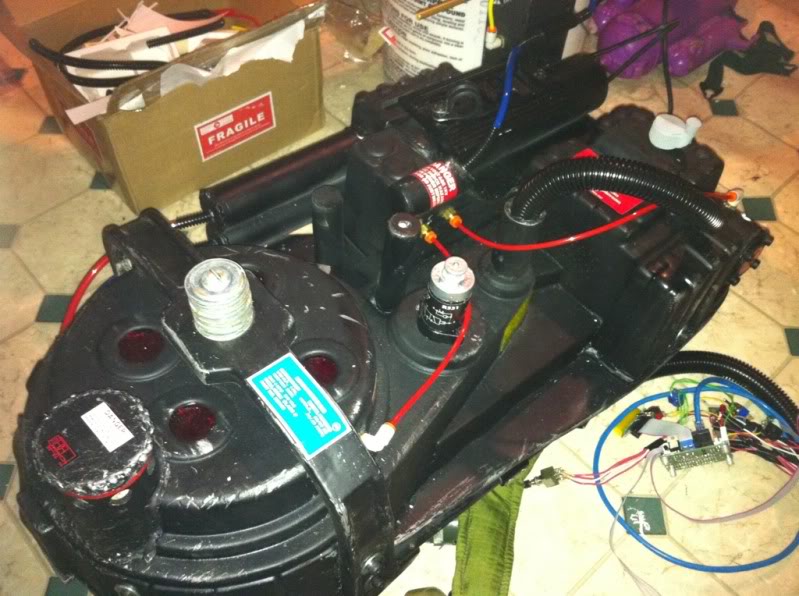
First picture of my baby.

A little dry fit.

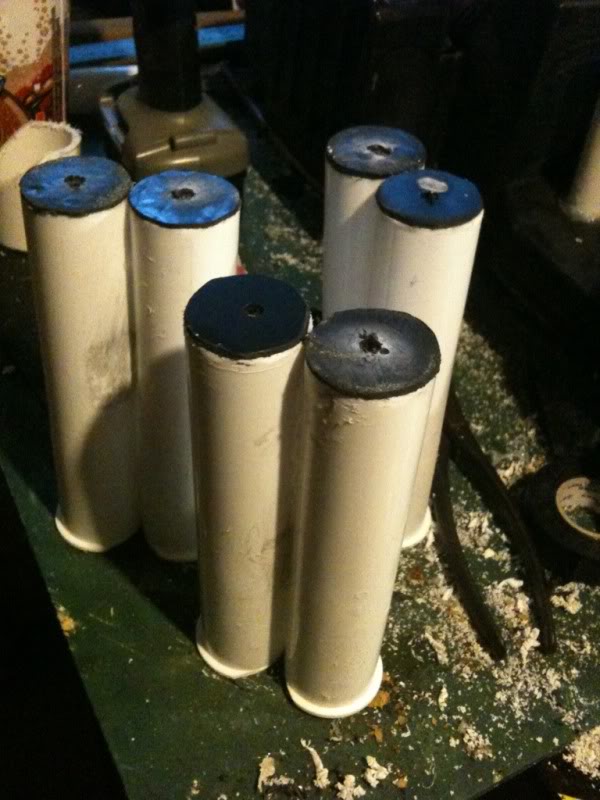
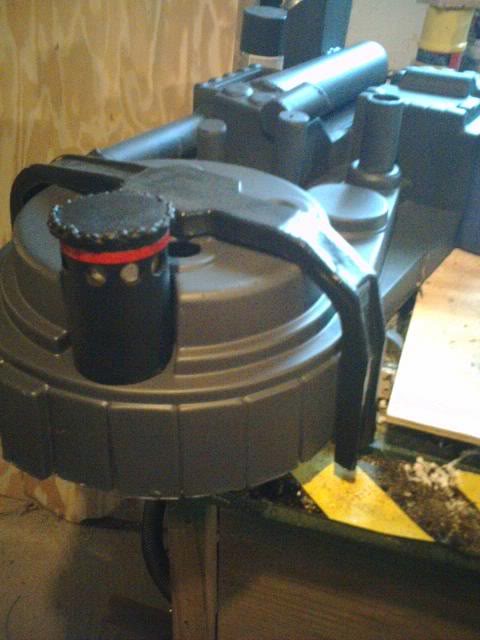
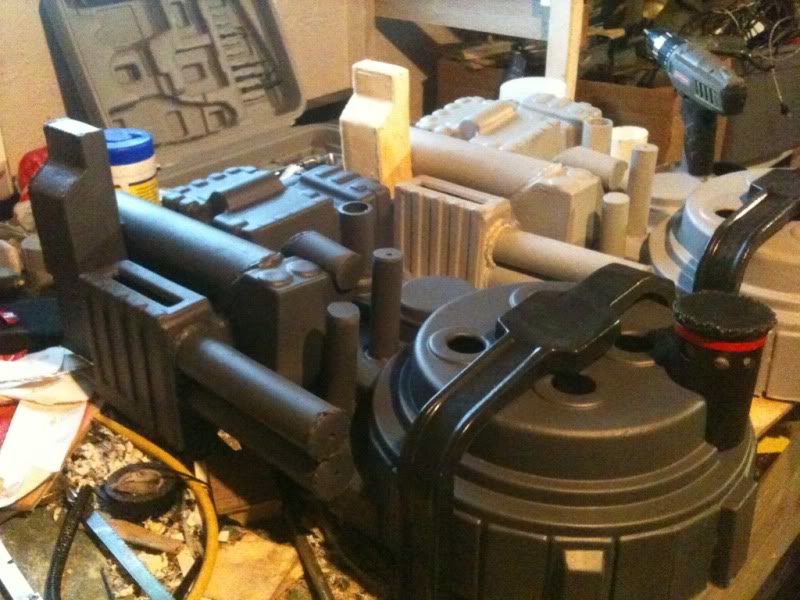
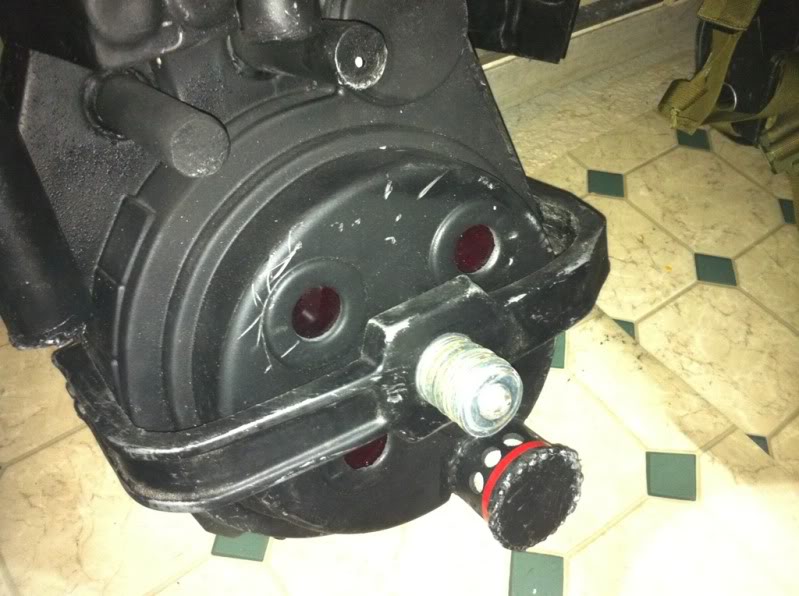
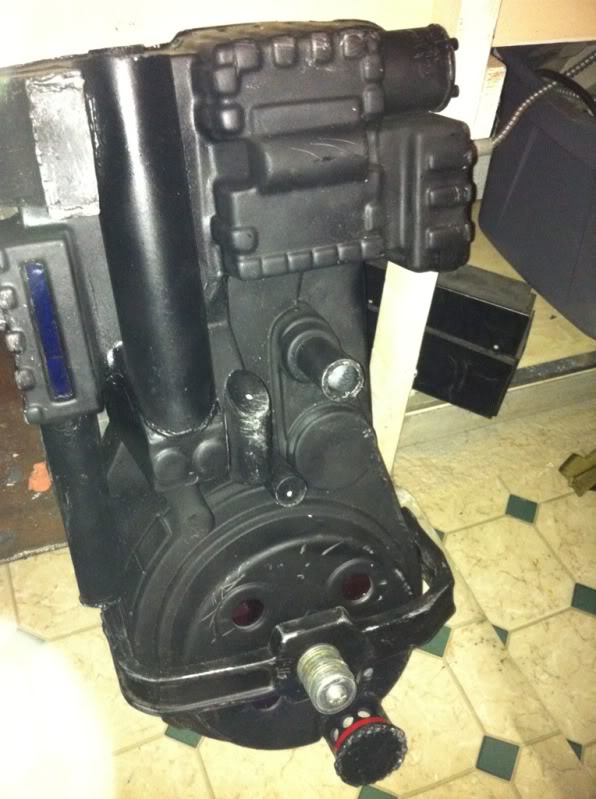
Injector tubes. These were a bit of a pain in the ass.

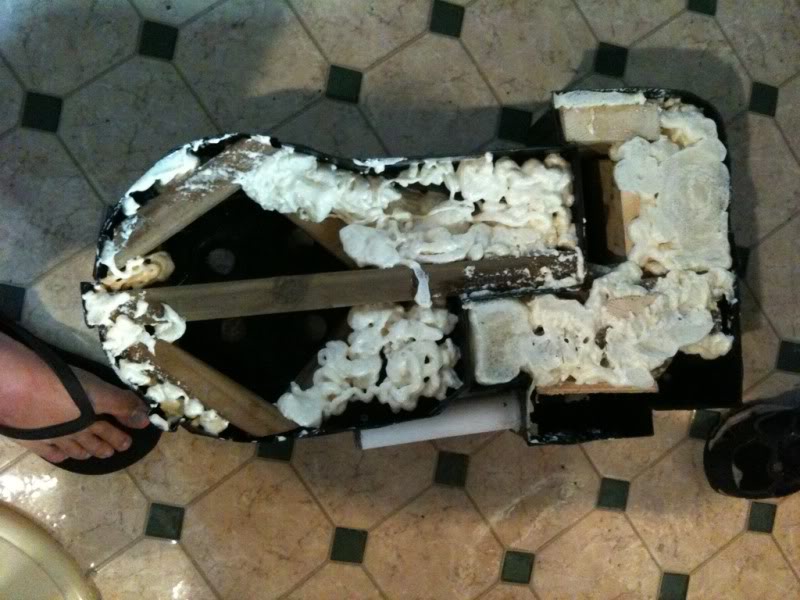
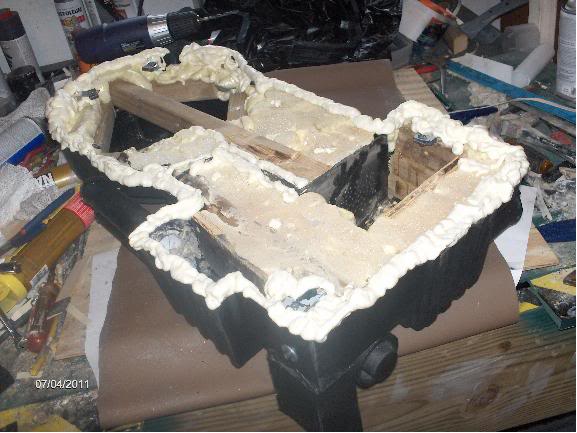
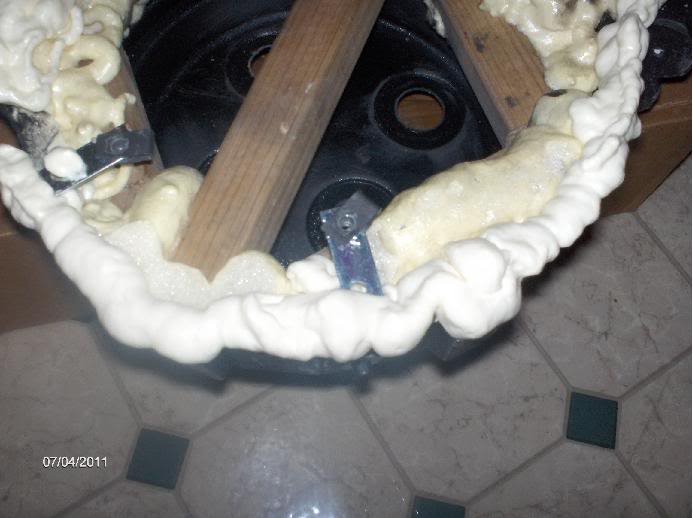
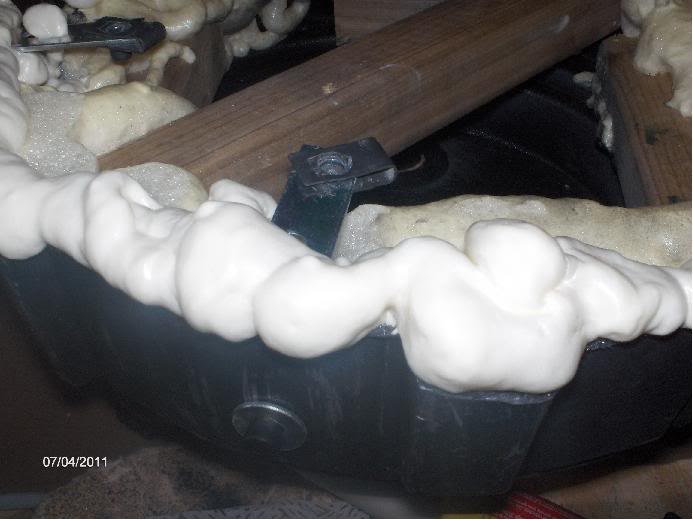
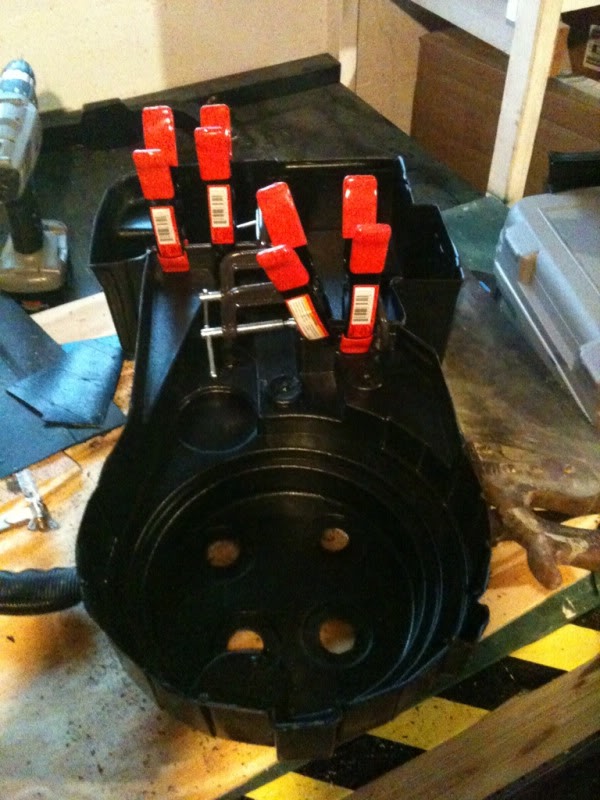
Expanding foam for some rigidity.

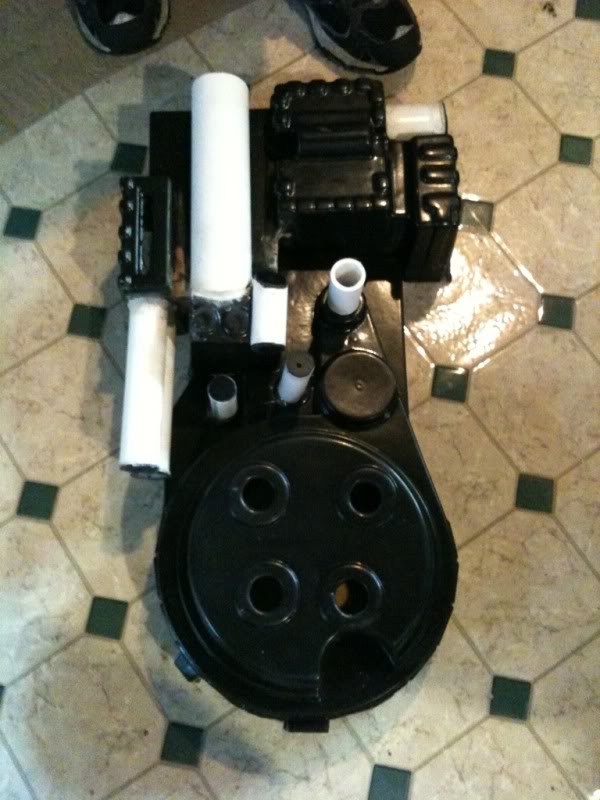
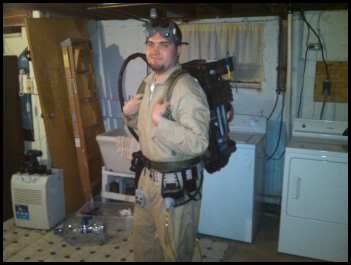
I couldn’t resist.

More to come soon. I have the pictures but I need a break from uploading.

Looking good. I made my pack using one of D-42 vac shells as well. I have loads of pics and information in my build thread which might help you

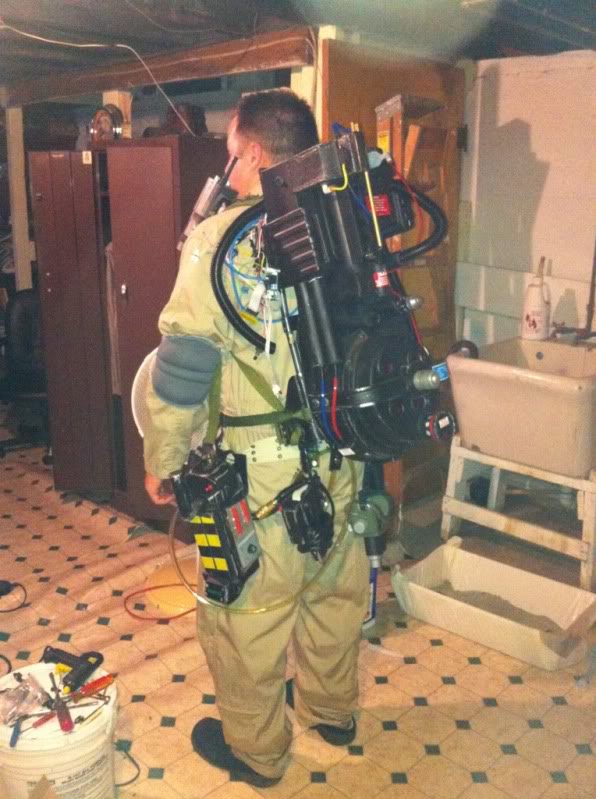
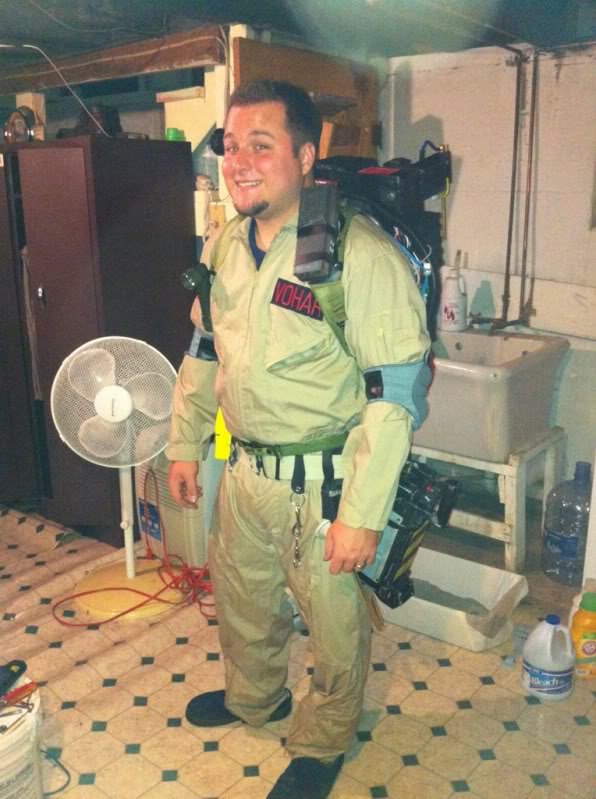
Just curious, but how did you mount that to the motherboard? Seems like the foam would get in the way of the brackets. (Unless you’re holding it with your other arm, which could be the case.)

At that point we just screwed the wooden MB to the wood blocks inside. We fixed it later. A small price to pay to wear the pack for the first time…even if it wasn’t nearly finished.

Did you have any trouble with gaps between your shell and the motherboard when you attached them together?

I call this one “evolution.”

The Tin Man’s proton pack.

With some weathering.

Acrylics in. Tried to hold it up in front of a light since my light kits is not in yet.

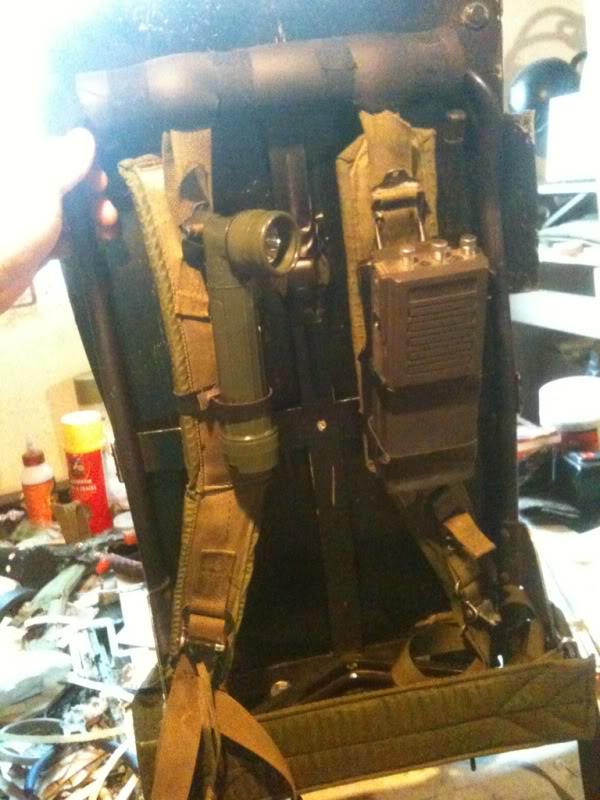
Motherboard and LC-1 frame attached. Along with my MT500 and flashlight mounted like the game.

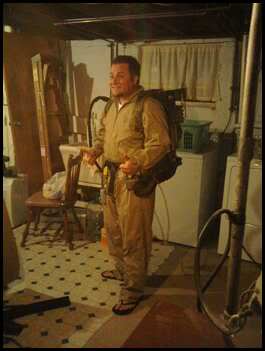
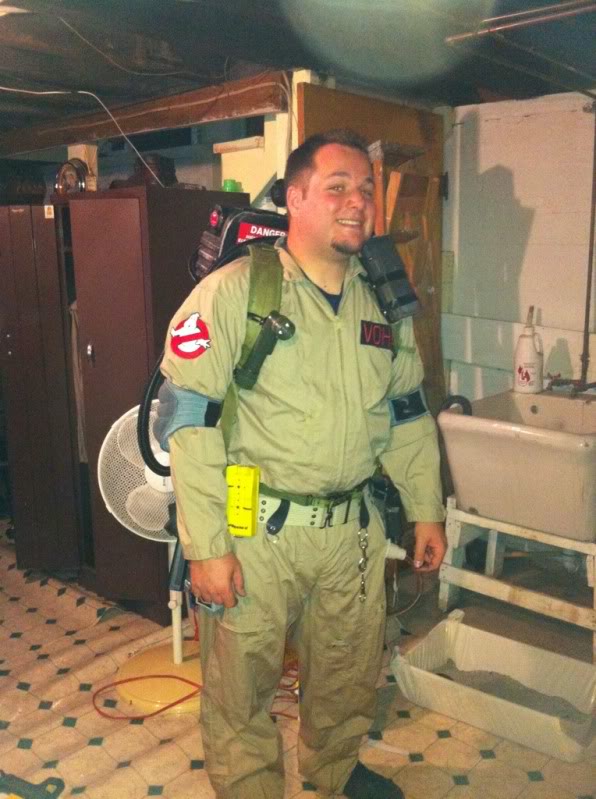
I should probably say that my pack is aimed more at GB1 with some obvious twists. I like some of the things done in the game like the radio and flashlight on the straps. Takes the weight off the belt a bit. My uniform is the same way. GB1 aimed with twists from the game like the hose connector on the gizmo.

Not bad. i’d probably grind the weld down on the N-Filter though. It’s getting out there a bit.

Anyone have any suggestions on how to fill gaps between the shell and motherboard? It’s being pretty difficult. I have almost 3/4 inch gap in some spots.

I don’t know how others tackled this problem, but I took a ruler, layed it on it’s side and measured across the inside of the pack at several points where it’s high, that should give you an idea of what needs to be sanded down to give it a little uniformity. Others may have a better method, but that worked for me.

I had a few small gaps the biggest was no more than 5 mm. I just trimmed the areas the best I could. I used metal brackets to hold the shell to the mdf mother board. I also put some blocks of wood in the corners and in various other areas on the shell which was held in place using no more nails. I screwed through the mother board into the blocks if wood whick pulled the shell down onto the mother board closing up the gaps.

Not a construction update but a very important one I feel.

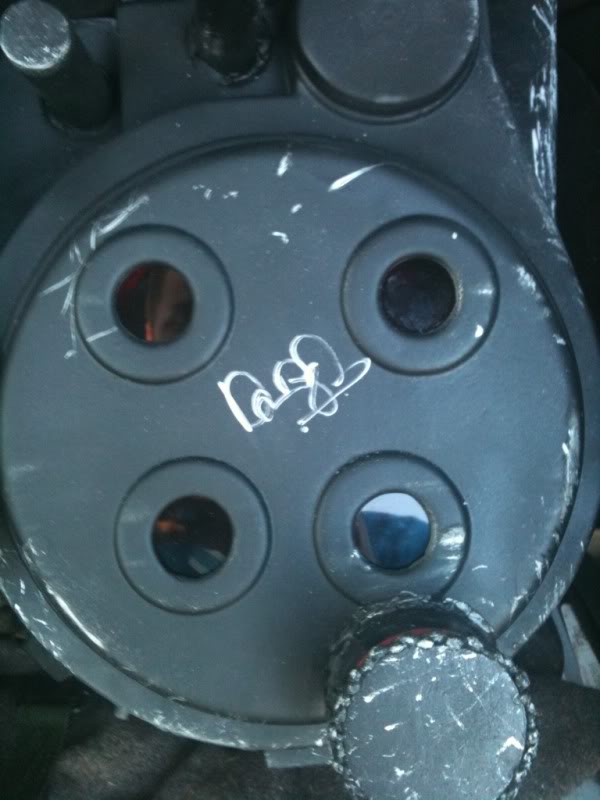
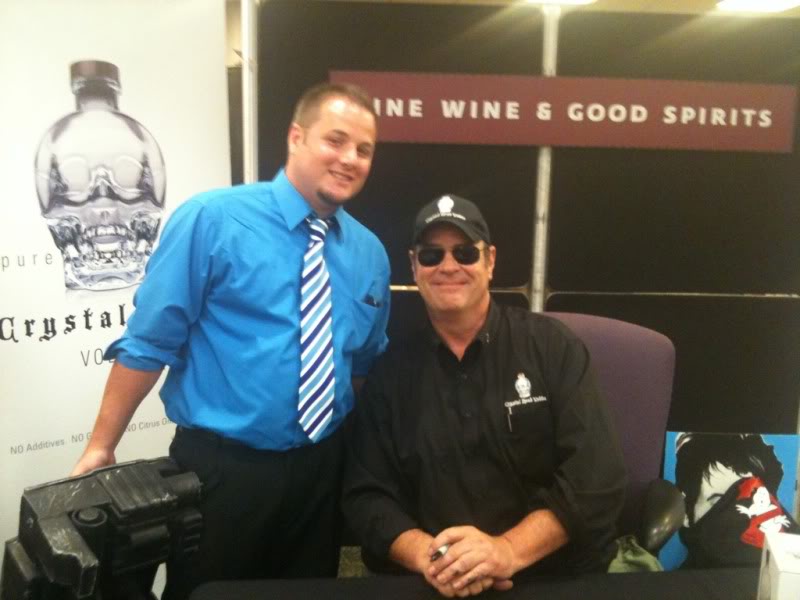
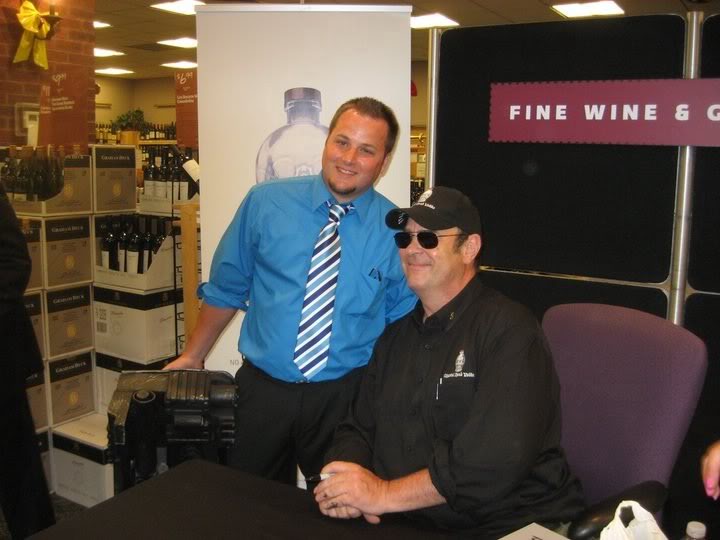
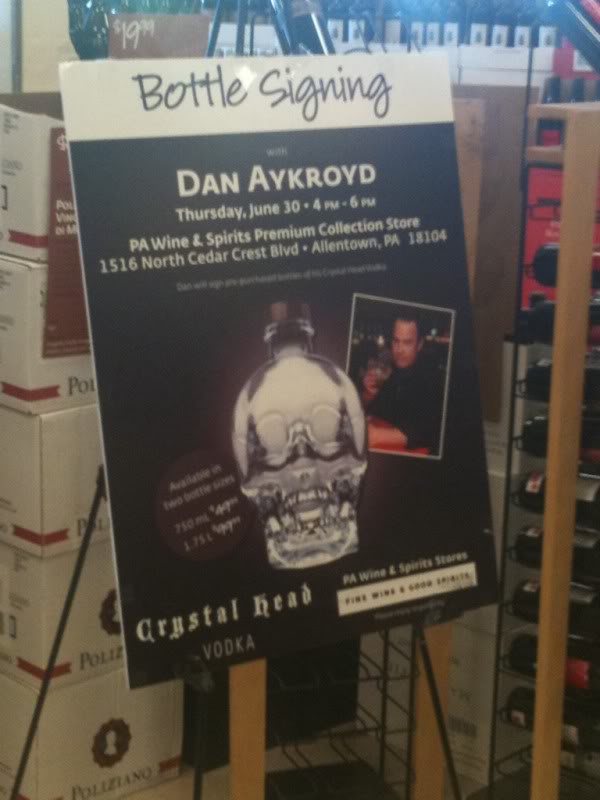
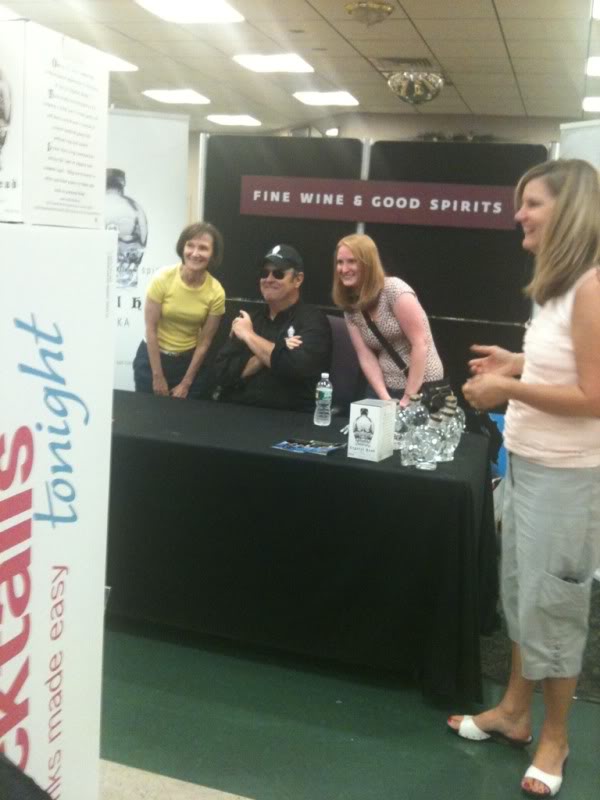
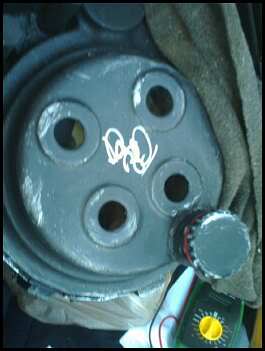
Met Dan Aykroyd at a vodka signing in Allentown, PA yesterday. Got the ol’ John Hancock on my cyclotron. He signed it where the bumper will cover it but at least it’ll be protected from some idiot bumping me.

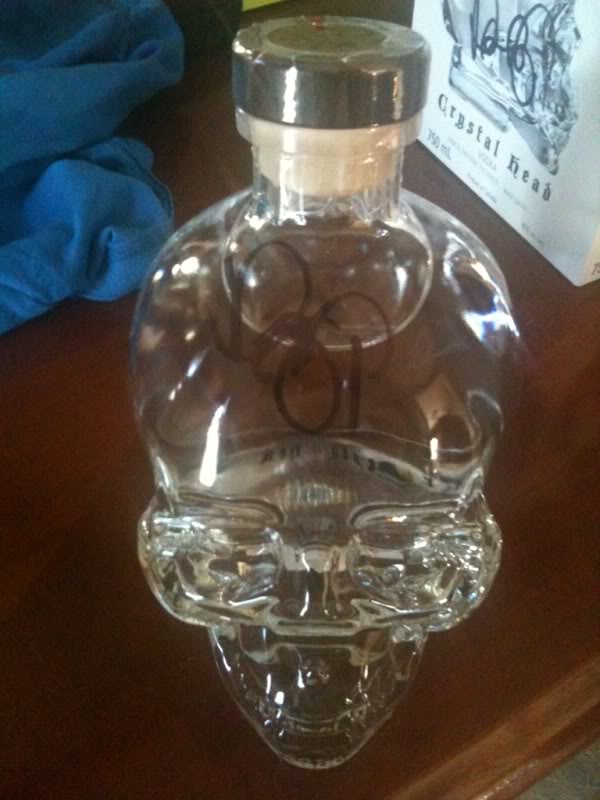
Got these too.

Came straight from an interview so I was in my fancy suit and not my Ghostbusting suit. I decided it was courtroom Ghostbusters lol.

One of the greatest days and I have to say that Dan was amazing. I stumbled over my words like an idiot but he was there for hours signing stuff for people. What a guy!

Lucky!

And when we were waiting in line, I suddenly heard this noise. After listening harder I realized it was Dan standing up doing a Conehead impersonation! It was great!

Here are a few updates on what we did.

Here is the D42 and Studiocreations up to date as of today.

The way I took care of the gaps on Ferrariracerjv7, TheMoose007, and mine.

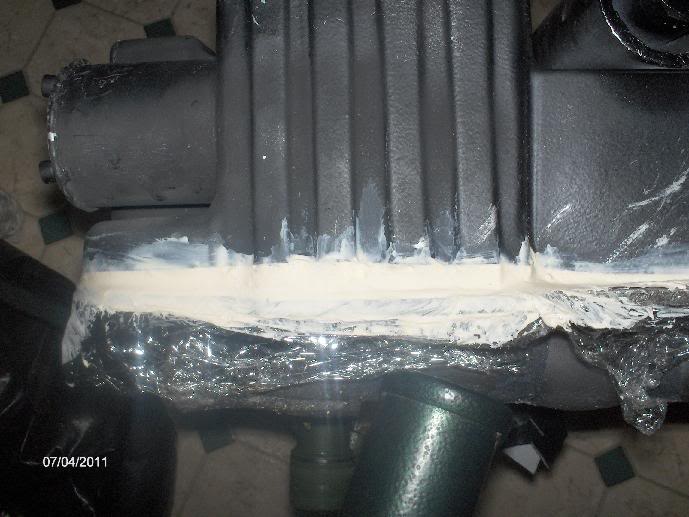
After test fitting the pack to the shell, I tired using weather stripping. Would have worked, however the gaps were to large.

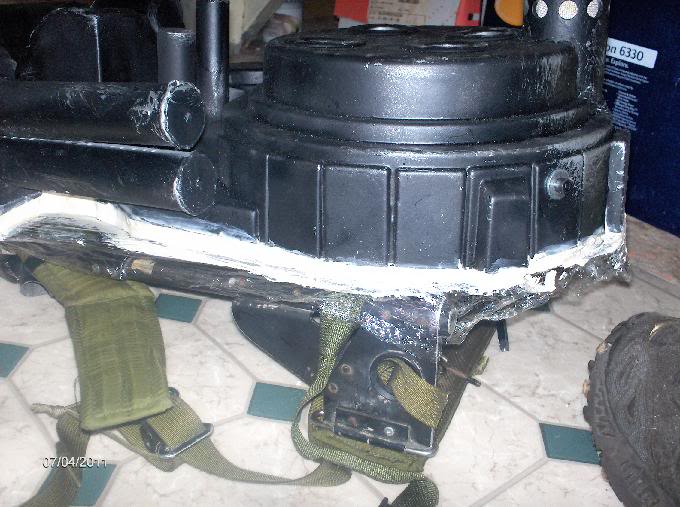
1.So after peeling that off I tired using caulking. What I first did was fill the edges and just inside the shell with expanding foam. We also filled it with to give it a little more weight and make it stronger.

2.Then I sanded the edges down to make the whole outline nice and straight. I took a razor and carved a little bit away from the edge to the inside of the pack.

3.I covered the mother board with plastic wrap. I bolted the mother board to the shell AFTER I let the foam cure.

  1. I then made any extra trimming to the foam.

  2. I began to apply a little bit of caulking around the edges. I did a layer at a time.

  3. After it had lost the tacky feeling I gave it a few coats of flat black.

Currently my pack is dry. I ended up getting a studiocreations pack because I missed the D42 version. My plan is to get a D42 and turn the studio one into a game pack.

I did a bit of work on the studio one to get as close to a D42 as I could.

I also got Dan’s signature! (Studiocreations pack)

Test fit everything using my pack as the mule.

This is TheMoose007’s pack at the moment needing to be trimmed.

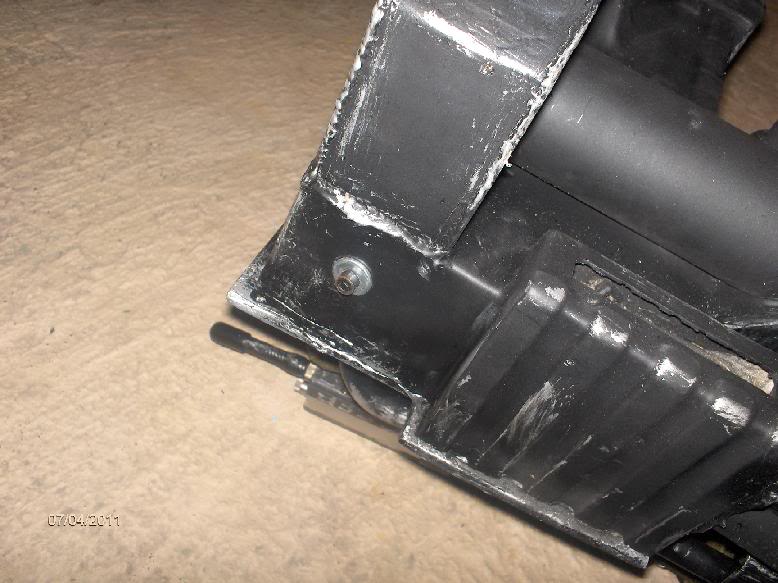
And to answer how we got the pack to the board. I went to Lowe’s and picked up “L” brackets. I had to fix the bracket to the shell. The bolt and nut are covered under foam. The bolt to attach the shell is held in place with that black fitting you see in the pics.

Now lining it all up… That was fun :sigh: I painted the black fittings and laid the motherboard on top. It kind of worked. But to make sure I kept 1 “L” out and used that to lay on the outside of the shell. I then made a small hole and once I was 100% sure where the bracket was on the other side I drilled out the final hole.

On the studio-pack, the holes are very snug. On both D42s I made them a little larger. This way you can adjust the board and pack a little bit easier.

Here is Ferrariracerjv7 with the caulking still drying.

Here are some shots of my studio pack with the caulking. Nice part about this is since the caulking dried to the plastic wrap, I can still separate the shell and motherboard for maintenance when needed. Every close shot I took came out bad. But as you can see the gaps are pretty much gone. The top of my shell is pretty beat looking. Again, this was meant as a test pack. I will use it this year. But I will strip it down to make it into game pack. And it will stay in my room to because I don’t want any damaging the signature from Dr. Stantz.

I think I did a much smoother job on Ferrariracerjv7

More to come…

1st packs ever.

TheMoose007 got off ebay a few years back.

Damn ion arm in two years has never stayed on. My next project when we finish these is to fix that pack right.

I did this in about two weeks as a rush to finish for Halloween. Ferrariracerjv7 made the slimeblower the same time.

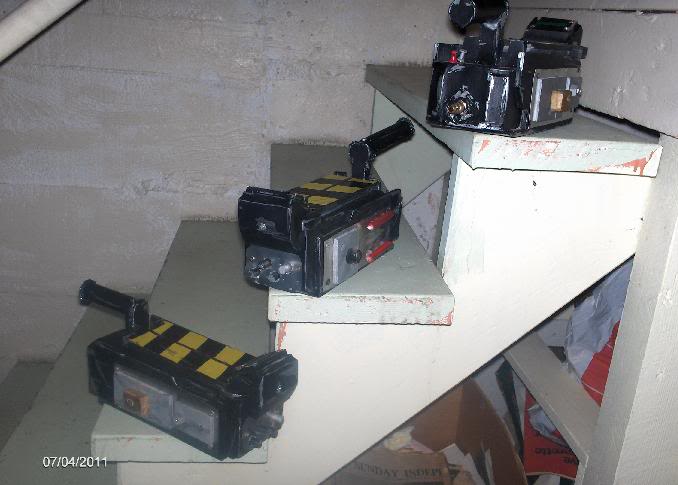
We also made a trap and sniffer.

Not good, but it was a quick rush.

And here a just a few other pictures we have of stuff we built and test fitted.

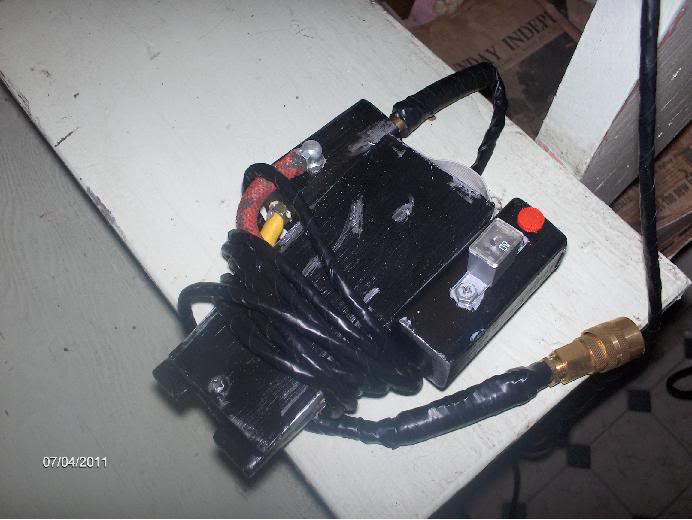
Pedal box

Not sure why the hose connector looks so bad in this picture. On the pedal box in person it doesn’t look like that.

Traps built in about a months time

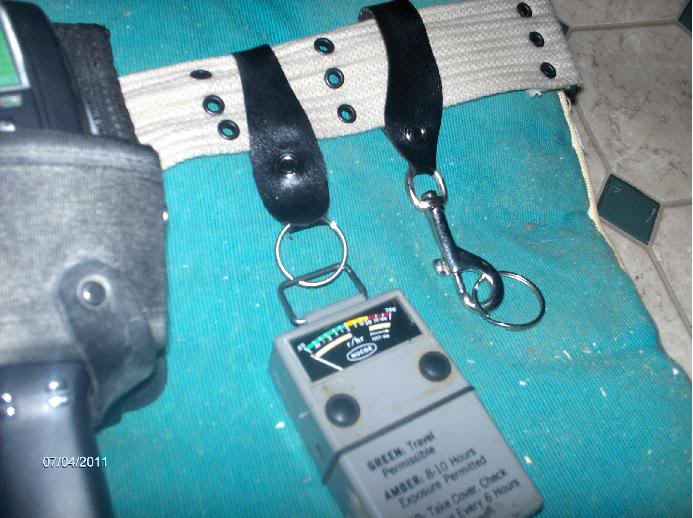
All of our belts are about the same. I just posted mine.

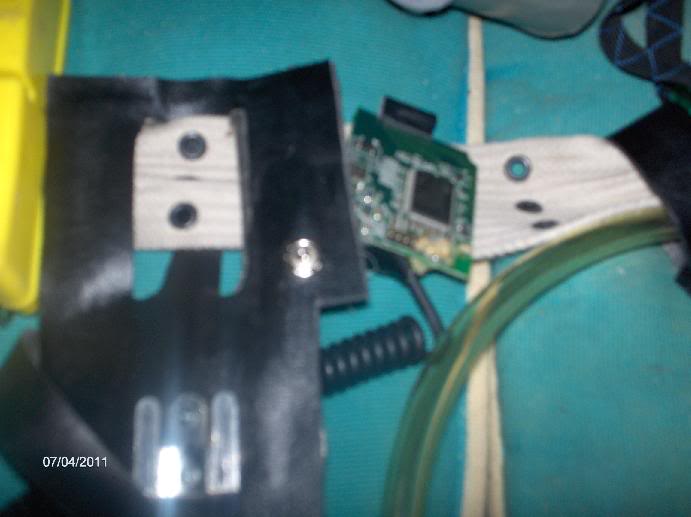
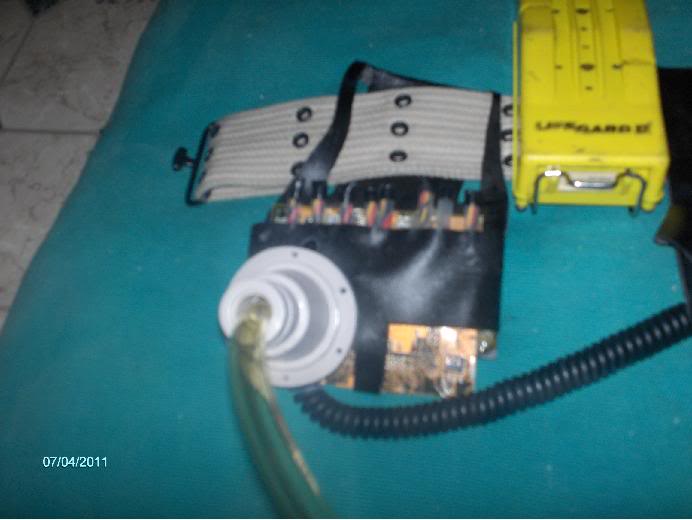
We made the gizmo’s out of old computer parts and vinyl holsters for now. Same as the trap holsters. They both have held up nicely. Ferrariracerjv7 's key fob is leather. The other ones are also vinyl I built. Next year they can be replaced. This year most of our funds went into the pack.

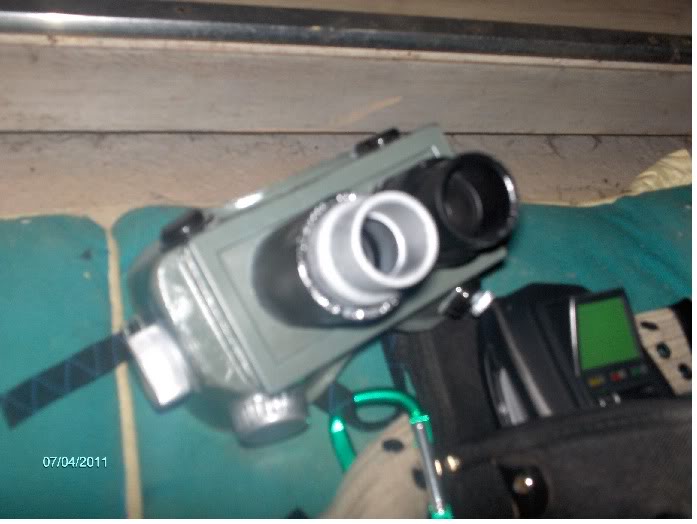
Our goggles we made

I think there is a form here with these made already right Joe?

My two models. - both with the ebay pack

Joe aka “Ferrariracerjv7”

And Matt aka “TheMoose007”

Uniforms aren’t done yet. That is why the are missing the patches.

The traps and pedals will get replaced also with the belt parts. But the packs are getting pretty pricey.
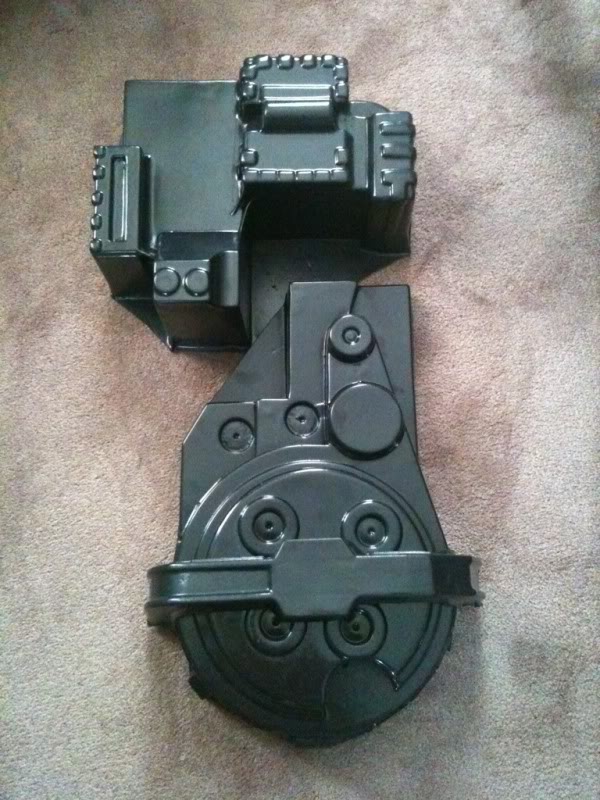
Also for the welds-

I made a few N-filters with different types of holes and welds. We were experimenting with what looked best(also I screwed some up). I would like to make smaller welds, this way they look closer to the movie parts. But a problem so far with the glue gun I have run into is this- The smaller welds seem to rub off the N-filter, HGA, and tubes after a few bumps. The larger welds hold no problem. If the packs were to just hang on the wall I wouldn’t mind. But taking it for Halloween and the like, jumps the chances to damage it. I also nearly knocked over a wine display when we went to meet the Aykroyd(I’m clumsy). But I would be open to suggestions if there is another way. Or if we are doing something wrong.
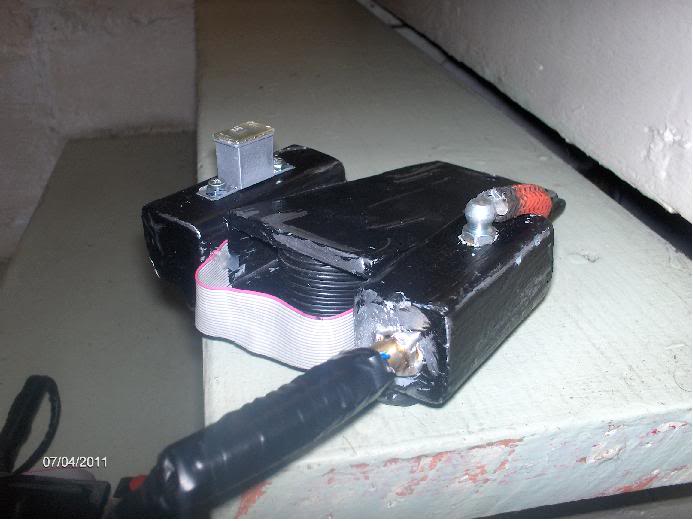
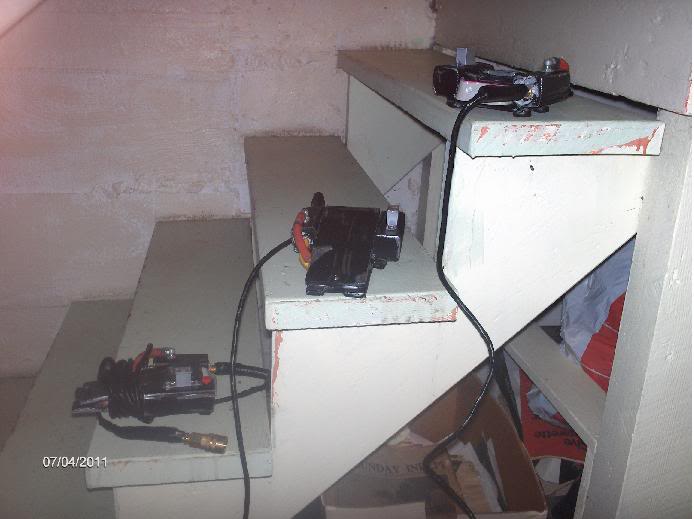
Thanks, Darryl

Small update…

Got the bumper and shock mount added.

Unfortunately, not too many updates due to lack of funds. Completion date is obviously Halloween though. Next step is figuring out the lights and sound integration.

Major update! First test run of lights and sound.

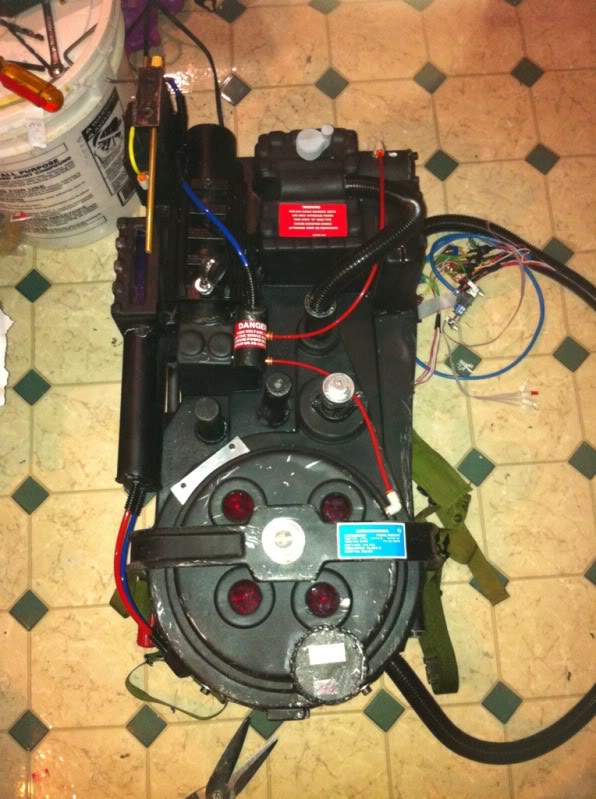
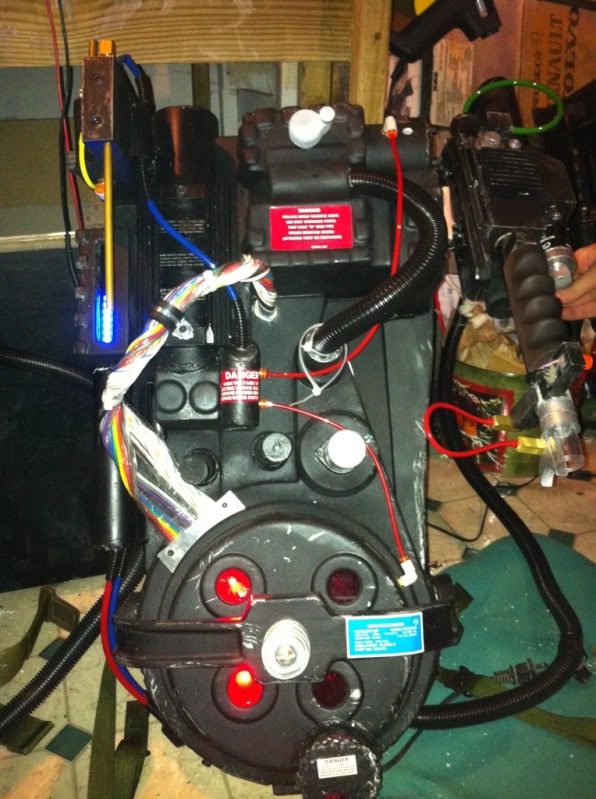
Coming to an end on the pack. Fittings are mostly on. Just waiting for 2 brass ones. Hoses, stickers and loom are in place. Now just have to get started on the gun.

Don’t mind the slippers.

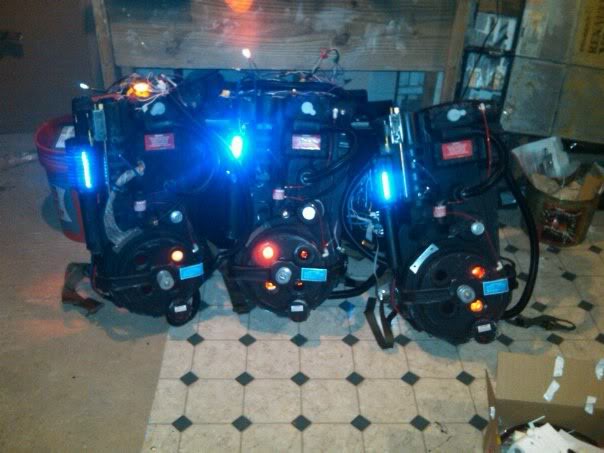
The lineup.

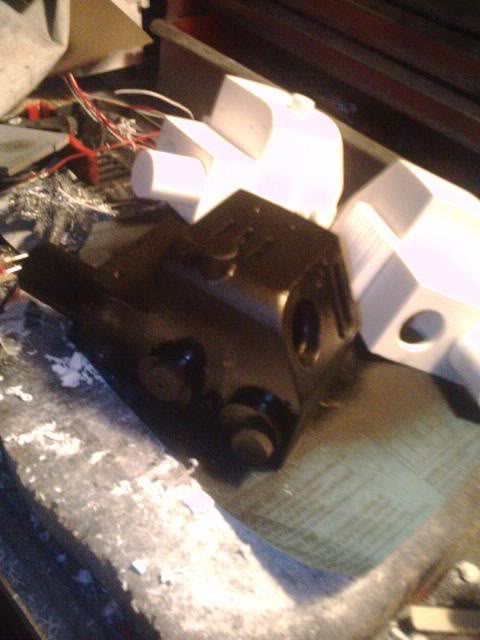
The start of the wand.

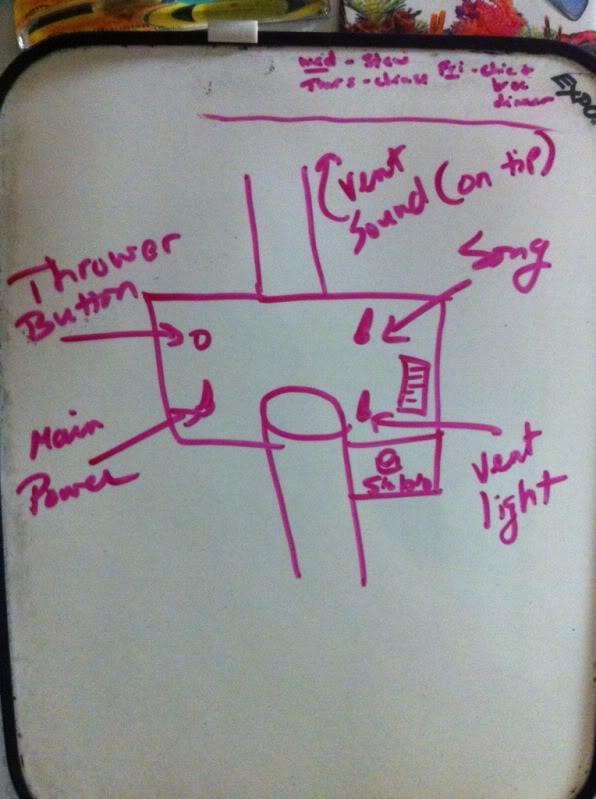
Detailed, in-depth diagram of the buttons and switches. Don’t mind the dinner list. That’s what I get for writing on the refrigerator white board.

About 95% finished. Just waiting on a couple brass fittings and a trigger box.