Ok, being the first build I will cover in depth on GBFans, I thought Id tackle a very beginner friendly way to build a belt gizmo. I bought myself a very pretty Nick-a-tron kit, but don’t want to screw it up, so I decided to build one from scratch to start. I have a general distaste for the belt gizmos out there made with old Computer PCI cards roughly cut to shape with a few LEDS throw in there, and I was inspired by the work of many others to try my hand at my own, plus Coover5 had been bugging me to make one, so here goes!
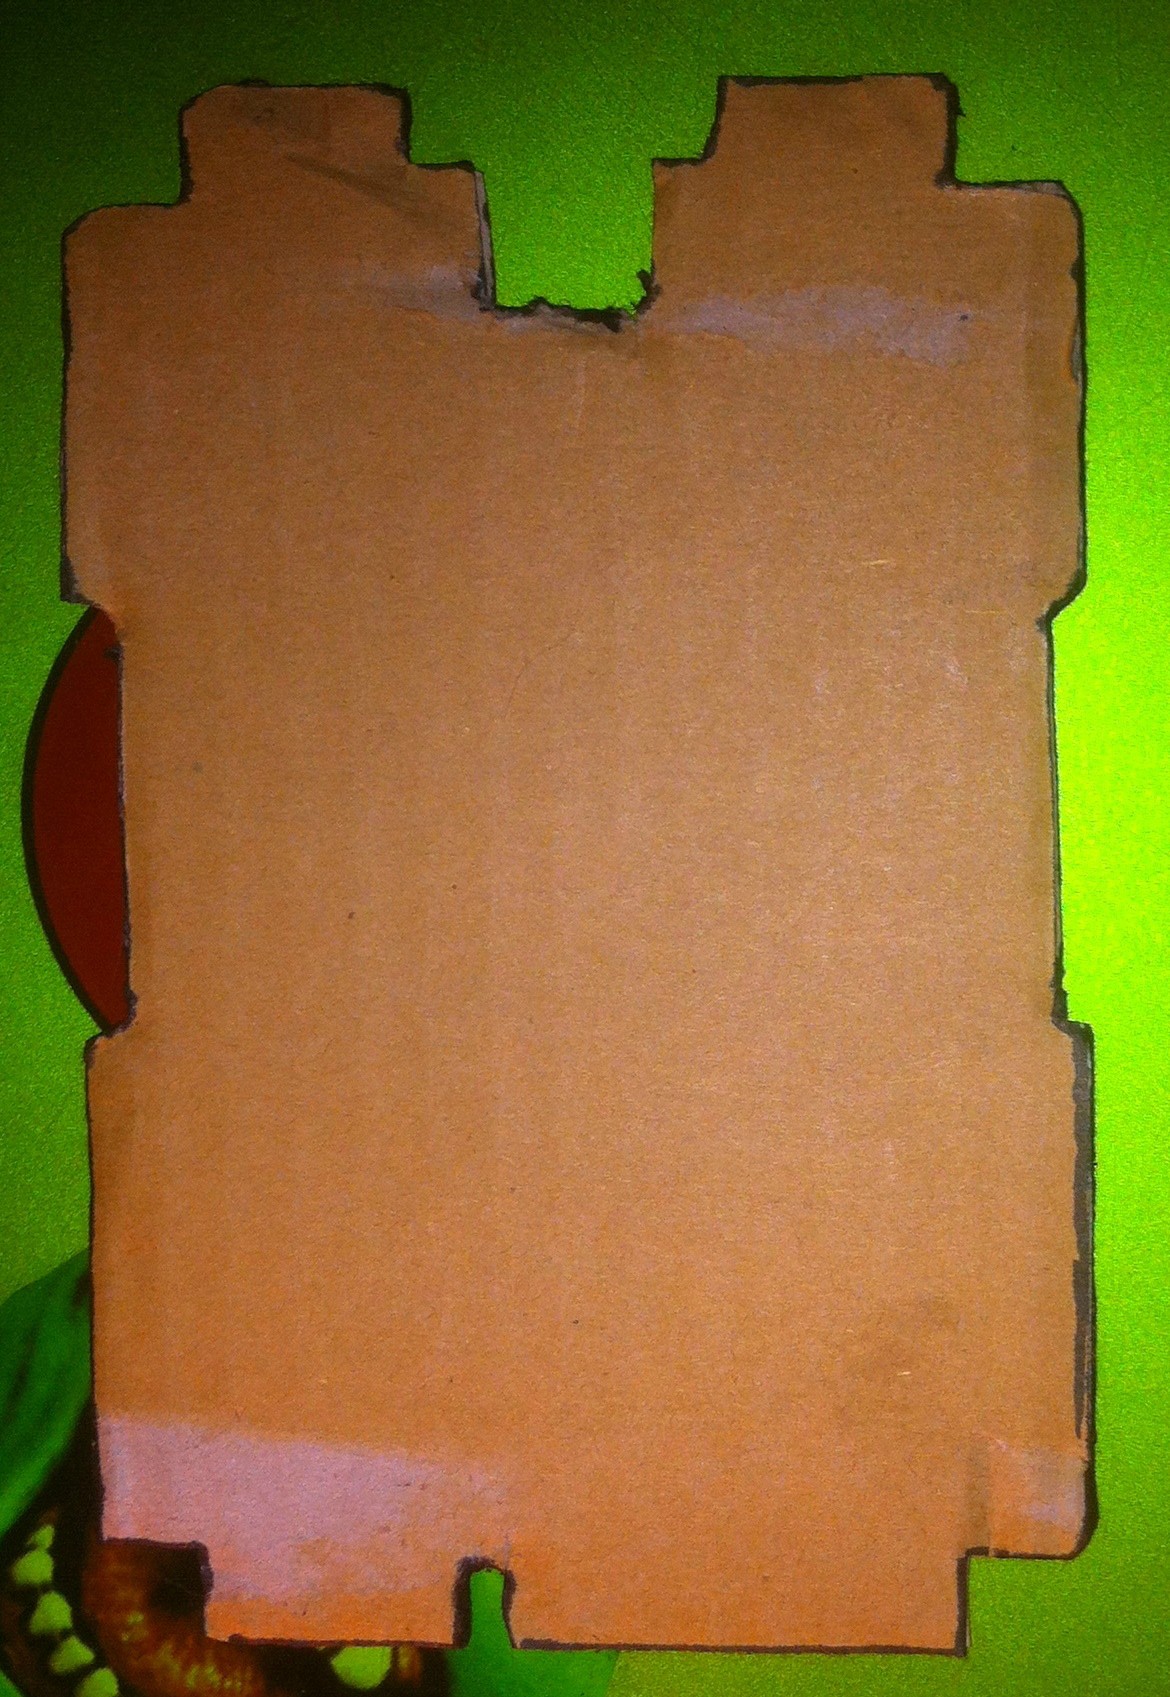
First off, I traced Nick’s card onto cardboard making myself a template that roughly fit the templates by Jairus.
Next up was to trace it onto some 1/8" plexiglas, I used blue only because it was free to me… total cost so far $0
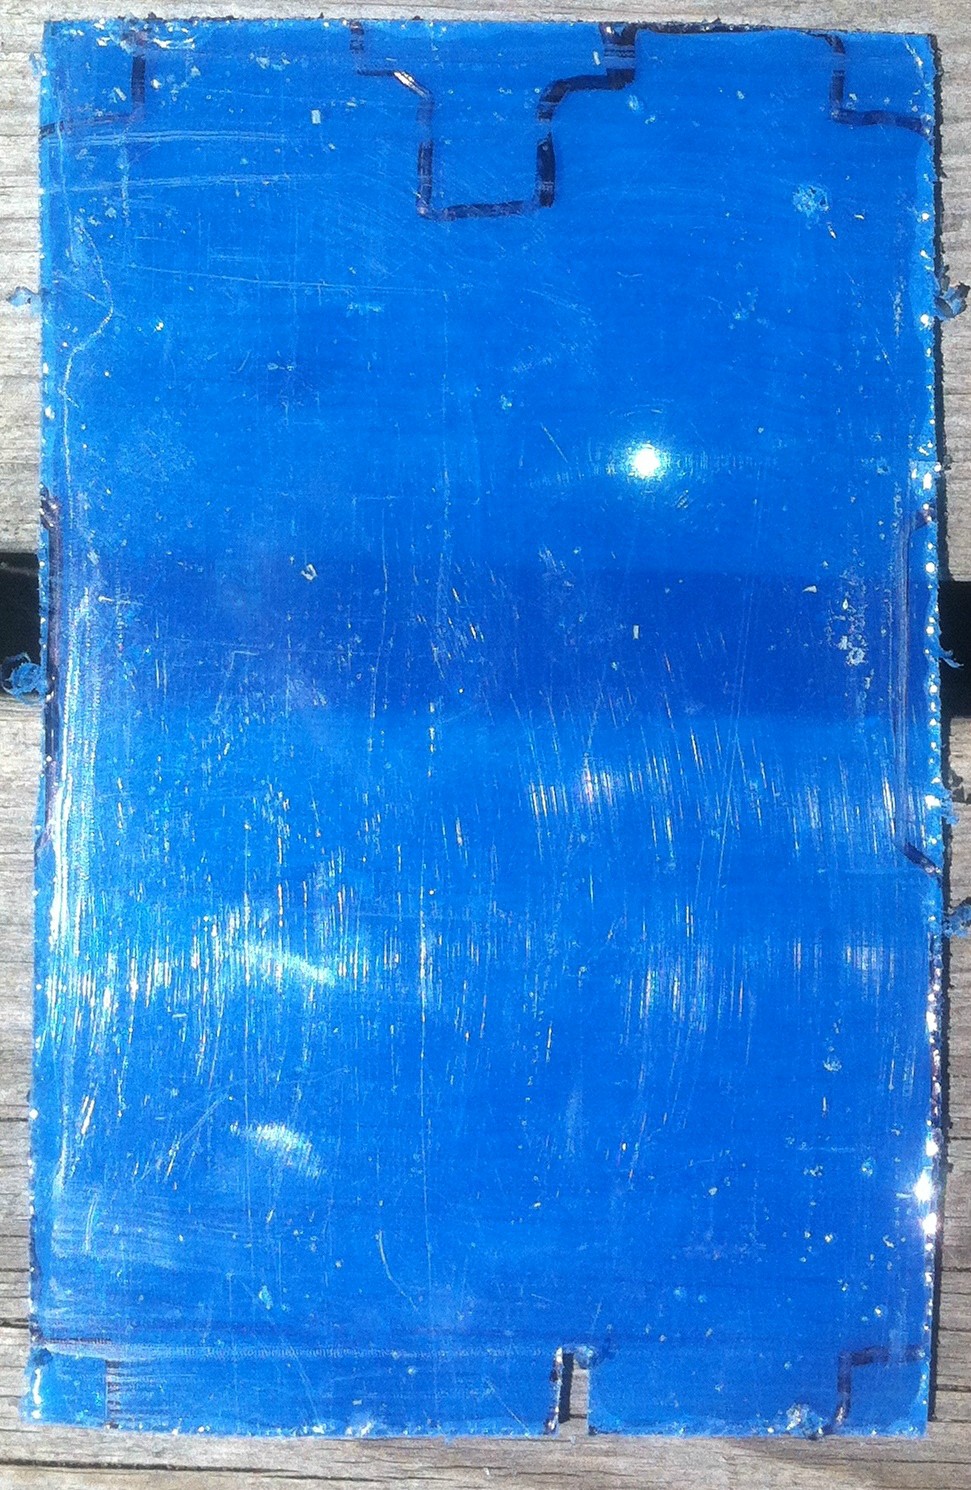
After so fancy cutting with a dremel and some finish filing around the edges and sanding the plexiglas so it would take some primer, I had something that looked like the 808D board. I rounded the edges because I wanted it to be comfortable on my belt and not potentially dig in, versus being absolutely accurate.
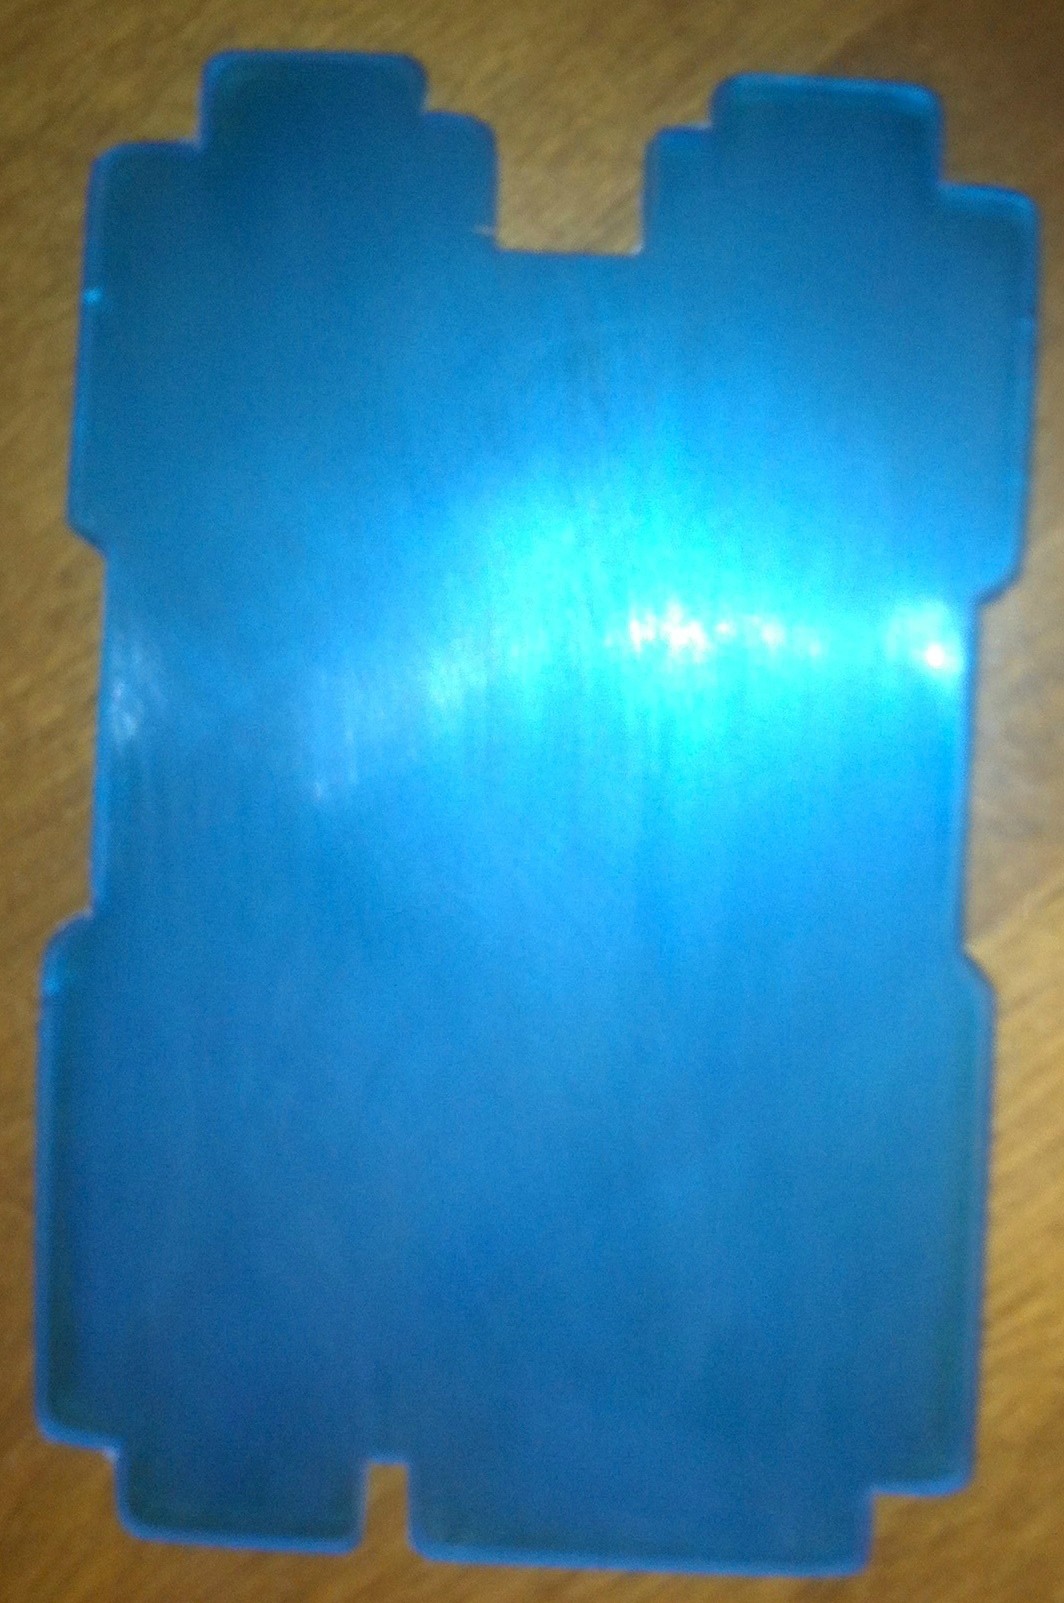
Next came primer and paint, bumping the cost to around $8 total so far
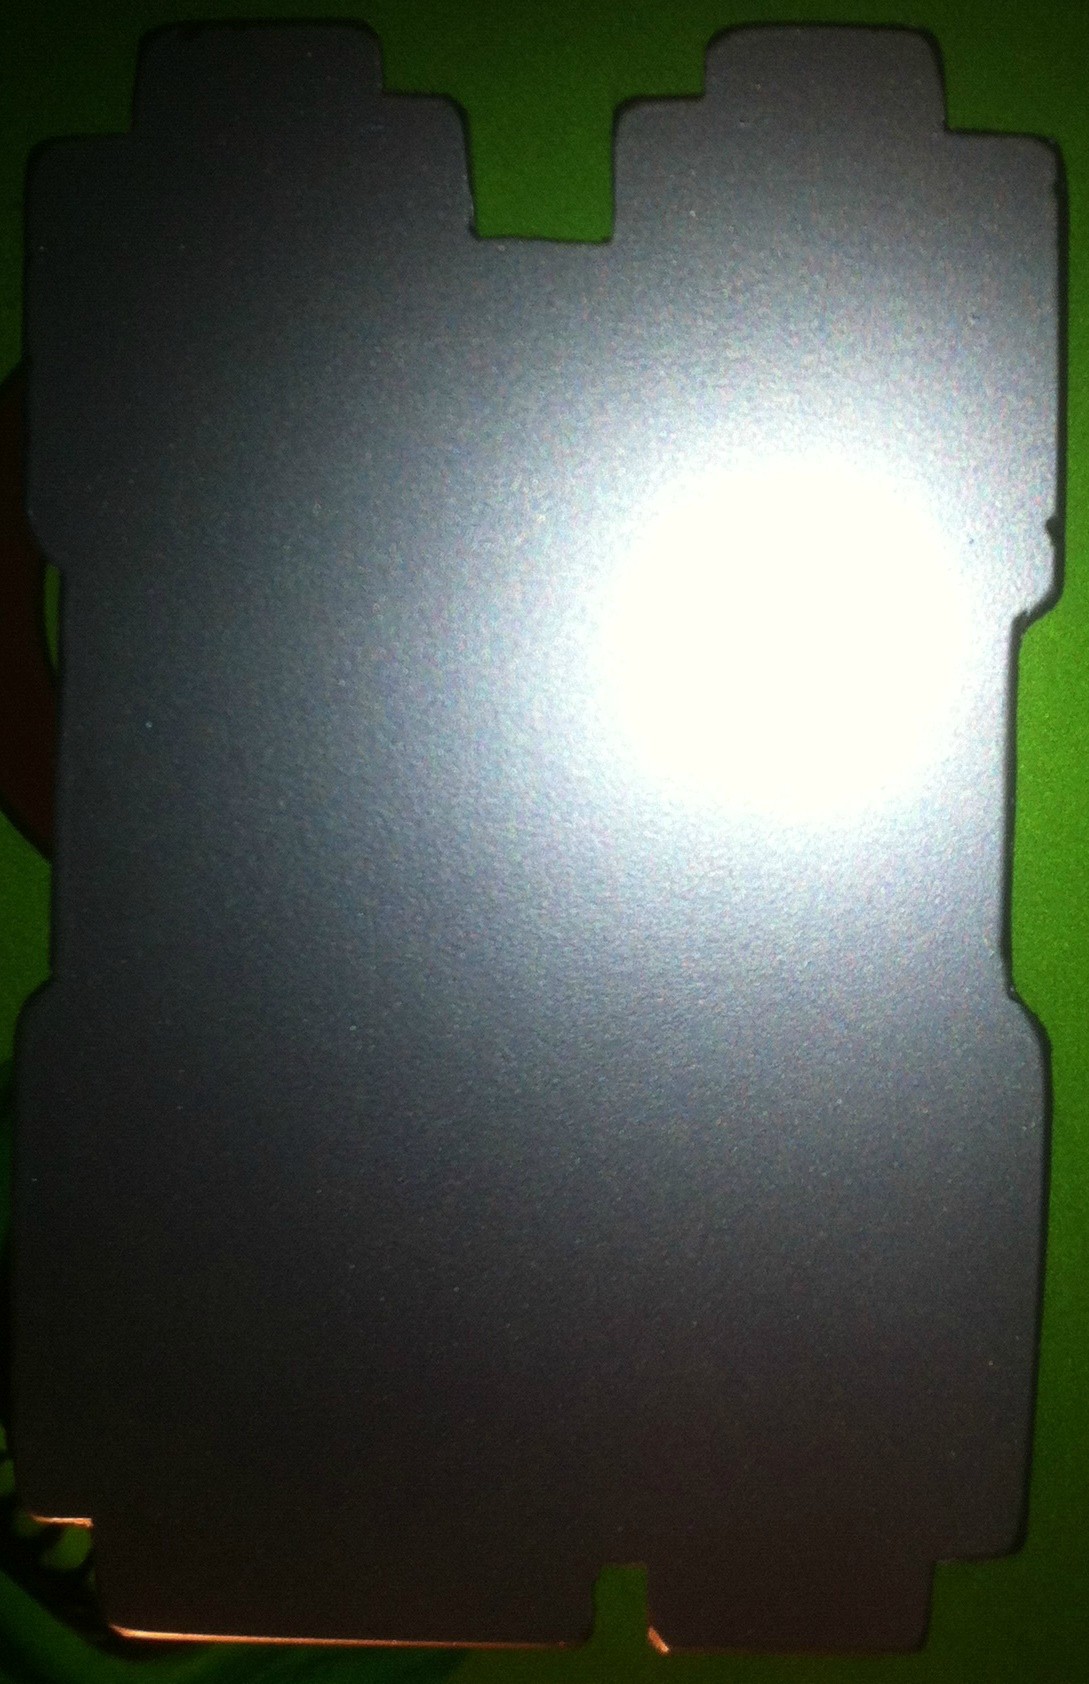
I used a piece of scrap aluminum I had lying around around to build a nixie shelf, and drilled out 1/4 holes and filled with automotive grommets to hold the tubes in place. I loved the way it came out and forgot to take a separate picture… so here it is with the board now featuring the beautiful scan by Jairus. Again, I got really over zealous and drilled out all the holes before i shot a pic. Grommets added an extra 10 bucks (enough to do almost 20 or so boards if one chose to) bringing my total to $18.
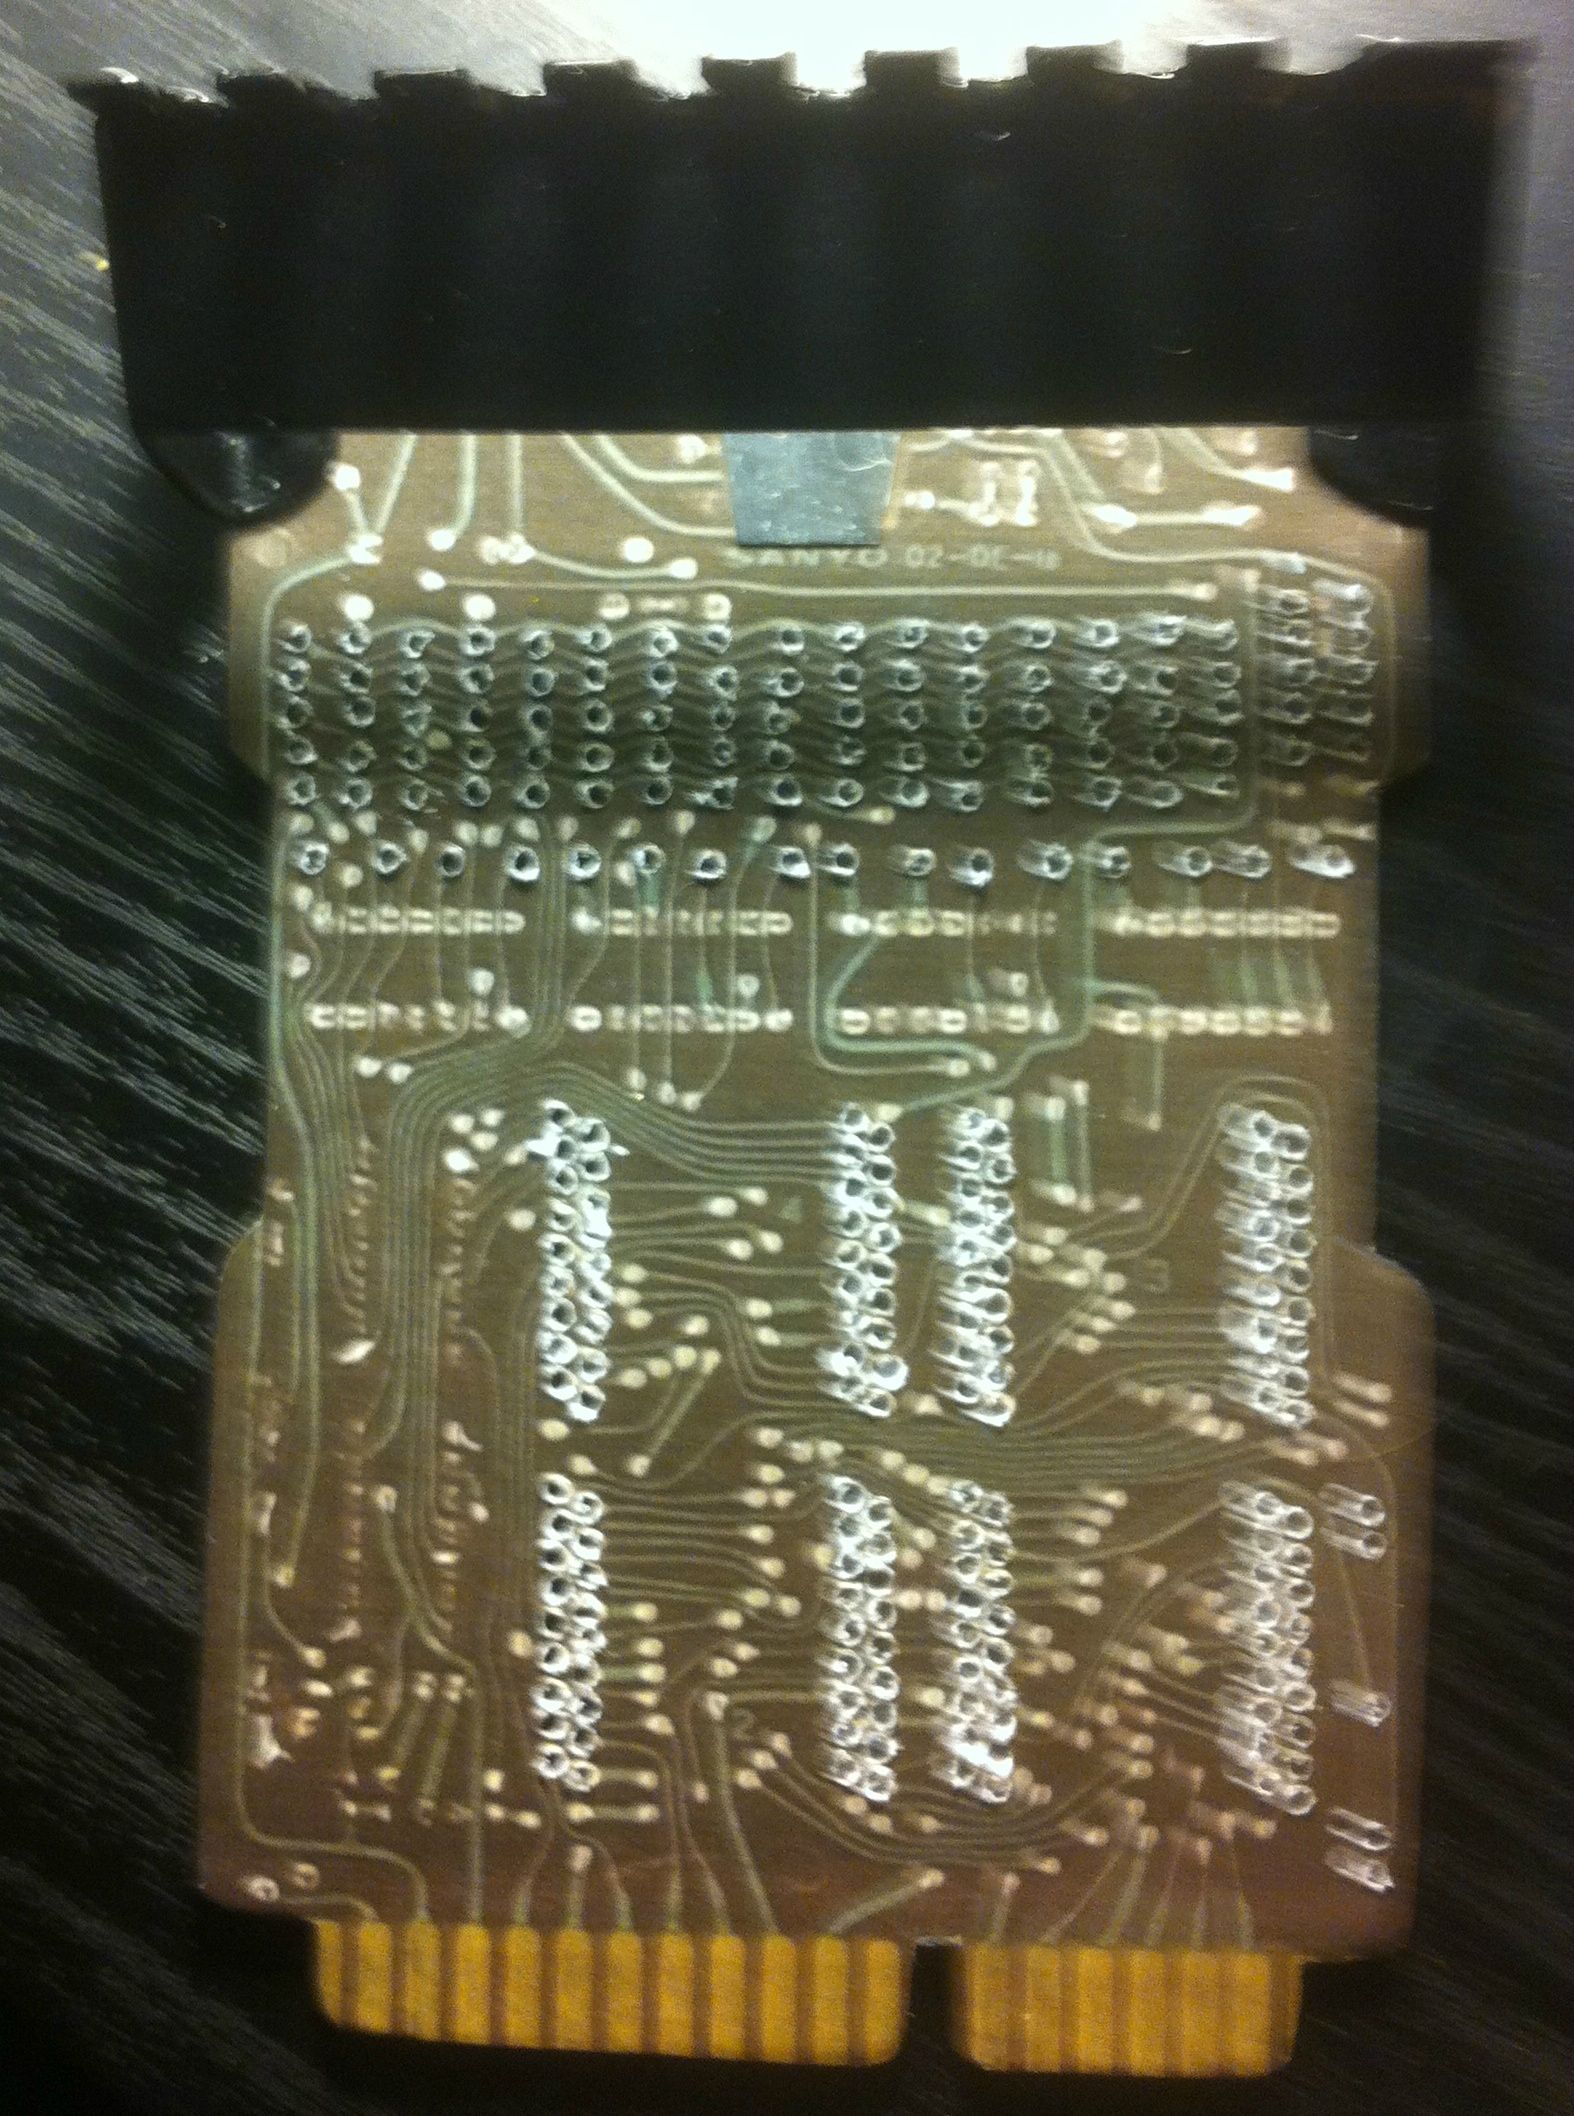
Next came a trip to pick up some gold paper clips as suggested by Spengler28, and some 14mm ceramic capacitors I got at the same time as my nixies. Yes they are bigger than they are supposed to be, but I think they look fine. Total cost up to $25 now.
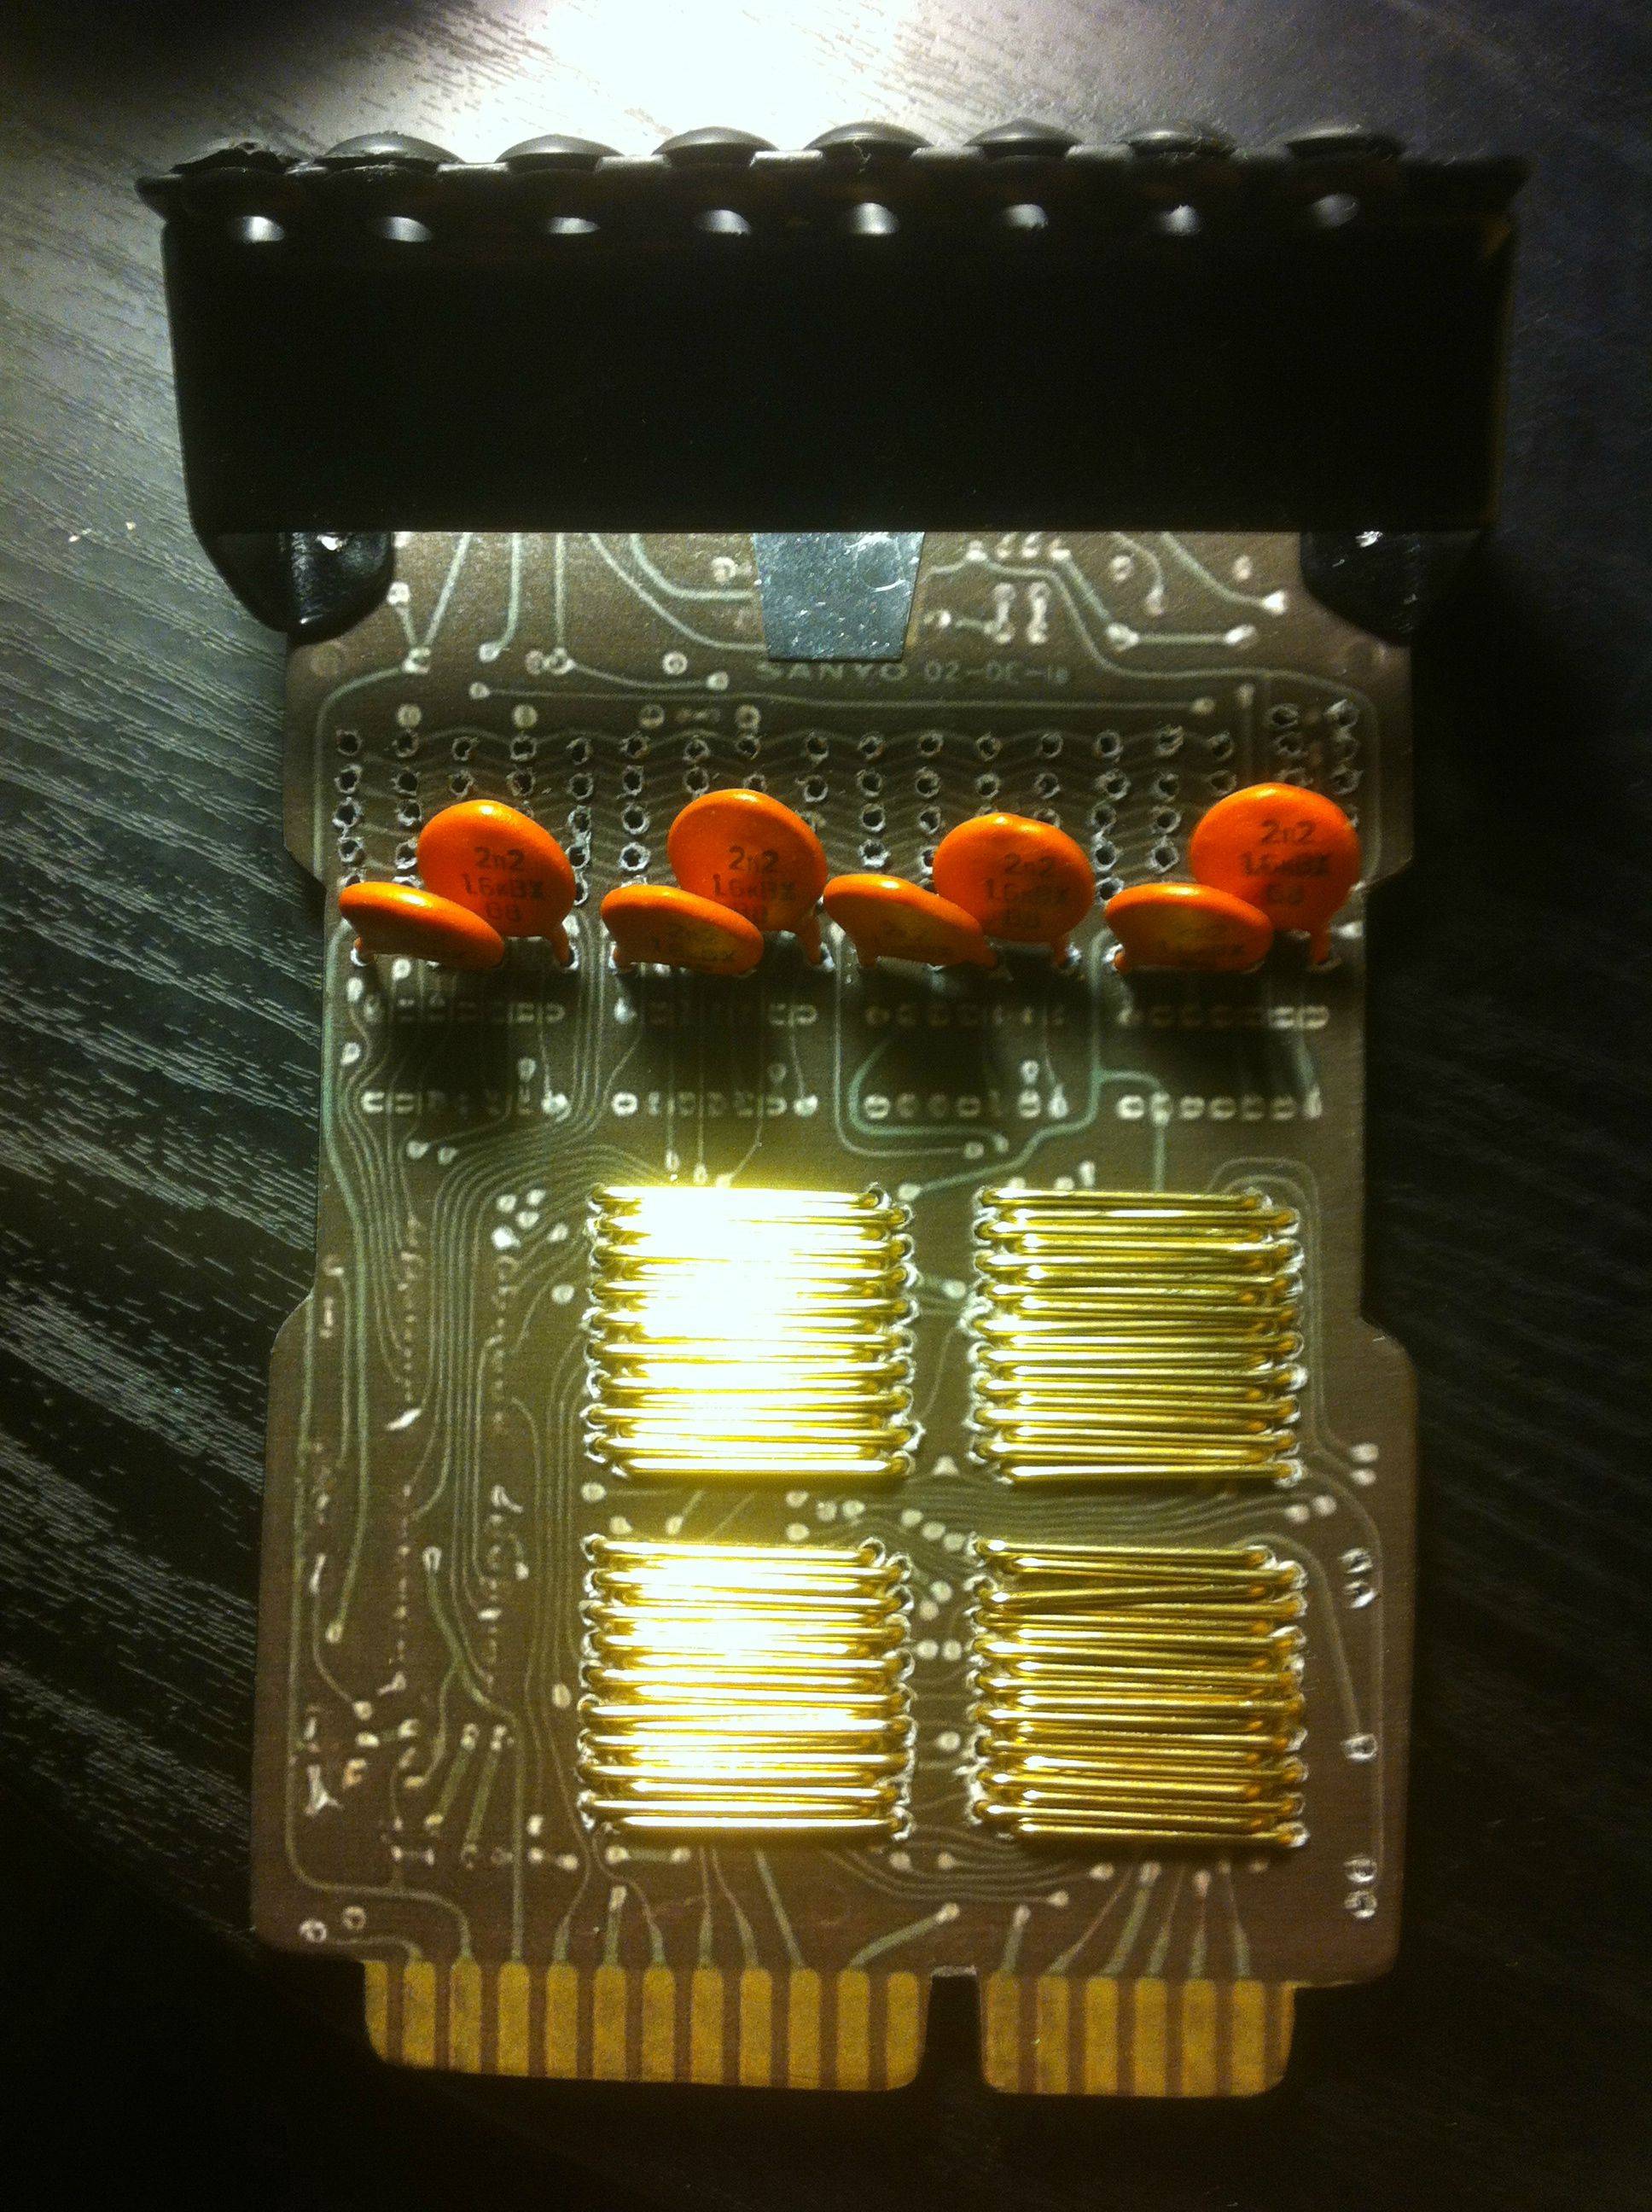
I found the key to success with the paper clips is to only use flat sections of the clip as I tried to straighten them out and the thing just looked like garbage. In this case, waste was actually better!
Next up was making a “plug” for the phone cable to attach to the daughter board, the error box and the rest of the processors. I decided since Im pretty handy at sculpting an have limited access to saws to make it out of Super Sculpey. The stuff bakes to a rock hard sandable and drillable finish, and I think the results looked great. By using Sculpey instead of wood I was able to raise the circular parts on the processors just like on Nick’s build and on the real board which many scratch builds lack. Sculpey cost me $15 but will make tons of parts for multiple boards, etc. Total now up to $40.
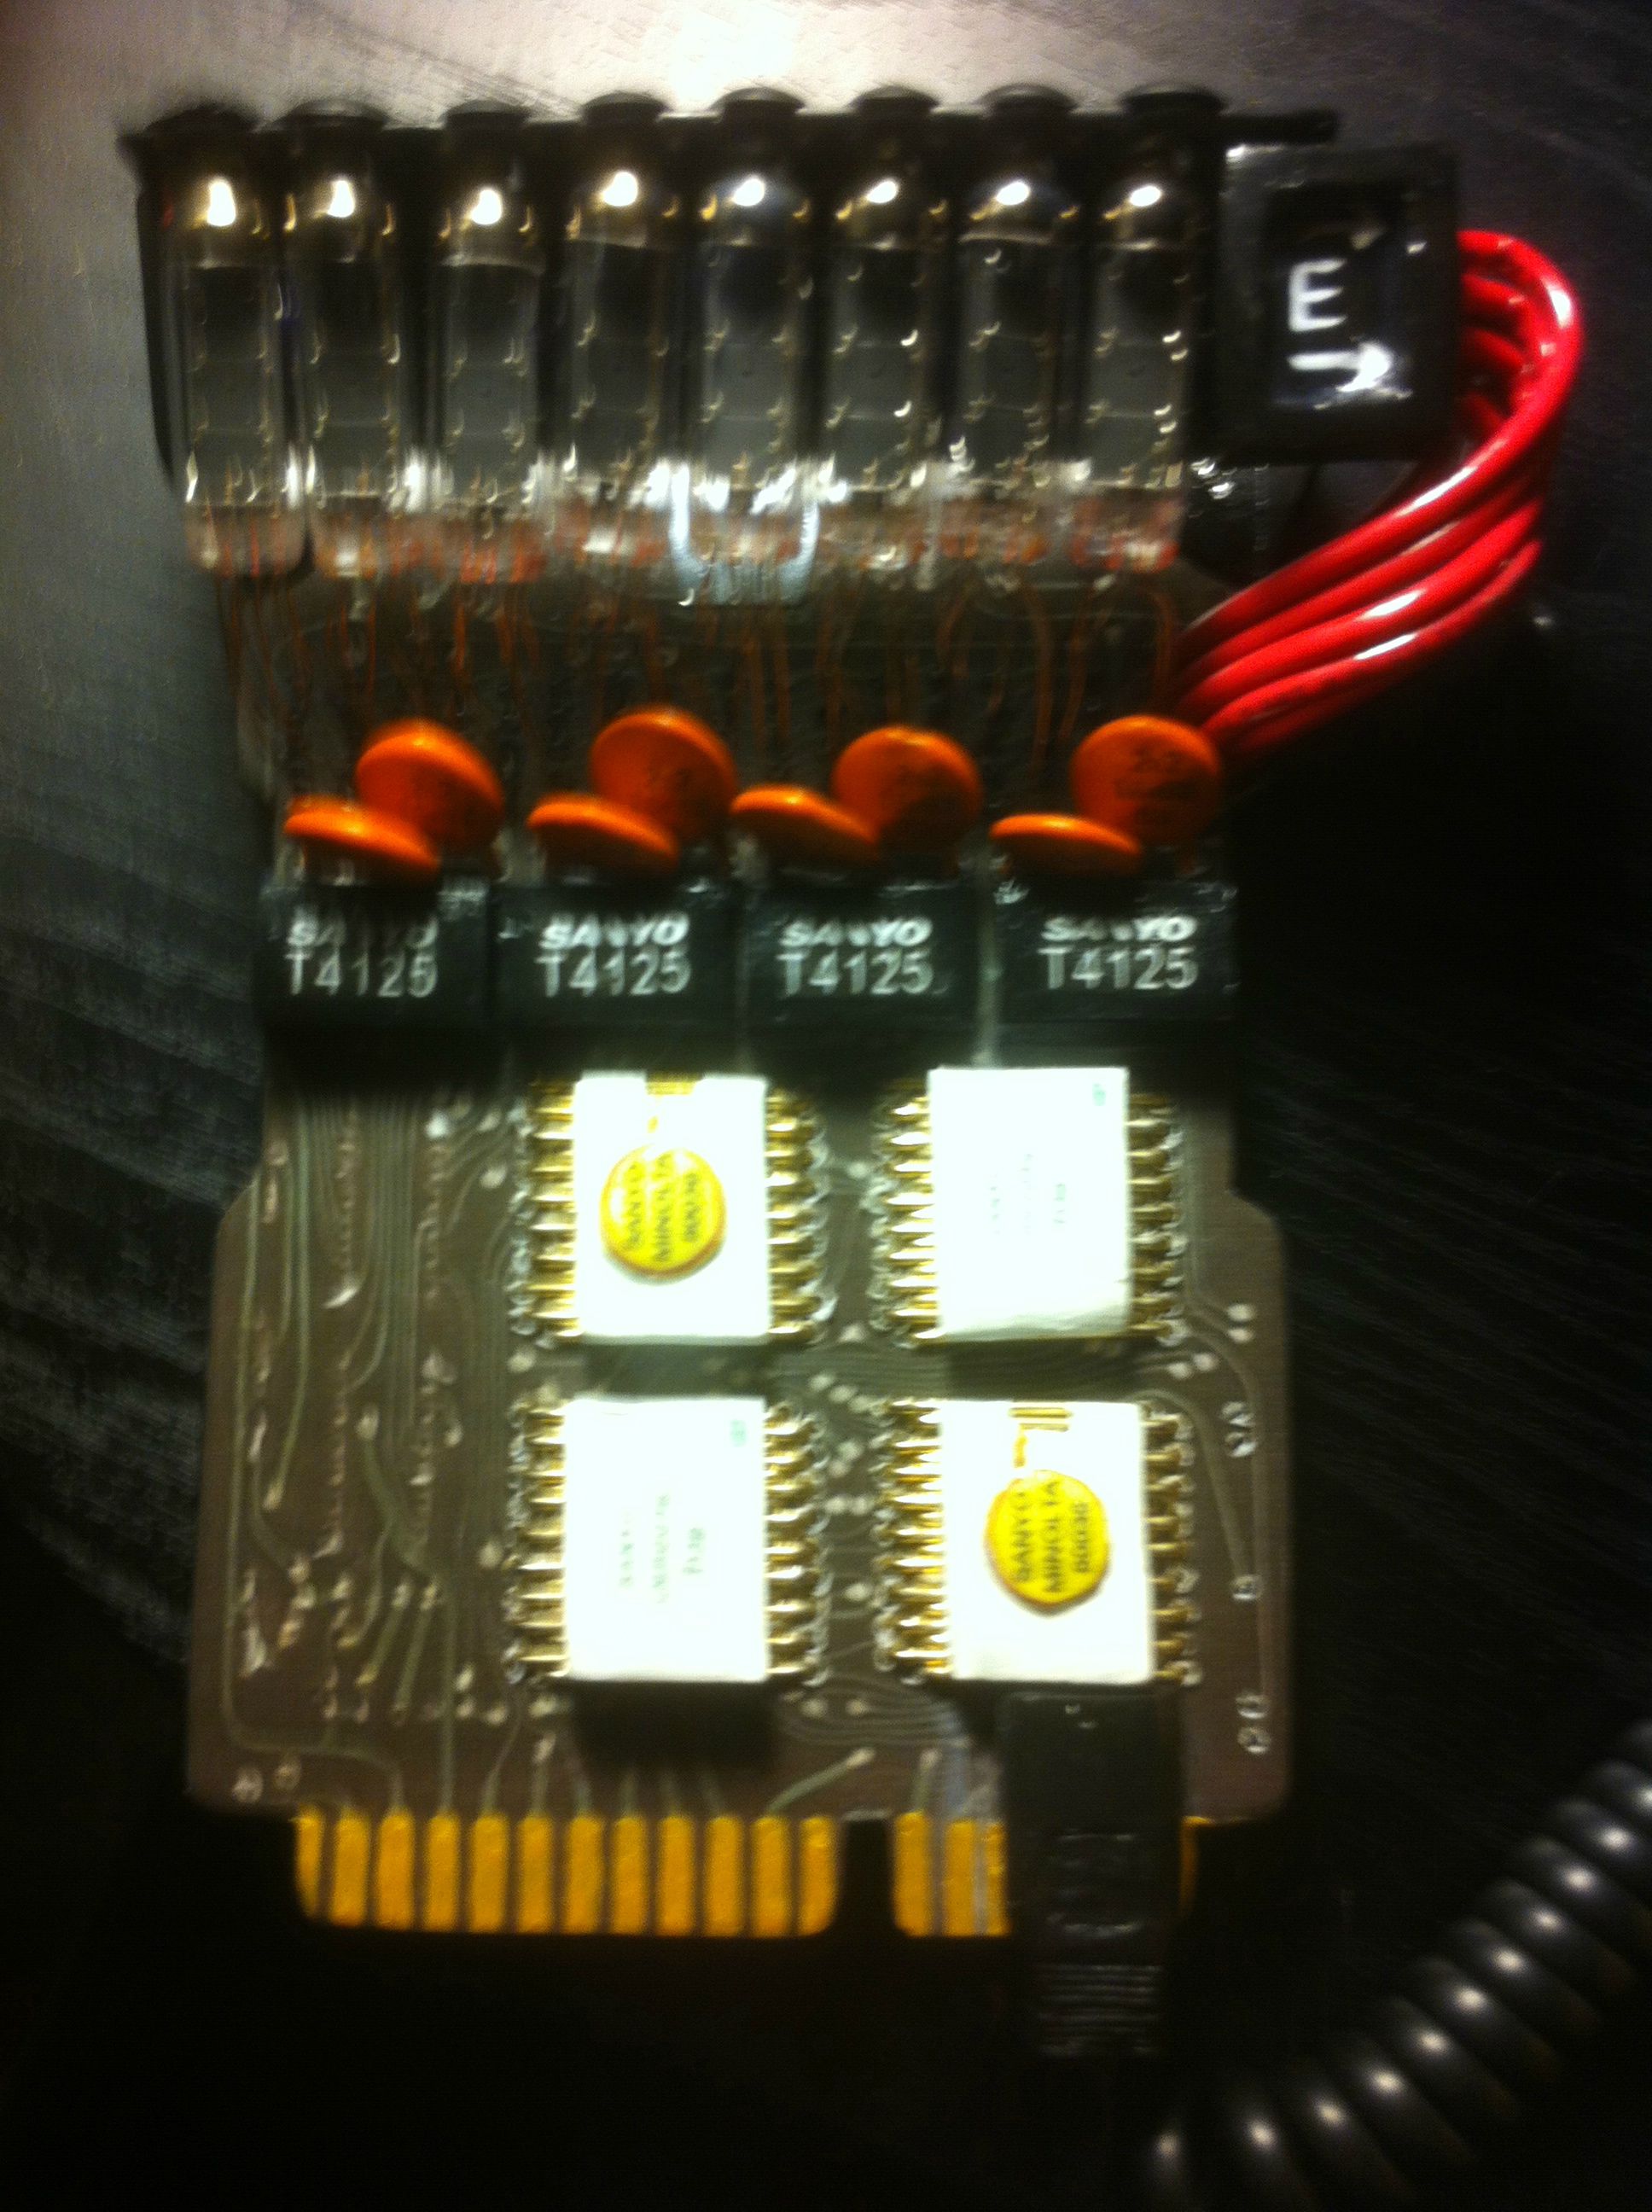
I then attached the nixies and the wire for the error box. I had wire to encase the wires of the Nixie tubes but after failing three times to make it work, i just said screw it and gave up on this board… maybe I will have to try again later. Nixies cost me $15 and the wire was 37 cents at the good old home depot. Including the epoxy I used to glue everything together, the total cost is at $57.37. Not bad so far for a scratch build.
Next update, I will add all the fun little resistors and stuff on the side that really makes this pop, just waiting on the shipment to come in.
Enjoy and feel free to ask any questions or leave constructive feedback, criticism, etc…