Fiberglass Proton Pack Build

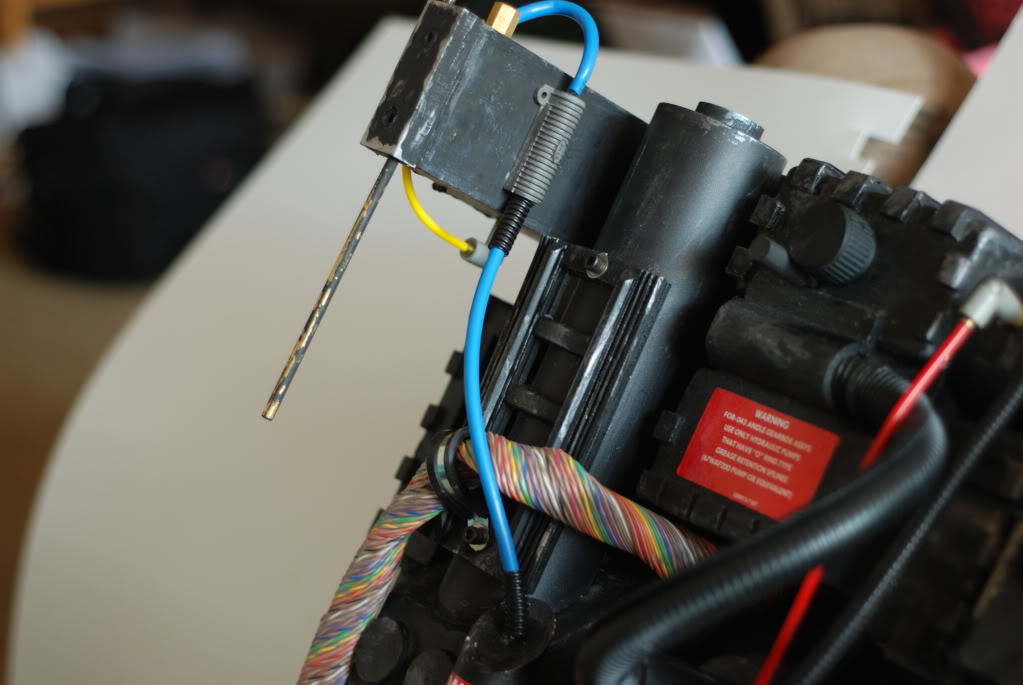
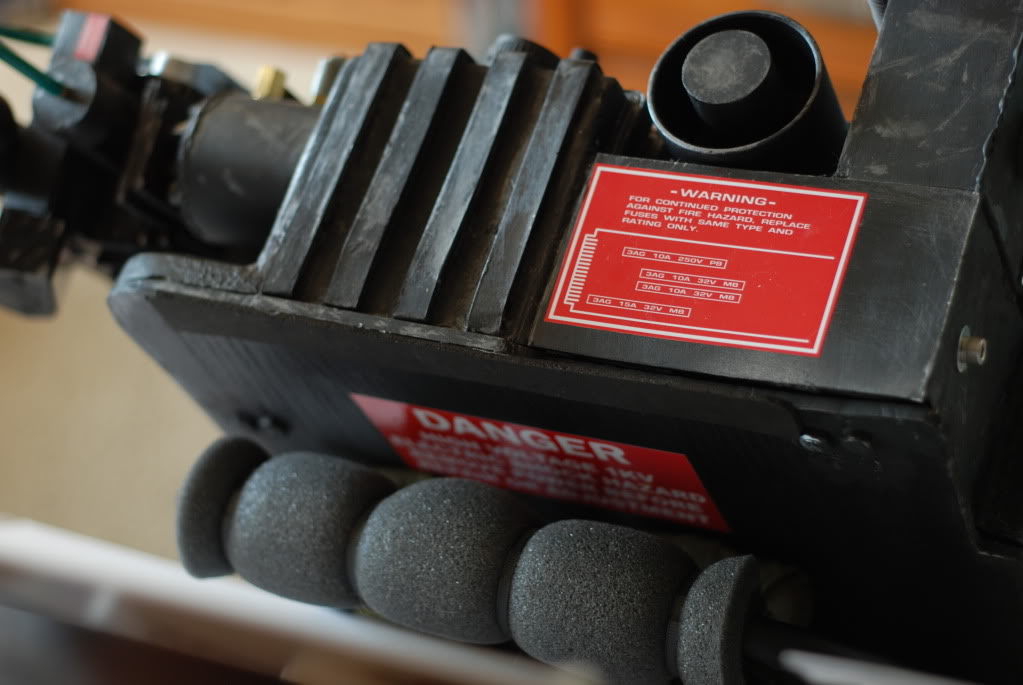
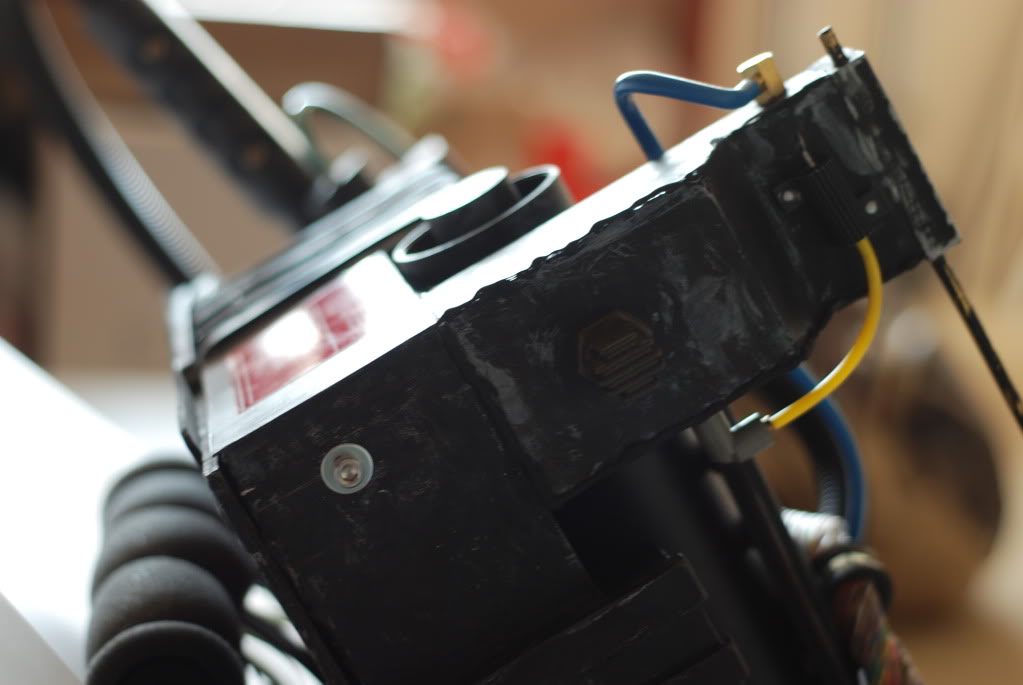
This was my first attempt at building a fiberglass Proton Pack.

The original wooden buck was built in two parts; christphern of the Tennessee Ghostbusters built the upper assembly, while I built the lower half and gun box. Our plan was to cast fiberglass shells for our respective groups. Easier said than done, right?

![image](http://www.gbfans.com/images/pb/wraithofmusic/GB2 Belt_01.jpg)

![image](http://www.gbfans.com/images/pb/wraithofmusic/GB2 Belt_02.jpg)

![image](http://www.gbfans.com/images/pb/wraithofmusic/GB2 Belt_03.jpg)

![image](http://www.gbfans.com/images/pb/wraithofmusic/GB2 Belt_04.jpg)

![image](http://www.gbfans.com/images/pb/wraithofmusic/GB2 Belt_05.jpg)

![image](http://www.gbfans.com/images/pb/wraithofmusic/GB2 Belt_06.jpg)

![image](http://www.gbfans.com/images/pb/wraithofmusic/GB2 Belt_07.jpg)

![image](http://www.gbfans.com/images/pb/wraithofmusic/GB2 Belt_09.jpg)

![image](http://www.gbfans.com/images/pb/wraithofmusic/GB2 Belt_08.jpg)

After the buck was painted and ready to go, I made a silicone mold using Smooth-on Rebound 25 and then did the two-part fiberglass mother mold.

![image](http://www.gbfans.com/images/pb/wraithofmusic/GB2 Belt_10.jpg)

![image](http://www.gbfans.com/images/pb/wraithofmusic/GB2 Belt_11.jpg)

![image](http://www.gbfans.com/images/pb/wraithofmusic/GB2 Belt_12.jpg)

Freeing the buck from the mold was not fun (I was told that a mold release wasn’t necessary for Rebound 25, but should have used it anyway). The EDA and N-Filter were destroyed in the process.

![image](http://www.gbfans.com/images/pb/wraithofmusic/GB2 Belt_13.jpg)

![image](http://www.gbfans.com/images/pb/wraithofmusic/GB2 Belt_14.jpg)

![image](http://www.gbfans.com/images/pb/wraithofmusic/GB2 Belt_15.jpg)

![image](http://www.gbfans.com/images/pb/wraithofmusic/GB2 Belt_16.jpg)

![image](http://www.gbfans.com/images/pb/wraithofmusic/GB2 Belt_17.jpg)

![image](http://www.gbfans.com/images/pb/wraithofmusic/GB2 Belt_18.jpg)

![image](http://www.gbfans.com/images/pb/wraithofmusic/GB2 Belt_20.jpg)

![image](http://www.gbfans.com/images/pb/wraithofmusic/GB2 Belt_19.jpg)

Being my first time working with silicone and fiberglass, I made a numerous mistakes that resulted in two slightly warped, mediocre shells that required a lot of clean-up. Of course, I never expected perfection, but have learned a great deal about casting and mold-making.

Our plan is to recast the buck (without the N-filter attached) and do it correctly. Some things for next time:

  1. Use a mold-release agent.

  2. Have the N-Filter be a separate add-on piece and not part of the mold.

  3. Use the method of pouring the silicone into a cavity (filled with clay) and leaving holes in the mother mold for “keys”.

The part that I’m still struggling with is laying the fiberglass inside the mold. I’ve done it twice, and can make it sturdy, but it’s far too thick around the Cyclotron and Power Cell windows. On the second cast, I tried doing a single layer of fiberglass mesh on those areas, but the resin still gathered at the bottom.

Overall, this has been a fun, enlightening, and nightmarish experience. While the final product is pretty bad, it’s far from unusable.

Parts Run-down:

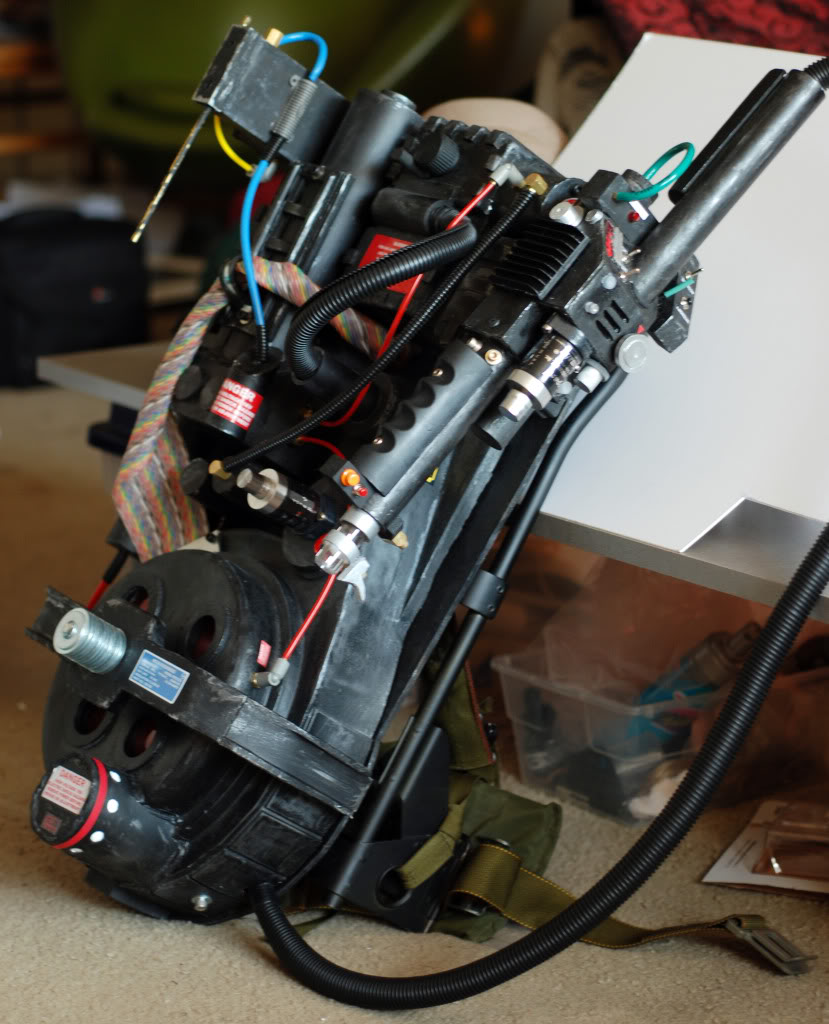
Tubing, split loom, Clippard elbows - masteryoda

Sage M25W & resin PH-25 resistors - christphen

Dale RH-50 resistor - GBFans Shop

Legris straight connectors, elbows, and Clippard valve - Shapiro’s Scrapyard (St. Louis)

Spectra ribbon cable - eBay

Crank knob (modified) - Electronics Exchange (St. Louis)

Booster tube (shop-vac extension) - eBay

*The Bumper shown is a foam buck (built by Steve Swope, one of our local members) that we’re working on casting.

The HGA, Booster Frame, Ion Arm Cap, Injectors, PPD, and ribbon cable plates were scratch-built by me.

Excellent rundown of the process. :crunch:

Now you got me wanting to do that whole process myself! Looks great!

Thanks for the compliments, everyone!

I did some work on the thrower over the past few days. It’s far from complete, but it’s starting to vaguely resemble a Neutrona Wand.

Not looking forward to building the gun track, though…

![image](http://www.gbfans.com/images/pb/wraithofmusic/GB2 Belt_DSC_3146.jpg)

![image](http://www.gbfans.com/images/pb/wraithofmusic/GB2 Belt_DSC_3147.jpg)

Good job for your first try. Actually looks a bit better than my first attempt. Here are few tips if you ever try for a second mold.

-The mold you made looks pretty much like a glove to the pack. You want to use the tickvex II thickening agent to make the rubber very thick and build up surfaces. This reduces the number of pinch points and allows some flexibility between the mother shell and the casting.

-It is possible to cast with the N-filter (the pringle can) on the cyclotron. When you make your mother mold, have the seam go over the n filter. This is how I did my cyclotron mold and it worked very well.

-The best teqnique I found for laying the resing and class is paint on two layers of gel coat which is half resin and half microbulb filler. Then when you add your cloth, paint a thin layer of resin with a brush, lay the fabric down, and pad the fabrin with the resin filled brush. If resin starts to pool in the mold, use the brush to dip in and use that resin to coat the spot for the next piece. I also sugest putting fiberglass mat anywhere on the pack that will become load bearing, especially near the gun mount.

Hope that helps.

Thanks for the advice; this should really help when I eventually recast it.

I was part of this entire process (considering it was being built both in my kitchen and on my back porch), and I’m glad to see the pictures getting some views. It was an insane project for someone like me who is used to sewing… a type of crafting where you see results almost immediately.

What Demon forgot to say was that the police showed up at our house after two days of fiberglassing on the porch. Apparently, a neighbor had reported a smell they thought was a meth lab emanating from our porch. The cop thought it was all pretty funny when he saw what we were ACTUALLY working on.

Back when Dave and I use to work on the porches of our apartment complex, we would be out there with resperators, gloves, glasses, and canisters of resin and white microbulb filler. I still can’t believe nobody ever called about a meth lab. :blush:

It’s finally done. Despite some glaring flaws, it somewhat resembles a Proton Pack…

The next project will be the gun/pack lighting!

Awesome documentation, and good results!

Demon Vice Commander: A+

I feel your pain! I’ve been doing fiberglass boat / jet ski repairs for years. I’ve also made a few fiberglass speaker surrounds in my time. All amounted to nothing when it came to casting a pack. The detail in the mould really doesn’t like taking sheets if glass, and at times I felt like i might have to do the whole pack from choppies.

The best way it worked out for me is to try and kill all of the detail on the inside before you even put glass anywhere near it. Now I do 2 layers of Gelcoat and a thickened ‘toothpaste’ layer of resin to fill in all the corners before I even touch it with glass.

I think the norm over in the states is the woven fabric, but that’s a little less common here. I heard that stuff is easier to work with than mat.

Lawrence

Really nice for a first time at fiberglass.

Actually the norm over here is taking fiberglass mat, and tearing it up into countless amounts of small pieces. I would love to be able to just do fiberglass cloth, but I don’t know how well that would work.

Yes, you want to rip the mat into pieces about the size of a half of a dollar bill or smaller.