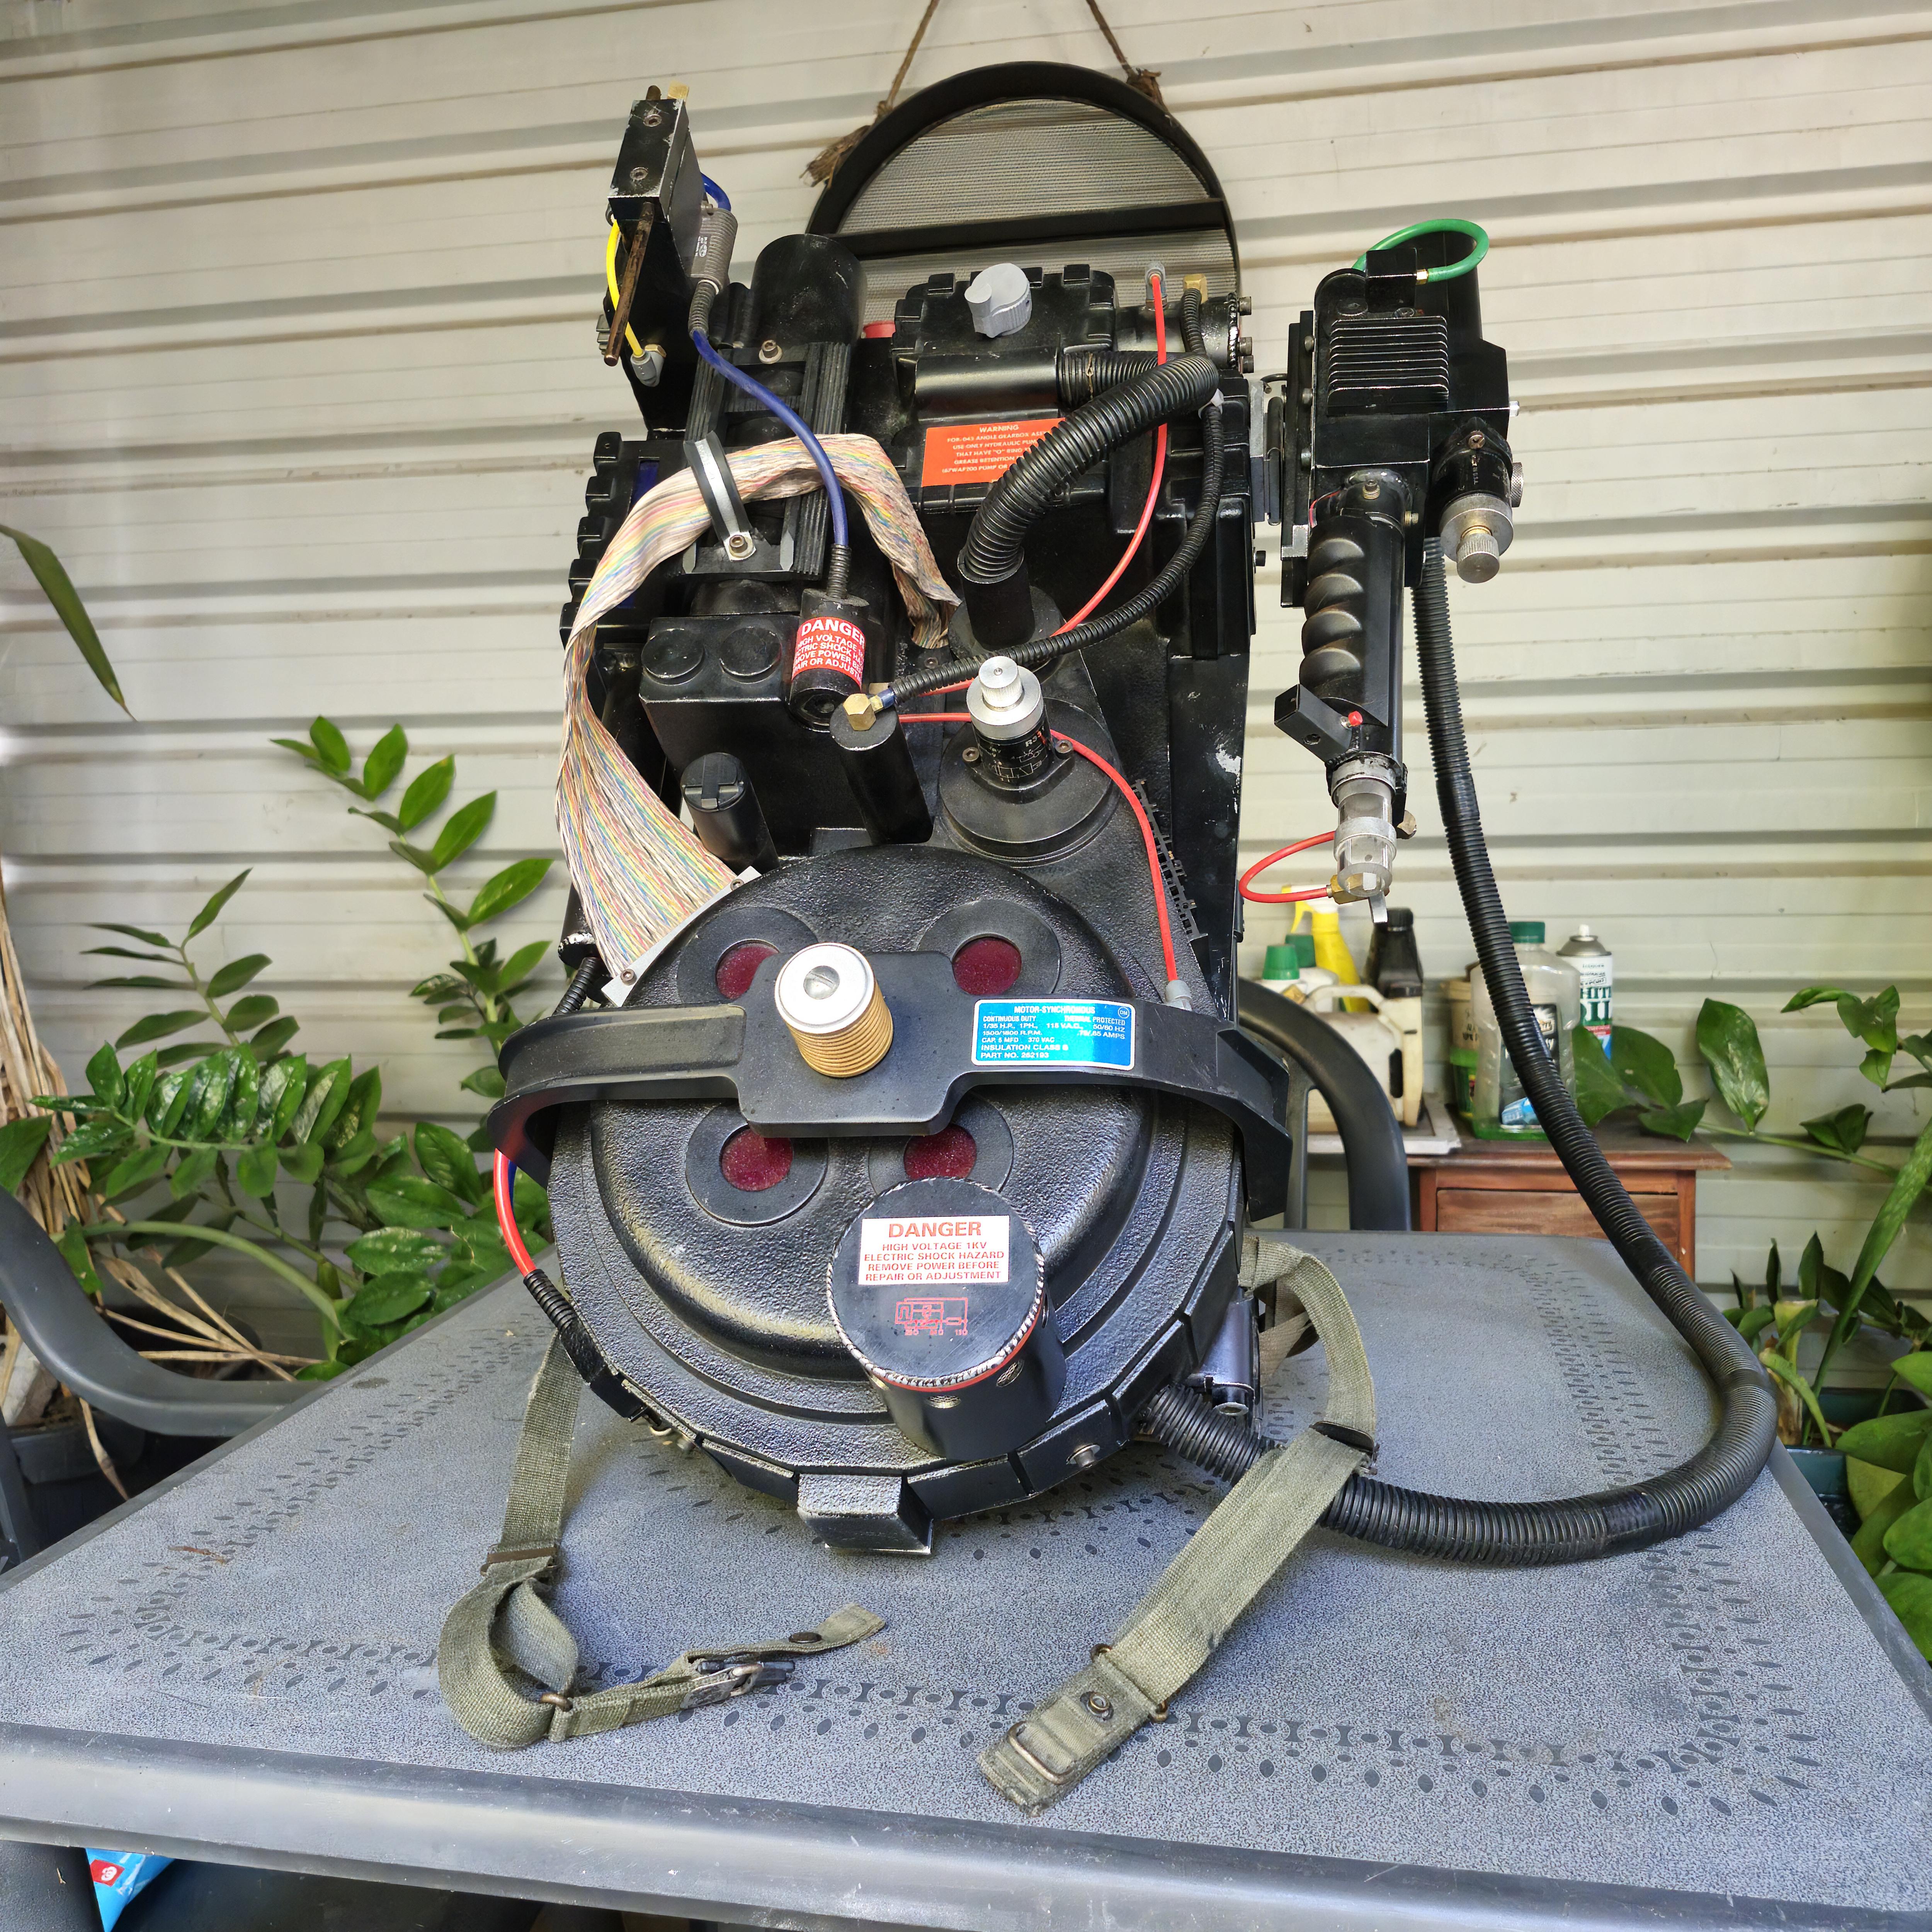
Planned this pack years ago, but only just got around to actually starting it around last February. Got one of Chris Bosh’s v1.5 pack shells. Shell sat at my mom’s place in the States until I finally had her ship it over so I could get started.
Not sure if it was the humidity or the fact that it was wrapped up tightly in a box for 8 years (probably a bit of both), but there was some minor warping. I managed to fix most of it, but there are a few places where the shell hangs a bit over the edge of the motherboard Chris provided. I shore up the gaps where you could see into the shell from the front, but didn’t go too overboard, as I wanted to embrace a bit of wonk with this pack.
My initial intent, back in 2016, was to replicate the Spengler pack, but as time went on we eventually got Afterlife. The Spengler pack is now a character in it’s own right, so I decided to go another route. As much as I prefer the GB1 pack, there are things about the GB2 pack that I feel a bit more attached to, visually. I actually prefer the GB2 ribbon cable to the GB1, as well as the rounded fins of the GB2 wand heat sink. What I eventually decided to do was build a 1.5 pack. A pack that exists somewhere in the five years between the first and second movie. One that has had the beginnings of the GB2 cosmetic alterations, but is still a GB1 pack where it matters. Likewise, the weathering will reflect a little worse than GB1, but not quite GB2. With that decision made, I also decided to not just replicate any one particular pack set-up. Instead, I would take inspiration from all of the movie packs, and try to incorporate something from each of them.
I was going to go with the GB2 black crank knob, but my wife suggested the GB1 knob, as it breaks up all of the black of the pack. She’s also fond of the GB1 ribbon cable, so that will probably be a future purchase for a swappable option. A simple swap of the ribbon cable, wand heat sink and the bellows is all it would take to bring this pack back to 100% GB1.
I really did try to break out of my comfort zone and embrace some of the “not quite flush/not quite square” of the original packs. I usually get so obsessed with the minutia that projects drag on forever, but I wanted to make something in the true spirit of the original props. Practiced quite a bit of “close enough” and “that looks about right” to balance out some of the reference obsession.
Still quite a bit I want to do, but this is in a state of complete enough to show. Still waiting on hat lights and arcolectrics to replace the placeholder cliplites. Haven’t started any electronics yet, but that’s next on the list.
N-filter is attached the same way the originals were, but instead of rivets I used M5 sockets caps so I can easily remove it when I eventually add a vent kit.
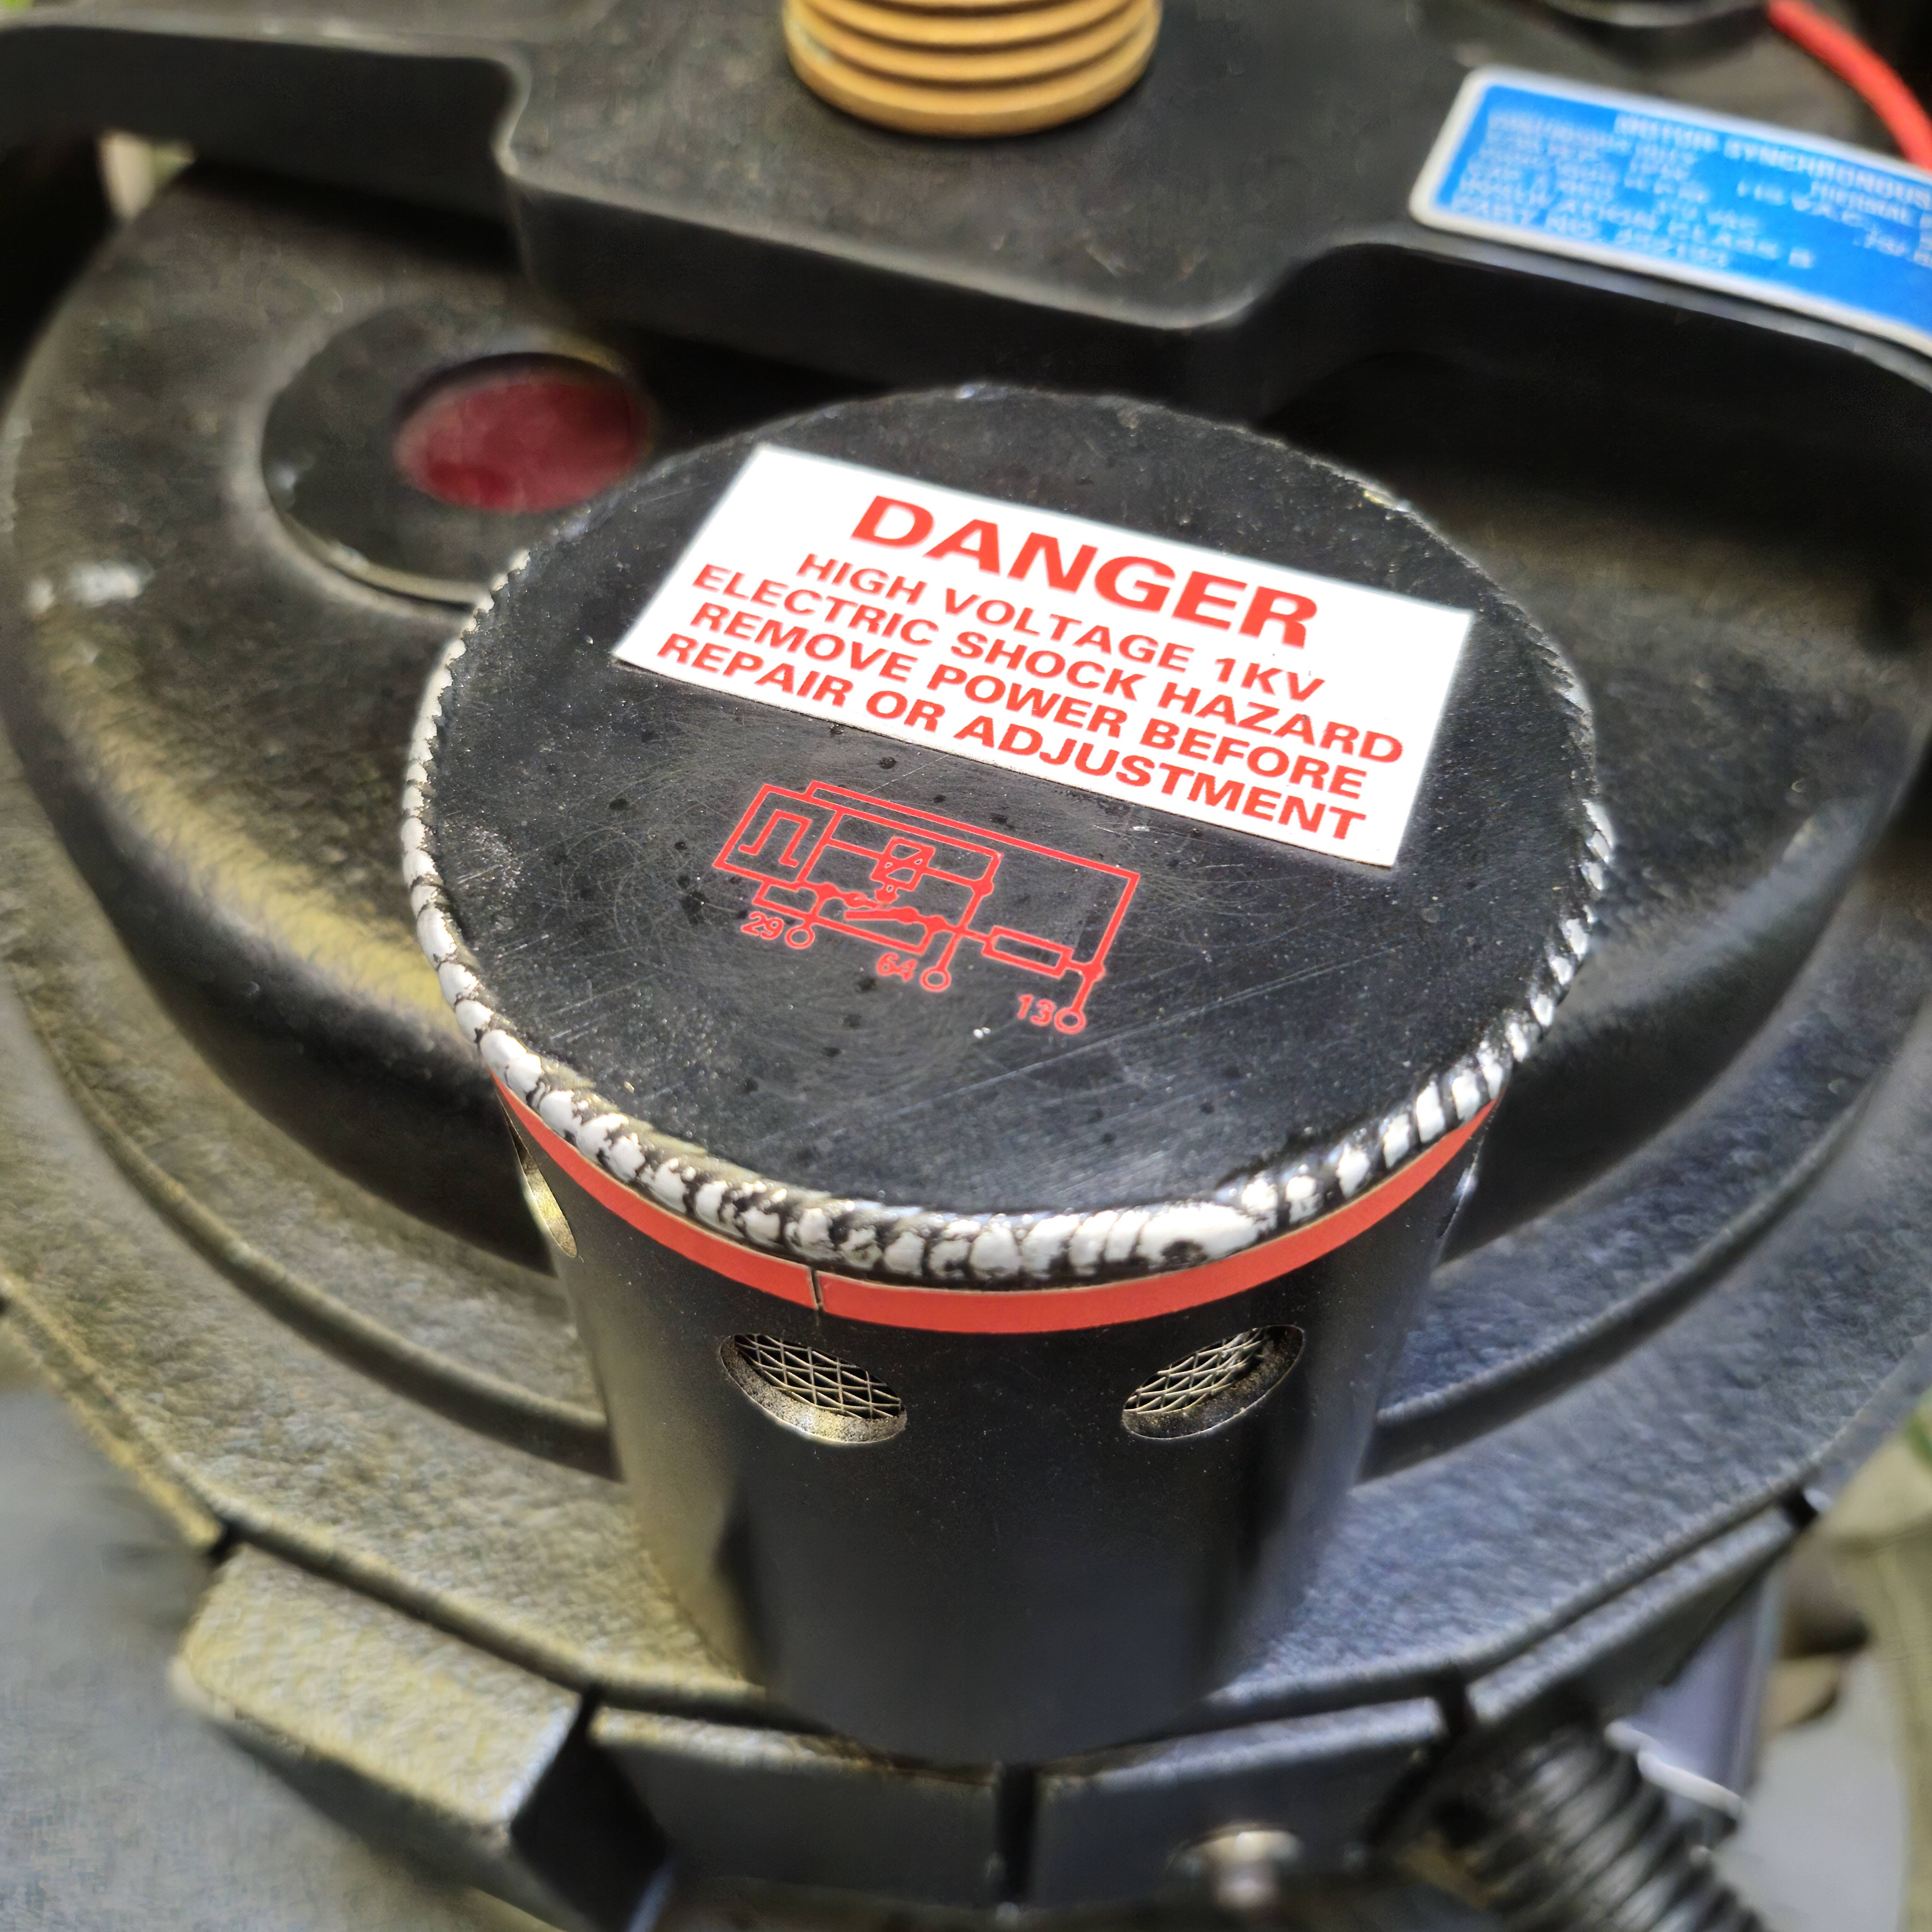
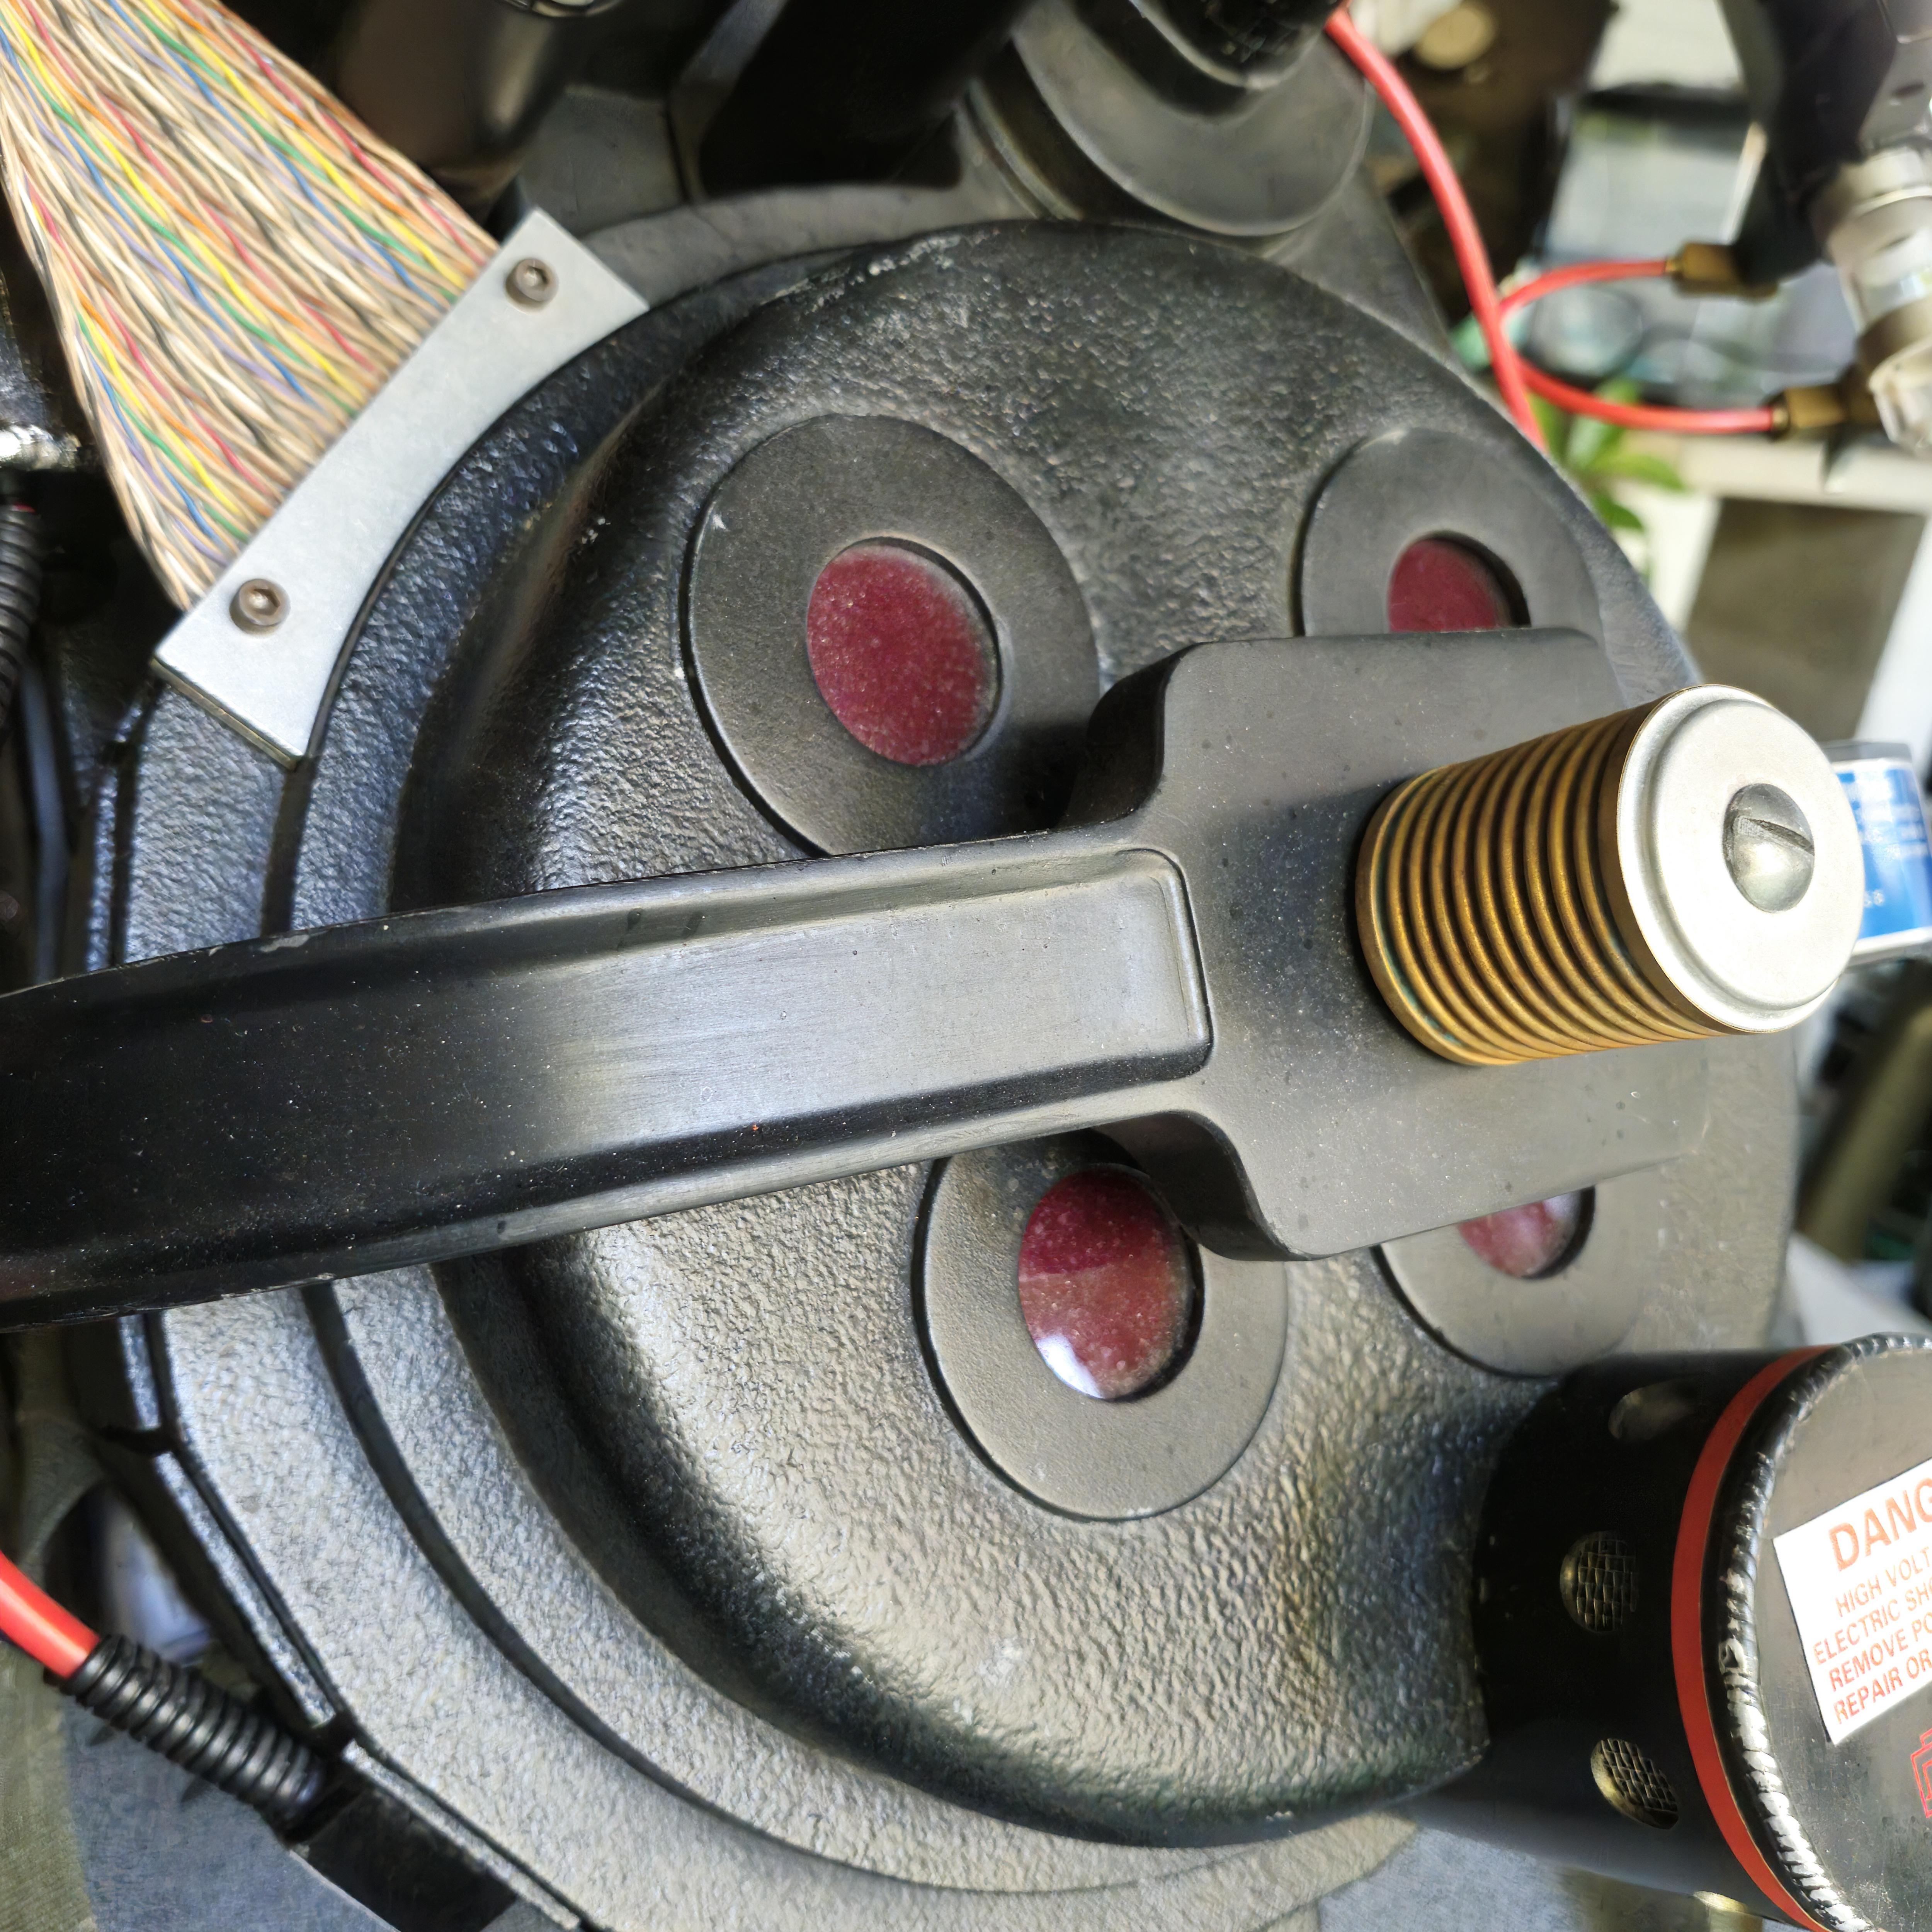
Will probably replace this bumper when Chris makes his 3D print file available. Nothing wrong with this bumper. It’s a bit idealized, but I’m alright with that. Didn’t want to go the legacy route, because that would have sent me down a rabbit hole. I’m sure I won’t be able to resist Chris’ bumper, though. It’ll probably the middle ground I’m looking for.
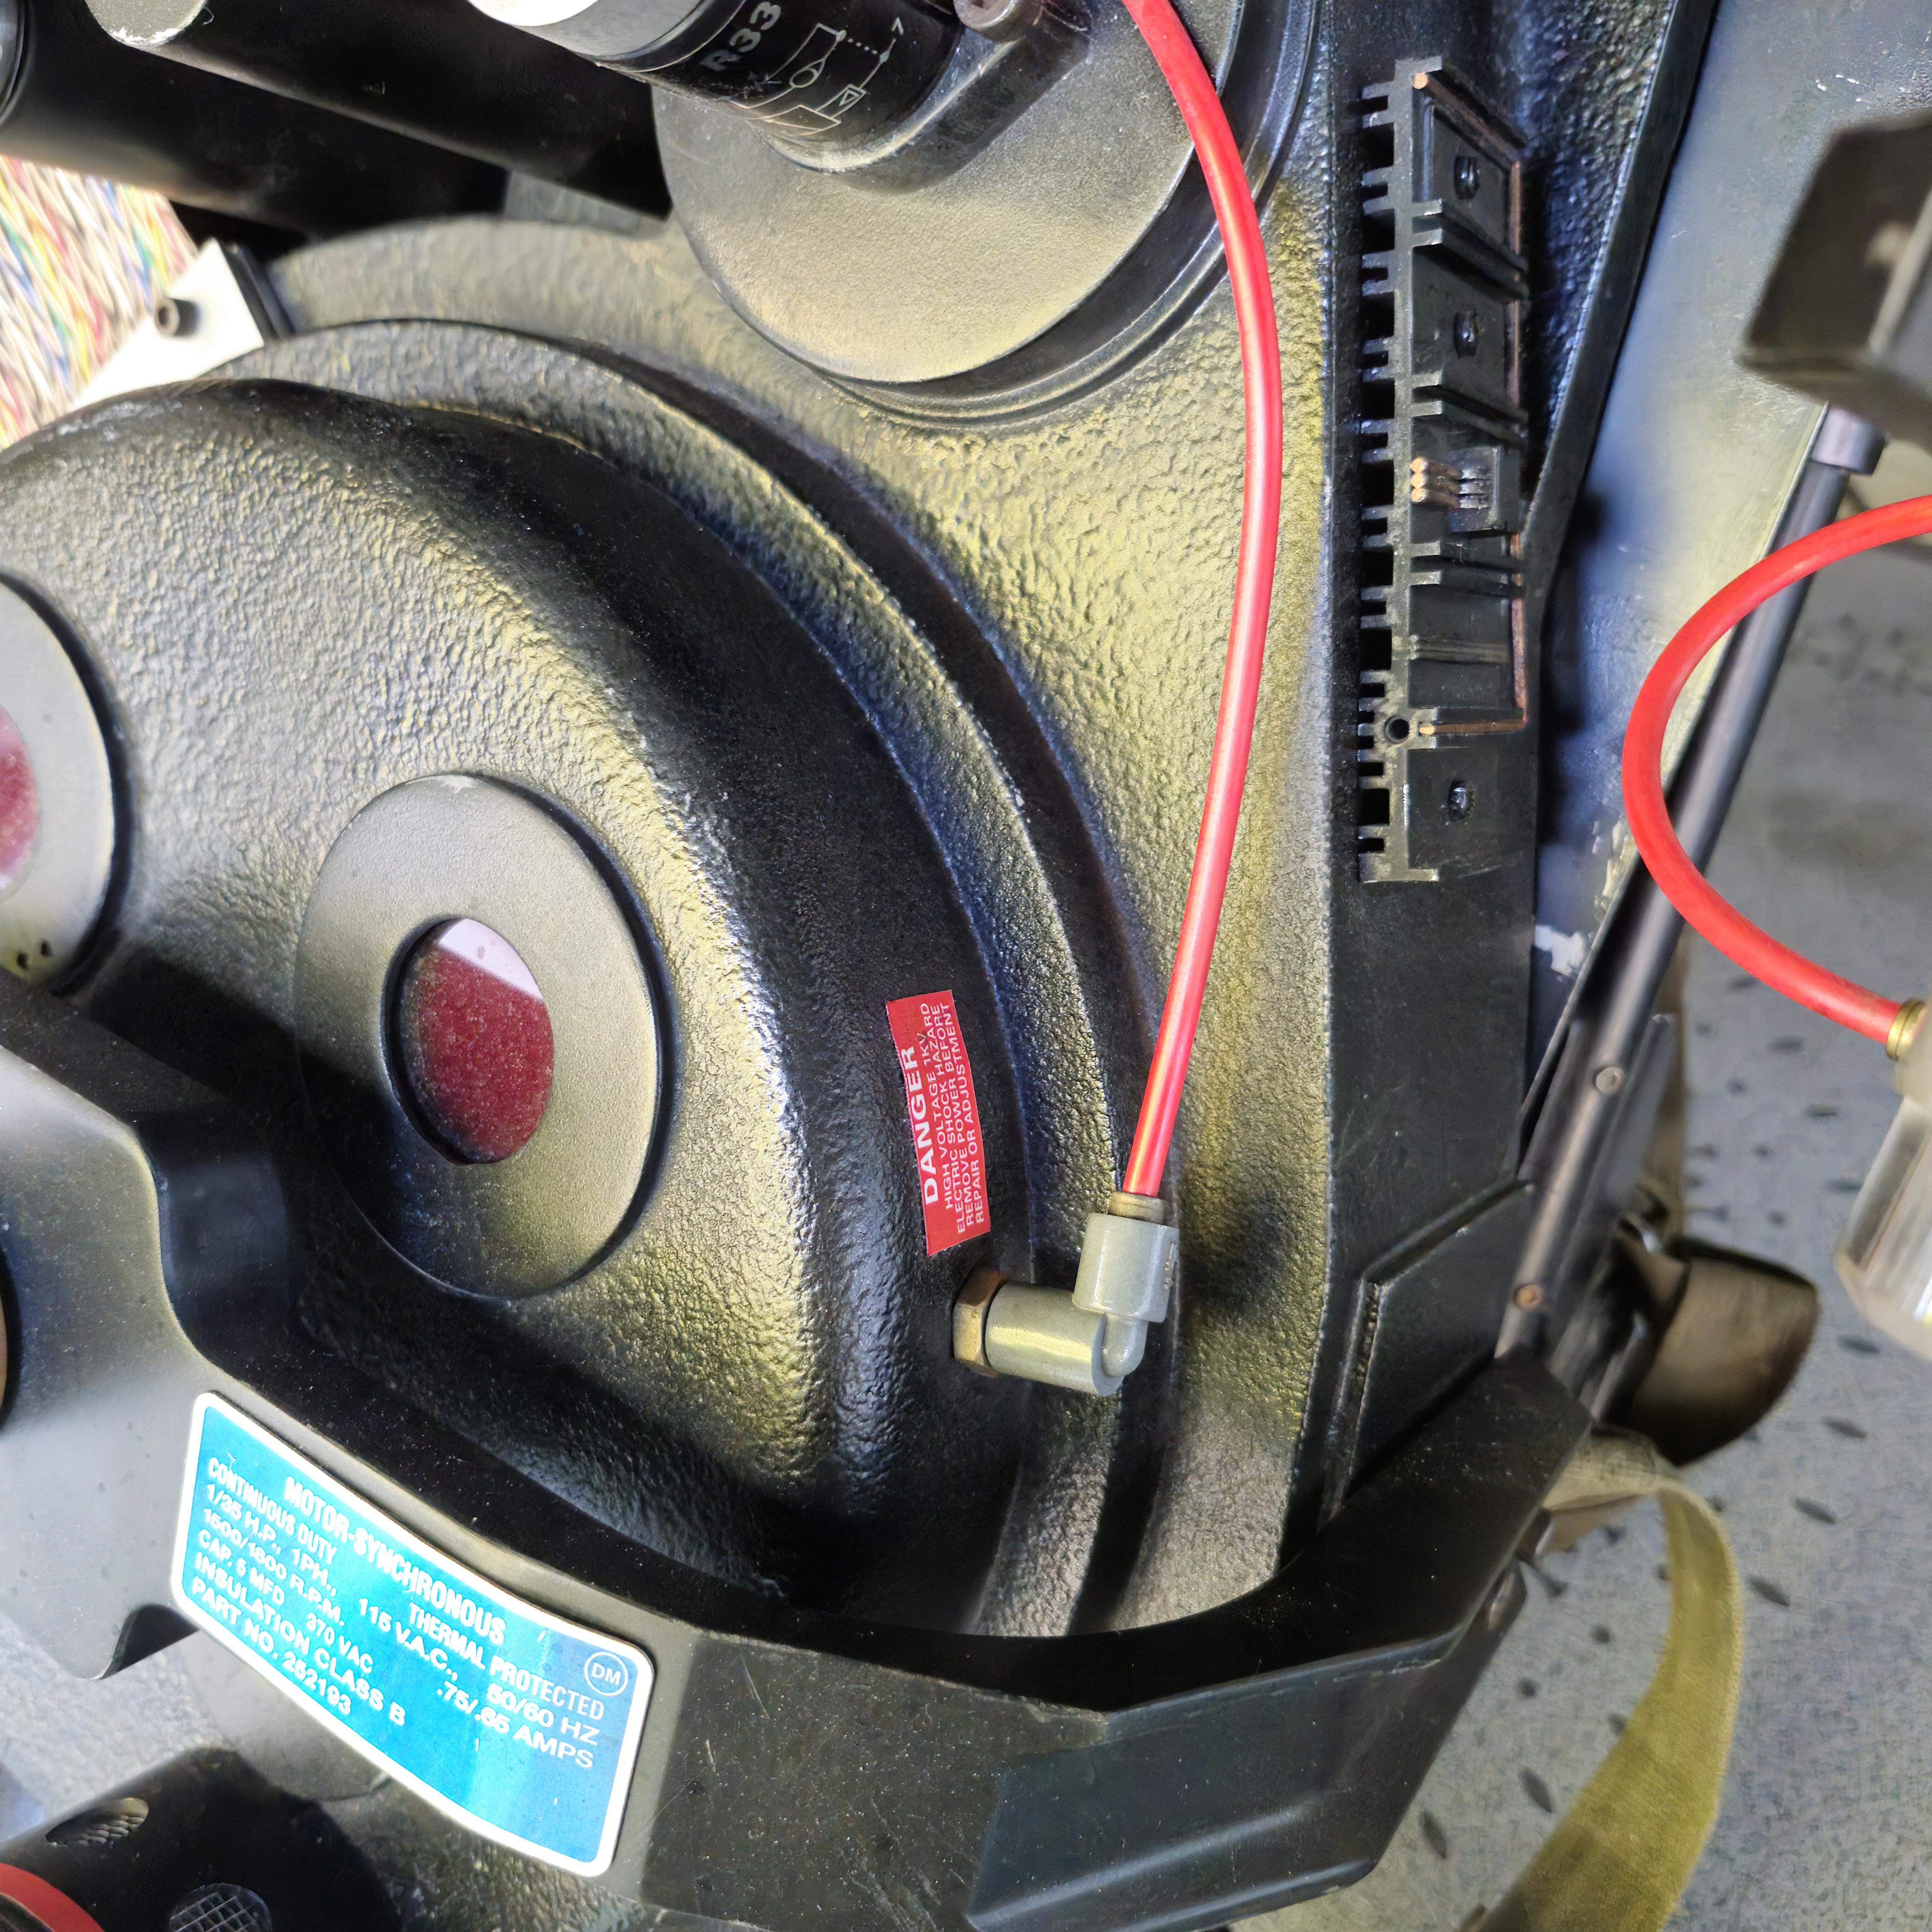
Decided to show Afterlife a little love. Not really a fan of the way the packs were handled in FE, but it felt like if any of Egon’s alterations would be carried over to upgraded packs it probably would have been the heat sink and filler tube cap. I made both of them attach magnetically, so they can easily pop on and off with no permanent alterations done to either attachment point.
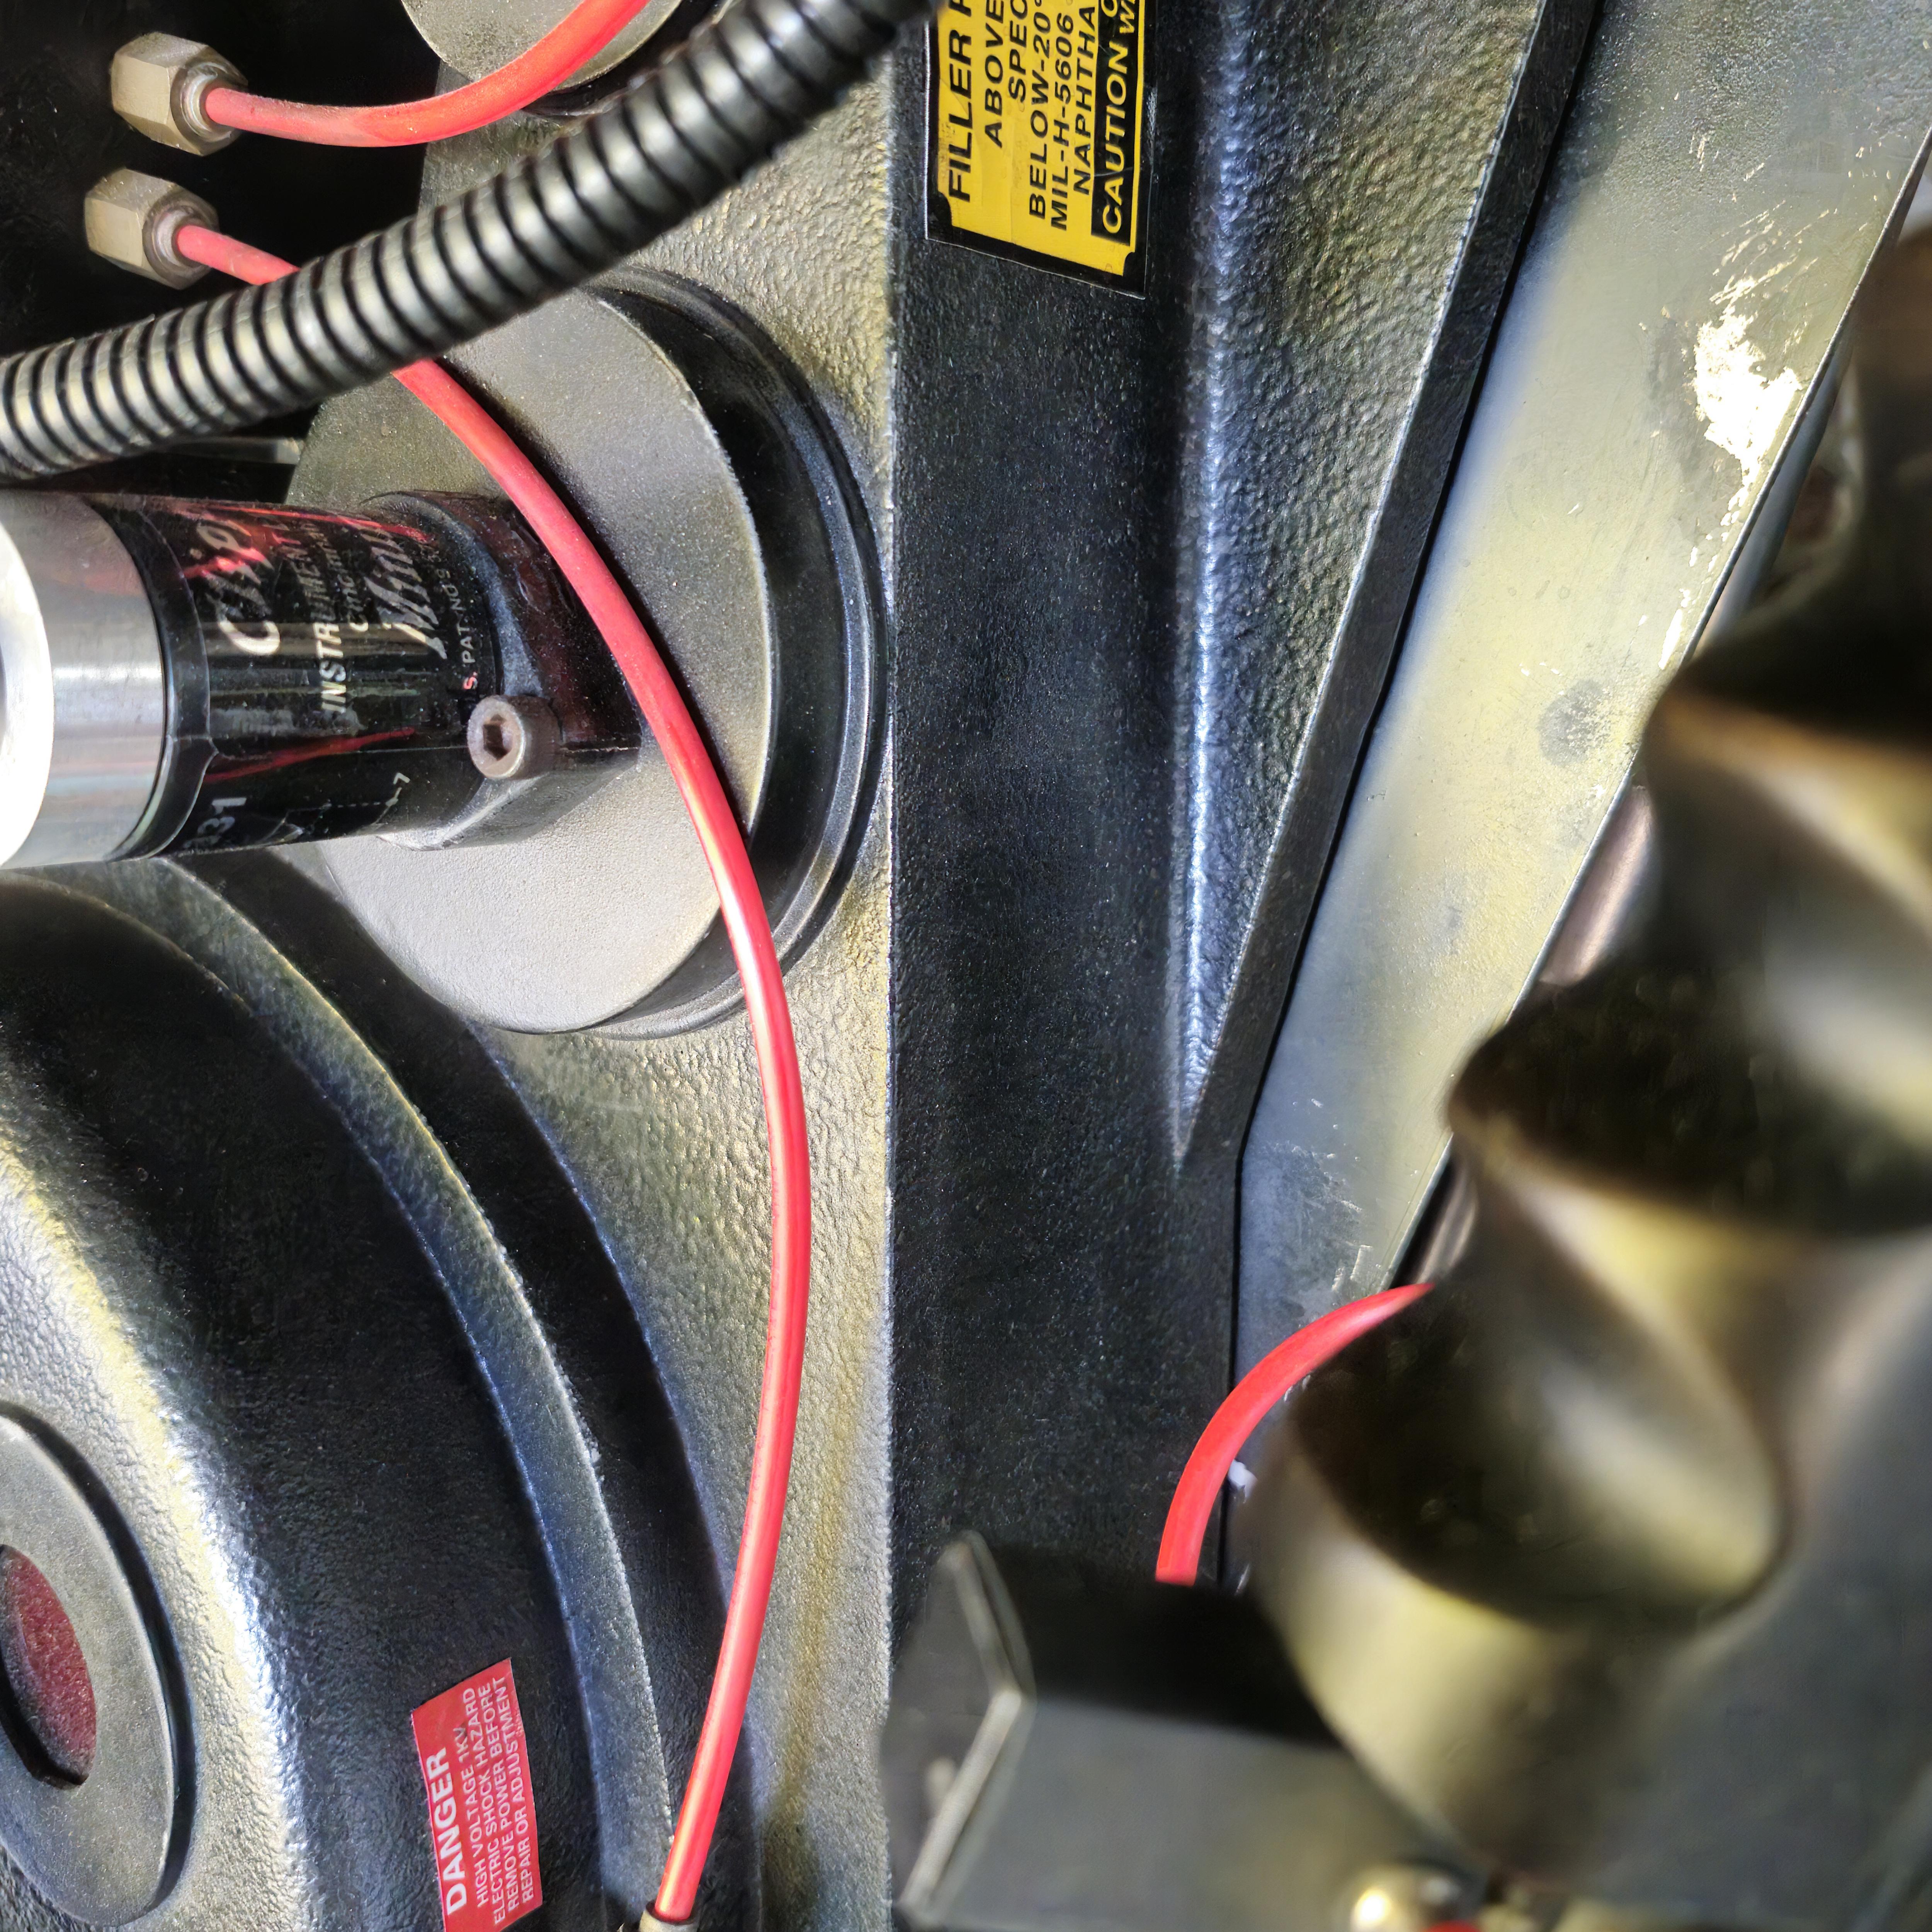
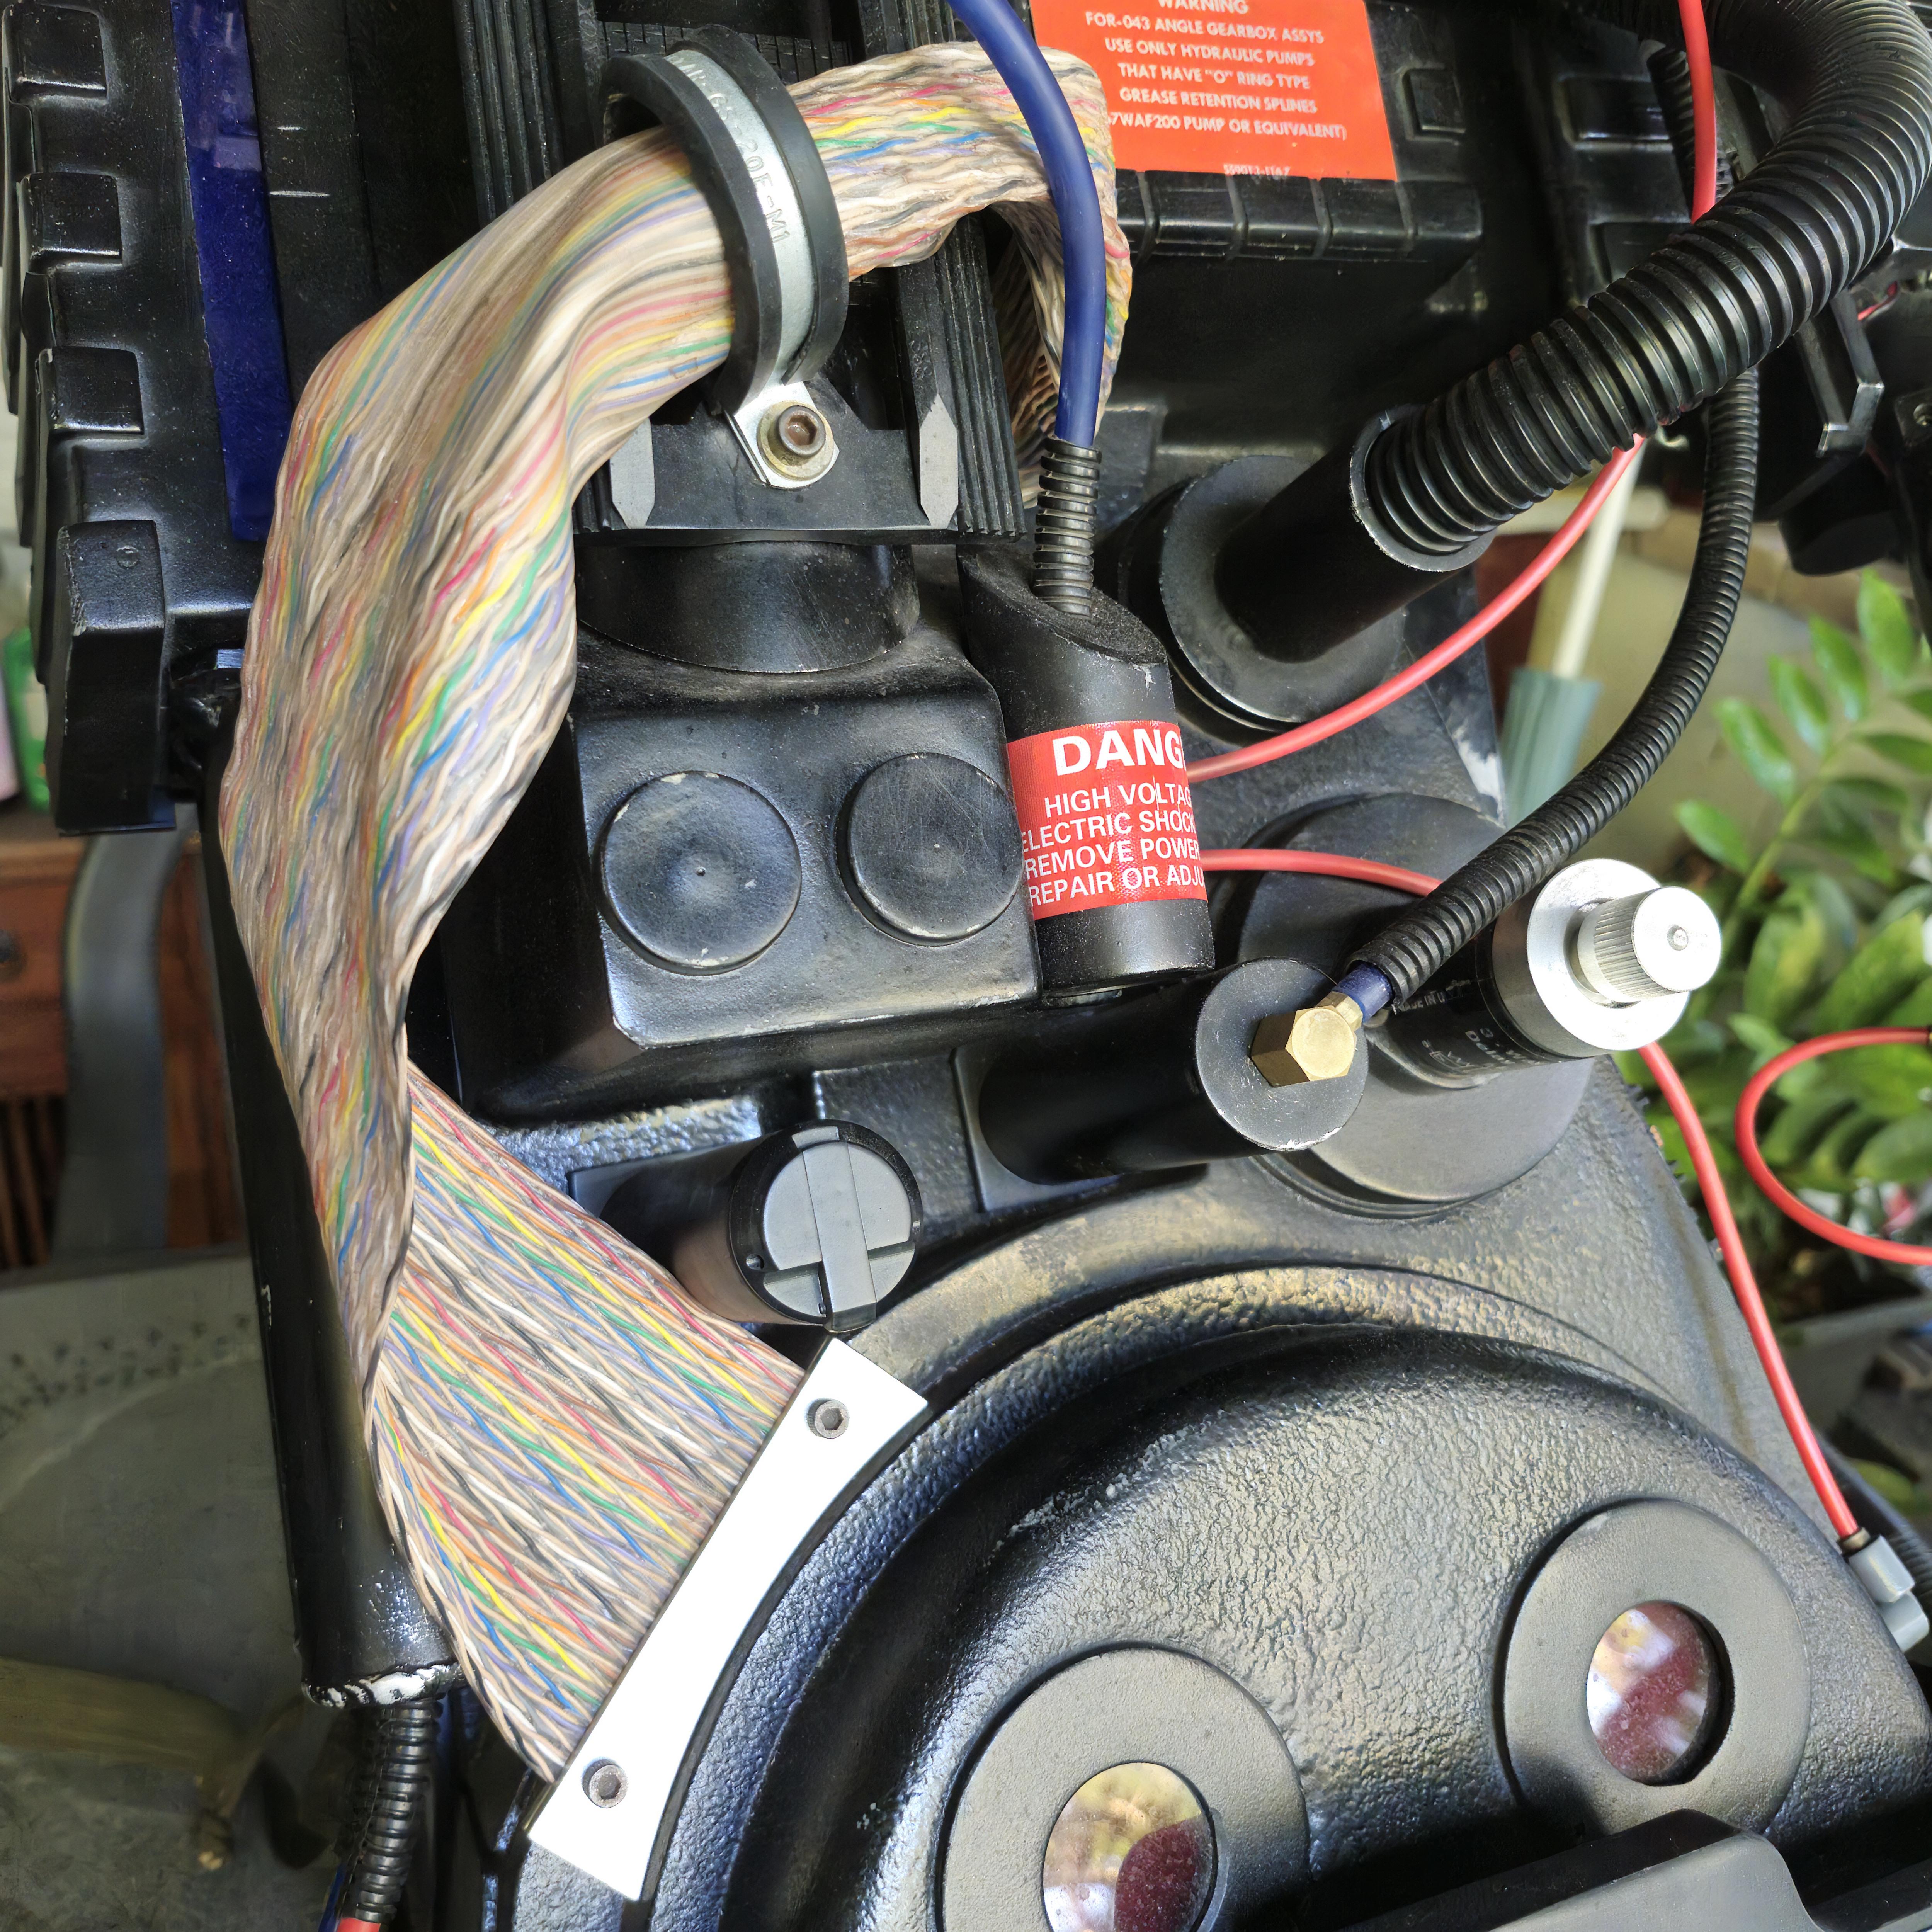
I’ve gone back and forth on whether I want to add the GB2 filler putty to the booster tube or not. I think I’m gonna go with no. It wasn’t on the GB1 packs. I also know the booster tubes weren’t completely flush either, but being able to see any light or empty space on close inspection annoyed me, so I printed an insert to stick inside the tube that is perfectly flush to the shelf.
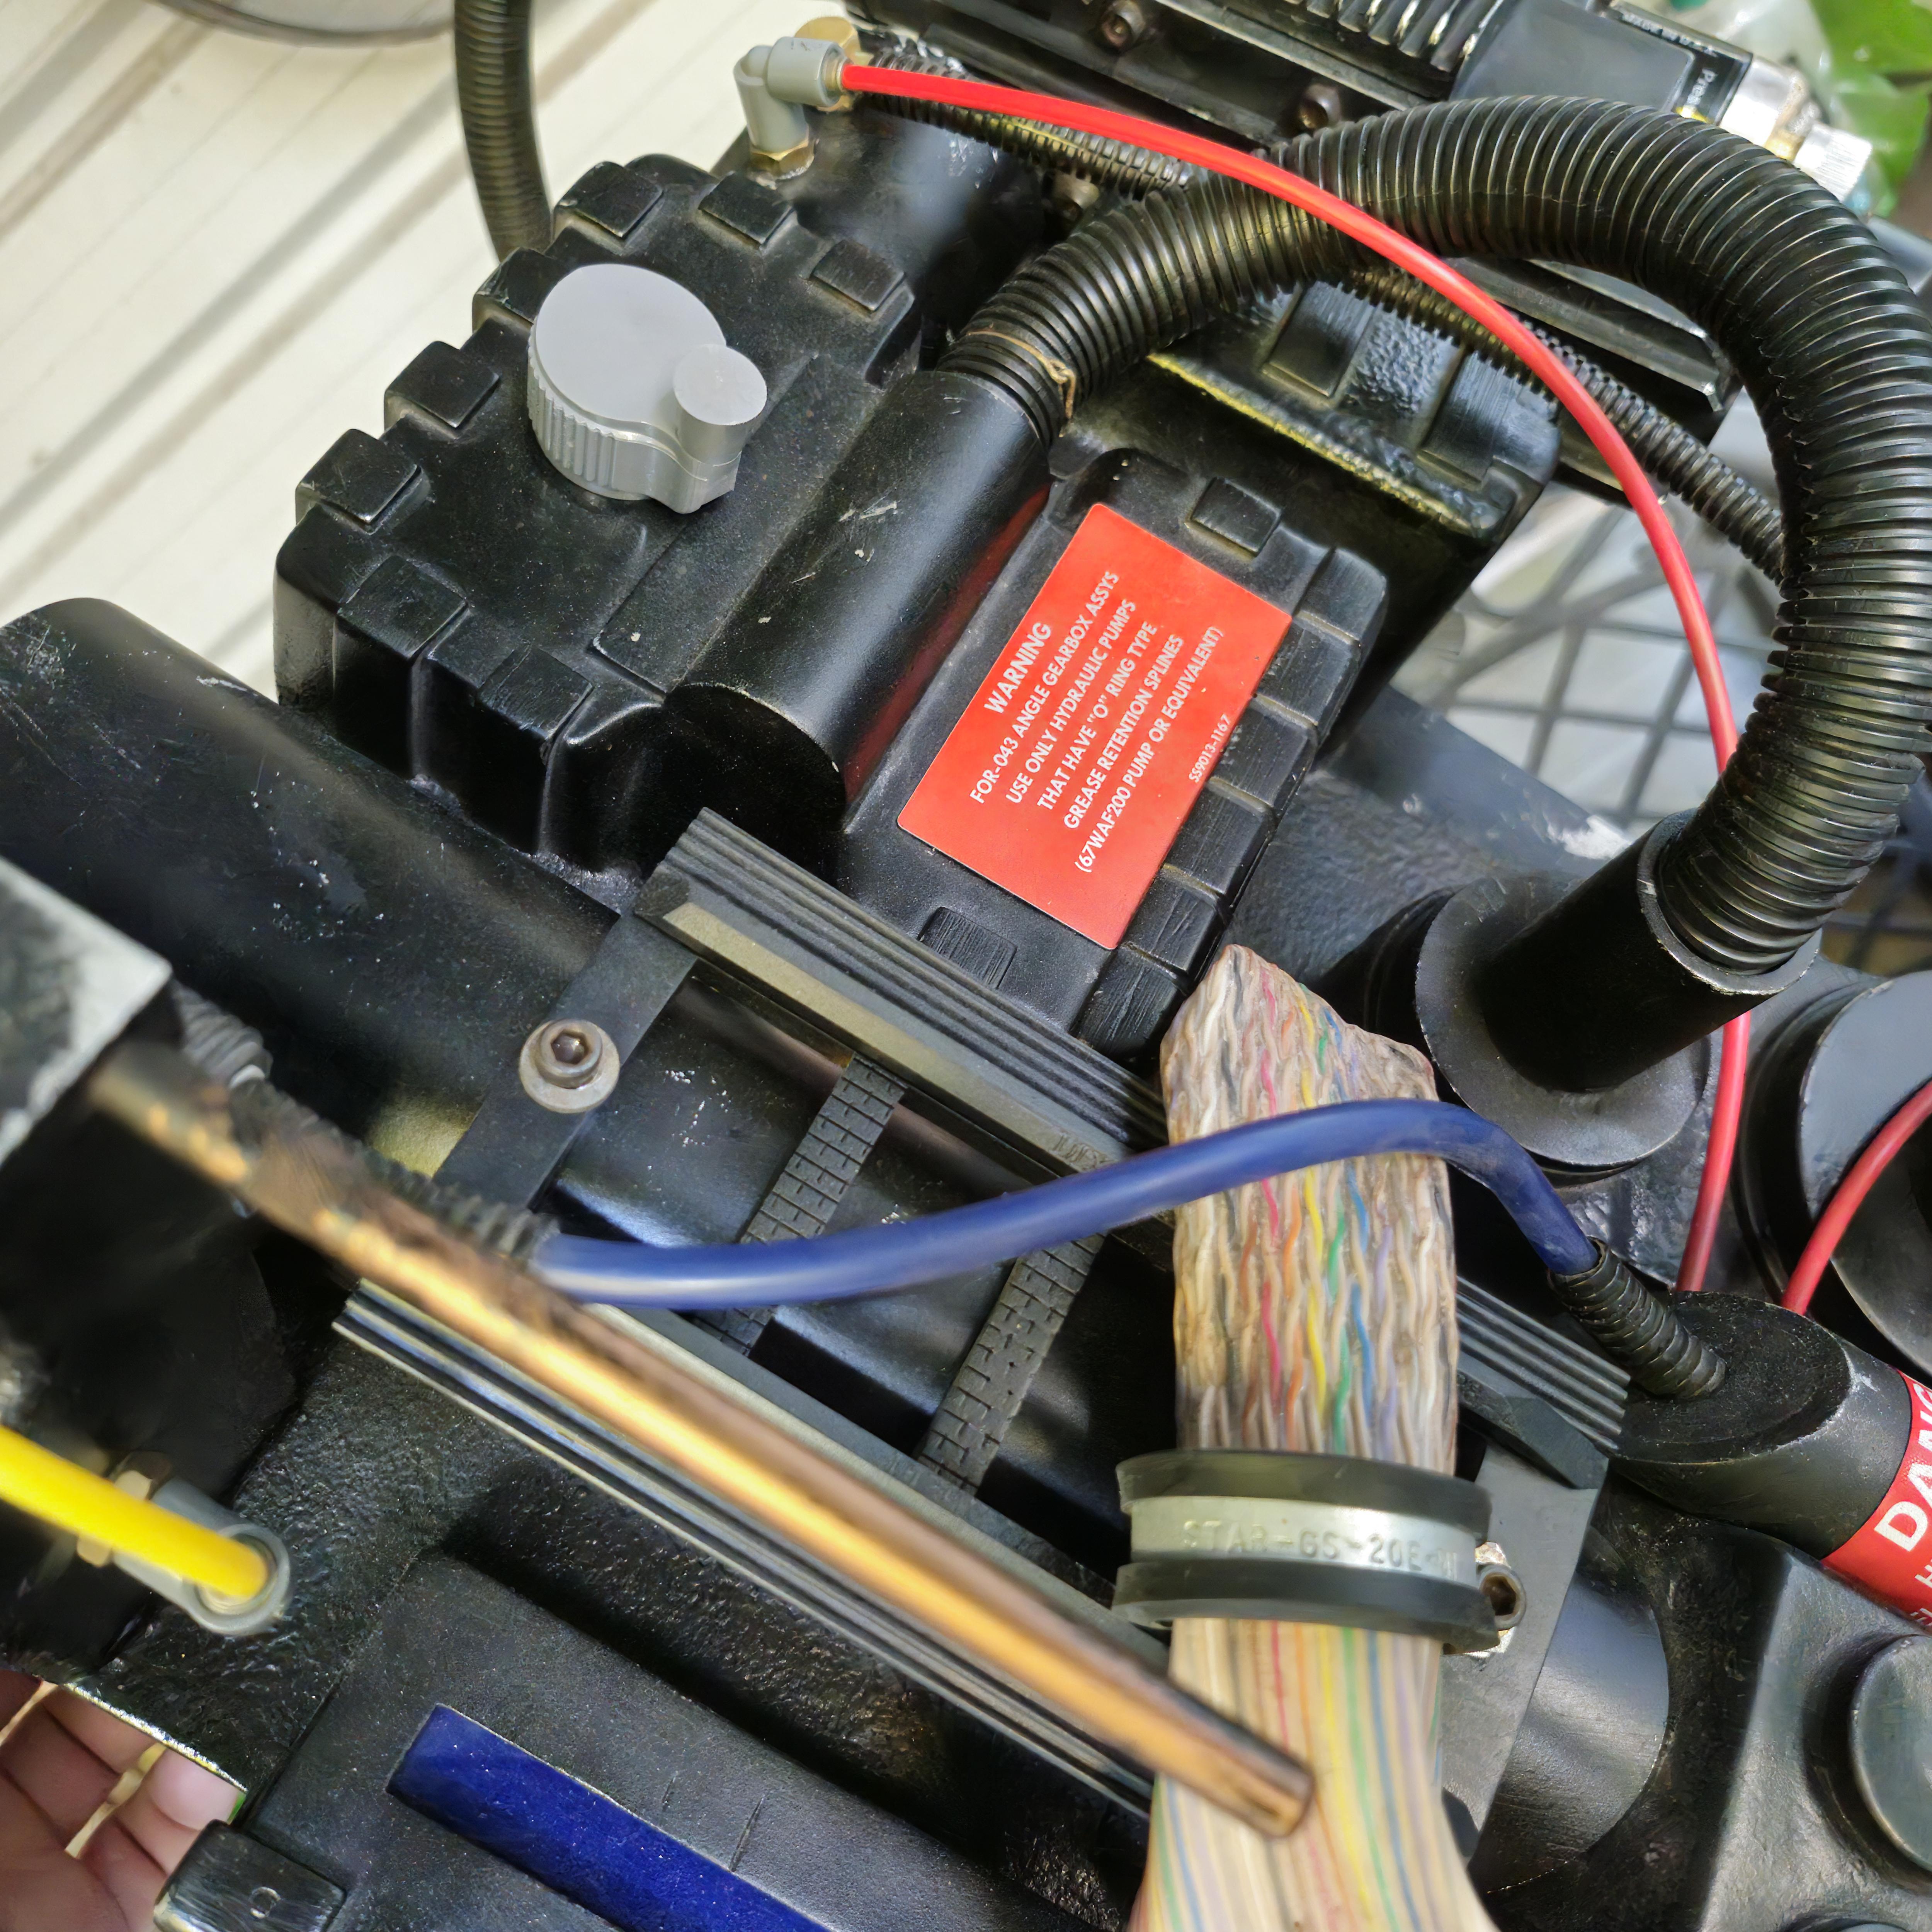
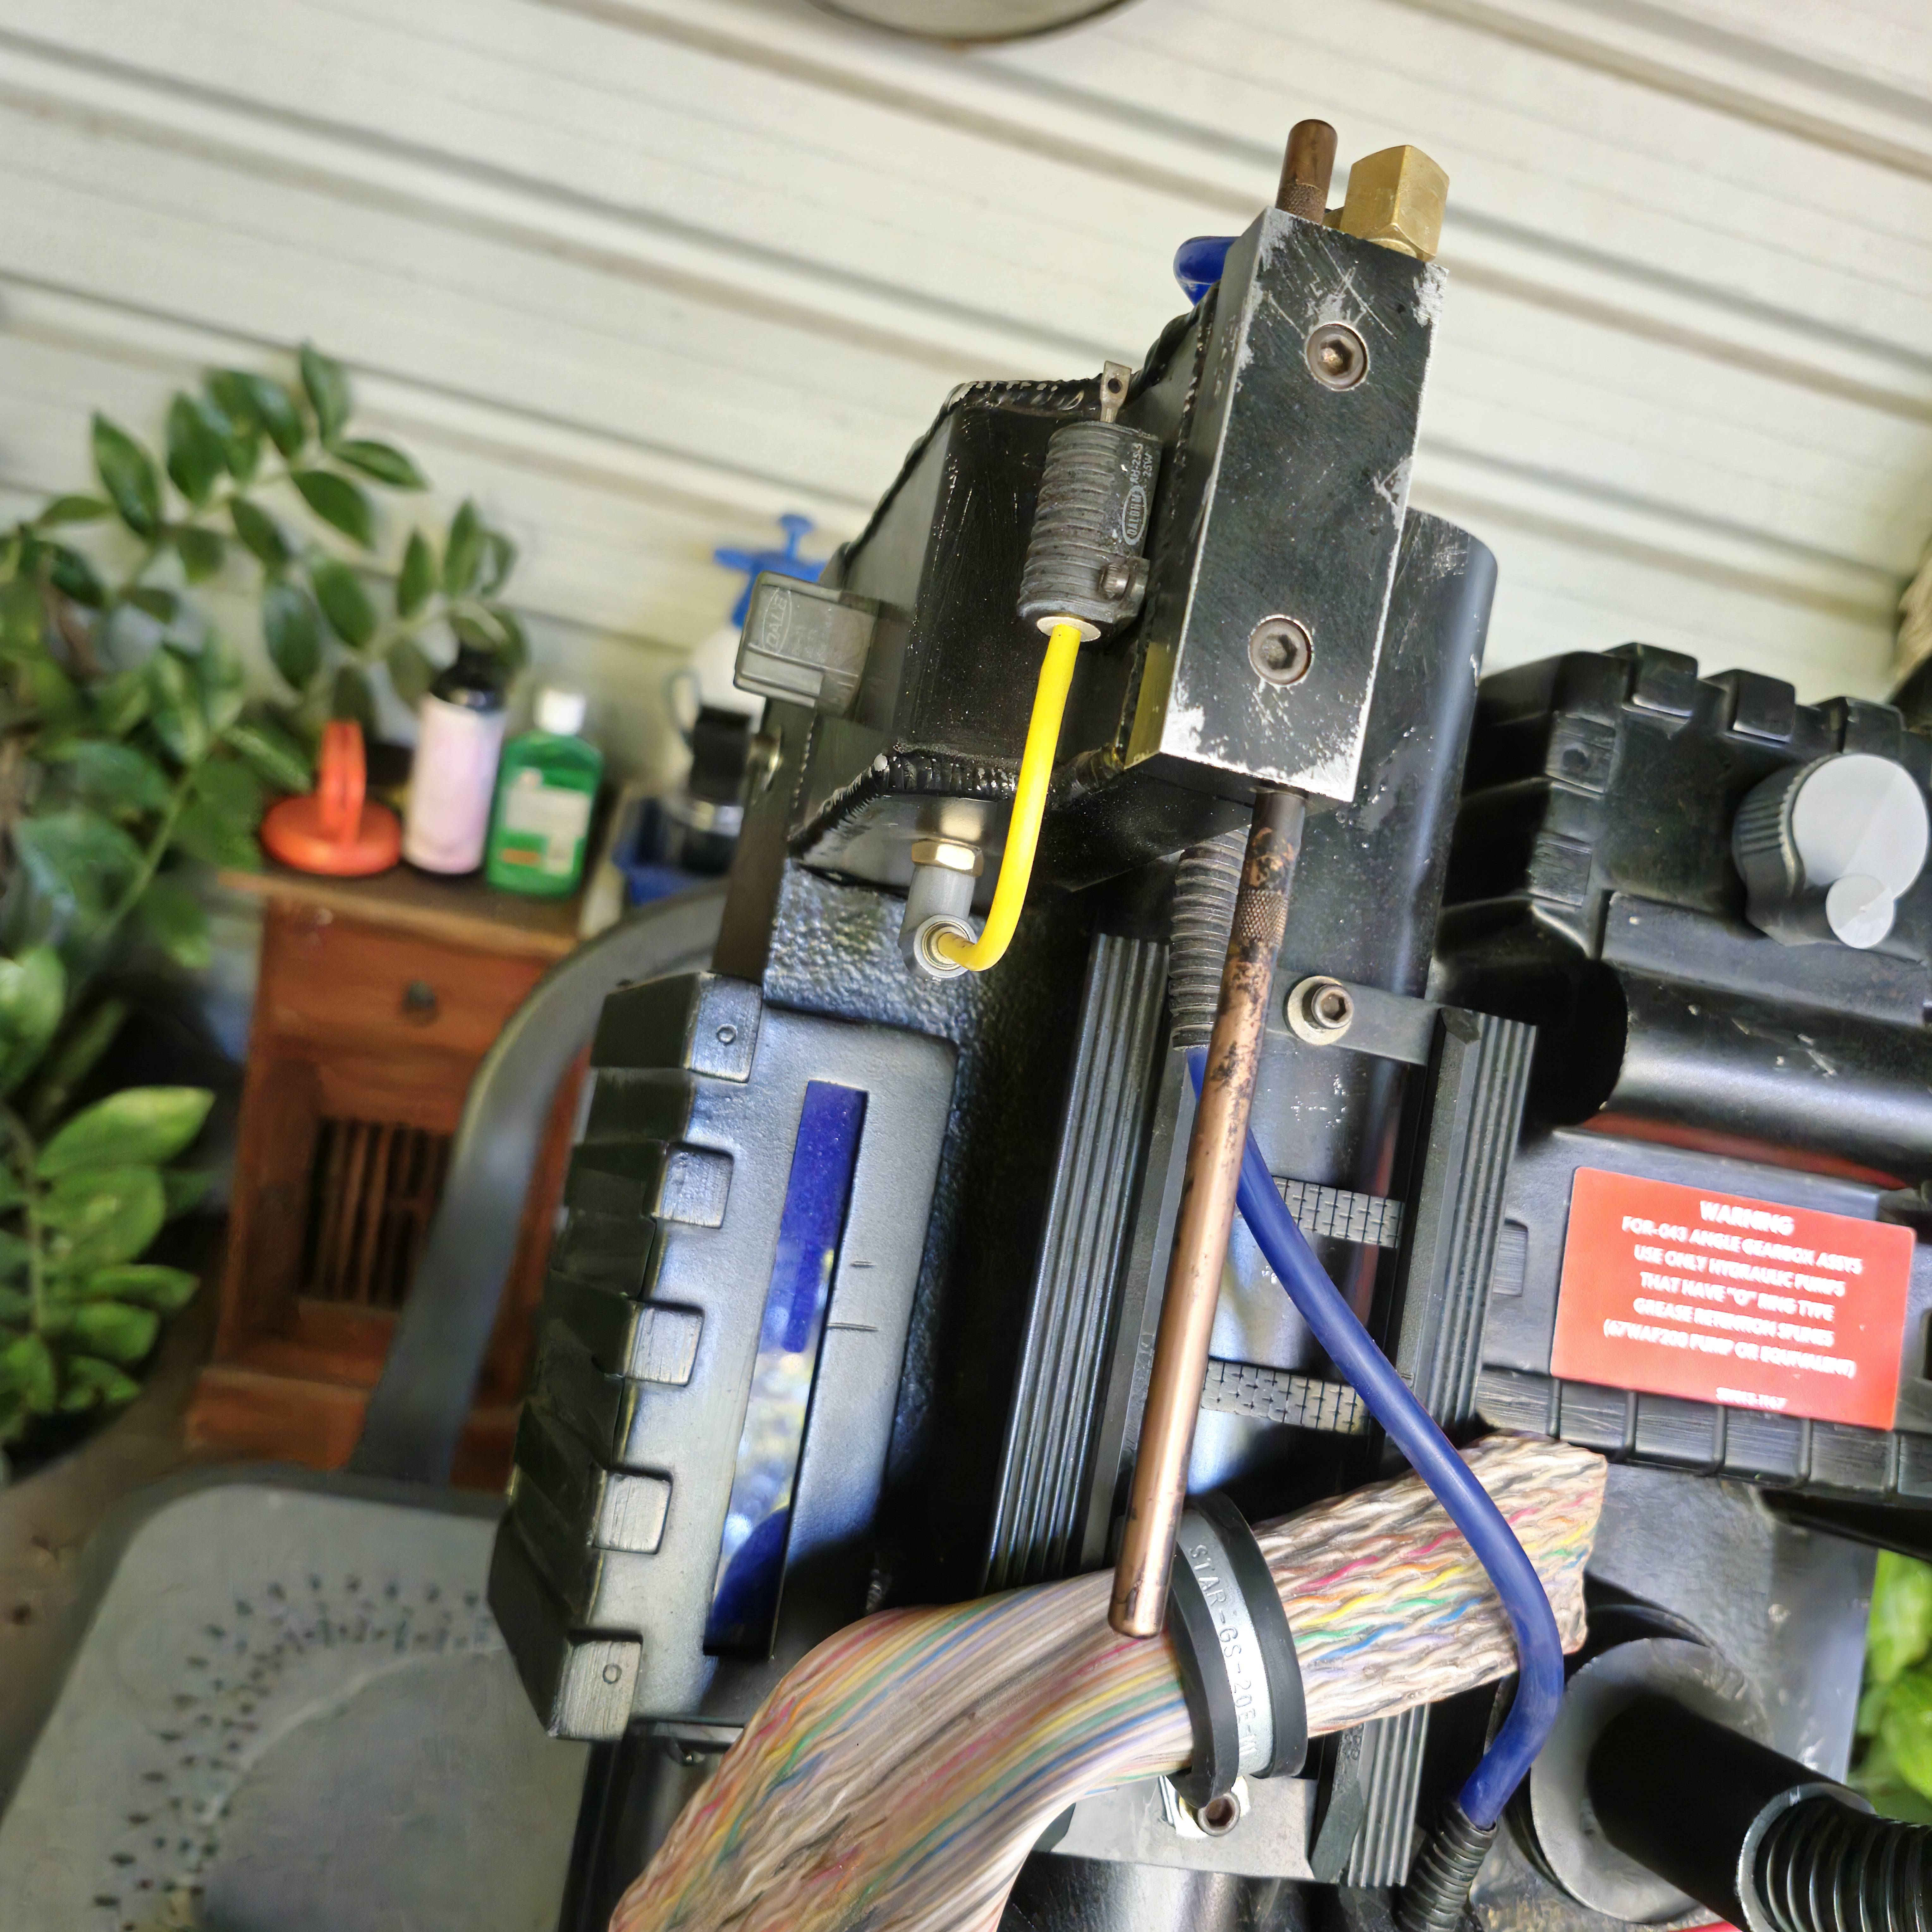
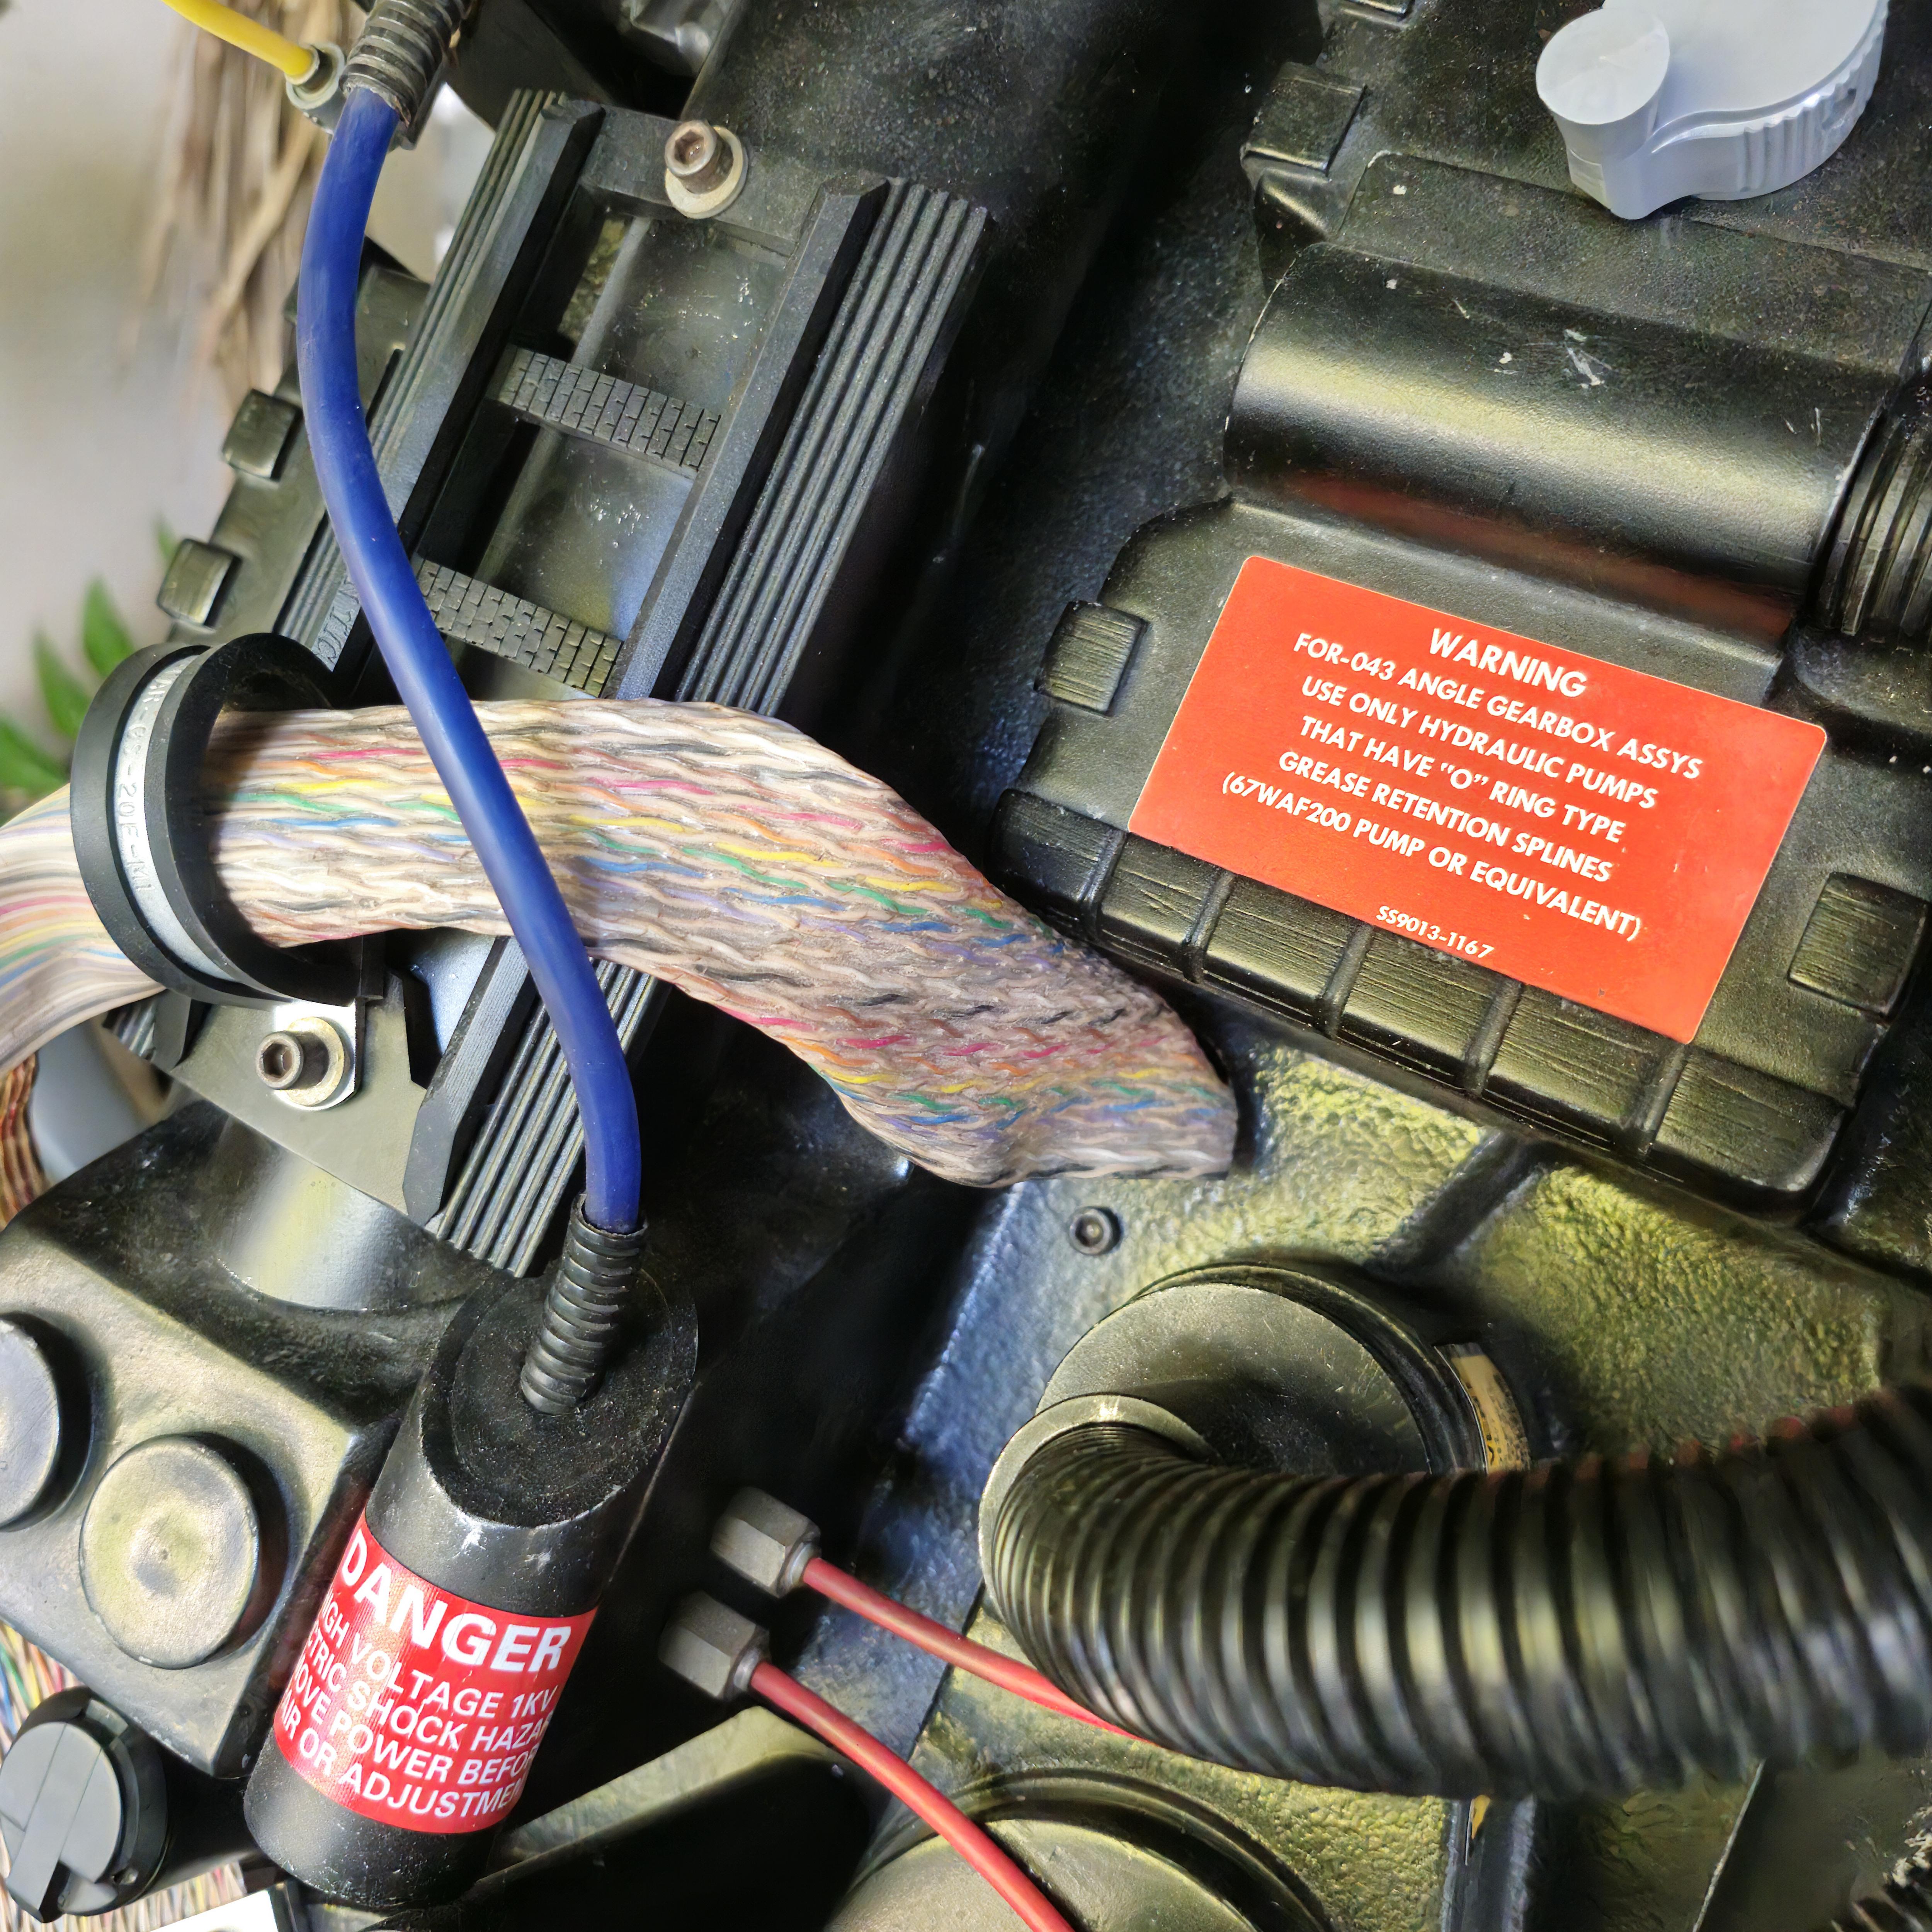
I used the Super Hero pack as the starting point for reference, but here you can see one of the small, pack specific additions. The cap head screw beneath the ribbon cable as seen on the Spengler pack.
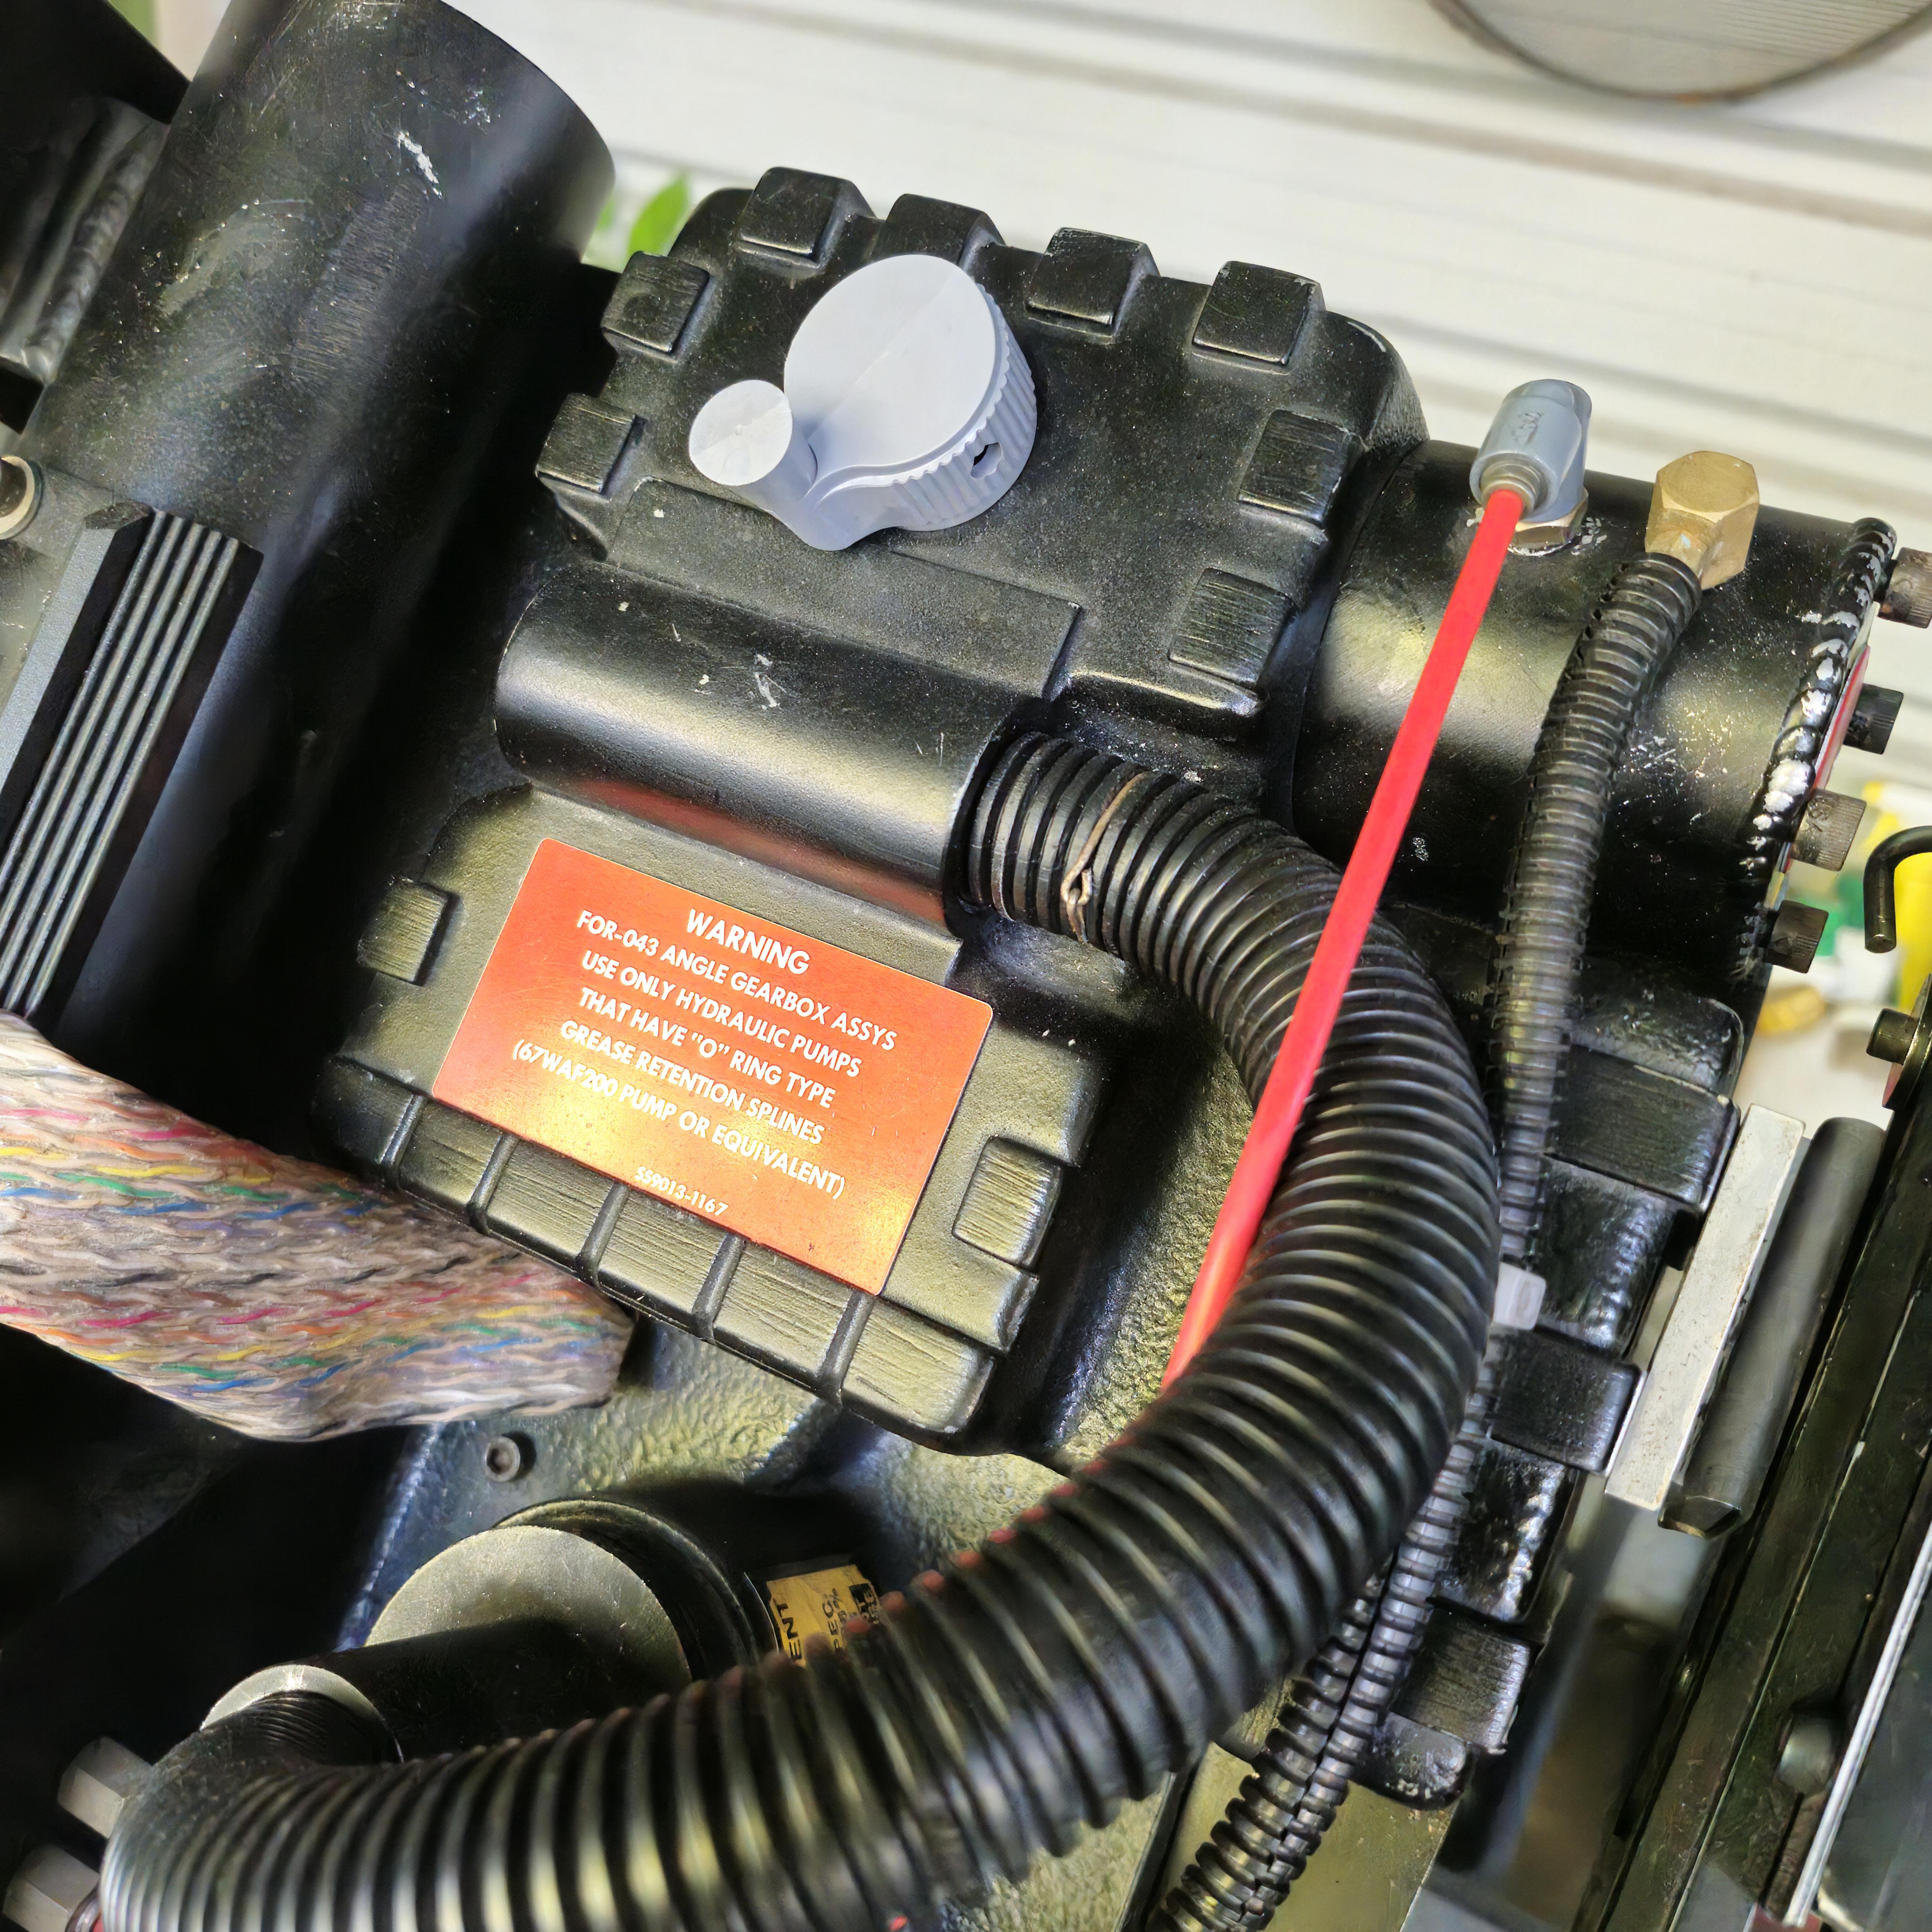
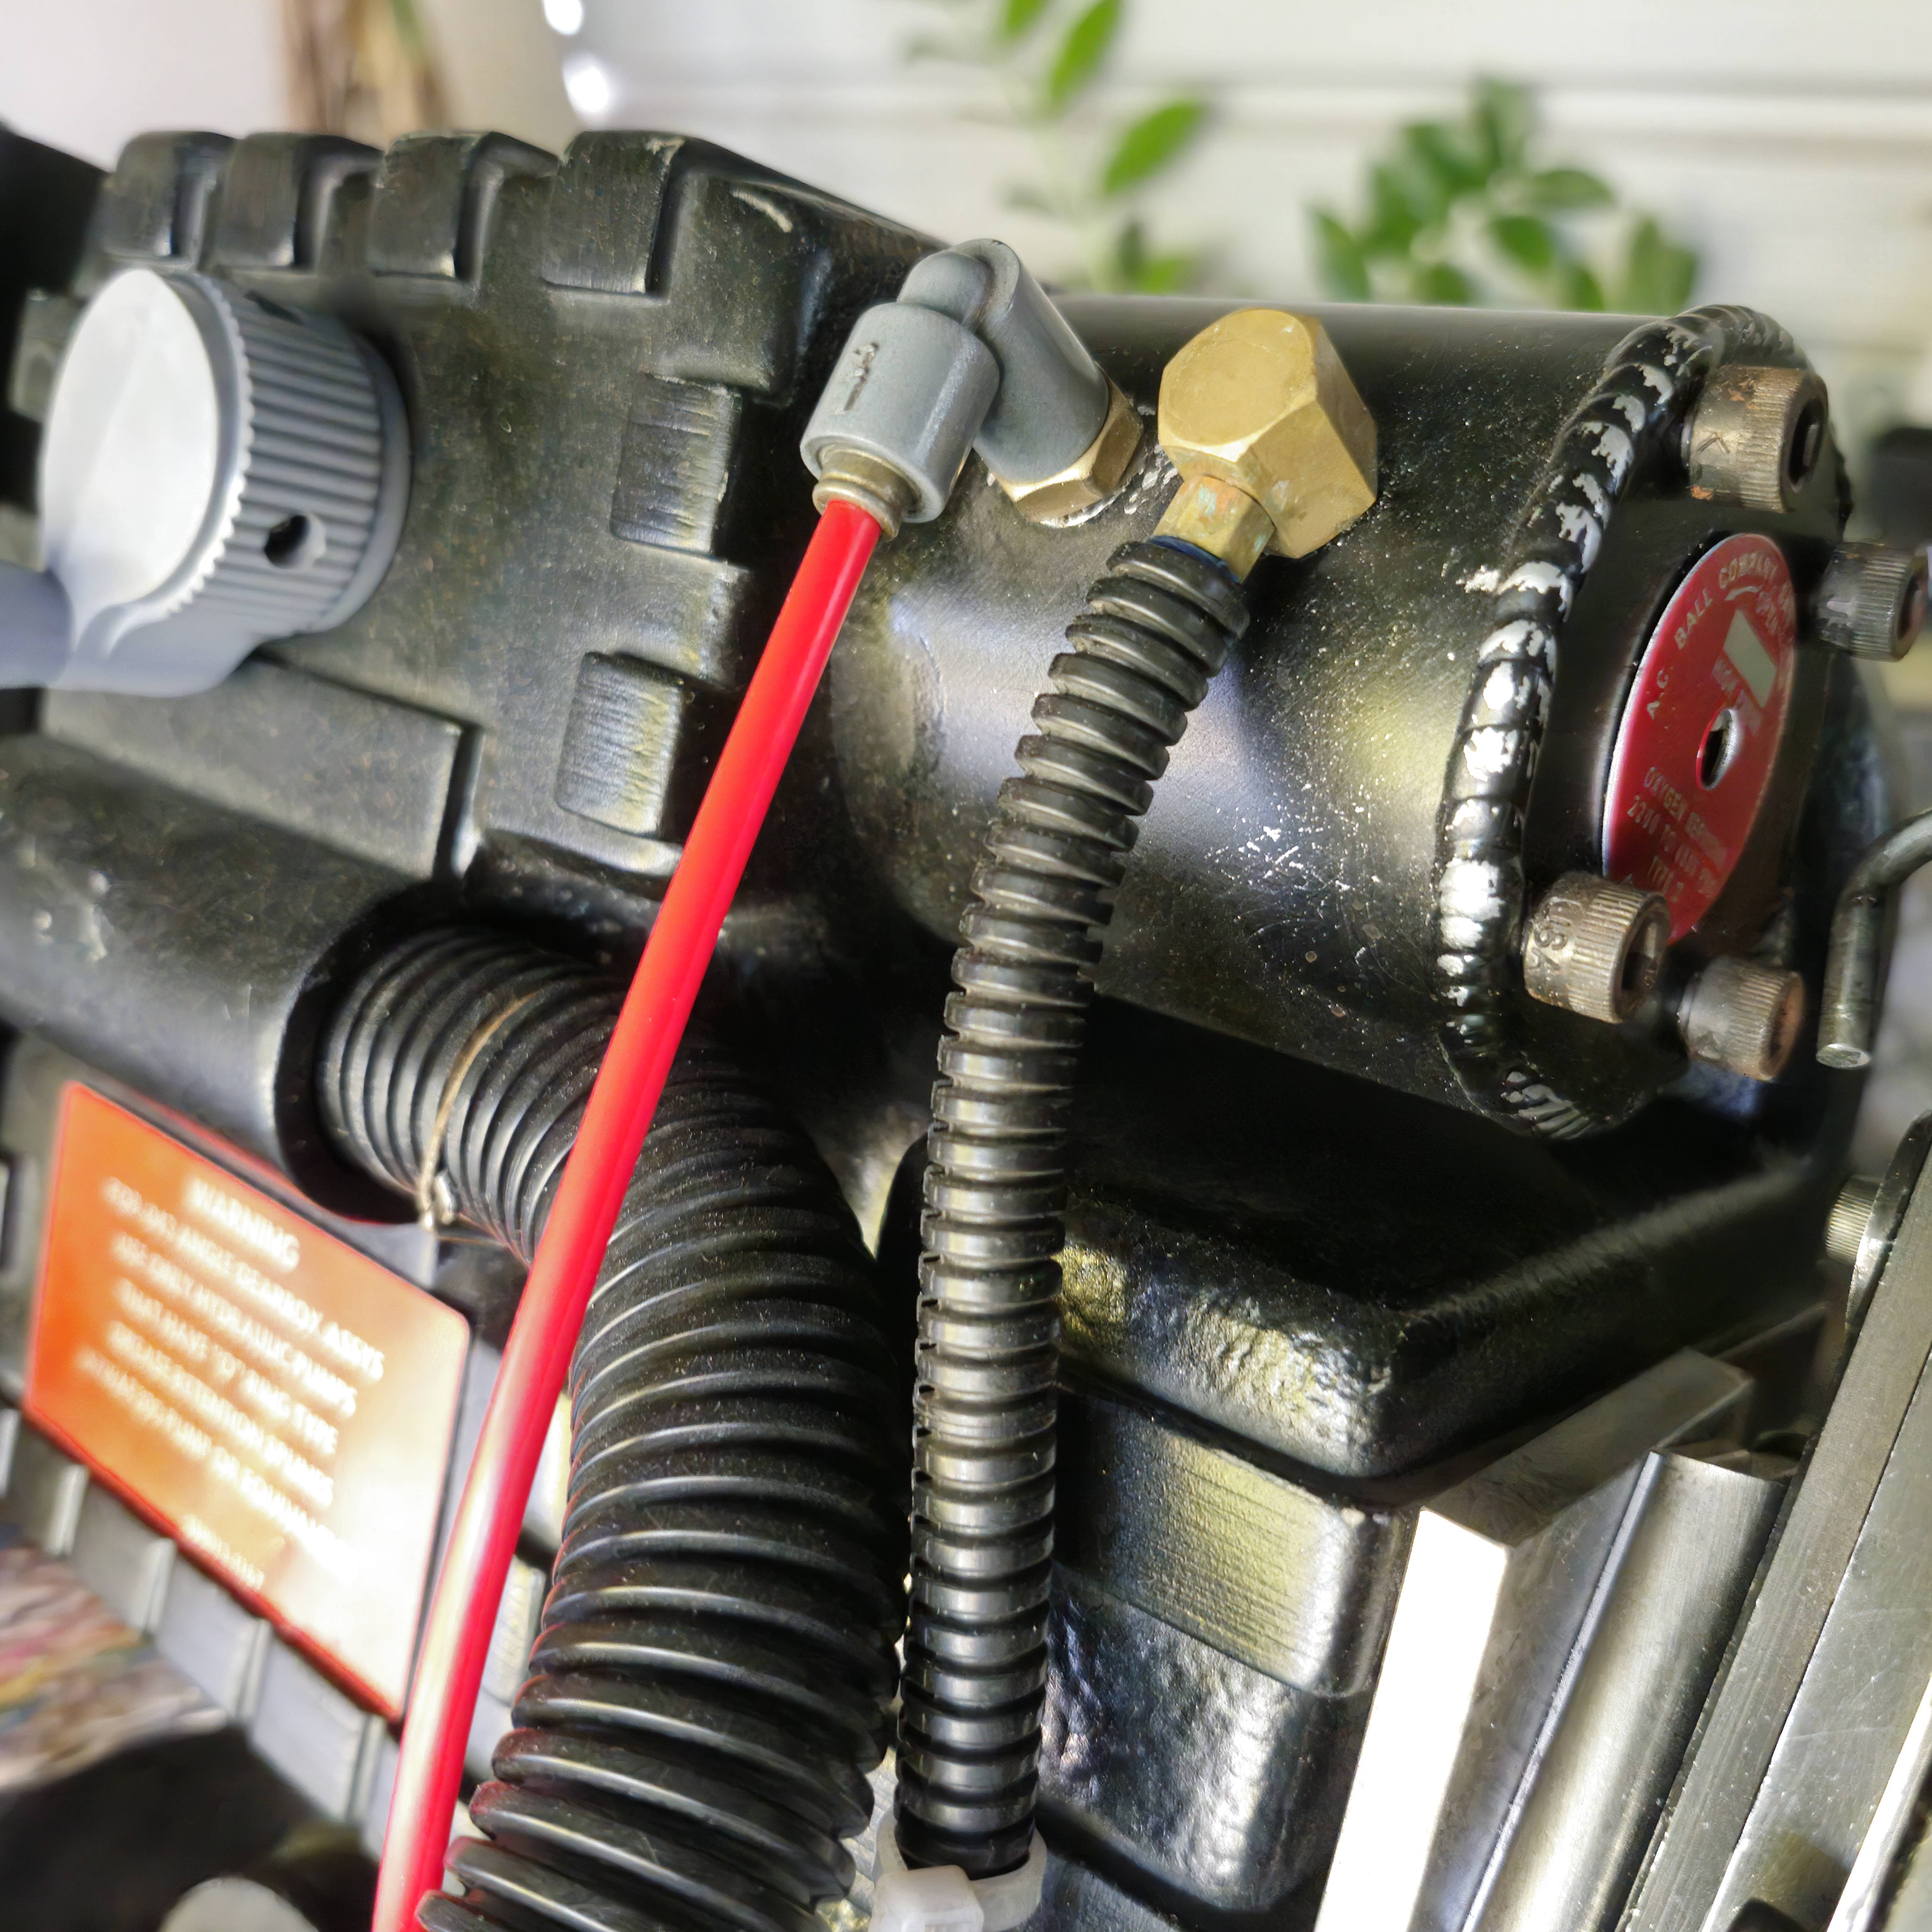
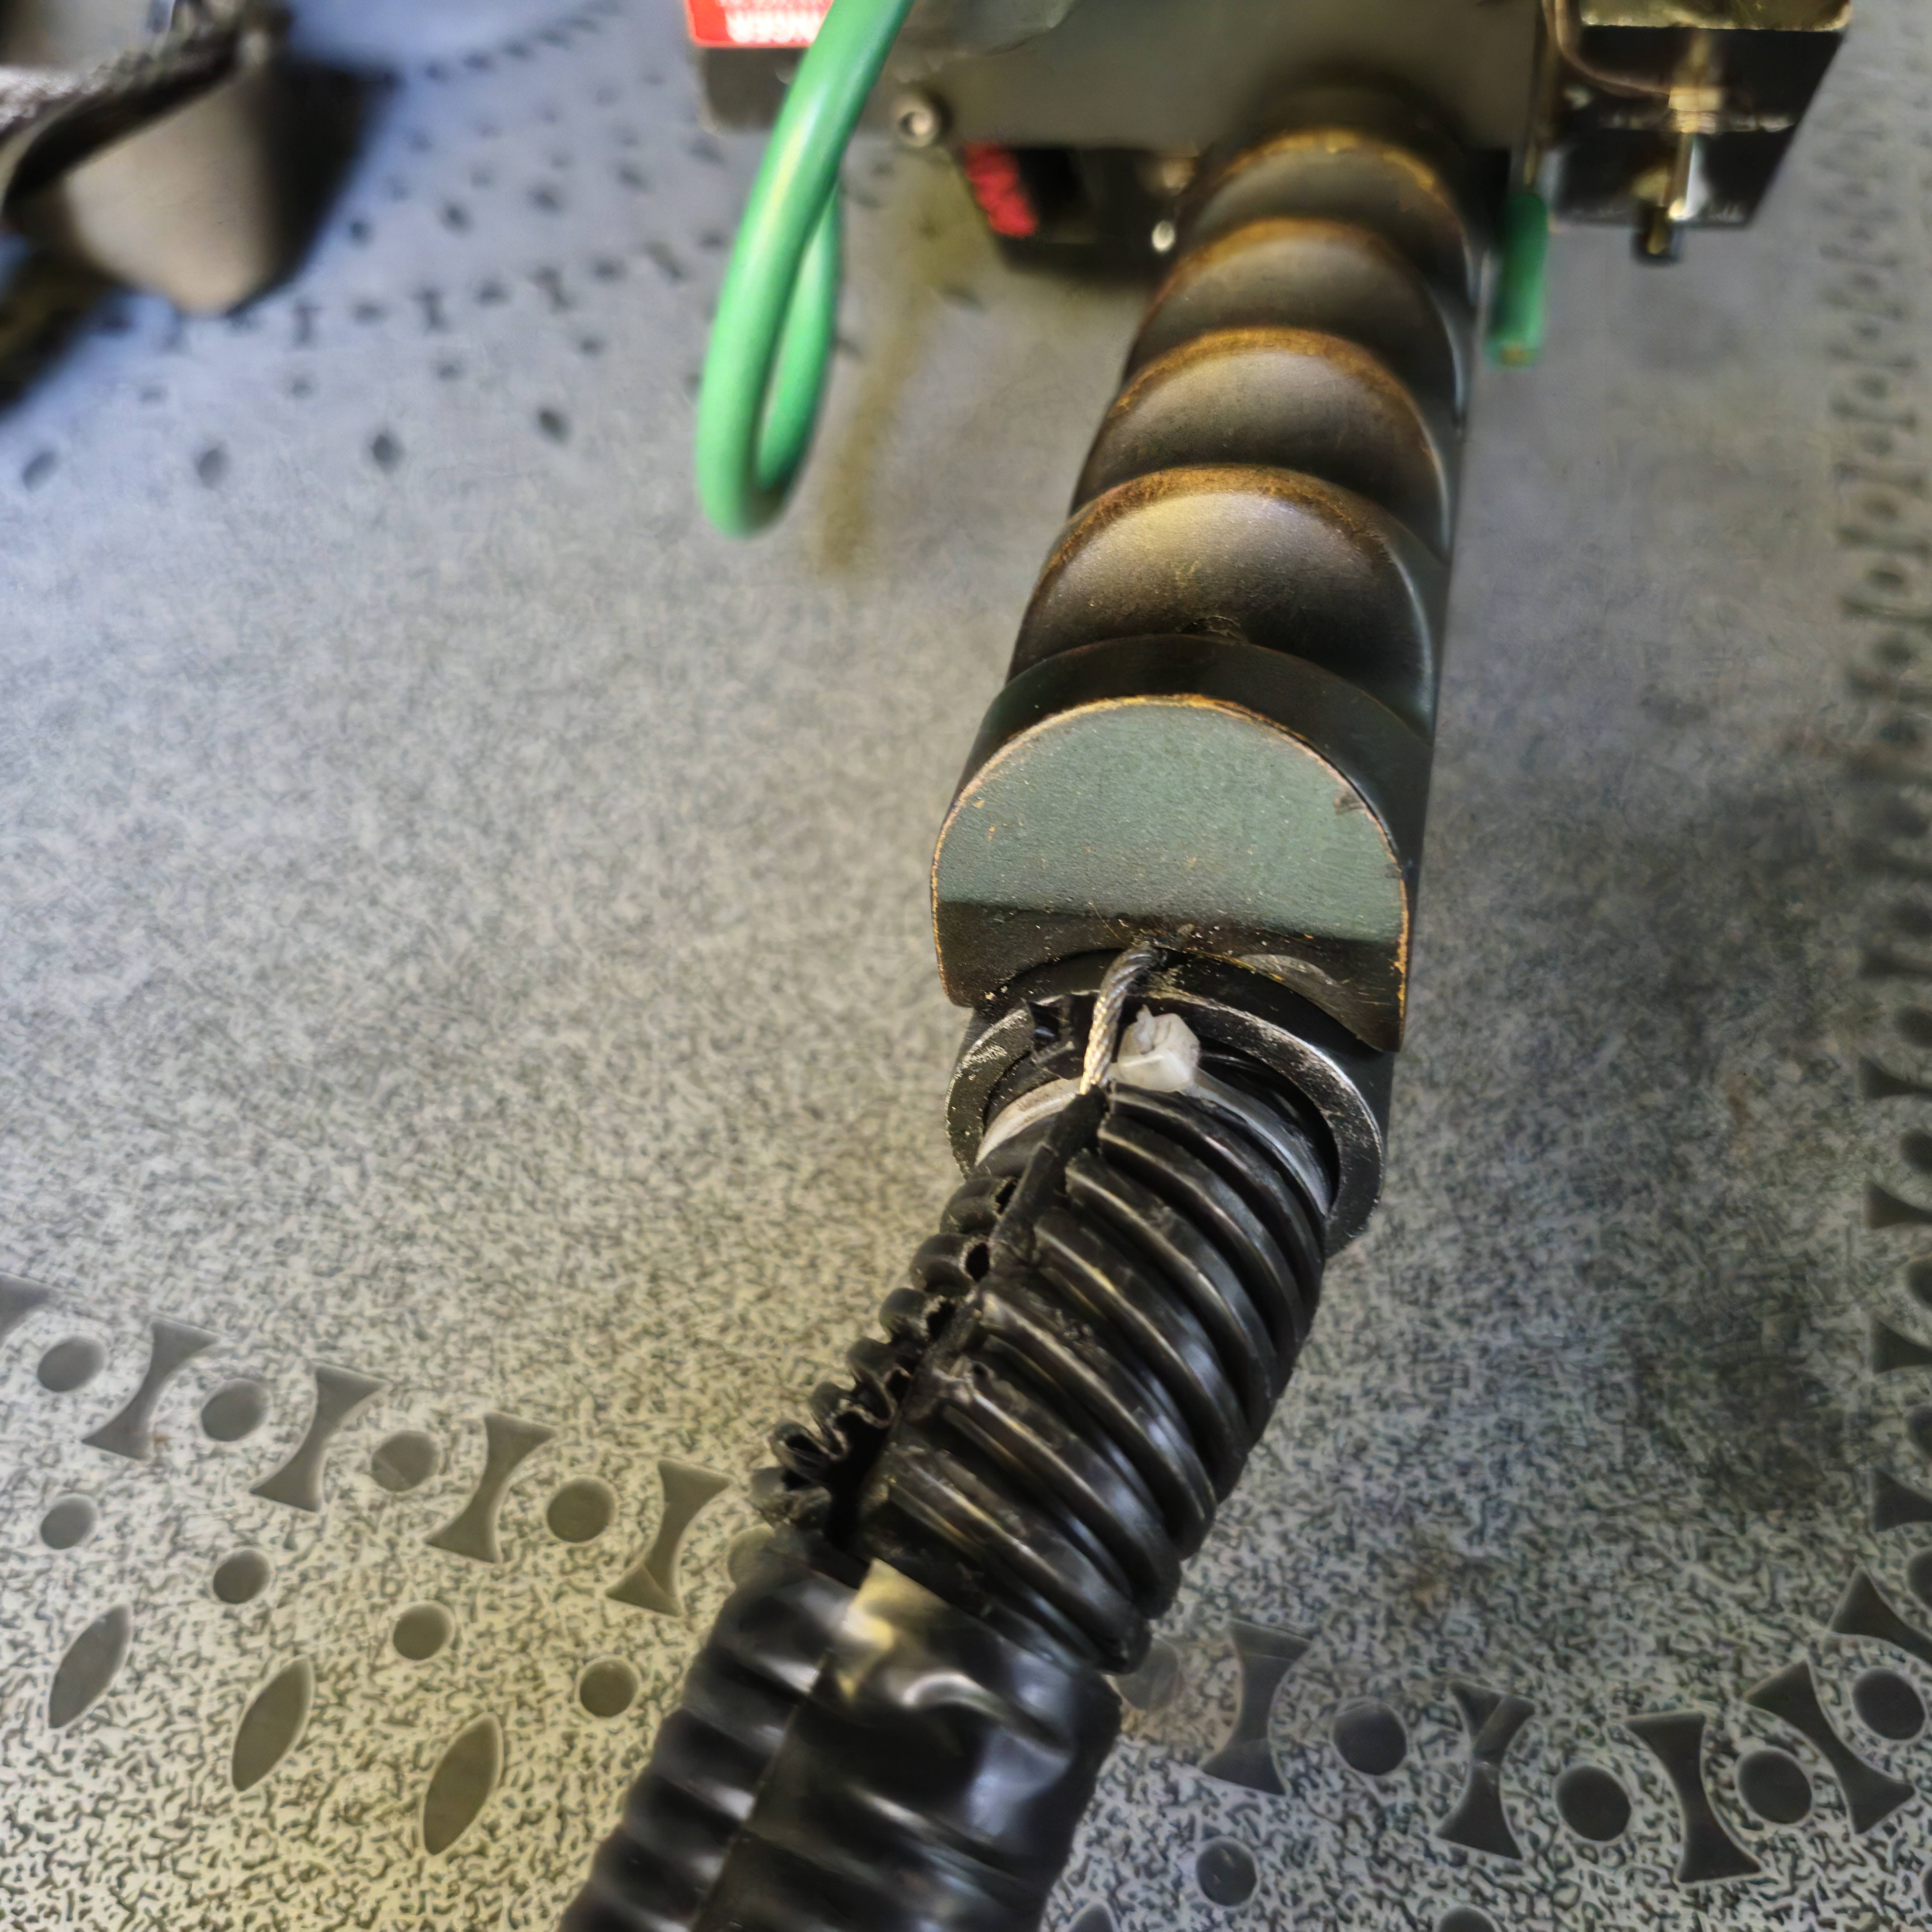
And here, the wire to secure the loom as on the Venkman pack.
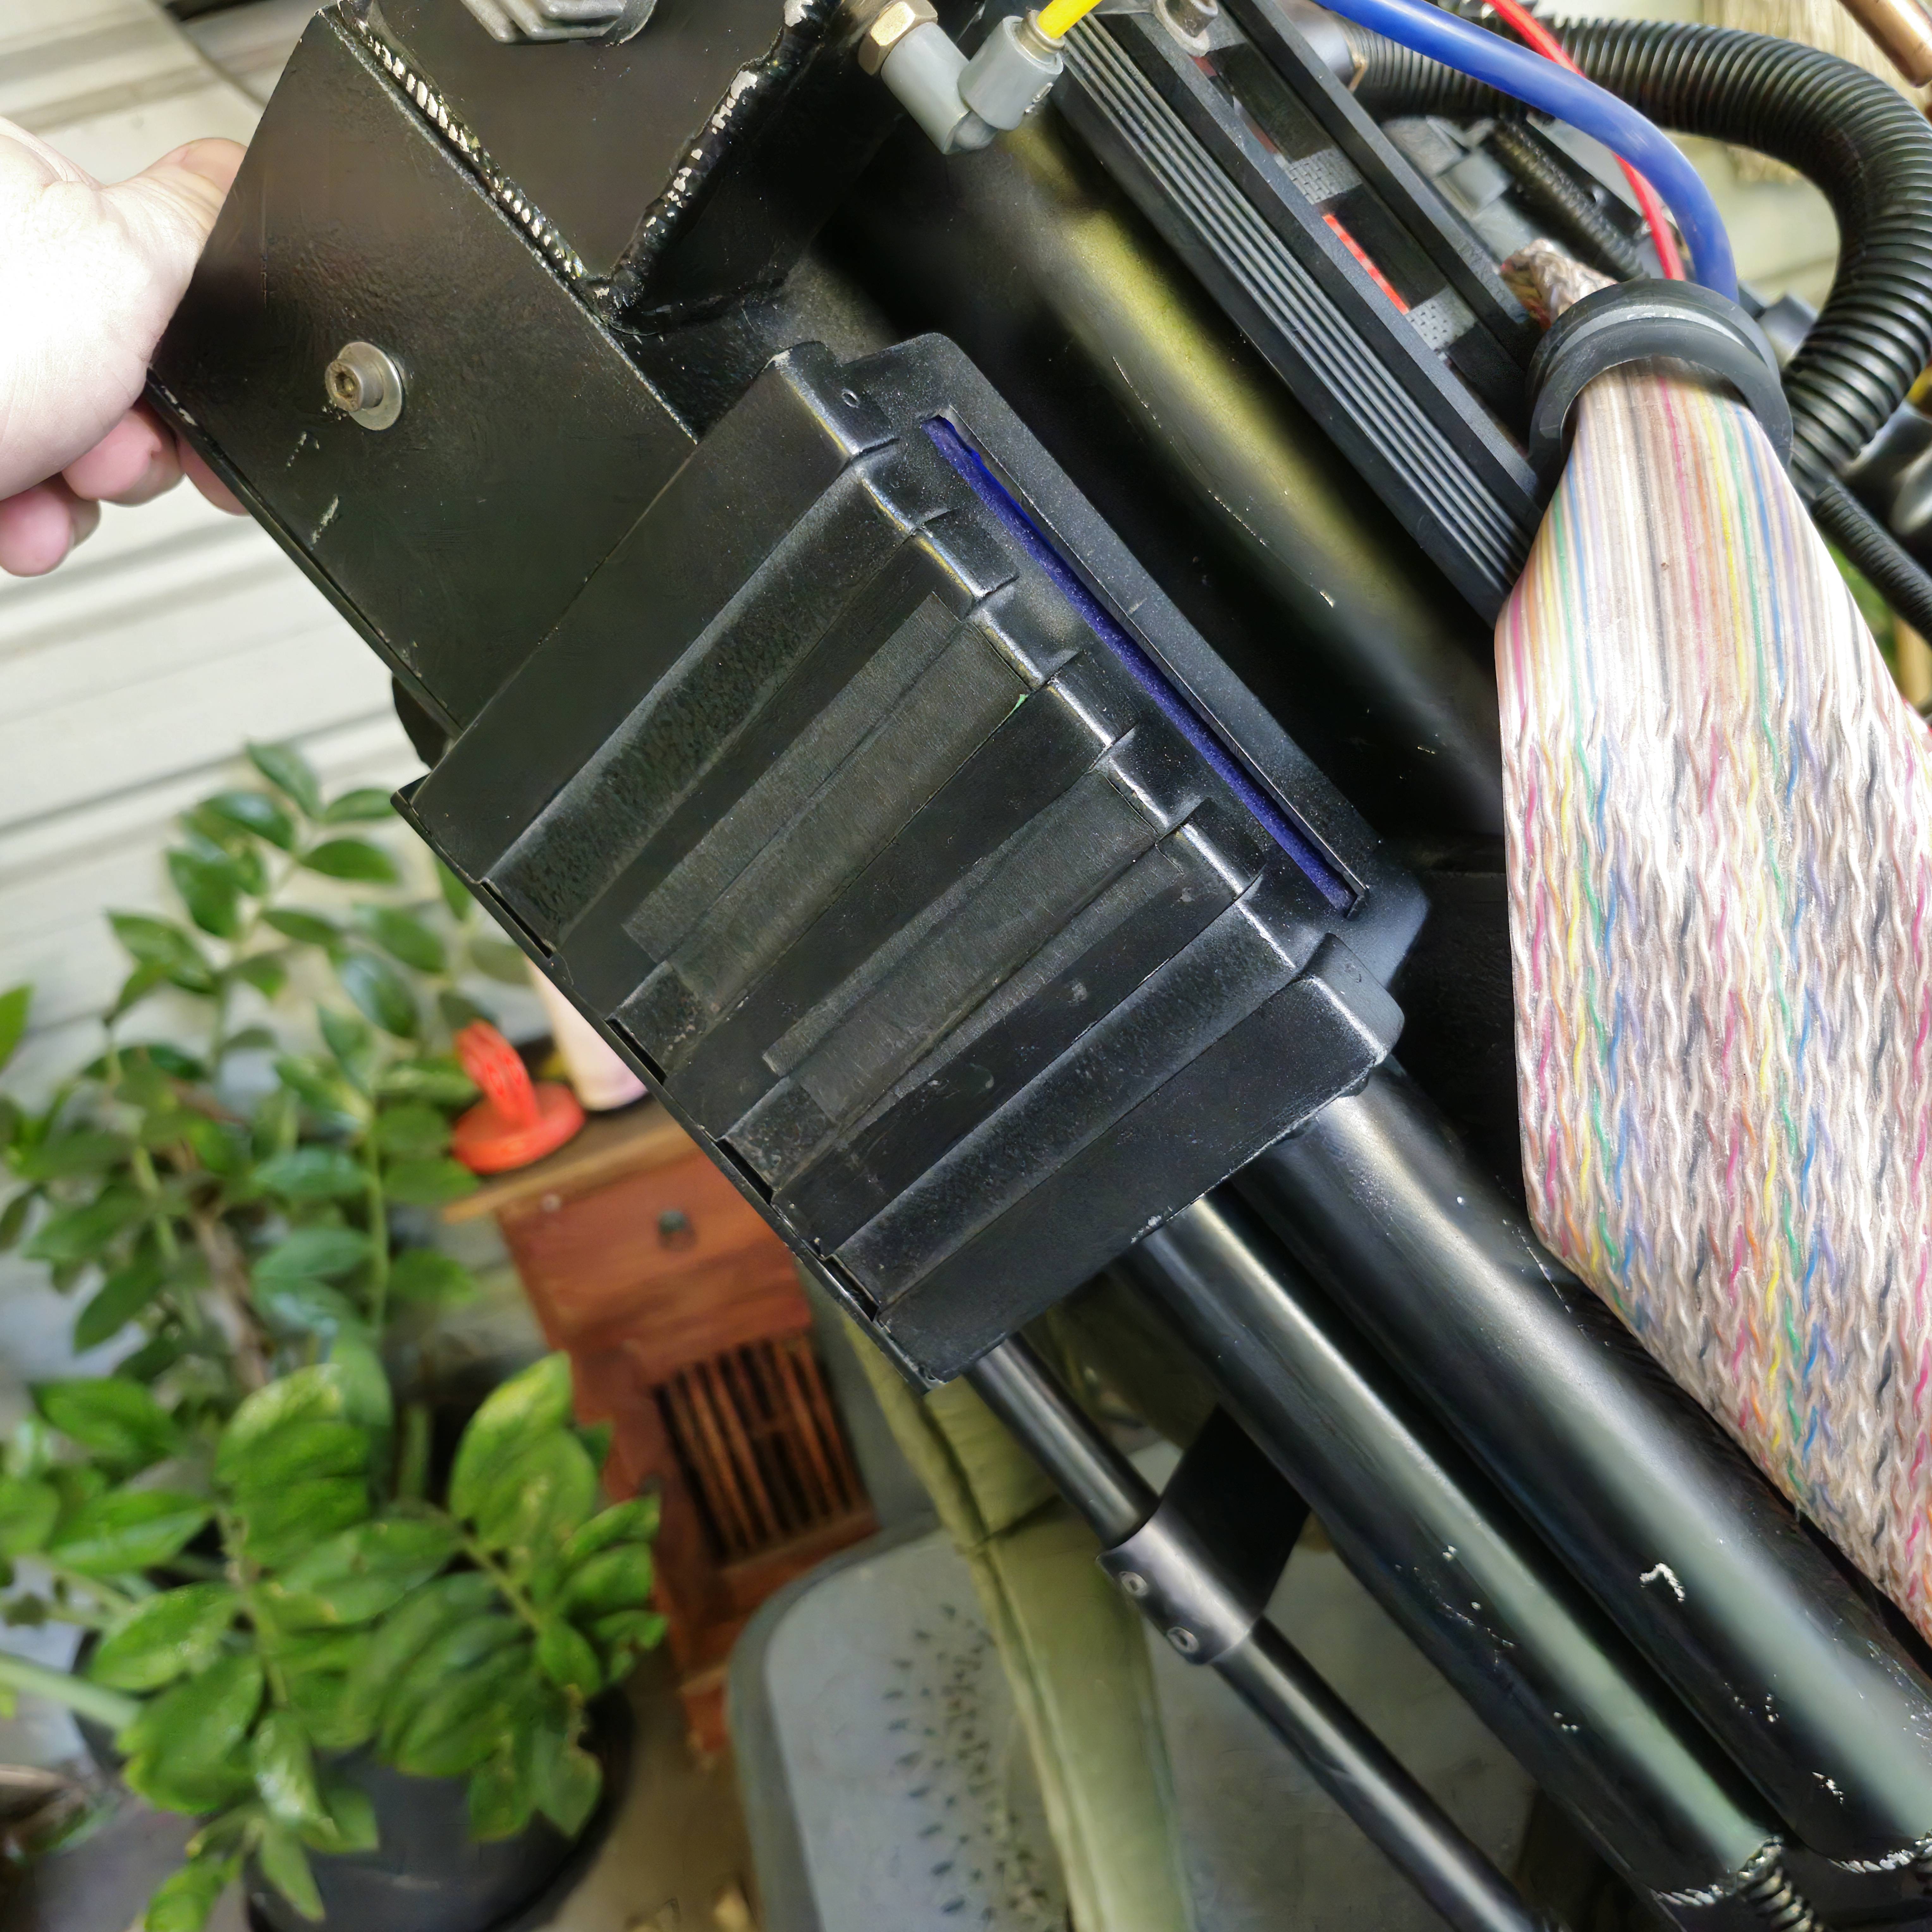
And the masking tape that was on the Super Hero power cell for some reason.
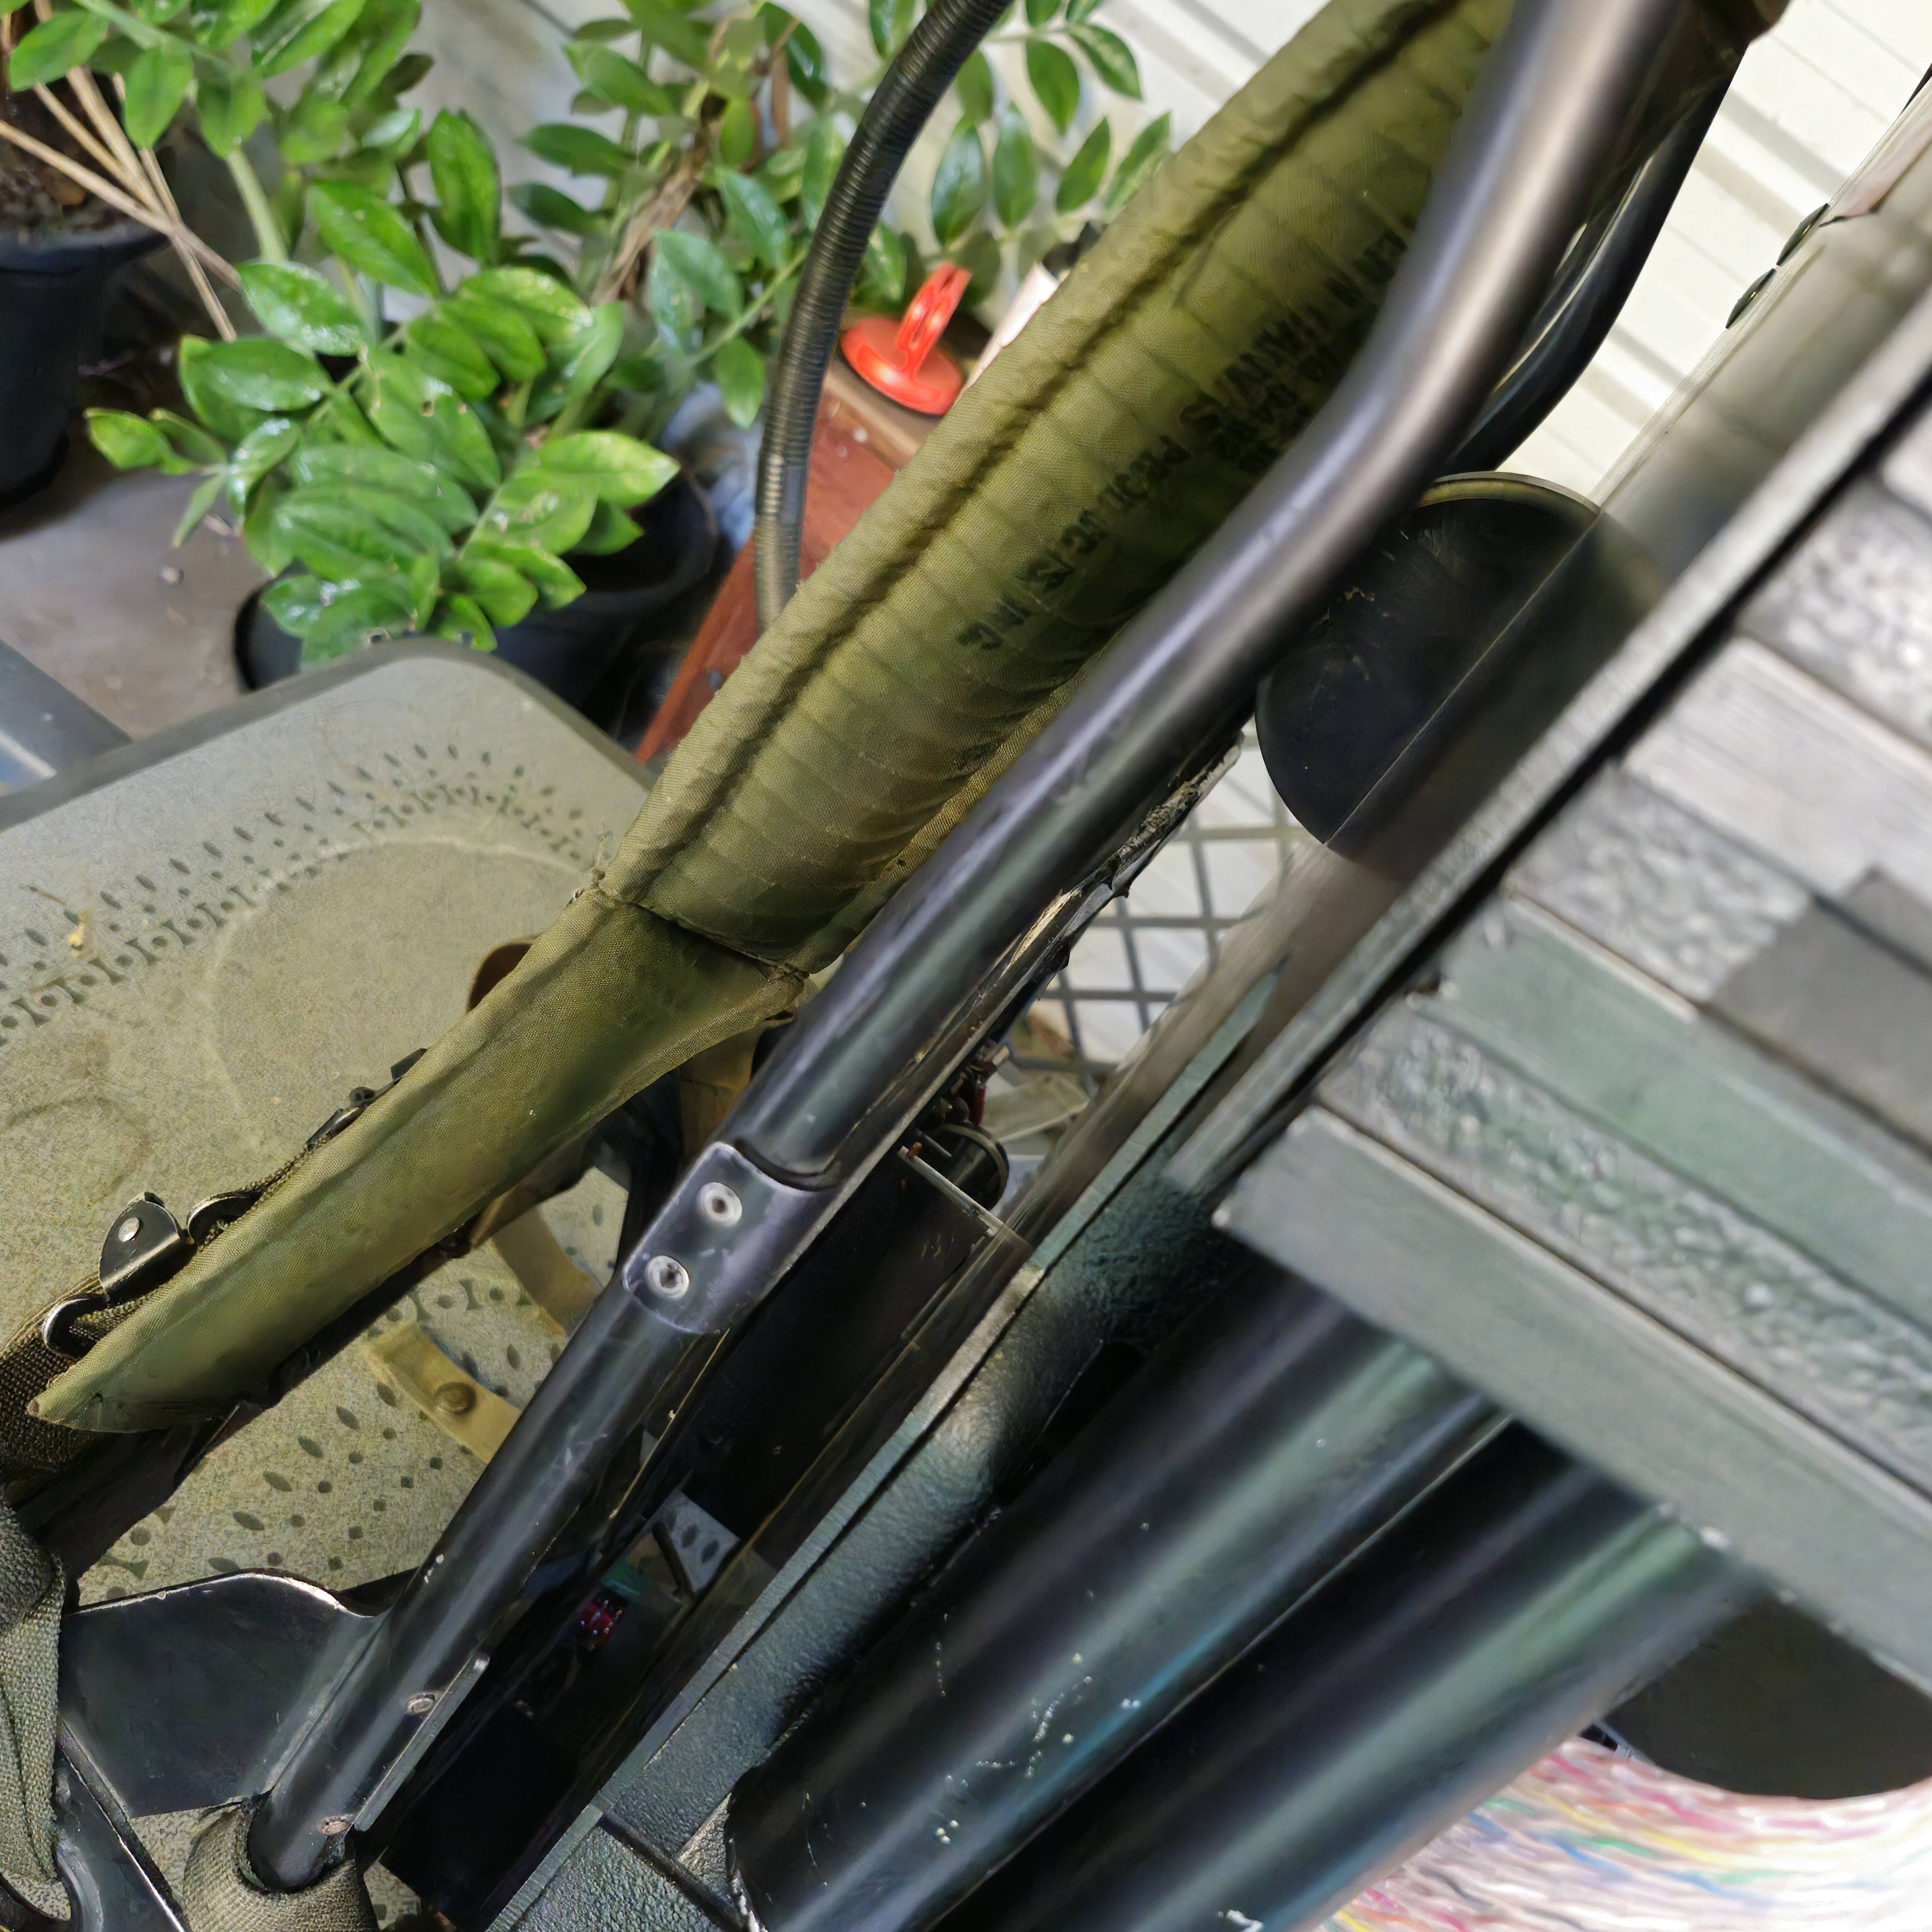
Got a genuine '73 LC-1 frame and straps that saw active duty. The frame is a bit bent, which is common. I was going to straighten it, but my wife suggested I leave it as-is. I agreed, and tried to keep it as close to how it was when I got it. Just showing a little love to the legacy of the frame, I left the OD duct tape with the name “ROSS” on there. It’s probably been on there since '73 as well, so I think it should stay. There’s also some precedent for the bent frame, anyway. The Super Hero pack frame, itself, is bent in the same way.
Went with the half-moon/block spacers. Never really care for the tube spacers on the GB2 packs.
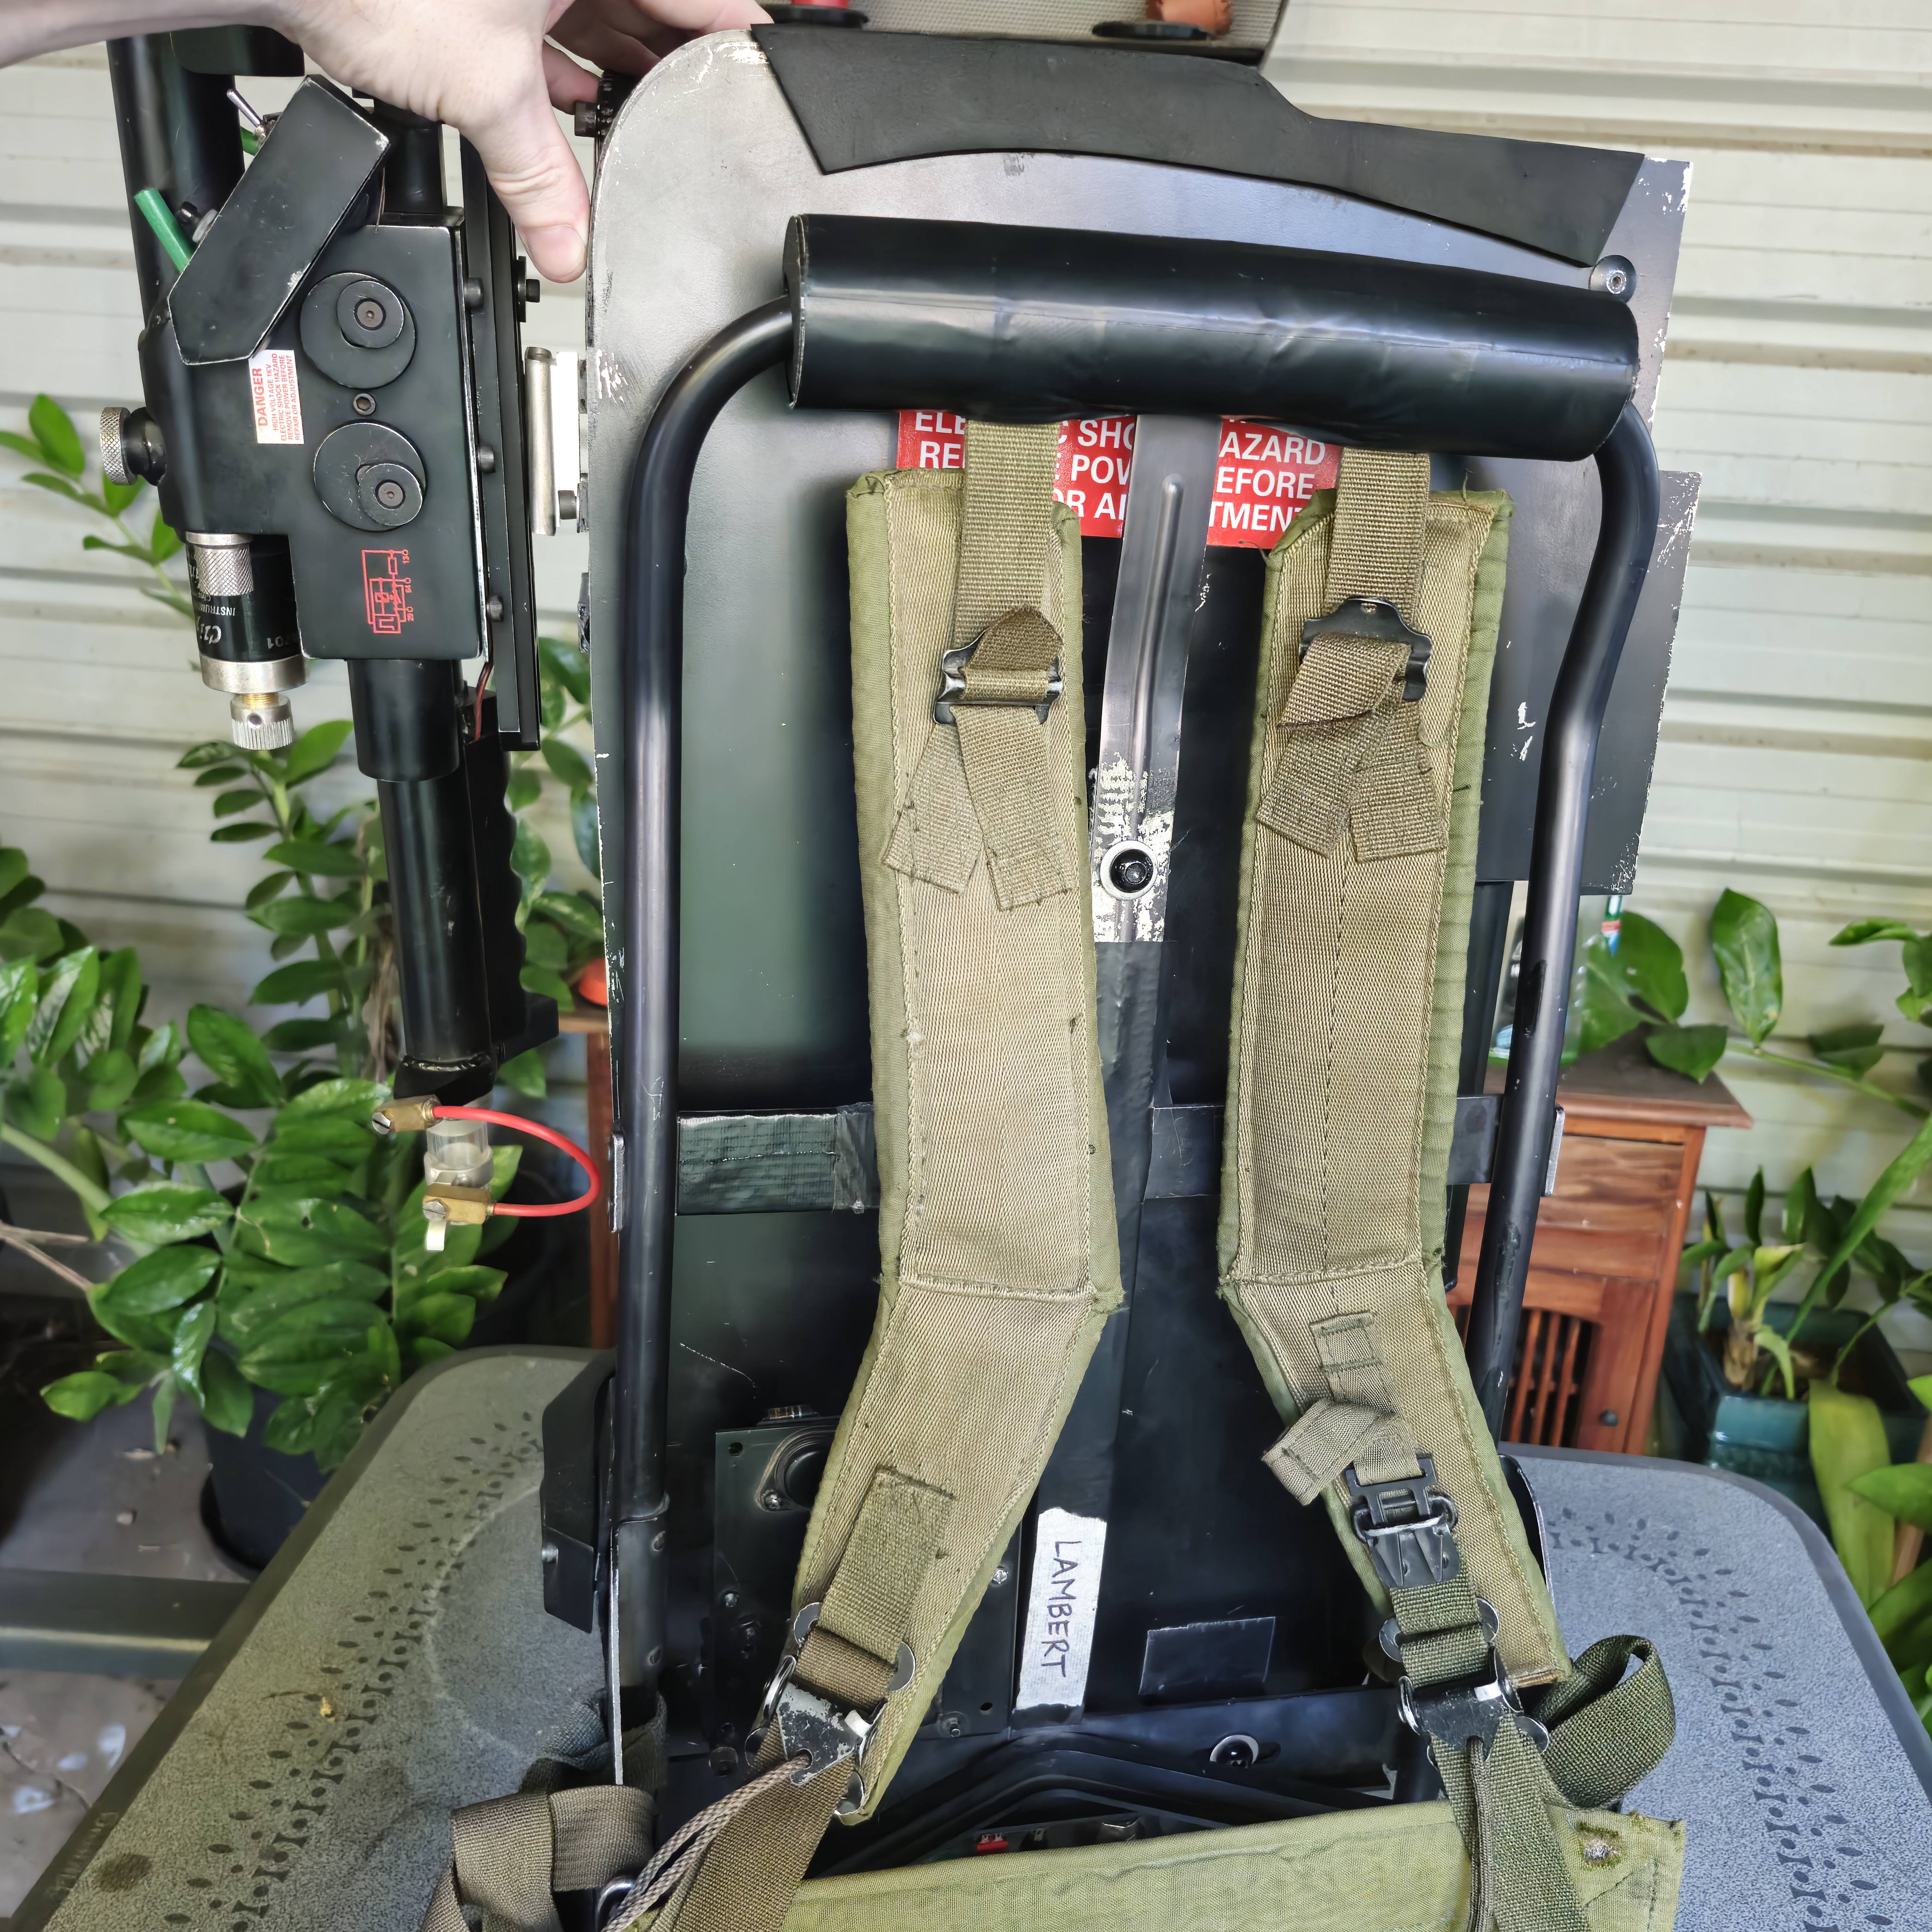
Went with Venkman style motherboard foam, since the whole back side is very Venkman. The obvious “Bill M.” tape homage, and the Powertec OEM II.
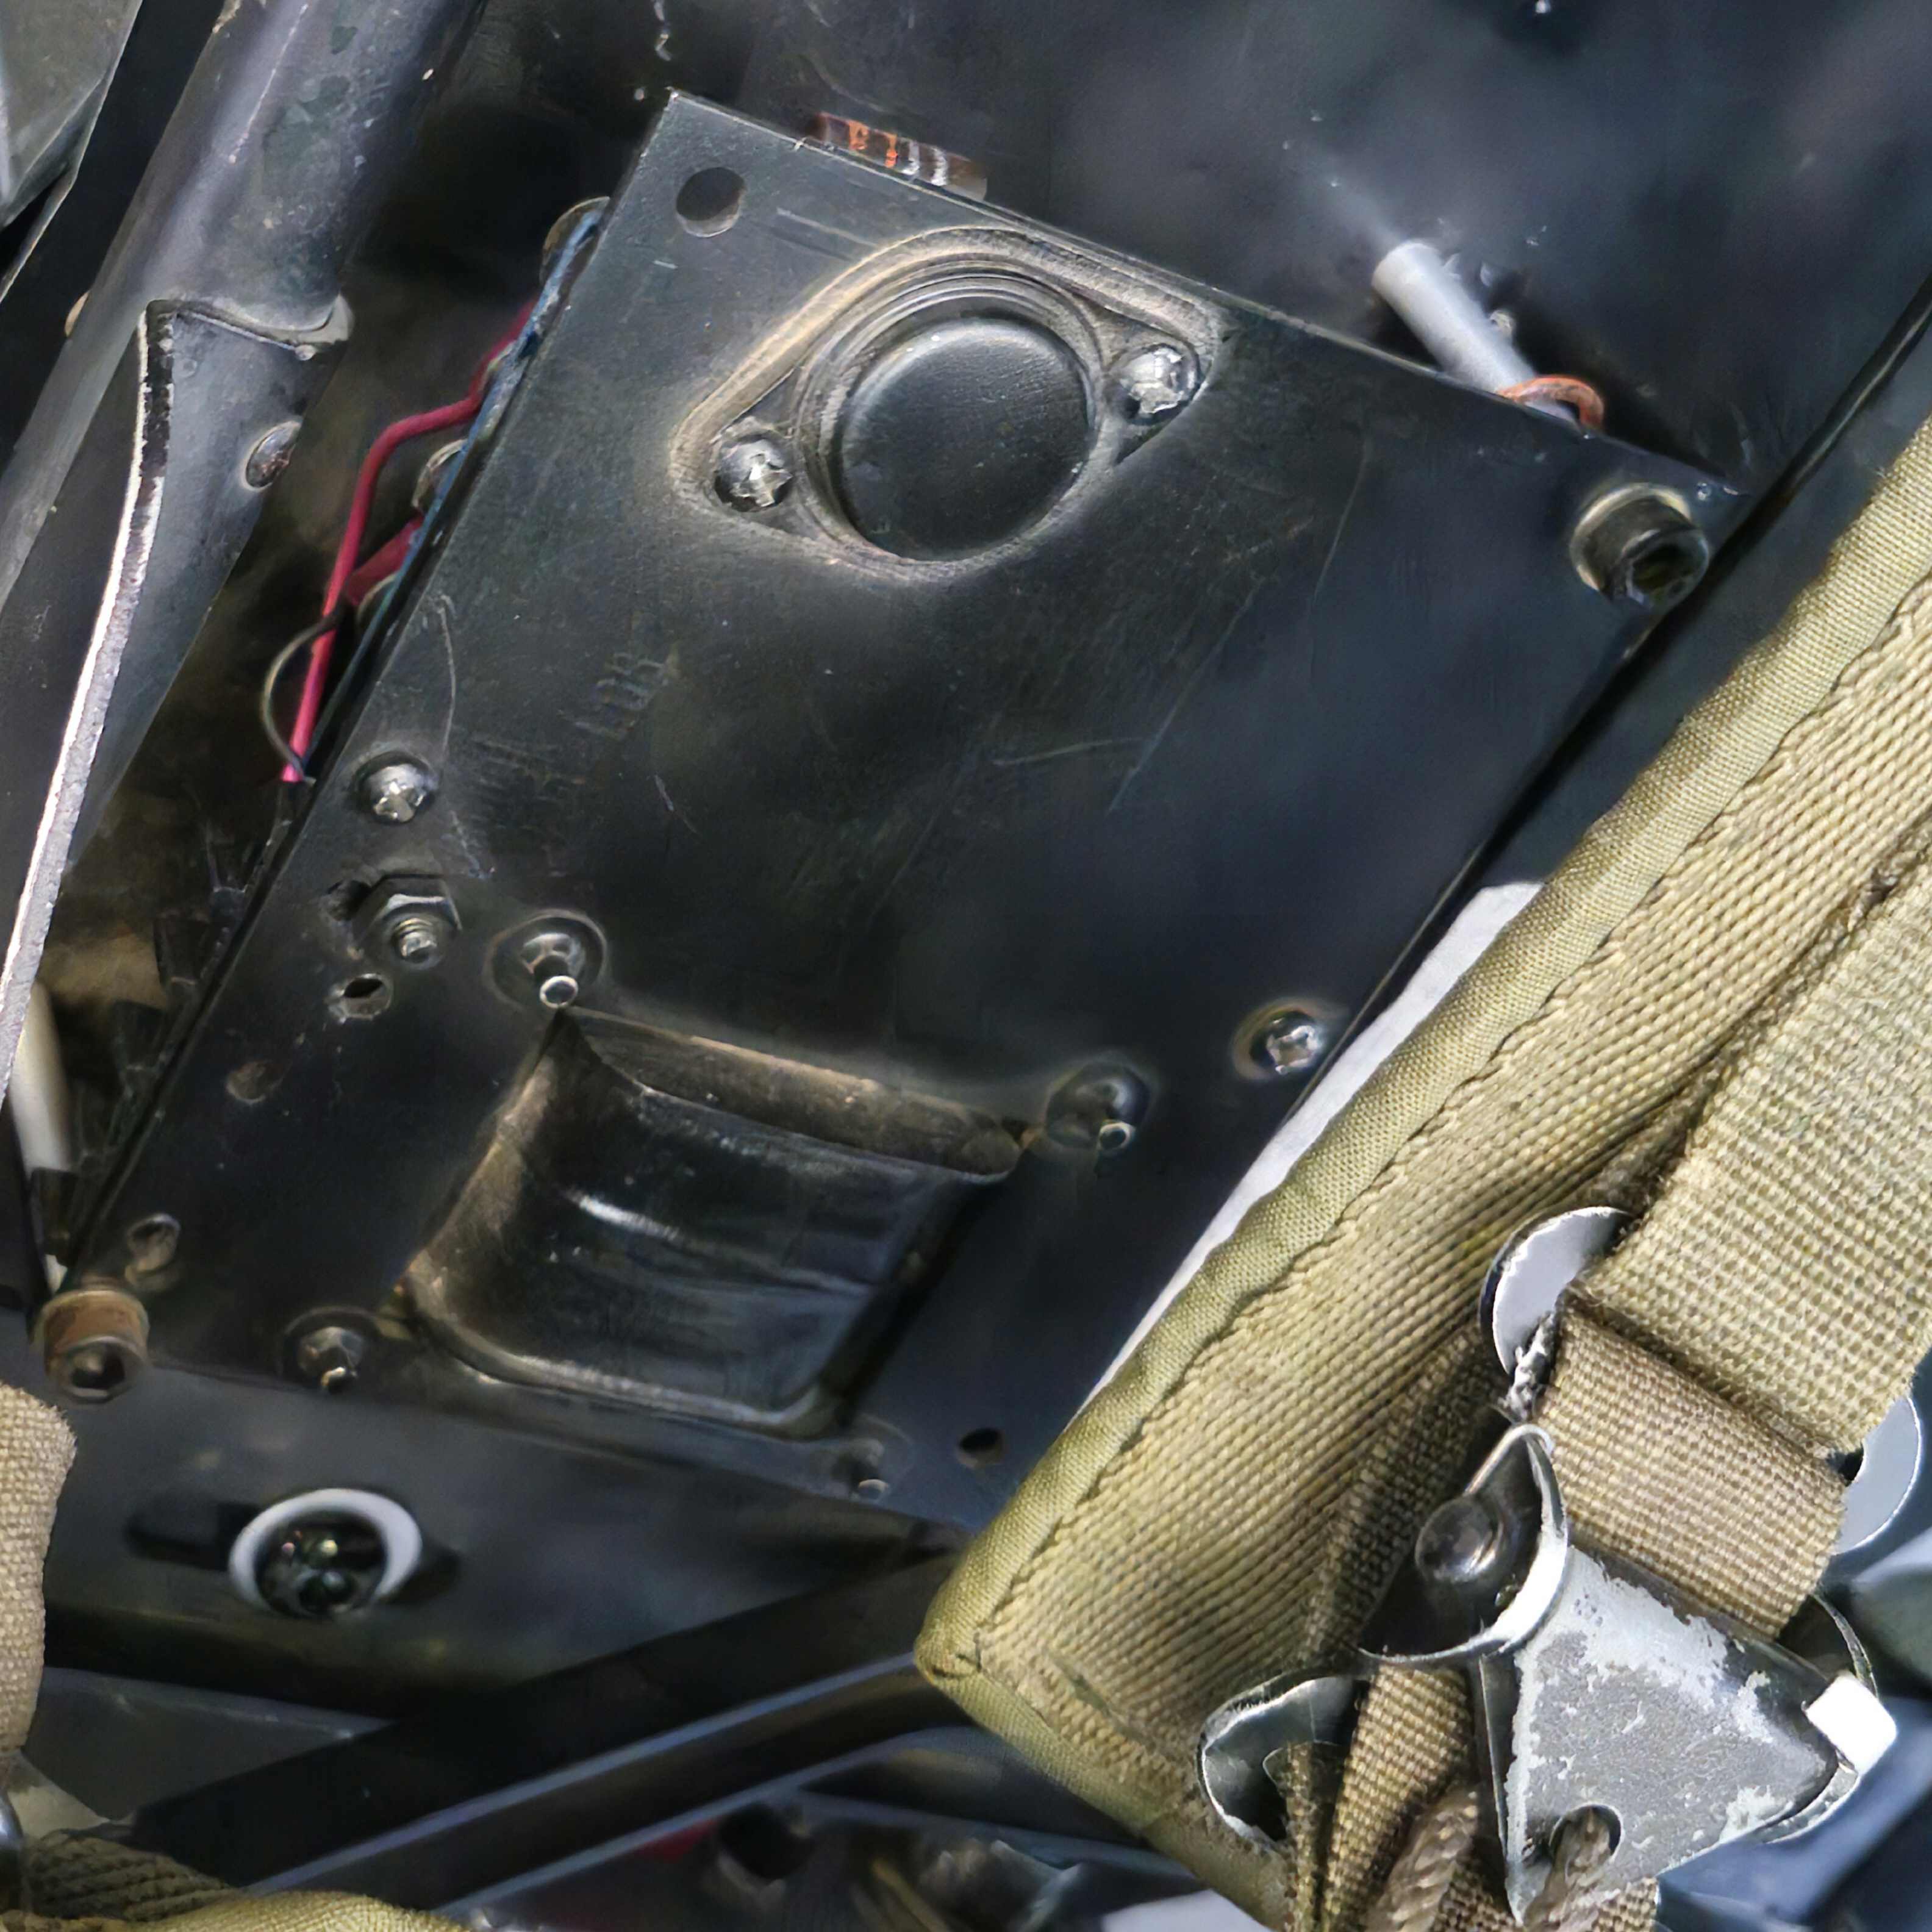
Spengler/Stantz style Switchcraft plate I made from the off cuts of the aluminum sheet I used to mount the n-filter.
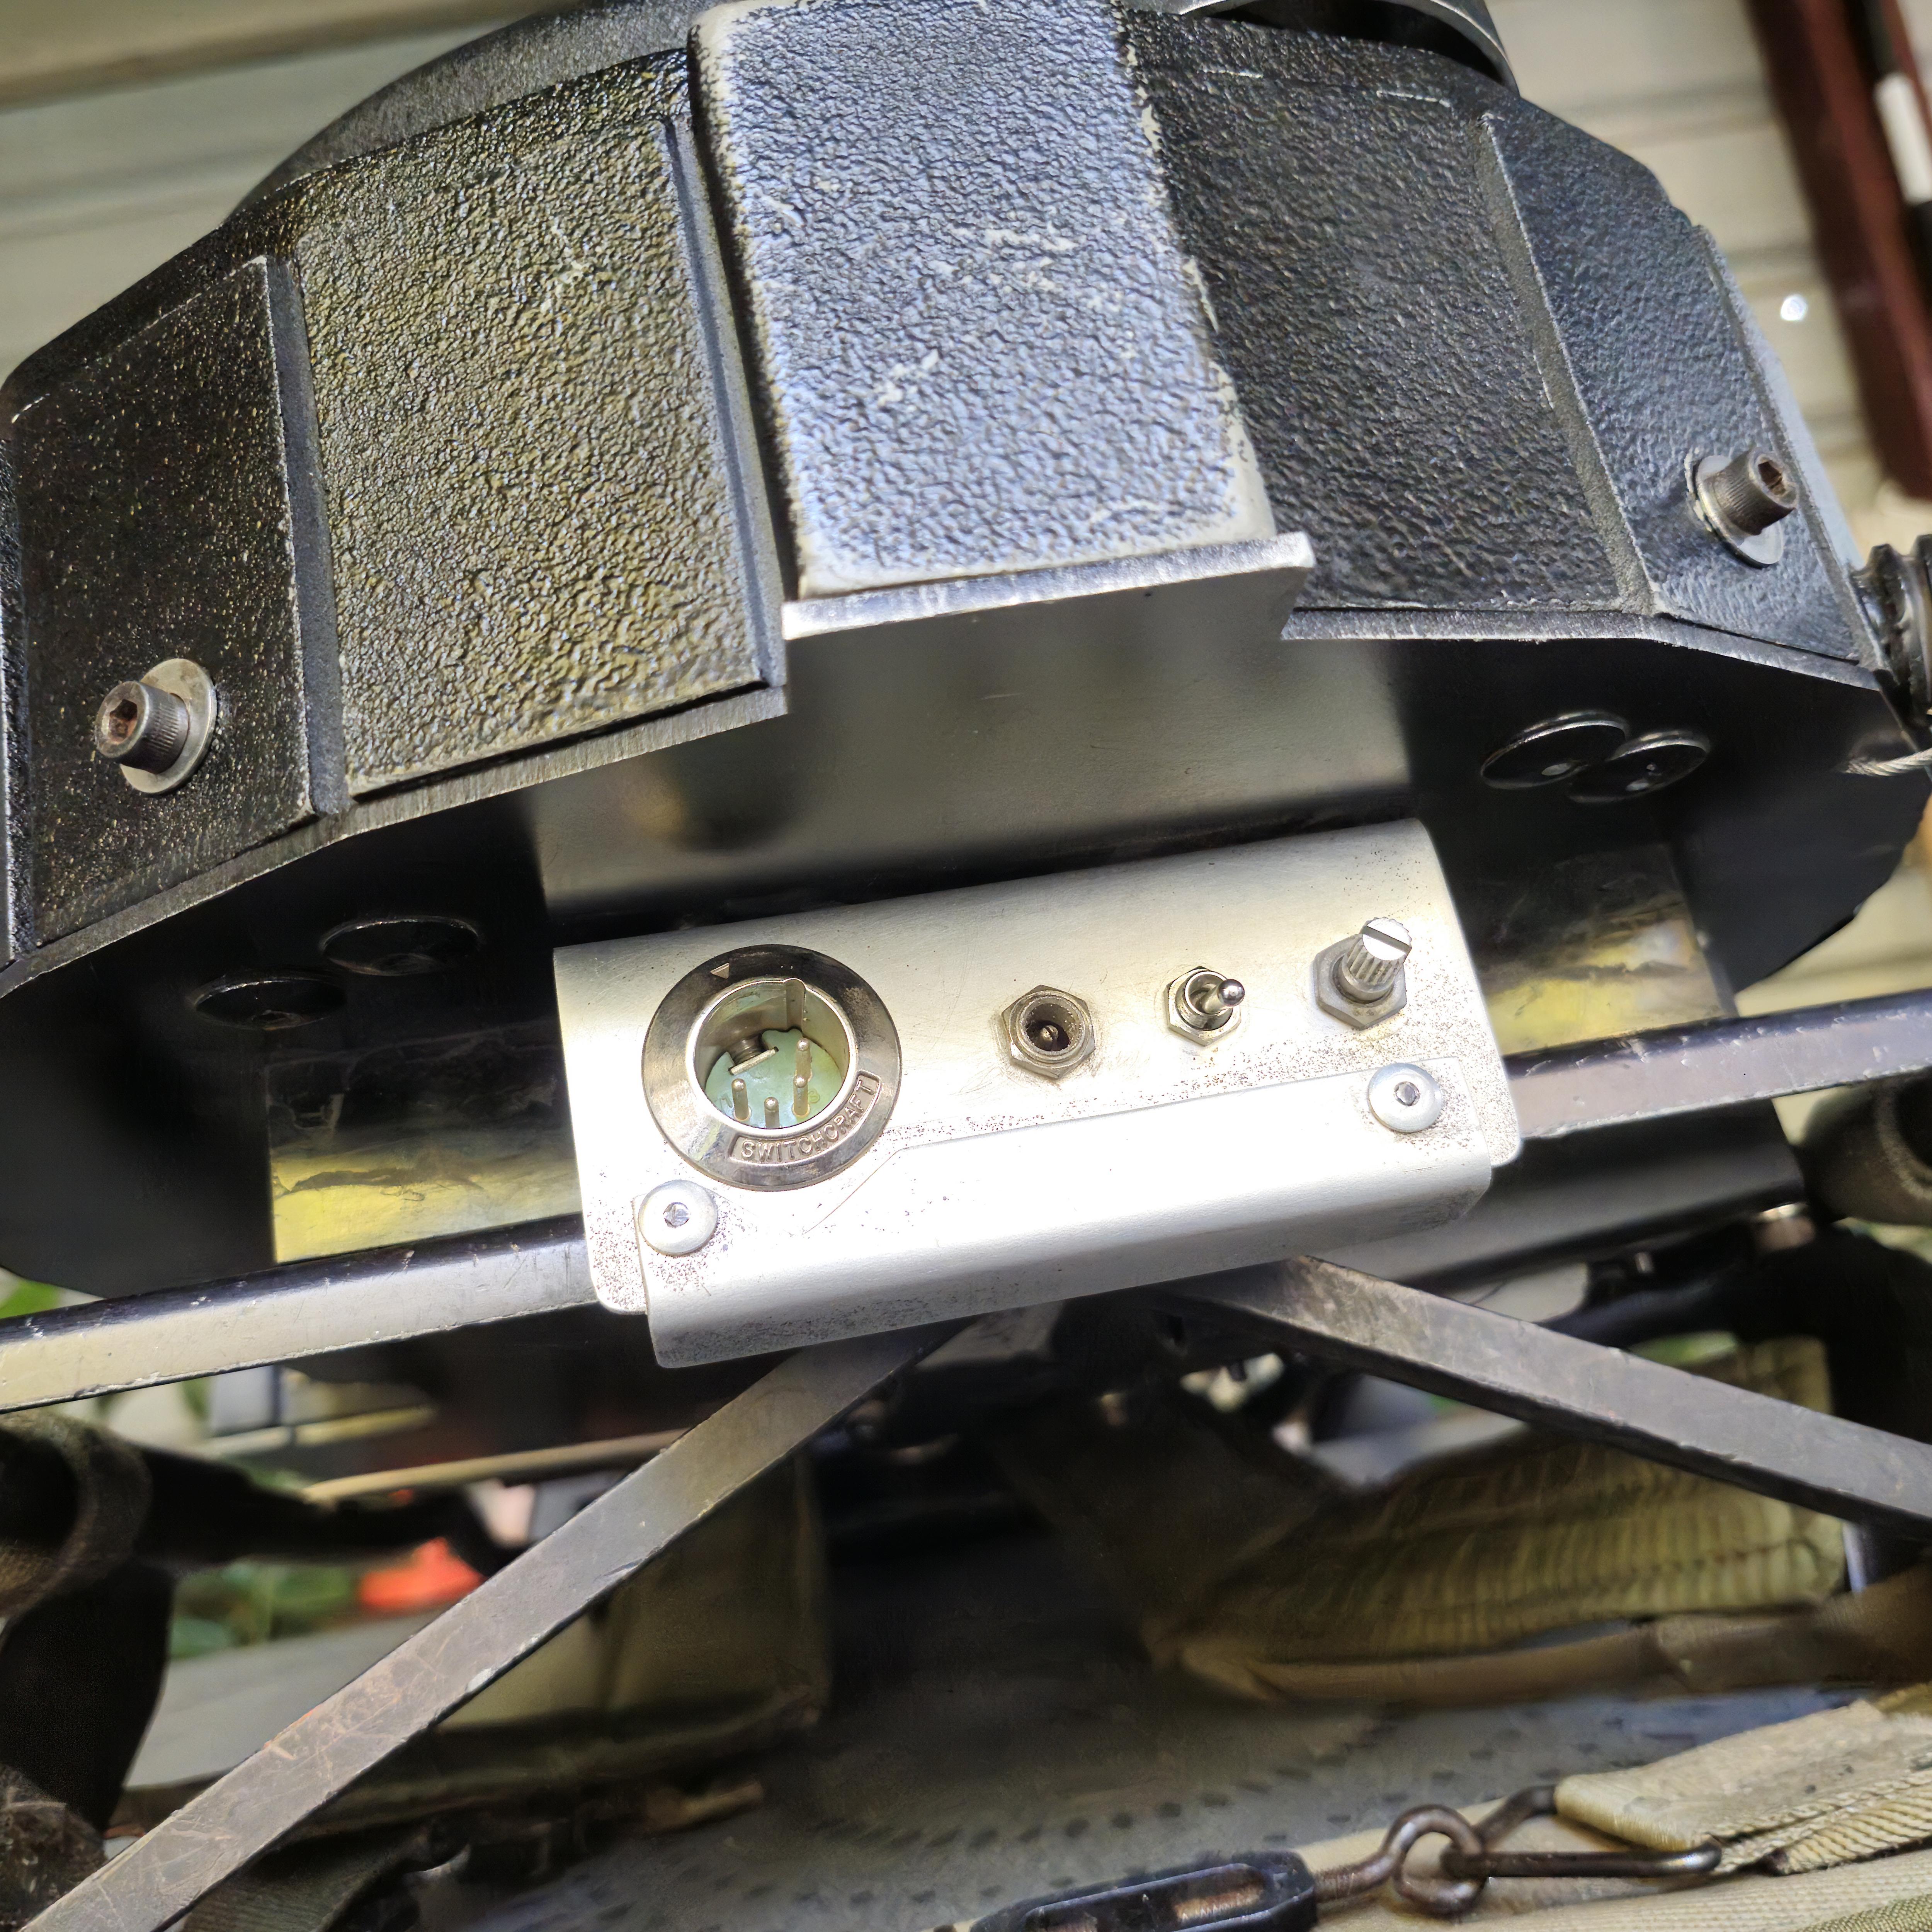
Wand is mostly Super Hero with a bit of Spengler. Whenever I receive the hat lights, the top light will be milky white, as on the Spengler, mounted outside instead of from within.
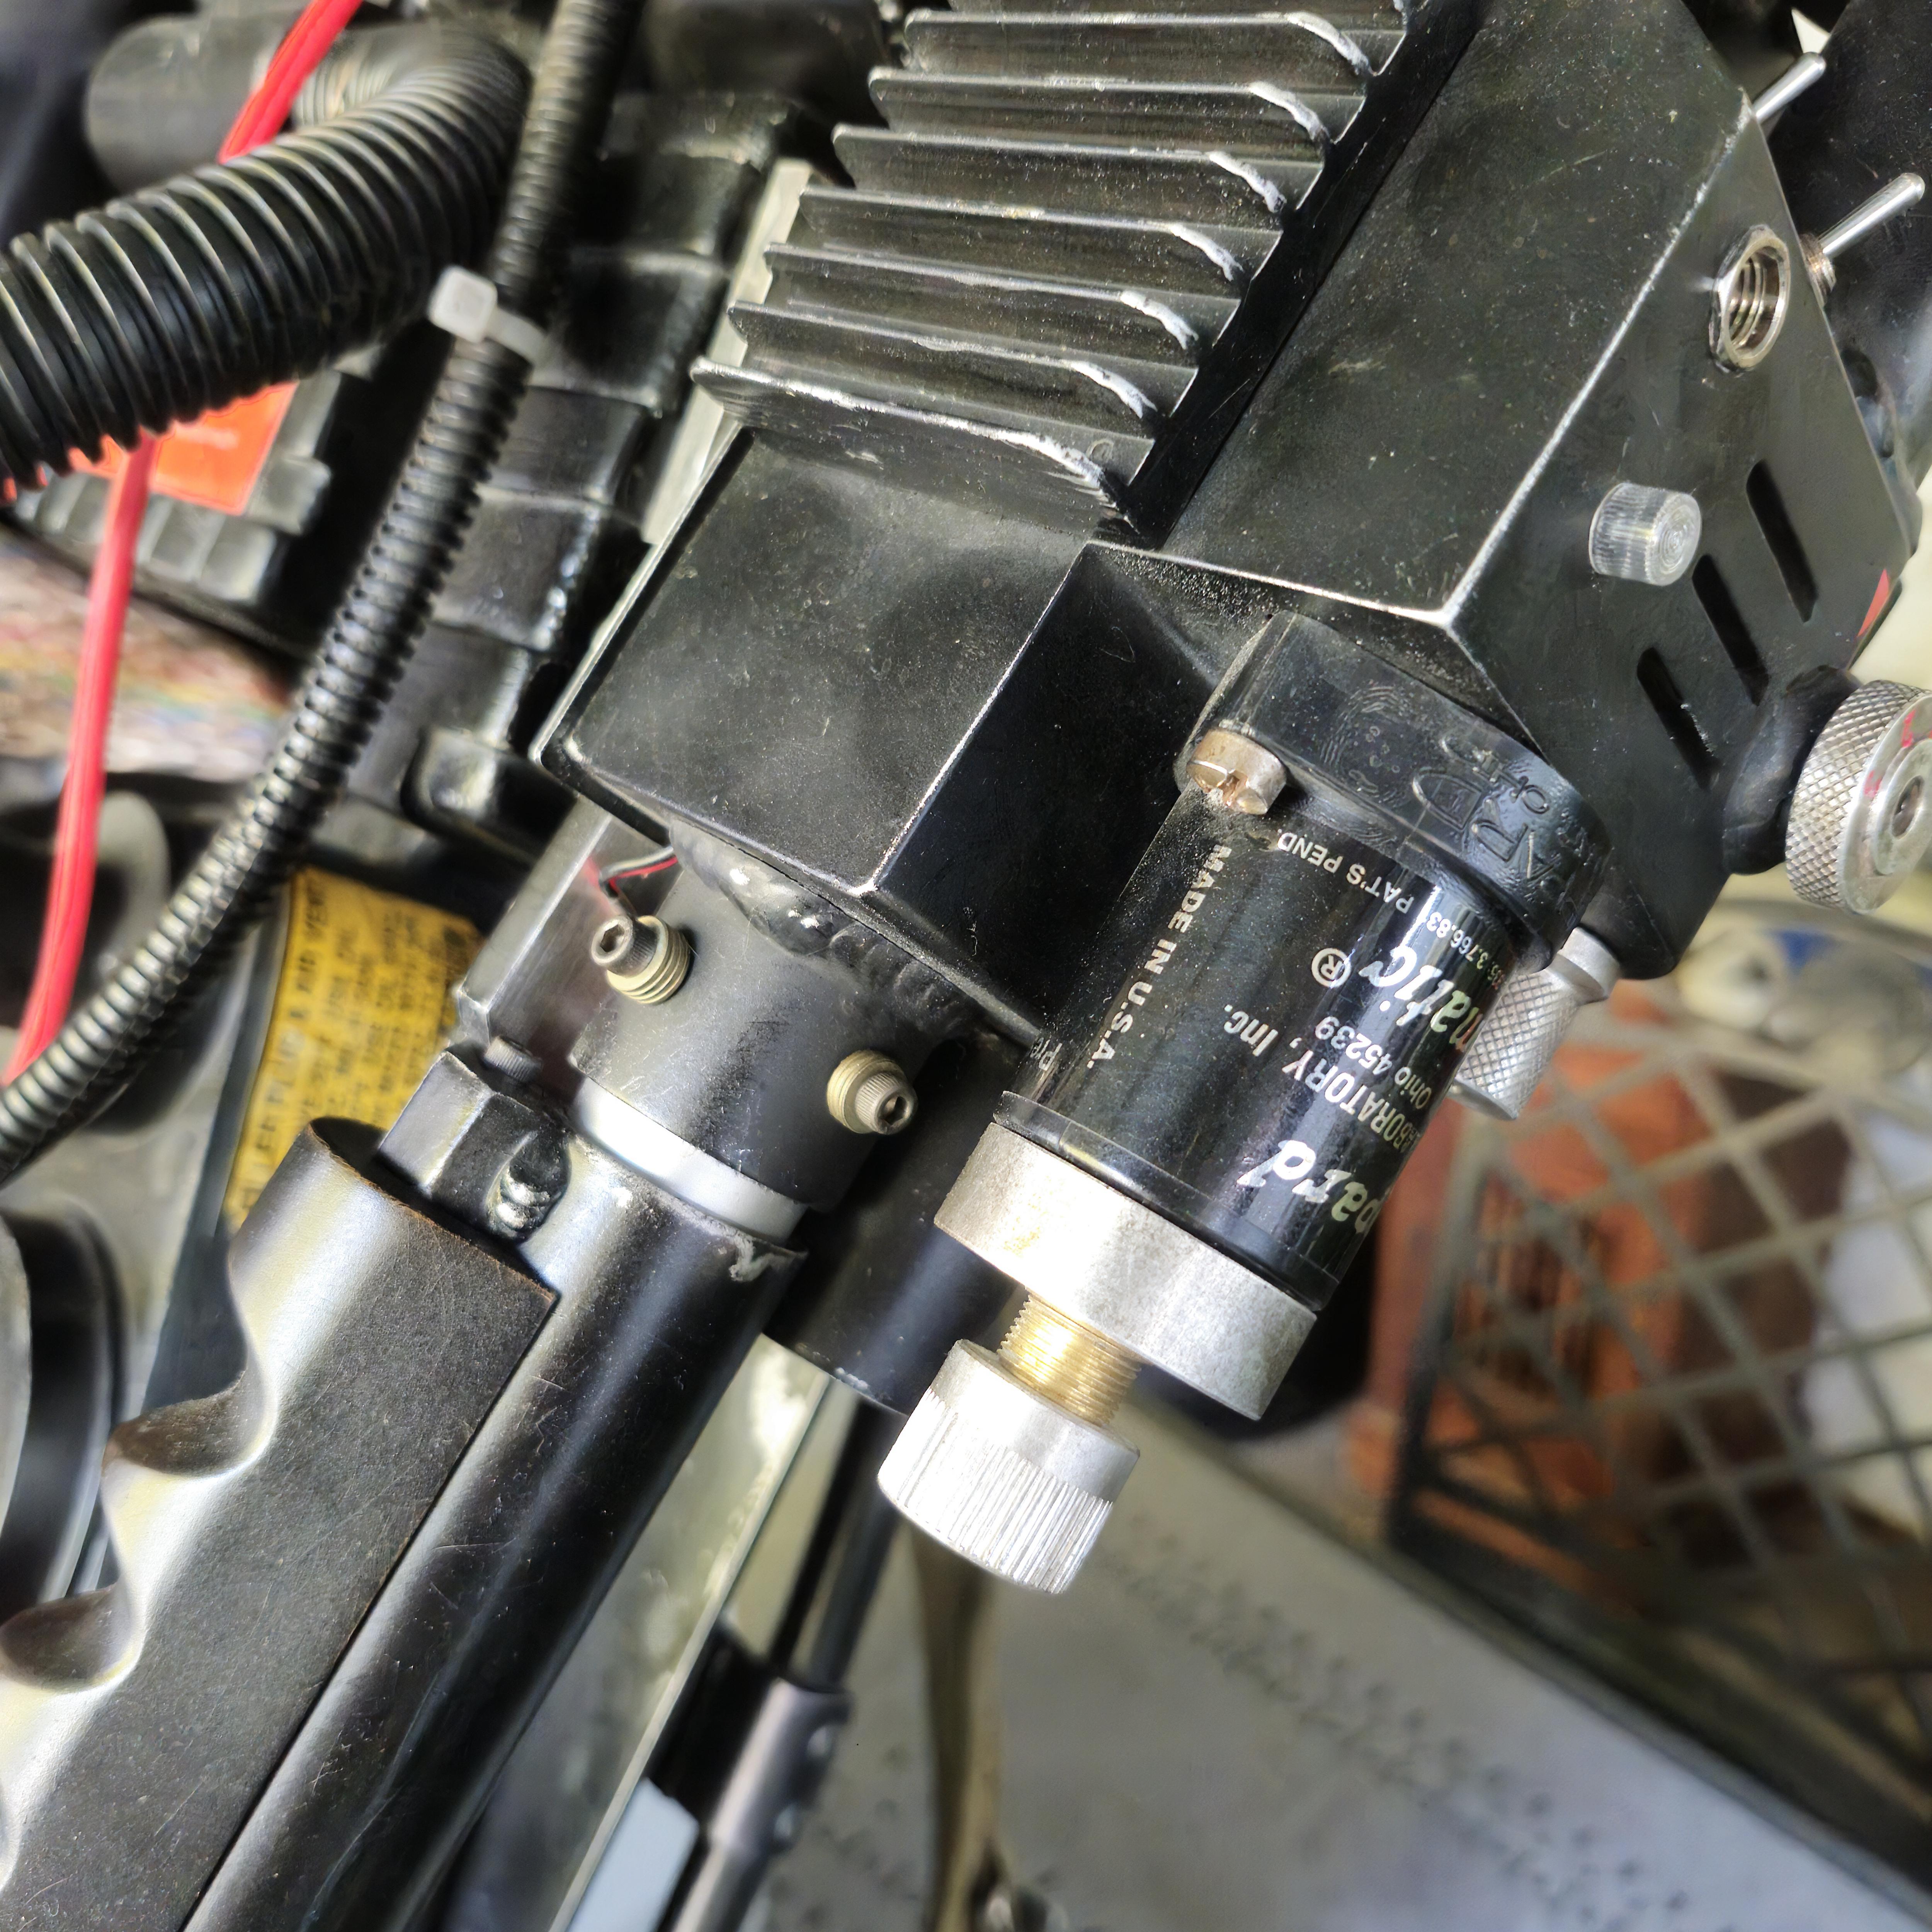
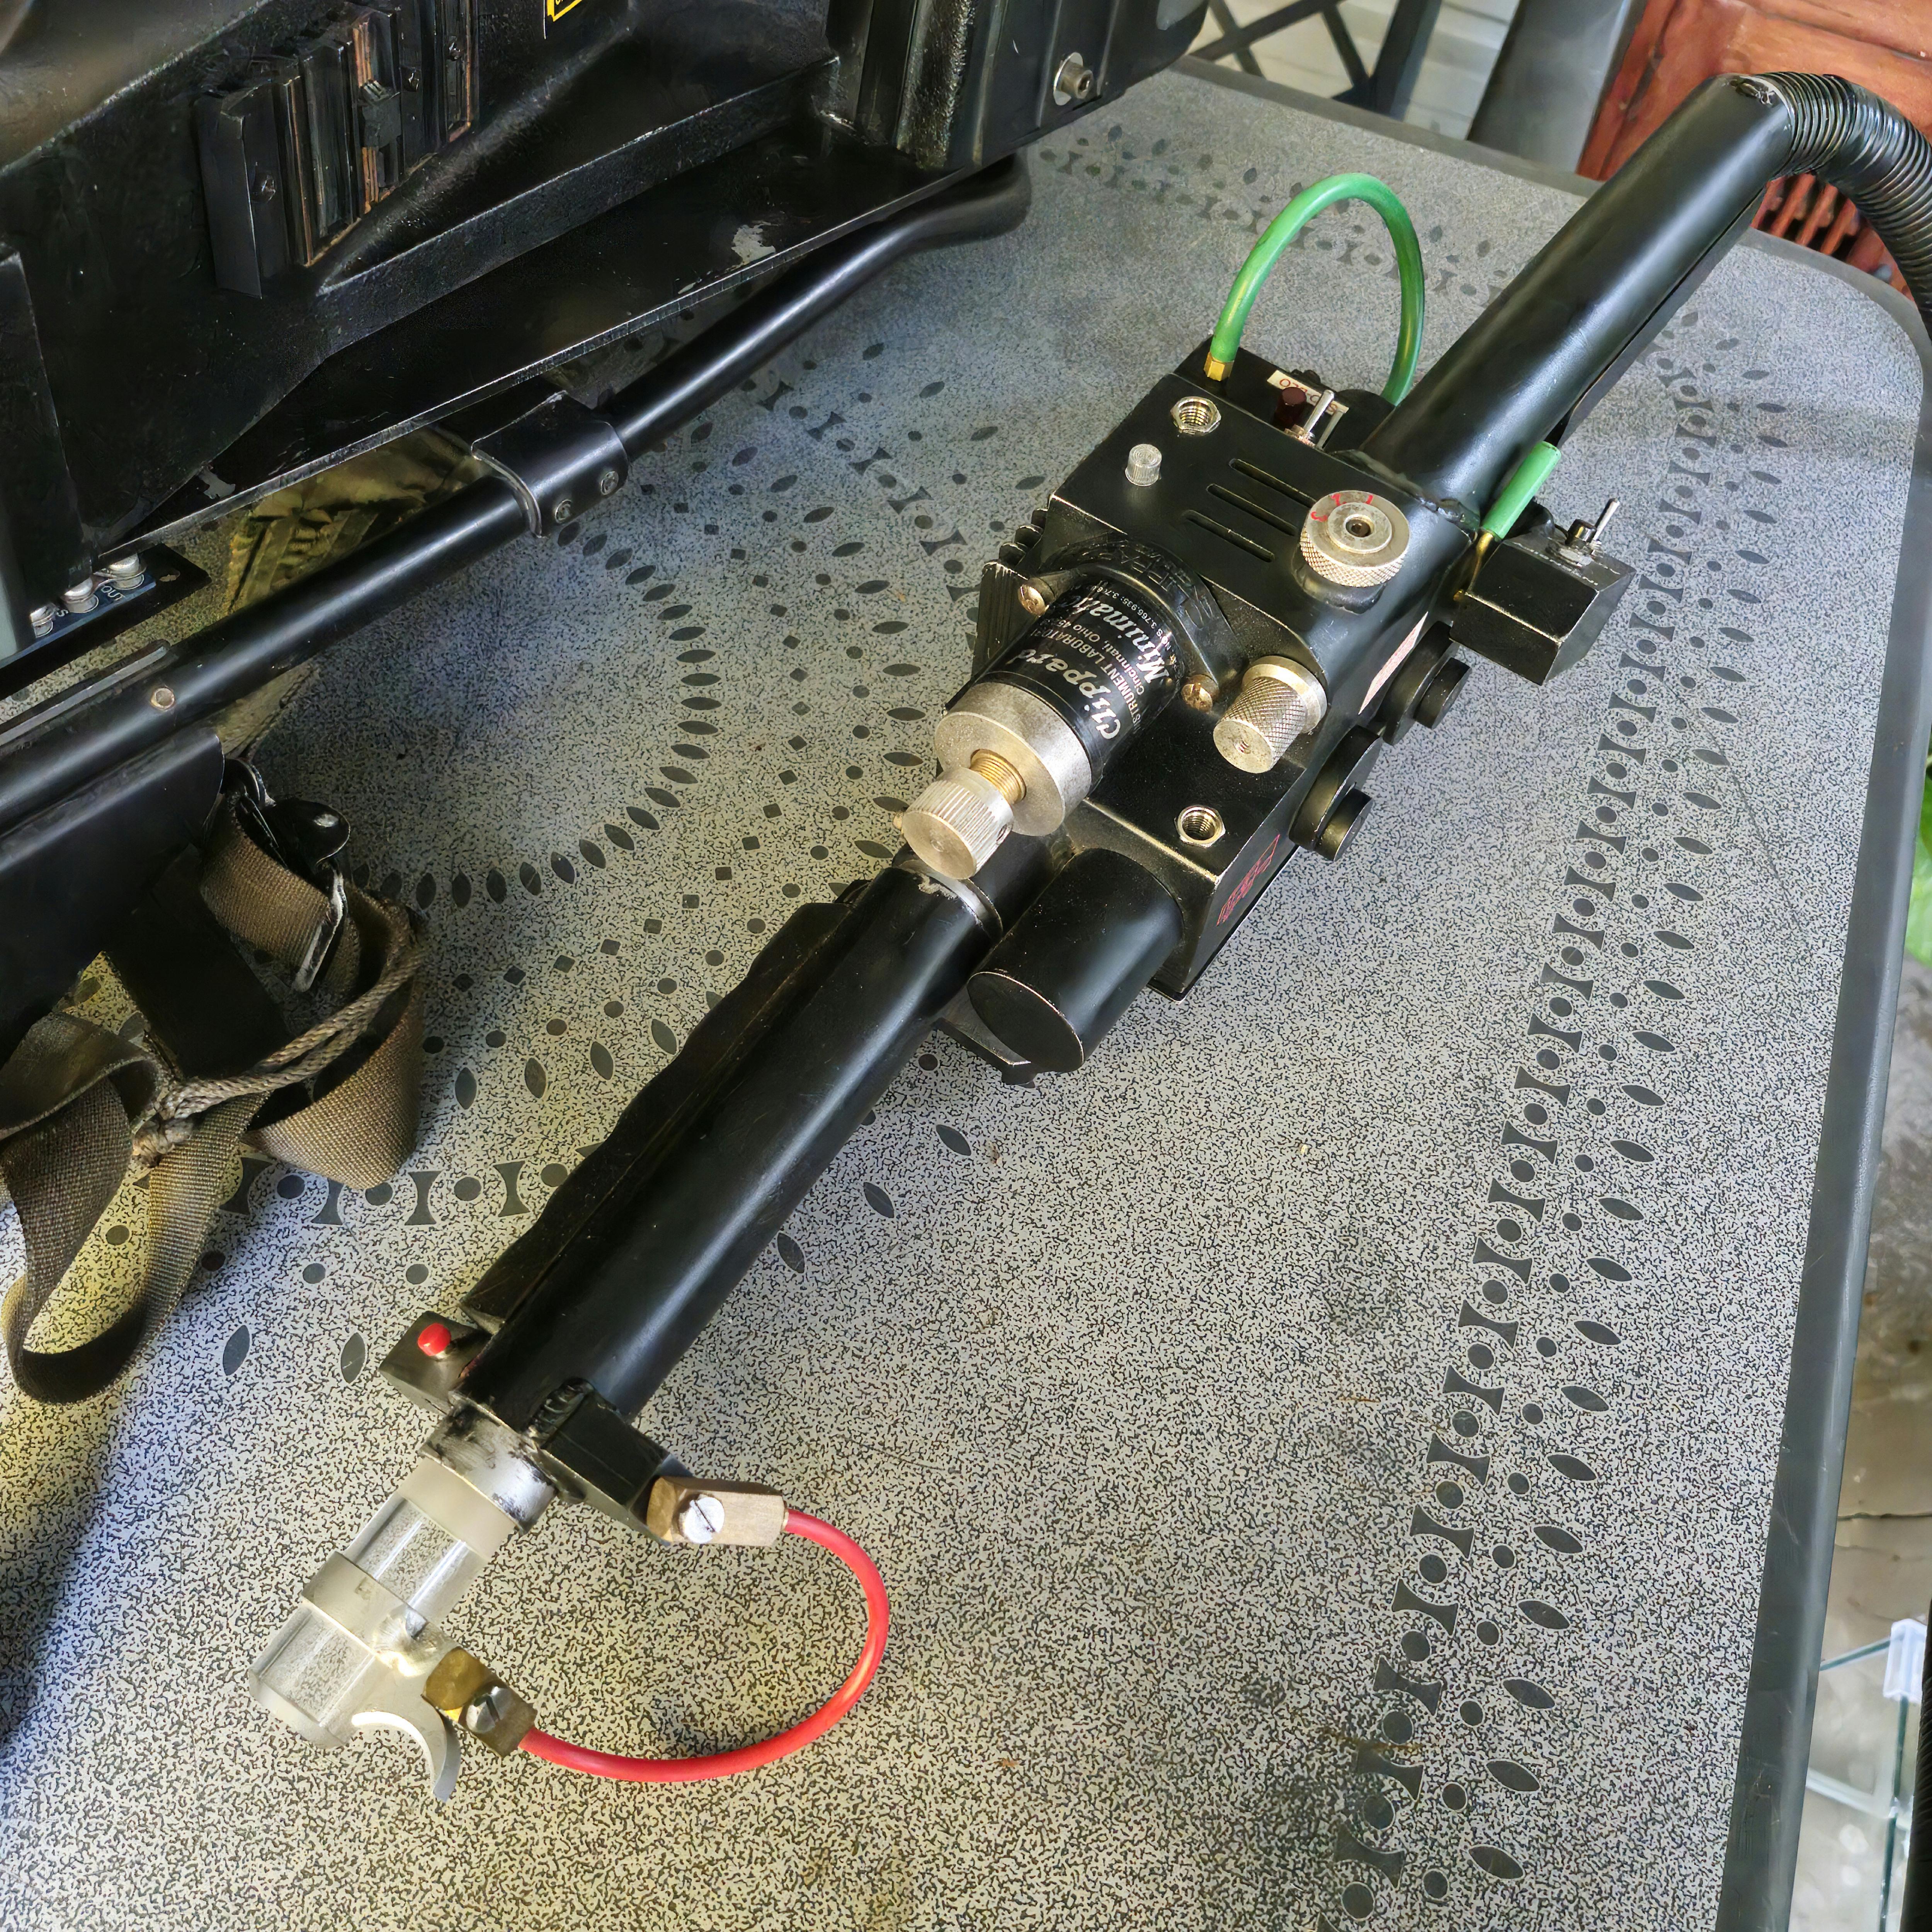

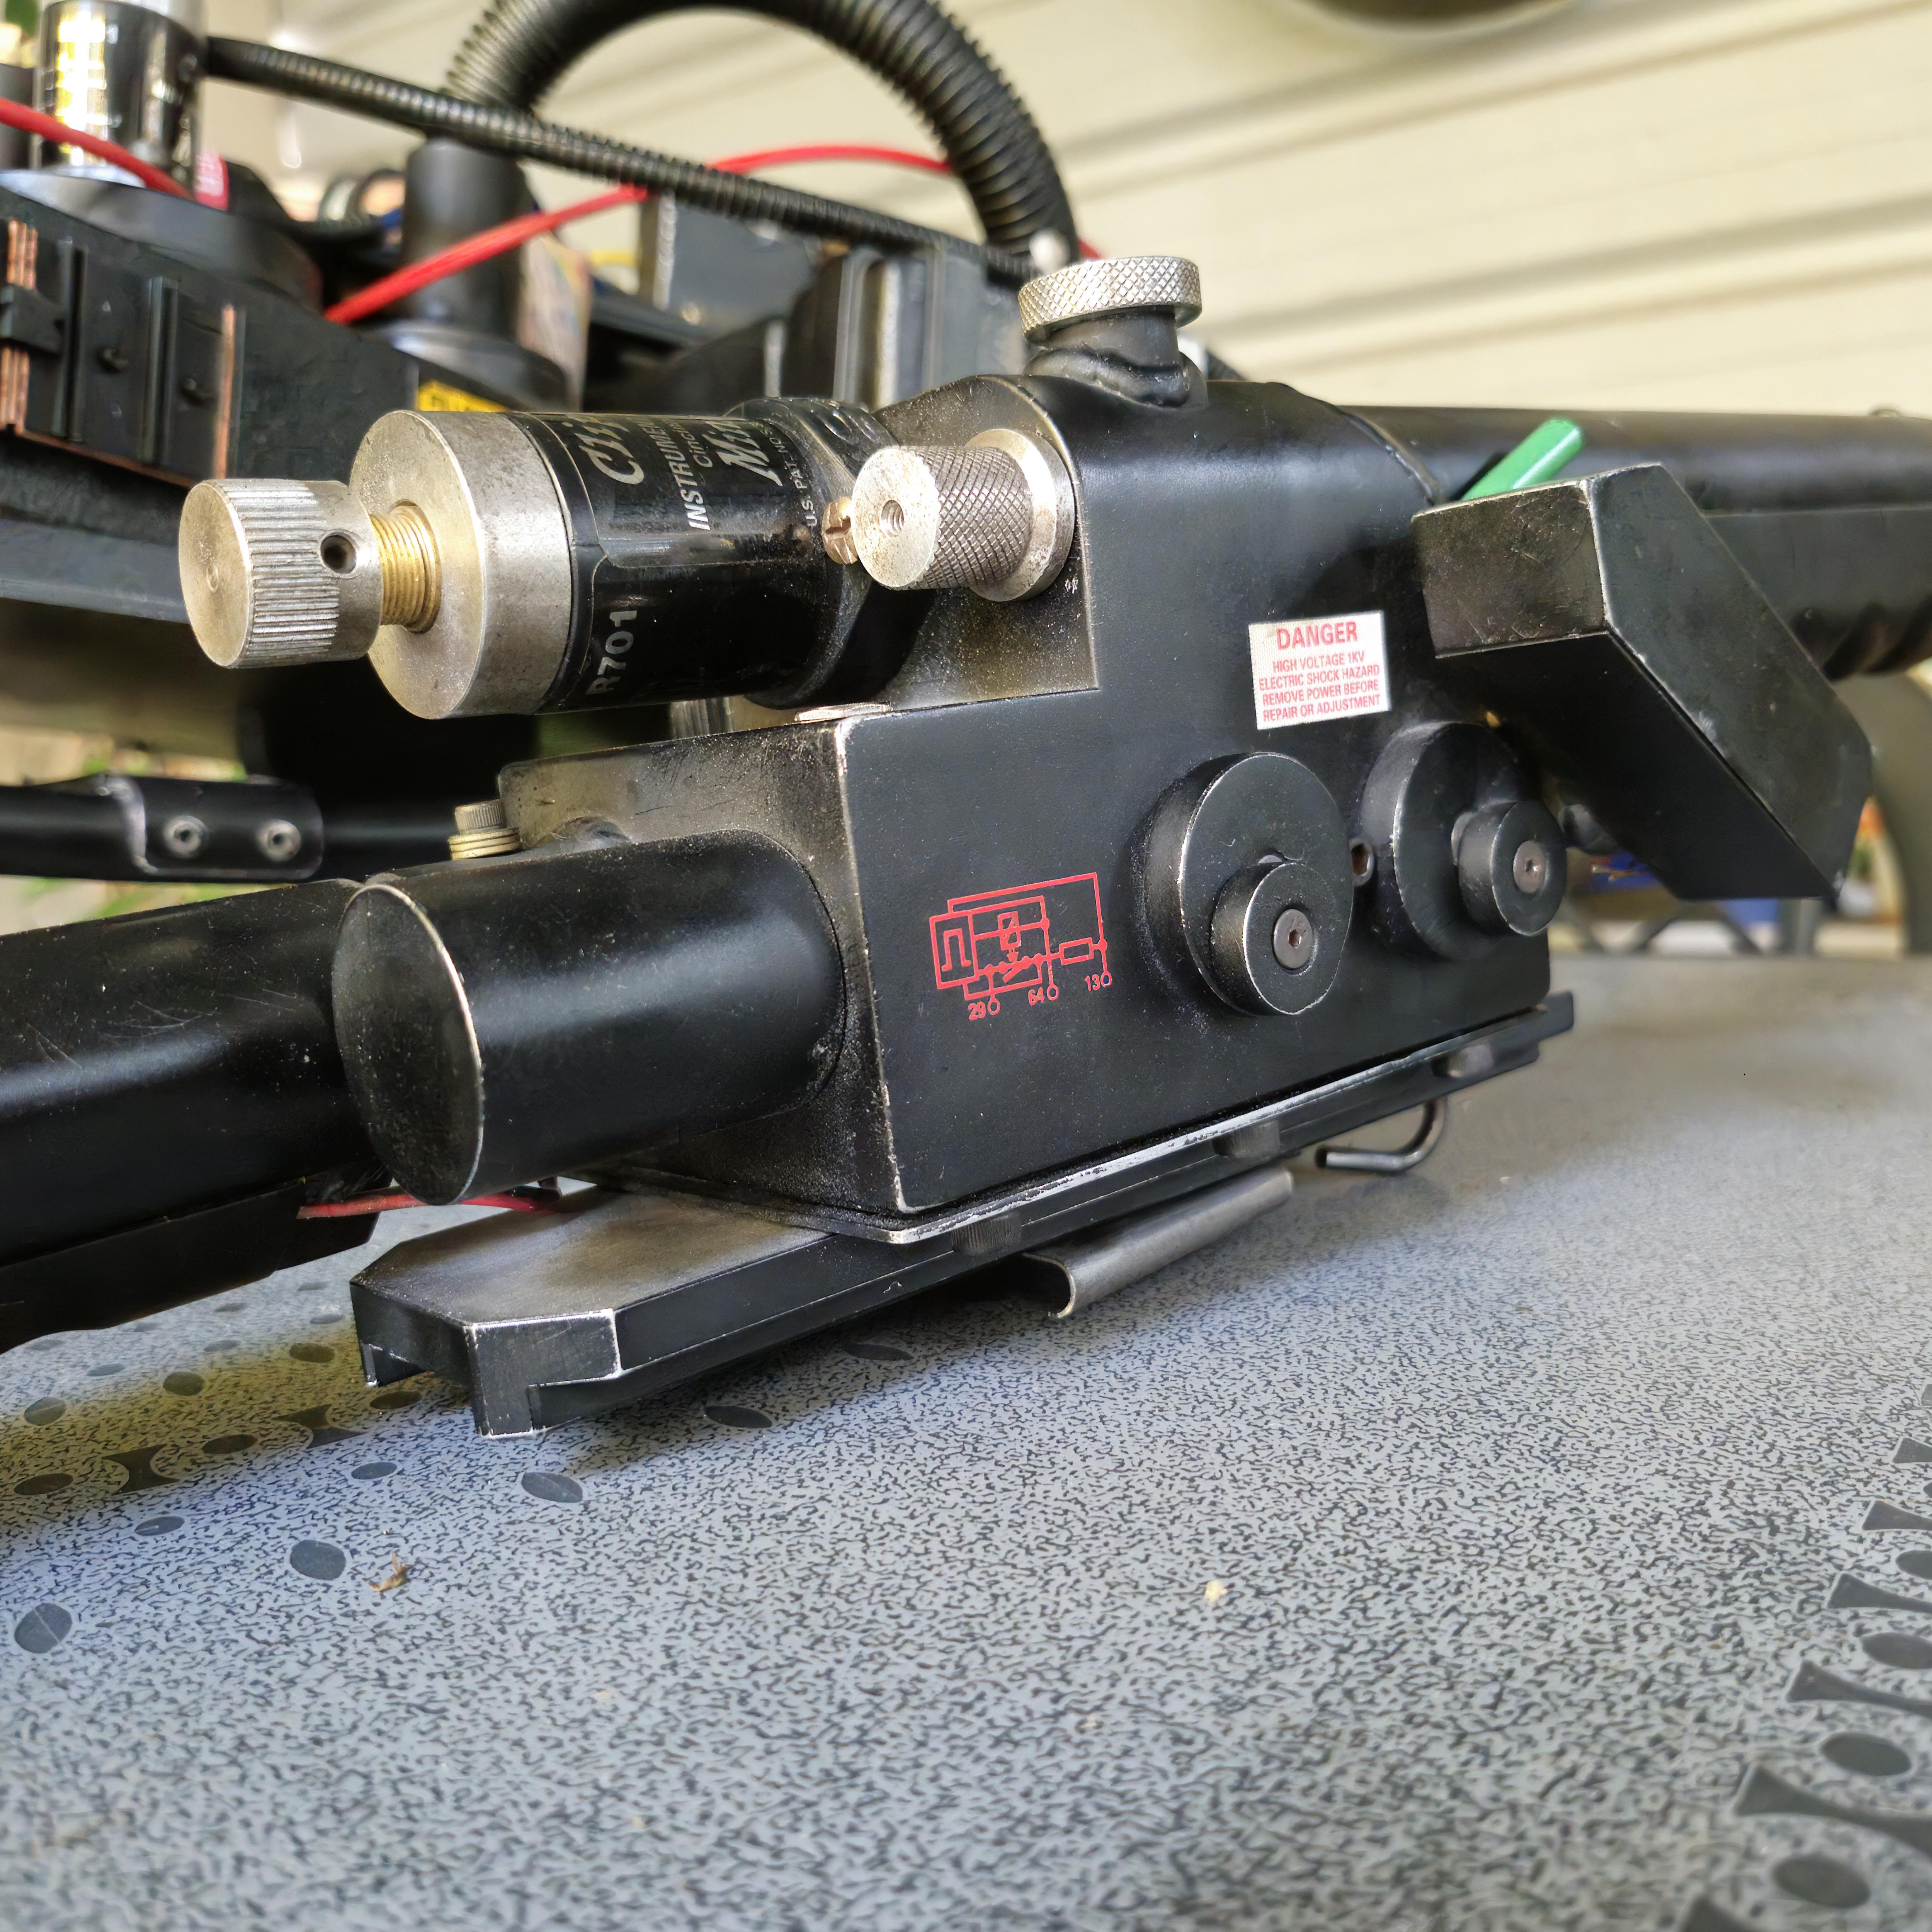
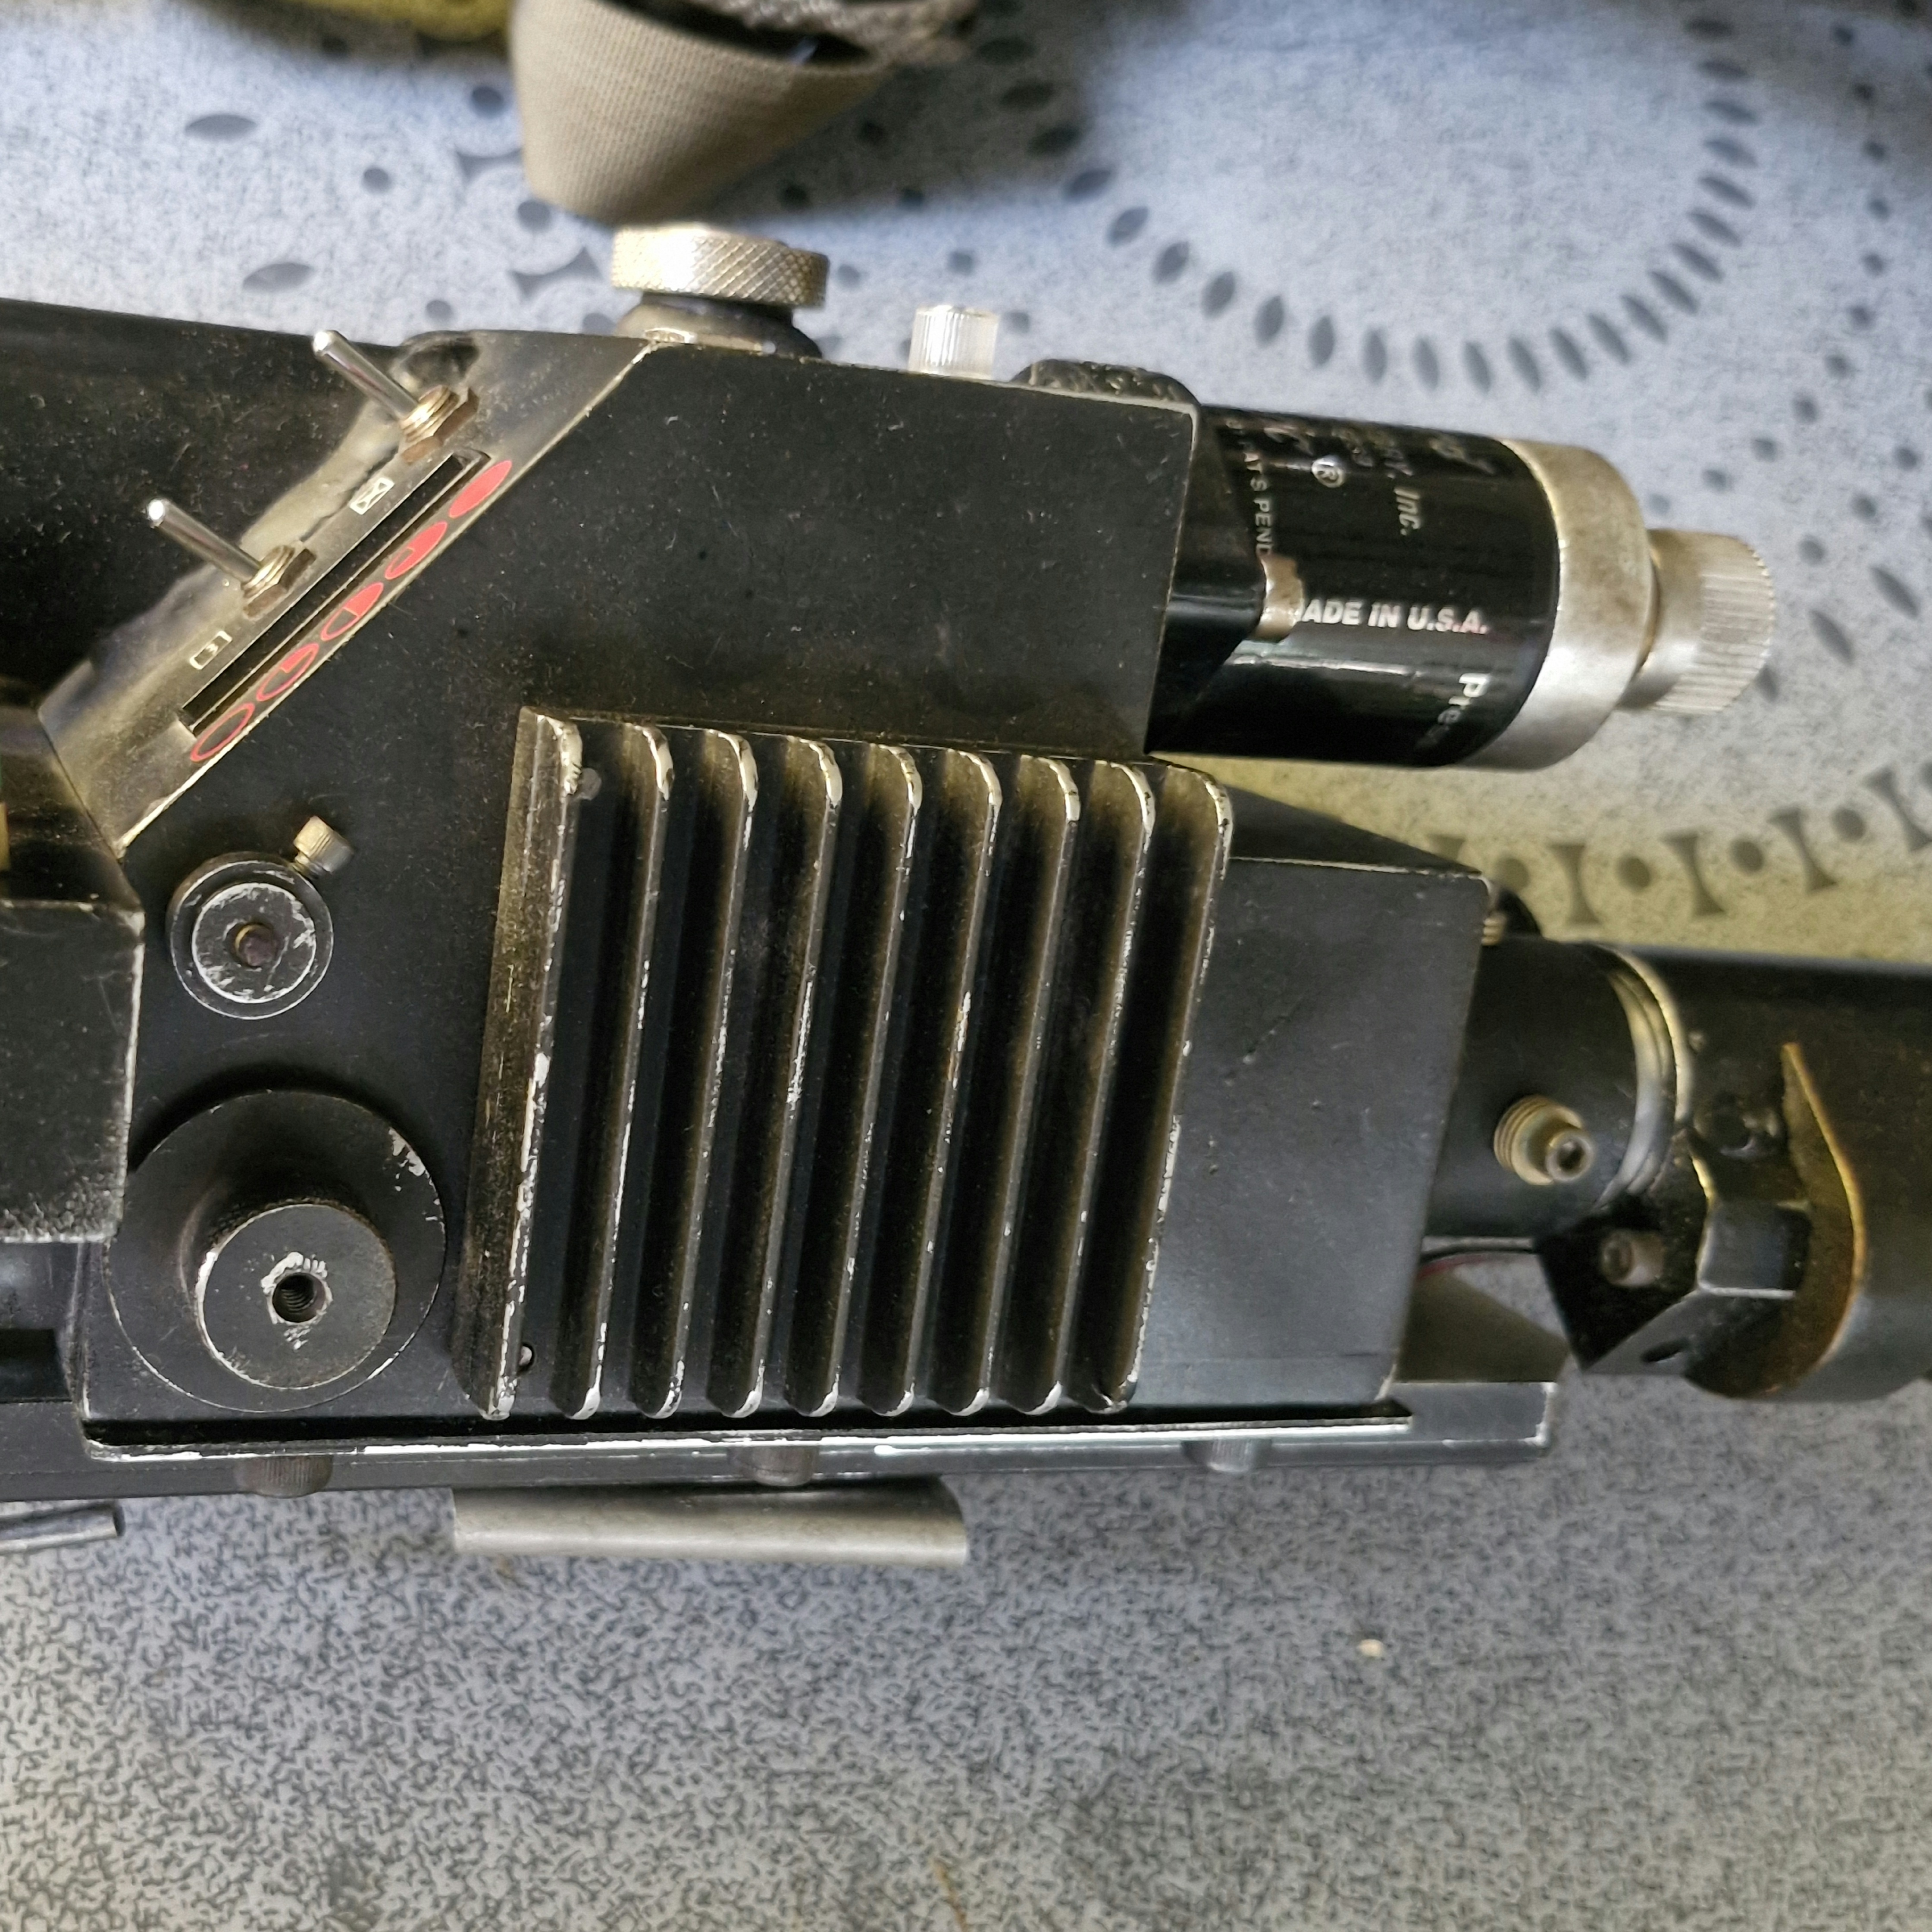
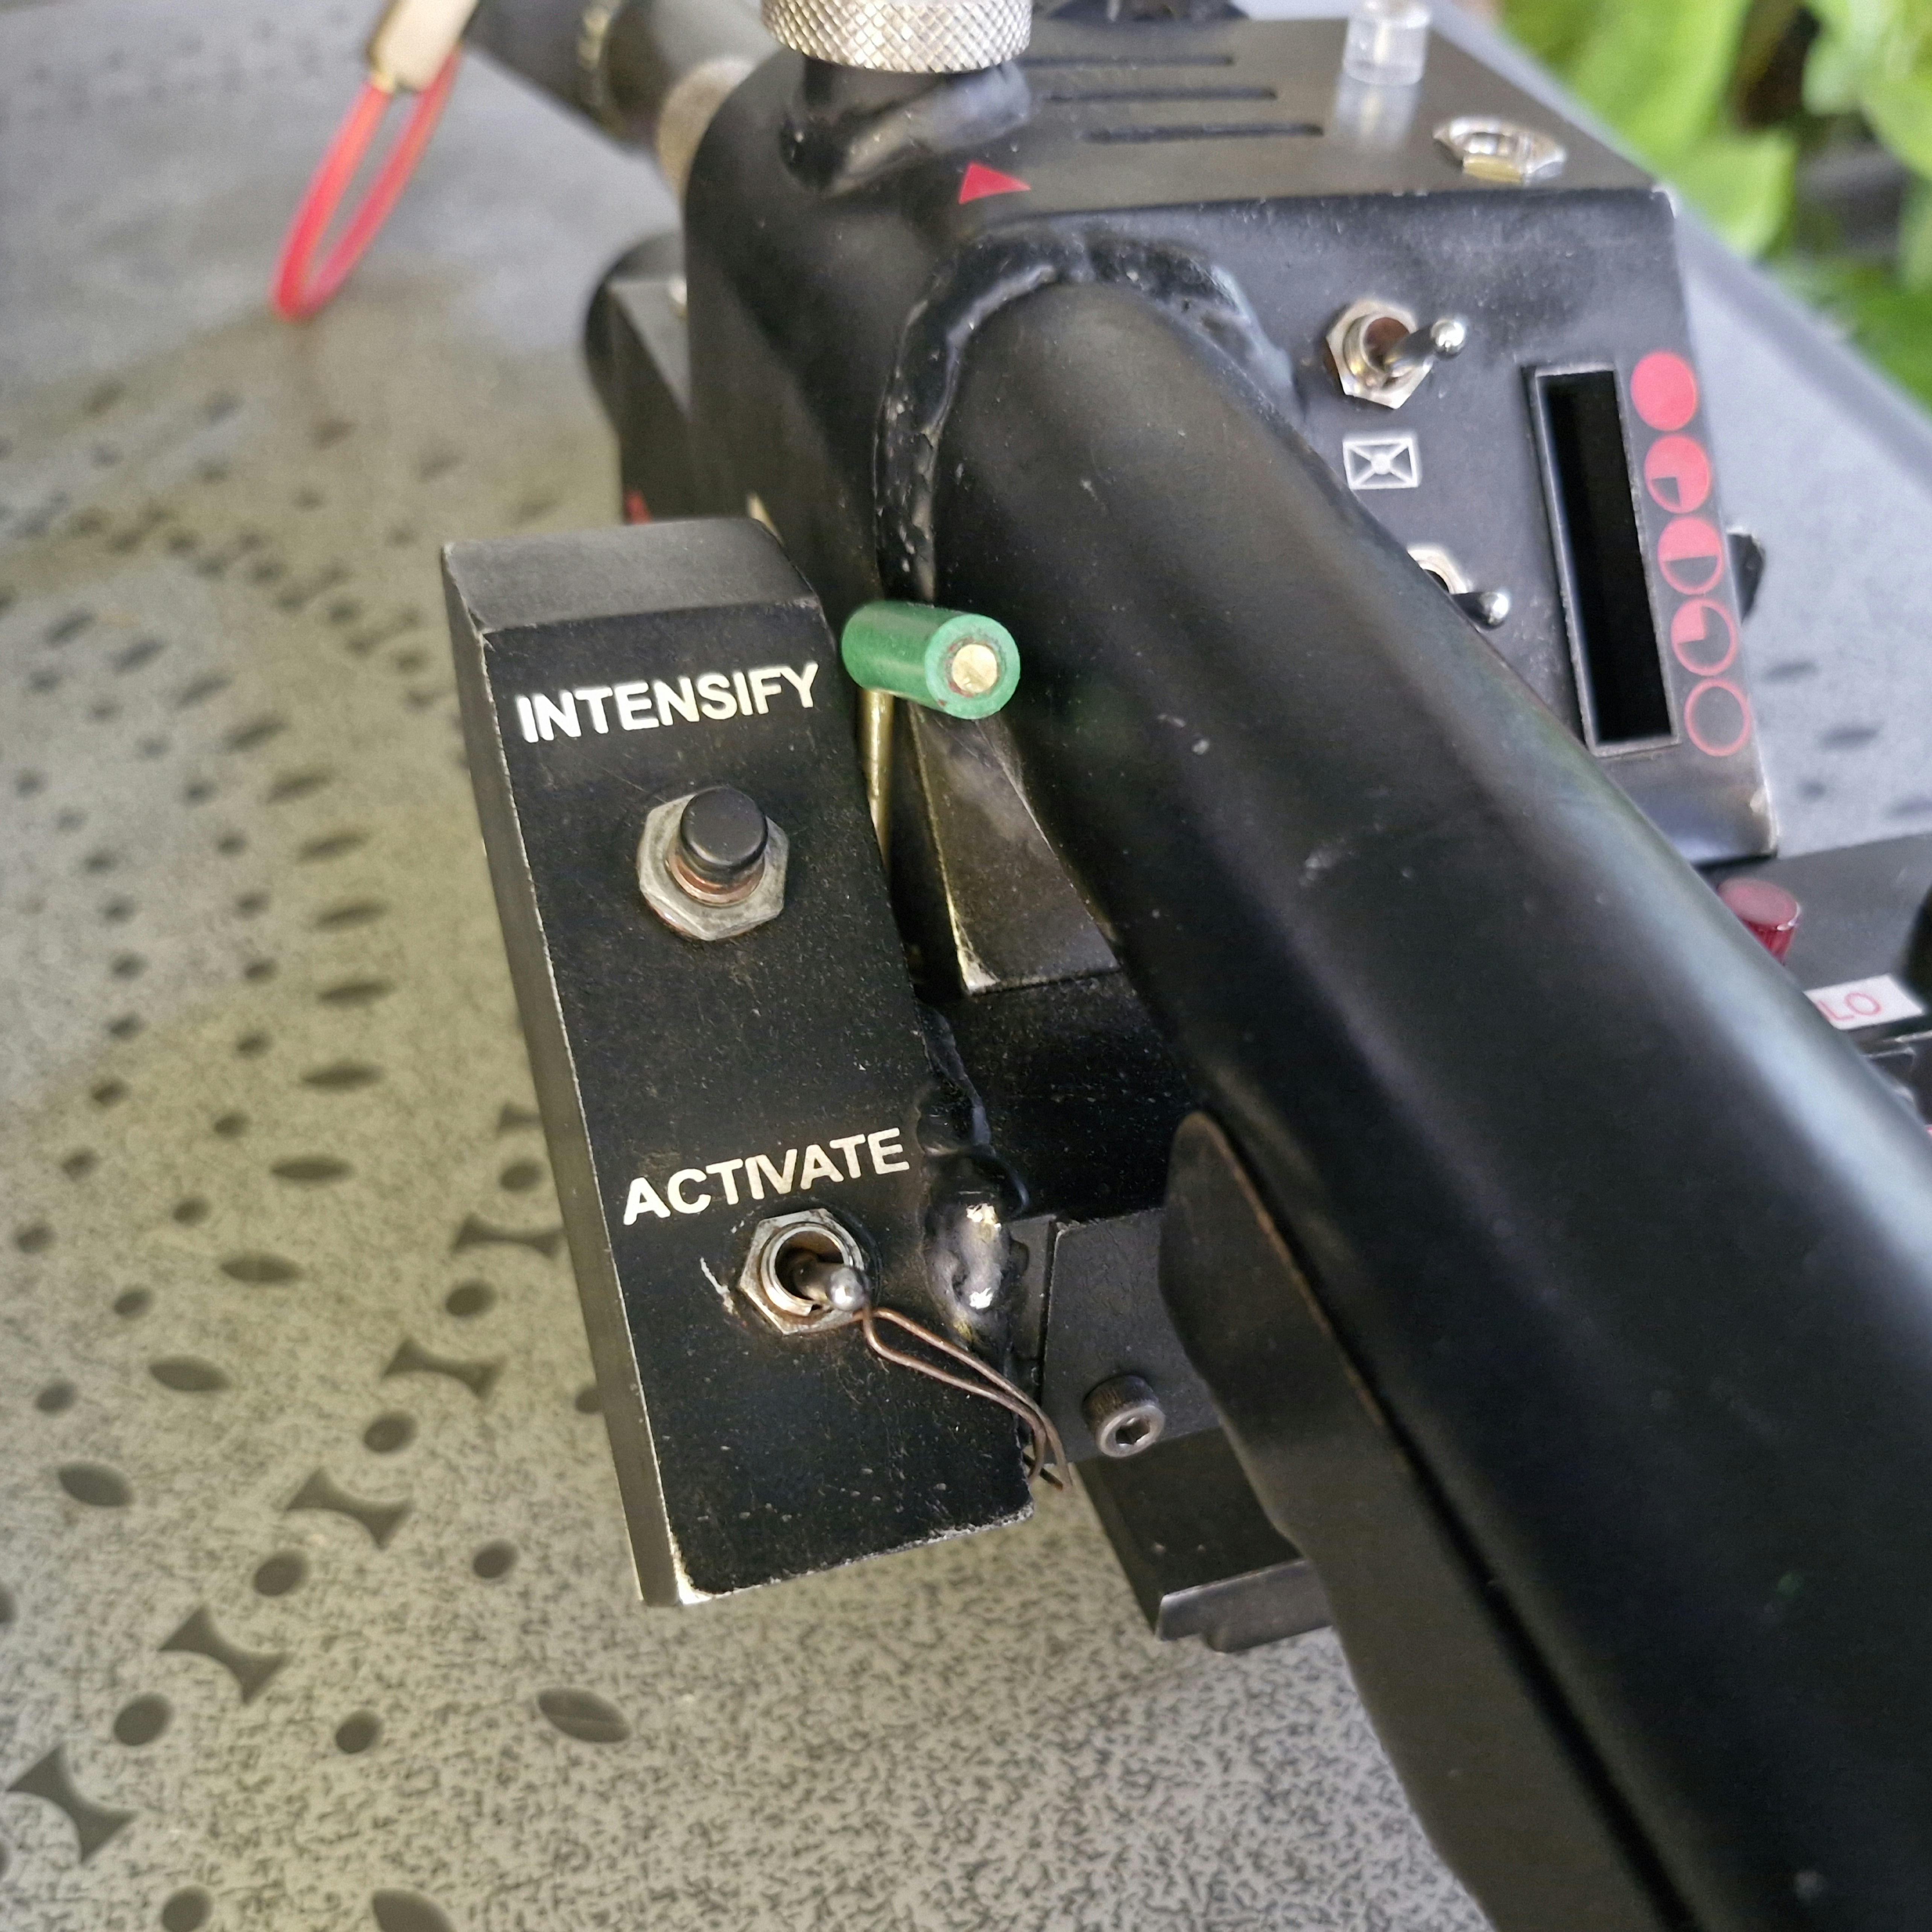
Weird bit of wire on the “Activate” switch, as on the Super Hero.
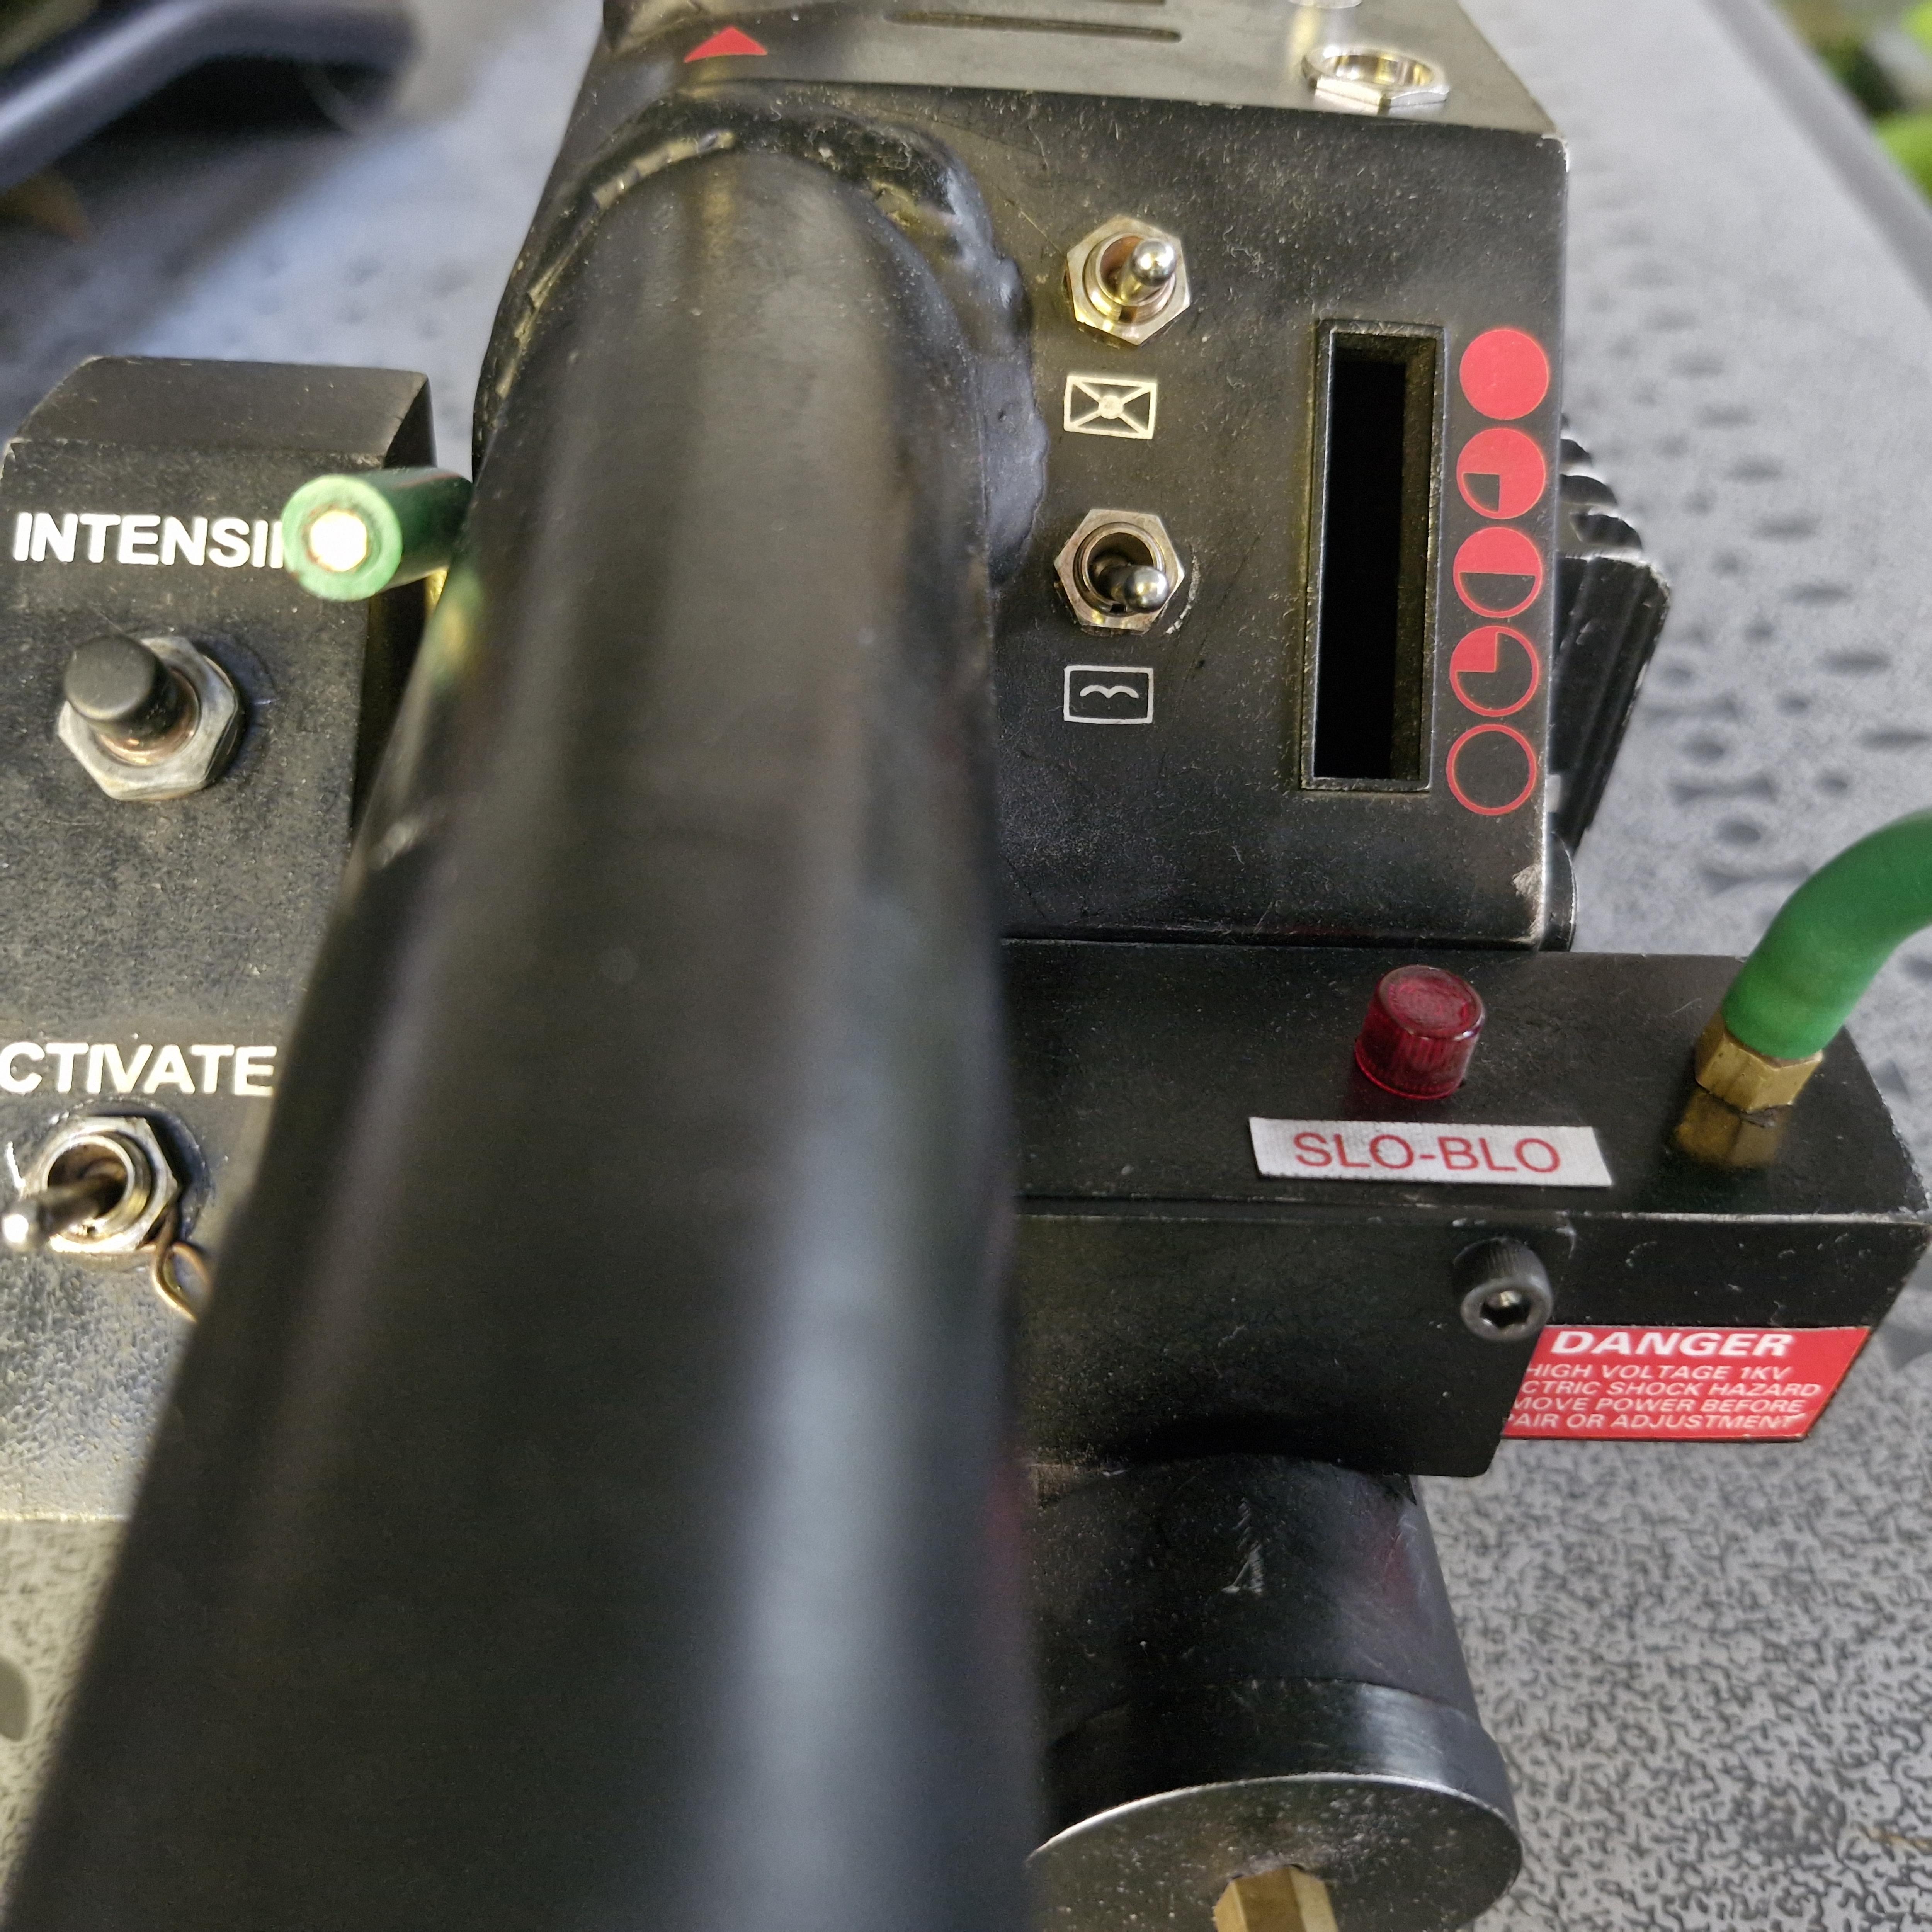
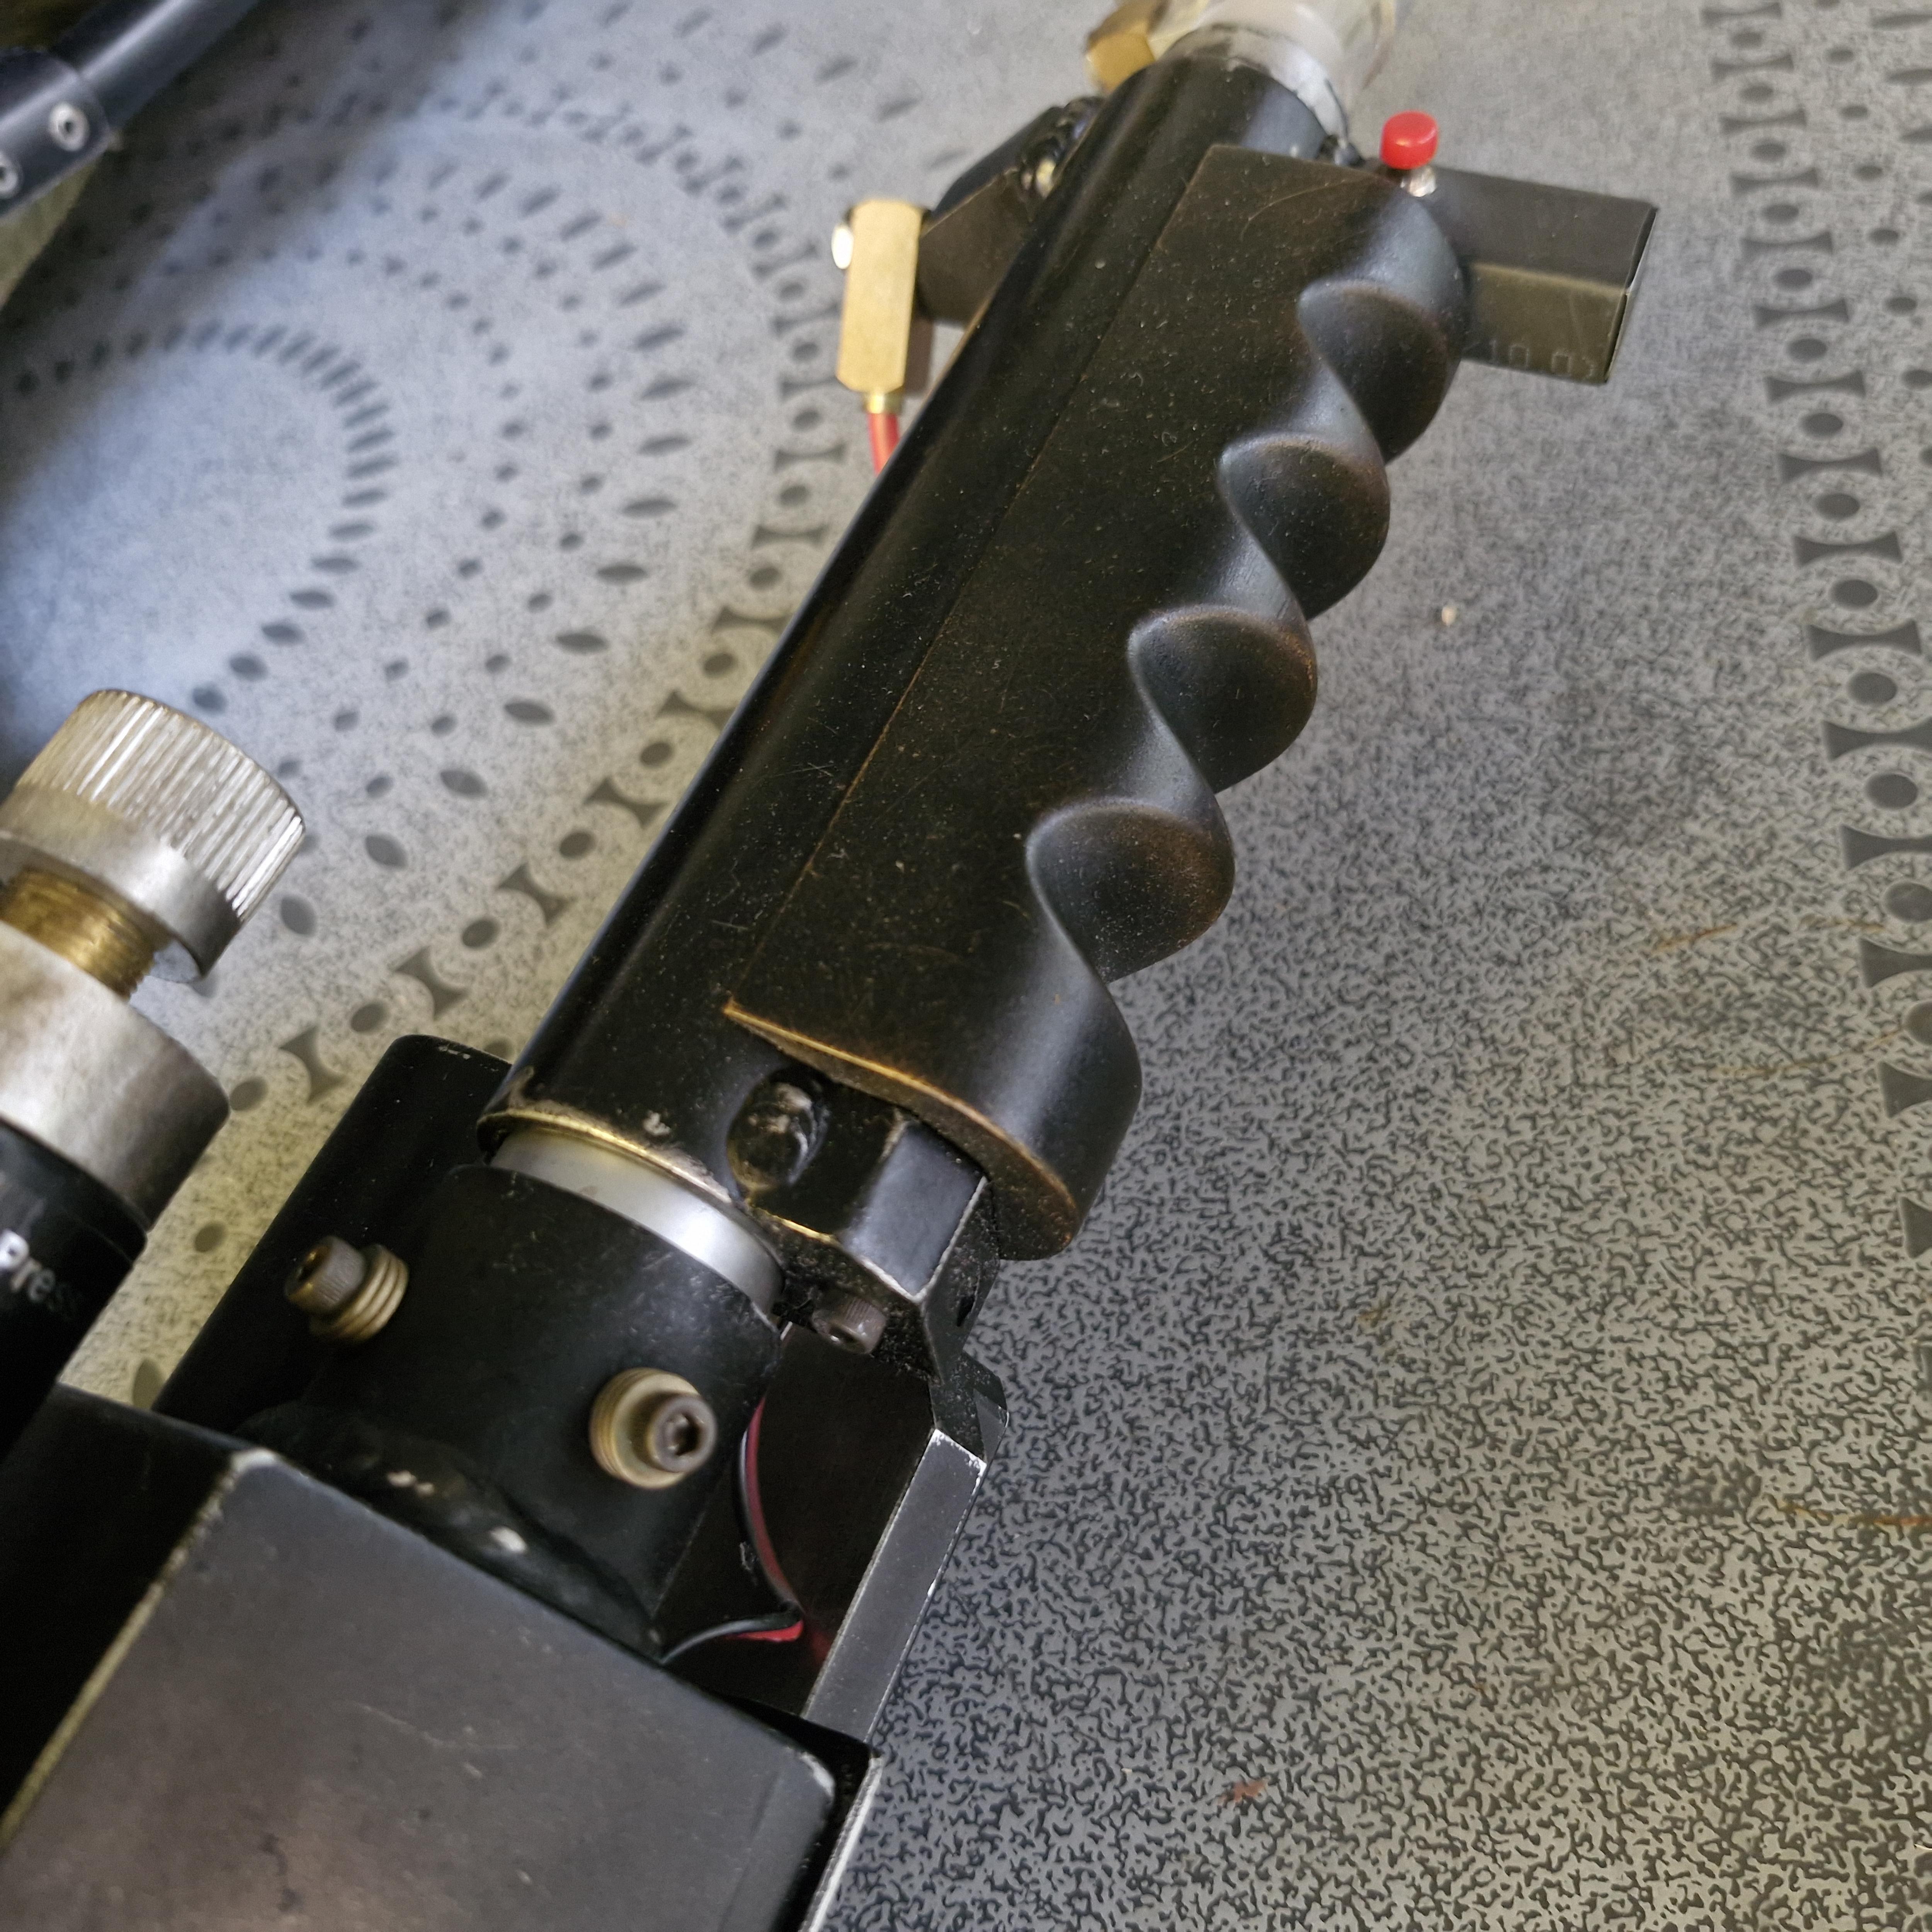
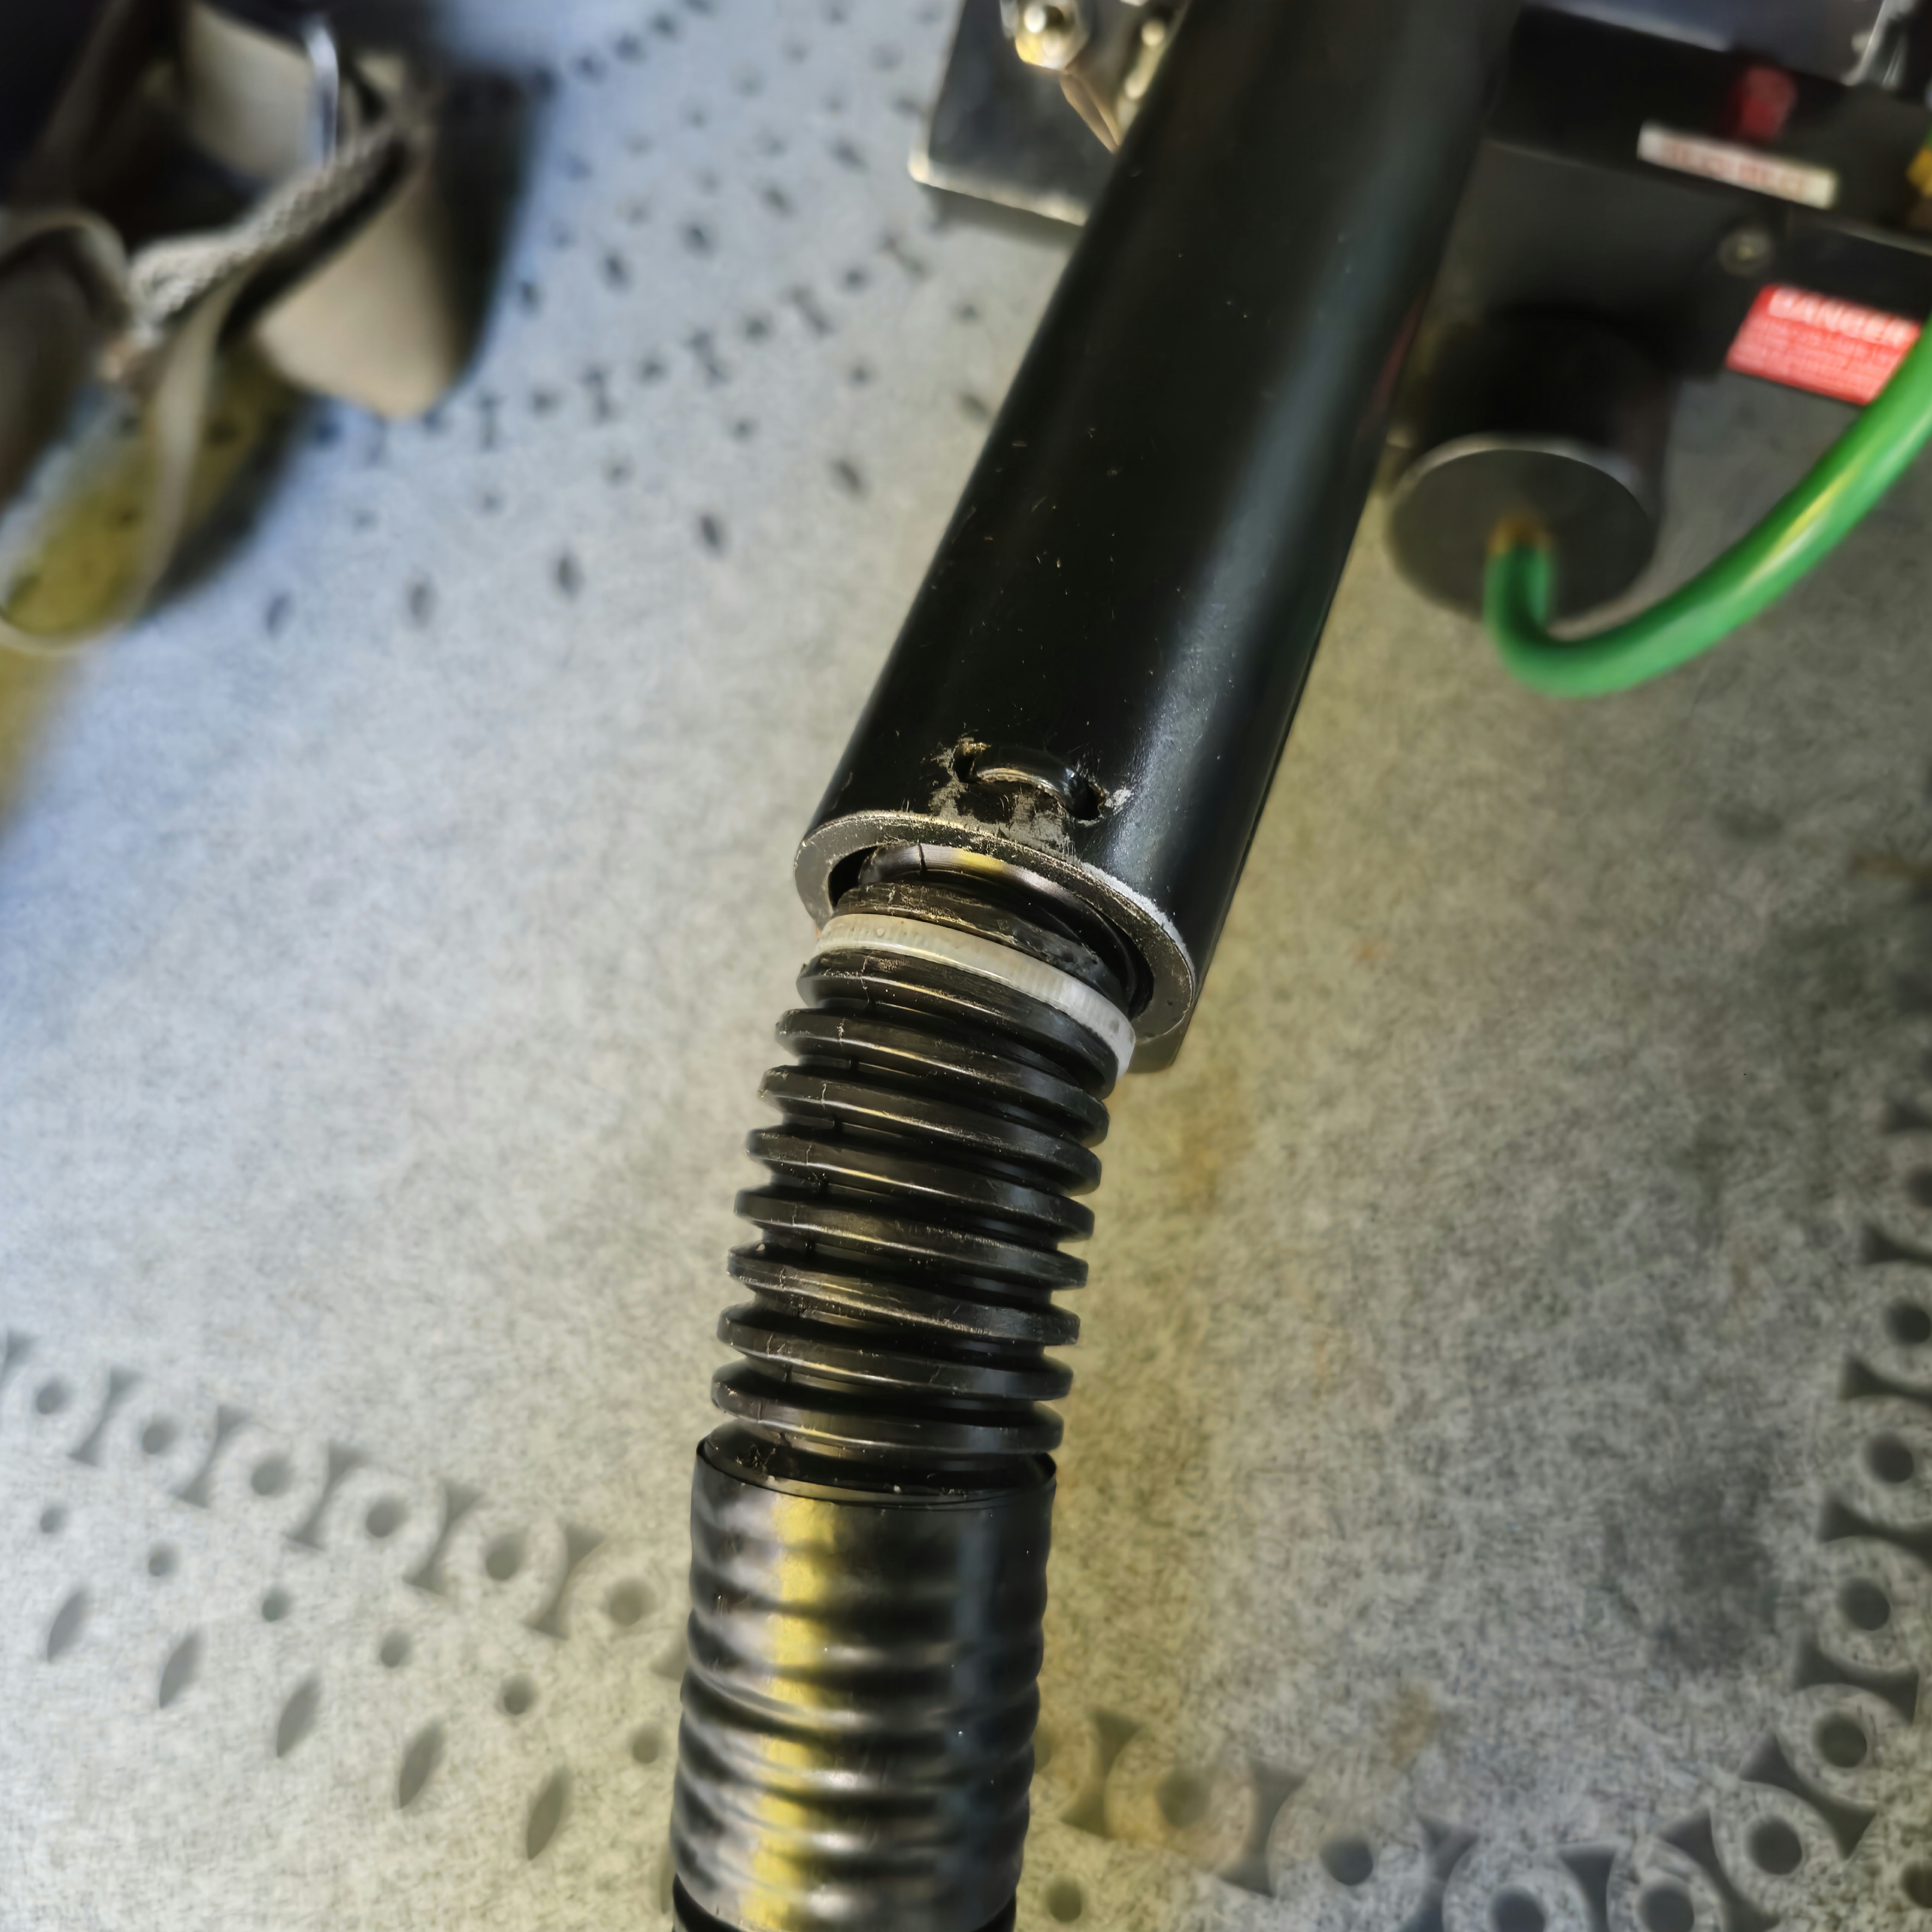
Went with a combo of the Super Hero black zip tie and standard pack white zip tie connection. I’ll replace that white zip tie with the proper zip tie, eventually. Also have the cable running through the loom securing the want to the motherboard.
As I said, still lots of tweaking to go, and now that I’ve taken it outside for photos I’m noticing some areas that need a little attention. Some of the weathering looks heavier or lighter than it actually appears to the naked eye. Probably due to the change in lighting, as I’ve been weathering it inside. I’ll most likely do a final weathering pass outside in natural light once everything is done.
