I’m using flexible rulers. They aren’t screen acurate by any means but they will be curved.
Hey all, I put this in the Tutorials section too…
I’ve gotten a few questions about how I made the bumpers for my packs, and thought I’d remembered the same topic coming up in the forums. I recently completed a set of bumpers and took pictures along the way. So here’s my attempt at a tutorial.
Before jumping into this, please be aware that, if you don’t know what you’re doing, attempting to make a bumper with this approach can be EXTREMELY dangerous. If you don’t know how to handle power tools safely, DO NOT ATTEMPT.
That said, here we go…
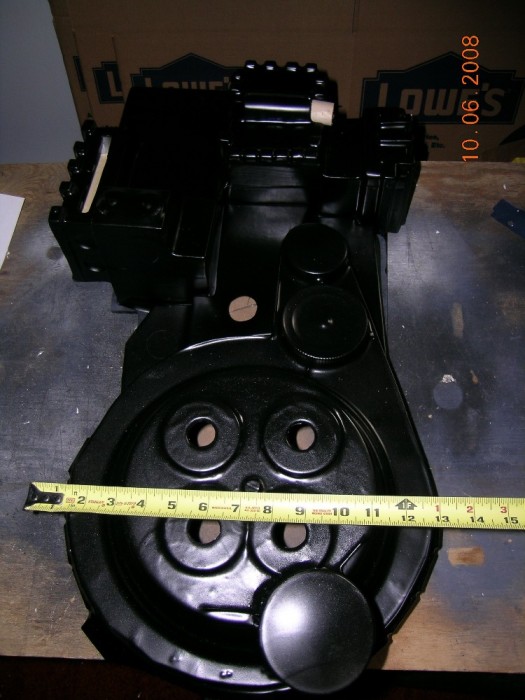
- First, you need to know how wide to make the inner portion of your bumper. You want it to fit snugly against your cyclotron. Measure across the widest portion of your cyclotron:
- Next, trace out the shape of your bumper. You only want to have to cut your bumper once, so its best to make a paper stencil first. This allows you to verify its width and shape before going any further. The piece of wood we’ll be using is 2"x8" so don’t make your stencil any taller than that.
The notch you’ll be cutting into the top of your bumper will be to hold the bumper plate (the flat portion of the bumper that will be added later). The best way to size it properly, is to hold the edge of the 2 x 3/4 piece of wood on edge to the stencil and trace around it (sorry, this will become more clear later).
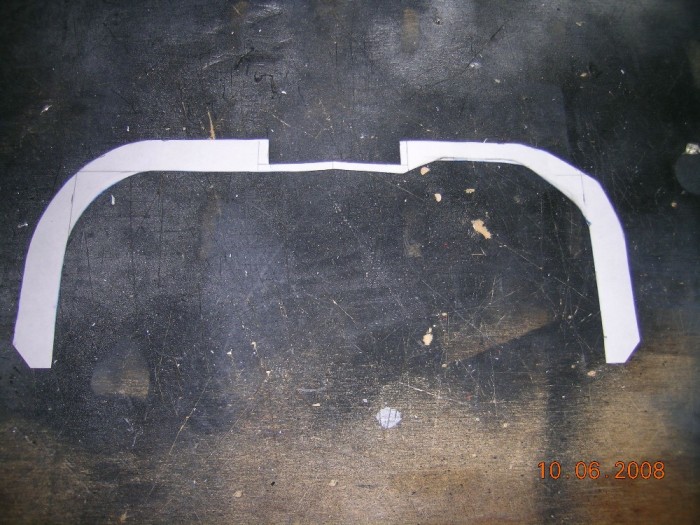
- Once you’re happy with your stencil, transfer the shape to a piece of 2x8
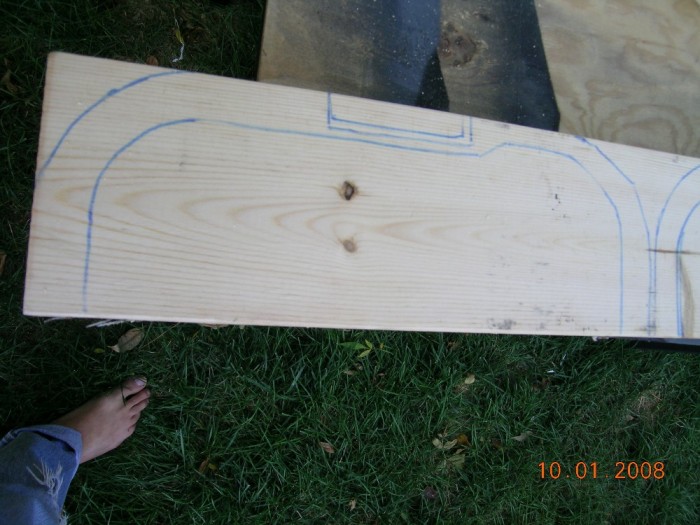
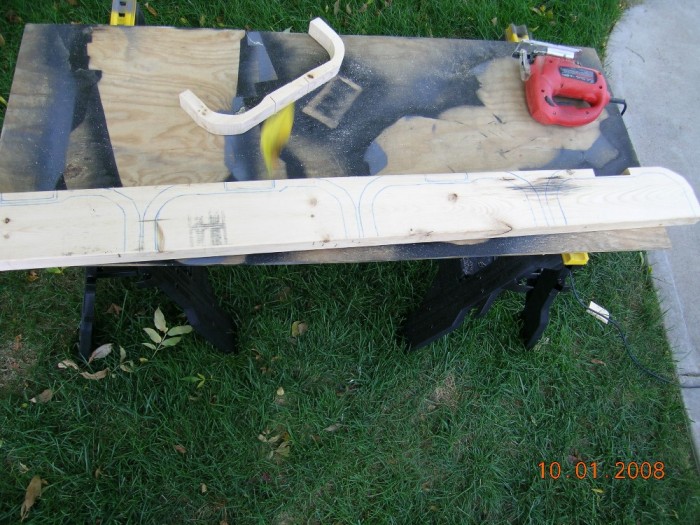
- Cut the notch out of the top part of the bumper (where the flat piece will later go), as well as the outer curve of the bumper. Do not cut out the inner curve yet.
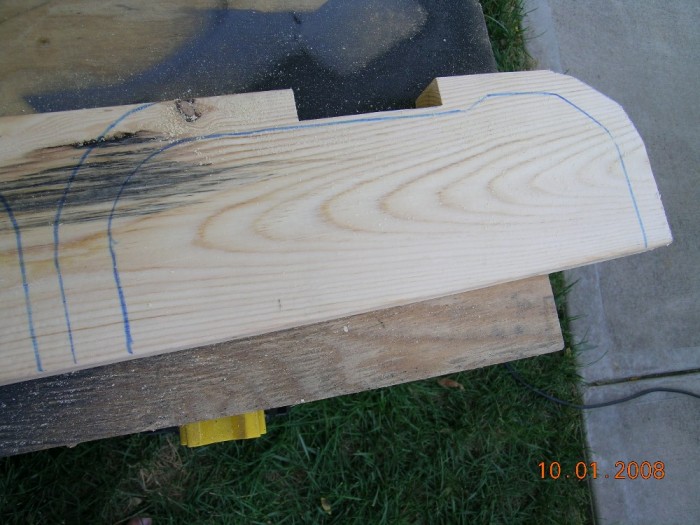
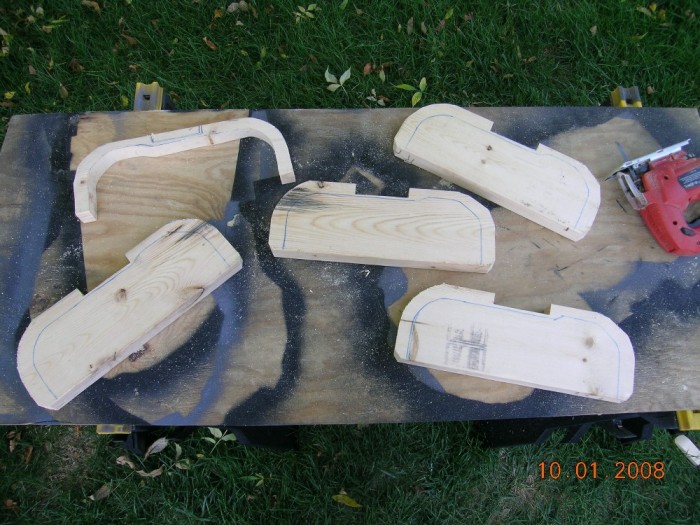
Notice in the above picture I cut out the inner curve of the bumper shown on the top left? Don’t do that -it was an accident.
- Here’ the scary part, route out the inner edges of the bumper. I use a 1" bit and have it set down about 1/4" from the outer edge of the bumper. Routing the bumper puts a lot of stress on the wood, which is why you don’t cut out the inner edge of the bumper beforehand.
Remember to go slow -I usually do multiple passes cutting a little deeper each time. Make sure to wear safety glasses and be prepared to get covered head-to-toe with saw dust. I have to flip over the bumper and route it from both sides in order to get the width of groove I’m looking for. I practice my technique of scrap wood until I feel I’ve got the depth and width I’m looking for.

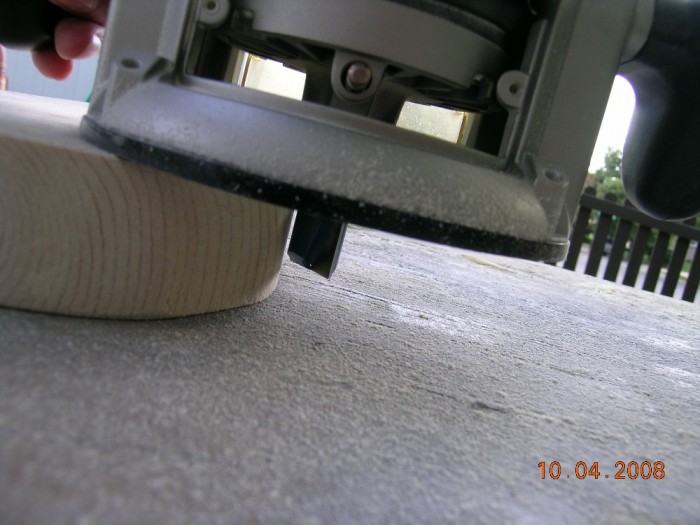
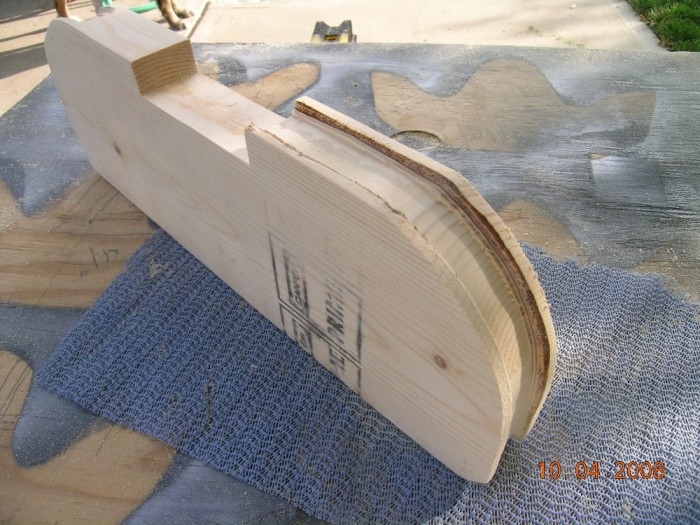
Notice the scorch marks around the edge of the bumper? I suspect it means I was pushing too hard with the router and started to burn the wood…
A couple more pictures of the bumpers after they’ve been routed:
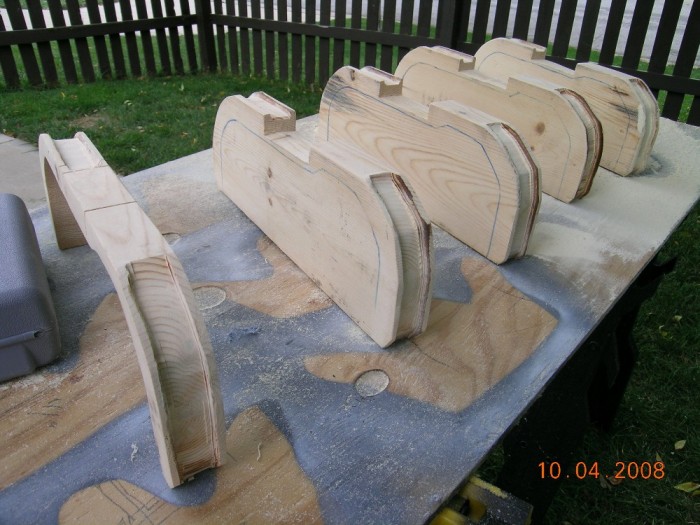
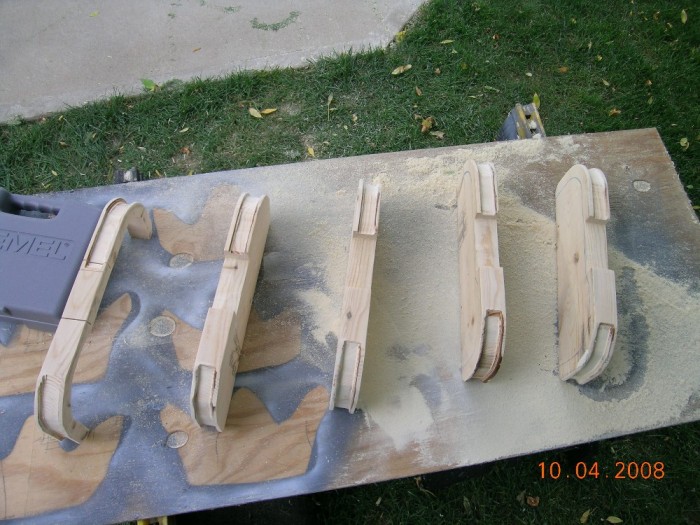
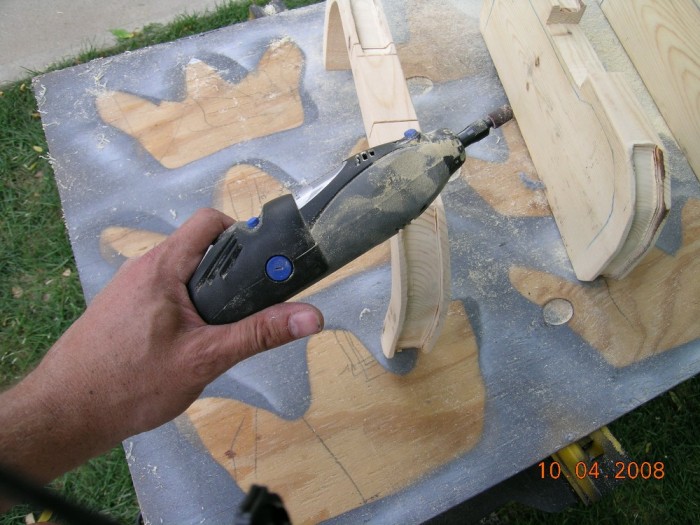
- The router doesn’t always leave the cleanest edge. Also, because I have to flip the bumper over to do the opposite side, The freshly cut lips could use a little TLC. I use a dremmel to clean up any imperfections.
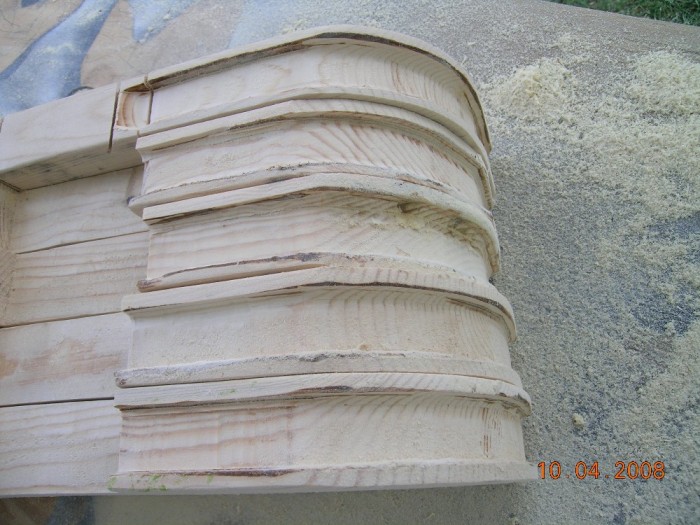
Don’t they look pretty?
- Now you can cut the inner edge of the bumper. Again, go slow. Be careful when cutting around the “notch”, if you cut too close the wood it may crack. Then you get to start all over again, or attempt a fairly nasty repair.
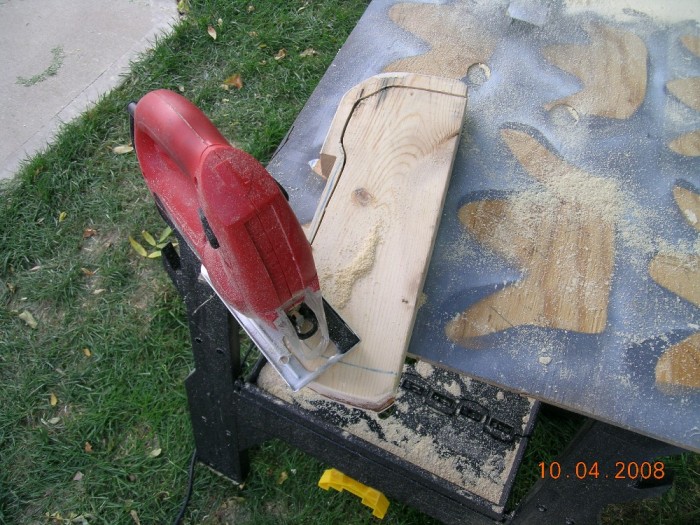
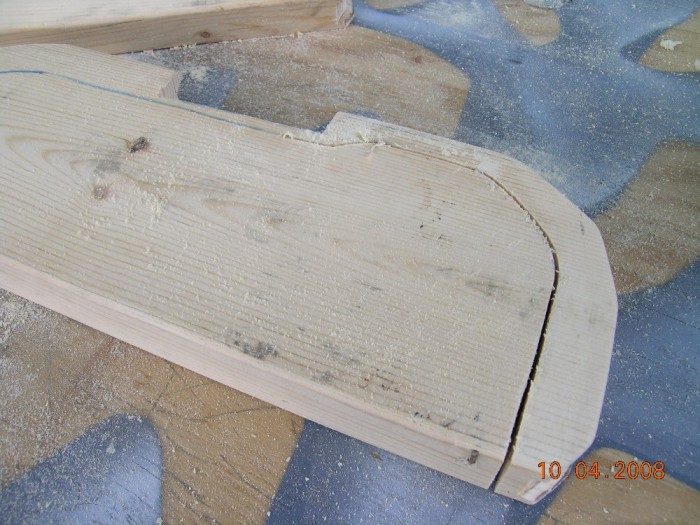
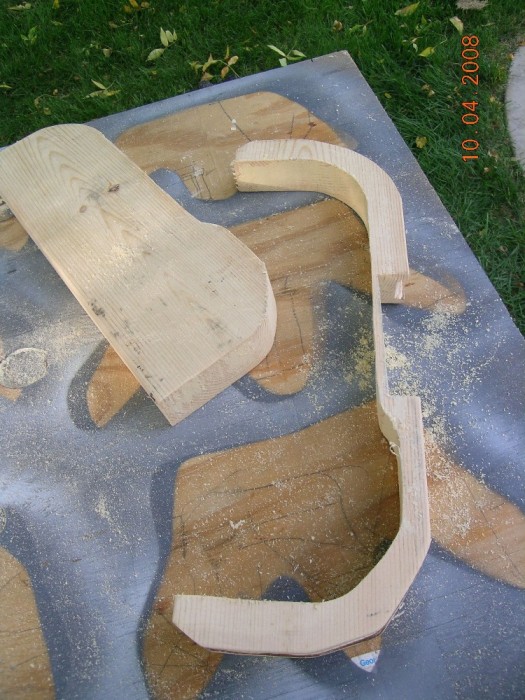
and last one…
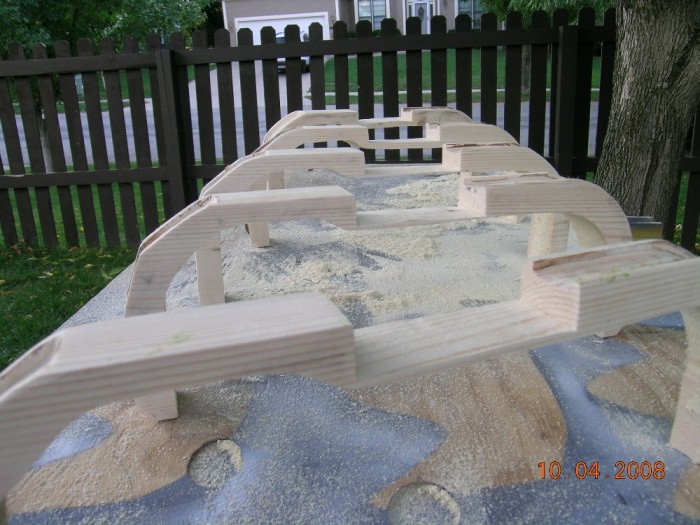
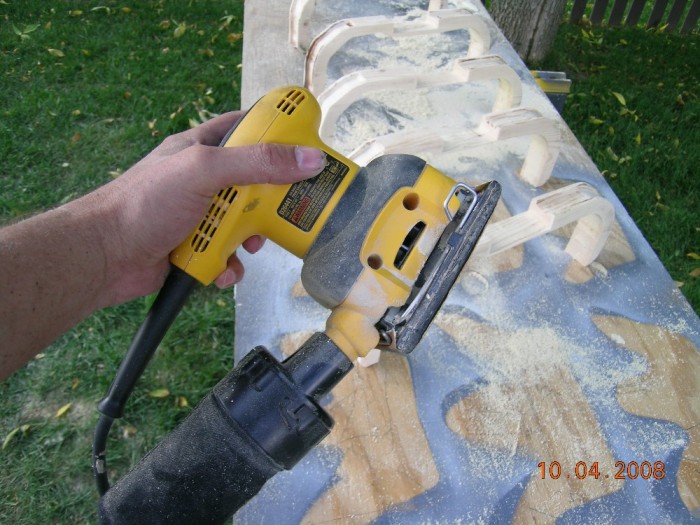
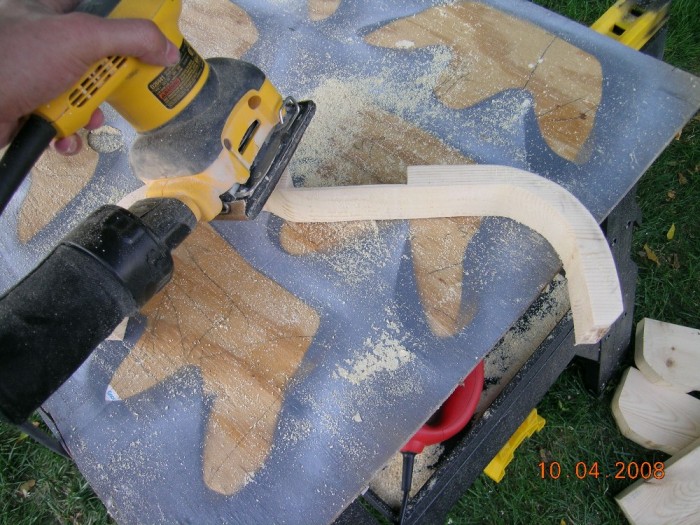
8 ) Time to sand! A palm sander works best. Use high-grit sandpaper and sand gently. Make sure you sand both sides, around the lips. and inside the grove.
- Time to add the bumper plate. You’re working with a piece of 2 x 3/4" wood. Insert it into the notch and determine where you want to make your cut.
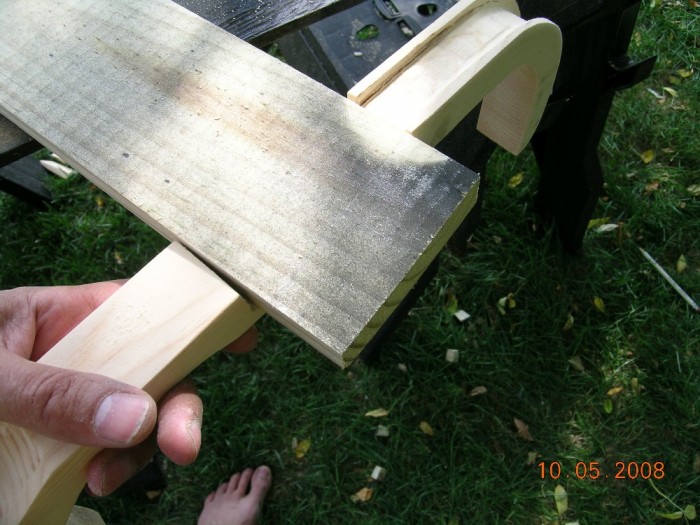
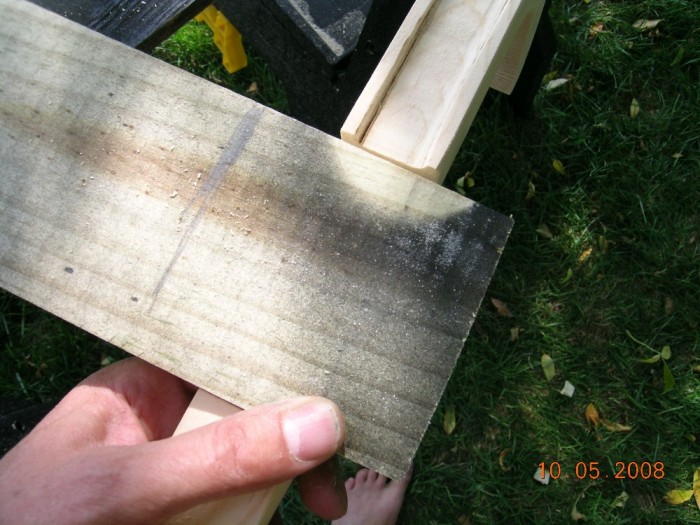
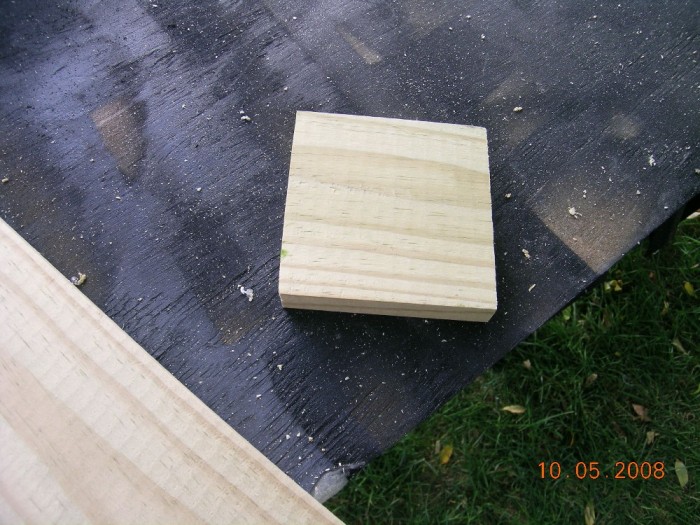
- The bumper has anglular, curved edges. I go with small, 45 degree cuts on each corner, than sand them smooth.
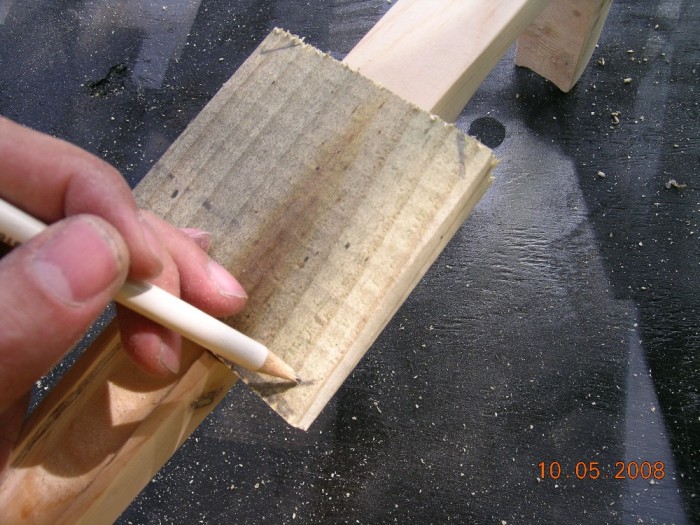
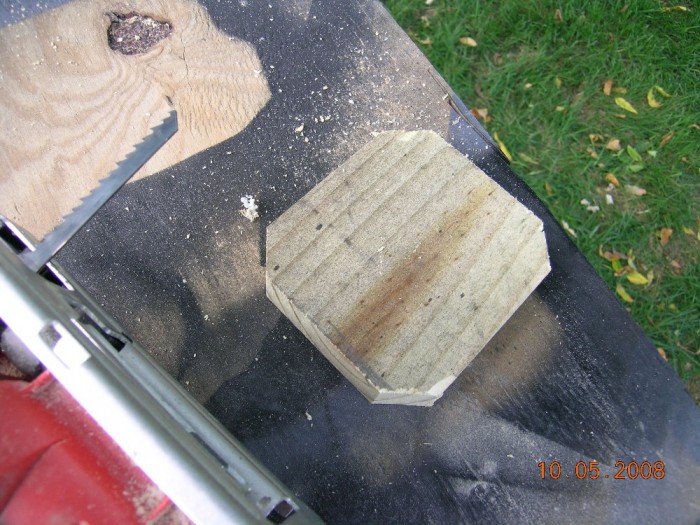
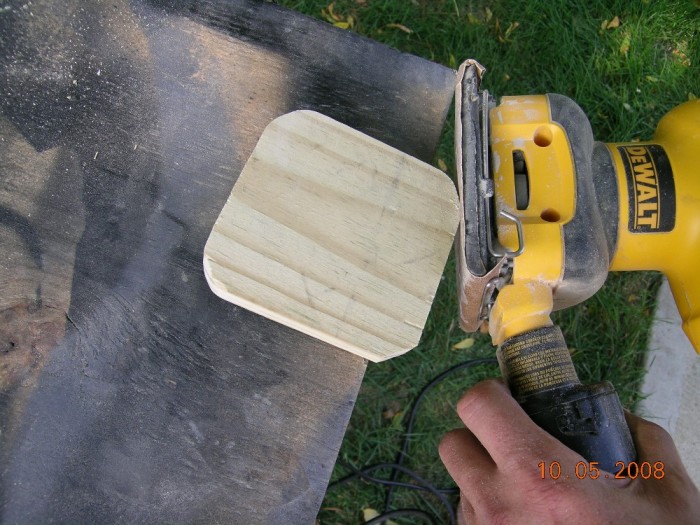
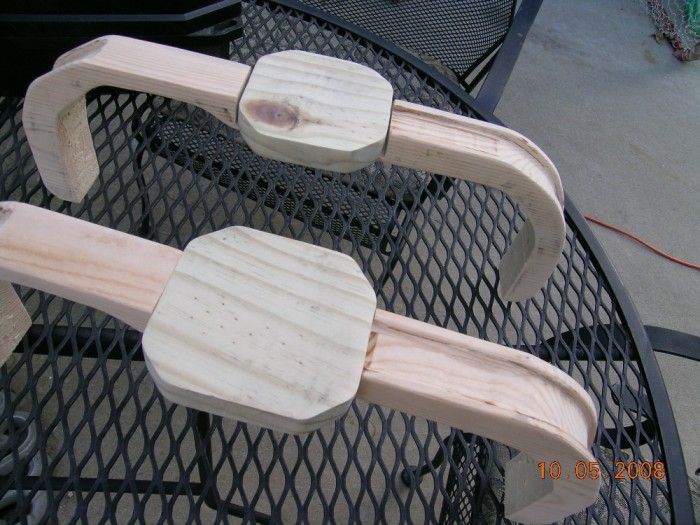
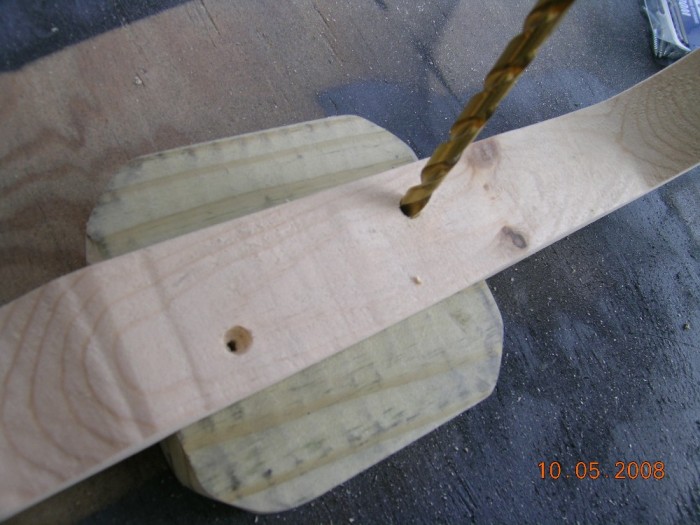
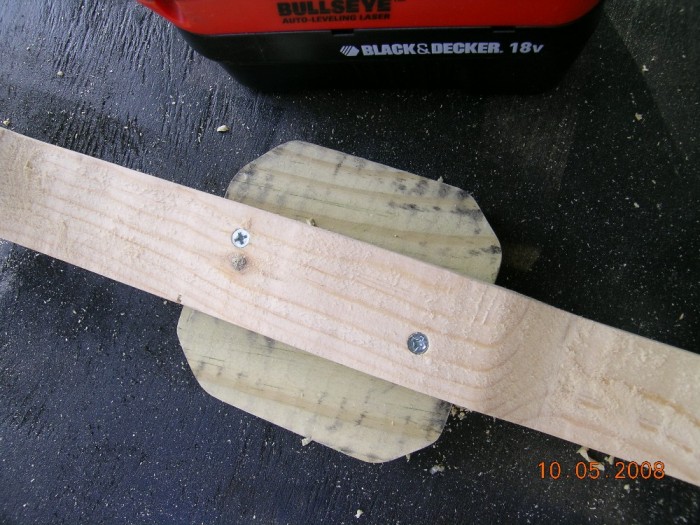
- Think you’re done? Meh. Like everything else on a Proton Pack, its the finer details that need to be attended to before you can move on. Secure the bumper plate to the bumper from the other side. Drill small holes as guides for 3/4" screws. I like to counter sink the screw heads so that they’re not poking out.
Place your screws on the outer edges of the bumper plate. Leave the center clear so you’ll be able to attach your shock mount.
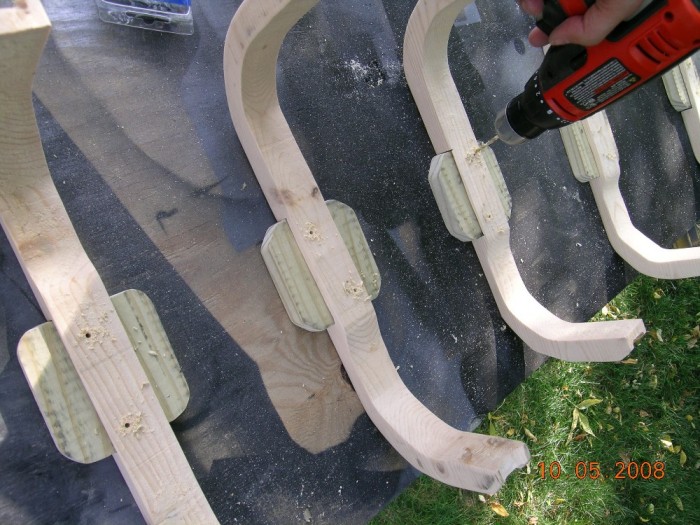
- Get out the sander again. Use it to level the bumper plate to the bumper (it will tend to rest a little high against the bumper arms.

- Unfortunately, the bumper plate never quite fits properly into the notch you’ve made. Use wood putty to fill in gaps.
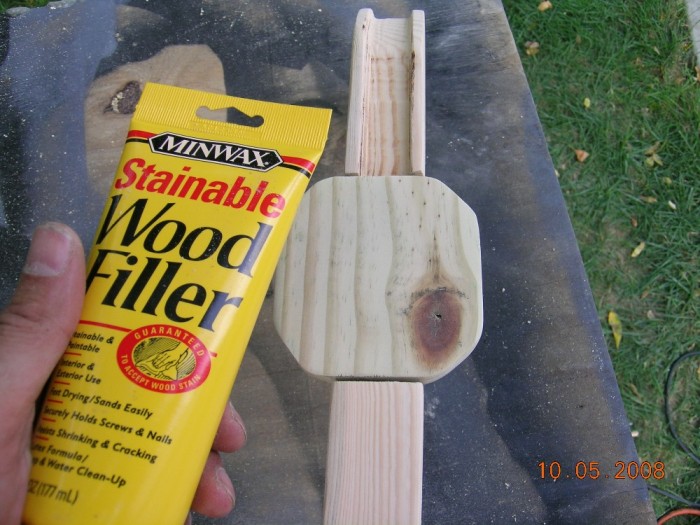
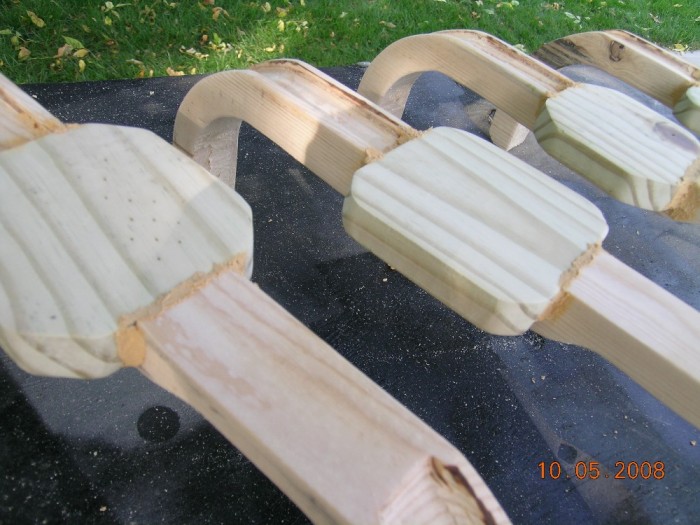
After the putty has dried, sand it down with the palm sander. The end result should look like:
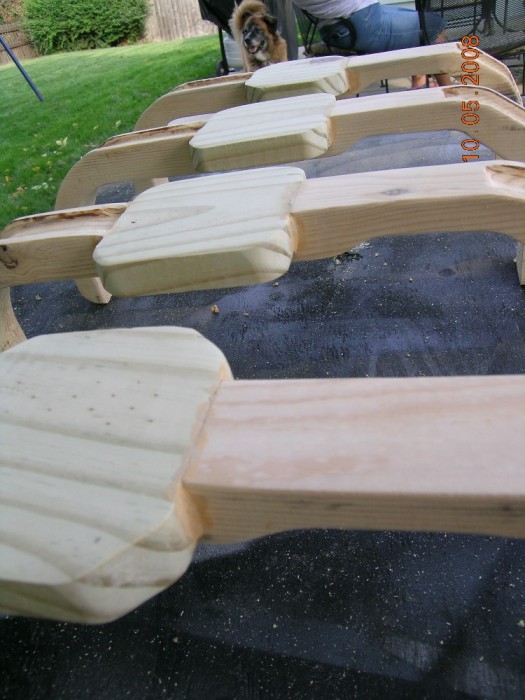
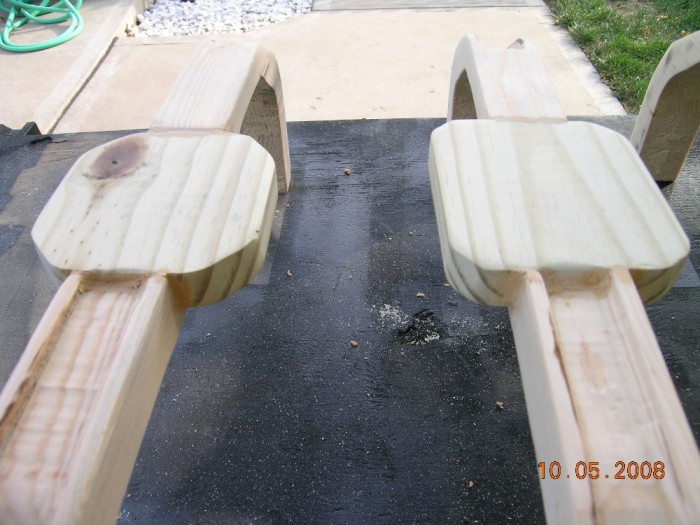
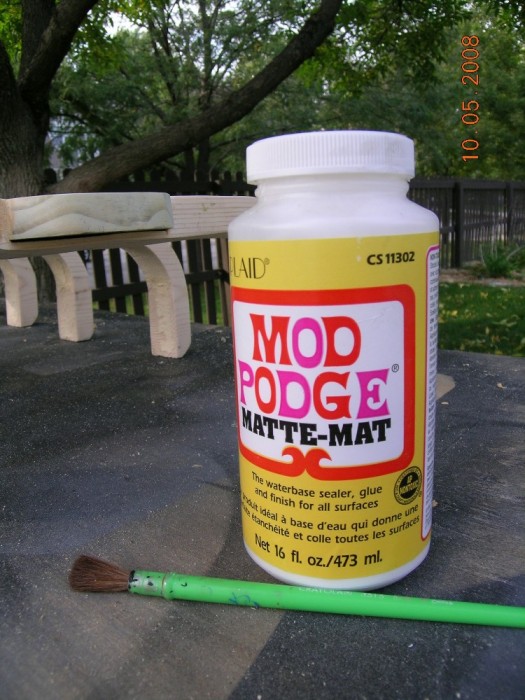
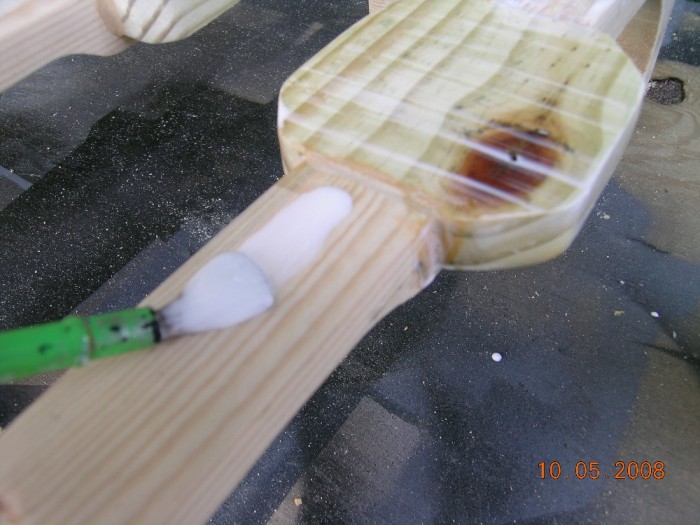
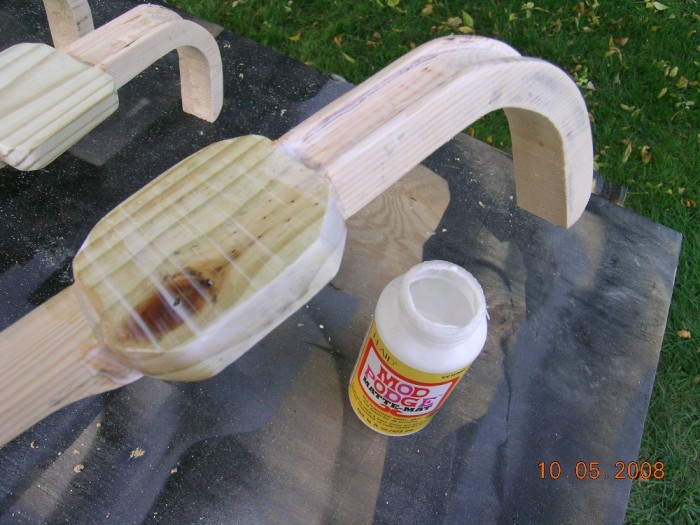
- Modge Podge. In the states, Modge Podge is mostly used to seal jig saw puzzles so they can be hung on walls. Its available in most craft stores as well as Walmart in the craft section. I use it to hide the wood grain of the bumper. Apply the stuff everywhere except along the underside. Apply sparingly and brush it on against the grain of the wood.
- Congratulations! You’ve done the hardwork. How about a couple of coats of primer?
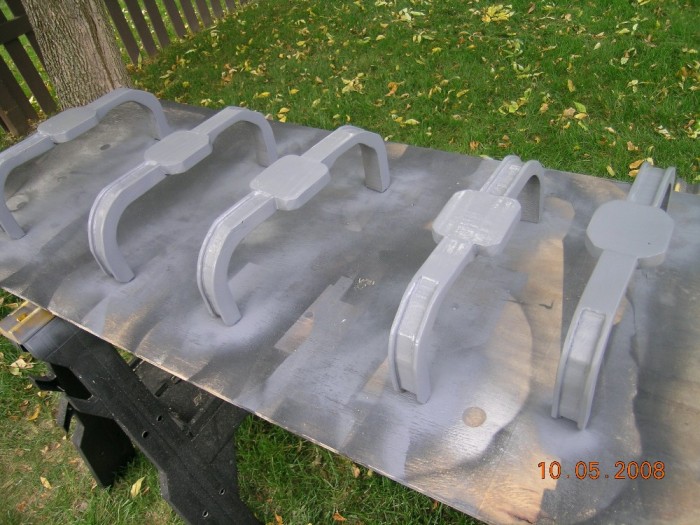
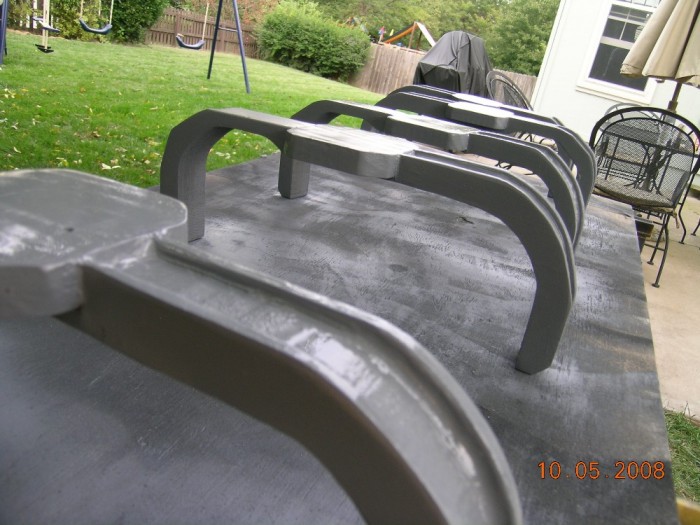
- Last but not least, paint’em. I do two coats: the first coat is a flat black., the second is a misting with semi-gloss black.
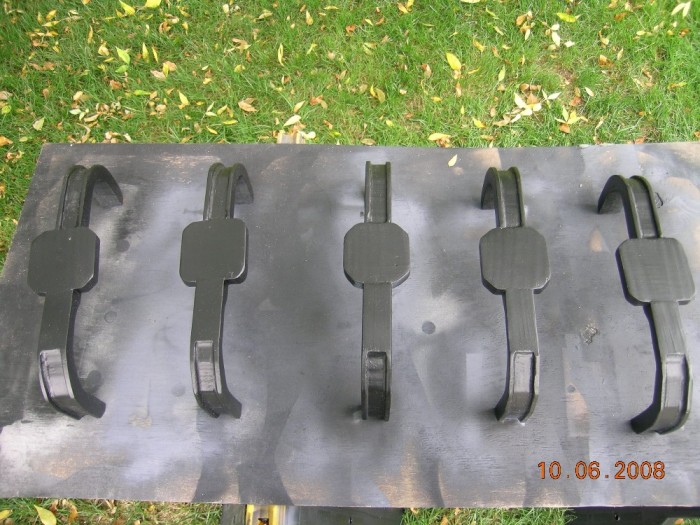
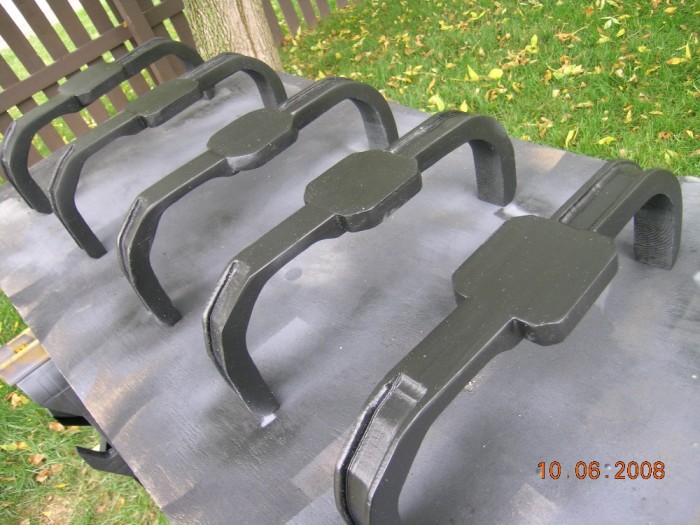
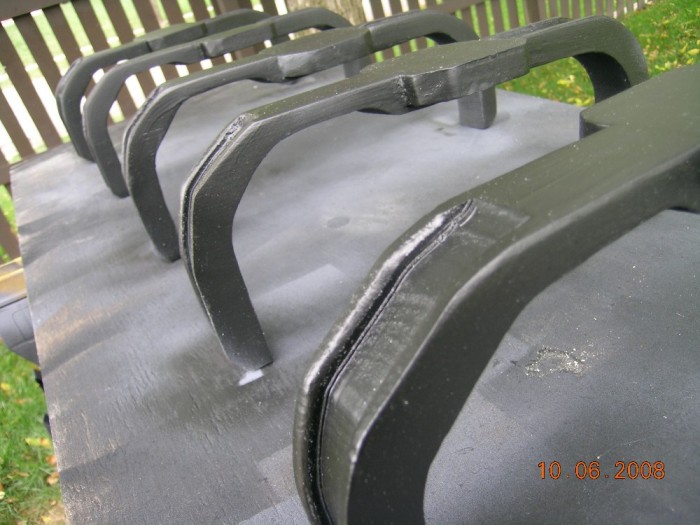
Congratulations, you’re the proud parent of a brand new bumper, custom made to fit your pack.
I welcome suggestions on how to make this tutorial better. Please send me pics of the bumpers you make.
-KCGhostbuster
Hmmmm … reconsidering my bumper plan.
Seems foolish not to take advantage of a good tutorial…
Never thought of that method… But I can imagine those to be nice a sturdy!! I always make mine from separate parts.
Very good tutorial!! About time somebody did one!
Lawrence
Great step-by-step, KCGhostbuster!
I know you were looking for advice on making the tutorial better… the only thing I can suggest is to mail me one of those bad boys.
-Ghostwalker
Barefoot in the garden using power tools, honestly, where are your steel toe caps young man!
:sigh:
Great Bumpers by the way!
I was wondering who was going to catch me…
We started two of these tonight…it’s going very well, but we kept our shoes on, since we didn’t want to get splinters.. 
I think cutting the insulation foam dulled my jigsaw blade down something seriously.. probably need to pick up a new one tomorrow to do the inner cuts.
this is the greatest thread reply ever!!!
I’m using this method now… so far so good as well. I think I WILL change on thing though… rather then the cutout for the 3/4 octagon the ion knob attaches to, I’ll just make 2 trapazoid 3/4 inch parts, and glue them to the top and bottom of the bumper. A solid glue joint should be plenty strong for them, and that will reduce cutting work, the possibility of them breaking while working on the thin section of wood, and less puttying after adding them on.
BTW, we picked up a perfect skillcraft router bit from lowe’s yesterday for this for $8.95.
If someone needs it’s size, I can get that info.
Yes, please. Take a picture of the bit too…
Will do.. man, major pain in the ass measuring though, and cutting out the inner portion was hard for two reasons: a rotozip doesn’t have cutting bits long enough to cut through 2x8s, and jigsaw blades can bind and bend when trying to cut them out that way, giving you a cut that;'s not 90 degrees. (Plus my jigsaw is older and underpowered for 2" pine cutting I think.)
We did our two inner side cuts on the table saw, and then drilled pilot holes for the jigsaw. I used the smaller scoll blade, since there were curves involved.. I think a rougher cut blade might have worked better.
Then when we checked them, we found the inner cuts were 1/2 inch wider for some reason then the synchronous generator!
Quick fix we came up with was just cutting two 1/4 inch parts to extend the inner part of the bumper to be flush with the generator. 
Here’s what they look like so far…

Addendum: the bit is a SkillSaw 3/4 inch straight router bit. The edges come out a tad thicker I think then they should be, and I could have adjusted that and done the flip side cut as well, but with this, one cut on one side took care of the whole bumper.
KCGhostbuster, again I must say I’m amazed at your bumper. Thanks for the Hodge Podge tip by the way.
Glad you guys are finding the tutorial helpful. Gareee, really nice job on the bumper. I also have one I cut a little too wide, your fix-it looks seamless. The pack is REALLY coming along.
thesonofabob, I’ll pay you later (thanks for the compliment).
I think if I redid them, I’d make them a bit thinner as well, and they’d look a bit more like steel then wood.
I’ll probably make the octagons 1/4" basswood, and add additional triangles behind them at the corners for some additional support. I’ve got 1/2 inch pine, but that just seems too thick for them.
I’ve done them out of steel, but I can’t work with wood. S’funny that!
On the movie pack I did 4 years ago, I used sheet metal and 1/4" square bar.
For the second one I did, a “Real Ghostbusters” pack. It doesn’t have all the groved areas, and I Just cut the shape out with a zipcut from 18 gauge and tacked the central part on from the backside. Quick and easy.
But IMO, anyone doing a movie pack can save a lot of time and effort by picking up a pre-fabbed bumper. They’re fun, and I’ll leave it at that!
I can’t imagine building a bumper from wood! You can’t really bend it to fit and cut off the overhang. You pretty much have to be exact! Metal is forgiving. You can bend it, and if you can’t get it exact, you can make it fit or fill it with weld. With wood, it can crack easily if you don’t build it going with the grain! With wood, it’s better to go thick than thin!
My woodworking skills are about 35 years out of date, but I’m having a lot of success. Its just a matter of taking your time, and double checking your measurements multiple times JUST in case.
Rather then arr the top and bottom octagon ion knob parts, I decided since I had such success with the router, I’d use the same bit, and just rout out the grooves, and use part of the 1/4 inch basswood leftover from the motherboard part. with any luck, I didn’t cut the grooves too deep. Worst case, I can back them with wood filler, to get them back up to the proper level even with the main bumper.
Part of the fun of this for me, is seeing what I can make myself that looks close, if not 100% film accurate.
Here’s the bumper complete, filled, and with the first few coats of paint on it…