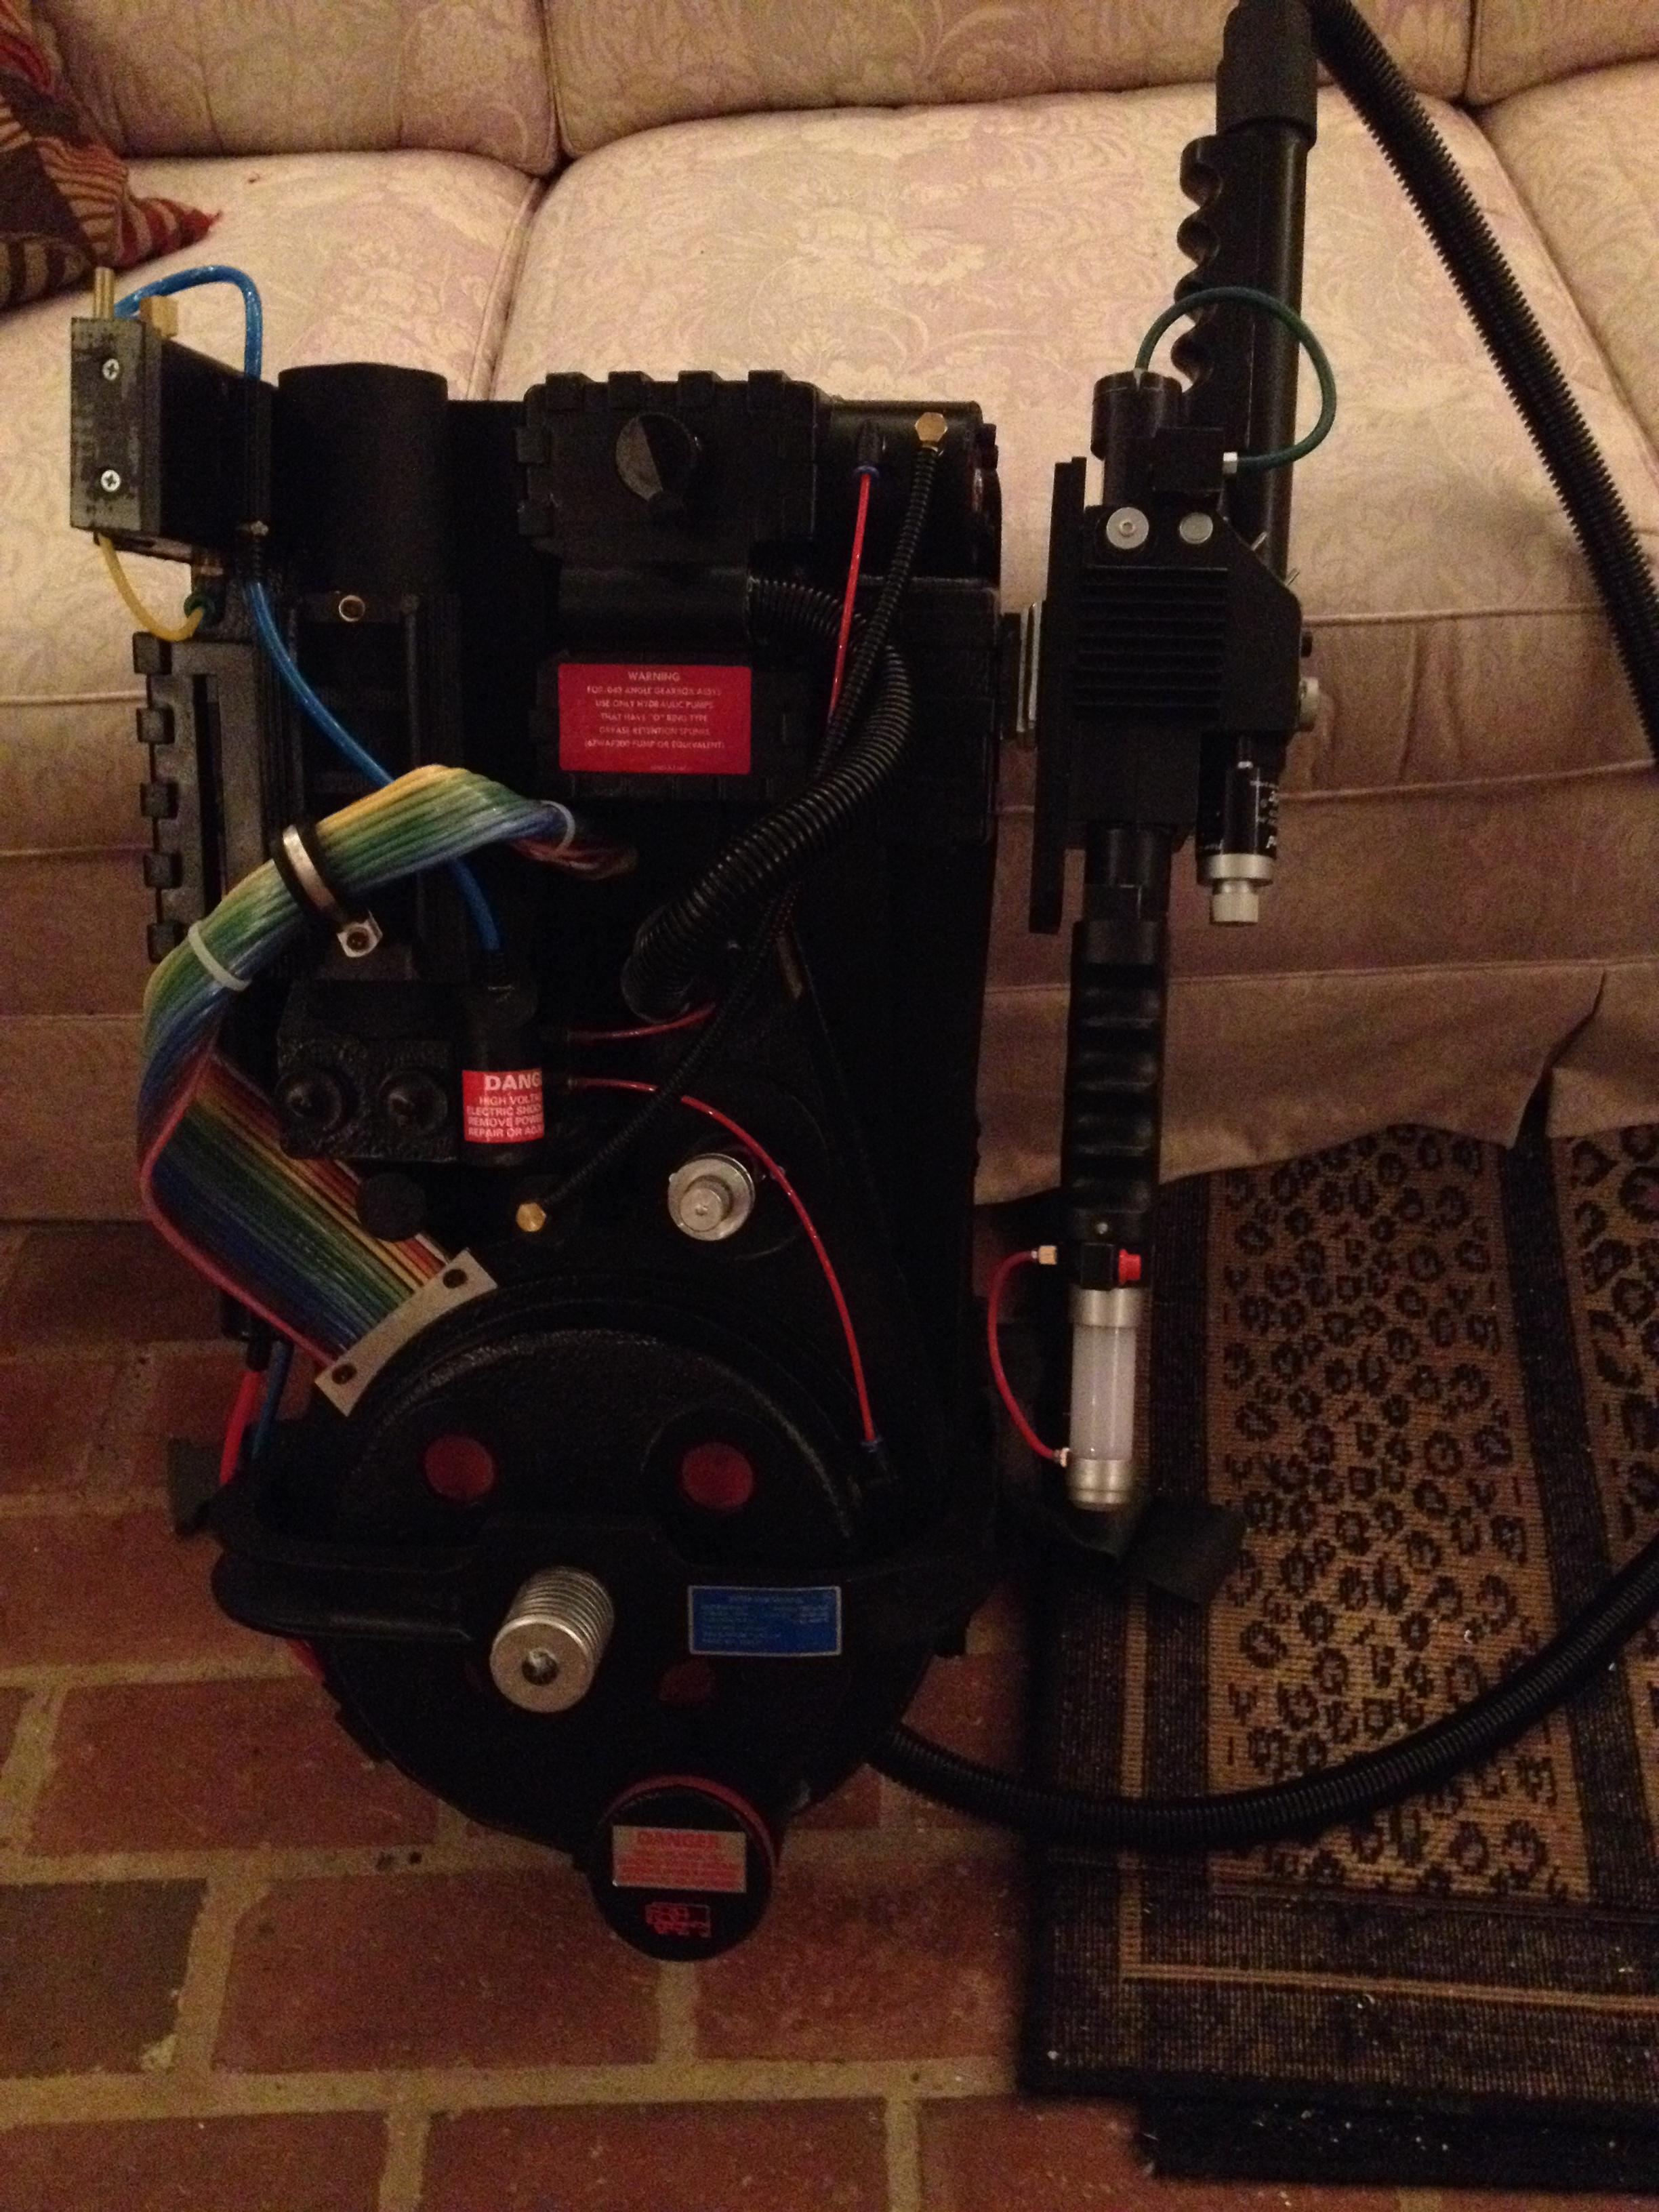
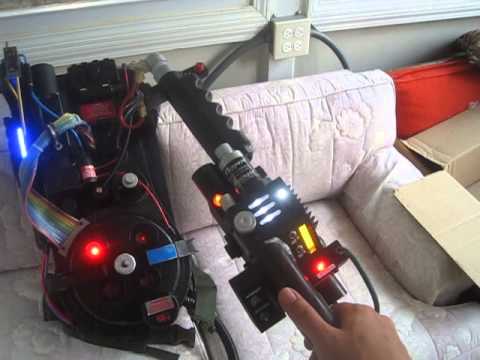
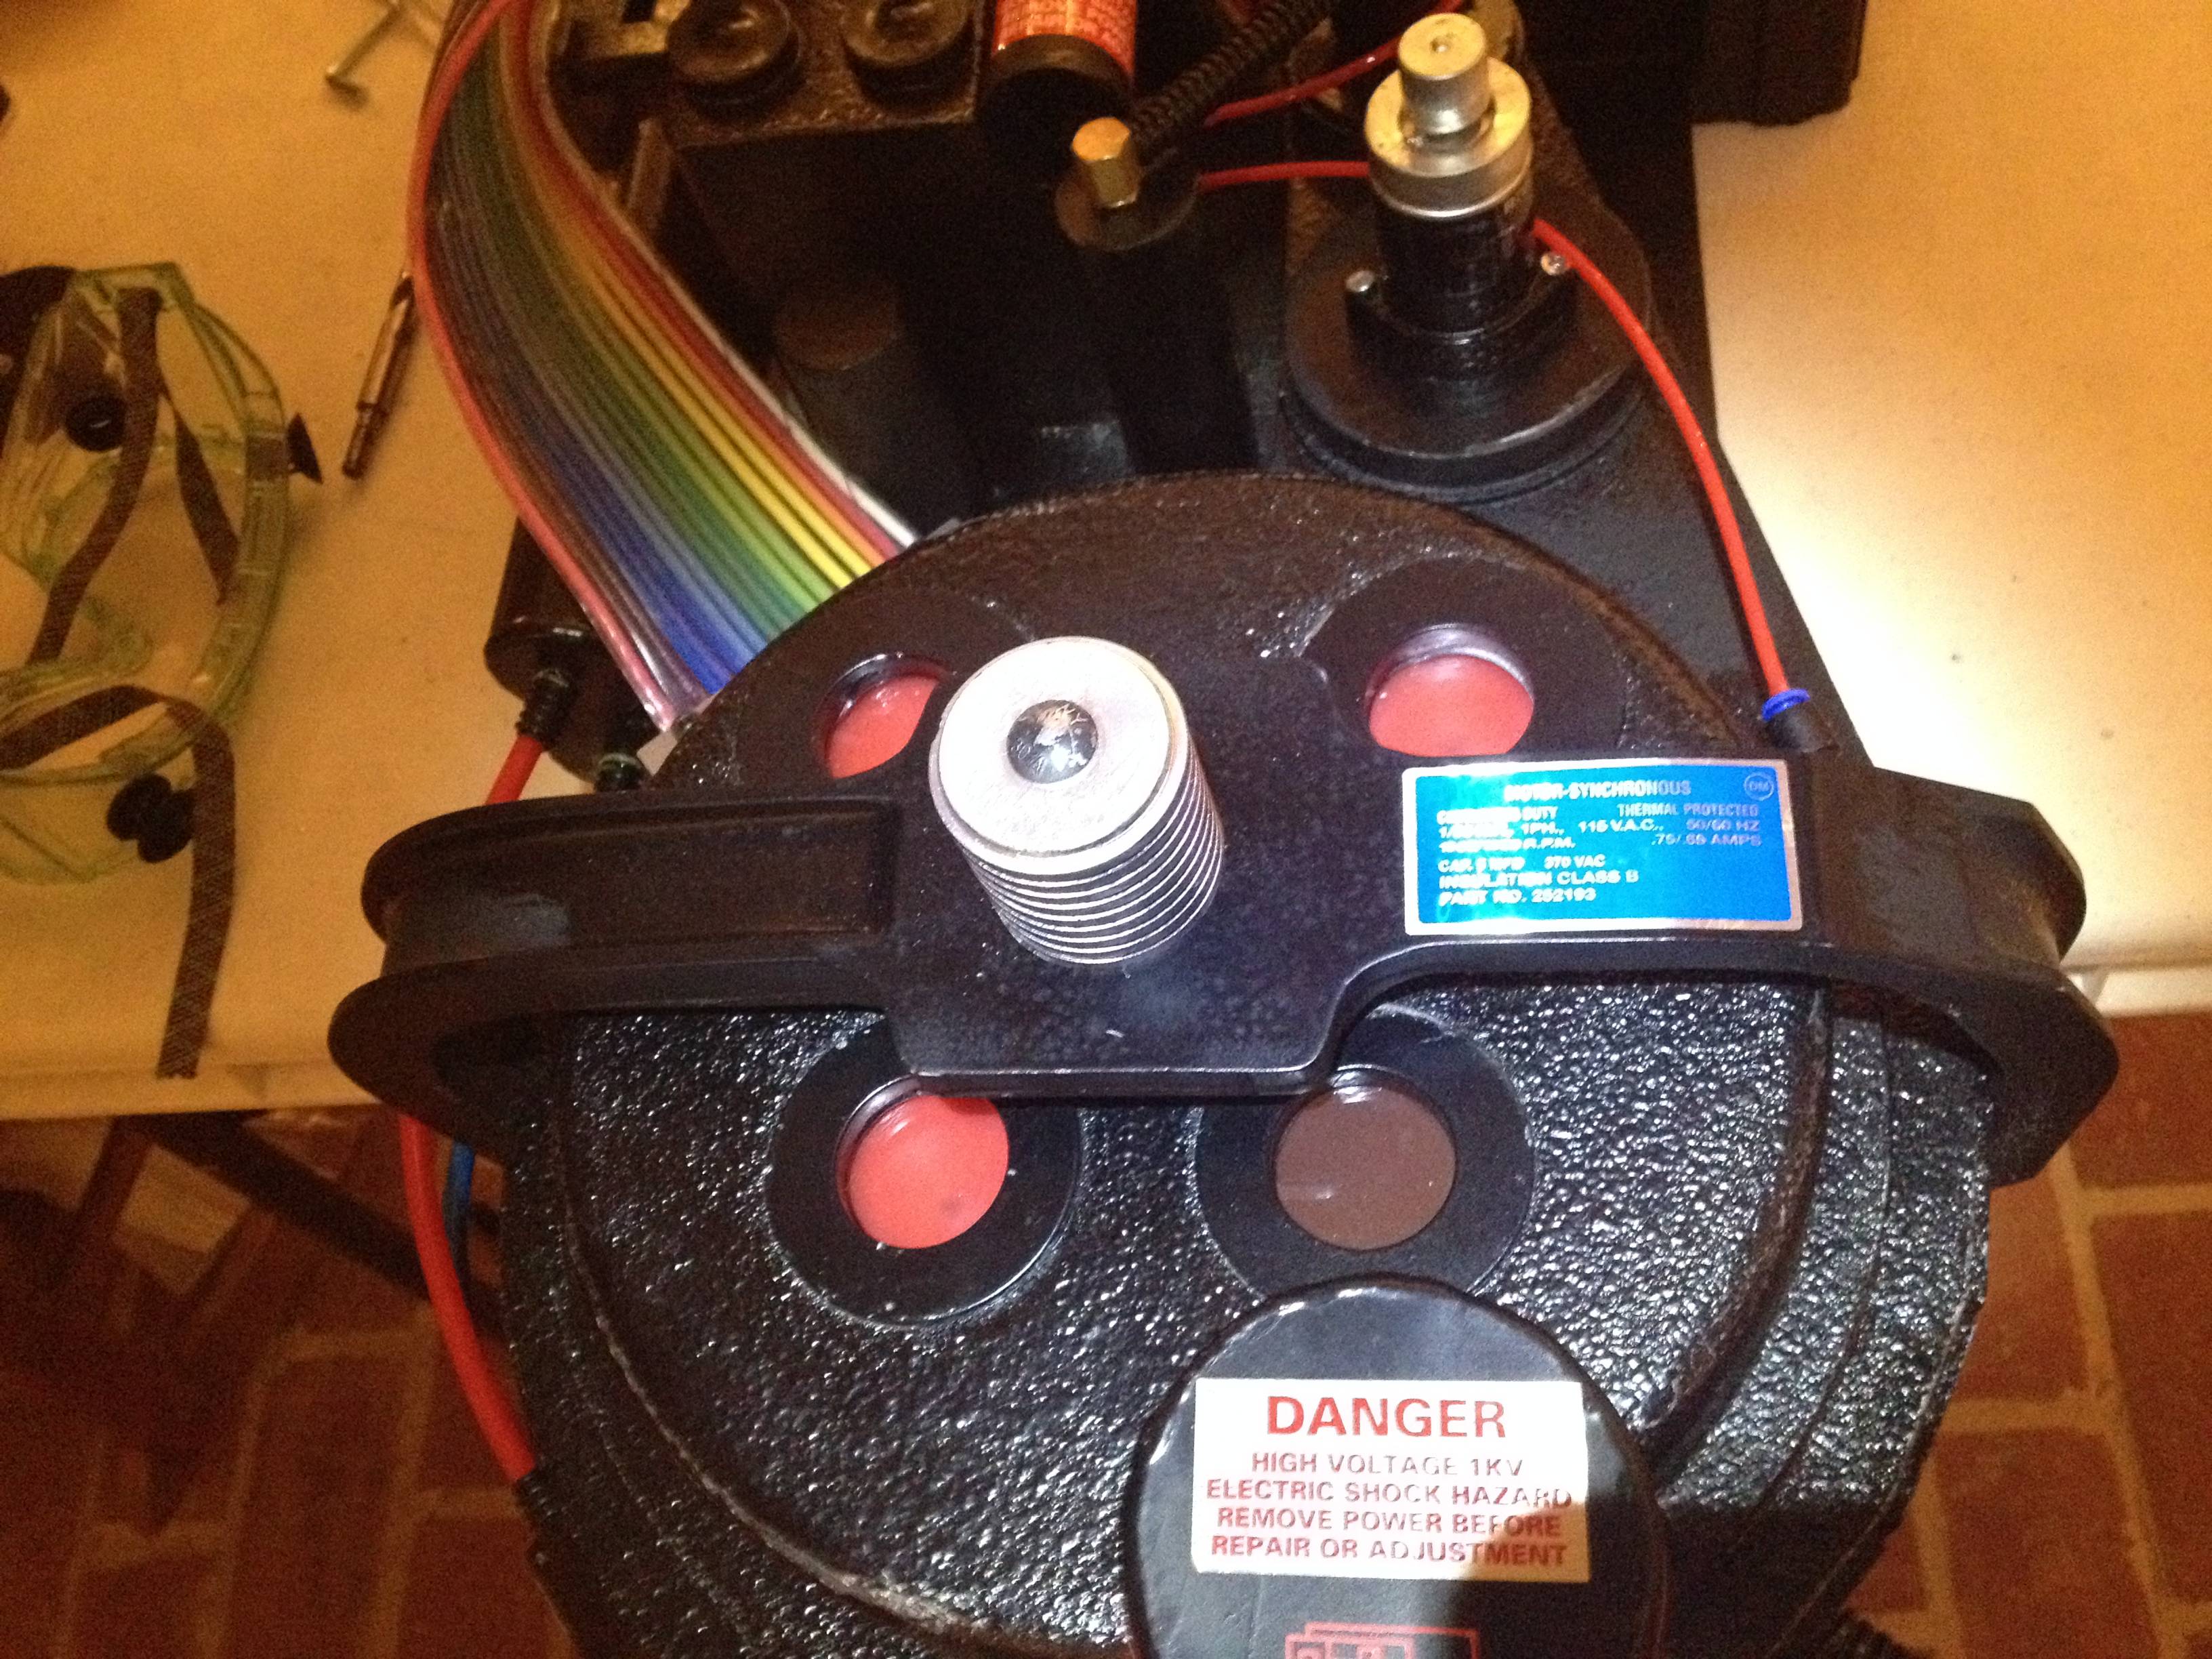
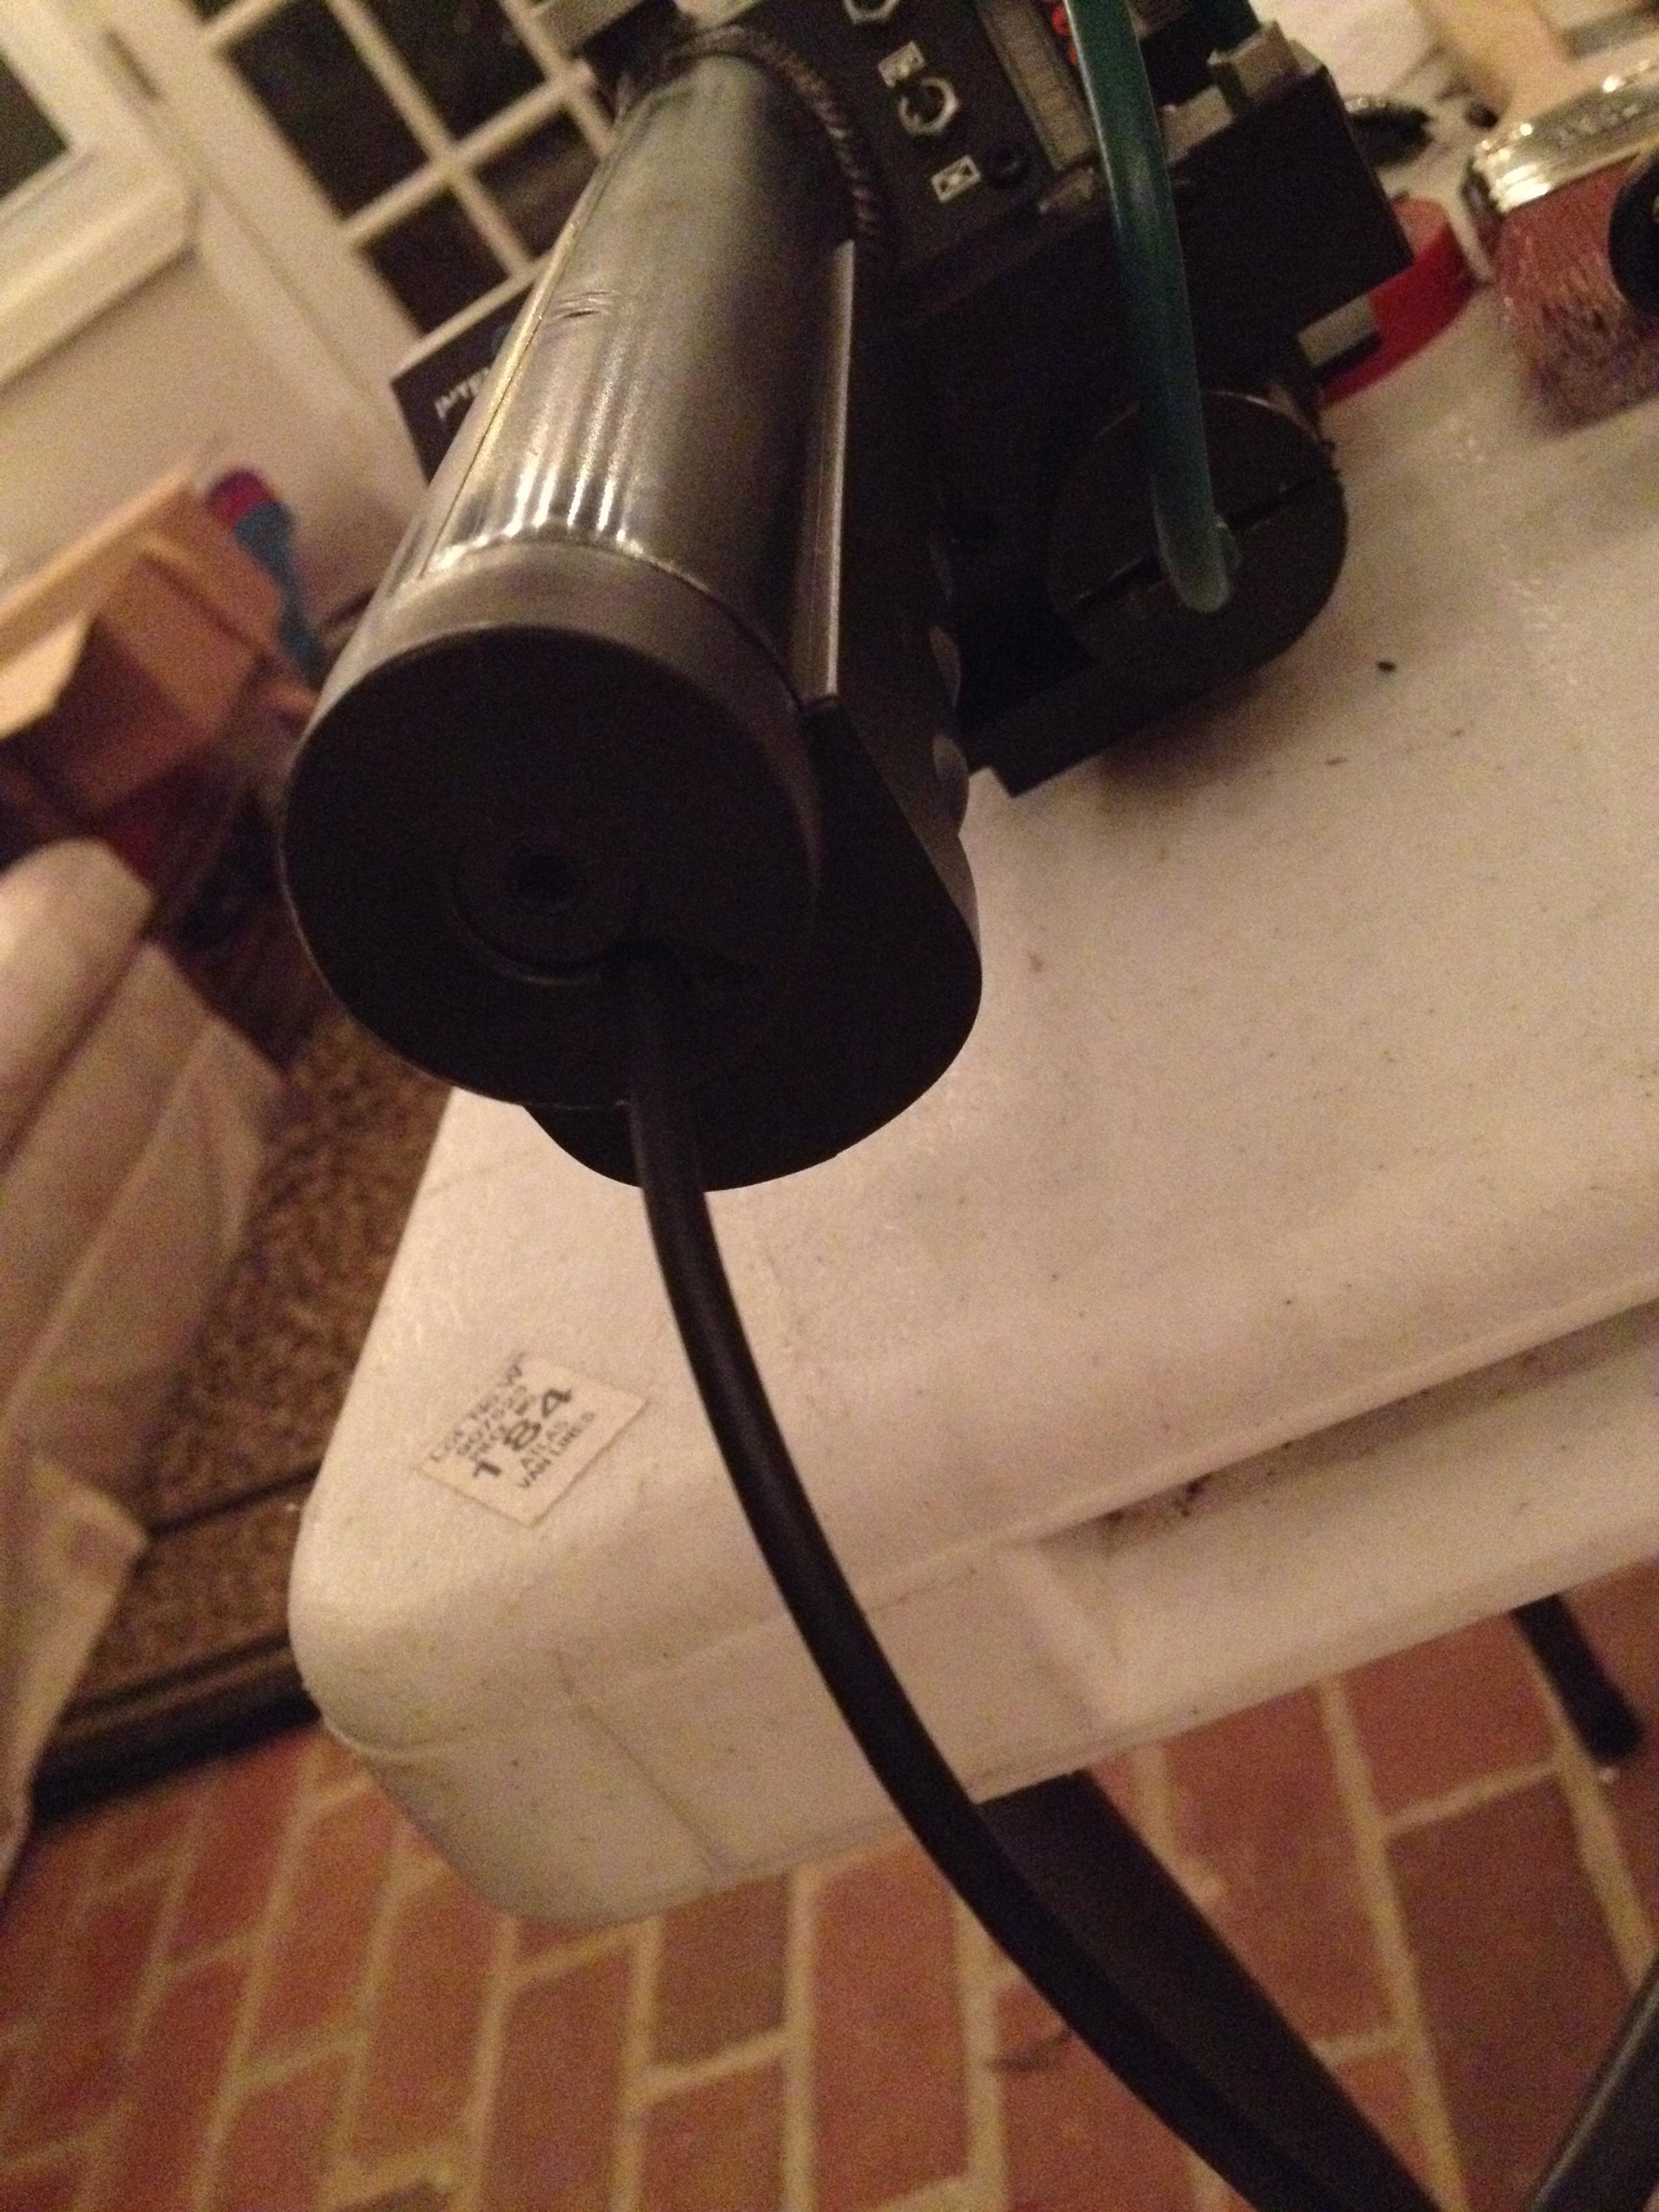
By combing this site and asking friends lots of questions, and getting technical help from friends, I was able to run both sound and light control from the Matty wand into the pack! Eventually I will do a proper wand, Ive decided- but this works great for now.
It plugs into the 1/8" jack at the base of the wand and the cable (1/8" stereo audio cable) runs through the loom into the pack. I had to buy a 10 pin connector cable to hook up the Matty adaptor to the GB Soundboard jack on the lights board, that was it. Since the lights were already getting power I didn’t need to power them separately.
I’ll post in a moment about how I wired the sound- but first, here’s the video of it in action.
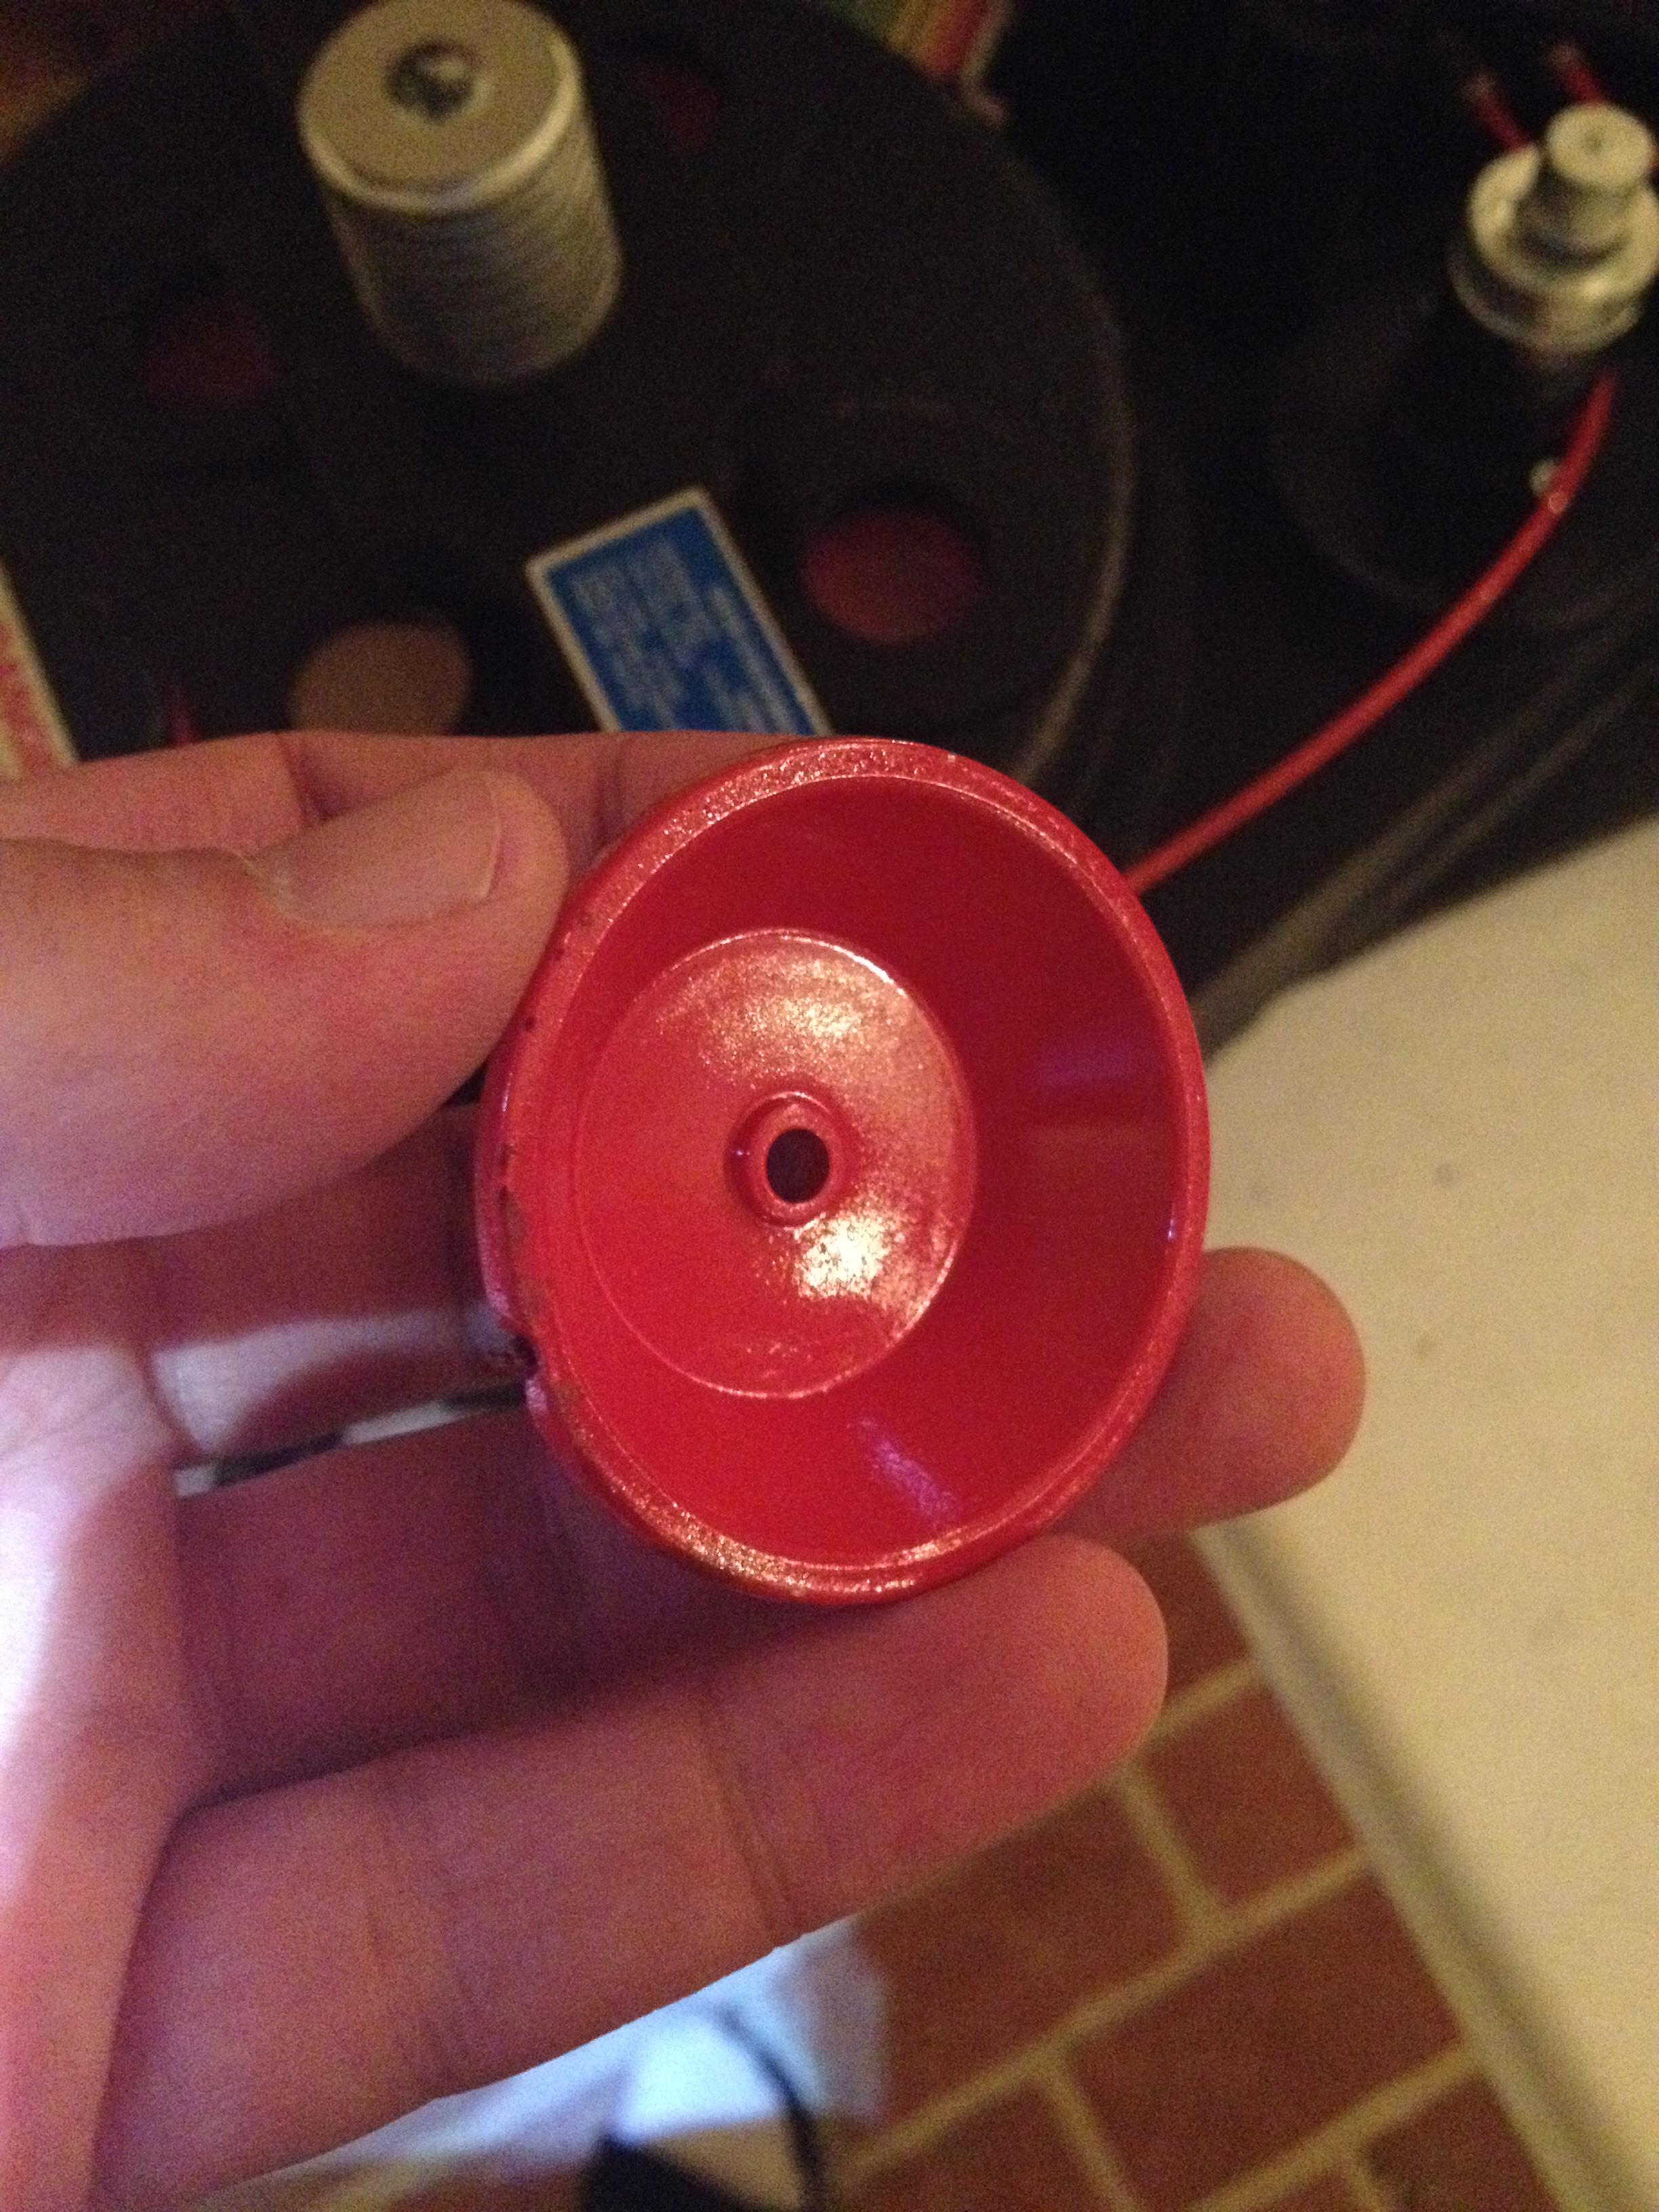
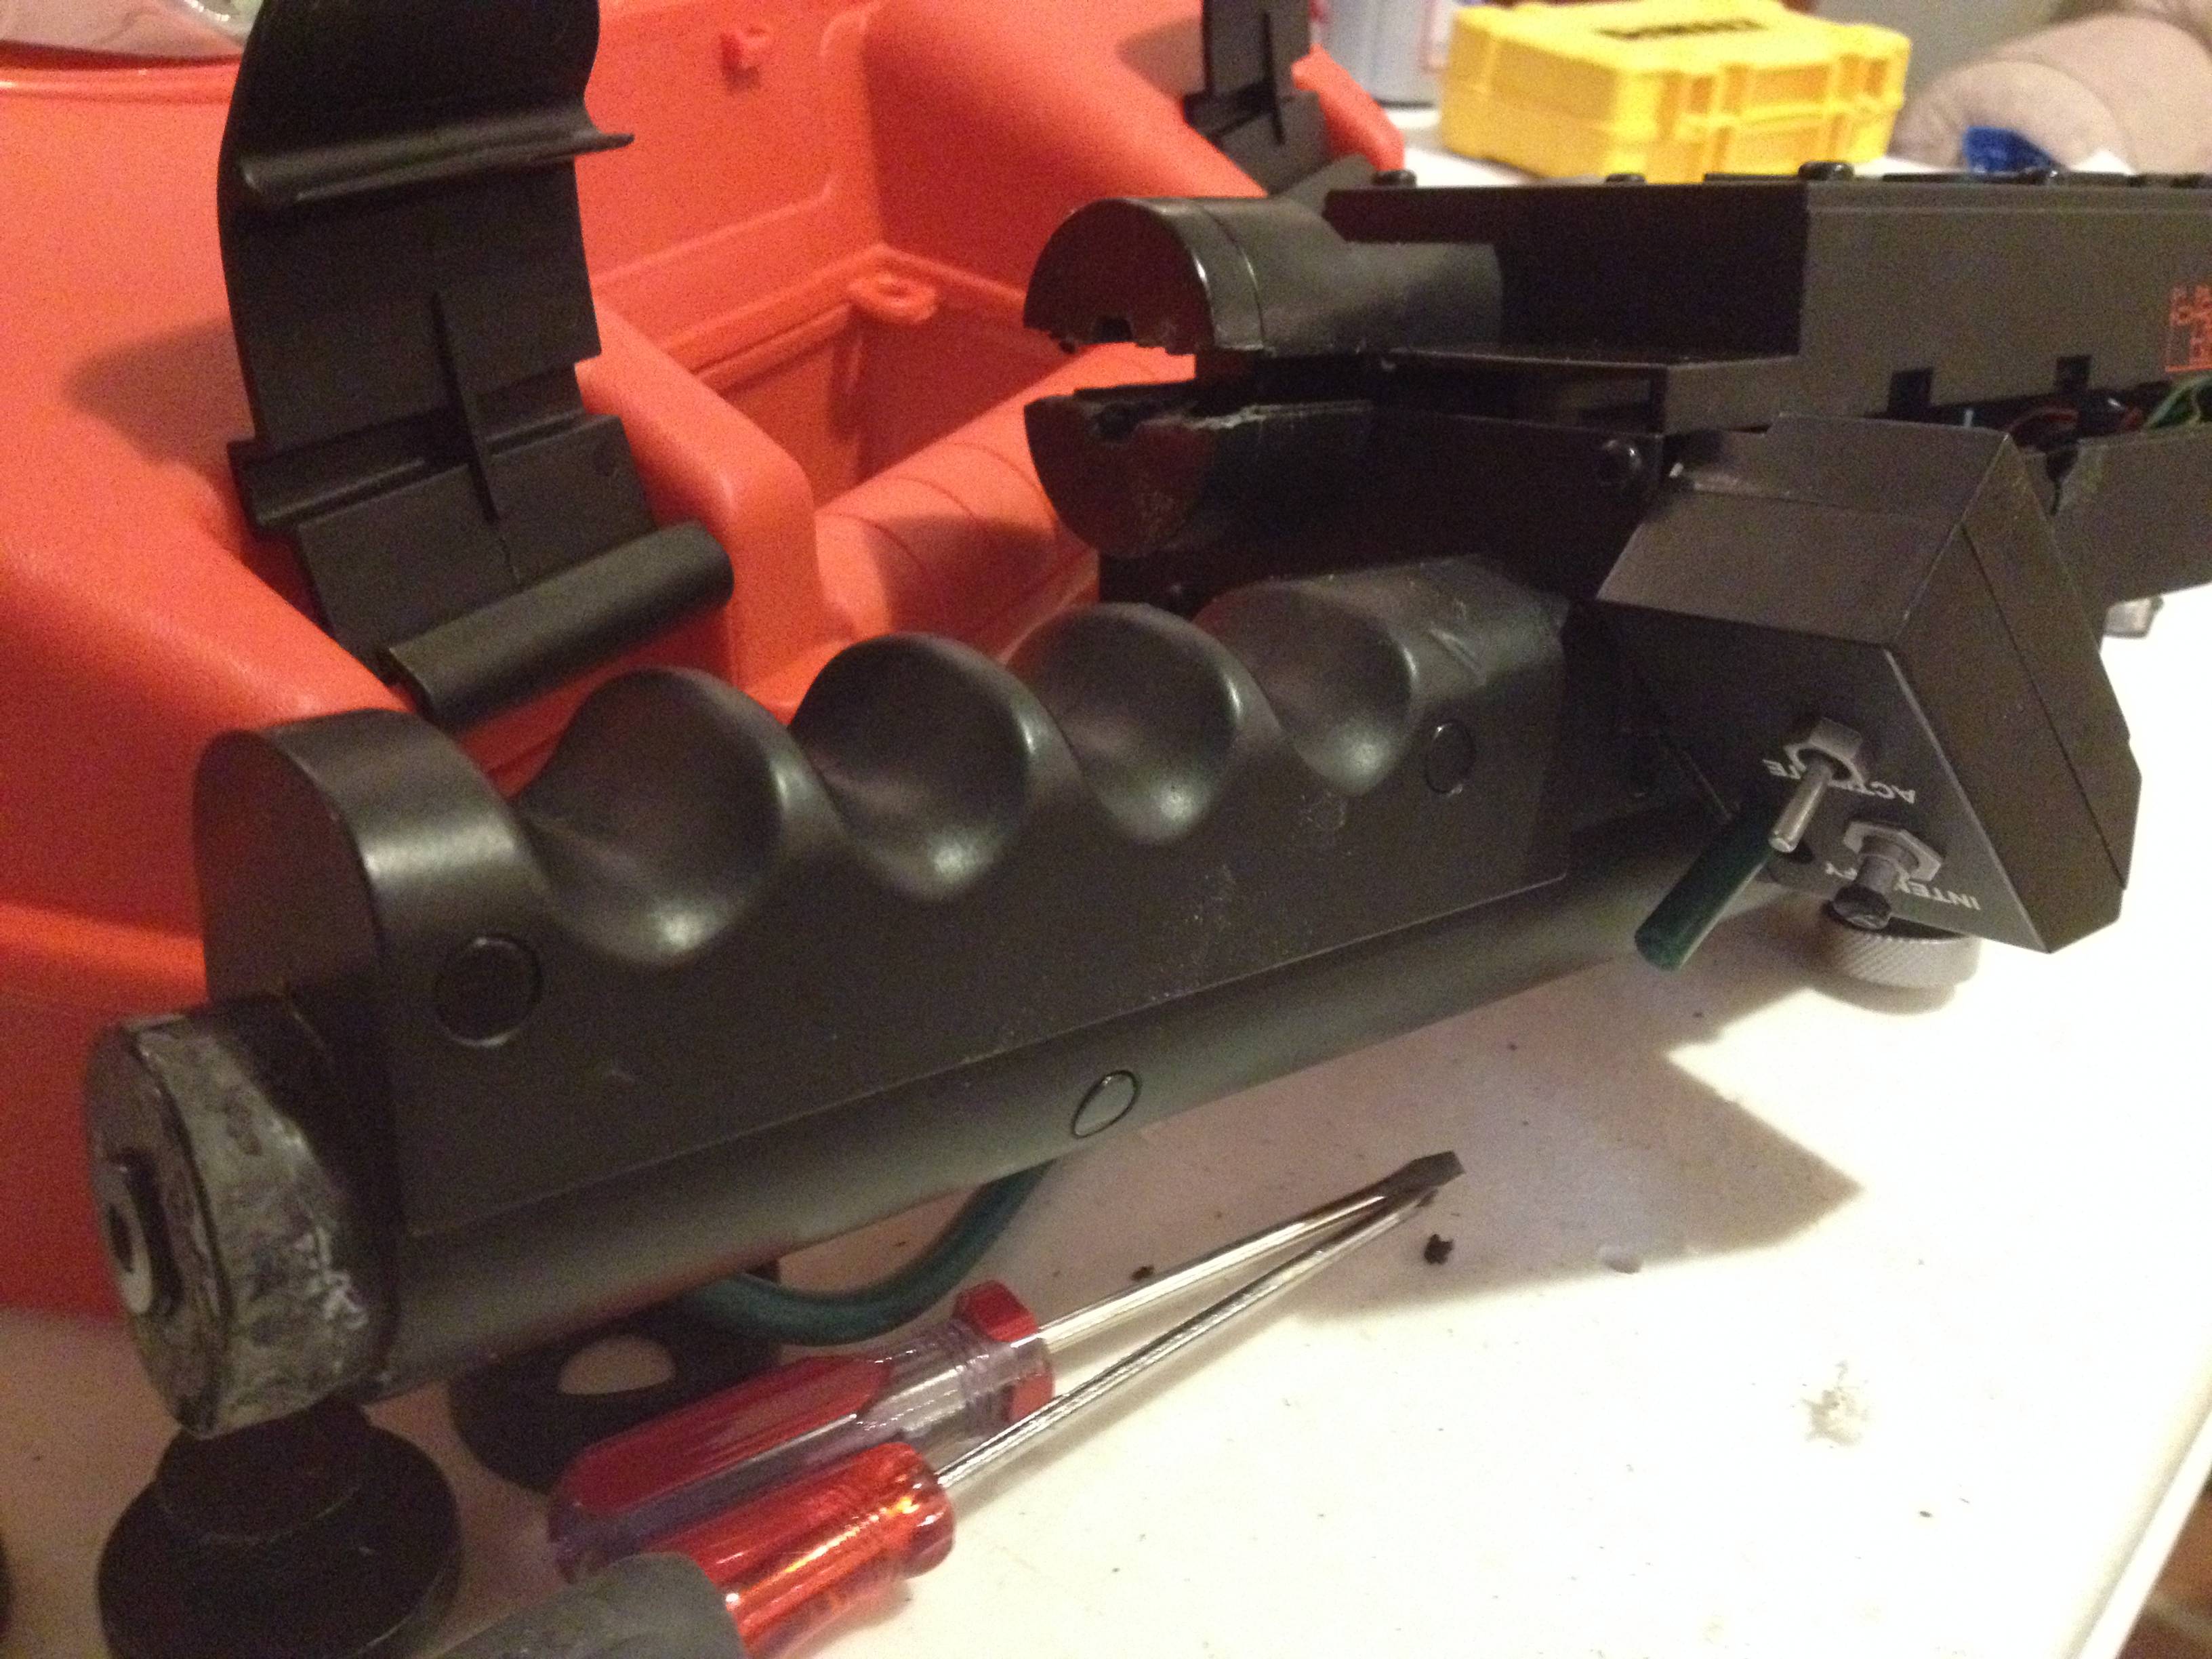
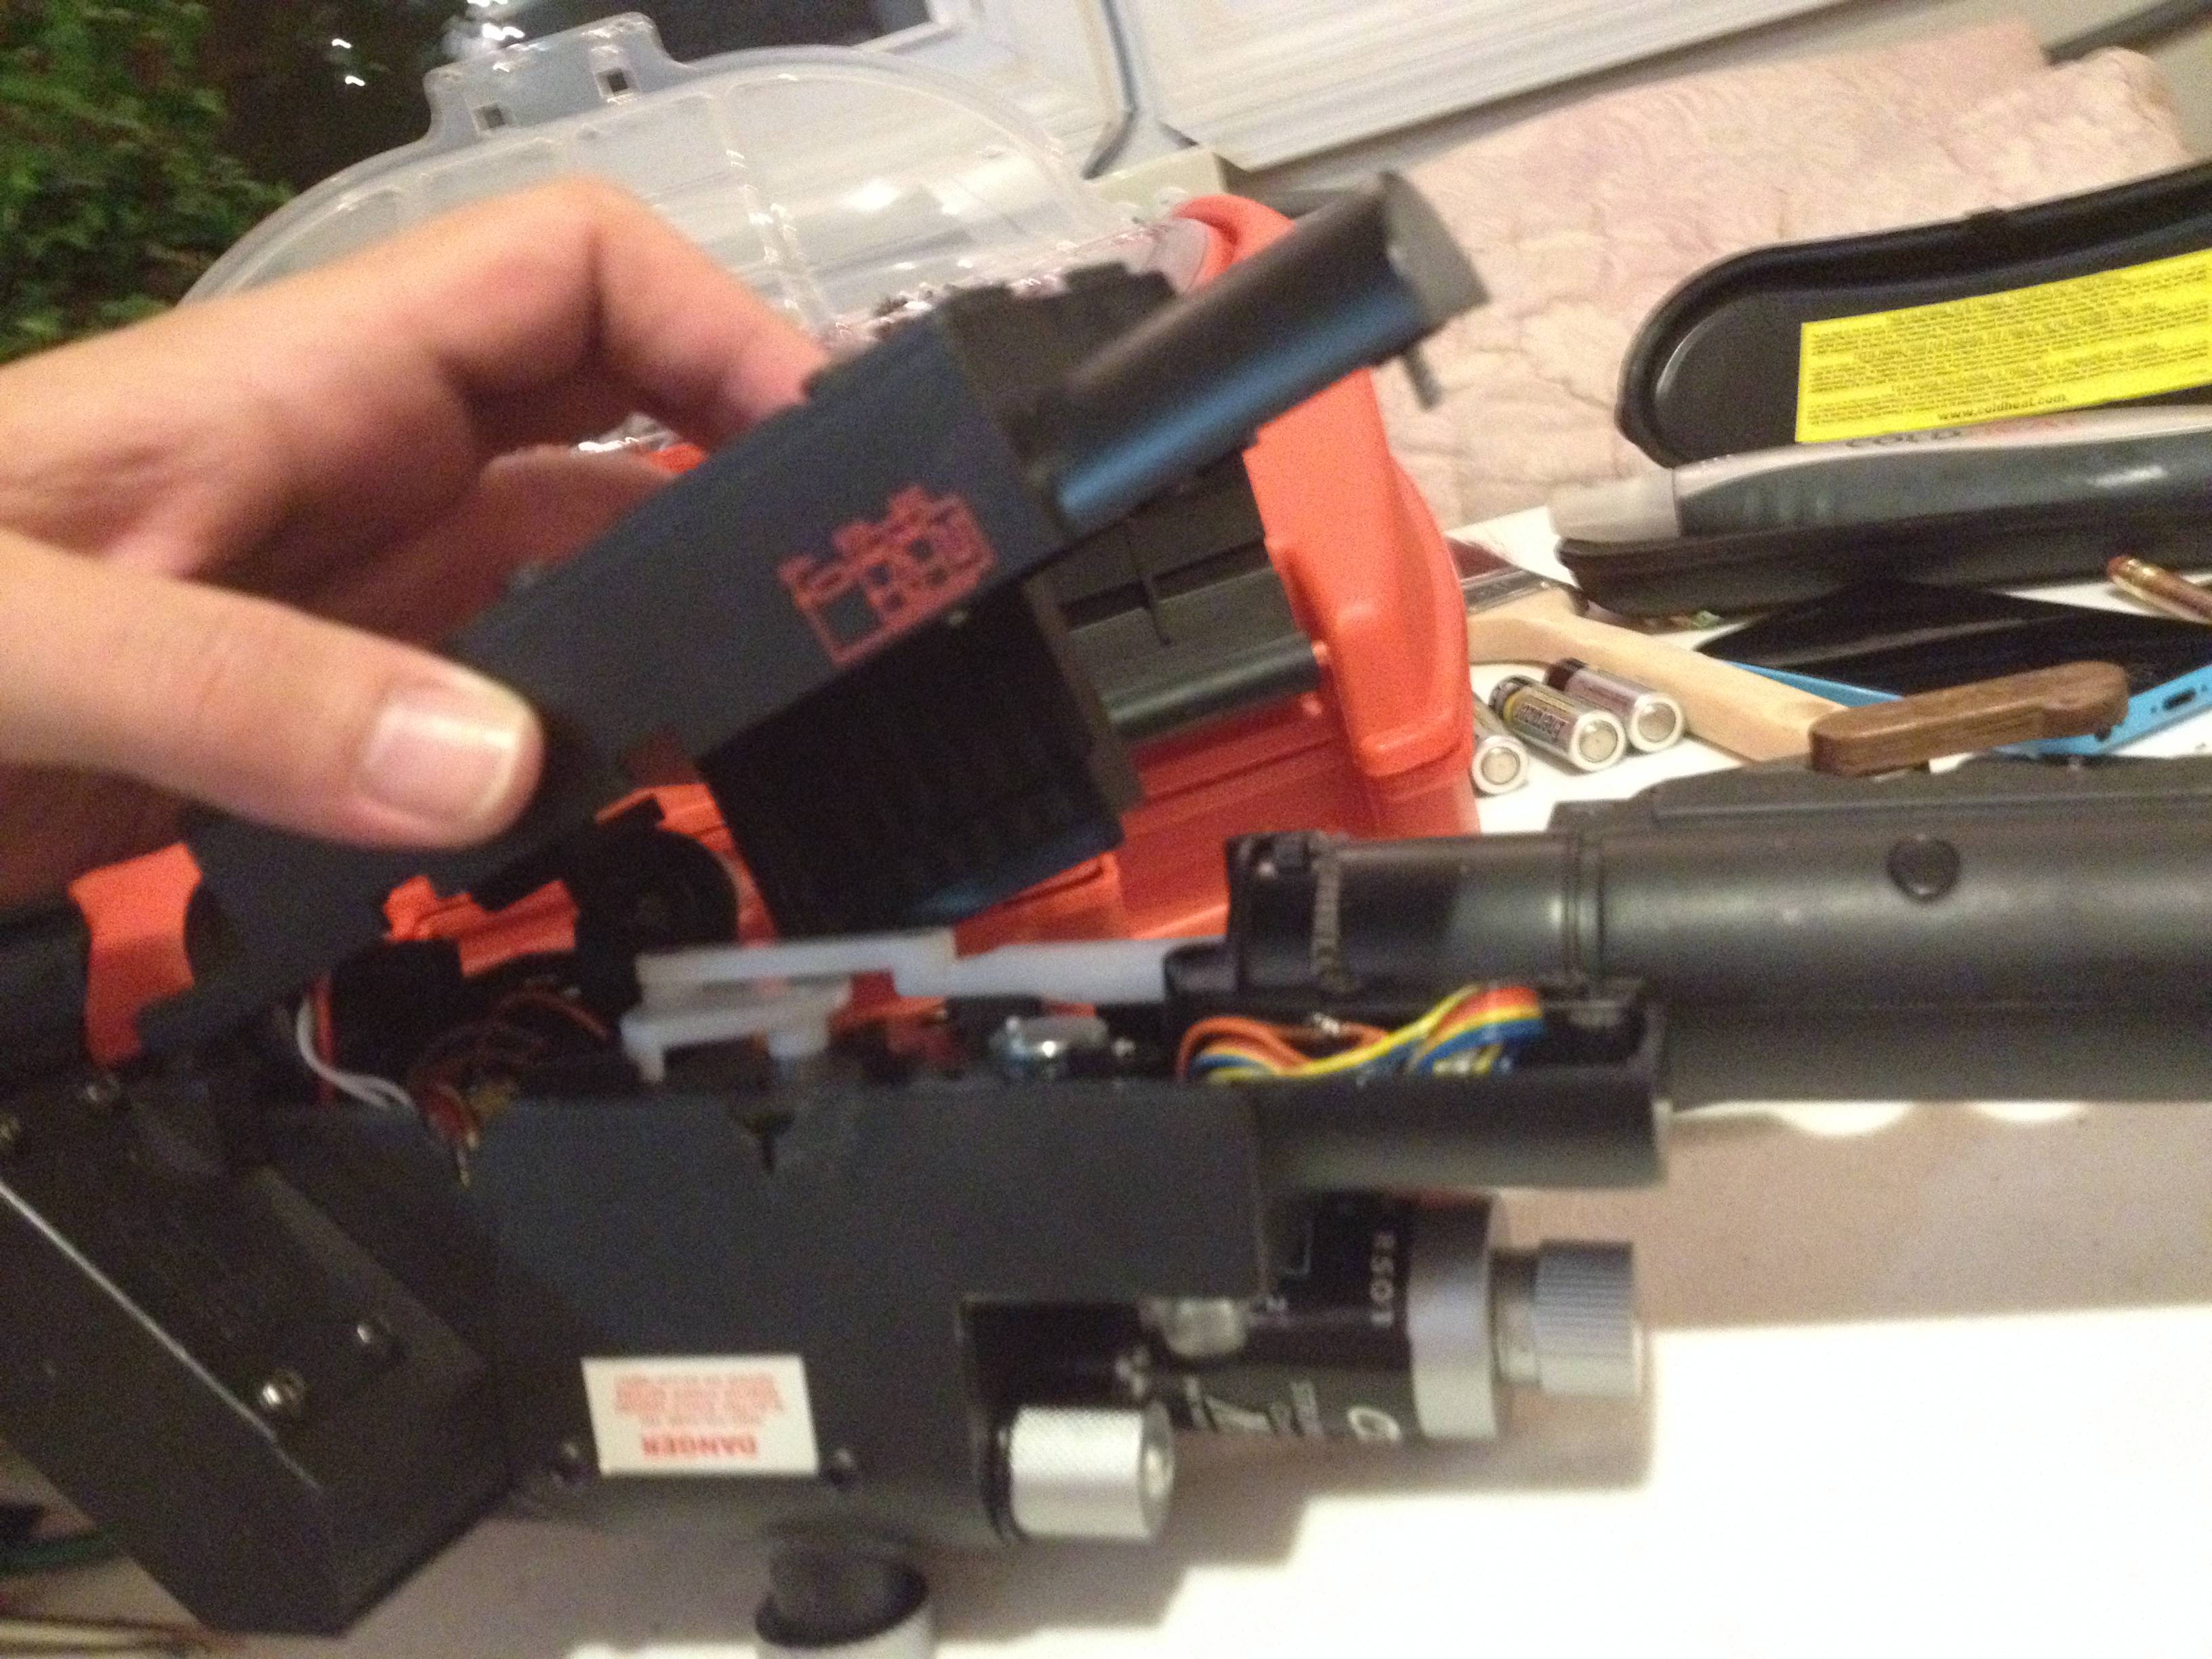
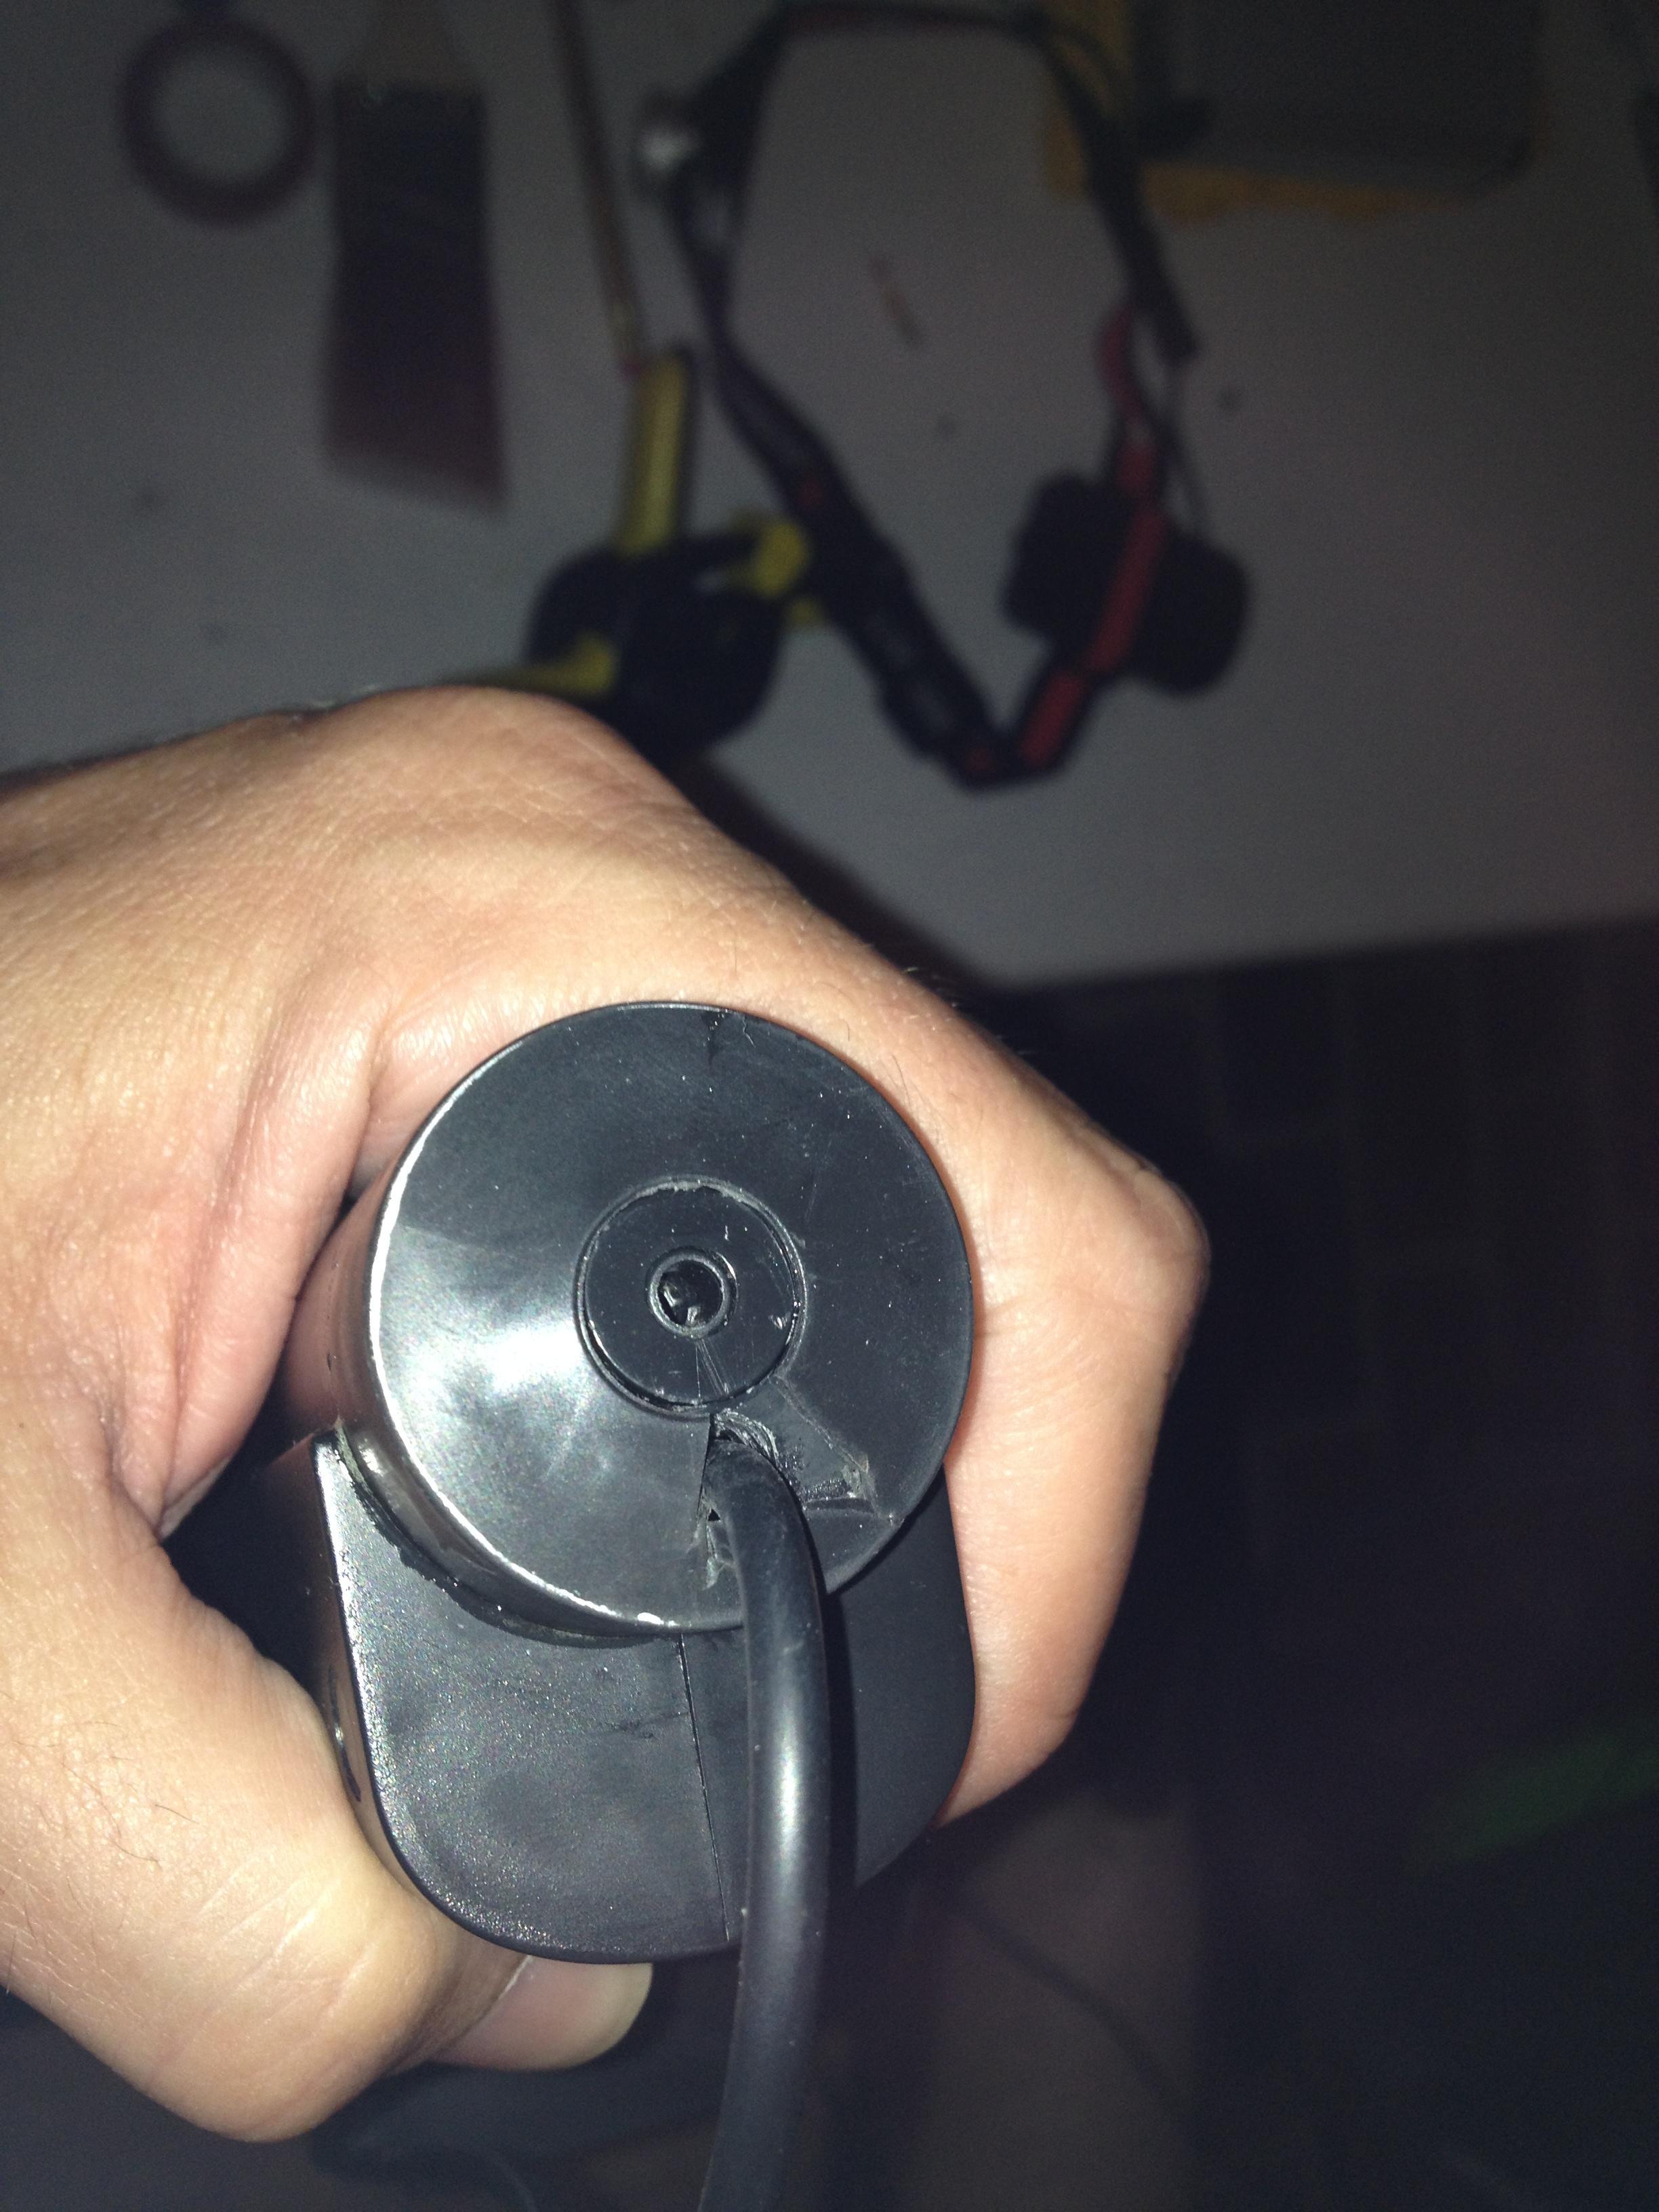
Opening the wand: Step one. pop off the rubber end cap on the handle. I used a tiny screwdriver and slowly worked it between the glue and rubber, breaking the cap free gently.
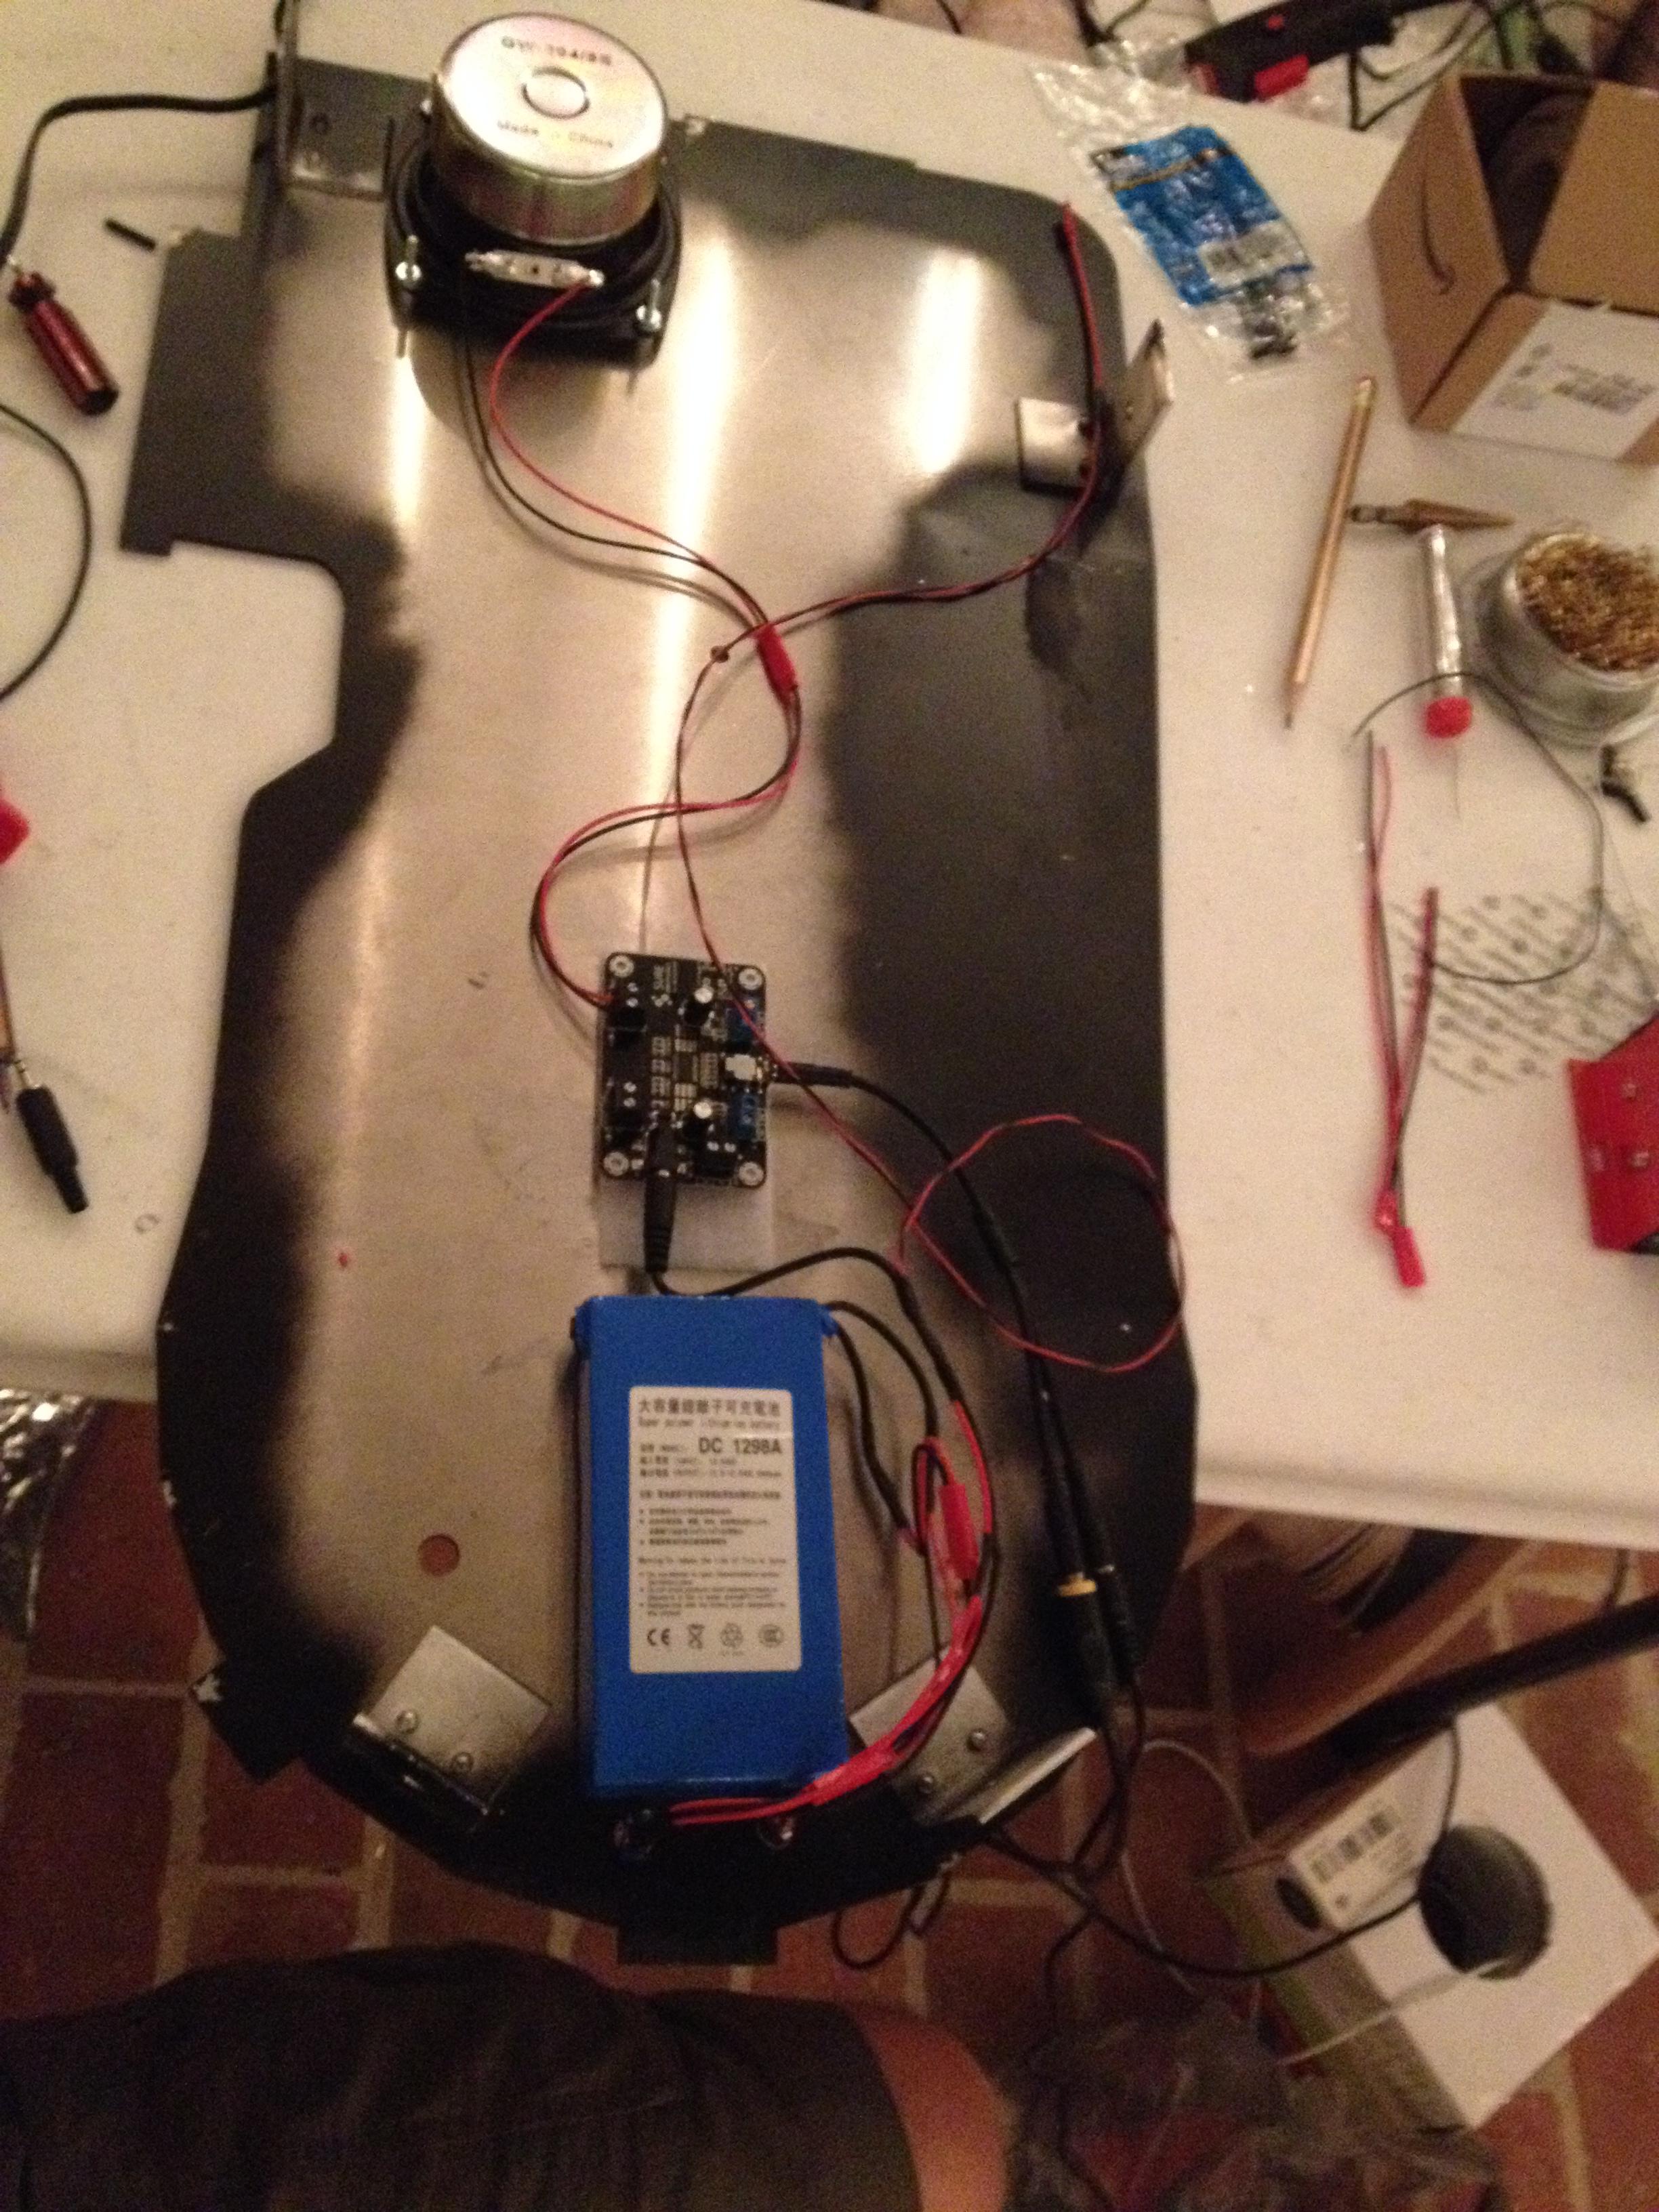
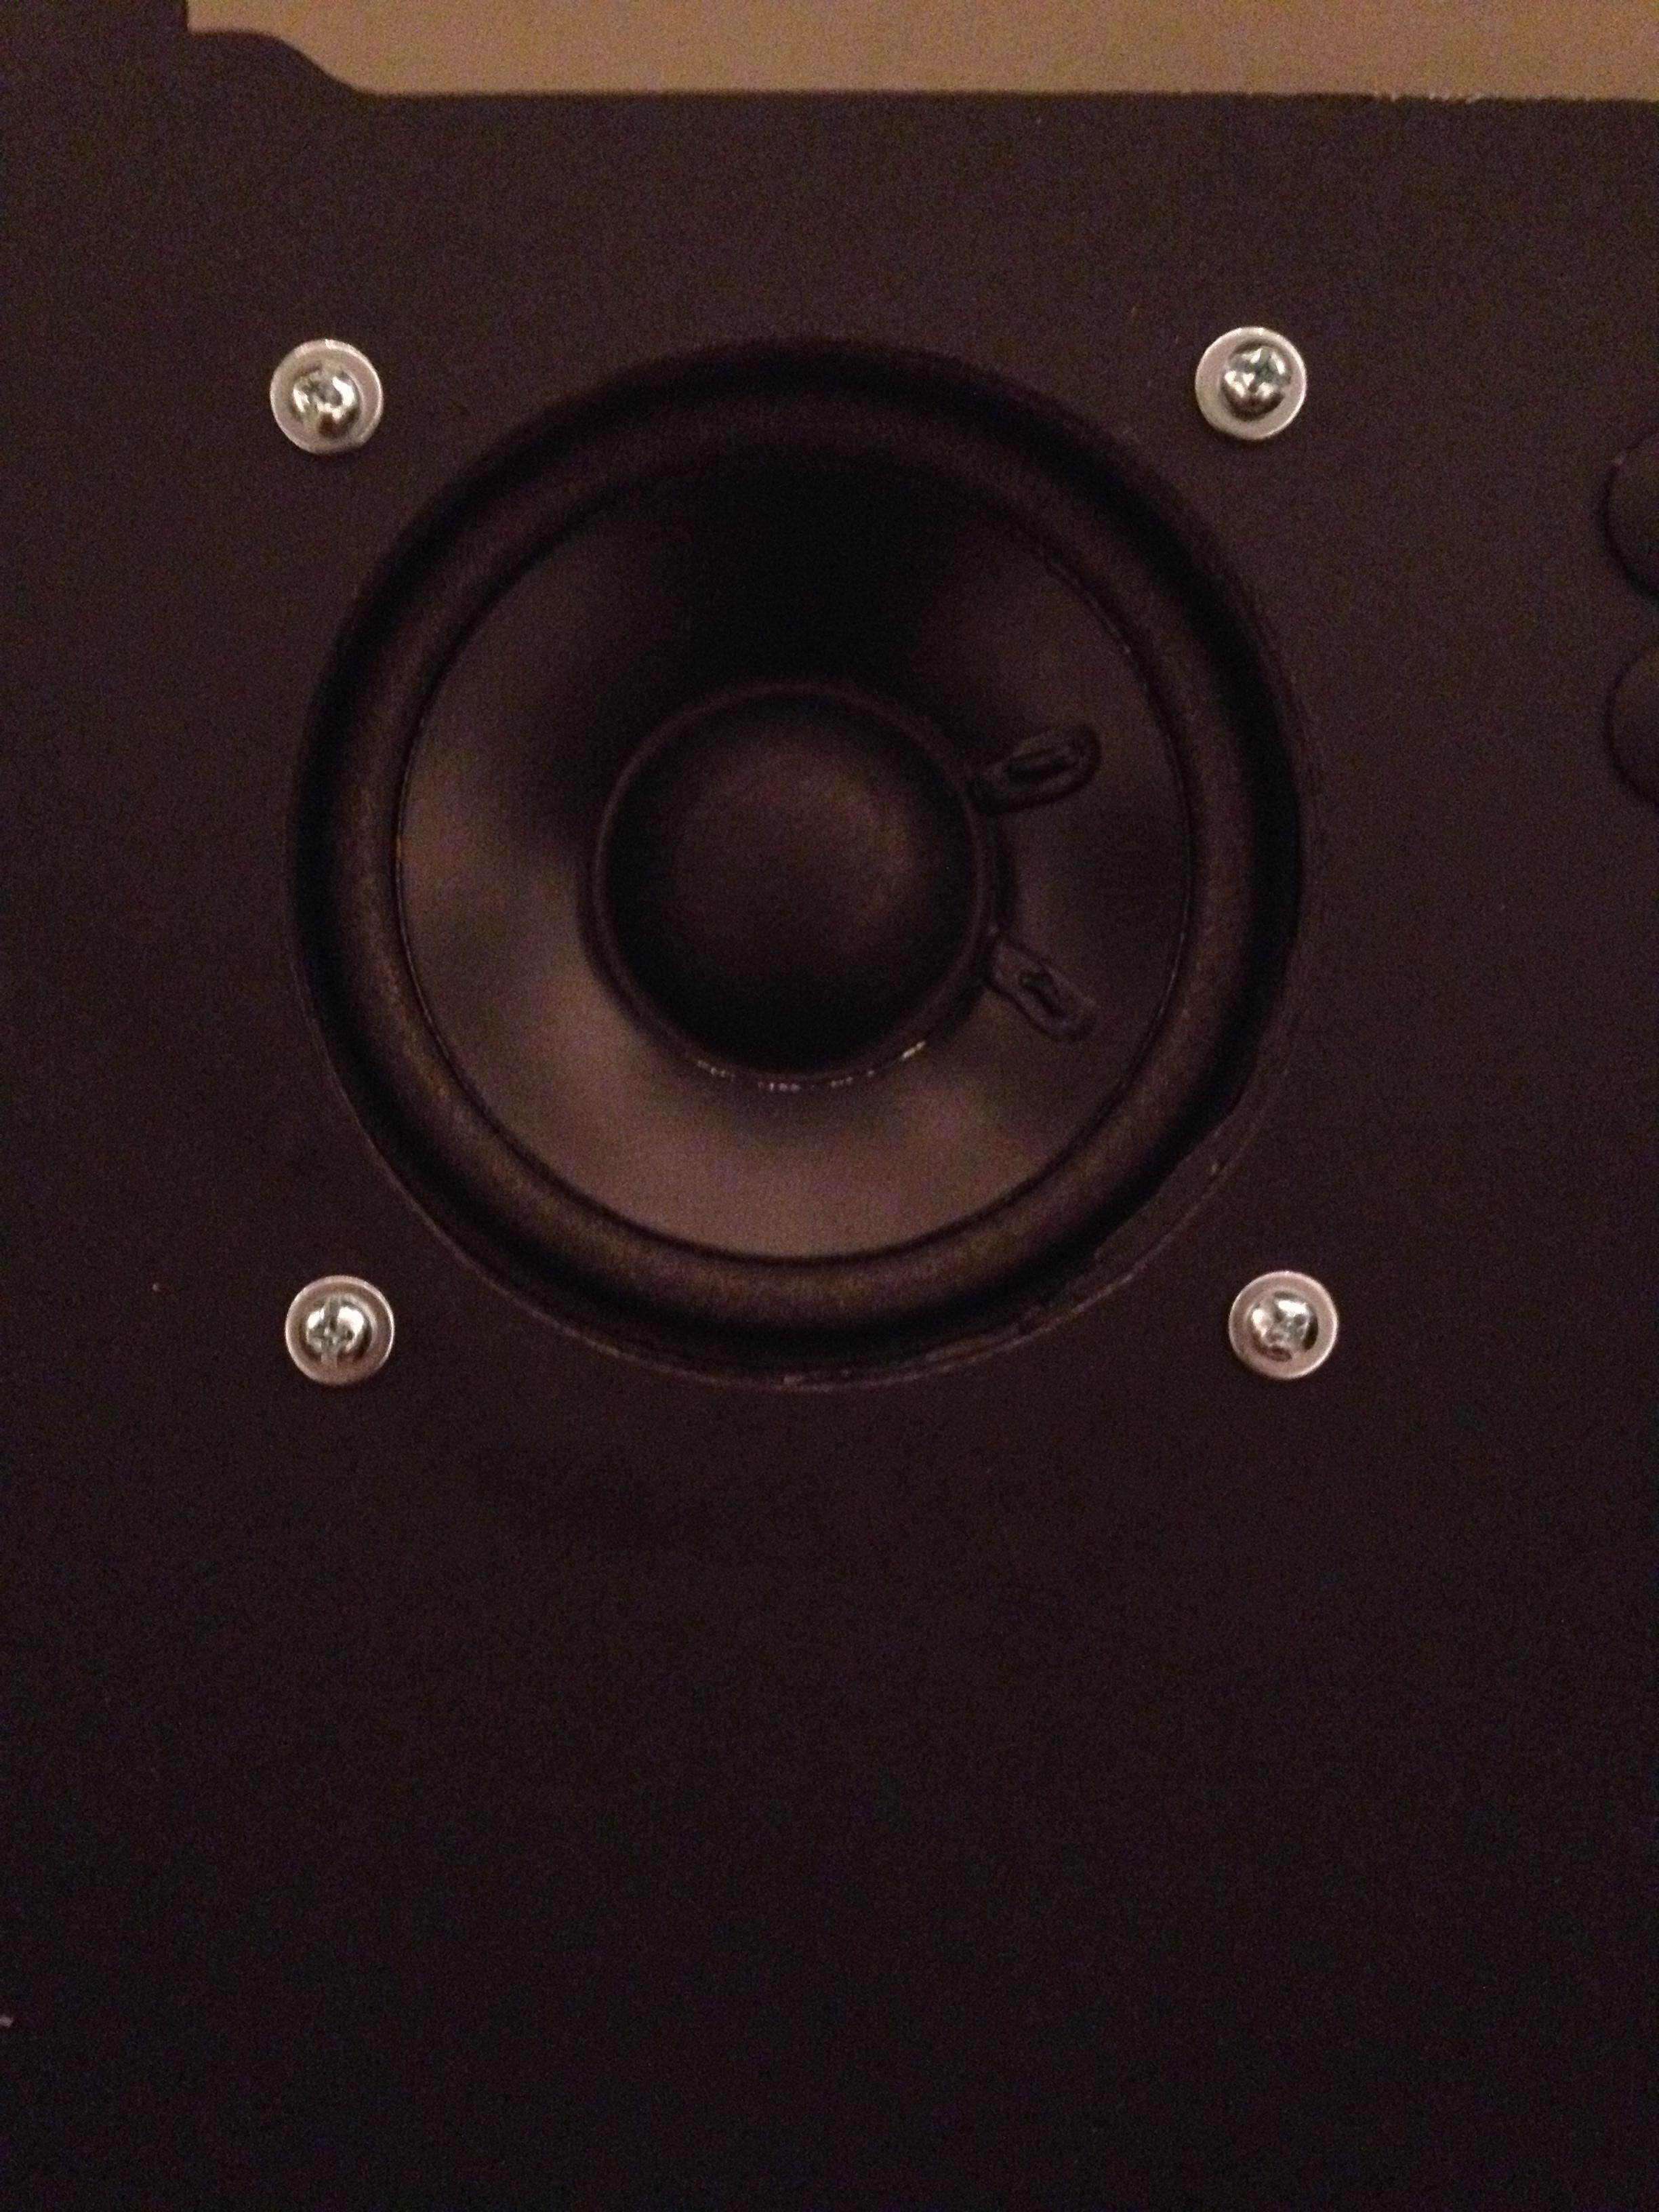
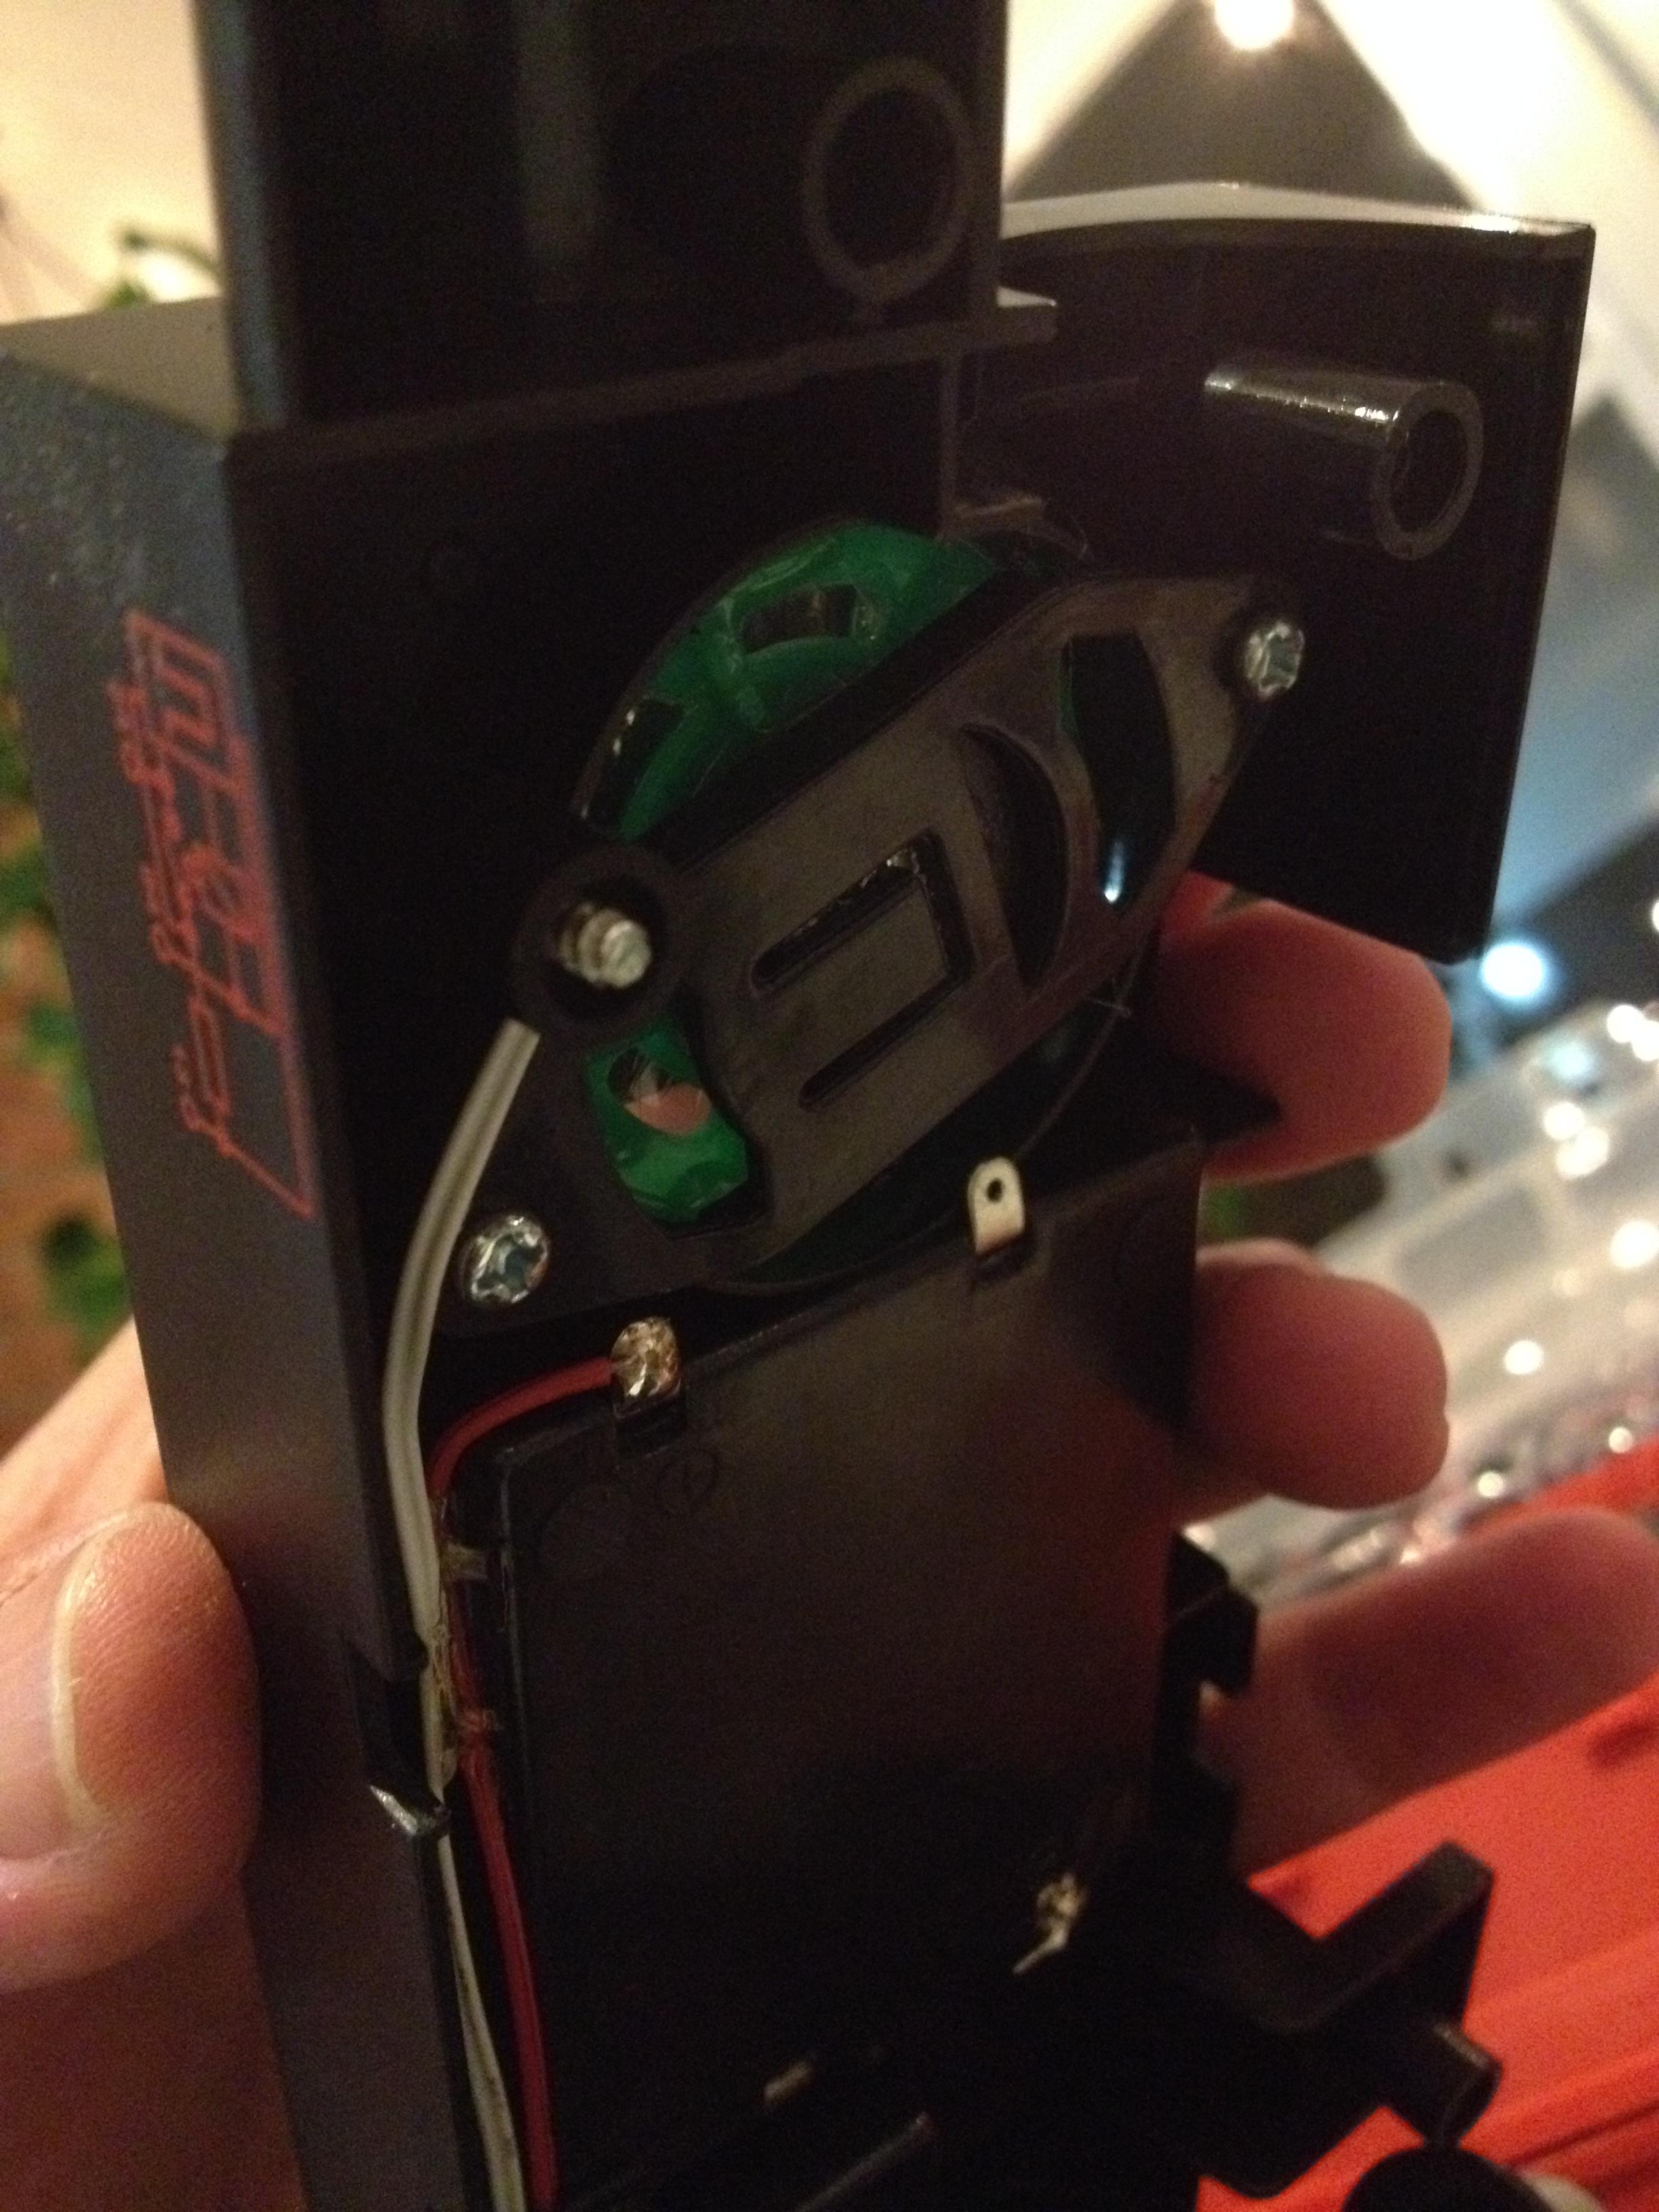
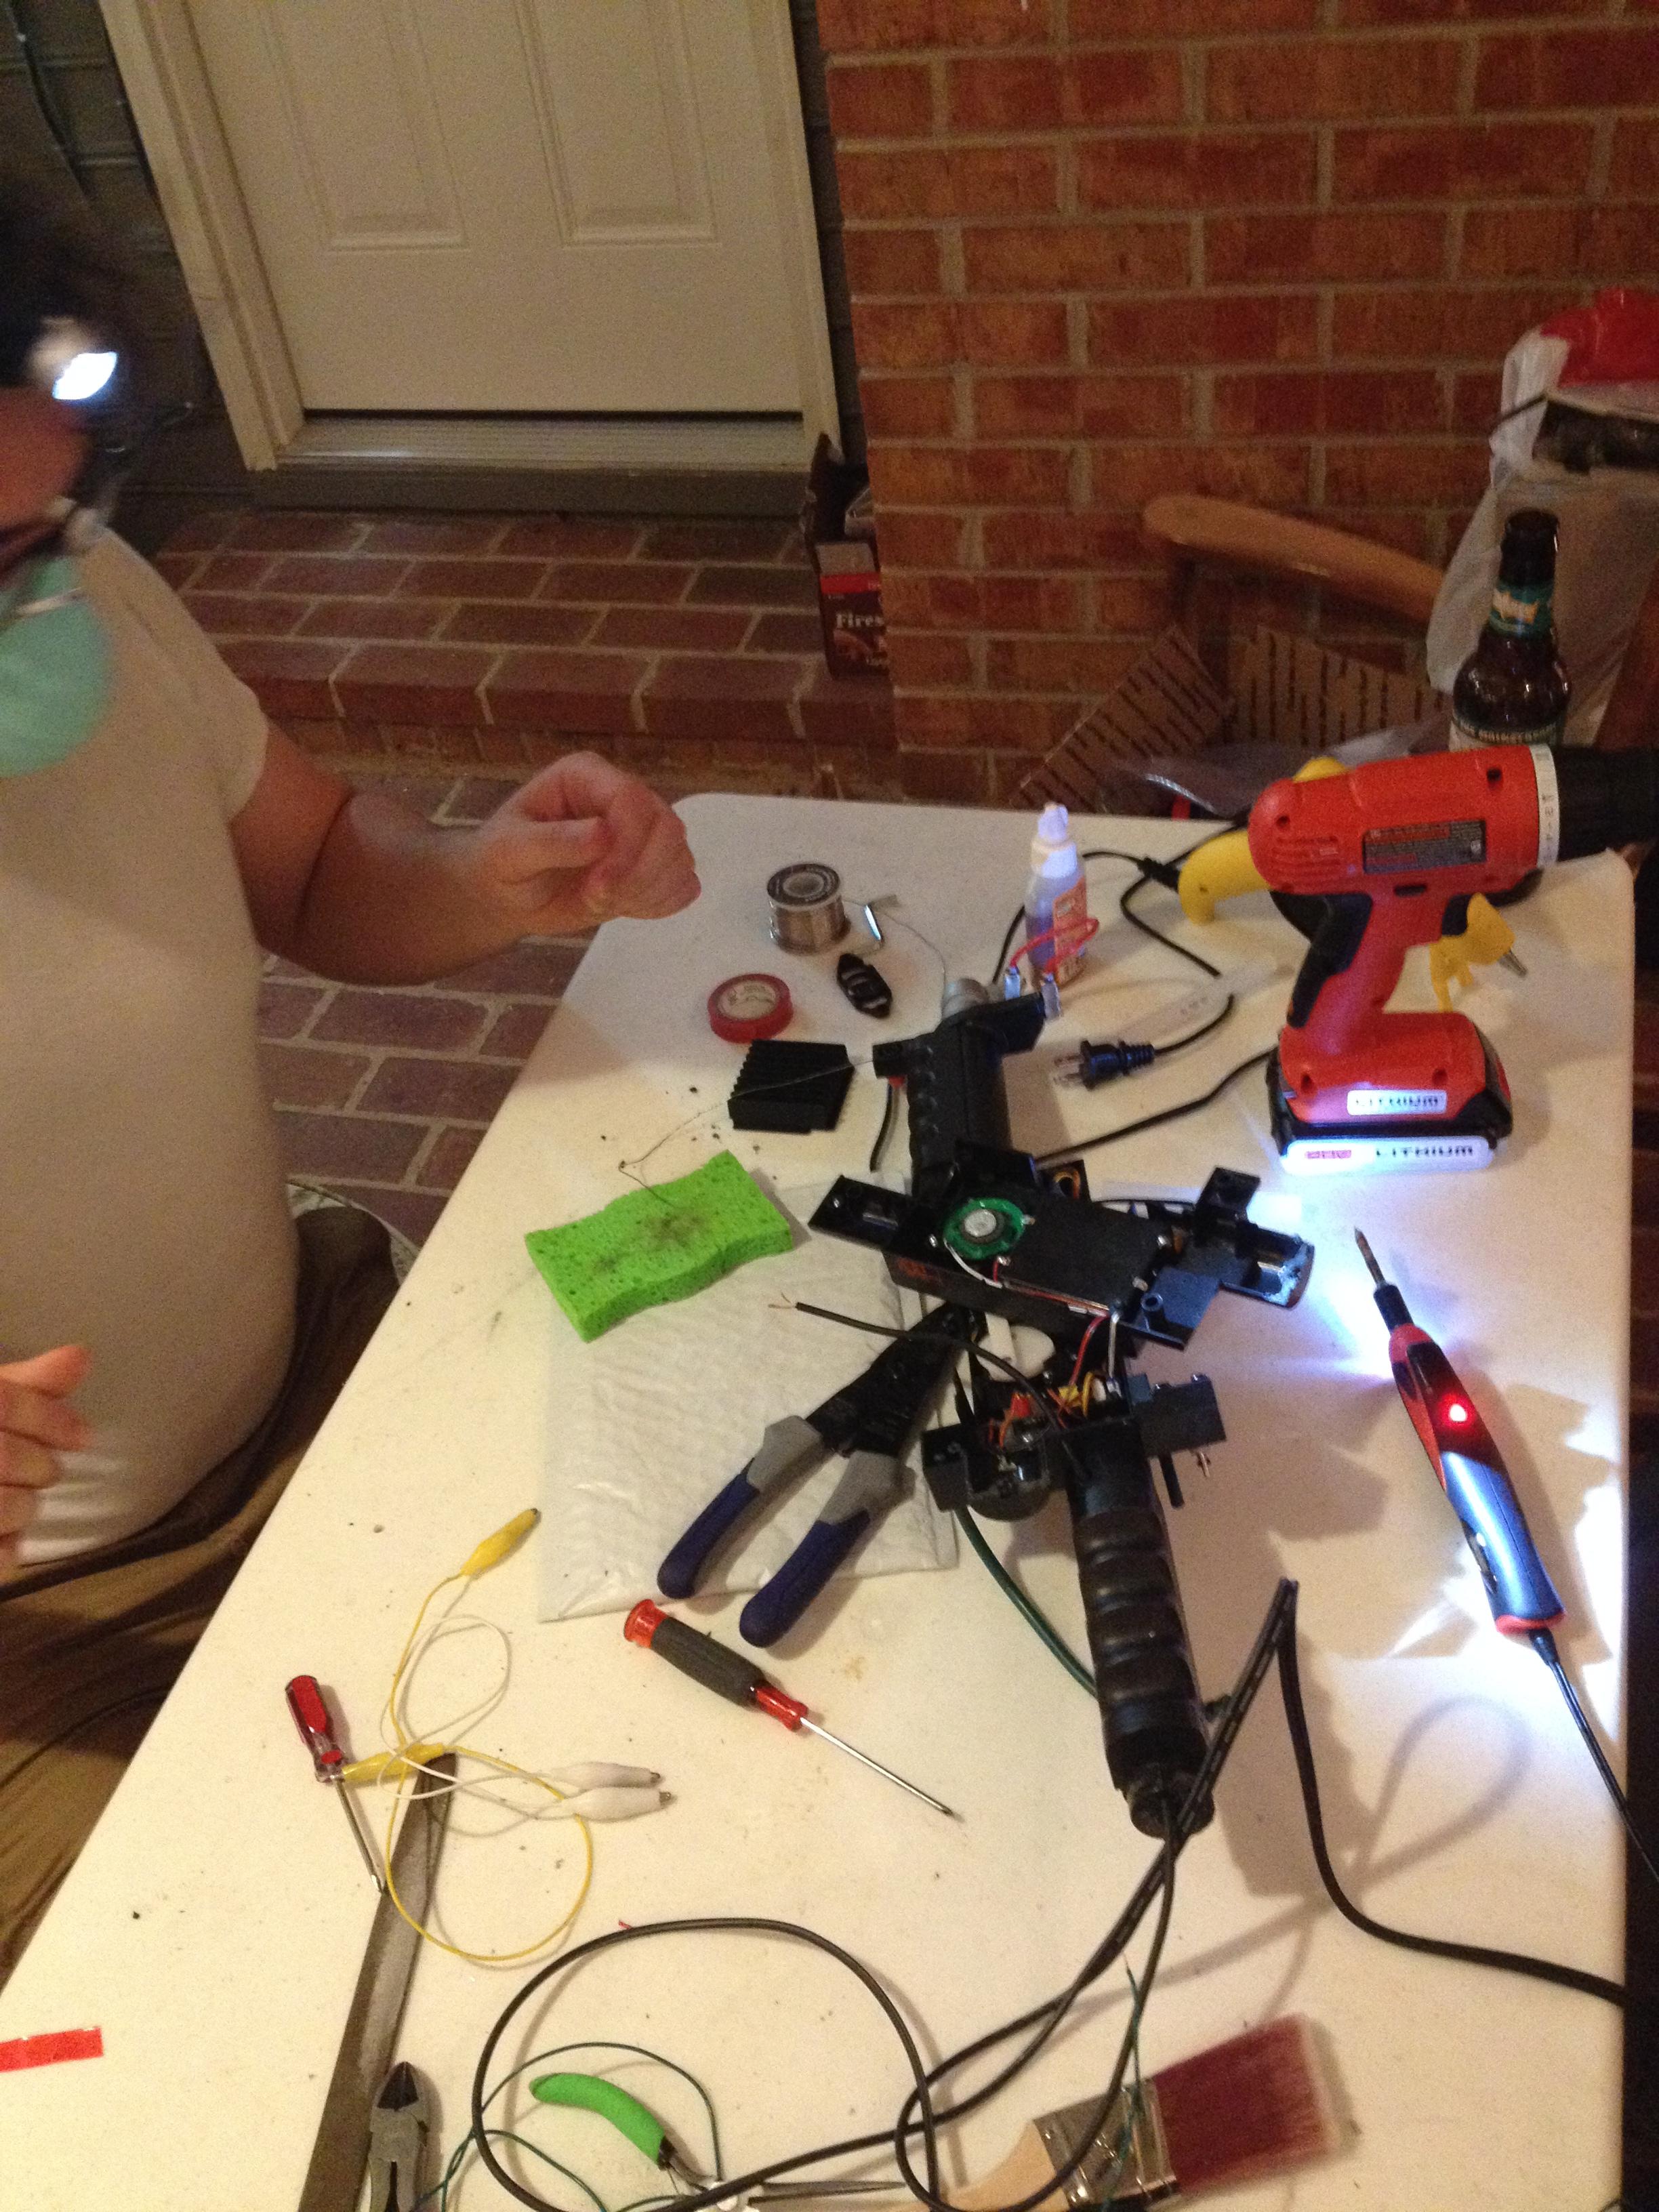
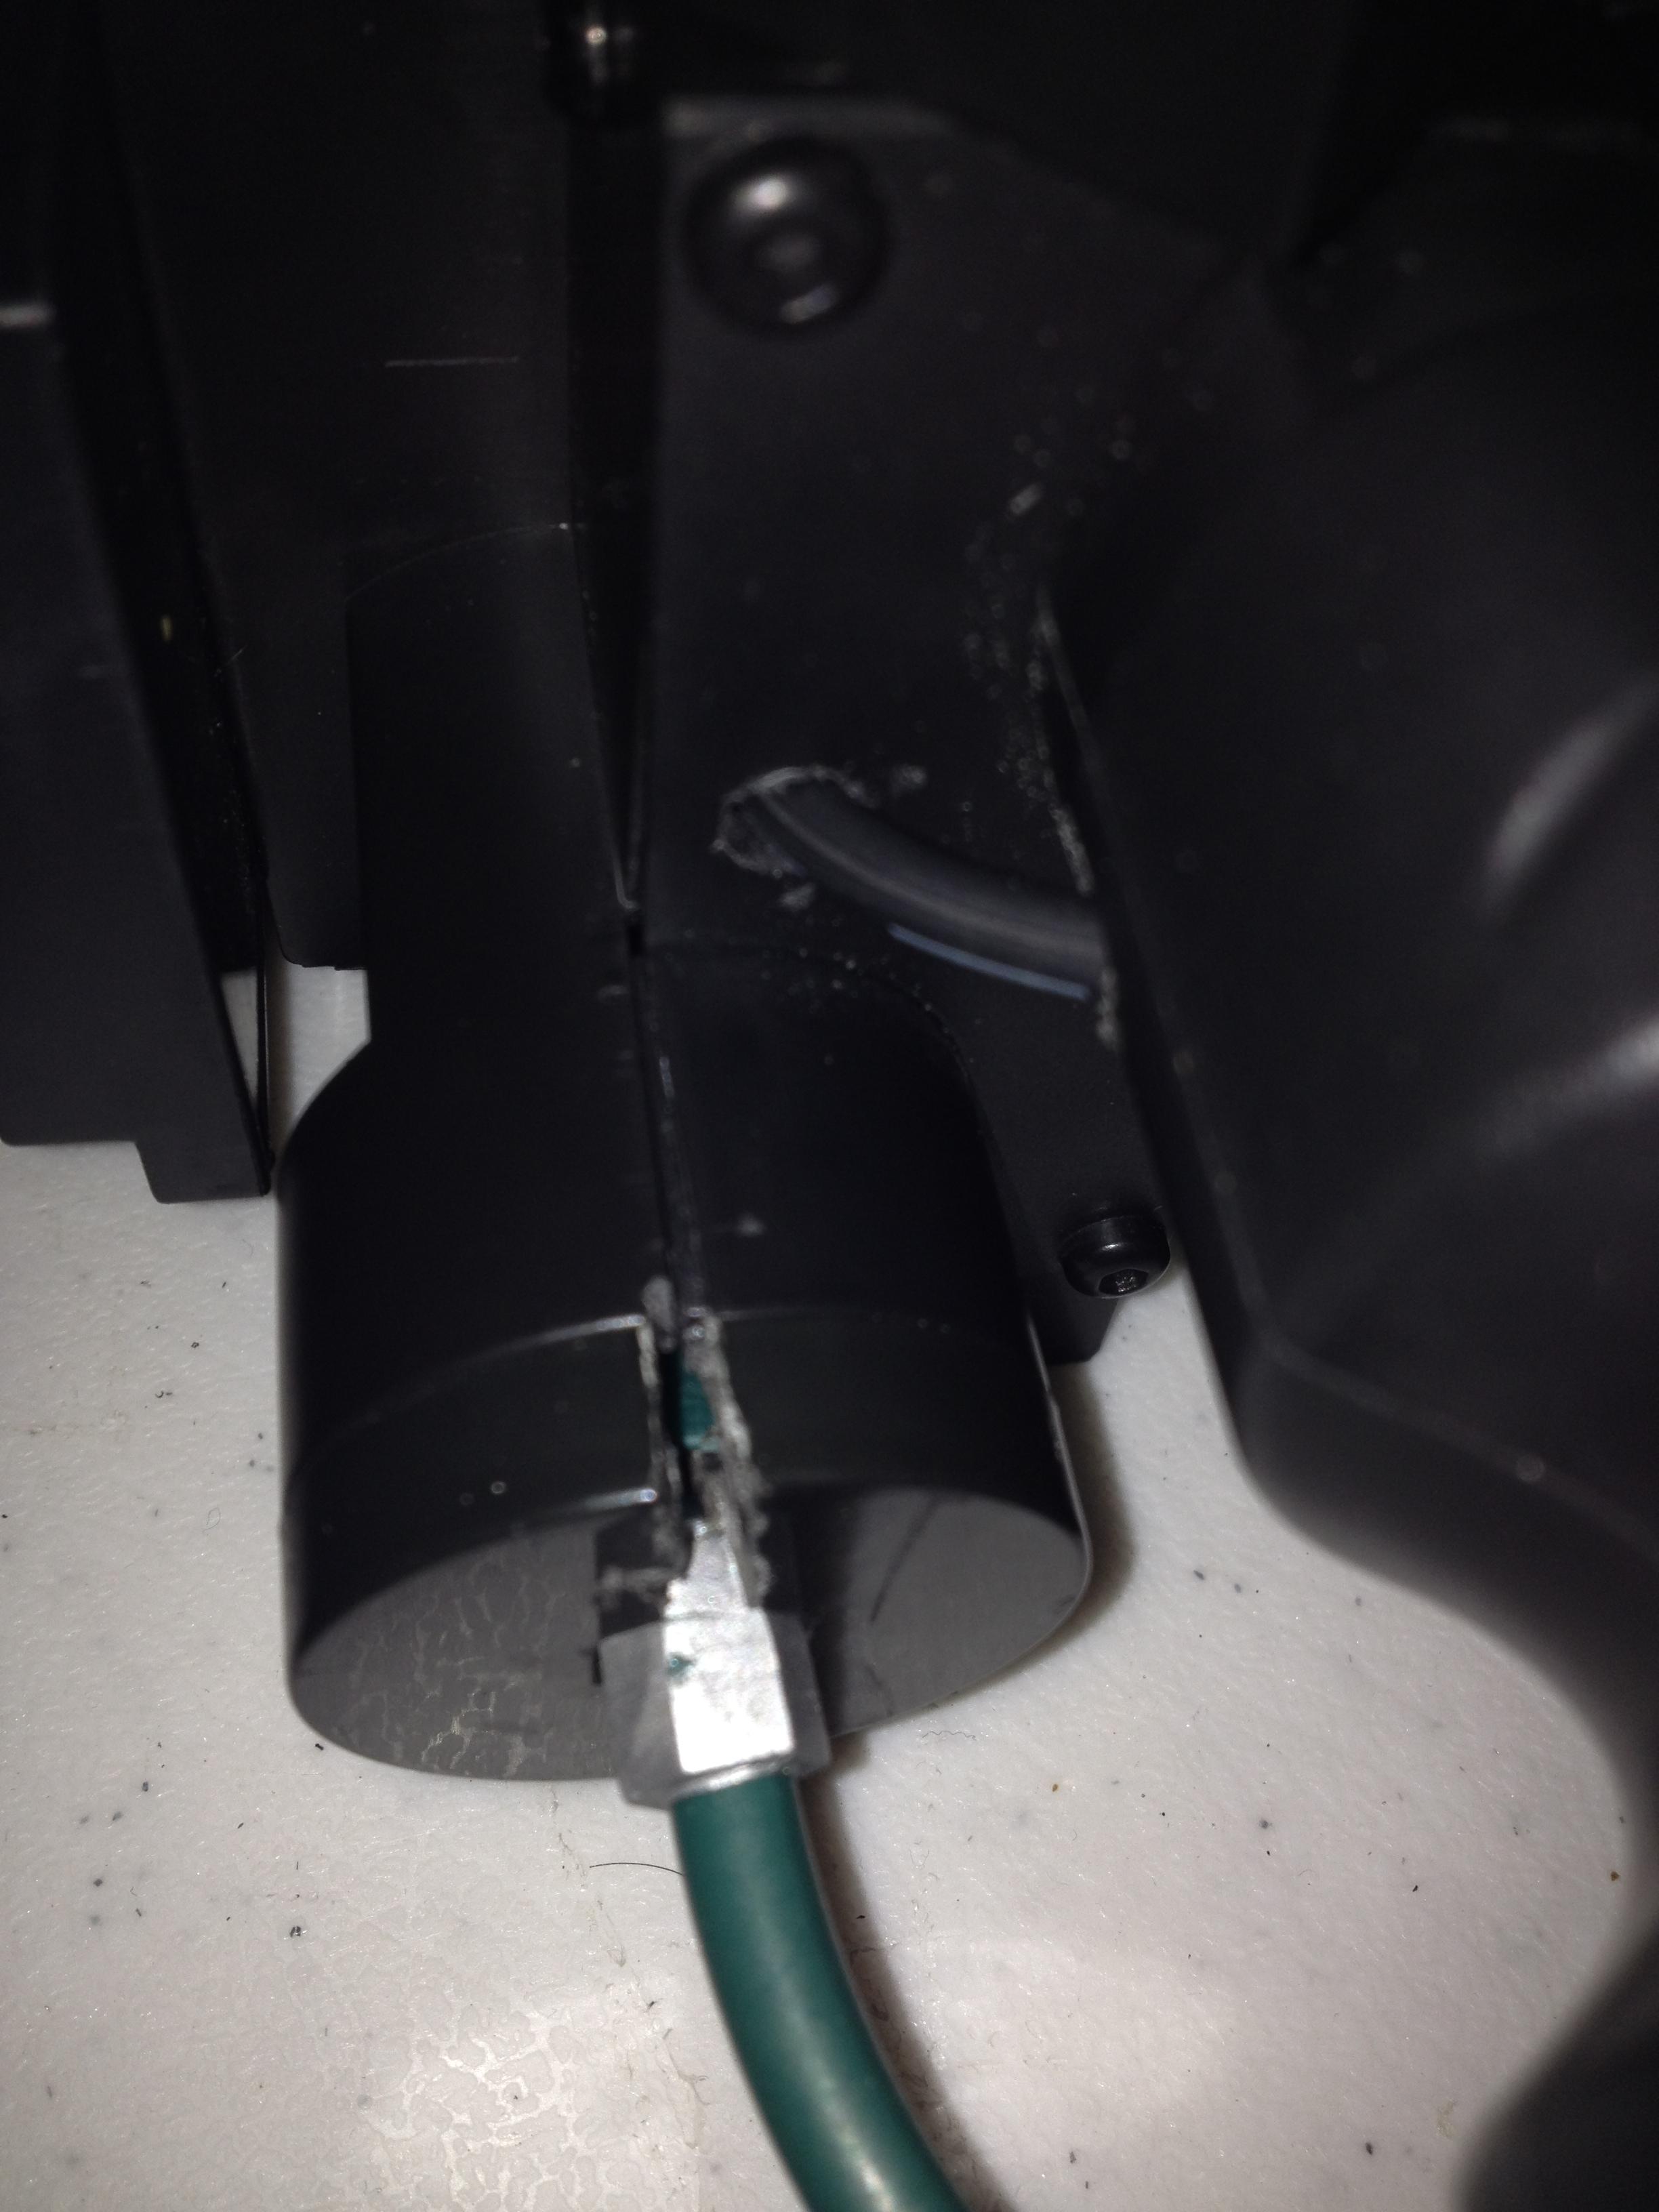
Soldered the leads directly to the speaker leads, which is basically right in the lid there. The idea was to keep the speaker on the wand itsefl working as well.
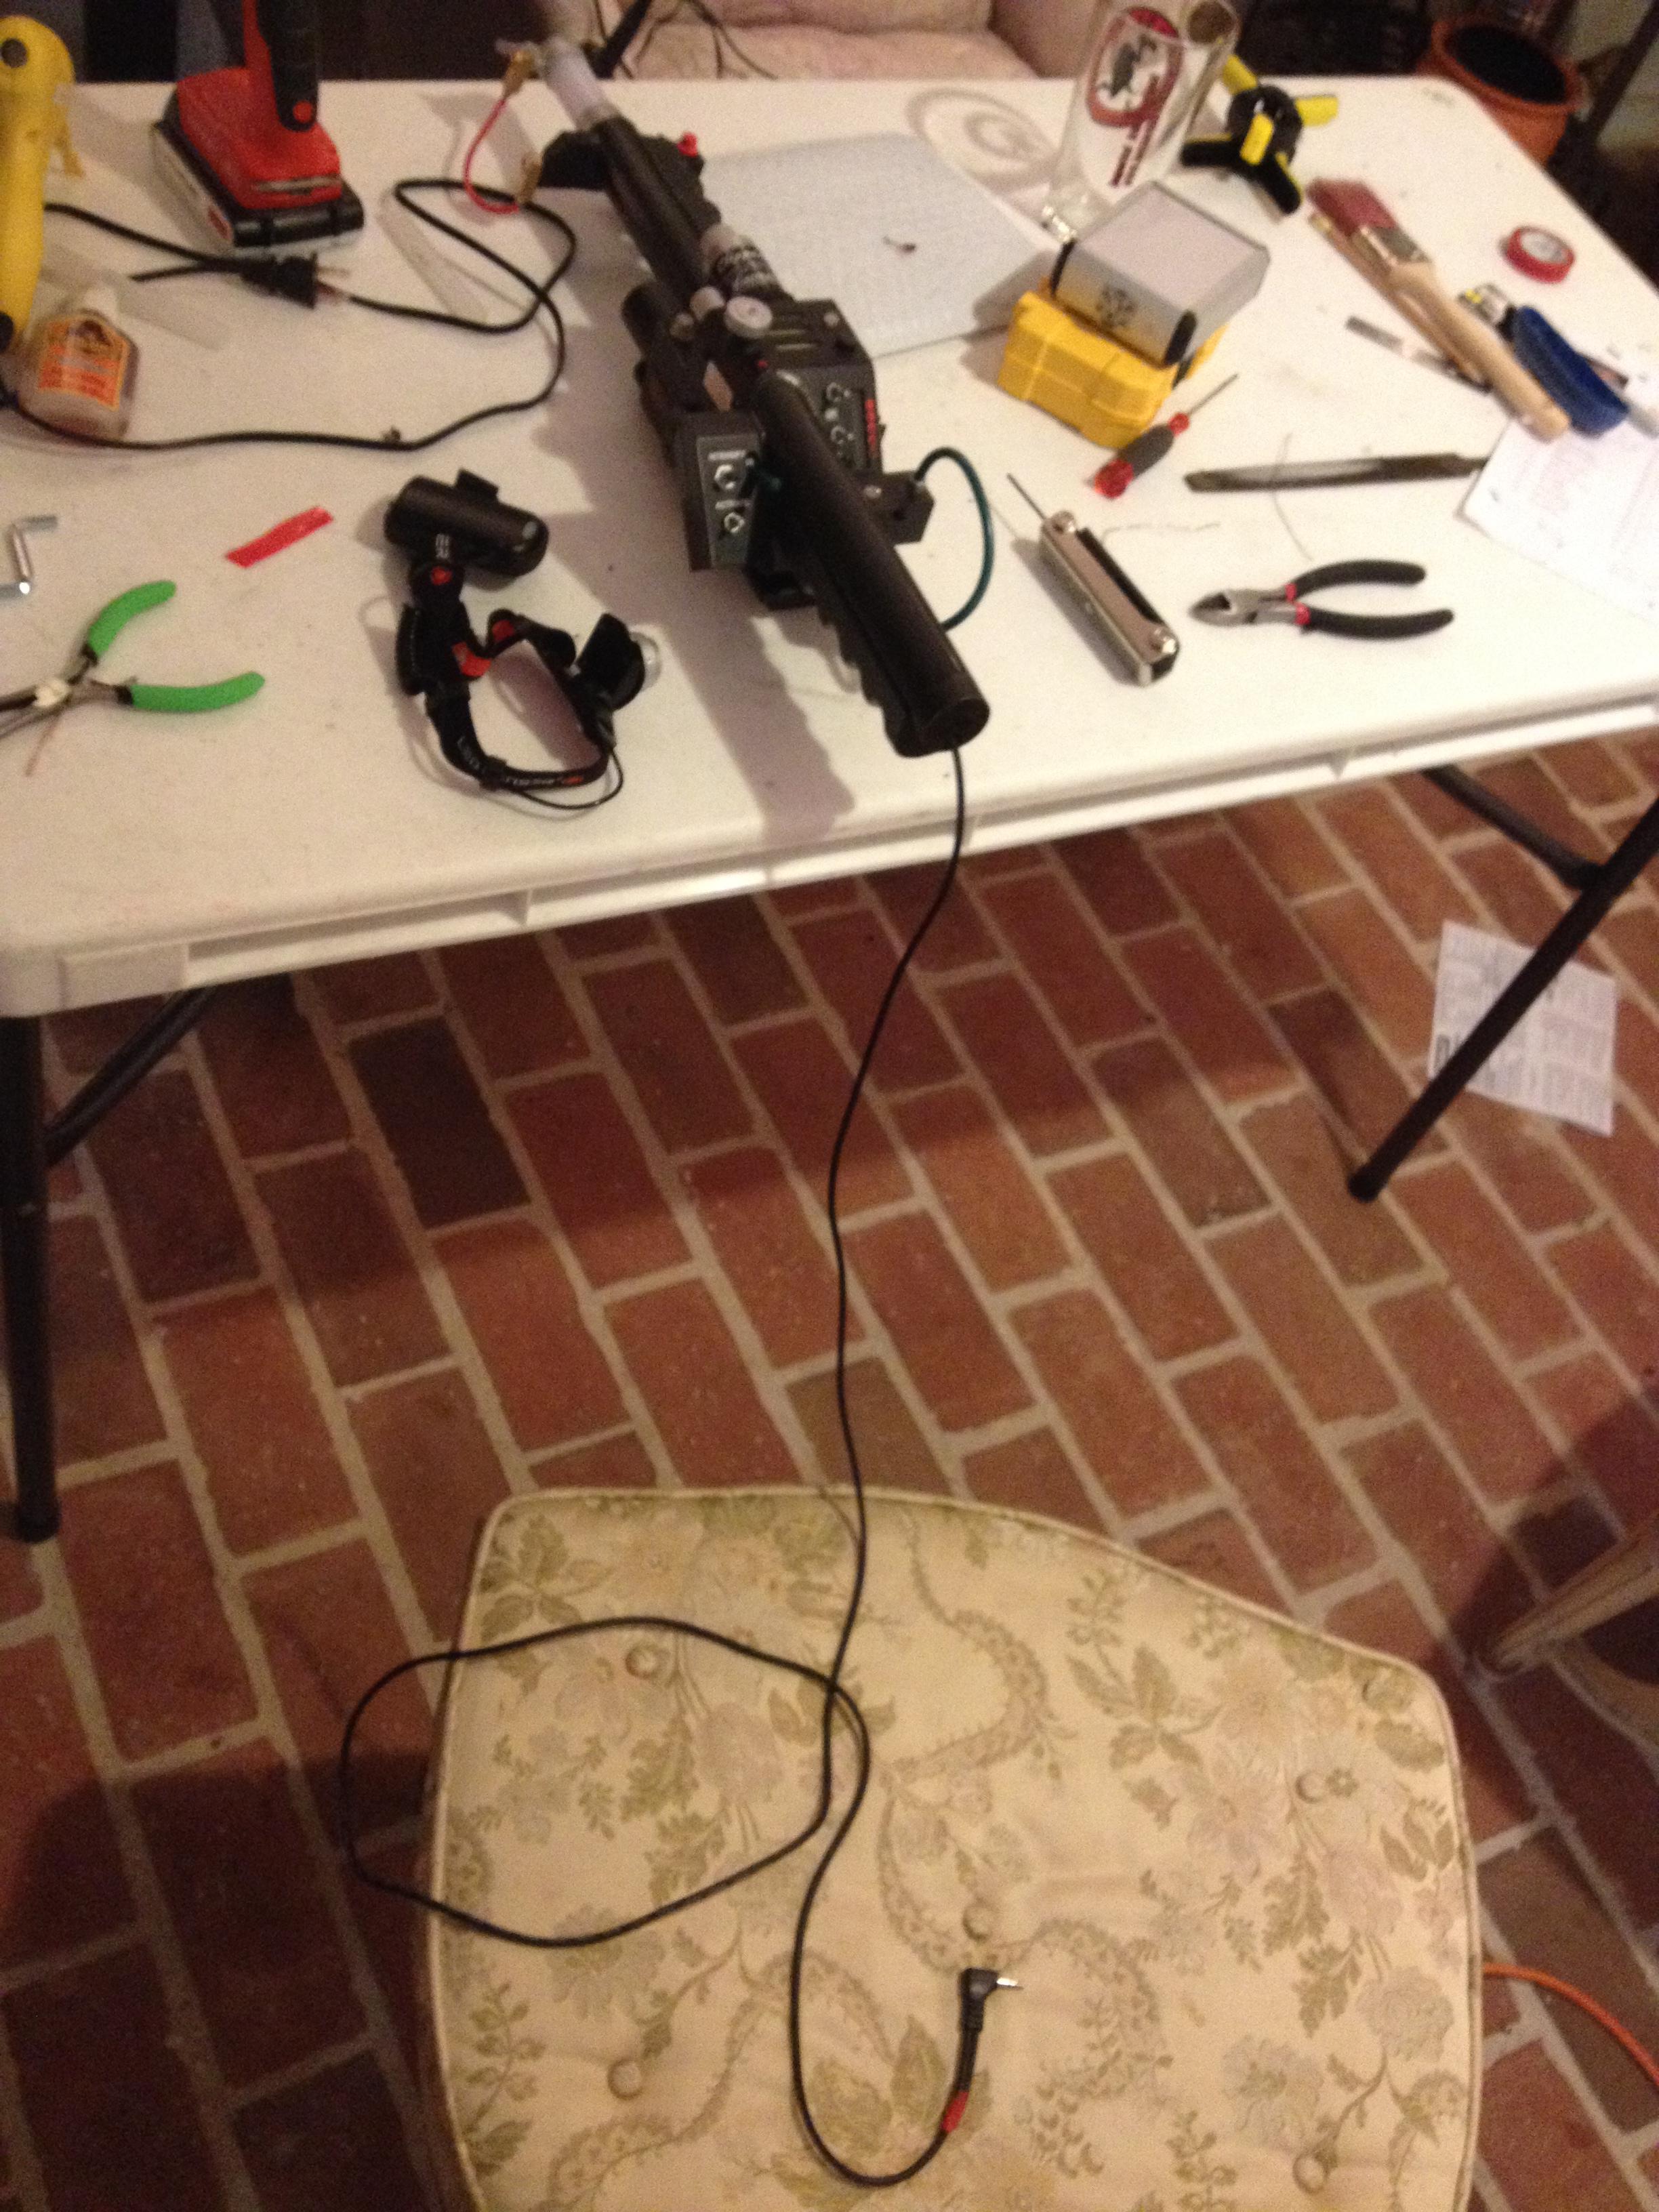
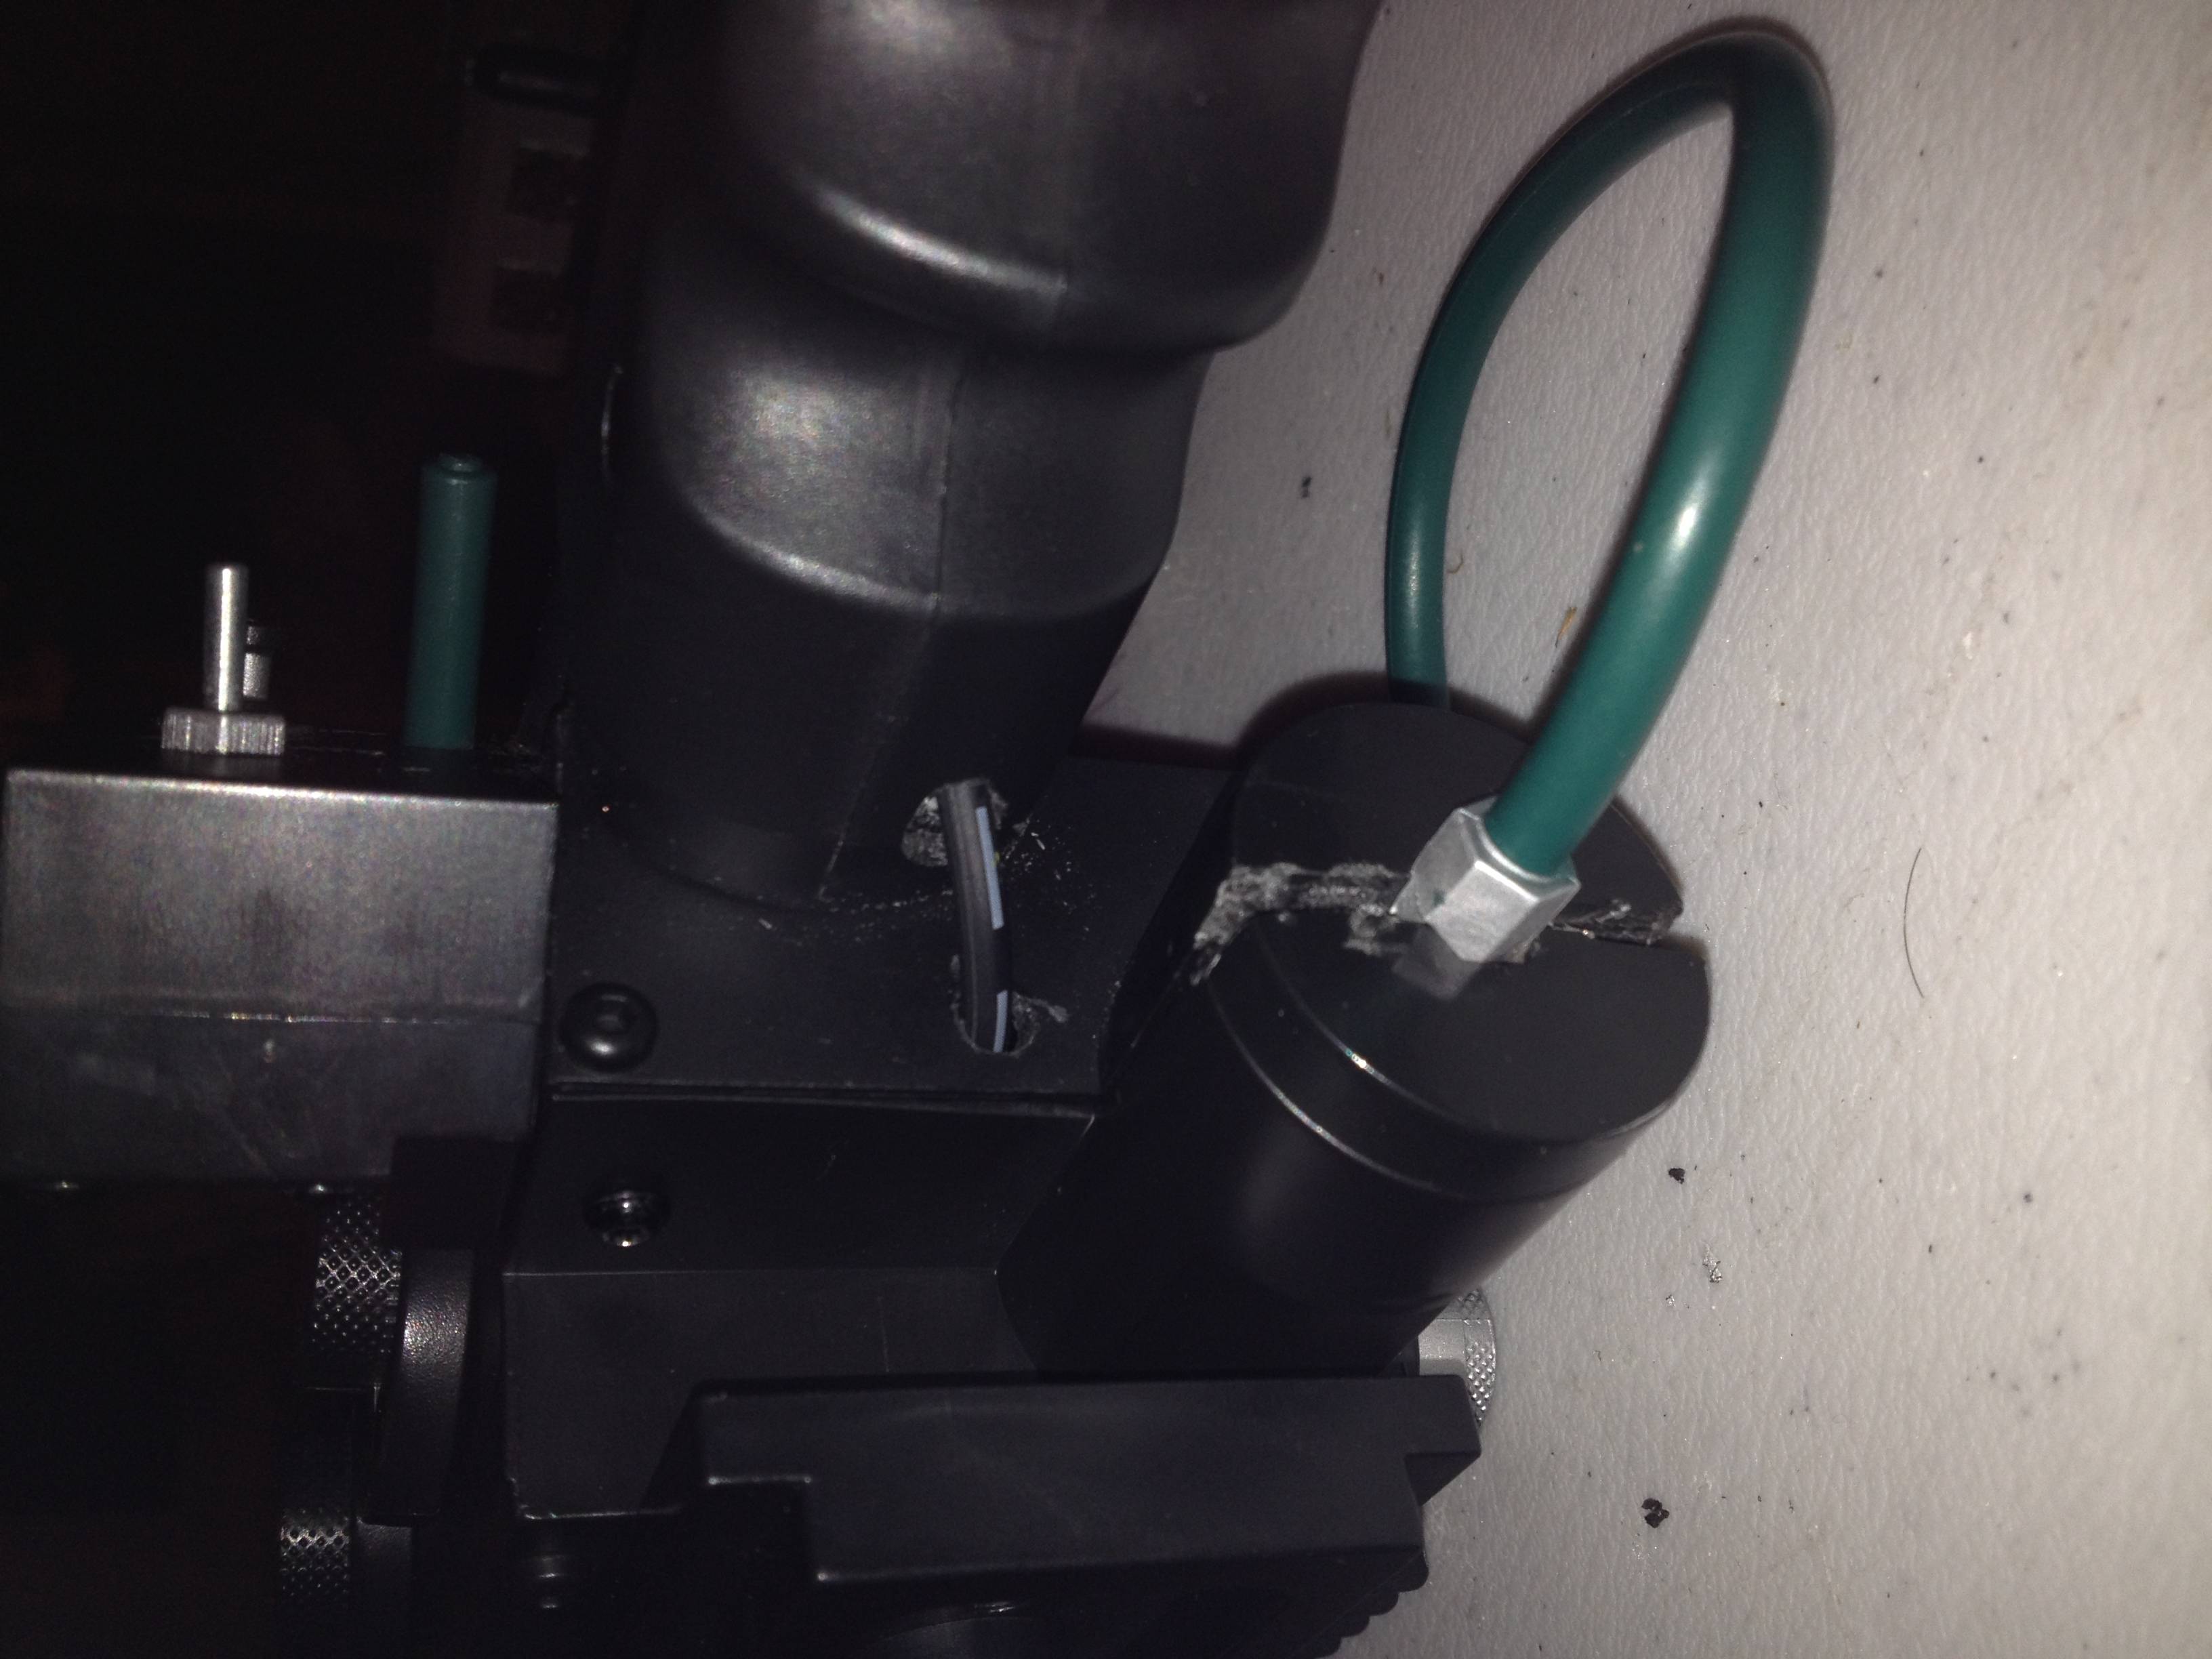
At work. Note how we threaded the 1/8" cable through the handle. we worked it through then drilled a hole in the underneath of the handle near the bottom of the gun.
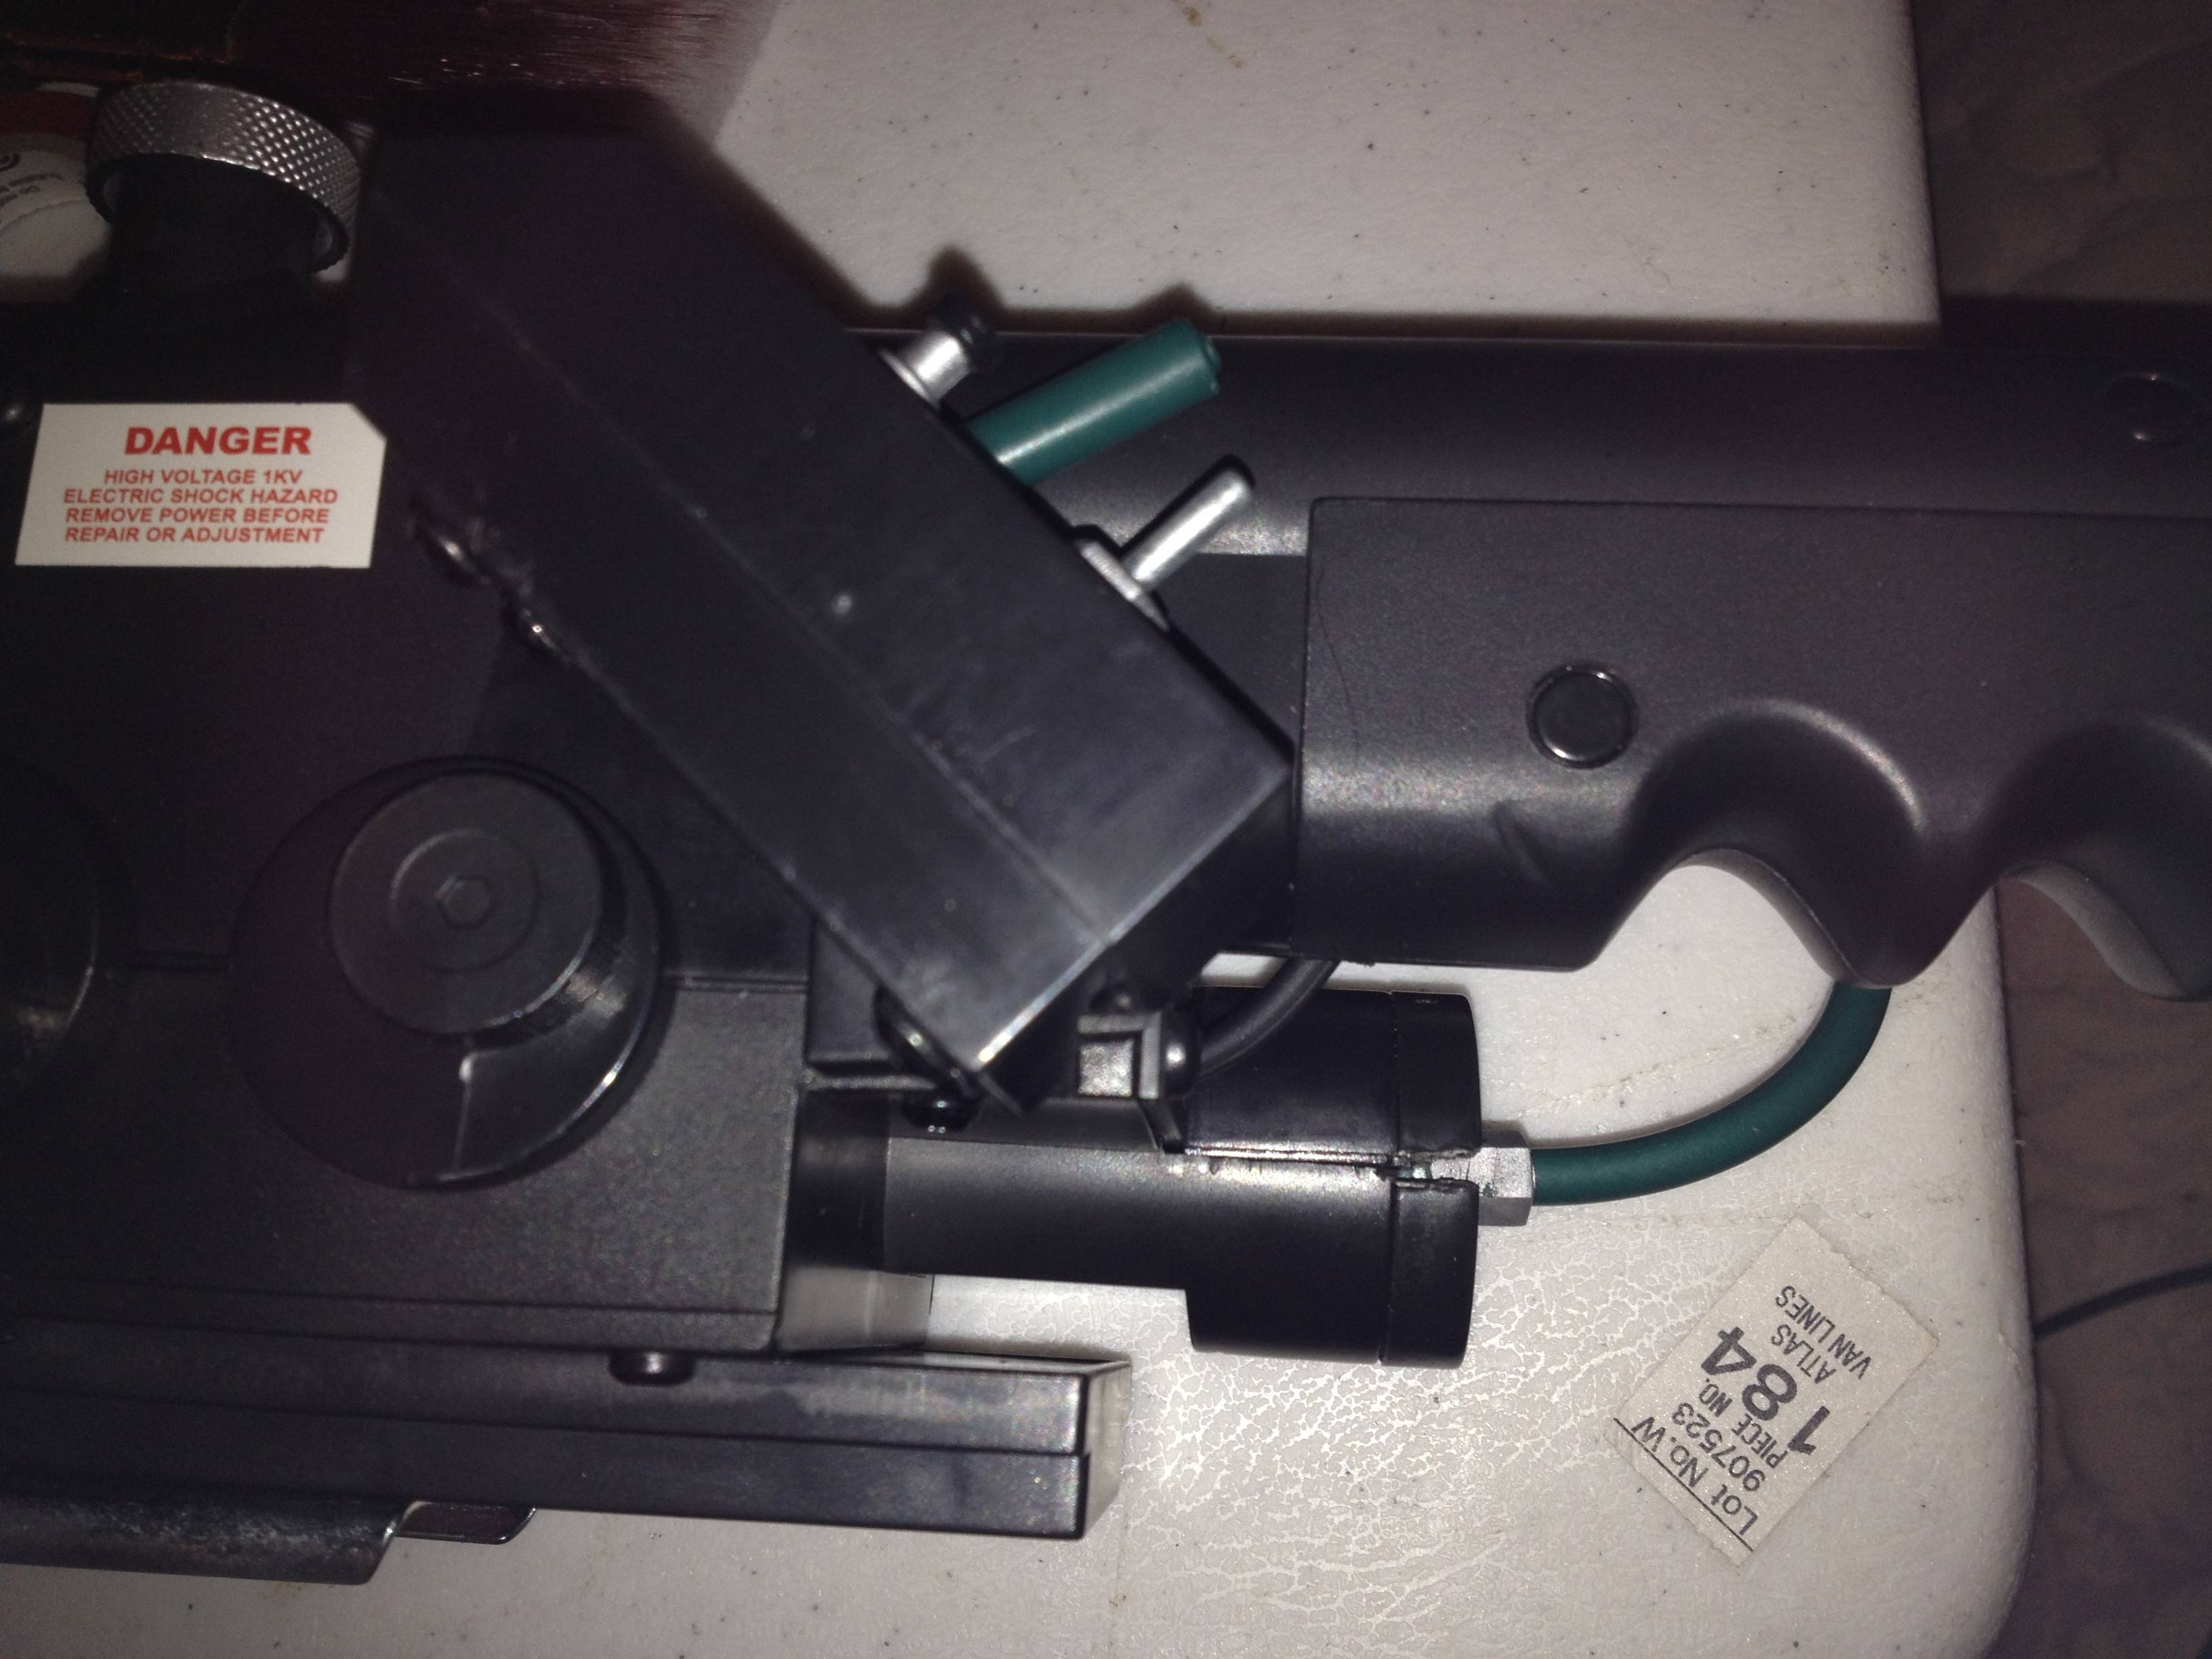
With working 1/8" audio jack! NOTE!! ONLY USE A STRAIGHT JACK! Ones like this (look on the chair) will not fit through the loom! I had to splice it, it was a terrible stupid mistake! It worked though.
The audio does not interfere with the lights signal jack. I just drilled a hole in teh handle under the jack for my own wire, and prayed I wouldnt hit anything. I was lucky!
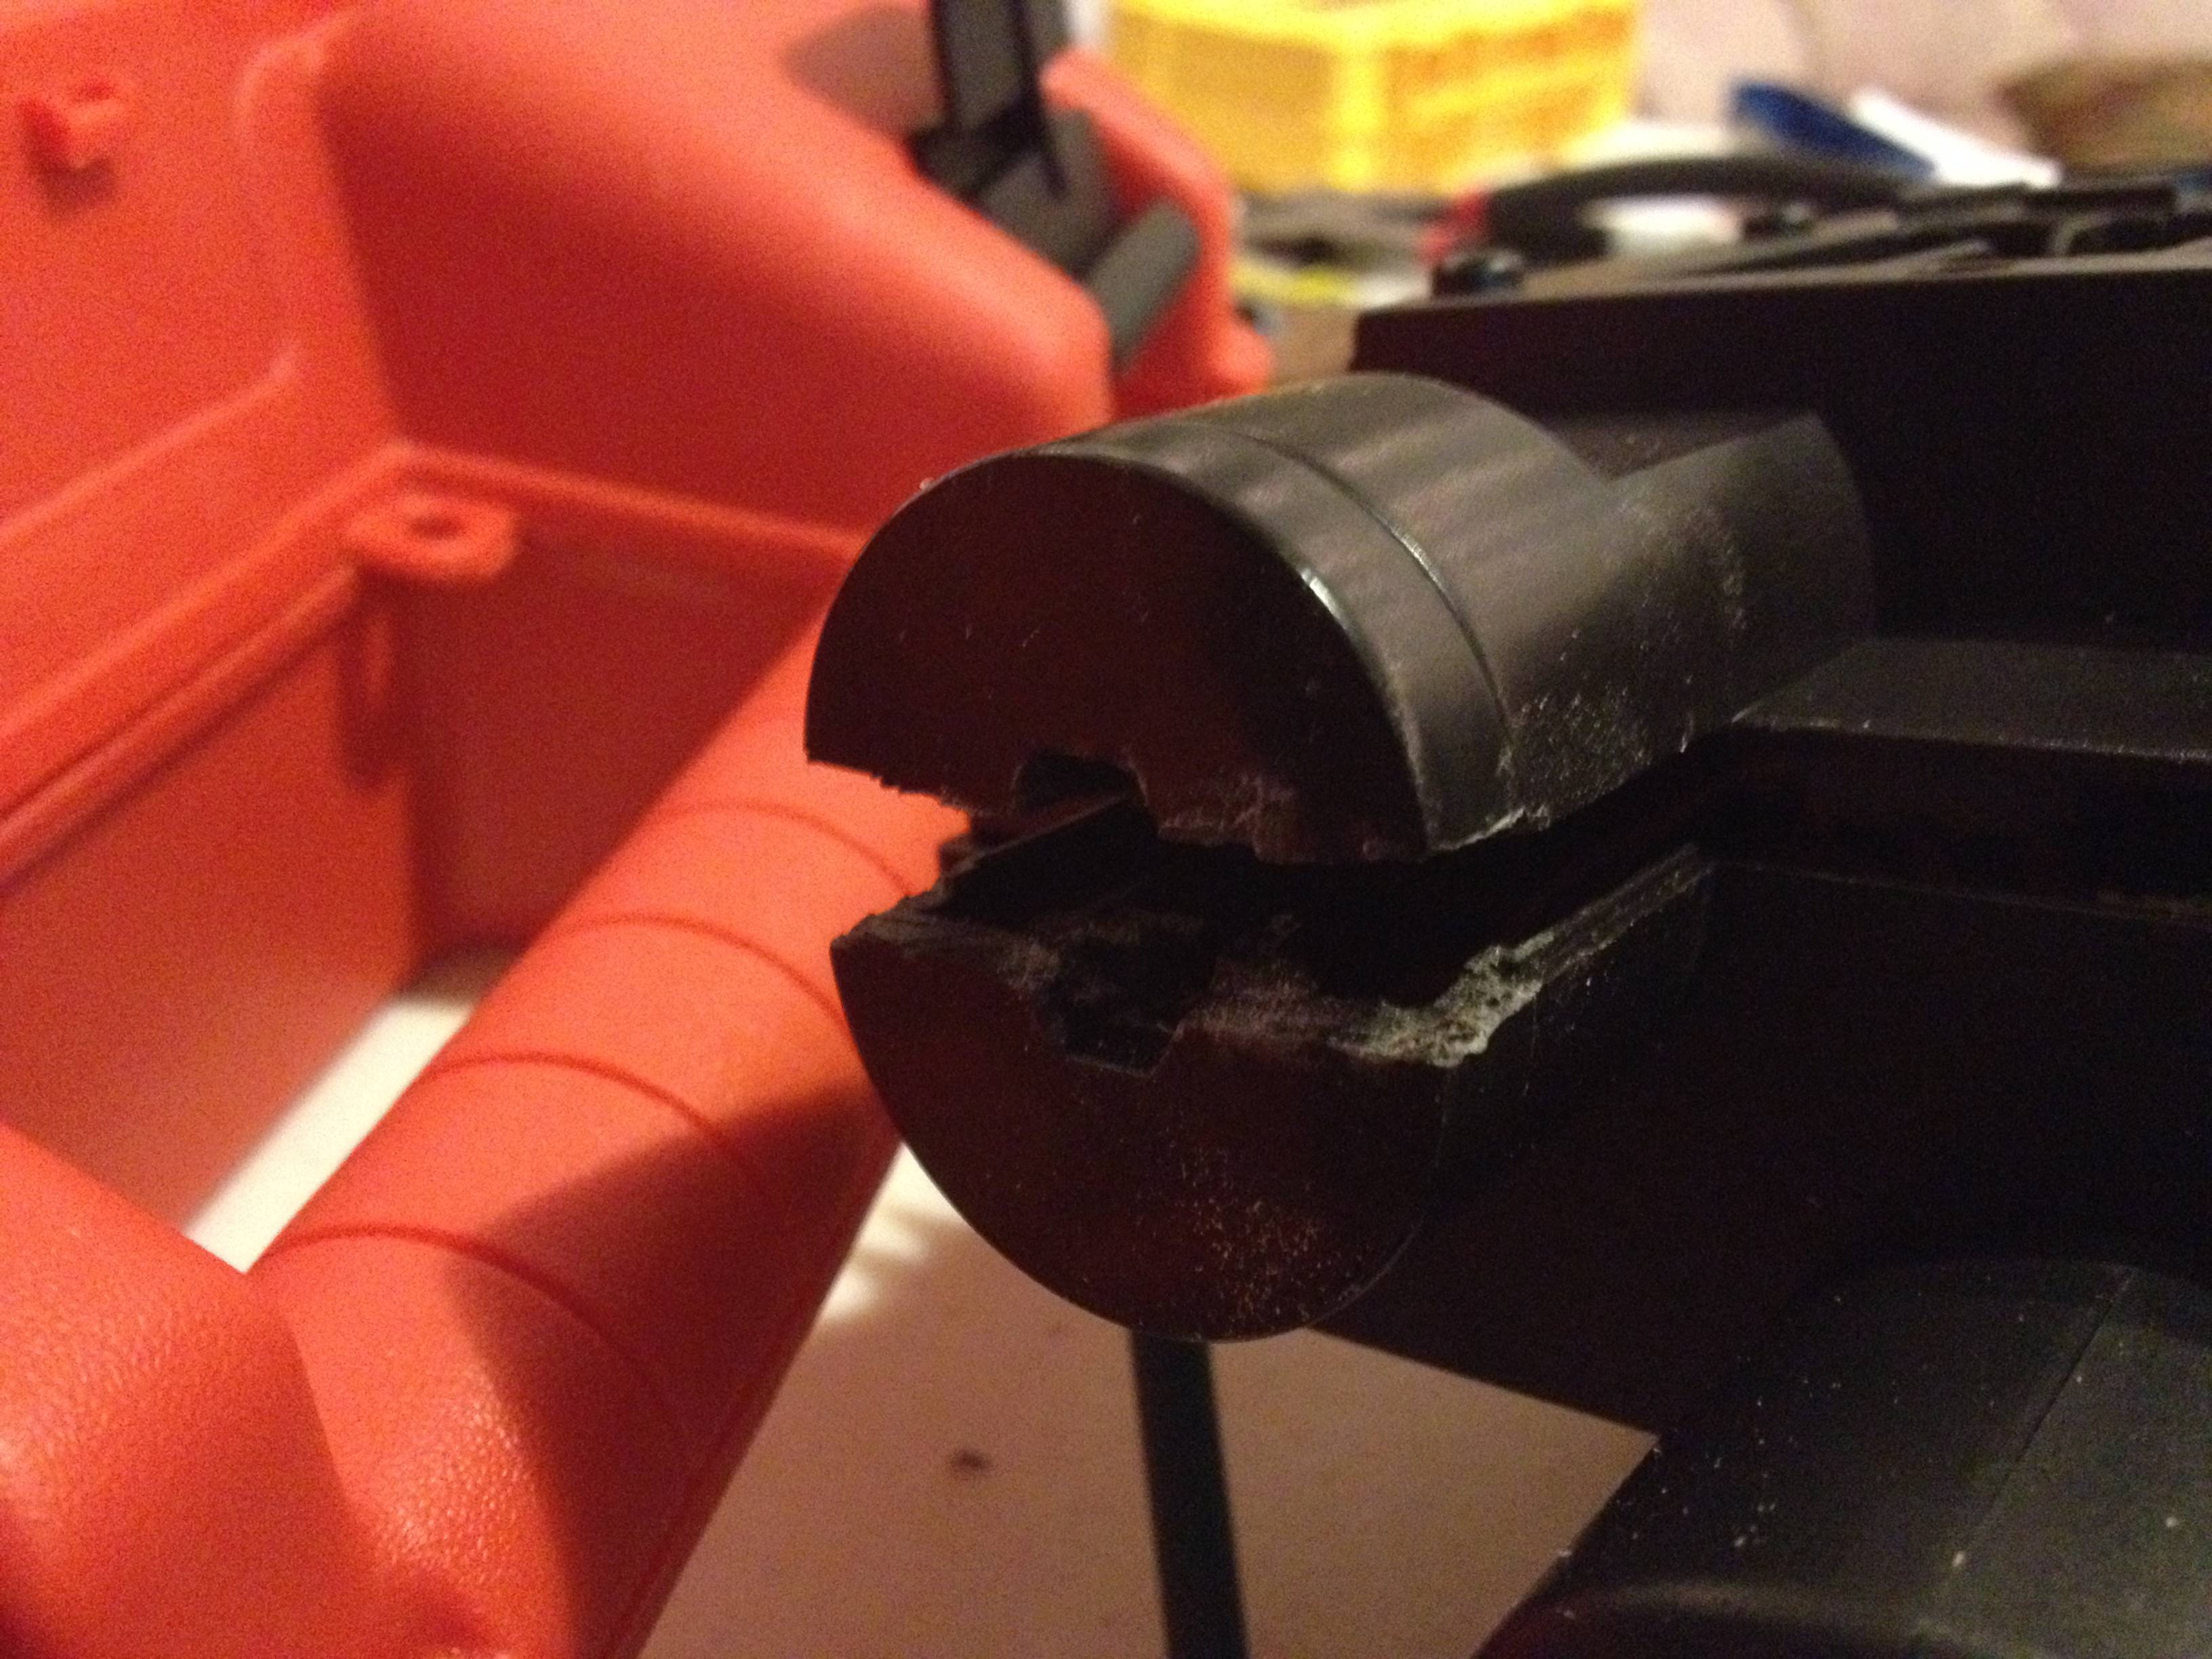
Here you can see the little “pass though” from the body of the gun, where the speaker is, to the handle, for the audio wire. It looks pretty slick and I dont think its noticeable. It was the easiest way to run the wire to the base of the wand, i think.
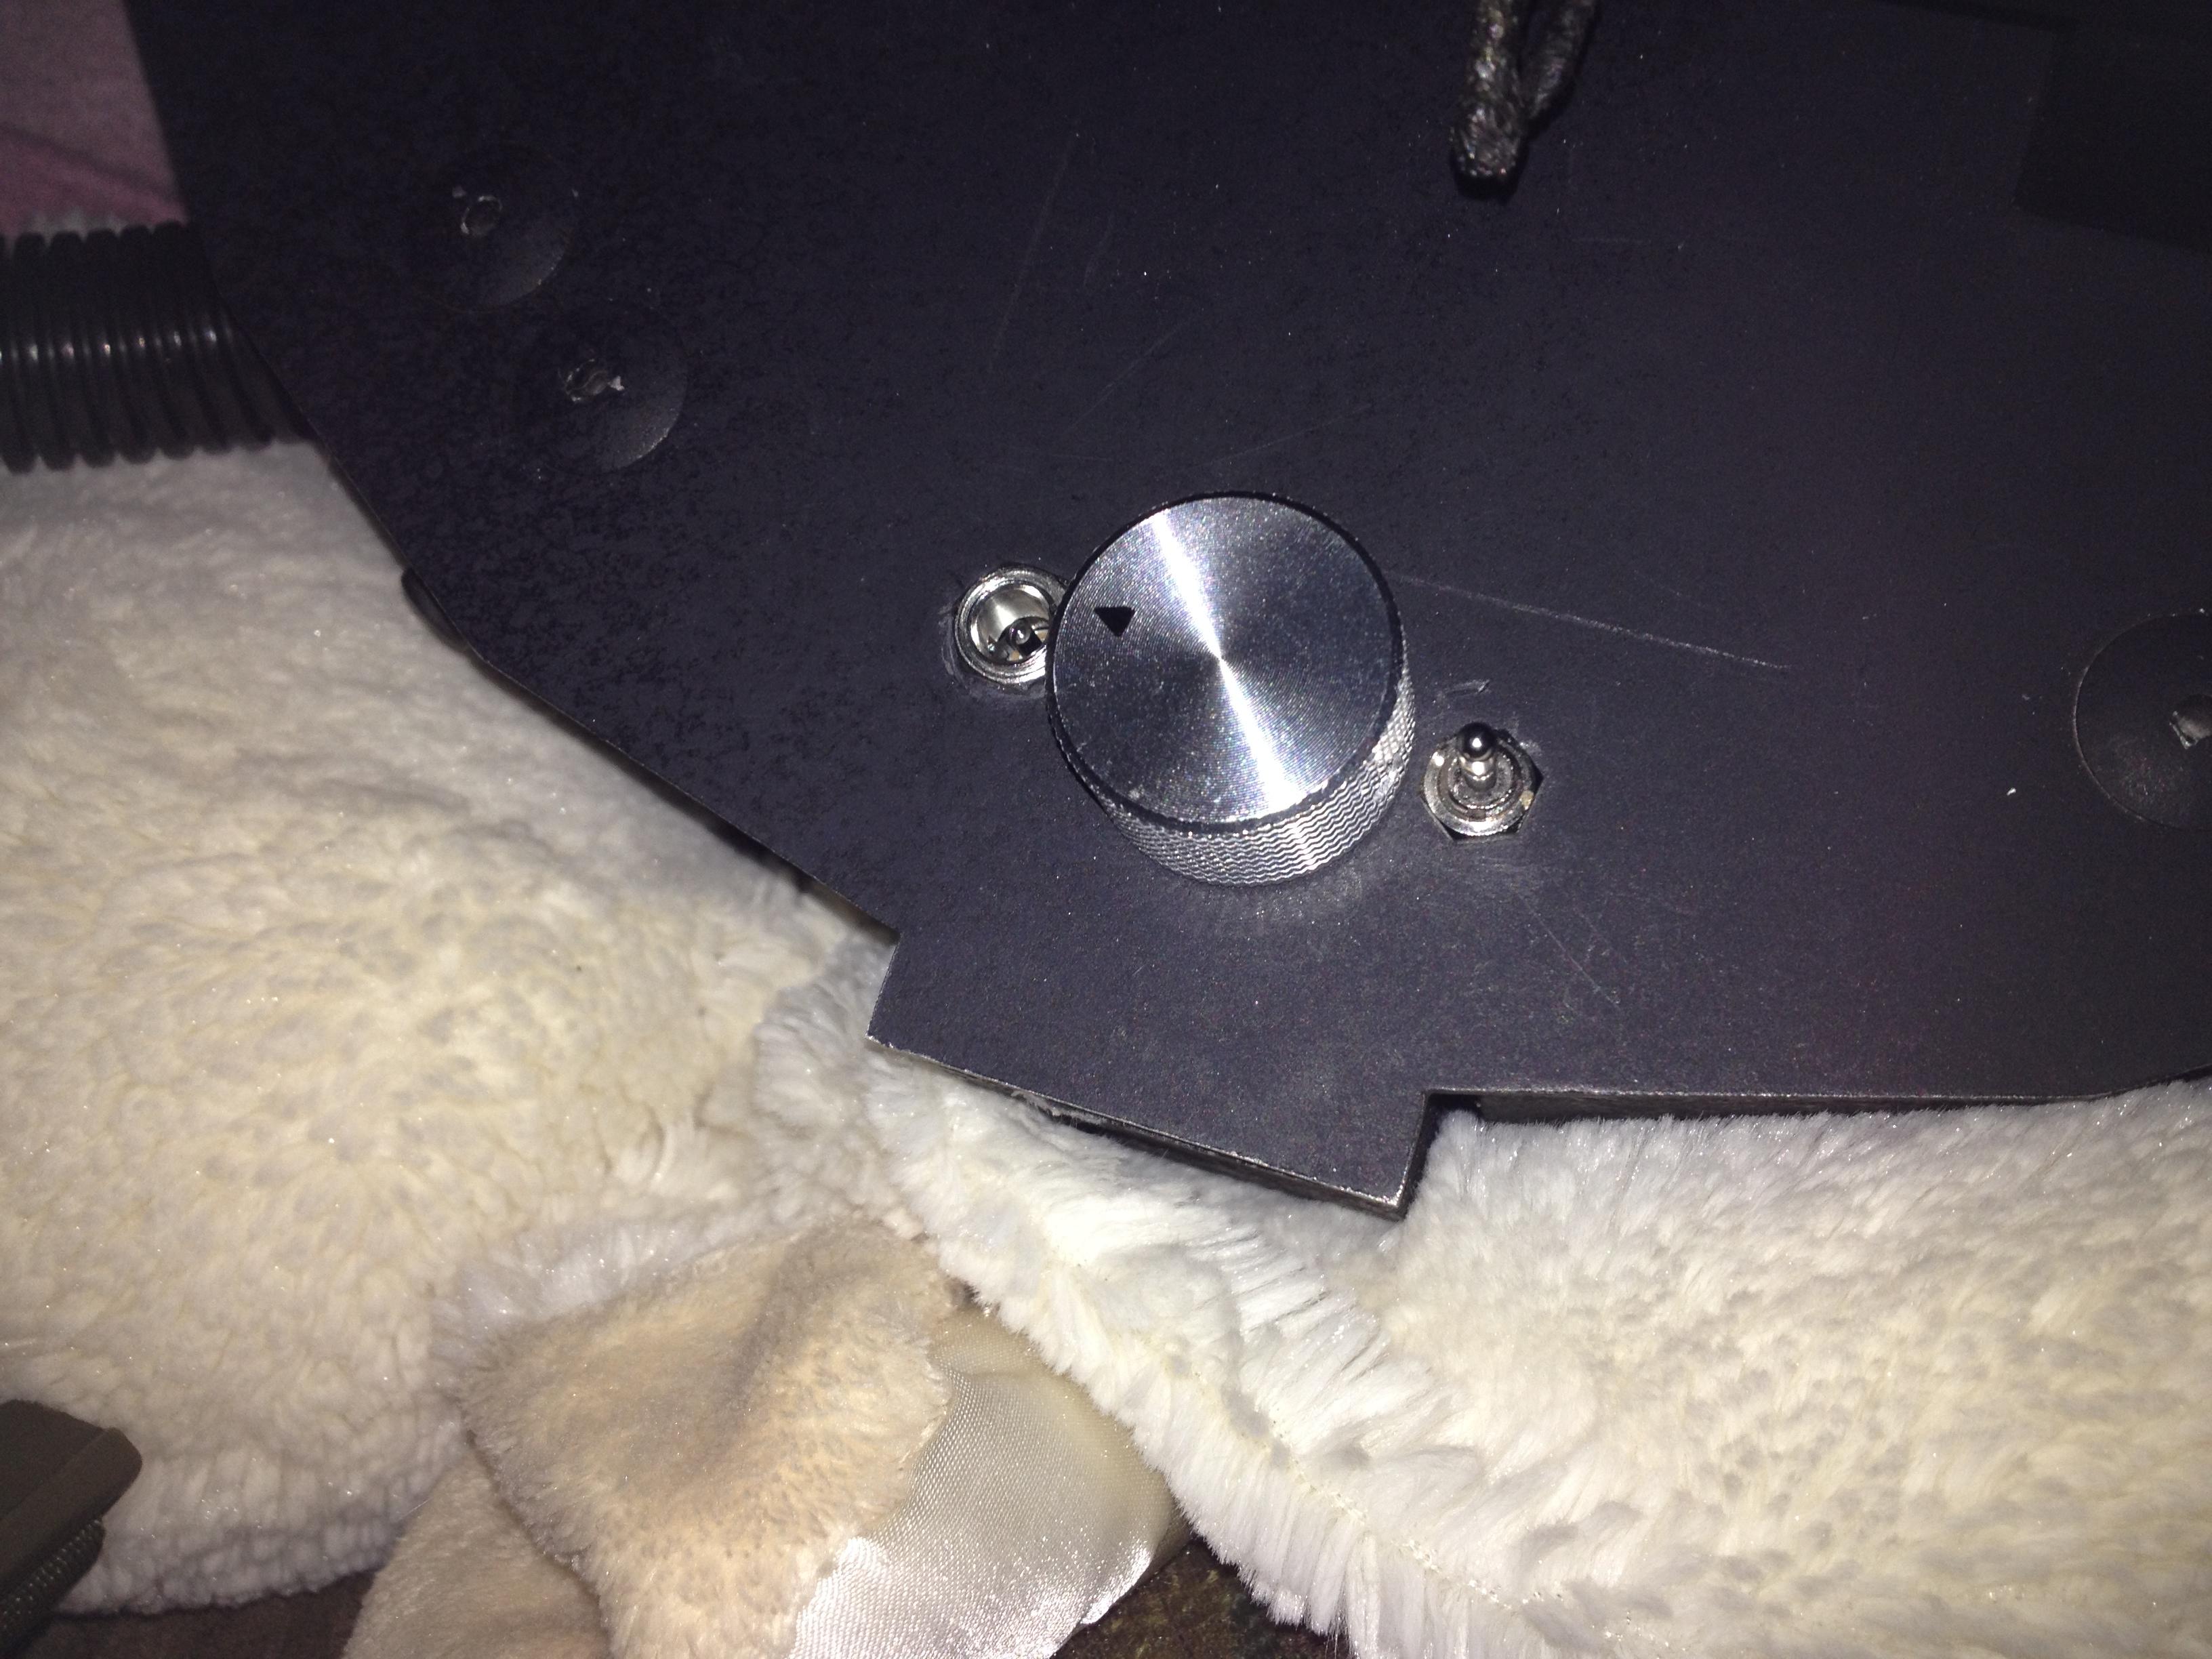
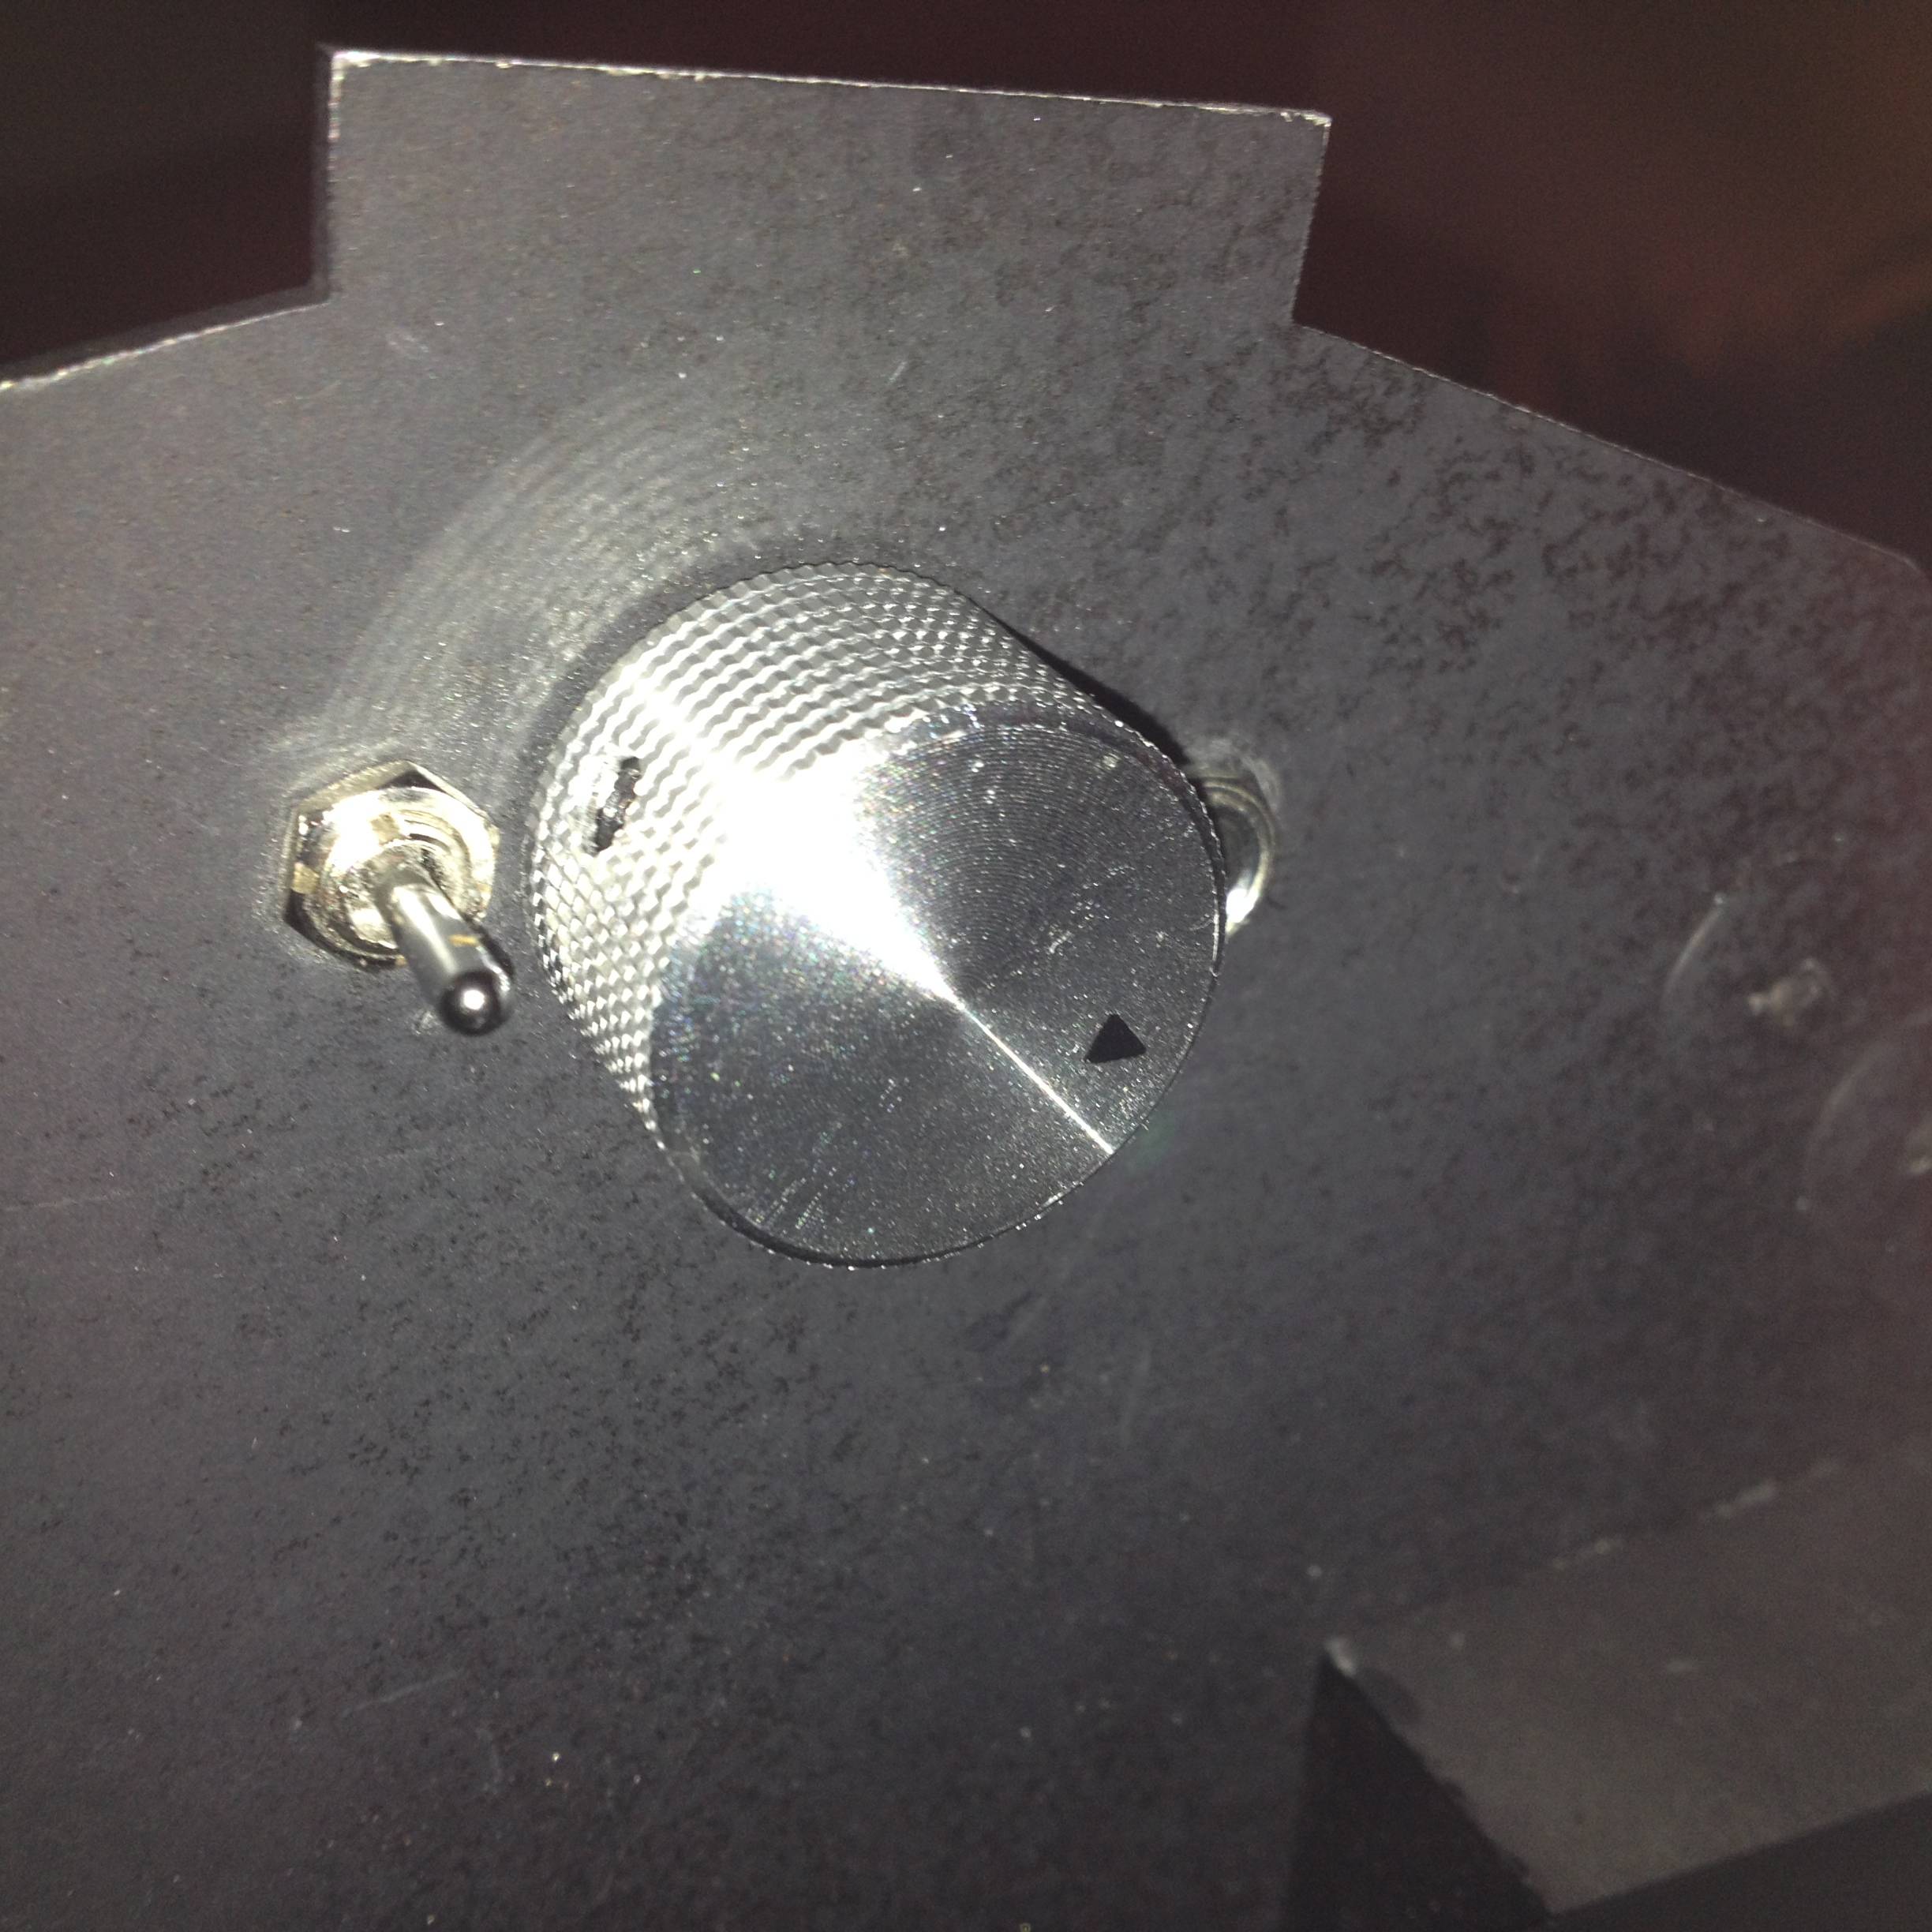
One important thing to mention- I had to (or my electrically experience cohort had to) insert a potentiometer (ie a volume knob) between the wand and the amp, so there is a little dial on the bottom of the MOBO that controls the incoming volume of the wand, and which I can easily reach while wearing the pack. It seemed very necessary and now I am very glad I did that- I can control it in the house or at a con vs a parade or something.
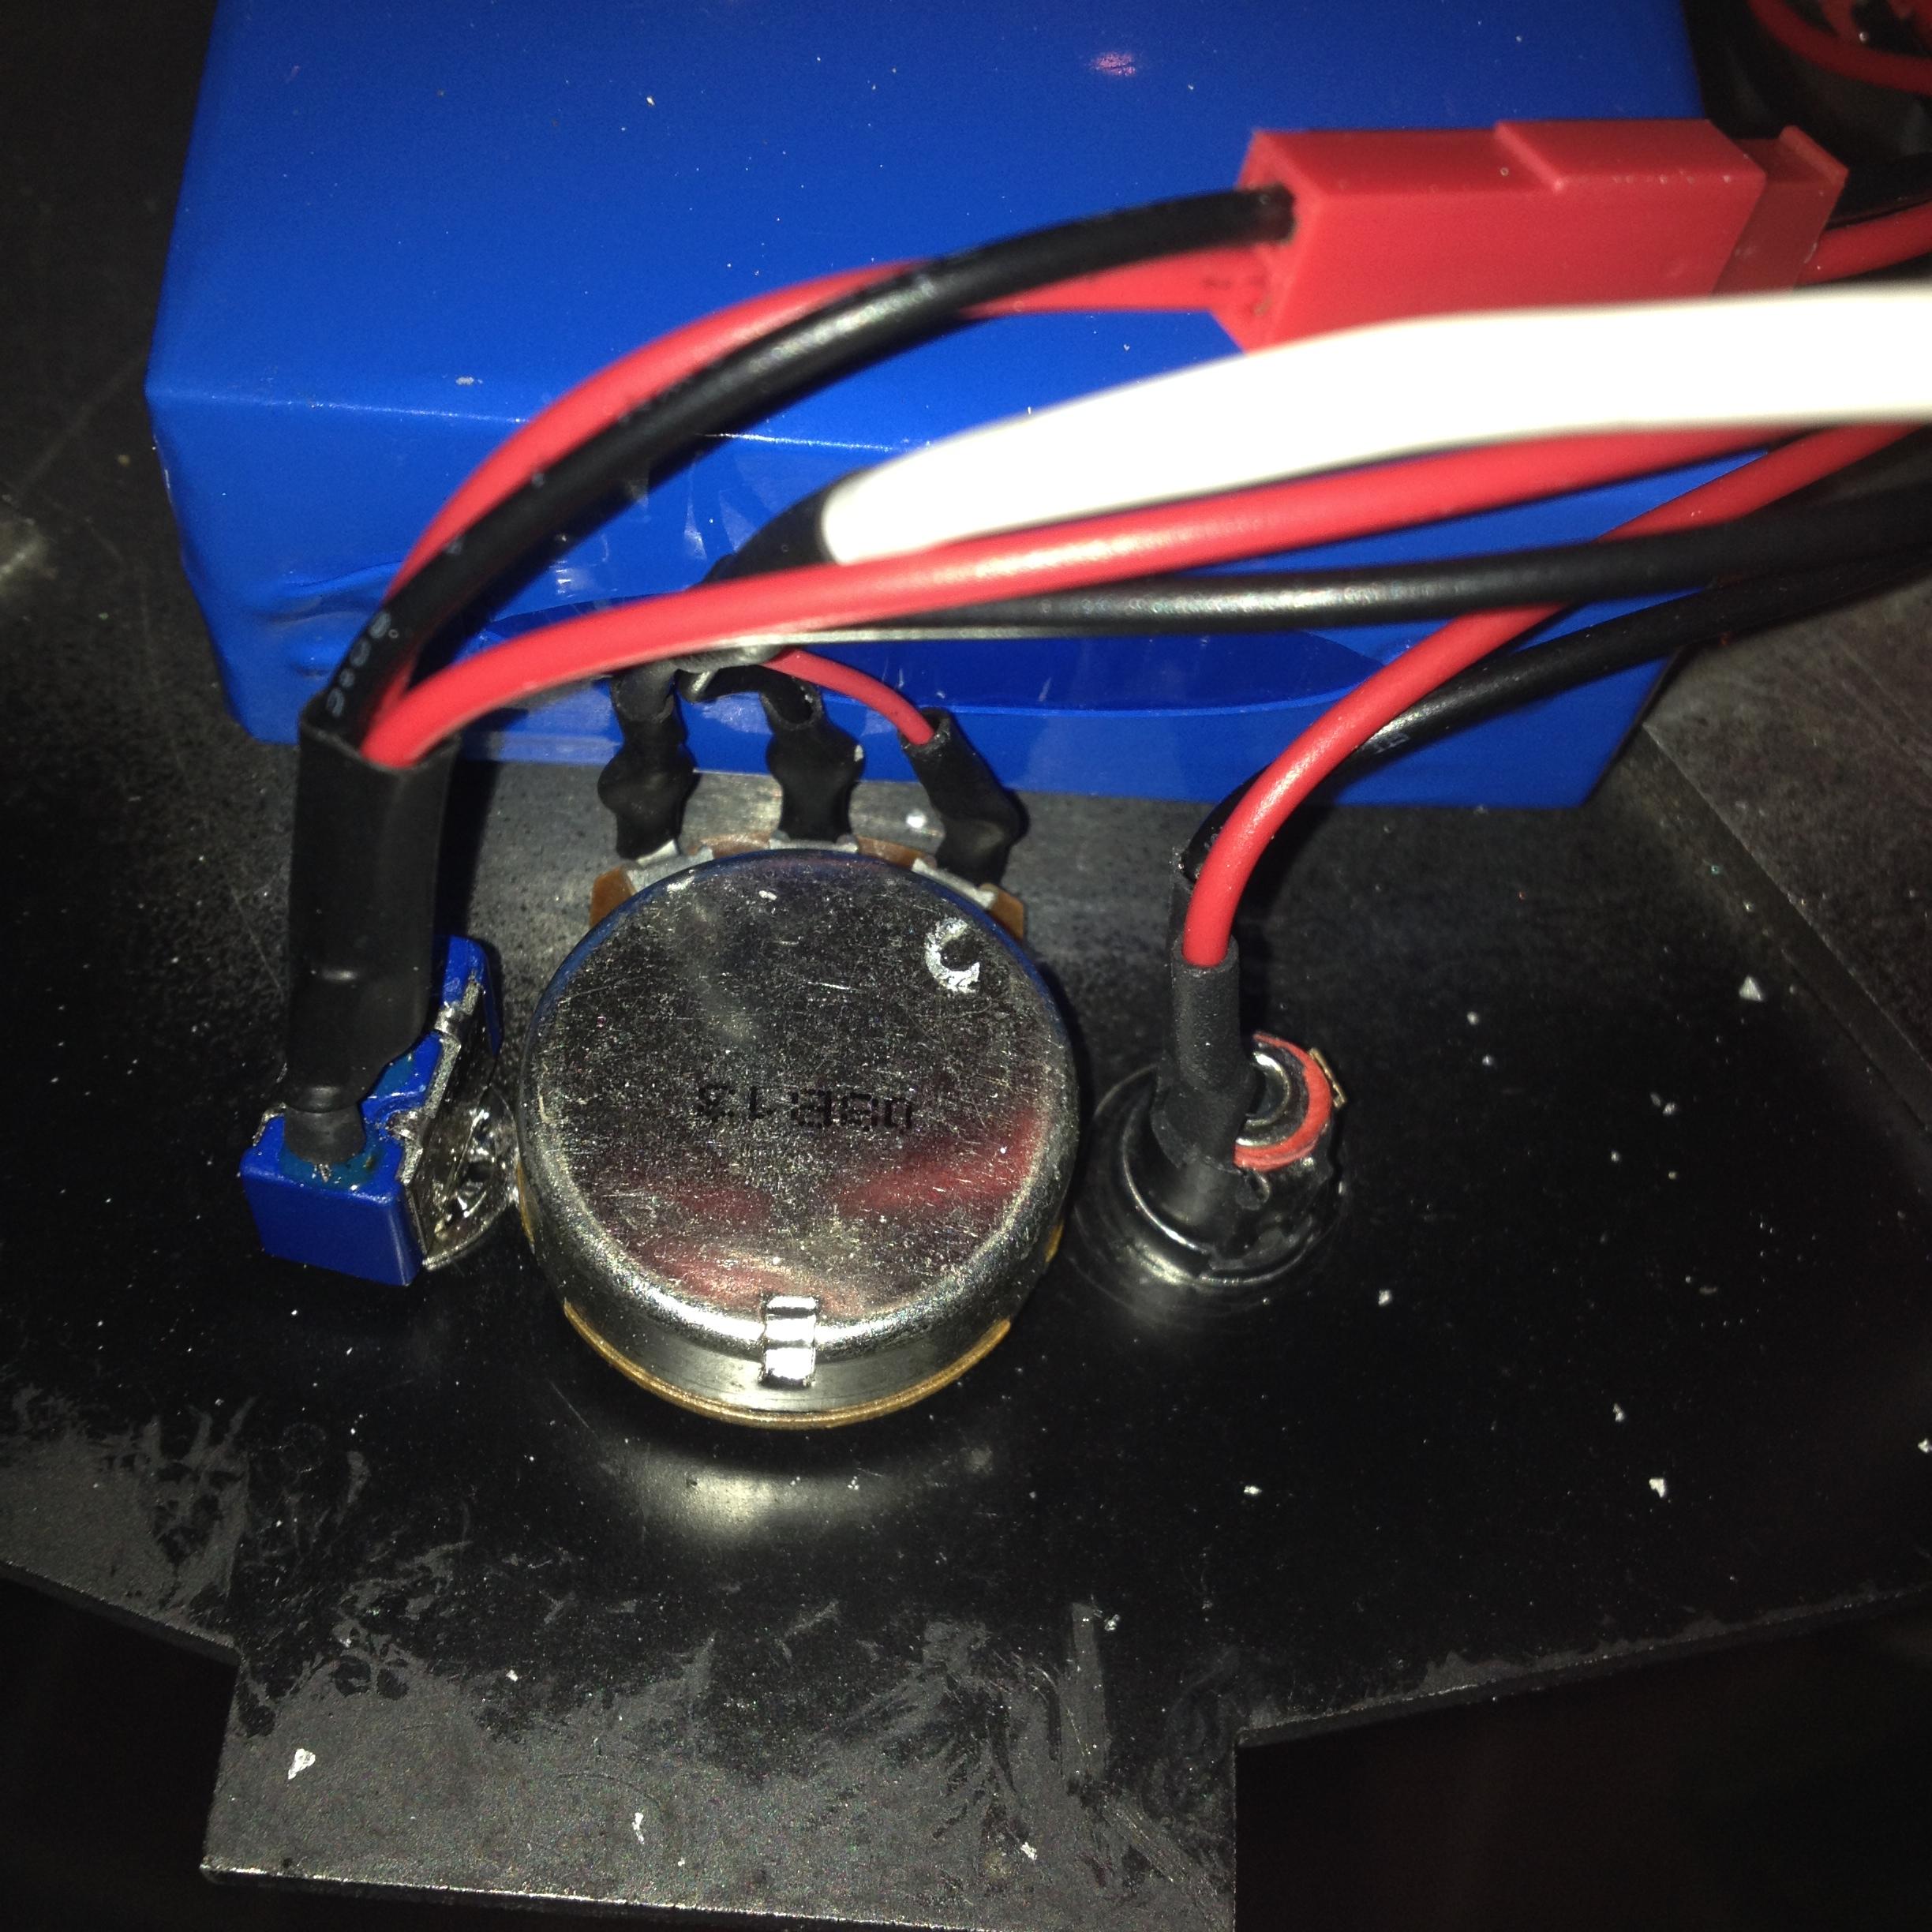
Here are images of the wiring of the Potentiometer, the charging jack and the power switch.
Due to the Spongeface controller being engaged, the power switch doesnt “power up” but it turns on the amp and the battery connection. So, probably a good idea to power down with the switch so as to not run out of charge.
From the back (L to R): Charging jack, volume for the wand, master power
Nope. I do need to Integrate a mixer of some kind which will allow music through the Bluetooth dongle to play while effects are also engaged.
Key things are to use a pot with the wand input line so you can have differing volumes in say a house vs in a parade. The wand out is pretty loud!
Glad you dig this. I didn’t invent anything new, but since I hadn’t seen anyone show how to do both, I thought folks might be interested.to see how the wires ran.
Another thing is that my speaker placement effects the correct placement of the large danger sticker on the back of the mobo.. I decided I cared more about the best spot for the speaker than I did the sticker being in the exact center.