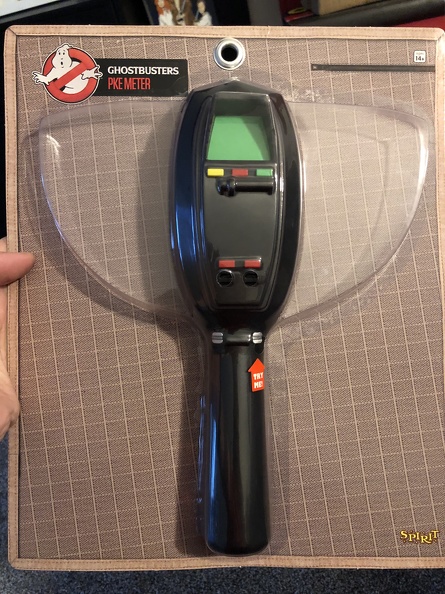
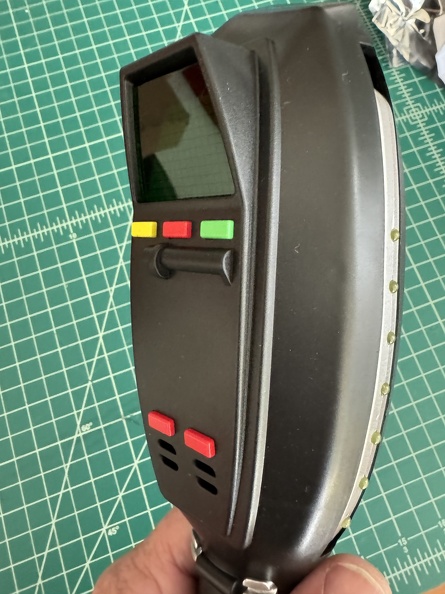
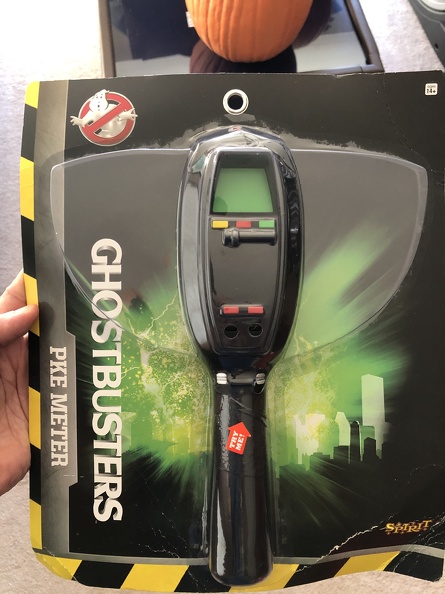
Just starting a thread to track the admittedly minor mods I’ve made to my Spirit Halloween PKE meter, which I bought in 2021 for about $30.
Side note, apparently Spirit has a new version of the PKE that is selling in some areas (some in Canada, for sure), which has been been considerably redesigned inside. (all new electronic boards many mods no longer work and a lot more annoying to get to screen, incorrect green instead of yellow LEDs on the arms, plus it has a newly squared off handle, closer to the Matty PKE appearance). On the other hand, I bought one in Los Angeles at a Spirit Halloween retail shop a week ago, and it’s exactly the same as mine, so I’m not clear if there’s just a lot of old stock they’re still working through, or if I got lucky, so who knows.
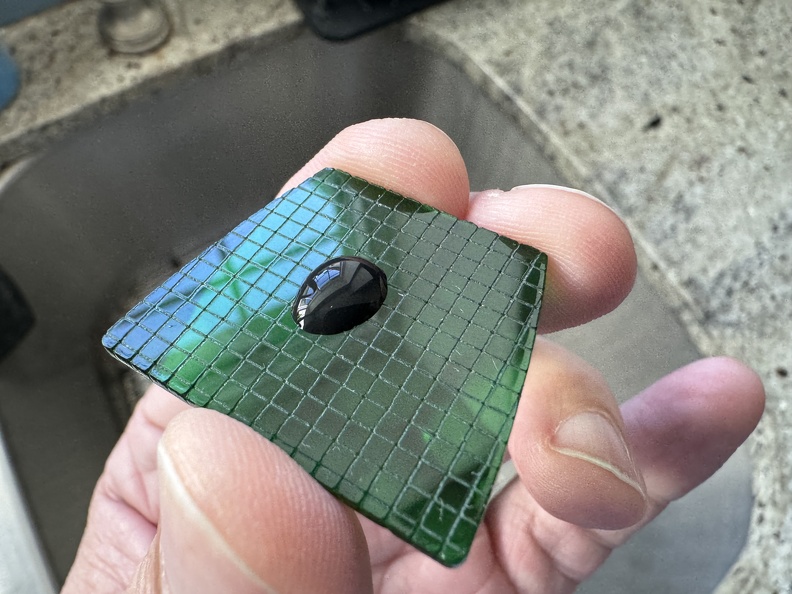
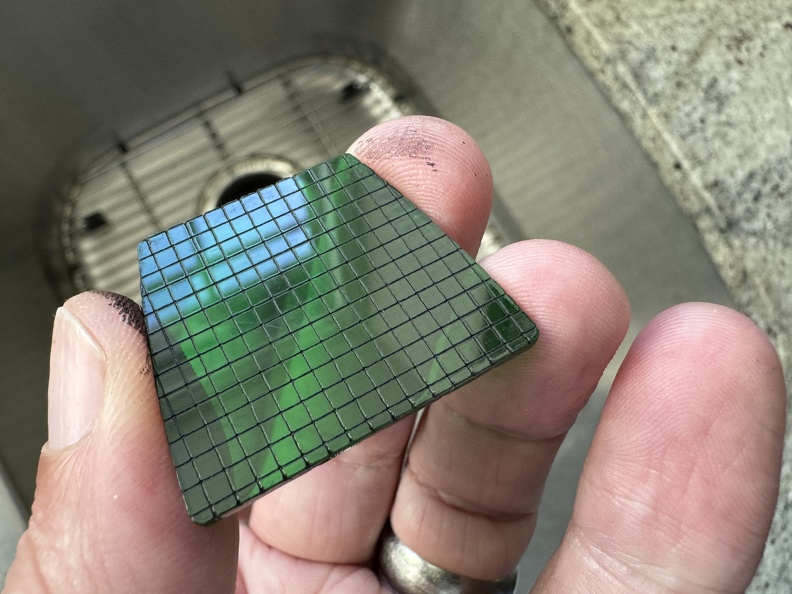
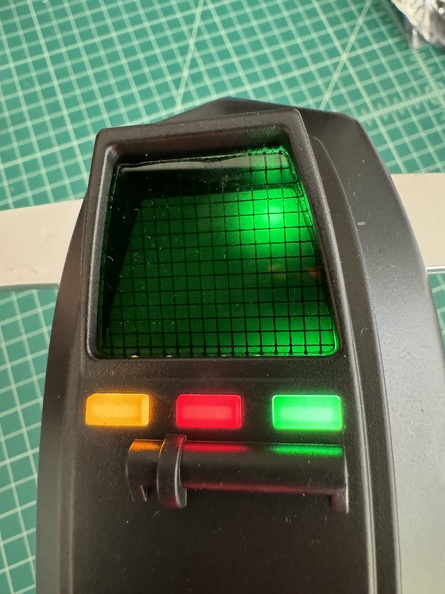
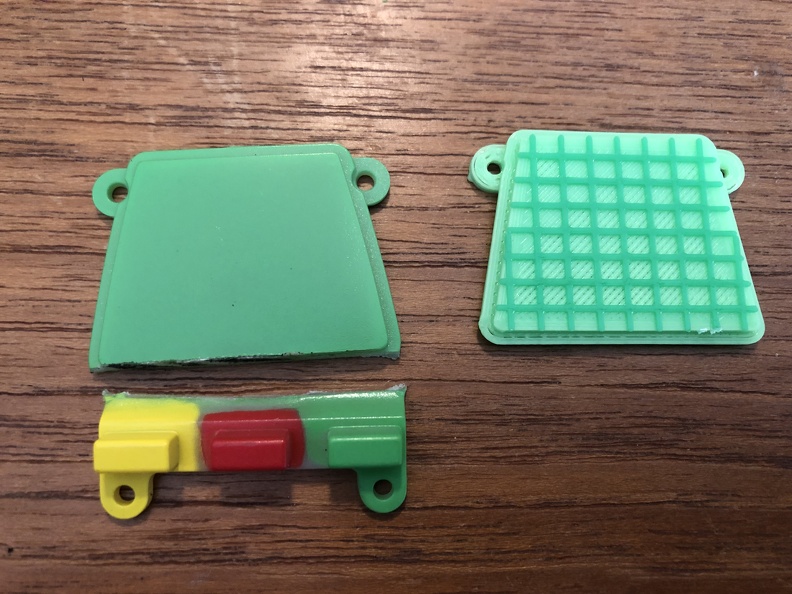
My mods consisted of a full repaint, plus an upgrade kit with belt clip removal (replacement plug), and added buttons, and a 3D printed screen replacement. Kit came from “Epically Geeky” on Etsy, and I think was about $20, at the time (I got the green screen with dark green lines):
https://www.etsy.com/listing/1508517812/ghostbusters-spirit-walmart-rubies-pke?variation0=3668893859
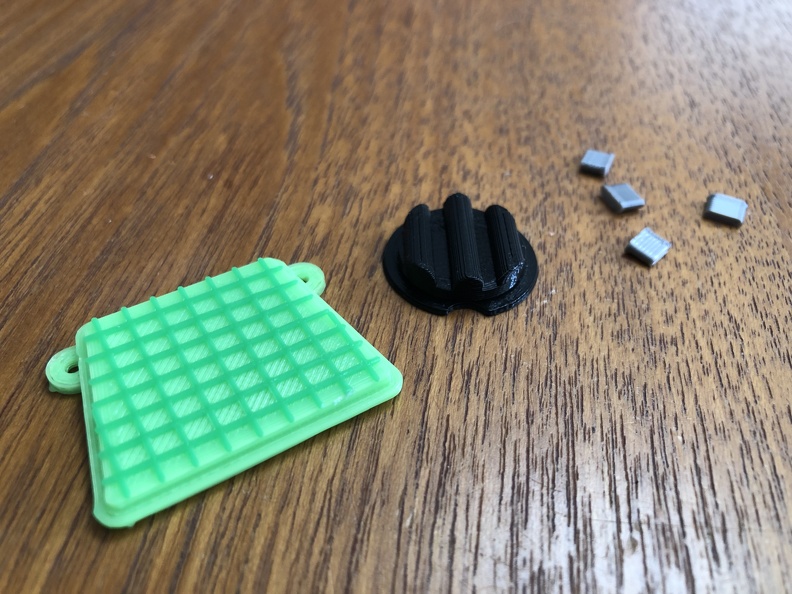
Fair warning, this kit may not work well with the newest iteration of the Spirit PKE, unless they’ve updated it? I saw someone try to install one just recently on these new models, and it went… well, kinda ok at best, but far from ideal, and with a high amount of effort.
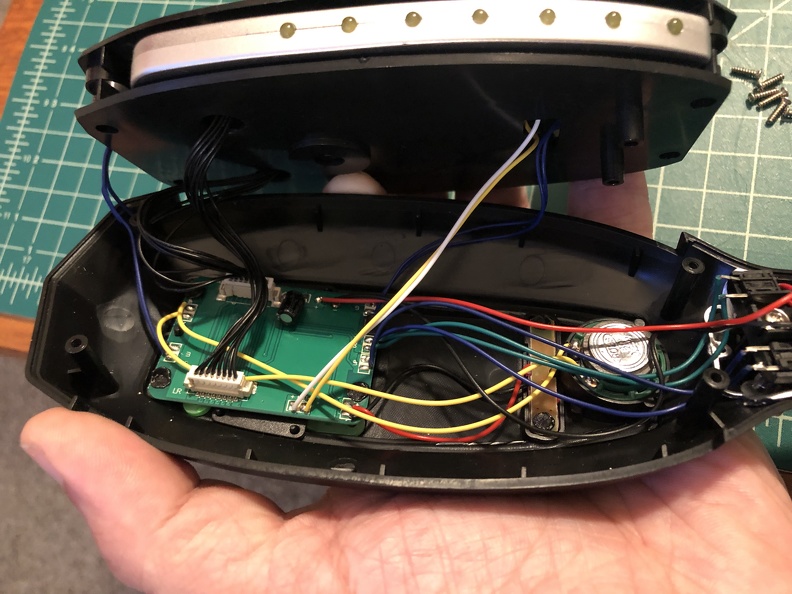
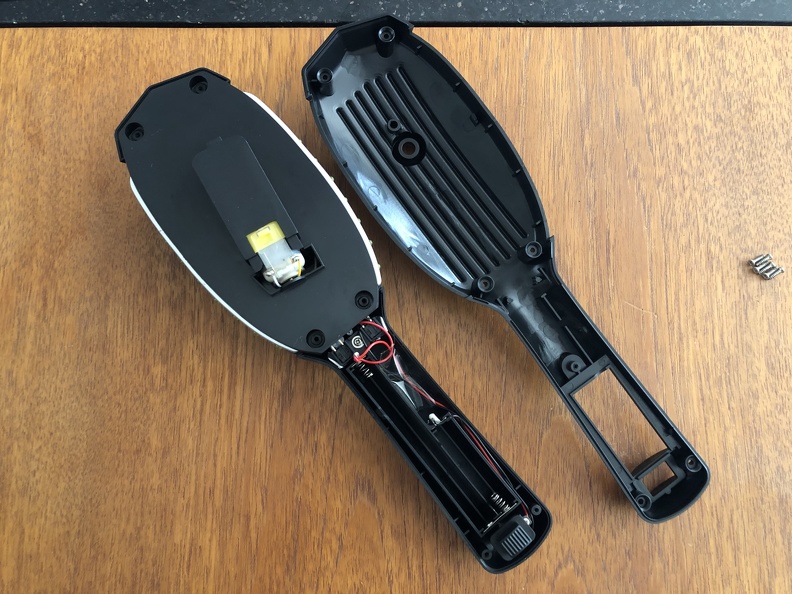
Step one, open 'er up! 6 easy screws.
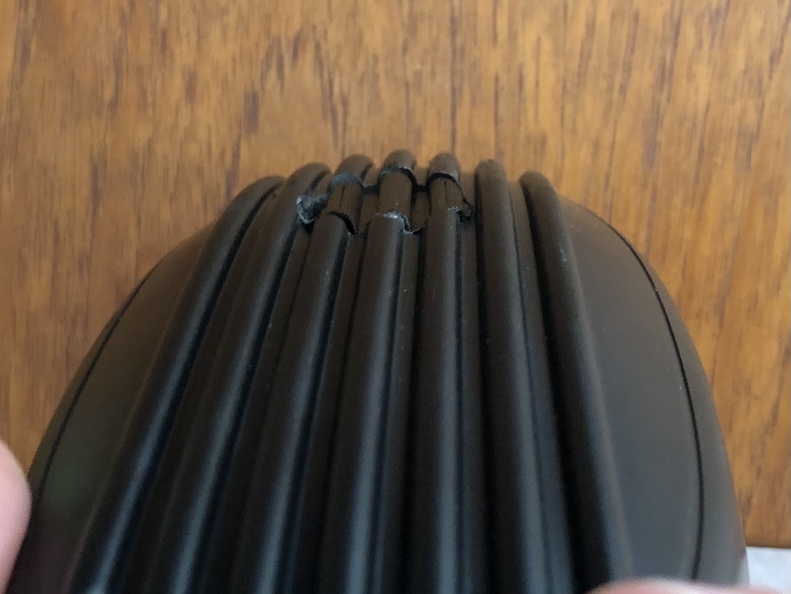
First thing to go was definitely the belt clip stud. Lopped off the bulk of it pretty easily with my Dremel’s cutting wheel.
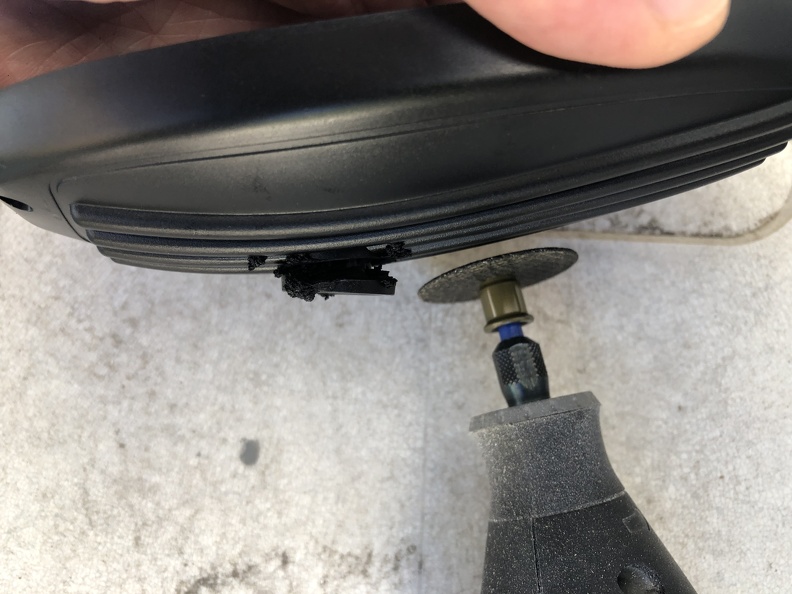
The hole left has a raised ring around where the stud was, so it needs to be enlarged a little to eliminate that ring.
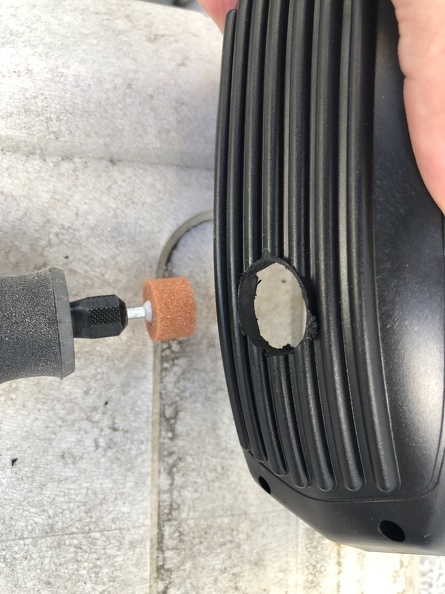
… aiming for a hole that the 3D printed plug will go into.
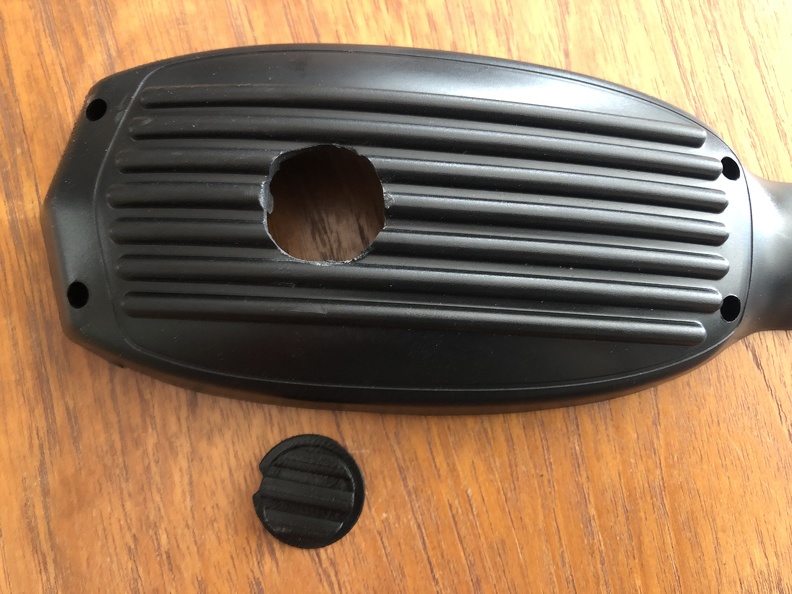
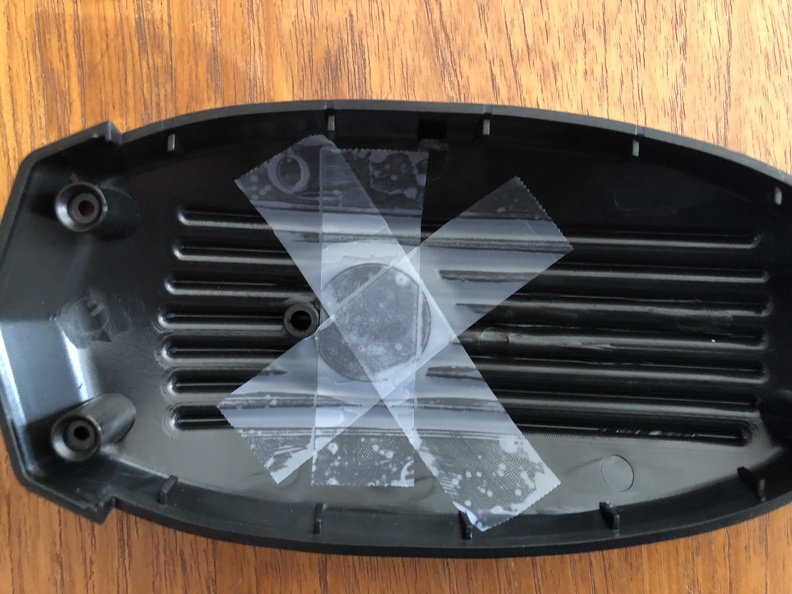
The printed plug had a little notch on one side for easier alignment, when you see it from the inside.
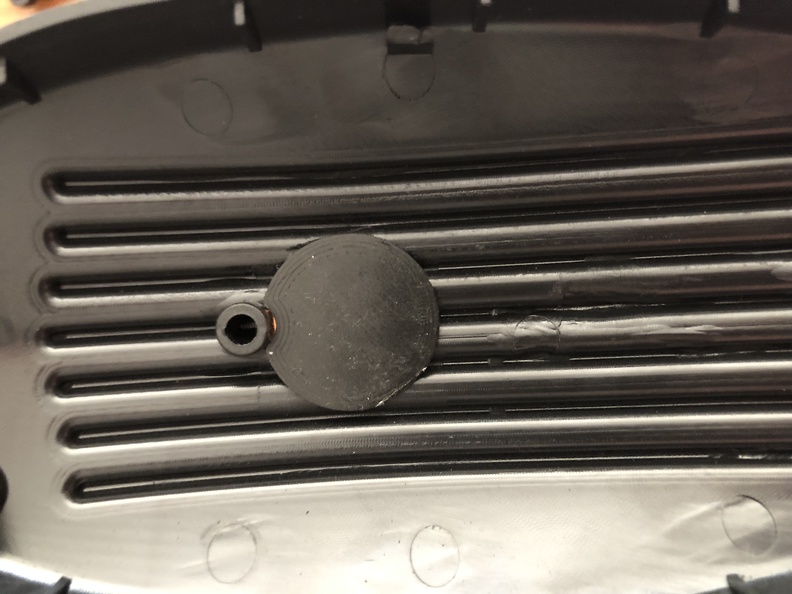
It’s clearly not a perfect fit, though, so cleaning it all up takes some work.
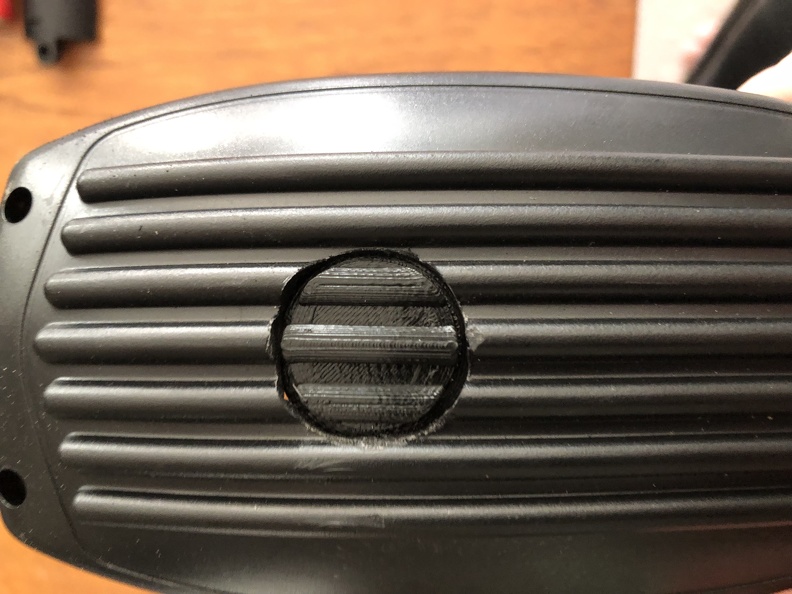
I taped the plug in place, inside, first.
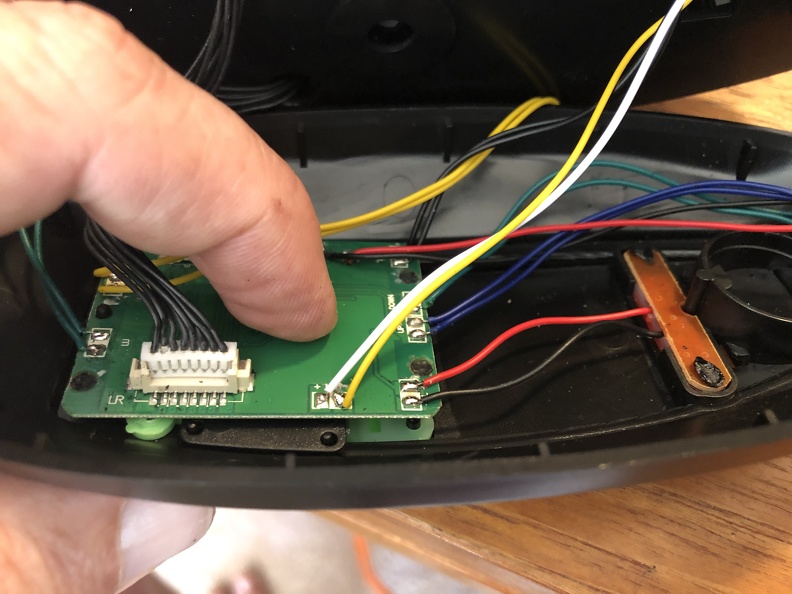
Continuing the disassembly and electronics, the middle arm/gear assembly lifted out pretty easily, and had two connectors to the board, plus some wires. Everything must be disconnected! (pro tip: label your connectors… this wasn’t bad, but the newer models have a lot more wiring inside, oddly)
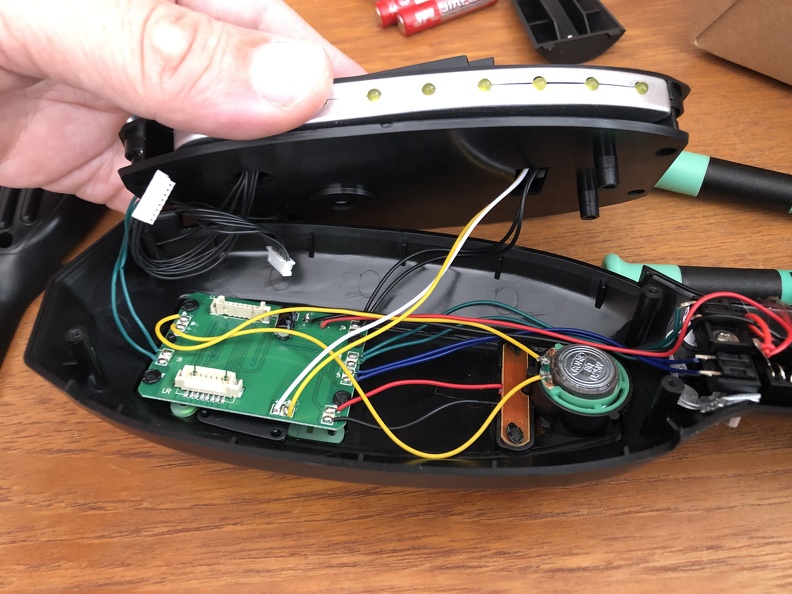
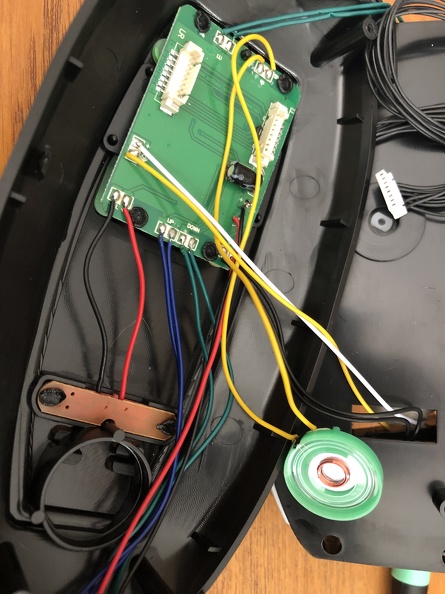
The boards are all attached, as you can see, by welding them in place (by which I mean melting plastic posts and turning them into “welds”). Have to grind the plastic away or melt it off with a soldering iron or similar until the boards can be lifted free.
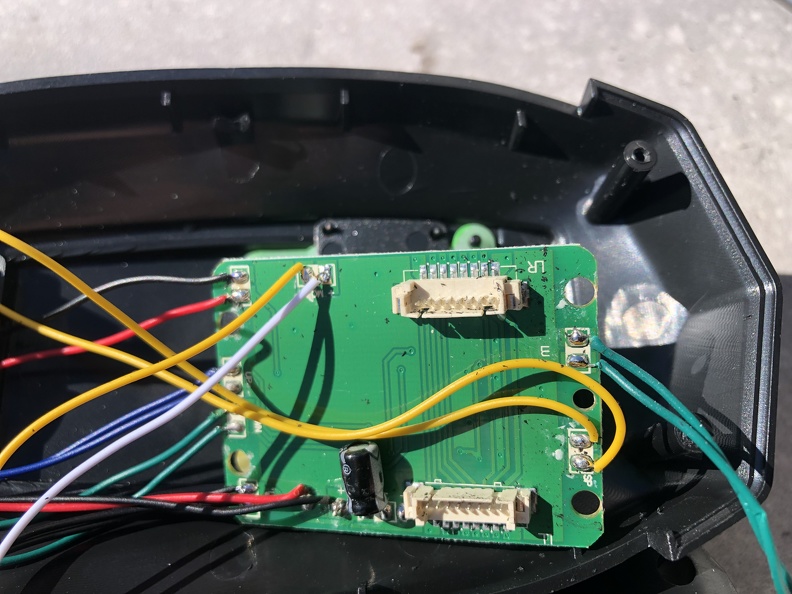
Underneath is the light sheild (which only allows the LEDs to light a small circle on screen) and under that is the actual screen.
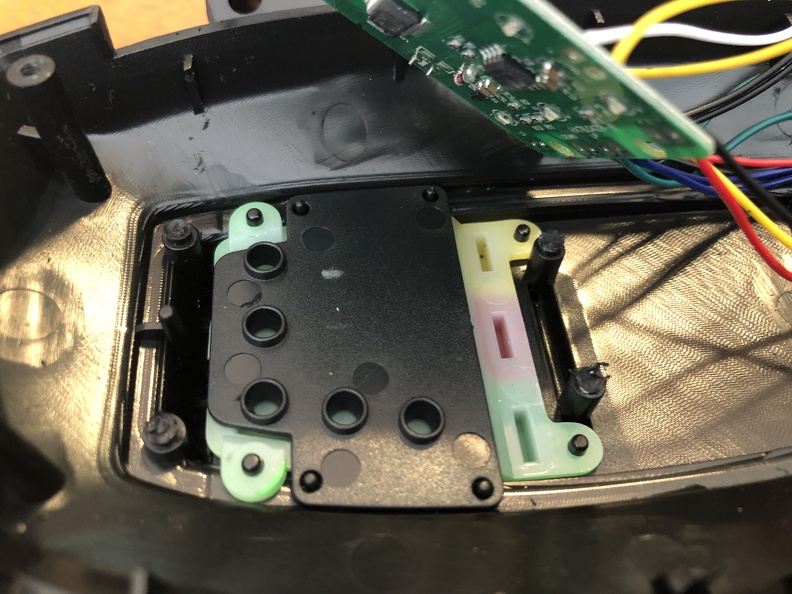
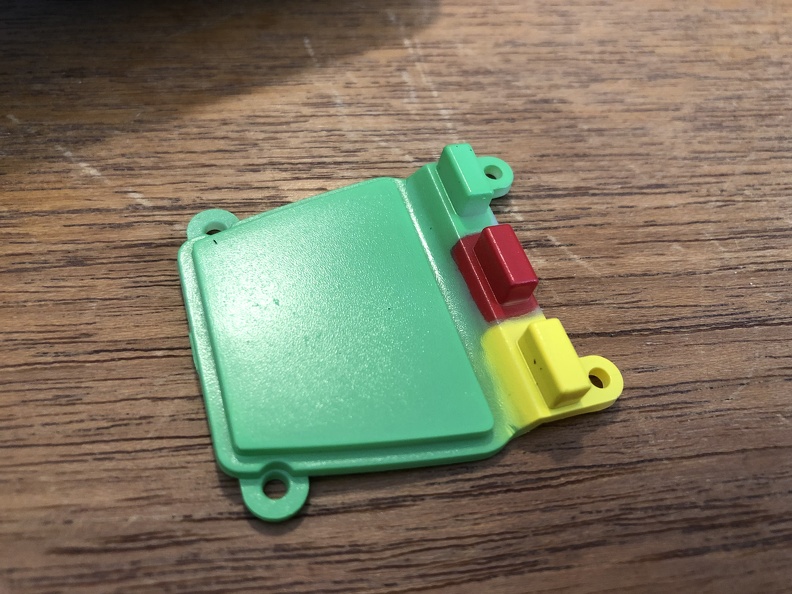
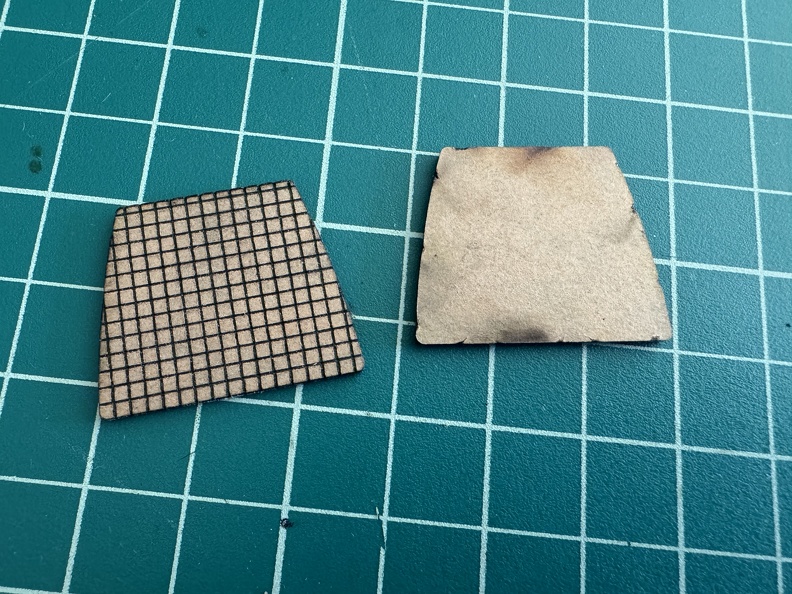
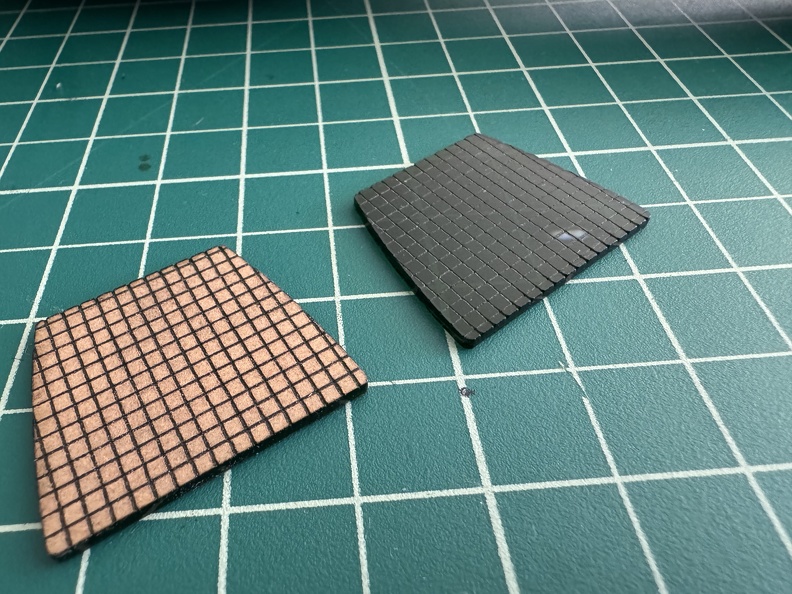
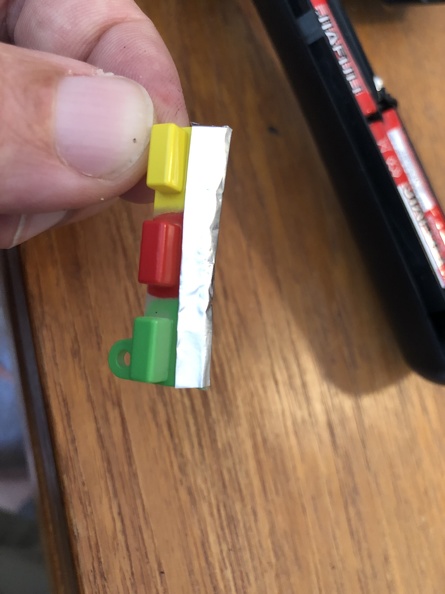
The kit I bought replaces the screen part (with a more accurate gridded screen) but not the buttons, which are part of the OEM screen piece, so those need to be cut off. Dremel cutting wheel made short work of it.
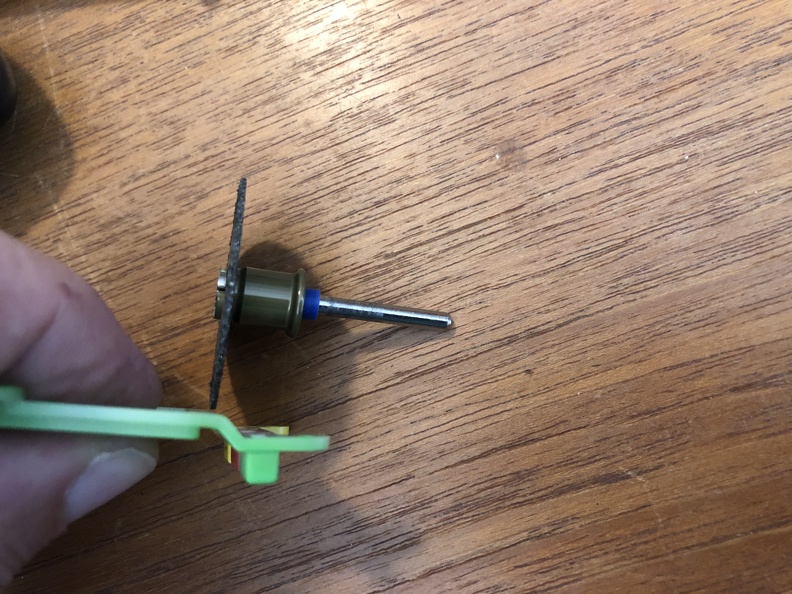
The OEM buttons need a light shield in this configuration, so a little bit of aluminum foil works great over them. (recommended by the kit maker)
The screens holes needed to be widened slightly, but otherwise it just dropped over the same pegs the original had used.
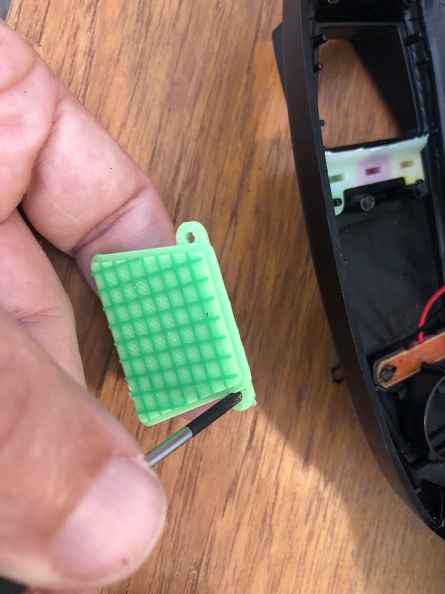
No foil on the button edge:
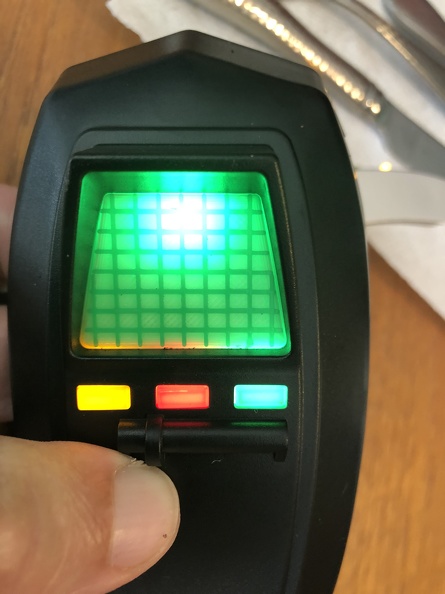
With foil:

Functionality verified, the board will just be held back in place with hot glue (instead of the melted plastic posts). Nice and easy.
But first, the outside needs to be painted, while everything is still apart.
So out comes the Bondo All Purpose Putty. I’m not a huge Bondo fan and find it obnoxious to work with, but it did seem like a decent option for this application.
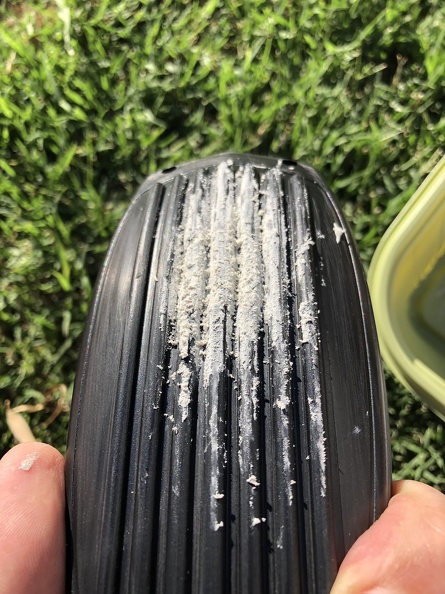
Some sanding and smoothing later, things are looking a lot better. I didn’t get the angle 100% perfect on the plug… that’s tougher than it seemed, apparently. (And yes, it annoys me to this day, but… eh)
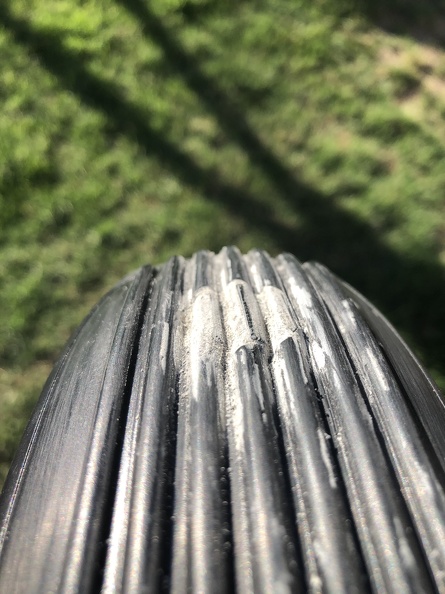
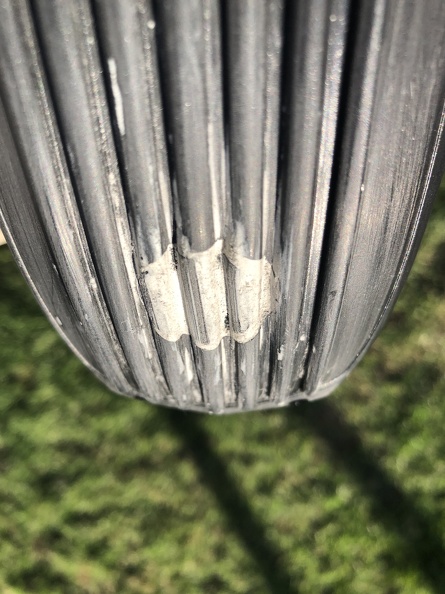
Once painted, though, it’s … tolerable. Just. LOL. Maybe I’ll redo it someday, but I kinda doubt it. #Lazy
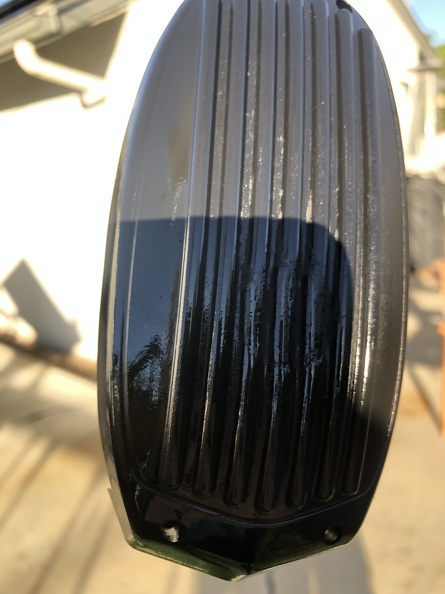
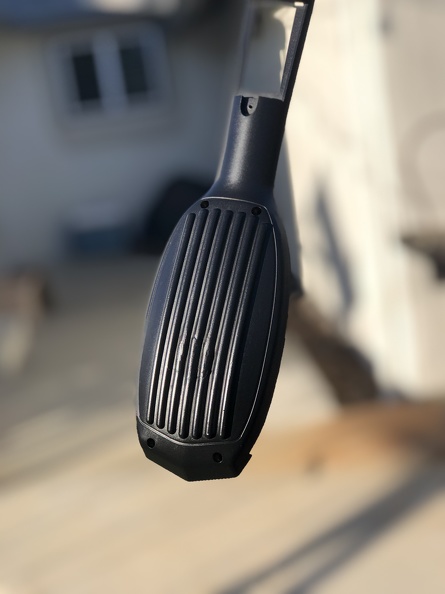
I laid down a silver layer on the top of the shell, after the primer, to aid in future weathering.
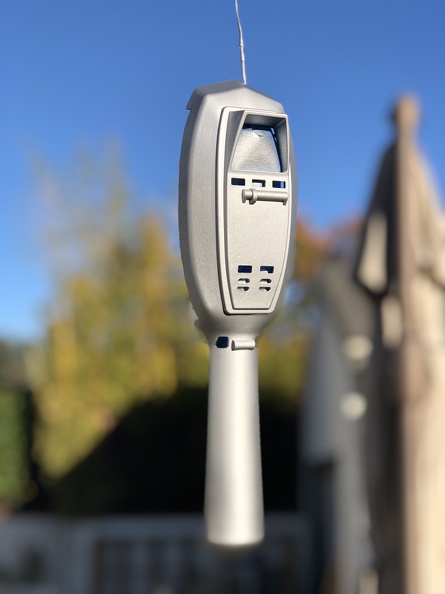
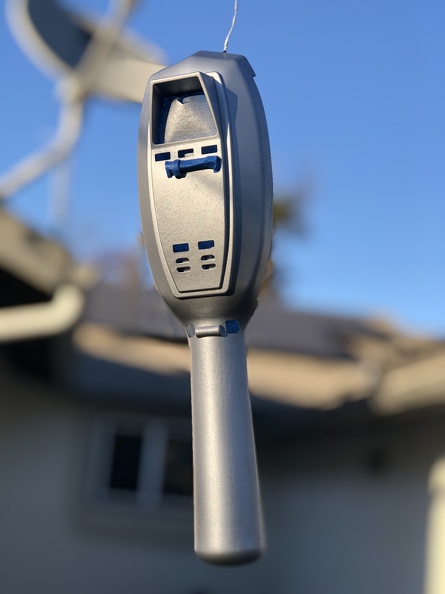
I hit the new buttons, too, while I was at it. (and sanded them a touch)
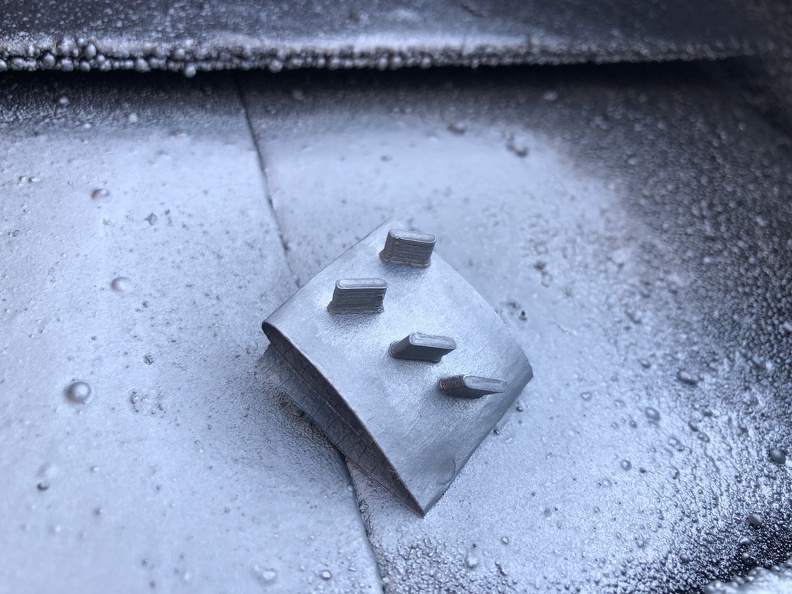
I masked off the thumbwheel (I think it is?) below the screen and kept it silver, as that seemed more accurate. Definitely adds more visual interest than the all black stock coloring. A couple scratches of “natural weathering” show the silver underlayer was a good idea LOL
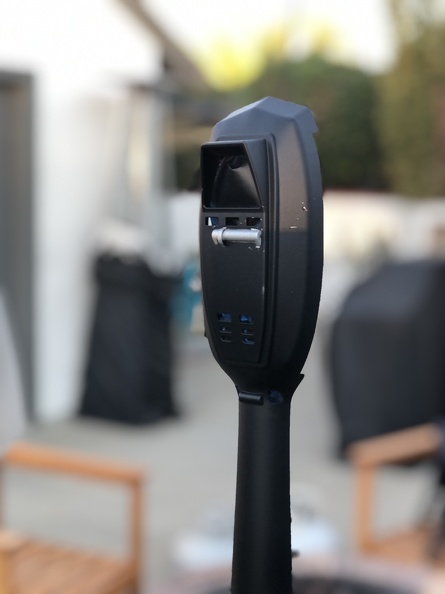
The final back looks ok, enough.
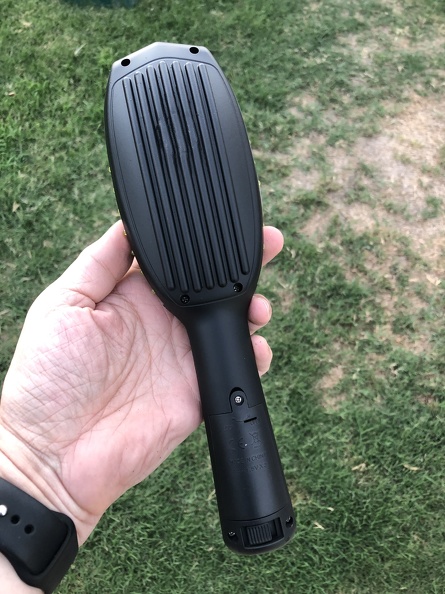
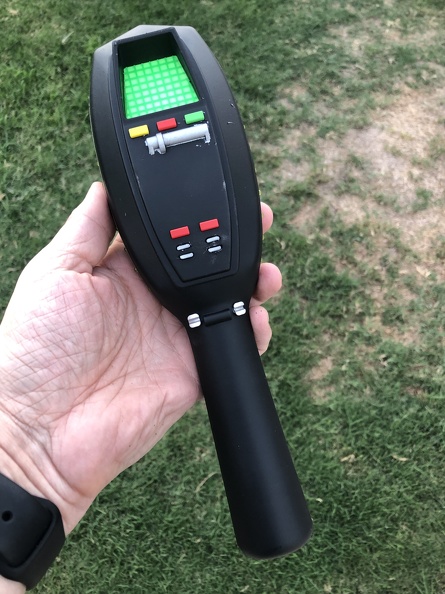
And I’m pretty darned pleased with the final result, once I got it all back together (and added a little light weathering):
For carrying, while perhaps it’s not completely screen accurate, I really wanted a holster. So I picked up a cheap tape measure conversion on eBay for a modest price. Not as fancy as the custom one, but hey, it was under $20, so I can live with that. If I ever want something fancier maybe I’ll make something myself.
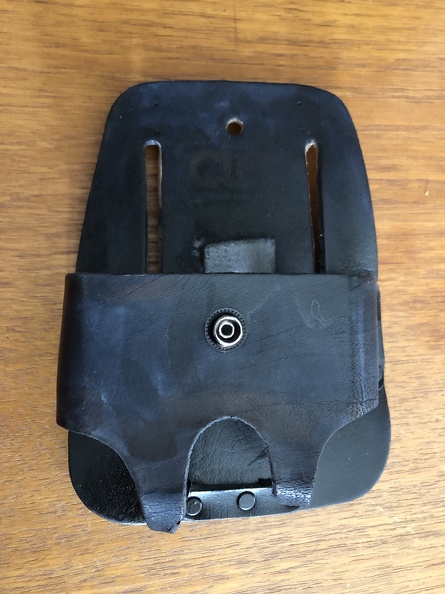
PKE looks fine in it. (Pic taken before my mods, clearly)
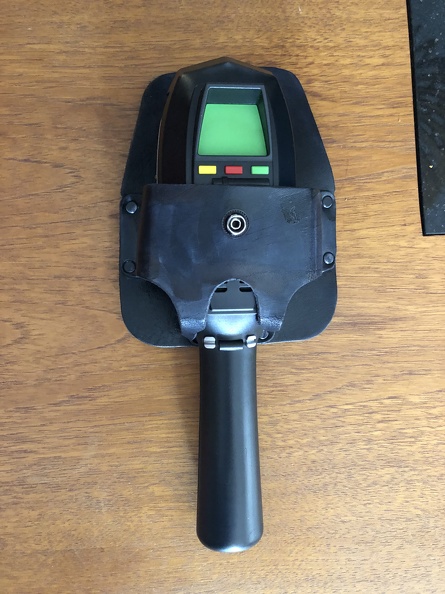
And that’s it for phase one! Quite pleased with the outcome, frankly.
My next project is the motor mod. I’ll document that as soon as I get it done.
One of these days I might undertake the mod where the arm LEDs are rearranged into the right sequence for GB1 (from the inside out: 3, 5, 7, 4, 1, 6, 2), but that feels a little more risky than this was, and given that this version is no longer available, that’s a little scary…