LEG HOSE CONNECTOR... My version

I stole a couple ideas by looking through this website. I tried using craft magnets, but getting them to glue to the leg hose had its drawbacks. I thought about a simpler, more secure way to do it, that would make the hose removeable for suit laundering purposes.

I’m not sure if it’s “screen accurate” (nor do I care), but I used 3/4" vinyl hose for my leg hose. It’s 1/2" interior diameter made it easy to pair with a 1/2" wooden dowel. With the dowel, and the side wall of the connector, the hose should slide snuggly into place.

First, I needed a base and a connector

Home Depot carries rubber furniture slider feet. They come in a 4 pack for like $2. They also carry rubber cane tip caps. I used the 7/8" size. They have 3/4" caps, but I want the hose to be somewhat removeable. The caps are cheap as well.

Slider foot and tip cap out of the package.
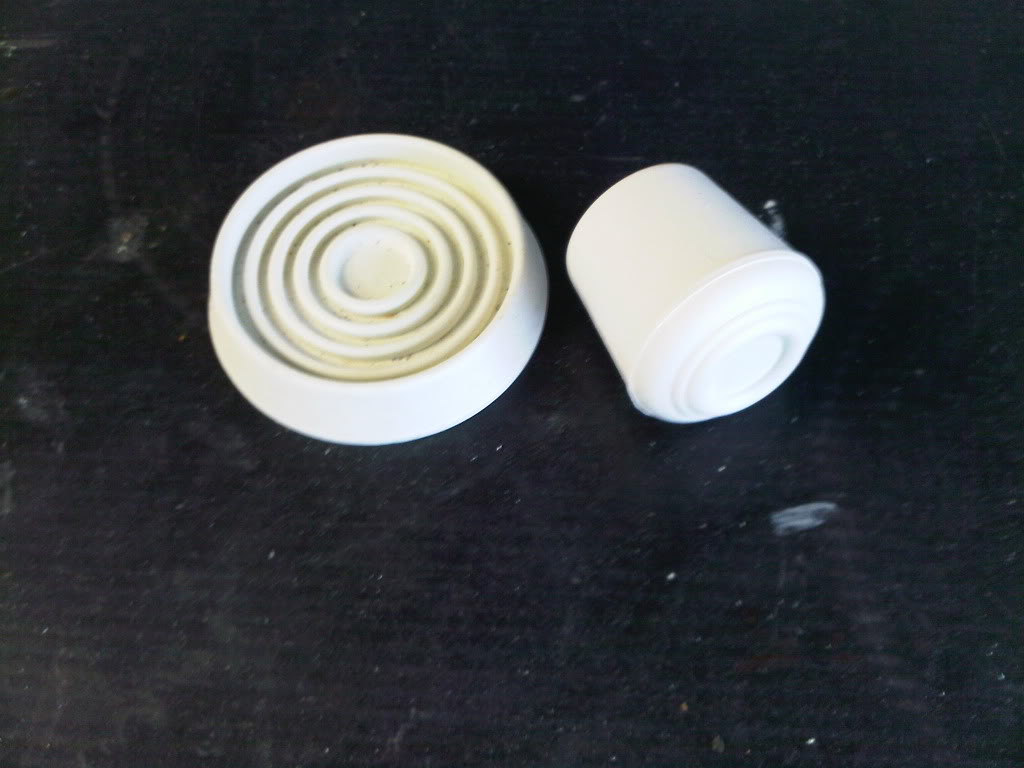
Using a dremel tool, I removed the inner ribs of the slider. I also used a belt sander to remove the round base of the cap. I also used a leather punch to make holes for sewing the connector to my flightsuit. You can drill out holes, but it will require a larger bit. A leather punch cores out holes.
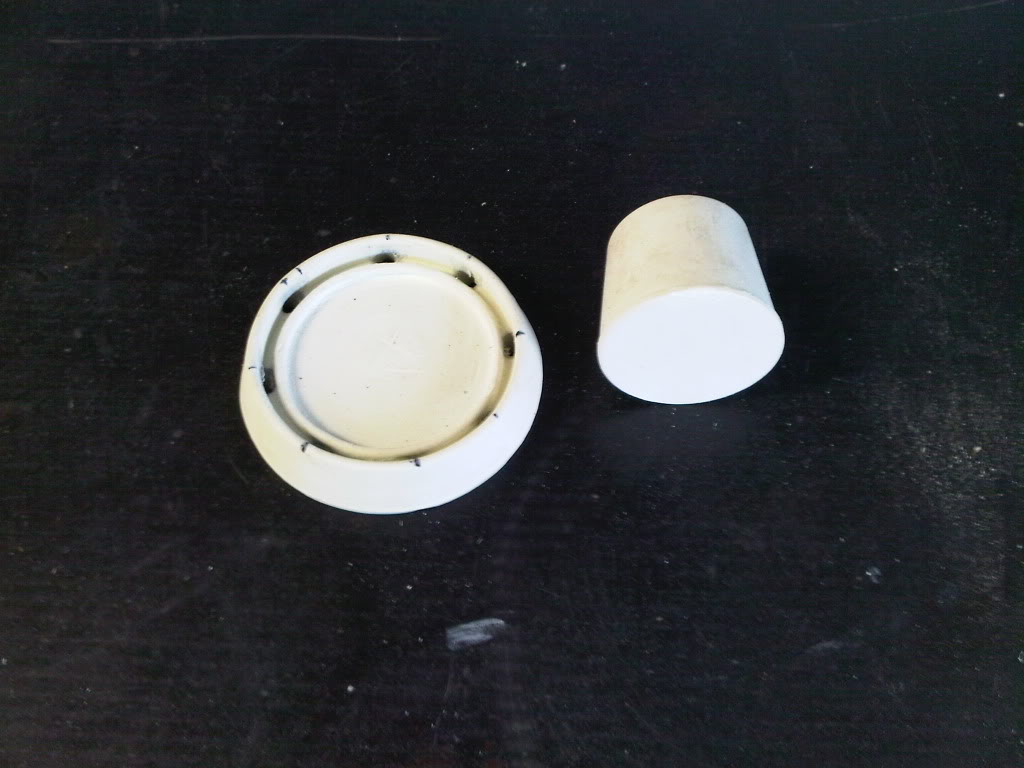
I used some super glue, and bonded the cap and foot together. Be careful, because the glue bonds this material almost instantly.
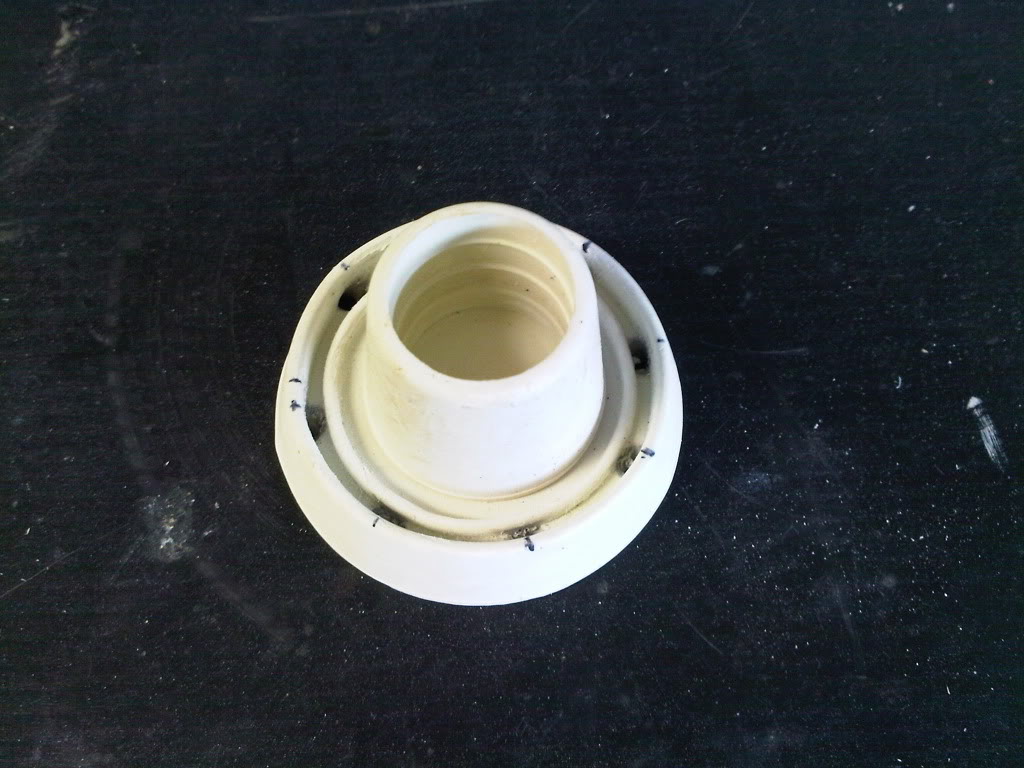
I then took a dowel rod, drilled a pilot hole in the dowel and the base. I fastened a screw from the back of the base into the dowel rod. I placed to glue on the screw’s threads to bond into the dowel.
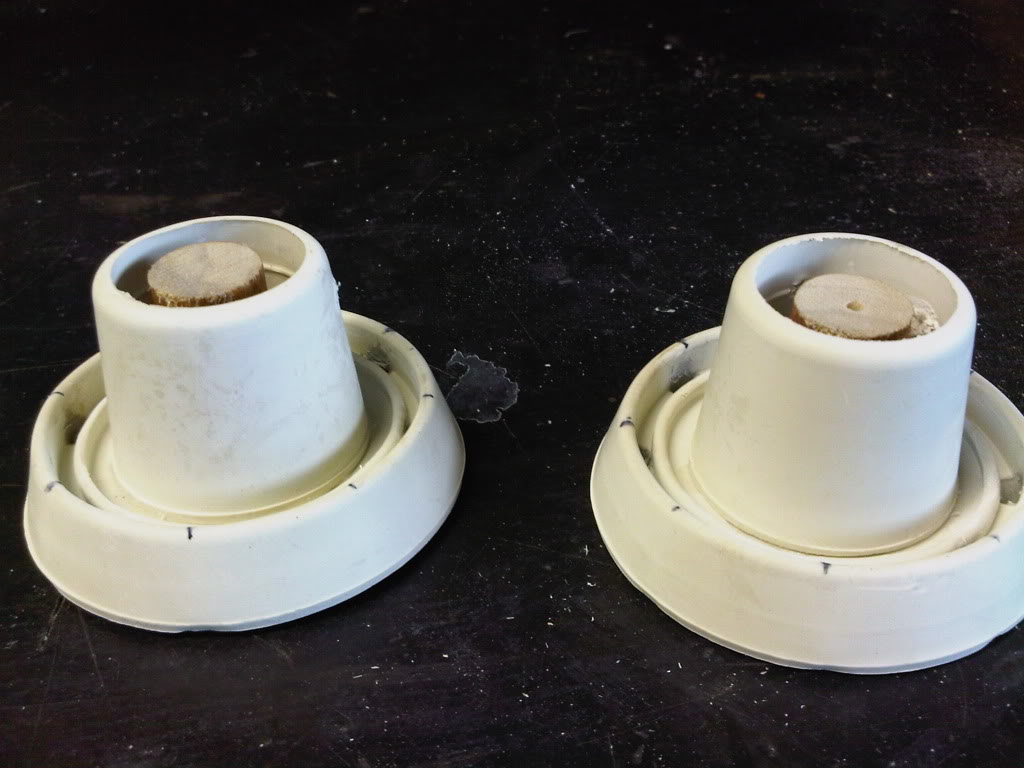
The hose fits nice and snug. I also drilled two holes on the side of the cap for a zip tie in case the hose pulls out of the connector.

A few coats of primer and paint, and it will be ready to be sewn on.
Thats AMAZING! It looks close to accurate, and is readily available, and has a minimal cost!

I might redo ours following this plan. I woner if the primer and paint will actually stick to it though?

Gareee,

You are the king of the Home Depot pack build, so coming from you, it’s a huge compliment.

As far as paint goes, I’m prepping it with 3 coats of Rustoleum plastic primer, 4 coats of color (gray), and 3 coats of clear dull coat. I hope it holds up. The material is taupe in color, so if it flakes off, it won’t look super terrible.

Thanks for the compliment, but Norm is actually the king.. I’m just one of the newer rabble byteing at his heels. Innovation like this is always great! We found a connection type that works well, BUT this does look more accurate, and its probably fairly lightweight as well.

You probably could have skipped glueing the two rubber parts together, since you are using the screw into the dowel. anyway. I might see what corners I can cut in making ours, since its one of those things that will benefit a lot of new ghostheads.

It’s pretty lightweight. I will probably sew it on with a cloth backing on the inside of the flightsuit’s leg. This way the suit’s material doesn’t take all the stress of the hose hanging off it.

I’m a fan of using glue in combination with some sort of mechanical fastener. I figure a little dab of glue inside the pilot hole of the dowel couldn’t hurt. Plus the connector probably sees a lot of abuse with its location.

The two pieces cost me like $8-10 and 90 mins of fabrication.

Nicely done! Nicely done indeed! :crunch:

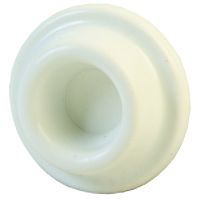
You should get a rubber door stop, they look a little better:

That’s cool, but mine are done, and I think they look fine.

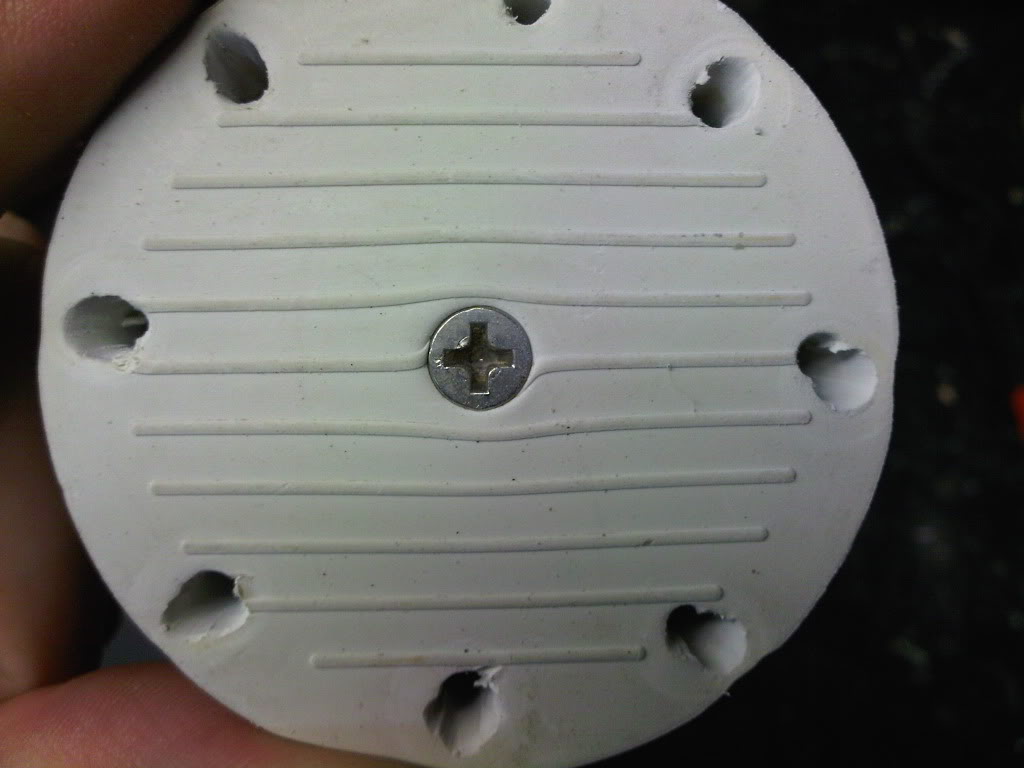
Another cool thing about the base is that the back has lines. This makes it super easy to find center.

damn, really?

Yep.

Yep. For a simple easily available fairly accurate looking solution, its a great addition! Thats the first “junk build” one I’ve seen here that looks close to the screen look, and I’ve been around more than 2 years now.

Creativity deserves praise.

Well, I guess there’s no pleasing some people. Gareee, I’m glad you enjoyed my idea. Fossil liked it too, and his builds are sick.

I painted it and it looks great. It’s being sewn on as I type.

Wait, are you seeing it on as you type? Skills.

Ha!

I hate predictive text.

in all seriousness, that was a great job. :crunch: :crunch: :crunch:

Thanks for the idea! I am going to try this out. I like the idea of a softer lighter rubber feel rather than a hard resin piece flopping around :slight_smile:

I think I will try and dye it with RIT dye if I want to change the colour a bit.

I googled it and saw that fabric dye can be used on plastic and rubber, here is the technique if you want to check it out

Good youtube link, but many people here have already been dyeing plastic with Rit when they dye their uniform hoses.

No reason a good process can;t be repurposed to colorize something else. I hadn’t thought about dyeing the leg hose connector. They only had black here last time I checked, but next time I head over to the big city, I’ll see if that Lowe’s or Home Depot has them.

What we’ve been using works, but if we can get something closer to the original look for almost no money, of course we’ll take that dive.

That’s a cool idea, but be careful. The center of my connector is a wooden dowel. Soaking it may cause the wood to swell. Other than that, job well done!

Maybe dye them first, or use a plastic spacer instead of a wooden dowel?