Hey Yall! After building my fiberglass/resin pack earlier this year I joined my local GB chapter. I realized that for certain events I want a lighter pack that I don’t have to worry about getting bumped around ect. So I decided to do a vaccuform pack build with the studio creations shell.
My goal here is to try and make it look great but with the cheapest materials, so I’m using PVC for a lot of parts.
Some parts like the bumper, ladder, knobs and resistors I’m going to go with resin just for ease. I’m not going for total accuracy with dimensions because the SC shell itself is not super accurate.
Last thing before pics, I want to thank all the other great build threads on here especially the SC pack threads. I picked up a lot of great tips and techniques.
So a few weeks ago I received the SC shell. I will try and fiberglass it soon as it seems like a must with this pack shell.
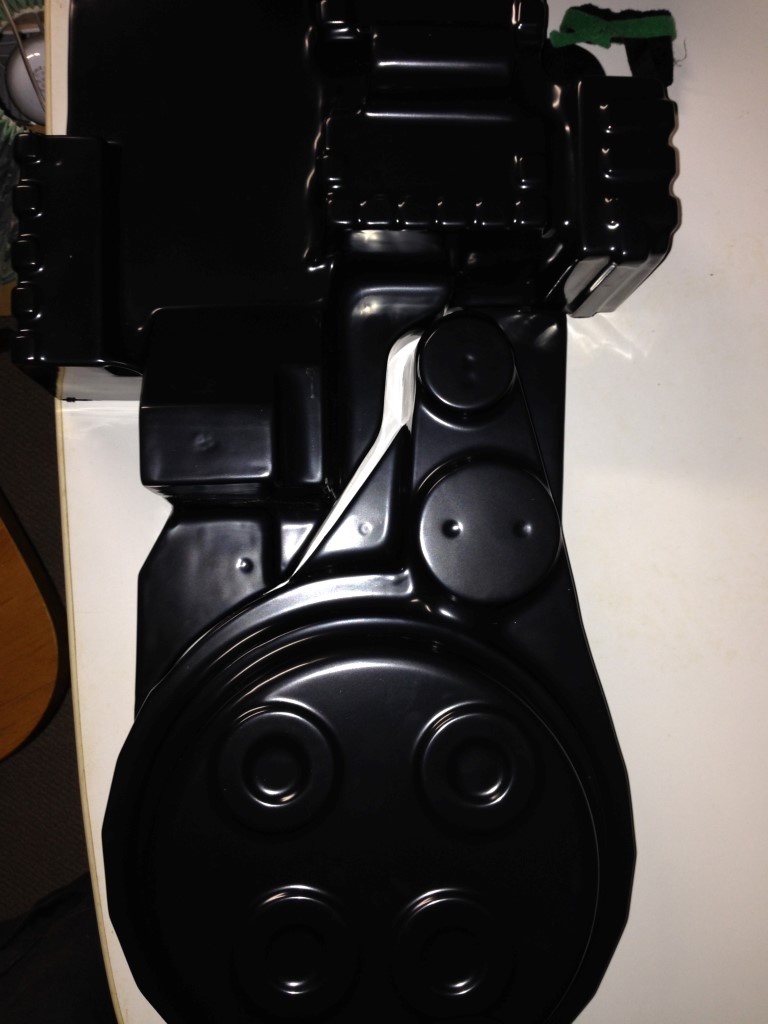
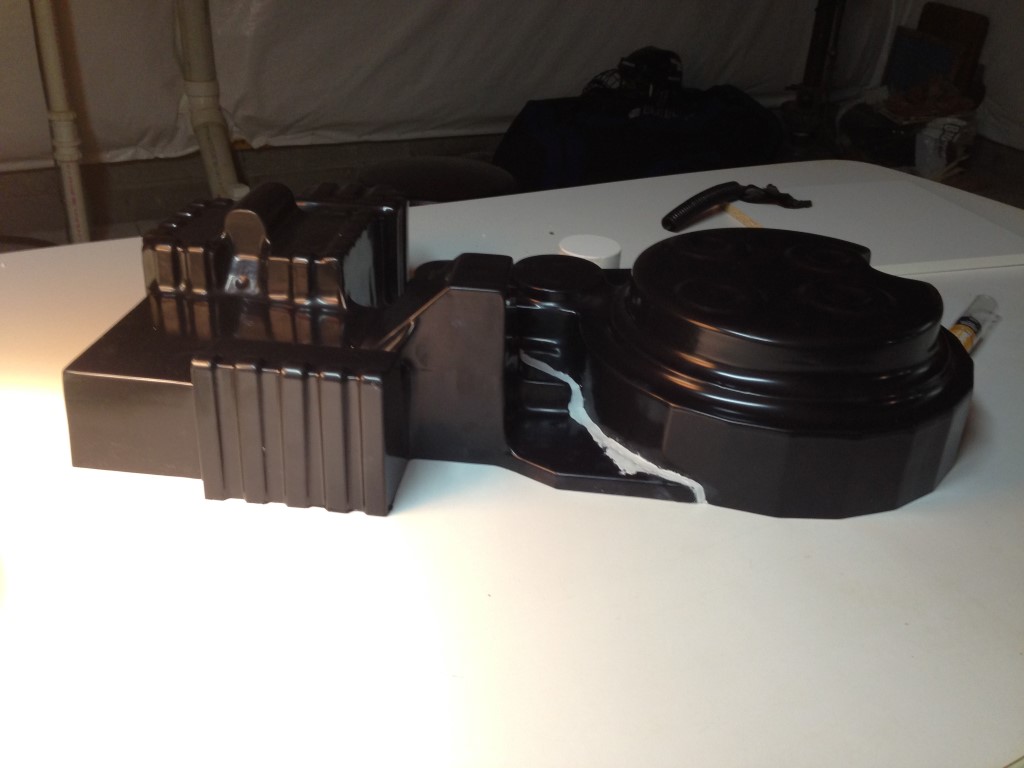
First problem, The 2 halves don’t fit together well
I read that many people were having problems bolting/riveting the halves together without it causing the 2 halves to rise on the ends not sit flat. My solution for this was to set each half on a flat surface so that they fit together as well as possible, then apply epoxy putty into the crevices. I used almost a whole tube of epoxy putty to join the halves and fill the gaps. It now sits completely flat on all sides and is firmly attached. I will have to do more sanding on the putty to blend it in
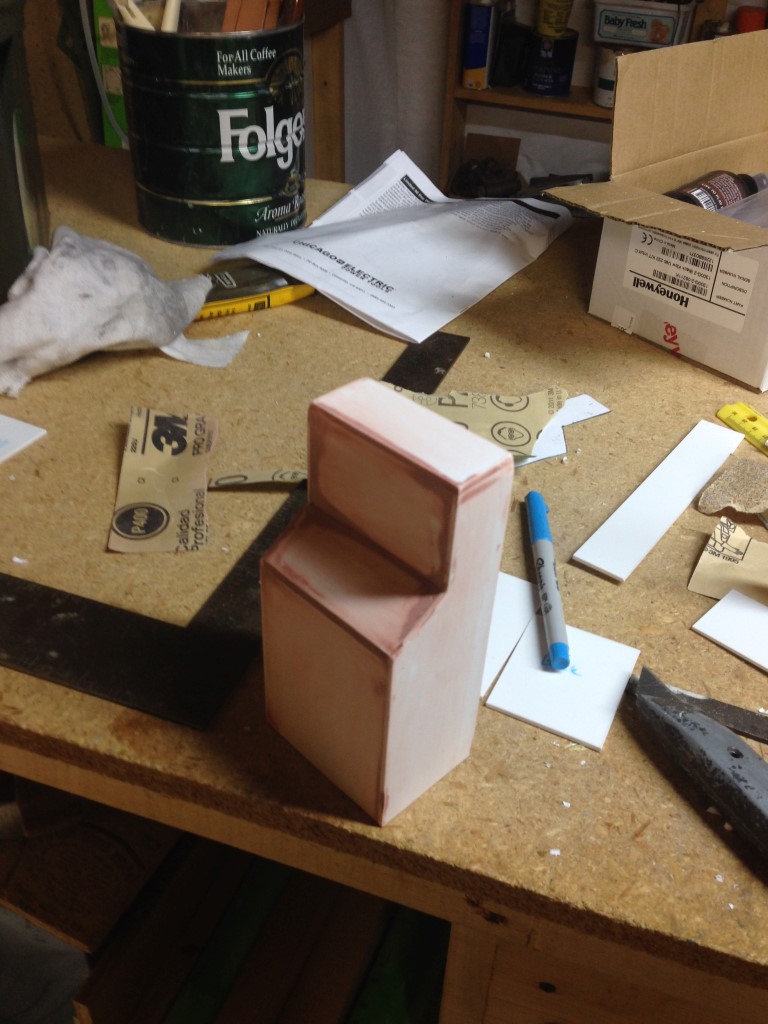
I made a Riser tower out of 1/8" styrene according to stefans plans. It seems a little big for this shell but it will work
I used square styrene rods as supports on the corners. Still need to do some sanding work but I hit it with a test coat of black to see how its going to look
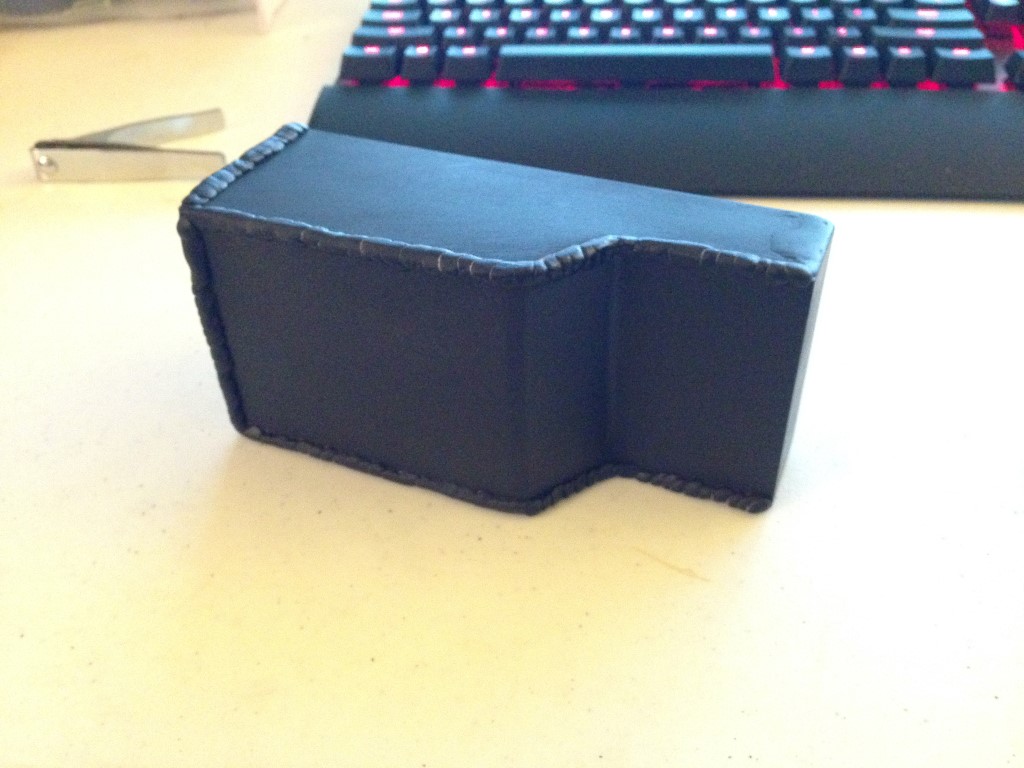
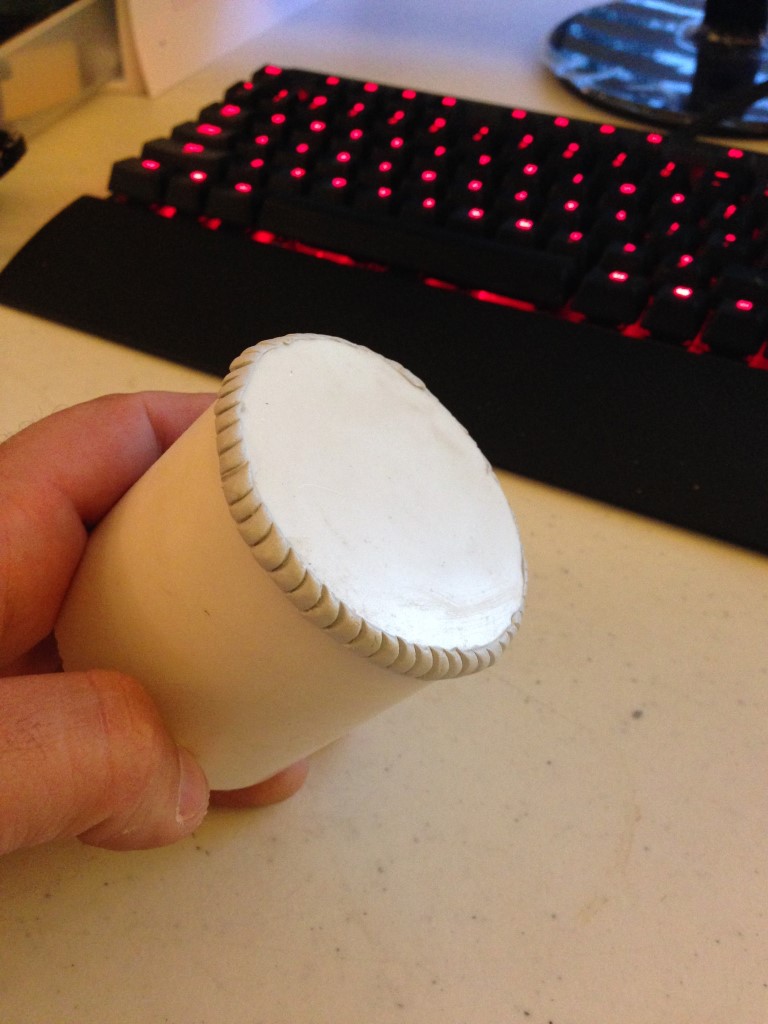
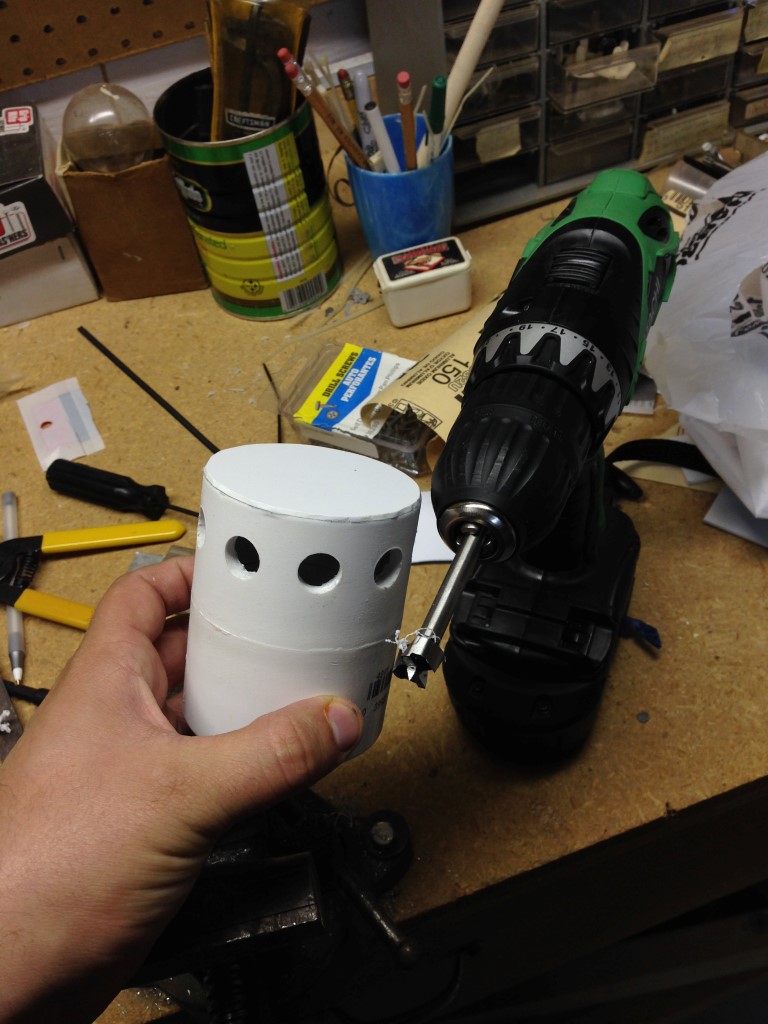
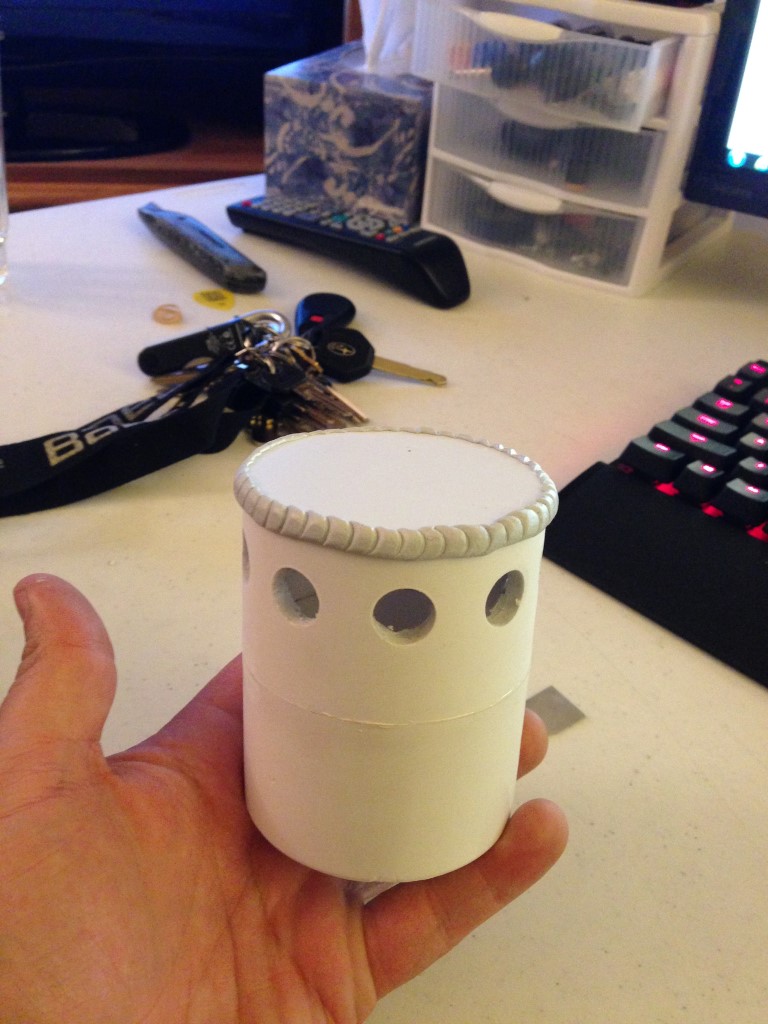
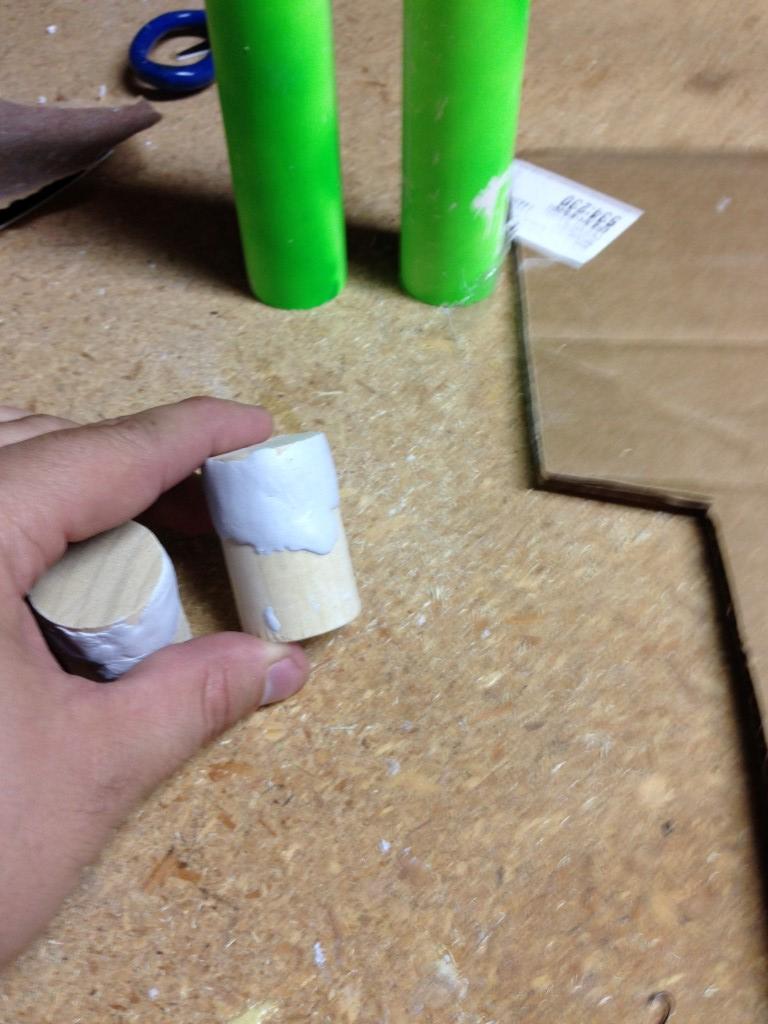
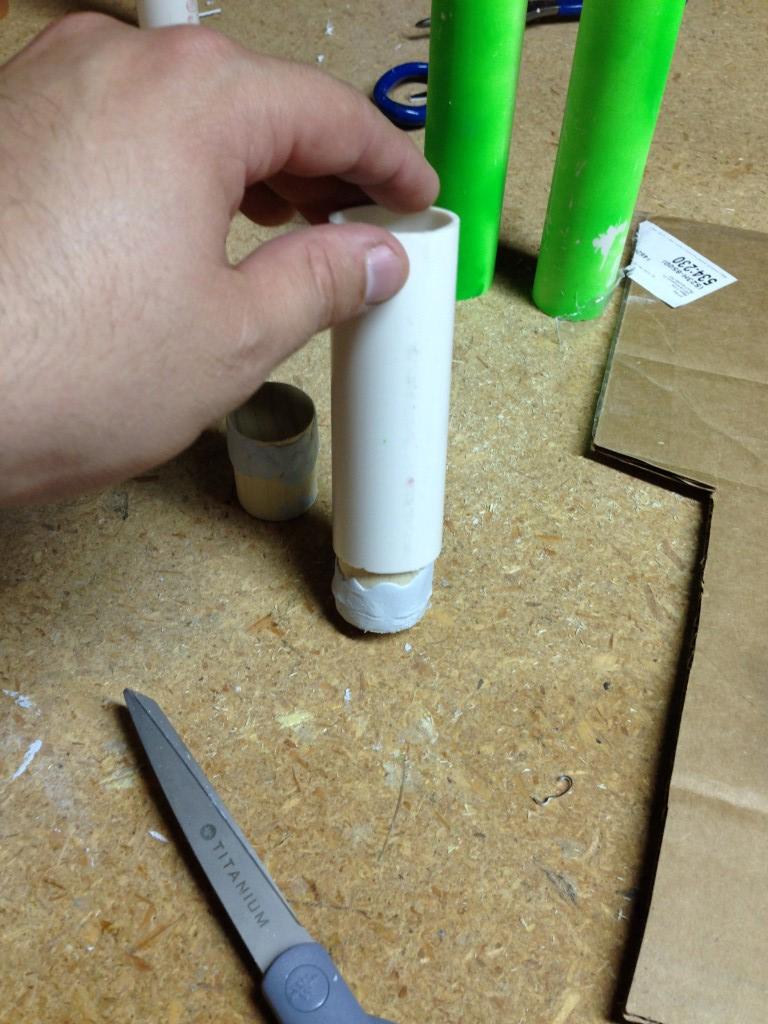
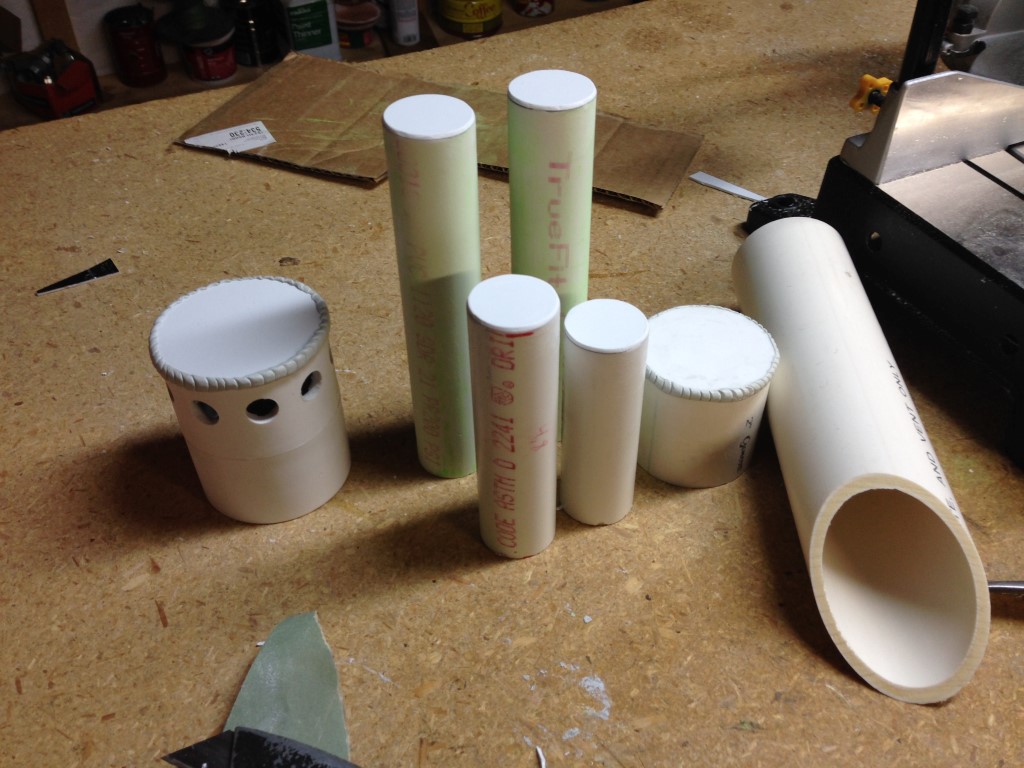
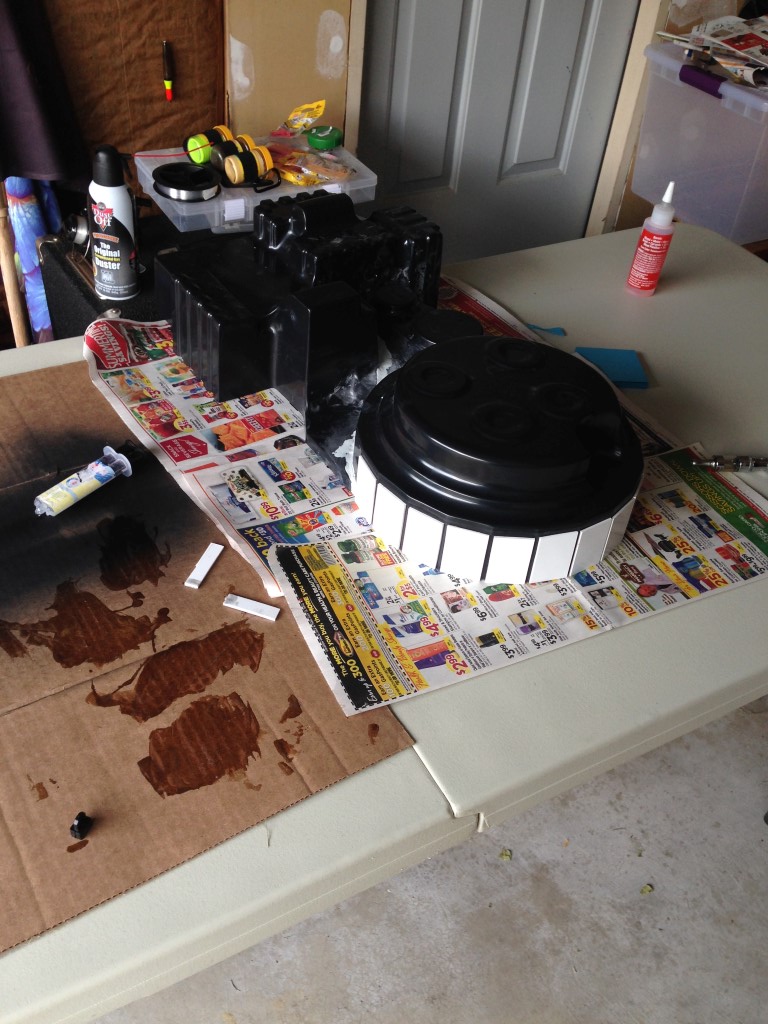
Epoxied some 2" coupling pieces together for the N filter, and some styrene on top for the cap.
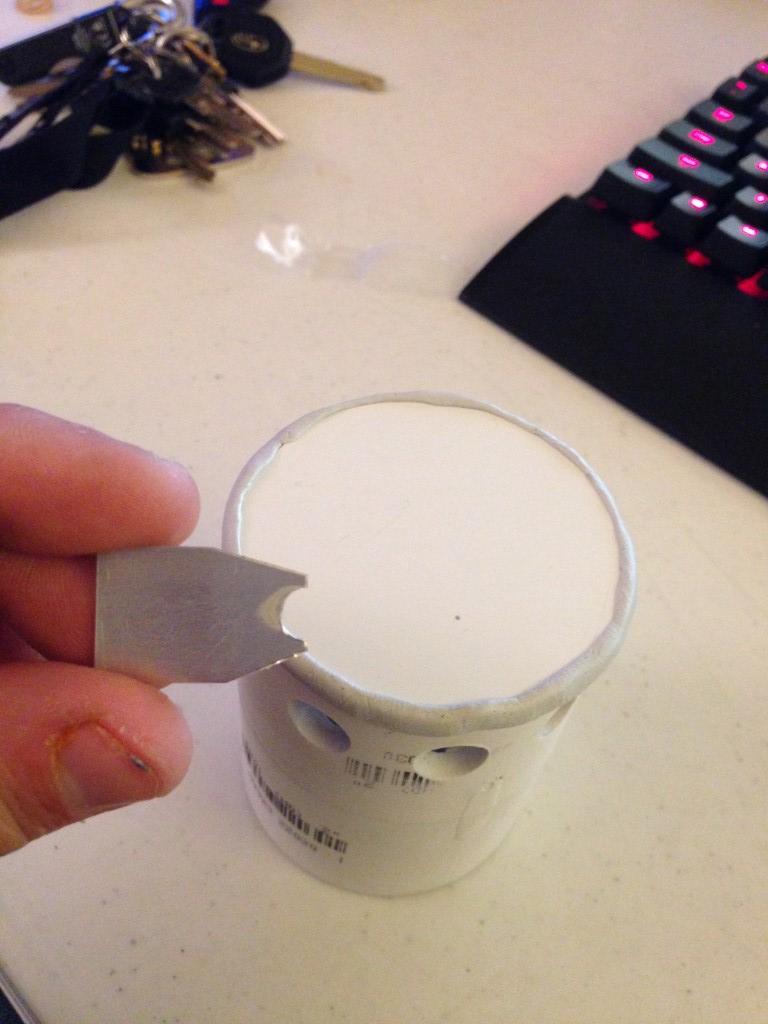
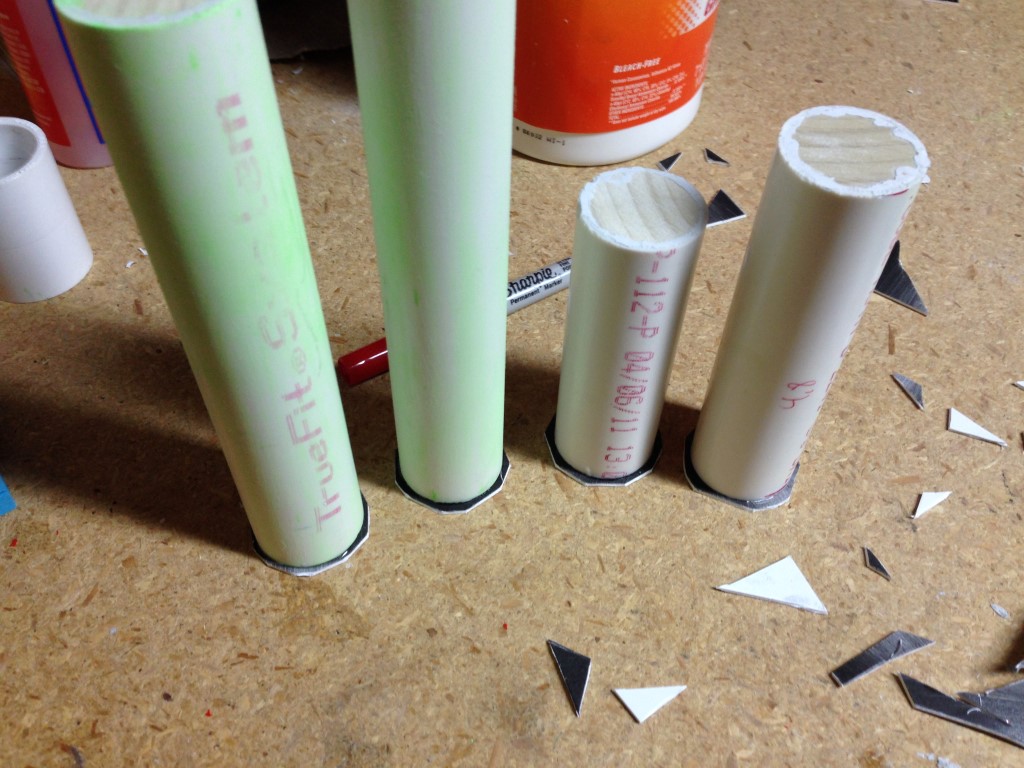
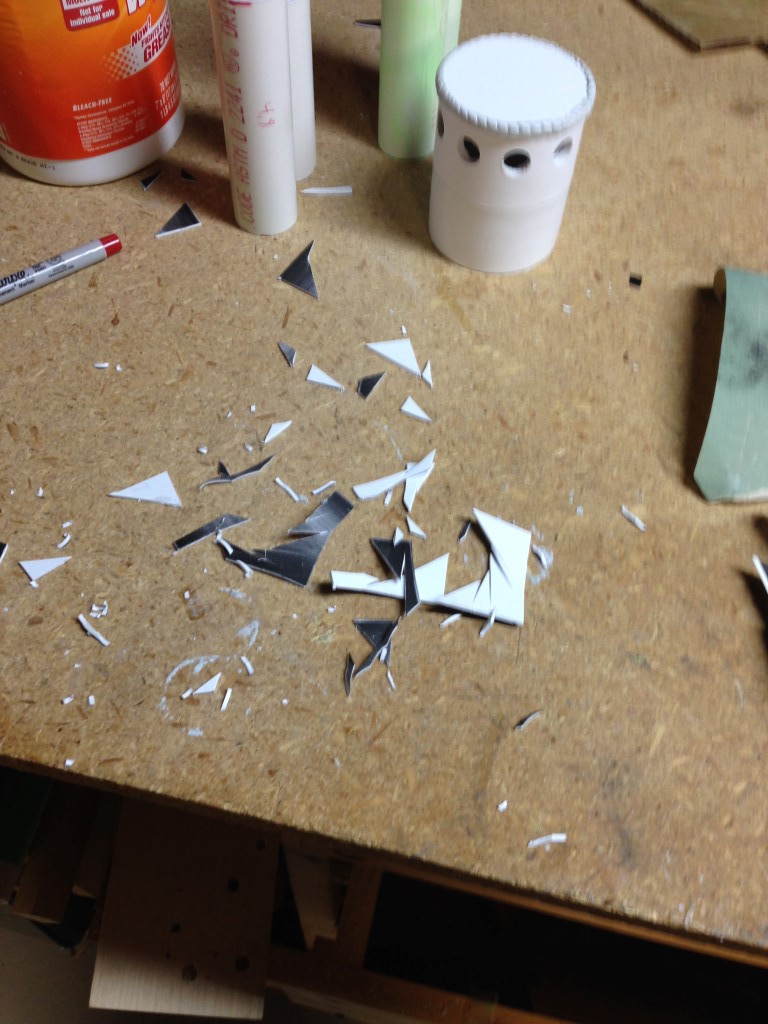
I just cut the styrene to a rough shape and used a razor blade to trim it as close to the edge as possible.
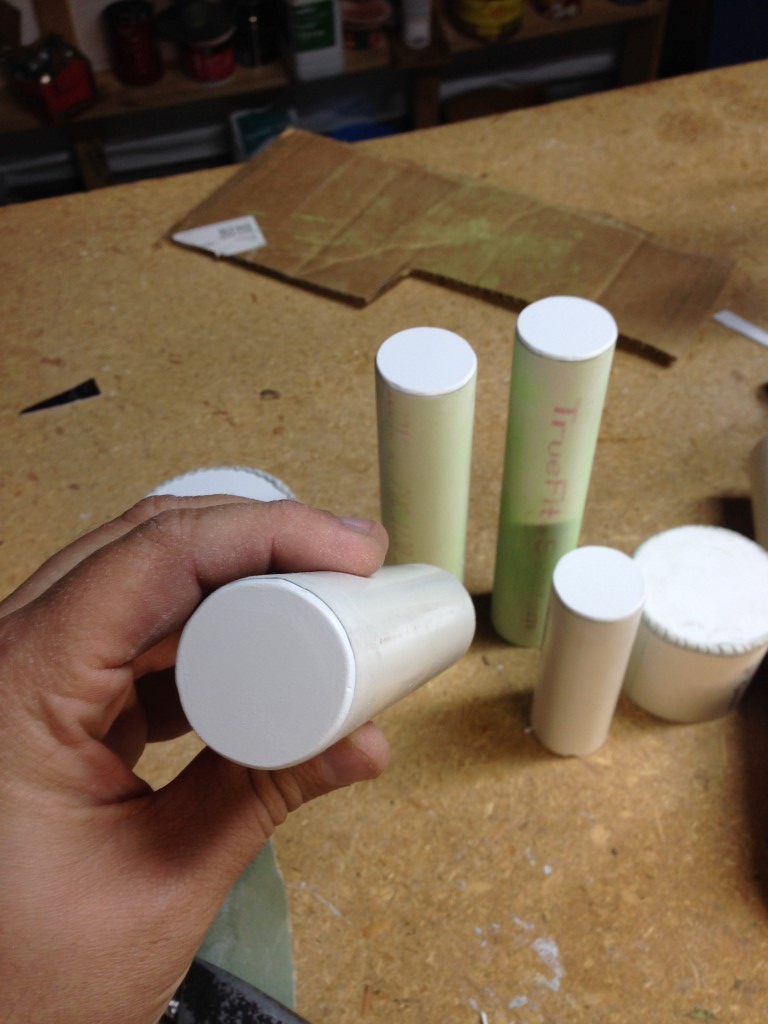
Hit the edges with some sandpaper after. The styrene cap doesn’t have to be super smooth and perfectly circuilar because it’s getting covered up with epoxy weld lines.
Looking great! I have another SC shell myself that I plan on using as a parade pack or a spare if someone needs one. Looking forward to more of your build!
I then used a box cutter razor blade to carve the excess off. You really need a brand new razor or it will be more difficult and dangerous with a dull one. Hit it with a little 220 grit sandpaper
I don’t mean to throw the topic off course but I just ordered a sc shell myself and was wondering about making it more rigid. I’ve heard people saying that fiberglass works but this will be my first big prop build and heard fiberglass can be finicky when drilling. Do my question is can I just add a layer of bond on the inside to strengthen it with out it becoming too heavy?
Looks great so far. I hope mine turns out as well when I get it. I do have a question. I heard I could use fiberglass to strengthen it but since this is my first big prop build and I heard fiberglass can be finicky when drilling, can I just use a thin layer of bondo on the inside? Would that make my pack too heavy? Also sorry if this double posts I tried doing it on my phone then the gbfans app but it kept giving me errors.
Funny you bring that up! First to answer your question. I do not know if that would help strengthen it, But most of the “fiberglass chipping while drilling” things you have seen is actually the gel coat or resin outer coat (the smooth outside layer) Since your outside layer of the shell here is styrene and not gel coat, I don’t really imagine it would chip while drilling. Fiberglass will add a significant amount of weight because of the resin you have to add to it to make it hard. You need a lot of resin for a whole pack so it will add 2-3lbs just in resin.
Now the reason why I think it’s funny you asked… I attempted using fiberglass for the first time. It was god awful!
Honestly besides the mess it wasn’t that difficult but I had some problems.
I tried using the chop mat first following some advice here. I used spray adhesive to attach small strips of it to the inside first before adding resin. My spray adhesive must have not been strong enough because as soon as I started to dab the resin on it all started catching on my brush and lifting off the surfaces of the shell. So I abandoned ship and ripped all the gooey mess of fiberglass out before it hardened.
I was brave enough to try again, but this time with the woven cloth fiberglass. It was significantly easier for me to work with but still had some lifting in some areas.
It looks like total ass (at least it’s on the inside!) but the goal has been accomplished and added a lot of strength. I have lots of cleanup to do. Will not be doing this ever again lol
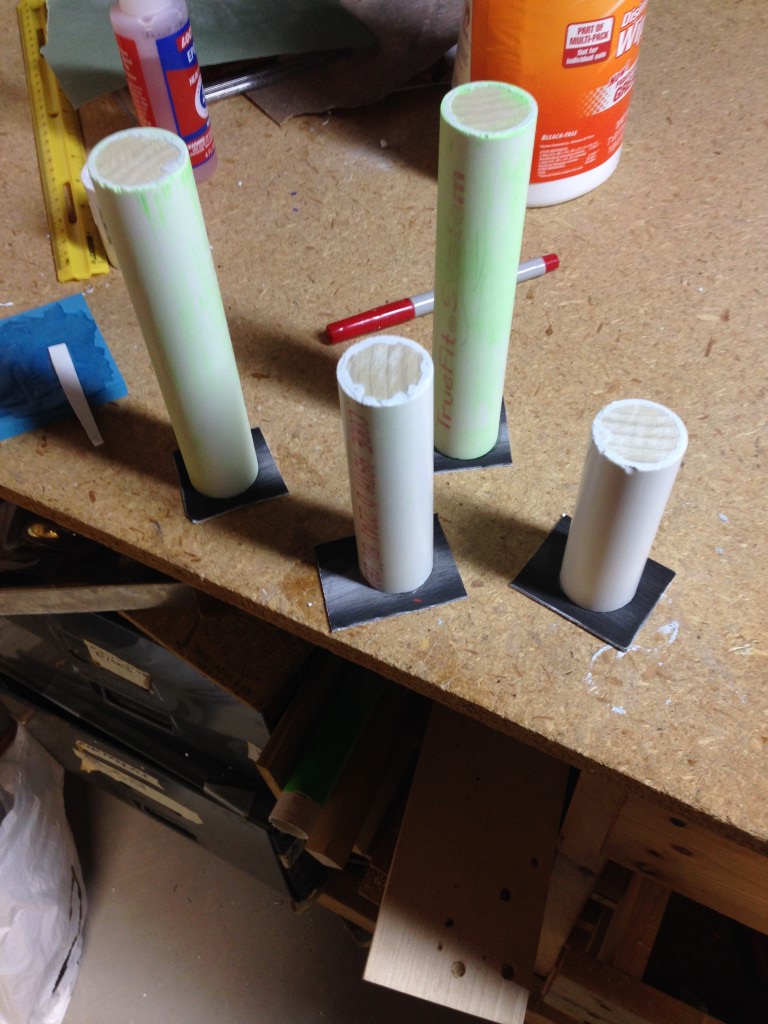
Did some spray painting of parts today using Rustoleum Satin Black.
Very proud of how my scratch made parts came out. I’ve probably spent a total of $20 on PVC, Styrene, and Epoxy Putty with tons of materials left over.
Awesome makes me feel brave enough to fiberglass. And the mat is pretty much the way I’d have to go since thats the only kits I can find around here. I will definitely be waiting on what your finale pack looks like.
Just get good strong spray adhesive to attach it all. Glue it on real good in the nooks and let the glue cure for a day before adding resin. Also definitely use a respirator, gloves, and sharp scissors to cut the strips
Sanded the whole thing to get rid of some resin that got on there, going to hit it with 800 grit tomorrow before painting but DAMN this thing pops once the gloss of the styrene gets cut down to flat. Can’t wait to paint it!
Also if anyone was wondering, I had to trim out the N-filter area because it was slanted and webbed a bit from vaccuforming causing my N-filter to not sit right. Now it fits right against the cyclotron!
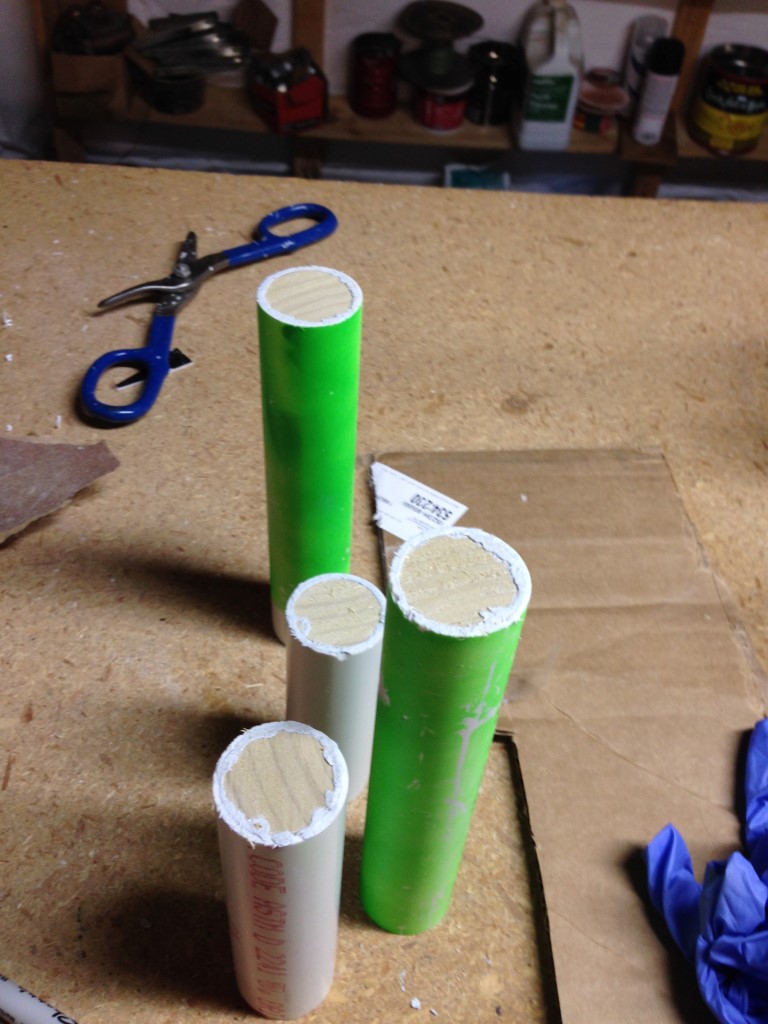
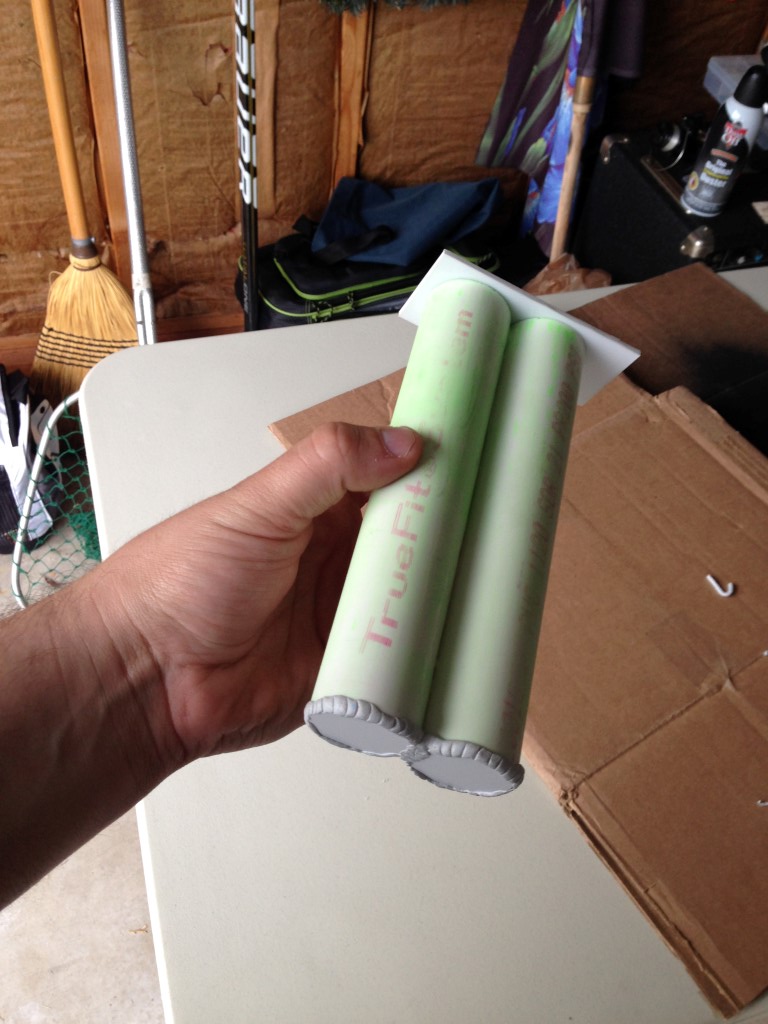
Finished painting my Vacuum line. Styrene/PVC + epoxy weld spots for detail again here!
Another test fitting, this thing is lookin on point!
I was thinking about the small cuts too. I used to do miniature models and used to start with a center cut to fit my Dremmel and just sand it down. Dunno if that would work here or not.