macrogeek's first proton pack build - WIP

I’m building my first proton pack, I want it to be relatively light & durable, and want to have it done before October.

I haven’t settled on a specific build yet, so right now I’m just working on the basics.

I started using a Studio Creations vac formed mk2 shell. I know the drawbacks of using the vac shell but I’ve seen some really nicely done ones on here. Since this is my first build, I figured I would rather make mistakes on a budget shell to start.

Here is the shell as it arrived in the mail. It ships in two pieces.
I tried roughing up the seam between the shell halves with a dremel sanding attachment and using construction adhesive and gator clamps to get the halves to bond to start with, but it just wasn’t sticking well. (plan was to put bolts in after it dried).

I ended up drilling 3 bolt locations and using bolts and washers to hold the pack together.

I then fiberglassed the interior to make it a bit more rigid.
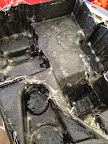
I made sure to wrap the seam between the halves with cloth and give them some extra attention with the fiberglass.

I let the fiberglass bond, and then the next morning started filling the seam on top with bondo using a 1" spatula to force the compound down into the cracks between the bolts and against the fiberglass joint I created on the bottom.
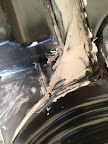
Here is the back after I cleaned up the extra fiberglass strands and gave it another coat. (You can see the bondo seam)
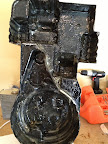
Here is the bondo seam after it’s first pass sanding.
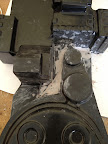
I’ve done two passes with sandpaper and dremel on top smoothing down the bondo. I gave it a quick spritz of spraypaint so that I can see the inperfections in the finish better. Looks like I need to sand some more and maybe touch up a few voids with more compound.
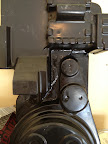
I’m not sure where to go from here when I start adding the additional parts and hardware. I considered working upward from the N-Filter. (but I’m kind of dreading figuring out how to do the bumper)
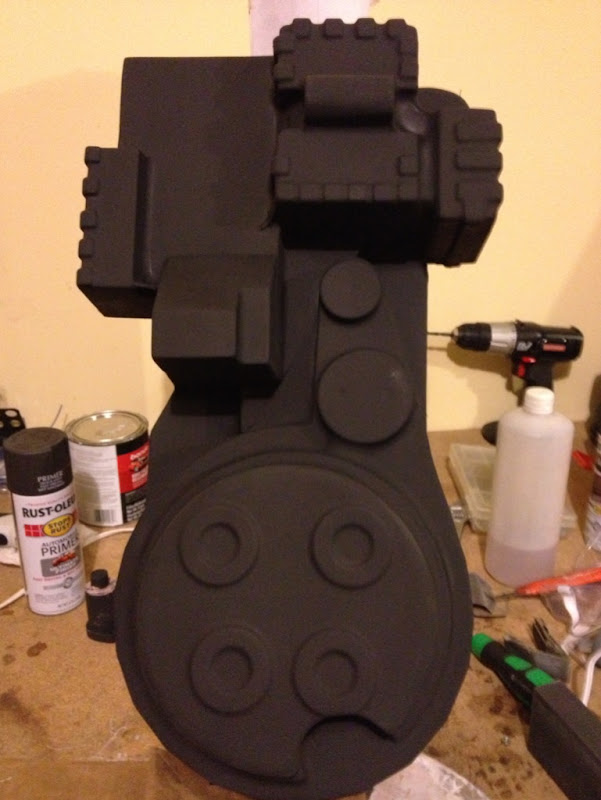
Got the seam between the shell halves filled and sanded, and sanded, and sanded. Gave the pack a coat of black/grey auto primer.

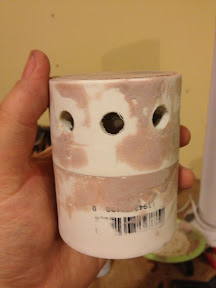
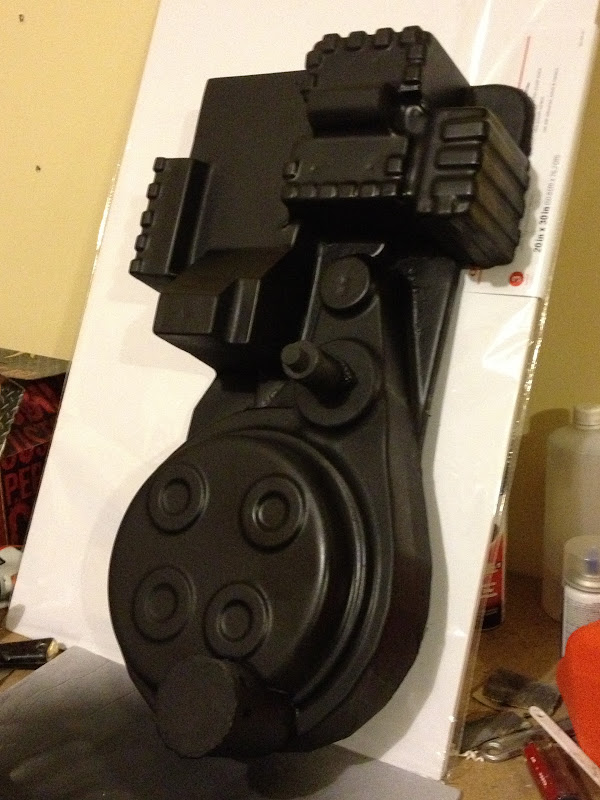
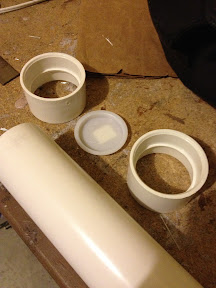
I started building the N-Filter from PVC Couplers. I’m not sure I like it so far…I’m giving it some more bondo in the rough spots and another sand and prime coad and will see whether to scrap it or keep going.

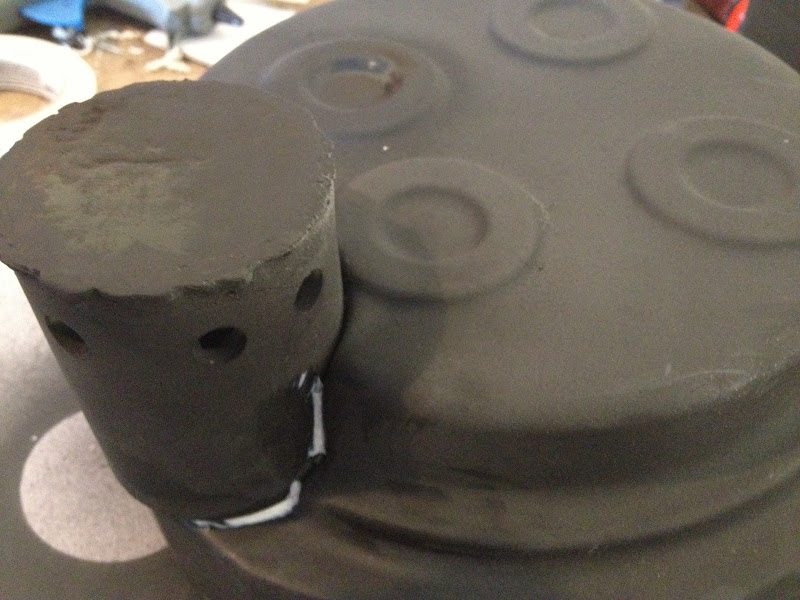
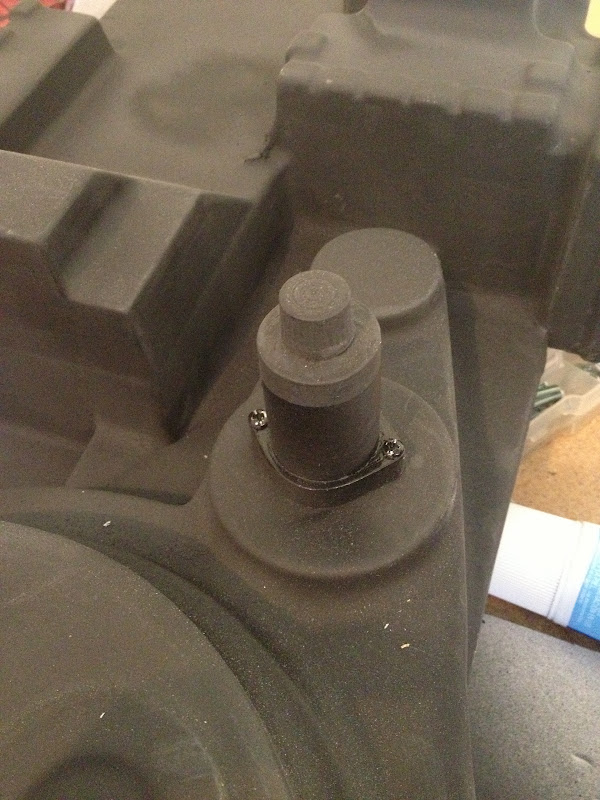
N-Filter and Clippard valve attached.

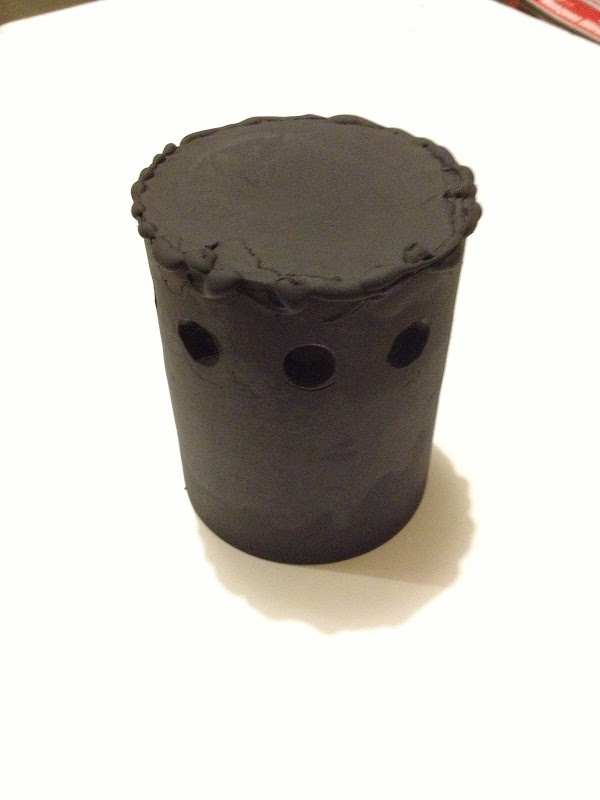
I went back and sanded the N-filter down more and touched it up with a little bondo and fine grit sandpaper before repainting.

Then gave most of the shell a new coat of satin finish paint.

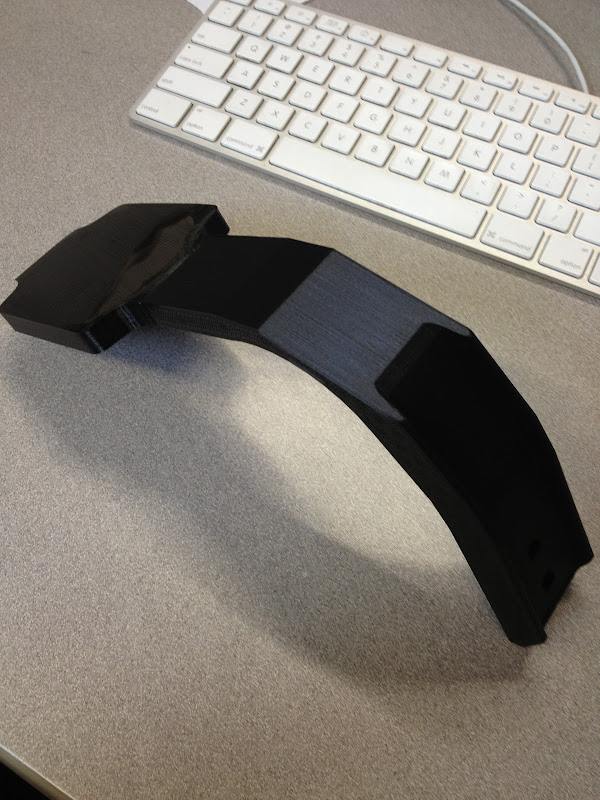
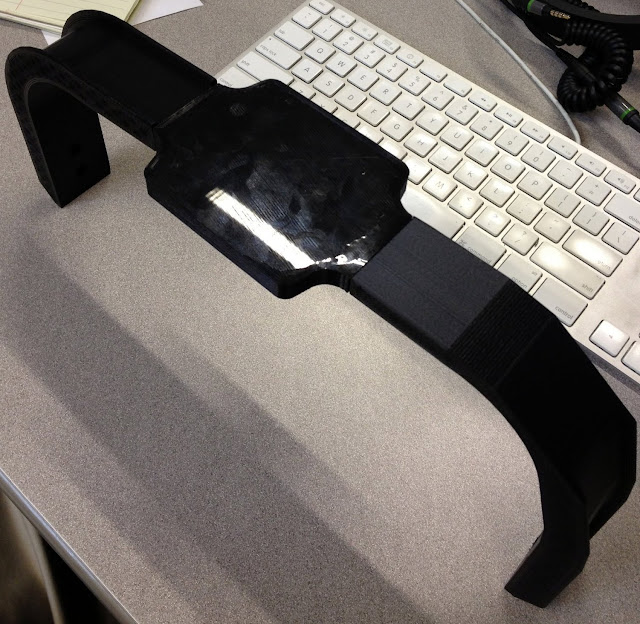
I’ve been working with my friend with the 3d printer to build the bumper. We segmented it into 3 pieces with tabs to join them.

Since he got the heated bed on his printer running, the finish comes out mirror smooth on the side that contacts the glass. We had one of the “arms” of the bumper print badly (printer started wiggling too much drawing zigzags and slipped a belt) We’re going to use that part to experiment with adhesives and paints. I tried to break the bumper arm and I have to say the printed version is really tough…if it fails it’ll be where the 3 pieces are joined…not the individual parts. The printer has been fixed and a new arm printed tonight at slower speed. I should have all 3 pieces tomorrow.

Bumper is finished today. Glue is drying.

I was wondering when a bumper would get printed! Well done!

the shell looks like a single pull … hard to tell its a two part … and the bumper ..wow…

what a great start … ill stay tuned in to see how it turns out …

i am curious how I could go about snagging a bumper like that from ya.

Hey, I’m the guy who modeled the clippard valve, and also printed MG’s bumper. I’ve made the models available on Thingiverse, and will post any others I do that are proton pack related. Here:

Feel free to download them and find someone local to print for you if you want. I might consider printing one for someone, but it takes almost 12 hours total print time and some manual labor on my part, so I would charge for it, probably the $50 range. You might find a better price with someone near you.

Glad to see people like the bumper, I was a bit proud of the result. It was a lot of work pulling that off. The clippard valve was my first ever model done in Blender, happy with it also.

I’d love to see more progress on this build!

WildBohr and I are currently working on Studio Creations pack too and this build is laying out a great roadmap.

Sorry for the lack of updates. I ended up just focusing on getting the pack built.

Here is the latest image. I got this far in time for the local Zombie Walk. I’m still going to finish out the pack more…I added the red hoses this week…need to polish up a few areas.

image

I have more progress pictures from the build. I’ll get them posted when I have time.