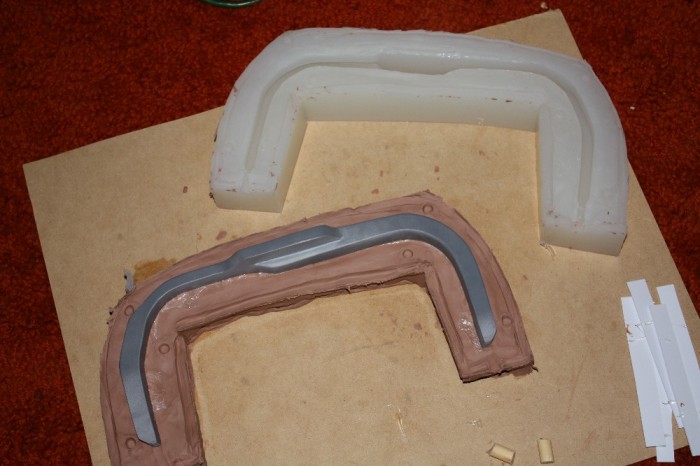
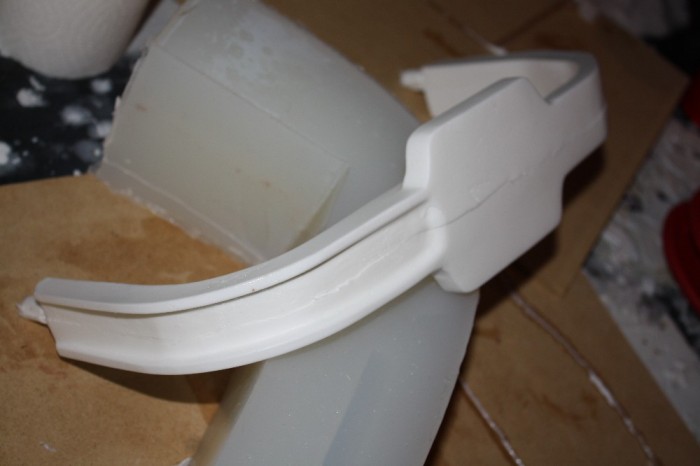
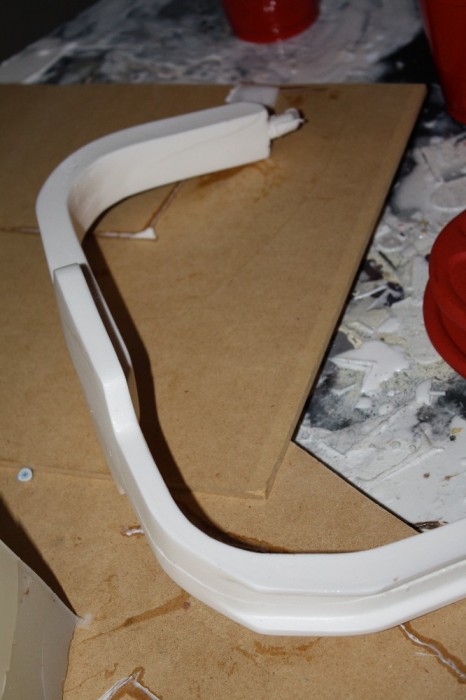
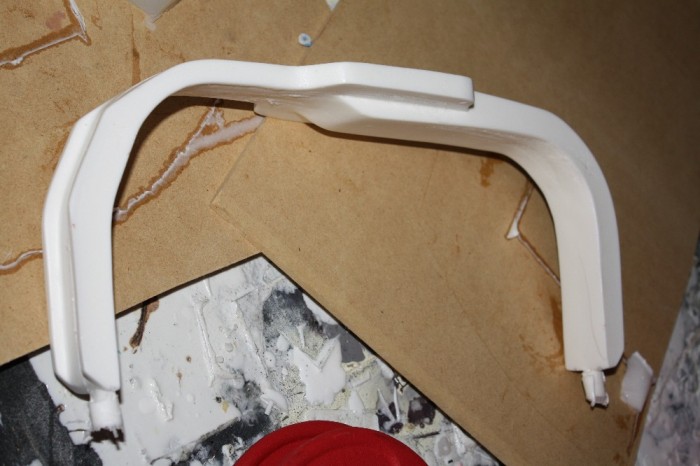
The original (wood) buck
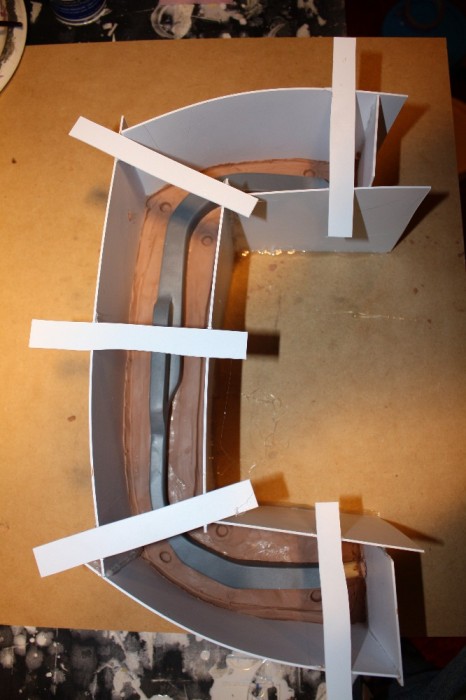
The bumper in its mold box (embedded in clay)
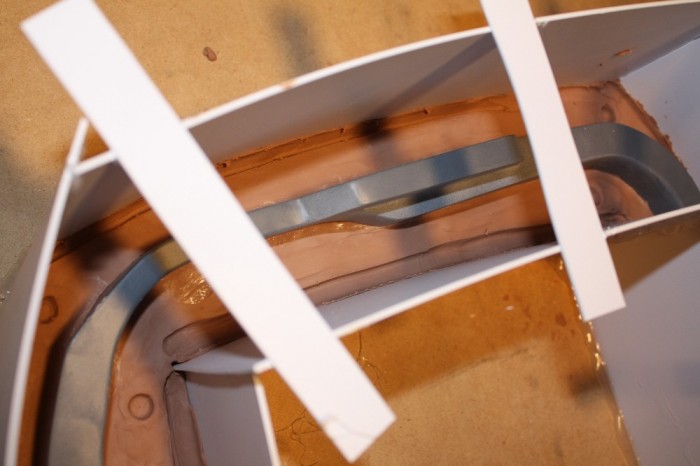
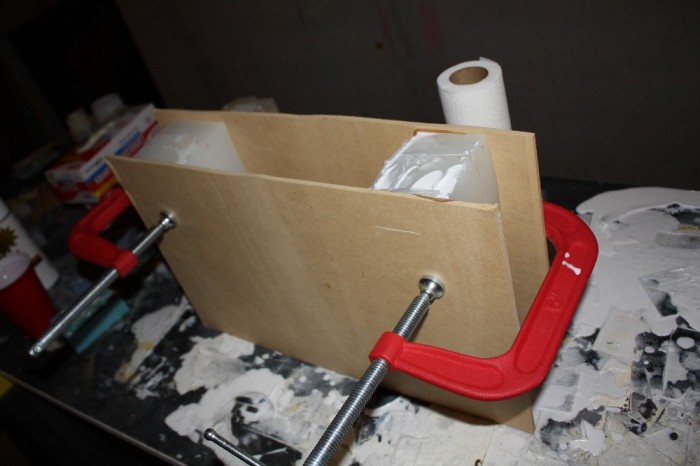
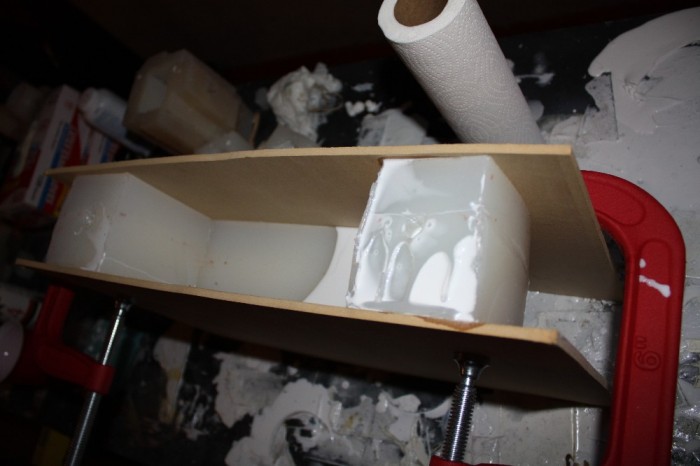
Silicone poured
More to come…
The original (wood) buck
The bumper in its mold box (embedded in clay)
Silicone poured
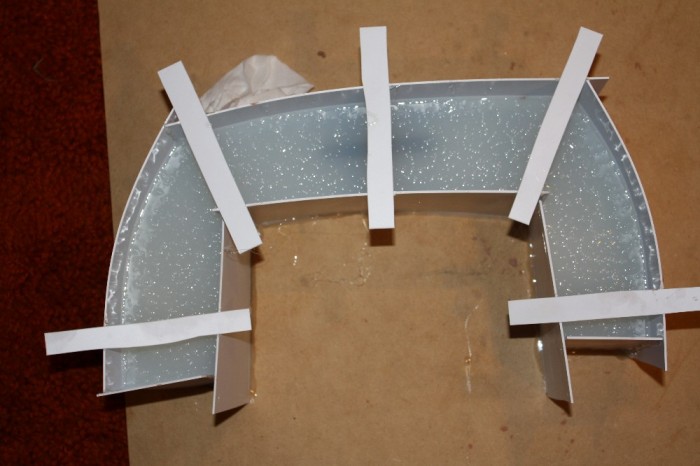
More to come…
Don’t forget a support shell. Looking great so far!!
Sell me this after you’re done..lol
One half of the mold done…
@ArtsNFartsNCrafts, if I’m happy with the end result I’ll certainly make them available.
Why did you remove it before casting the other side? That adds the possibility that it won’t re-seat right and the mold will be crooked.
Good point. Chalk it up to my learning curve.
Agreed, you’re going to lose the seal and may likely get silicone entering your finished side of the mold. Hopefully not but just be aware, silicone will creep into the slightest void. Also doing a top pour like that it’s going to be hard to keep the air bubbles out of the center portion of the bumper.
…you will definately need a jacket mold to keep the ends from splaying
I wasn’t going to say anything since you had already started molding, but for next time or in case you decide to start over, you should fix this little error here:
It should look more like this:
It’s an easy fix on the master or the casts, but it’s better to only have to do that once than every time.
If you go through with your mold as is, you should coat the whole thing, even the inside, with a layer of dish soap. That way if any silicone seeps into the seams it won’t stick to the other half.
i too was going point that out along with the improper width of the face plate. if you’re going to spend the money on making a mold, you should try and get the bumper as perfect as possible.
If you haven’t poured the second half of the mould yet I think you should fix the small mistake TC pointed out and start the mould again, this time not taking the master out between pouring the 2 halves and make a support shell.
Excellent suggestions. I had actually already fixed the issue on the master with the faceplate -just hadn’t posted new pics.
I poured the second half of the mold this morning and just did my first test resin pour.
The hardest part is waiting to see how it came out…
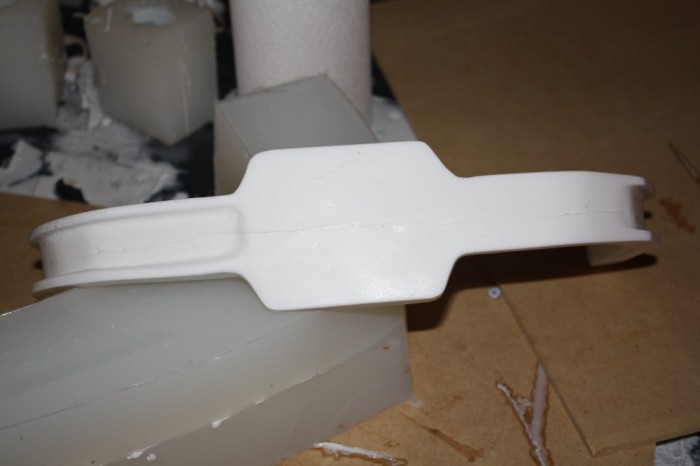
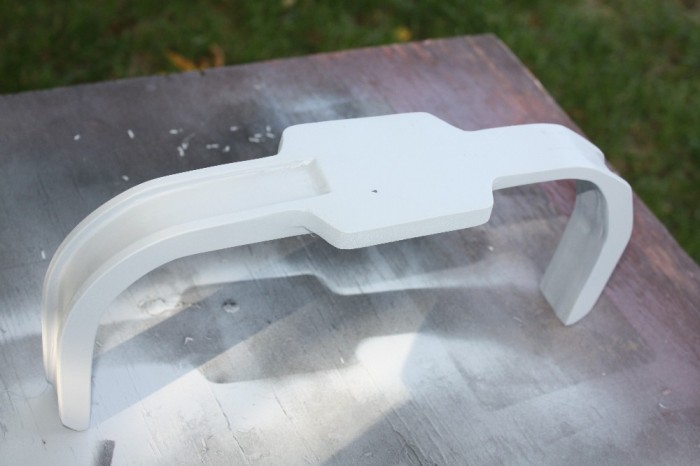
Success! The bumper has a slight seam that needs to be sanded down, but other than that I’m very pleased.
Here’s the pics.
Not bad! You should be able to get at least enough decent pulls to recoup your materials costs. 
Nice! The screen used bumpers also had a seam!
Well of course, I was going for complete screen accuracy… 
I’ll take one!
Came out pretty well.
Is the seam down the middle a desired detail? I always try to put mine on the edges so they can be sanded off, I never really considered trying to replicate a seam line even though it was in the movie. Interesting!
TC -I’d honestly like to claim it was on purpose, but it was a happy accident. If I was going to do it again I’d probably run it down the underside of the bumper where it wouldn’t be seen.
Will this fit nicely on an Alkaline shell?
It’s been built to Stefan’s specs so it should. The bumper has a little flex to it, so it can be adjusted to your shell. The inner portion can also be sanded down should you need it to be a little wider.