Some of their stuff is great, I love their hand tools like wrenches and sockets, I’ve had mine since 2003 when I used to work on cars in a garage. Just not loving their power tools. They have great deals in the flyers too if you’re patient. You can usually find tools for 60-70% off. I got my tap set for about $25 and it was regular $80.
But you guys have Harbor Freight! We went into one a few months ago when we were in Spokane. Its a little like our Princess Auto, but Harbor was cheaper.
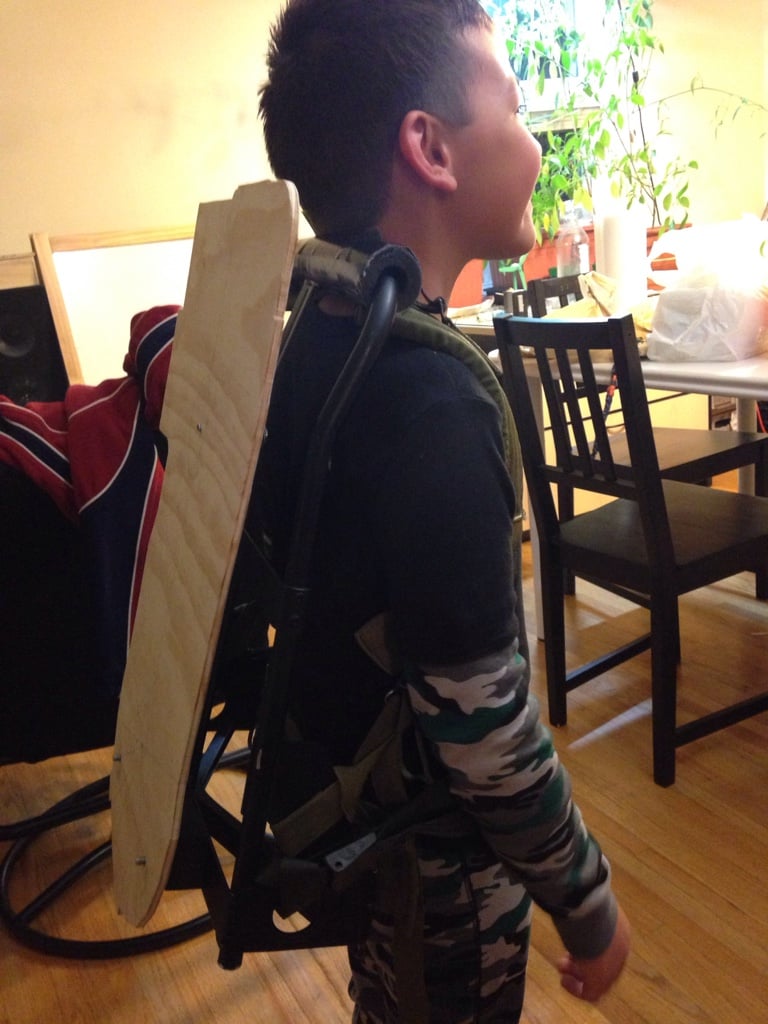
I think I have figured out what to make the cyclotron out of. Stay tuned for updates in the next couple days.
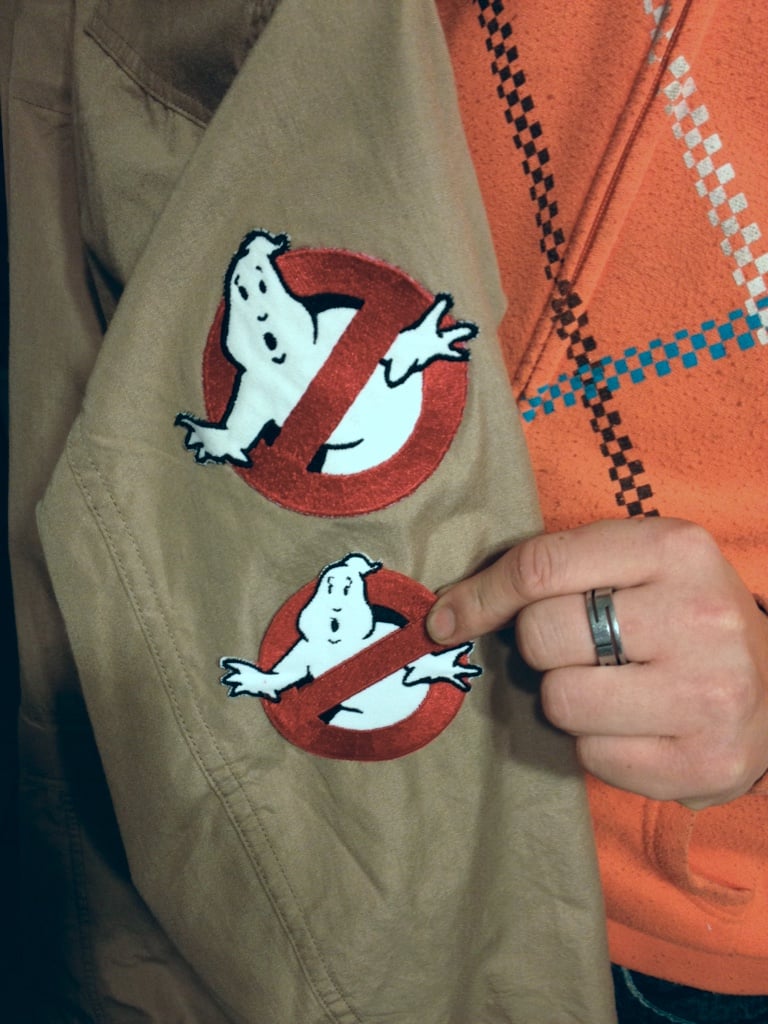
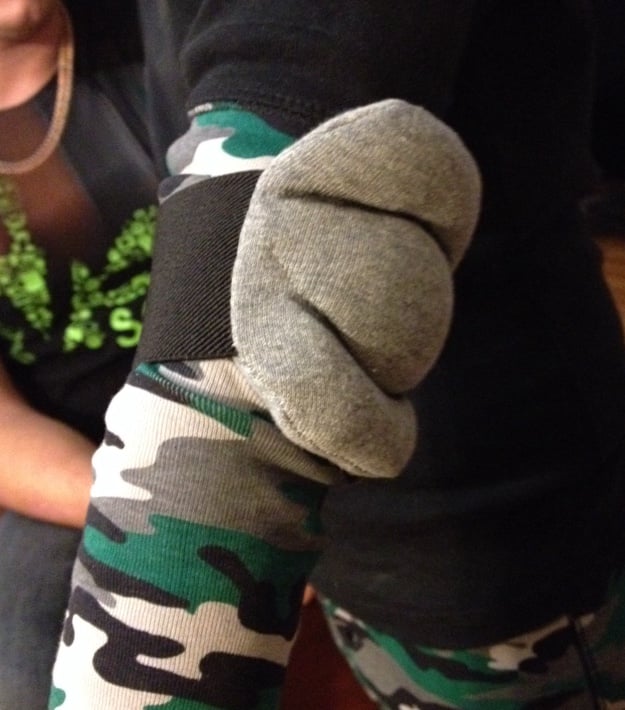
A friend of mine who can sew just handed me these. I asked her if she could make some like mine only smaller and got her the fabric and gave her one of my elbow pads.
She was pretty upset that they weren’t perfect, but for Liam, they will be great! She wanted to try again, but no need. I’ll do the black detail lines to them too.
I took plans (PDF) from jt001 and his reference are from Venkman 71 and SG1Stargate
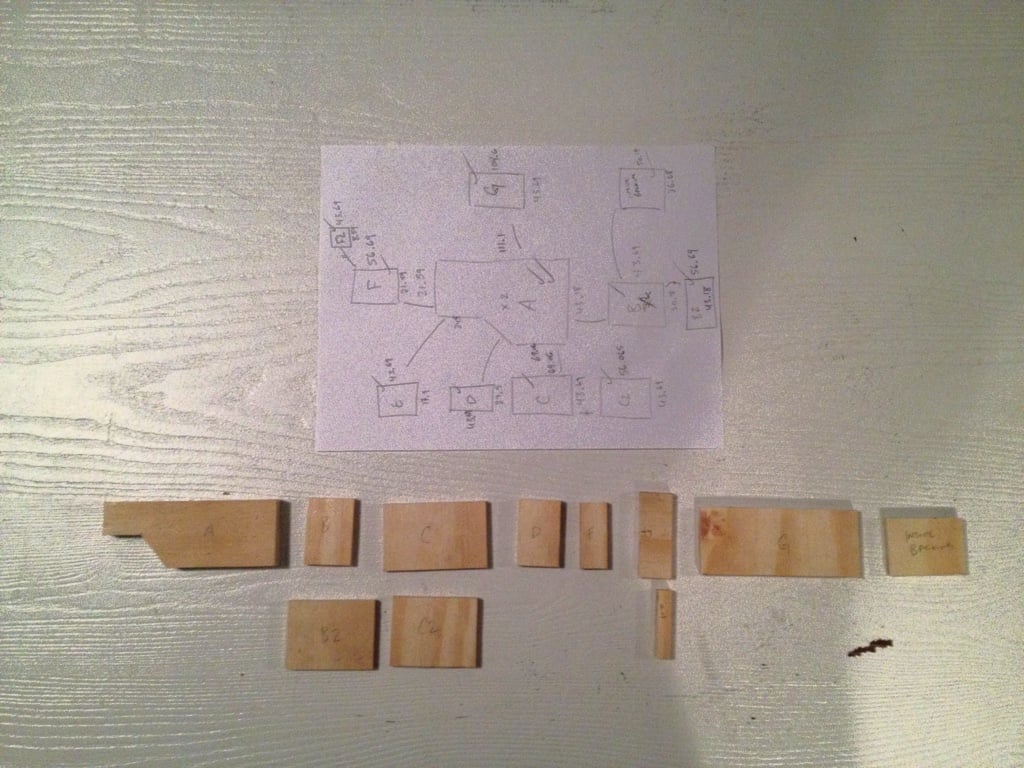
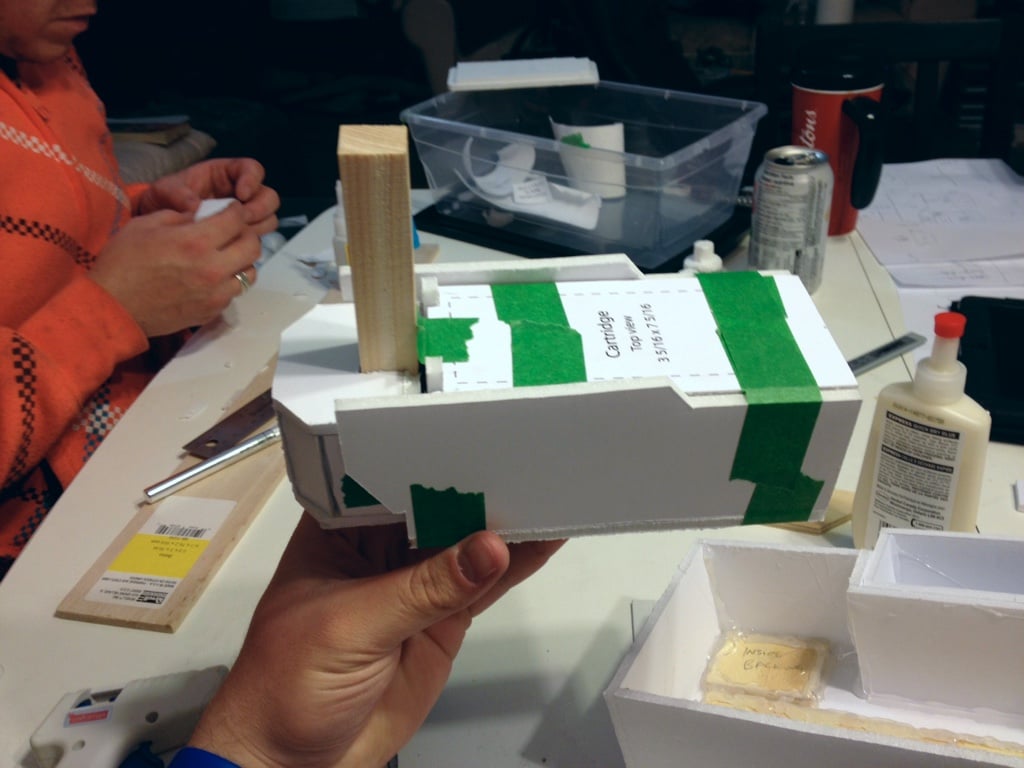
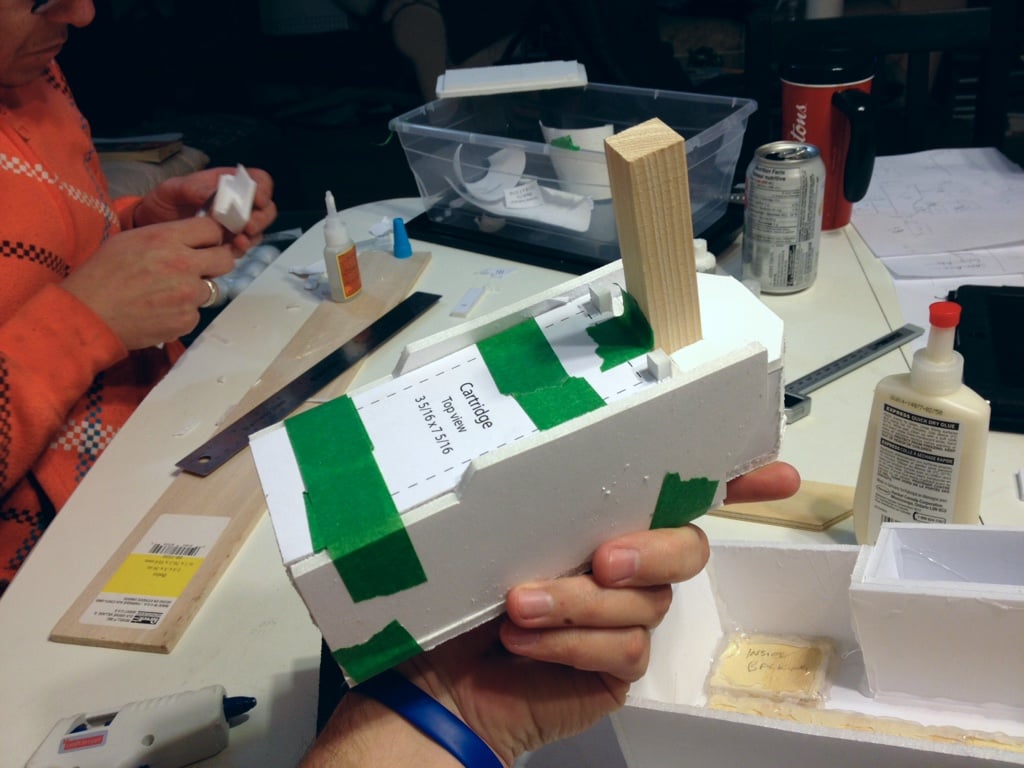
Printed from my computer then cut out and tacked to foam board, wanted lightweight seeing as it’s for my son, was debating with basa wood or foam board, both ridged light and easy to work with, decided on foam board
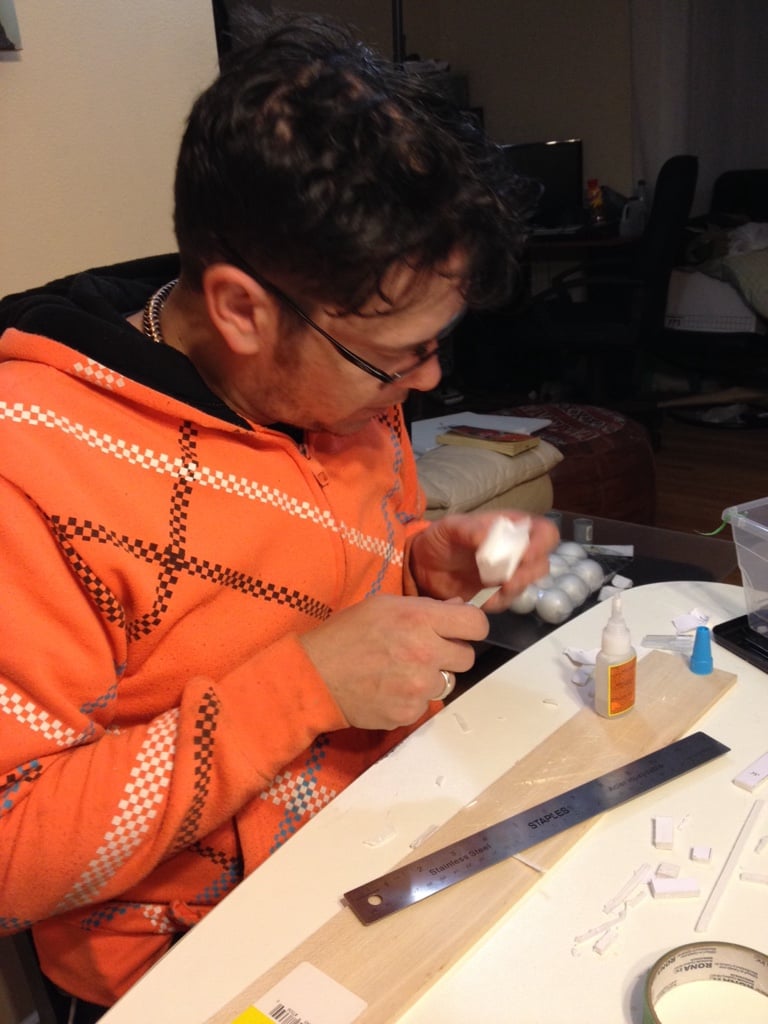
Here is a terrible hack job( this was before the oh so nice 9" ban saw
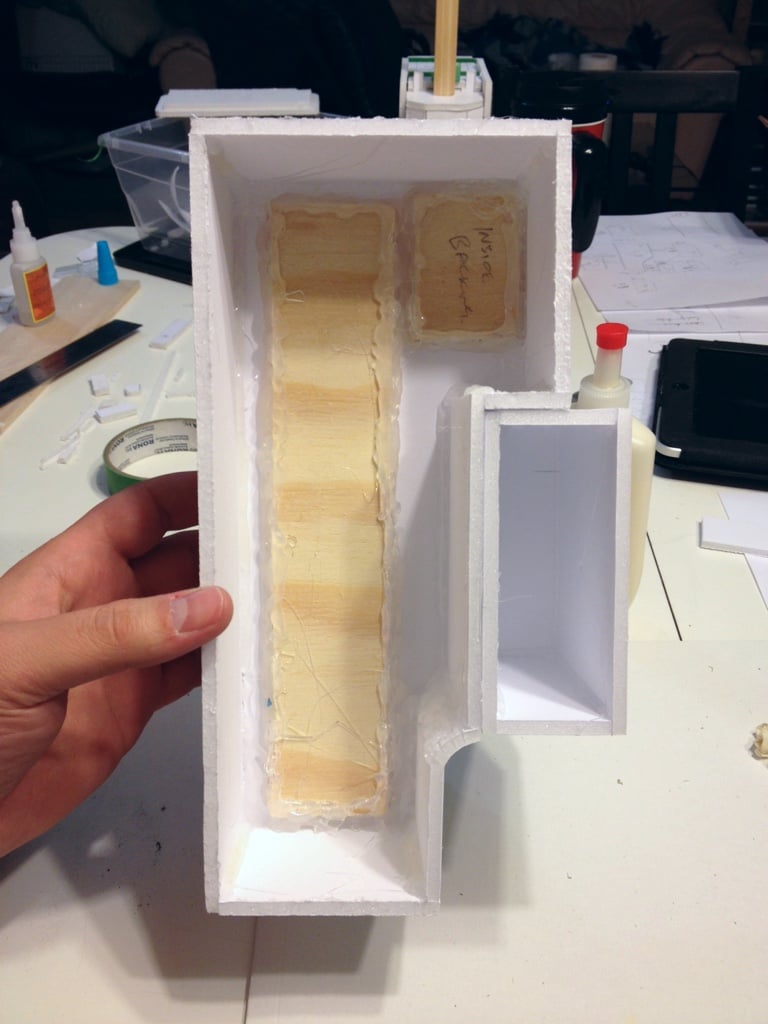
Added magnets to Cartridge to help hold it together
The first foam trap
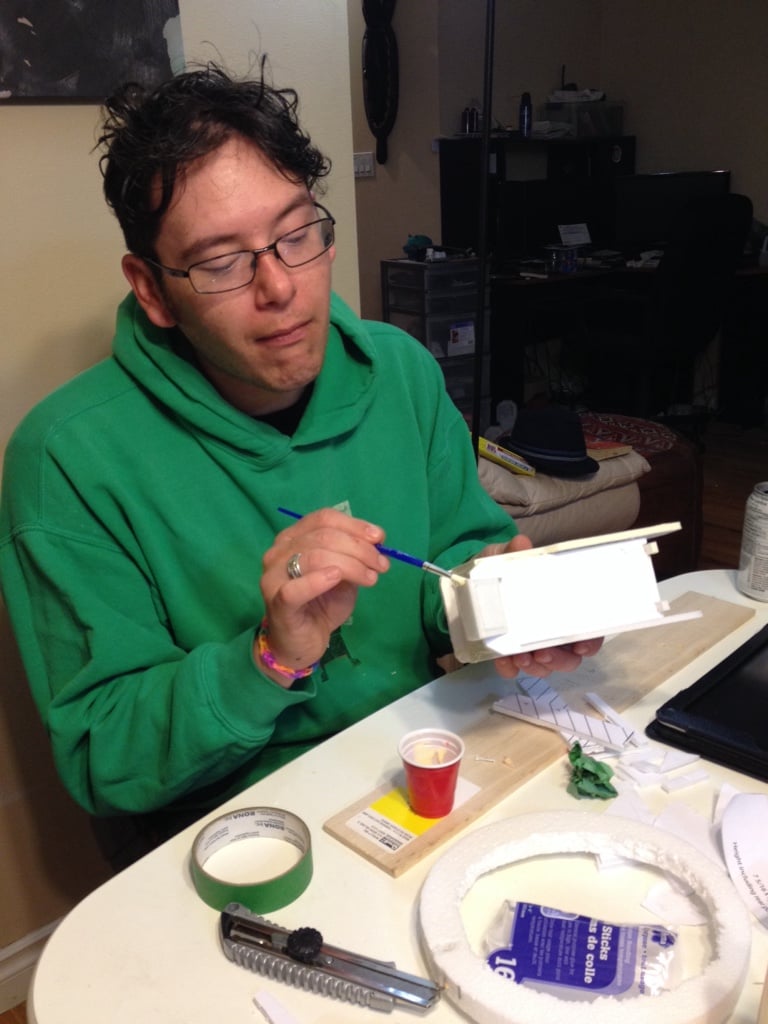
At this point just need to seal the edges and trim and paint
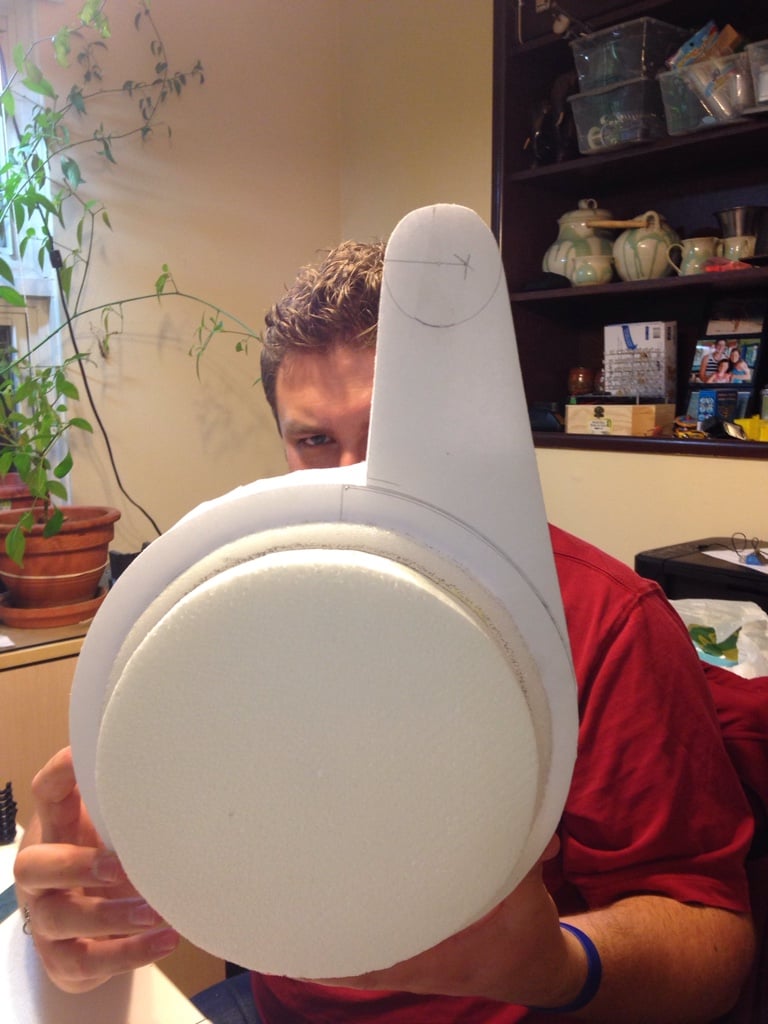
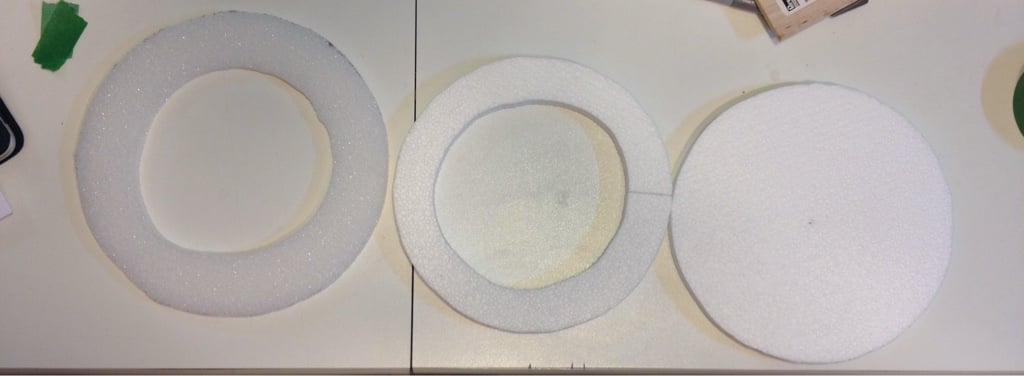
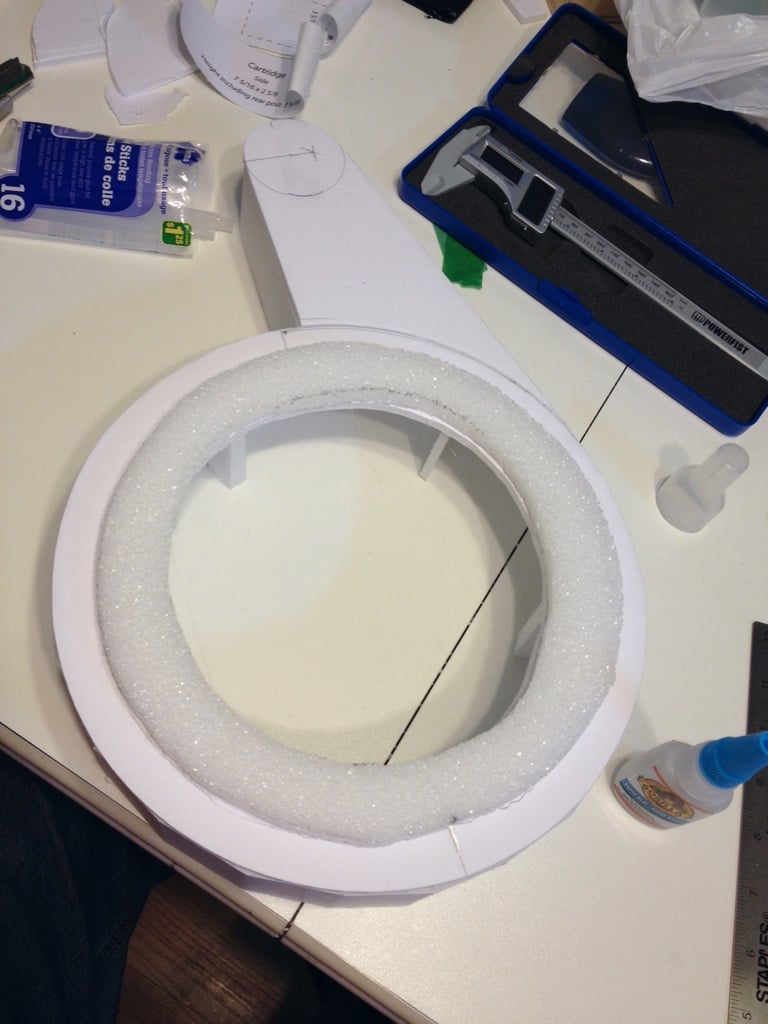
Went to Michael’s and got some foam they use for flower arrangements. Drew out the scaled down circles and cut them on the band saw. Also cut out the middle so we can put in some lights. These cutouts were too small as I found out later on.
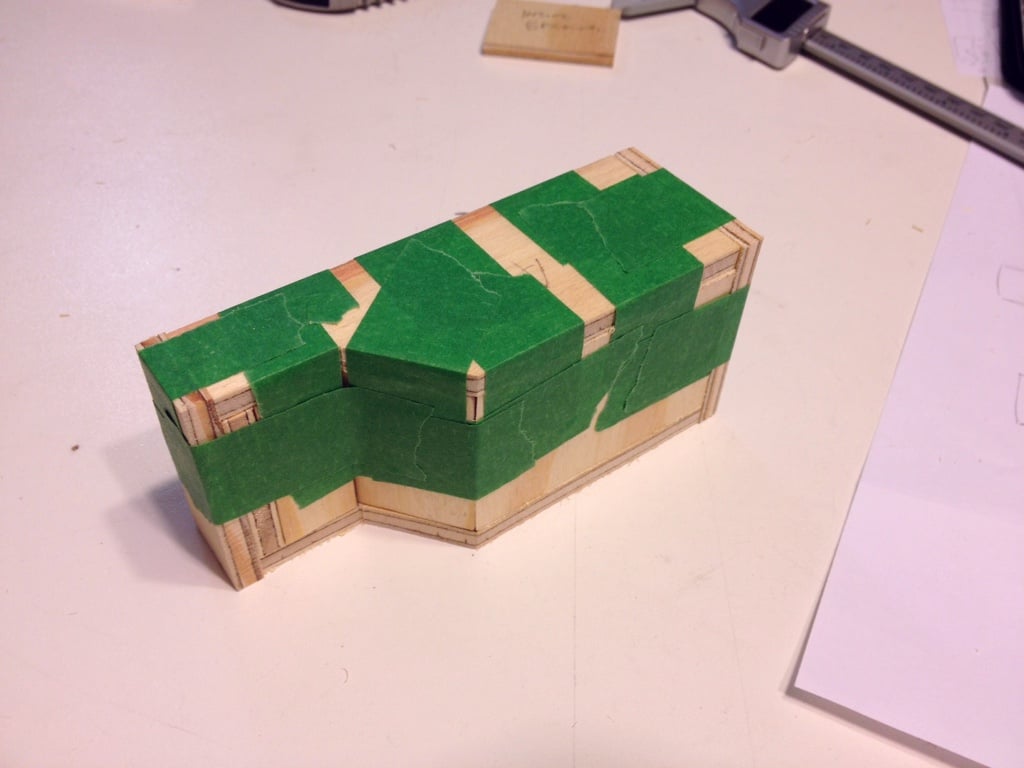
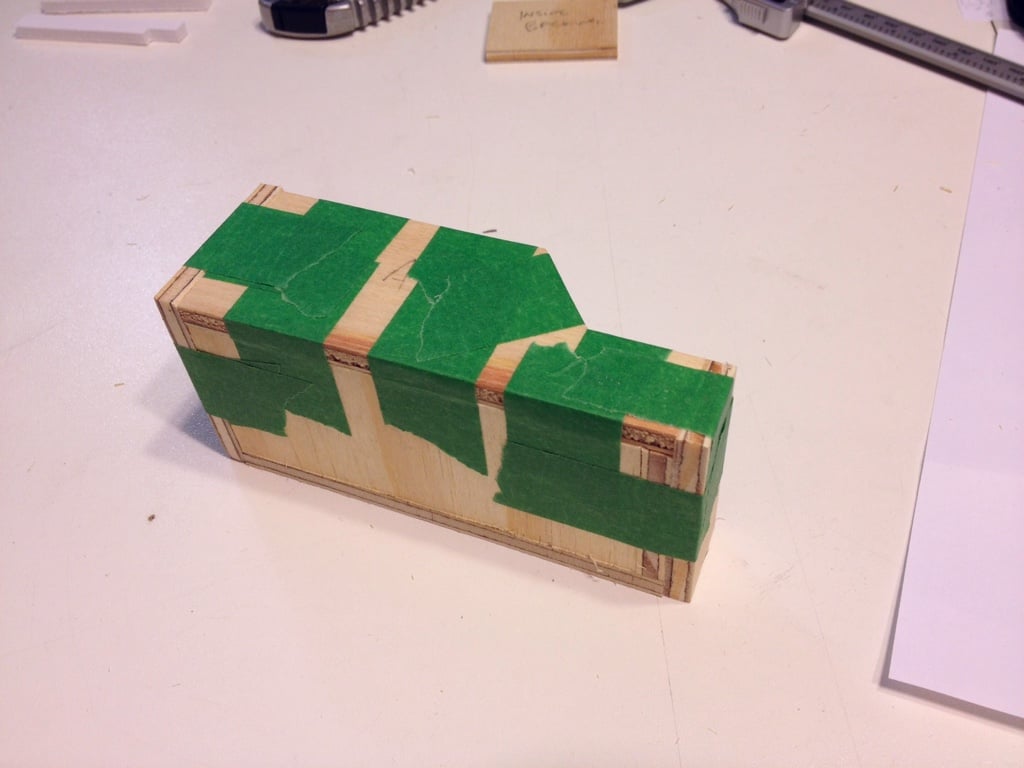
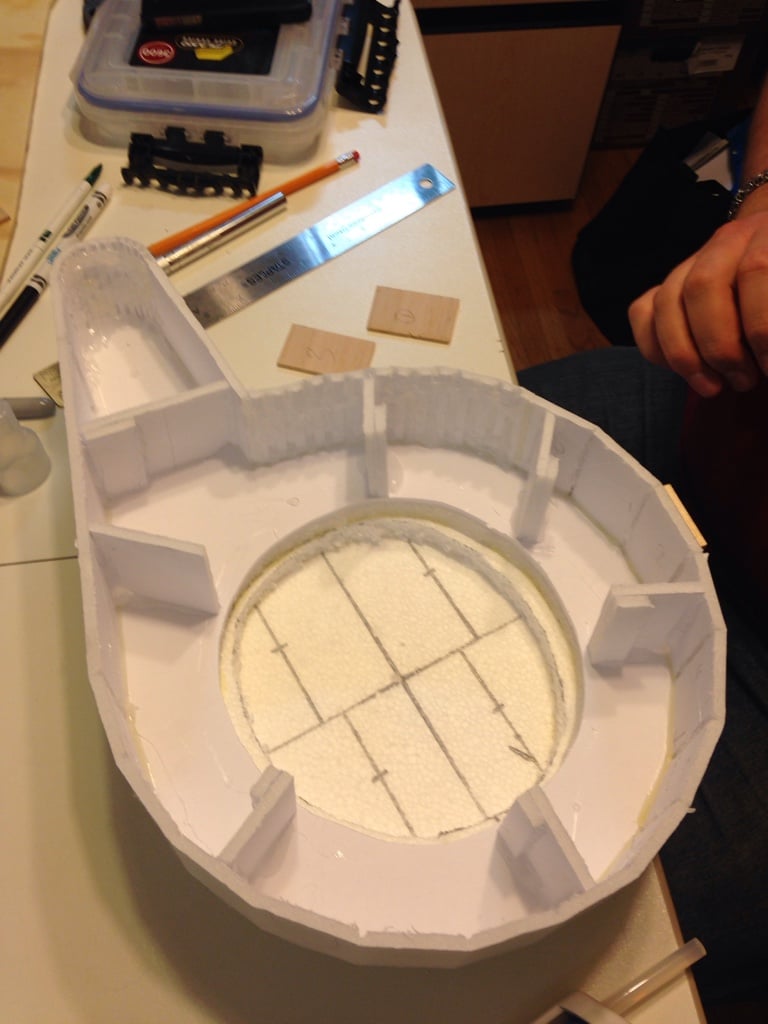
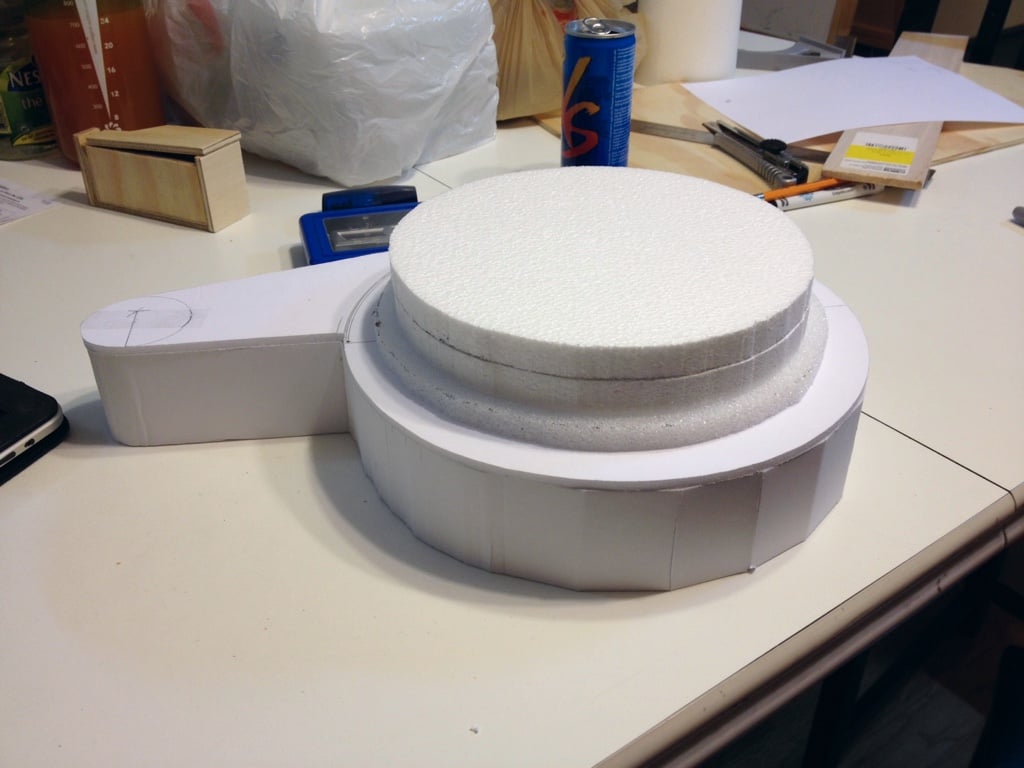
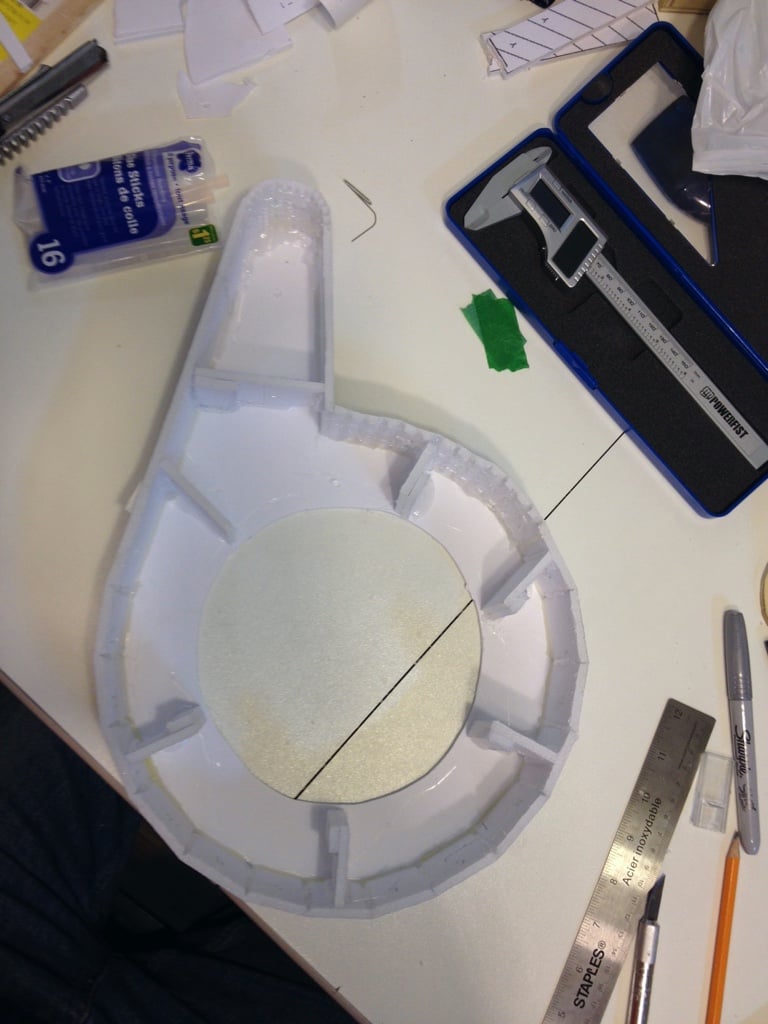
I figured I should add some support to the inside and Micah cut up some scrap for me to hot glue in. (I should have kept a count I how many glue sticks I’ve used so far… Lots!)
And then, I went to glue on the 2 upper pieces and I went to glue the circle that I cut out back together with gorilla glue and it didn’t work. And then I tried a dab of hot glue, not thinking, and it started to melt! In the end we used wood glue and so far it was holding up.
Also started gluing on the wood around the sync gen spacer.
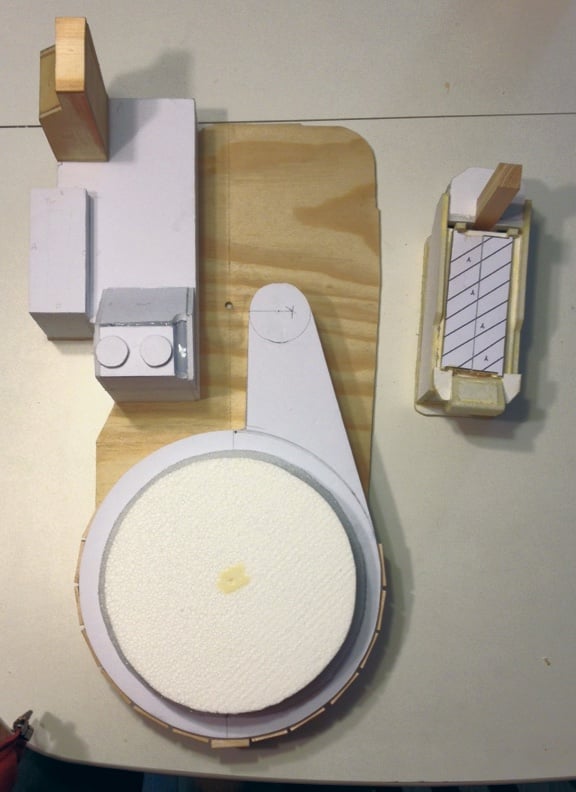
I messed up on the math and the “shell” is slightly bigger than the mobo and over hangs a bit. Oh well, not really a big issue. (Keeping my OCD under control…)
Then Micah drilled out holes to attach the ion arm to the shell.
Hopefully people aren’t getting sick of my very photo heavy threads and builds.
Micah and Liam straightened out some PVC conduit and cut up all the tubes needed. See the booster tube above. Except I forgot to take pictures. Tomorrow.
I also cut out some acrylic circles to use as caps, but I also forgot to take photos of those too. Tomorrow as well.
I also cut a piece of aluminum for the PPD. I have filled it in with Apoxie aculpt and I’ll still that out and take a photo. Aparantly, I was a little lax in the camera department today.
We found a 3/16 brass rod at Home Depot and I cut it up for the ion arm end cap.
I cut out the middle pieces for the booster frame and Micah cleaned it up a bit with a little Dremel type rotary tool.
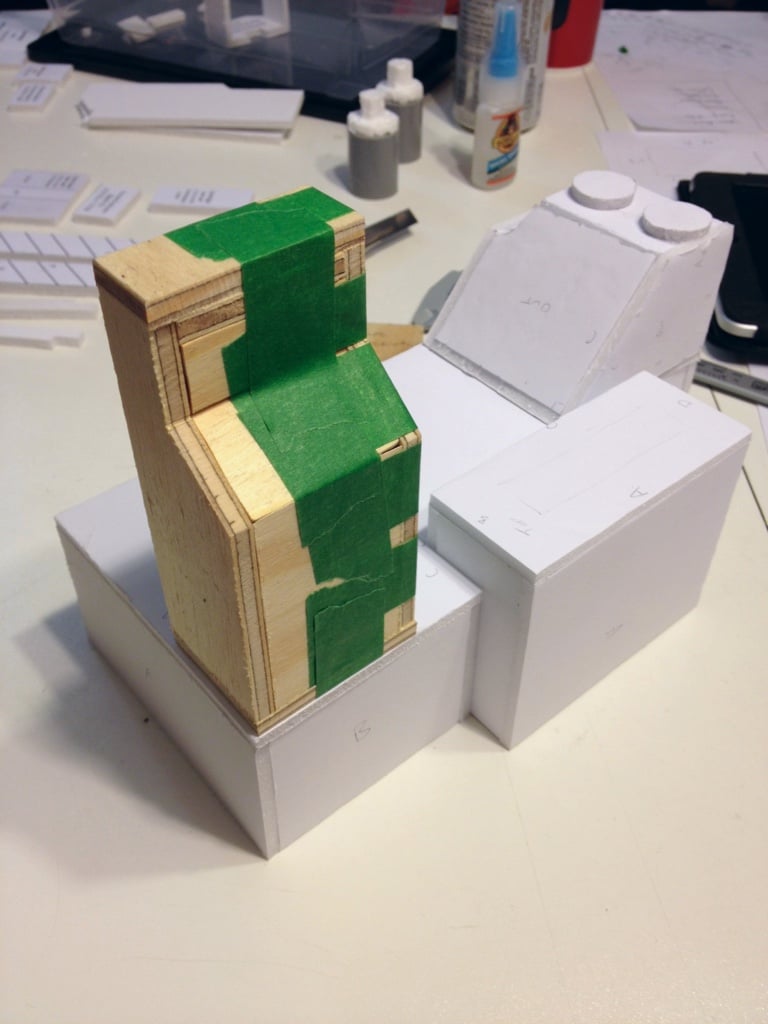
And all finished, glued up and ready for a test fit/mount and then paint.
Not sure if I’m going to do the detail lines, maybe I can convince Micah to do it.
Lastly, I kept looking at the cyclotron and thinking it looked wrong. And I was right! I had forgotten ton curve the top. So a quick sand and it looked much better.