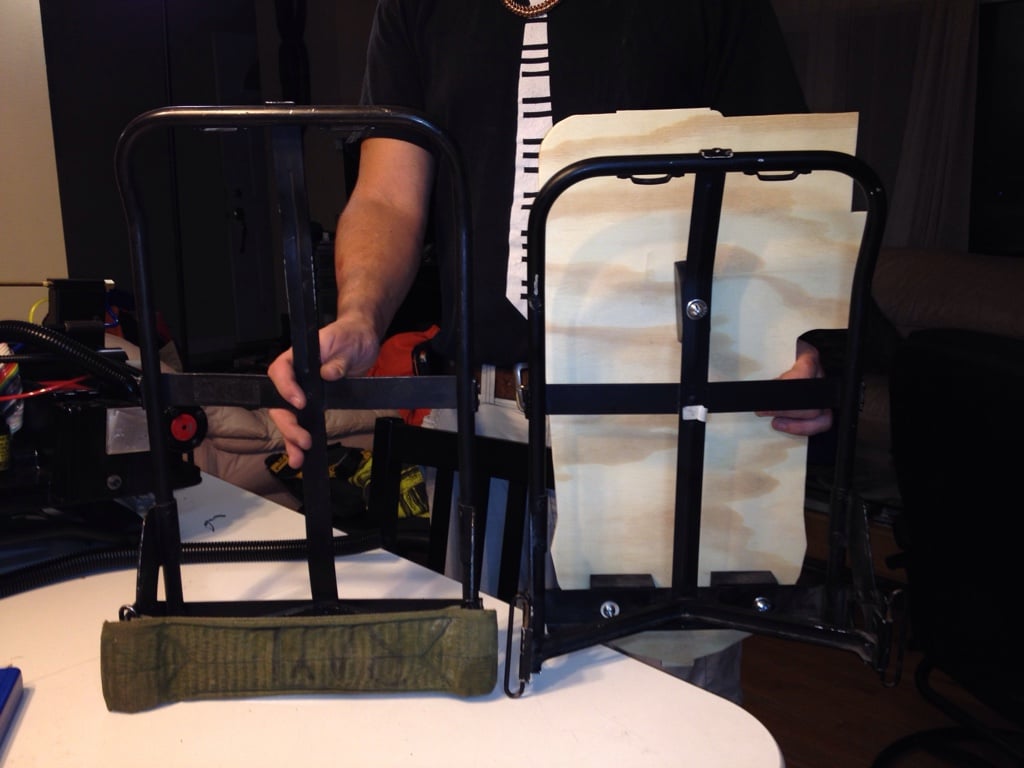
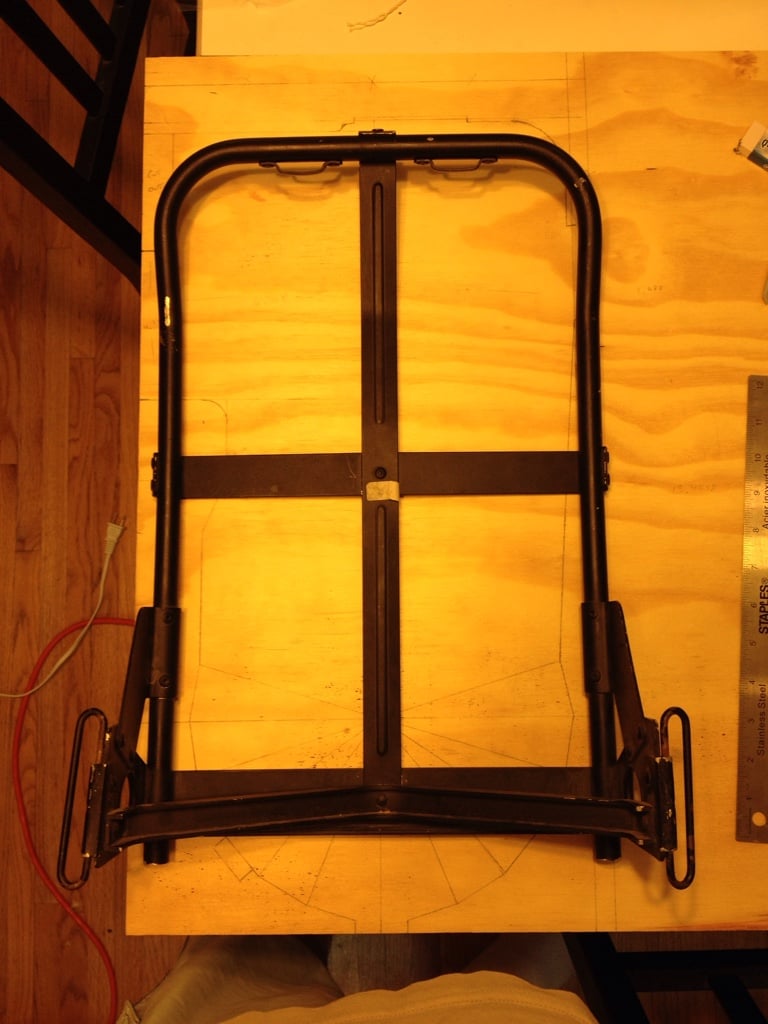
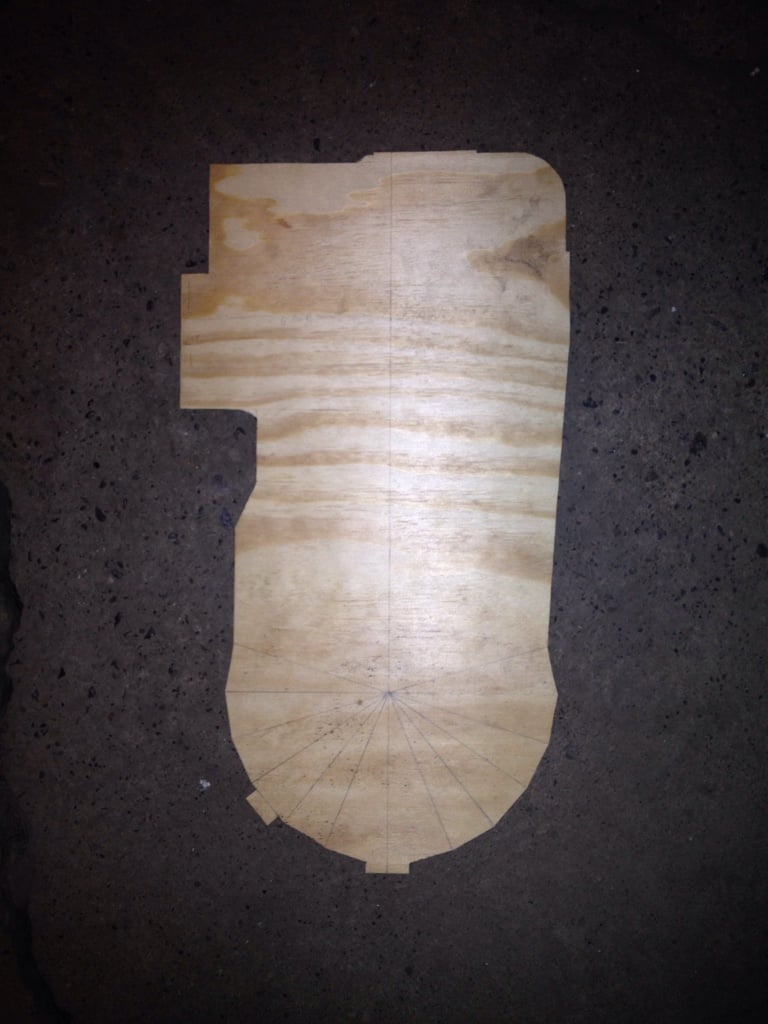
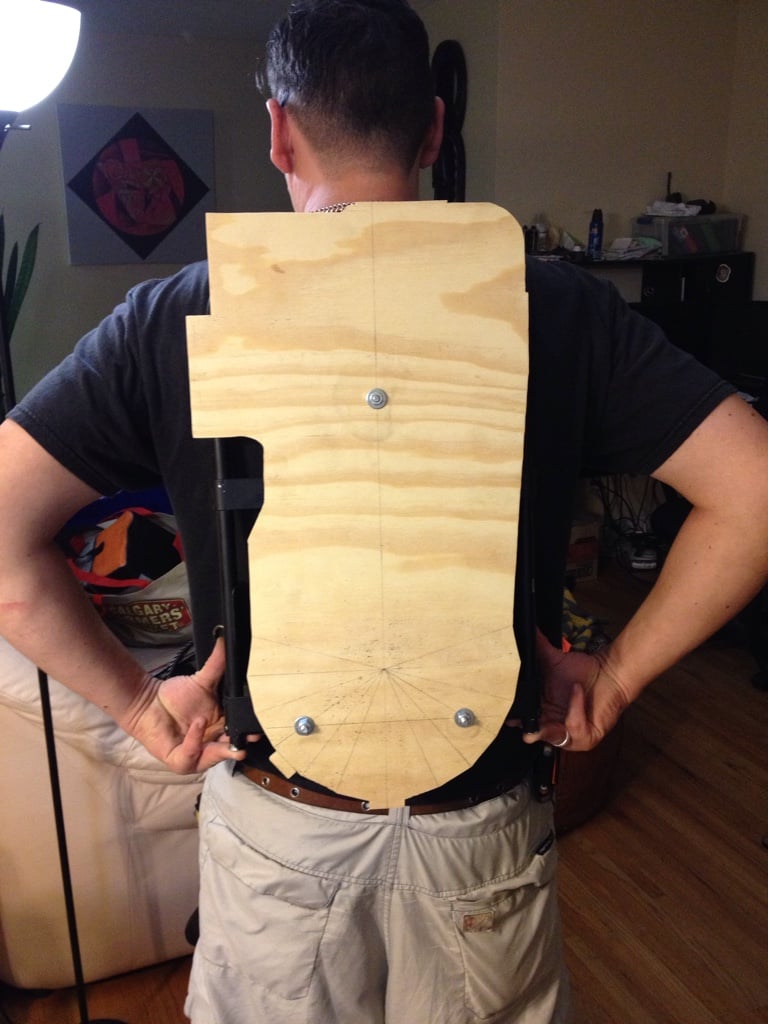
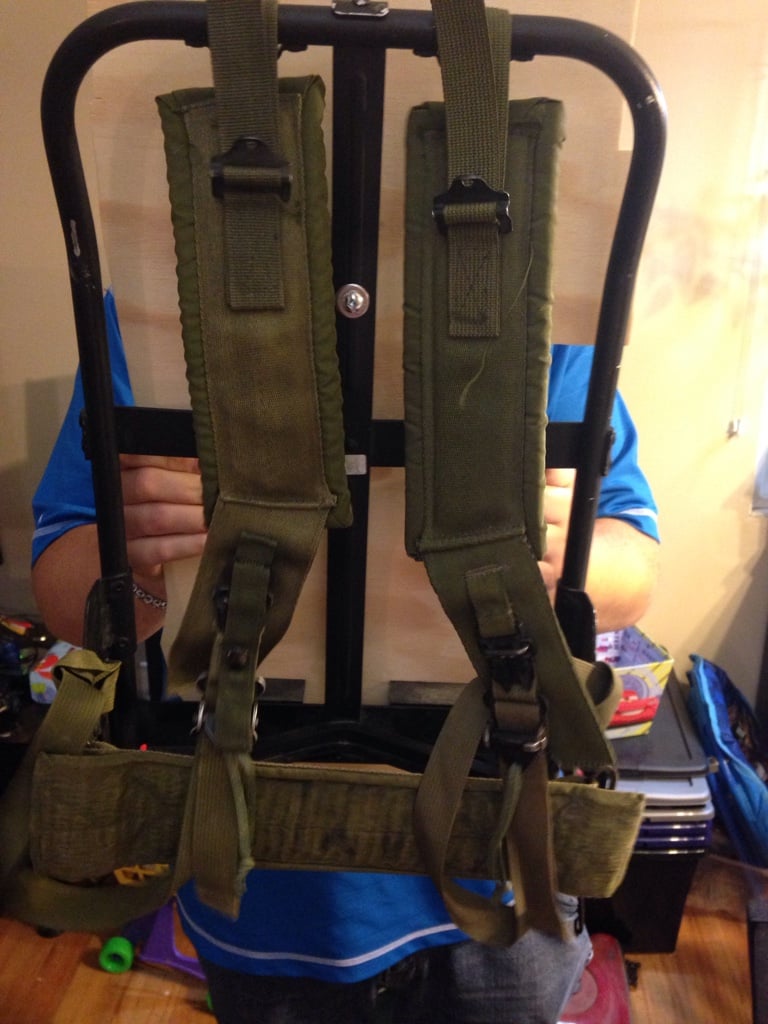
Howdy all so about time I spend a bit more time here hahaha thai is the build of a mini pack with huge thanks to PssffJay as he helped more than I did. My 7y old wants to be a Ghostbuster for Hollowween so here is the build . We got a stock of Alice frames and one happened to be smaller then the rest
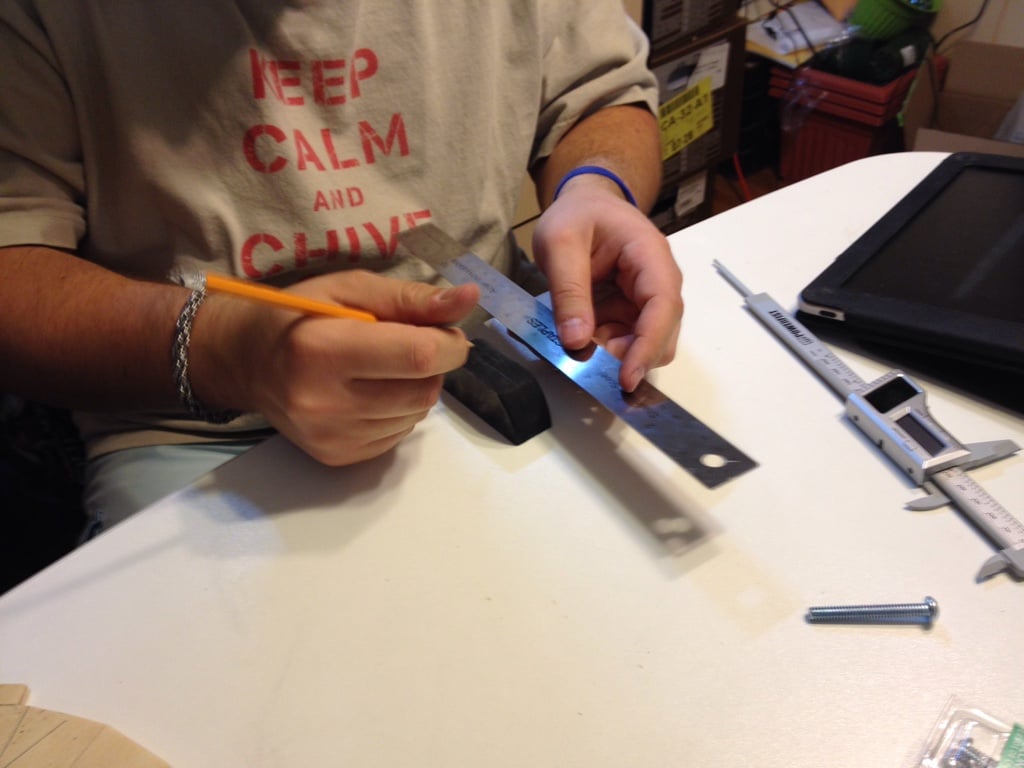
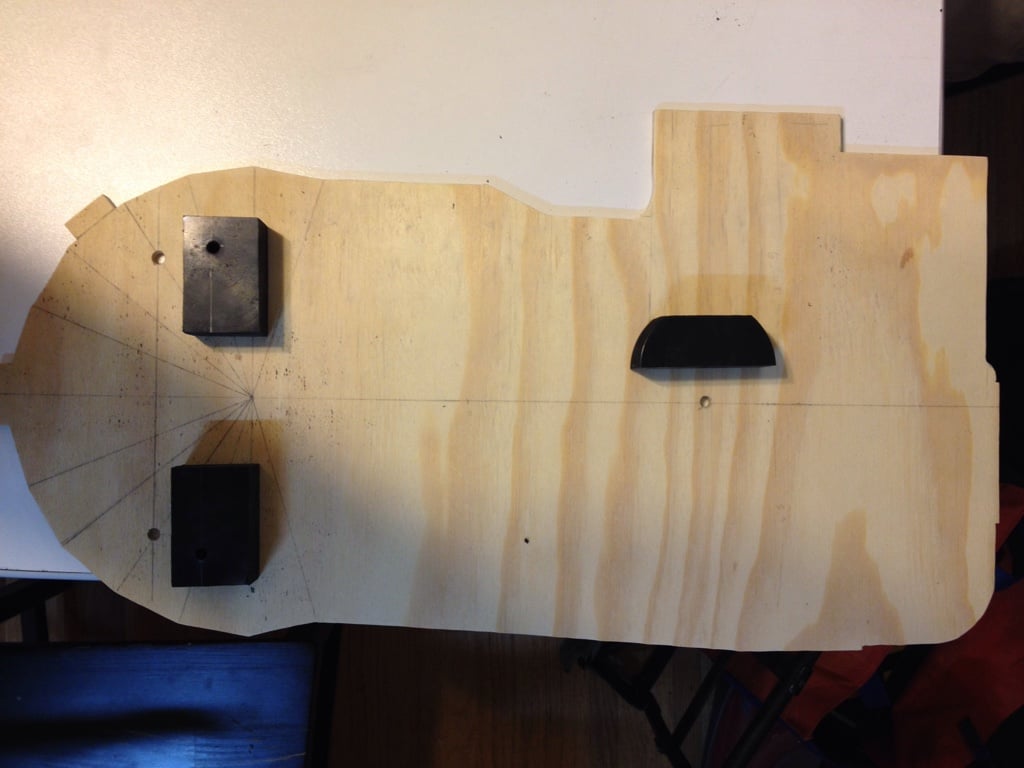
Mounted MB to frame with hockey pucks ( as I’m in Canada they just seem to be everywhere I think I got that one at a Tim Hortons with my double double eh?!)
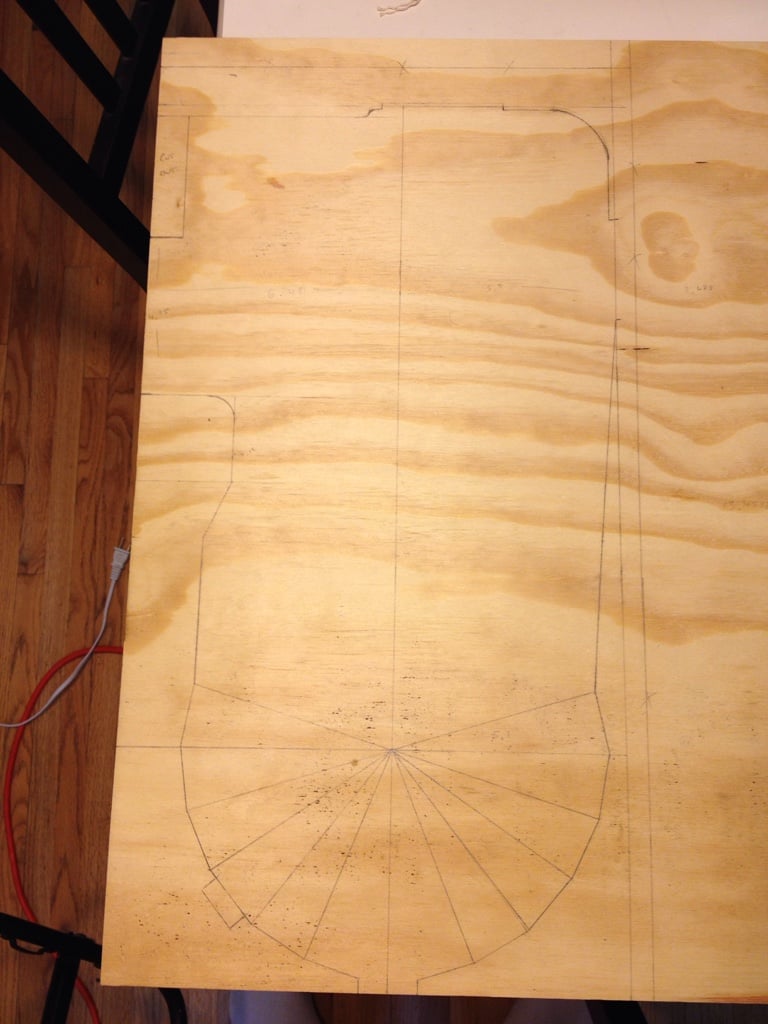
I’m using a combination of Stefan’s plans, measurements of my own pack and parts, and just making stuff up. Here is a bunch of photos from the last 2 days.
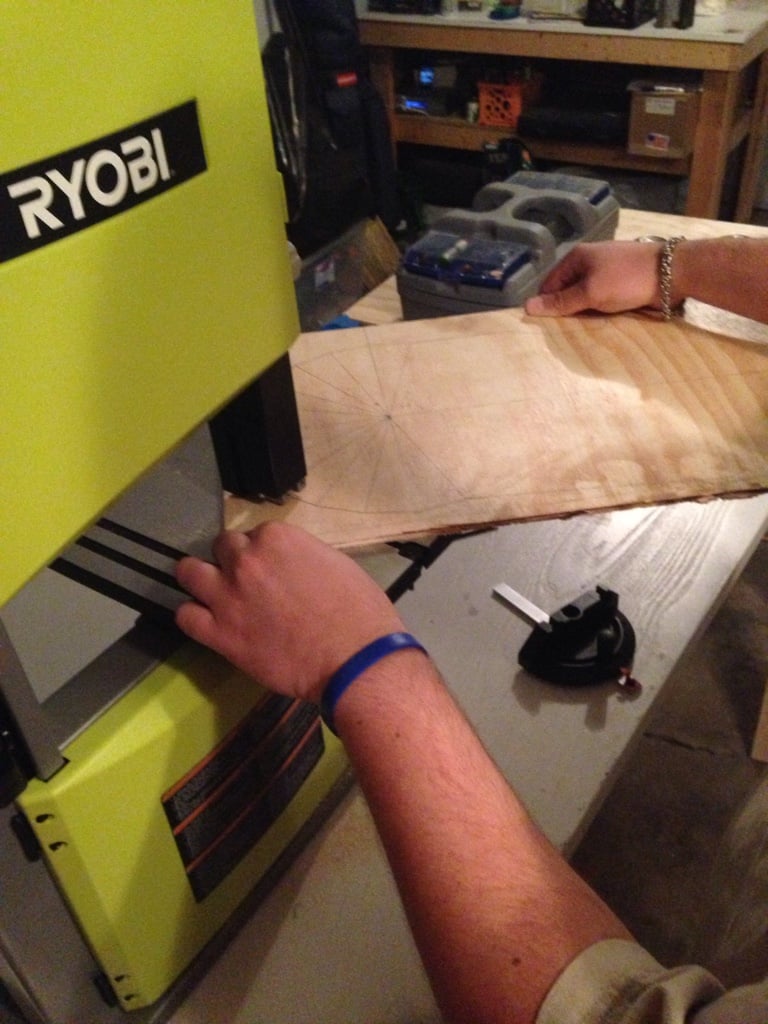
How do you guys like the Ryobi band saw? I wanted to get a hobby one and was contemplating that one. (I also have all of their +one tools so it would match [I hope I didn’t sound like a fluff nugget just now])
The Ryobi is a great little saw. Micah first got a Mastercraft 9" saw and he spent an hour assembling it while I was drawing out the mobo and then when I came out to cut it, the blade kept popping off because the tension lever was defective. It was 30 minutes before Canadian Tire closed and we threw it back in the box and took it back and at first they said it was exchange only, but we got it a few hours before, and I knew the customer service person and told them we are going to buy a different saw and if they had others it could be from them. But they only have that one. That’s twice now I’ve been burned my Master Crap power tools. I love their hand tools, but I’m not buying anything that plugs in from them anymore. We then flew over to Home Depot and they only sell the Ryobi so we got that one. It was only a little bit more expensive. I do wish we could have gotten a bigger one, the 9" space can be tricky on some cuts but its not bad for what we need it for. We got it back to Micah’s house, pulled it out of the box and it didn’t need any assembly. Internally, it looked identical to the Master Crap one, but it actually worked.
So, long story short, get one. They’re great little hobby saws!
It was just filled with scraps and the gaps were filled in with lots of hot glue. There are a few places that I want to beef up where something is going to be attached to it, like the EDA, but I want to keep the weight down as much as I can and still have enough of an internal cavity that we can run some basic flashing lights. I don’t think I’ll need spray foam, but I’m flying by the seat of my pants here so maybe. Once the “shell” is built, we are going to paper mache over it and then sand it smooth-ish. I have a bunch of balsa wood here too to help build some frame inside where needed.
I haven’t decided if I want to build a movie thrower or an RGB thrower. It may come down to how much time do I have left and also what will hold up to a 7 year old. The RBG thrower with 1 PVC pipe through the middle sounds tougher than a movie thrower built out of foam board and paper mache. I’ll tackle that when I get to it.
I tell you what, sorry to blow off topic here but I wish we had Canadian Tire in the states. The first time I went to one (in Winnipeg), it blew my mind a little. It’s so diverse. It reminds me of a Meijer (I won’t even mention Walmart) but with way cooler stuff.