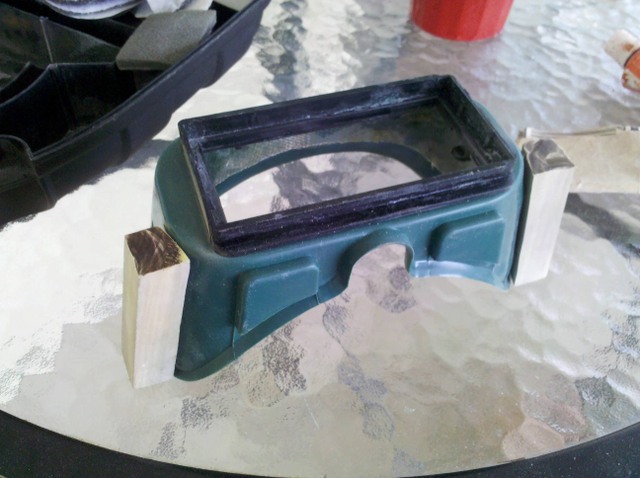
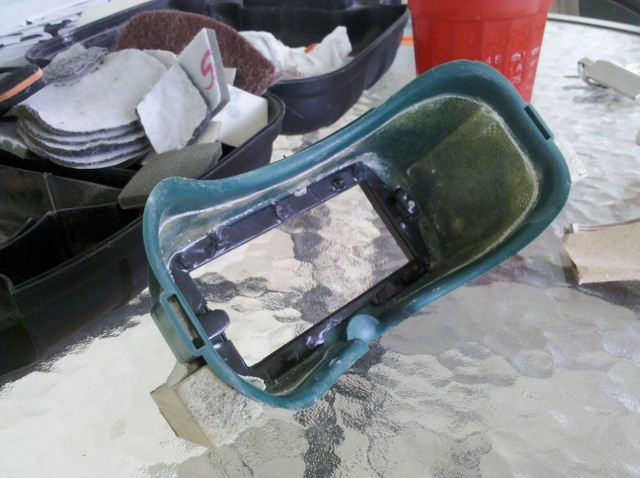
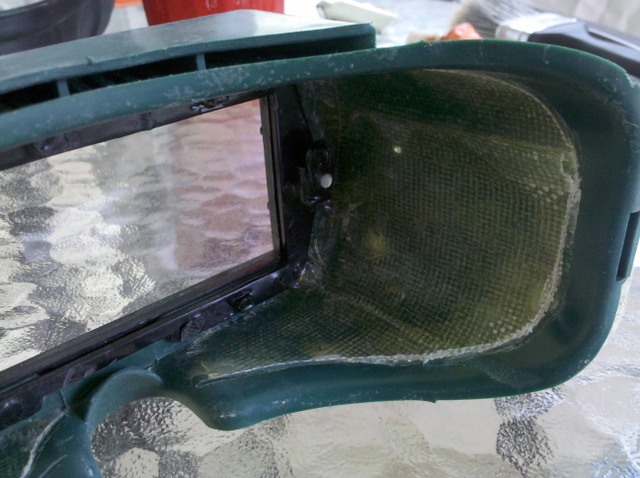
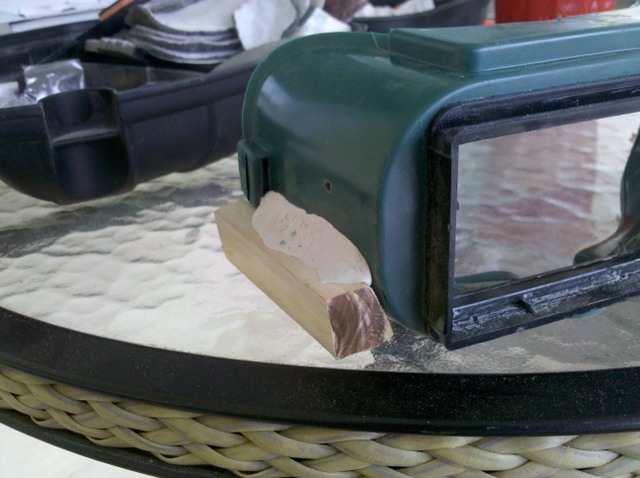
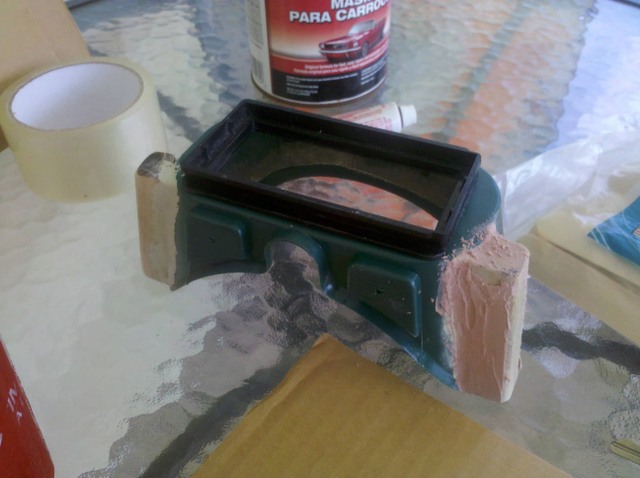
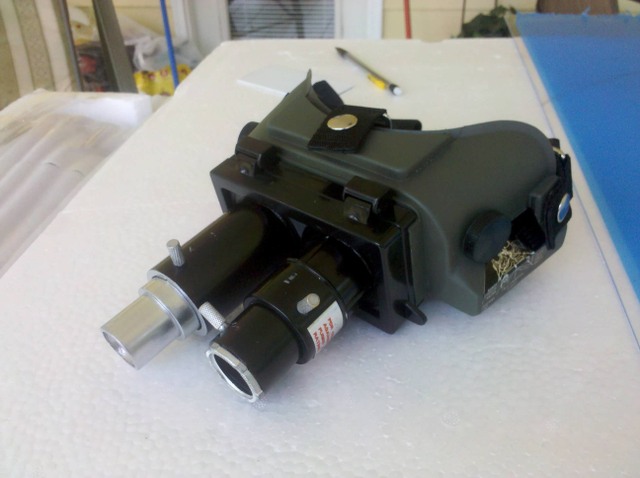
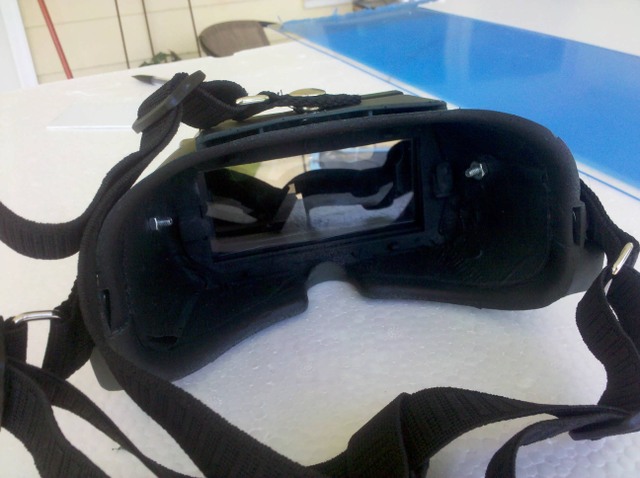
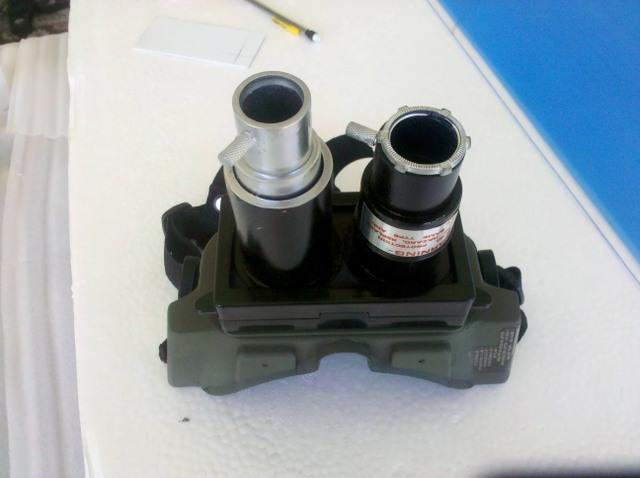
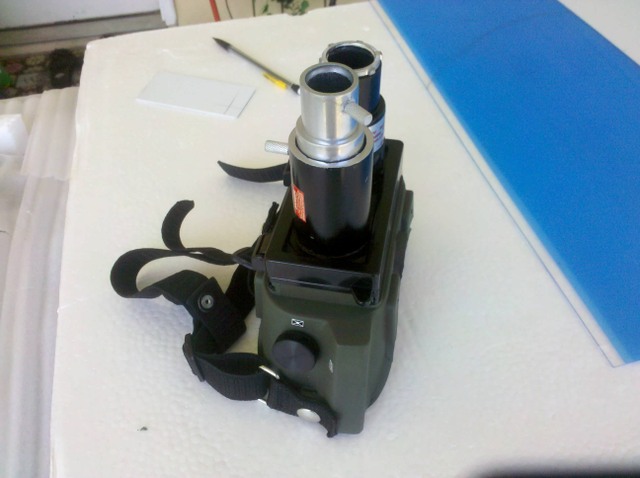
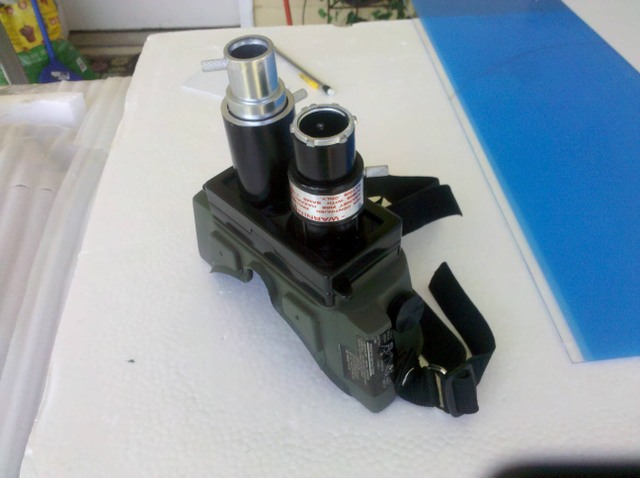
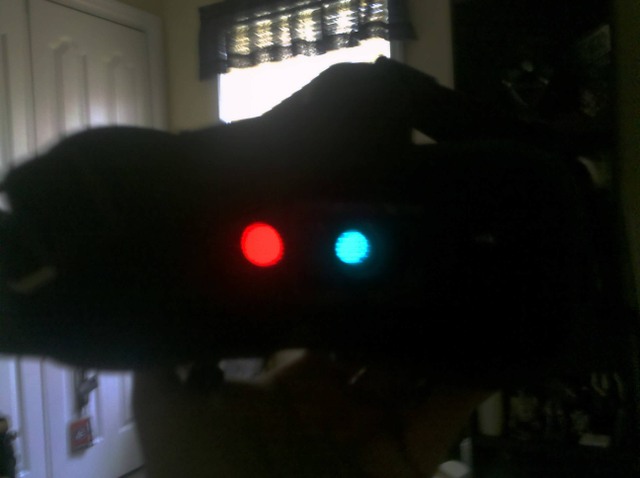
I’ve finally got to finish my welding goggles turned ECTO-GOGGLES. As opposed of what I’ve posted earlier, these ones now are 3-D goggles as well. Before anything, I’ve sanded the hell out of it first. Then I’ve cut, shaped, and screwed pieces of wood to the goggles up to Norm’s specifications, except that I cut the sides that touches the goggle frame and cut in an angle for better fitting. I applied fiberglass to the inside of the frame for strength, and cut the excess fiberglass around for comfort. Then I used **Epoxy Putty for plastics **and Bondo to do the shape and cover the gaps around the wood pieces.
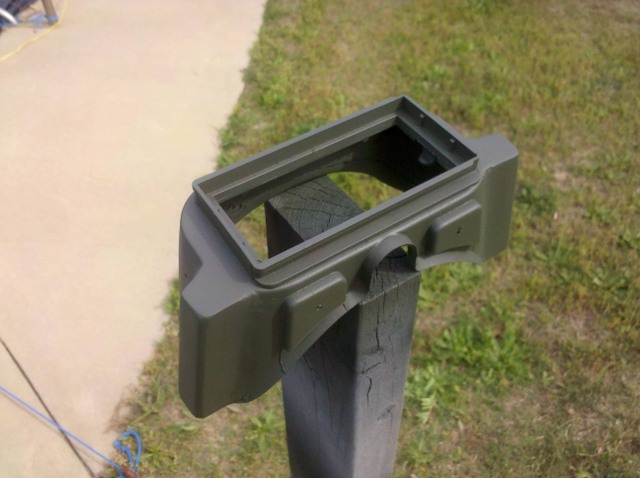
Once I’m done with the Bondo, then I’ve sanded everything again, and applied clear PLASTIC PRIMER so the surface could stick to anything, namely primer and the bondo itself. After drying for quite a while, I’ve applied automotive primer (light gray), re-sanded everything again, another light coat of primer; then a light coat of SPRUCE GREEN. Once everything dried up, I used RUST-OLEUM CAMOUFLAGE OD GREEN, but I’ve also used ULTRA FLAT BLACK for the inside of the goggles.
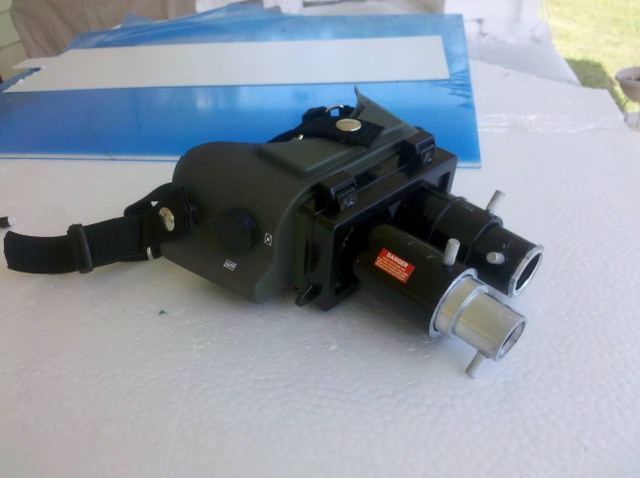
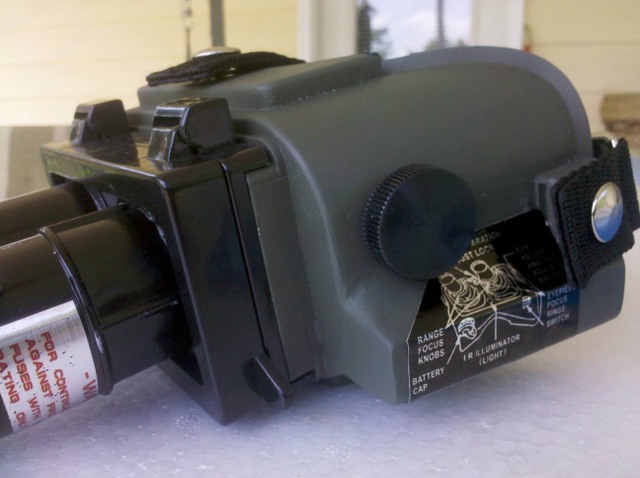
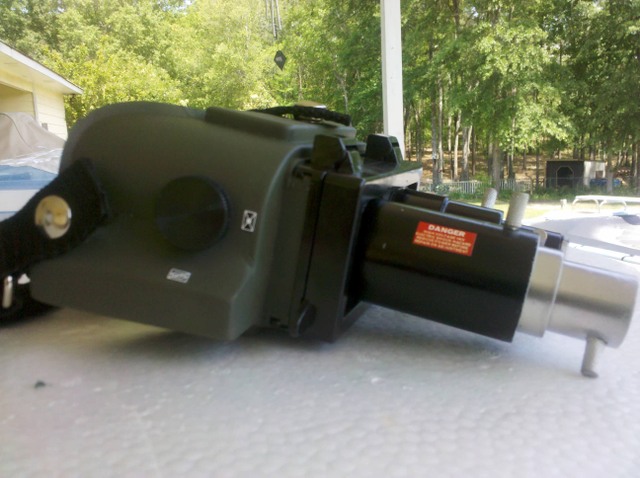
And now the final result after installing the knobs and the decals… a really convincing (and realistic-looking) ECTO GOGGLES as seen on GB1. Not precise, but really close. The side knobs are from FASTENAL, and the brass knurled knobs on the lenses are from the lamp shop online, in which both links were posted before in here before.
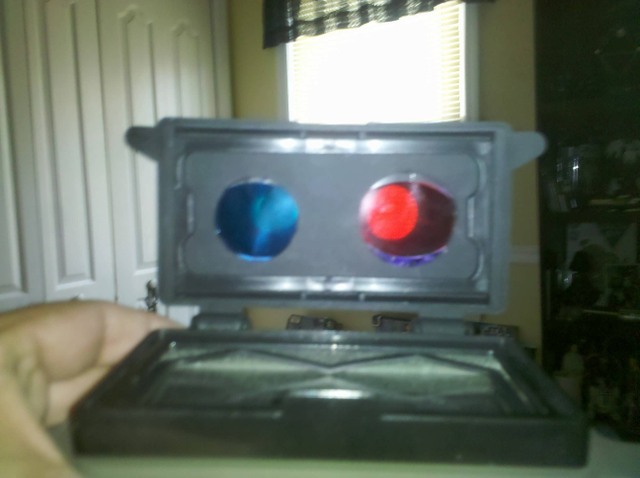
This is the 3-D part I was talking about… I used some worthless paper “Hannah Montana” 3-D glasses, and cut them to install in between the flat “hole” frame and the clear acrylic.
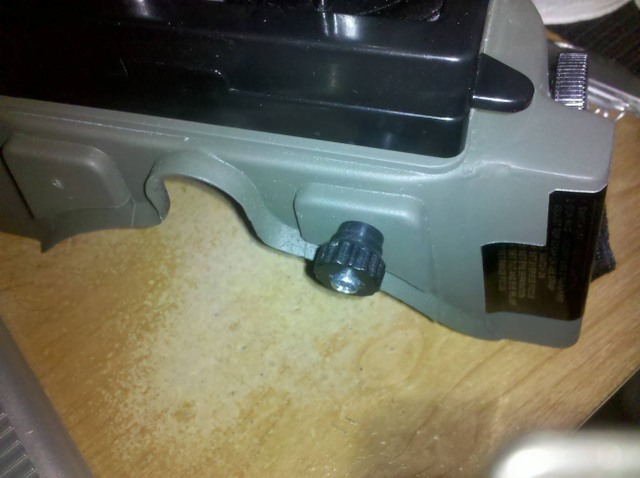
I forgot to add this little detail, but it’s the “activation switch”. I didn’t find the drawer knob, but found out this part from a non-working water hose pistol, which controls the water flow on the back… and fits perfect for this project,.. a good alternative.
I couldn’t find something that could work as the “battery cover” for the other side of the knob, but I’ll find something between now and then that I’m sure will fit perfectly.
Thanks for the off-line suggestions, and those who one way or another did this project before me. Special thanks to “Multimedia Mayhem” and “AZ_Spidey” for supplying the head strap and the decals respectively.