It’s been a long time since I updated this thread, but I finished my first pack last year just in time for Dragon Con and I’m now working on my second and LAST, so I thought I’d attempt to keep track of my progress a bit for those who need the help. I know I used tons of info from other build threads and I’m sure I’ll continue to. Here’s my proton pack V1.0:
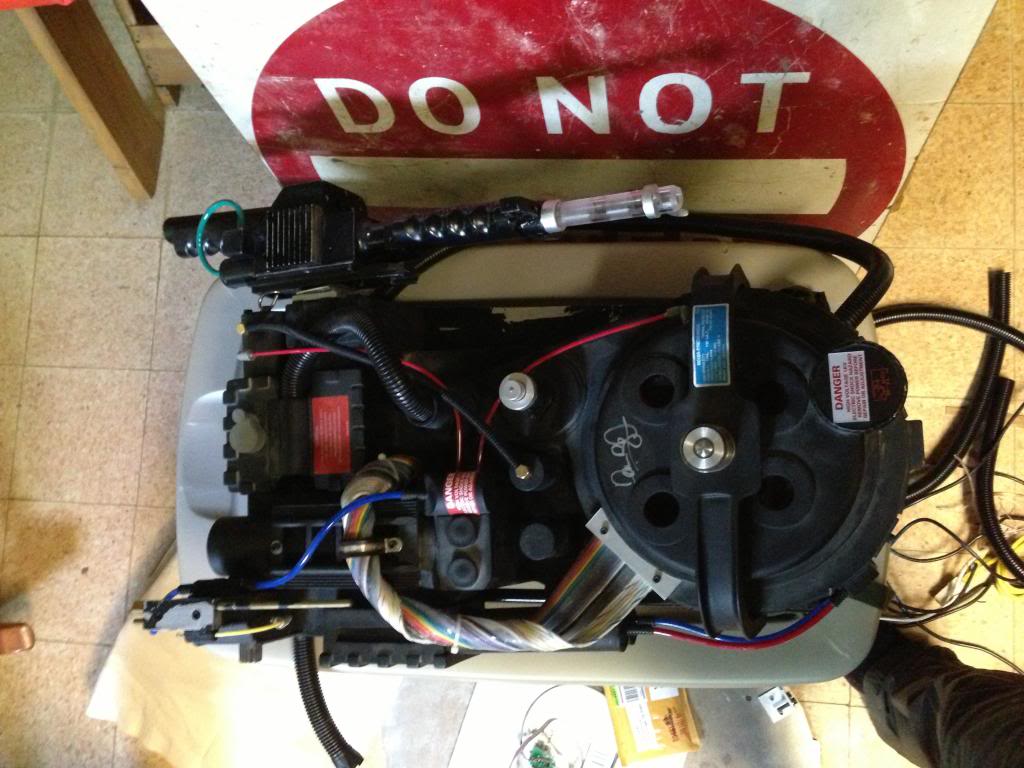
Obviously, some things are missing as I starting amassing parts that I’ll need for my new build.
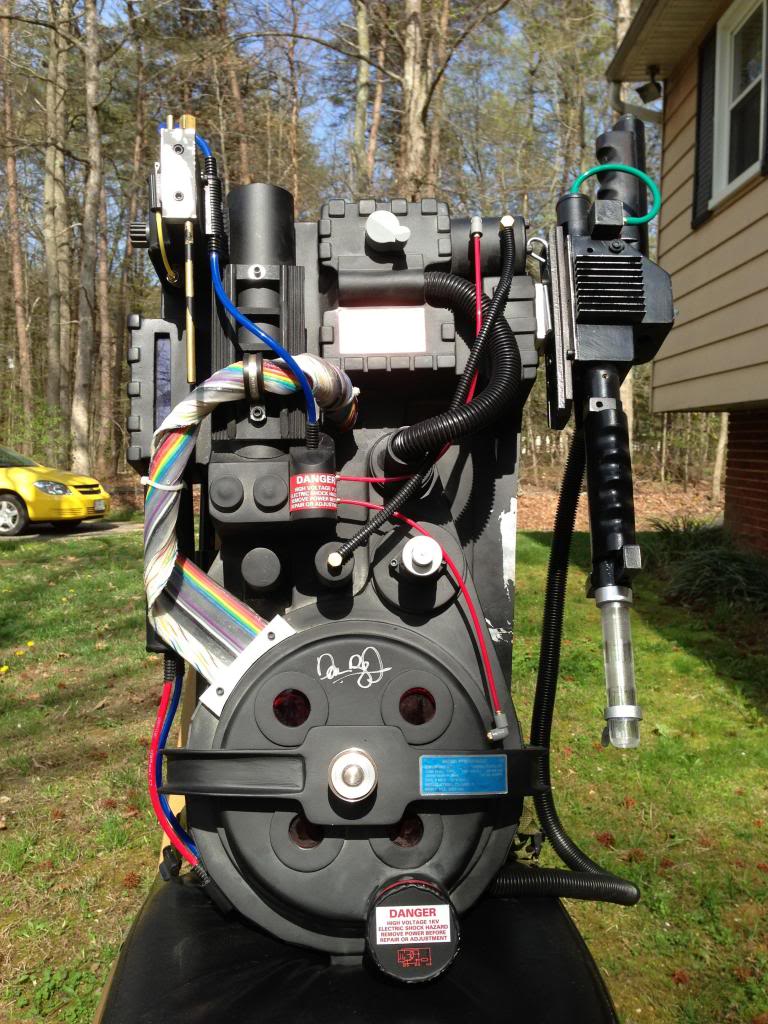
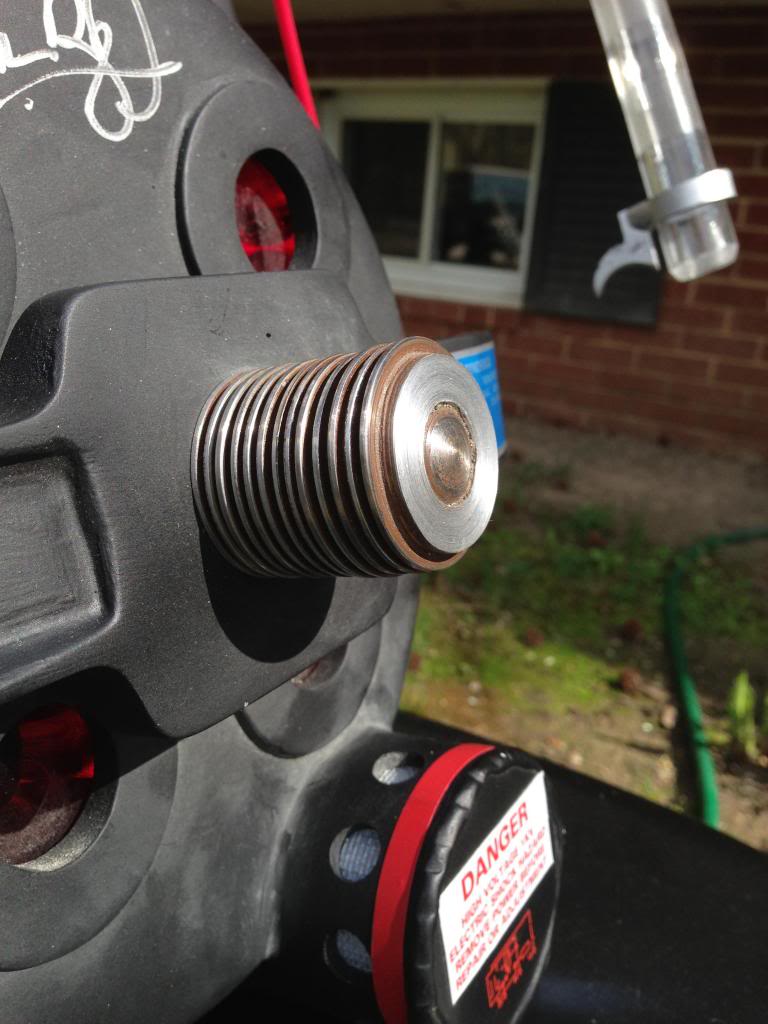
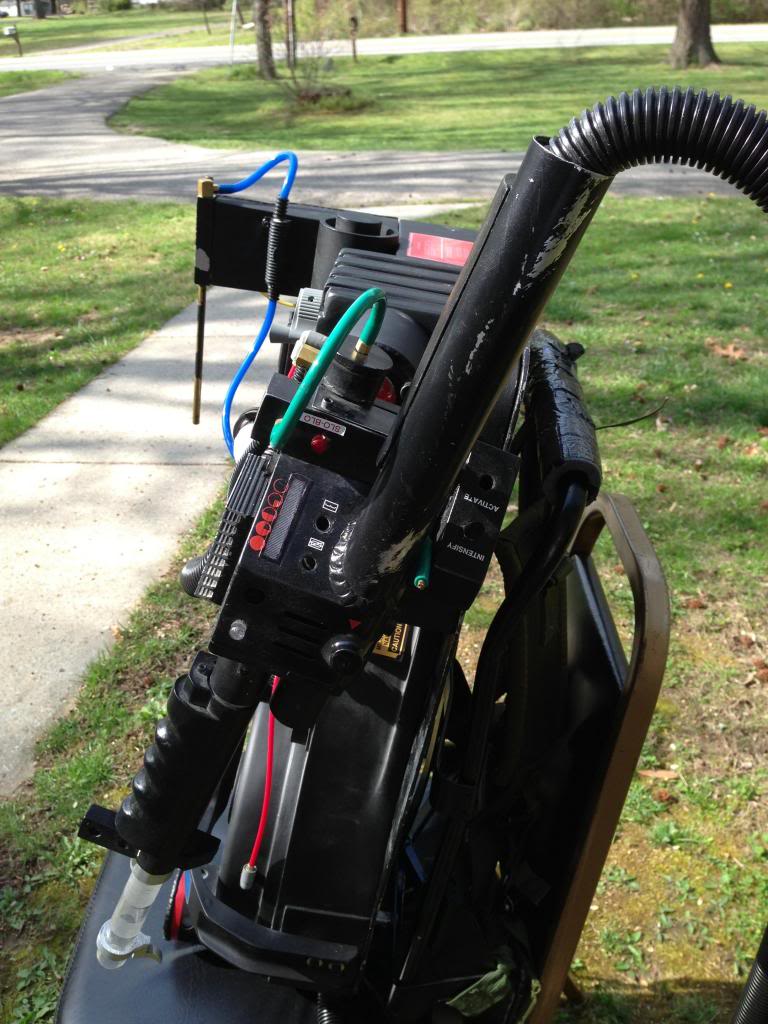
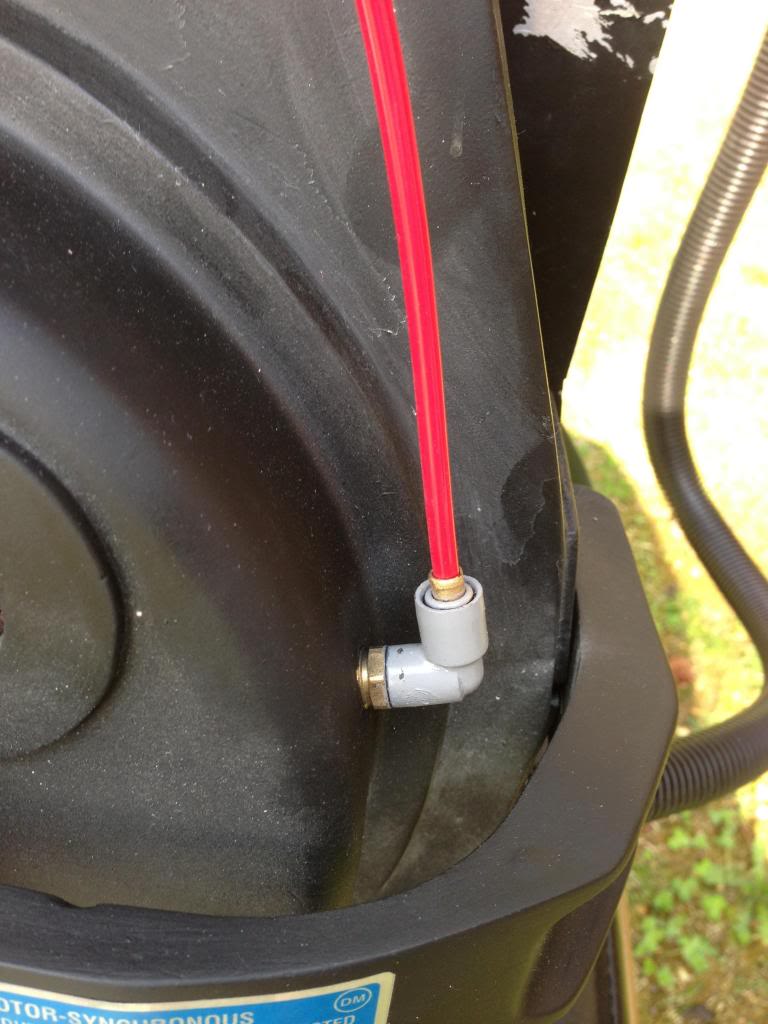
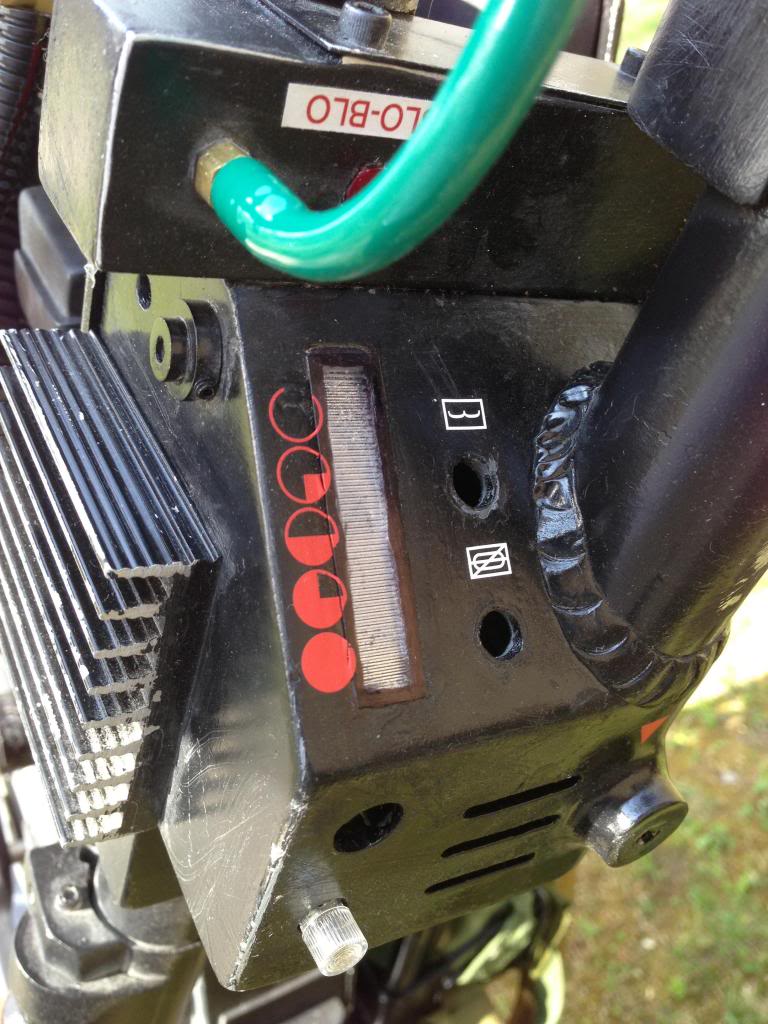
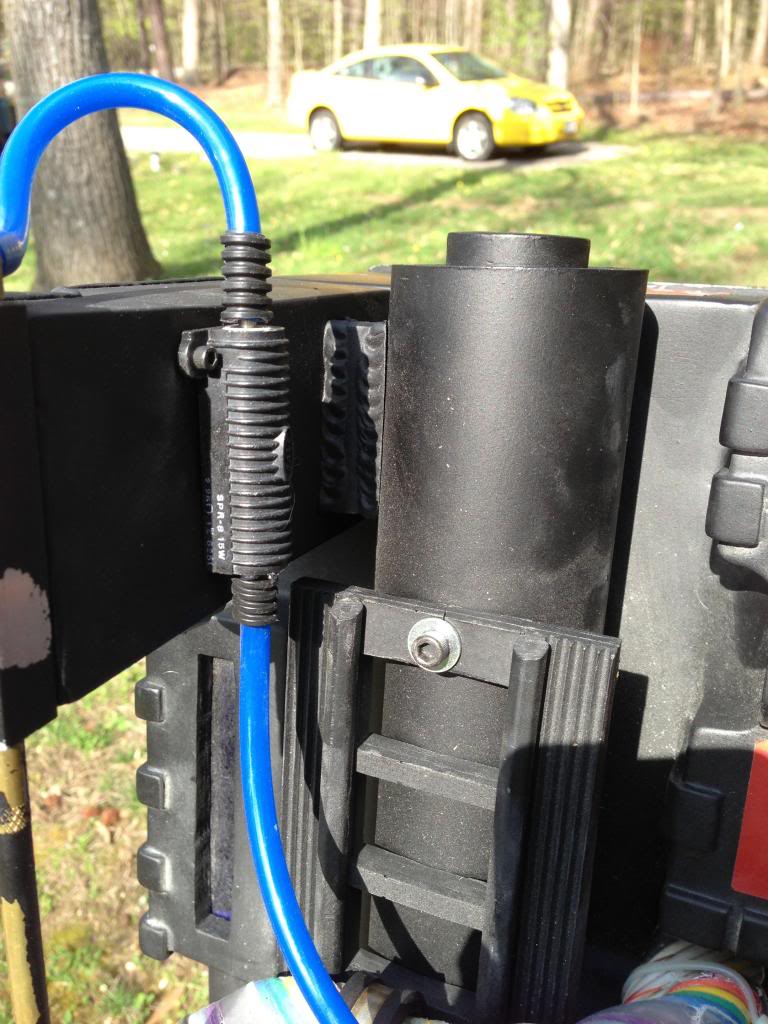
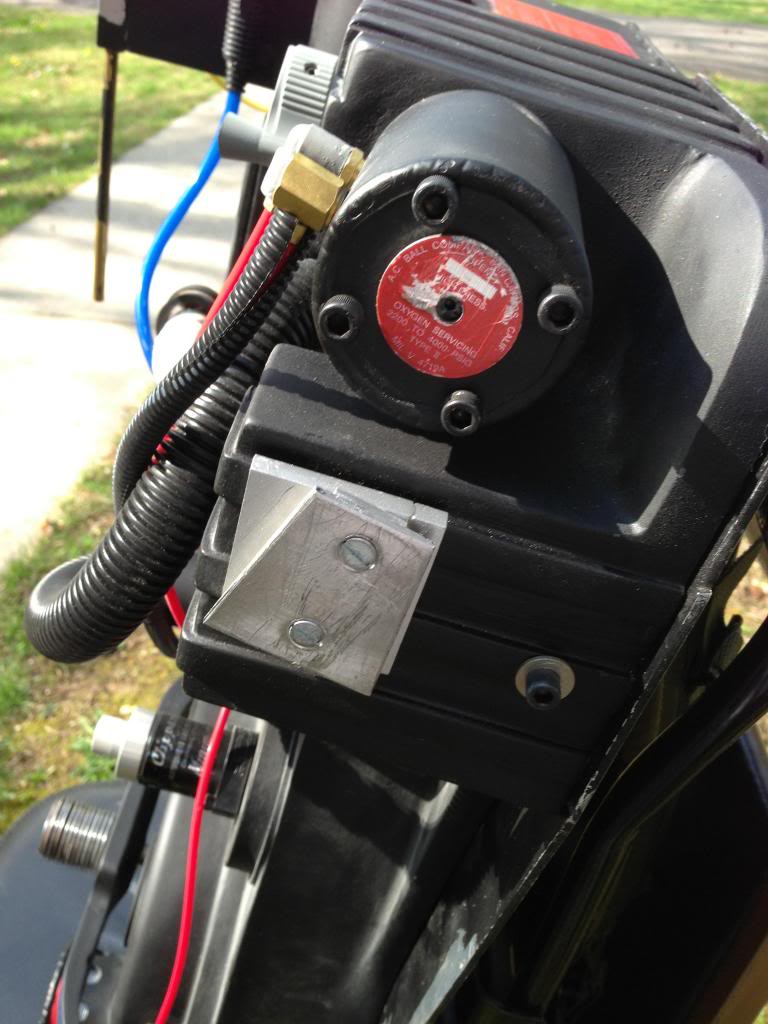
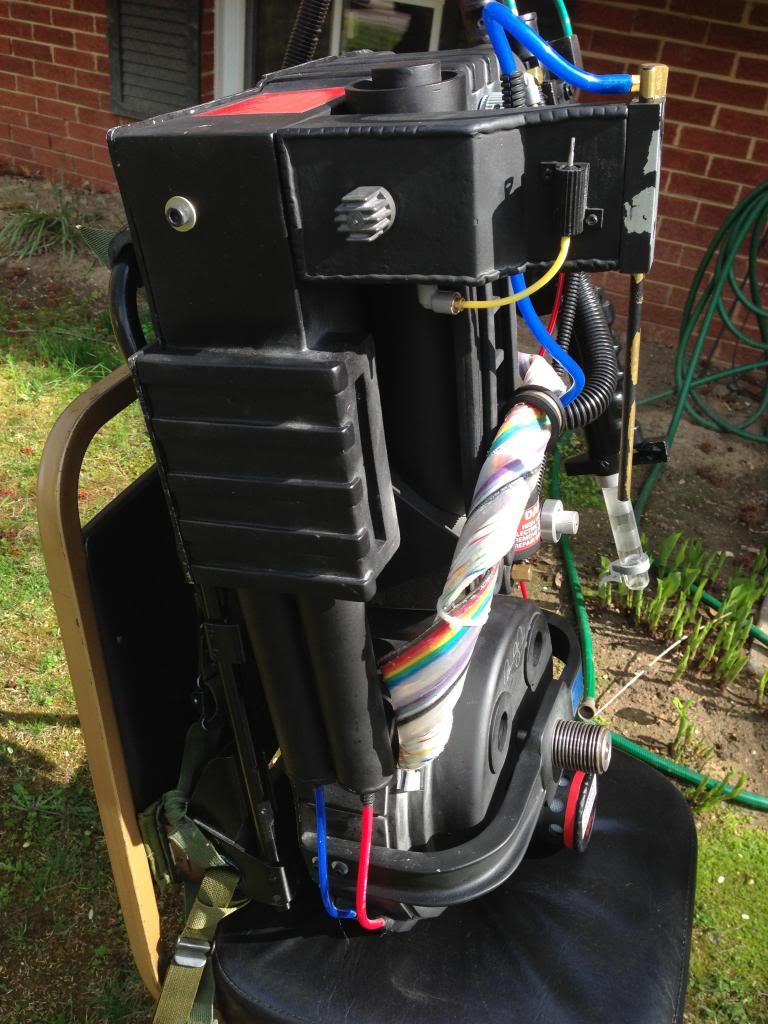

I have to say that most of the parts on the pack, including the shell itself, were made by me out of resin, fiberglass, pvc, etc. I’m proud to say that the gross majority of this pack was “Built Not Bought”! Though, the parts that I couldn’t make all came from members of this community who I can’t thank enough for the amazing quality parts, customer service, and information!
Now on to V2.0…
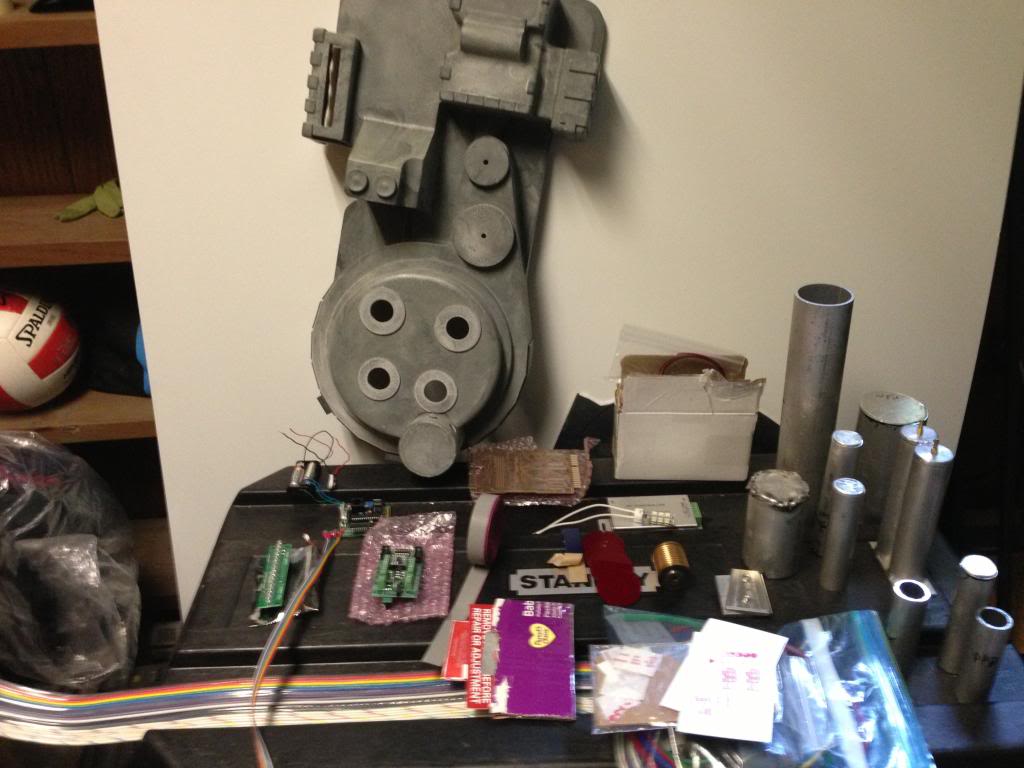
That is one beautiful site! I’ll have to make a list of what came from where later-too many places and people to thank this late at night.
I want to make this pack with the most quality parts that I can get and as accurate to a gb1 pack (no one pack in particular) as I can. I am, however, attempting to weld my own aluminum parts…that ain’t easy! The one welded tube is…or was going to be my HGA. I decided to buy the tubes too long and attempt to weld the caps first, then if I mess up, like I did, I can cut the weld off and cut a new cap and try again.
I also got a vintage lc-1 alice frame with accurate gb1 straps recently from ebay for WAY too much…bitter sweet!
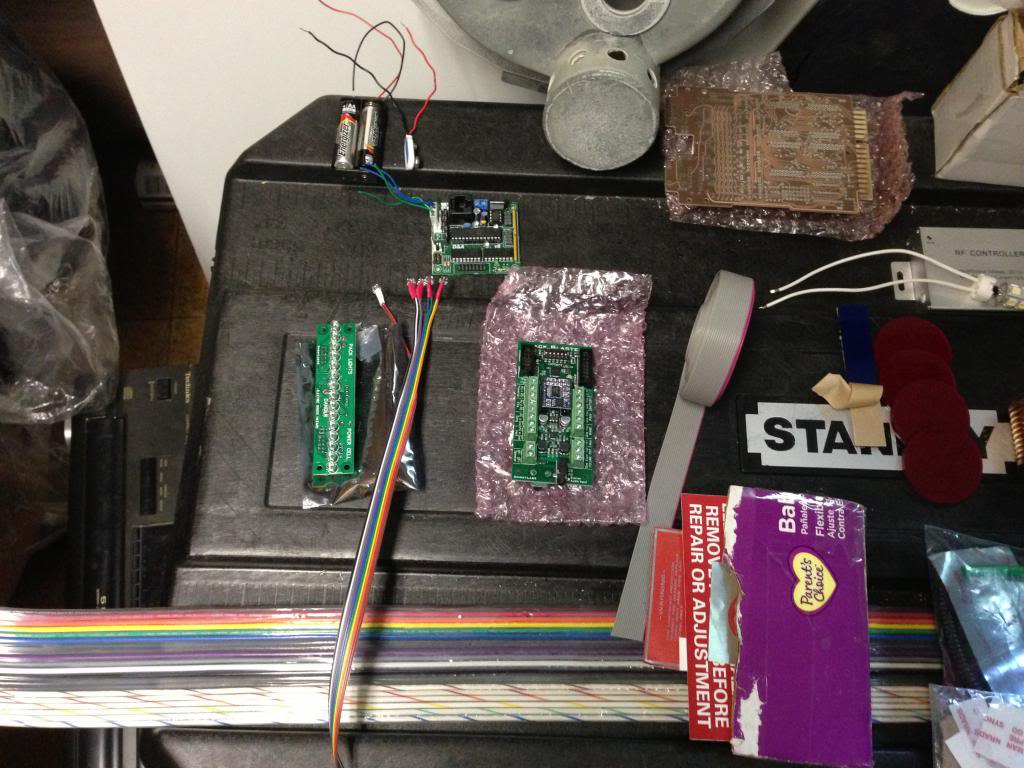
For lights and sound, I’m planning to integrate r2devo’s v8 for wand lights and the gbfans’ pack lights and sound. Also, in my first build’s wand, the v8 wand light board sort of took up a lot of room in the wand and I couldn’t use my spring loaded barrel extension mechanism. I didn’t realize that until I had finished it and fine tuned it and went to but the board in. Anyway, in order to conserve space in the wand I plan to just relocate the board to the pack by running ribbon cable from that board to the bar graph and other wand lights..
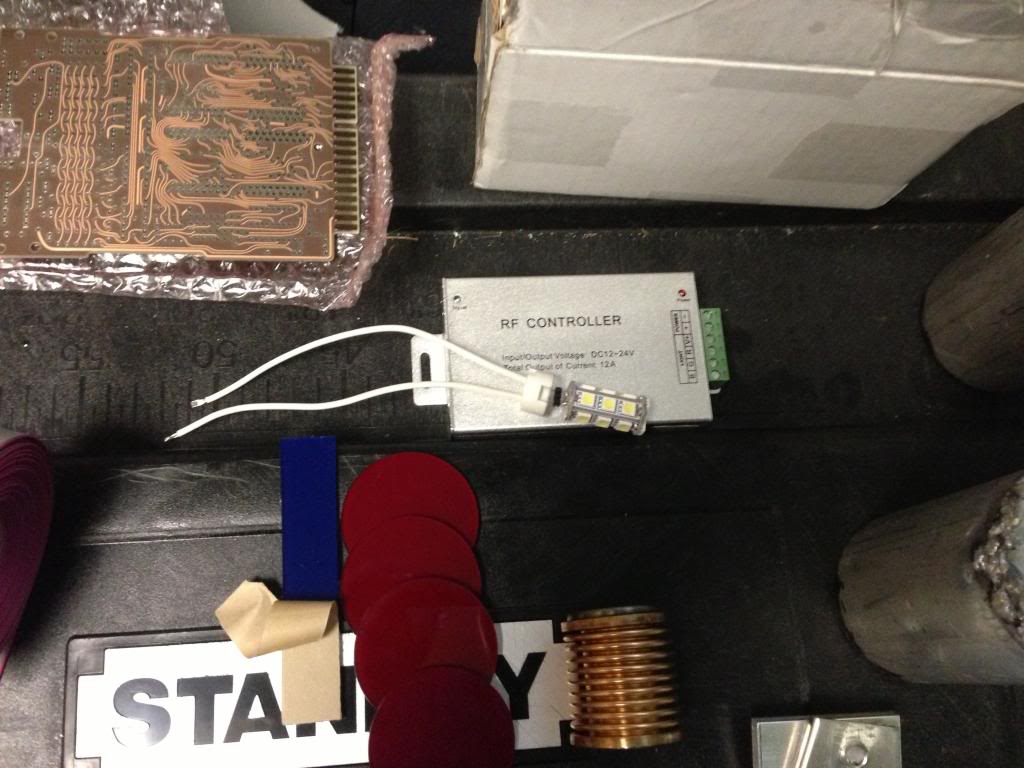
The led and RF controller are an idea for a movie accurate barrel light effect that I got from c. fago’s build. I’m also planning to attempt his barrel extension mechanism.
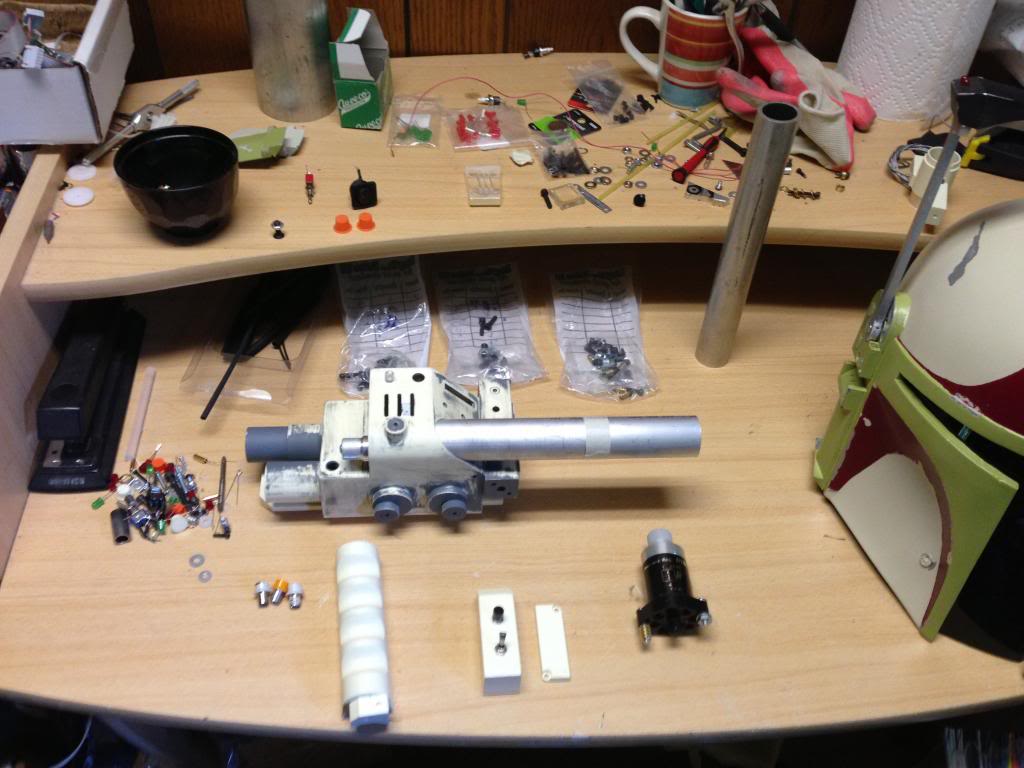
This is where everything stands now. I have a lot of work ahead of me to get this done for D*C this year. Tomorrow I’m going to work a bit on the thrower and sand and possibly apply texture to the pack.


