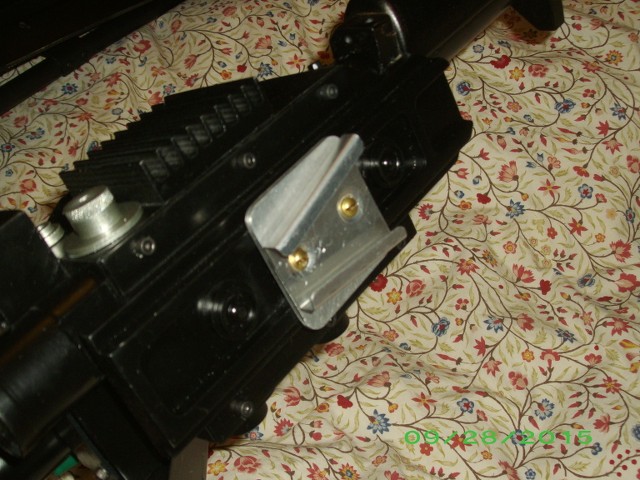
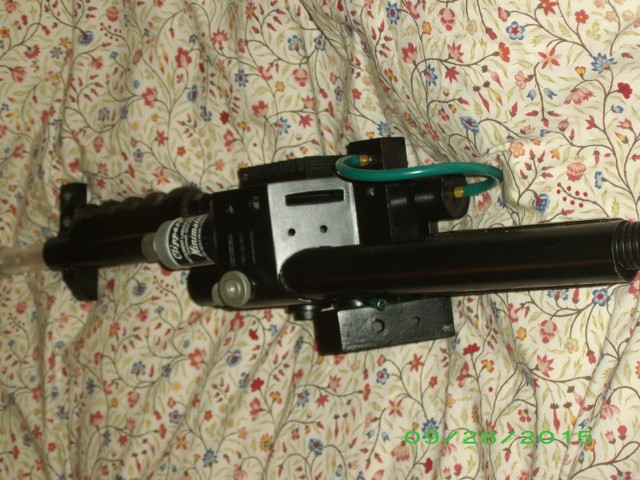
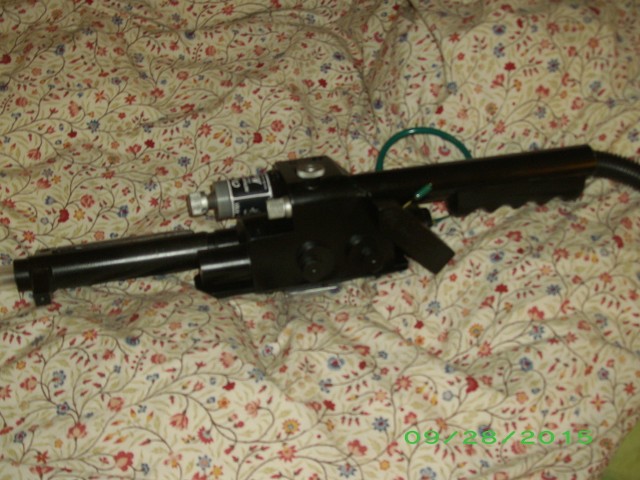
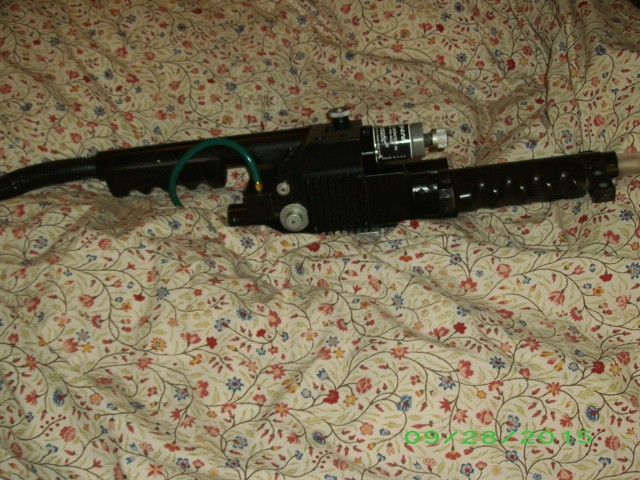
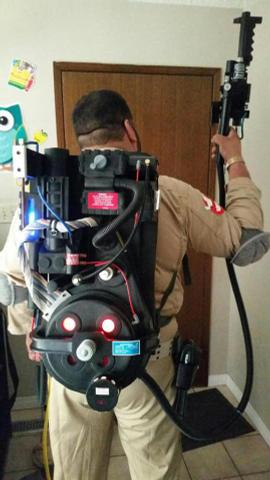
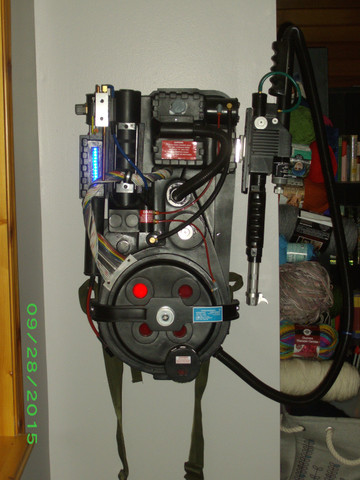
So I finally got myself something I’ve wanted since I was a kid, I bought a pack off of eBay from a guy a couple hours down the road in Calgary that isn’t quite finished but isn’t far off. It didn’t come with a thrower or sound, but after chatting with the guy about purchasing it from him he did throw in Jupiter light kits for both the pack and a thrower that weren’t listed in his sale. So I may not have built the bulk of it myself, but I am going to have to put some work in to make it complete.
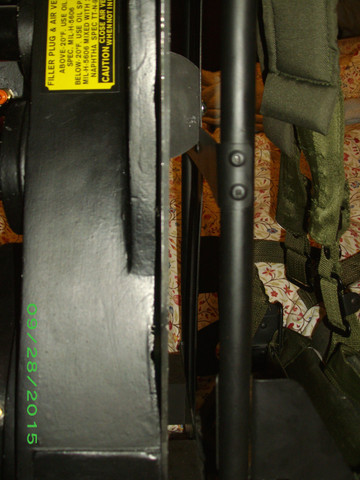
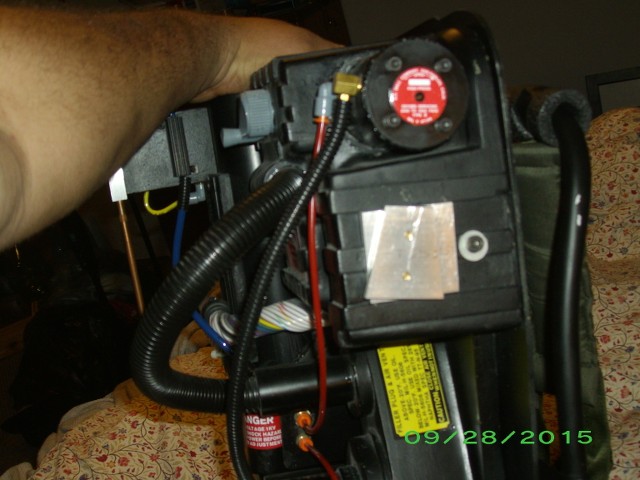
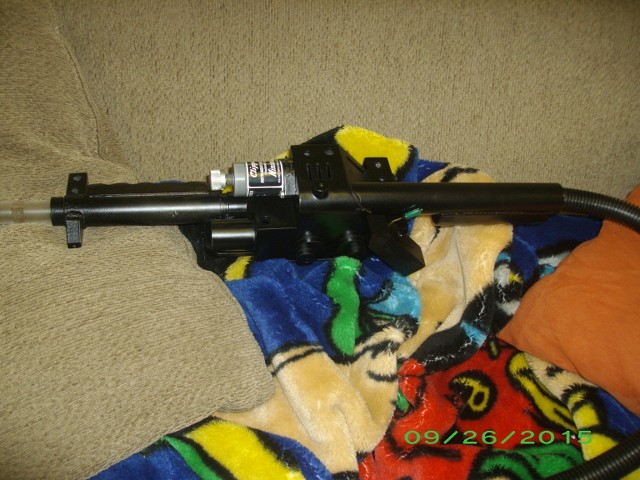
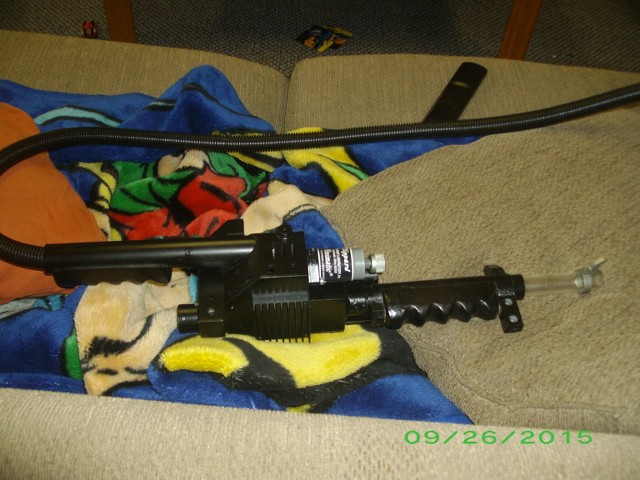
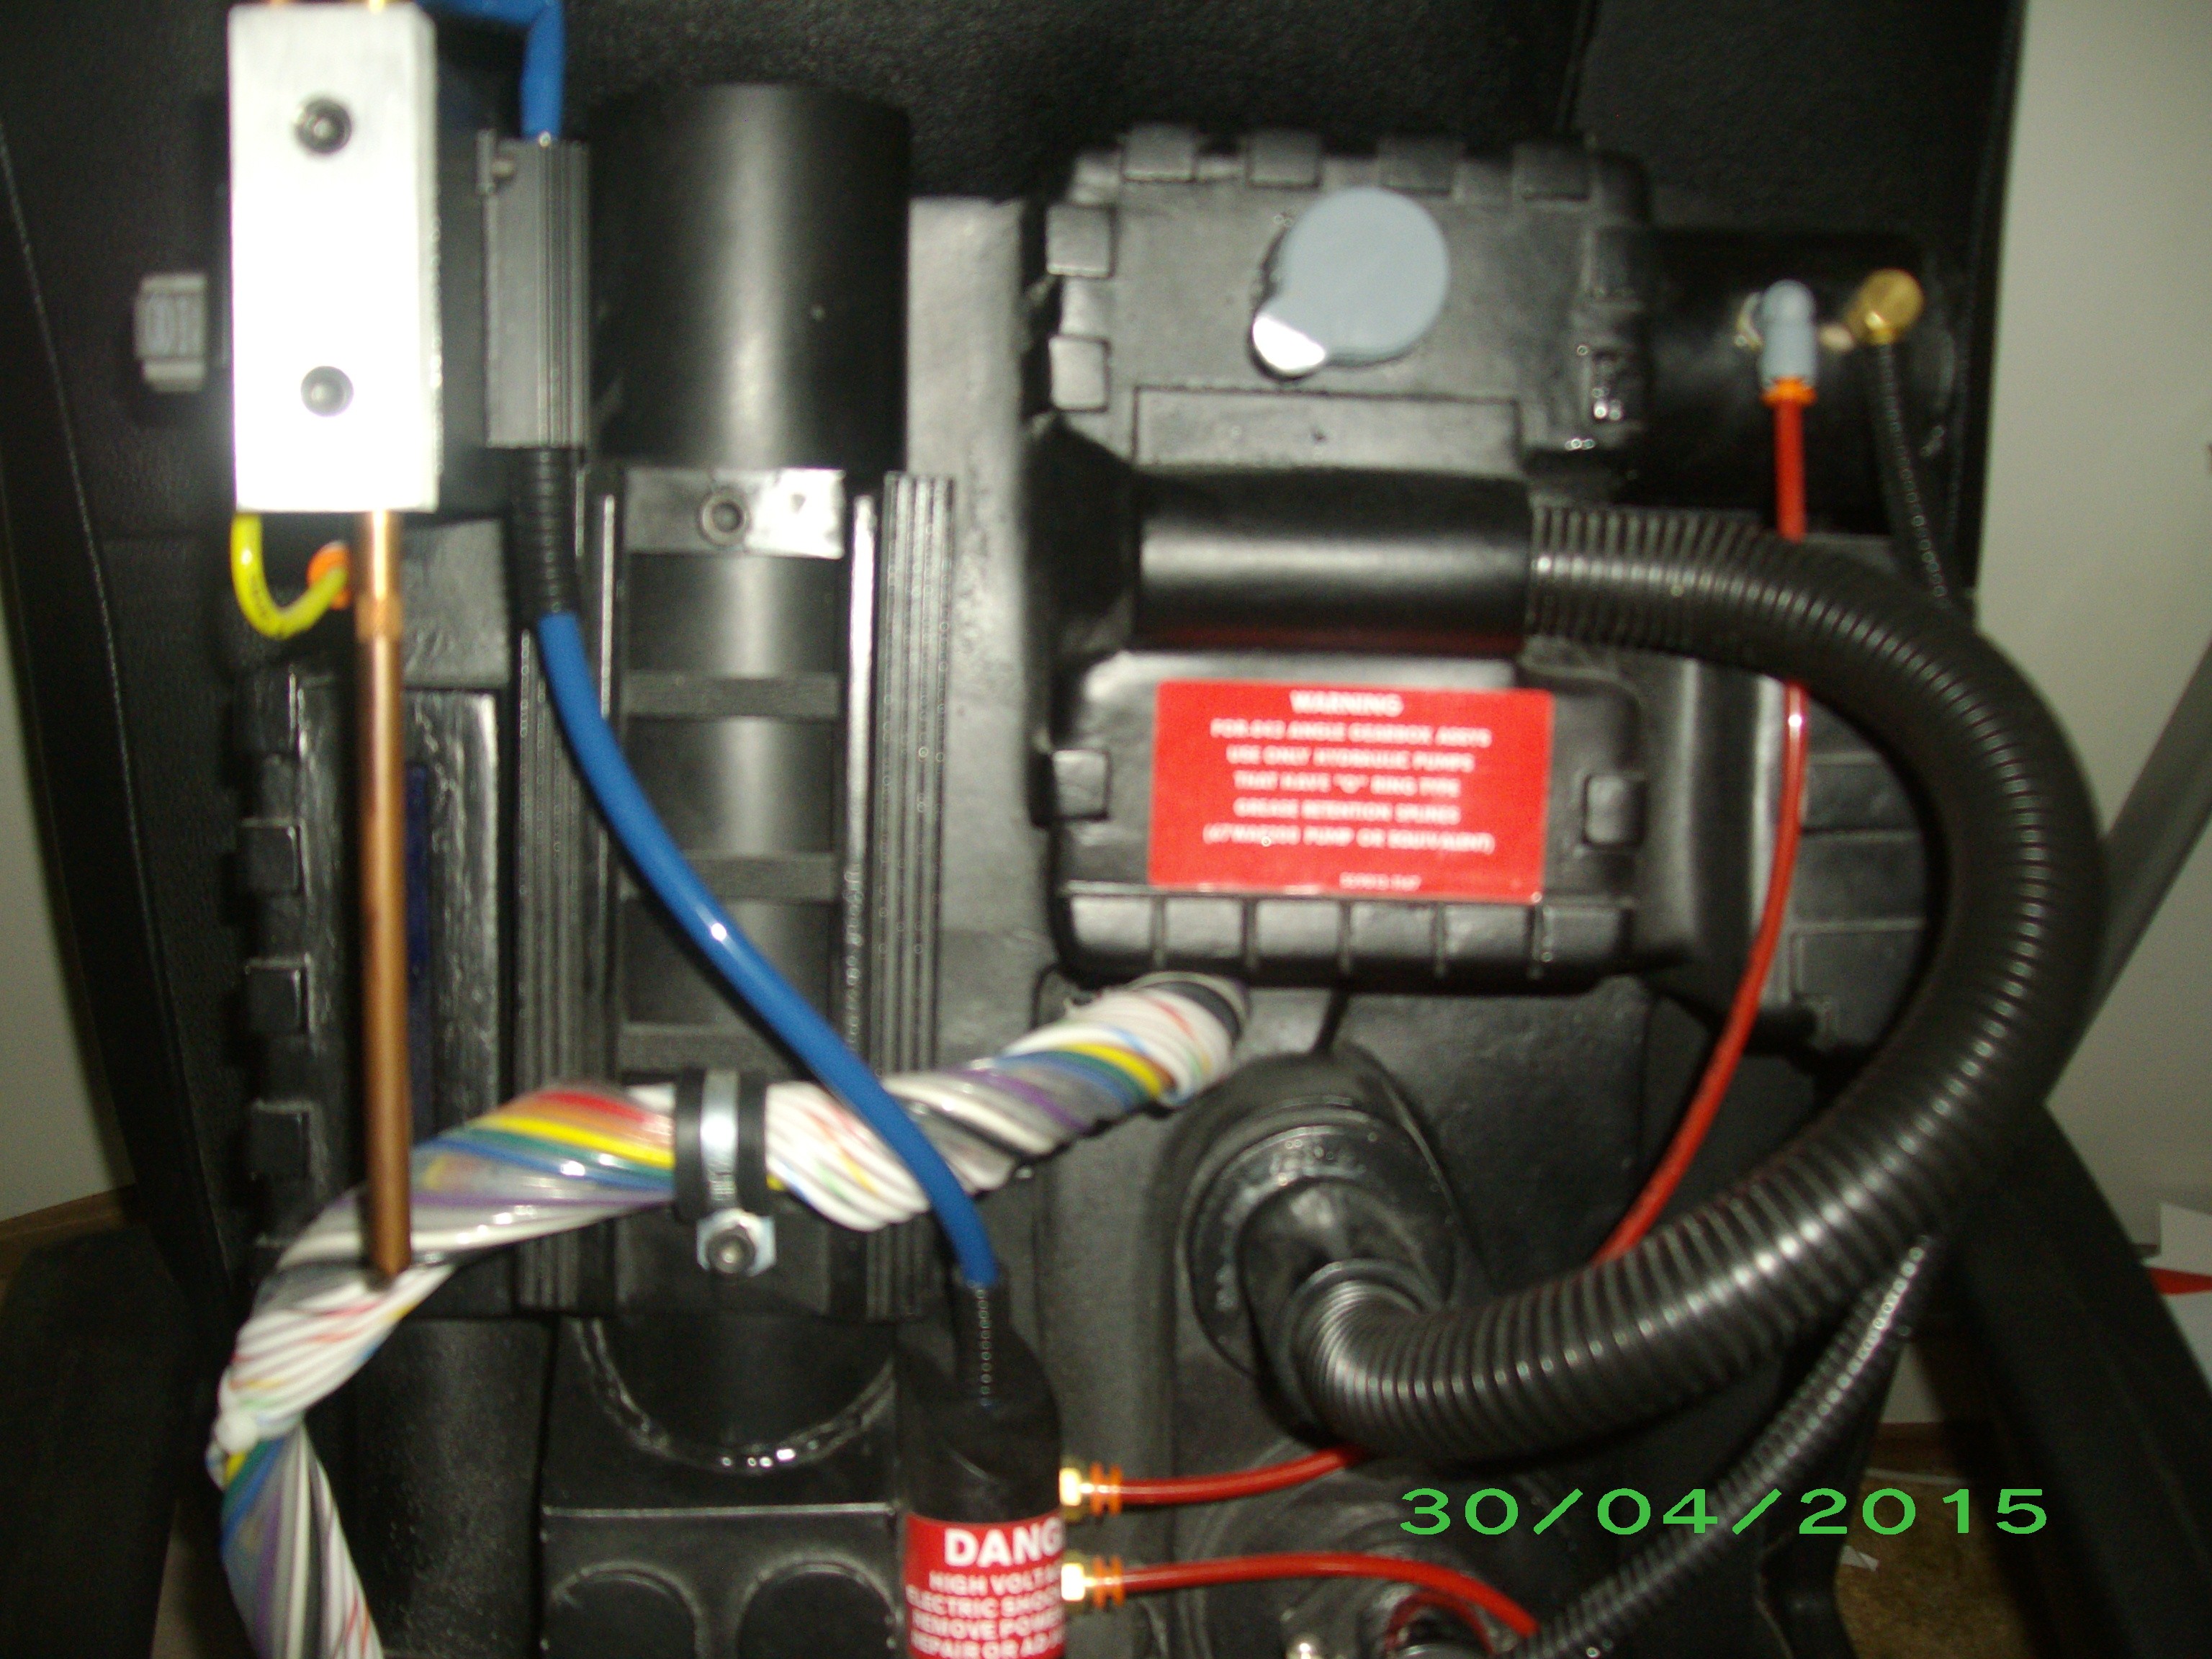
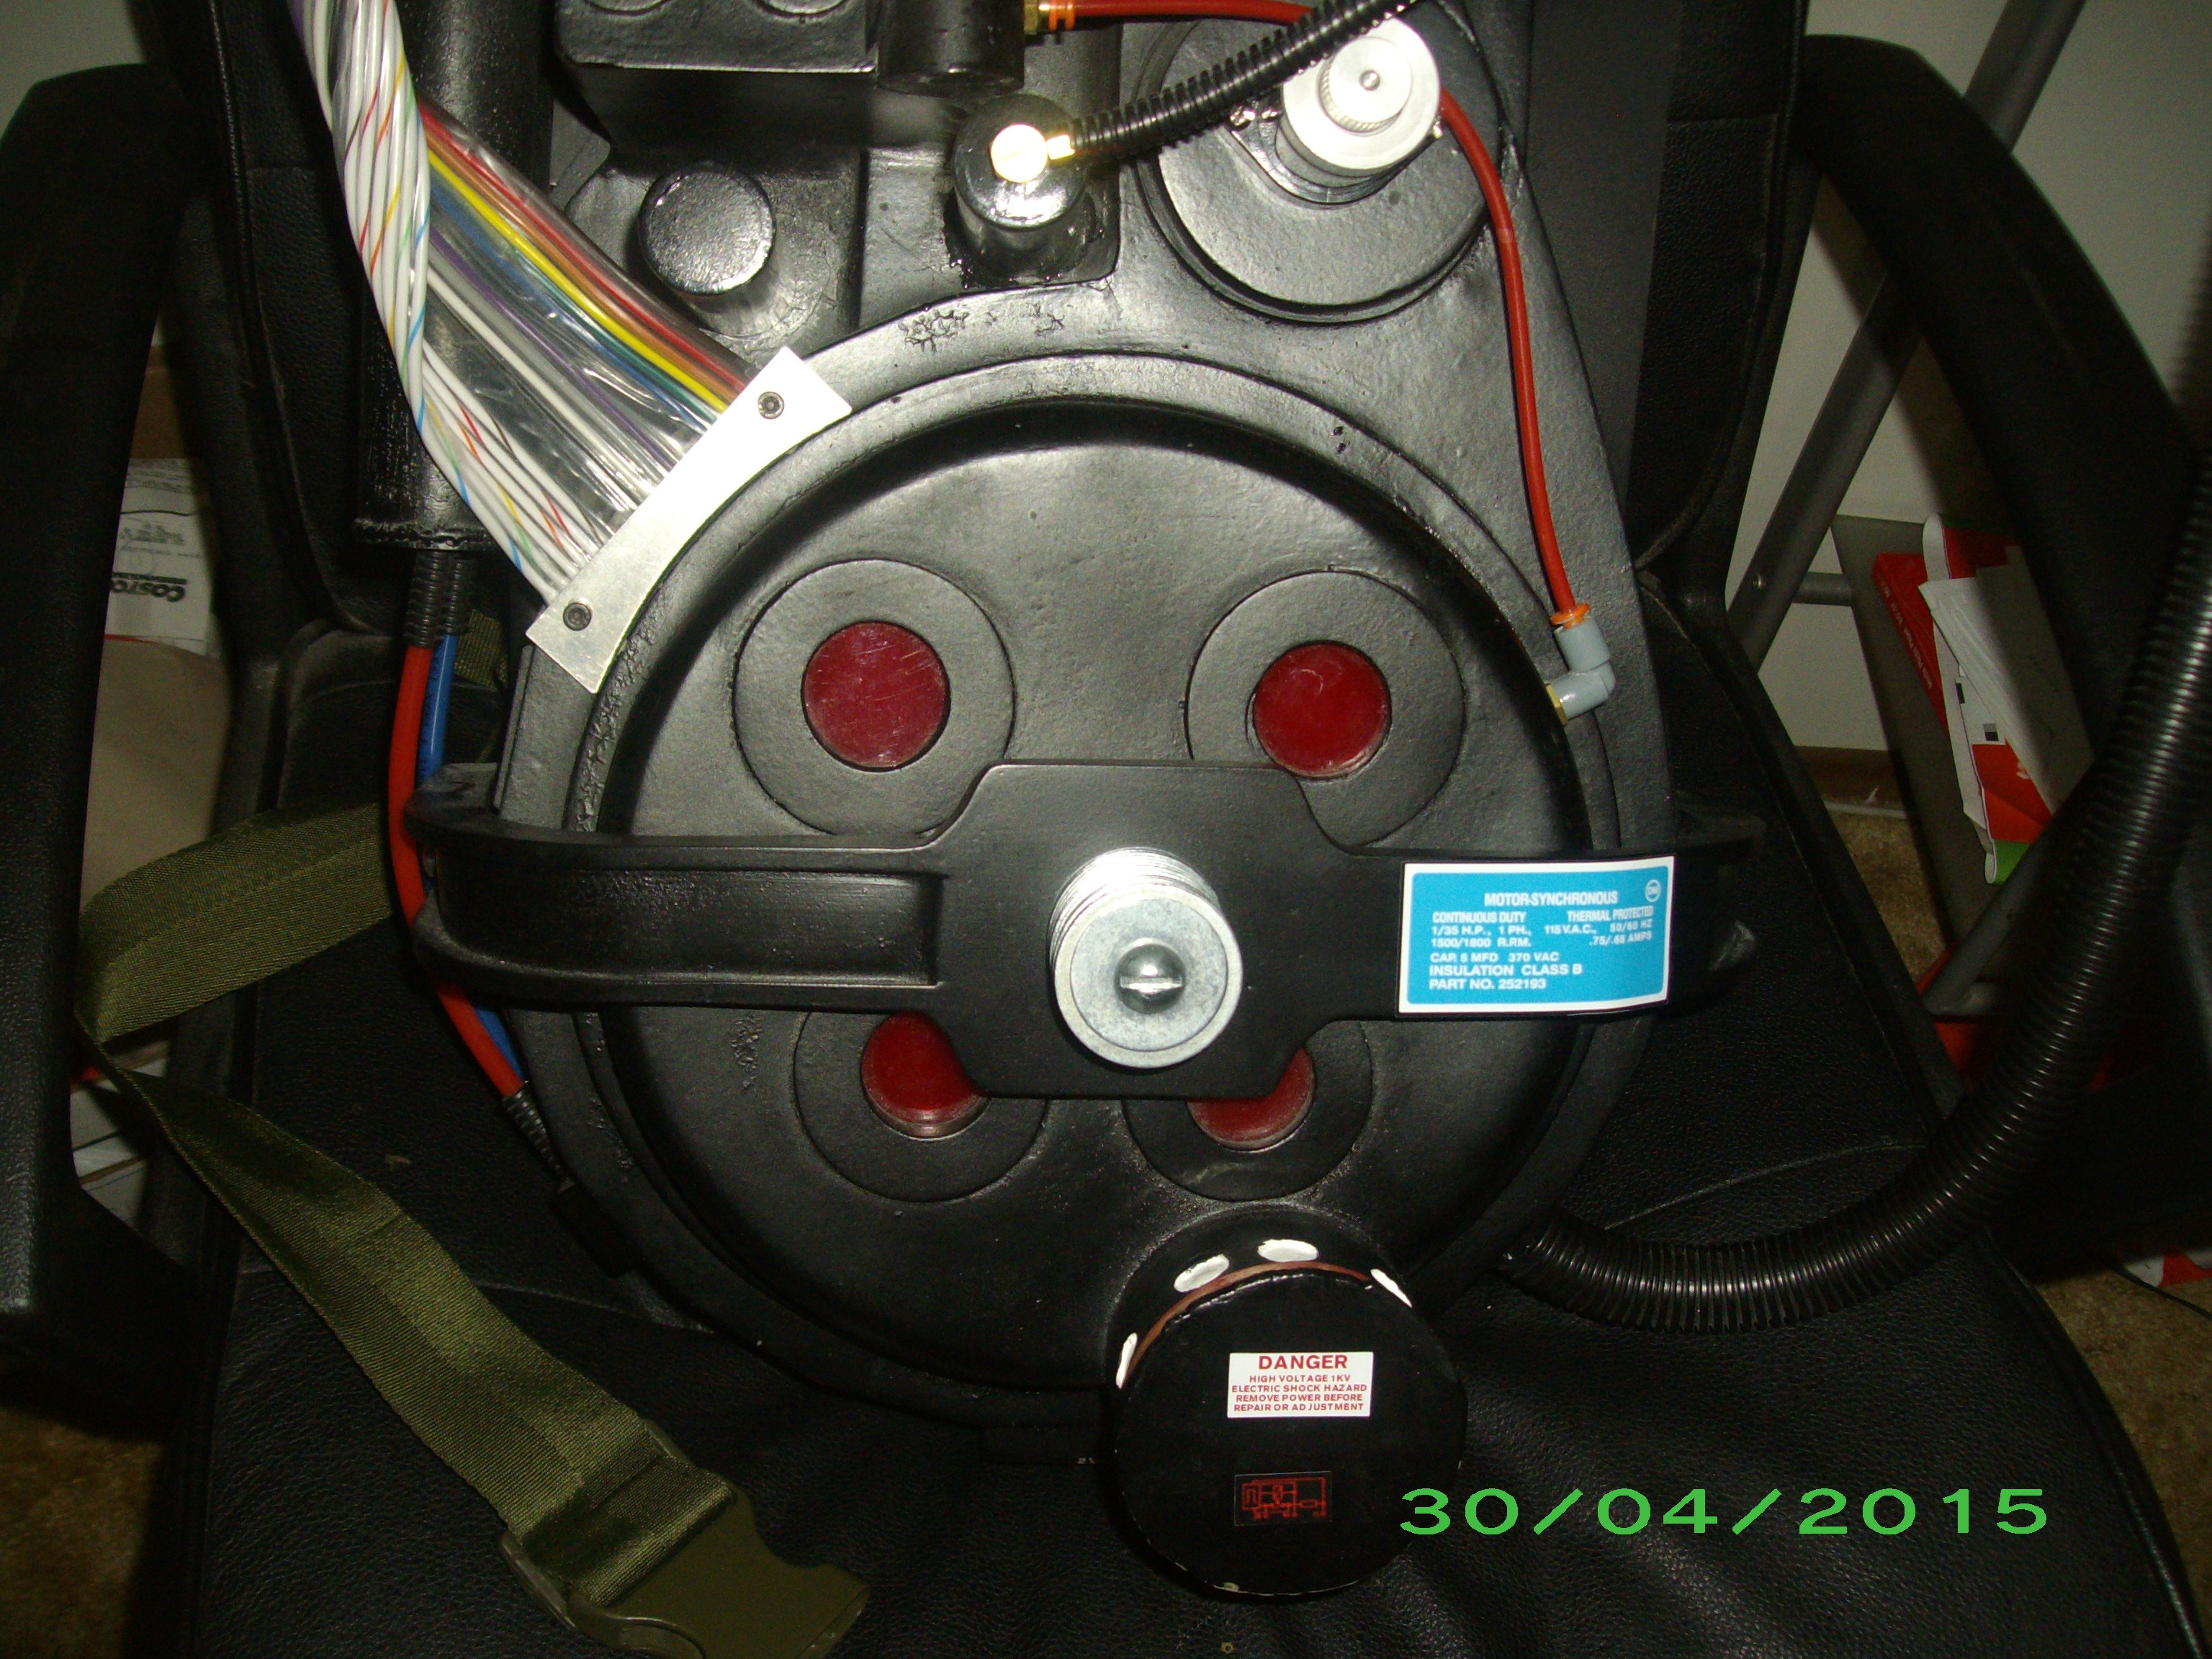
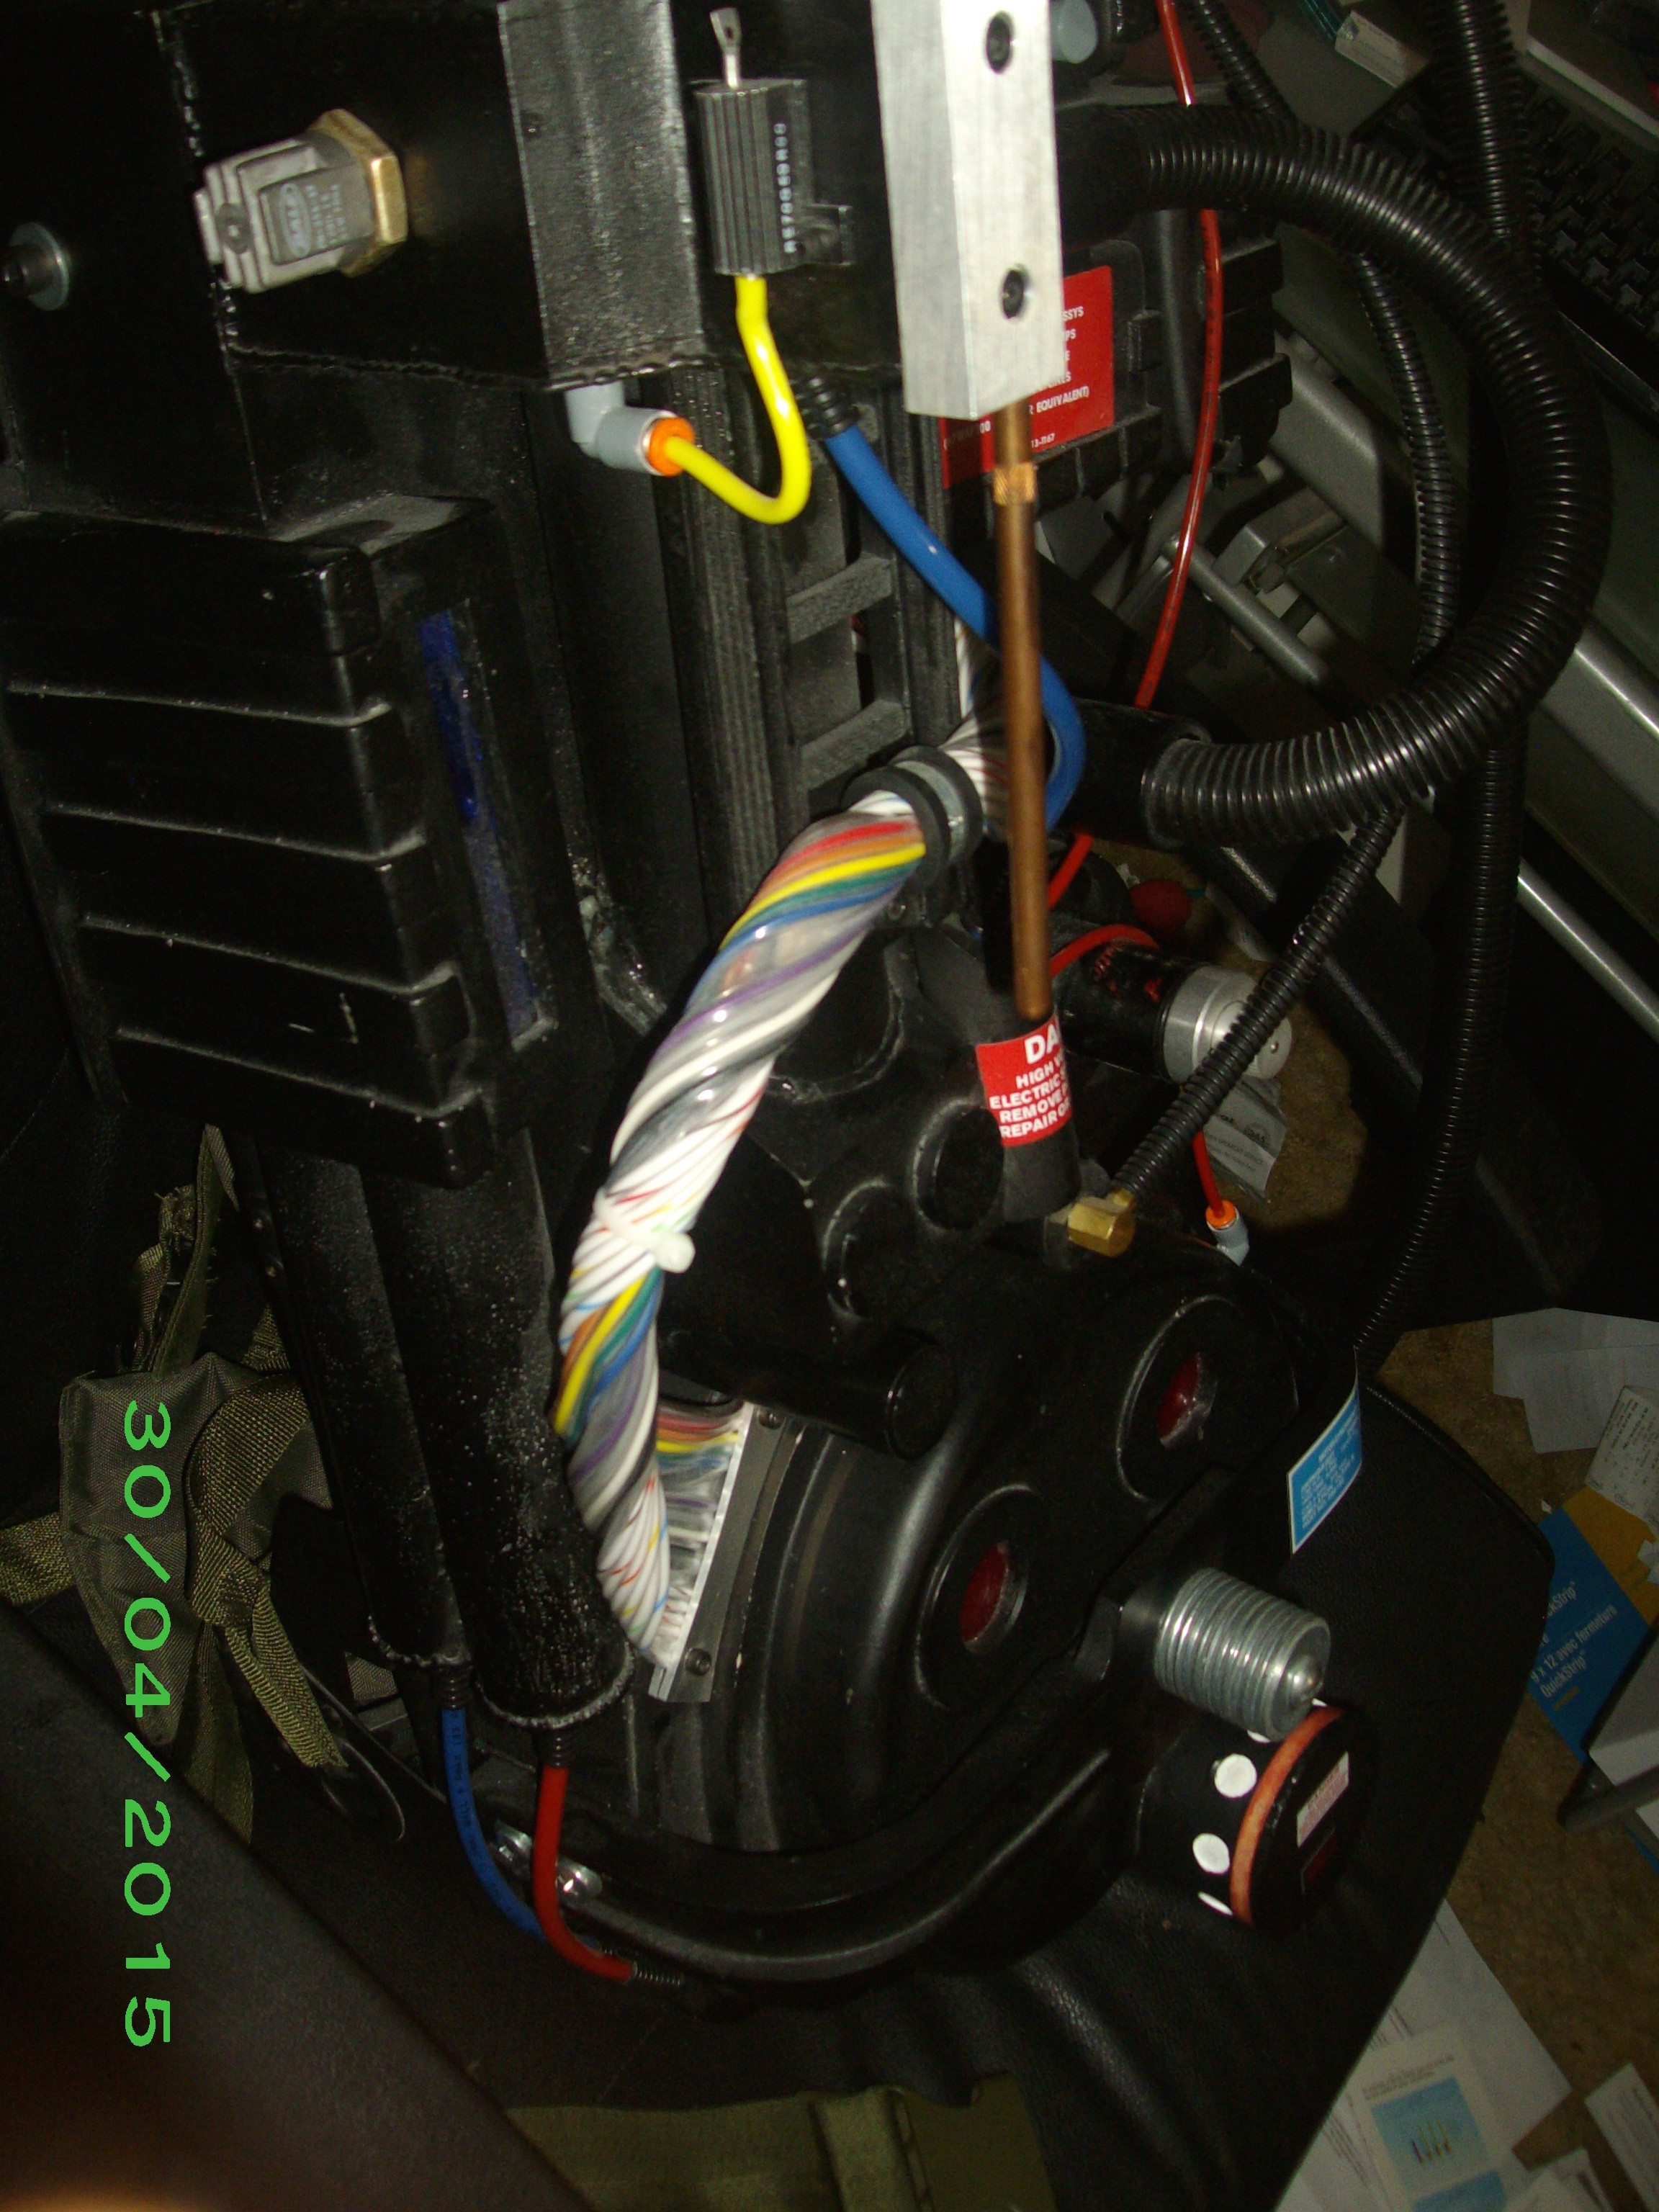
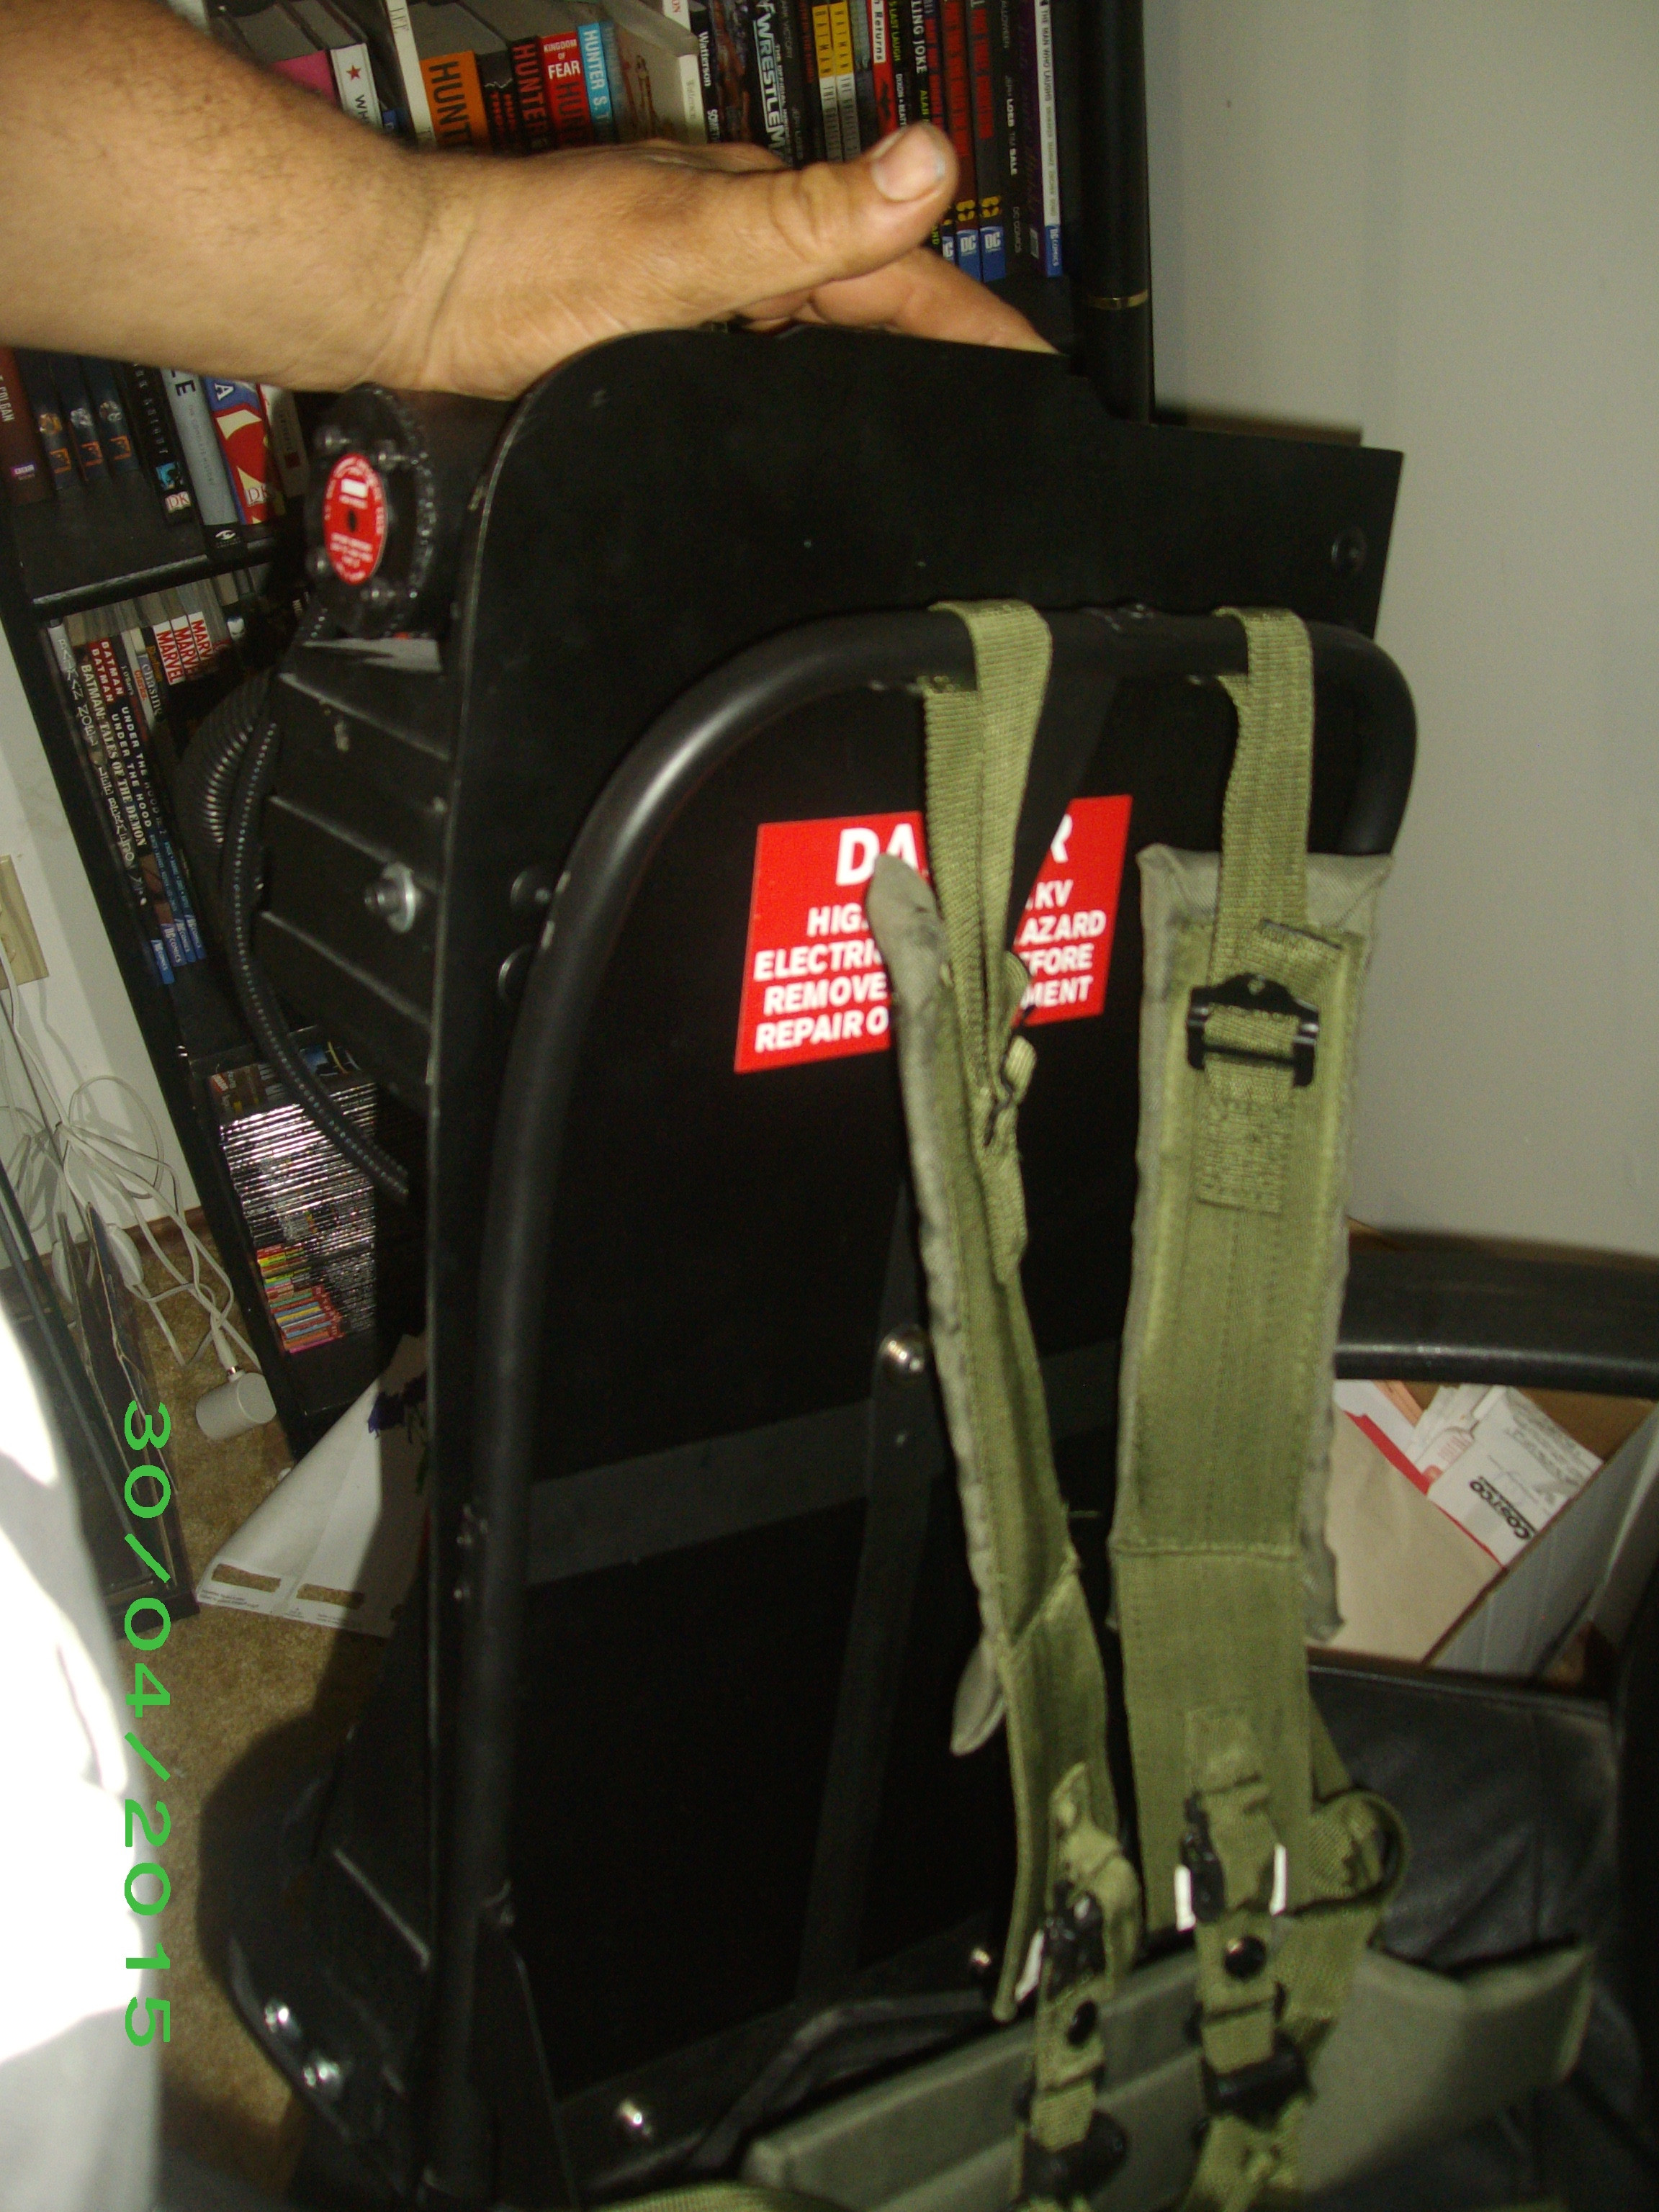
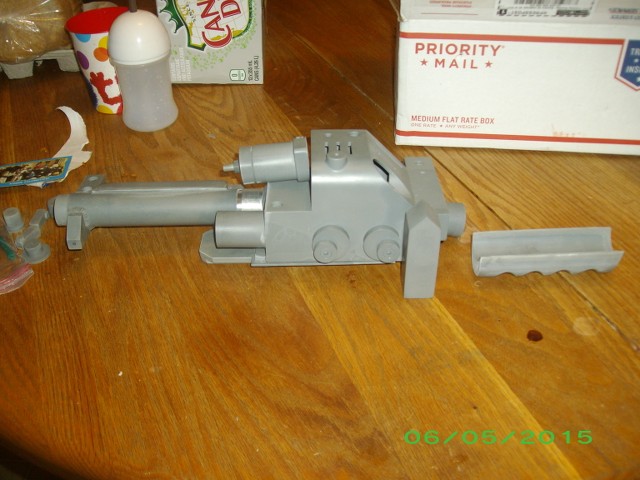
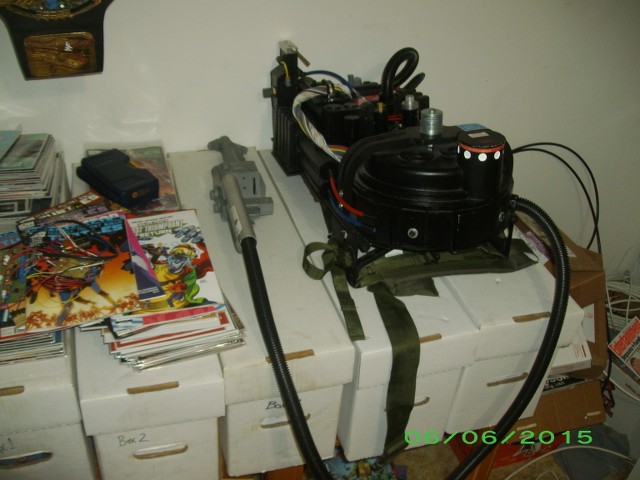
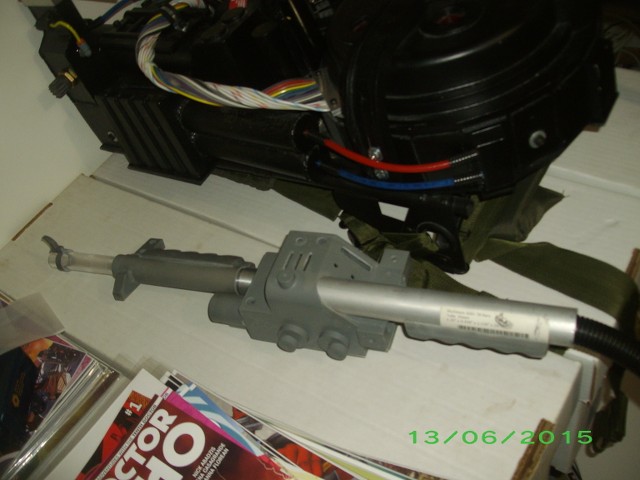
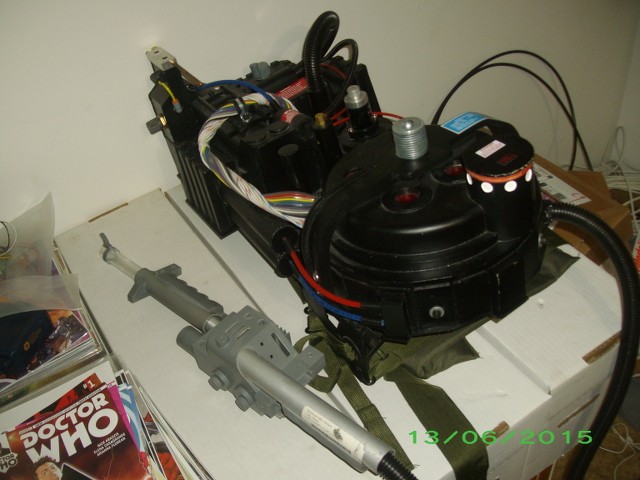
Here are some pictures of the pack:
After making this purchase I bought a V-Hook off of another guy on eBay cause the guys I contacted on this sight currently don’t have any available so I can attach a thrower to the pack, and then I purchased a thrower kit from ThrowingChicken to complete the package altogether. After I complete the thrower build I hope to get a GBFans amplified sound board and speaker to add sound to the light kits I’ve got, and hopefully I’ll have that all done before the Edmonton Expo in September.
Any comments and/or advice as I move forward with completing my pack is more than welcome.
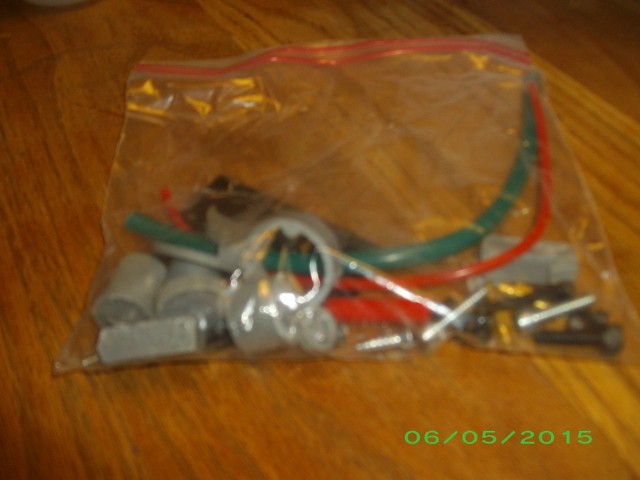
And the little parts (knobs, caps, banjos, hoses, and hardware):
And a nice little touch I think
I’m really nervous to start working on the thrower in fear of messing it up, but if I want a complete pack I’ve got to suck it up and do it. I still need got to get a piece of PVC pipe for the handle and the acrylic tube for the tip, and like a dummy I forgot to add the dry rub decals when to my order from TC so I’m going to need those too but I’ve got enough to get started.
Thanks for the tips! Just so we’re on the same page the orange tips on the elbows don’t need to be there, and the part that you linked to is the part that the 2 little red hoses between the Clipard valve and the vacuum tube connect to right?
I also have an inquiry for anyone to answer; Is there or is there not suppose to be spacers between the motherboard and the ALICE frame? I just noticed that my mobo is bolted directly to the frame.
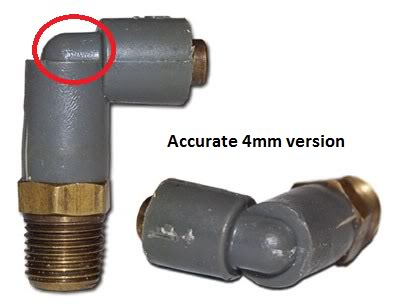
The elbows you have are a little different then the real ones, the real ones are ridiculously hard to find these days. Most people don’t have them on their packs because of how hard they are to come by. Many people use different types elbows as substitutes, similar to the ones you have, but they have commonly have grey tips instead of orange
So you could either remove the tips and glue the tubing in, or paint the tips grey. Both ways will look different than the real thing but at least you won’t have the blazing orange color.
Those Nick-a-tron spacers that Venkman’s Swagger mentioned are really nice, if you are putting an order in with him check out his resin Bellows. Might be a nice upgrade for your pack too!
I’ve been hit with a real bad tooth ache over the last week and a half (I’m currently taking antibiotics to bring down an infection so they can hopefully pull it on Saturday) so I haven’t got a lot of actual work done.
But here’s what I have done:
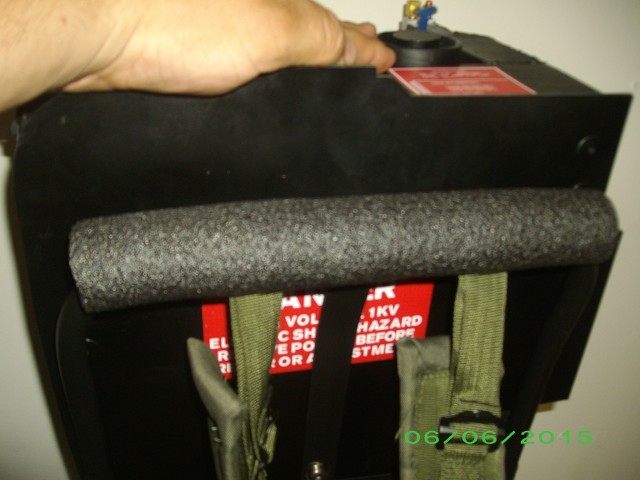
I’ve gotten the grey foam piece for the top of the ALICE frame put on
Ordered spacers for in-between the pack and ALICE frame from nick-a-torn (thanks Venkman’s Swagger for pointing them out to me)
Ordered an acrylic tube, and the wand light kit switch upgrade kit for my thrower as well as the ribbon cable connectors for thrower and pack light kits for when I get the sound kit from the GBFans Shop
And lastly I ordered an aluminum tube for my thrower handle from Amazon (thanks pyhasanon for pointing me in the right direction)
I couldn’t remove the orange tips on the grey elbows that Lowberg pointed out to me so I guess I go with plan B and paint them (and hopefully only them) in place. Hopefully my next post I will have more accomplished and be pesky wisdom tooth free.
So I got my tooth pulled but I still haven’t got a lot done with my pack, but a little progress was made.
Last update I mentioned I got the foam on top of the ALICE frame but didn’t post a pic, so here’s one
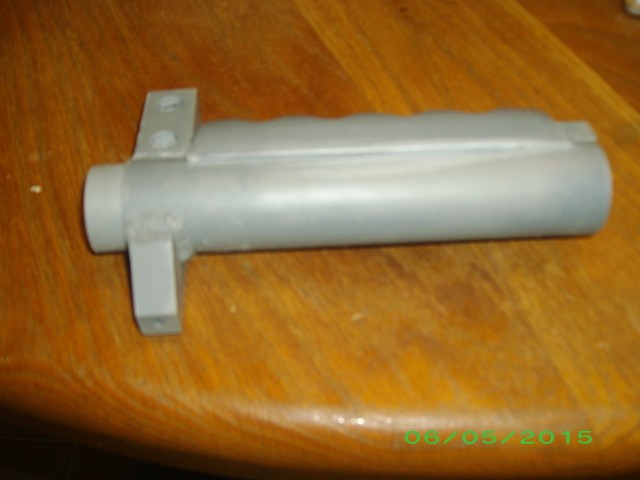
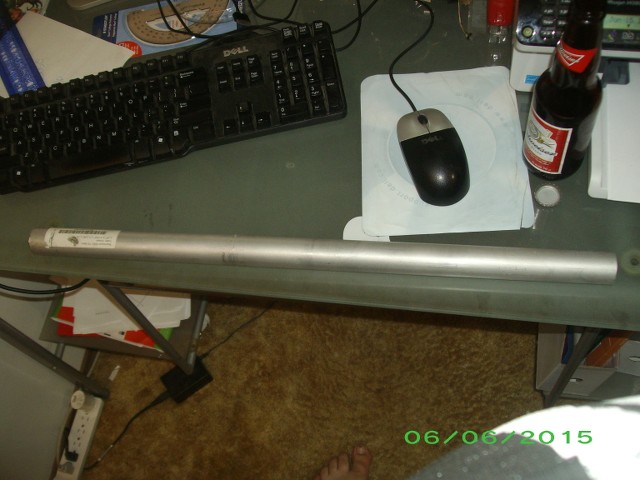
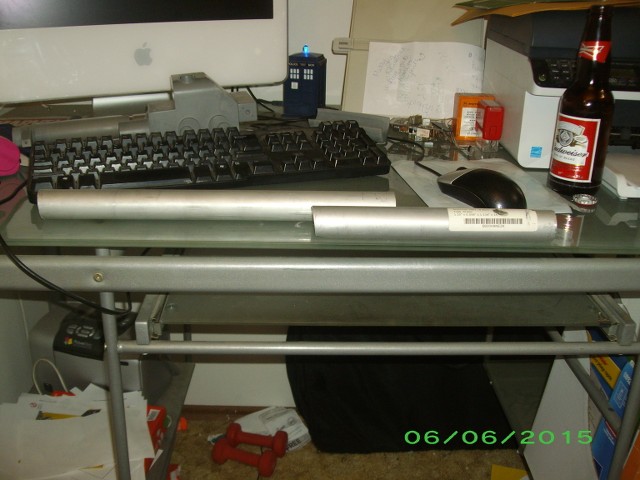
I got the aluminum tube I ordered from amazon for the handle, after making sure it fit I then measured and cut it to size
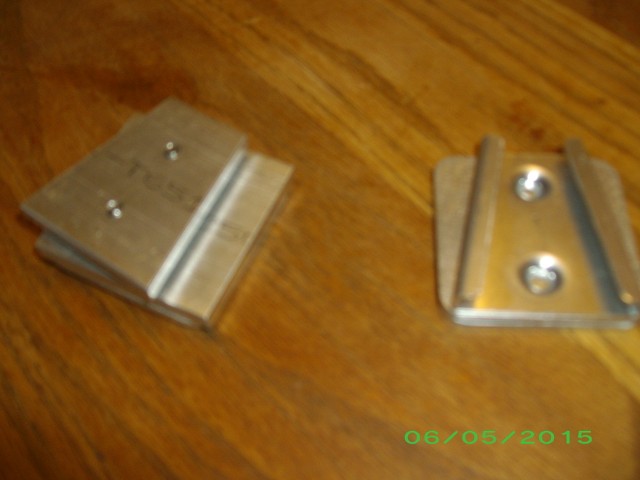
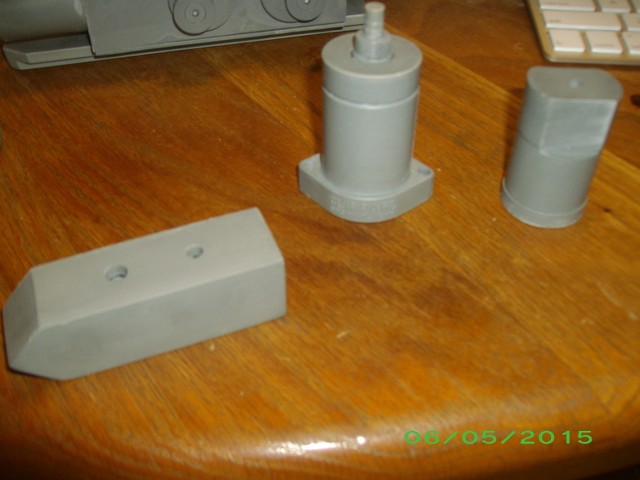
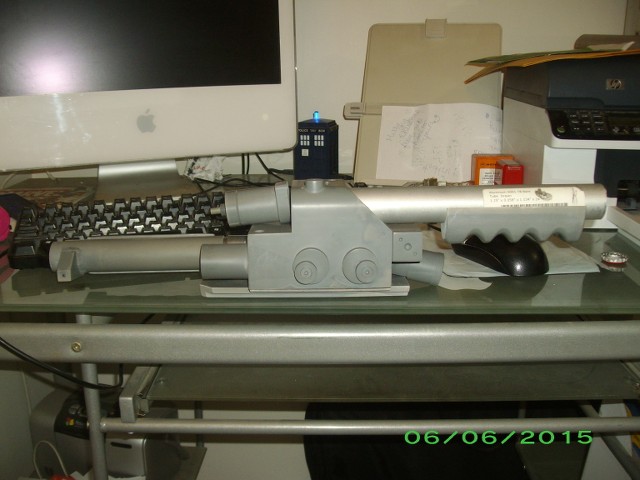
I then did the best mock up I could since I have yet to tap holes for the hardware
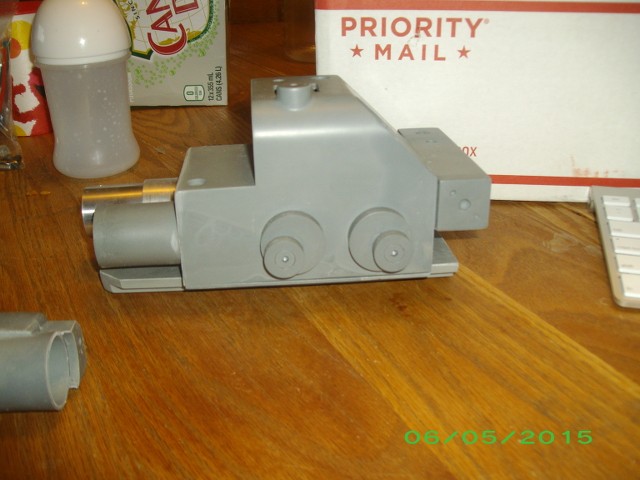
Still not complete but getting closer
I got my order from the GBFans Shop a couple of days ago with the only thing to add at this time being the acrylic tube
Its getting closer to being done and I’m getting excited
The only thing I’m still waiting on to arrive from my recent purchases are my spacers from nick-a-tron, but seeing as that doesn’t effect my thrower build I’ve got to get over my nervousness and tap the holes I need to tap so I can move on to painting and assembling. I also still need to drill the holes so I can attach my V-Hook too.
So it ended up being more later than sooner, but I’m back! I haven’t updated in a bit and now that I’ve gotten around to doing so I’m having camera issues (main camera suddenly won’t read memory cards, and back up camera is M.I.A.), so I can’t take and post pictures at this time.
It’s been 3 months since my last post and this is the progress that has been made:
I received my spacers from nick and have got them mounted in between the mother board and ALICE frame
I’ve ordered and received my GBFans Lights & Sound Kits and speaker. I’ve got the cyclotron lights set up and am working on a temperary shelf for the powercell lights out of popcicle sticks as I’d like to have the lights set up and operational for the Edmonton Expo next weekend and there is still other work to be done
I’m waiting on a blue brick 12V battery to arrive in the mail to operate the lights and sounds, it’s slated to arrive between Sept 21 & 29 but if its not here before next weekend I’ll forgo sound for the Expo and just operate the light kits with 9V batteries
It’s still not finished, but the gun/wand is pretty much down to paint & assembly now. I’m actually glad I haven’t painted it yet seeing as the bar graph lights in the GBFans light kit is too short and too wide for the space for it in TC’s gun kit, so I’m going to have to make it wider and putty in the excess closed so it fits properly, which would probably sent me over the edge if I had already painted the wand/gun
Thats basically it for now, hopefully I will solve my camera dilema soon so I can post pictures
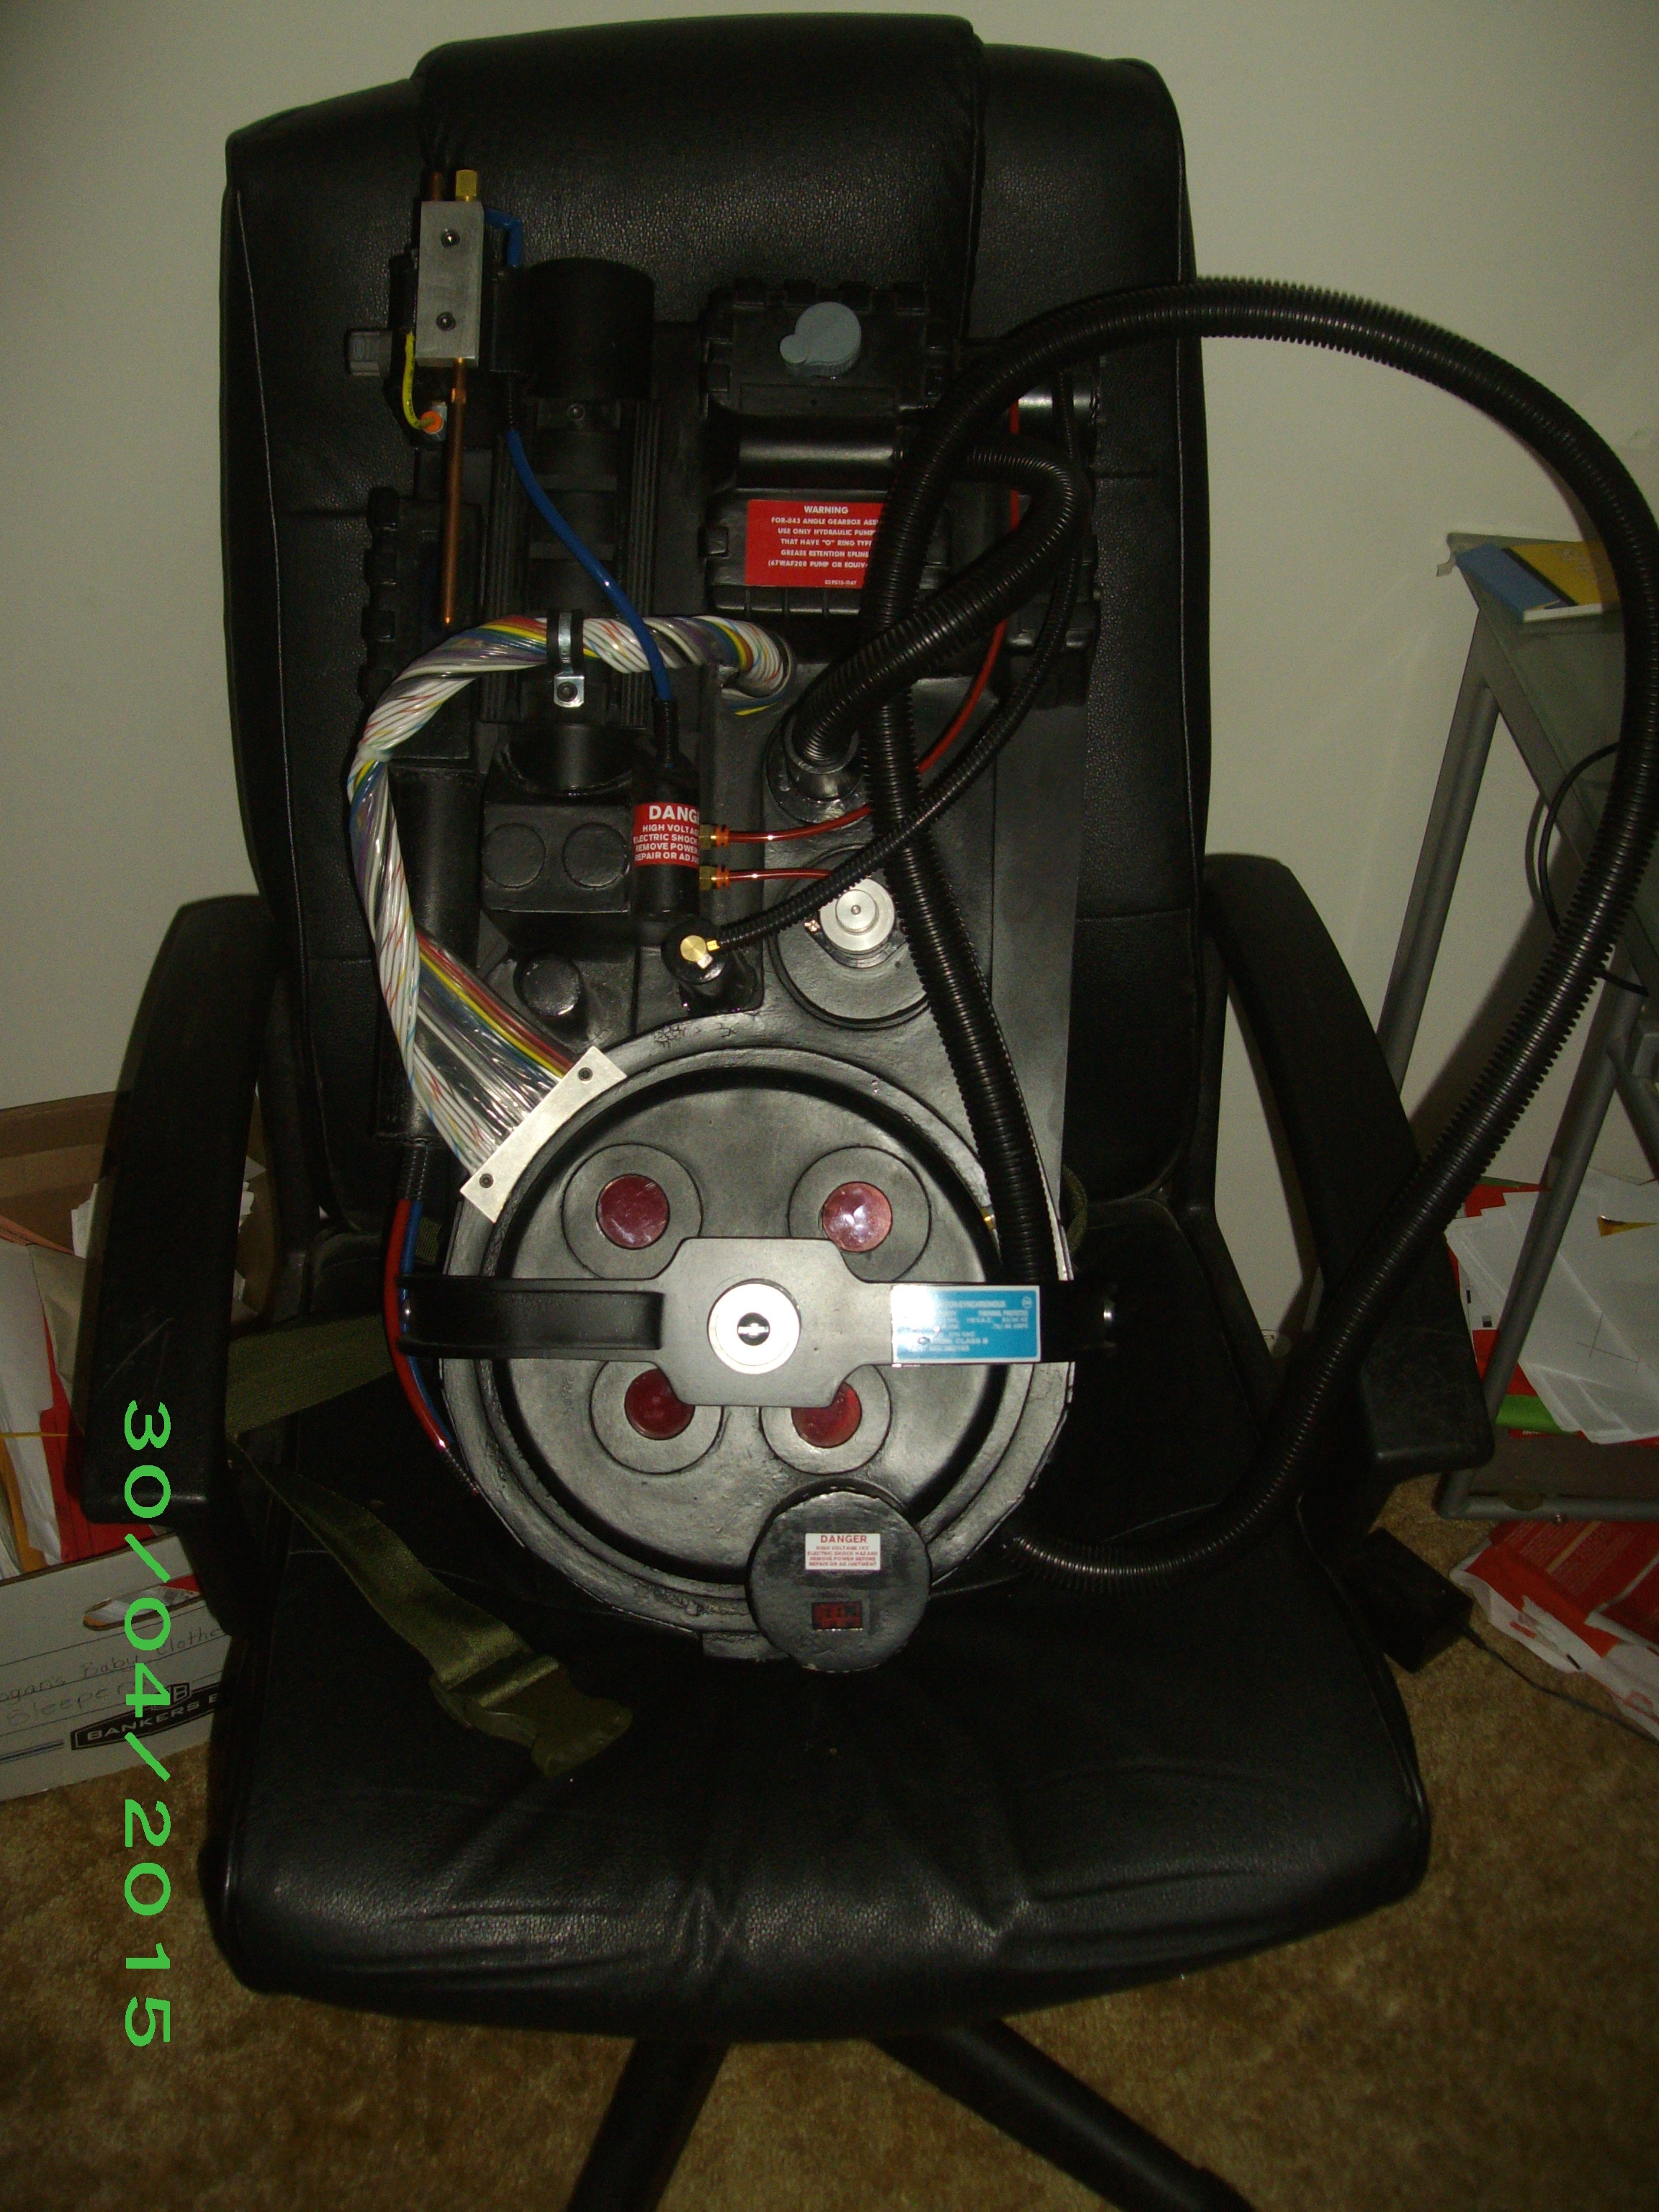
Man I’m so jealous of you. It looks movie accurate to me.
I’ve always wanted a pack but my stubborness caused me one day to insist on having a full metal pack, which meant I never pulled the trigger on getting a “normal” one. If I stay that stubborn I will probably never own one You are one of the lucky ones.
So I managed to find our back up camera last week and snap some progress pictures, and since last weekend was the Edmonton Expo and I was hoping to have it 100% done but due to some set backs I didn’t quite get there, however I did get enough completed that I got to wear my pack to the Expo.
These pictures were taken last weekend after finding the camera but this is progress made before the 1 week push to attempt a 100% complete pack for the Expo, nick-a-tron spacers installed between mother board and ALICE frame and v-hook added
This is what my wand looked like Saturday morning before heading out to the Expo. I got the kit painted and assembled, however I didn’t have any of the knobs, switches, hat lights, banjos, or the red and green tubing attached
Saturday night after I got home from my first day at the Expo I got the knobs attached and the green tube as well, I managed to get the red tube glued to one of my resin banjos from the kit but for some ■■■■■■ reason it wouldn’t stick to the other so I didn’t attach them for my 2nd day at the Expo on Sunday, I still didn’t get my switches in either so of coarse that meant no wand light kit
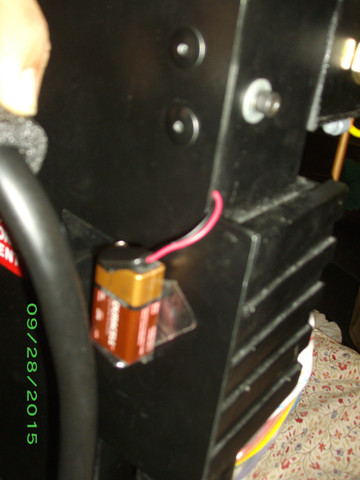
I had ordered and received a 12V blue brick battery to operate my lights and amplified sound kits, but unfortunately despite my running around for the week I was not able to find a female DC cord at any of my local stores to go from my board to plug into the battery to do so. Despite no wand lights and not being able to run power from my brick I was determined to have some kind of lights for the Expo, so I crudely taped a 9V battery to my mother board and powered my cyclotron and power cell lights that way
The only progress I’ve made since then is getting the switch into the bottom hole in the trigger box and having some difficulty getting the Intensify push button in its hole, but I will probably concentrate getting all the switches and the rest of the wand light kit installed this week, but as of right now my pack is hanging on the wall of my bedroom
 You are one of the lucky ones.