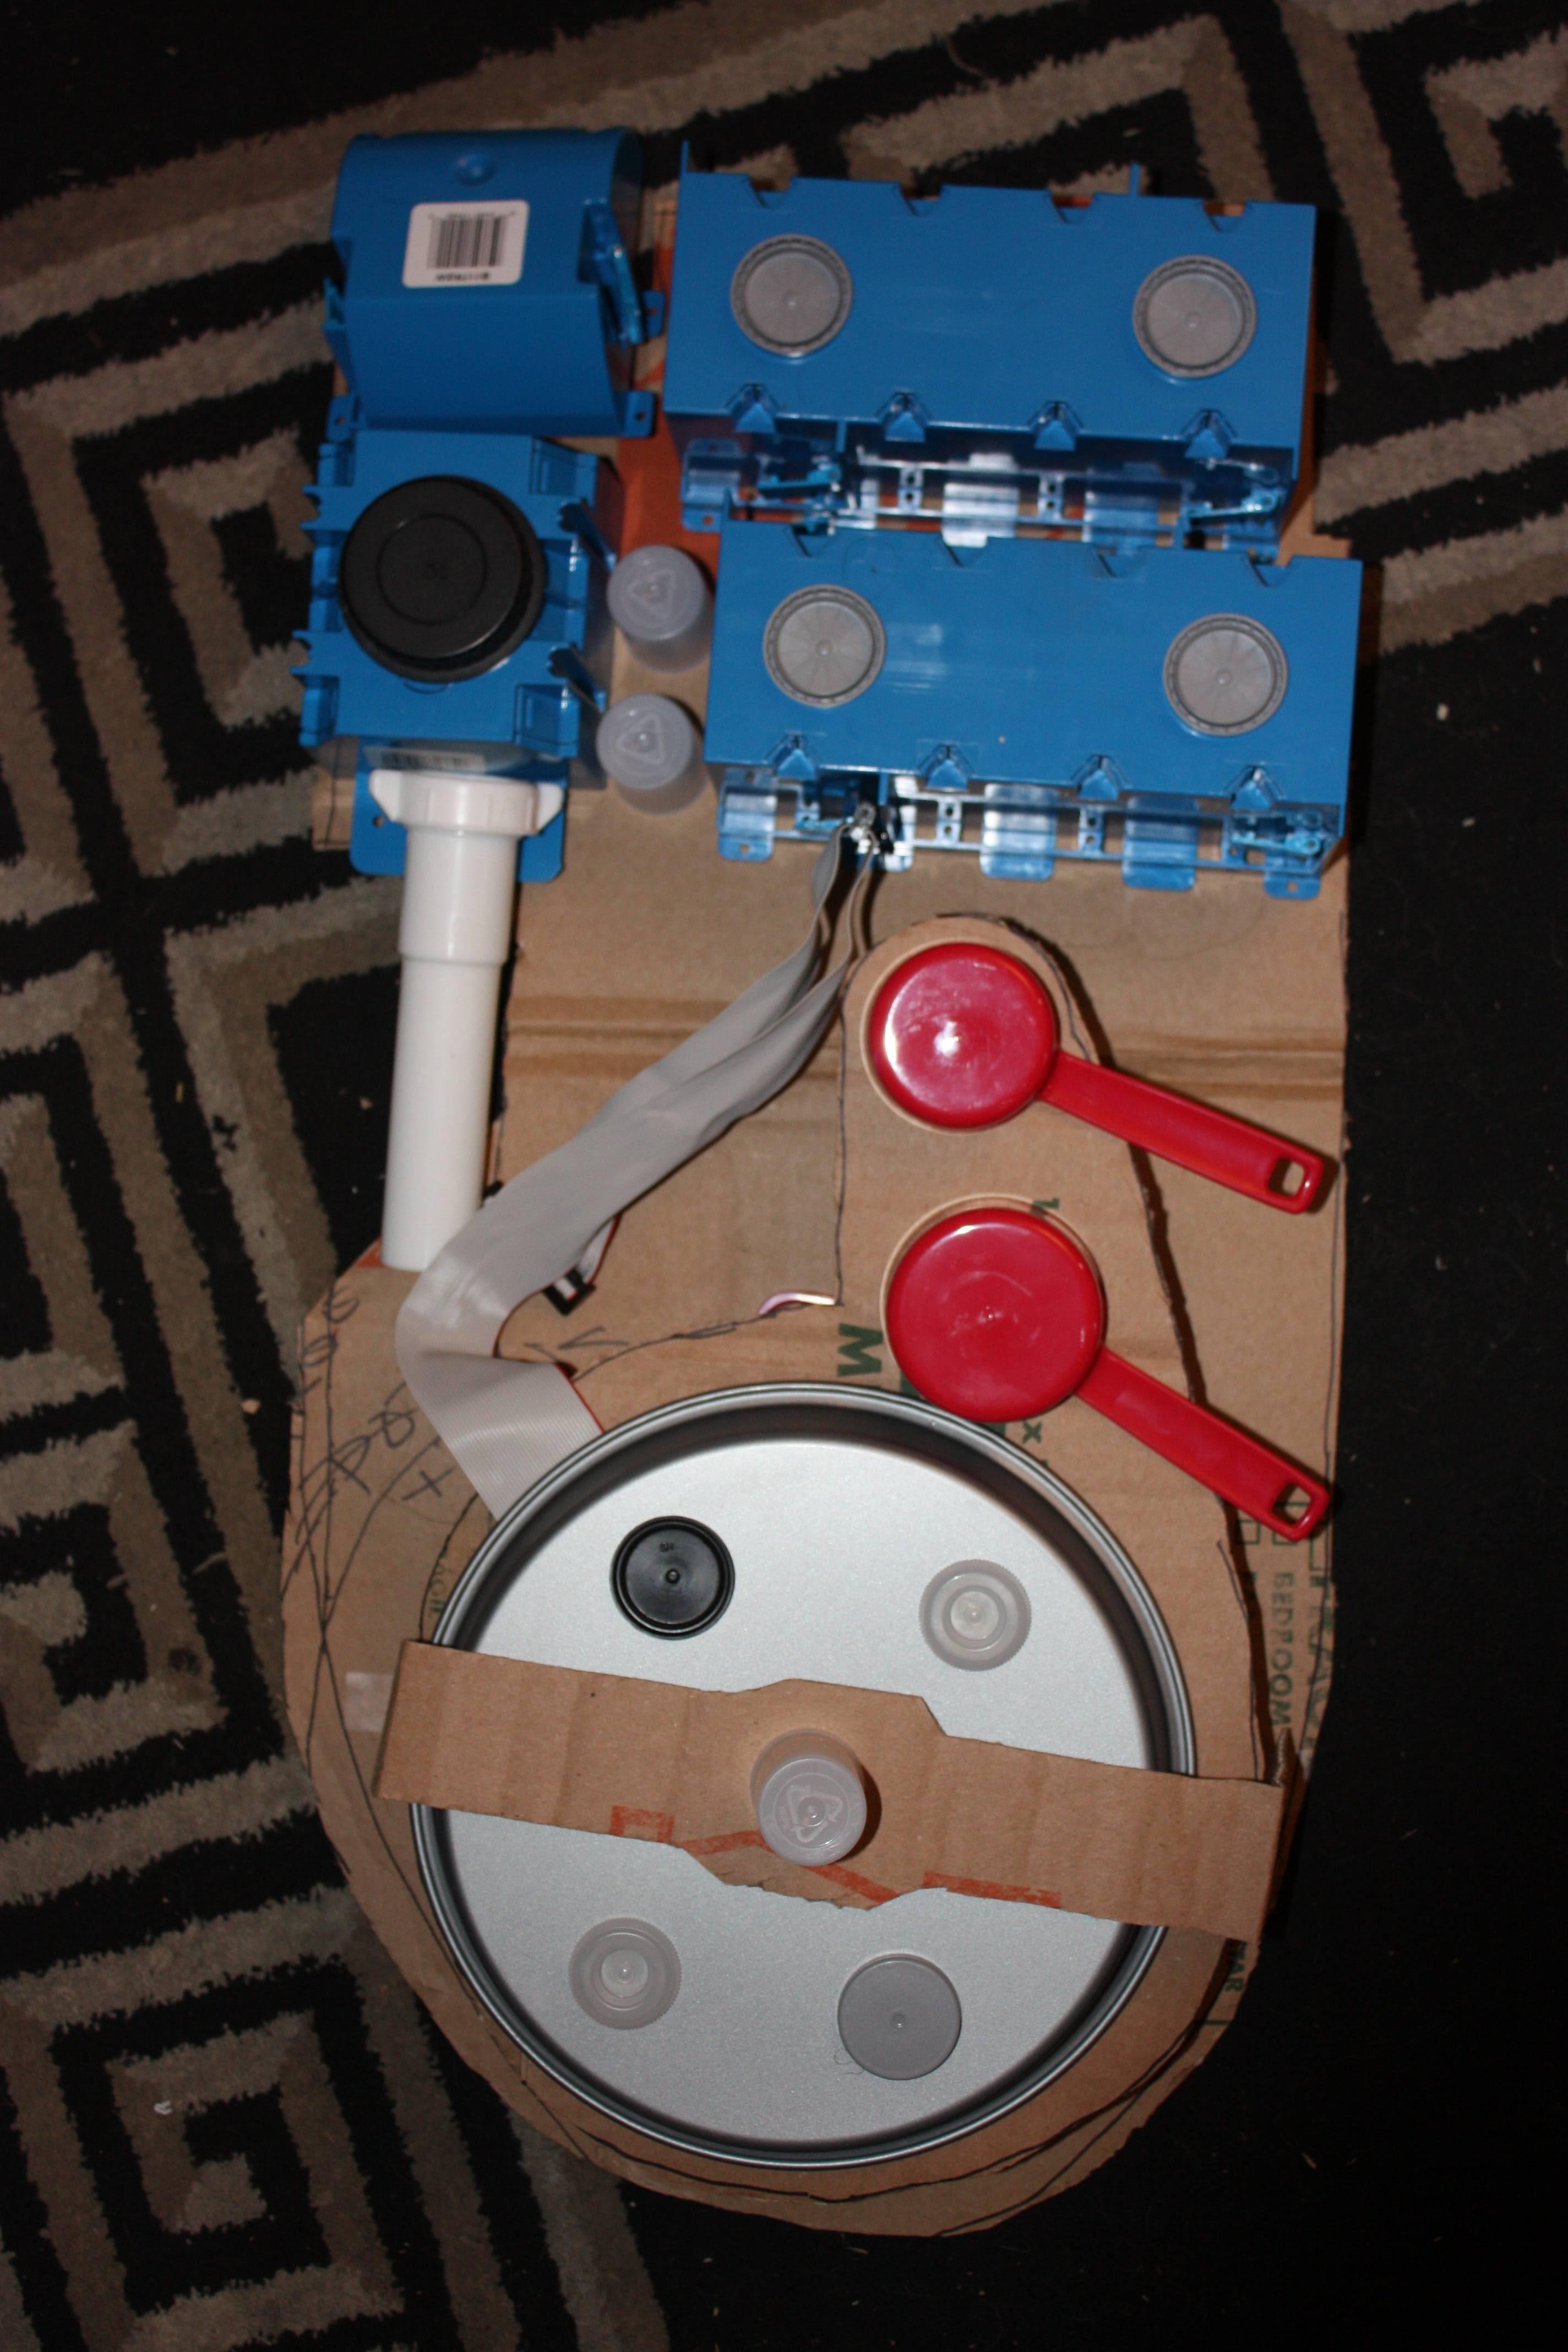
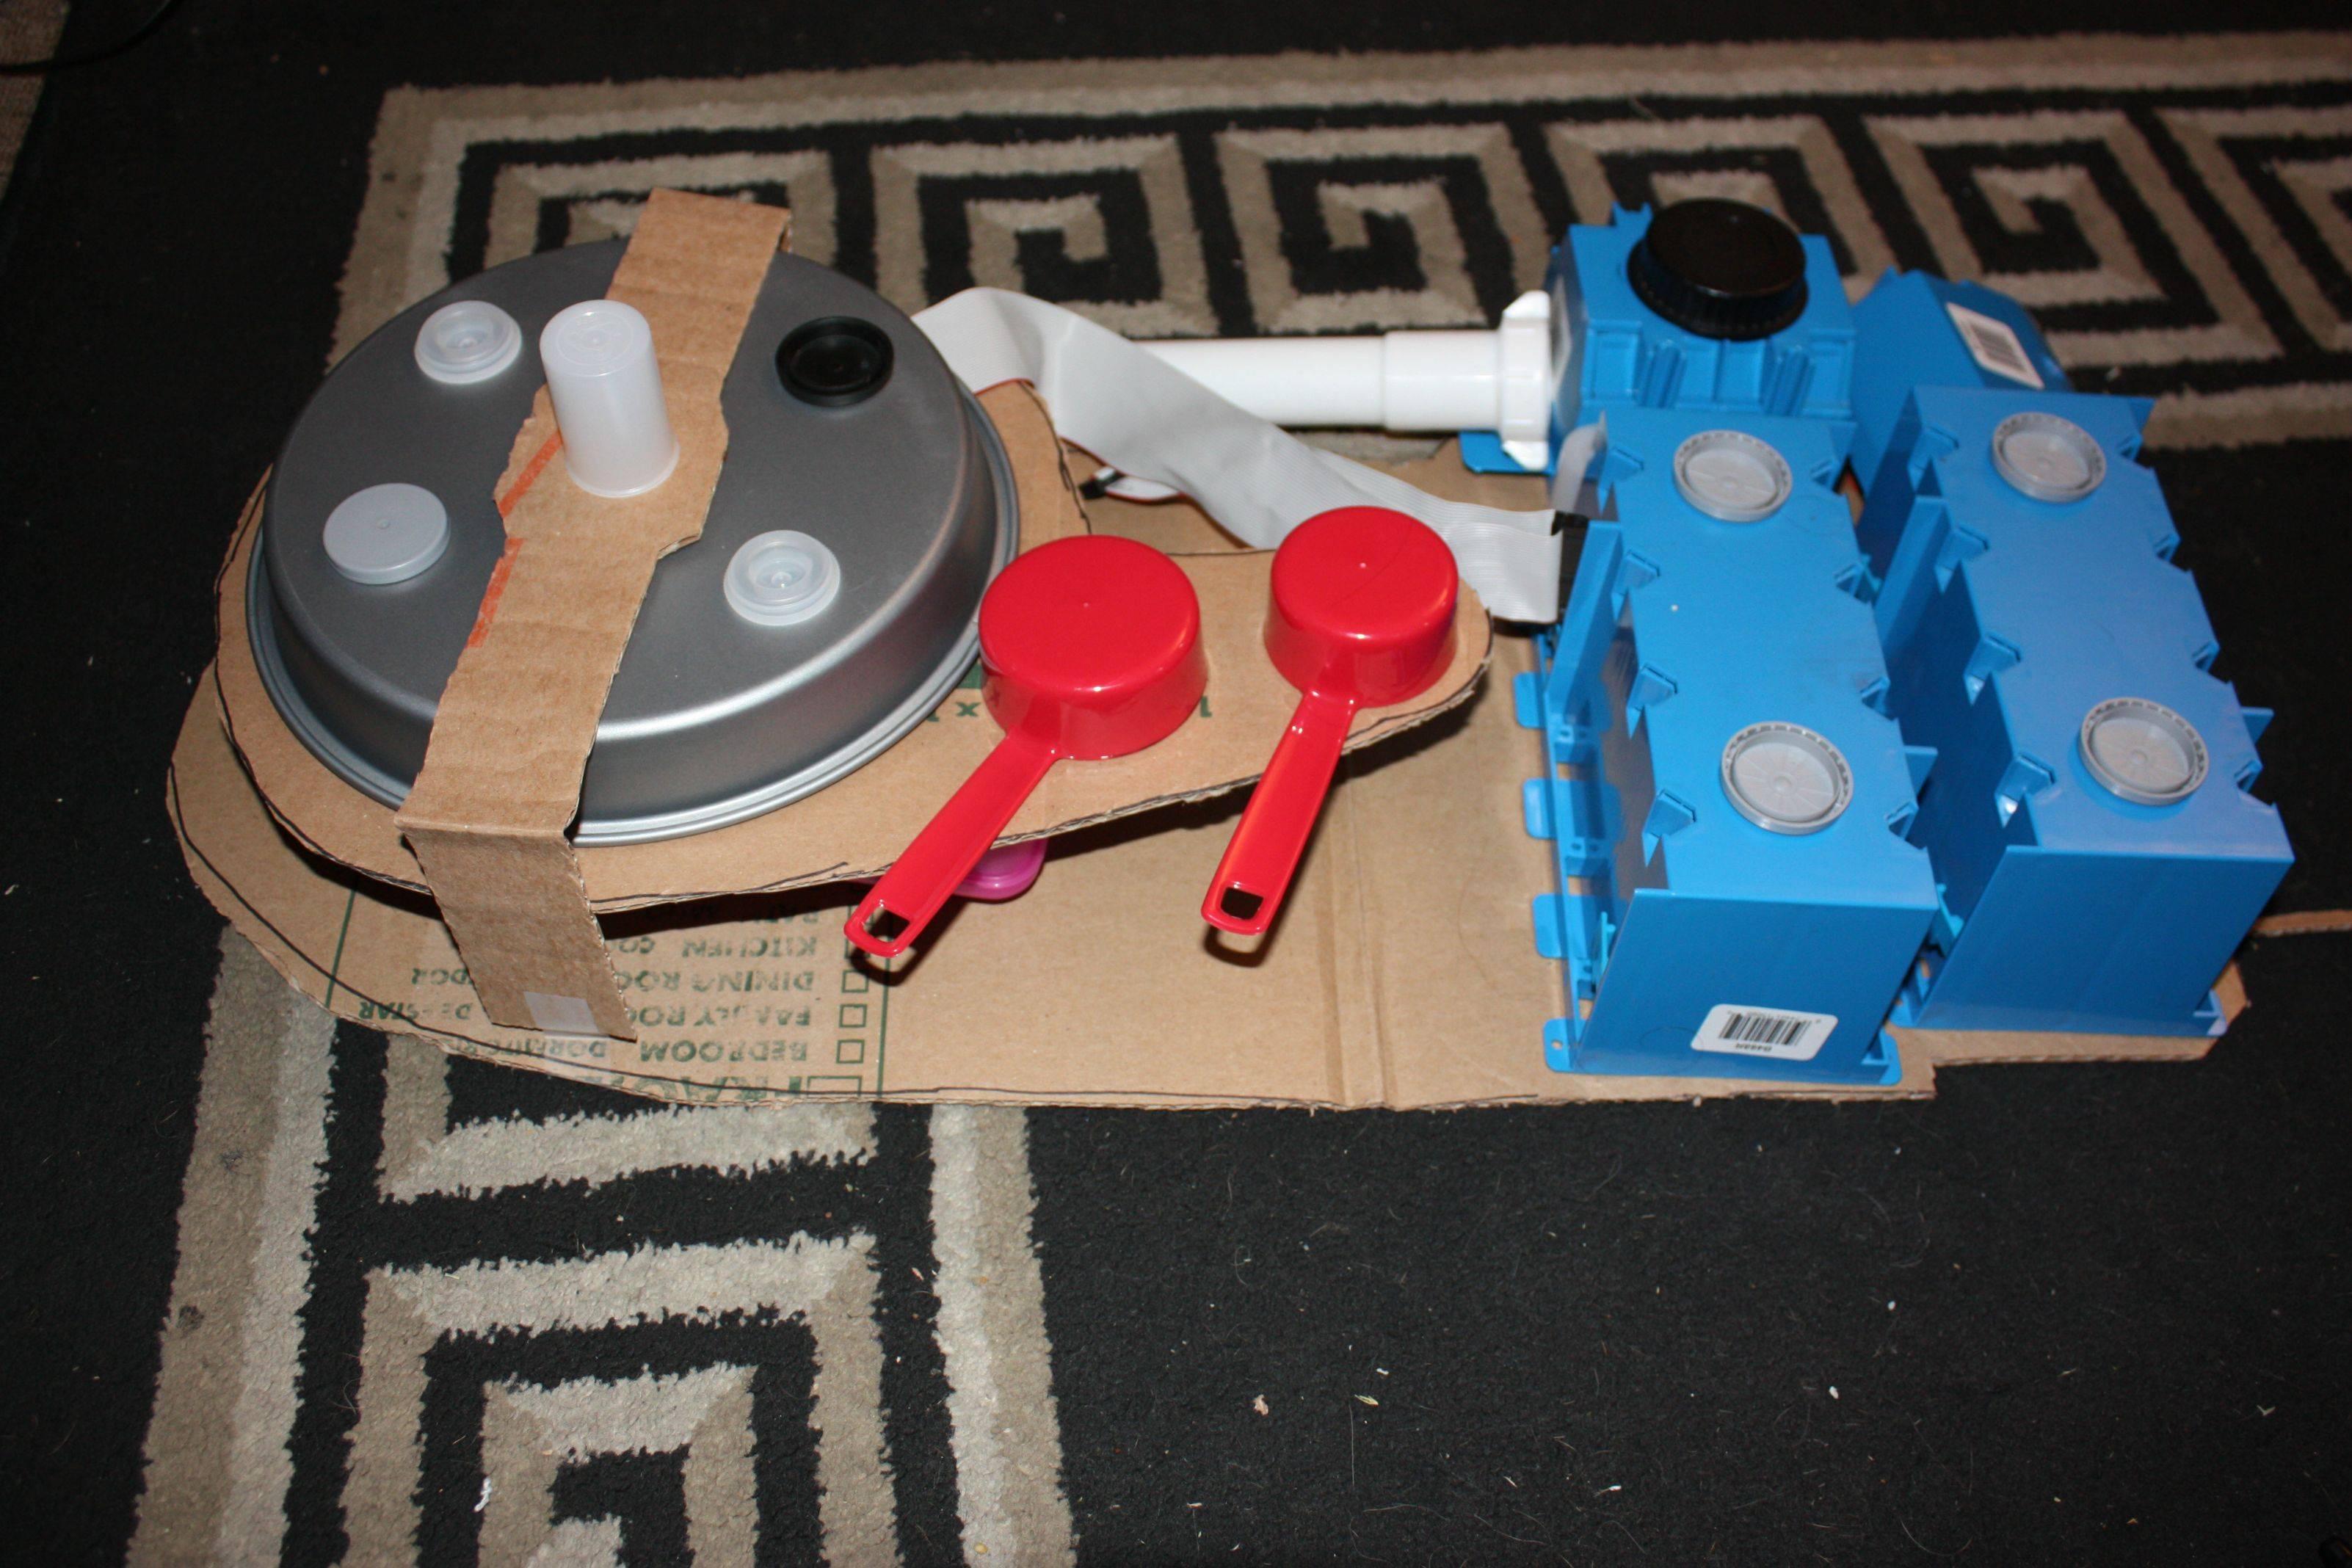
Well, after stopping by Home Despot and the Dollar Store on the way home from work, I grabbed a bunch of Proton Pack ingredients, and then spent the evening working up a mock-up. To borrow a line from another franchise, please excuse the crudity of this model.
I still need to get some more blue electrical boxes (and I might go with a slightly smaller size on the ones to the upper right of the pack, where the wand will mount), and I think a slightly larger cyclotron (the cake pan is 9 inches. if I can find a 10 inch-er, I’ll be more happy) but as a proof of concept, I think we’re off to a good start.
EDIT
Oh, and I just got the Alice Frame from Amazon. I was worried for a moment about buying the right one, but then the “people who bought this also bought. . . .” and it filled up with Tobins Spirit Guide and Ghostbuster DVDs and whatnot - and reassured me that I did get the right frame.
Okay, after thinking on the pack overnight, I’m probably going to go with slightly shorter boxes in the upper right. Just the next sixe down should make things fit better. Also - couple of questions for you guys:
Paint and then mount or mount then paint? I can see merit in going both ways.
What sort of glue do people use? Super glue? Hot glue? Gorilla Glue? The blue boxes I’m going to screw down, but I’m not sure what the best adhesive for the rest is.
In doing some reading for what other people did with their packs, I saw mention of the type of wood they used for the motherboard. It was like press board, but stronger - and I cant remember what it was called or what thread I read it in. Any ideas what it was called (or failing that - what sort of wood do most people use?)
I haven’t built a pack yet but, in this case I would think painting the individual parts might be easier than masking over the smaller pieces and doing it as a whole.
However, being that I have no experience, my opinion is about as valid as Dr. Sheldon Cooper’s theories on romance.
having made a few cheep end packs I can give you a few suggestions based on my own experiences. I generally paint bigger parts attached to the mother board while smaller parts that need a bit of detail I painted separately and then attach. If you have smooth plastic components, use a high grit sand paper to lightly roughen up the part so that when you apply paint it has something to grip on and you don’t have the paint rubbing off.
As far as glue goes I don’t use Hot glue to hold stuff together, I used it to fill in gapes that can be covered up later with epoxy putty. I find it saves on the epoxy. Super glue is good for some stuff but nothing that’s going to hold anything heavy together. I’ve never used Gorilla Glue so I can’t tell you what that will be like.
Are you going to be using cardboard for the rest of the pack? If so, what do you have the Cake pan resting on (your cyclotron)? I used a Frisbee for the bottom so I had something to screw into the Motherboard (in my case a Teflon Cutting Board) and set a Microwave cover on top of that . I used the Microwave cover because I couldn’t find a cake pan.
Oh, right - I remember that from my model building days in the eighties. Got it!
Good idea on the hot glue as gap filler. As for what to use, I might have to look into something like the 3M Two-Part epoxy. They claim it’s strong and handles temperature variations well - unless someone comes up with a “Dont use that stuff, use THIS!” instead.
Oh heavens no - the cardboard was just a quickie mockup, a proof of concept to make sire that all my parts looked good and I had the dimensions (roughly) right. Ultimately I’ll build it out of wood in a couple of weekends. Right now (at least in the picture) the cyclotron was resting on a pencil case that I wound up not using. I’m also looking for the microwave cover if I cant find a cake pan big enough - I’m going to have to hit the store a couple more times for sure.
The Epoxy glue is really good, especially if your dealing with wood on plastic and Vic versa. Just like the paint you’ll need to roughen up the to pieces where they are going to join together for maximum strength.
Oh! Okay, well for wood on wood you can just use Wood Glue (or the Gorilla Glue) if you wanted to and put the parts in clamps until they dry. If you don’t have clamps, like in my case, a couple of small screws will hold things together until it dries. Just be sure the screws are long enough to go through the wood. I’m not sure what kind of wood you’ll be using but it’s good to drill a small pilot hole first before putting in the screw, it’ll help keep the wood from splitting. I found that out the hard way when I was building my pack. For attaching the parts to the motherboard I used Brackets.
I bought my Microwave cover from a Dollar Store and they are just the right size for the top of the cyclotron.
[/quote]
Sounds like that’s the winner then! And the clamps shouldn’t be a problem - my friend who’s helping me put this together (the one who went through collage to be a carpenter) should have something suitable in his bag of tricks.
And yeah, I still have some shopping left to do - I didn’t search very carefully through the dollar store (but then it’s not a very good dollar store) and the Big Lots came up dry. Still, plenty of time to hunt it down! Besides, I’m still a couple of weeks before I get together with my carpenter friend to cut wood - so I’m not worried.
Most of mine is held together with exterior construction adhesive and E-6000 (from my Stormtrooper build days). Both dry clear, have some flexibility and are made for plastic to plastic or wood to plastic depending on which we are talking about. So far it has worked well. I also screwed my boxes down from the backside of the motherboard using those little holes already present in the boxes.
Another thought about paint, wash the plastic parts in soapy water to get off all of the oily ■■■■ the manufacturer puts on to preserve the pieces. Then let dry before attaching.
Oh yeah, the agent that lets plastic separate from the mold. Thanks for the reminder. I dont doubt that my carpenter friend wouldnt have thought about that - but I sure as heck wouldn’t have!
My Alice Frame shipped today - should be here as early as a couple of days from now. I got a Microwave cover that’s about 2 inches bigger than my cake pan (and much deeper), so that should work. It has some interesting slits along the edge towards the top that might look cool if I can figure out something to do with them.
As far as the thrower goes - I haven’t been able to find a silly string gun anywhere (or even just a normal gun that would work), but I did find my old Real Ghostbustersproton pack in my closet back home. It’s kind of small - but if I find some clear plastic that’ll fit in the barrel, it should work for for my Good Enough costume once it’s painted up. Perhaps find a switch and a light and I’m in business!
Yeah, A lot of Dollar stores don’t carry guns that have the desired look , or even something big enough for to use as a gun. I had to build my first gun out of lest than desired materials but it did the job for the first year. I have a suggestion. If you have a RGB thrower why not use it as reference and build a bigger sized gun? It wouldn’t need to be exact if you didn’t want to.
I think you’ll need a basic wooden box (Dollar store should carry them) a length of pipe for the handle and barrel The grips can be made out of --I don’t know what they are called, but they are made of a grey foam and it’s used to cover pipes to insulate them. Just need ties to hold them on. You should be able to find the pipe and insulation at any Hardware store but I have no way to be certain. . If you can’t find these materials you can always go back to your original plan.
Actually, that’s a pretty good plan. I’ll have to see if I cant come up with something that looks good, and then fall back and punt if I’m on October 28th and not feeling the love. First things first tho, I’m going to hook up with my carpenter buddy this weekend (hopefully) and get the motherboard cut. From there I can spend the next 5-ish weeks gluing and bolting and painting at my leisure.
On the non-pack front, I’ve got elbow pads coming that look pretty good, I picked up a Rothco Jumpsuit (yeah, yeah, more yellow than it should be - it’ll do), I’ve got the patches (still need sewing on) and gloves, the belt and some combat boots that were about 50 bucks more than I wanted to go, but look pretty good. So even without the pack, after you add in the Matty stuff, I’m 75% of the way to complete. Just that last 25% that’ll be the hard bits. . . .
Well, progress goes slowly buy surely. I’ve gotten all my blue light switch boxes delabled (Goo Gone is your friend) and scrubbed. I got a clear plastic rod from Tap Plastics for the proton gun, plus some clamps for my green wire. The hose from the pack to the thrower is turning out to be a pain in the butt - everyone only has clear vinyl tubes and not black. I’ve still got some plumbing and gardening stores to try and check out - but I might have to improvise there.
That and I gave up on the lights. Running around trying to find JUST the right one is for the birds, so I got a basic kit from the shop along with the Split Loom hose. However, running to target, I did score a couple of boxes of Yummy Mummy and Frute Brute - so the day wasnt a complete loss.
Sunday I cut the mother board and start putting things together. . . .
I’m not sure if it helps but the hoses I used in mine I managed to get from the automotive section of the local Canadian Tire store. Maybe there’s a store similar to that where you live. Lights can be a real pain, For my first pack I had to pull them from whatever I could find from Dollar store items to old stereos.
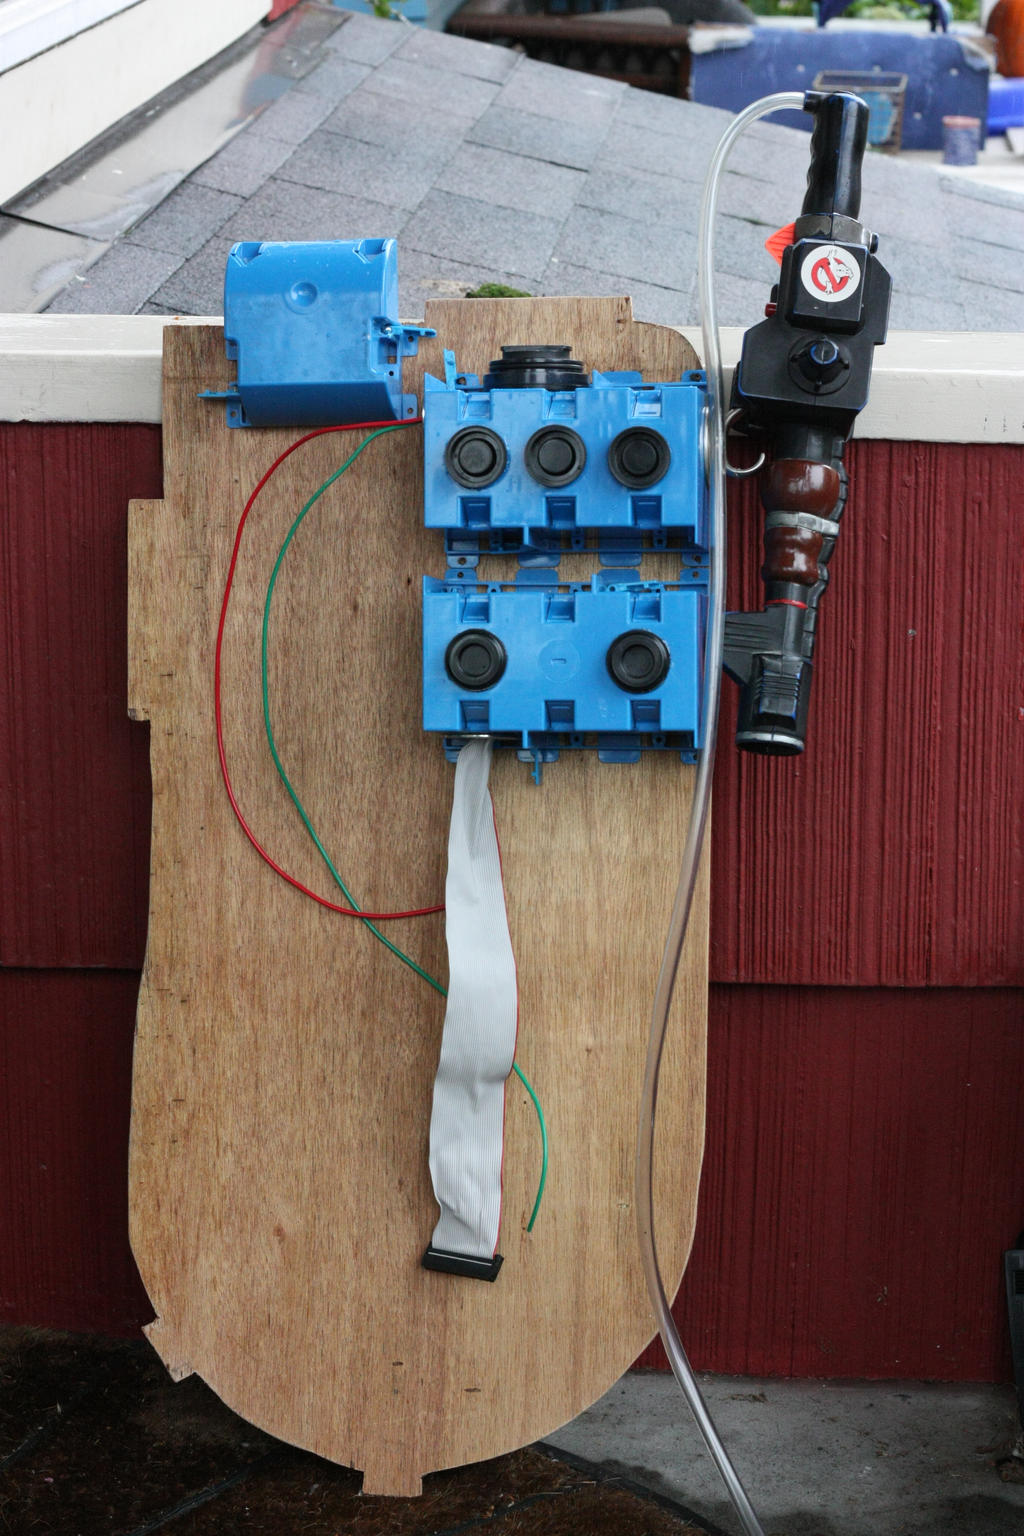
Woot! I made some real progress today in getting the pack together. Despite it absolutely ■■■■■■■ down all day, me and my carpenter friend managed to find a window of rain-free to get the motherboard cut. From there we were able to head inside to screw down the electrical boxes (save for one) in place. And I just spent the last couple of hours gluing bits onto here and there.
Still needs a lot of love - the cyclotrode needed some more bits cut to hold it in place and my friend didn’t bring the right saw. Plus I need to install lights, add some more electrical boxes and spray paint the whole thing - but so far we’re in good shape for Halloween. We even tried it on the Alice Frame, and it looked - well, it had the potential to look great. Still looks like a work in progress now.
Screen accurate? Naw - but it’s close enough to say “I’m a Proton Pack!”, especially to the kids and Not-We who don’t study plans on forums!
On the other hand, my uniform is complete (more or less). There’s some tweaking here and there, some extra junk for the belt I’d like to get (plus some way to hang a trap), but I’m 87% of the way there.
Yeah, we were using the velcro name tag as the guide for where to put it. Fortunatly it’ll be pretty easy to move up a bit.
It needs a bit of touch up work, but yeah I’m pretty happy with it. I did it for Halloween about 20 years ago and time has not been kind to the paint job. But after I clean it up it should serve if I can’t build something more realistic.