My first reboot Feig pack (Pic heavy)

I have built several legacy packs before. First pack was made out of a good amount of foam board, gorilla glue, mdf board and one cake pan. I progressed using different materials. I stepped up to a vacuum foam pack, then finally fiberglass. Each pack I built, I learned something new. I love that aspect of building a prop. Learning a new skill to carry over to something else. Building the “Reboot Pack” is no different.

The true difference between building a legacy pack and a reboot pack, is simply you have access to plans. You can hop on GBFans, snag a set of plans and research a little bit to get answers to your questions, while you build away. This site is an amazing resource. The reboot pack is a whole different beast.

First off, I am having a blast building this thing. Besides doing tons of math that my 8th grade math teacher swore to me that I would use some day, I am having fun. My dilema is this, I want to be as accurate as possible, without killing the piggy bank. Sorta like my first pack. Easier said than done. I also, don’t want to invest too much time into this pack because I haven’t seen the movie and… well… in regards to the new film, I am hoping for the best. I have decided to sorta stay in the middle of the road between accuracy and speed. I am finding staying in the middle of that road sometimes challenging.

Here are some beginning photos:

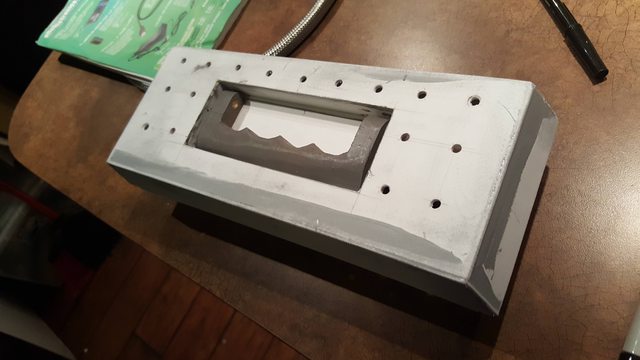
First you need to start with a foundation. Thank you Spongeface for a top notch mobo
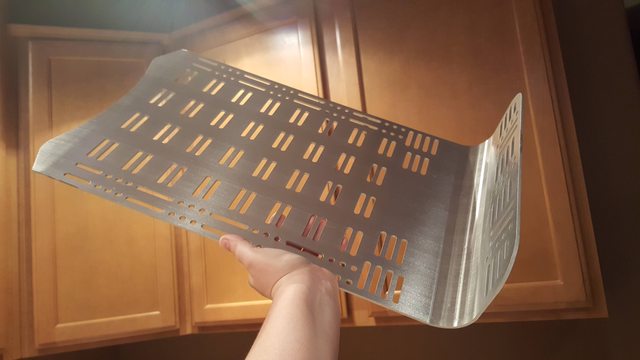
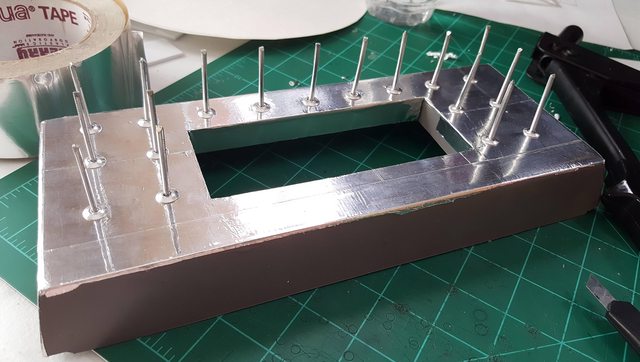
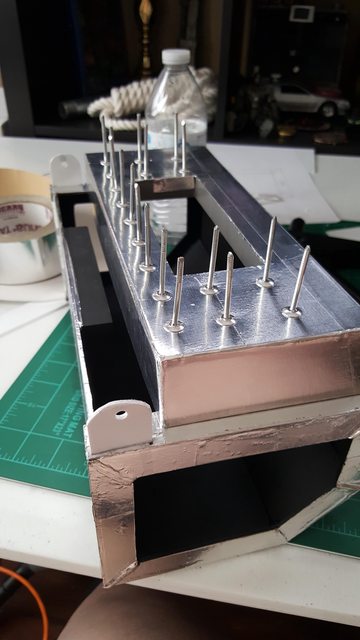
Drilling some very basic holes into confirmed boxes (giggity):
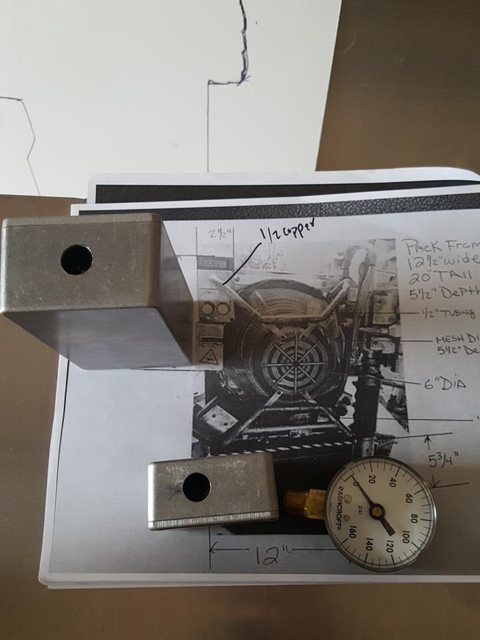
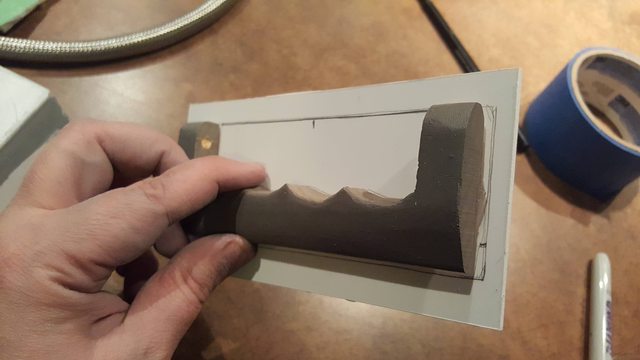
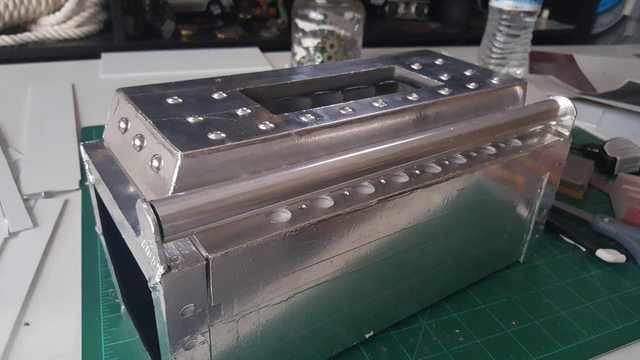
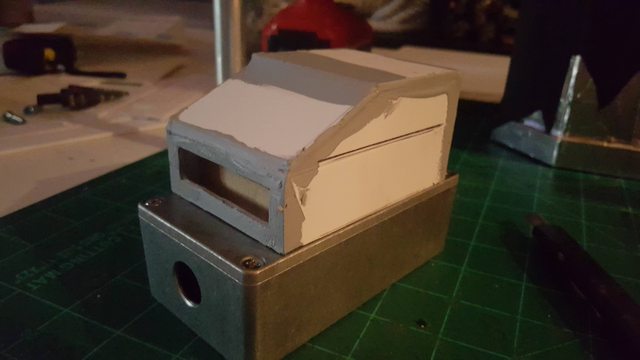
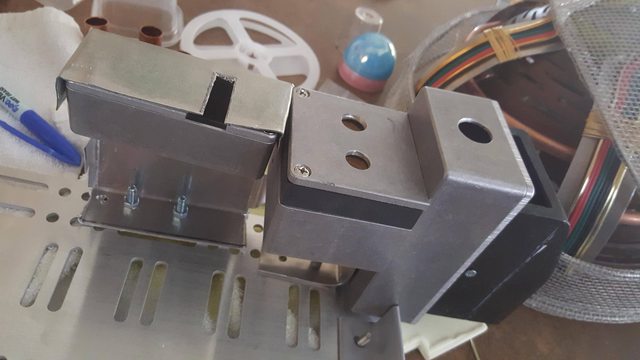
Starting on the “tool box”:
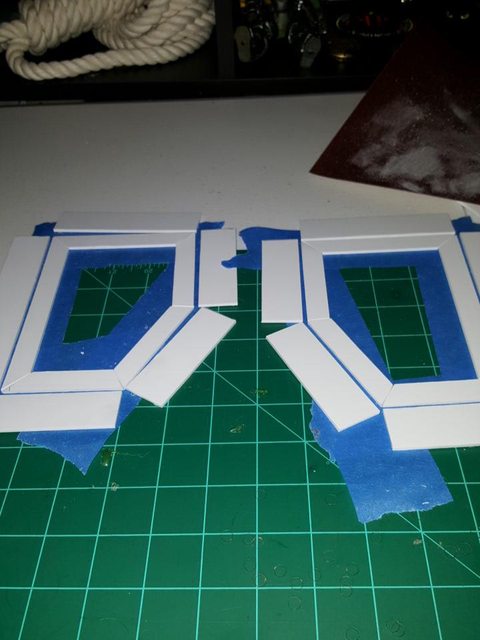
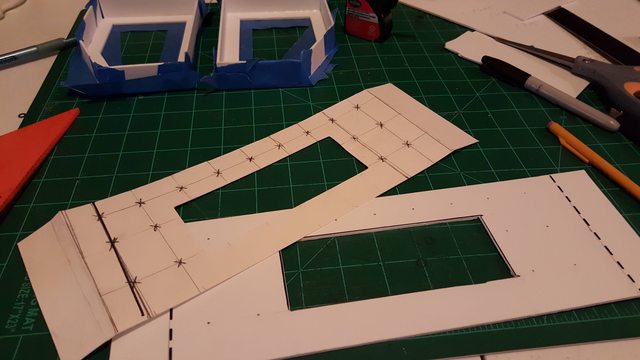
Then pure panic started to set in. The tool box wasn’t matching up to my reference photos. Then I calmed down because I remembered the goals of this pack. As accurate as possible without killing the bank… plus I didn’t want to redo it. Made a note for a future pack and moved on. Lets hope it doesn’t bite me in the future. Moving on!
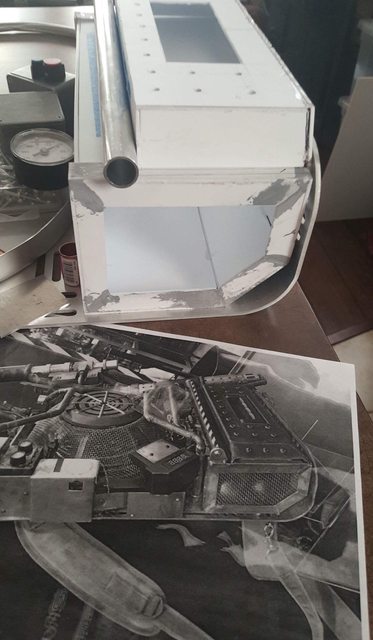
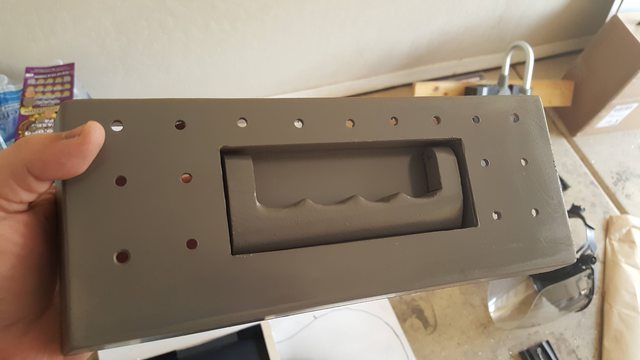
Bought some 0000 steel wool and attacked the tool box… sorta looks like the Olympia pack than the San Diego Comic Con pack… may go a bit more crazy with the buffering, but for now, I move forward.
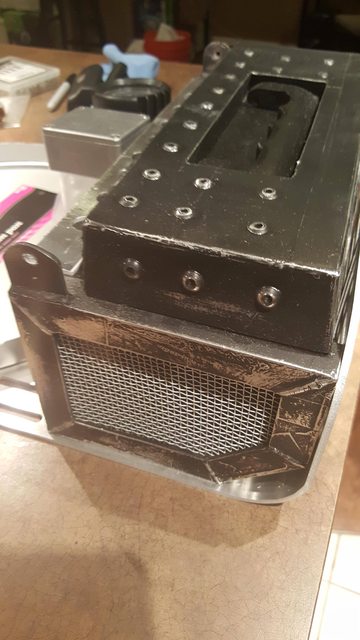
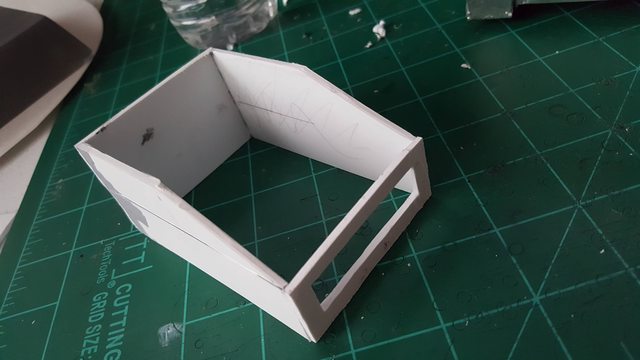
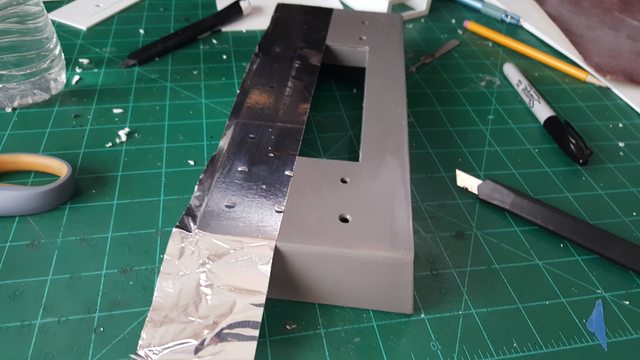
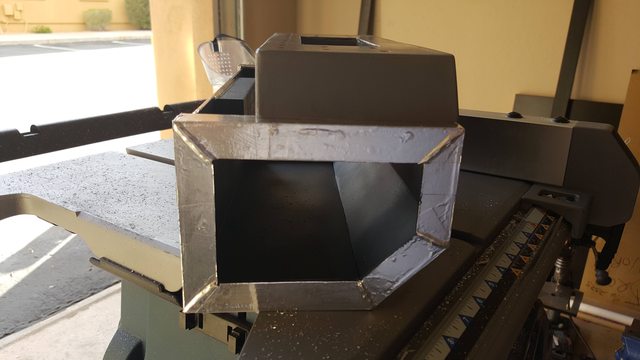
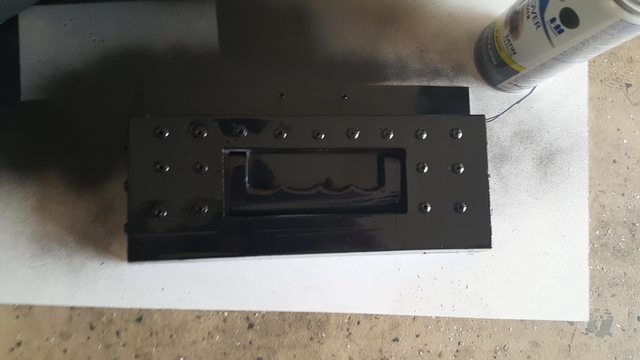
Just need to finish attaching everything to each other.
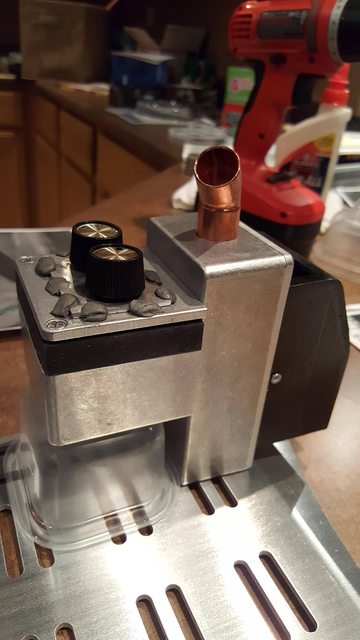
Hammer time. Man my neighbors just got to love me right now.
That is where I am going to stop now. I will add more as I move forward.
Thanks again! :love:
Wow! You are off to an awesome start! Can’t wait to see more!

Thanks. There is so much more to do.

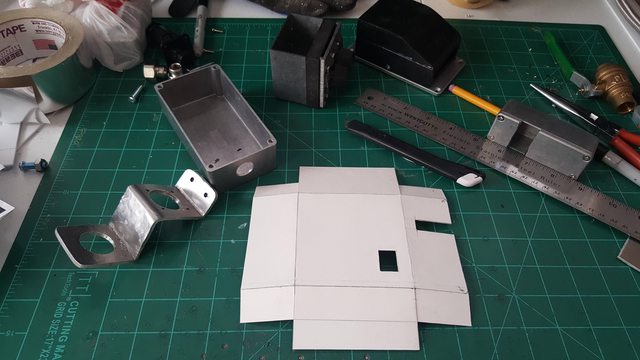
Tiny update. I like to use dollar store poster board to help with making templates. This morning, I was up super early and knocked this thing out. Friday I have some PTO I will be using and this will be completed before lunch. Yay!

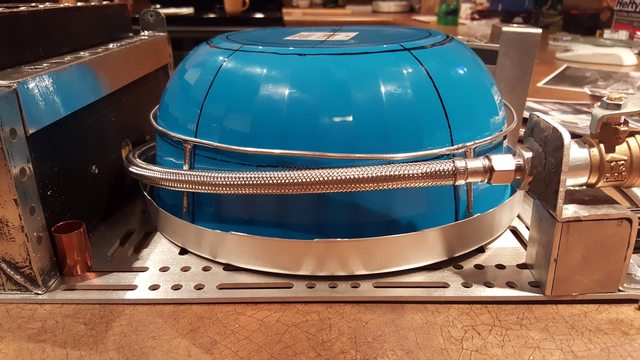
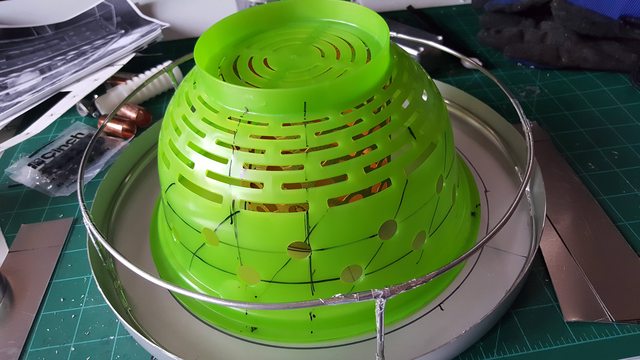
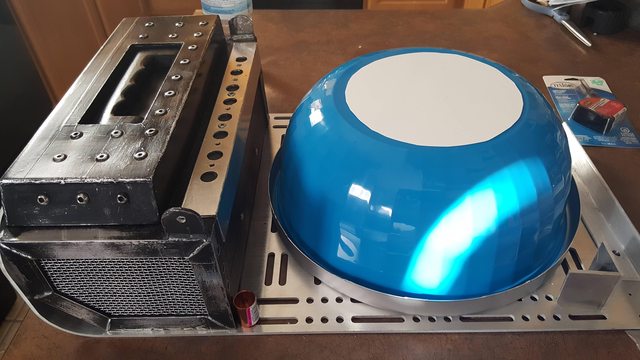
Lastly, I had this bowl laying around… not going to say I am going to use it, but it does give me a better idea of the overall vibe. Me likey!!

Have a good day!

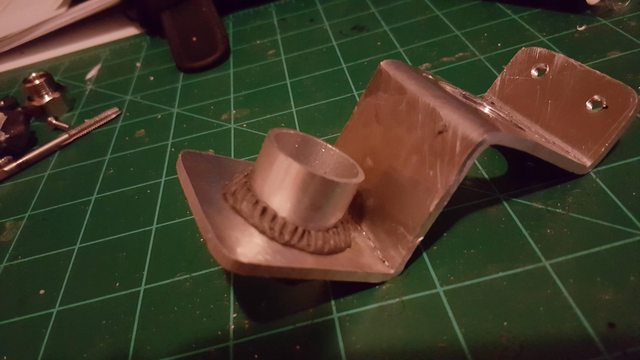
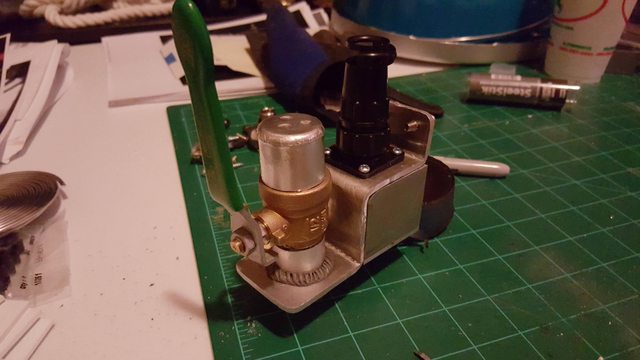
Very well done, enjoy seeing how you are tackling the build challenges. The aluminum bracket for the valve looks professional and I would bet that bowl will come in handy for shaping your cage.

Thank you for the compliment on the bracket. I am just a girl with a hammer, a vice and I went crazy on it to get it where it is at. I was thinking the same thing for the bowl. I have steel wire, blow torch and solder. Was going to try and make the cage later on tonight. Wish me luck.

More photos to come.

Thanks again!

It’s looking great! Congrats on tackling this project, I loved seeing these WIP pics. Looking forward to more :slight_smile:

Mini update.

Many packages are coming and I am running out of time. Lots of late night building. Last night I finished this bad boy up.

The silver cap with the three holes, I didn’t like… think I found something better. Need to double check the numbers for size, so for now, it doesn’t get attached. Just need to drill the holes into the motherboard and this piece will be done.

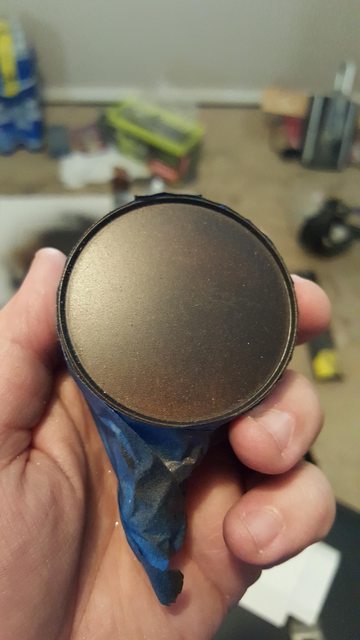
The other night, I wrapped up the “Cryogen end caps”… or something like that. In the reference photos, they appear blue, so I found a set of discounted large plastic Easter eggs and took the tops off. Sanded them down to size. Primed them, painted them with metallic blue, attached them to a piece of styrene, covered with some foam, then stuffed them into the “tool box”.

Done.

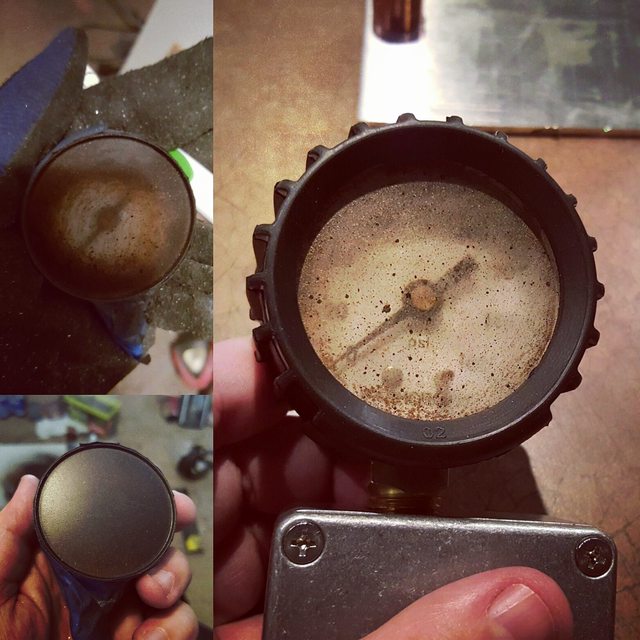
Also I need to clean off all this paint for the pressure gauge. Thanks to KoCo for the step by step on this process, I hope I don’t screw it up.

That’s it for now. Started to make the cage, but I am waiting for the stove top piece from Shapeways. I really, really, REALLY wish I owned a 3d printer and knew how to program an arduino. All things that are on my Maker’s To Do list. Meh, I will learn soon enough, for now, i might have to get creative. Until next time!

:love:
On a forum note, I’d recommend scaling the photos down (maybe to half their original size) before uploading them, as smaller image files will make it easier to view the topic (I’ve actually been experiencing lag whenever I visit this topic).

The Pack’s coming along excellently, keep up the good note.

Couple of quick questions:

-Are you using foam board or sintra board for the pieces that started off as white?

-I’ve seen mixed messages about the boxes on if they are the right sizes or not. Which ones did you use? Did you have to cut down anything other than drilling holes?

Thanks!!

No foam board or sintra board. I am using styrene plastic that I purchase from a plastics dealer I have worked with for years. I believe it is 1/8th inch thick. Strong but flexible. You can cut it with a box knife.

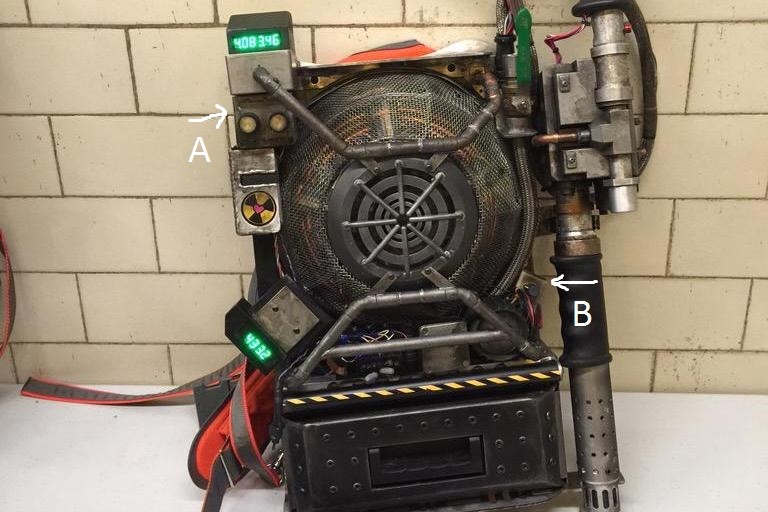
If you are referring to the Hammond Aluminum Project Enclosures, yes I did. I bought:

Hammond 1590N1 (3 of theses)

Hammond 1550A (only 1 is needed)

Hammond 1550Q (only 1 is needed)

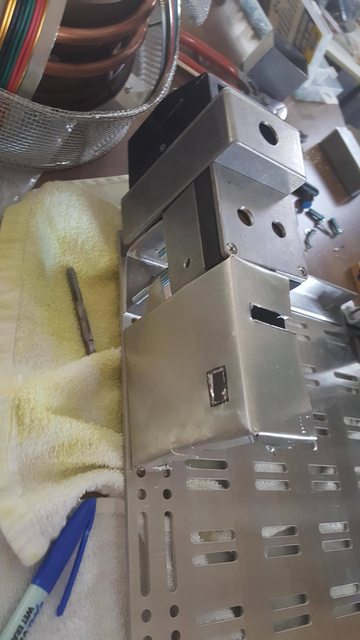
I had to cut two of the Hammond 1590N1 boxes. They are for the boxes with knobs attached to them. See below (A and B).

Hope this helps! :love:
Update:

I have been busy with work and events with my group, so not too much so far this week. Watch out weekend, I am coming for you! For now, here ya go:

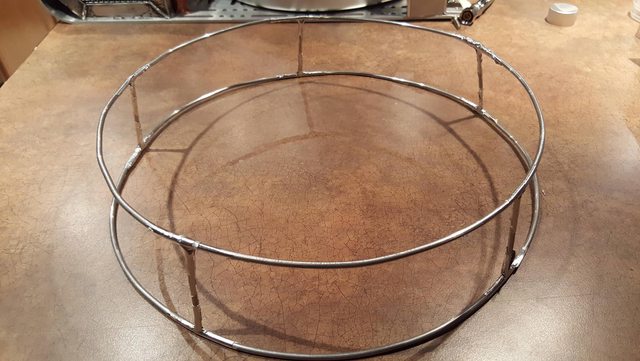
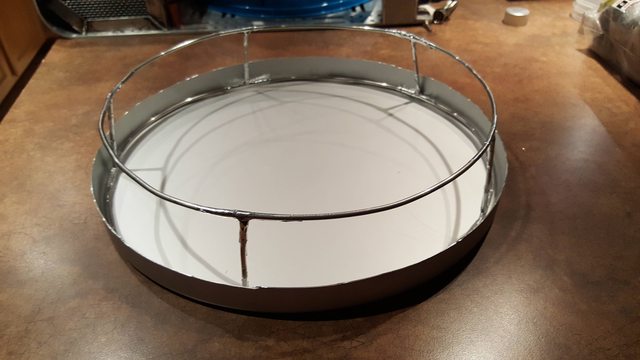
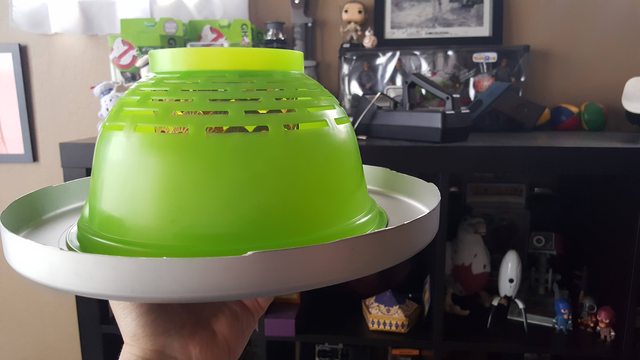
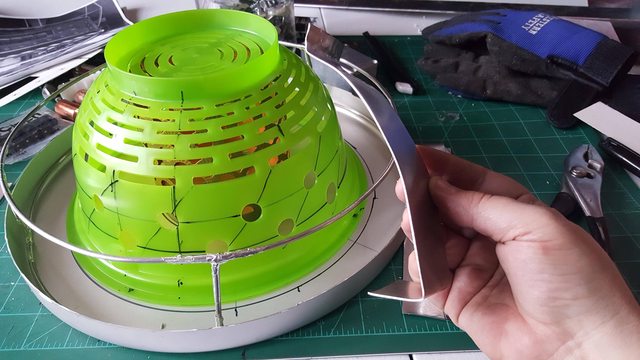
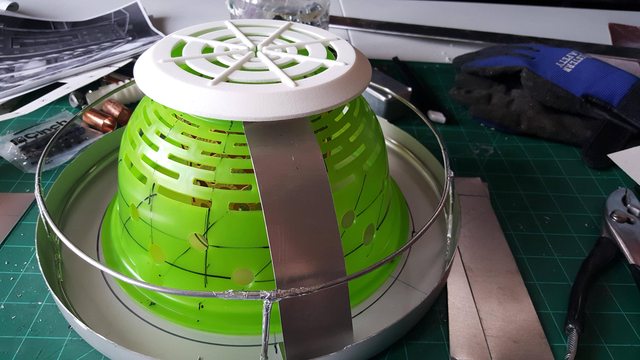
Remember the blue bowl? Well I am using that to help start the building of the faraday cage. I am using armature wire and some aluminum tape. Meh, it will do.

The stove top piece is coming in today with my reboot gun body, so be prepared for the fun-ness.

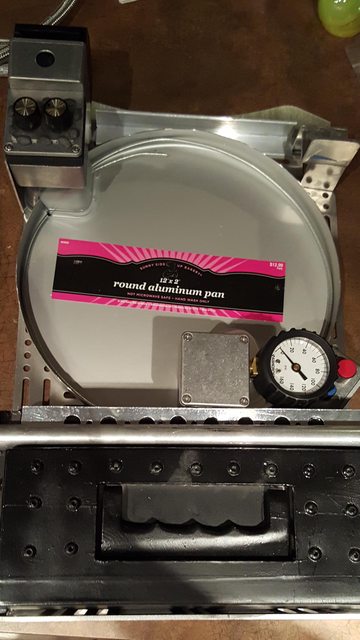
Leave you all with some weathering I did on my gauge front. When the whole thing is put together and I can finalize the weathering, this thing is going to look great!

P.S. I hope these photo size works for the admin. If not, I will be happy to go down one more size. Thank you again for the feedback. :love:
Update… big big update.

I was really busy trying to knock this pack out. Phoenix Comic Con will be here the first week of June and we have a panel discussing all the different facets to the Ghostbusters franchise. I want to finish at least the pack portion so they have something to demonstrate for the new film. The wand can always come after the con. I am thinking the last few weeks before the release, I can finish the wand and maybe knock out the PKE too… if I have time. Ok. Now for the updates.

First off, I started to attach what I could attach to the MOBO. First the port for the wand/release lever.

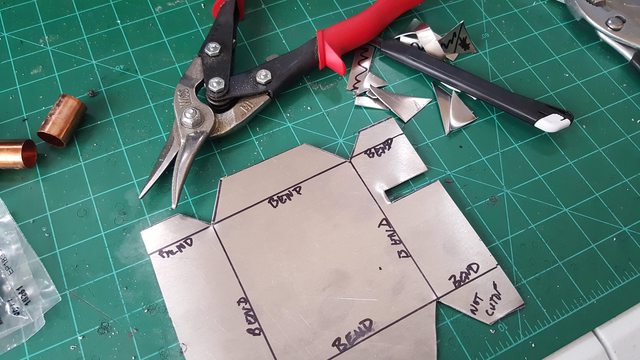
Next, I cut out the left side, middle box.

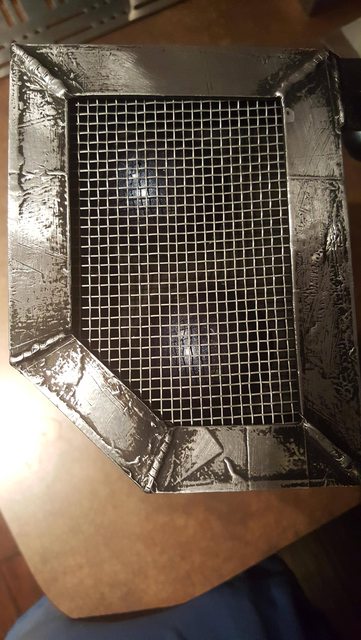
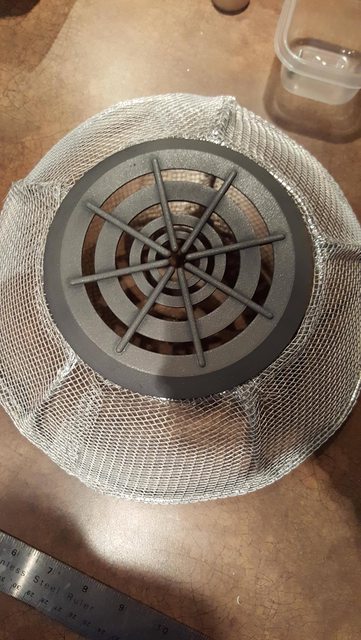
Bend and then attached to the other three boxes. Then started to work my magic for the “Faraday Cage”. This have been interesting. I don’t have access to a 3D printer, but I wanted it to look “cool”. I did my best with the money and time I was willing to put into it.

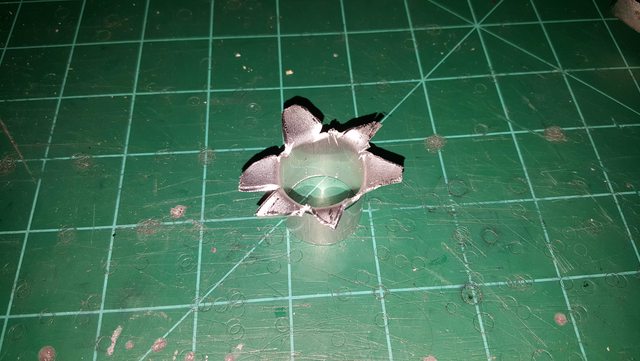
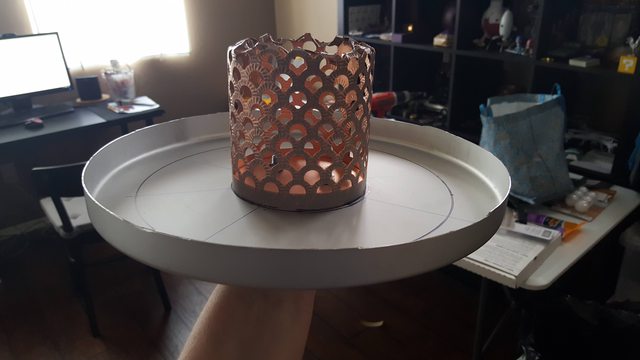
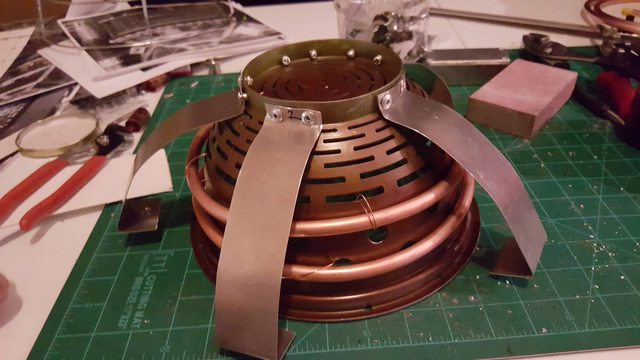
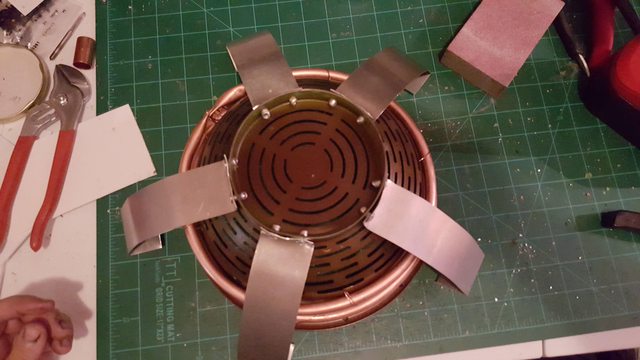
First, Michael’s had a sale on some candle holders. Bought this, but it was a bit too tall. Cut it down, then folded the edges.

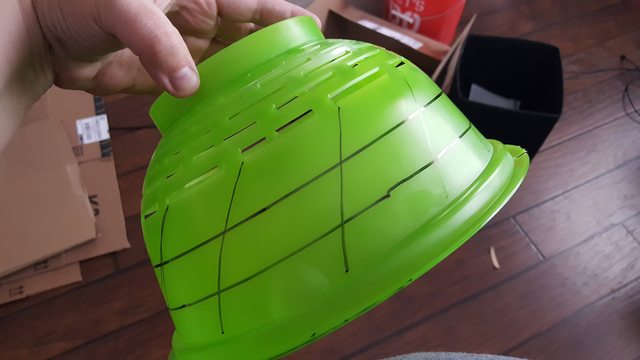
Next, found this at a random store.

Made some lines.

Drilled some holes.

Cut some thin metal and folded them into something like legs.

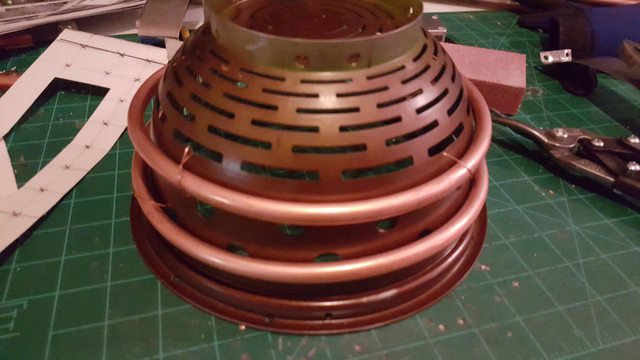
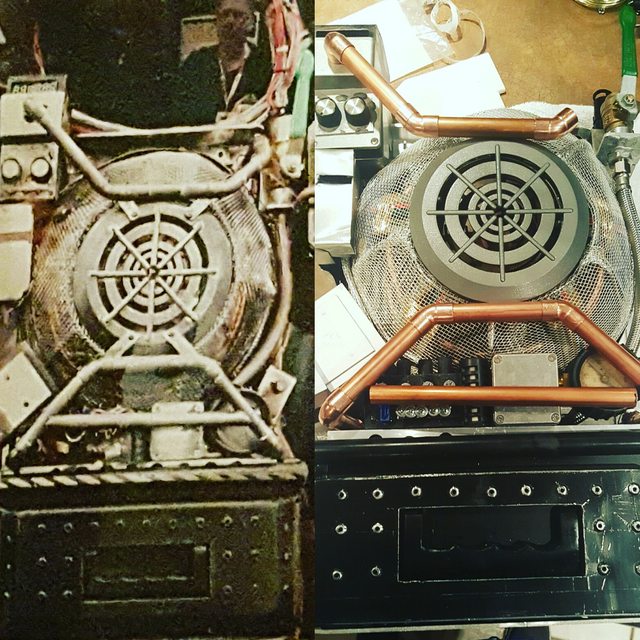
Next hit it with some copper paint I had and added some cheap copper piping.

If I did this again, I wouldn’t have added the legs at this point until I put on the wires, but you get the picture.

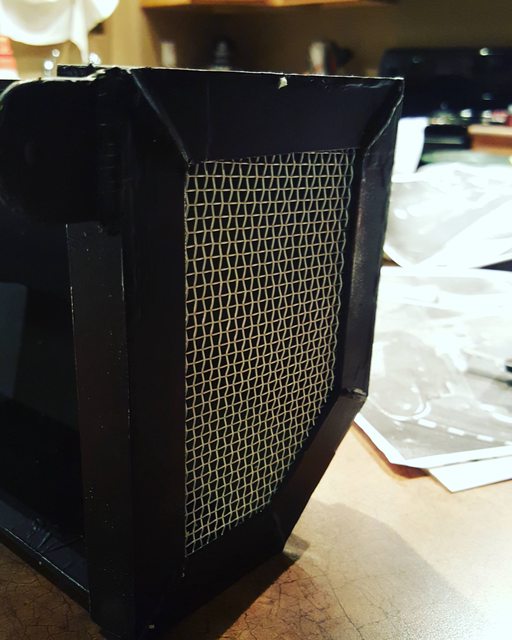
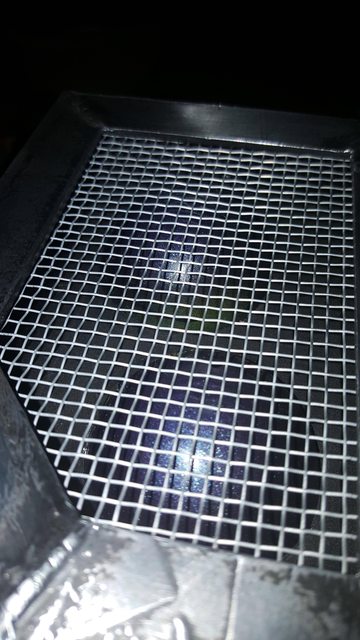
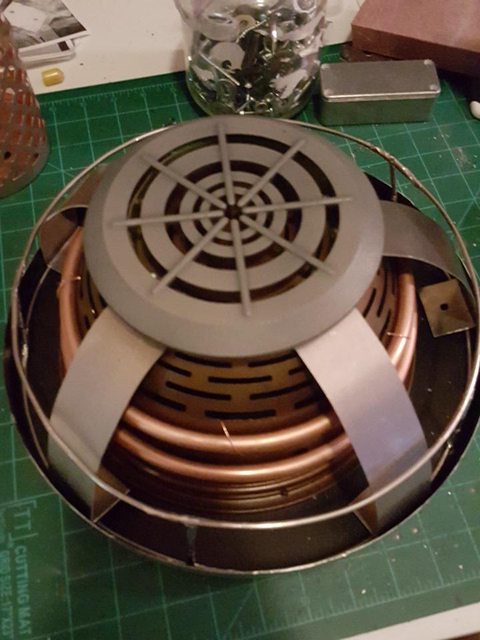
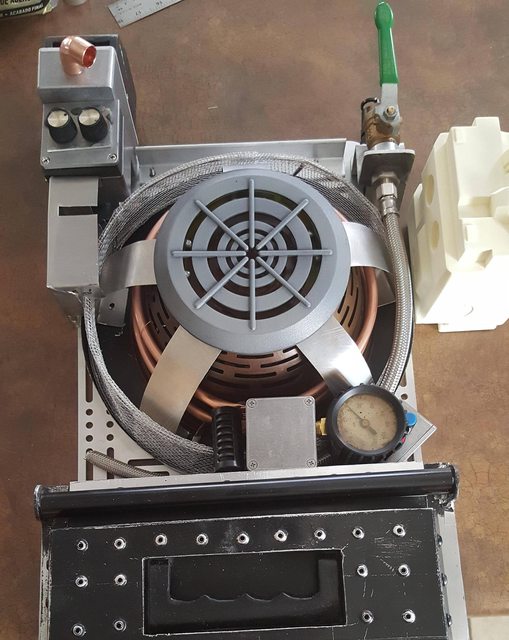
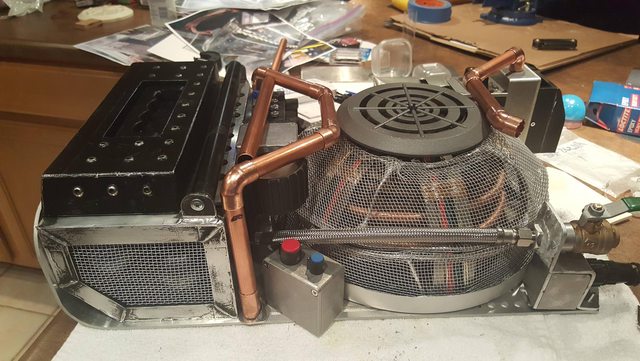
Added mesh to the lower half of the cage and then just did a basic test fit.

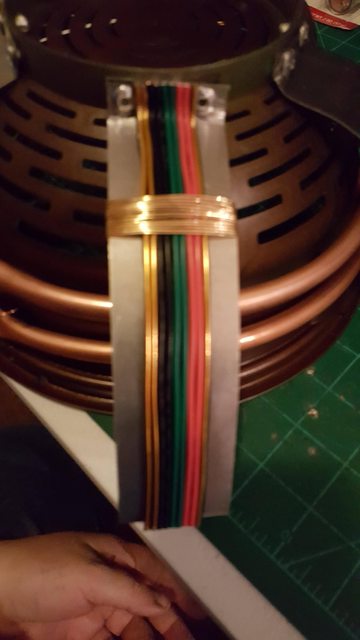
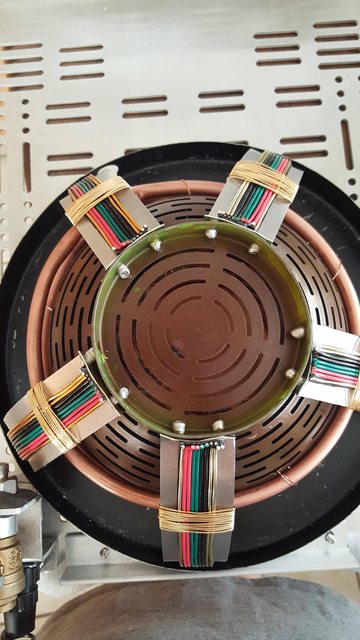
It is coming along. Started to add some wire to the legs. Will finish those up tonight.

Put mesh onto the top piece. Not 100% happy with it. May redo it. We will see when I start to weather it.

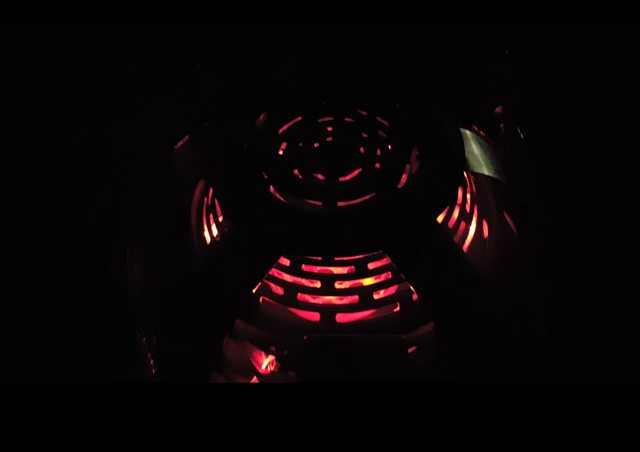
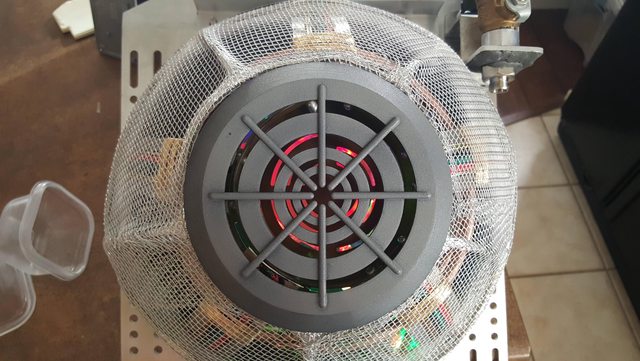
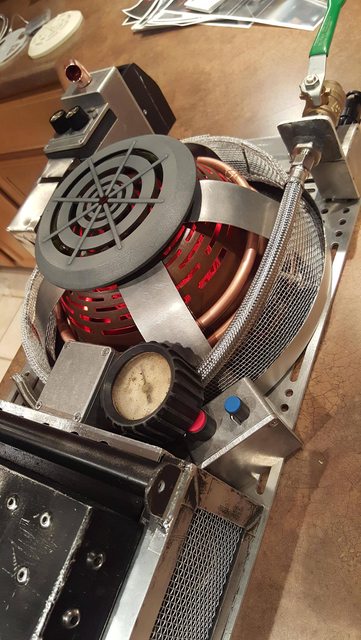
I also did a basic light test. I wish I could upload the video, but for now, this is kinda what it looks like. To be honest, it looks cooler in person.

This is sorta what it looks like for now.

More to do, but I can see the light at the end of the pack tunnel. The wand… well… if anyone has built a pack before, you know it is two projects. The pack and the wand. I will start to work on that soon enough.

Thanks! :love:

Looking good! What are you using for the lighting?

For now, I am using this:

http://www.amazon.com/Battery-Powered-Strips-Waterproof-Flexible/dp/B012F1EMTG?psc=1&redirect=true&tag=gbfans-discourse-20

It is cheap and it does a little bit of the pulsing effect. I am still waiting for another buddy of mine to finish up some code for an Arduino, so it can do what I really want it to do. Hope this helps.

:love:
Links in this post may be affiliate links. Purchases made through them help support this site at no additional cost to you.

Update:

Worked on this thing all weekend. I can see the light at the end of the tunnel, but dang. So much more to do.

Last time I was just installing the middle guts into the cake pan. Finished adding the cabling to the legs.

Added some Rub n’ Buff to all the fake welds.

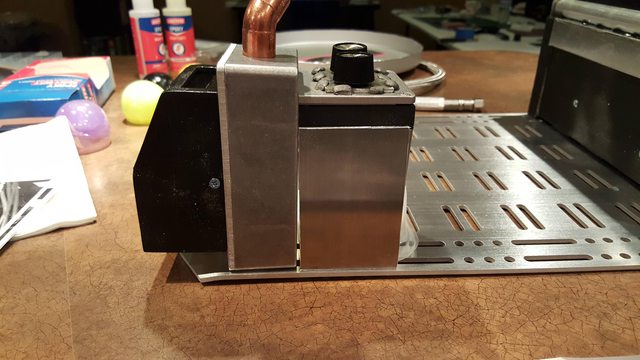
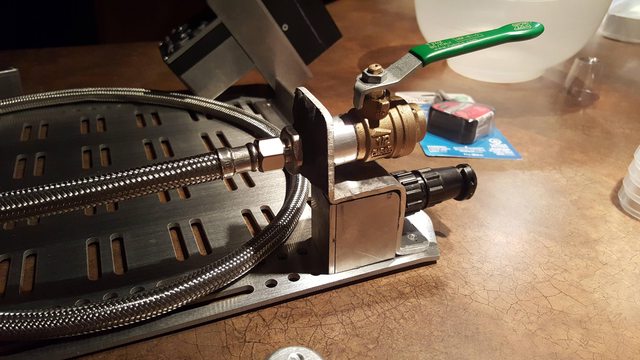
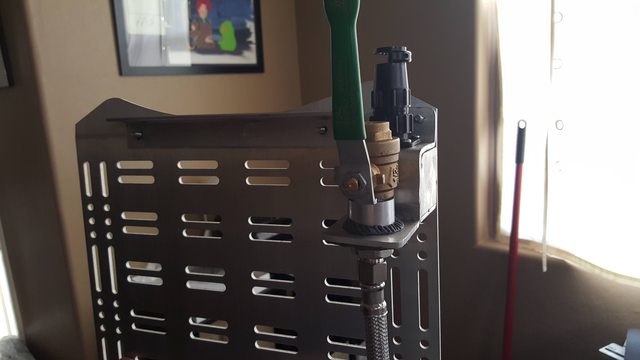
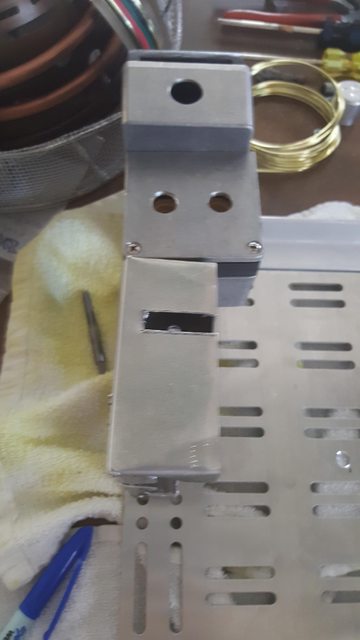
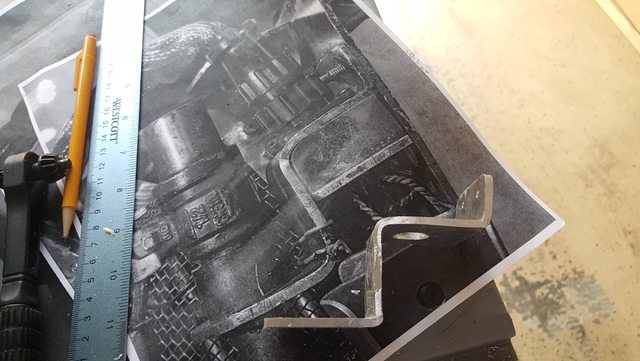
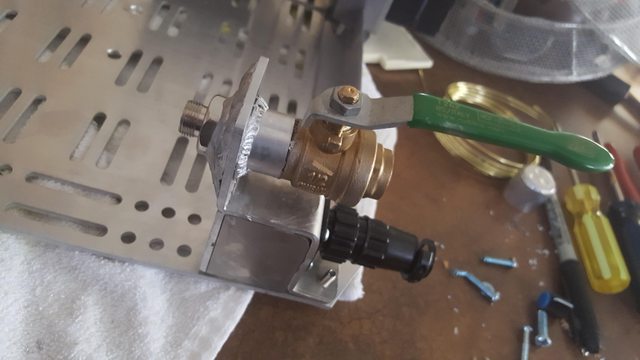
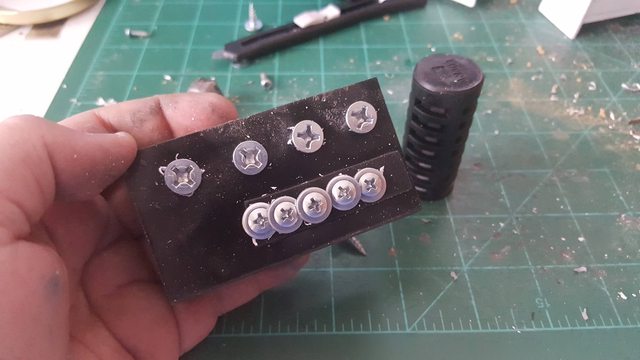
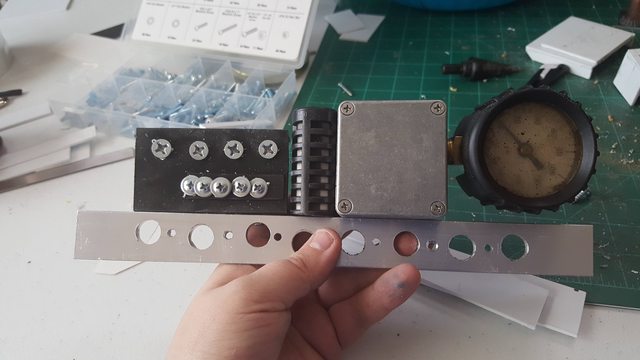
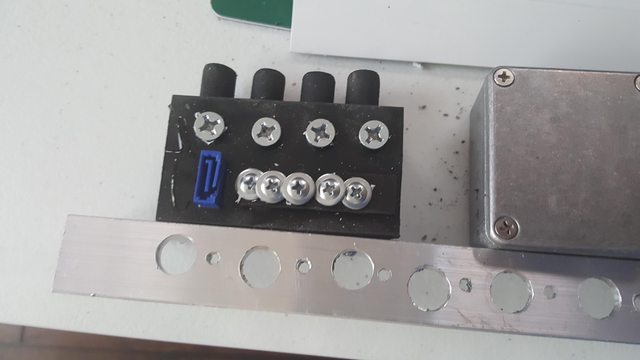
Because the the valve meter, silencer and the small panel needed to be attached to the metal bit that secures the tool box, I needed it to be metal and not that plastic thing I made. So I cut some left over stock and started to drill. During the drilling the block I had the piece on shifted and a few of my holes are off. Trust me, it bothers me more than you, but I can always replace it later. For now, we move on.

Here I am making the middle panel. Just using styrene here. Since I couldn’t find the right knobs, I just bought a 1/2" dia dowel and cut it into small pieces. Then rounded the tops a little. Glue, paint and attach. Same with the Silencer.

Now this is the part where I am going to complain… I hate that lower box. HATE IT!! I made 6 of those damn things. SIX! I am still not happy with it. I will just have to move on, but all I want to do is make another one. Anyone else have this problem? So frustrating. Plus I couldn’t find my switch I bought for it too. Grrr!

The other thing I dislike strongly about this pack? The darn cage. To be fair, I think I dislike it is because of the material that I used to make the cage. The mesh is fine, but the wire. I need something stronger. Going to get a friend of mine to help me make a better one. Again, for now, I move forward.

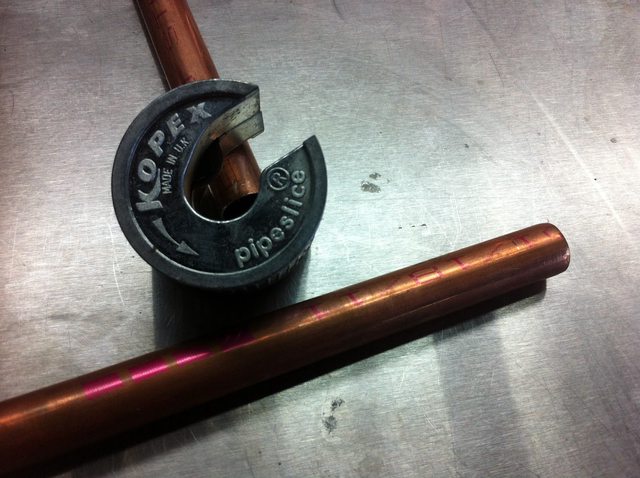
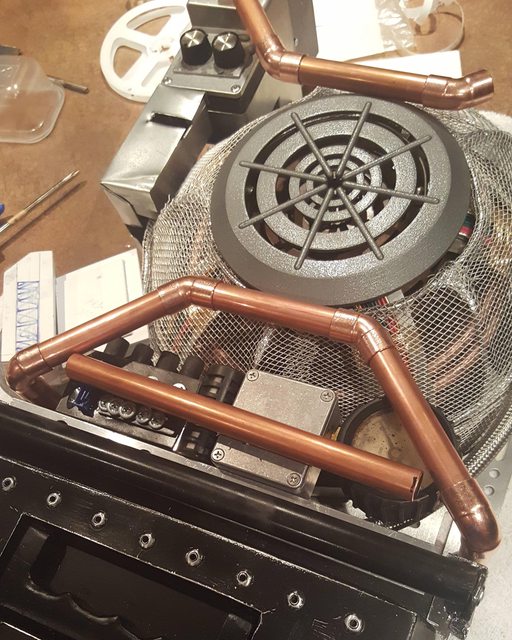
I put everything together and was able to start to cut the copper pipe. Ran out of elbows. Stop by Home Depot tonight and wrap this part up. Would STRONGLY recommend and spend the $8 bucks on this thing:

Copper pipe cutter

I may never cut copper piping again, but it saved me tons of time and no clean up!

I need to get another Hammond 1590N1 and cut it to a different height. The blue and red knob is suppose to be right under the pressure gauge. This one is not. :sigh:

Things are coming along. The lower-lower black number gauge on the left side of the pack is coming along. I will probably wrap that up tonight or Tuesday night. I have a few days left until Phoenix Comic Con. Again, I am just trying to wrap up the pack to a point. It will be completely done by July 15th.

Still more to go.

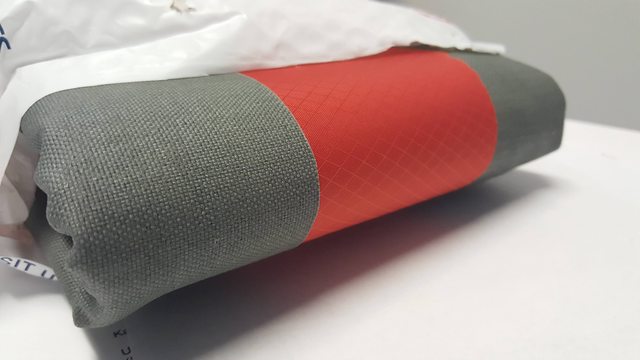
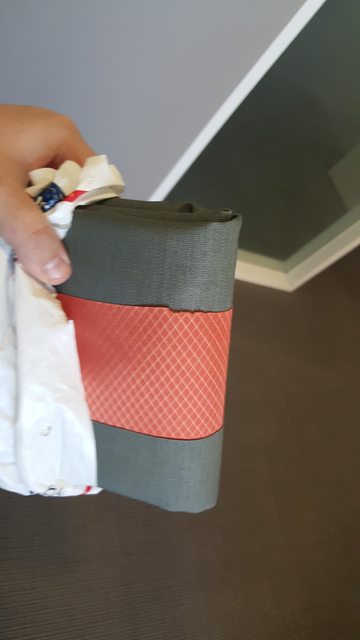
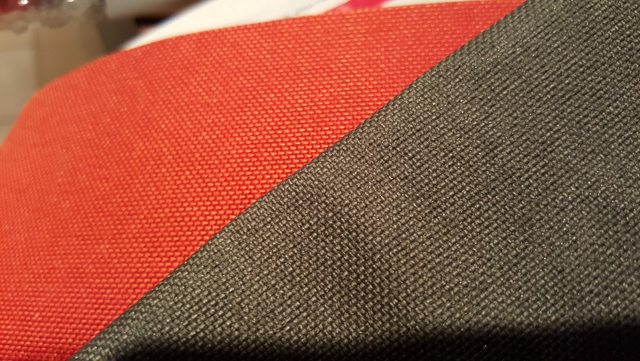
Another small update, the material that I ordered came in. The orange is the wrong type, but the grey is pretty much spot on. One shot is in my office and the other with the sun coming through the window. Good times.

That is it for now.

Thanks. :love:
WOW. That’s looking fantastic, it’s insane how quickly it comes together and starts looking cohesive. Looking forward to seeing more!

What type of metal did you use for this??

Update:
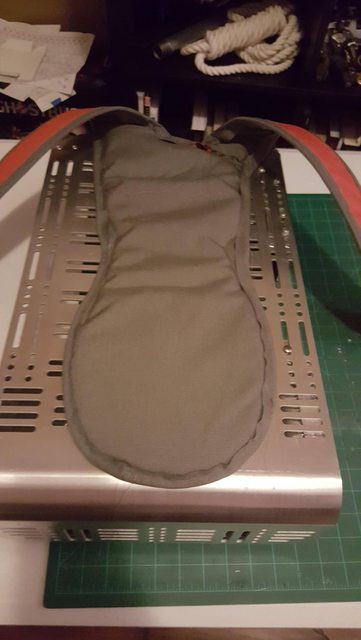
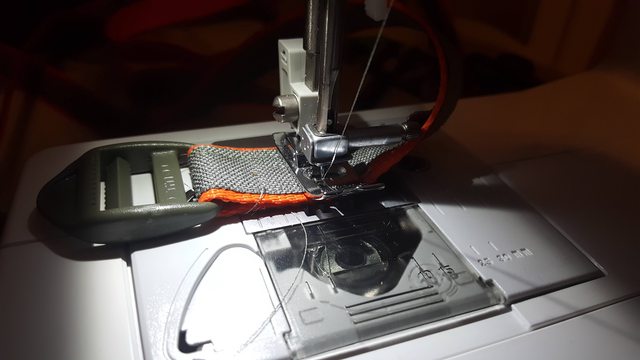
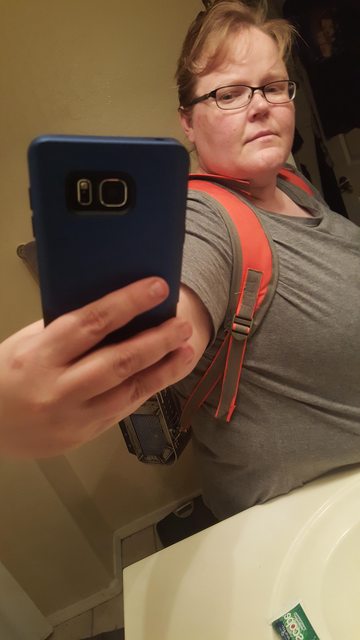
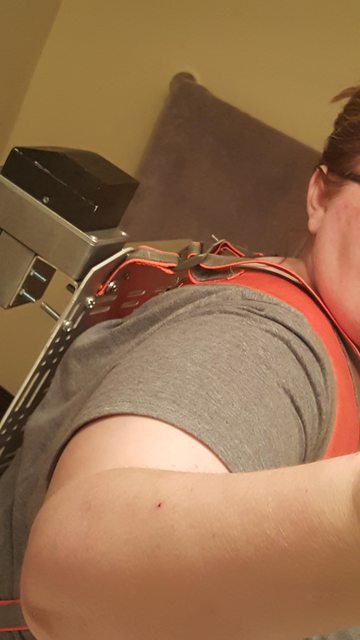
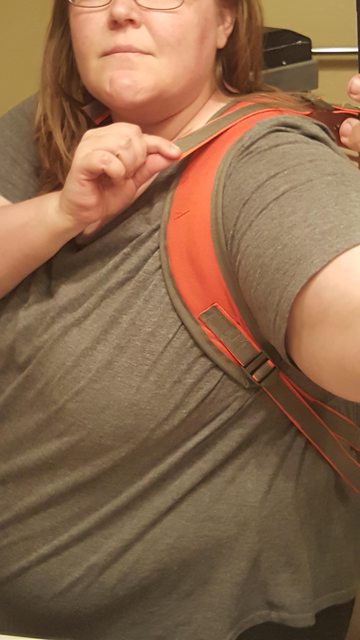
This is the most recent thing I have done to the pack. I have been busy with getting things ready for Phoenix Comicon and plus I am traveling to Dallas for Fan Expo that will be going on at the same time, so I couldn’t do too much, but what I did do is totally amazing to me. I am not a seamstress but I think I did alright.

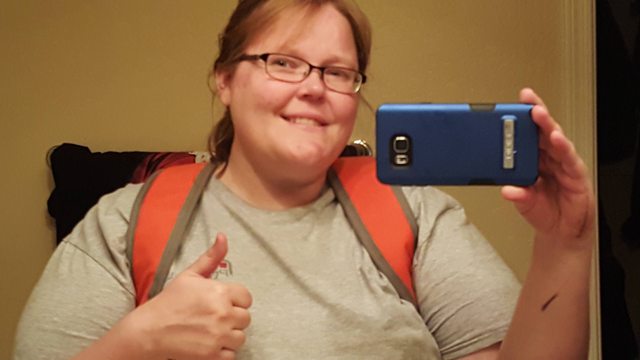
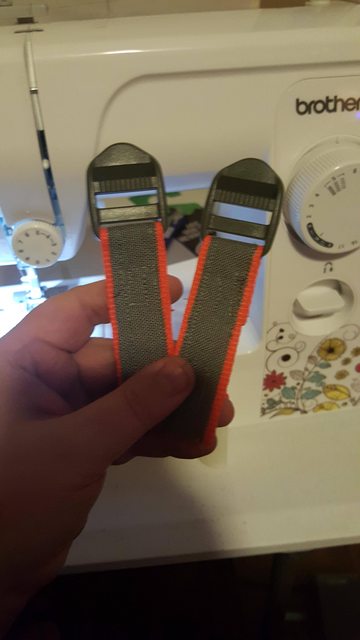
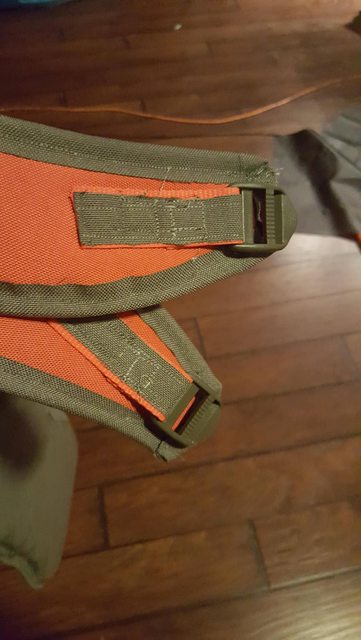
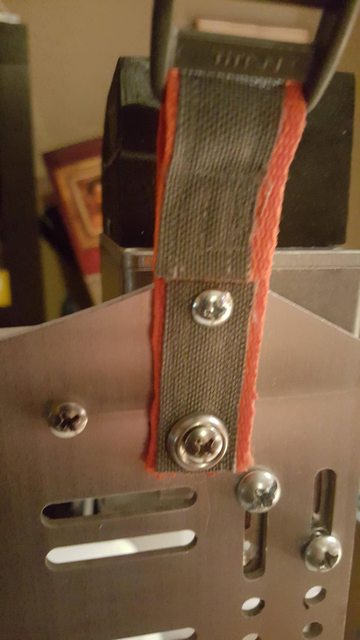
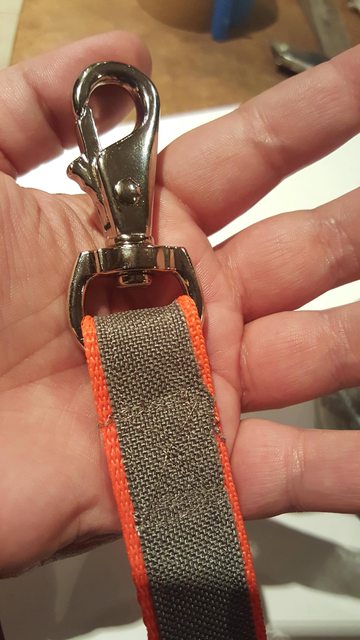
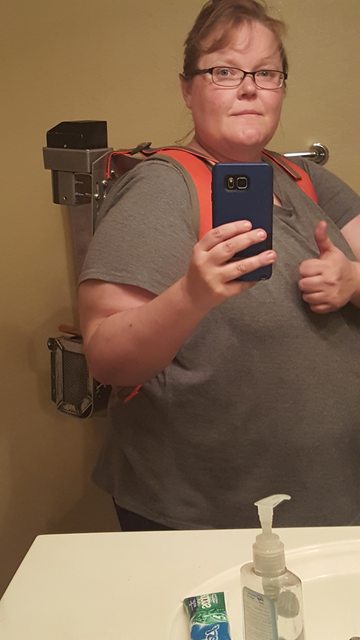
I made the straps for the pack. My pack will be used at PCC for demo for one of our panels. Since I didn’t want my fellow busters having to struggle to just carry this thing around, I moved the schedule for the straps up. If I have more time, I would do them different. They might be remade in June.

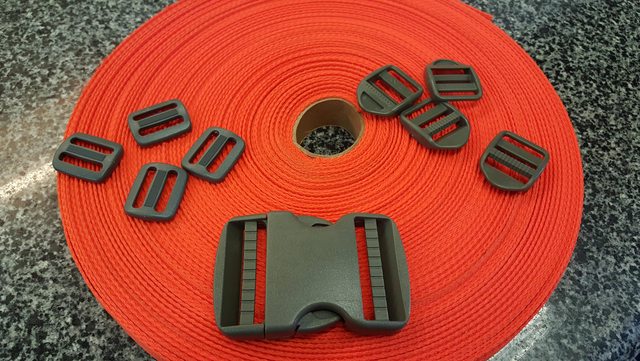
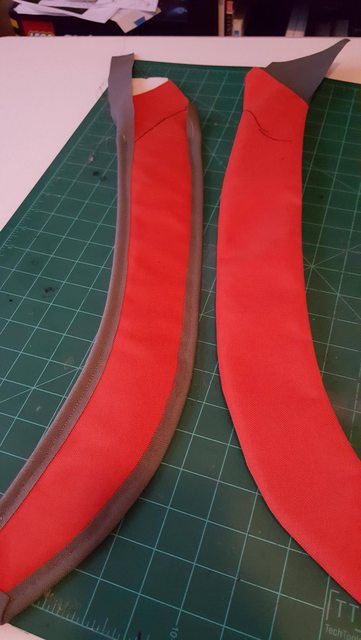
Here we go, first you need fabric. I Googled and found a material that would work. It is the same stuff that your good quality Jansport backpack that you had back in the 90s, was made out of. Found the colors that were almost spot on and hit up eBay. Bought a few things. Went to a local fabric store and bought 1 inch nylon webbing strap and went to work.

First the material:
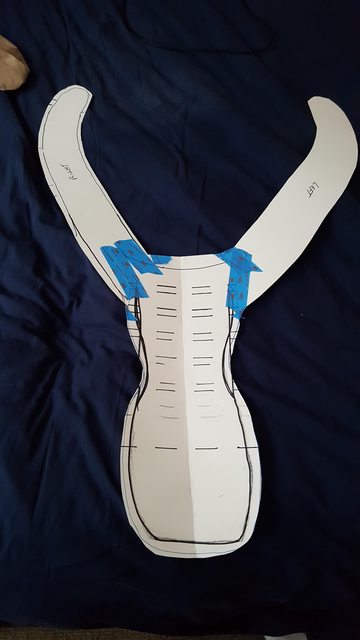
Next the template… no judging.

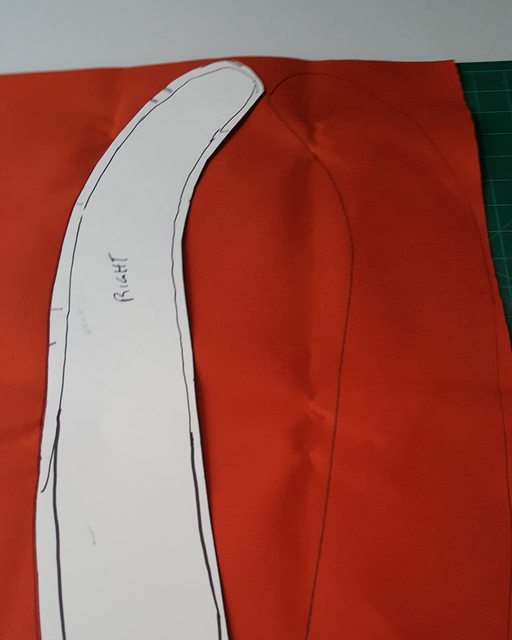
Trace and cut:

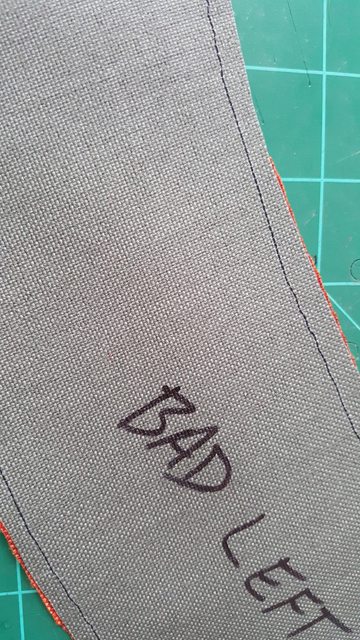
Mark bad side so I didn’t waste time correcting things and stitch them together:

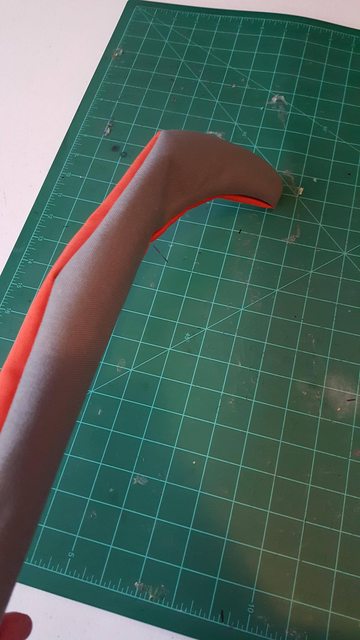
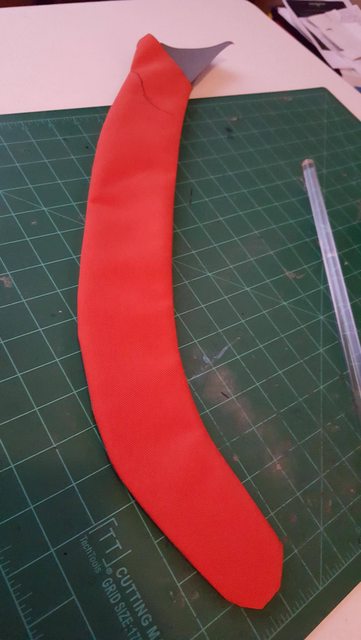
Flip inside out:

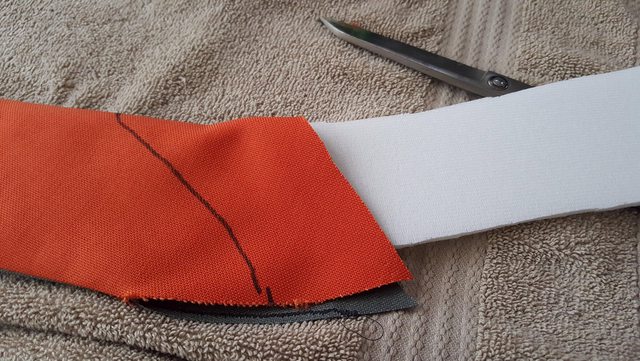
Flatten and stuff with 1/4 inch foam:

Next I cut about 1.5 inch thick strips out of the grey material and stitched around them:

Repeated on the other strap and boom done with those:

Moving on:

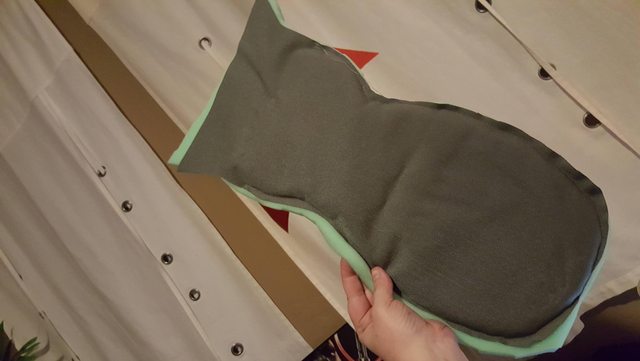
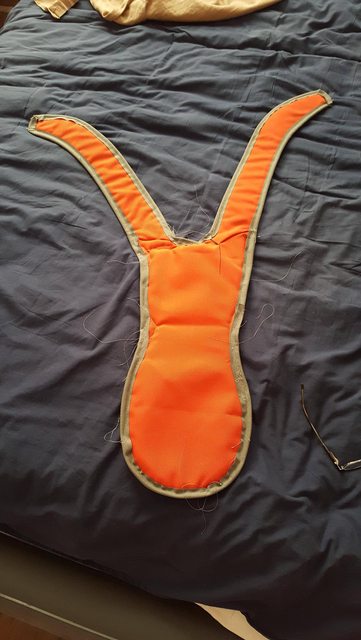
Then boom! Done-ish. Still waiting for my 2 inch thick nylon webbing so I can build the kidney pack and hip pads. I learned a lot from this. I know what I would do next.

See ya next time! :love:

Been lurking for a while, had to join again when I saw your build thread. Would you be willing to shed more light on this packs motherboard? Is it screen accurate, or your own adaptation?