Hello all! I’m a bit late in starting this build thread(only 4 days), but I just couldn’t wait to get started! This is my first ever build of any kind and I decided to go with kit from the wonderfully talented Nick-a-tron props. Seriously go check out his work if you haven’t already! My plan with this pack is for it to look like a brand new issue pack, so no weathering, no damage(chips, scratches etc). I welcome any comments, ideas, suggestions, and criticism.
so here’s what I had to start with
cut out the holes
laid out everything
made a template to mount the injector tubes
D’oh!! and this is what I get for not drilling slowly and with ■■■■■■ drill bits
I’ll fix this later
mounted the ribbon cable(temp for layout), got the HGA mounted with fittings, and set up the bumper and shock mount to see how it would look.
drilled the holes for the red and blue tubes that come from the injector tubes
got the v-hook mounted
used some milliput to fill the the chips
the ion arm doesn’t sit flush against the shell, so I put a layer of milliput around the base to later sand down to make it sit right. I still need to figure out how I am going to mount it
let the stuff cure overnight and sanded it smooth
mounted a wooden dowl(sorry for my crude work) I believe i saw Grimmy do this for his so I borrowed the idea.

got the elbow fitting remounted. I’ll use some hot glue or epoxy on the backside once everything is painted and completed
mounted a mini volume control to use for the crank knob. I don’t think I’ll actually use it for anything, unless I can figure out how to wire it up to actually control the pack electronics volume.
so the aluminum mobo i got just won’t fit to Nick’s shell. Bummer, but that’s what I get for jumping the gun I guess. (anyone have need for an aluminum mobo that is cut to Stefans plans?
After doing some research and at the advice of some fellow pack builders, I decided I would make one out of MDF.
I just have to cut it out.
Cut out the hole for the n-filter
cut it a bit too wide at the base
filled the the gaps with milliput
and that catches everyone up to where I am right now. Just gotta let that stuff set up overnight and I’ll be back at it over the weekend!
GREAT start! Nick’s work is amazing, you bought a phenomenal kit. Everything is looking great so far, and we are ALL guilty of drilling too fast and chipping away the fiberglass… I did it a ton. Keep it up!
Good start mate. Really ploughing ahead with it. I back up what BigOne says with regards to drilling. If you can find some step drill bits then they’ll help with any chipping if you drill slow and backwards.
That’s a great line up of parts. Take your time and enjoy the ride!
Thanks guys! After I messed up that one hole I went and got my good step drill bits from my work and is been smooth sailing since.
Looking great! What a fine looking pile of parts! Enjoy the process. She’s gonna be a beaut!
Keep up the great work!
Great to see you’re enjoying the kit! Looks great so far 
Thanks all! Got a few more things wrapped up to show ya.
Got the new base for the Ion arm sculpted
sits on the shell much better now
used some pennies to level out and setup the bumper
looks straight enough to me! (I hope haha)
I decided to epoxy the ion arm to the shell so I did that and mounted the bumper
after the epoxy set up I filled in the remaining gaps with more milliput
had to do the same thing to the booster tube I got off ebay…or evilbay as some of you guys put it haha
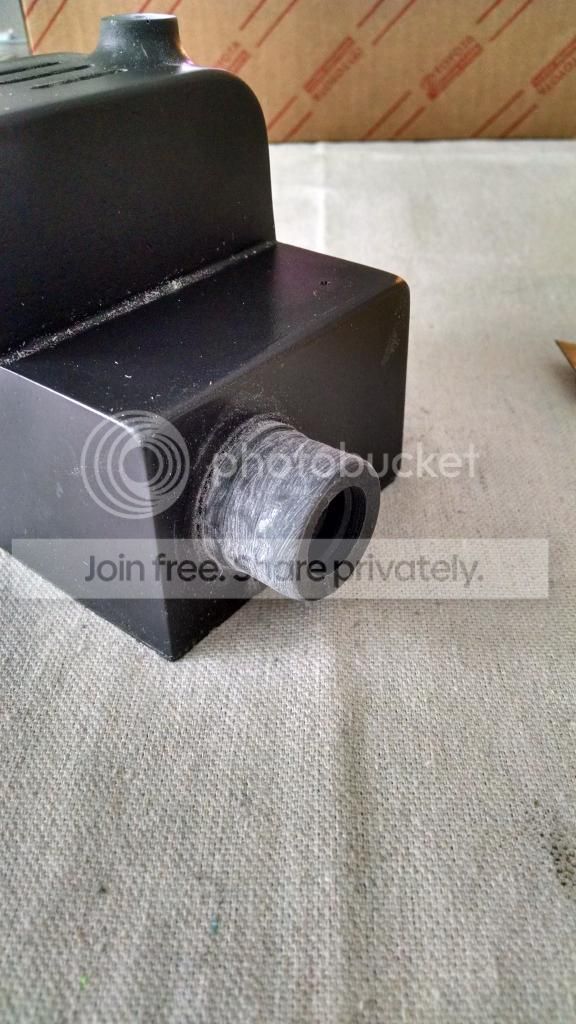
decided to start work on the thrower. started by sanding down the front knub so that the barrel will fit
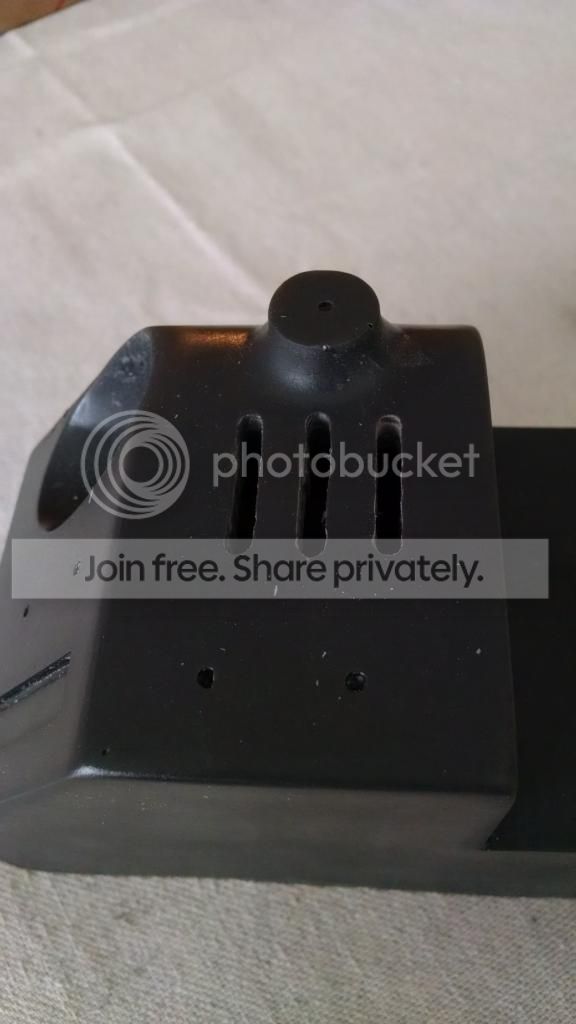
cut out the slots for the vent light
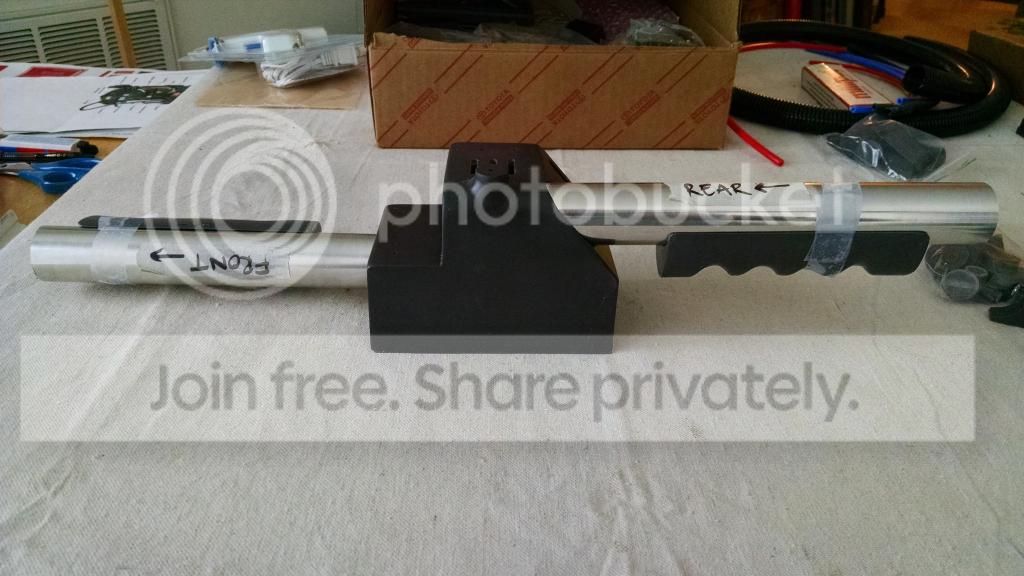
mocked up the handles
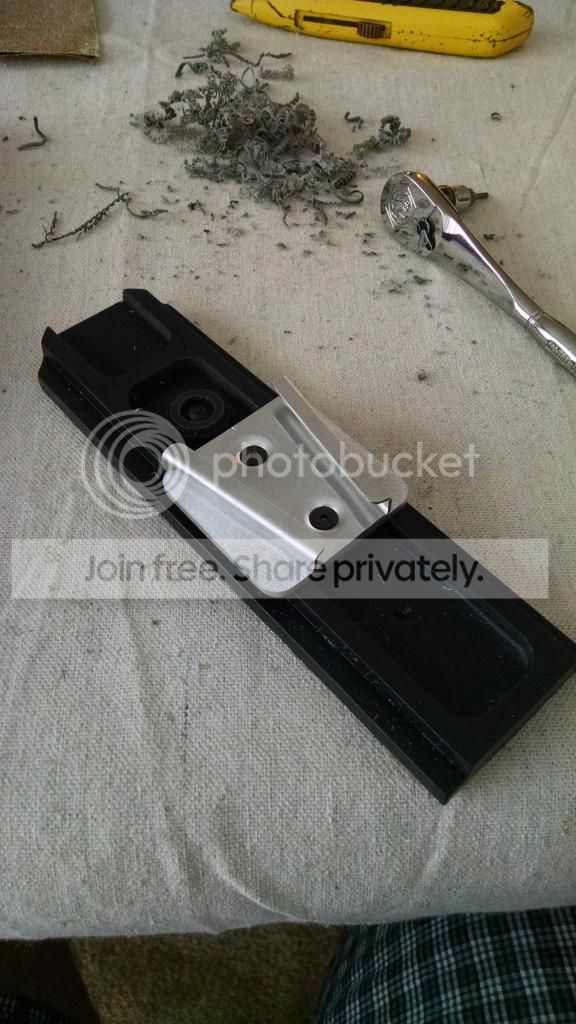
mounted the v-hook to the base plate
and this is everything to date. the crappy weather here in Chicago put a hold on some of the stuff I wanted to get done this weekend
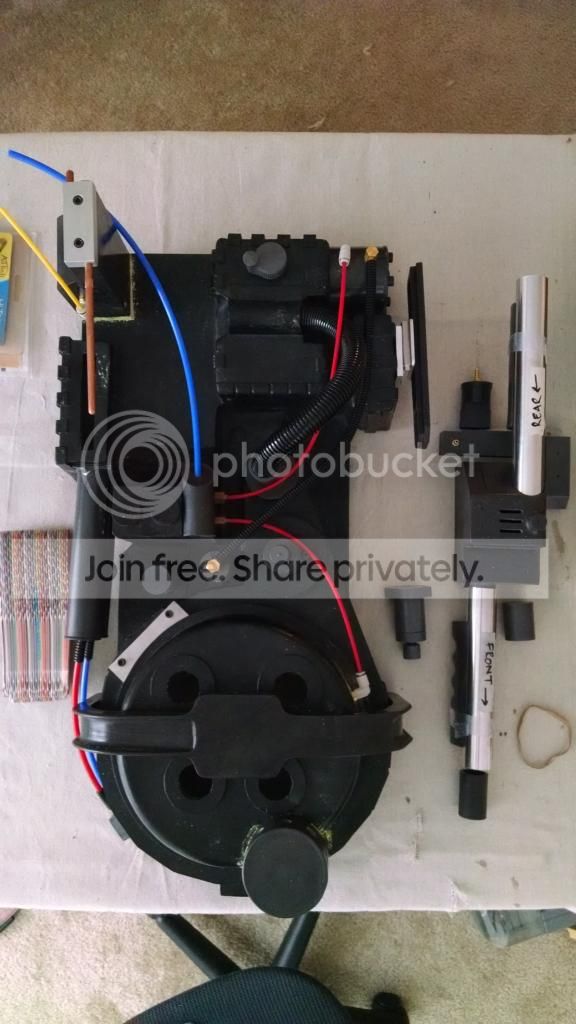


also, can someone tell me what color hose is supposed to be used with the spit loom that runs from the HGA to the beam line? I just have the split loom set up right now
I believe it’s blue on semi hero and red on hero.