I’m a long time lurker, but never post. I thought I’d share with you all my two proton packs. As a child, Ghostbusters was my favorite movie/cartoon series and I guess I never really outgrew it.
Last Halloween I went as a Ghostbuster and made this Ghostbusters 1 pack out of a fiberglass shell and then a mix of resin parts, metal parts, styrene, PVC and wood dowels. It has a Matty wand and a light kit from ebay.
The costume was a huge hit and people kept asking me all night about the pack.
The biggest draw back is how heavy it is. So I wanted to make a second one, a Ghostbusters 2 style pack and make it lighter.
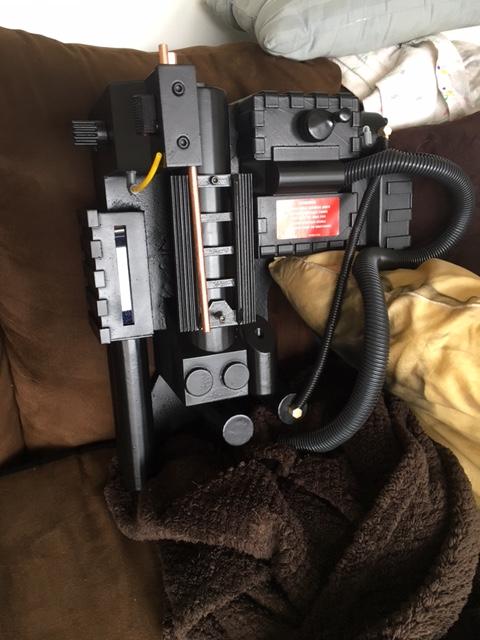
This pack is 3d printed. The only thing not 3d printed aside from the tubing is the brass rod on the ion arm.
I’m still waiting on the ribbon cable, alice pack frame and light kit from gbfans, but was too excited to share. It will also have a matty wand and I have one of spongeface’s kits ready to go once my gbfans light kit gets here.
For the majority of the pack I used the files on thingiverse from tgoacher. Some parts I didn’t like and just searched thingiverse for them like the crank knob and bumper. I also did a thingiverse search for the legris elbows, legris straights and clippard elbows.
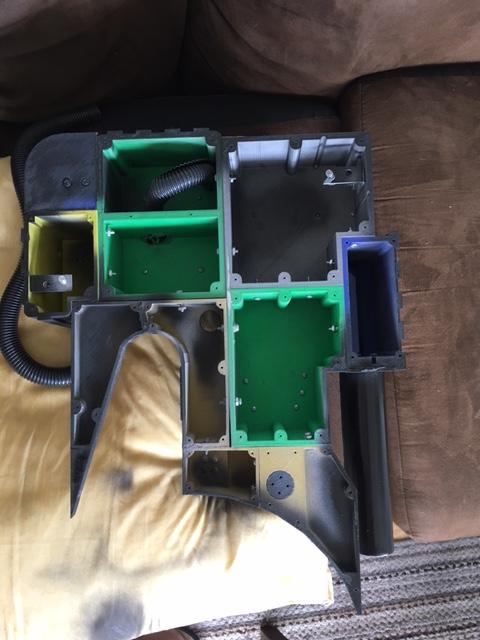
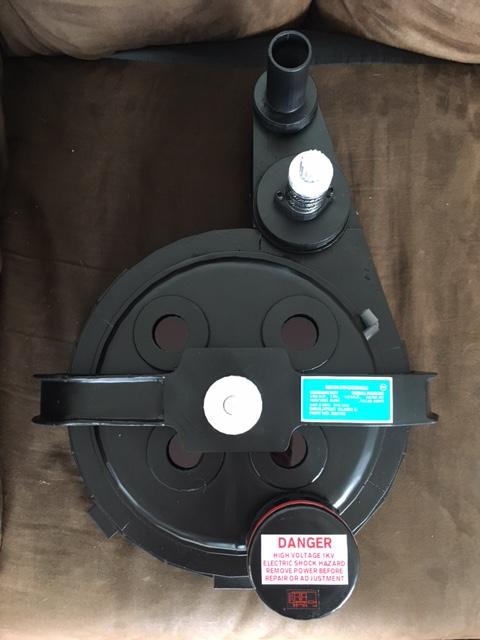
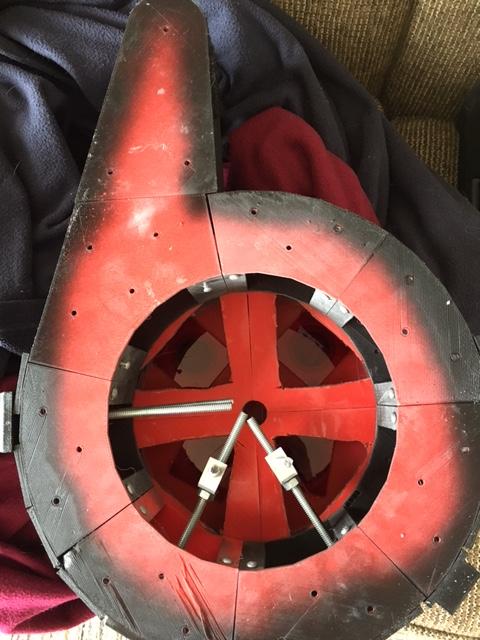
I did the same with the bottom “half”. I cut out holes on the bottom of the cyclotron to give me access for the lighting. I used long bolts to mount L-brackets to attach it to the motherboard. The 3d print is so light I probably could have left it there but then I attached some low profile industrial strength velcro to attach the two halves together.
This way you have access to the internals of the pack like any other pack. You can install any light kit, sound board you want. I have a matty wand, a spongeface matty board and am waiting on a gbfans order for their light kit.
I’m not sure how well I explained that. If you have any more questions just let me know.
could you elaborate more on the bottom “half”. as to how u did it I am using the same files and trying to accomplish the same thing to make it like a shell. maby some close up pictures?
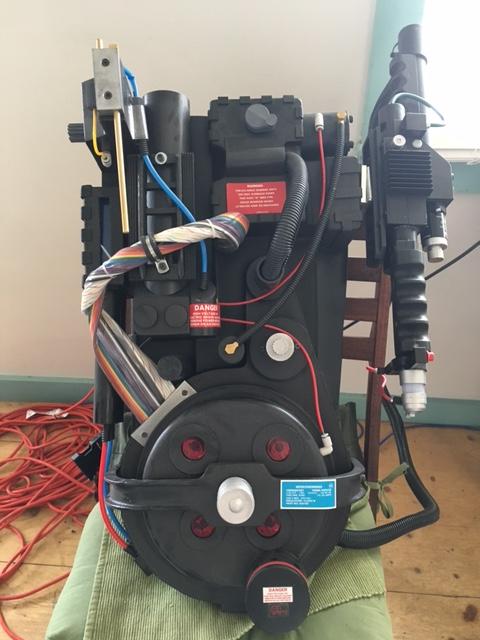
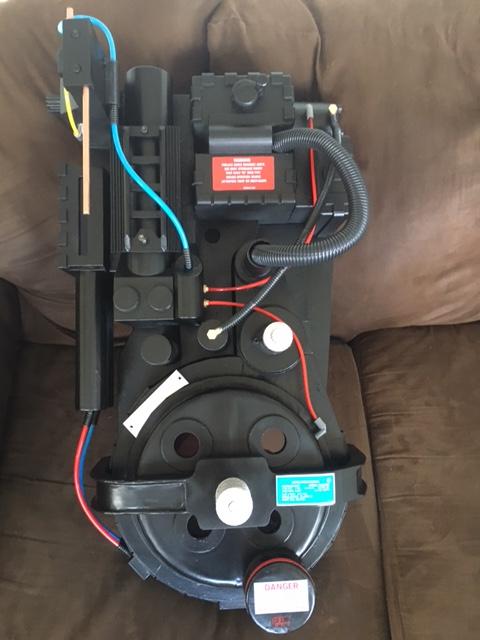
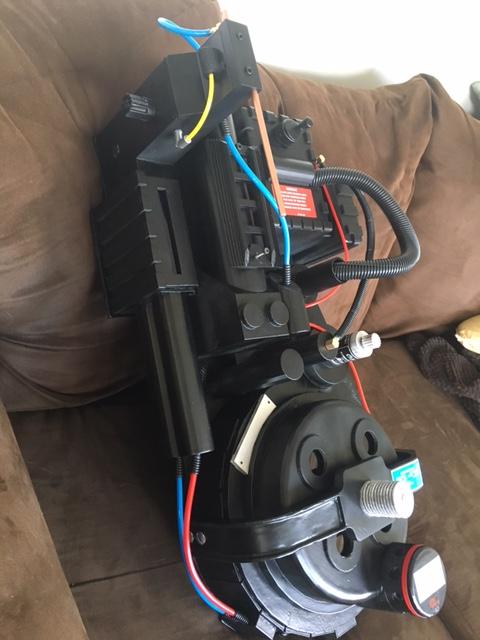
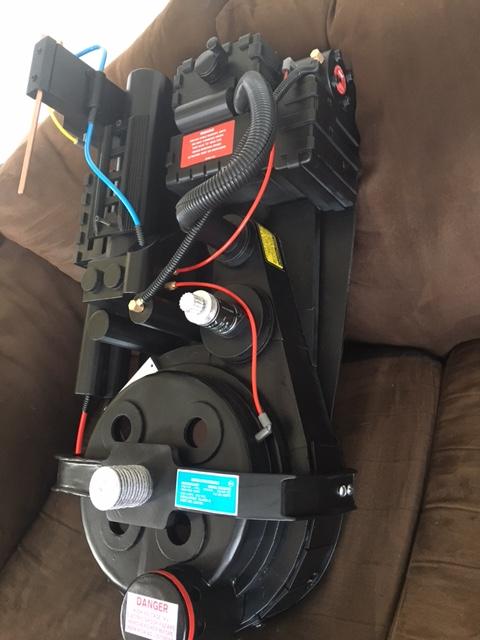
 The filler primer is awesome for the print lines. The bondo works great on the large gaps.