After 6 months of planning and piecing together, I’m finally finished with my costume! I set out to make this thing with a budget, and then proceeded to completely blow that budget away to the point where I could’ve just bought an accurate pack, but oh well, I had tons of fun making it and I hope to be the only semi-authentic Ghostbuster walking around these parts this Halloween (unless the Georgia GB crew decide to take a trip south…)
I decided to post everything I’ve made (with the exception of the pack) in one thread so I dont have to clog up other forums with a thread for each prop. Anyways, without further ado, here’s my junk:
This is my props on the belt. My belt gizmo is a bunch of random ■■■■ glued together, the trap is a Kenner voice changer with some add ons and a fancy paintjob, my radio is a block of wood and some parts from a mutilated vintage walkie talkie and bass fishing game. The keyfobs were made by me using leather and snaps from Hobby Lobby.
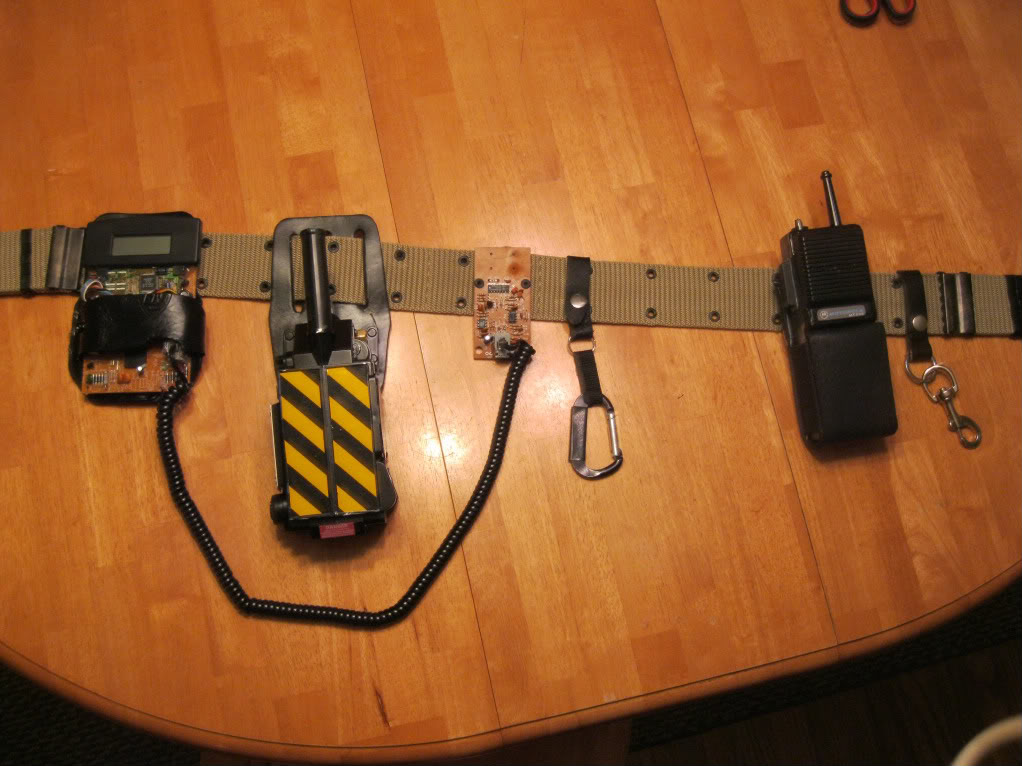
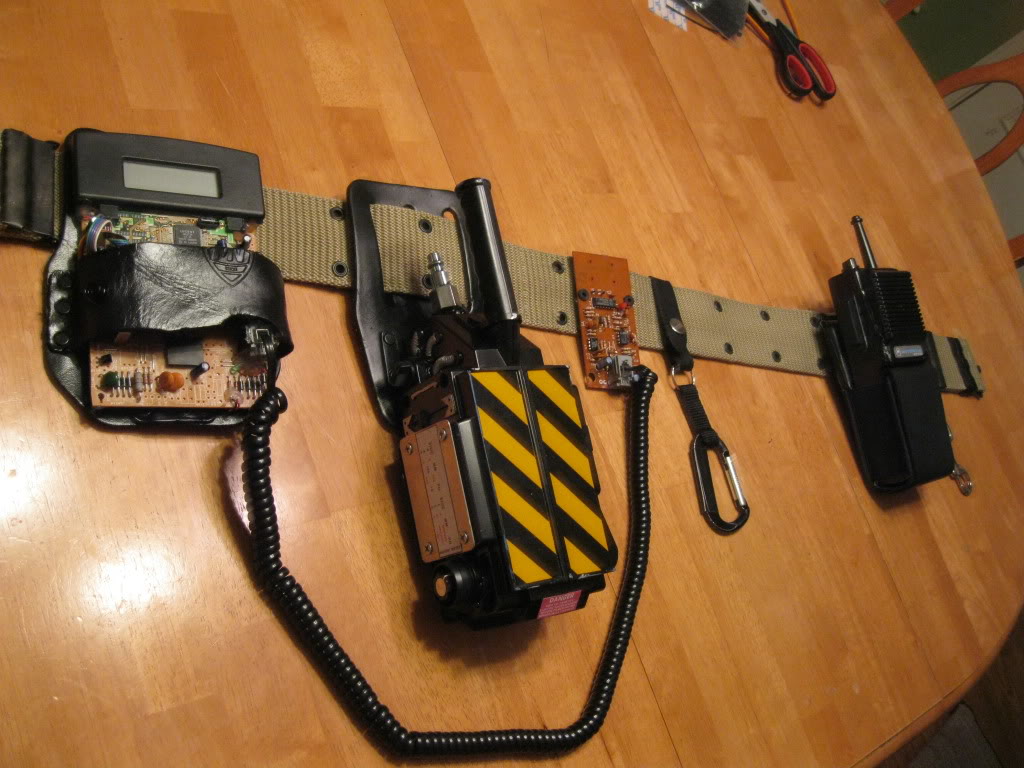

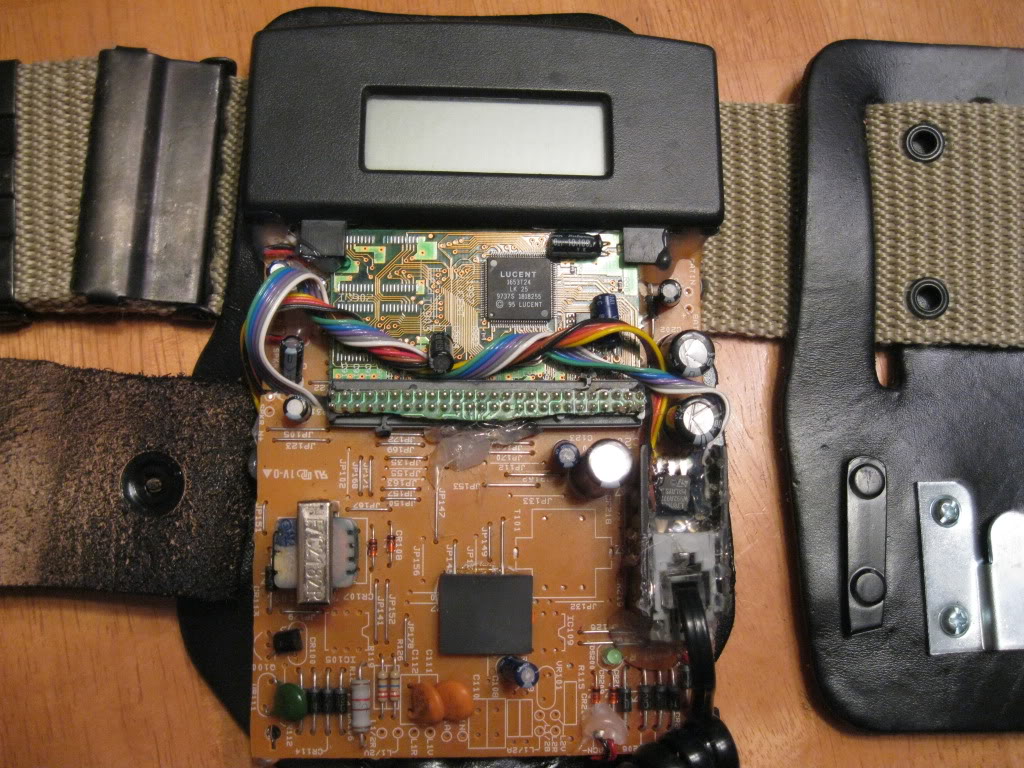
I never intended on making the gizmo, but once I got everything together I didn’t want to stop building and had space to fill, so I just hacked up a few devices I had around (a couple calculators and a phone) and glued them together, added a tiny bit of ribbon cable to dress it up, and voila- an OK prop that no one can explain the function of. I bought the parts to make some nixie tubes, but in the end I decided that I wanted to go with a digital display on the top, mostly because I’m lazy and it was there. I’d like to have the screen say something, but I’m not sure what to put on it (with clear labels). Any suggestion?
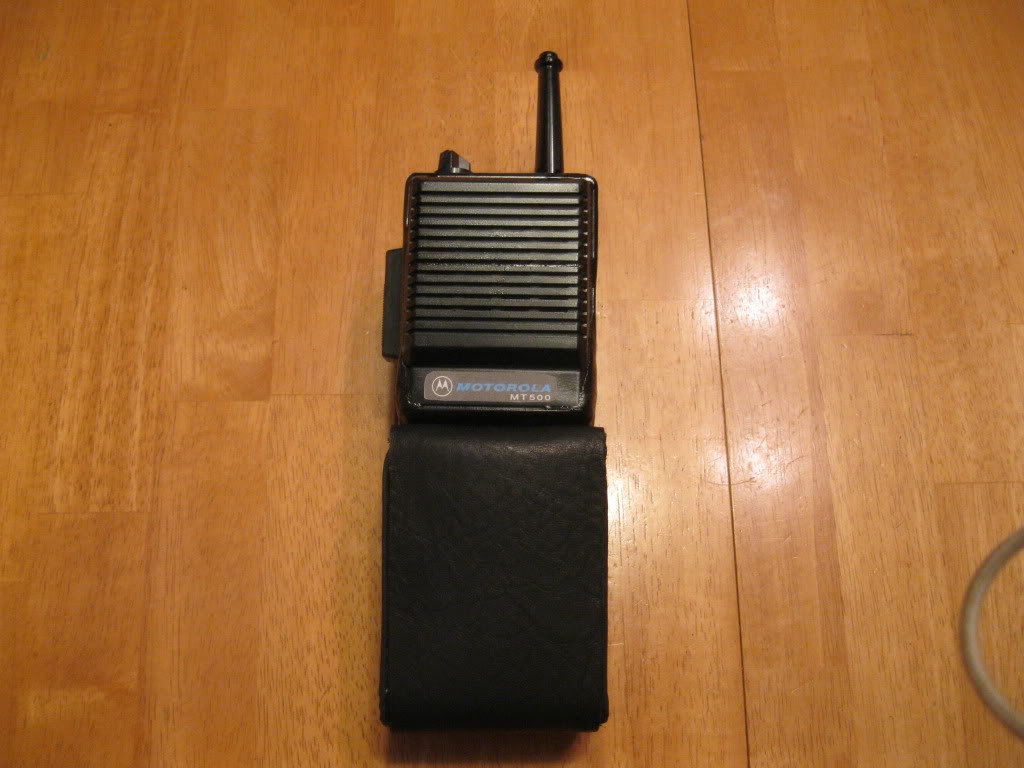
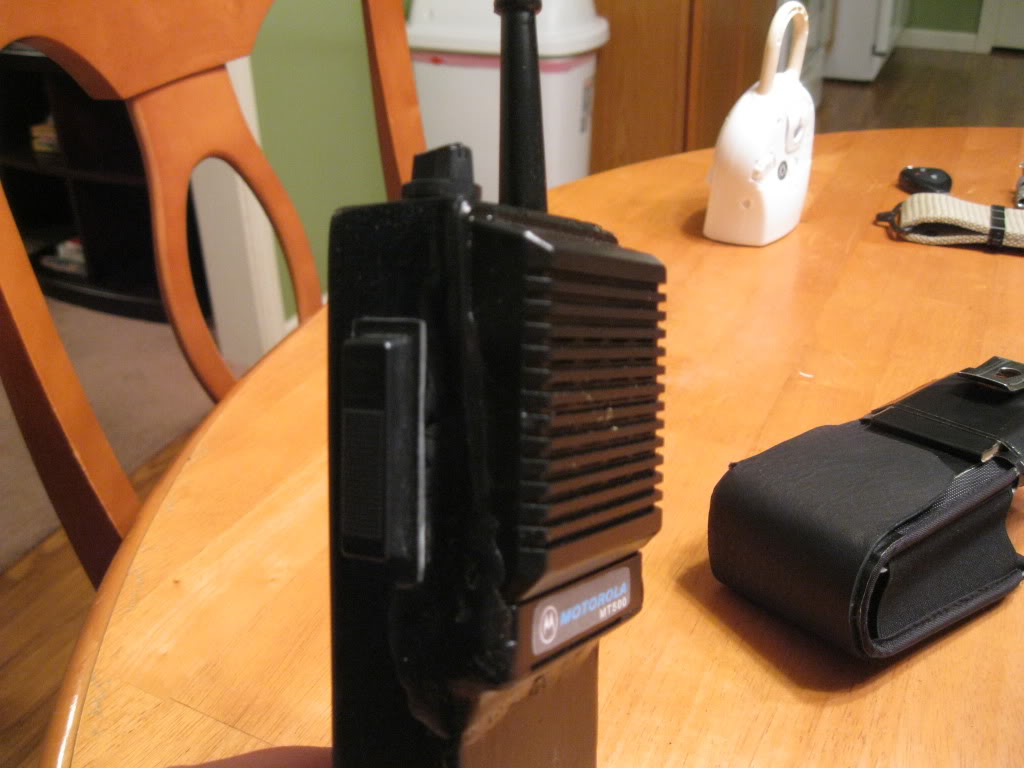
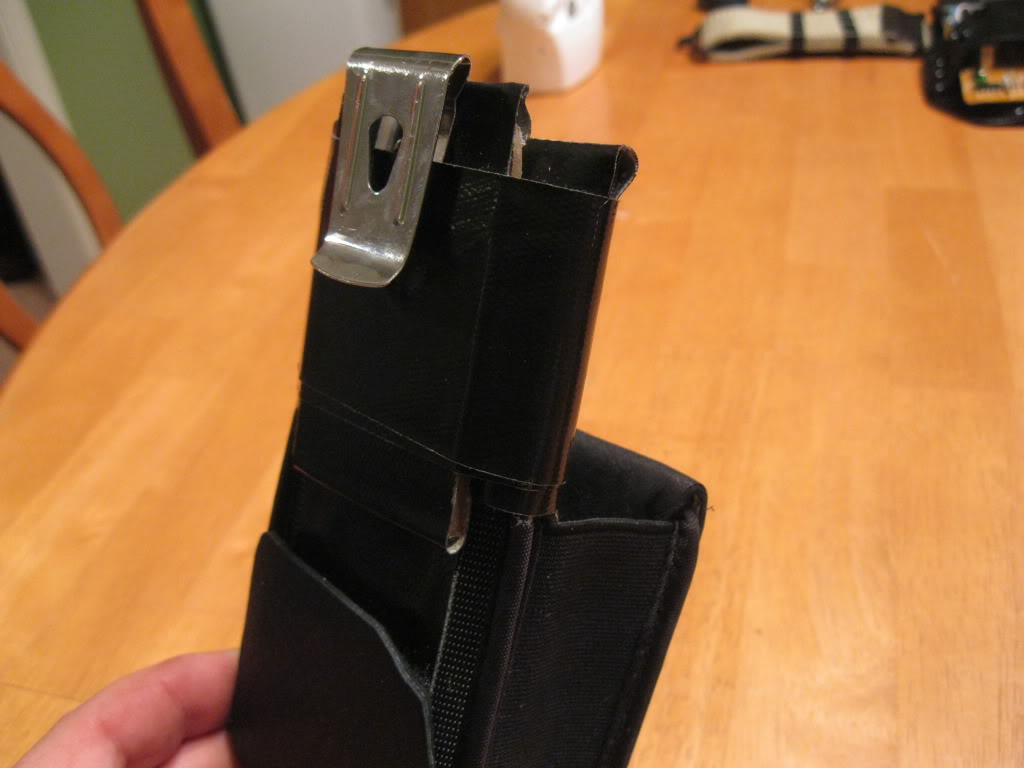
Like I said, the radio is just a 2x4 and some parts from a vintage 2 way radio that I ordered (originally intending for it to be the substitute for the Motorola, however when it arrived the thing was HUGE, so I cut the speaker grill off and stuck it, the volume knob, and talk button on the wood block. The antenna is from a handheld fishing game that was going to be my PKE (didnt happen.). The case is a camera case that I covered with black duct tape and placed a piece of clipboard into the back for support. I then covered the front with leather that was leftover from my keyfob adventure. I don’t think it turned out horribly, but I wish I couldve gotten the putty on the side to be smoother (you said I could sand it, Billy Mays!). Oh, and I used some kind of sealant that my dad had that is supposed to make wood look…less like wood. Spray a good coat, buff it with some steel wool, and the wood gets a nice smooth finish.

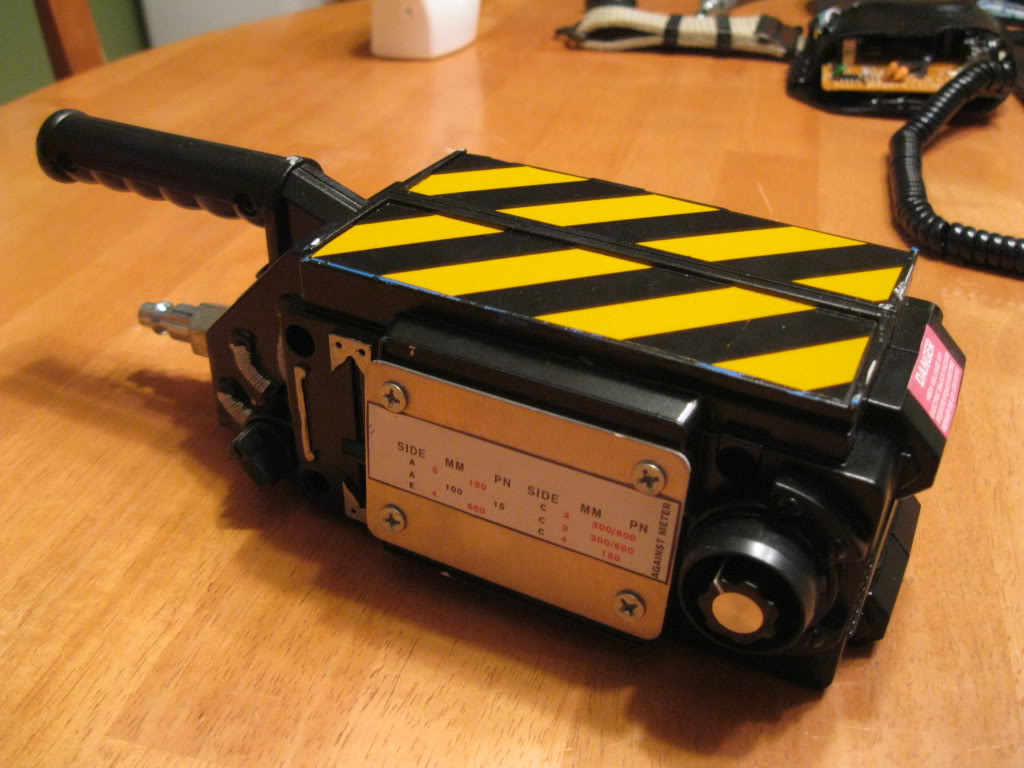
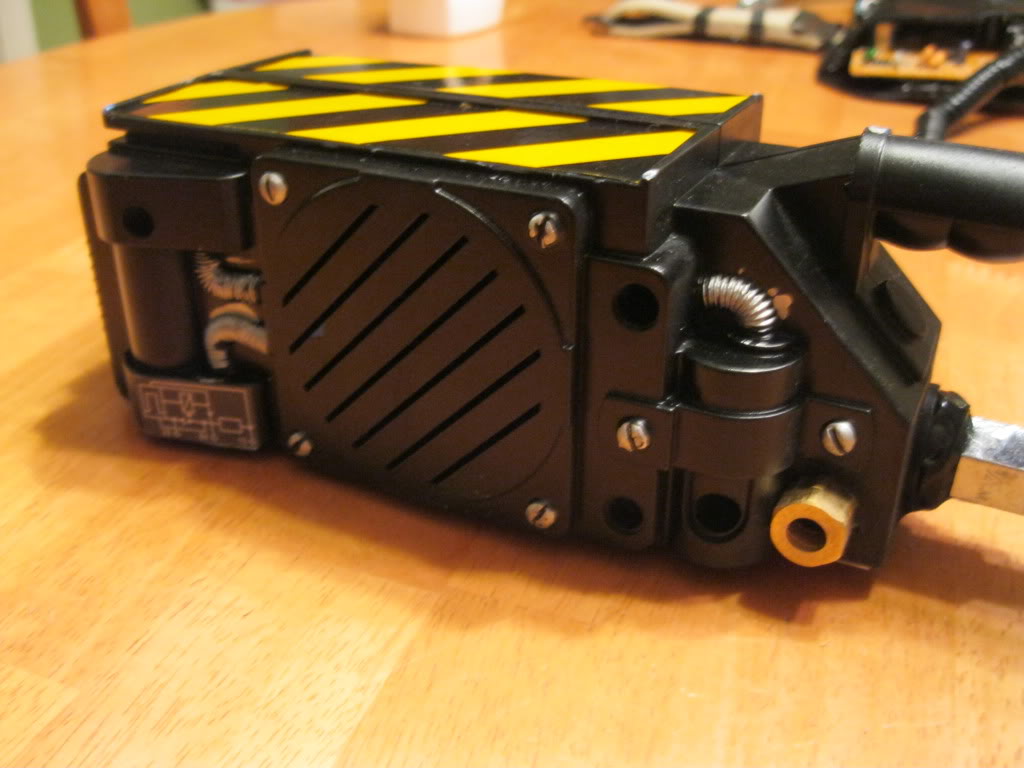
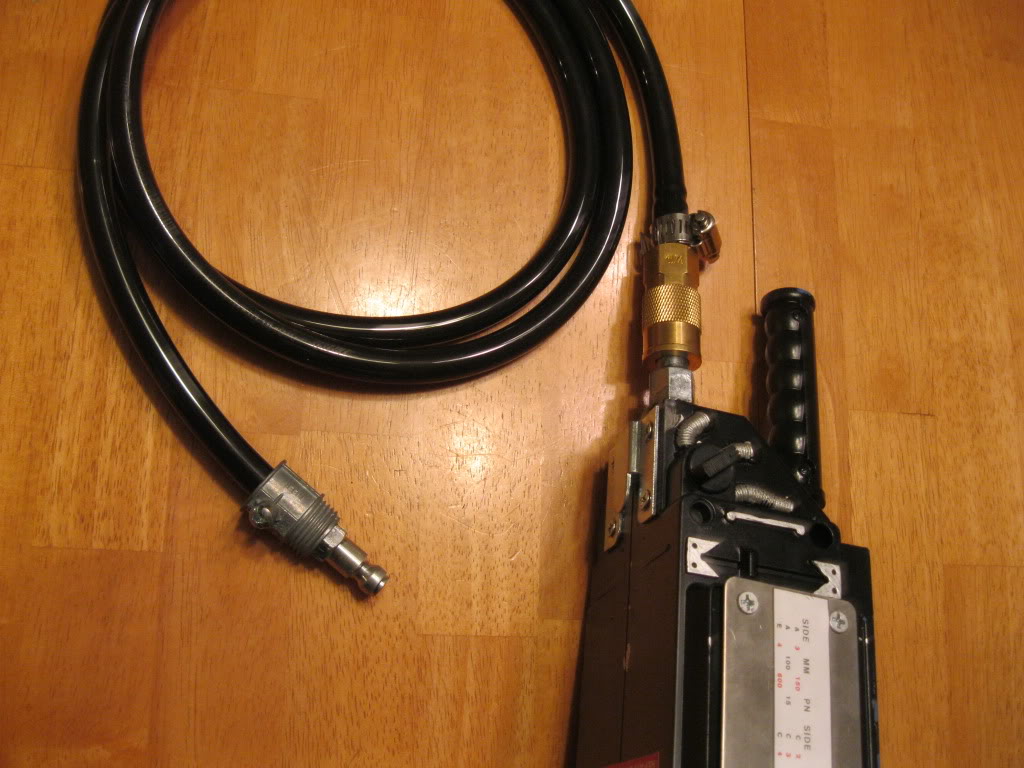
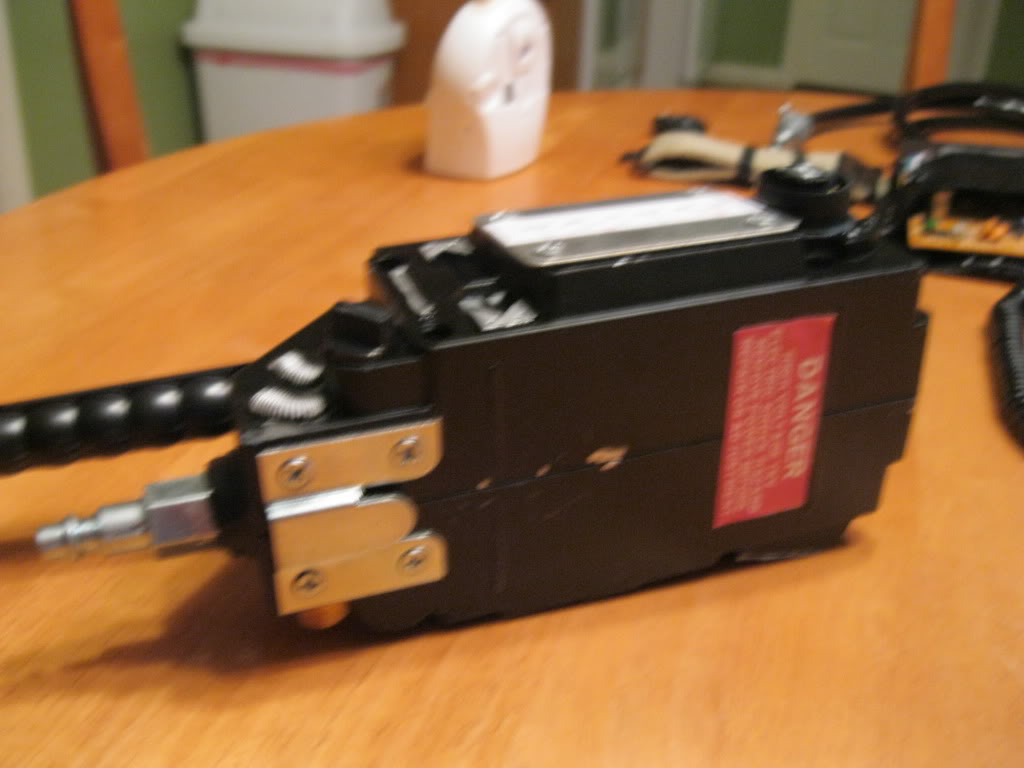
The trap is a Kenner voice changer that I glued some random object that were lying around the shop to and painted up. I also attached the air hose connector to the back with some epoxy. The trap holster is just a hammer holster from Home Depot with the metal bracket cut off and I used the flush mount hangers that some folks use on their throwers to hang the trap from it. The main reason I wanted a trap is because when I go out on Halloween I usually get asked to take a lot of pictures with people (this is my first year as a GB. In the past I’ve done Hulk Hogan, Mario, and Wilford Brimley. Yes. Wilford Brimley.) and I wanted something for the people to hold in the pictures so we arent just standing awkwardly. So I connected some other air hose pieces to a nylon hose and got me a trap. Akbar would be proud. Still need to do some touchups on the paint though…
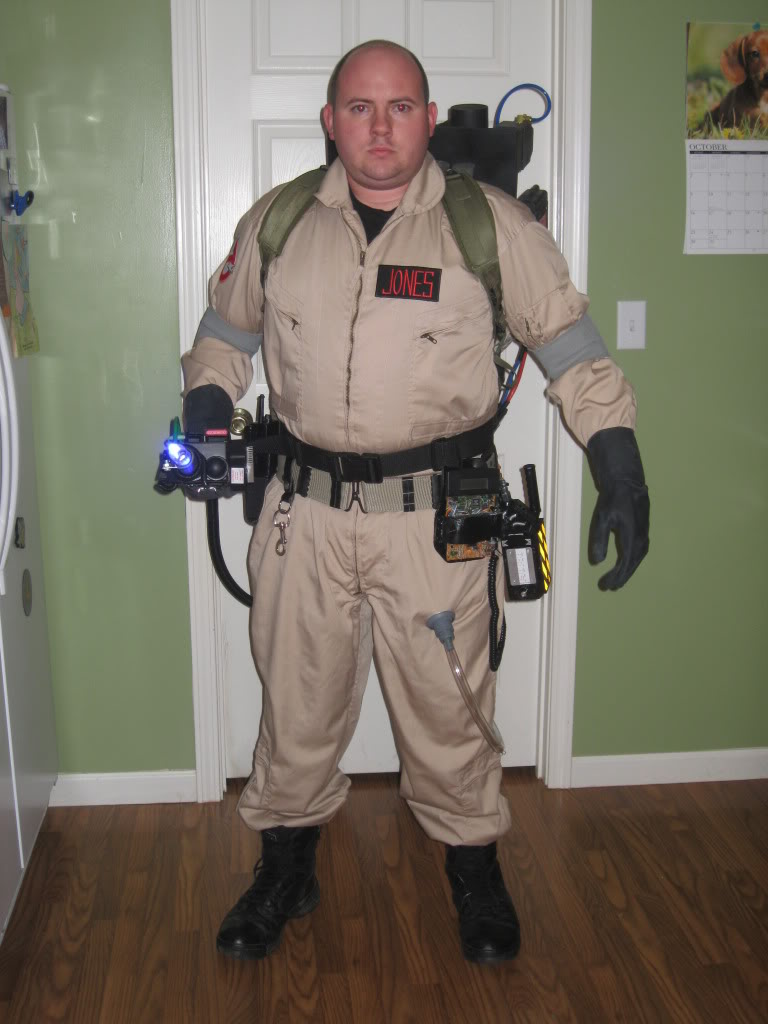
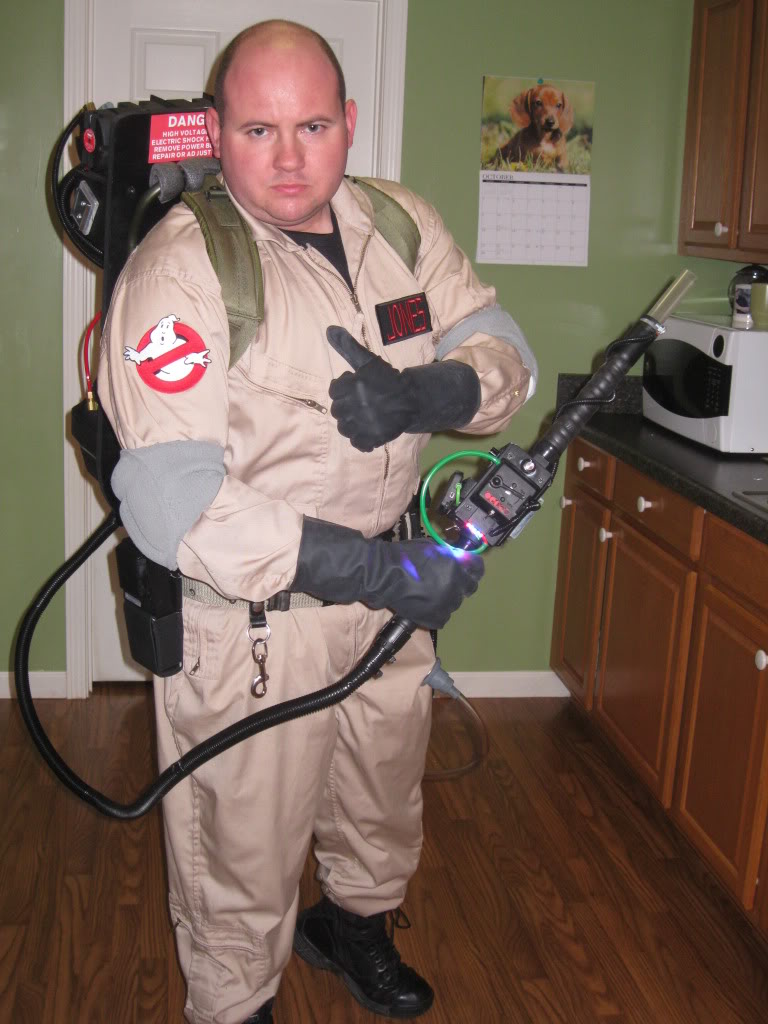
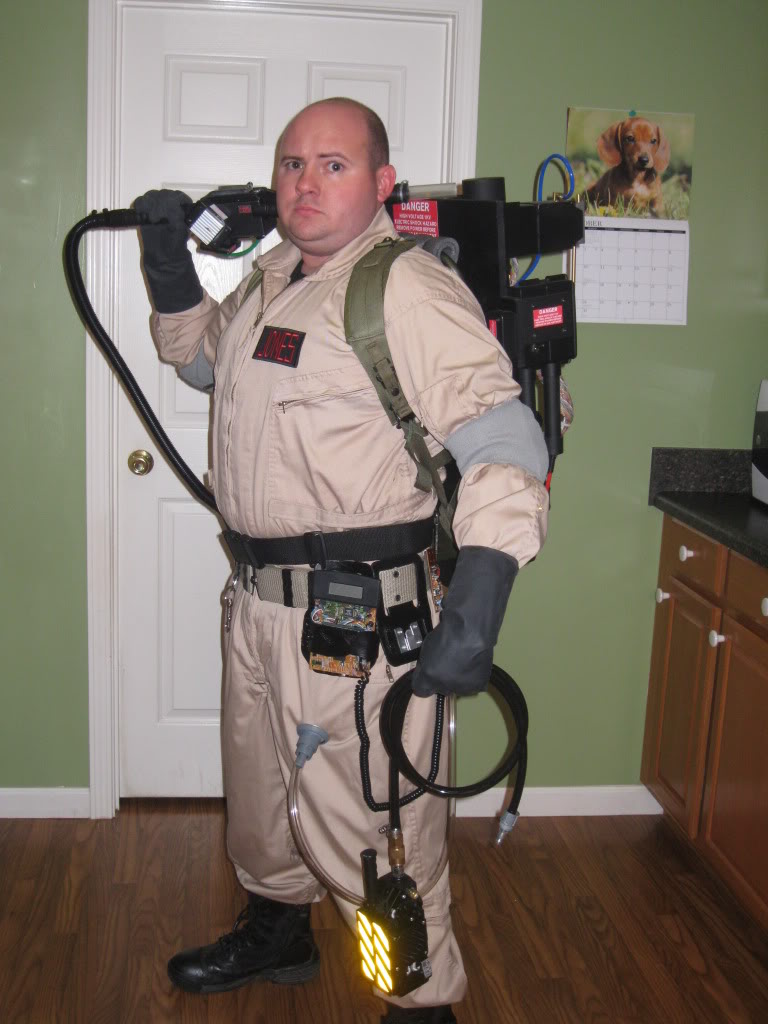
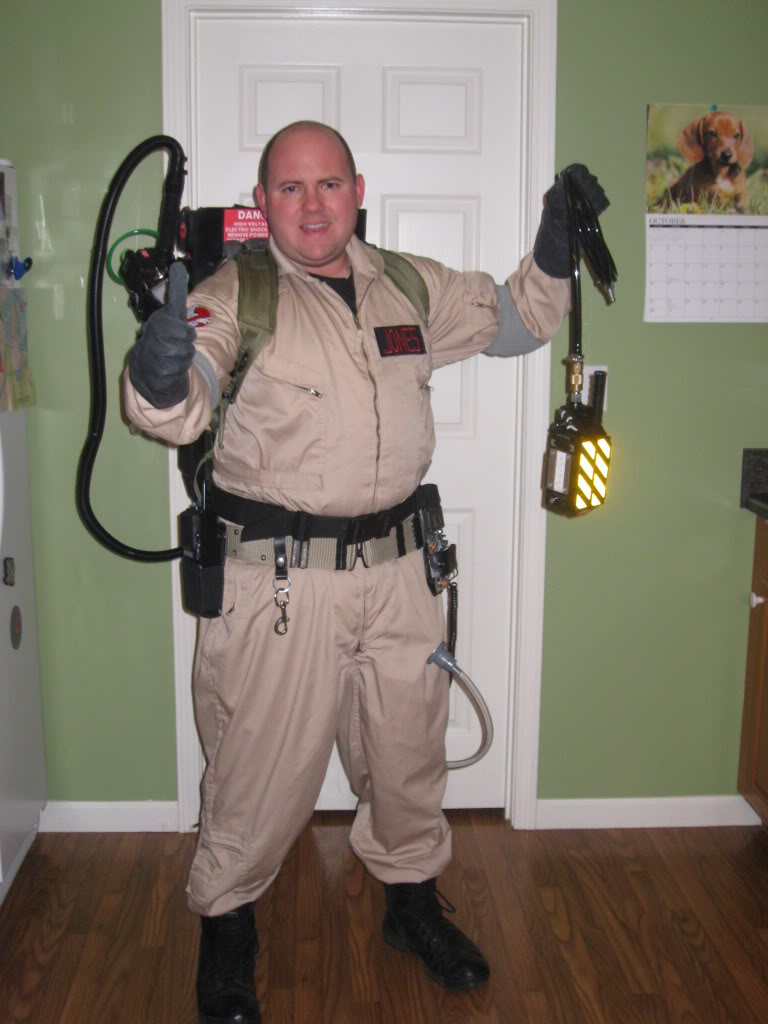
And here’s the whole ensemble. My suit is Tru-Spec (I recommend the brand. It really is an awesome suit. Its a little baggy on me though, and without wearing the pack is blouses in some wierd places that make me look like Danny Devito in Batmans Returns when he was wearing those long johns…you know what I’m talking about? But the sizing was my fault.) I’ve seen people advise to buy the next step up in size for the flightsuit, but I think in the case of Tru-Spec you should just go with what you normally wear. There’s plenty of room.
No Ghost is from Intergalactic Trading, and I think it looks great. Name plate is Jojo, and its freaking sweet. The armpads are the Franklins and sprayed with car interior spray paint that can come from any auto shop (Medium Gray). The paint turned out well, which is a relief because I’m still recovering from dying Hulk’s tightd over and over again last year, and I didn’t want to dye anything. Boots are just my Magnum work boots and the belt I ordered from eBay (I really prefer this style over the more accurate one). The gloves I will be doing away with as they suck and rip too easily, so I’ll be purchasing the ones from the GBFans shop. Hose connector is just a PVC reducer, rubber chair foot, a rubber caster cup and dowel all put together. It’s held on by a washer bonded to the back and a magnet on the inner side of the pantleg.
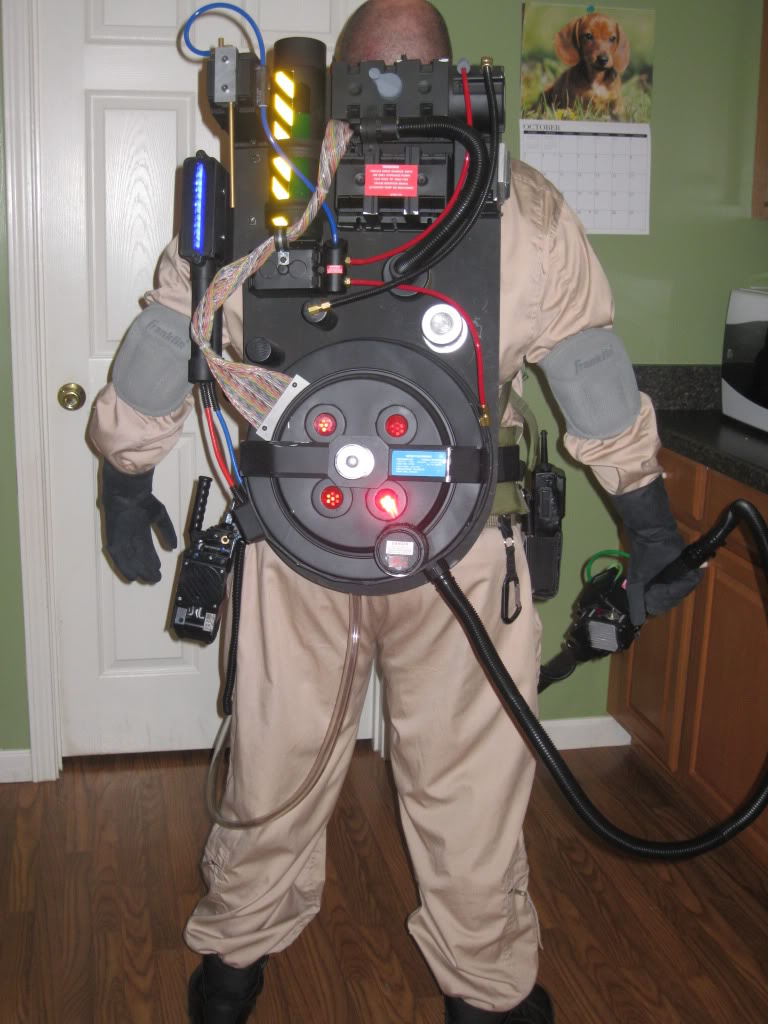
And a shot of the pack. I’ll be making a separate thread on the pack build. I don’t know why there seems to be so much empty space on the board in this pic, but in person this thing actually looks a bit cluttered.
Well that just about does it. If anyone has any comments or suggestions I’d love to hear em! But, before anyone points out that something isn’t accurate, I know. Accuracy wasn’t really a focus, even though I did spend a little too much time on some things trying to get them “perfect”. I can’t wait for Halloween this year, and I’ll probably be wearing this stuff well into the Christmas season. My first plans with the costume is to take a trip to the local Haunted House attraction that the Boy Scouts put on every year here and just go stand in front of the building. Thats as far as that plan has gotten. Thanks for looking, everyone! Appreciate any feedback!