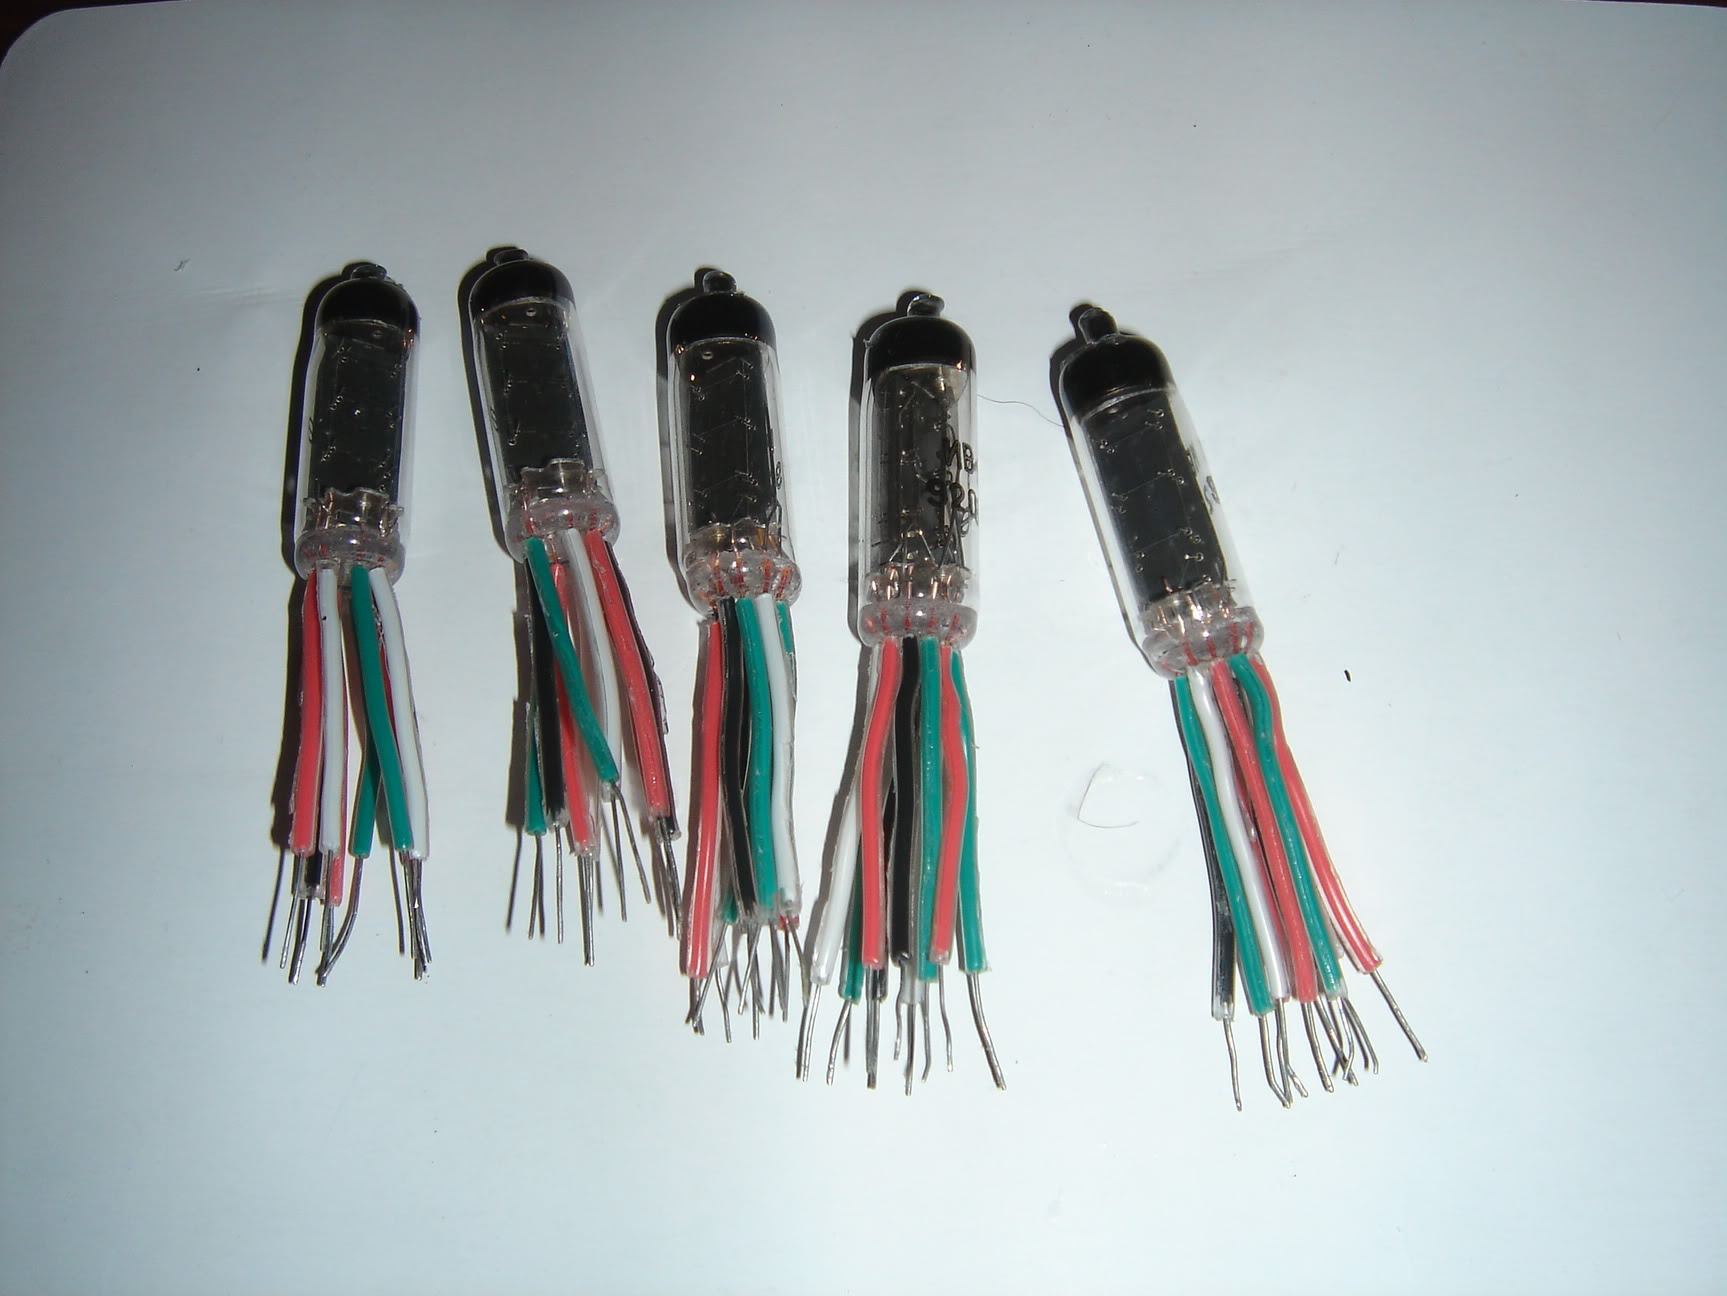
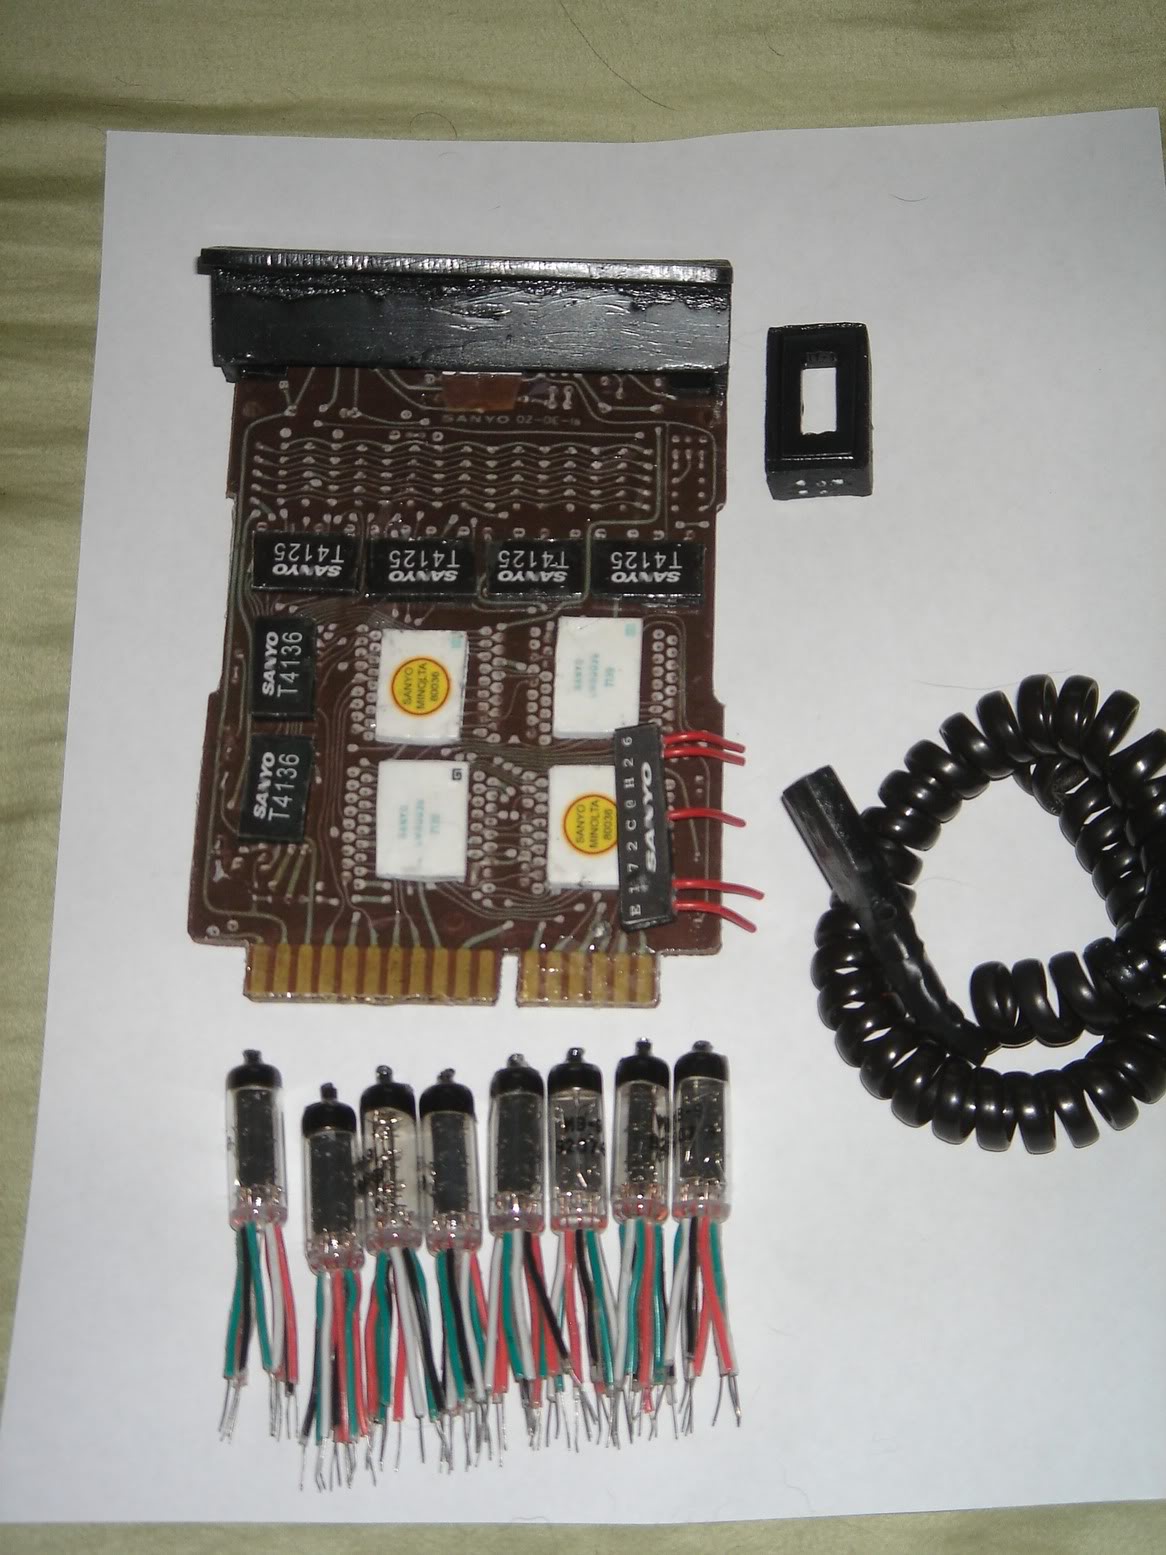
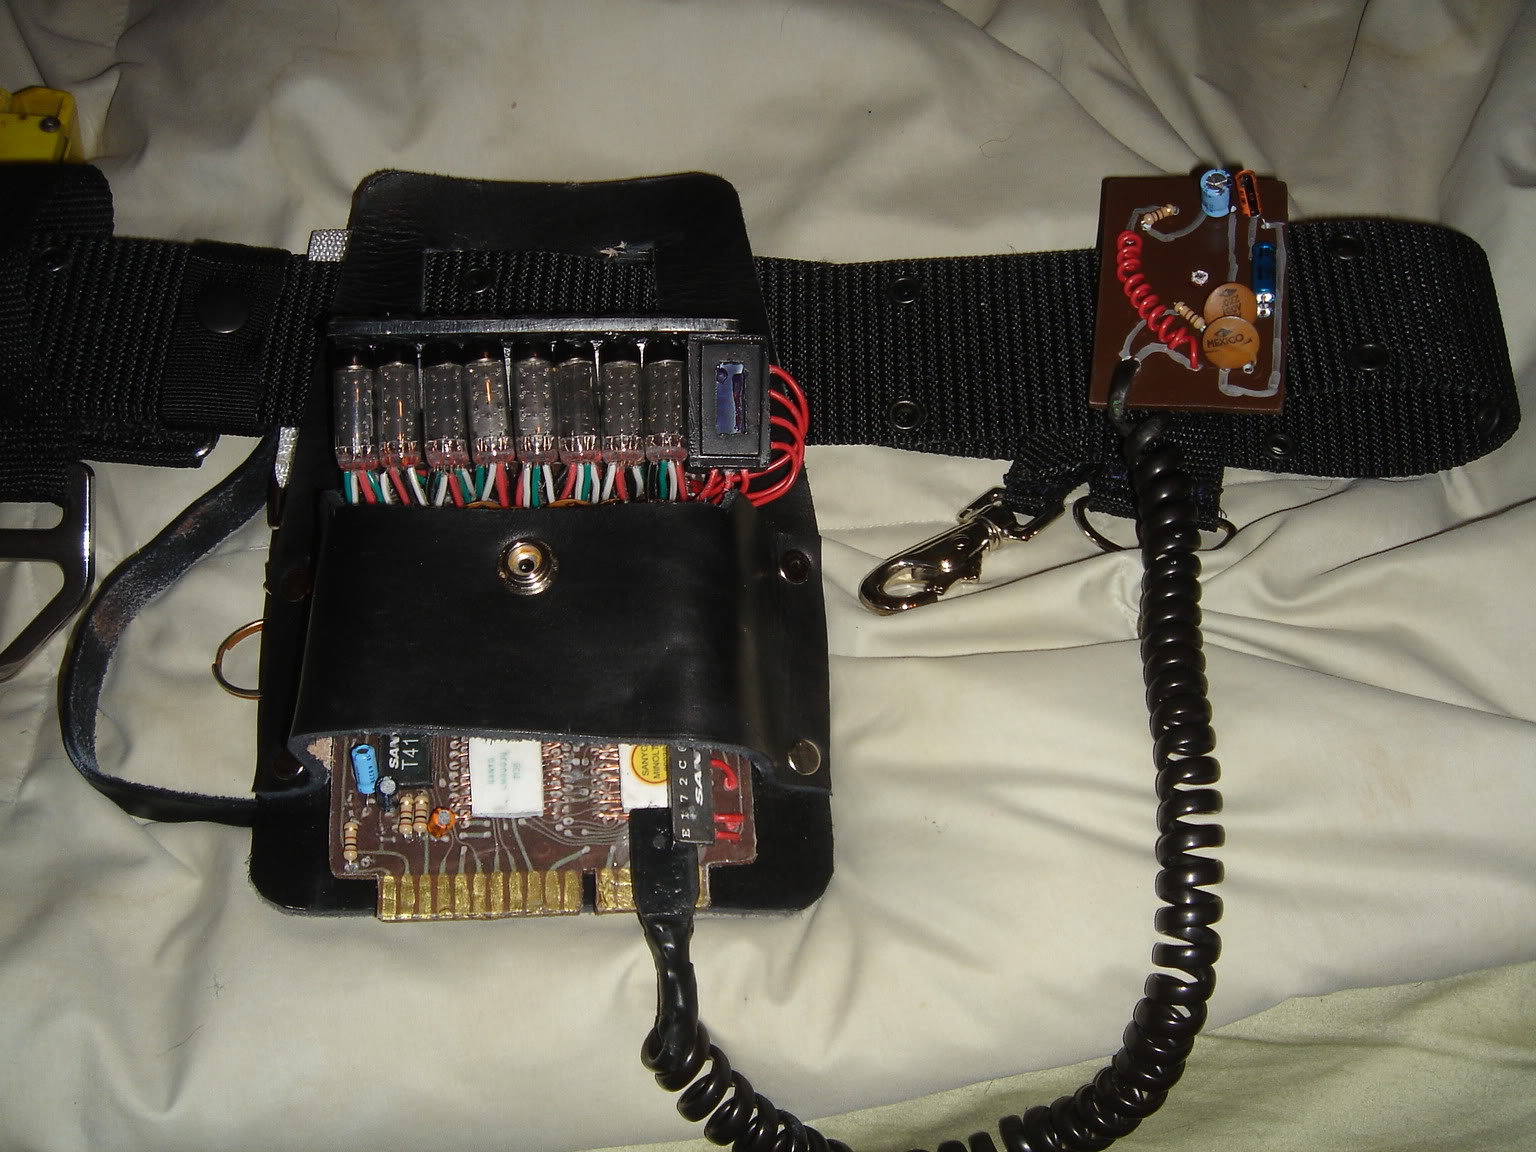
With not having enough stuff to do between school, work, holidays, getting ready for the Steel City Con and trying to still have a social life, I decided to rebuild my belt gizmo! The last one had the prints on it get washed out during a charity walk in the rain we did back in October. So I tore it apart and kept my nixie tubes from it. Everything else pretty much got scraped.
I think it looked good and got the job done as far as belt gizmos go.
But now that I had the experience of building that one under my belt, I knew I could do a lot better.
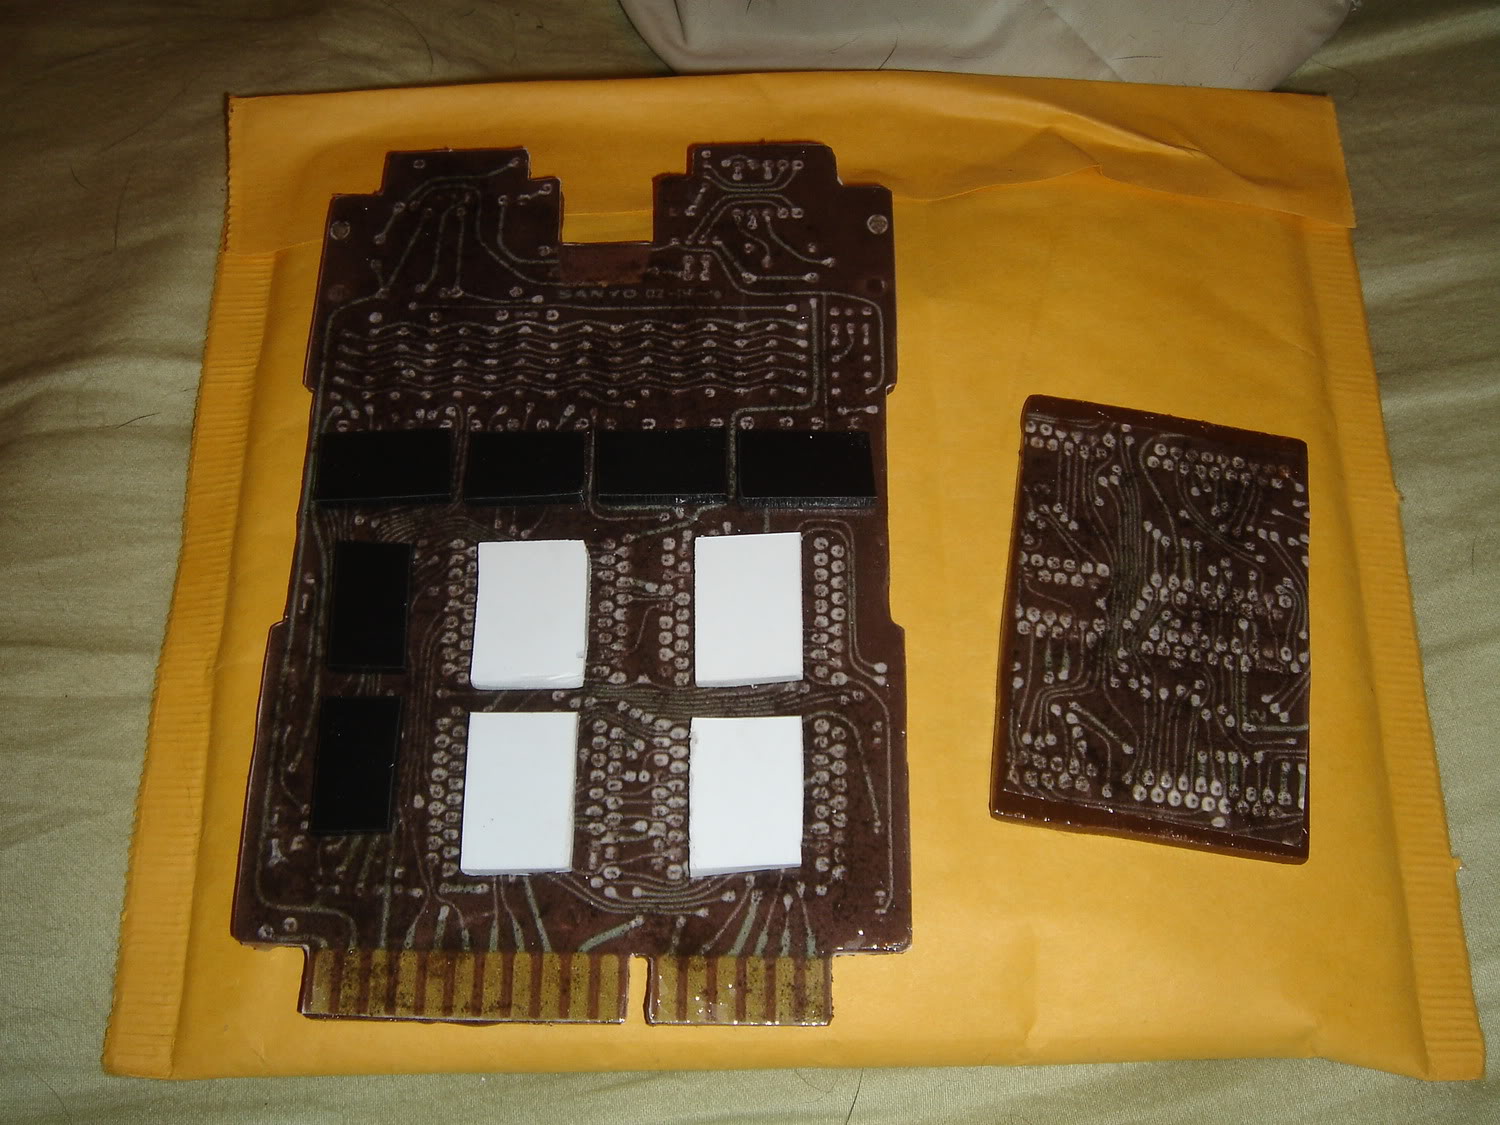
So I cut a new board and daughter board. I painted them brown this time and got my decals on them.
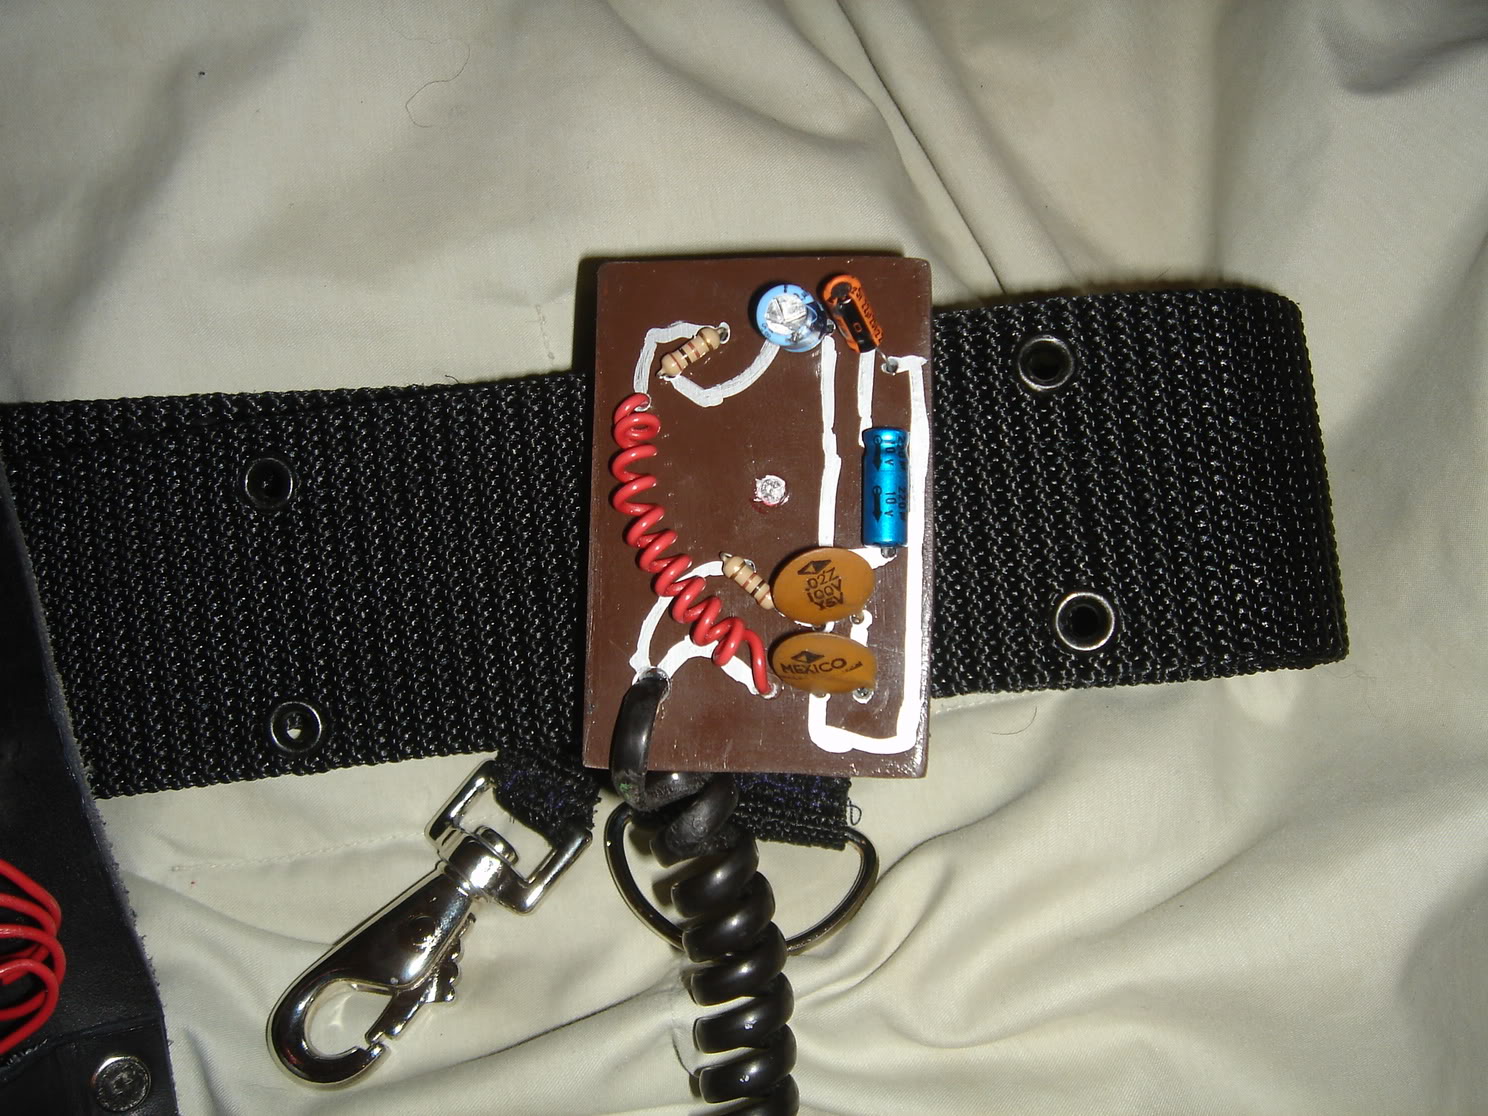
A closer look at the really simple daughter board. I decided it didn’t have to be real fancy since no one ever looks at it and its usually underneath the proton pack on your back anyway.
Looks great! What’s the actual base, the circuit board itself, made of? Is the whole thing styrene, or did you get a harder material? I’m wondering if the base is styrene (so it’s easier to stick the resistors into) or if it’s a tougher material like a light wood or plastic, which you’d have to drill holes into or solder the resistors onto.
What’s that side box with the blue gel made of? Also styrene?
Aha! Nevermind - I found your old thread which said it was made of styrene, too. Is the styrene very tough? Obviously it’s light enough to stick the little wires through and all that, but are you worried about taking your belt gizmo out for fear that it might snap in half if you bump into something?
It’s all .125" styrene sheeting, which is really strong and flexible. I have no fears of this thing falling apart any time soon.
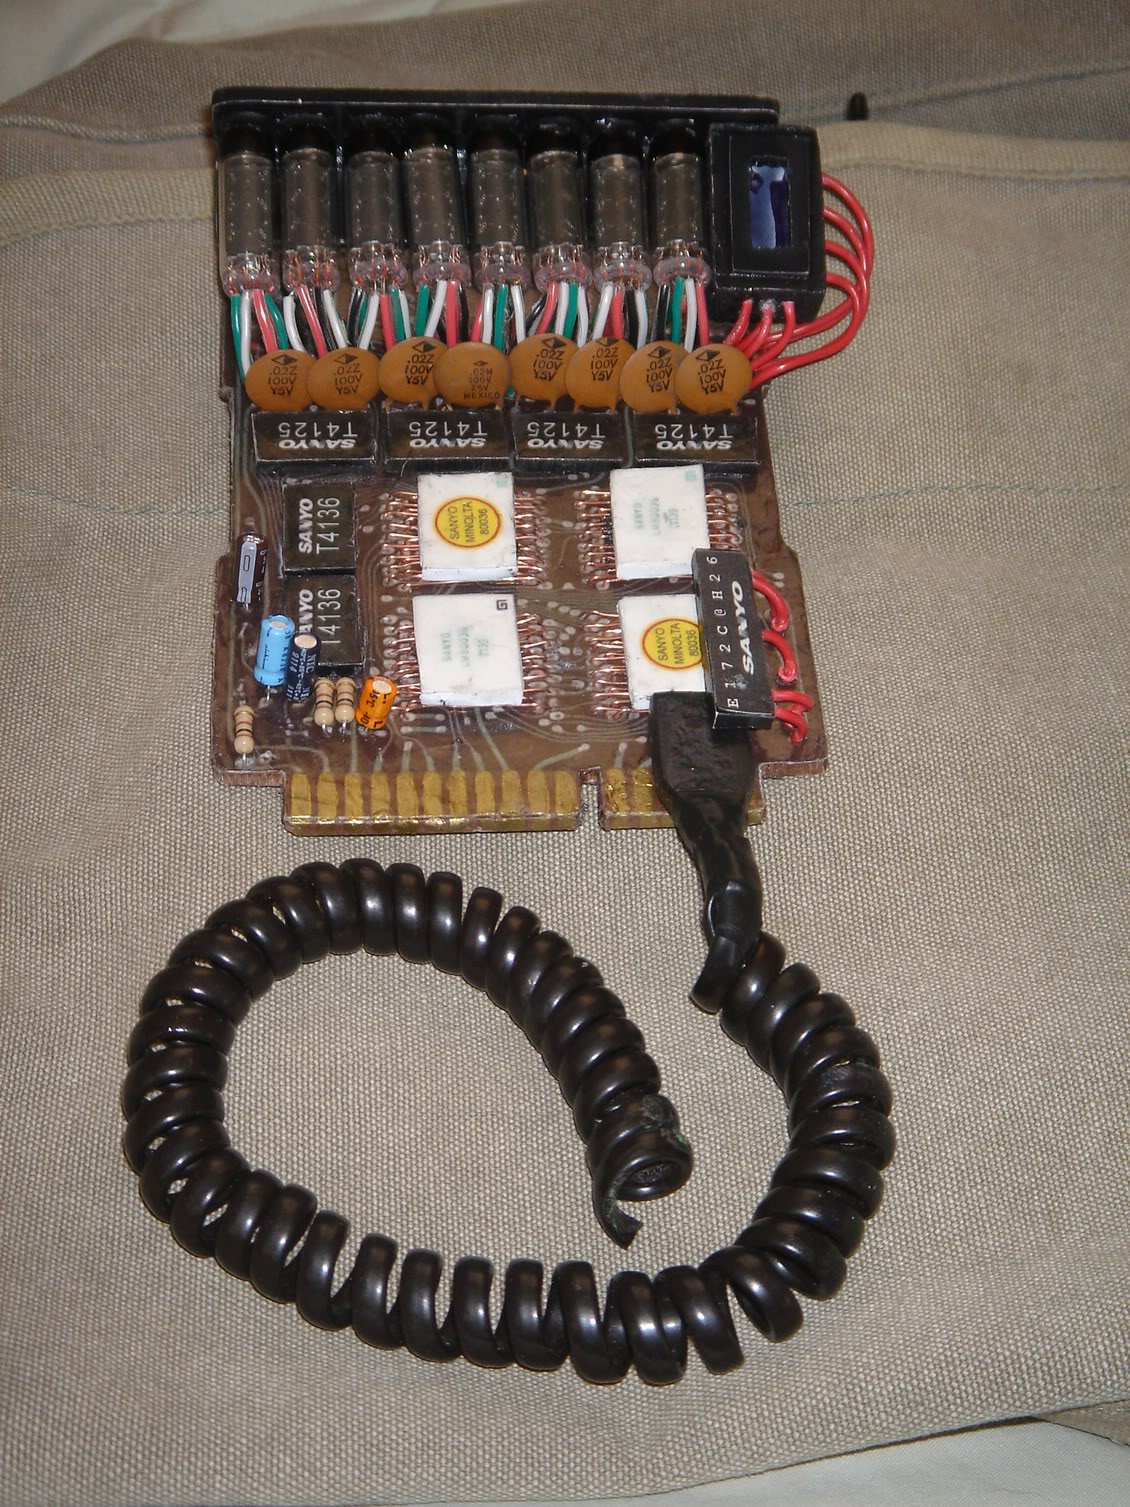
I had to drill all the holes for the wiring to go through (it was a lot of drilling). The little black box is also scratch built out of styrene. I did not have any measurements for it so I had to guess. I think it turned out okay.
How I attached all the resistors, capacitors and nixie tube wiring was I put it through the holes I drilled, then bent the ends towards each other like a staple. Once I had everything on there, I covered the back of the board with a 2 part epoxy, covering all the wires and holding them in place.
Great info - thanks a lot! I’m going to use this when I make mine. Here’s a strange question though - what size drill bit did you use? I guess just using the smallest I can find would work, hm? Those holes have got to be tiny! I’ve never worked with styrene before, so I assumed it was something you’d be able to easily poke the wires through, but evidently that’s not the case.
Glad to know it’s good and strong though. Thanks for the info!
I taped a template of the pc board on the styrene then drilled out all the holes with a 1/16" drill bit. I then removed that template and glued on the cut out of the pc board that is on there now. I then took a needle and poked out all the holes from the back side.
I did this because the 1/16th bit was still too big but I did not feel like buying a different size. This way I had plenty of room to get the wires through the plastic and no tearing of the paper cut out on the styrene from drilling. This gave it a cleaner look, if you ask me.
Both times I have built this prop, I have used Jairus’ file that has the scans of the chips, PC board, and a template for stand for the nixie tubes. It can be found here. It’s a great resource when building these.