Good afternoon everyone , just wanted to thank all the merchants here for all their patience and hard work. Building a pack is time consuming, but they wouldn’t look half as good if it wasn’t for all the ground work you guys are doing.
Anywhoo.
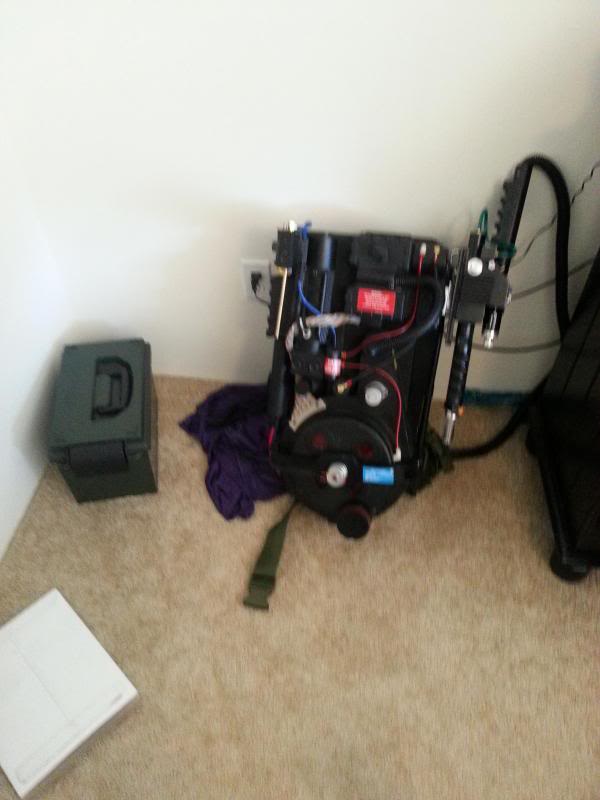
A friend of mine busted the gun on my first pack build . Though I was devastated it gave me chance to go back and do a slightly better job ( getting better parts ,learning from past mistakes ,etc.). I just finished it a few minutes ago and though its far from any of the quality work I’ve seen from other members I’m still proud of it. Someone suggested that I post picks and comment on what I did because it may help someone in the future . After thinking about how many random post gave me a good a idea , or kept me from making a bad one. I decided to show my work to the class.
Using a throwing chicken v3.0 gun kit , I’m living in an apartment so I bought a portable closet to paint on my balcony. One thing I learned is that epoxy may seem strong when you’re playing around at home , but things quickly go south when you’re out and about. So this time around I bolted the rear handle to the gun. Filled in the holes with epoxy and sanded them down ( I don’t know why I did this , just seemed cool at the time). I also bolted the front assembly and the rear handle to the body .
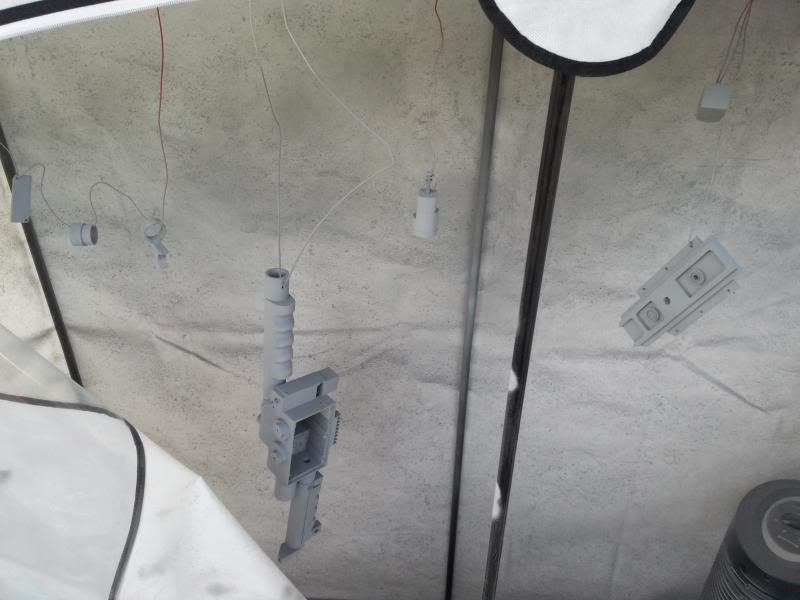
I used rustoleum for all stages of the painting process ( filler primer, aluminum base coast , and satin canyon black painters touch)
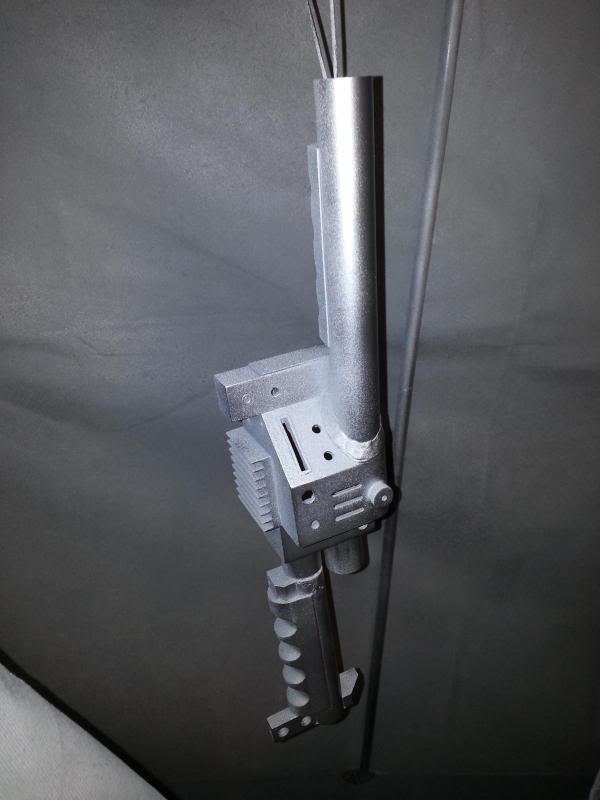
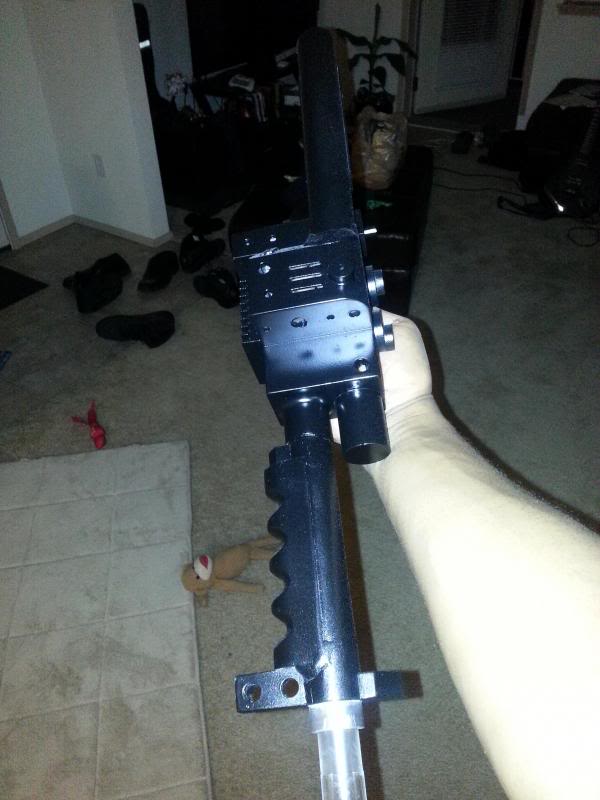
GBFans aluminum Gun knobs ( I went with resin with my first build , couldn’t believe how much better they look , sticking with aluminum parts from now on). Also, when I discovered the GBFans shop had blue hat lights I decided to use them to make my gun at least a little unique. But please heed the warning the shop gives you , these lights are dark and the leds from my kit barely shine through.
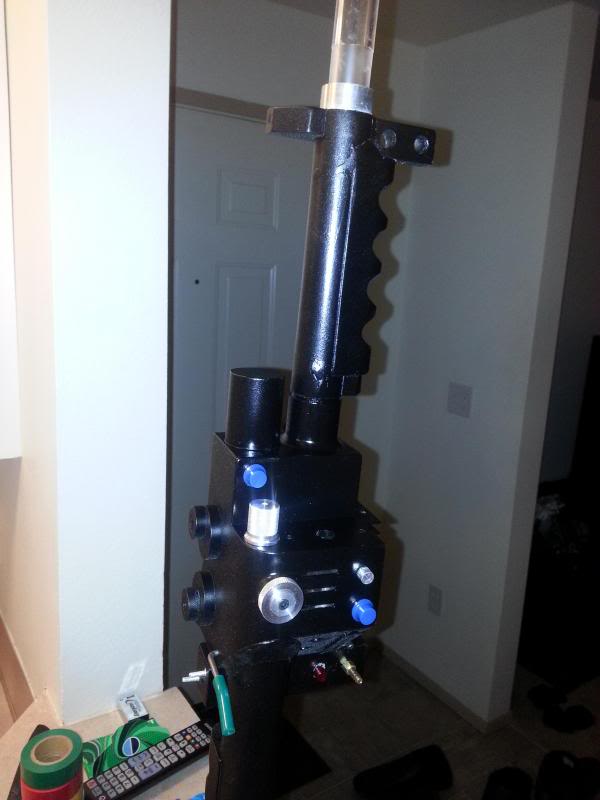
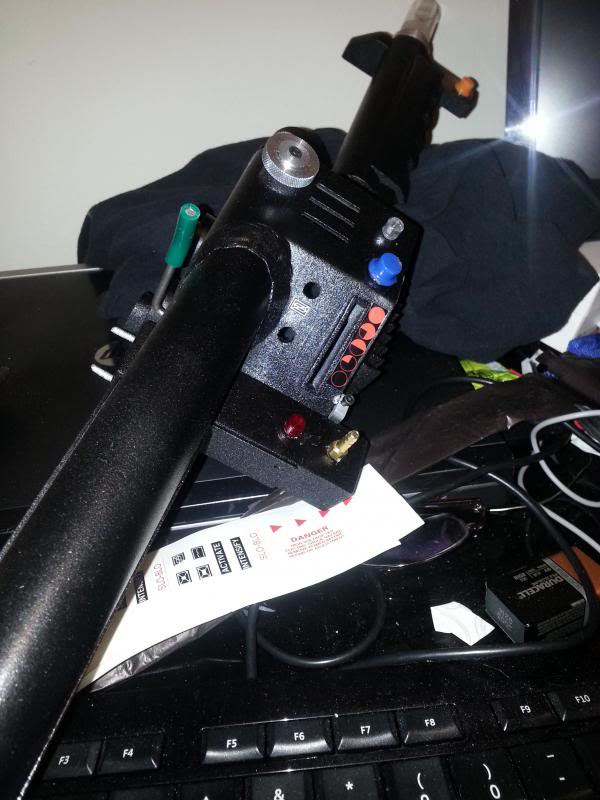
A member here gave me the idea of using screws and nuts to attach the trigger box , a couple of machine screws and a mini bolt cutter is all you need. On my first build I thought pegs and epoxy would be enough, until I started letting other people handle my pack. I don’t know why some people feel the need to stress test a prop replica, but they do and it’s best to be prepared for it.
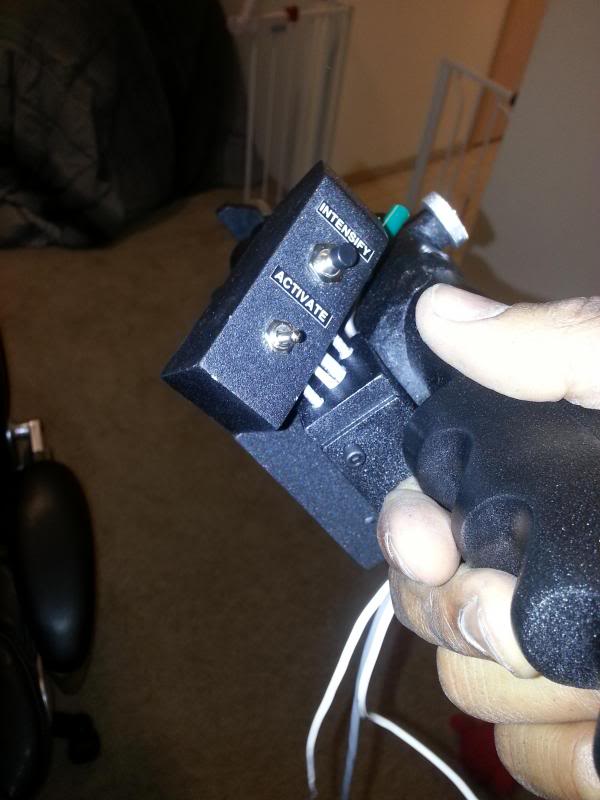
For those that are wondering I’m using Crix’s sound and light kit in this build ( excellent work by the way my good sir)
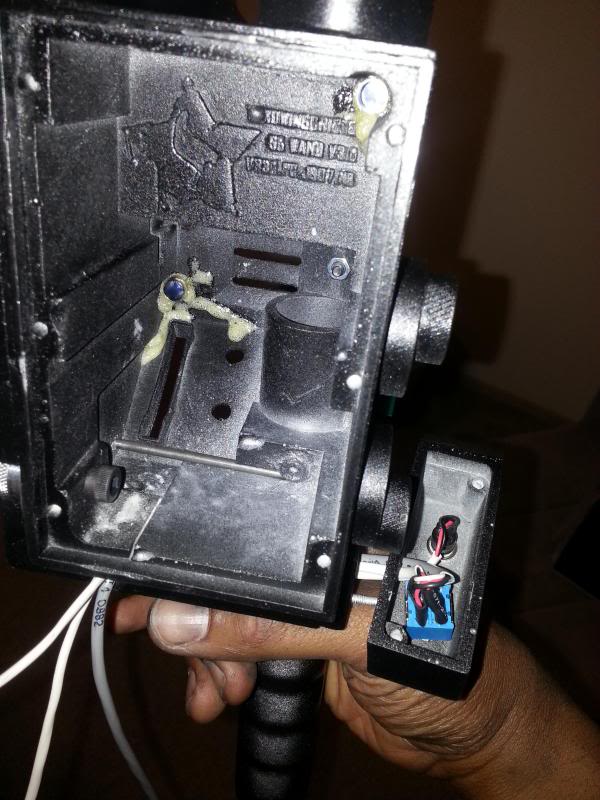
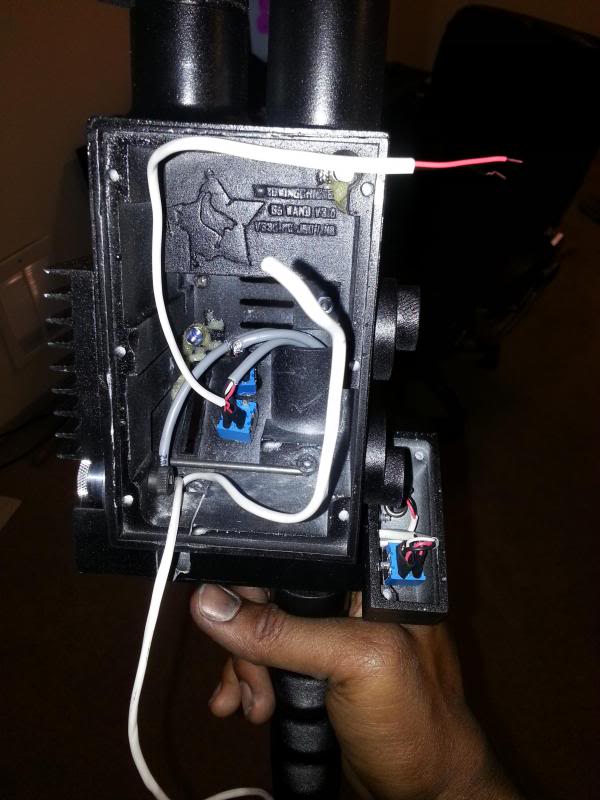
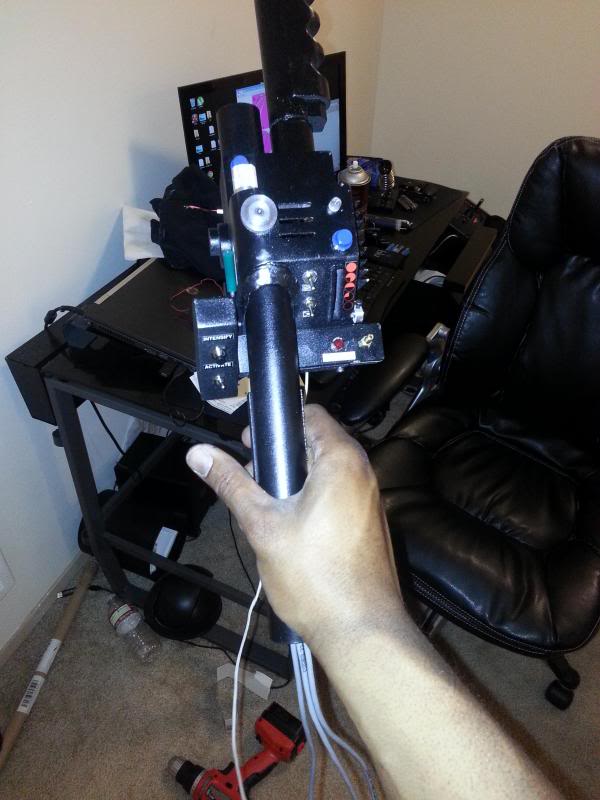
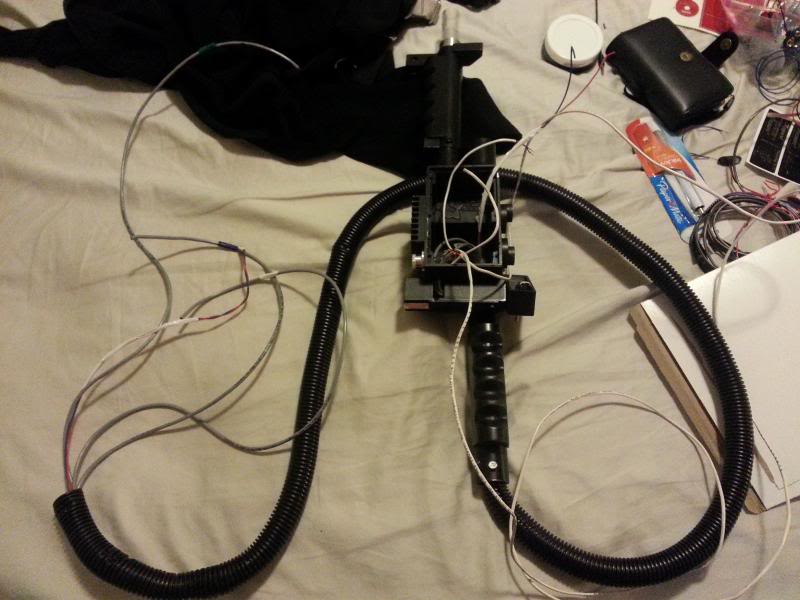
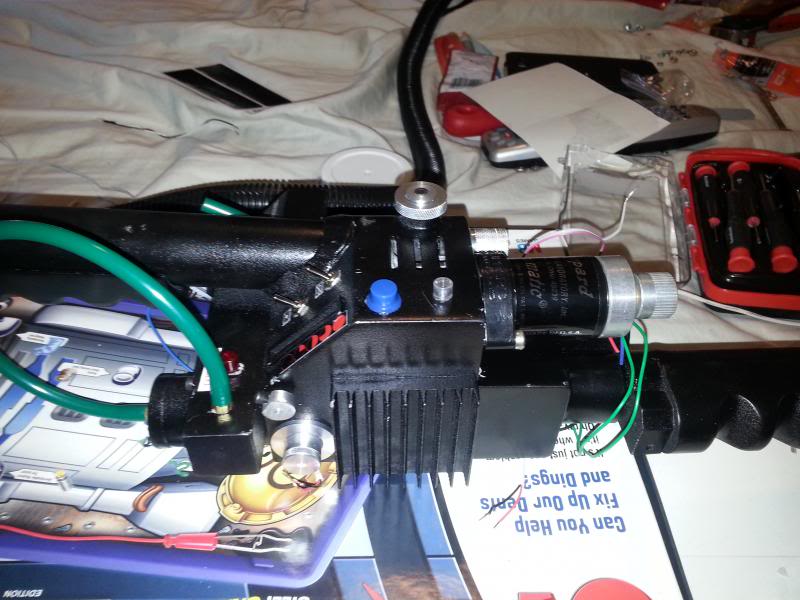
I thought I’d try my hand at fake welds , which didn’t end well at all. But the lights and the sound will distract most people from the shotty craftsman ship. Still waiting on an aluminum trigger tip so I can pop on the banjos with the red tubing.
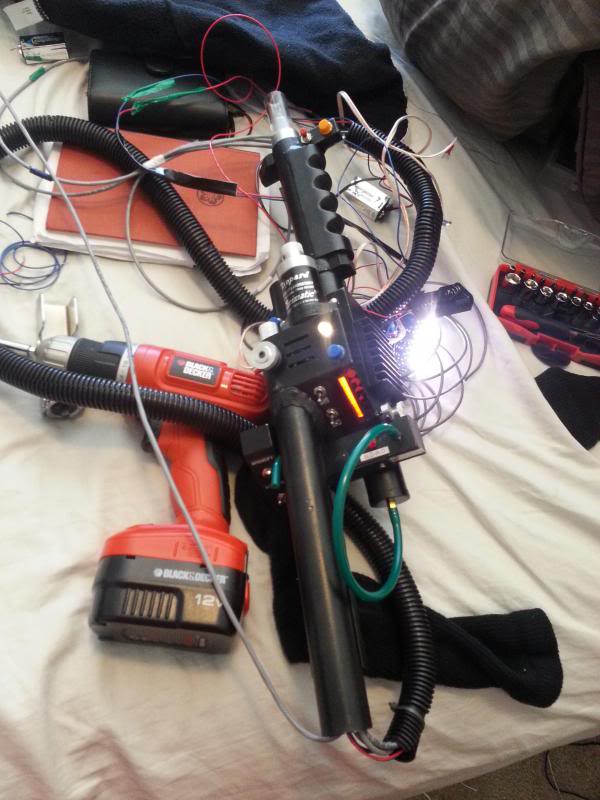
Also wanted to thank Crix for throwing the extreme ghostbusters theme on my sound kit.
Thanks for stopping by to read this , hopefully it gave you some ideas or at least added to your list of do’s and don’ts.
-Tenchi