Nick-a-tron builds an ecto-1A kit. *FINISHED!!!*

Hello! Ive always wanted to build a 1A for myself and since seeing the brass etched parts from PGMS i couldnt help myself find an old AMT kit and splash out on all the extras :slight_smile:

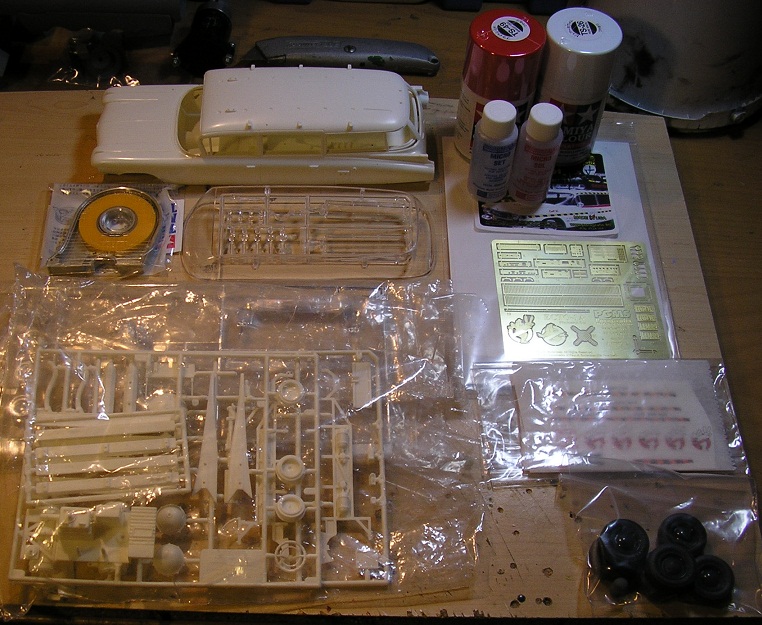
Here is my list of supplies ive collected so far:-

AMT Ecto-1A kit. Cheap from ebay as it has missing tyres.

PGMS brass etched detail parts

Slaysghost’s awesome decal set

Micro set and sol for the decals

Tamiya masking tape

Tamiya spray paints

Cast tyres and hubcaps made by myself from my girlfriends kit.

Heres a photo of everything layed out ready to begin.

I plan on making this a super detailed and accurate model, using all my techniques ive learnt over the years, and hopefully learn a few new ones :slight_smile:

You going to backlight the LED boards (using the photo-etch set)?

Can’t wait to see your latest effort with the 1A, Round One looked great. :slight_smile:

Awww man, it’s already all screwed up! You’re doing everything wrong! Just send it to me and I’ll dispose of it for you :wink:

Thanks Ben!

Heres my 1st effort…

image

And my 2nd…

image

Hoping I can improve on these :slight_smile:

And thankyou vince you’re too kind :smiley:

where did you get the yellow dome on the top rack? How did you tint the windows and the grill?

Thanks

The dome was taken from a donor polar lights ecto 1 kit. The grills were sprayed silver and given a black wash and the tint was just a light spray of black from the inside.

What are your plans regarding the headlights on this one Nick? You going to drill them out and get some actual clear ones or paint the chromed parts?

Ill br drilling out the lights and replacing them with clear casts. I may light them too :slight_smile:

Ok, found some time today to make a start on the kit. I thought id begin with the interior as this would mean I could practice with the etched parts and if i messed up they wouldnt show too much on the finished model. Here is the beginings of the rear deck. All brass parts that will be black have been attached and the light grey panels have been sprayed.

image

image

Ok bit of paintwork on the rear deck. Got the computer monitor all finished up too using the brass etched frame and screen cut out from the PGMS kit.

image

image

How’d you manage to paint the buttons on the etch set so clearly? Was it effectively dry brushed on?

Just a tiny brush, a steady head and held breath :slight_smile:

Got in my 2 hours of me time tonight and got the interior finished up minus the dashboard (thats next).

image

image

image

Lookin’ good!

Thanks!

Ok little more done. Got the wheels painted up, the chasis drybrushed and the interior altered a little. Wasn’t too happy with the two-tone seat so painted it all a dark grey.

image

image

Looking good, I was wondering why the seat had the two-tone pattern to their colour.

Have you added some sort of flock to the carpet areas? They look rougher in texture compared to the boards under the gurney.

Thanks Ben! No no flock added, just the texture that’s moulded into the kit.

How did you paint that cool effect on the bottom of the car?

Its a technique called drybrushing. Here is a video on how to do it …

Ok work has begun on the body. I began by washing it in warm soapy water and then buffed it with metal cleaning paste so make it super smooth. After another wash I glued on the fins and filled in the join where they meet the body. I then primed the body and buffed it again with the metal polishing paste. Here it is ready for the first coat of white.

image