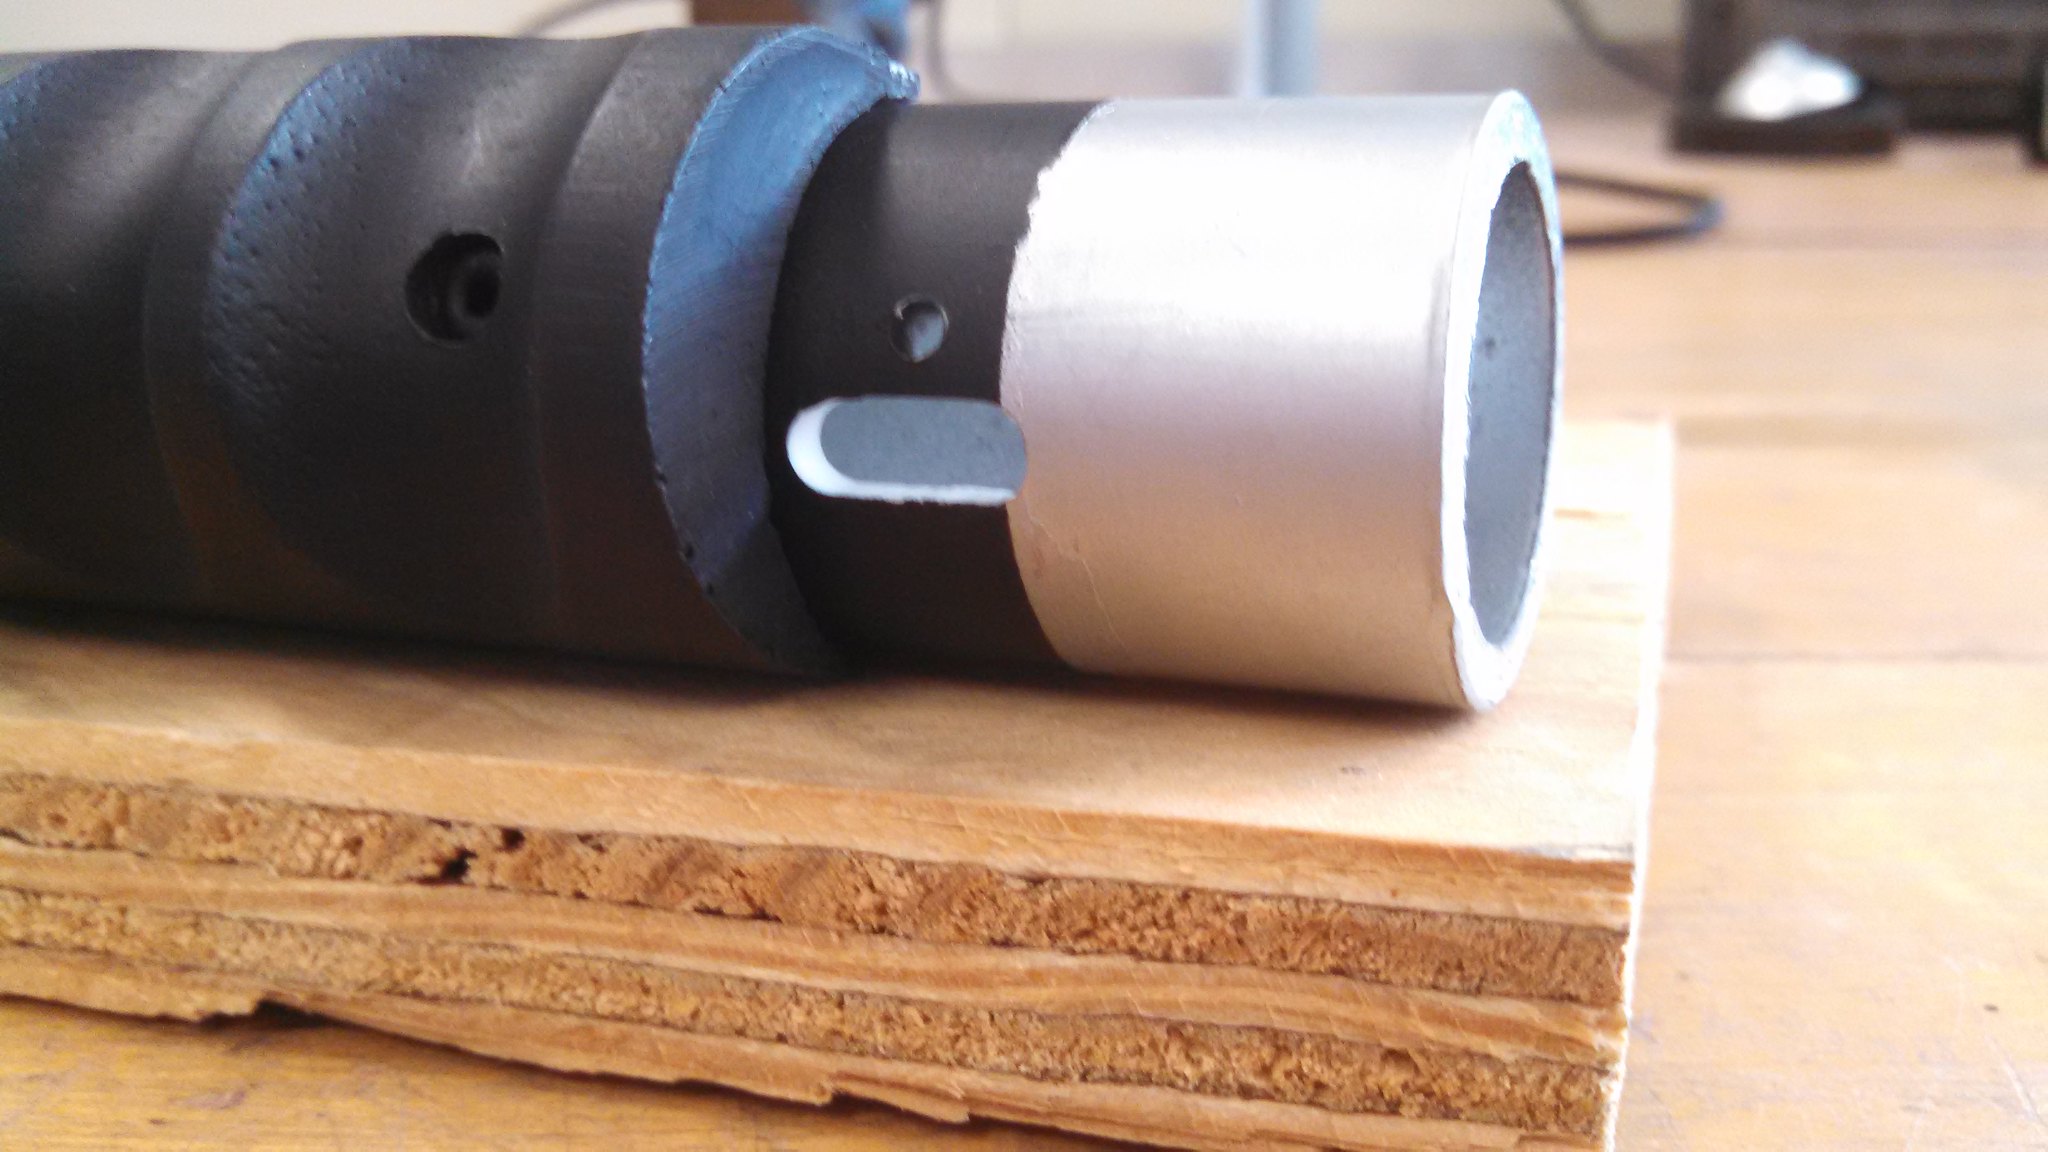
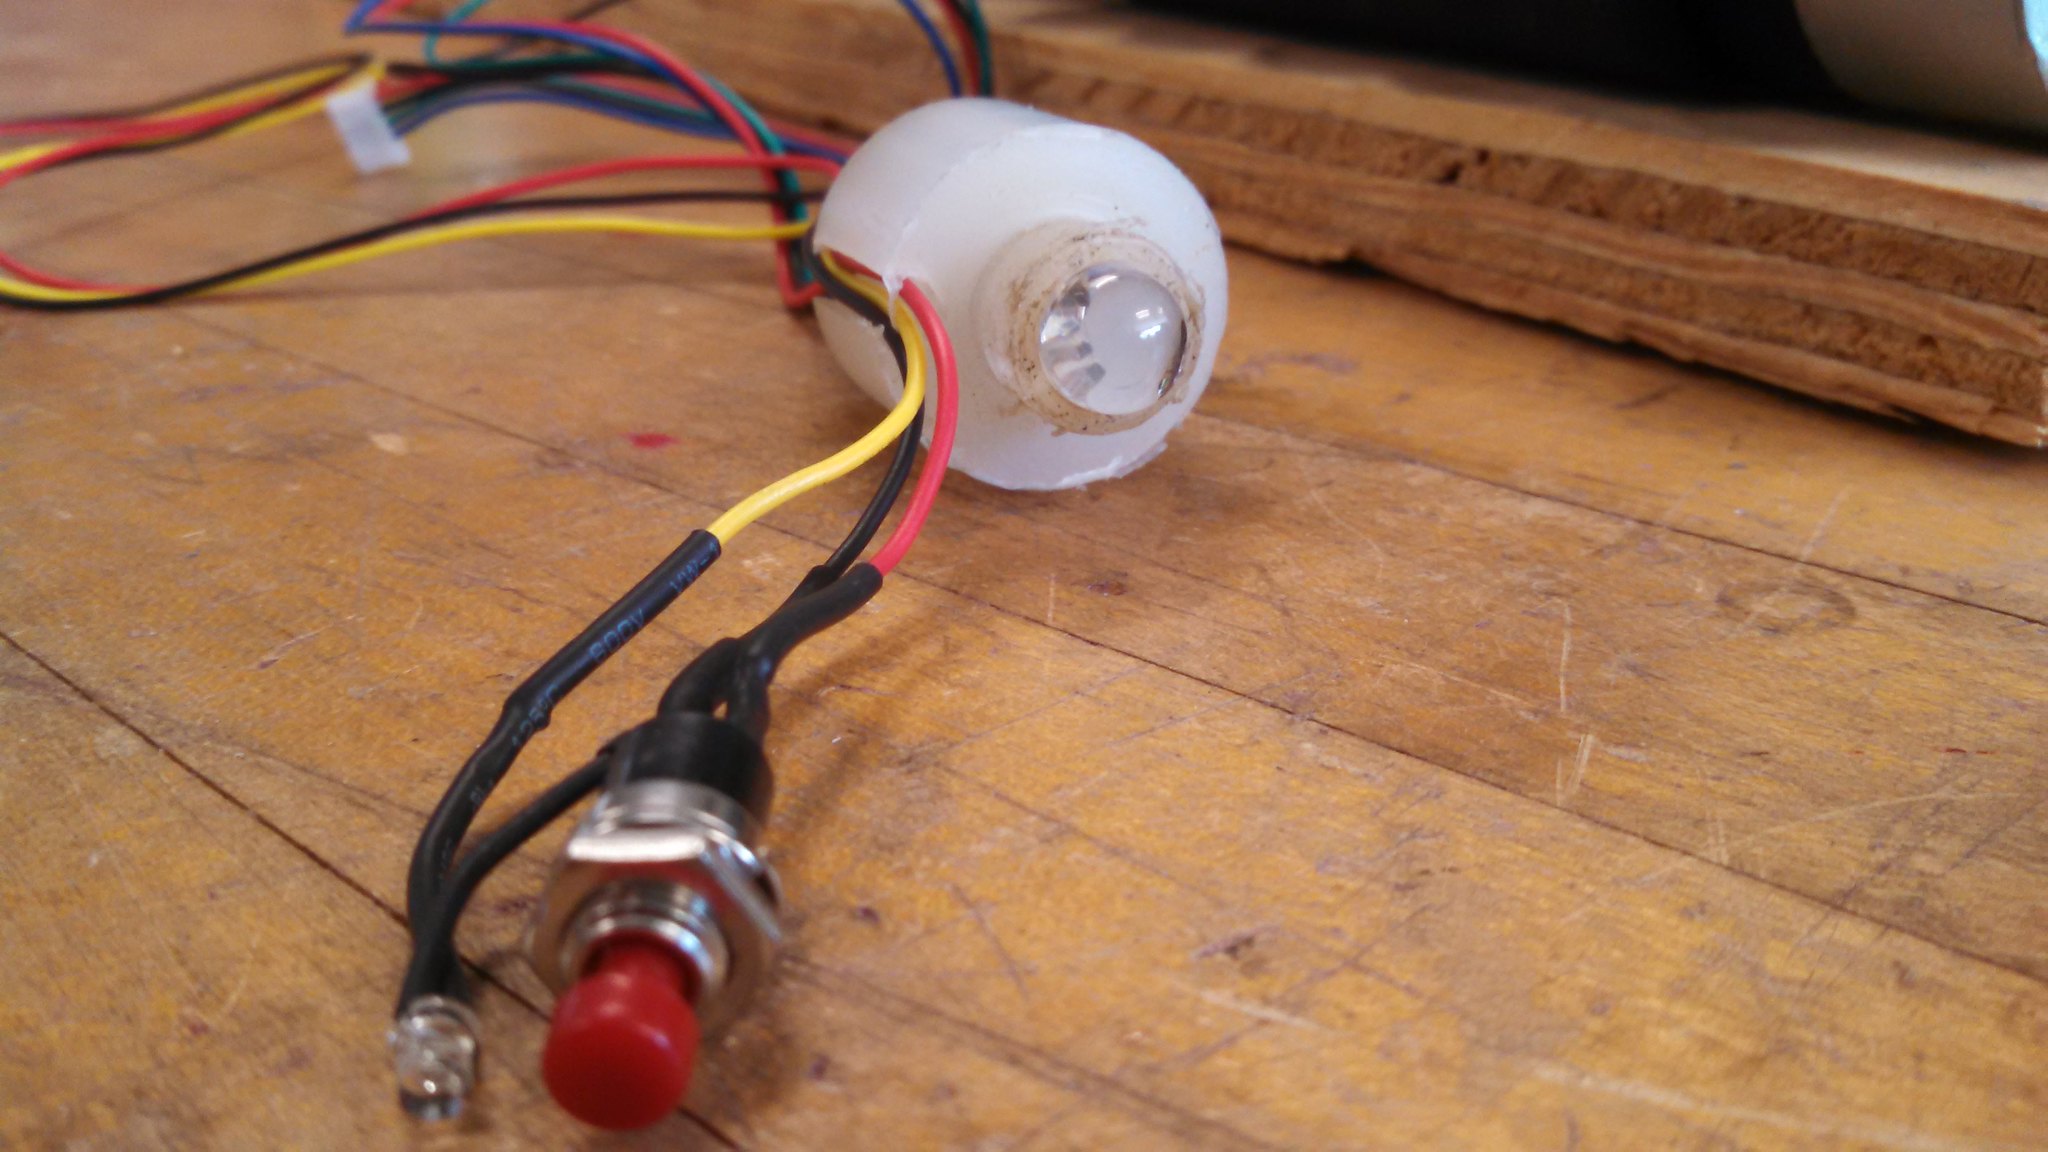
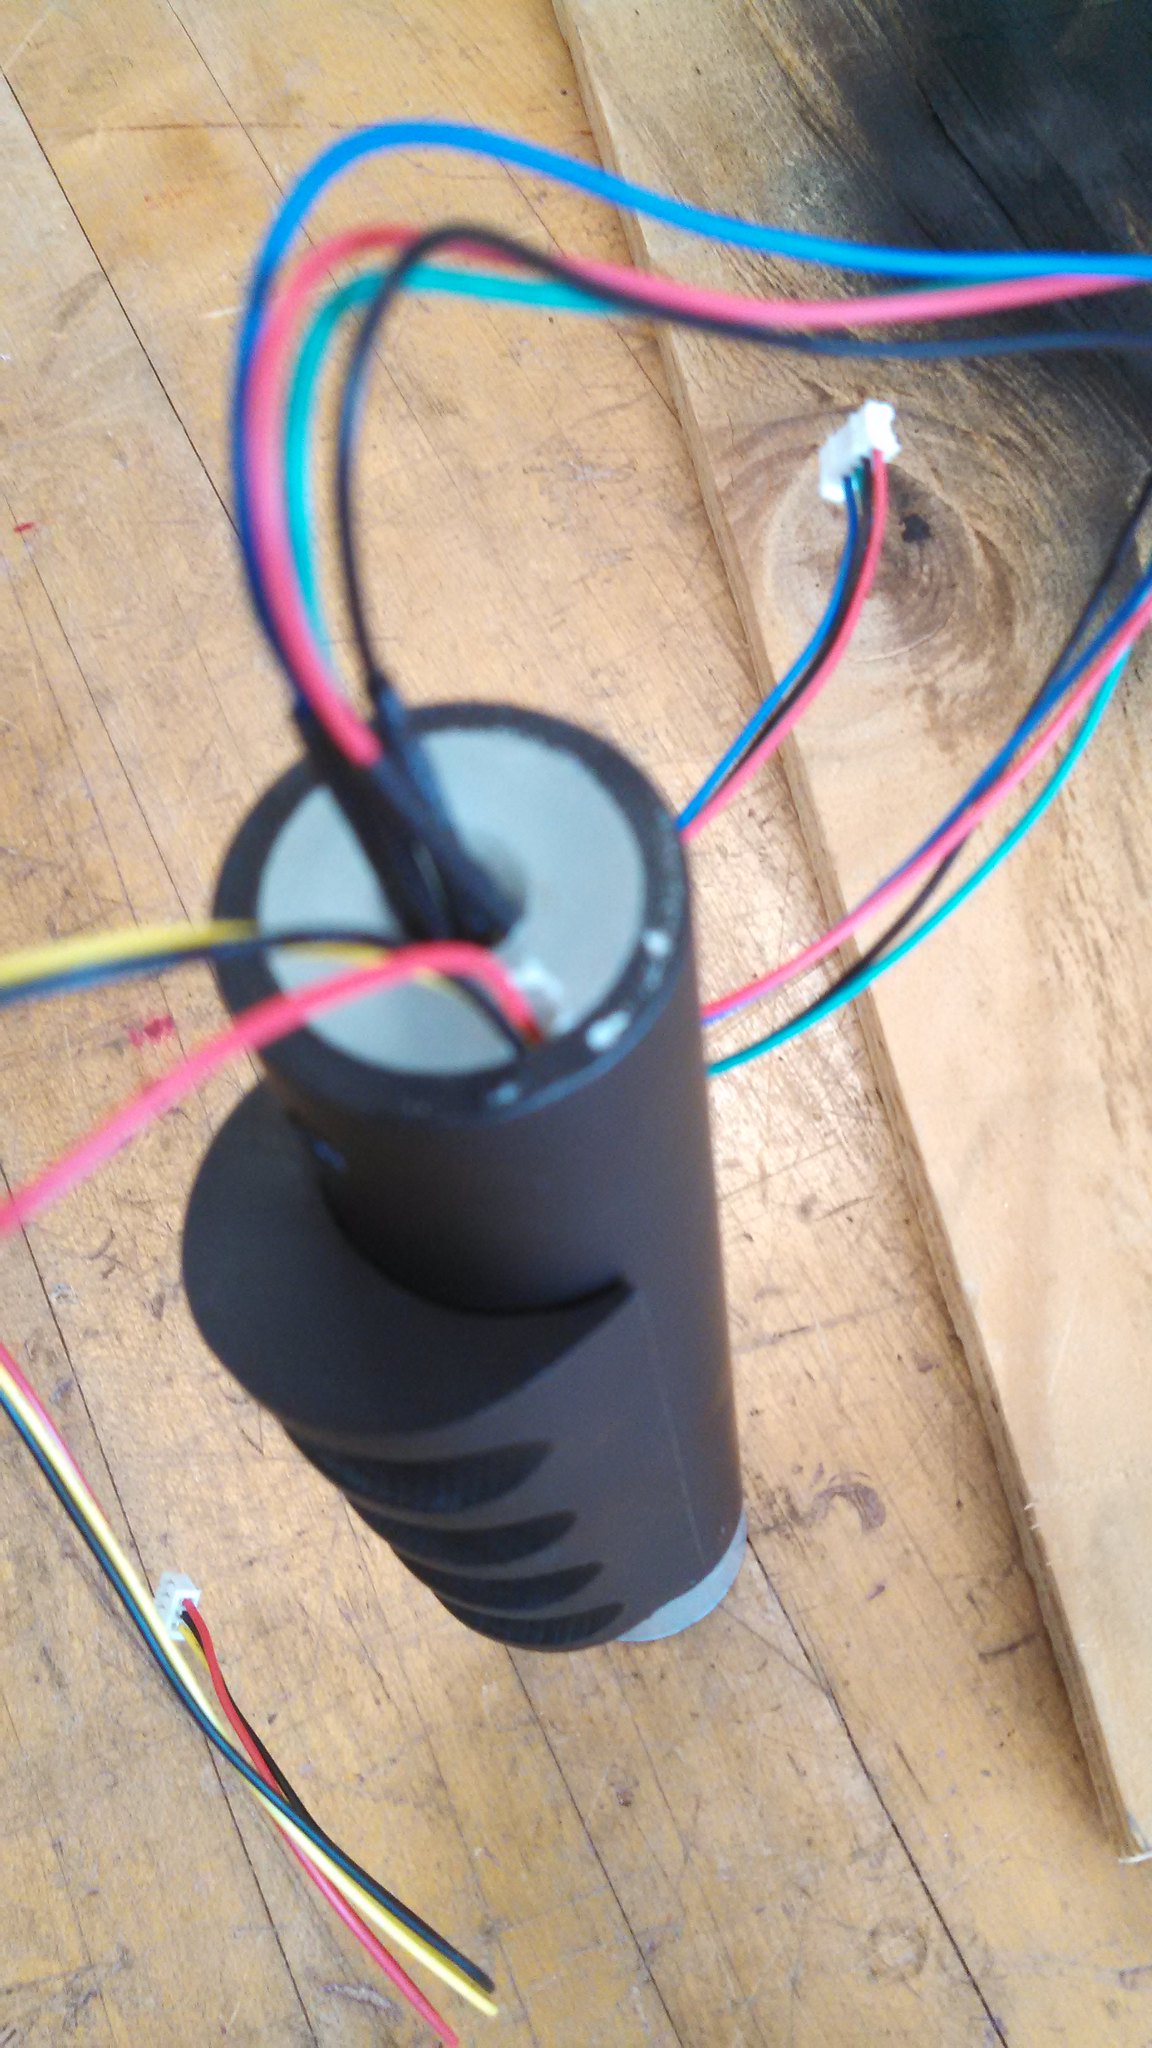
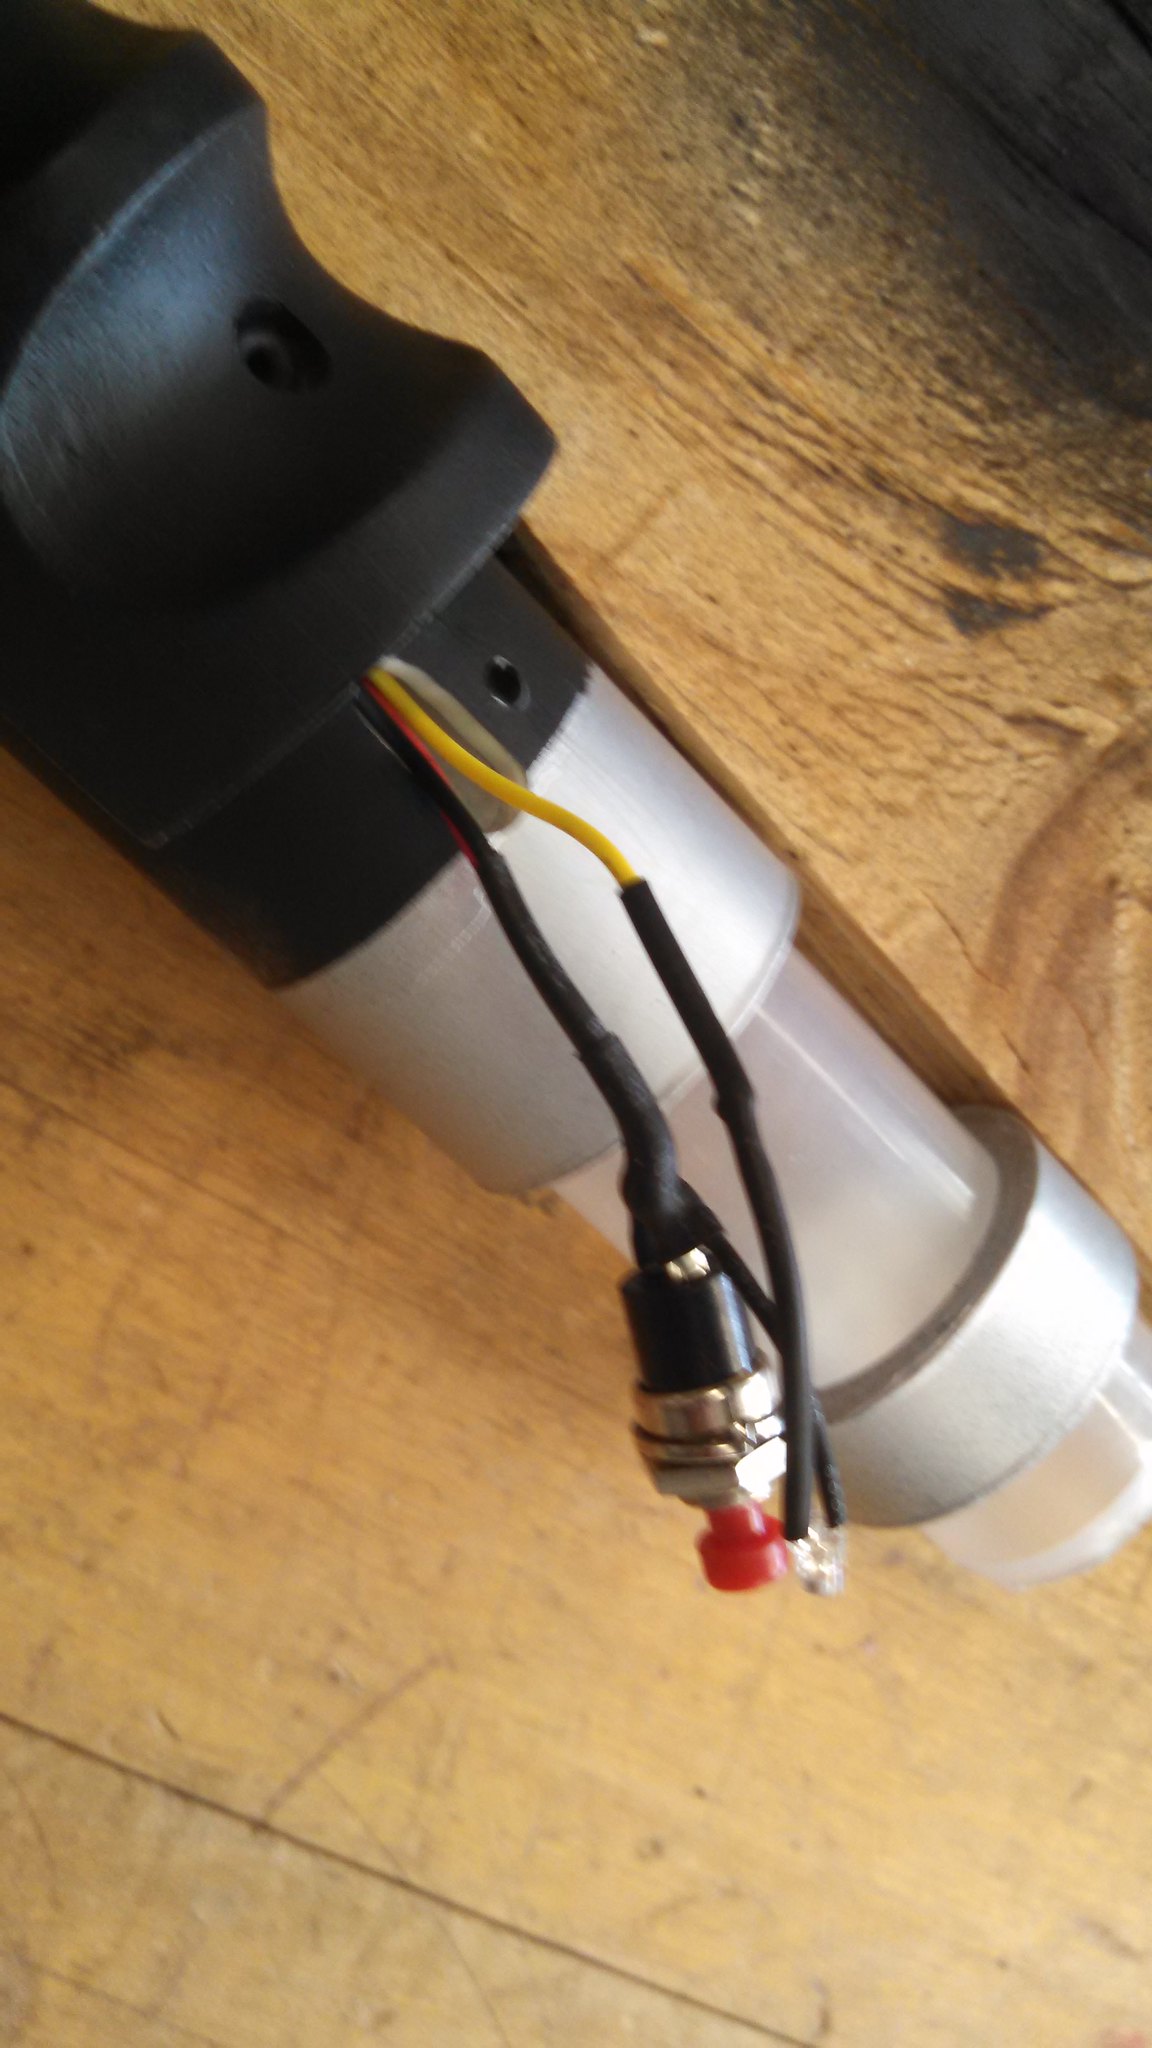
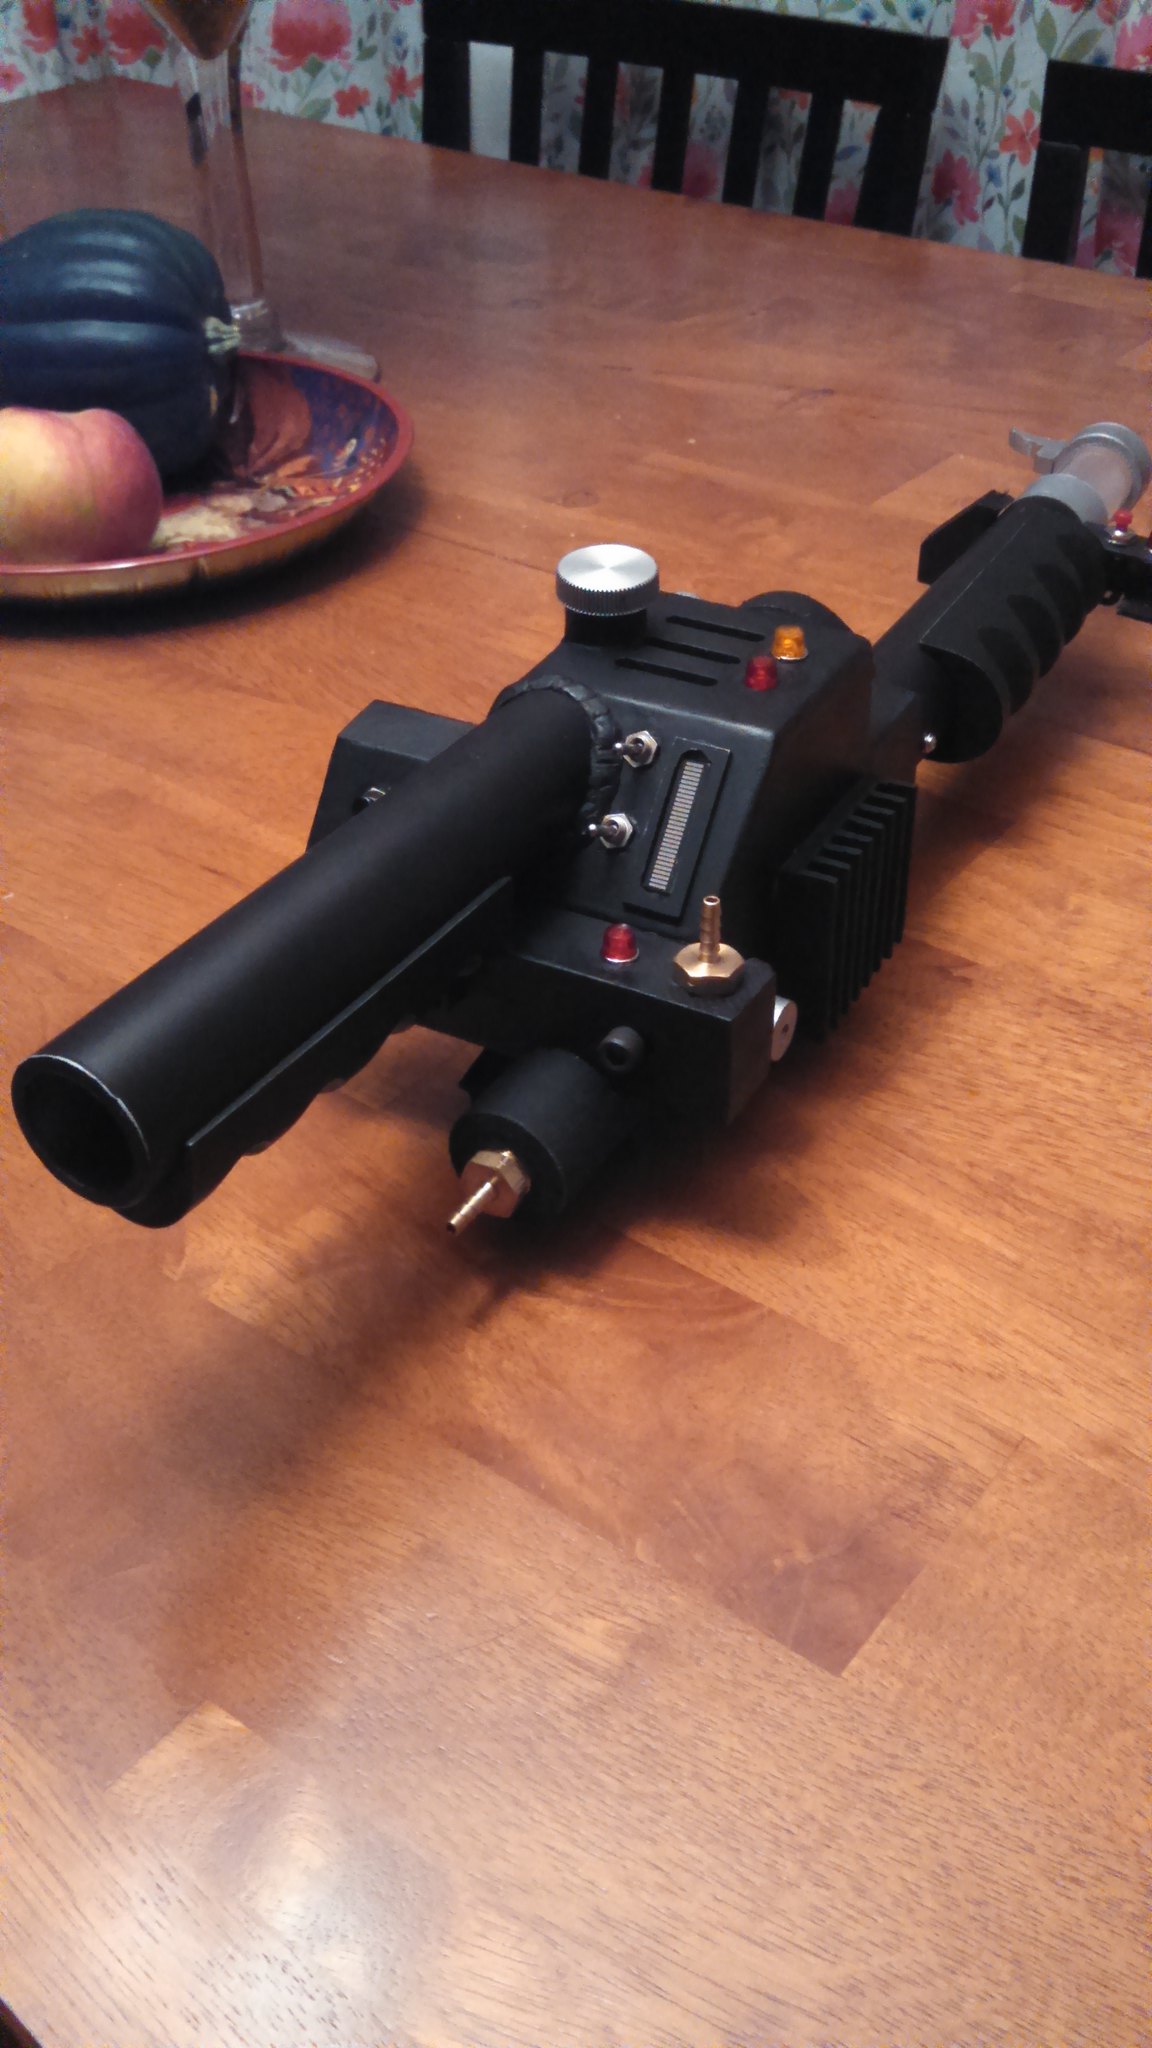
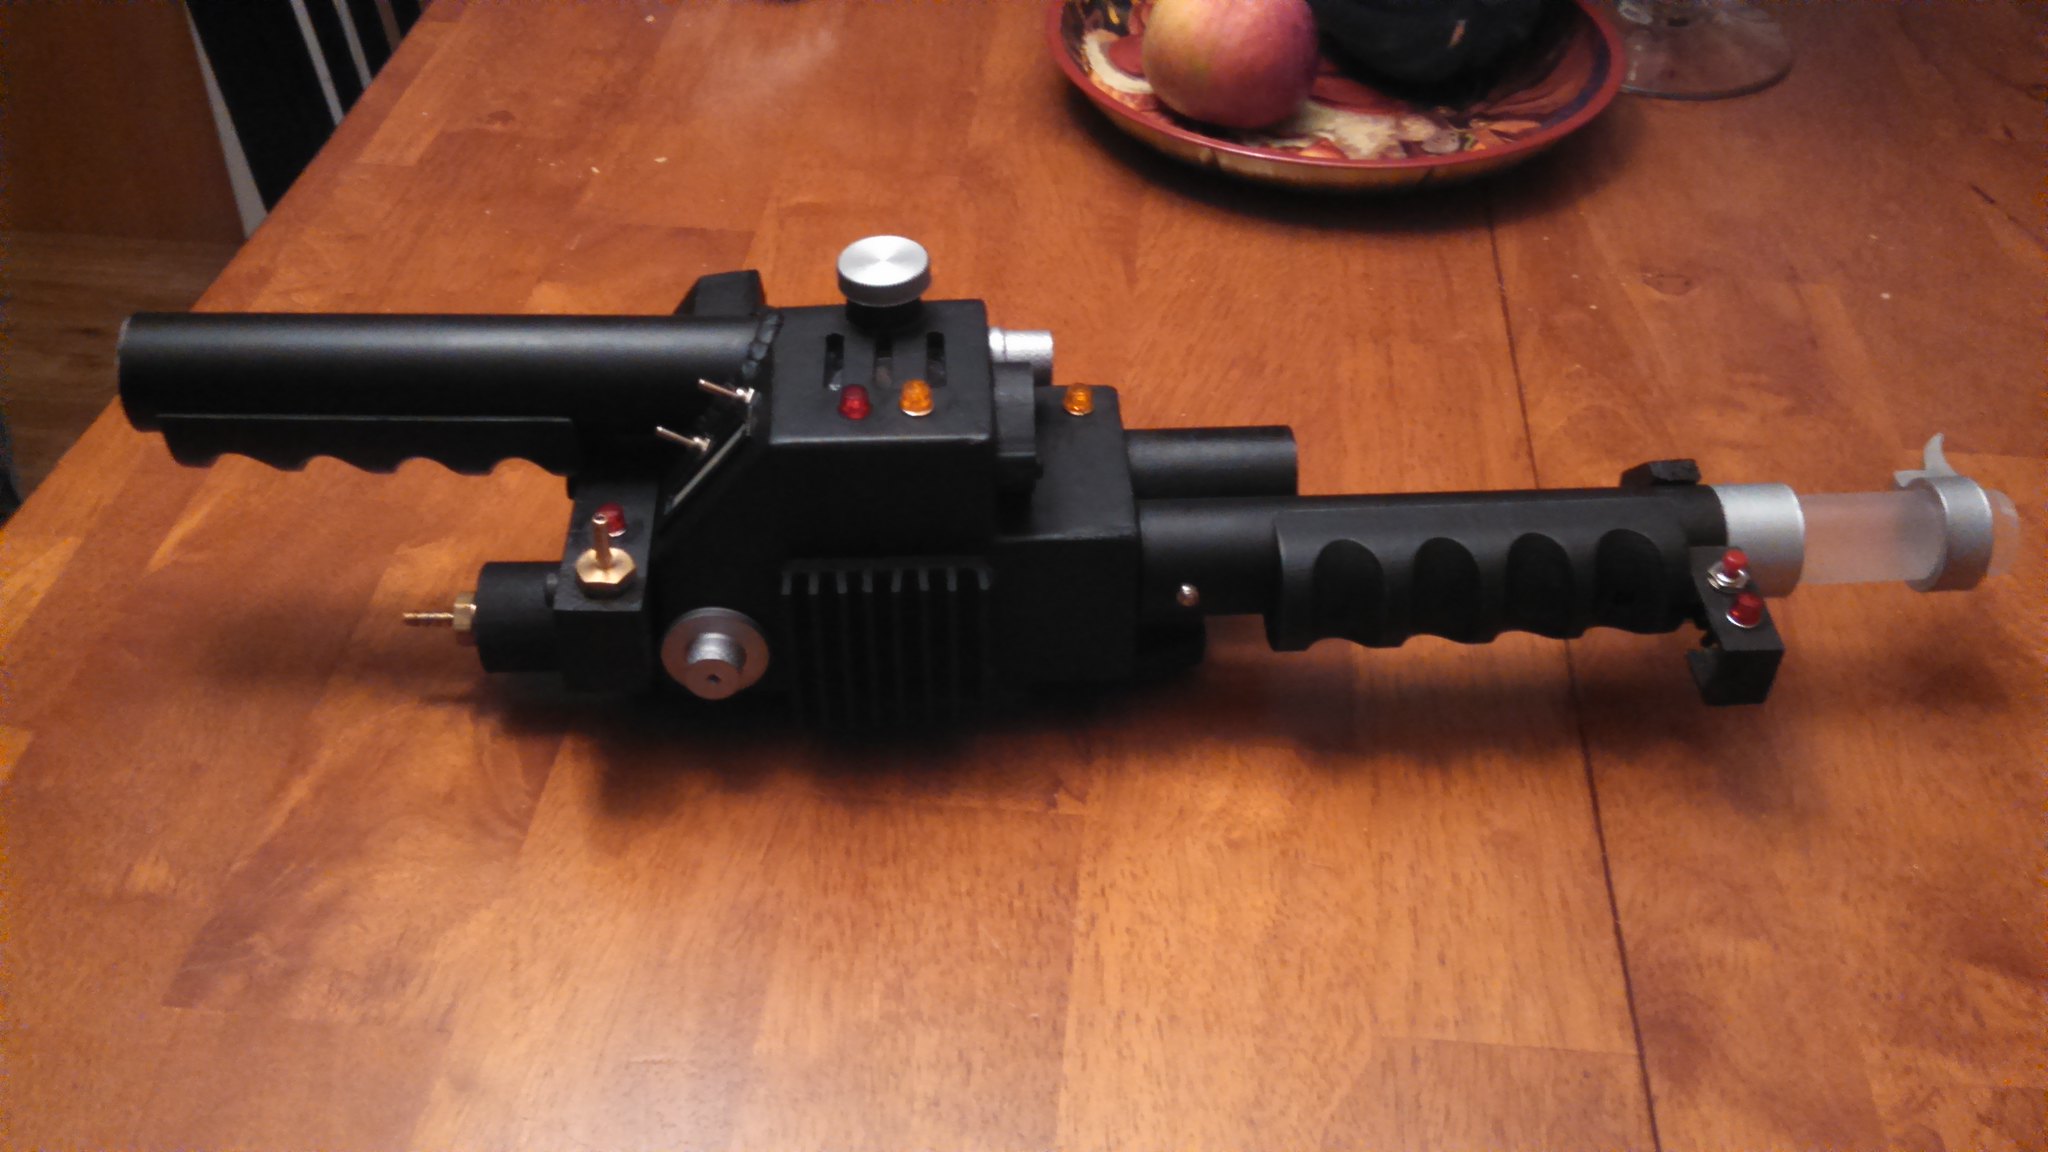
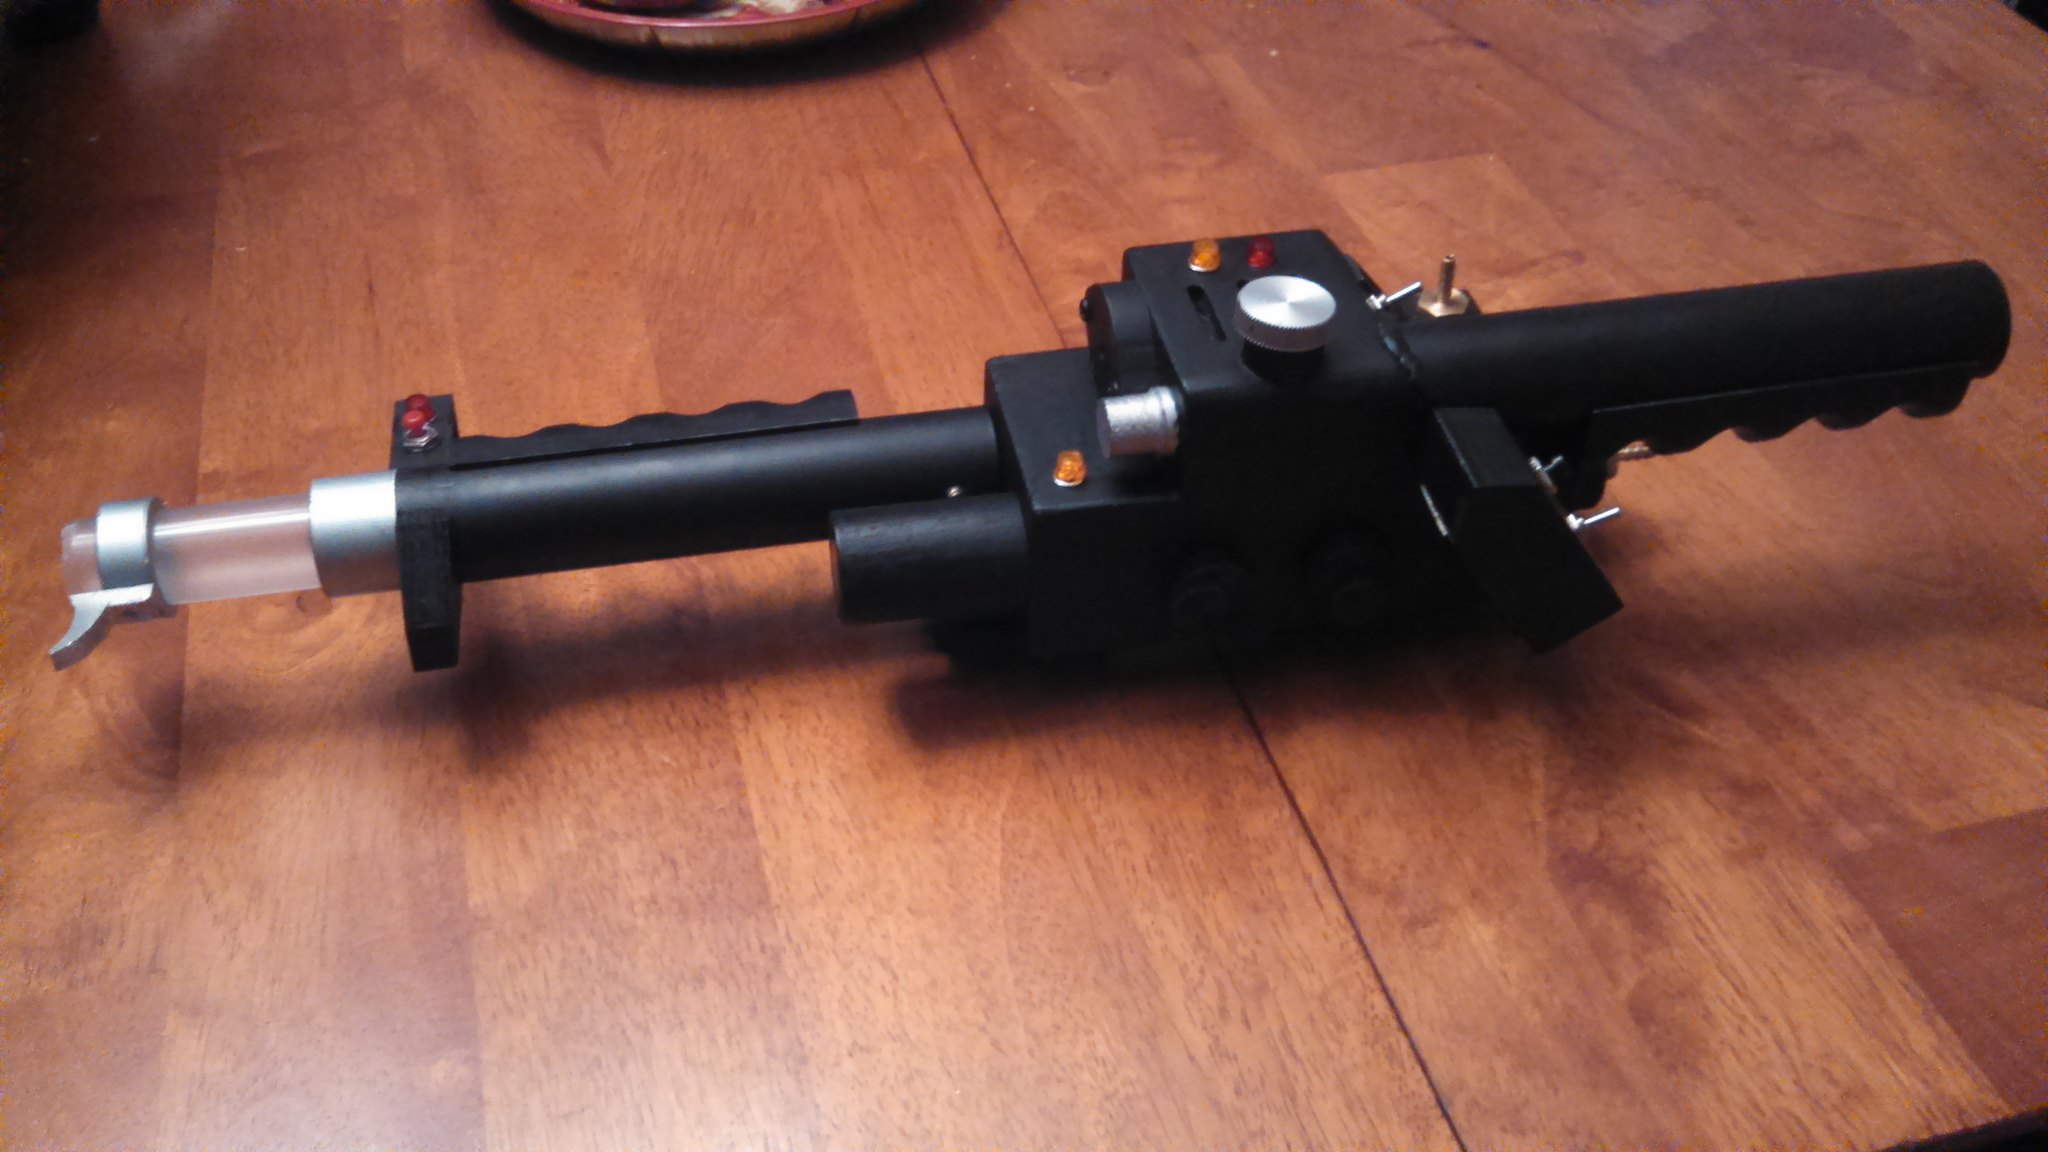
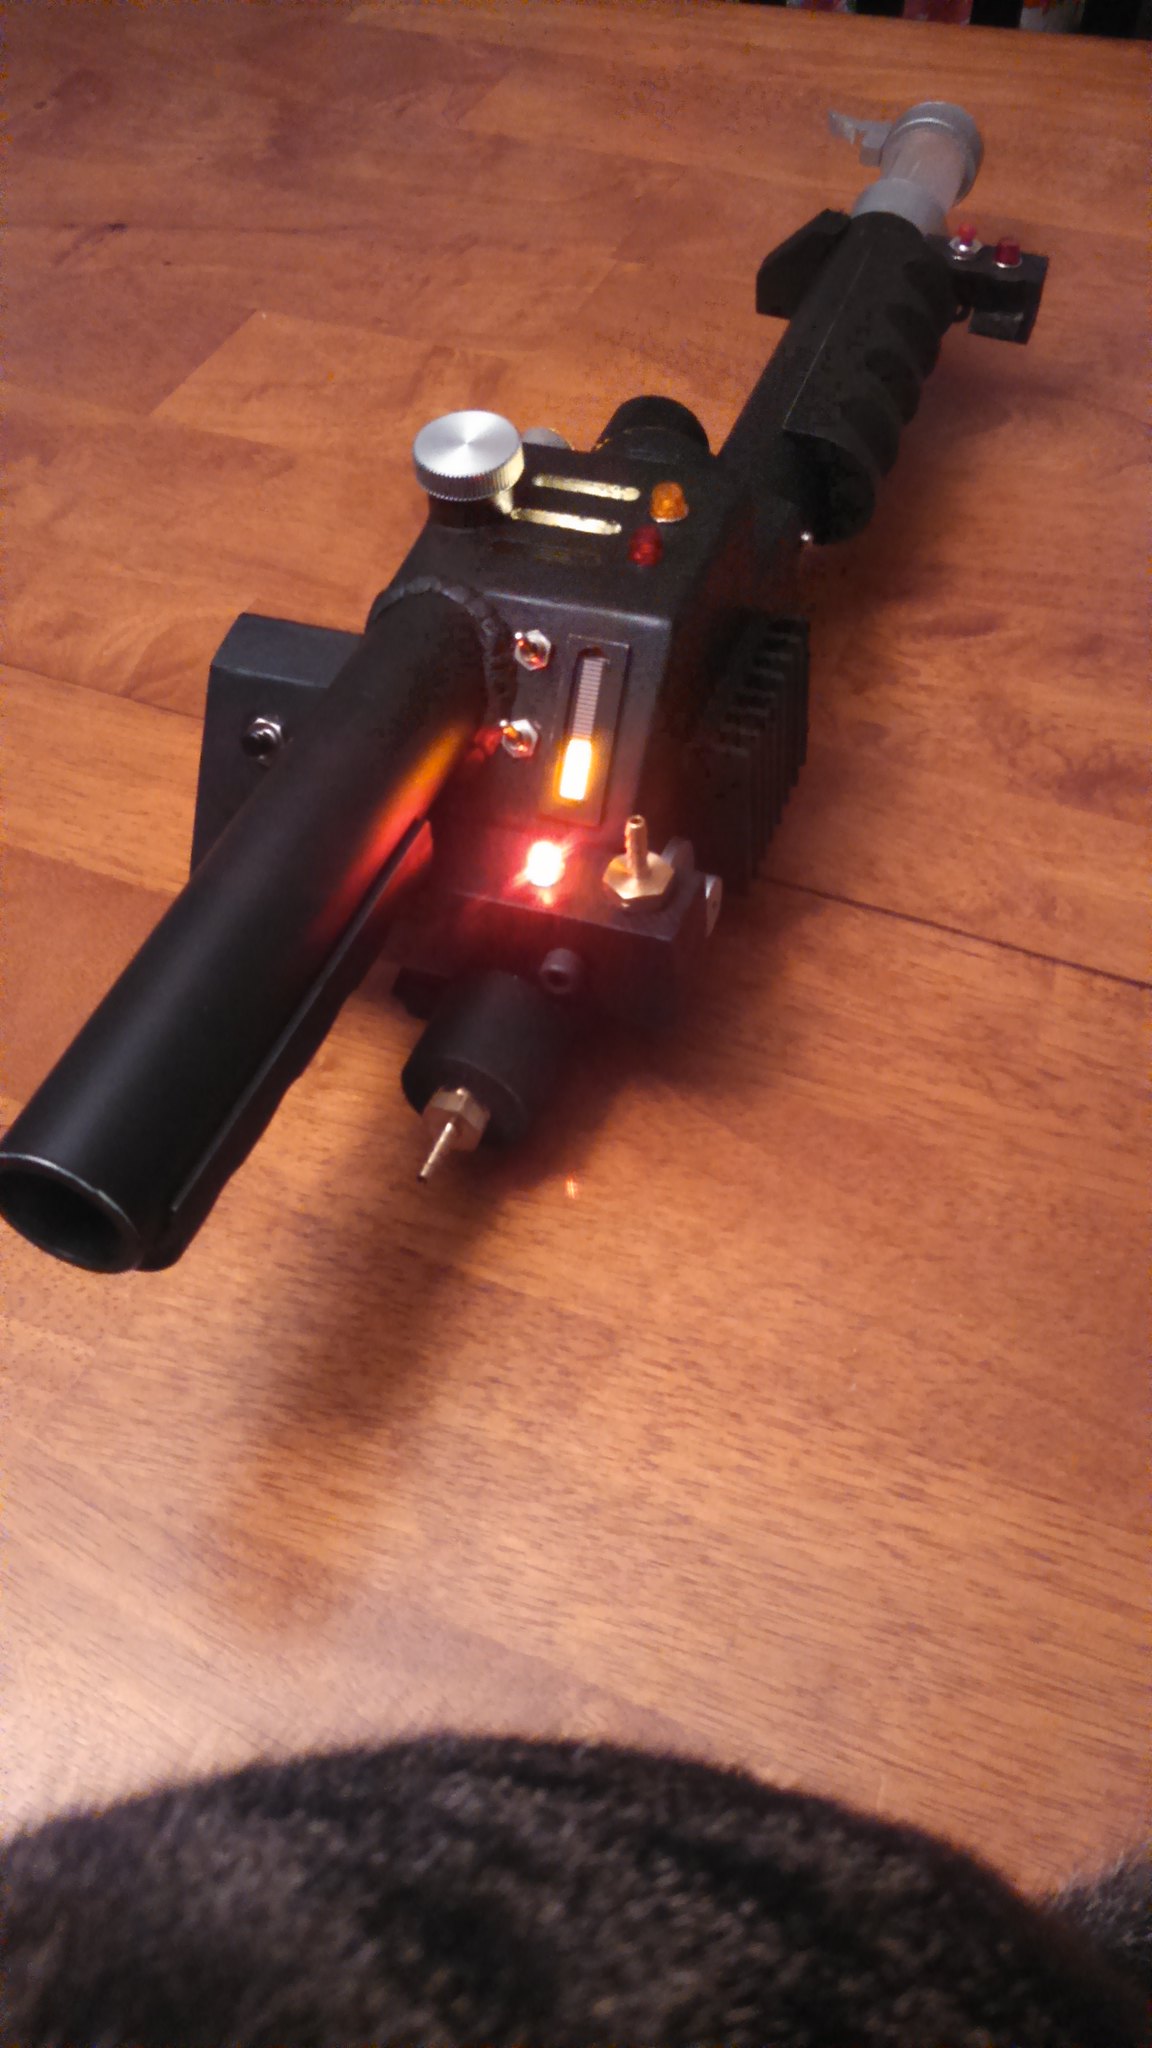
Here is my Wand so far. I think its looking pretty good thus far. Its easy to assemble and disassemble and its quite durable as I dropped it already and it took it like a champ. It will be sanded and painted..sanded and painted..rinse repeat, this weekend and I’ll run some wiring to all the switches and lights just to prep for later electronics. Most of the parts will be painted there respective colors, I just assembled everything for fitting purposes so I don’t have to redrill a bigger hole or such when its fully painted.
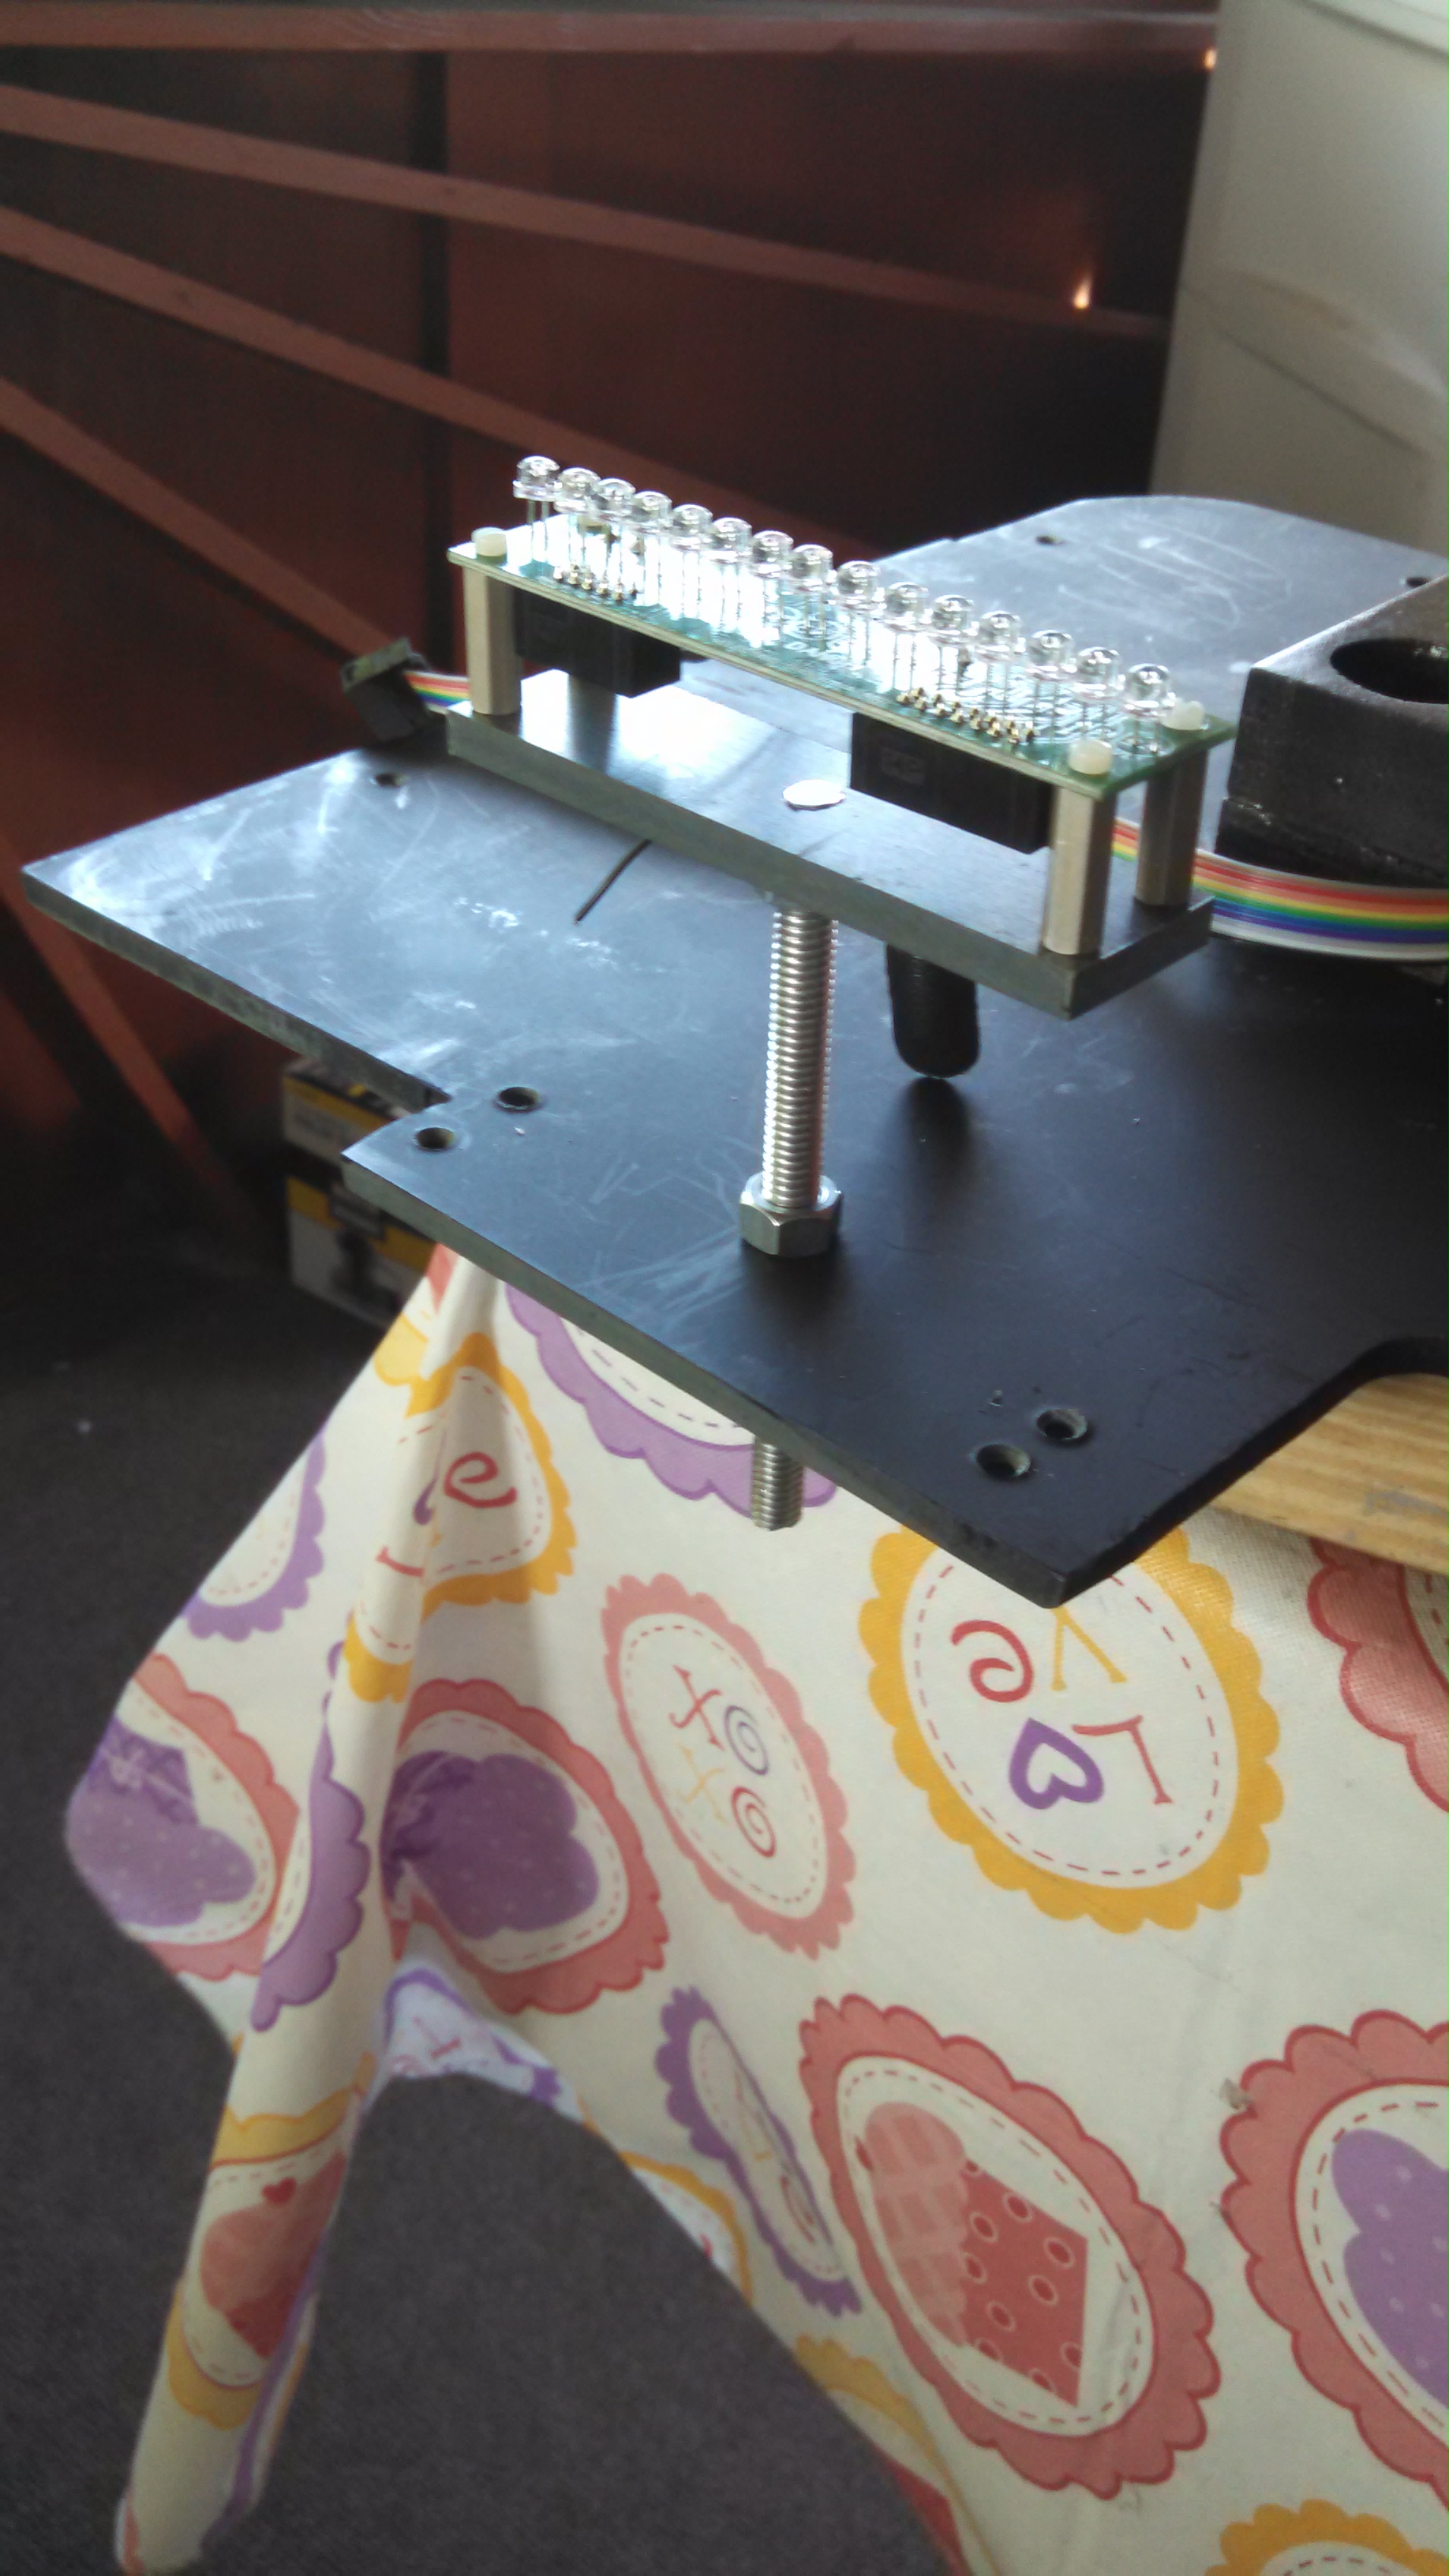
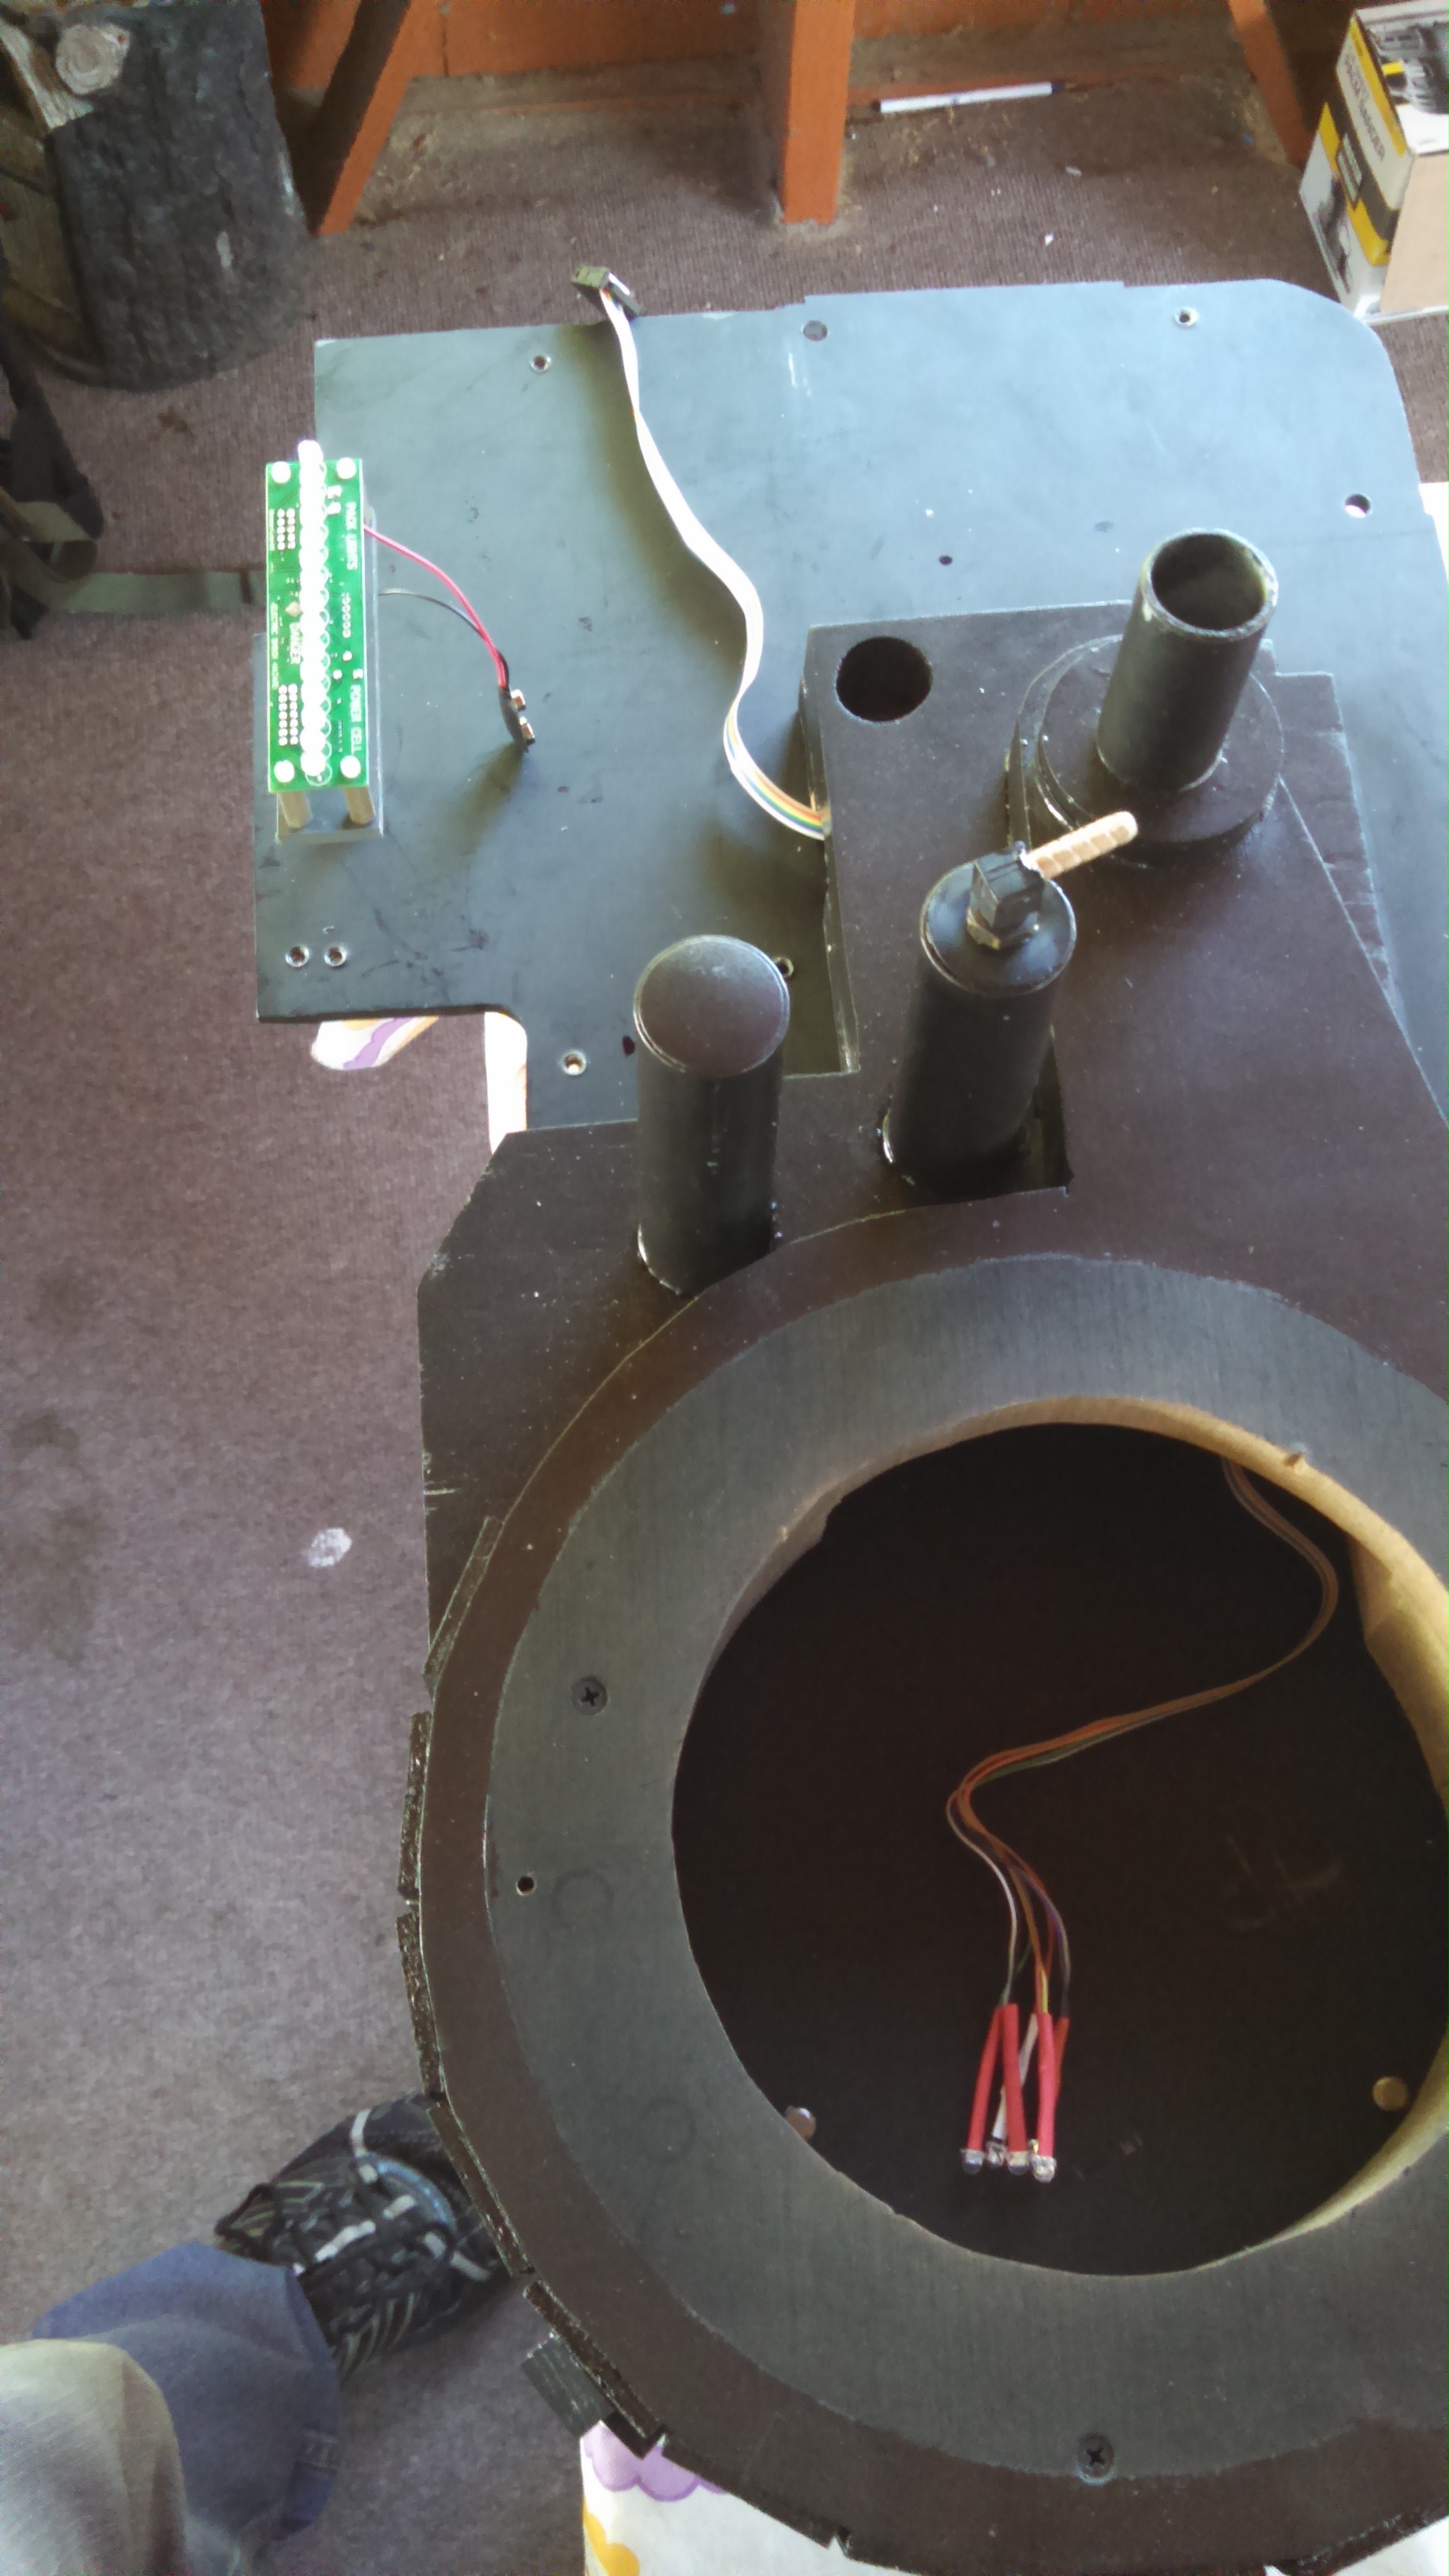
I installed the pack GB Fans light kit. I don’t have the time to make my own so this is the only expense I’ve had to make for this pack minus glues paint so far and a sheet of 1/4" plywood.
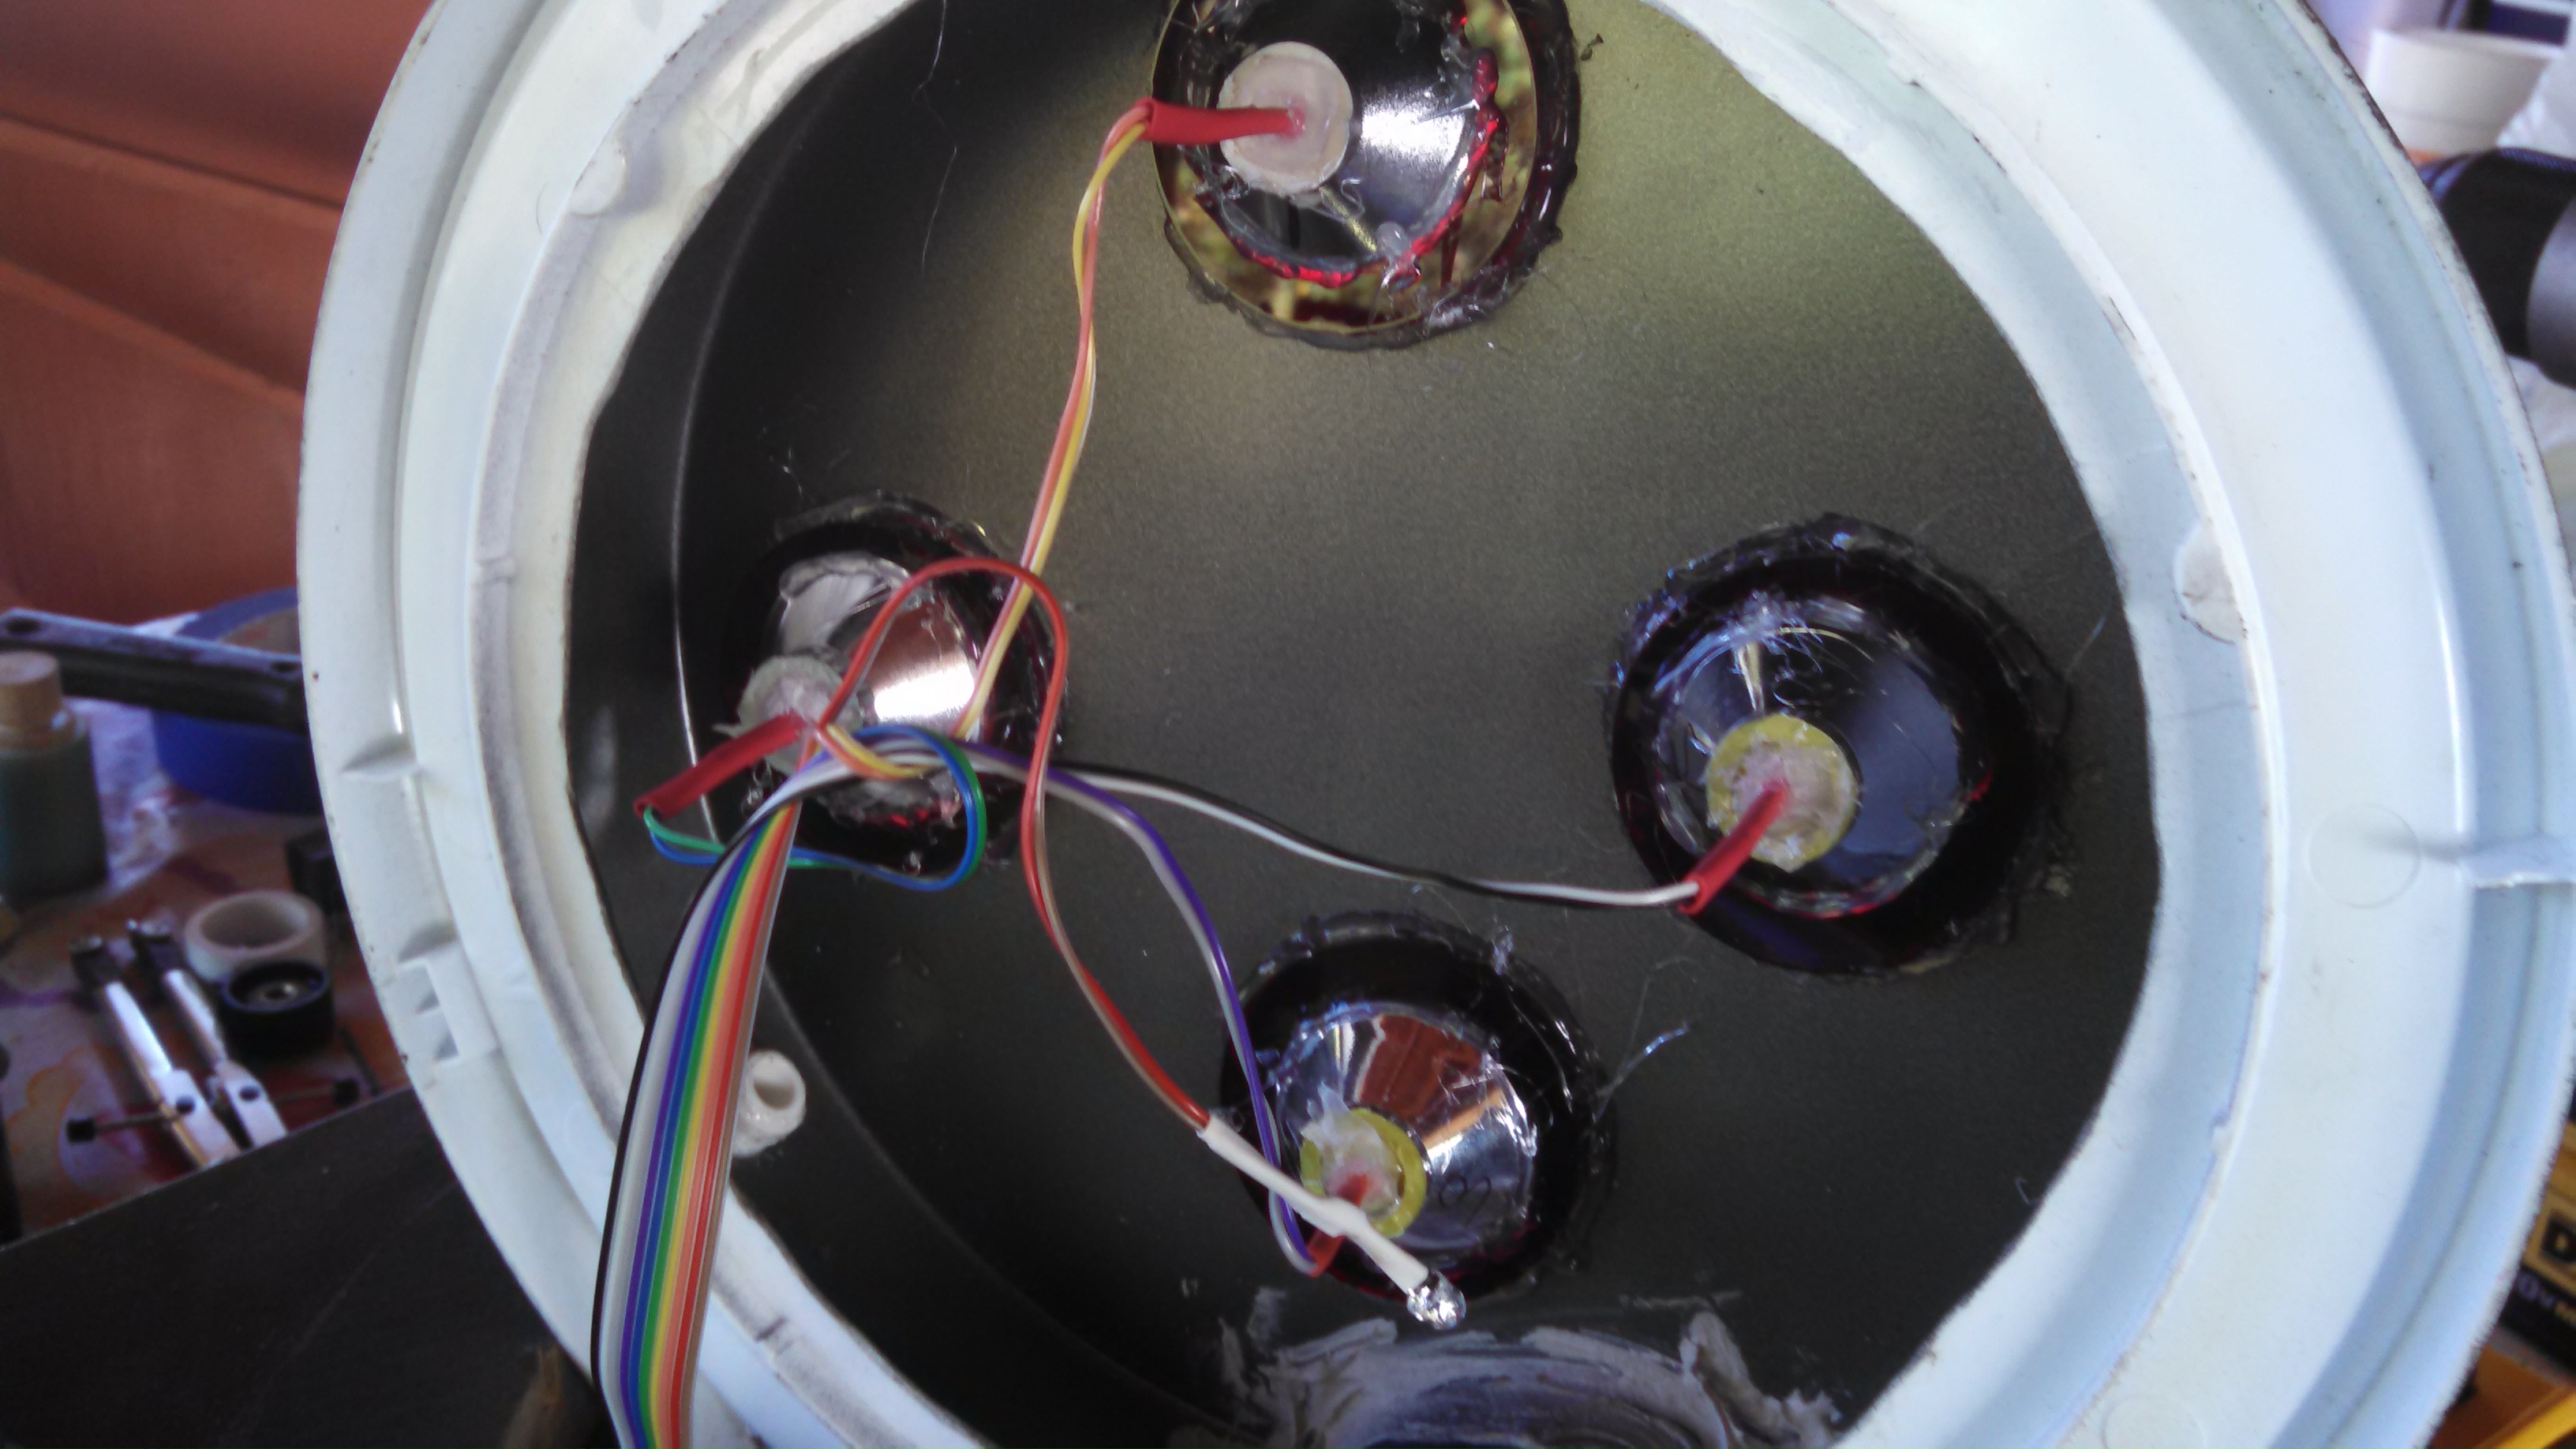
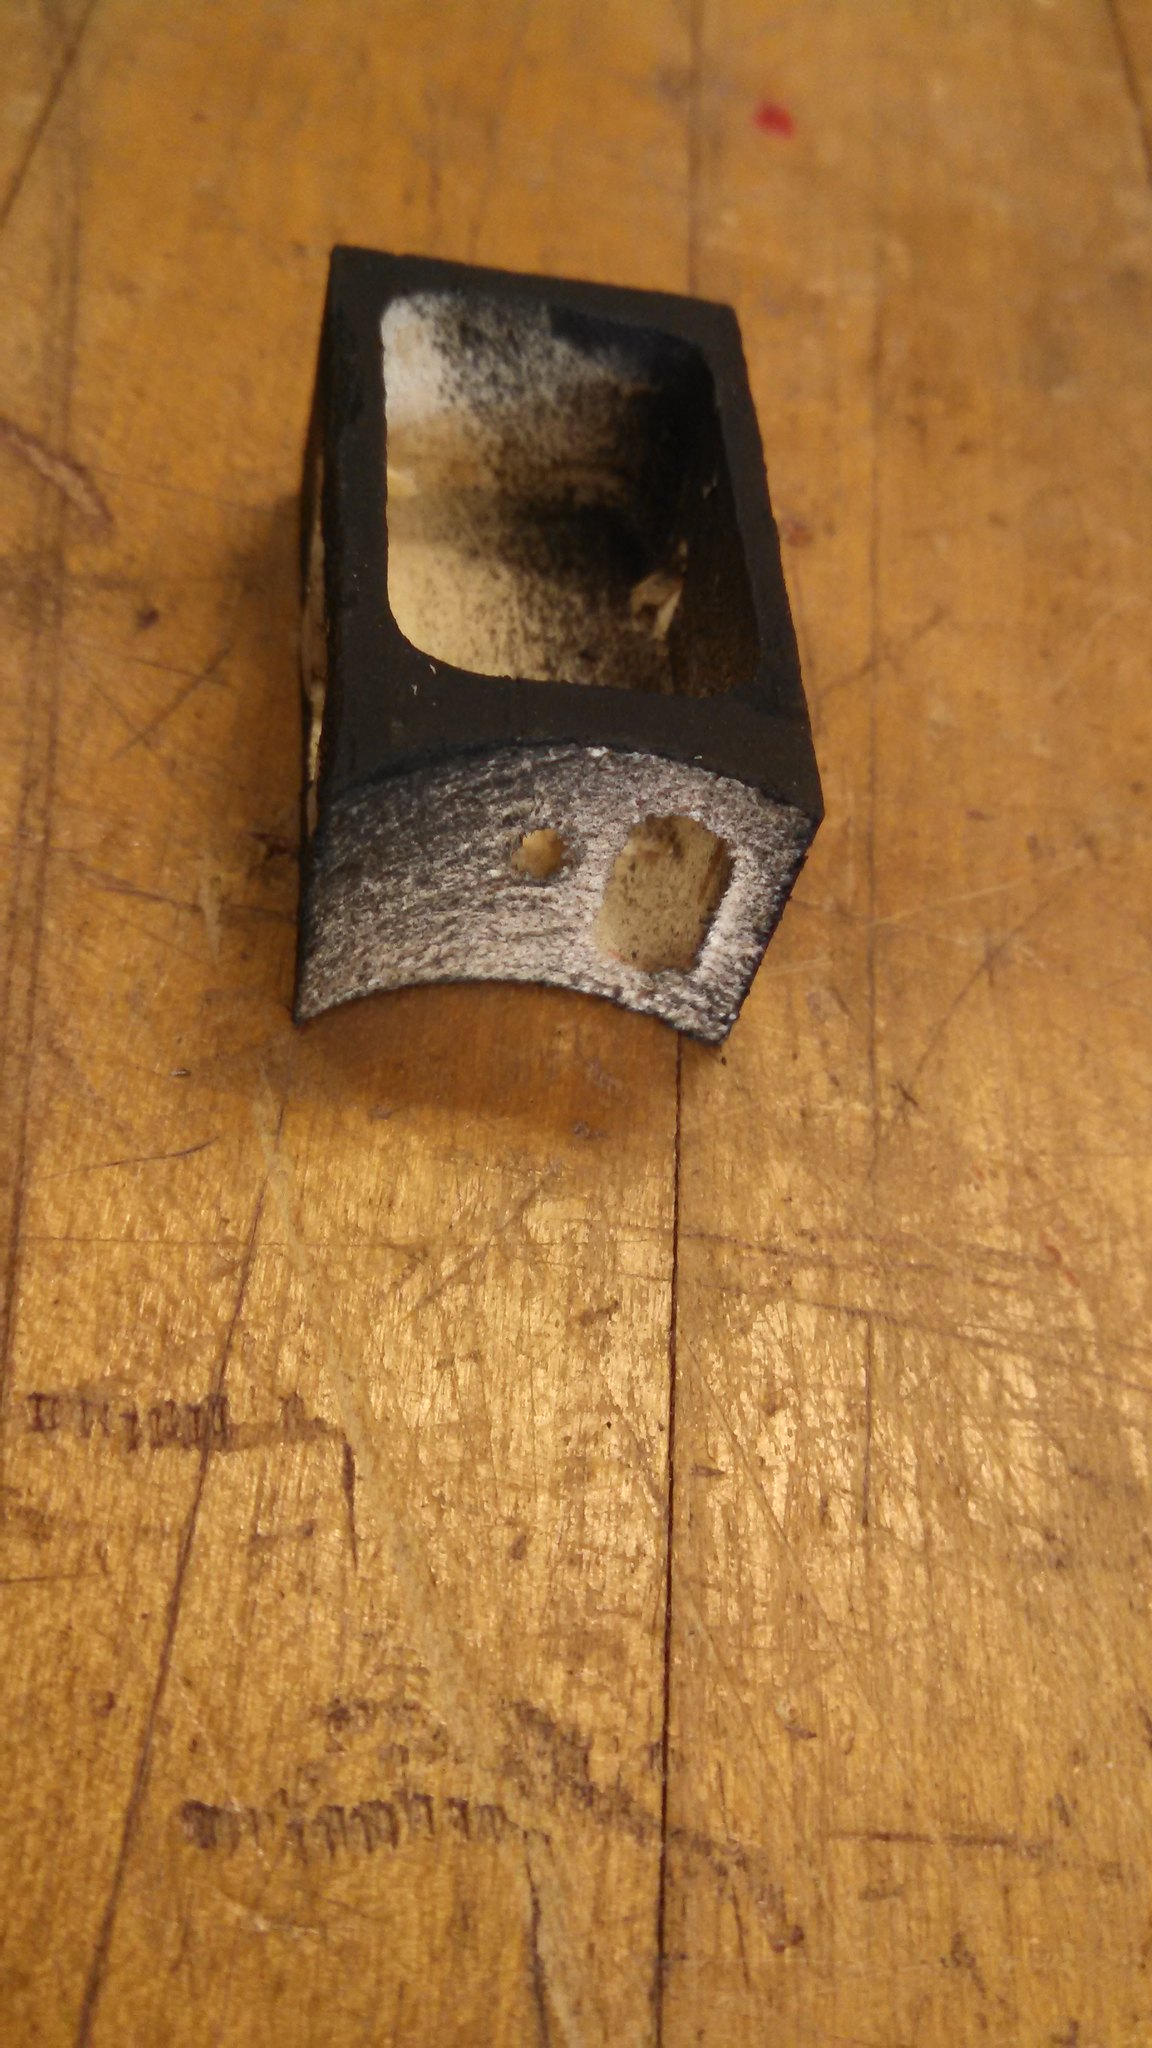
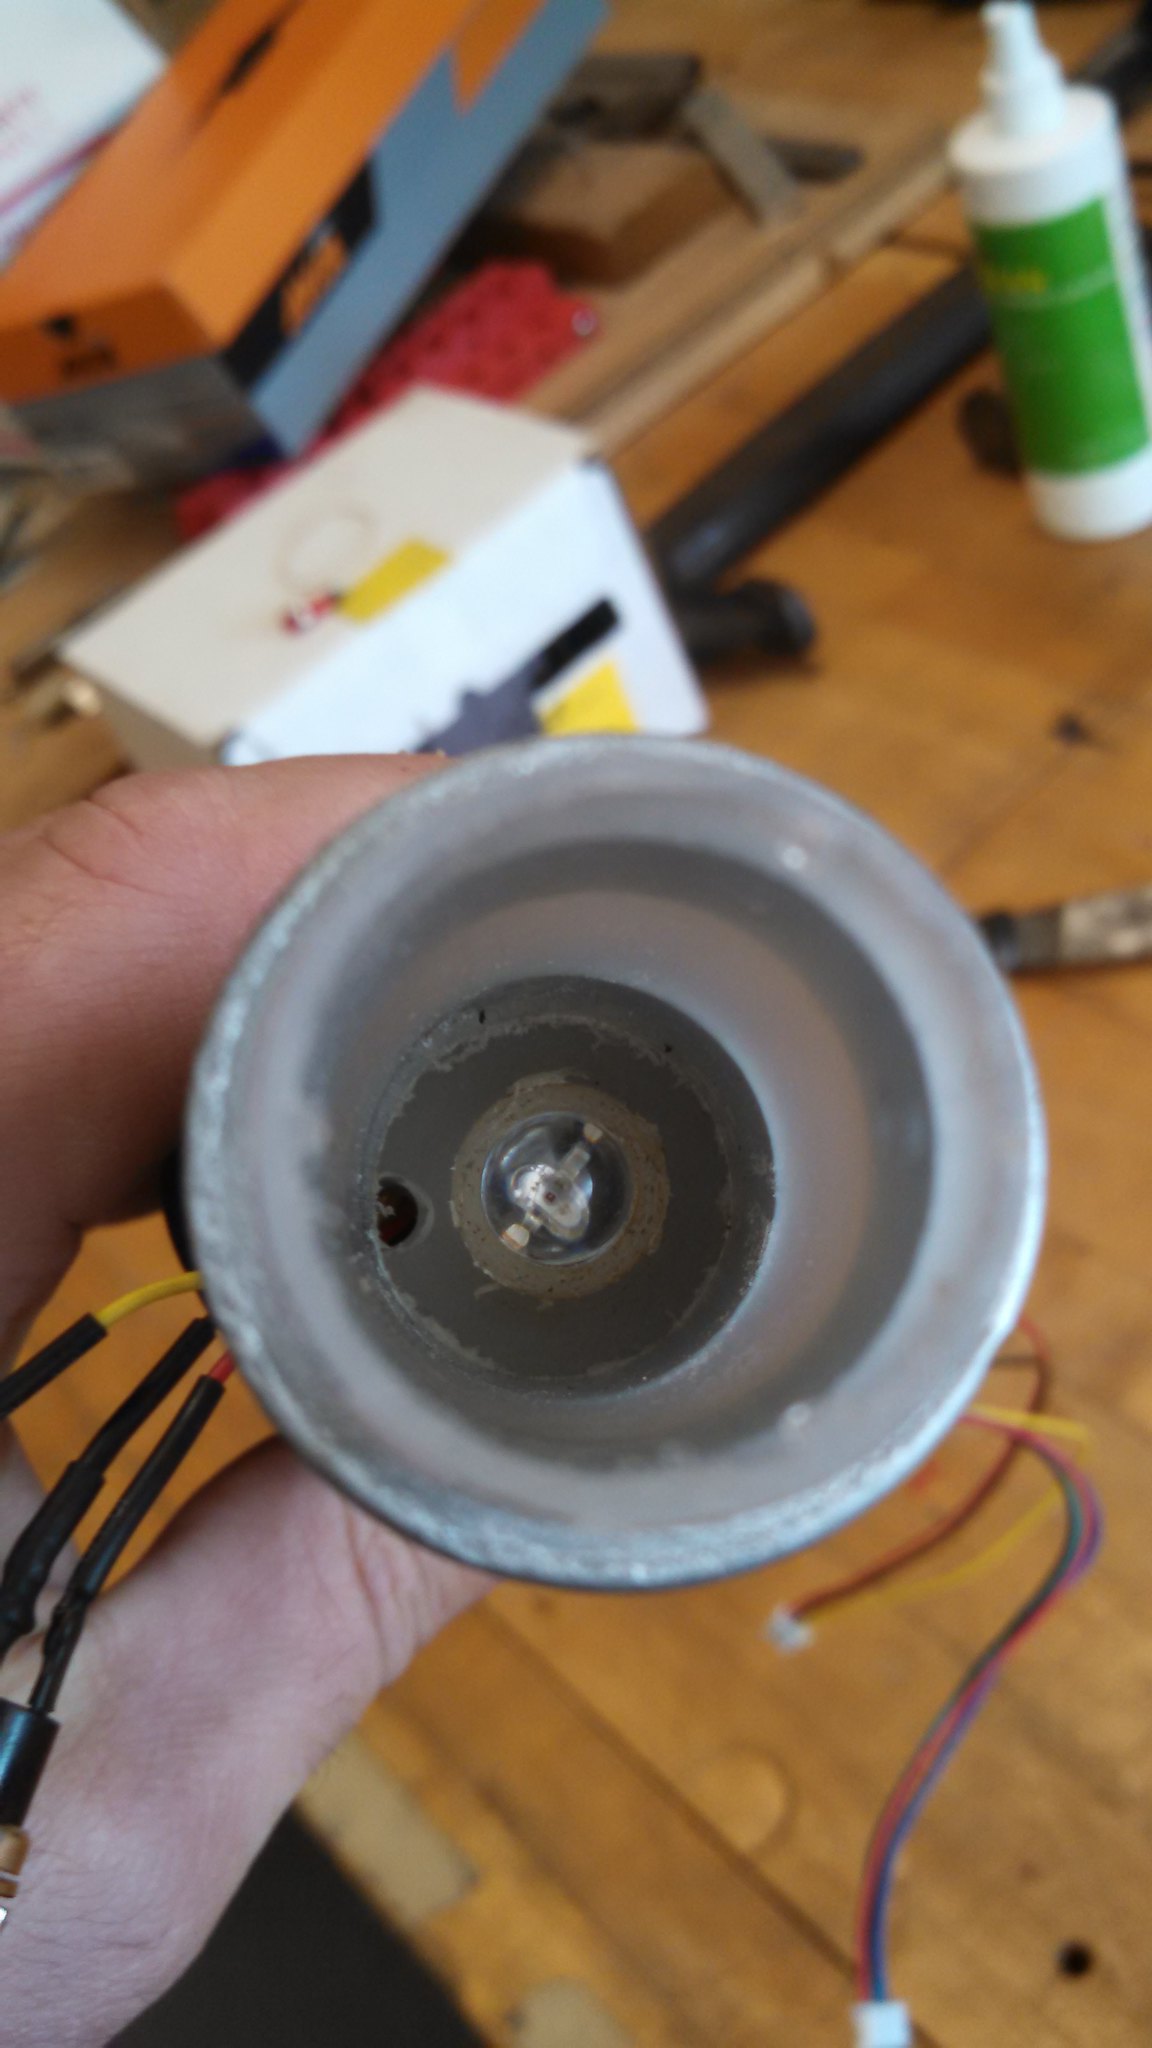
I found some hoods at the Halloween store. They were part of a strobe light kit. Cheap but durable enough for what I needed. The LED fit perfect inside the hood once the old one was removed. It encompassed the cyclotron hole almost entirely so it was a good fit. Little superglue, abet messy, works perfect as history has shown. They weren’t super reflective but I don’t need to be a walking disco light and were PLENTY bright enough.
Fantastic build so far. I am really jealous, and envious that I don’t have the time to work on mine right now.
Question about this pic: (This question is open to anyone, please feel free to share what you used to make it look like one solid piece).
What did you do to for the sides? By that I mean what did you put behind the rectangles? I’m at this step, and I’m not sure what to put to fill in the space.
Well I just used 1/4" pieces of wood for all the side plates. There all glued on to the flat spots along the spacer as they sit flush against it. The few plates that didn’t line up quite perfectly I used some wood filler to fill in the gaps. Is your spacer one solid piece? I’ve seen many ways of building that thing. My spacer is made of two pieces of syntactic foam which is good for a few thousand feet down and still retain shape and buoyancy. Fairly light too and extremely dense, denser than most wood so its great to machine. Thanks for all the positive comments, and that goes for everyone. Must say you do need ALOT of time to scratch build a pack.
Here is a shot of my spacer without the spacers. You can see all the flats/slants.
How did you build the mount for the power cell lights? My power cell is a self-contained balsa wood box so I’m thinking of mounting the lights to a piece of 1/4" balsa glued inside the box, but I’d definitely like to see if I can adapt your method to my pack.
The mount was simple. I used a 5/16" aluminum rod with two nuts and tapped a hole in the mobo. I’ll trim what’s sticking out the backside so its flush to the back and once painted black you’ll never see it anyway. I have the light board sitting on 4 standoffs with plastic screws and that’s on top of a 3/8" Polyethylene type of plastic. Just stuff I had floating around I threw together. I wanted the power cell to drop over the top of the board. The threaded rod worked well as I could just screw it up or down through the thru hole until I got the right height.
Finally got my gun mount on its way to completion. Ordered a couple of the Dixie cup brackets from Fresh Water Systems Inc. for 1.67 per bracket. I cut a piece of 1/8" aluminum and with a little filing fit perfect inside the bracket with no movement once the bracket was fully seated. I put the bracket on top of the 1:1 scale drawings and its pretty dang close to the on there. Its by no means accurate but I like it. Cheap, quick and easy to put together.
Well since my build or yours for that matter isn’t a shell, we don’t have an incredible amount of room to work with. So I figured my little rod getup was efficient and easy to play with. I still got to shove a speaker into mine but I got plenty of room under my cyclotron for it. I’ll drill a bunch of small holes in a “speakerish” pattern so the sound comes out behind my back. I saw someone’s build like that so why reinvent the wheel on that one.
I’m using 1/4" MDF board for pretty much everything. My spacer is two pieces that I could out of MDF. I don’t know why, but I never thought of cutting some pieces of MDF, putting them in between the two spacers, and just using Bondo to fill in the gaps.
BTW, I just started using Bondo. I love this stuff. Just need to dial back on the amount of hardener I apply. I don’t get too much time to work with it.
That depends. What’s your definition of heavy? Its 15lbs when fully assembled as of right now. Add the wand when its finished and might be 17ish.. Not bad. Its a lot heavier than it looks. The gearbox is a solid hunk of wood, but its hollow so can be misleading.
Here is some more updates. Put a potentiometer in the gearbox so I can use the knob for volume control. Added a set screw so I can easily remove it. Whomever’s idea I used this from gets all the credit. I can’t remember which one I saw a while back. Great idea though. Got my gun mount bolted on. I’ll get right colors another day, it was just a fit up today.
My gun is 90% complete. Came out half way decent. And yes there are some wrong lights but figure those will do just fine until I get the correct ones. Holes are there, just gotta pull old ones out and replace. Simple. Here’s how I ran some barrel wiring.
How did you secure everything on the inside of the gun? I’ve been using a hot glue gun for stuff like the Legris elbows, but those aren’t in such confined spaces.
All the lights and switches use the nuts they came with and a dab of hot glue to hold the lights inside the lenses. Knobs and such are all through hole with a bolt and nut and the fittings are all drilled and tapped. I’ll post a pic in a second.
Rats nest anyone? Everyone is right, its a tight squeeze in there but workable. I’ll clean up the mess, just threw it all together to see how it looked and worked.
Well its all together and everything works well..sound and lights working perfectly. Nice and loud and crisp and clear. I’ll slowly fix everything wrong with it. I’ll be adding a charge port tomorrow. Radio shacks everywhere around here are all closed. :-/ I’ll goto the one that is open near my work.
Put the soundboard inside my gearbox. Just two bolts and it tilts forward and I can mess with the internals.
 IMG_20151001_121020_650 by Tom Cahoone, on Flickr
 IMG_20151001_121031_342 by Tom Cahoone, on Flickr
 IMG_20151001_121051_291 by Tom Cahoone, on Flickr
 IMG_20151001_121105_609 by Tom Cahoone, on Flickr
 IMG_20151001_121111_708 by Tom Cahoone, on Flickr
 IMG_20151001_121137_751 by Tom Cahoone, on Flickr
 IMG_20151001_121152_553 by Tom Cahoone, on Flickr
 IMG_20151001_121232_245 by Tom Cahoone, on Flickr
 IMG_20151001_121909_895 by Tom Cahoone, on Flickr
 IMG_20151001_122144_723 by Tom Cahoone, on Flickr