Noob "Scratchbuilt" Proton Pack

This is my first “attempt” at a Proton Pack. Criticism is welcome as any comments or ideas. I’ve never attempted anything of this magnitude before as I have zero creative ability and never attended wood working shop. This is all being done in the great state of little Rhode Island.

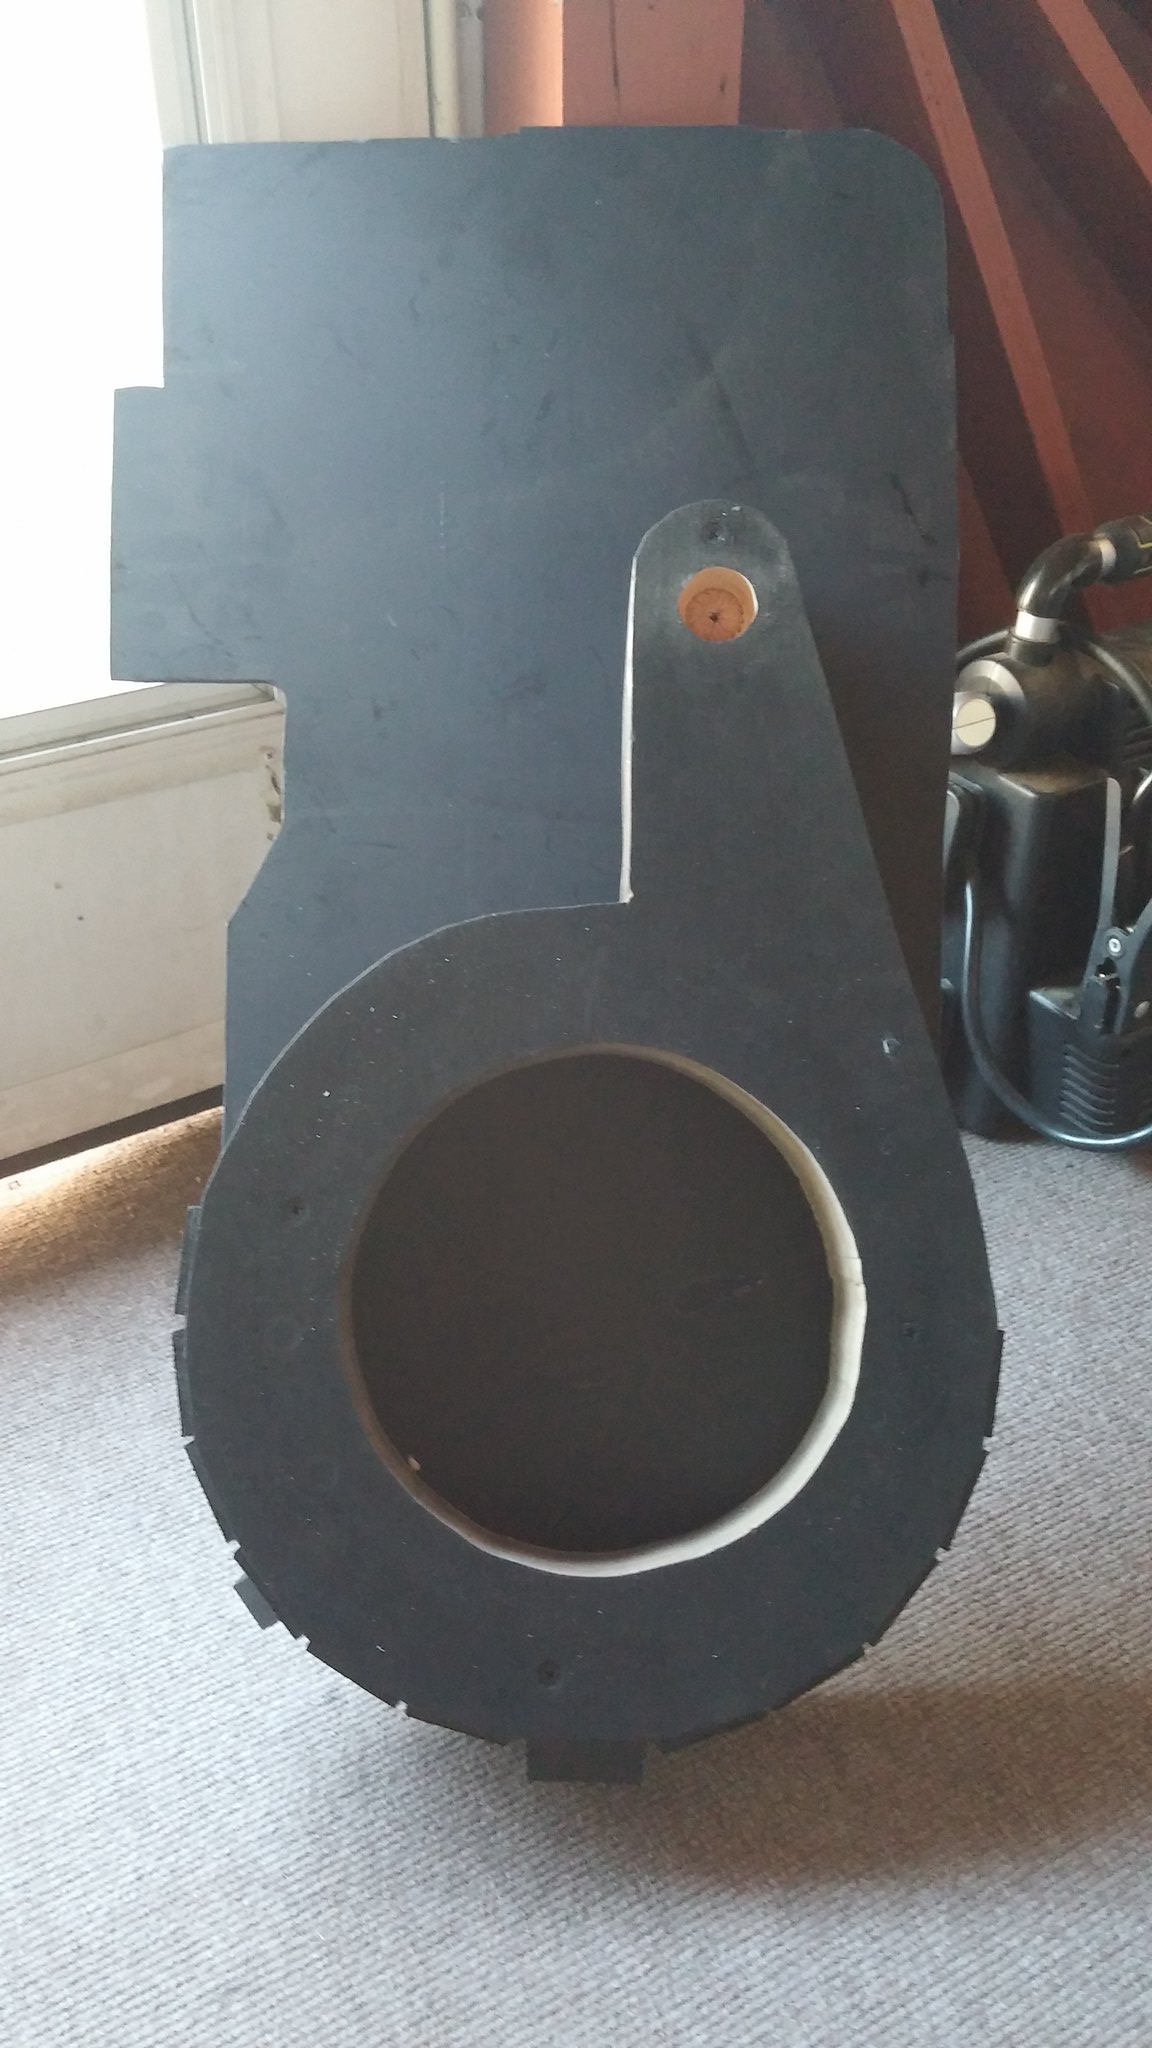
Here’s a few photos of the million I took of my progress thus far.

Looks sorta like a proton pack thus far! So that’s a minor plus..

20150808_210532 by Tom Cahoone, on Flickr

20150811_181136 by Tom Cahoone, on Flickr

20150817_134118 by Tom Cahoone, on Flickr

20150817_100727 by Tom Cahoone, on Flickr

20150816_105330 by Tom Cahoone, on Flickr

20150814_110536 by Tom Cahoone, on Flickr

image20150819_122204 by Tom Cahoone, on Flickr

image20150820_201029 by Tom Cahoone, on Flickr

image20150829_110250 by Tom Cahoone, on Flickr

image20150829_110316 by Tom Cahoone, on Flickr

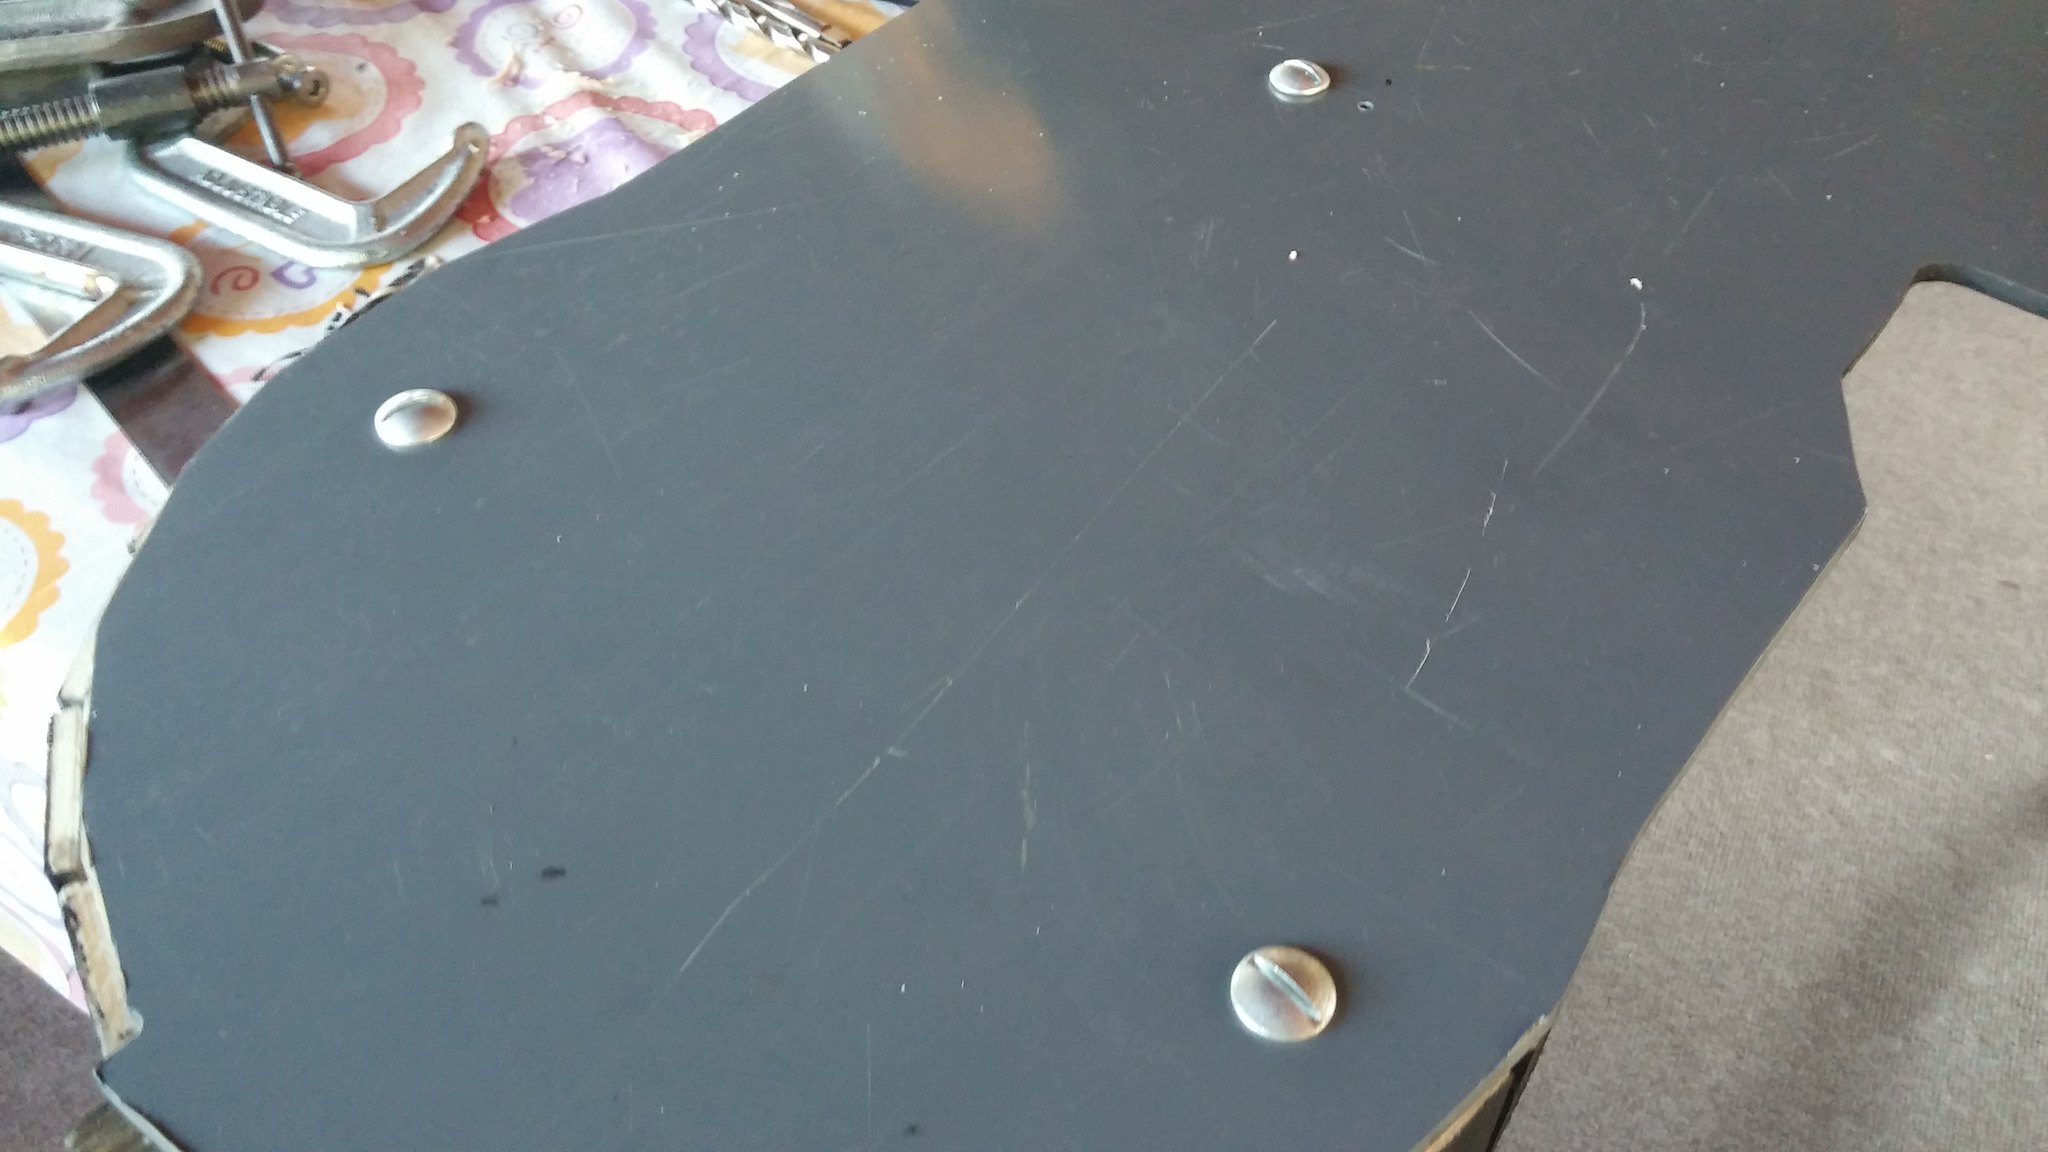
Helicoils, great for securing stuff to the motherboard. I figured I’d do it like this so I can detach things if I need to rework or whatnot or build new parts. Not 100% Kosher, but once all painted black, and hidden by the alice frame, won’t be too noticeable anyway and its my little twist on my personal build.

image0901151727 by Tom Cahoone, on Flickr

image0901151731a by Tom Cahoone, on Flickr

image0901151733 by Tom Cahoone, on Flickr

Nice work so far!

I’d say you’re doing just fine.

Looking great for a first pack!

Looking good, I really like the pictures. Great job with your motherboard. I cannot wait to see your bellows painted, great cheep way to make that part.

The bellows was easiest part! I found a big hunk of transfer pump hose and it was perfect size according to the Stefan’s blueprints. It even compresses to act like a spring, Can’t get better than that. Two washers and a 1/4" carriage bolt and voila.

Looking good for your first pack.

Keep up the good work! :cool:

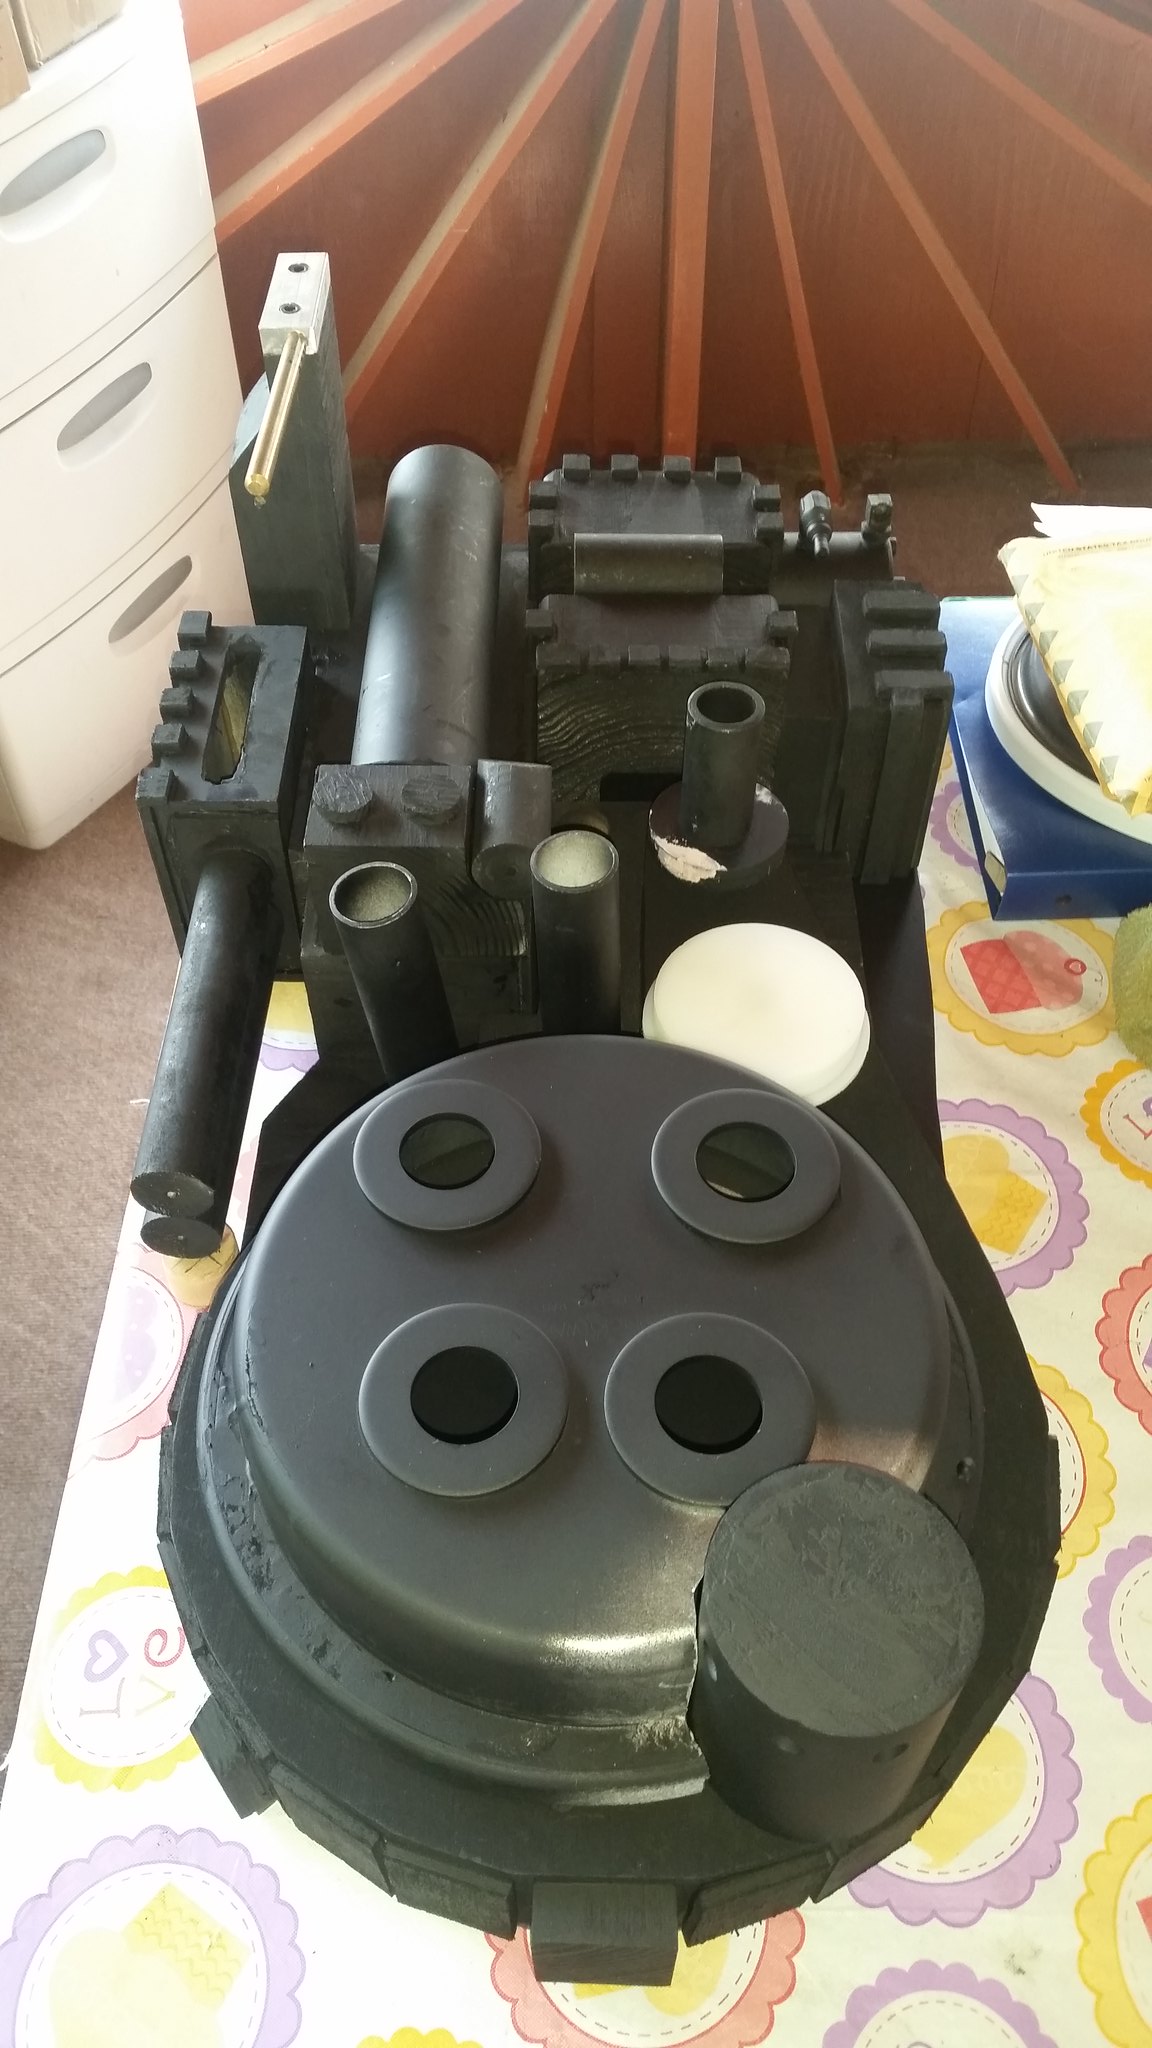
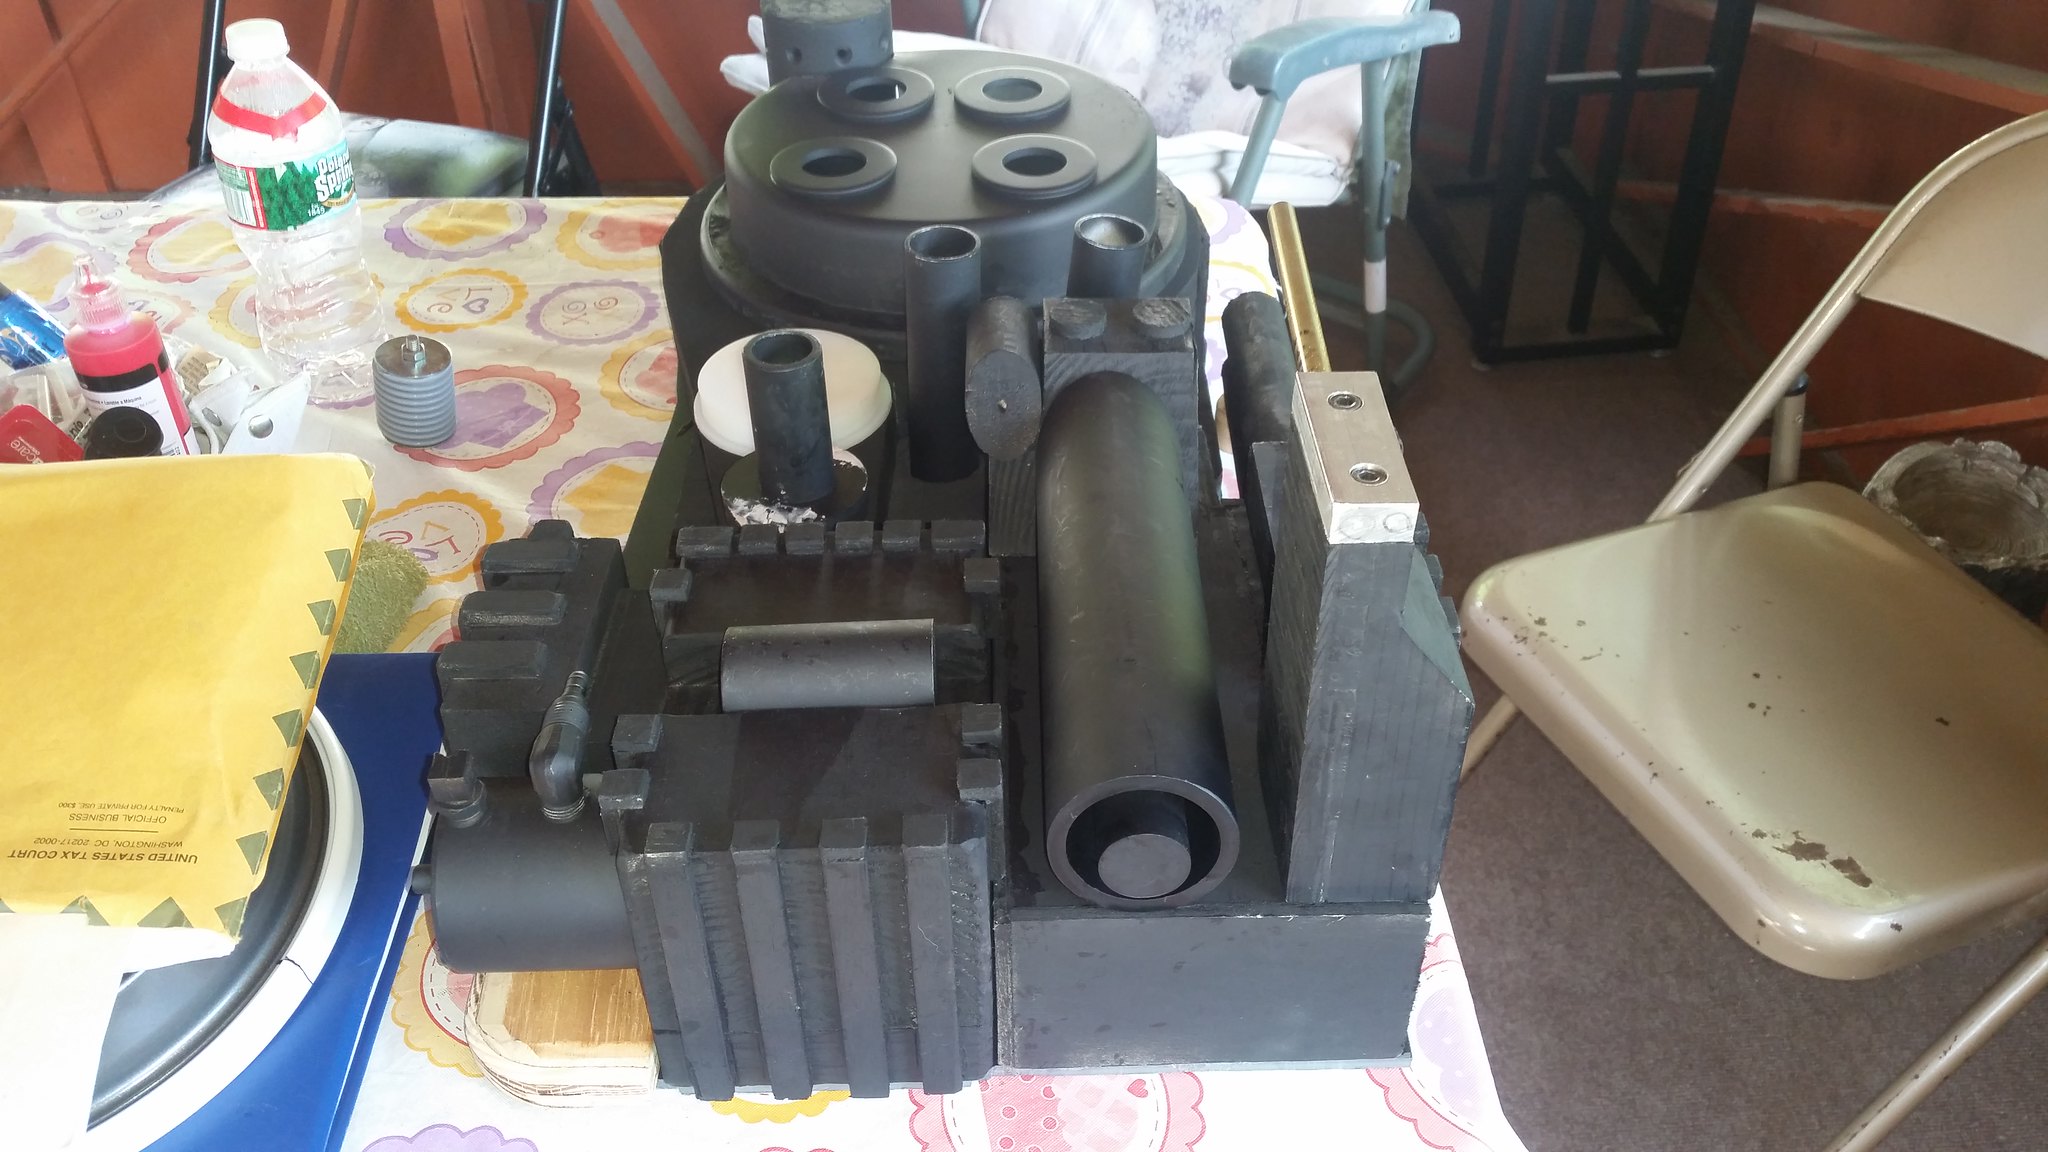
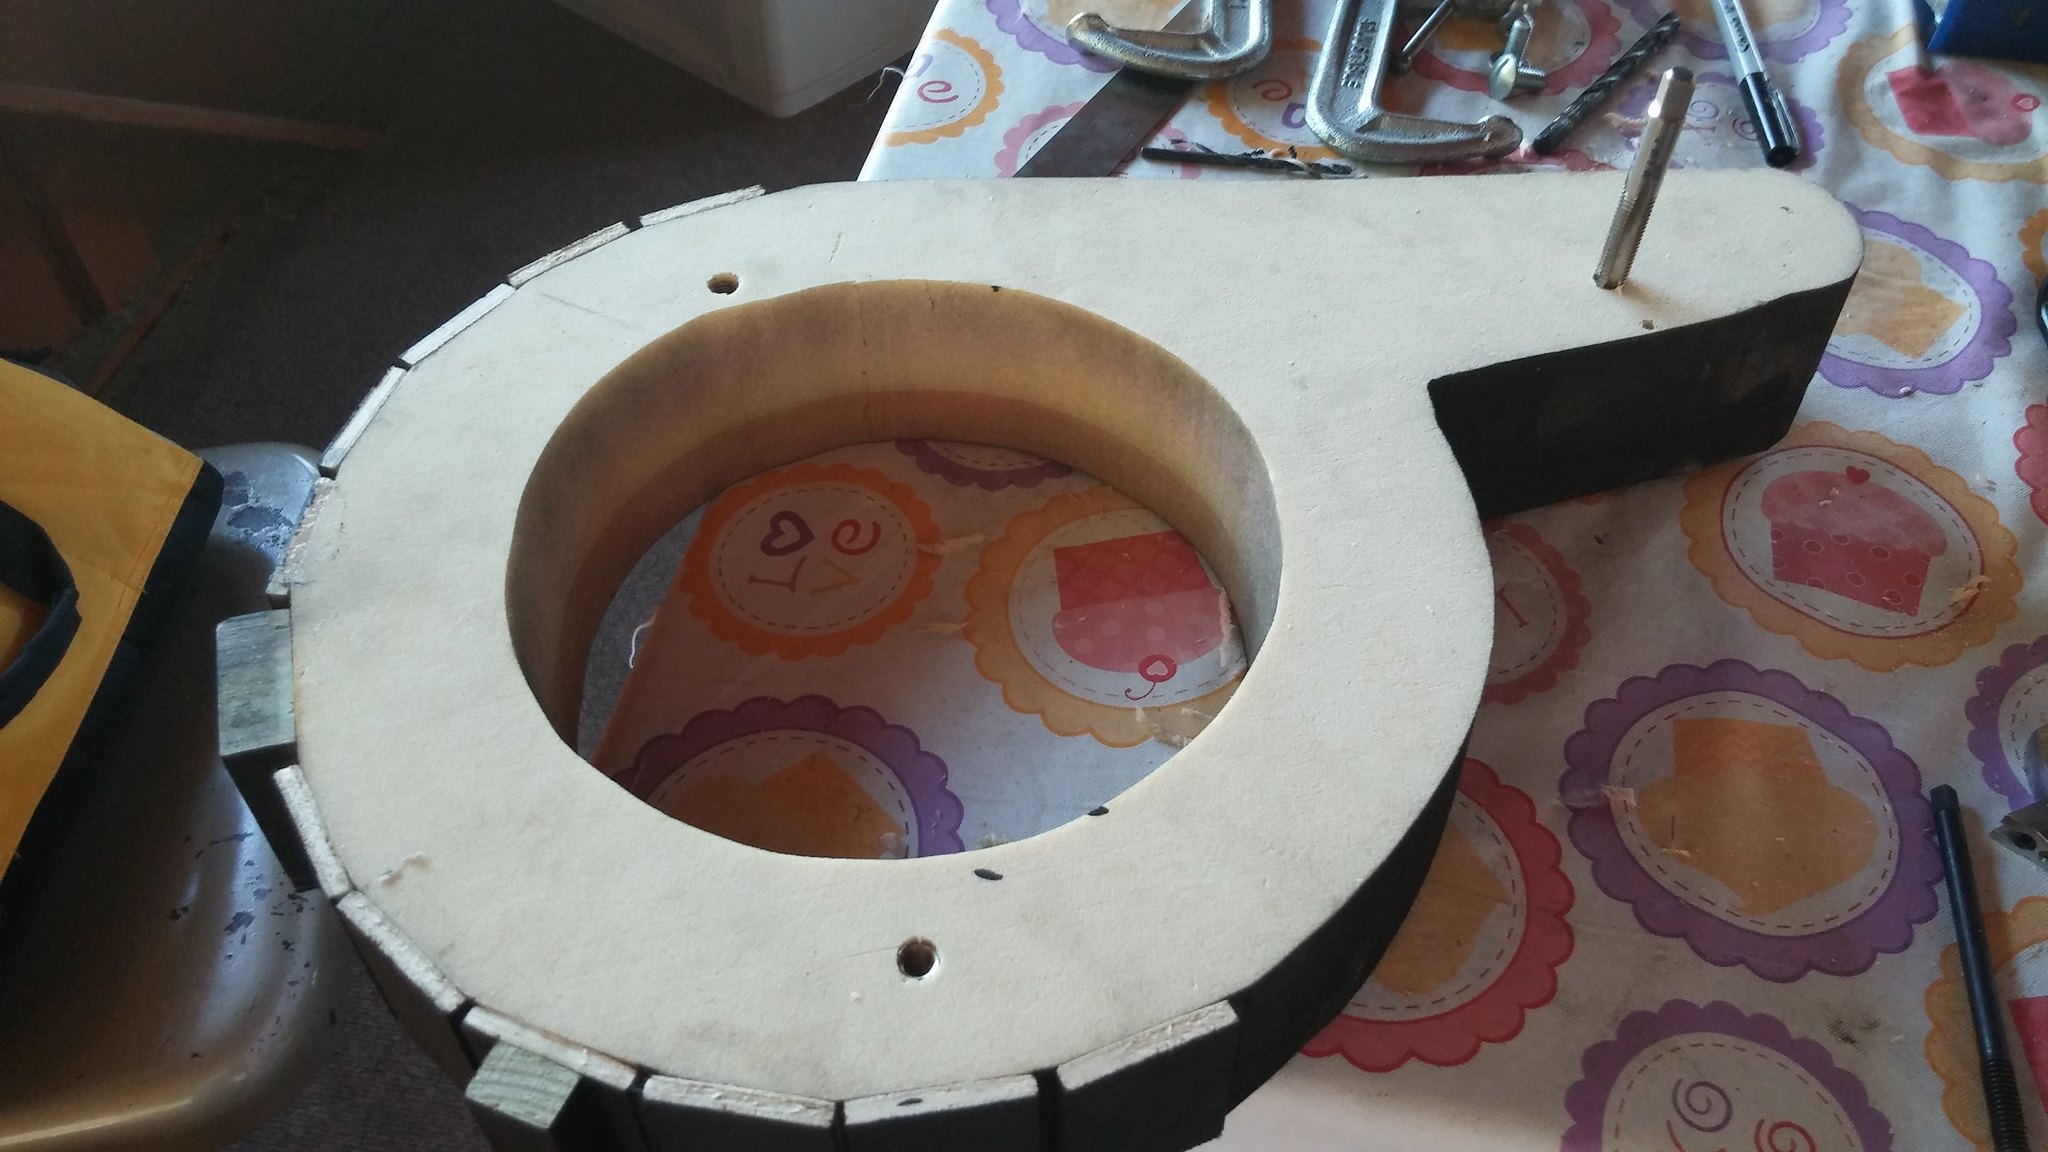
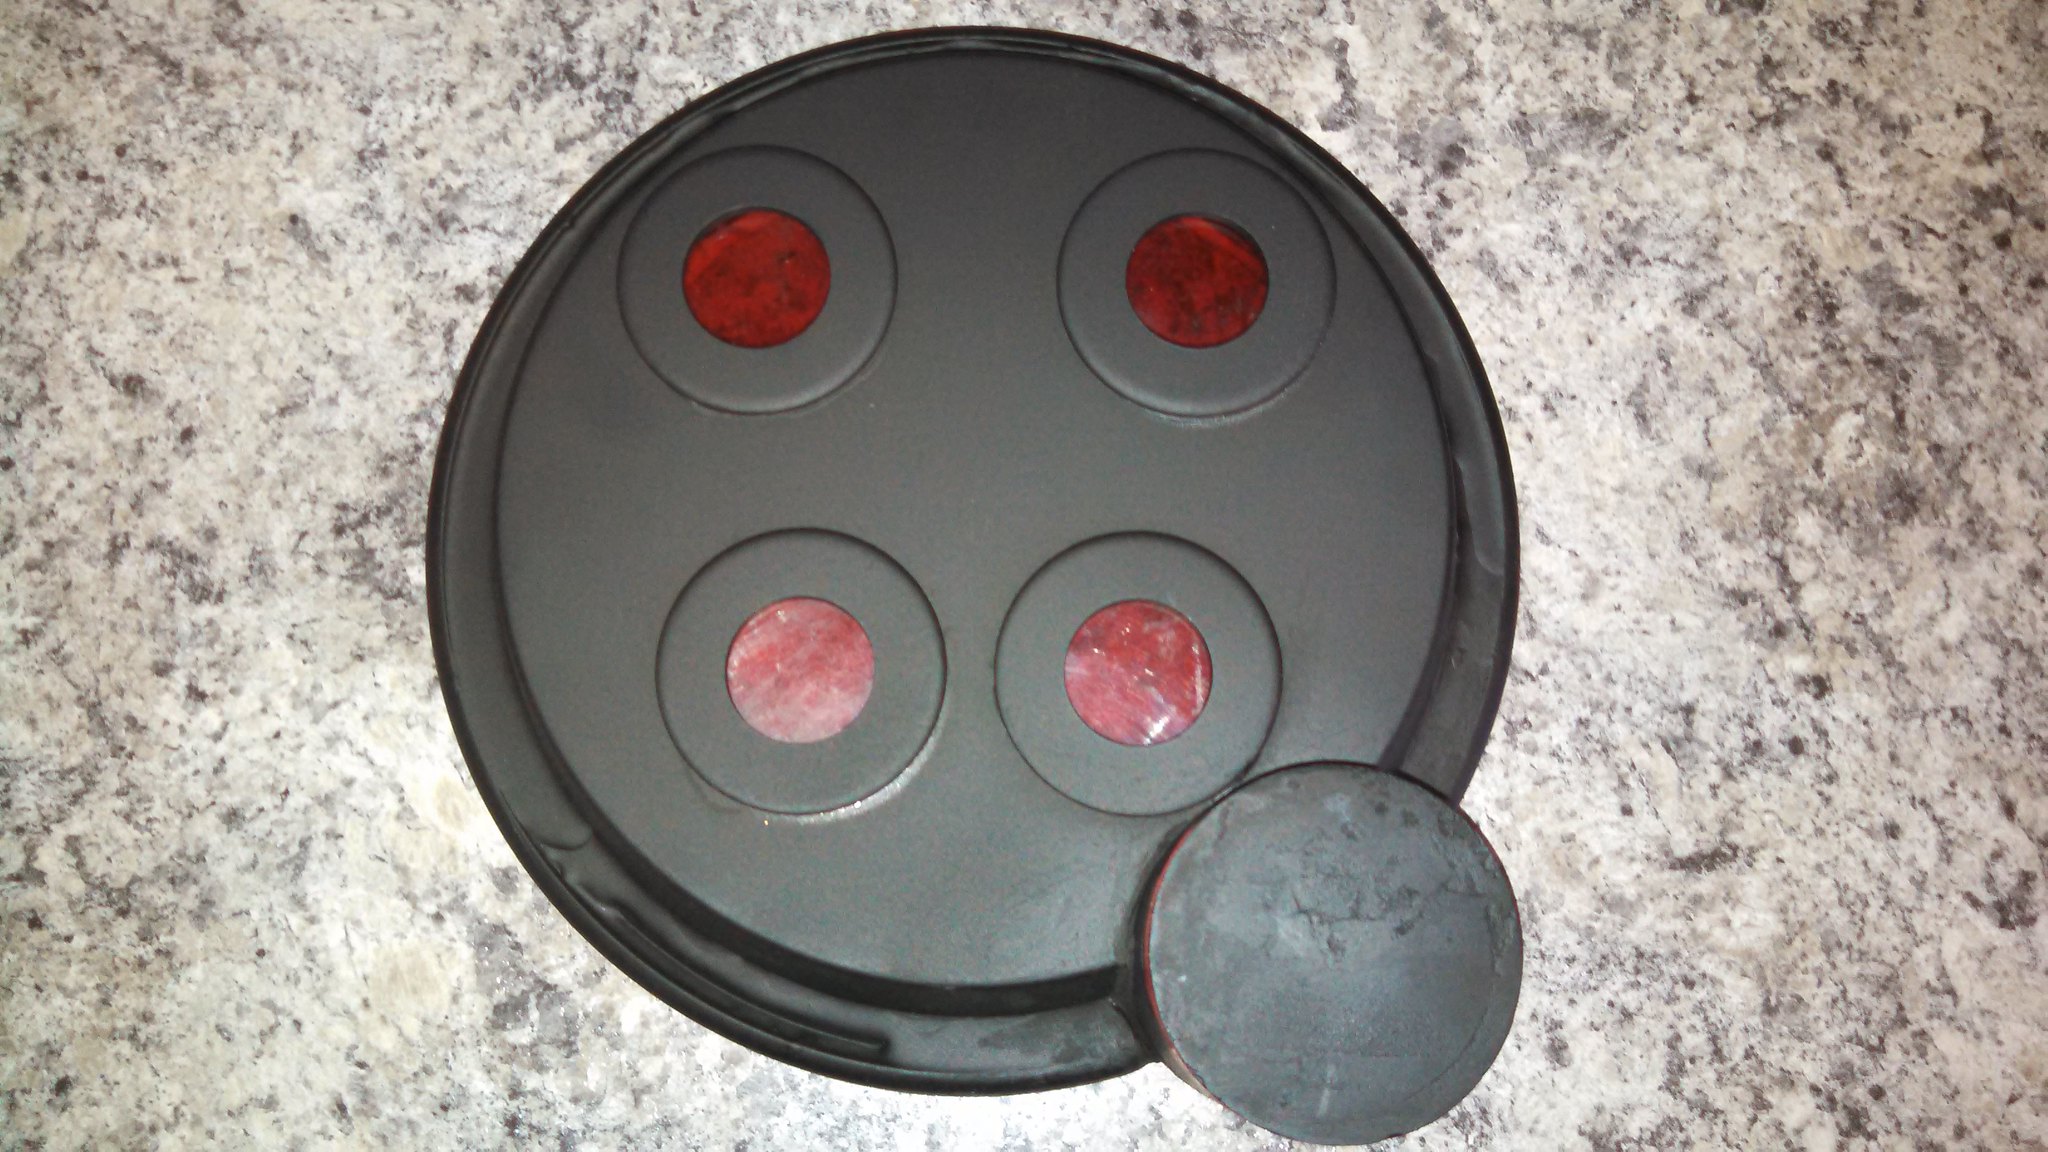
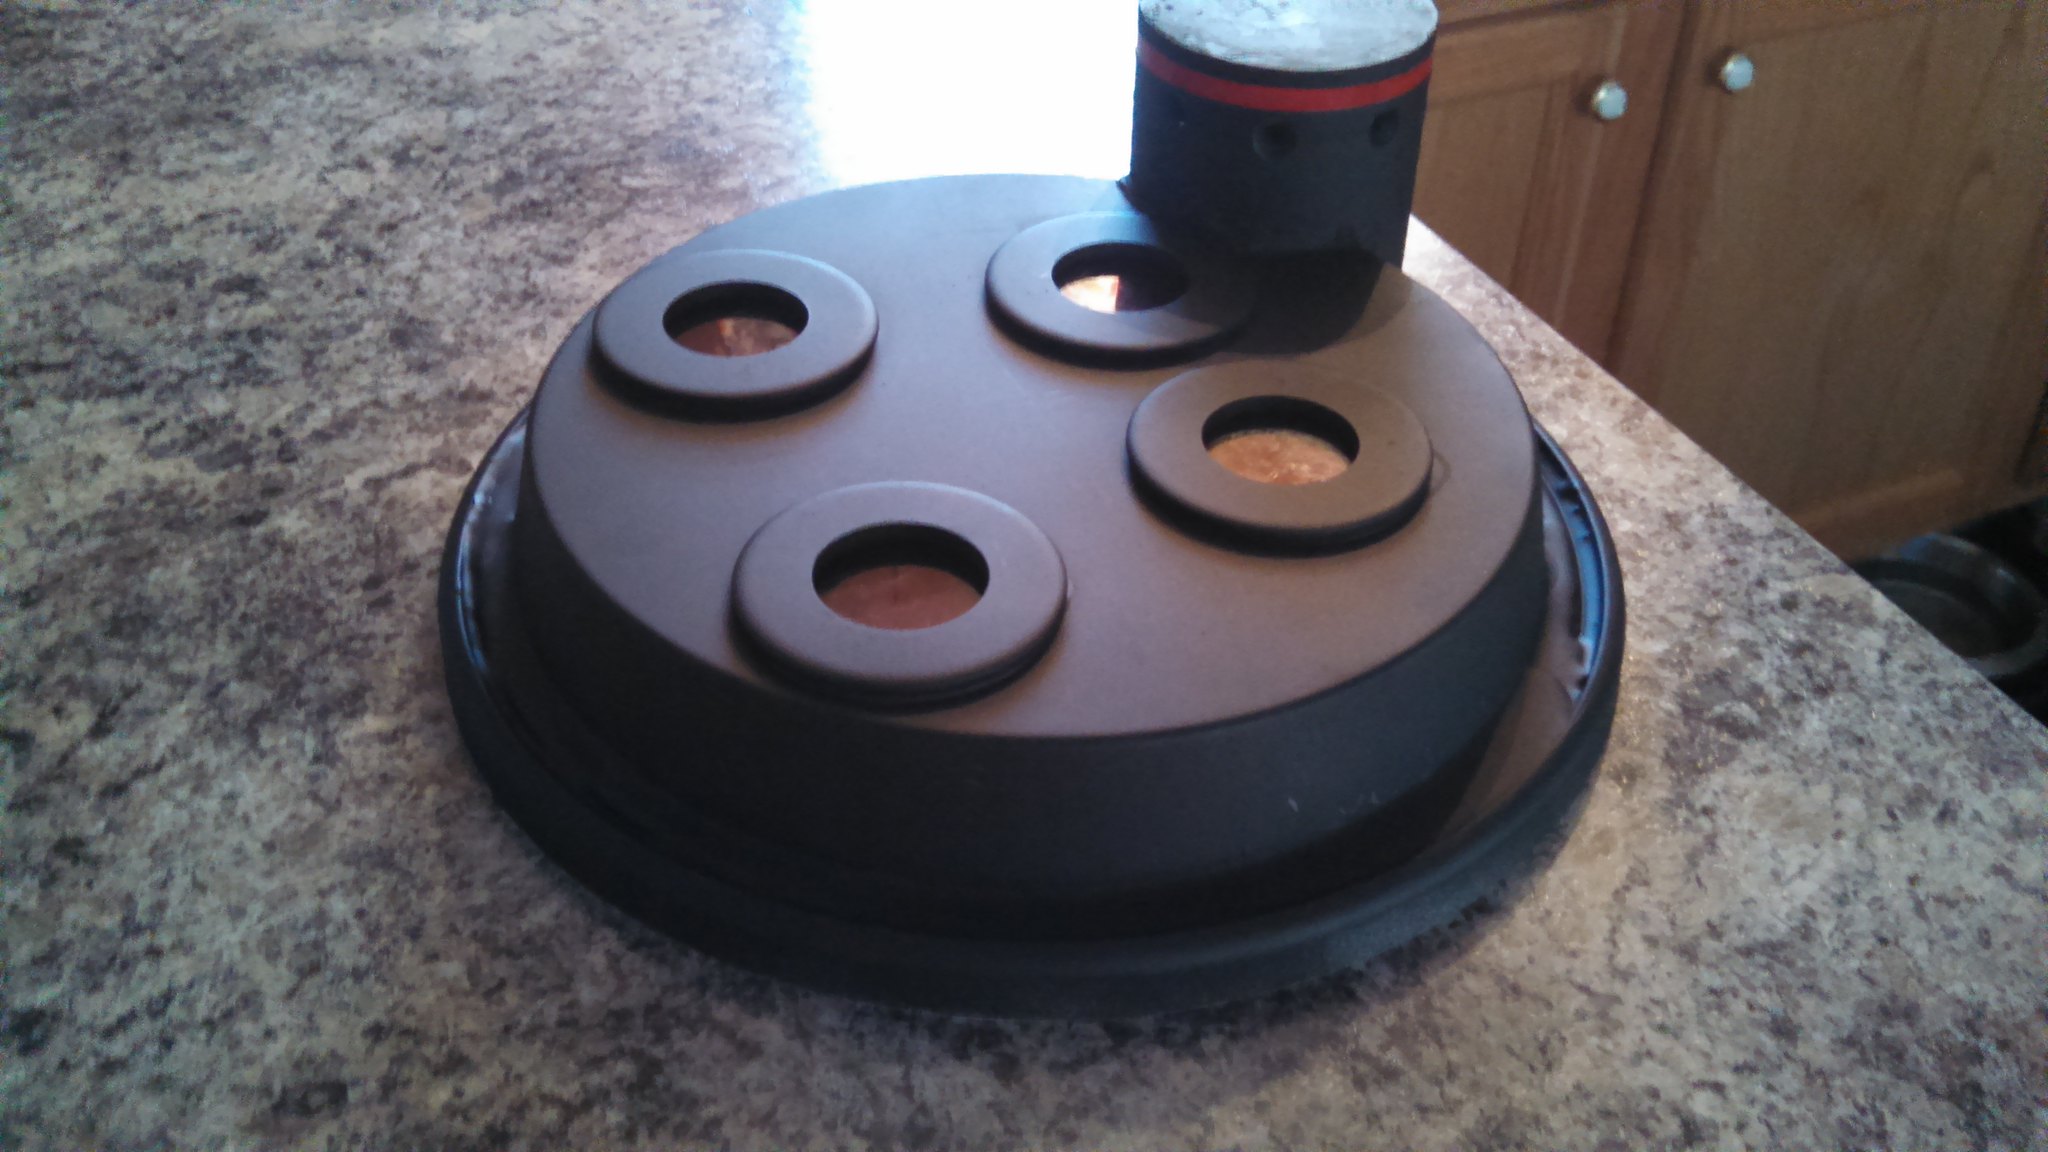
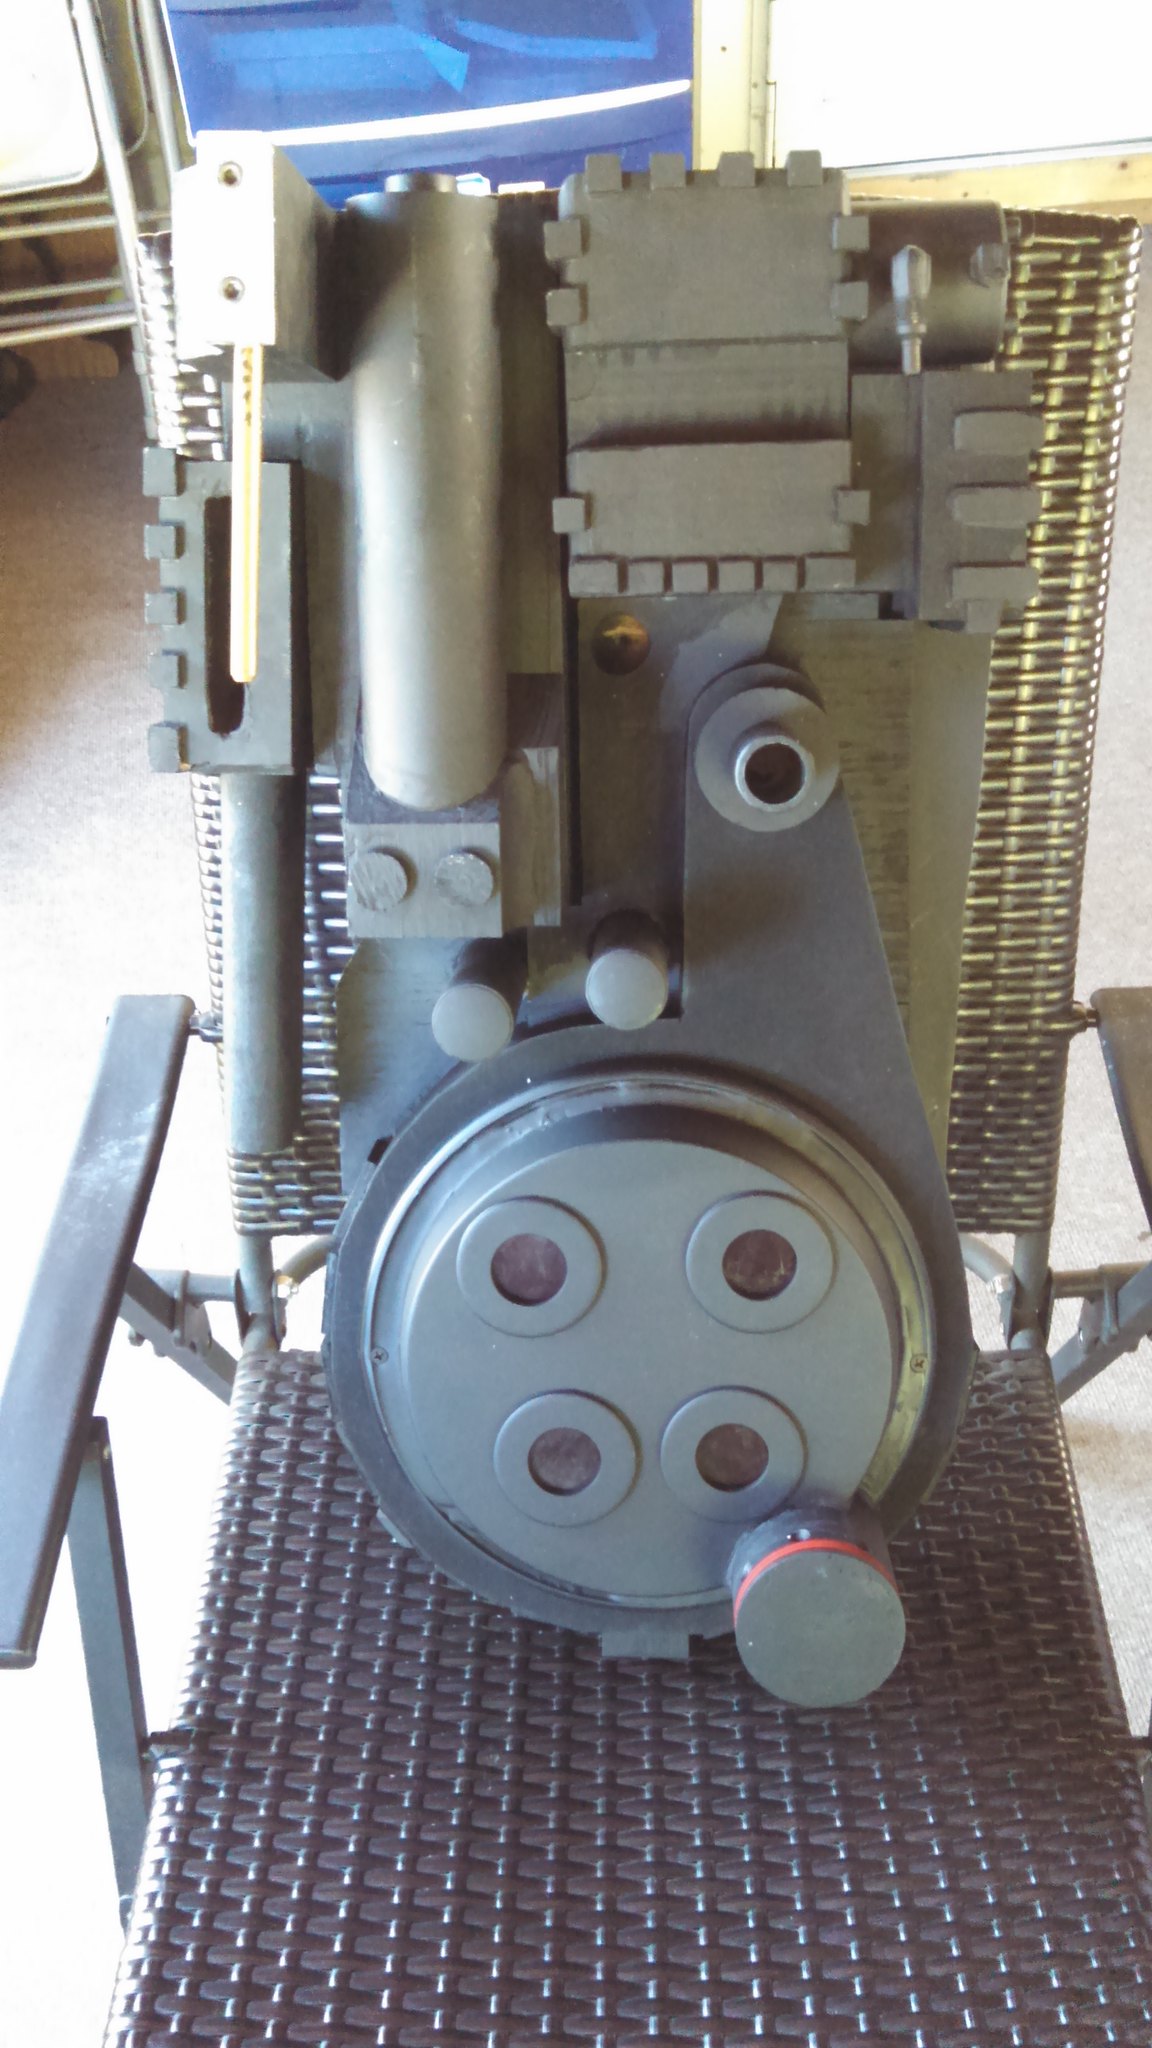
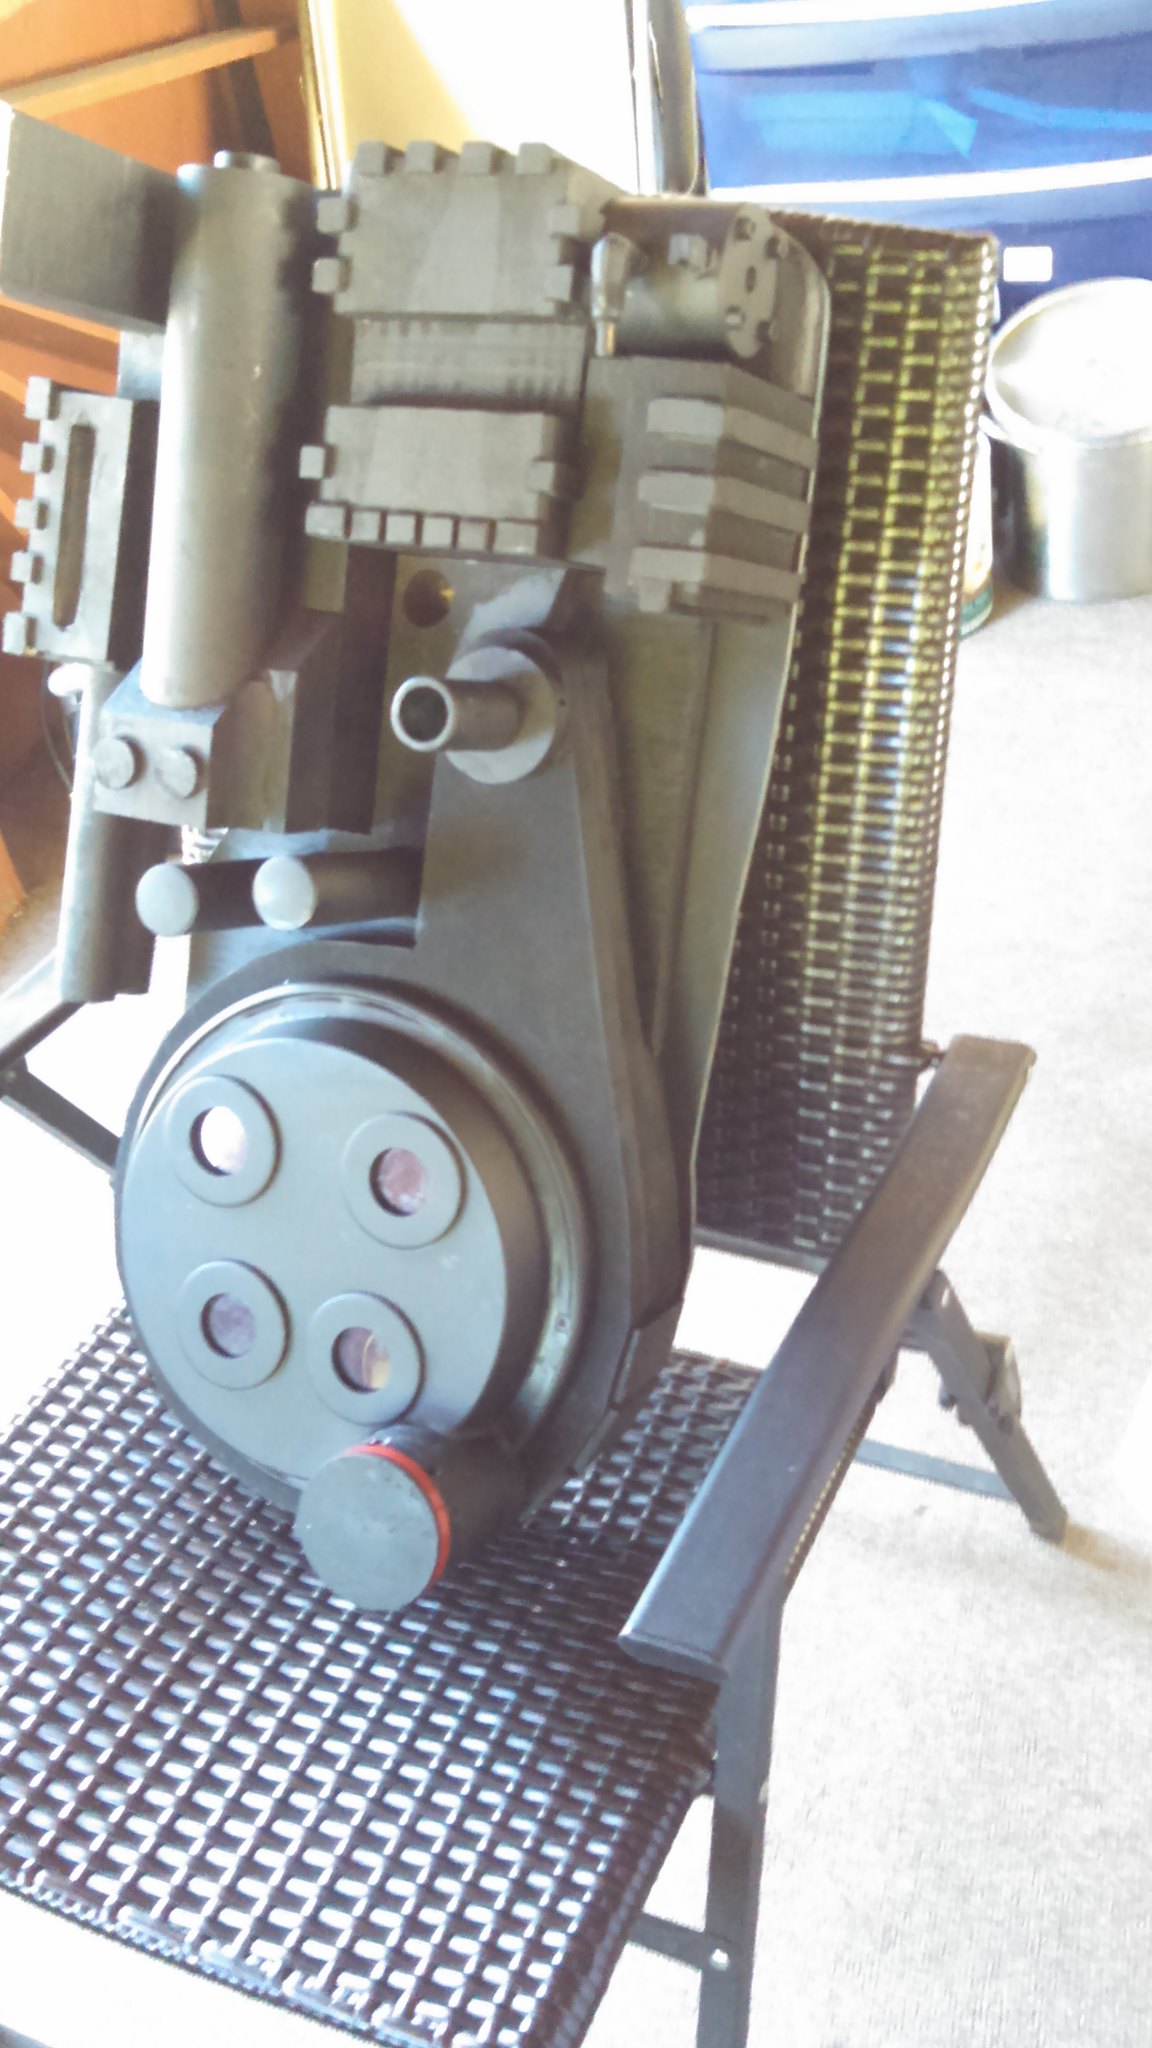
I remade the Cyclotron, first pan was wayyy to deep, or too tall when flipped over. That Walmart pan was 10 bucks. I found this lovely pan for 2 bucks at the Christmas Tree Shop. Perfect. And here is everything bolted to the motherboard. Now to sand and paint and sand some more, and start adding all the fun stuff. Have to add more filler to my 10" rim as some of my epoxy leaked out bottom. This project is quite fun, this is my prototype so I’ll start on a second one once this is done and I’ll take my time with next one. Definitely can’t build one of these overnight, least not a measurement accurate one that’s scratch built anyway. No shells for me, takes all the fun out of it.

imageIMG_20150906_094305_632 by Tom Cahoone, on Flickr

imageIMG_20150906_094311_682 by Tom Cahoone, on Flickr

imageIMG_20150906_150031_435 by Tom Cahoone, on Flickr

imageIMG_20150906_150049_317 by Tom Cahoone, on Flickr

imageIMG_20150906_150112_823 by Tom Cahoone, on Flickr

imageIMG_20150906_150100_069 by Tom Cahoone, on Flickr

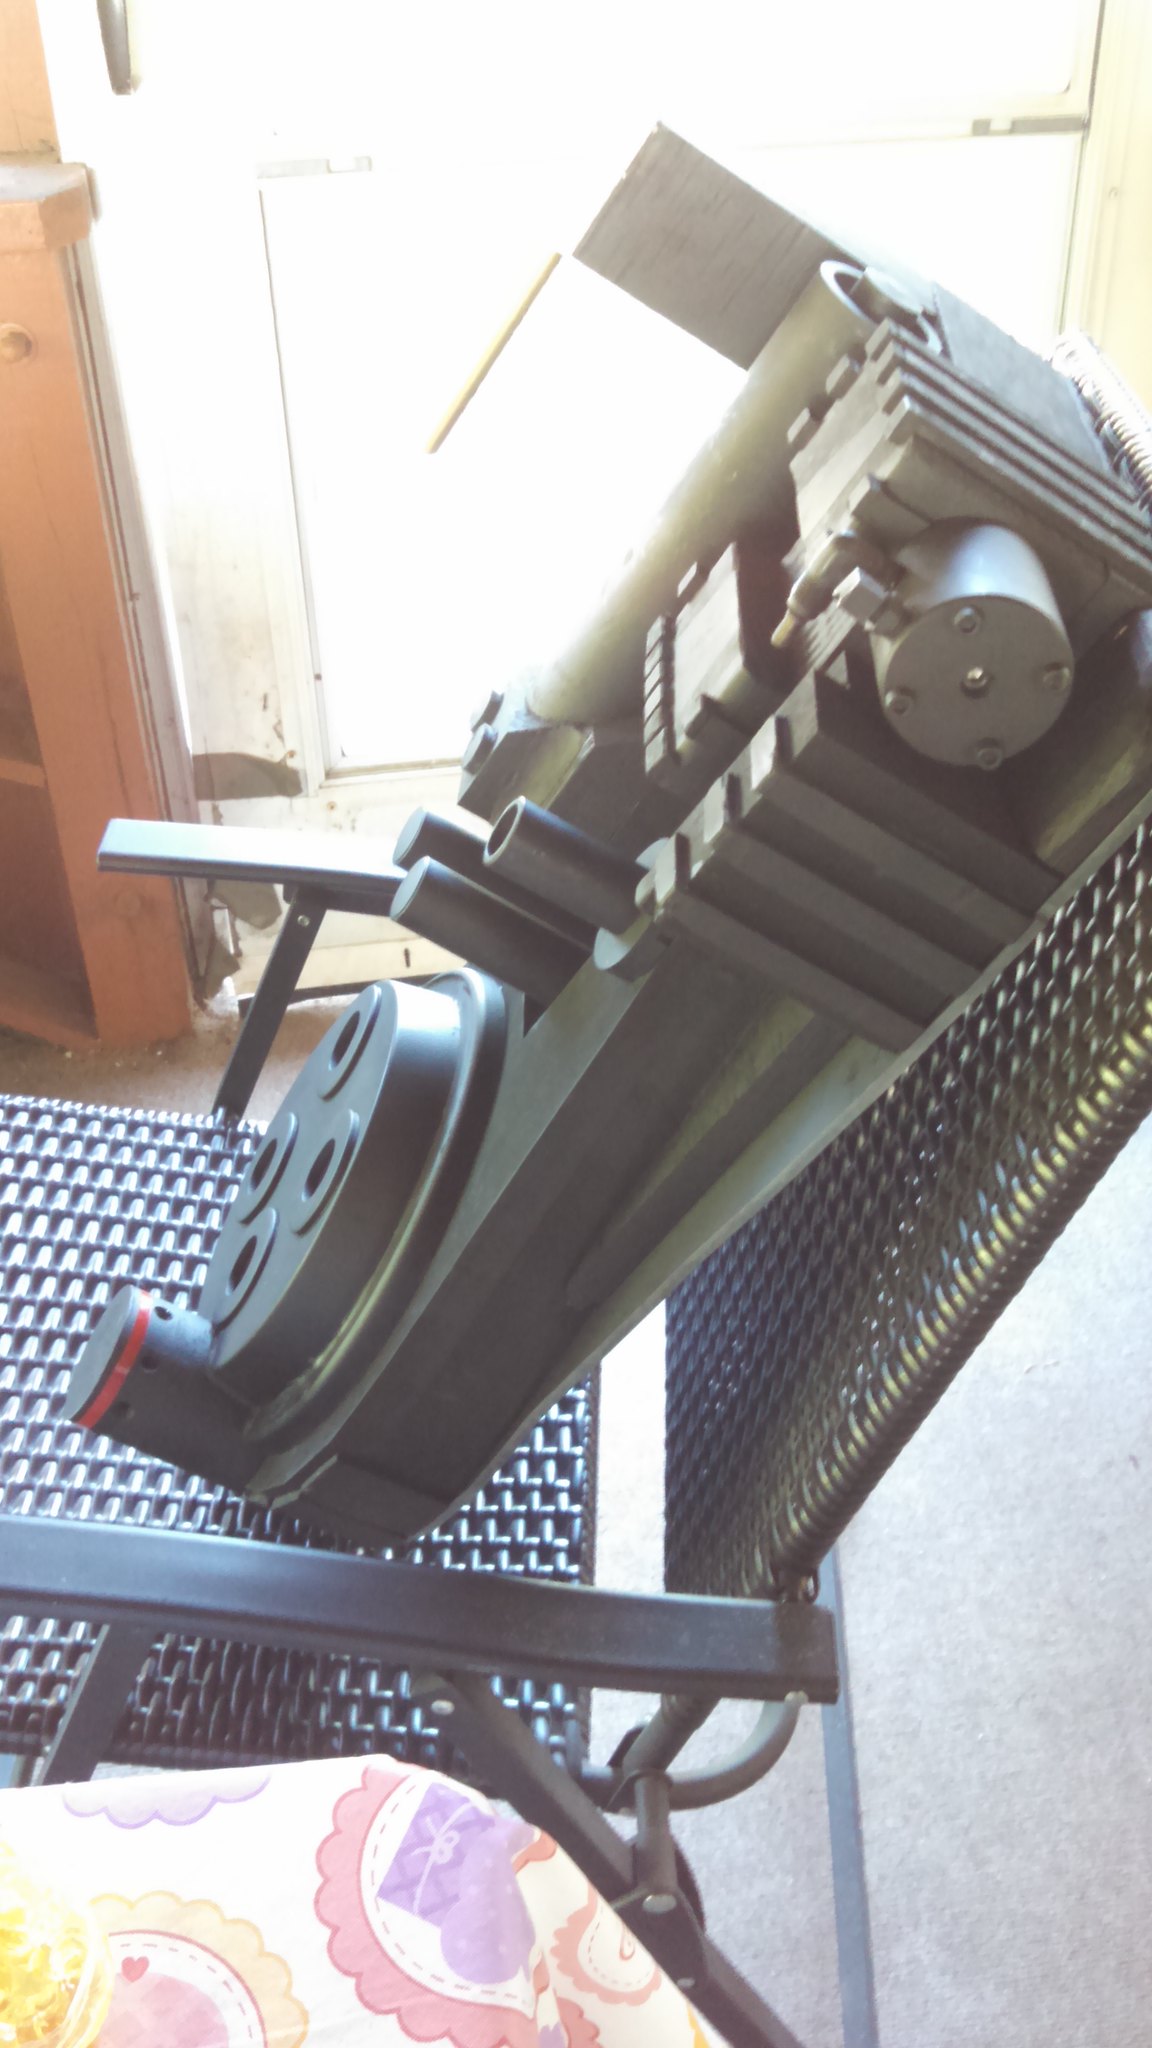
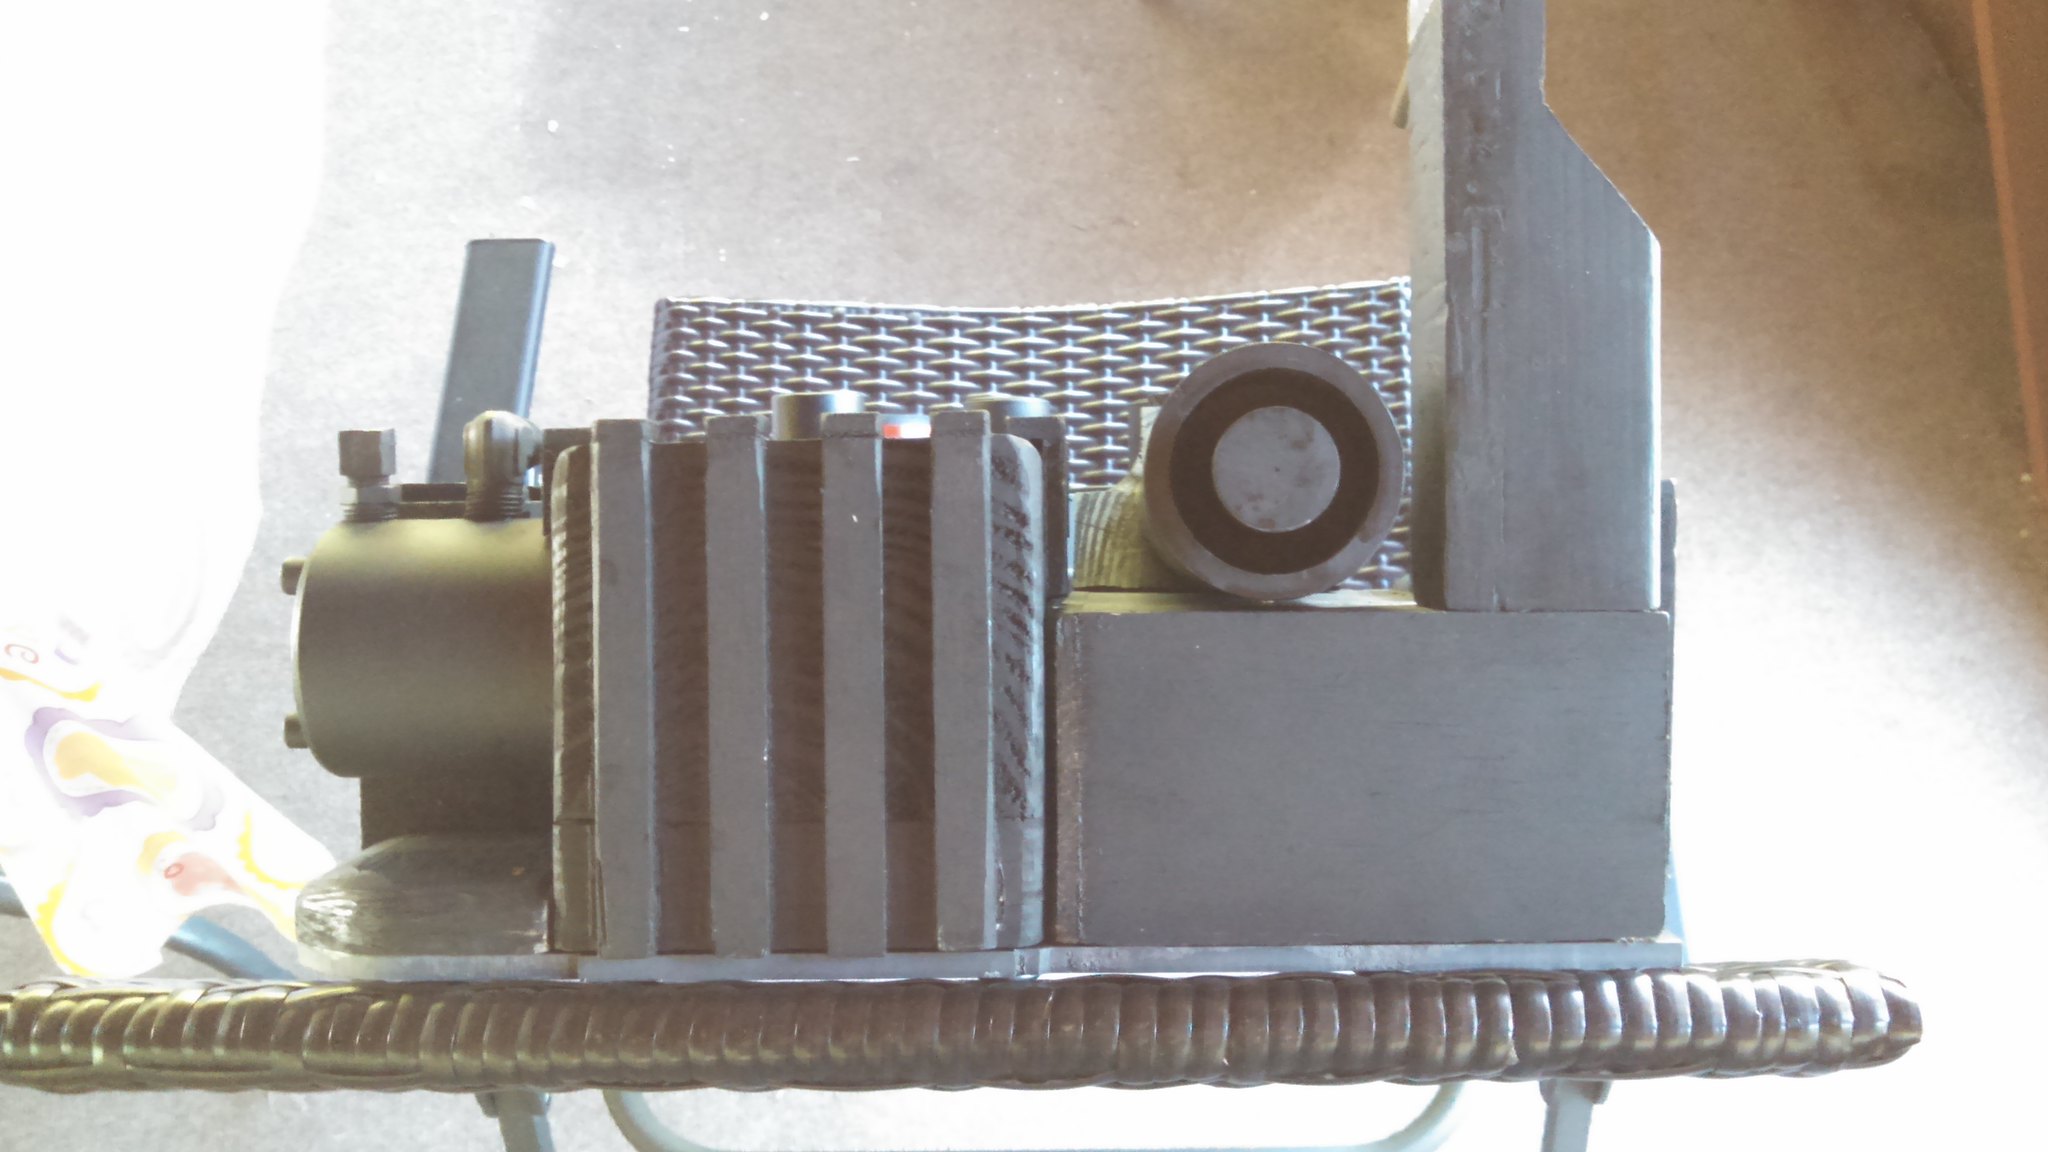
Here is my progress thus far. Looks fairly decent. Not entirely screen acurate..but it will do for my first pack. I’ll be making a second one for my kid at the 80% scale for him. I’m doing the Wand and his pack this week. I’m still missing a few pieces such as my ribbon cable and the clippard valves and I’m trying to find the somewhat correct fittings, as I have just temporary fittings in place. The Alice frame is mounted using studs on the bottom and a carriage bolt at the top. Must say its very comfortable to wear and its a hair under 17 pounds so its pretty light and extremely durable. Entire thing got a coat of expoxy resin before getting painted and has ALOT of sintatic foam so this sucker will double as a floatation device if I ever get thrown overboard. Entire thing can be unbolted as everything is individual parts, so I can pull whatever part I want off to modify or replace. The stickers/lablels..They seemed to be a bit big or not sized right but probably a screw up on my part but its looks alright nevertheless and I’ll fix it some other time as I can just rip them off and sand and repaint the spot.
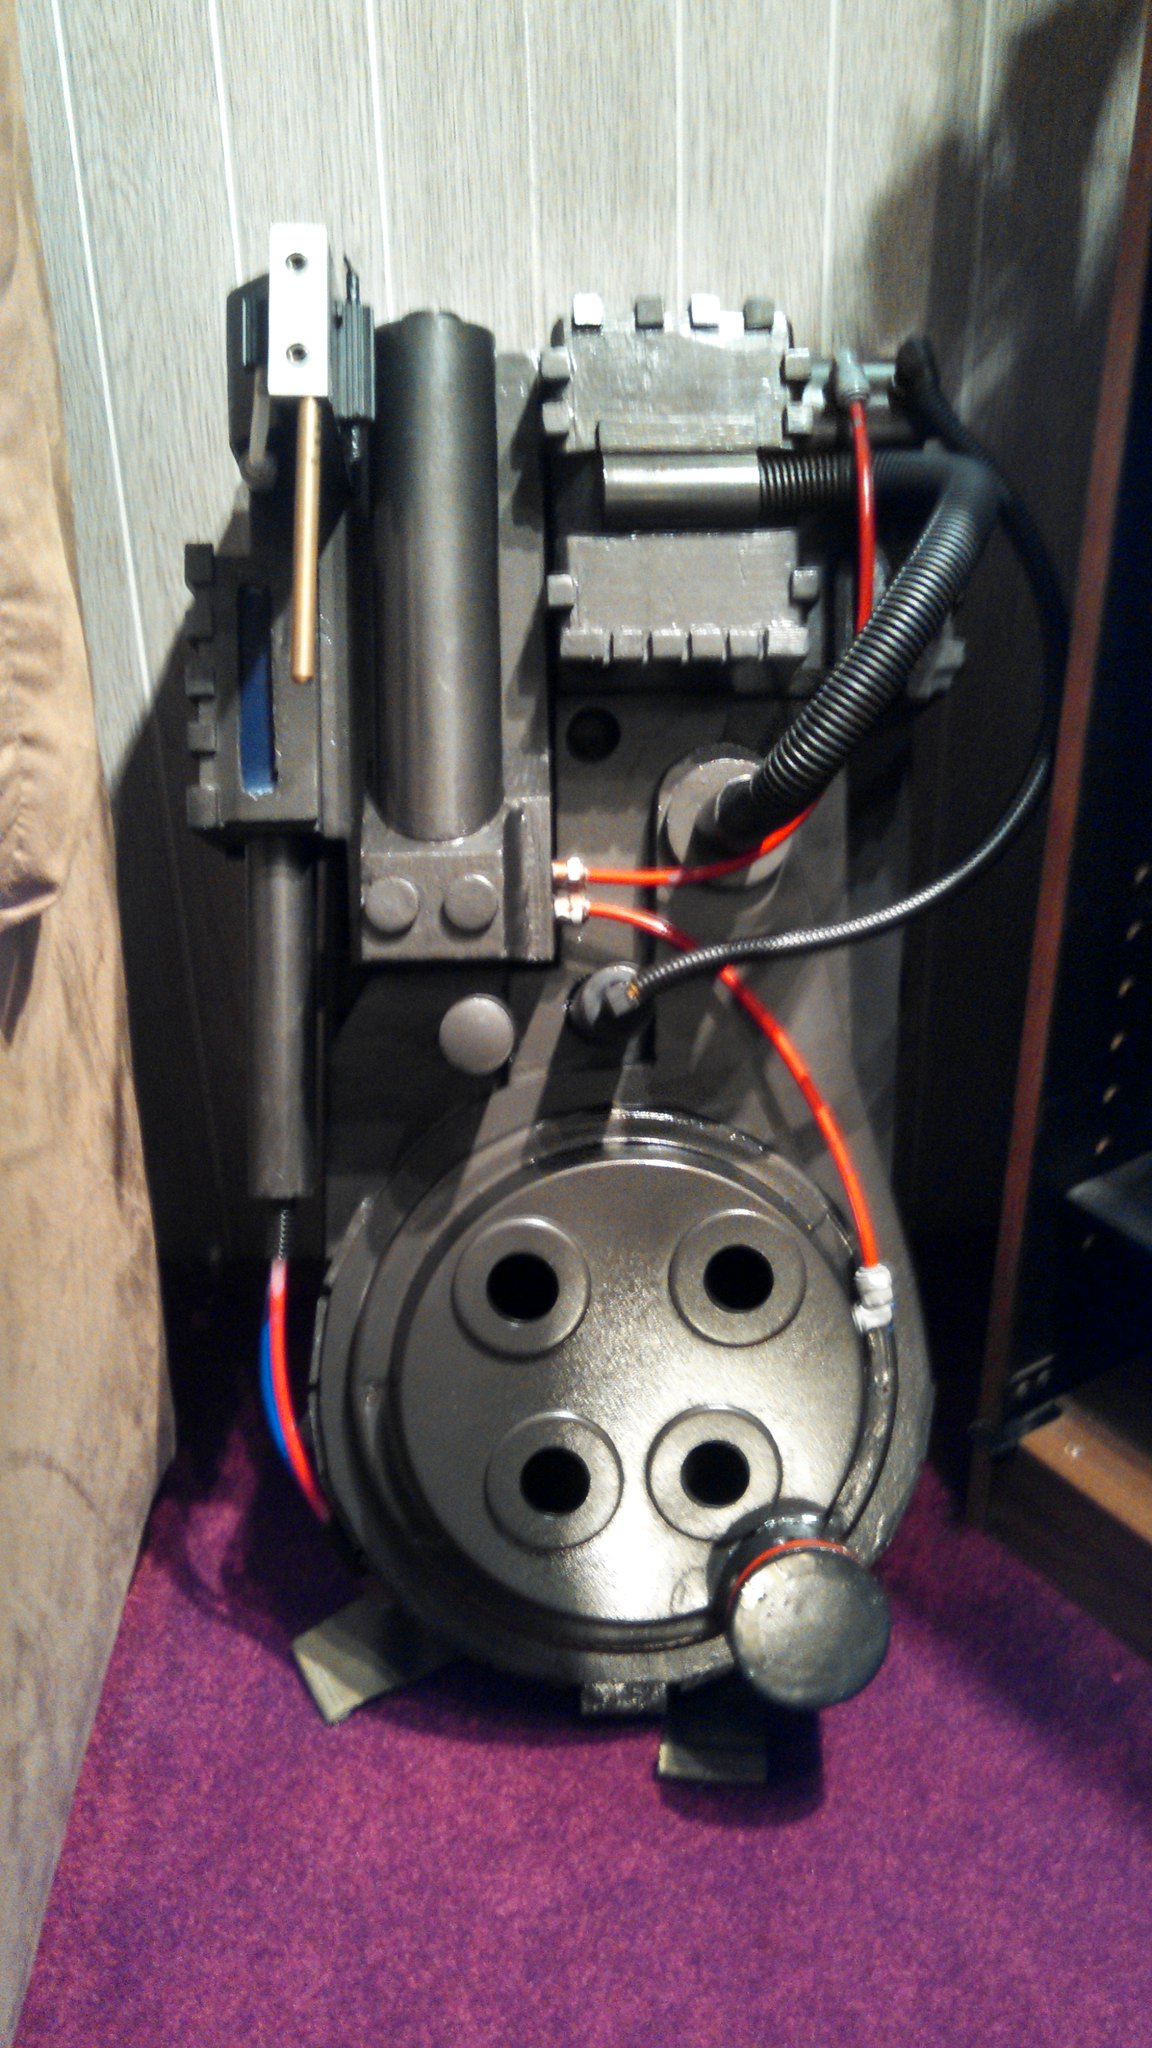
imageIMG_20150915_193734_102 by Tom Cahoone, on Flickr
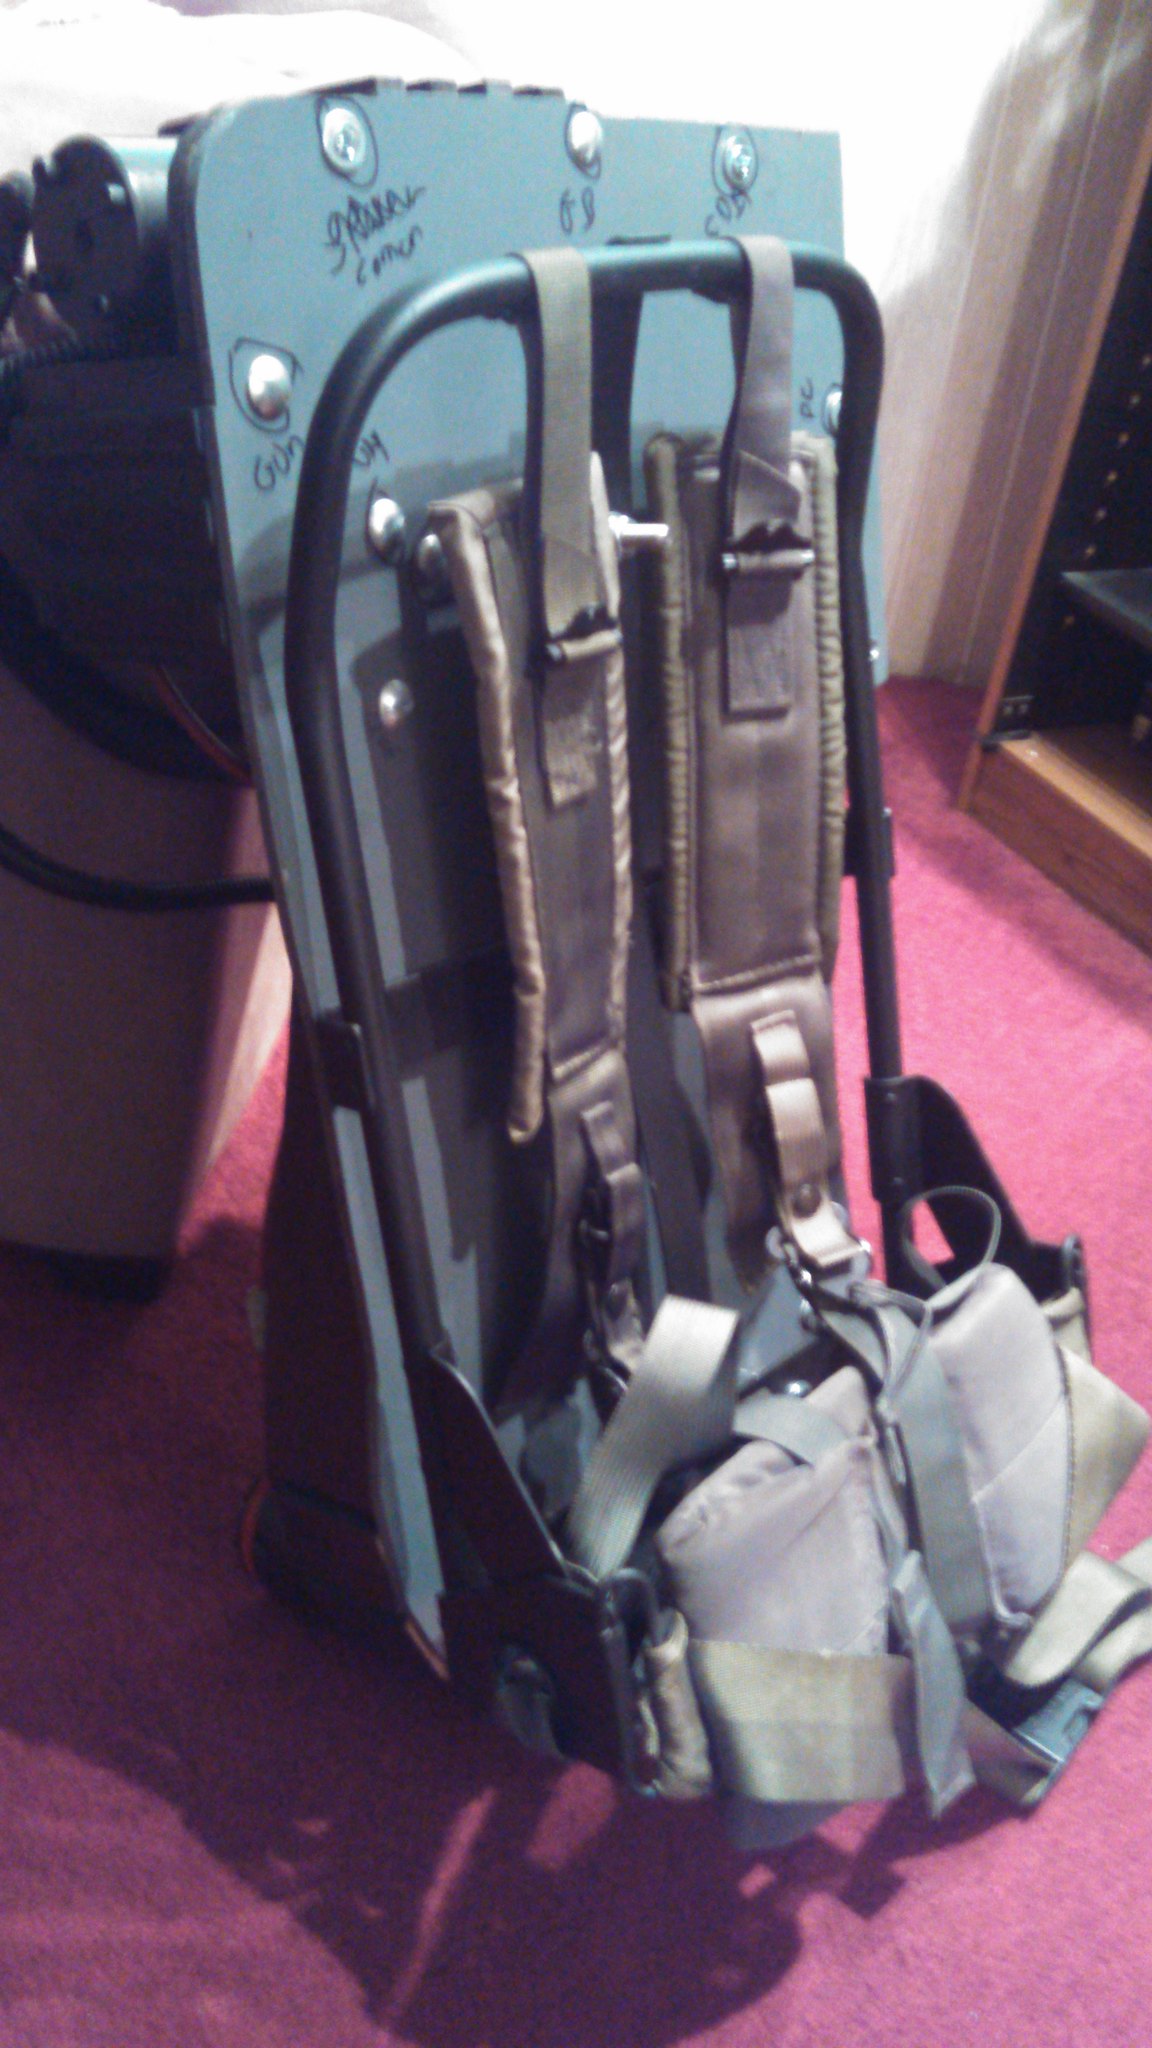
imageIMG_20150915_193800_753 by Tom Cahoone, on Flickr

The bumper looks HORRID but as I said before I suck at wood working so this will do until I can learn how to use the router correctly. Its 3 pieces just joined together and painted then routed to make grooves. Helicoils are my best friend so the bellow just screws on and off. Needs to be painted yet anyway.
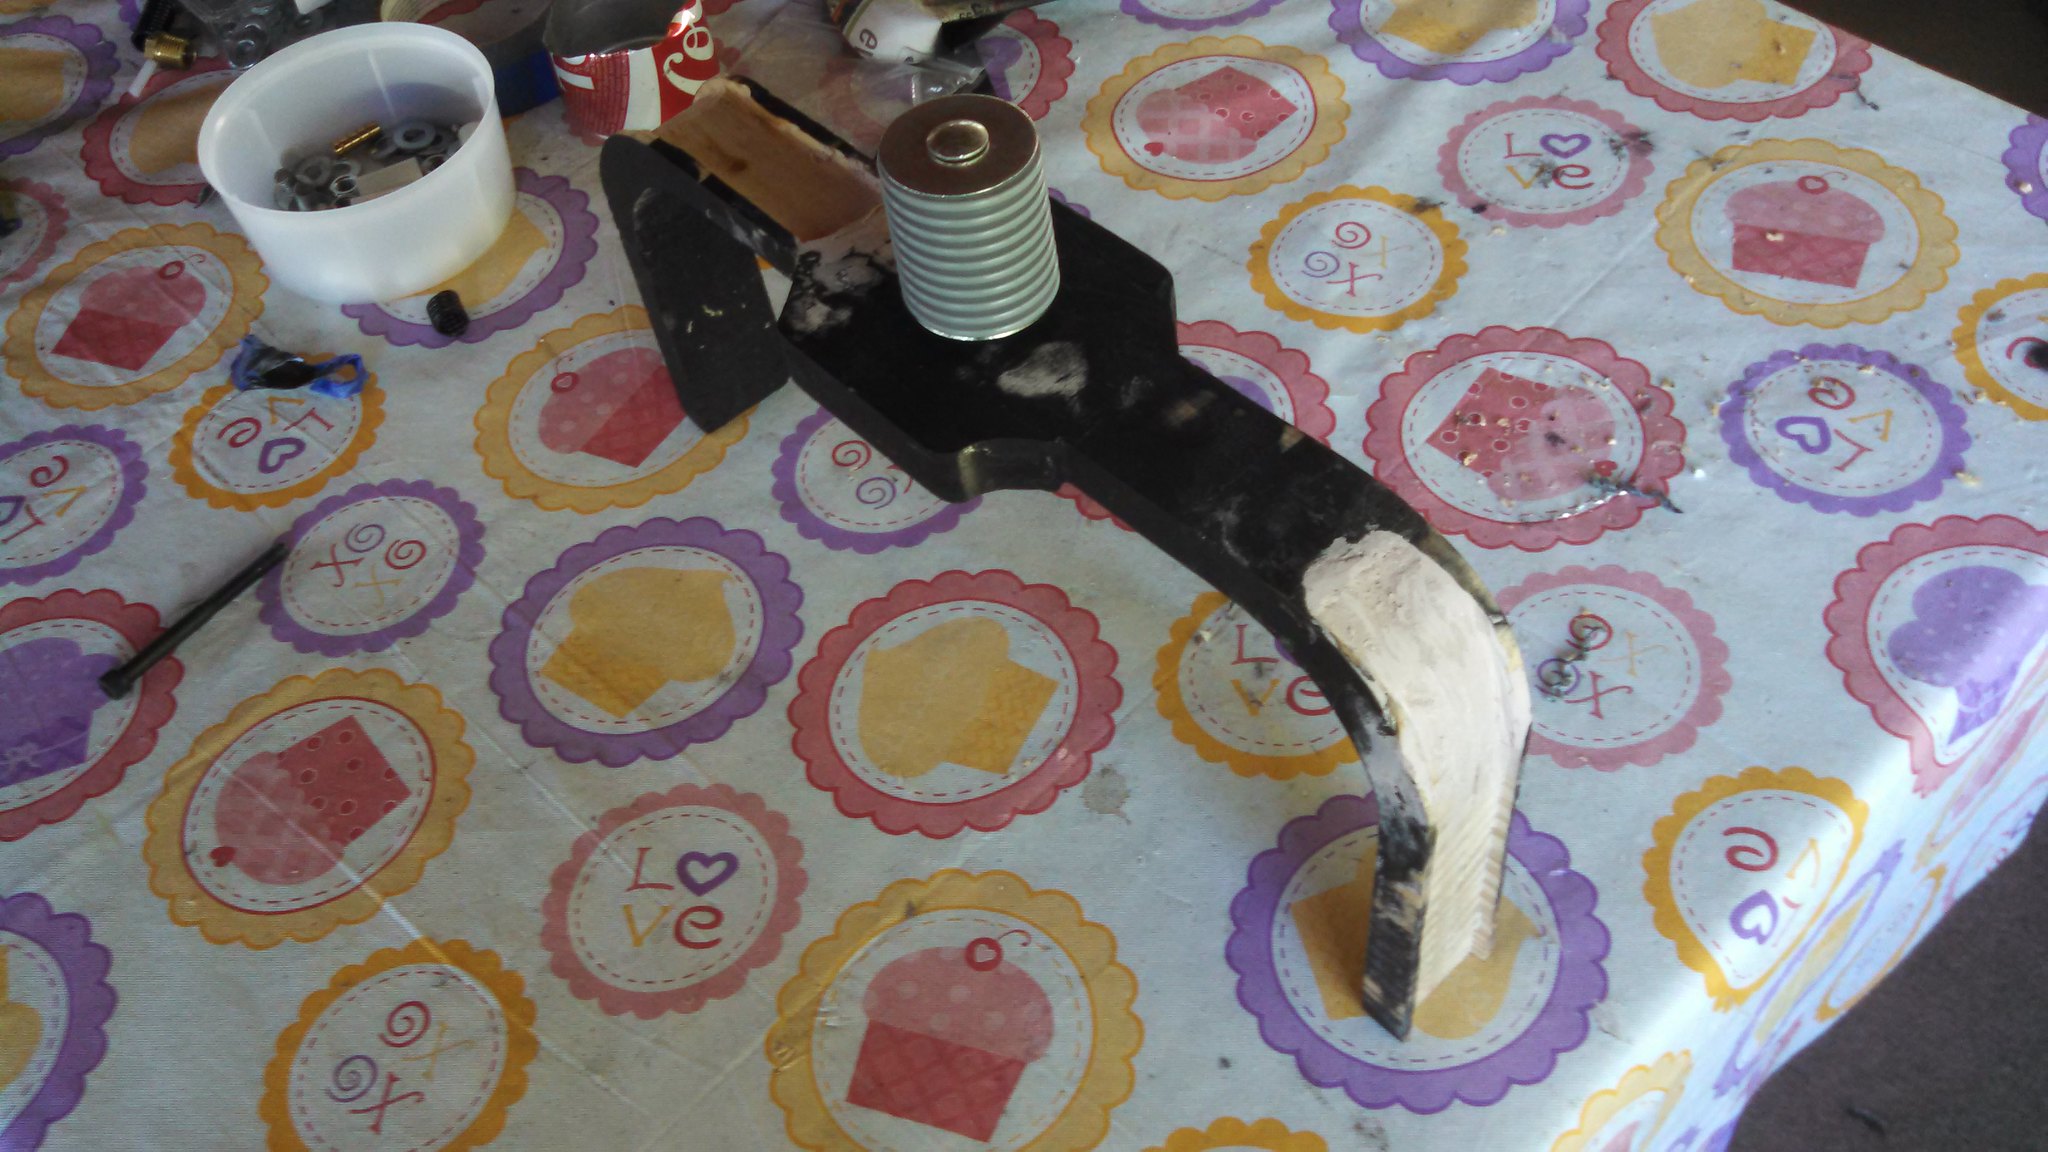
imageIMG_20150916_162156_429 by Tom Cahoone, on Flickr
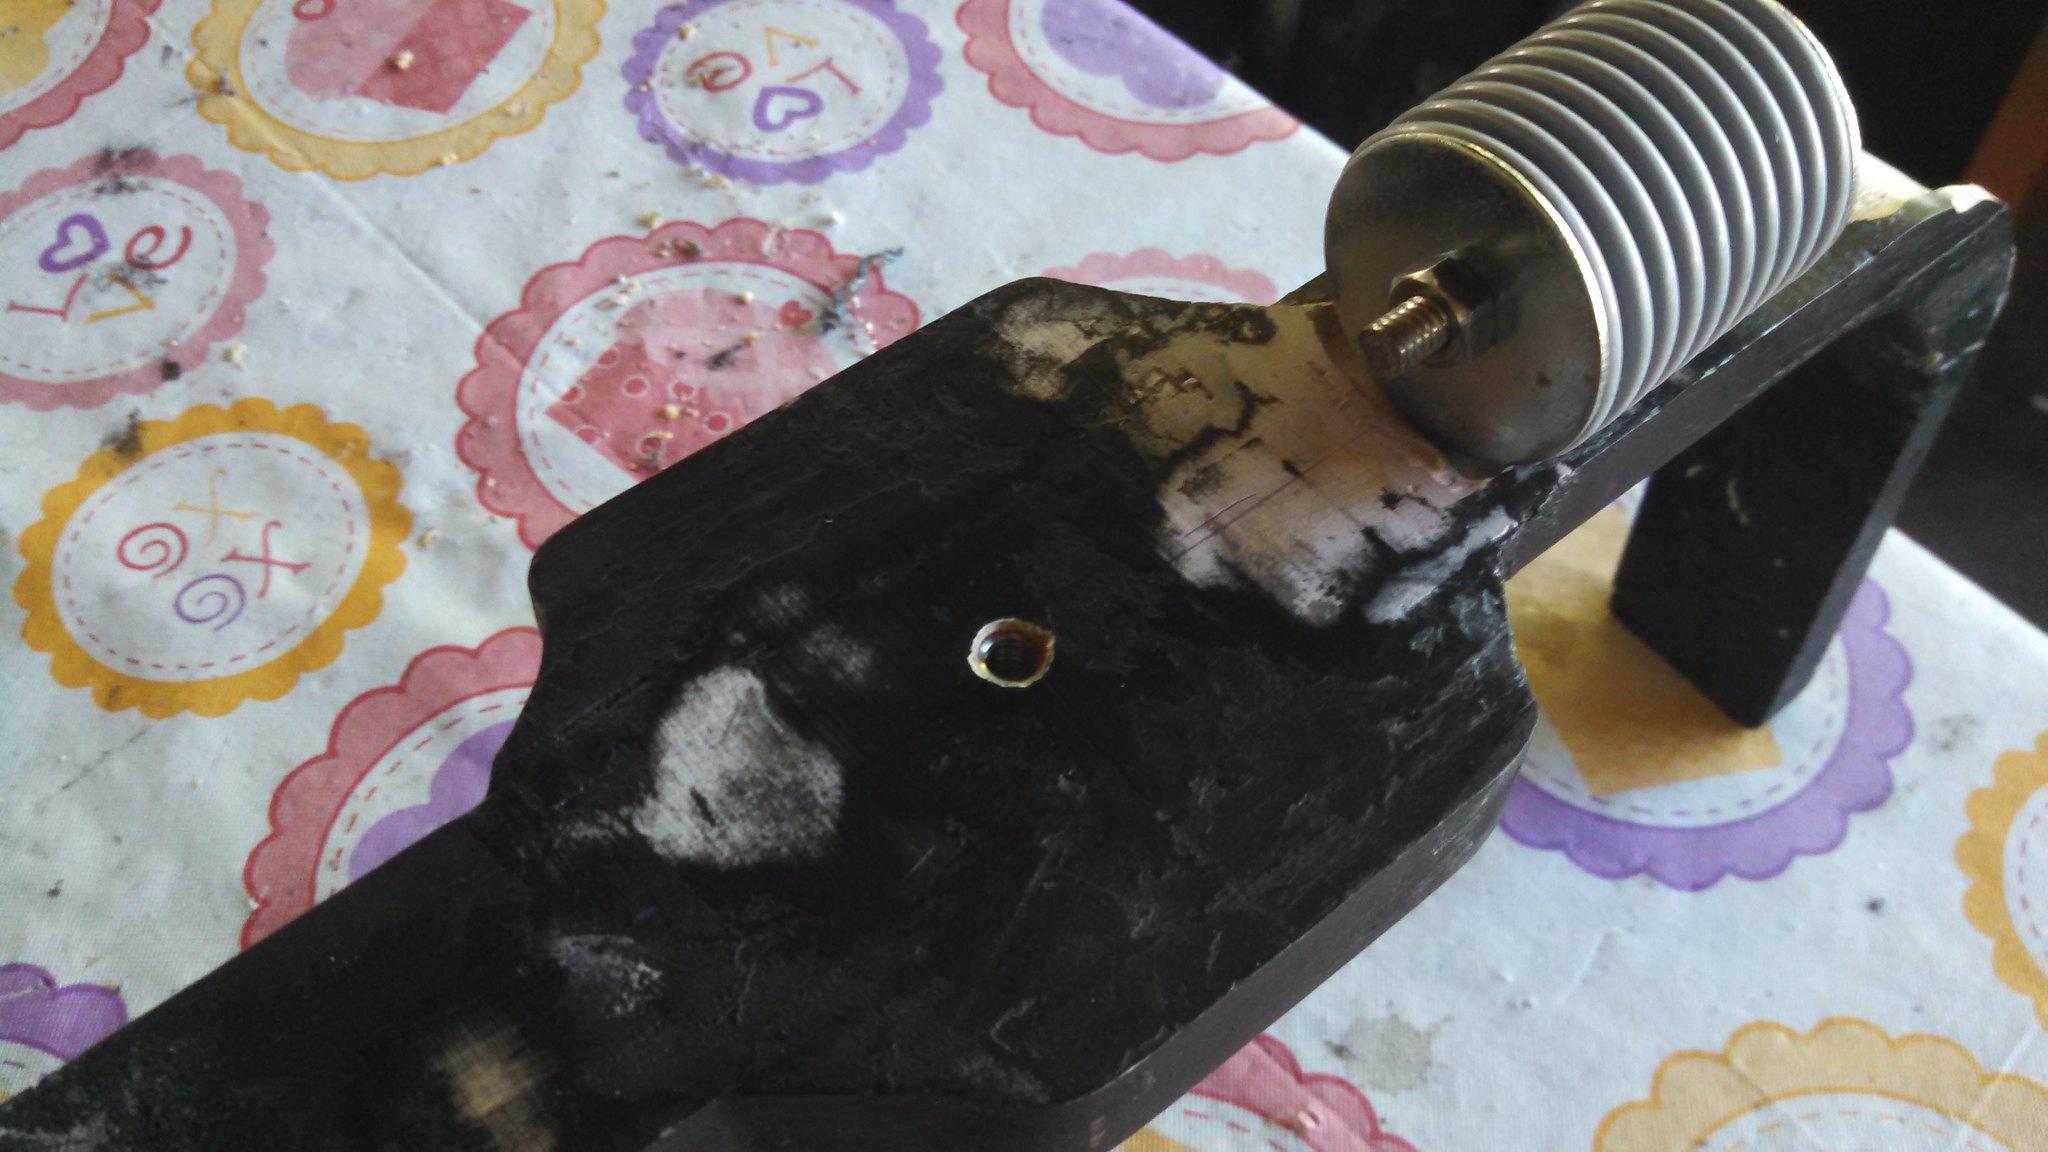
imageIMG_20150916_162247_662 by Tom Cahoone, on Flickr
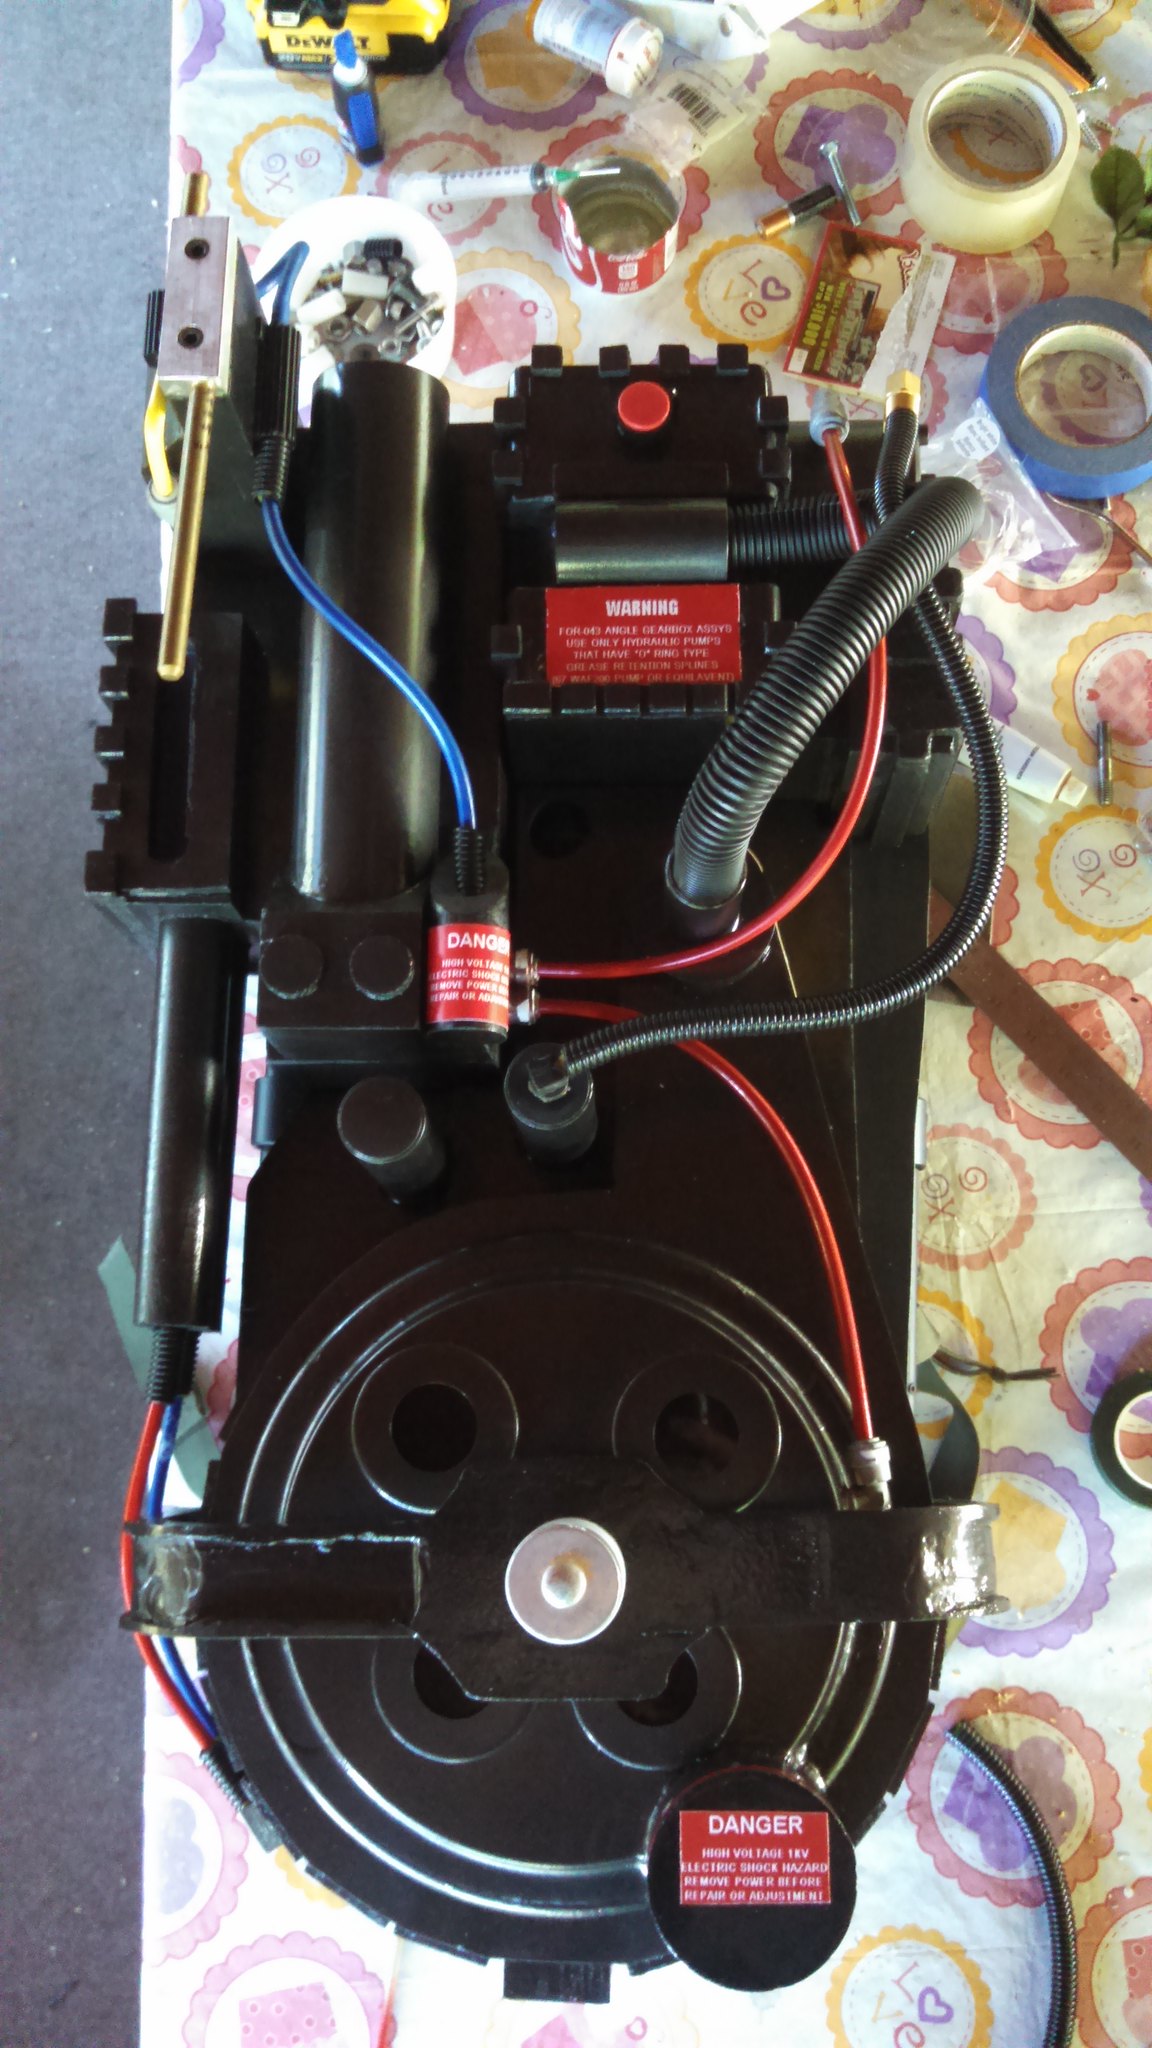
imageIMG_20150920_150800_814 by Tom Cahoone, on Flickr
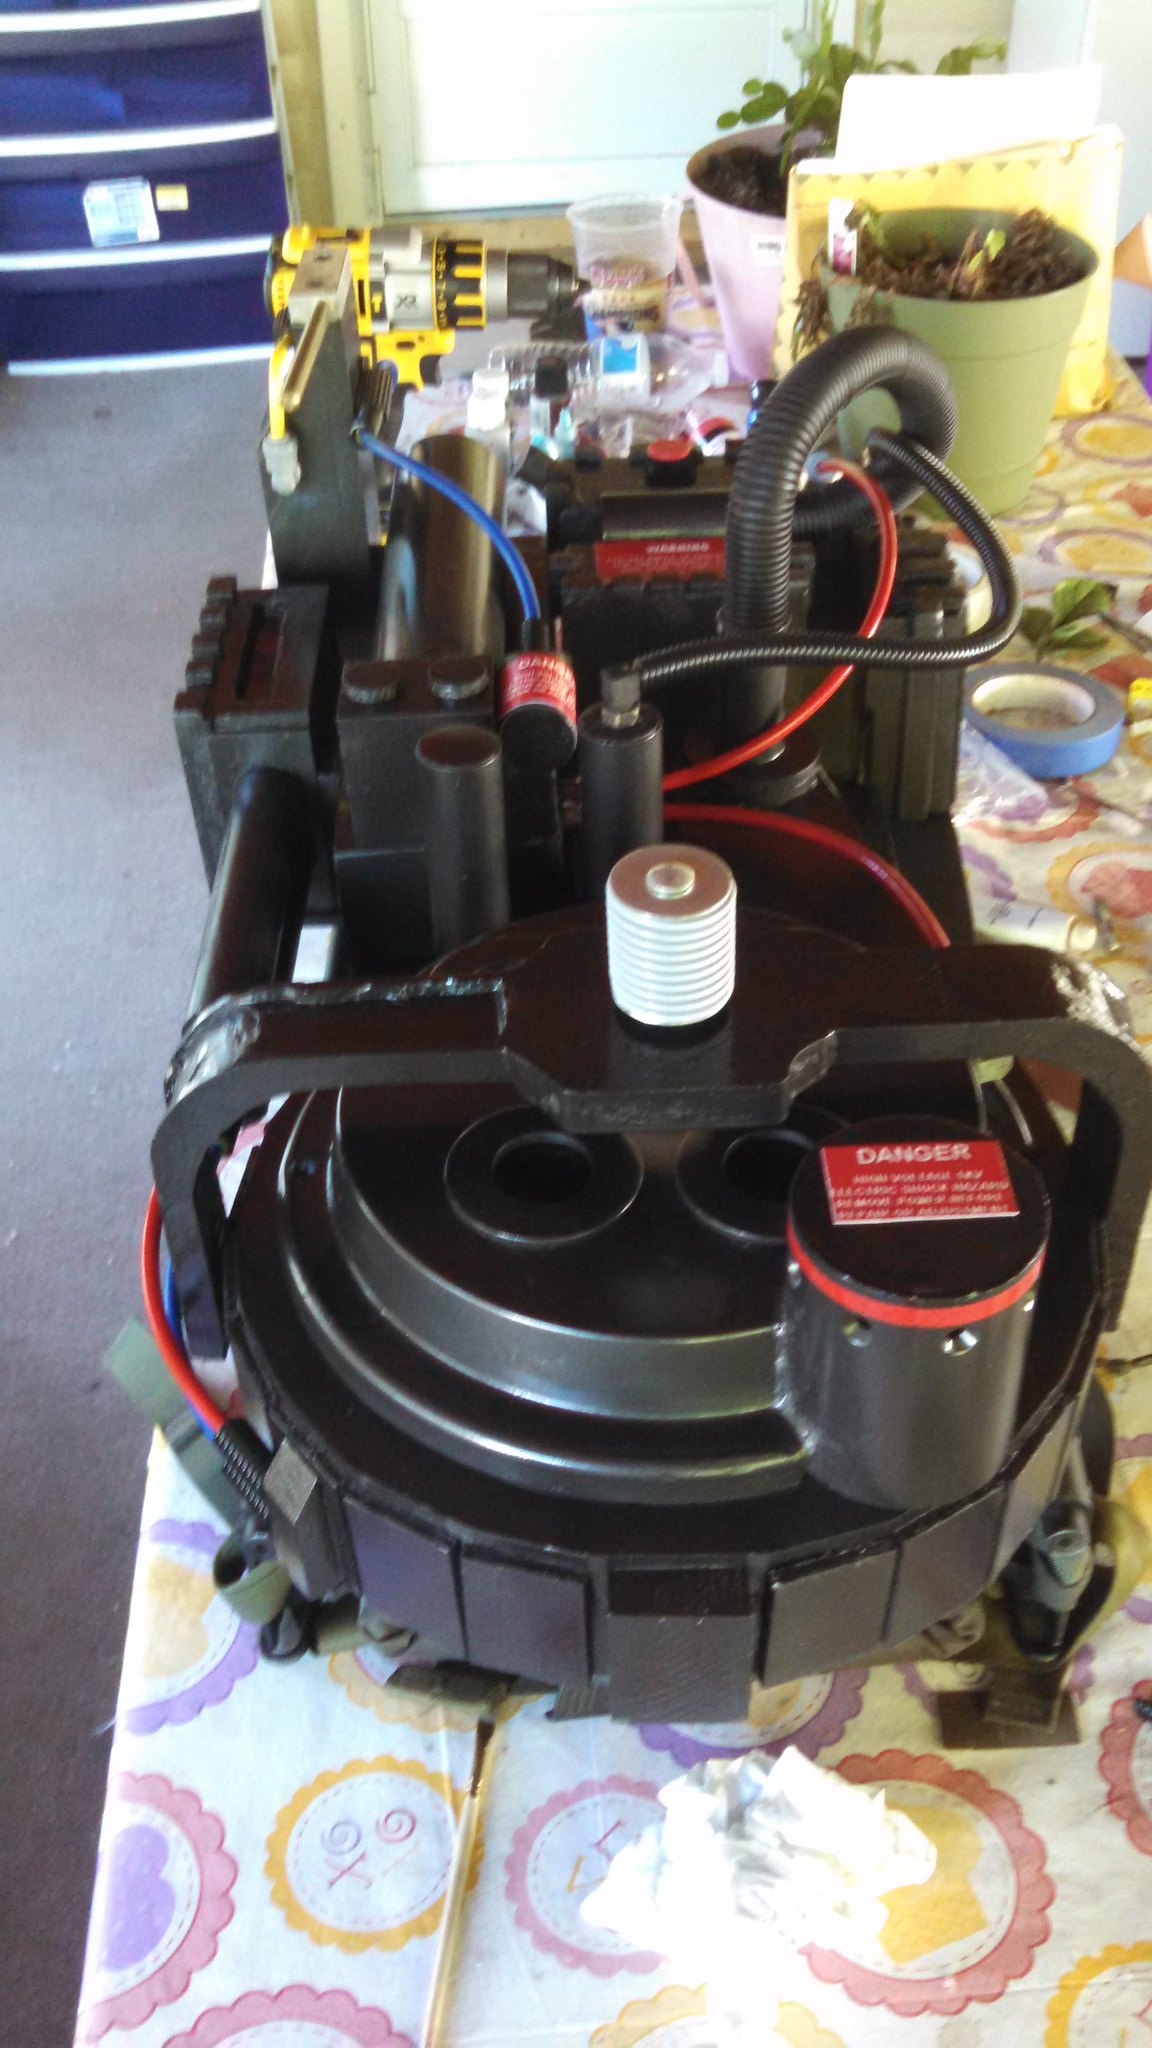
imageIMG_20150920_150819_174 by Tom Cahoone, on Flickr
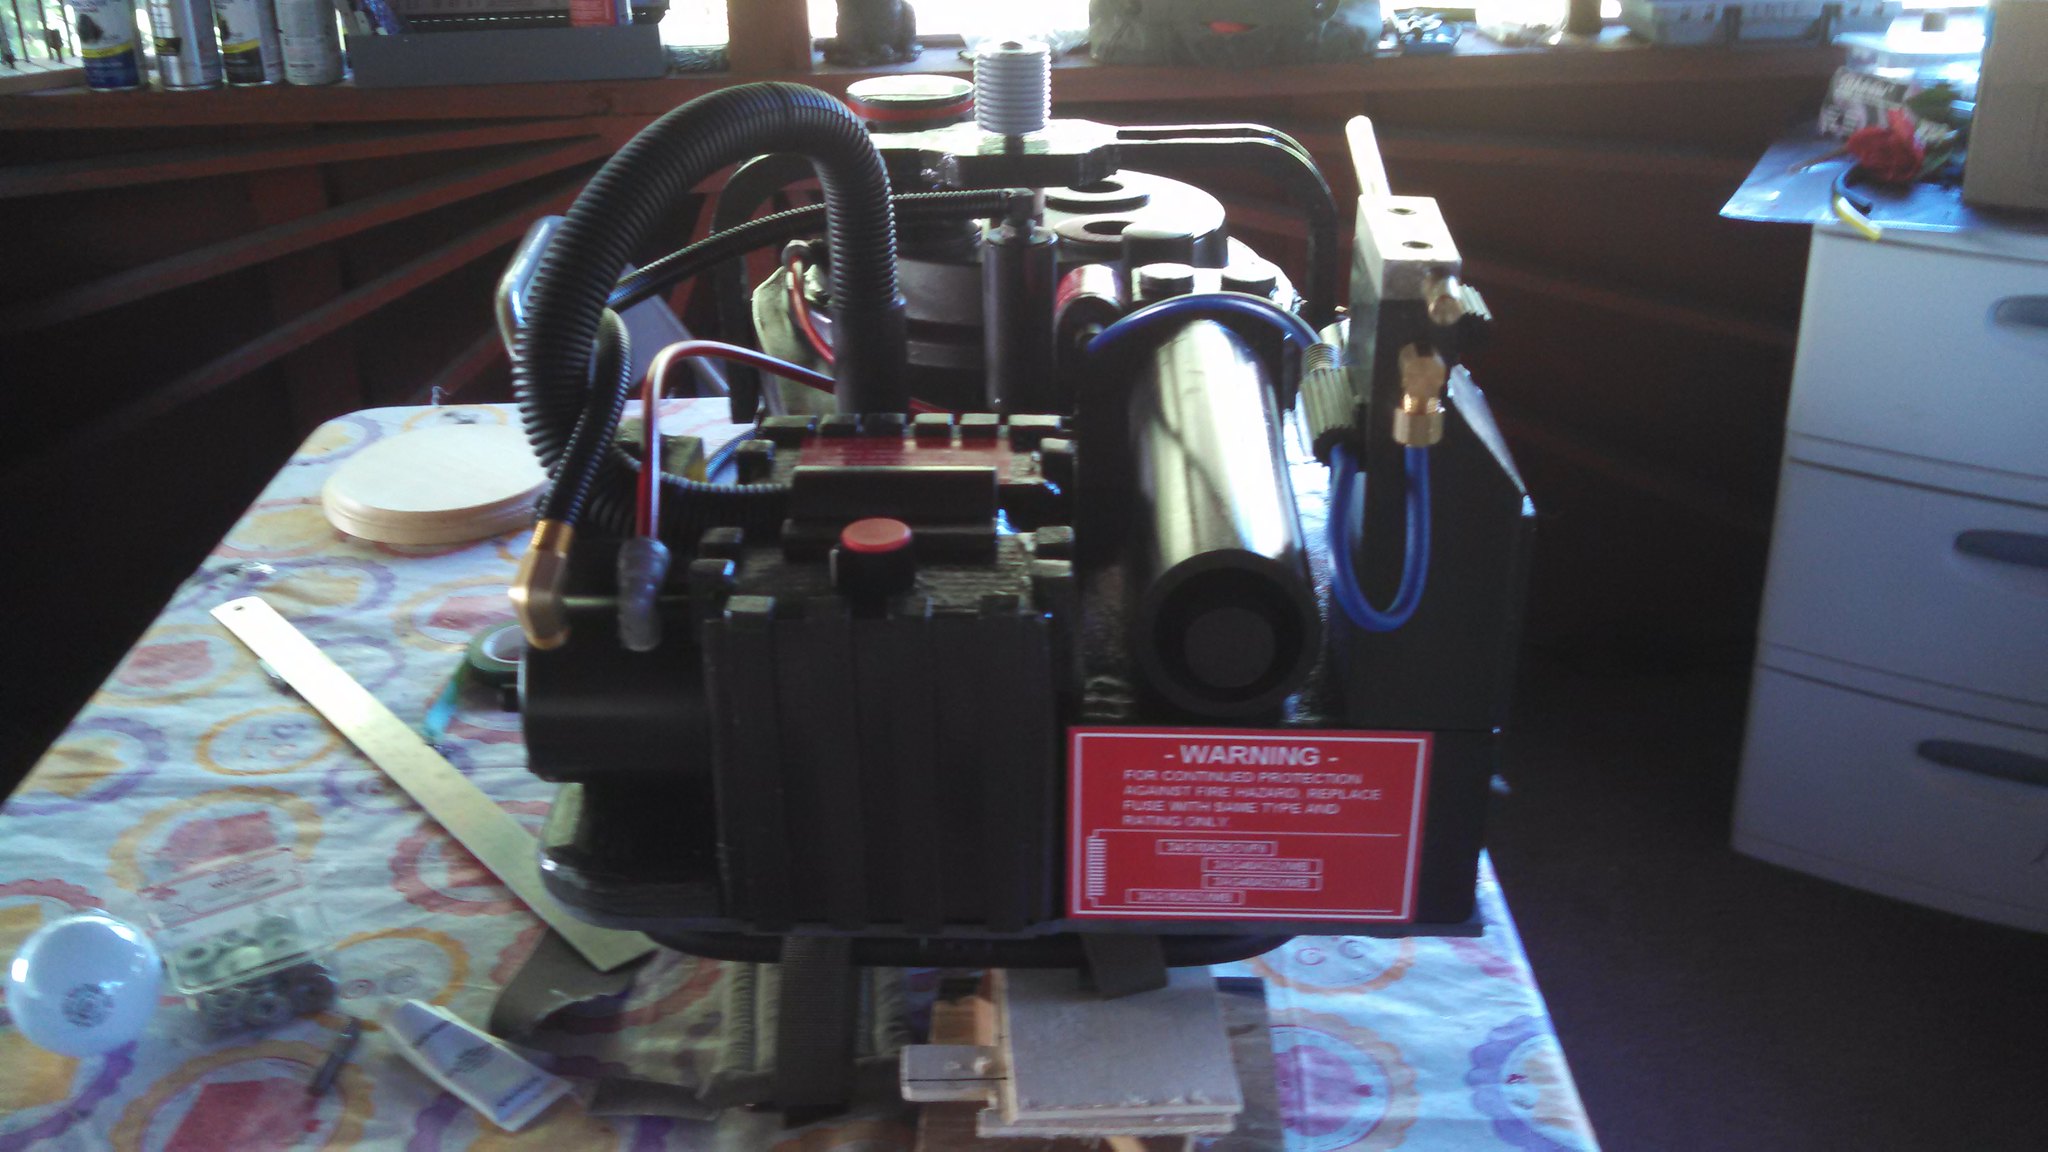
imageIMG_20150920_150836_126 by Tom Cahoone, on Flickr
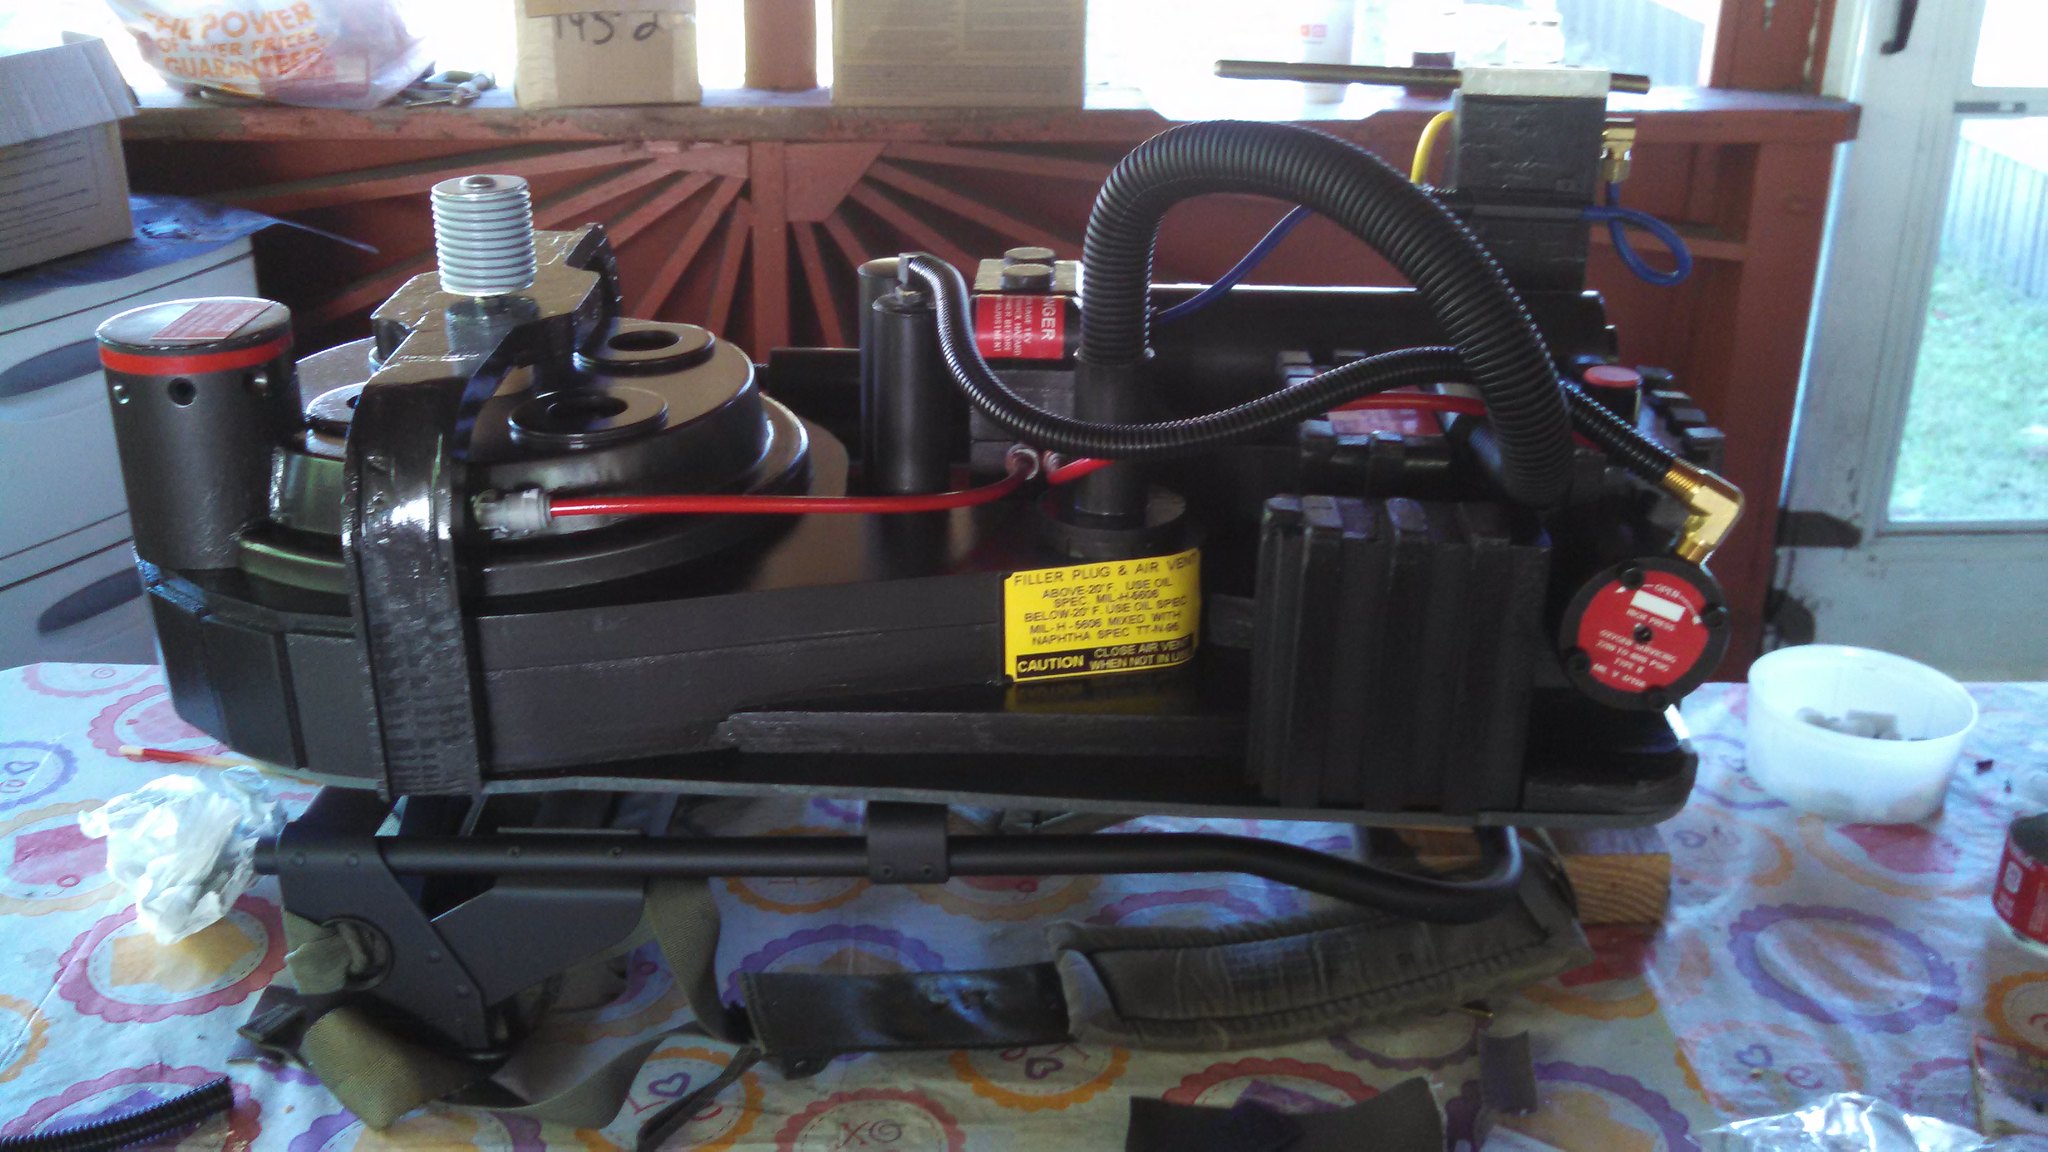
imageIMG_20150920_150849_477 by Tom Cahoone, on Flickr
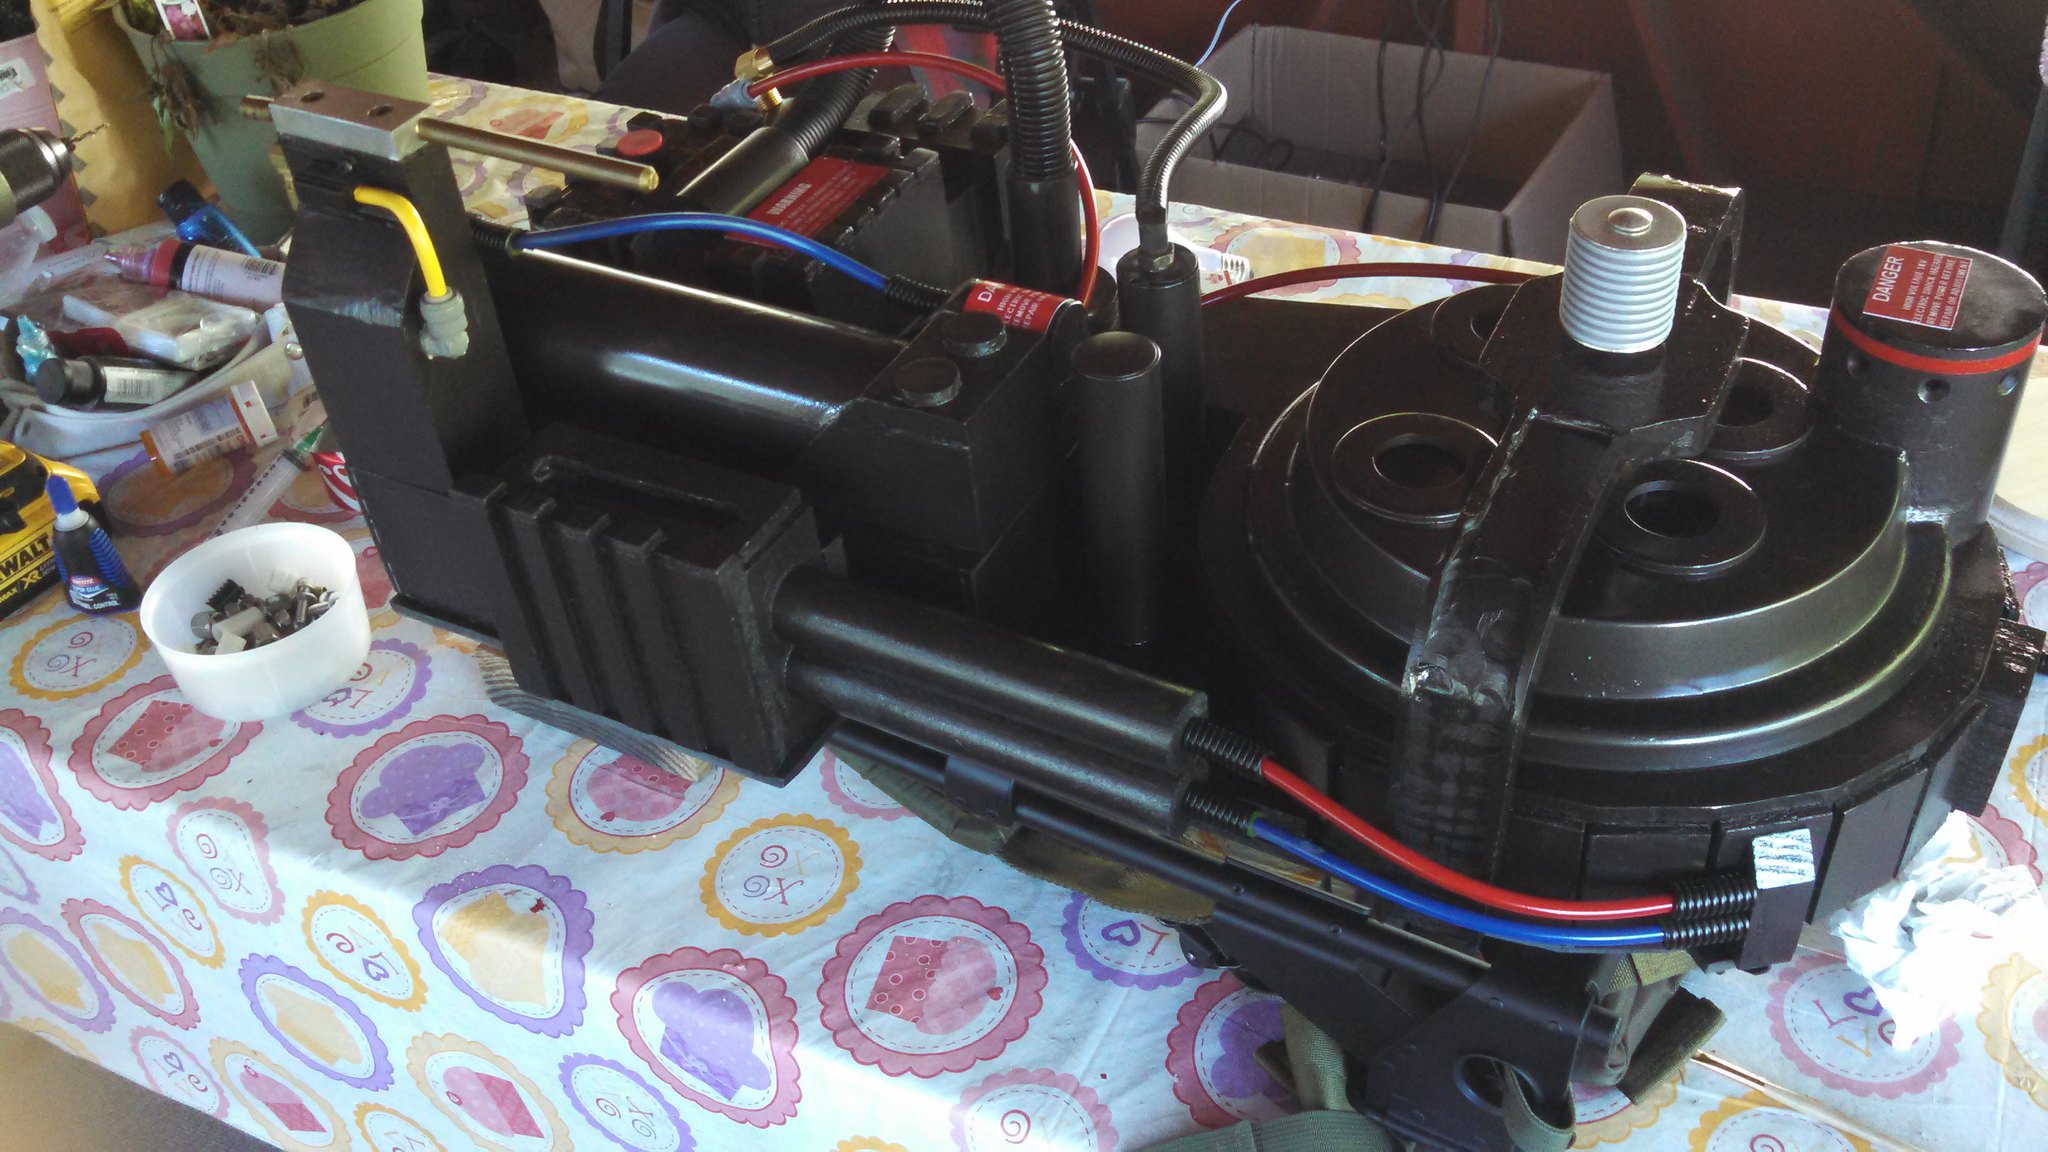
imageIMG_20150920_150913_568 by Tom Cahoone, on Flickr
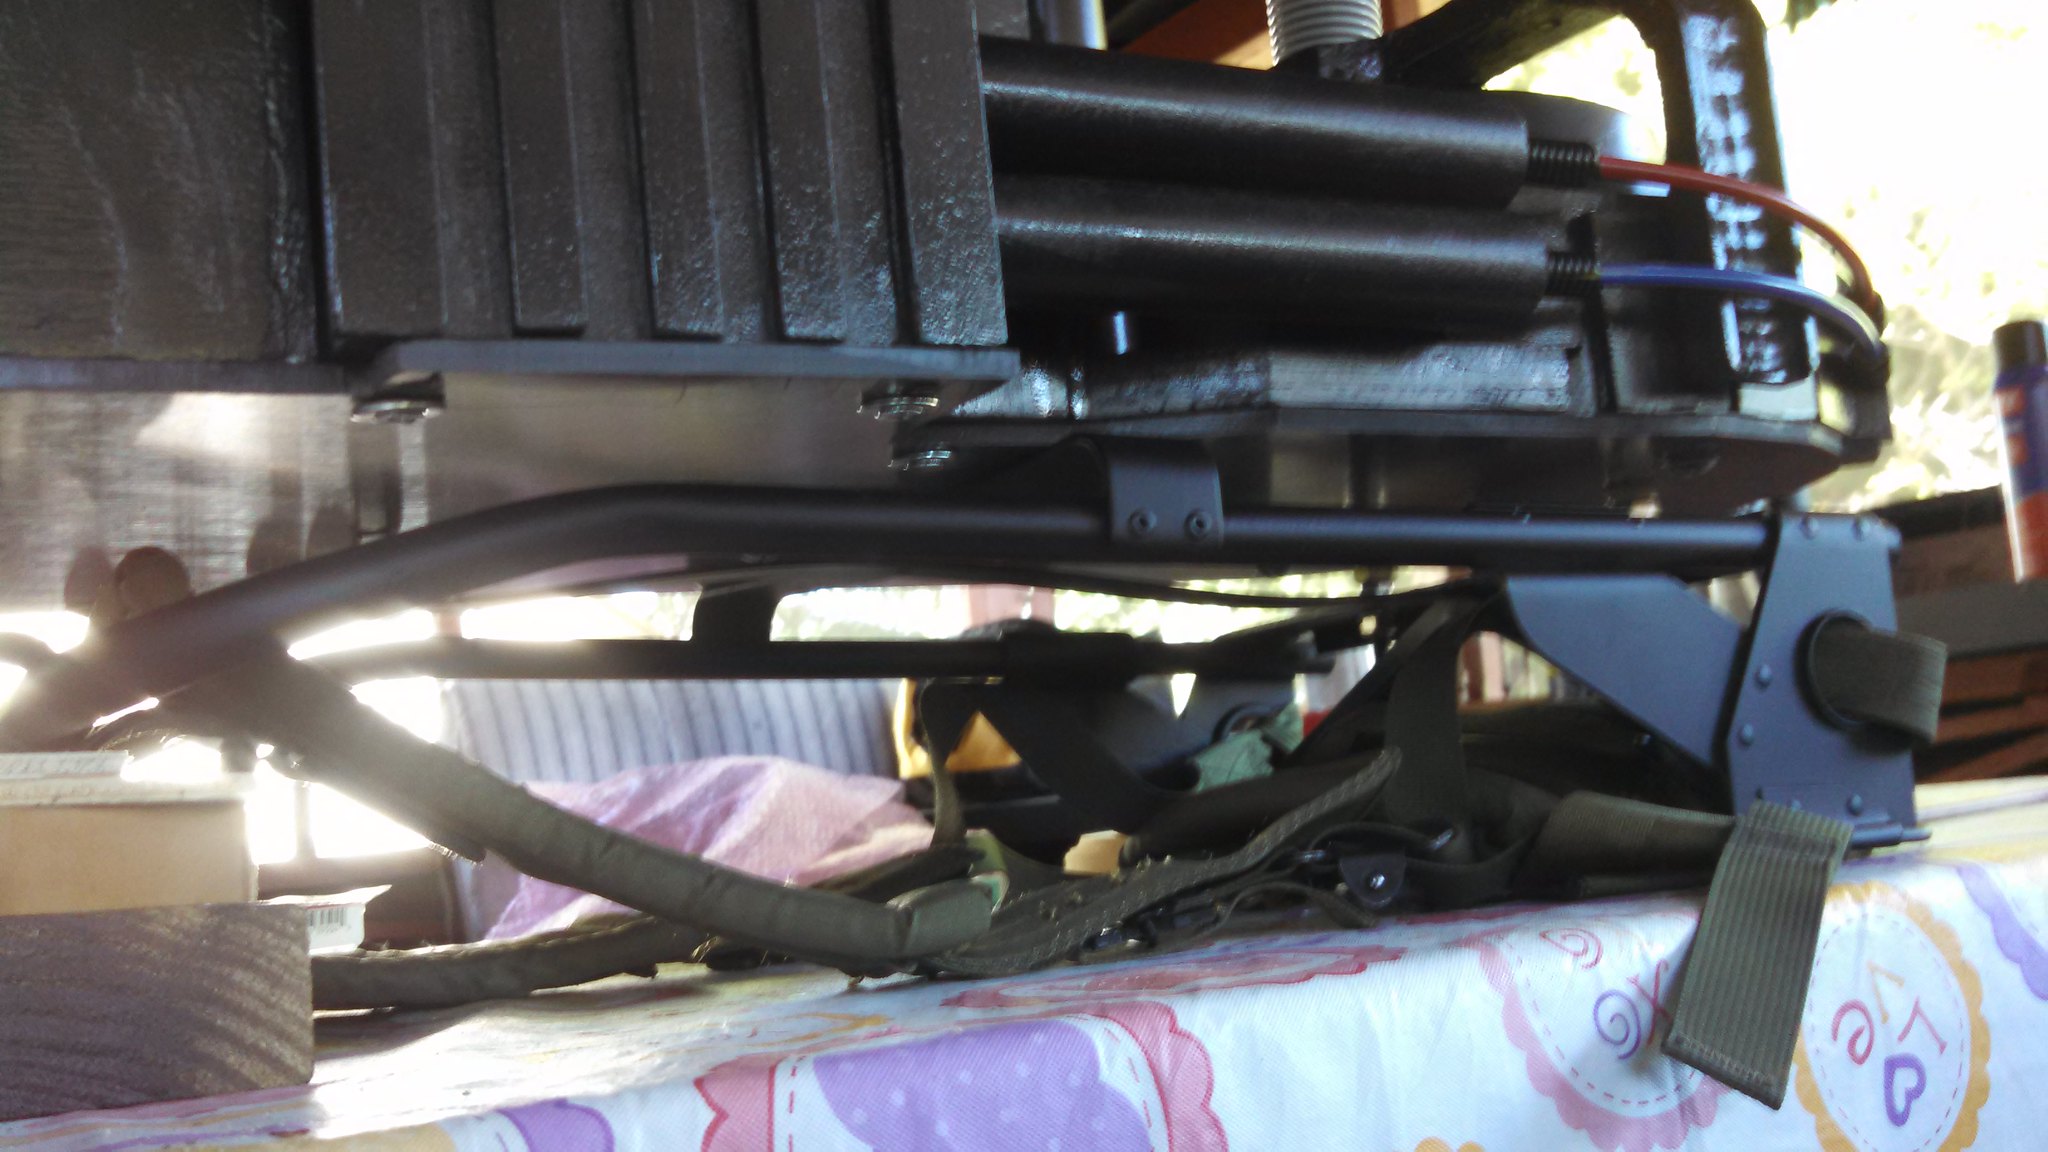
imageIMG_20150920_150927_201 by Tom Cahoone, on Flickr
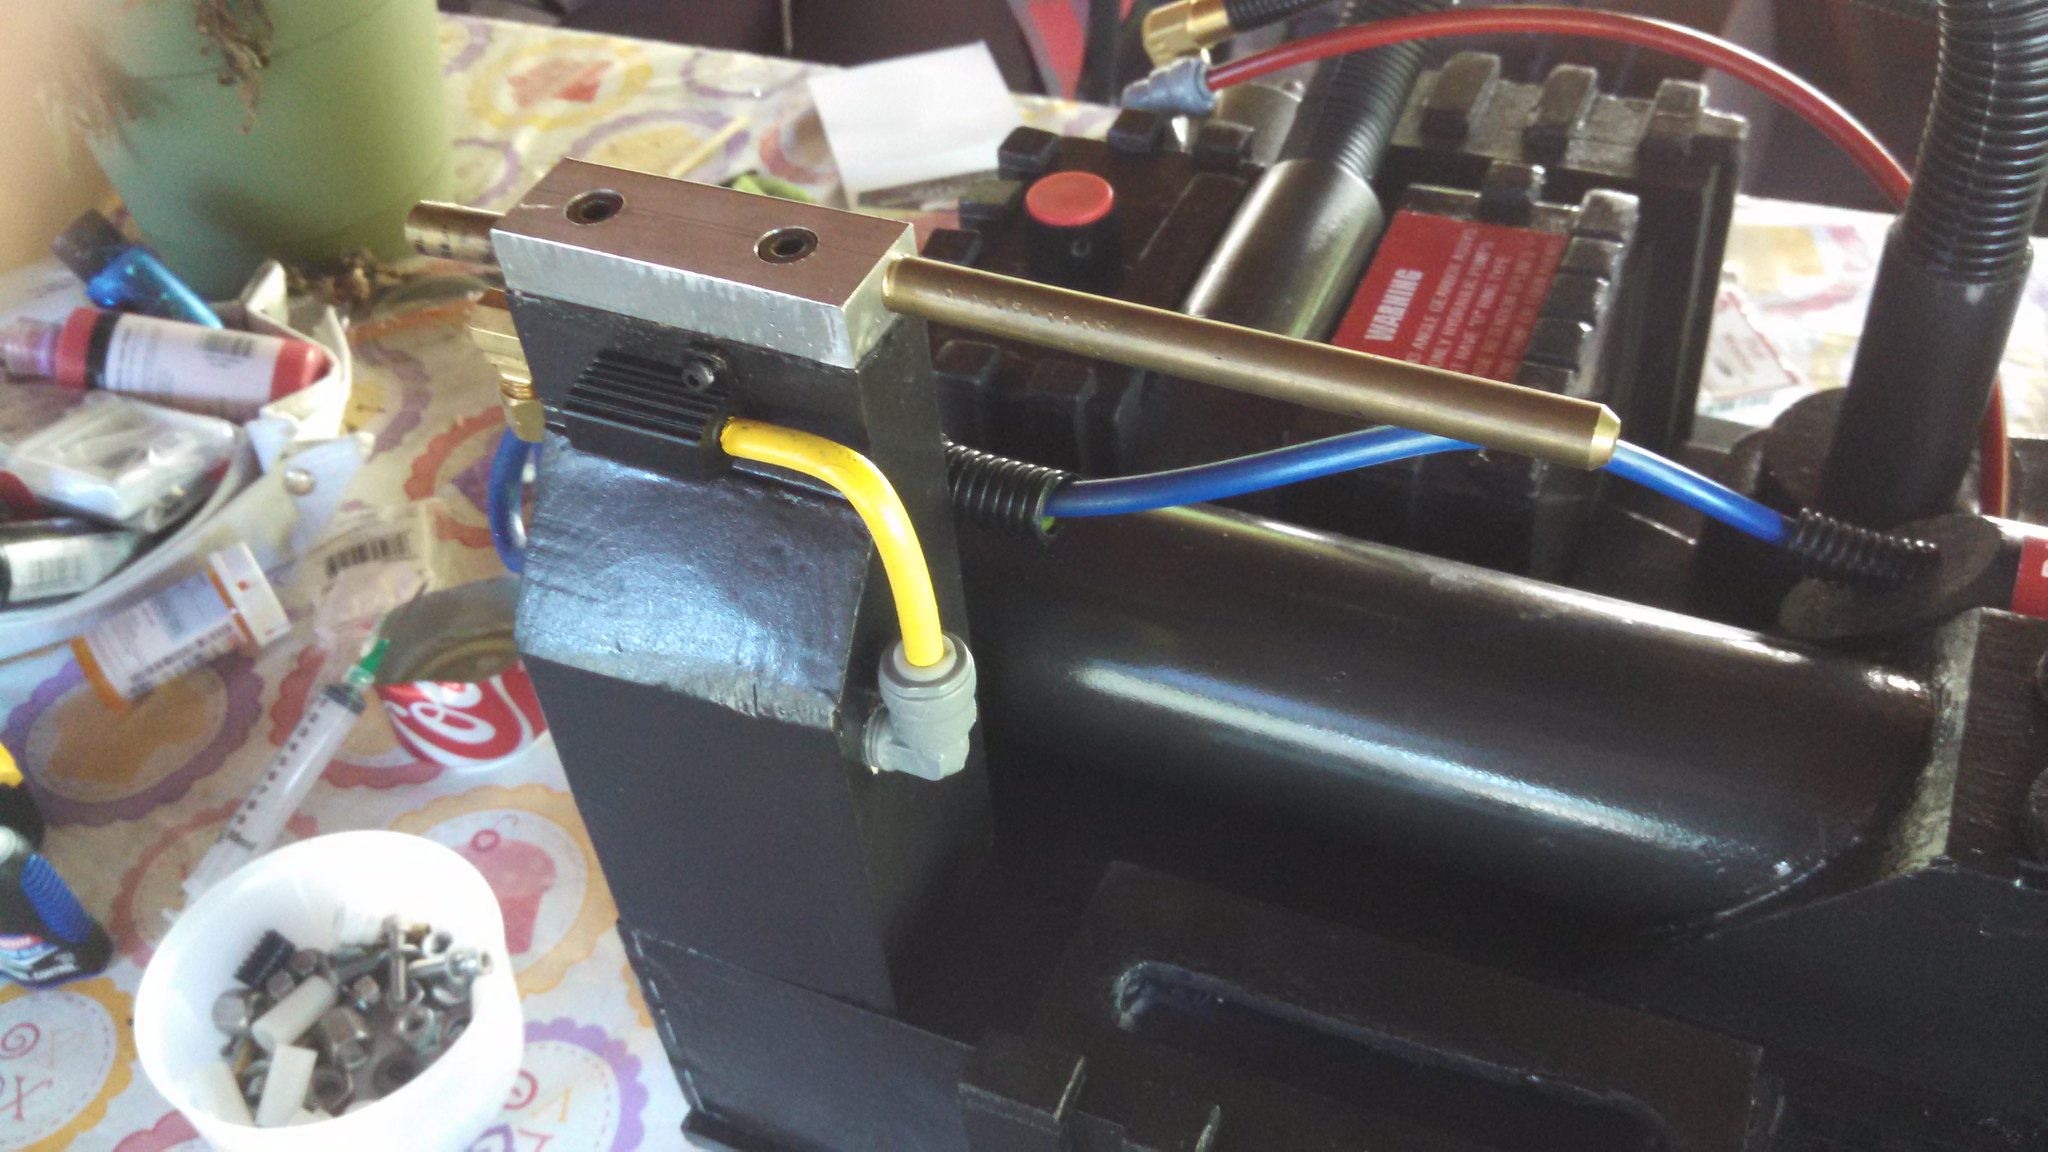
imageIMG_20150920_150933_869 by Tom Cahoone, on Flickr
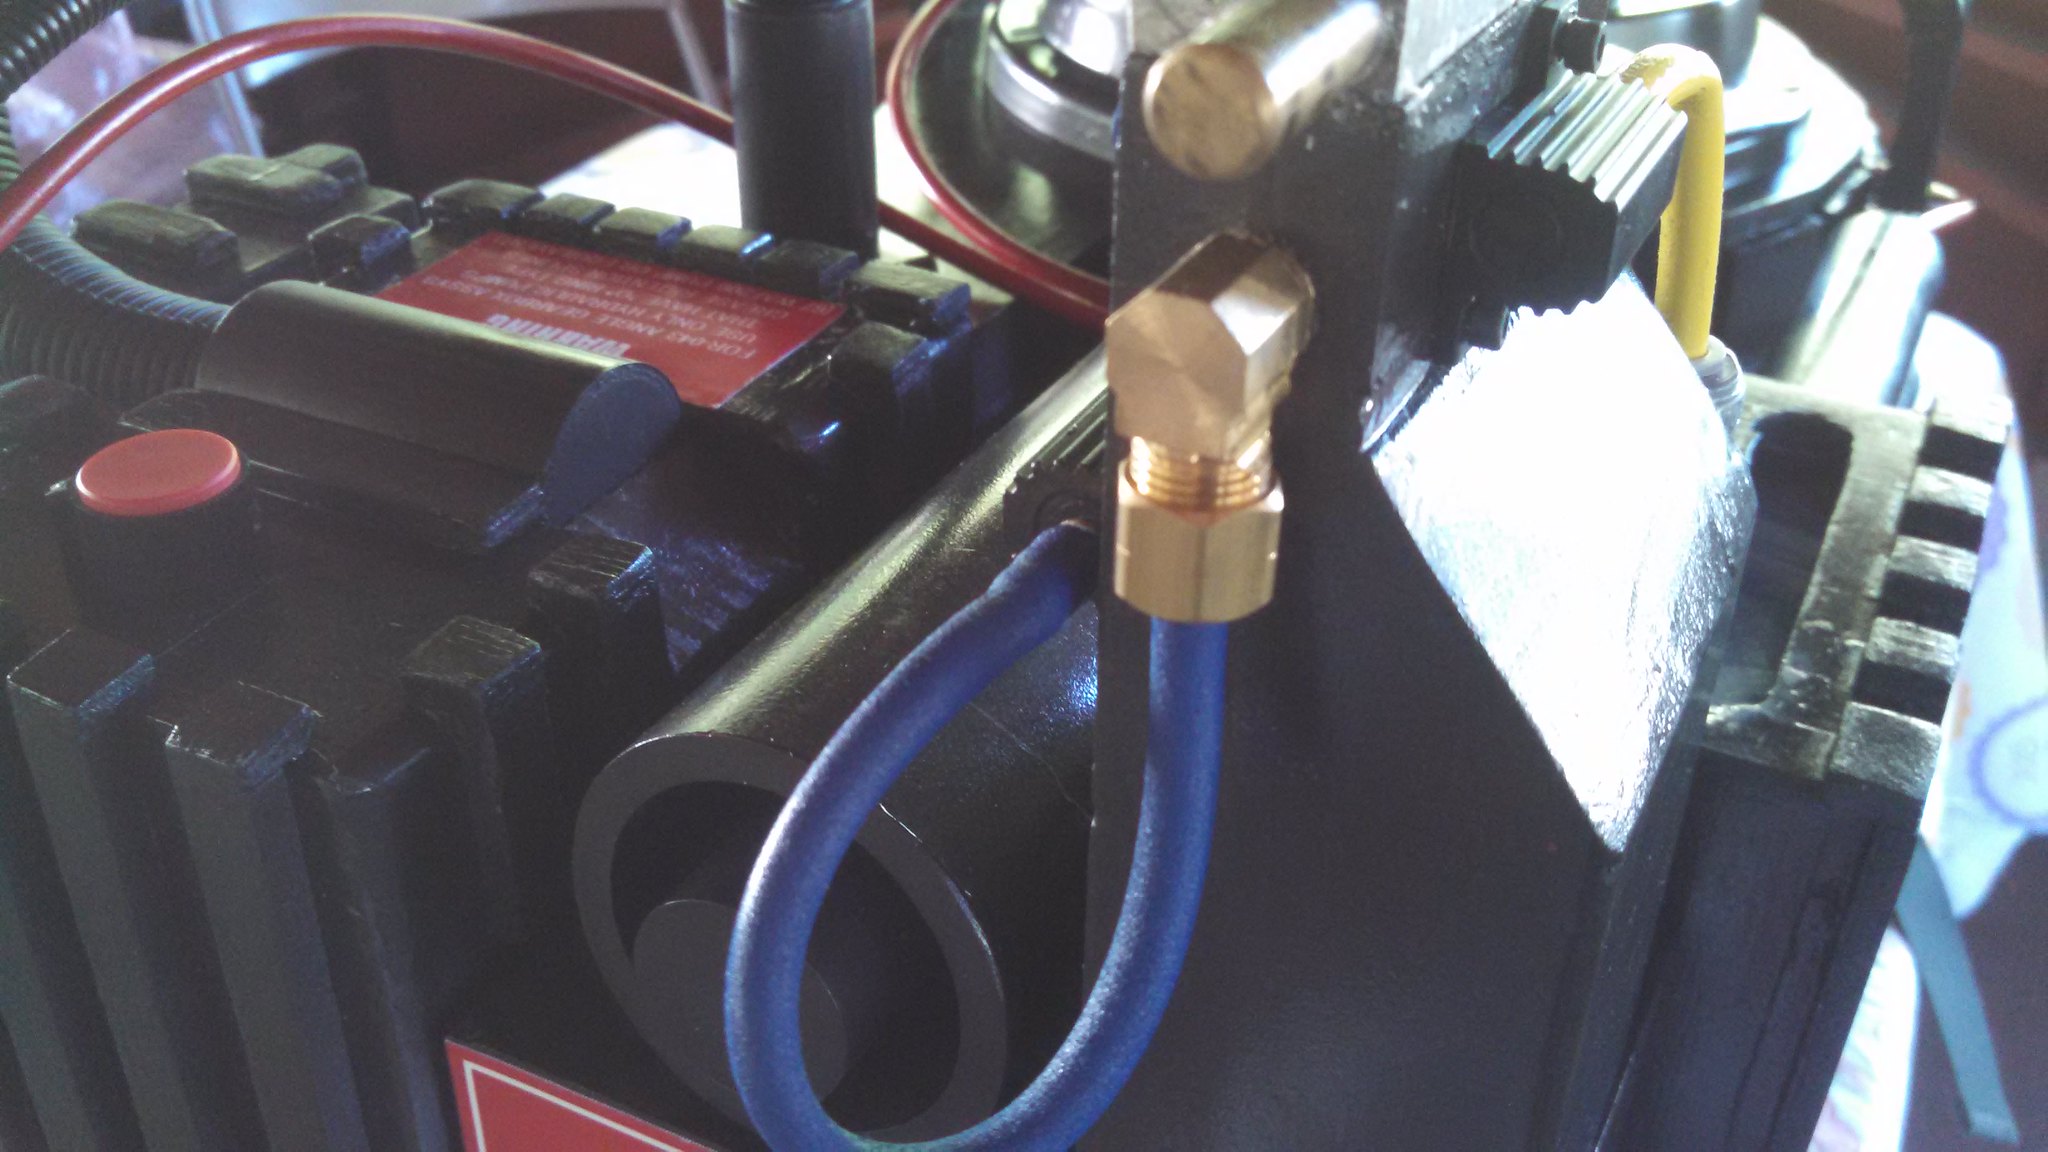
imageIMG_20150920_150943_176 by Tom Cahoone, on Flickr
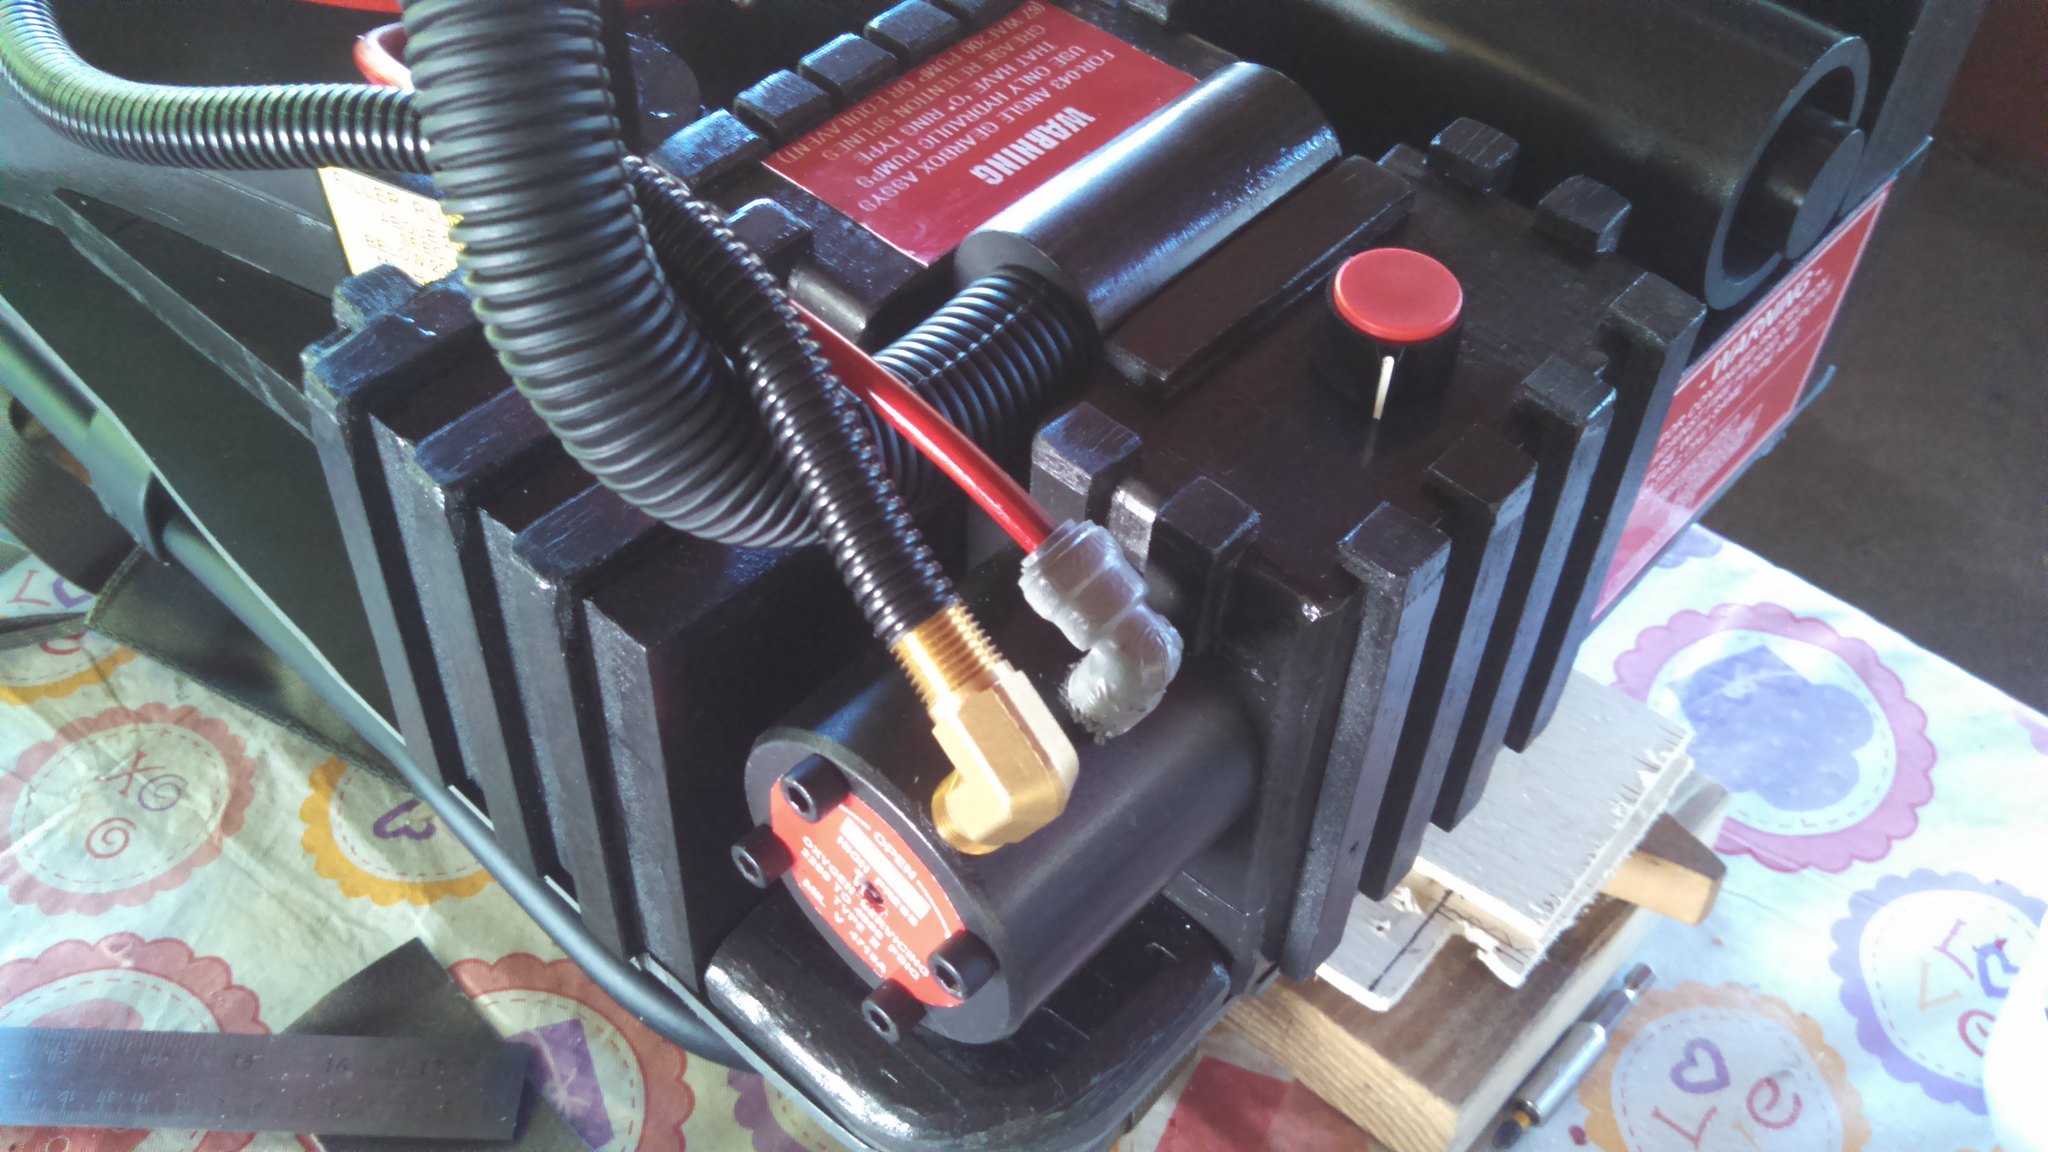
imageIMG_20150920_151000_475 by Tom Cahoone, on Flickr
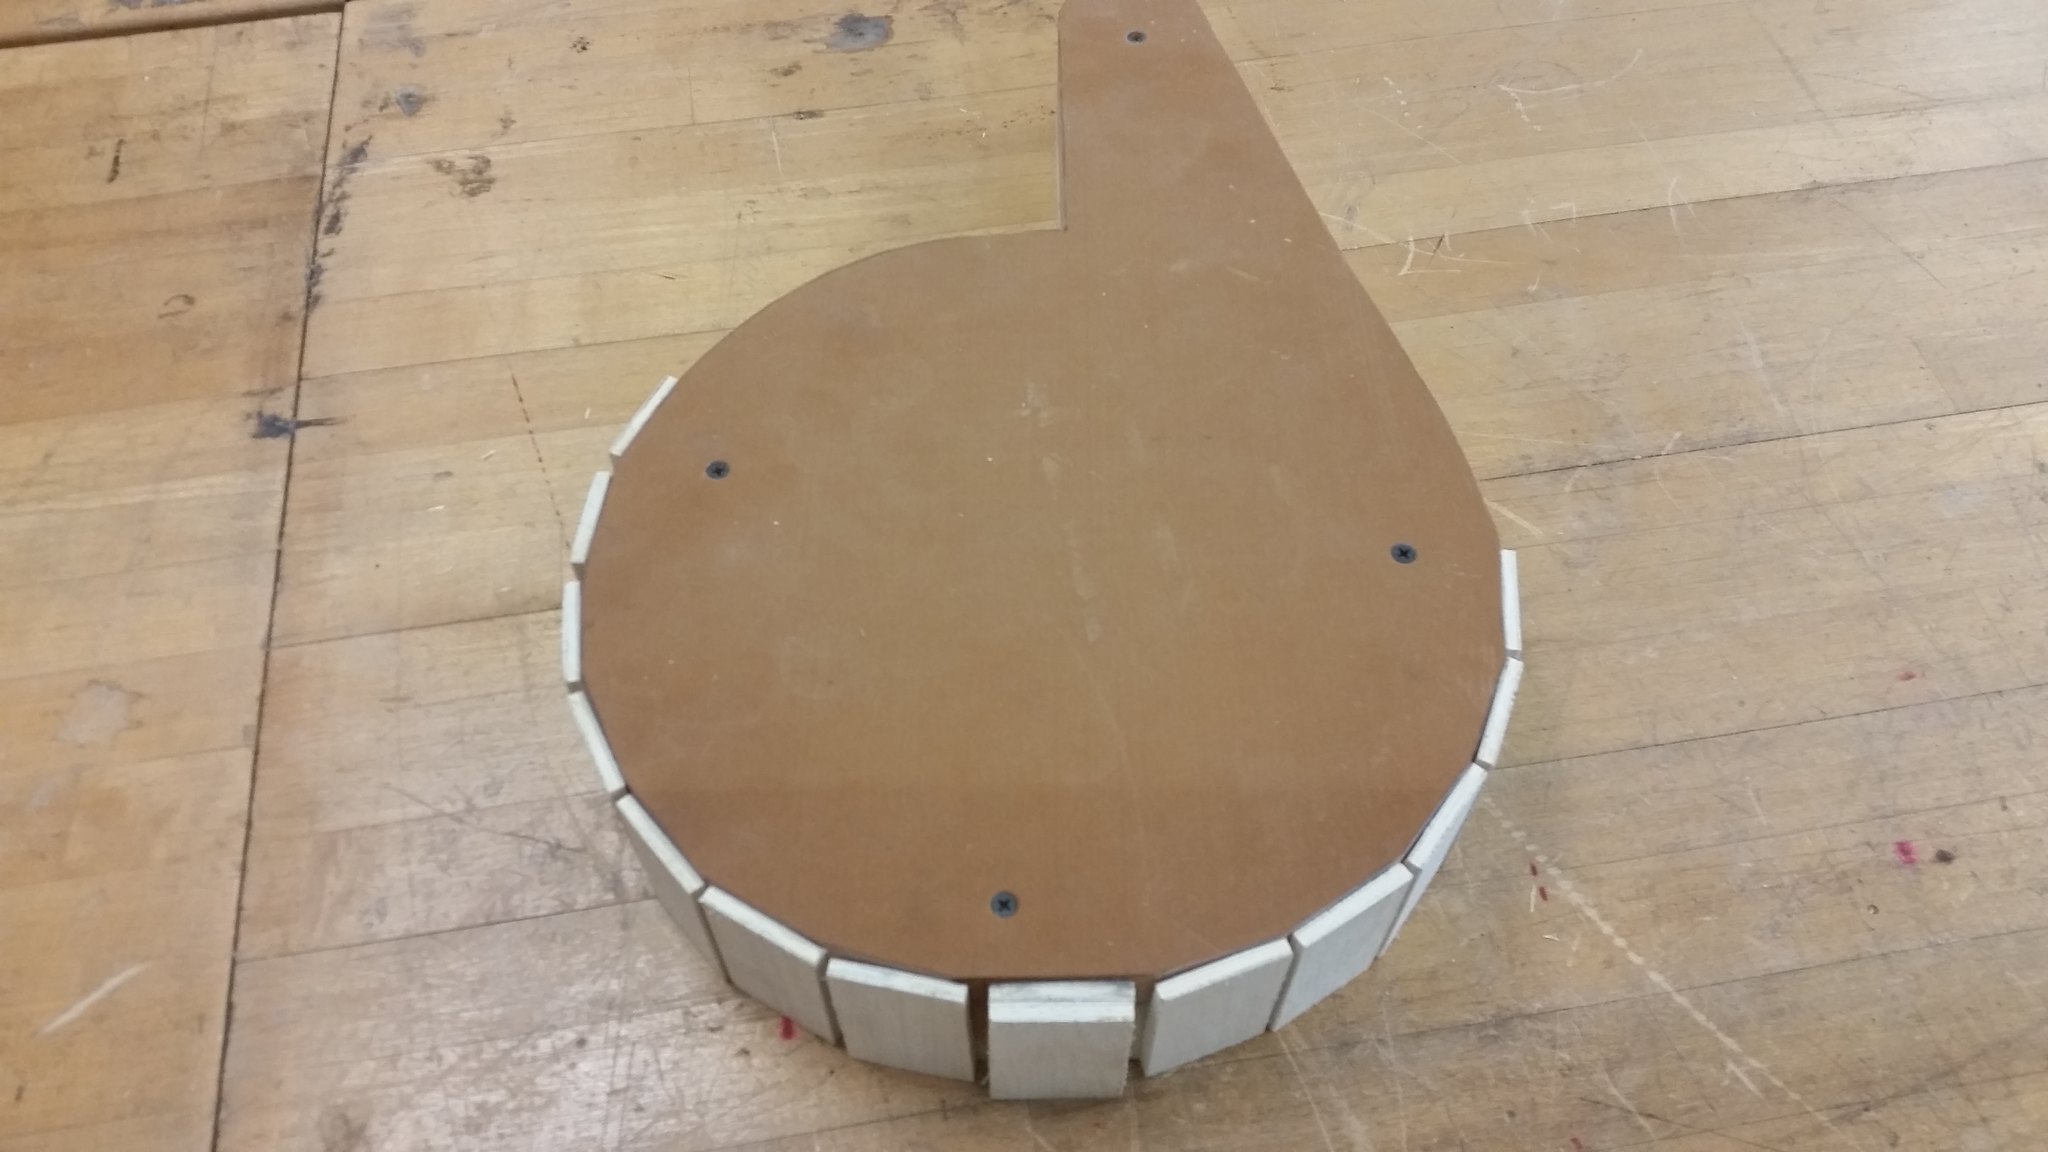
Great update! :cool:

Don’t forget the blue warning label (if you have one) that goes on the right-hand side of the bumper, near the bend. :slight_smile:

Good looking pack!

Looks awesome, but why a red crank knob/button?

1 Like

That red knob was just sitting there to take up space. I’ll repaint it and use it temporarily until I find a Kosher one. Looked empty with nothing and that was only thing I had sitting around at the moment. Thanks for all the positive input. Very fun build!

Well folks, I’m gonna attempt the Wand now..I did all this this morning as I was bored at work and hopefully it amounts to a hill of beans.

imageIMG_20150922_134122_196 by Tom Cahoone, on Flickr

imageIMG_20150922_105810_733 by Tom Cahoone, on Flickr

Two perfect 2" tubes.

imageIMG_20150922_134359_766 by Tom Cahoone, on Flickr

Gotta love the lathe. Best thing since sliced bread. Keeps the ends nice and flat.

imageIMG_20150922_133954_170 by Tom Cahoone, on Flickr

Tubes are done

imageIMG_20150922_141330_739 by Tom Cahoone, on Flickr

YES! Its backwards, that’s what happens before morning intake of coffee. But general idea is there. Using PVC for my barrel and handle.

imageIMG_20150922_111143_572 by Tom Cahoone, on Flickr

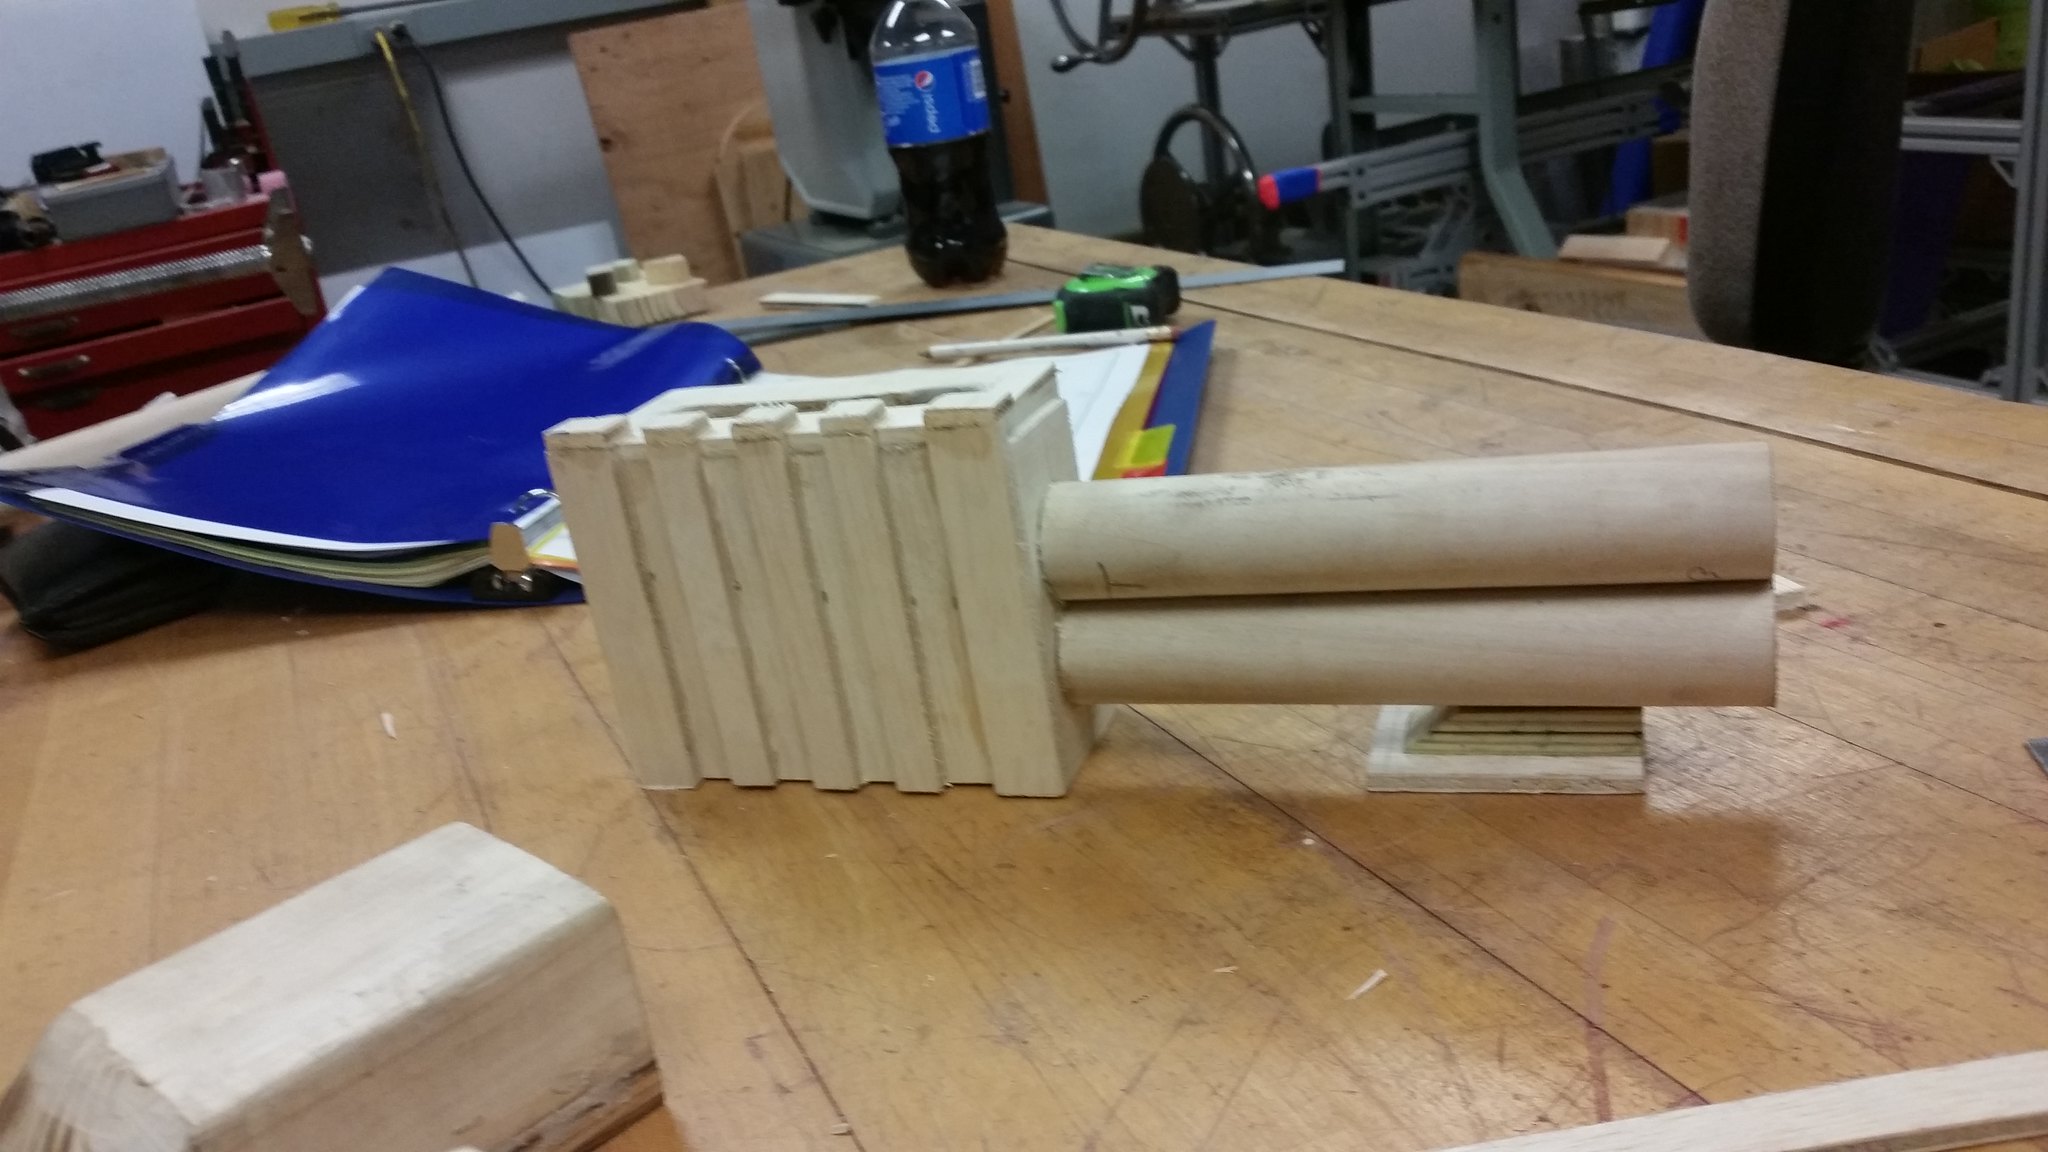
Here is the rough wand. Todays endeavor. Entire thing is easily dismantled, so now I can fine tune and tweak stuff. It looks really small..I used the Sean’s Plans for the Wand. The main box is a 1/4" short length wise and a 1/8" short width wise..Oooops.. but it looks really tiny, but maybe cause its missing stuff.

imageIMG_20150923_145508_888 by Tom Cahoone, on Flickr

Popsicle stick heat sinks.. Temporary till I find the real deal but they look pretty good for being what they are.

imageIMG_20150923_103511_300 by Tom Cahoone, on Flickr

Got a few more items done today. Must say that trigger piece is a pain in the rear, but it came out decent for first try. I considered buying some clippard valves but there going for close to $40 per valve now. Here is my reasoning for opting out and building my own. My pack is scratch built, which means its worth next to nothing except personal value. Probably a good 100 hours of research, drawing and building and I’d be lucky to get 50 bucks for it if I was ever to sell it. Crazy how these packs go for $2000+ and they can make them in a few days, just slap together a shell and parts and voila. If someone hand made them with 100+ hours of work, I’d say absolutely there worth a good chunk of change. That’s my rant. Well if I knew I could get some decent money I’d say sure I’d throw down a hundred bucks for two but really not worth it when I can make two that will look pretty good for aesthetic appeal. I know everyone won’t agree with me but that’s my opinion.

Little sanding, painting and some stickers and will looks decent.

imageIMG_20150924_104422_693 by Tom Cahoone, on Flickr

imageIMG_20150924_103633_491 by Tom Cahoone, on Flickr

imageIMG_20150924_133844_684 by Tom Cahoone, on Flickr

Figure I’ll use this for the Stream Adjuster knob for now. Just hack some of that thread off.

imageIMG_20150924_140150_562 by Tom Cahoone, on Flickr

Anyone have any other prints for this thing? The measurements he gave are a little shakey and I really don’t it thus far. Maybe I’m wrong but the 2" wide seem decent but I don’t know. Any opinions?

imageIMG_20150924_145631_039 by Tom Cahoone, on Flickr

Its alright I suppose. What a pain the arse making this thing though. Couldn’t find the right chuck to hold a smaller mill bit so I used a drill press and tried not to kill myself using it as a make shift mill. Came out decent but still seems..off.

imageIMG_20150925_102424_557 by Tom Cahoone, on Flickr

imageIMG_20150925_112249_046 by Tom Cahoone, on Flickr

If anyone cares to see the entire build progress of ALL the pics, have at it. Its 200+ pics.

https://www.flickr.com/gp/135905044@N08/9X9299

I found this Pack at the Warwick Mall in Rhode Island. If I had $260 to blow I would have bought it. Still in box, pretty epic.

imageIMG_20150926_104841_273 by Tom Cahoone, on Flickr