Good catch! Yeah I was worried about that too but I did end up ordering the pipe with an inner diameter of 4.1mm so it does fit my tubing properly. I’m really contemplating on remaking the fittings even though they work okay.
I’m back with more updates and I’ve been really hard at work trying to finish this thing! I decided to take the entire build over to my friend’s house to get his assistance and also use some of his tools, so I’ve been going over to his place whenever I can. There isn’t many photos of progress that I took which I apologize for since I’ve really just been focused on hitting it hard.
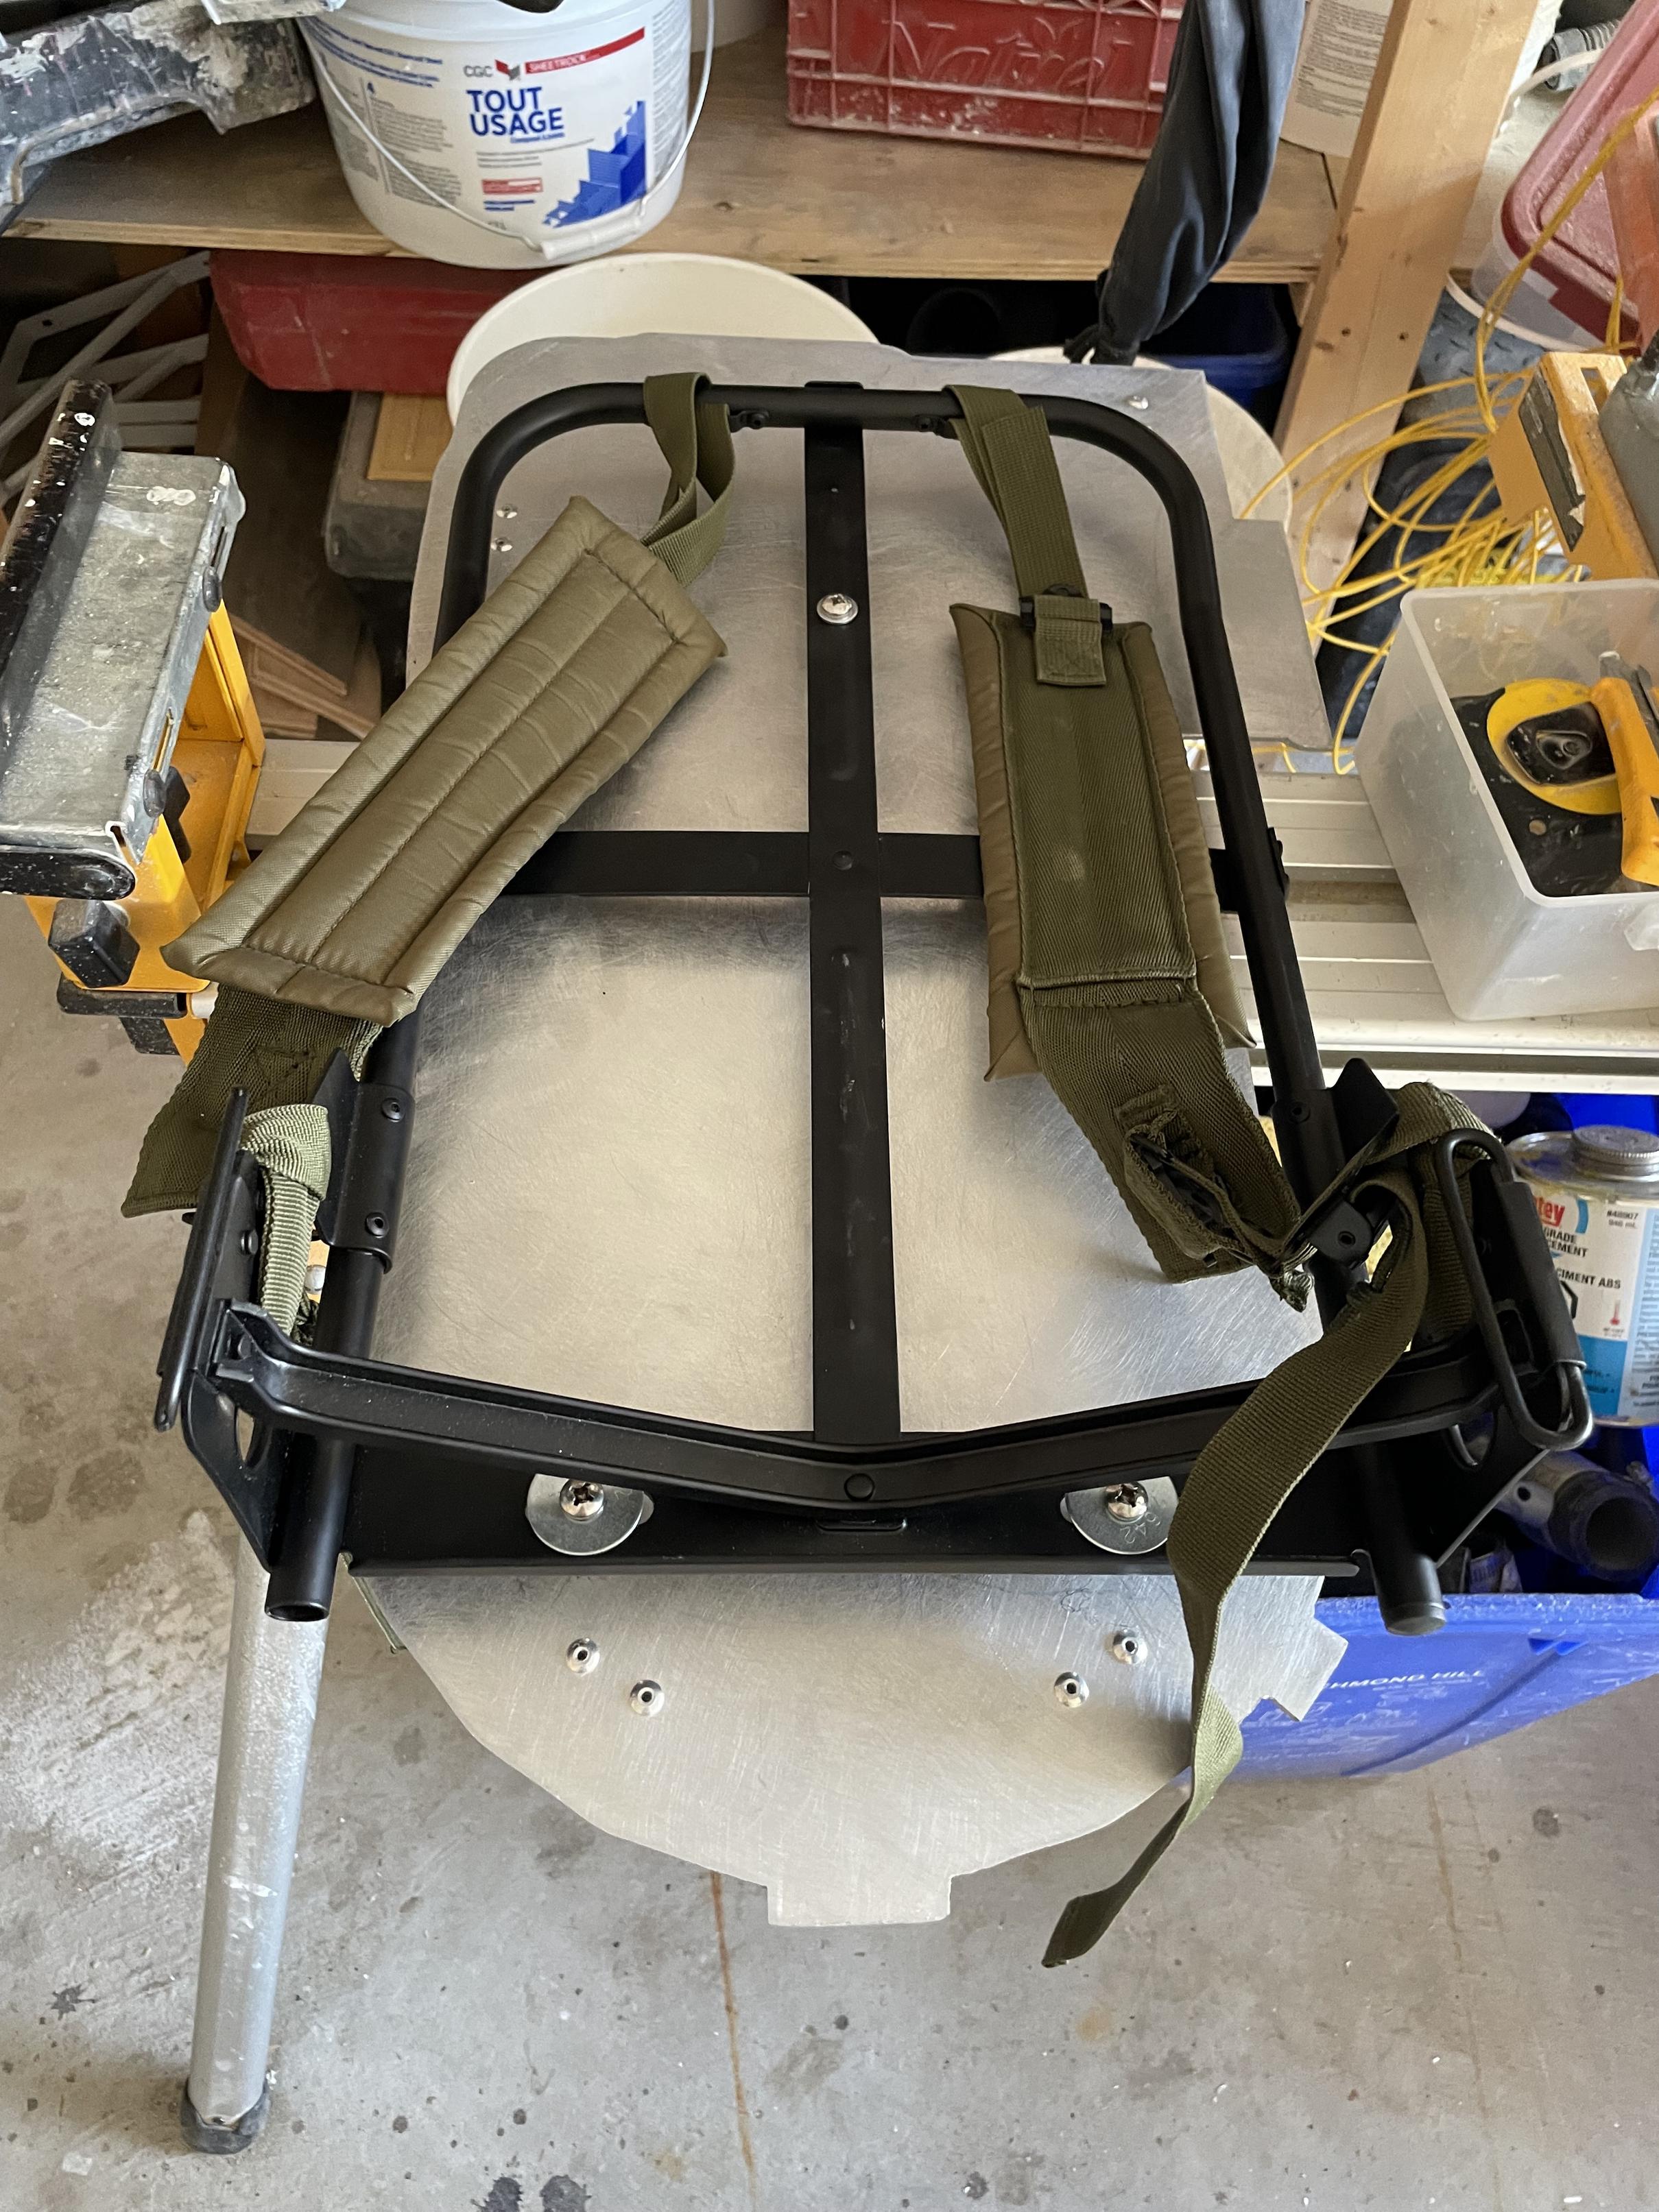
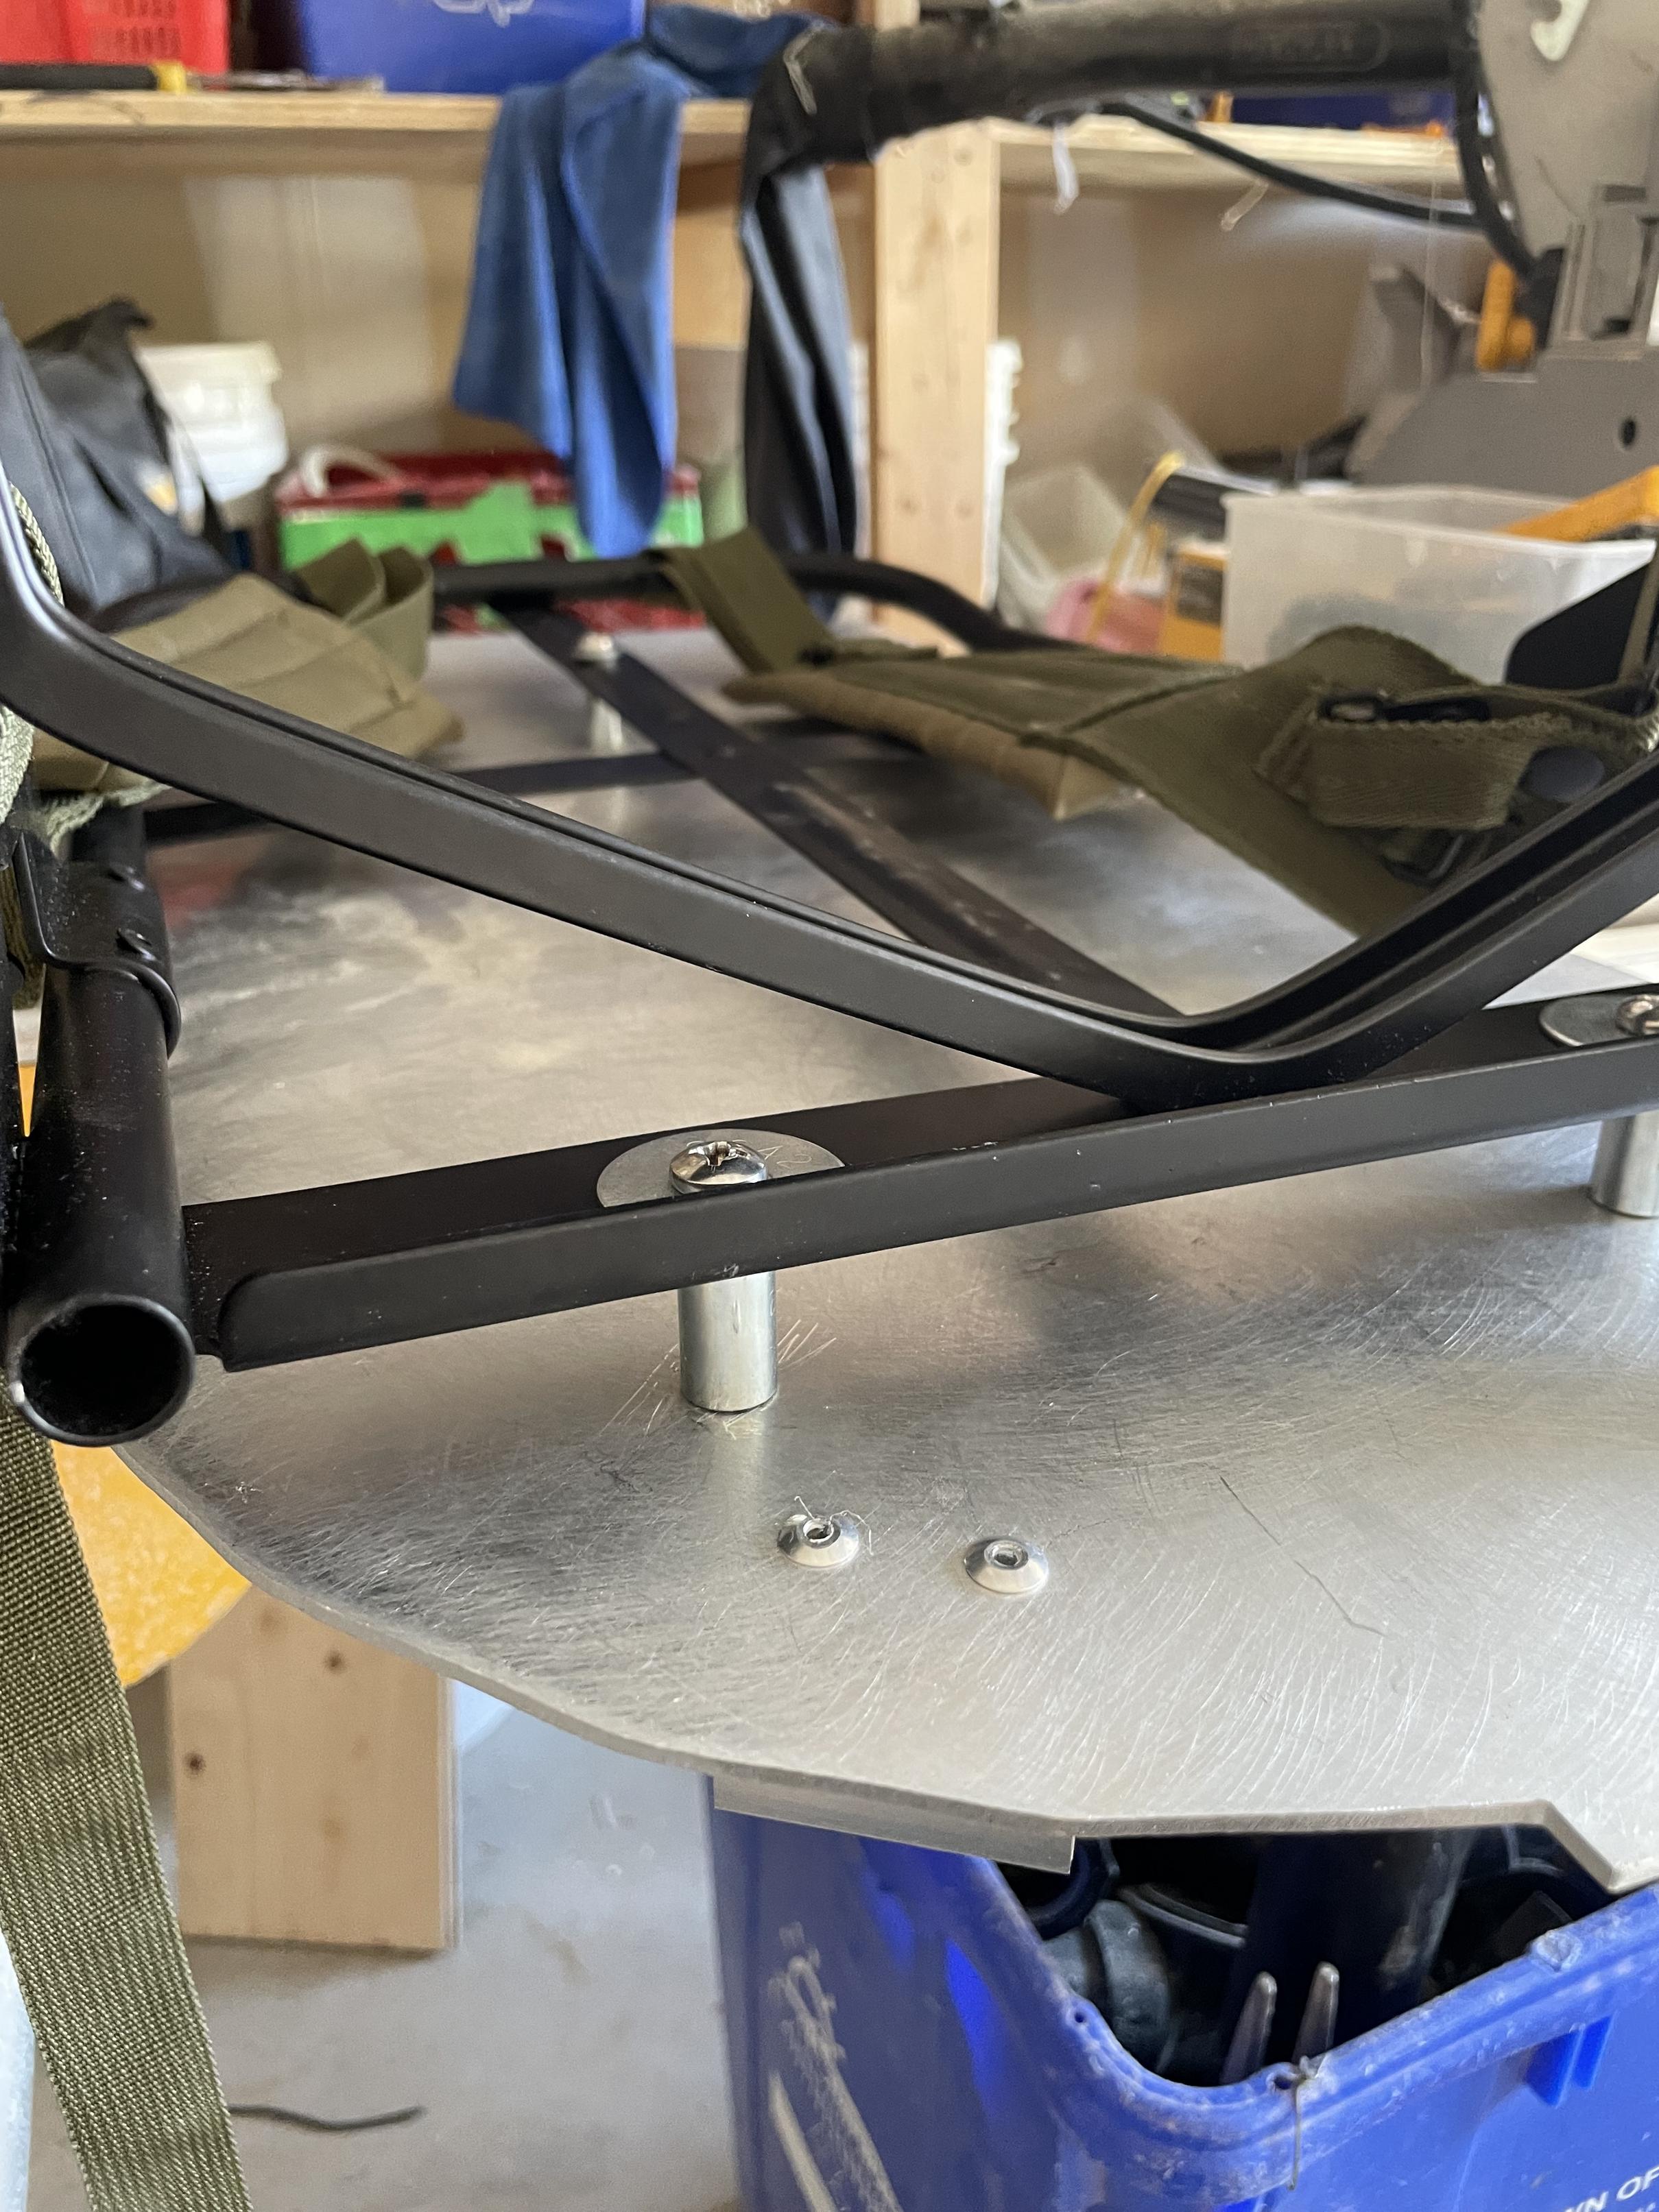
The first thing we decided to do was to bolt the alice frame onto the motherboard and I actually bought the correct hardware for this unlike my last pack. It was my first time ever drilling through metal and bolting something together for the pack, so it was pretty scary for me. The one thing that was difficult was trying to make sure our holes aligned for where we drilled on the frame itself. We managed to do it but we messed up very slightly but it isn’t noticeable and works just fine. Comparing the strength and rigidity of having the frame bolted onto the motherboard already felt like such a leap compared to when I zip tied the top of it last year haha.
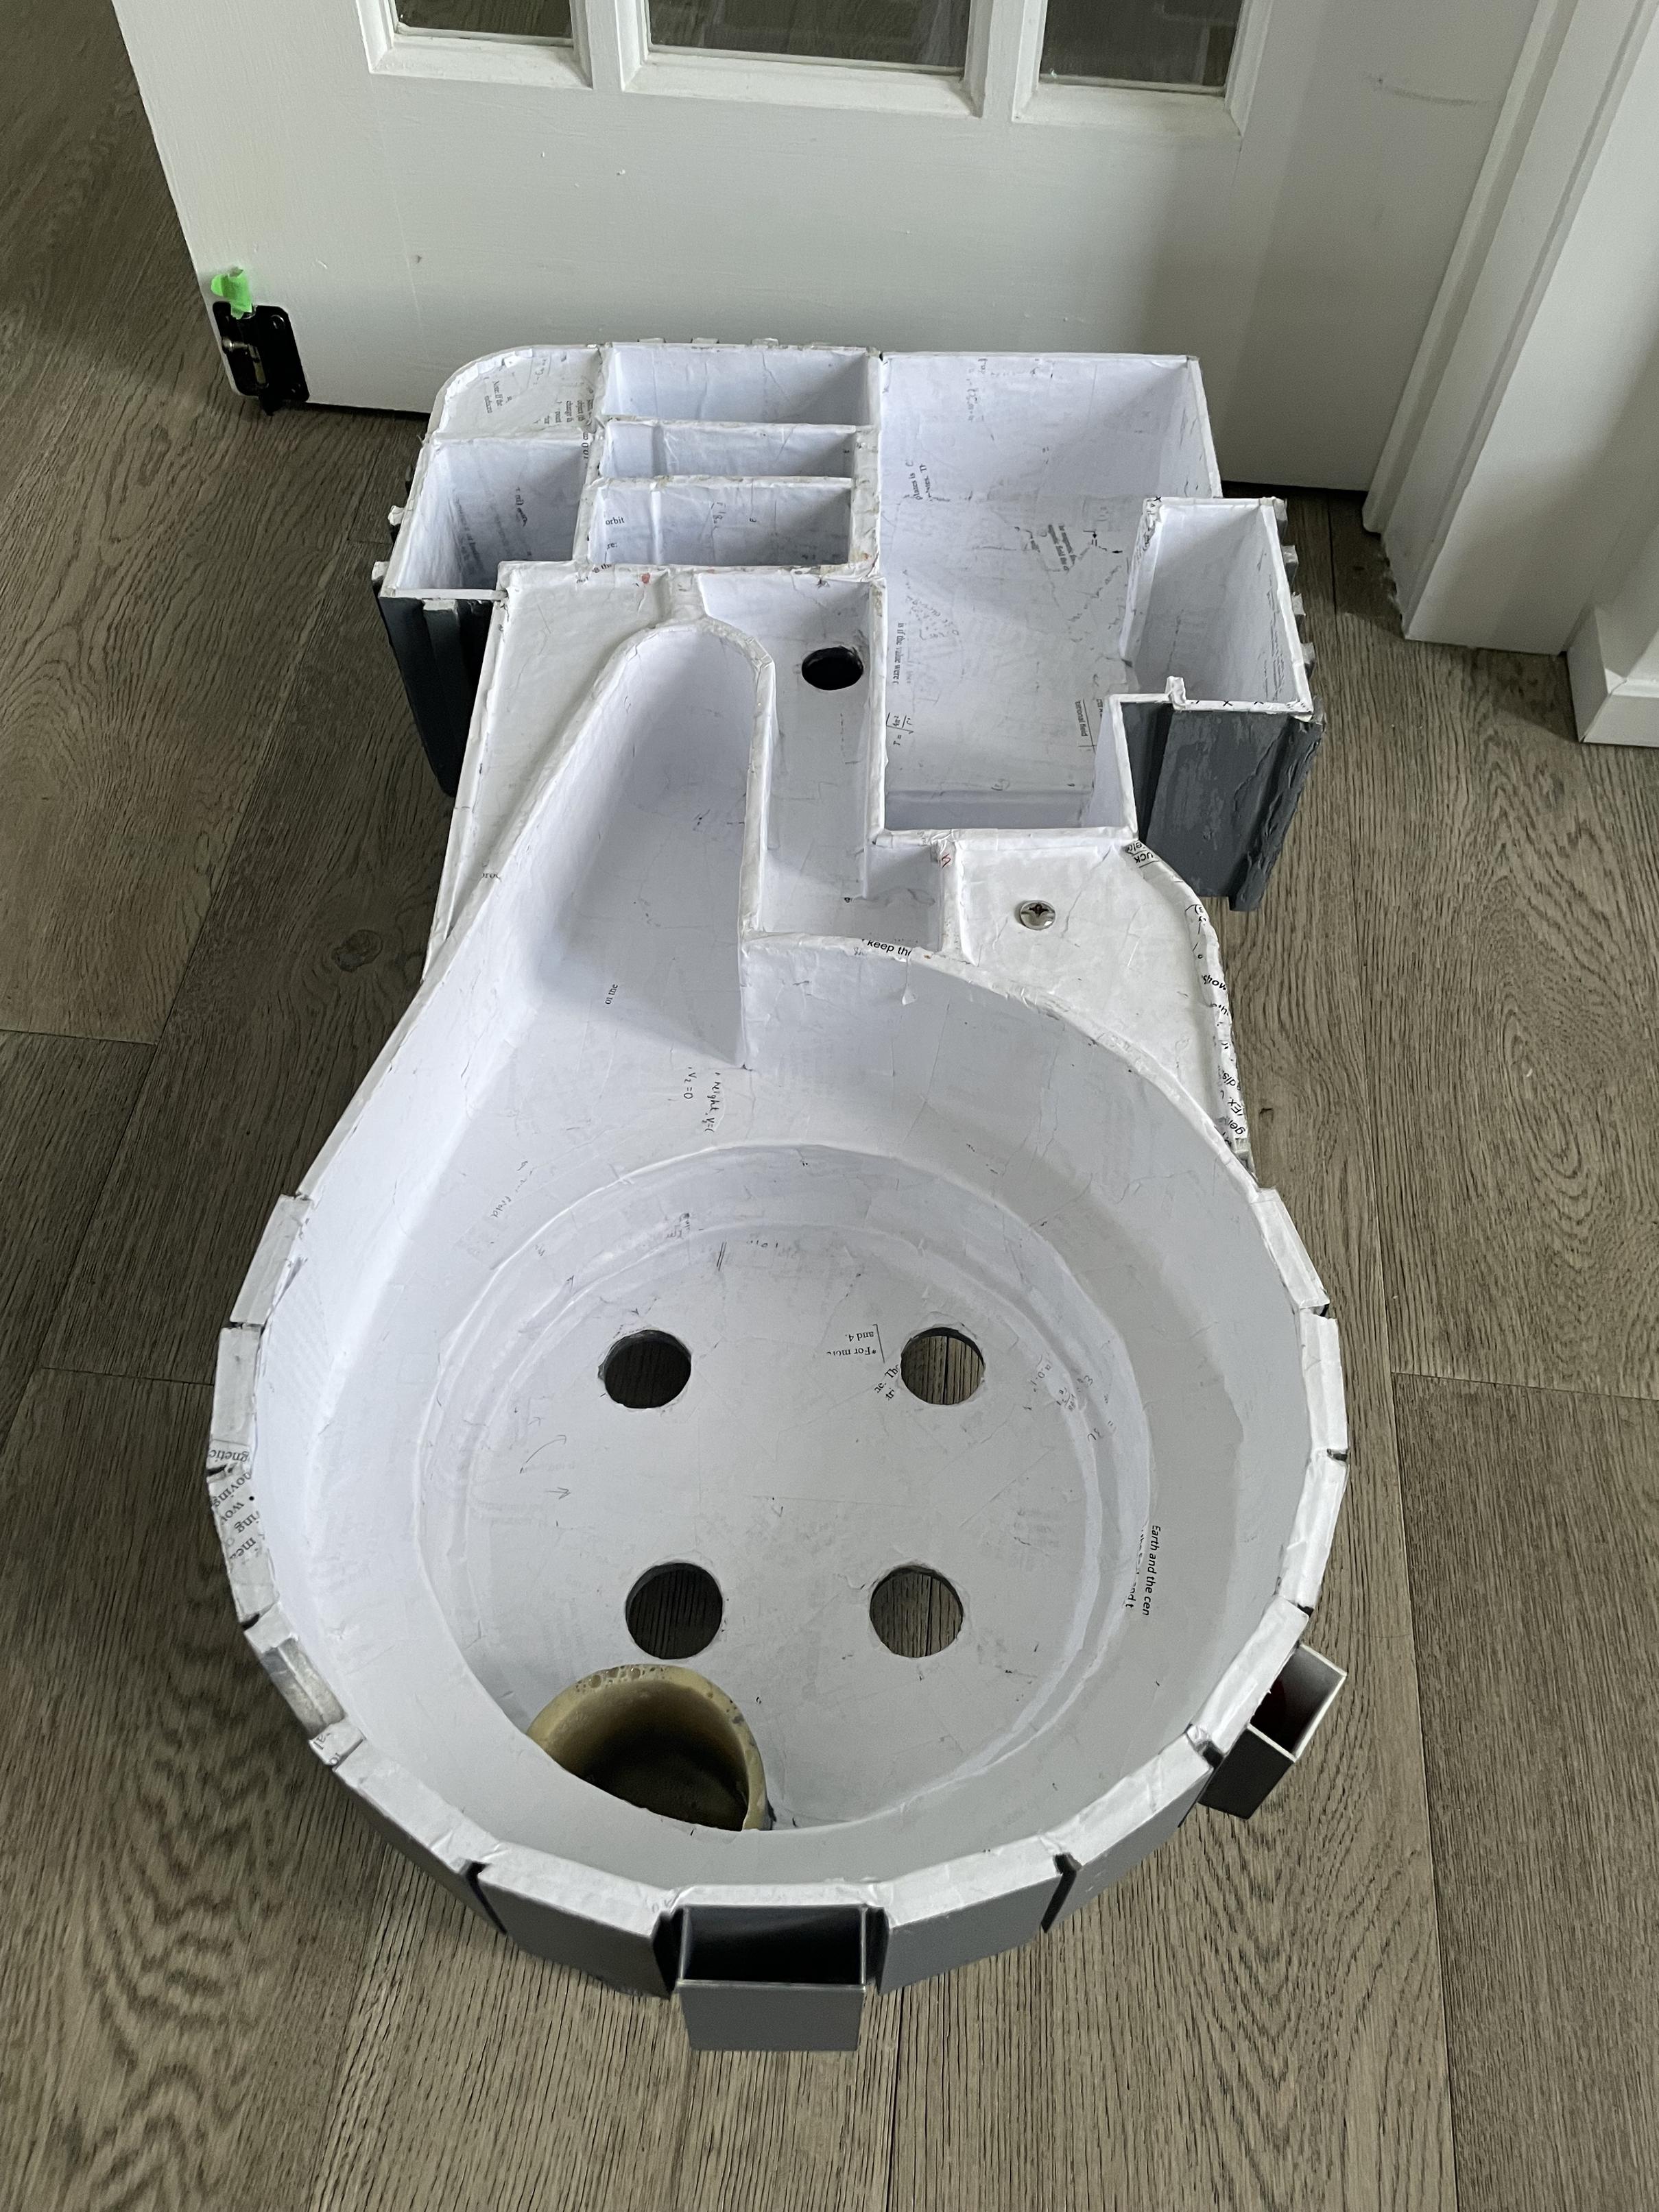
After that, I realized we had to reinforce the inside of the shell if we wanted to start mounting parts on. I decided to revisit paper mache to reinforce the inside, and we used some old printer paper instead of newspaper with white glue this time. We decided to do 3 layers of it all around the shell to try and strengthen it to the best of our abilities and it took us 2 days to finish it. We had a problem though on the face of the eda where the white glue started seeping into the seams of the joints, so it ended up severely warping that area. There wasn’t much we can do about that so we moved on but after that, I still wasn’t sure about how strong the shell was, so I seriously started to consider researching how to fibreglass. More on that later though. After that we drilled and tapped basically every part and we tried to use the tape method to transfer the holes onto the shell later. (More on that later again as we ran into a few complications)
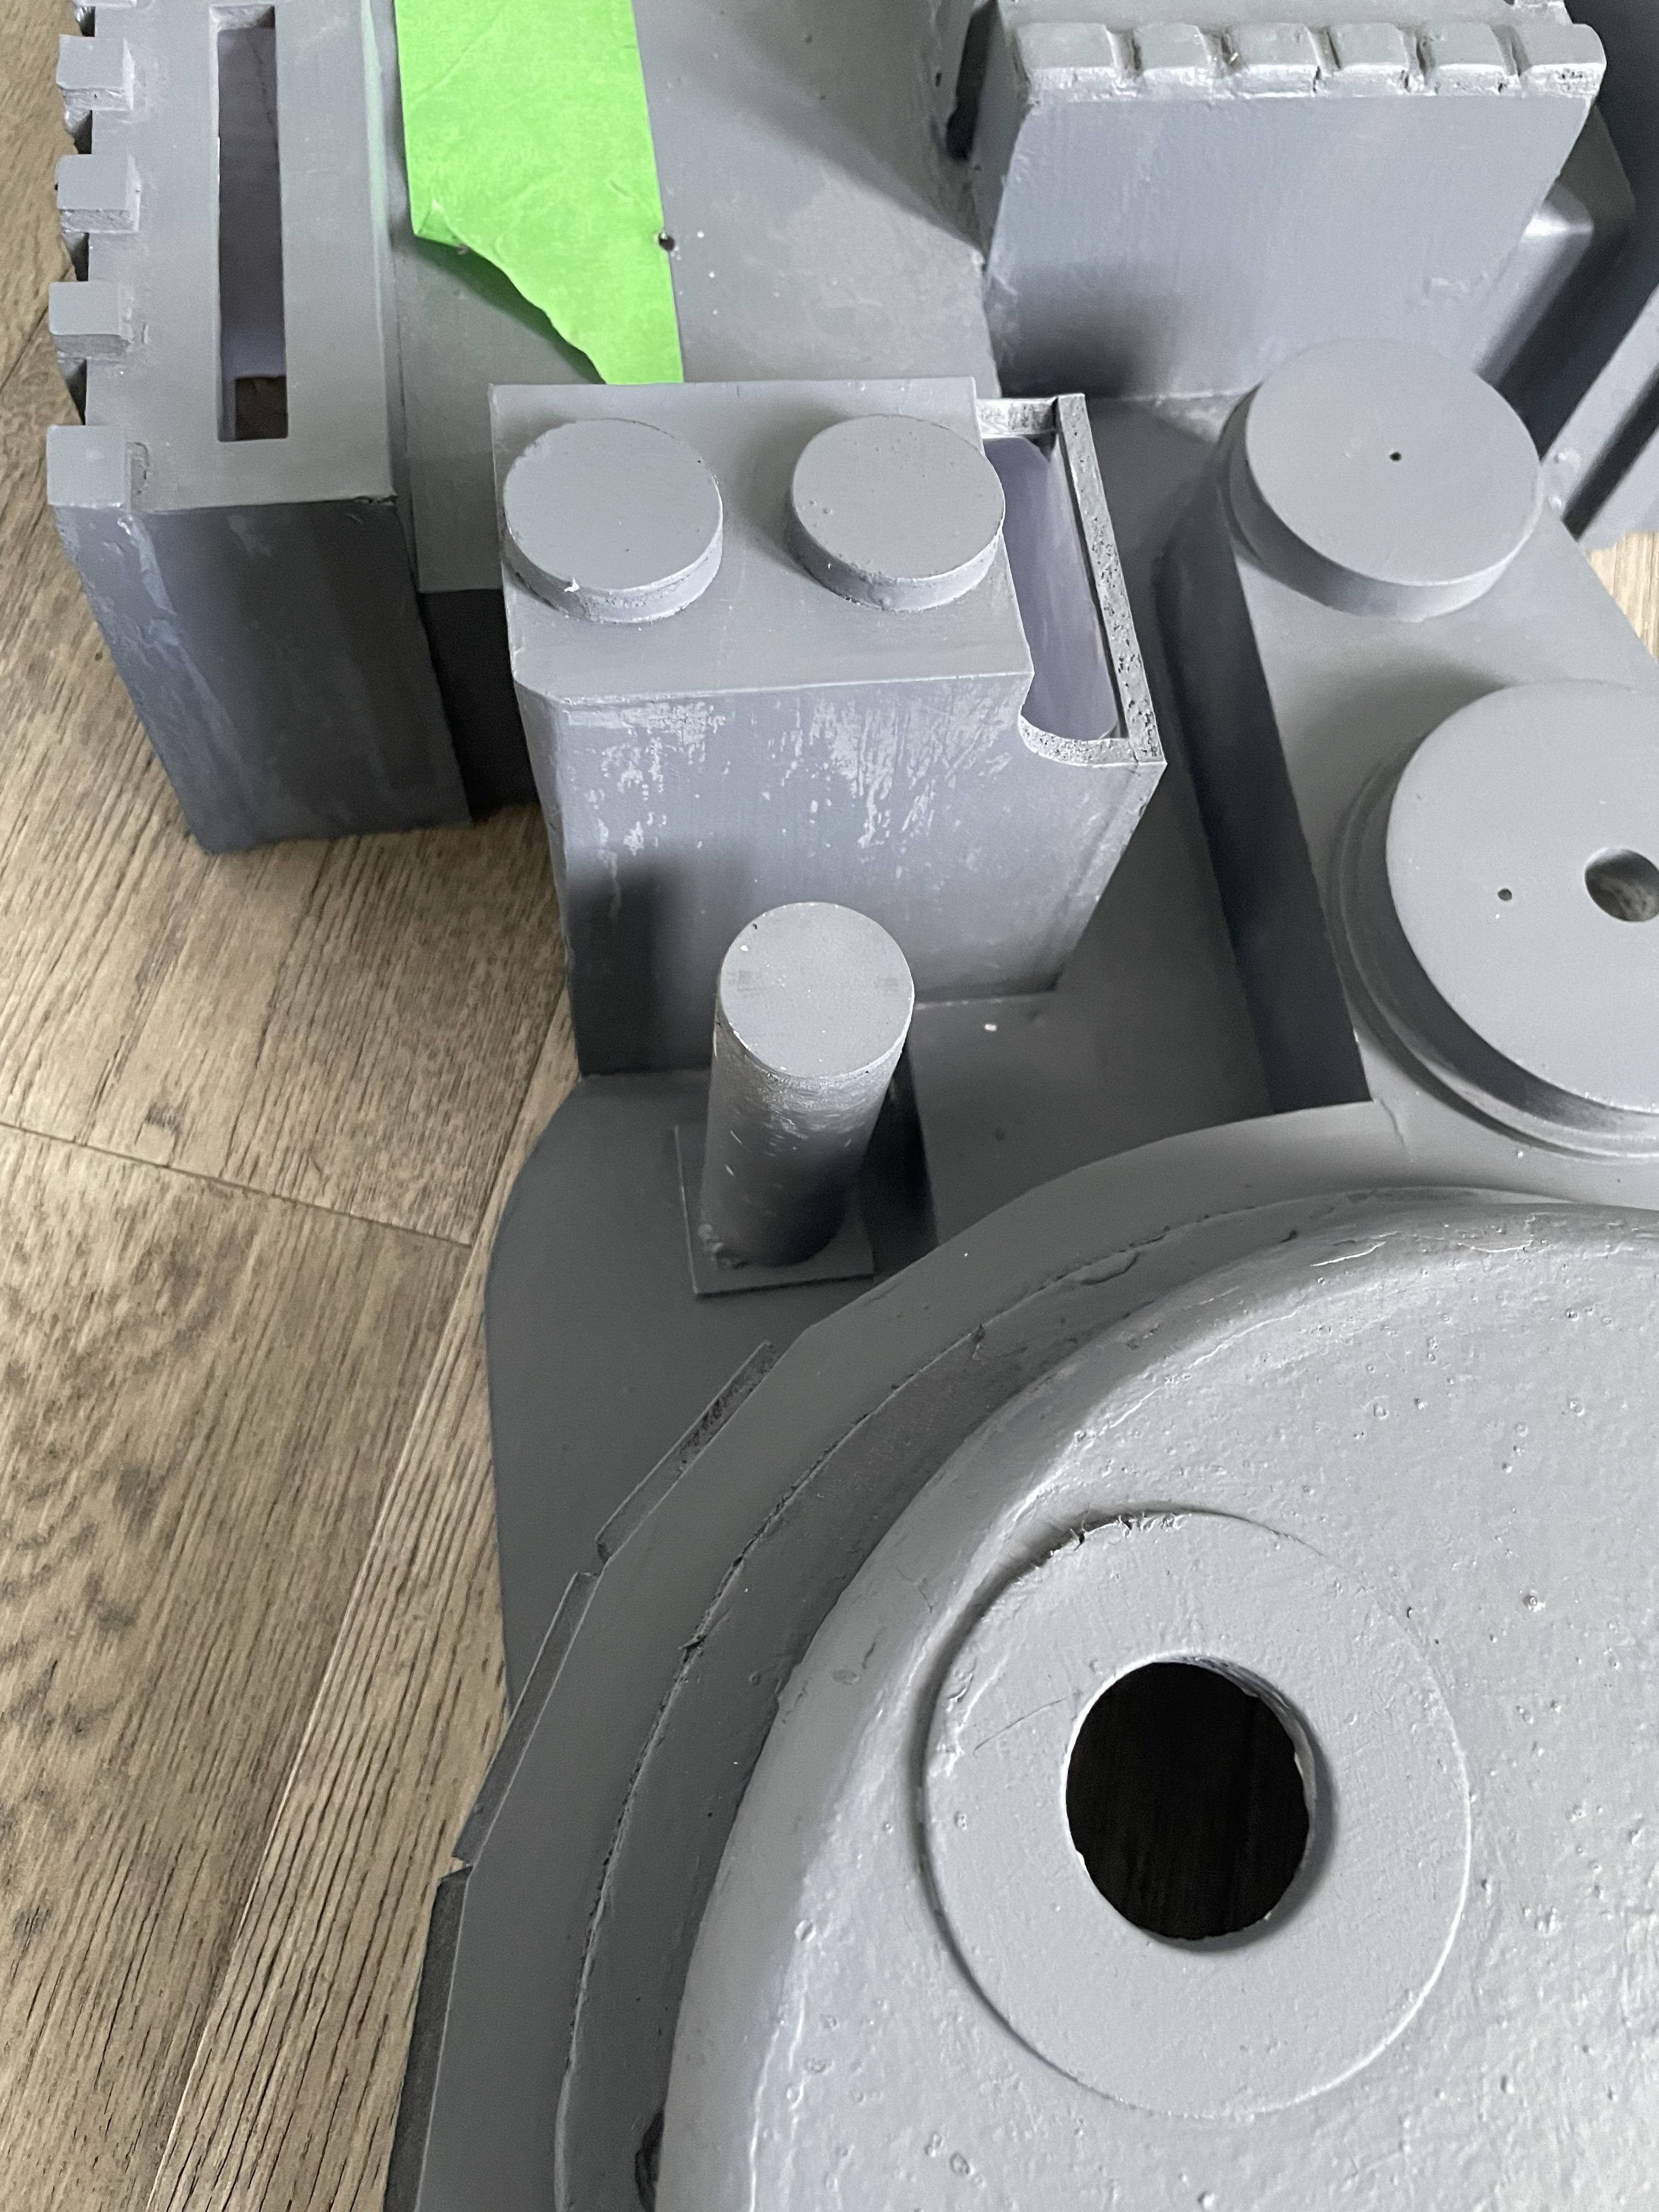
I wanted to try mounting at least one part on, so I chose the filler tube. We encountered a problem though where that area of the spacer was way too shallow to fit a 1/4-20 socket cap head bolt, so we instead used a 1/4-20 pan head phillips bolt without a washer. I’ll try to correct this problem for V8. We then decided to mount the vacuum pipe onto it’s base which was just one 1/4-20 socket cap head screw.
The next step was to finally attach the shell onto the motherboard which I was seriously dreading since I was terrified to try and drill through the L-brackets. Before that, we decided to do something easy which was to cut styrene squares to glue onto the areas where the bolts would be for the shell. This was something I had been planning for a while in an effort to make sure the shell never comes crashing down onto the ground. For the gun mount, we cut an extra big piece of styrene that went all the way up to the top because that piece is also supposed to support the new v-hook I made. I had been planning how to strengthen the v-hook ever since the day it failed on me a year ago. This new method should be much more stable from the styrene since it will be glued to the shell as well as being bolted from the l brackets. We drilled the holes on the shell and then placed the shell onto the motherboard to try and mark the holes onto the brackets. This is where the picture taking became an extremely low priority because mounting the shell felt like a battle to us beginners. We didn’t have a punch to mark the holes properly, and a pen/marker was not fitting into the drilled hole. The most we were able to do was just a tiny dot from a pen, so we got to drilling and this was one of the most involved parts on the entire pack build so far. We had a lot of trouble trying to drill through the brackets because of our lack of experience and we almost had an incident where we ruined one bracket. Luckily we were able to get it all done and the last bracket went much more smoothly after we got the hang of it which was not to go so fast drilling. Our holes were not very precise, so mounting the shell onto the motherboard always ends up being difficult. In hindsight of all of this, we learned a lot for V8, and I’ve since done a lot more research onto how to do this more properly (which I should’ve done from the start). More on that later again.
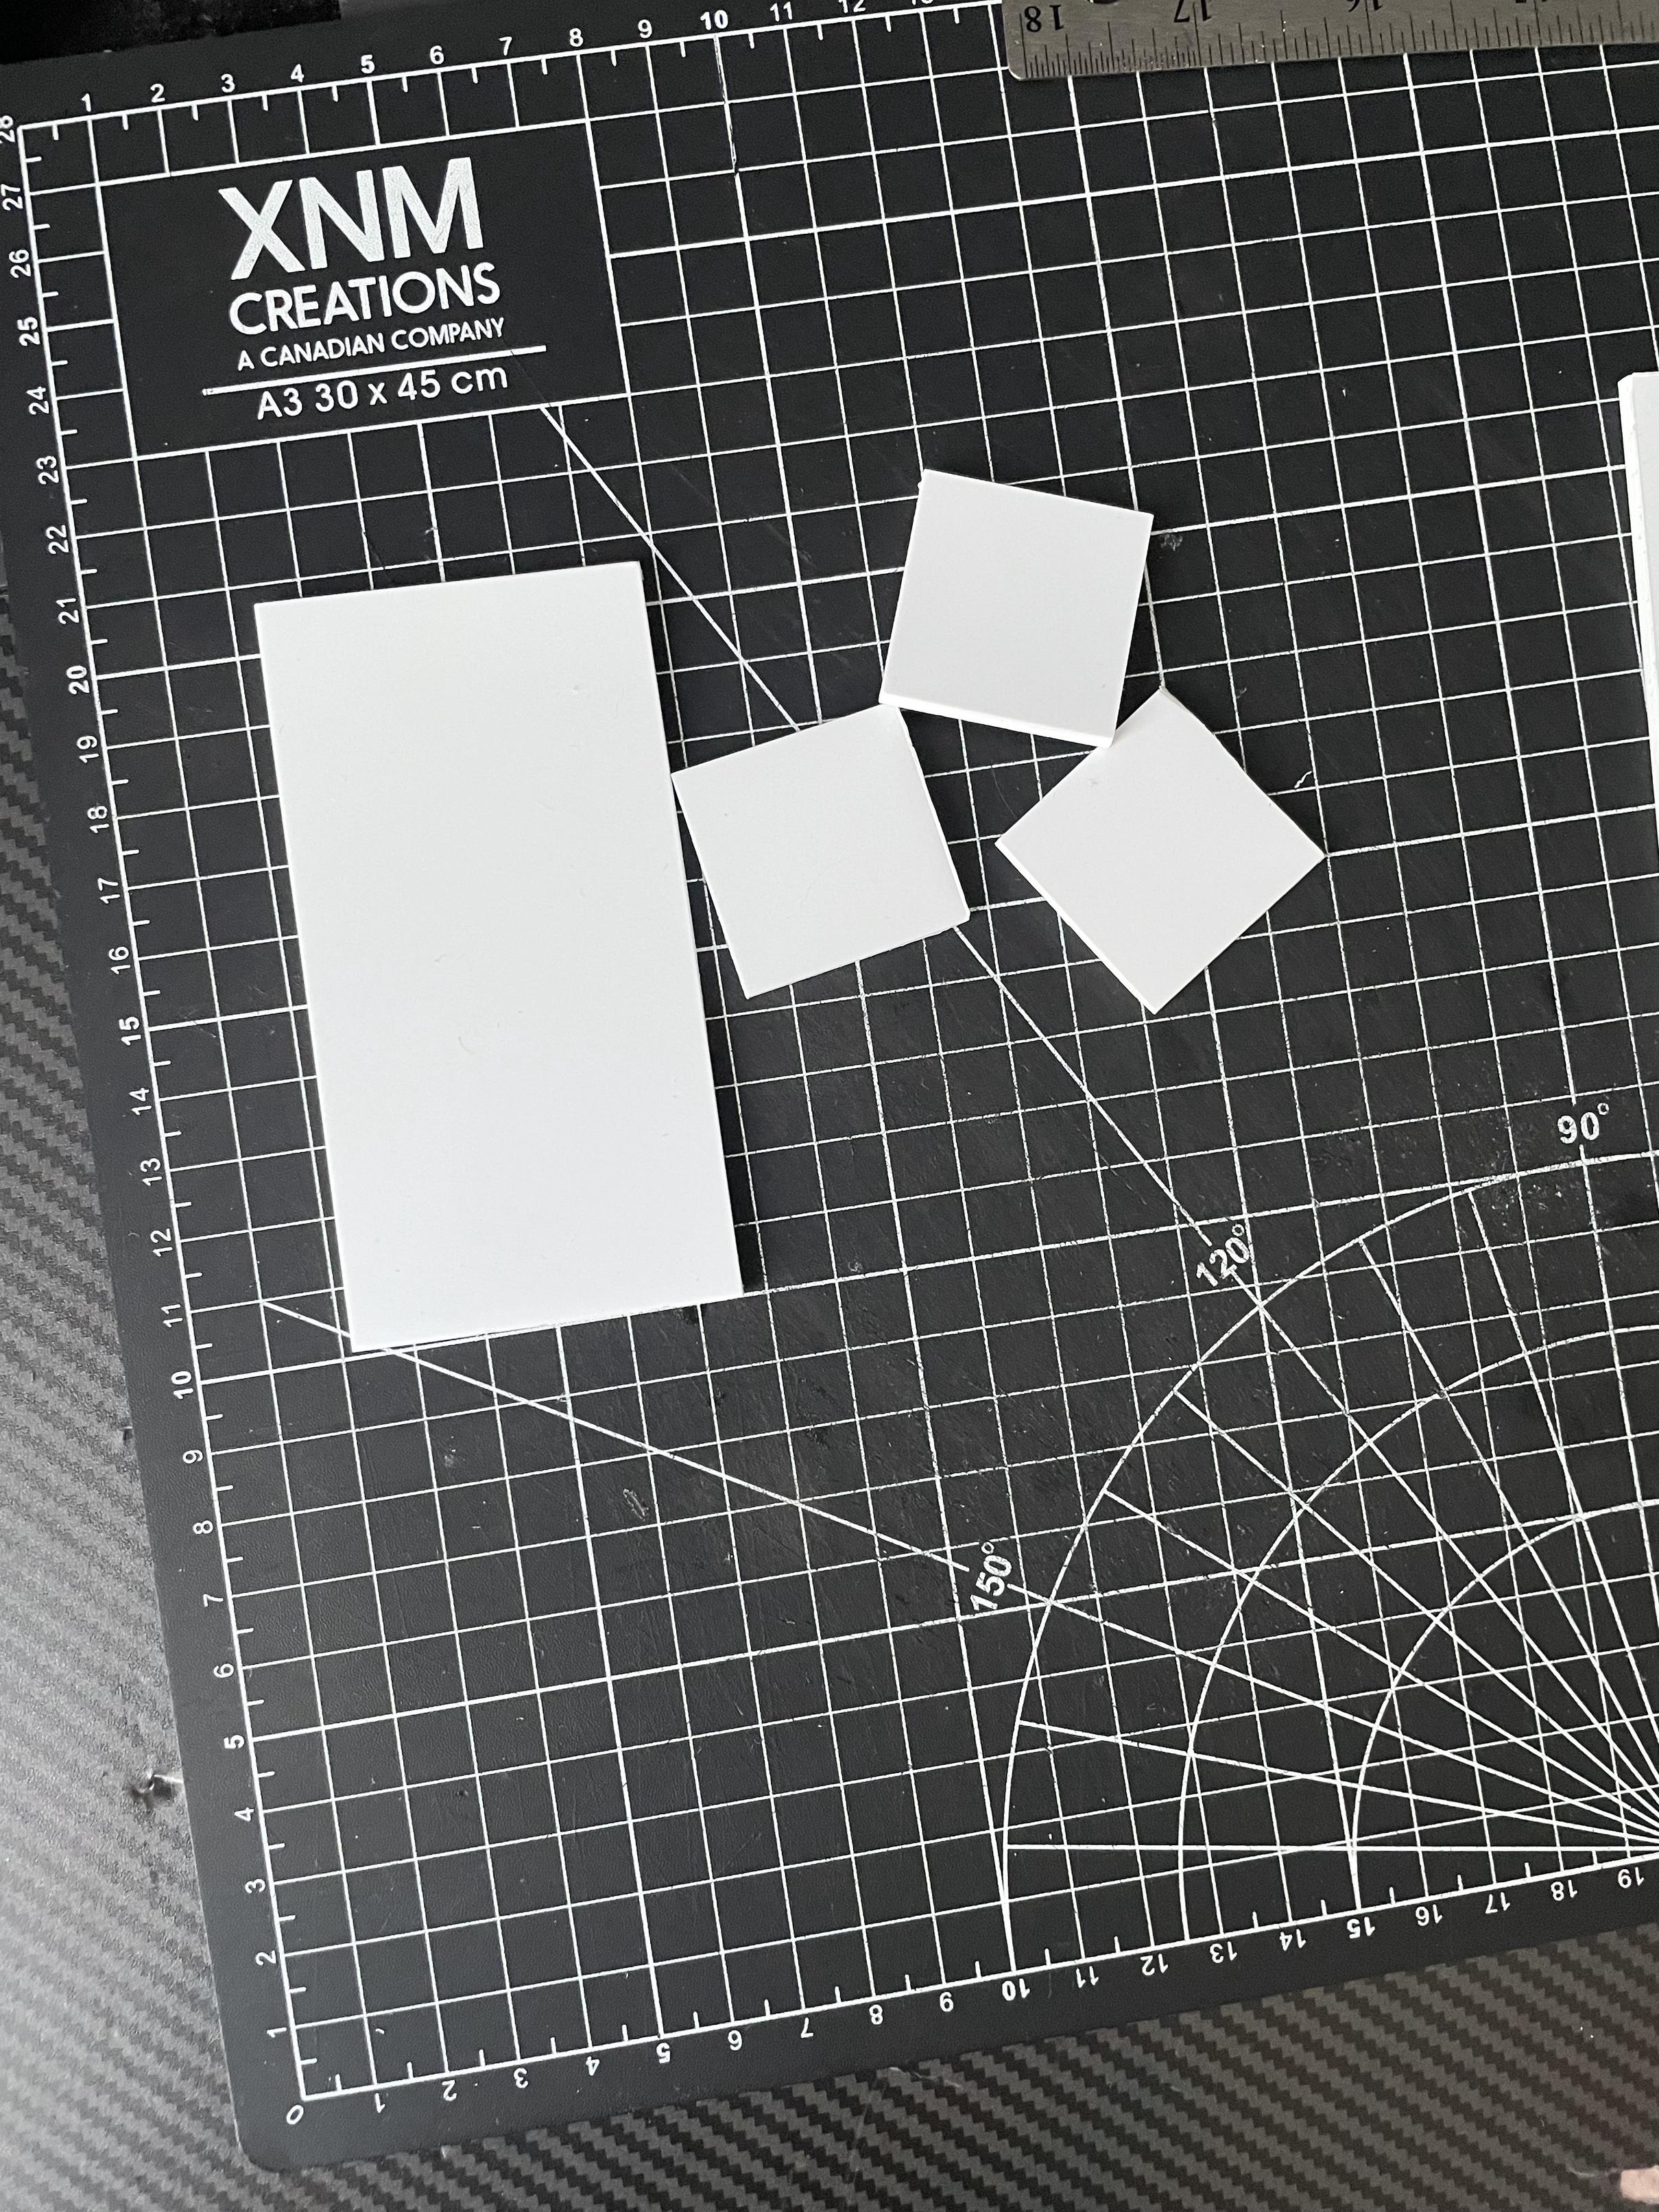
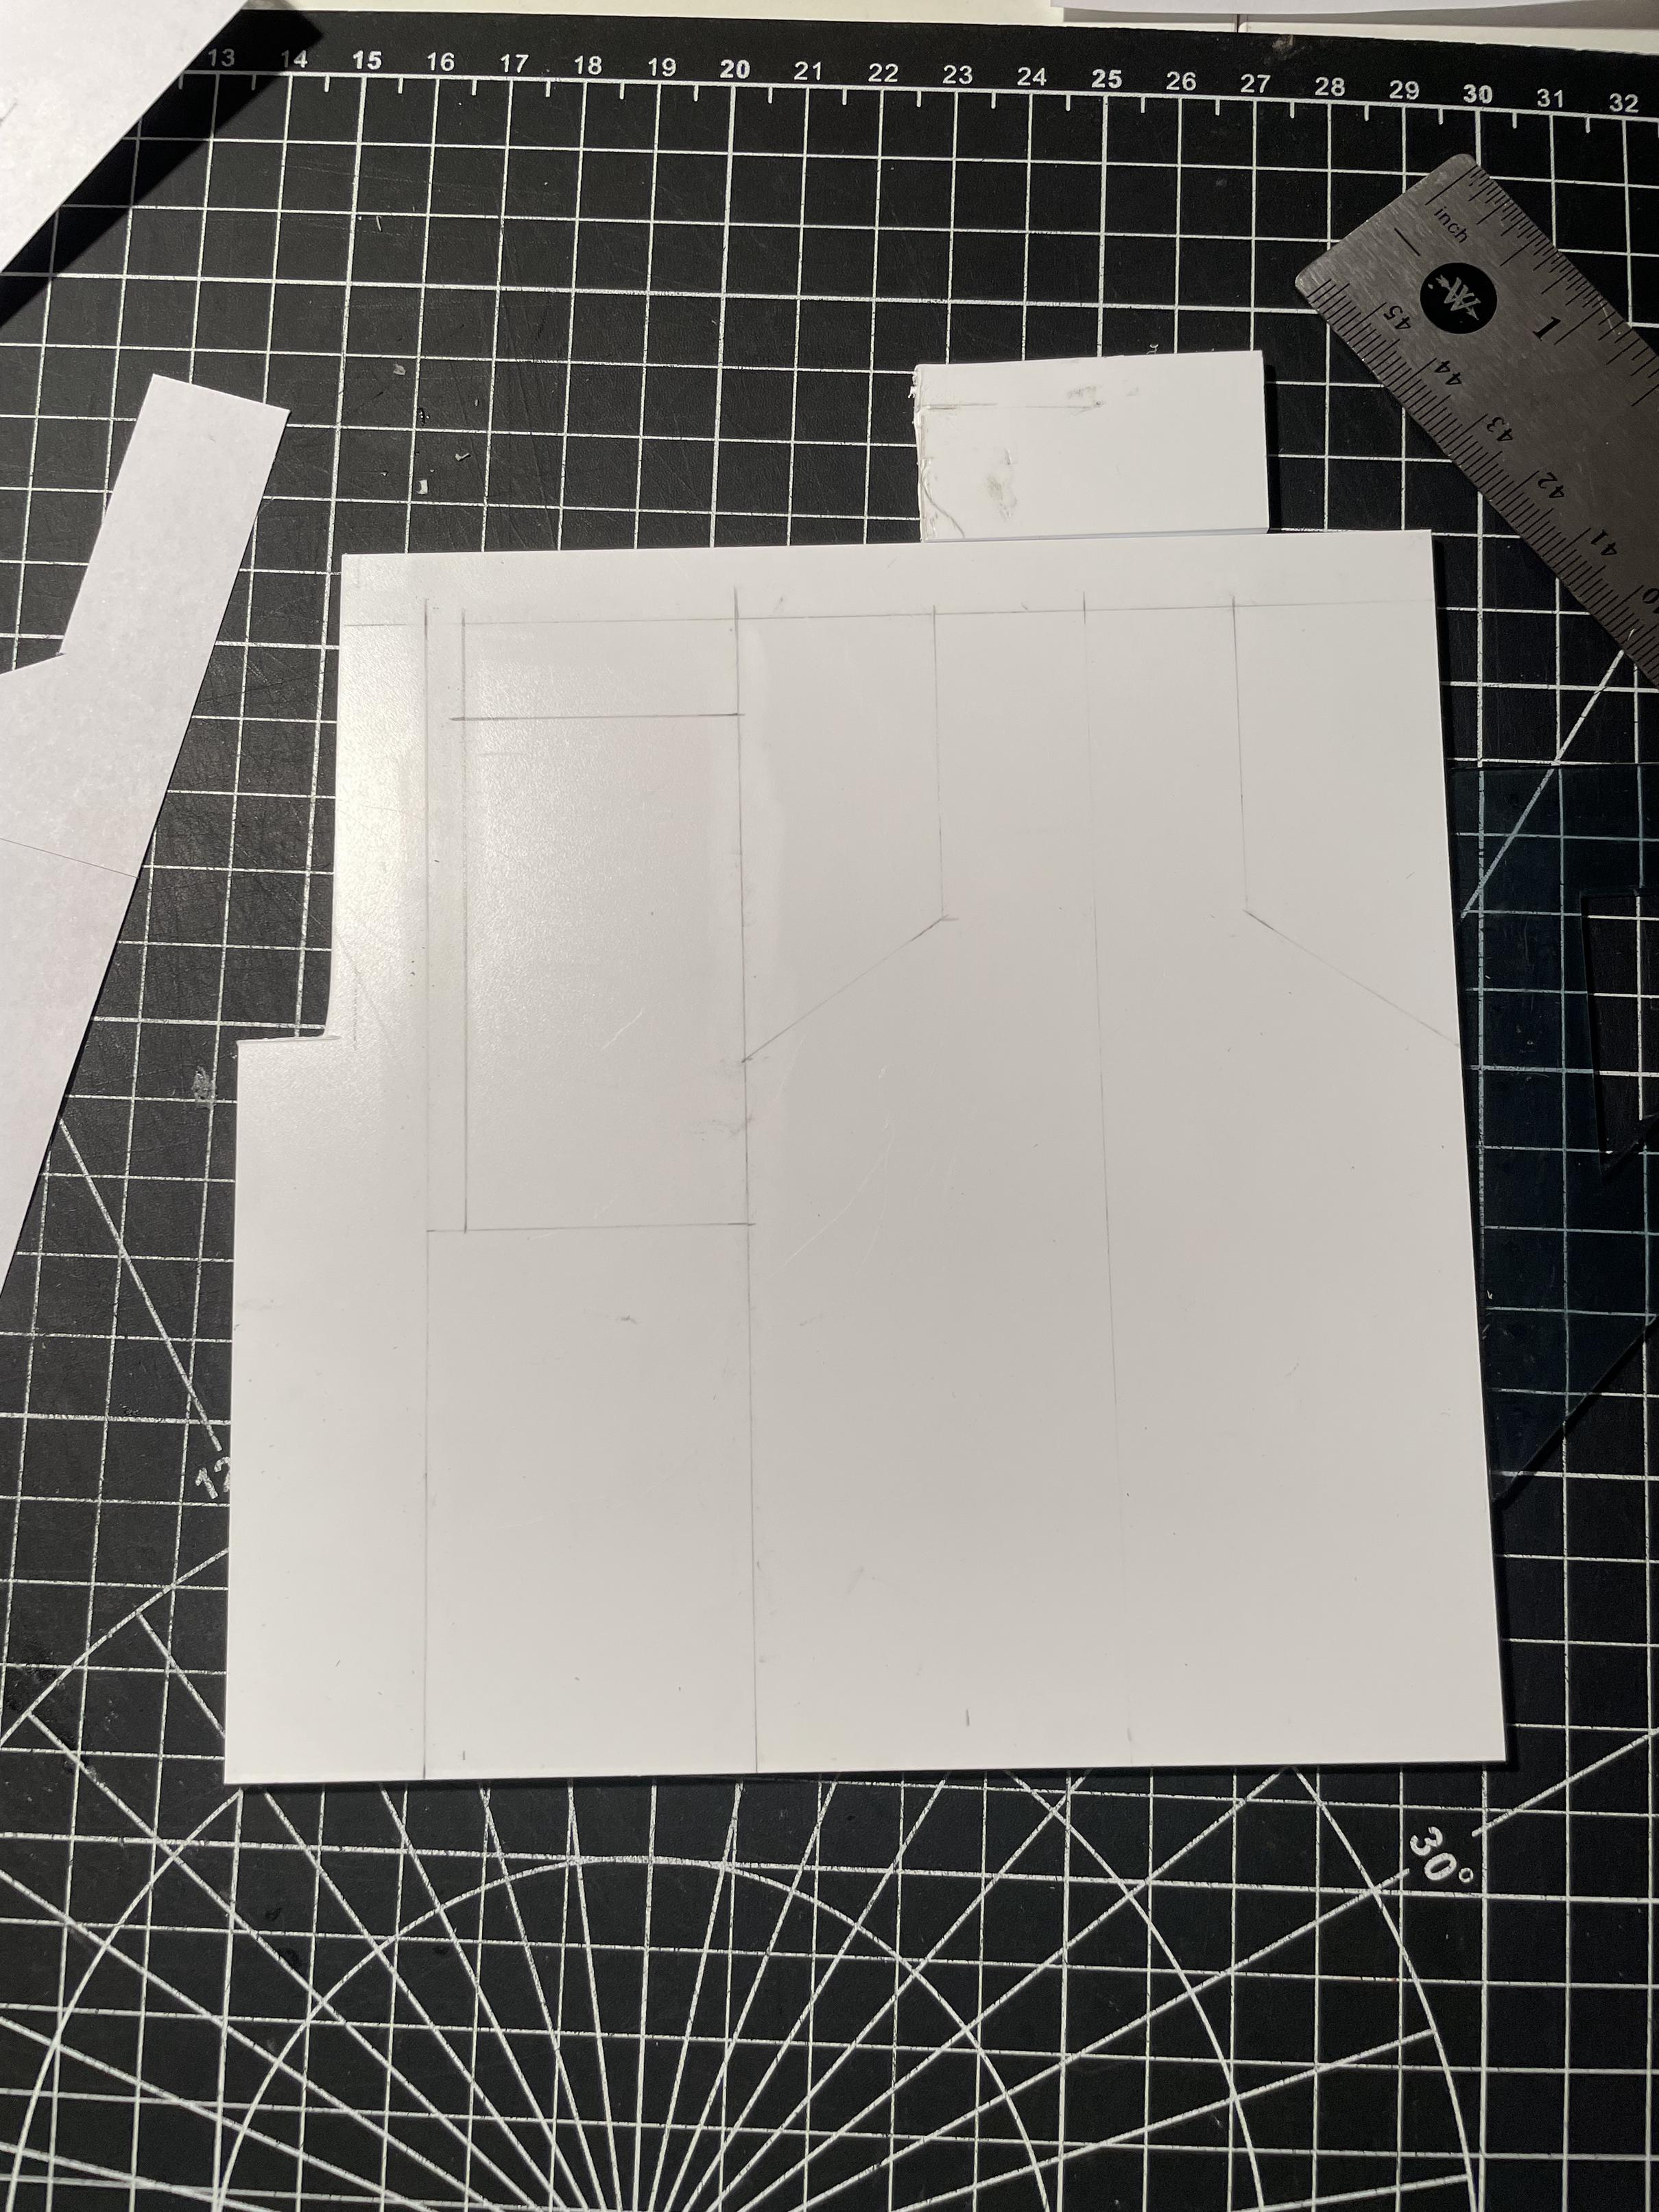
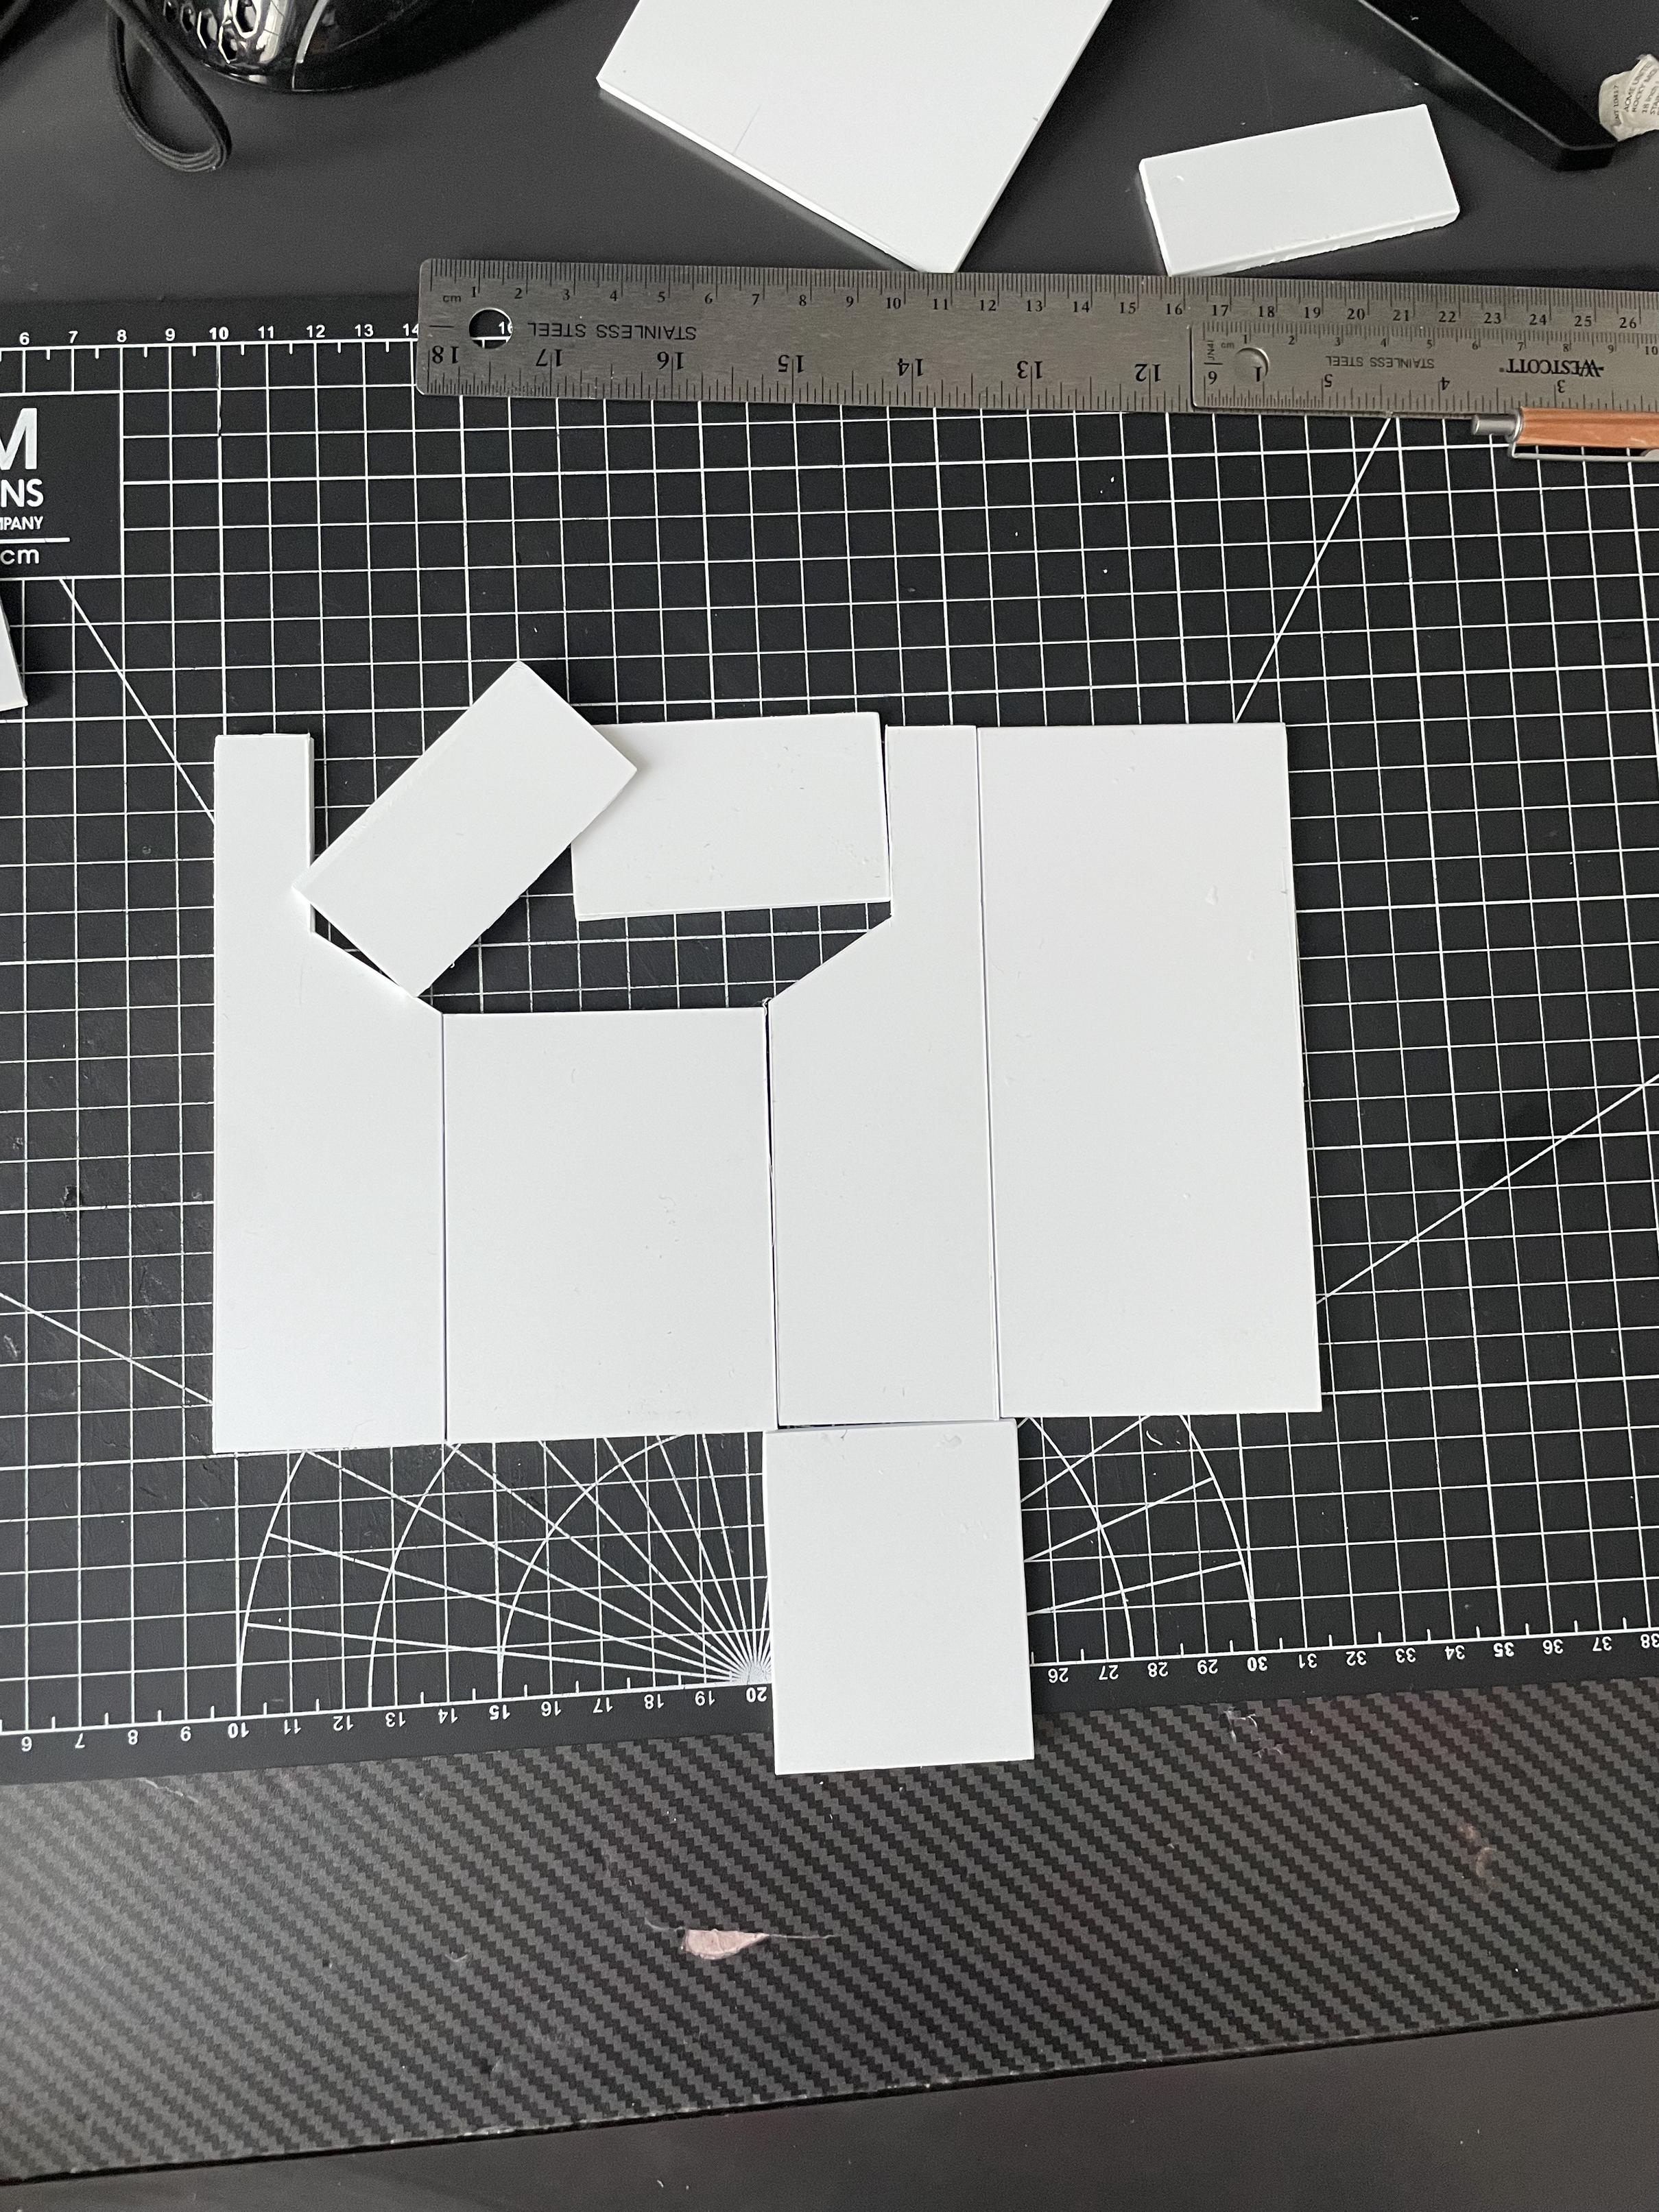
When that was finished, we were able finally able to move on, but then we ran into another complication with the ion arm. The BOK ion arm is completely solid and it was way too heavy. We were getting super worried that the heavy ion arm would break the EDA and wouldn’t last. We also ended up messing up the tap for it, so we decided to create a new one from scratch using styrene. Batfly’s styrene scratch build helped a lot with trying to figure out how to do this. I essentially cut a giant square that had all the panels on it, and then scored off the pieces I needed, and also used pliers to help get rid of some pieces too. I then superglued it all together, primed it grey, and reattached the end cap.
We then started to move onto attaching everything else to the shell. I mentioned we used the tape method before which worked on some pieces but not so much on others due to the nature of some the parts I made such as the booster tube. The angle I cut wasn’t the most precise so although I placed a piece of tape on the bottom to try and transfer onto the EDA, it wasn’t exact so the holes ended up being off. We ended up filling the holes on the booster tube with wood filler and redrilled them from the bottom with the holes on the shell. This ended up working but it was a little difficult trying to bolt everything together. We were able to secure the booster plug with one of the bolts for the booster tube too. The ion arm was also a bit of a mess as we messed up marking the holes on the tape from rushing. We were able to try again the next day after we filled the holes and we kind of messed up again :sigh: but it ended up working out. On some of the other parts like the hga, I took some sign plastic, drilled a hole for a bolt, put the bolt through the hole and secured it with a nut, then I superglued the nut, and removed the bolt creating a thread. I then glued that sign plastic into the HGA so we were able to use that to secure it. After we had messed up so much with mounting the parts, the one part we had to make sure we did right was the bumper. The Crix bumper had small indents for where we were able to drill which helped a lot, so we drilled those out, then we aligned the bumper onto the shell. A slight issue with the Crix bumper was that its too short because the bottom is too wide, so theres no clearance between it and the cyclotron. We just ended up raising the bumper up with playing cards to get a half inch clearance, and we very carefully marked the holes for the bumper on the shell, double checking that we got it right. Then we drilled the holes for it and we bolted the bumper on while we were panicking that we messed it up, but we got it right first try which was a major relief! After that it was time to attach the bellows. I bought this resin part without the modeled screw, but since this pack was going to be a GB2 pack, I had to find a bolt for it but I had no luck. The only thing I found close enough was a brass slotted pan head screw, so I used it as a decorative screw that would get painted and just used a long bolt through the cyclotron into the bellows. Finally, almost every single part that needed to be bolted on was done, and we attached the shell onto the motherboard and we were able to stand back and appreciate the work we did, so here’s what it looks like 
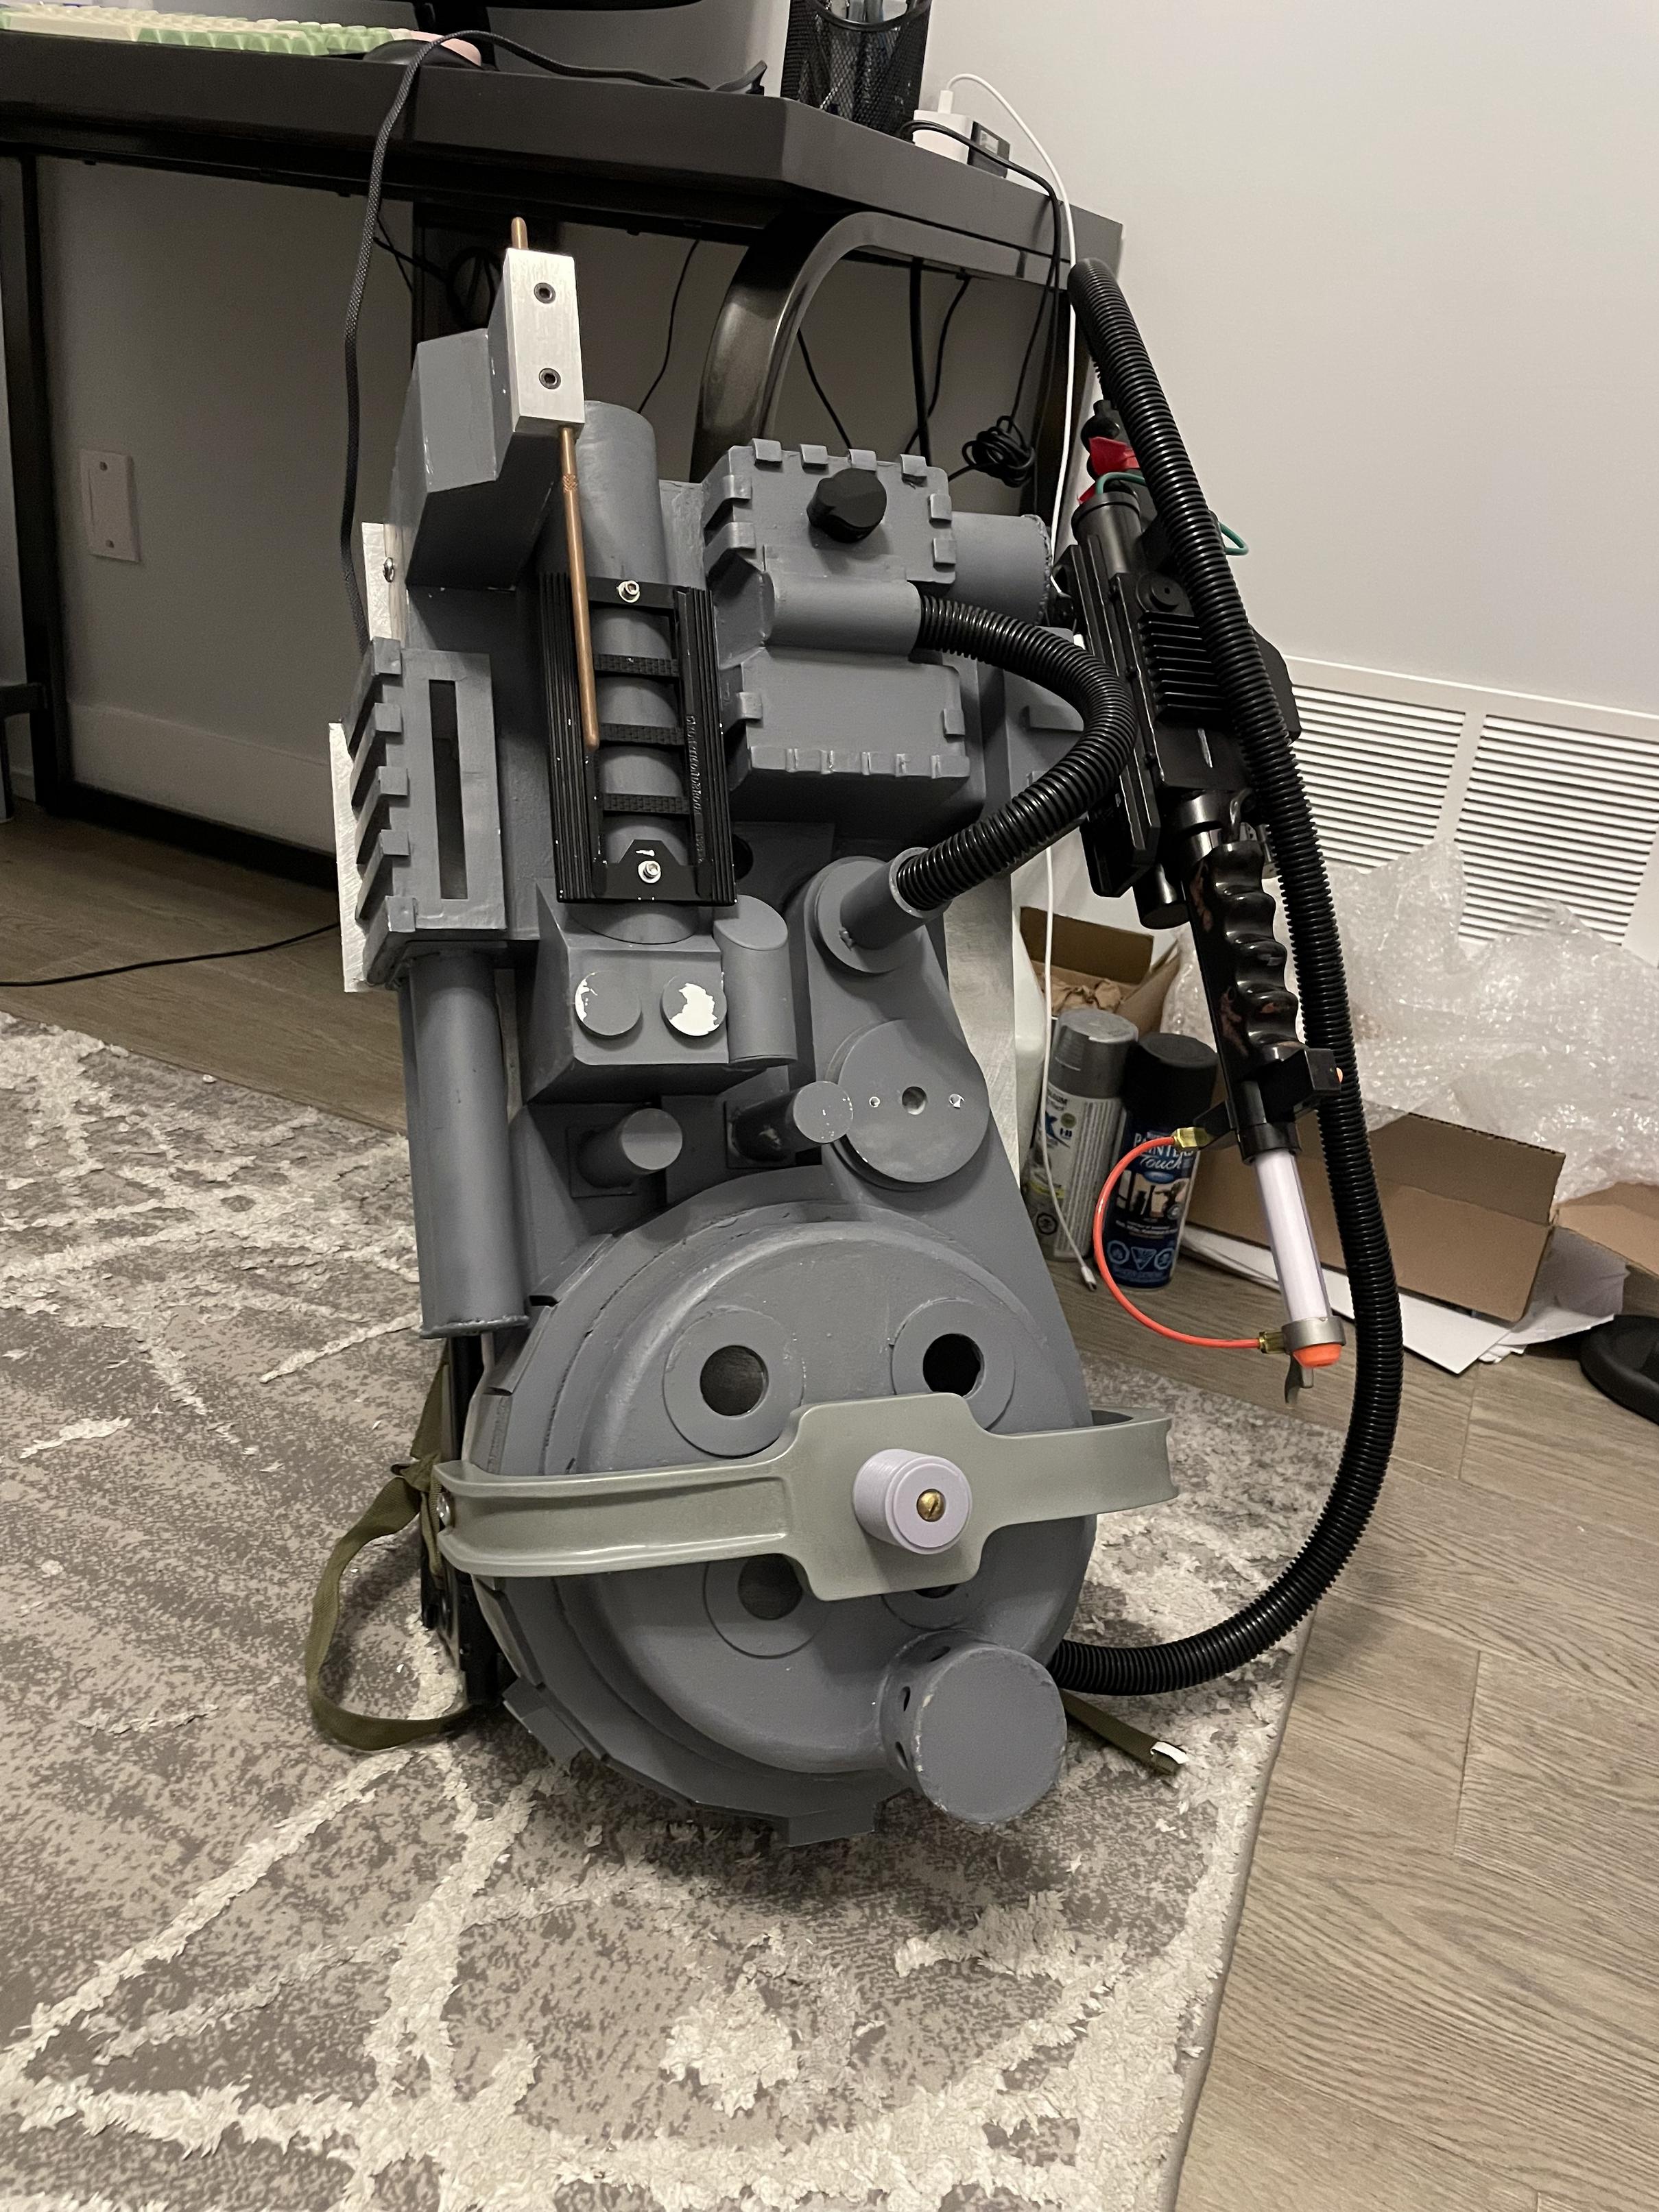
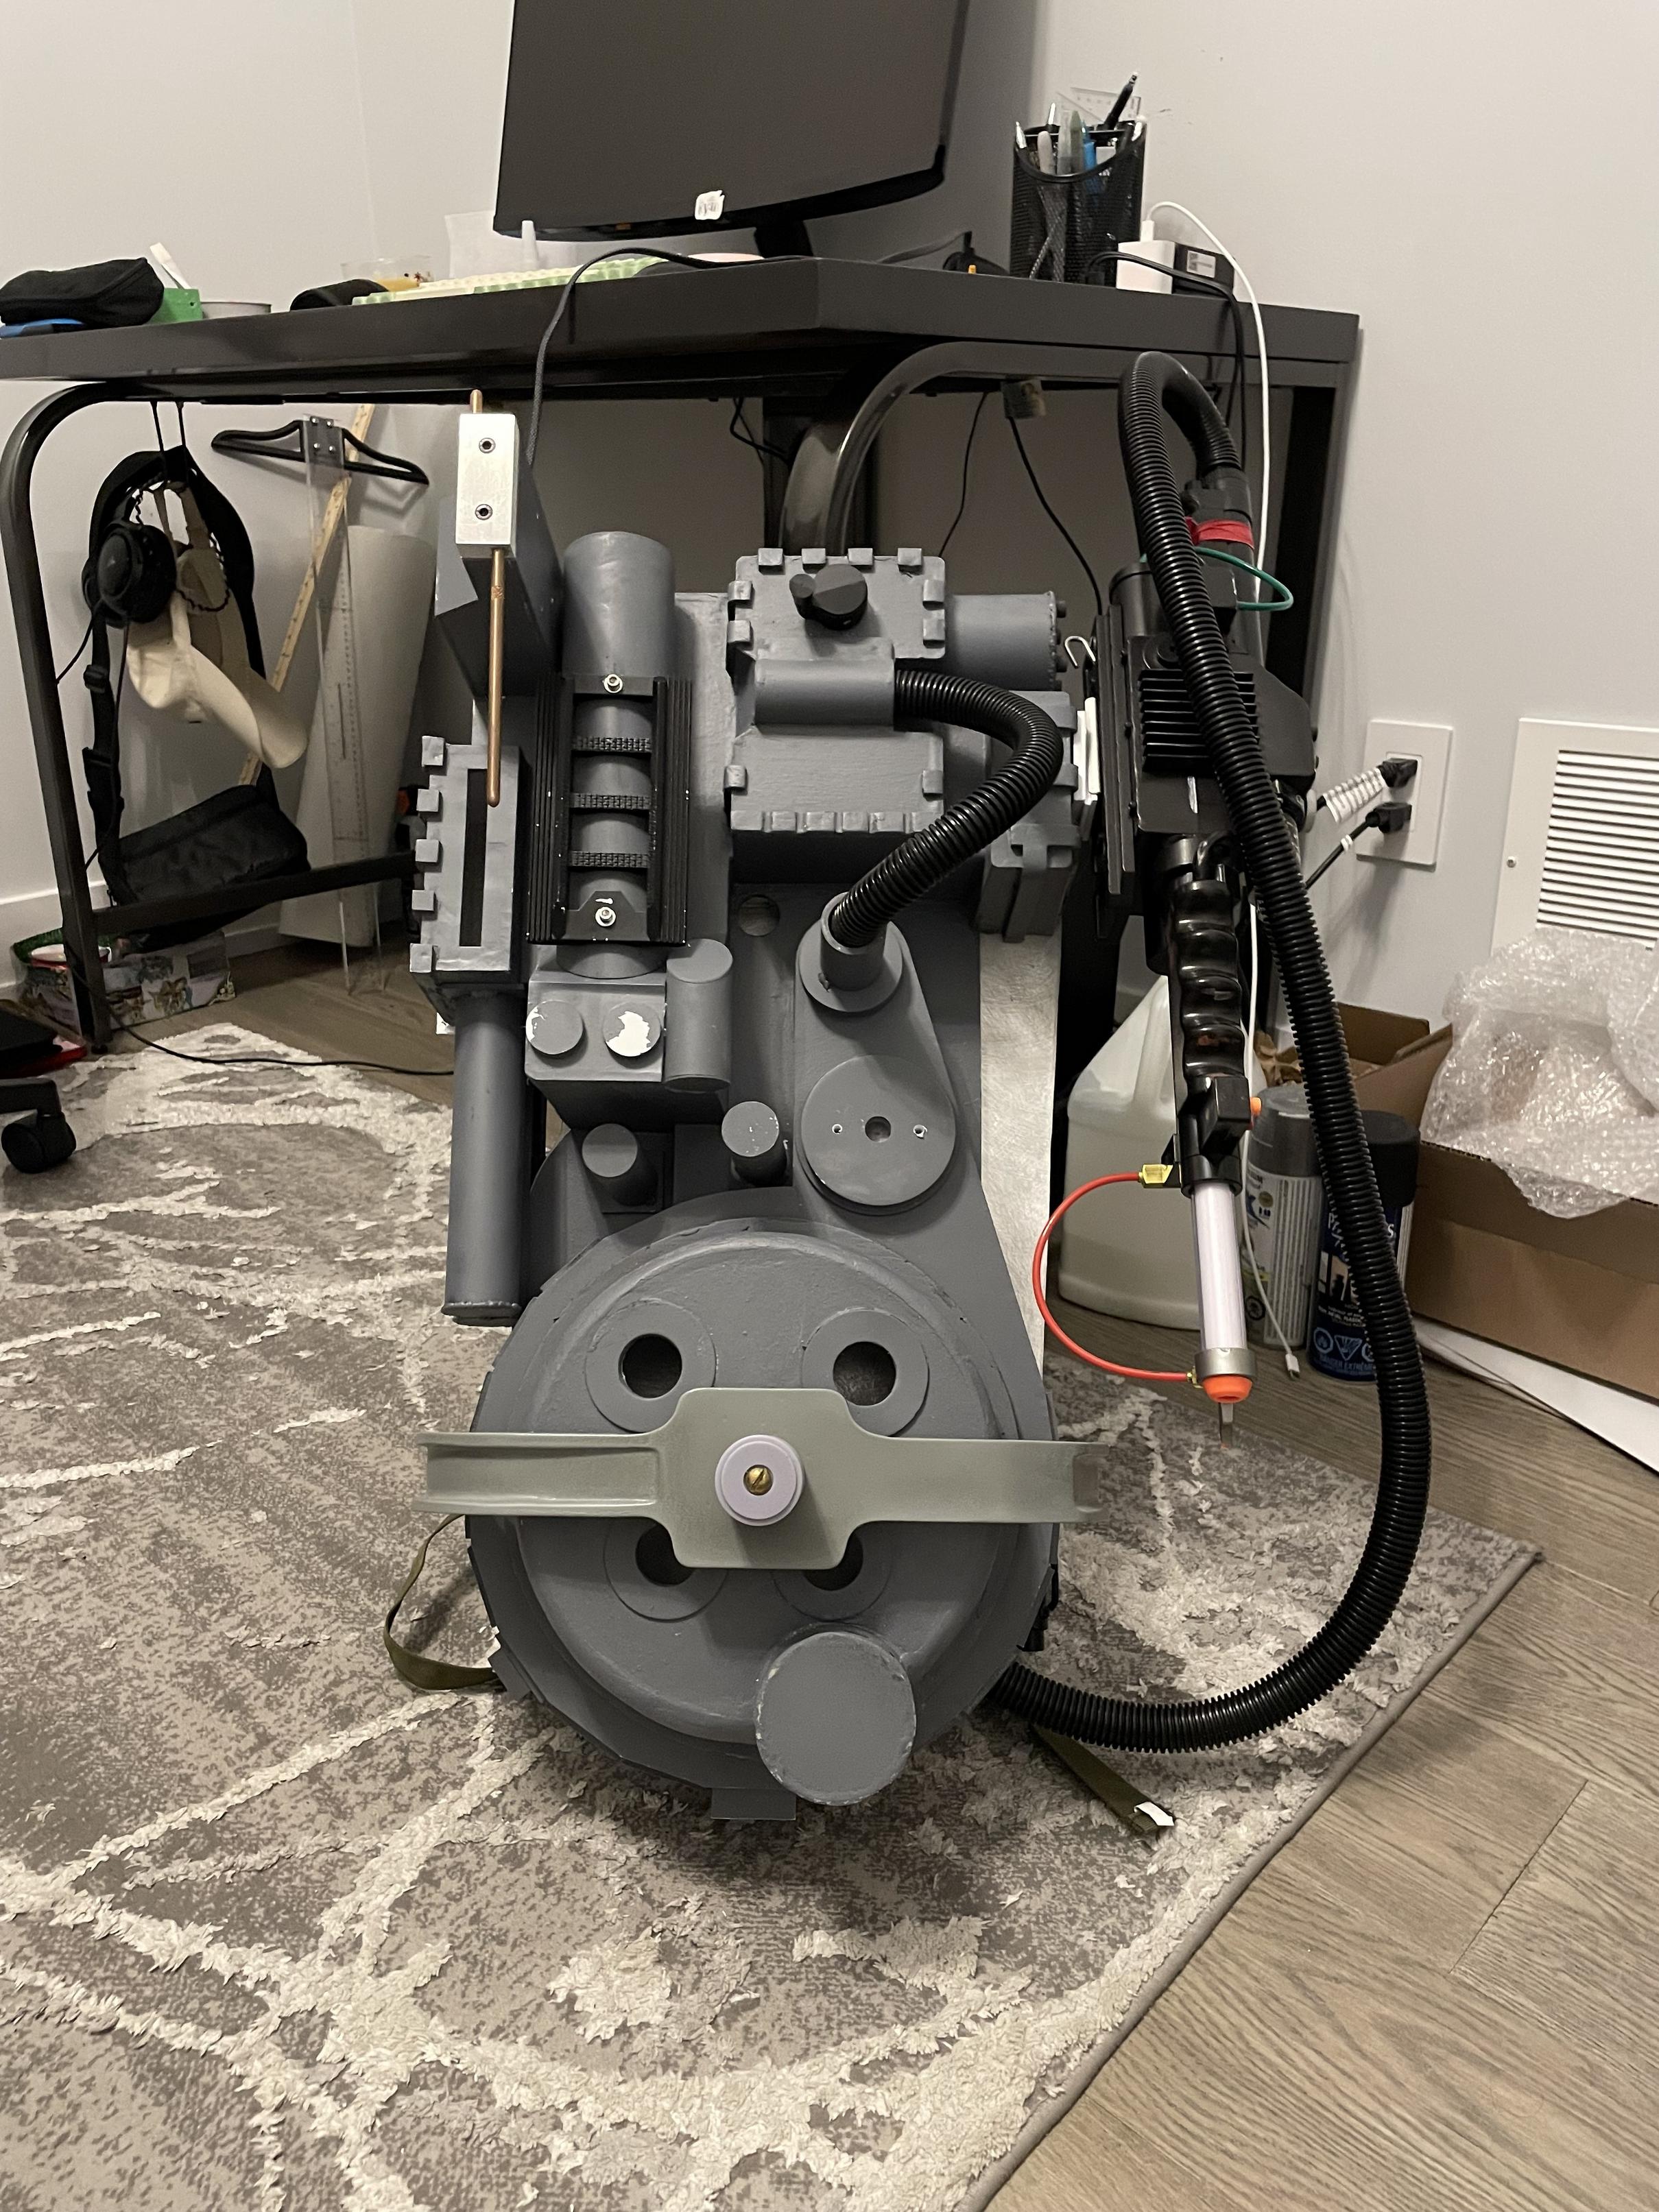
Even though we ran into so many problems with the assembly, it was so gratifying to see the work we put in all come together like this. All the parts are so much stronger compared to when I glued them on before, and the new solution for the v-hook shocked me, its ROCK solid and is not going anywhere. Our next steps to finally finishing this thing are to mount the electronics, wait for the rest of the parts like the labels/tubing from GBFans, paint and weather it, and then we are finally finished with this one. I seriously have to apologize for messiness and the extreme lack of images in this post, theres instead just long walls of texts here which I usually don’t like doing, so I might go and take some more photos later on and come back in here to put them in.
I wanted to also take the time to share a few small updates and future plans for V8. Building this pack has taught me so many new lessons in the assembly stage since it was my first time doing it like this. I’m definitely planning on buying a notebook to fill it to the brim with research and notes on every single part so I can easily refer back to it (Such as how I should’ve placed the shell on the motherboard and drilled the holes at the same time). I mentioned earlier that I’ve been doing a lot of research on fibreglassing for the new pack and I think I’ve came to the conclusion that I will do it for V8 to further reinforce and strengthen the pack. I was seriously concerned that doing this would be catastrophic because of how the paper can warp, but after seeing other builds using the Pepkura method with fibreglass, it blew my mind so it gave me the confidence to do it to my future build too. I will also switch to Magic Sculpt putty instead of using wood filler for things like the cyclotron. Anyways, thanks for reading this long wall of text of a post!
Wow what an adventure! It looks wonderful!
Well done that looks amazing. Can’t wait to see it painted and kitted out
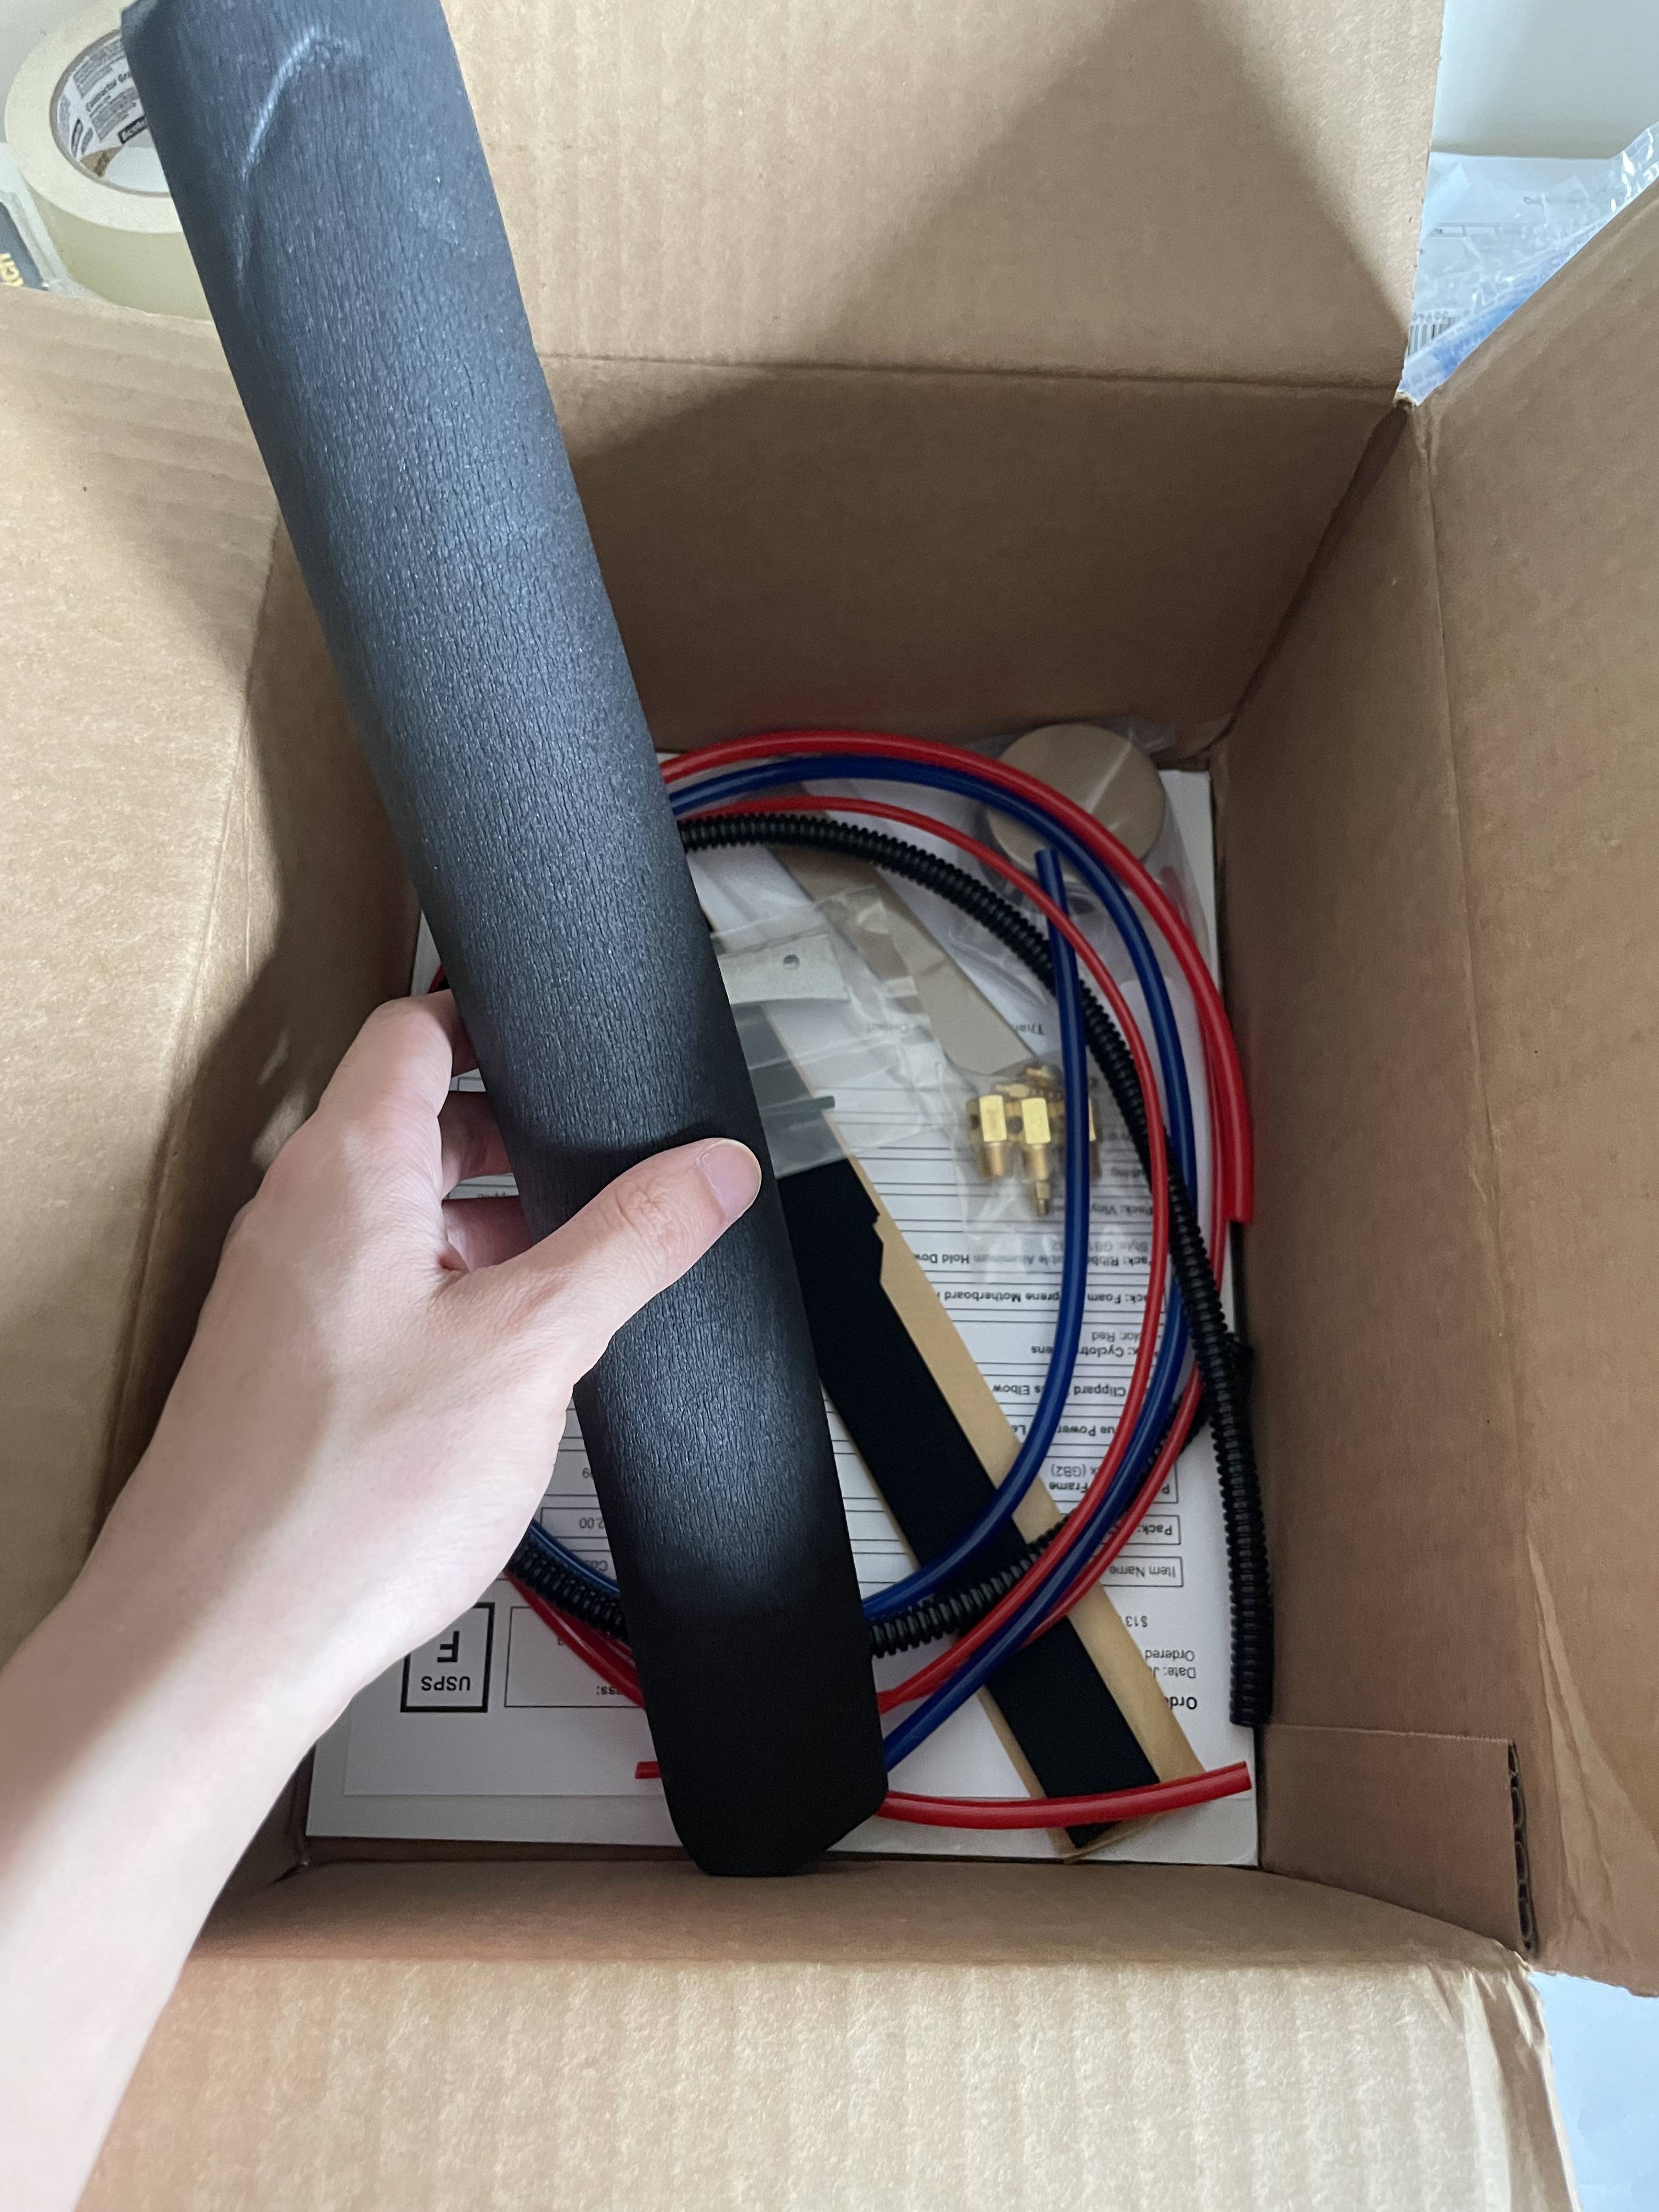
Its time for another update, and long story short, this pack is done! I’ll start back from where we left off, but basically I had to wait for my gbfans order to come in which had everything else that was needed to complete this thing. A week later it came, so it was time to get back to work. Theres a few things in here that I’m saving for the next pack like the alice frame foam (although I may swap it out for white foam), neoprene motherboard foam, and the aluminum ribbon cable clamp.
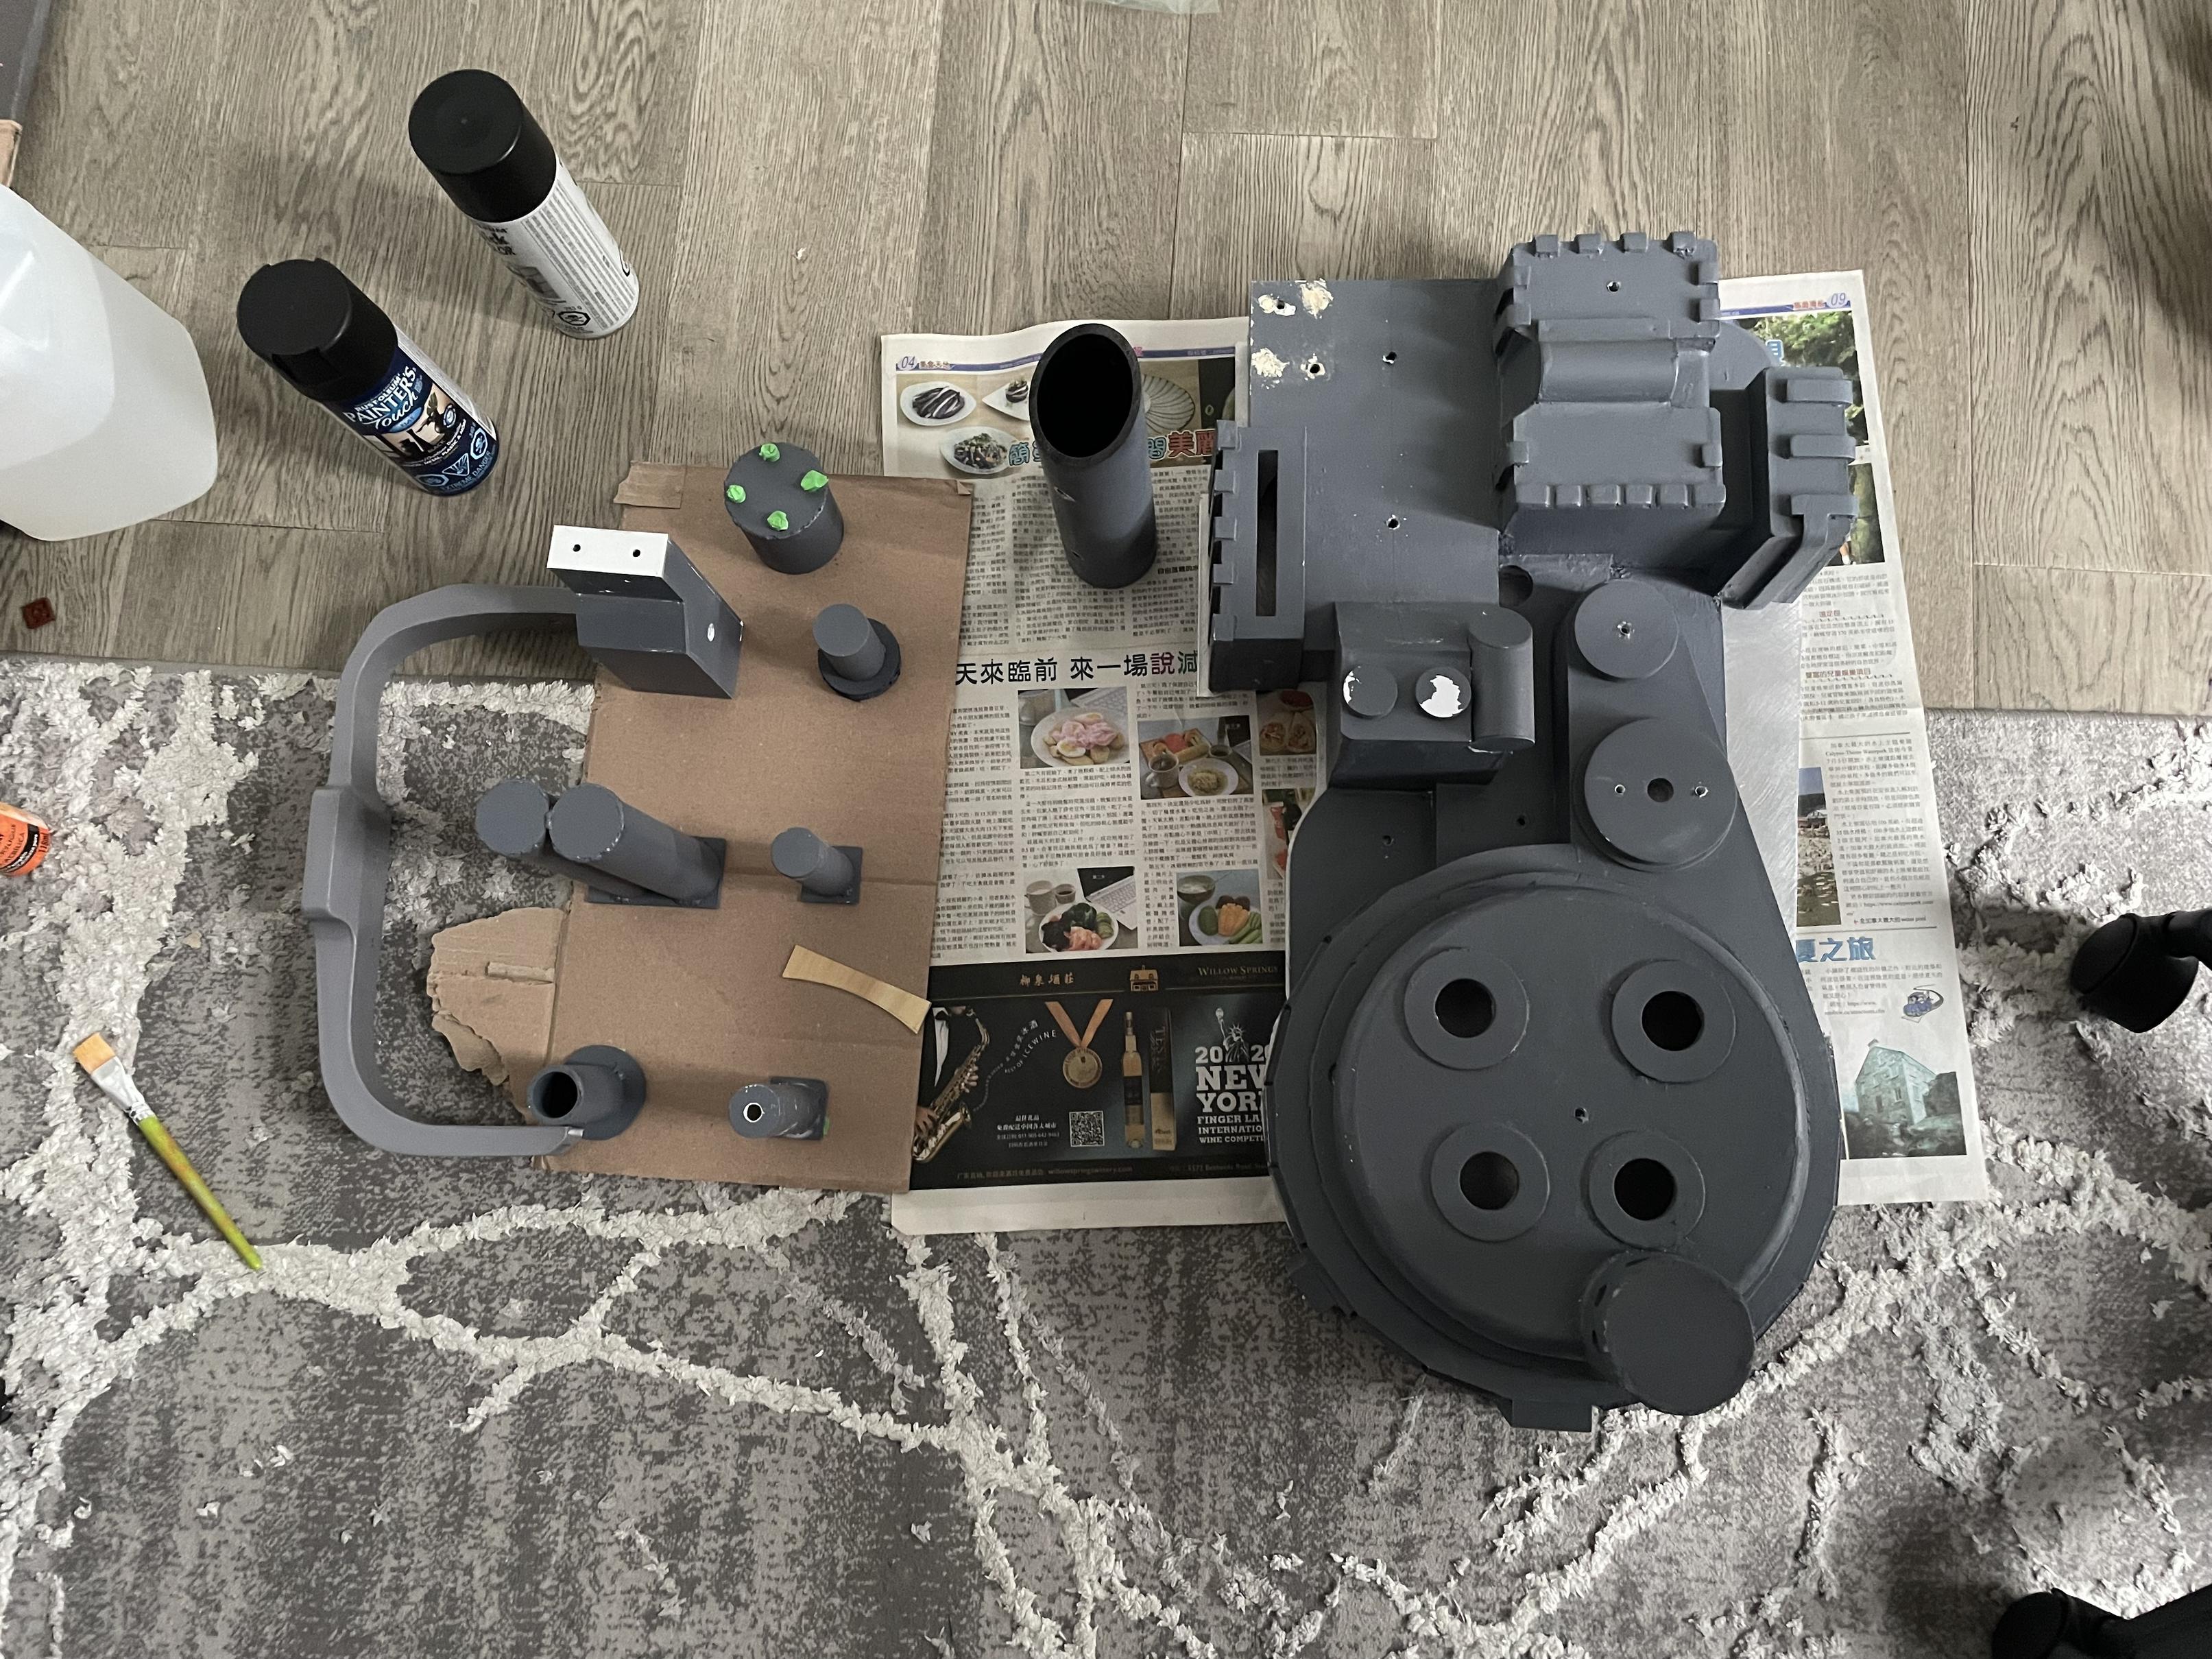
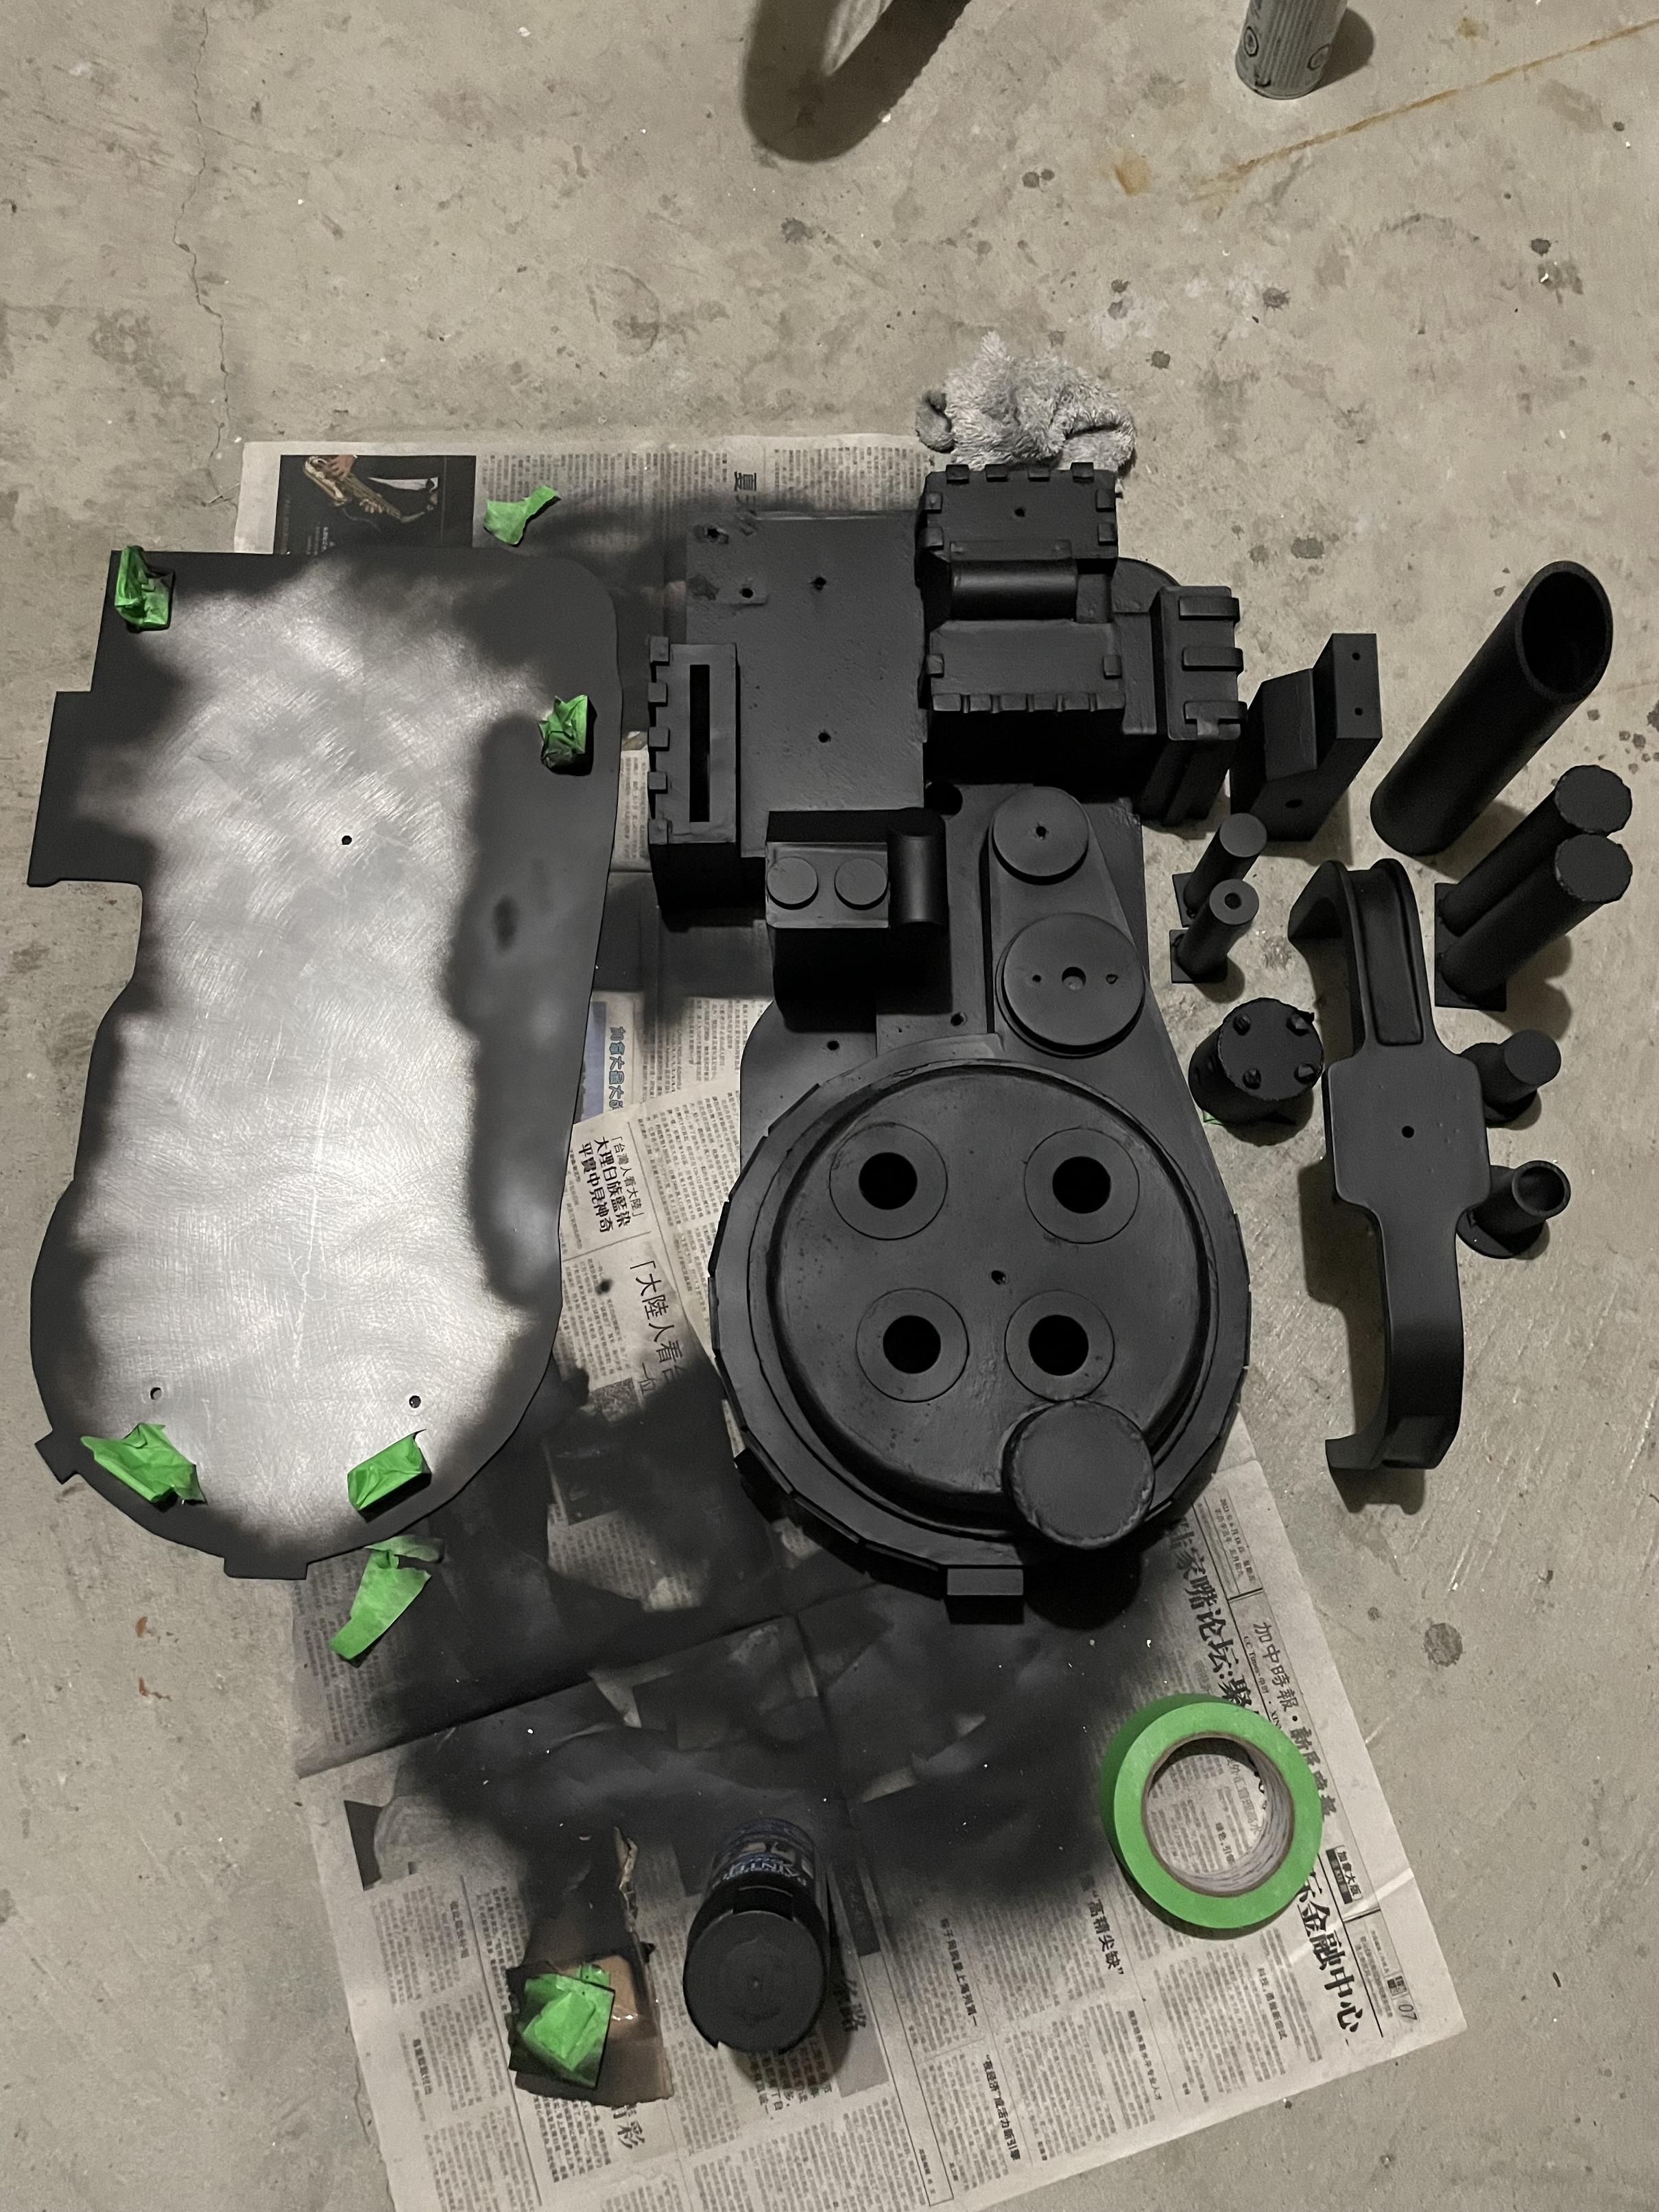
Our first step was to disassemble the entire pack and start sealing the holes with white glue so they do not disintegrate when we spray paint it. After that, we took it outside and started spray painting with Rustoleum flat black paint. The external parts were painted first, and it was going well until something happened.. strange vein like things started appearing on a few of the parts.. :shock: I remember seeing in canpara’s semi hero build that the same thing happened on the shell only that it was MUCH more severe. We quickly sanded the “veins” off when it was dry to the touch and then resprayed it but we had to do this multiple times because sometimes they reappeared. At this point I was panicking because I was terrified the same thing would happen to the shell. After all the parts were dry, we decided to spray paint the shell inside the garage instead of outside. It was humid and windy that day so that is probably why the veins happened. We took our time painting the shell very carefully, and then the motherboard. Fortunately, they all turned out well which was a major relief.
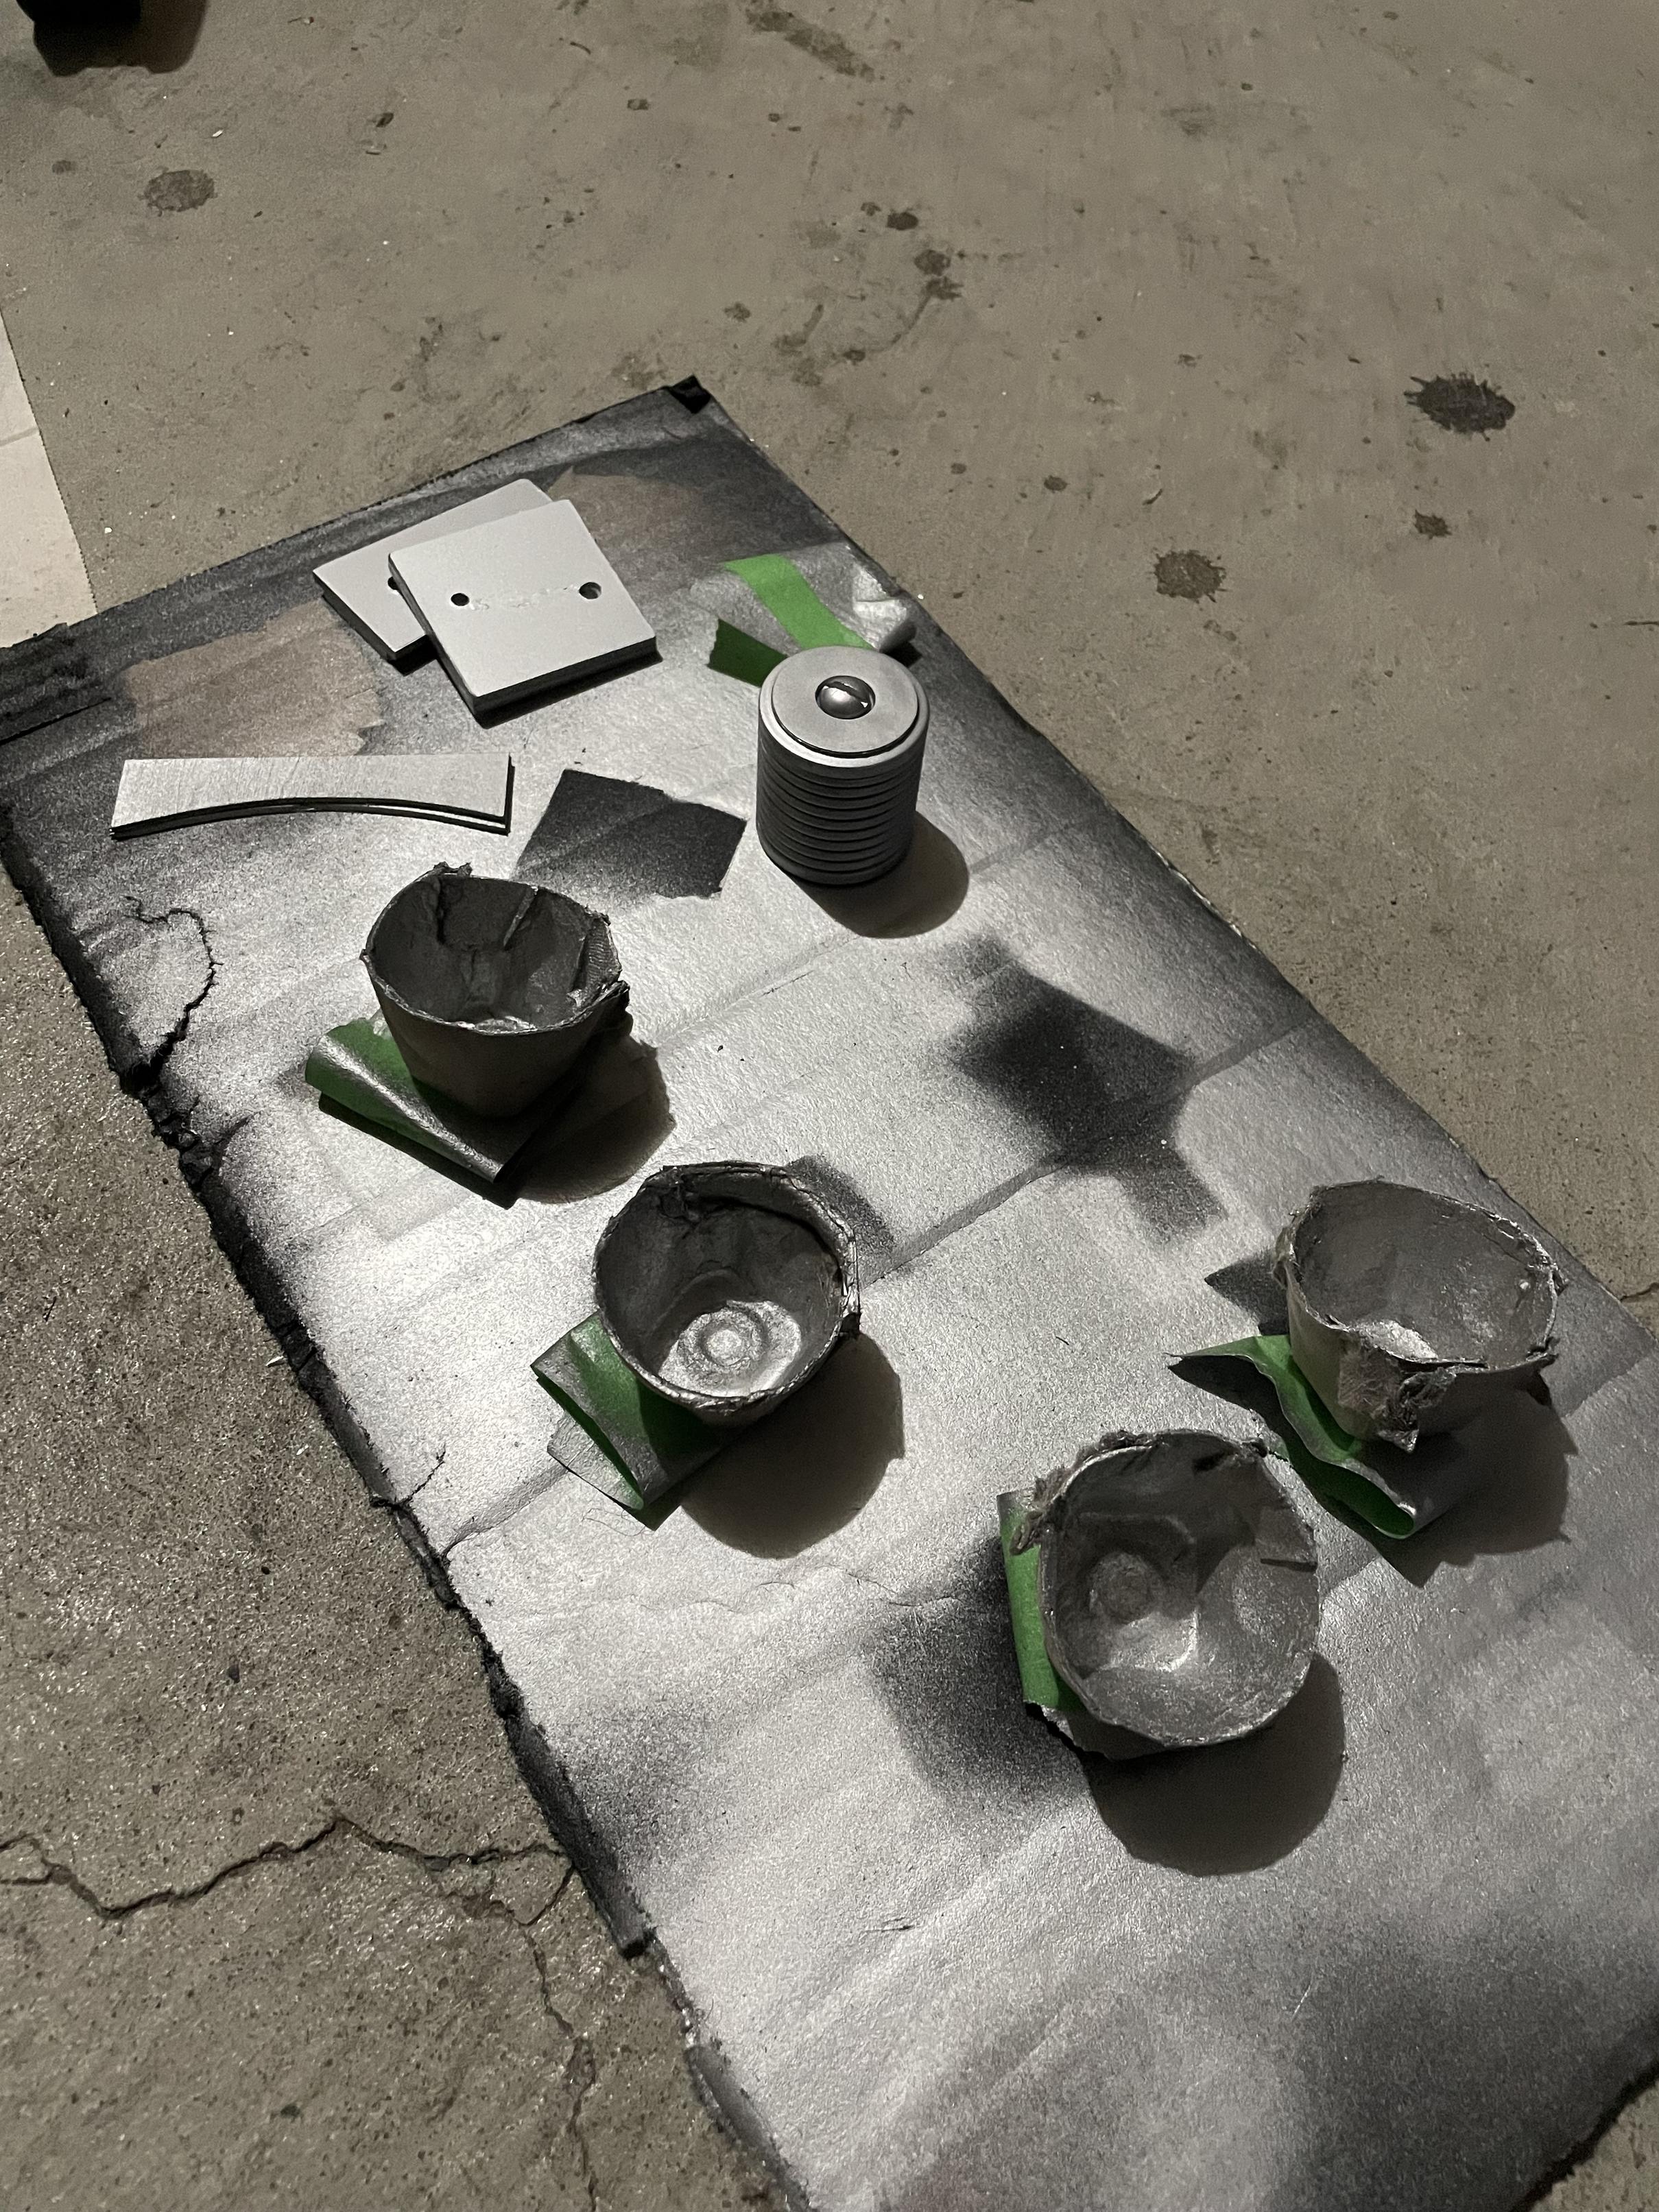
There were a few other things we had to paint too like the v-hook and bellows, so I had some Rustoleum silver spray paint from a while ago and used that on those parts. I also made the ribbon cable clamp out of some 1/16” wood that I cut. I decided that the electronics would be glued to the shell, so we used the high tech solution of making reflector cups out of old egg cartons. It’s handy to know a few homemade tricks from when I used to make packs out of cardboard lol.
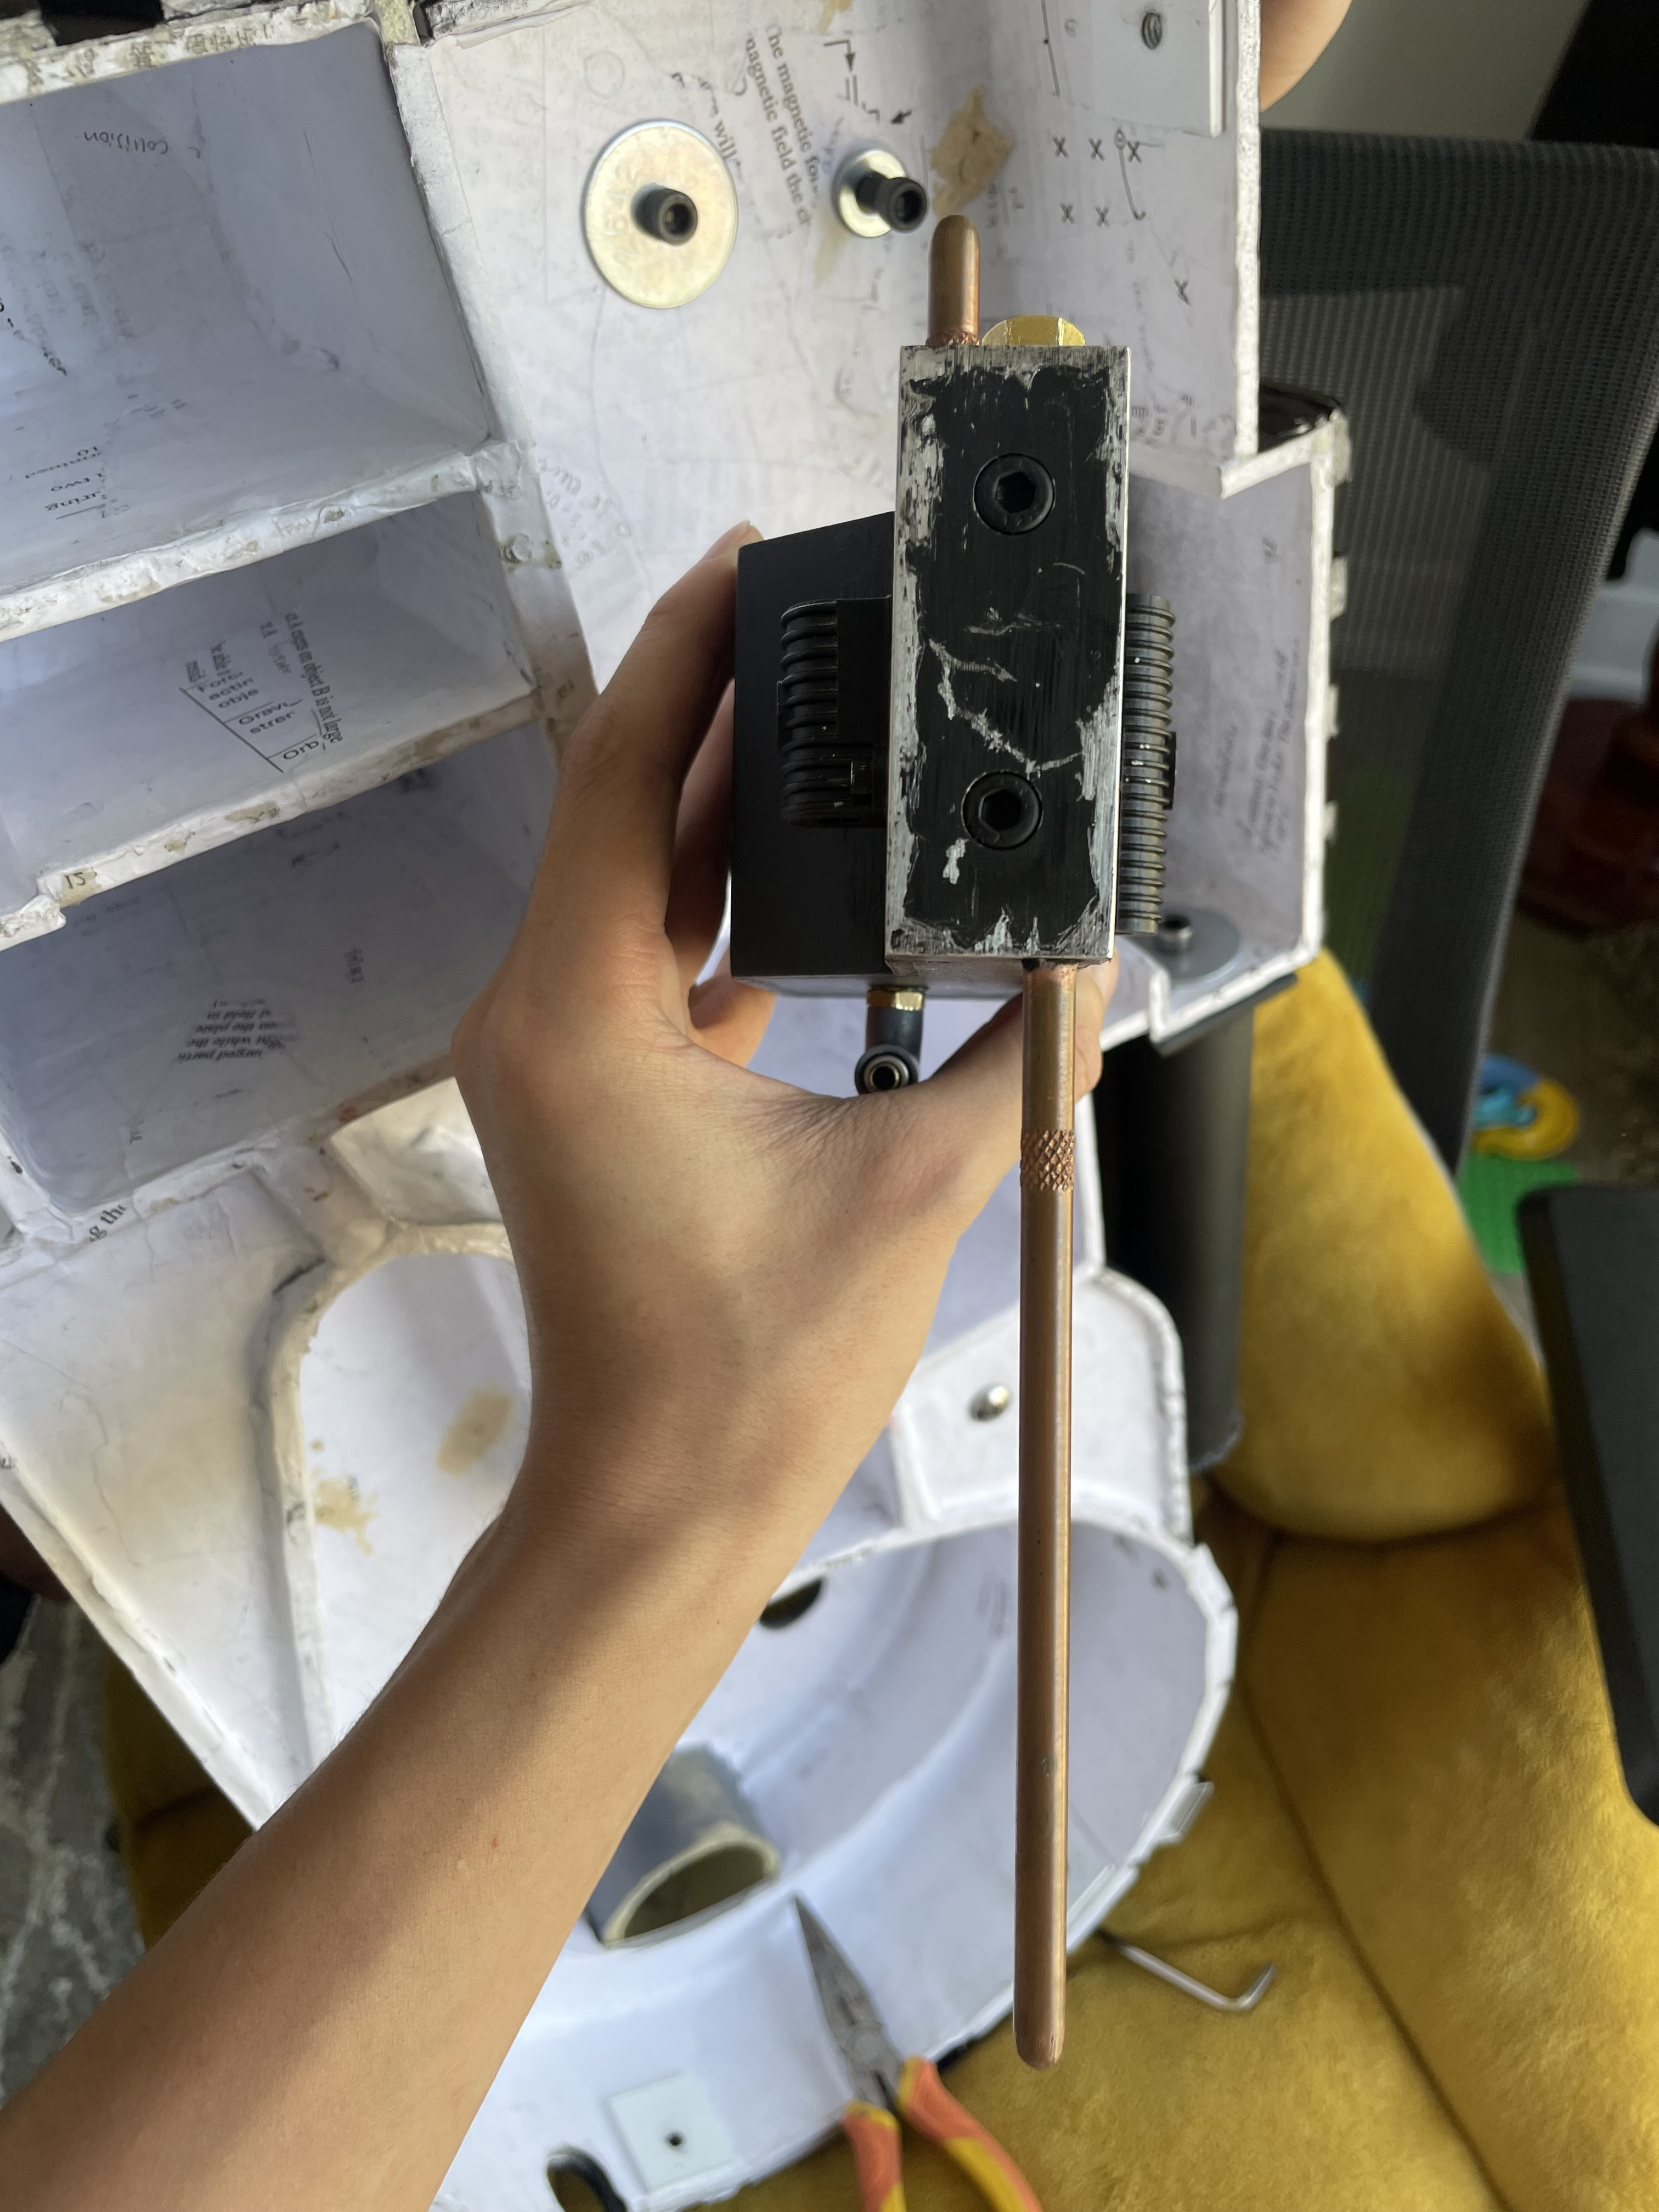
Now it was finally time to assemble this thing. The first thing we chose was the ion arm. I forgot to spray paint the end cap so I quickly did that but accidentally over-sprayed it. It was okay though since we were gonna scratch the hell out of the end cap. My buddy was the one who did this and based it off the GB2 Venkman pack. The resin resistors were then all properly attached with 4-40 socket cap heads except the PH-25. I couldn’t find black steel 4-40 socket cap heads online that weren’t in quantities of 100, only managed to find stainless steel ones, but I painted them black so hopefully its not that noticable.
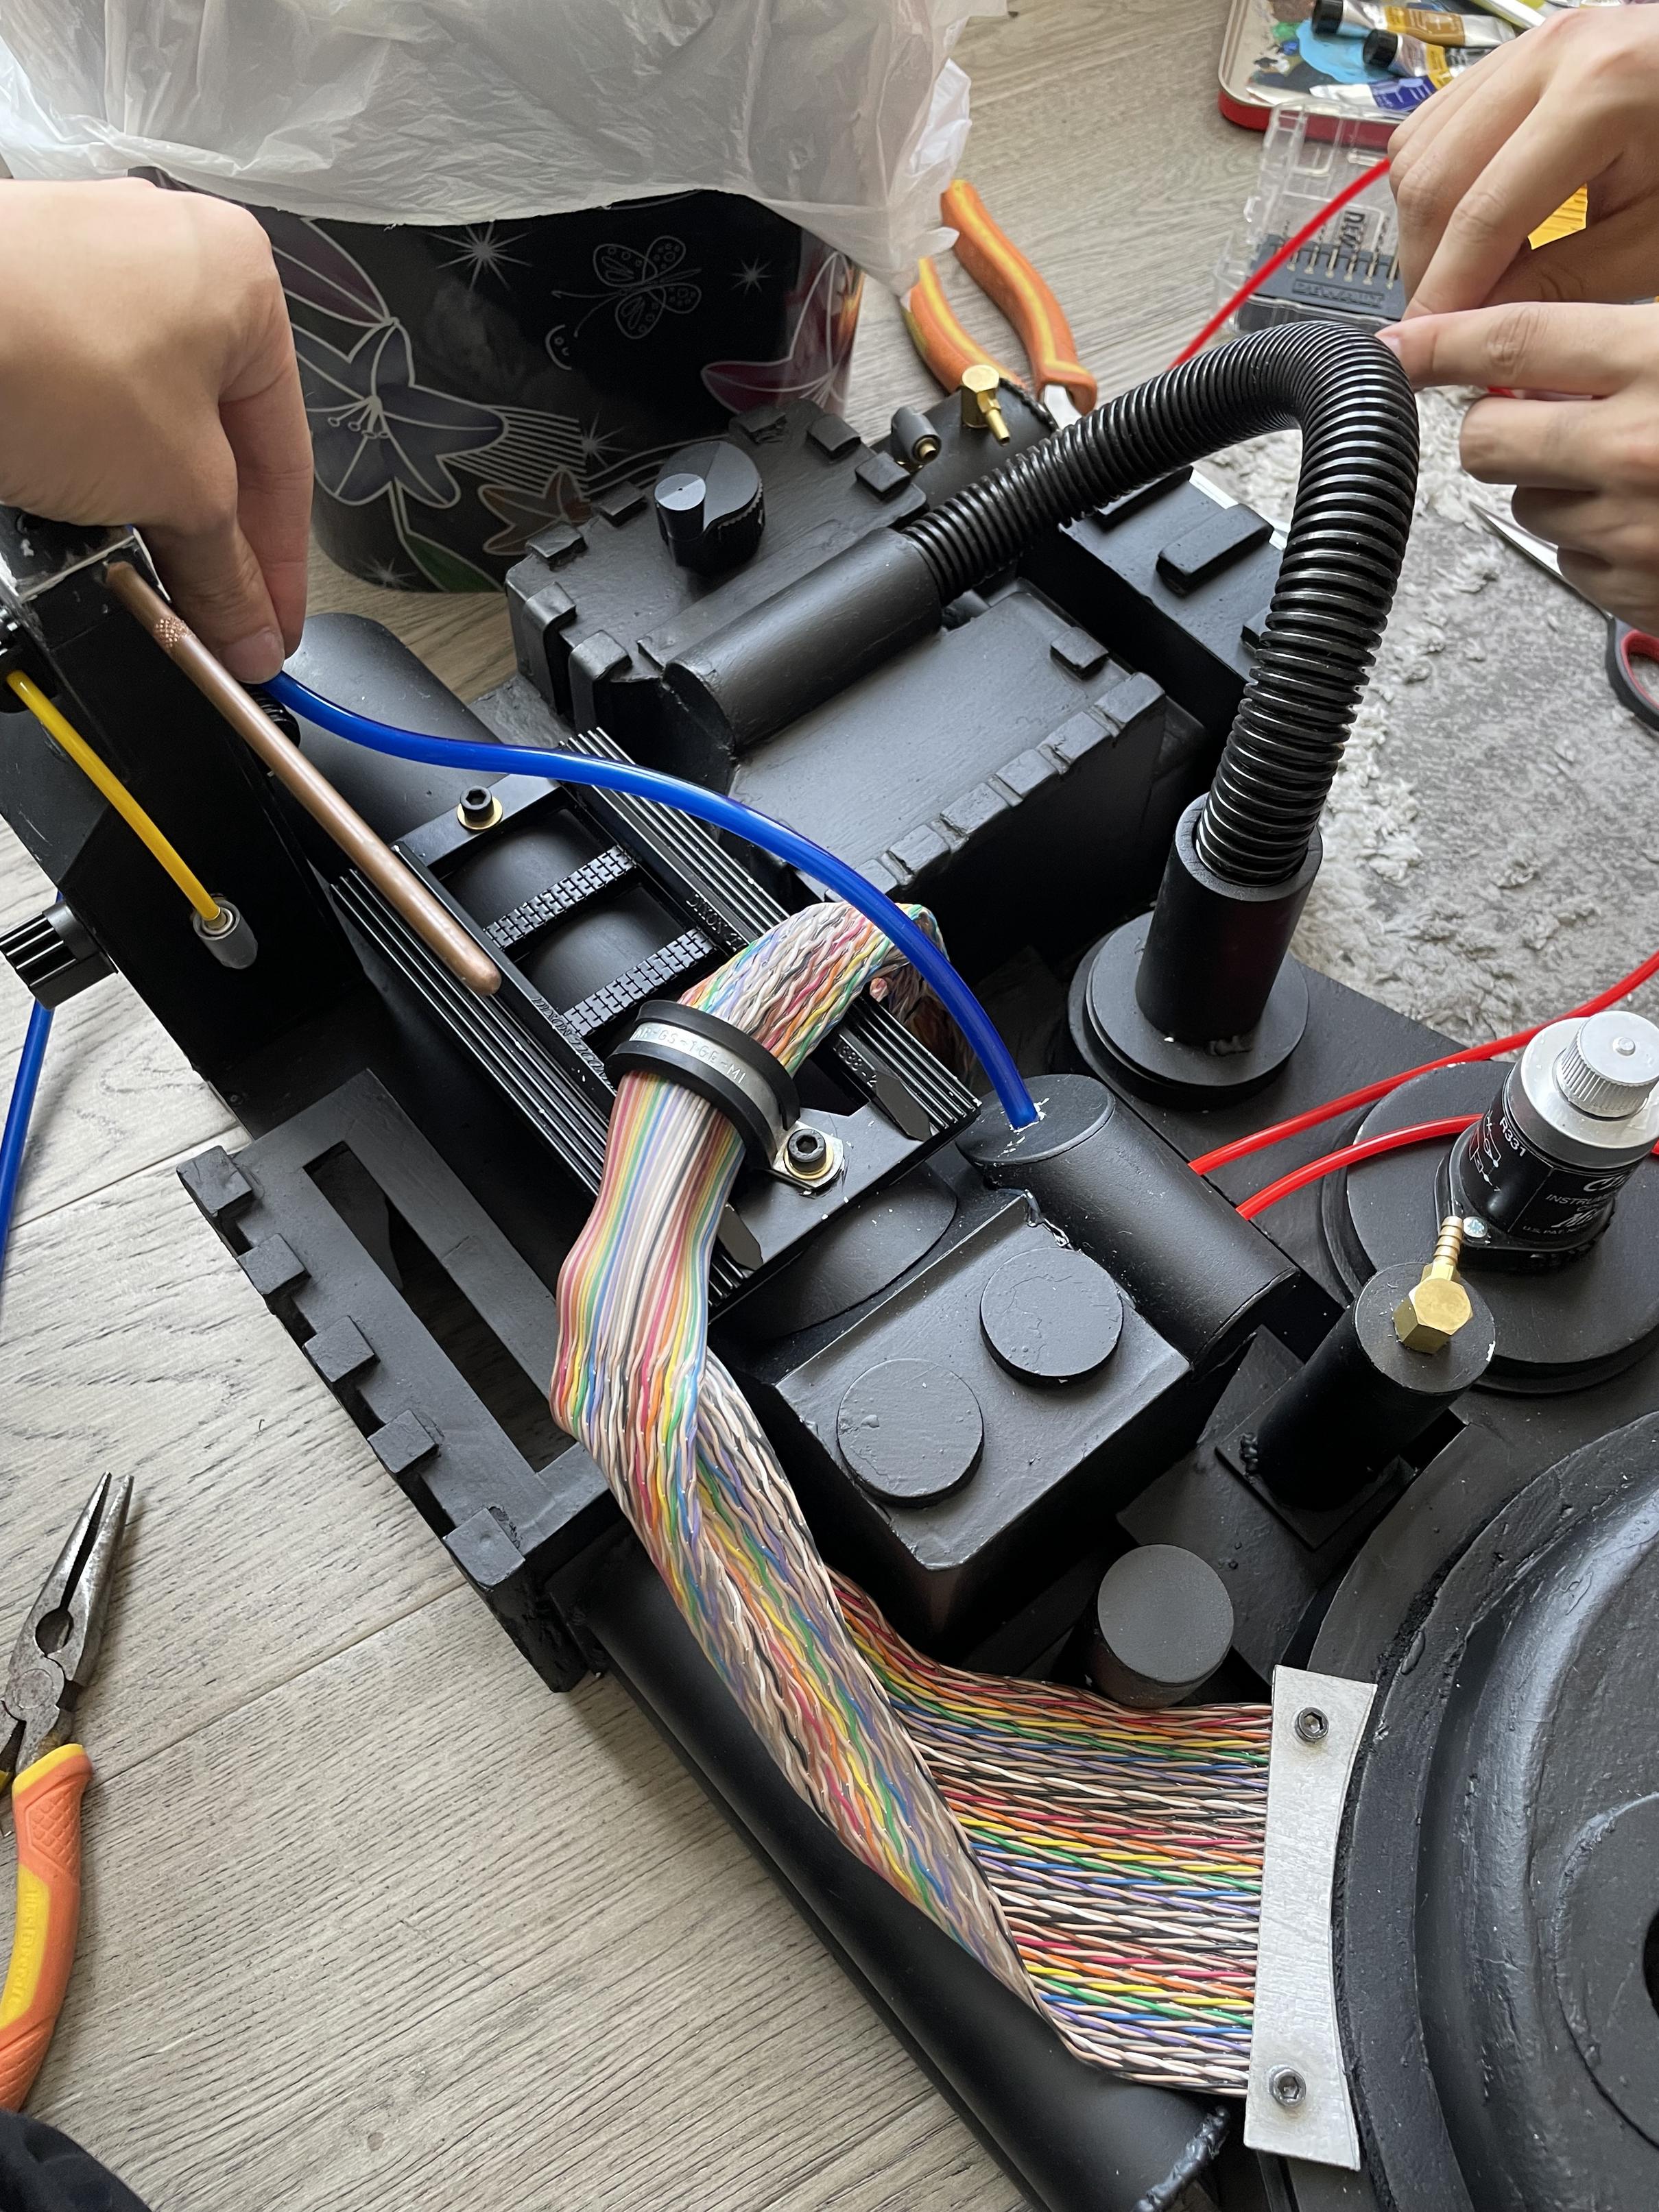
We then started bolting everything else on, and started the tubing/labels which were a lot of fun. For the legris straights, I reused the old compression fittings from the last pack since I didn’t want to pay so much for nice replicas for this pack, but I did use the clippard brass fittings that I got from gbfans. The ribbon cable was a bit tricky, I was worried about this part since my last attempt at twisting the cable didn’t look so good. I wanted this pack to be loosely based off of the GB2 Venkman pack. My buddy said that the ribbon cable looks more like it was folded a lot to achieve the twist, so that’s what we did. We later fine tuned it so in the pictures below it looks a bit bad.

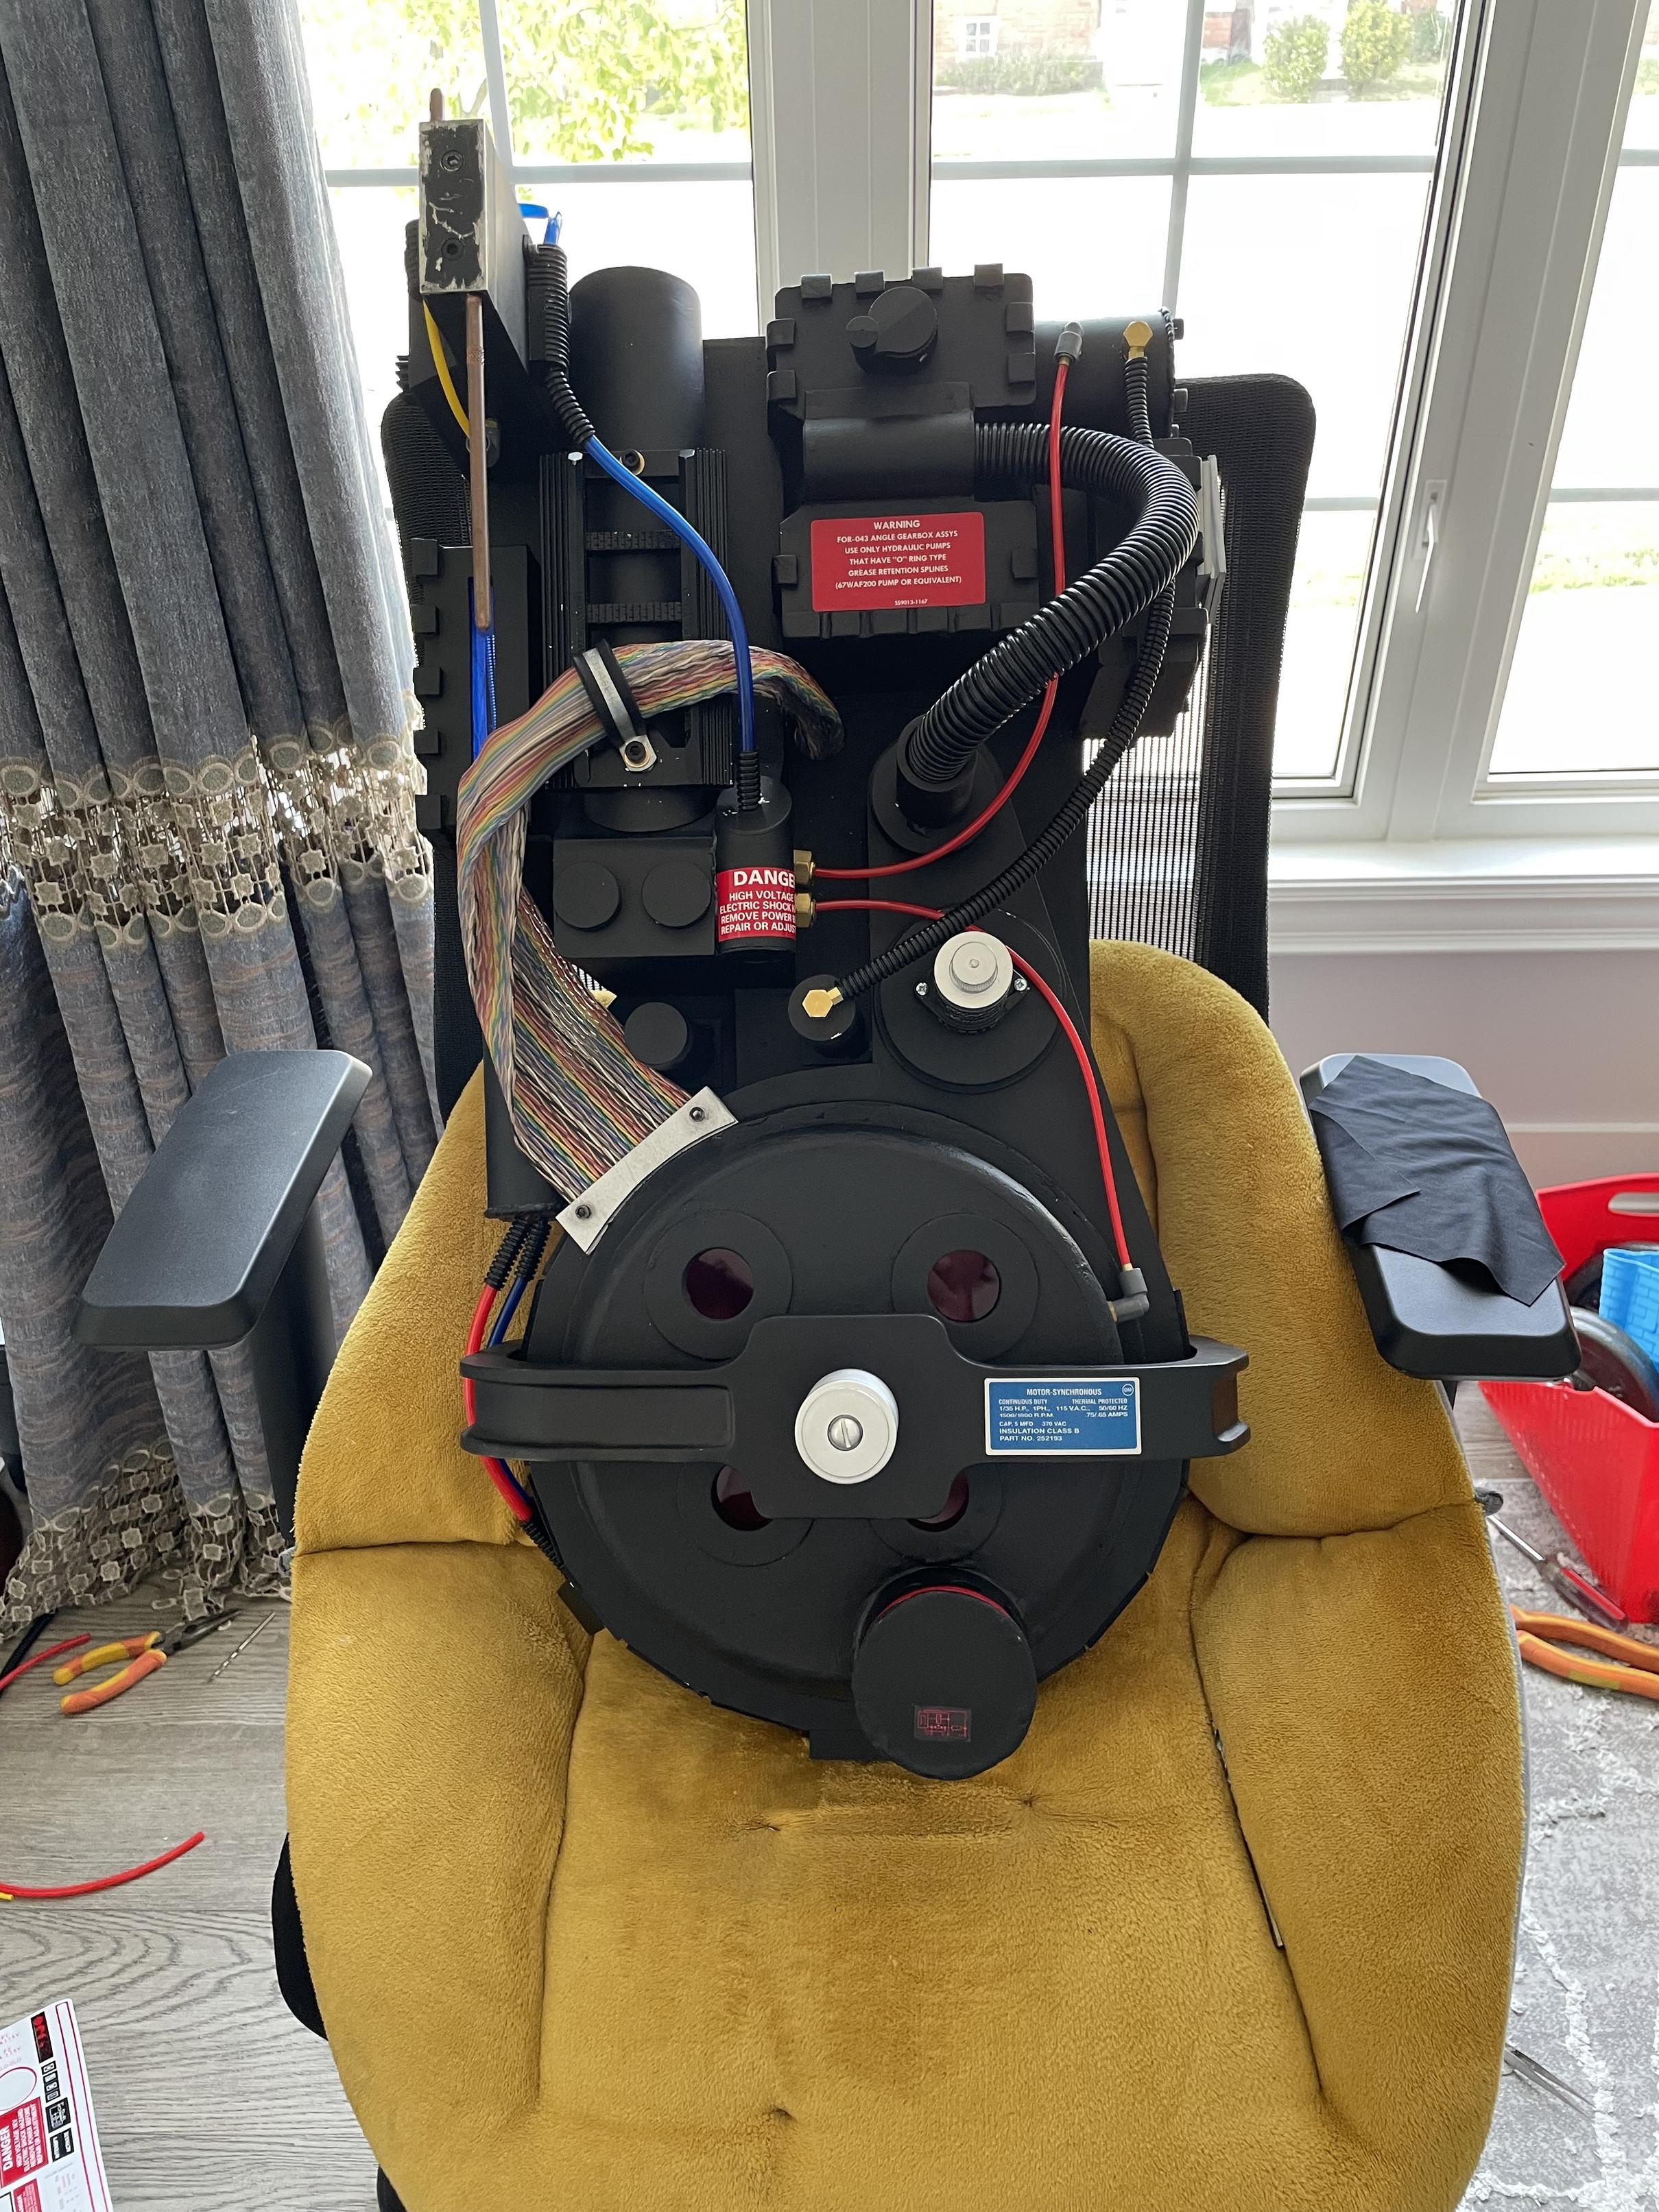
By now the pack was looking way too clean. I was a little bit worried about this since looking at reference photos of the packs today, they look almost like a super dark gray now from the amount of grime and dust.
After we attached the electronics, bolted it to the motherboard/alice frame, attached the gun, it was time to weather this thing. I’m going to throw a disclaimer that I didn’t take pics of the weathering process we did since it was a super messy, but I’ll do my best to explain it. None of us have weathered anything before so we didn’t know what we were doing, but we first scratched the hell out of the parts like the cyclotron and crank gen, and then moved to the dust pass. I had read in multiple threads as well as Legend642’s excellent GB2 pack build that fullers earth does a very good job with making things look old and dusty. I had also heard that baby powder was good too. The problem was, we didn’t have either of those things so I decided to get a bit creative. Instead of fuller’s earth, we would use literal dirt dust and brown pastel powder, and for baby powder, we would use corn starch. We literally dumped this stuff onto the pack and then used brushes and rags to just get it all off as best we could so it accumulates into corners like how dust would. After that, we then mixed a concoction of acrylic paints to make a sort of dark gray mud color, and put some on the pack, and wipe it off immediately. The final result shocked me a little bit because it actually looked pretty decent. I think we may have gone too far on some of the scratching and dust, but overall not too bad. A close up shot of the cyclotron weathering.
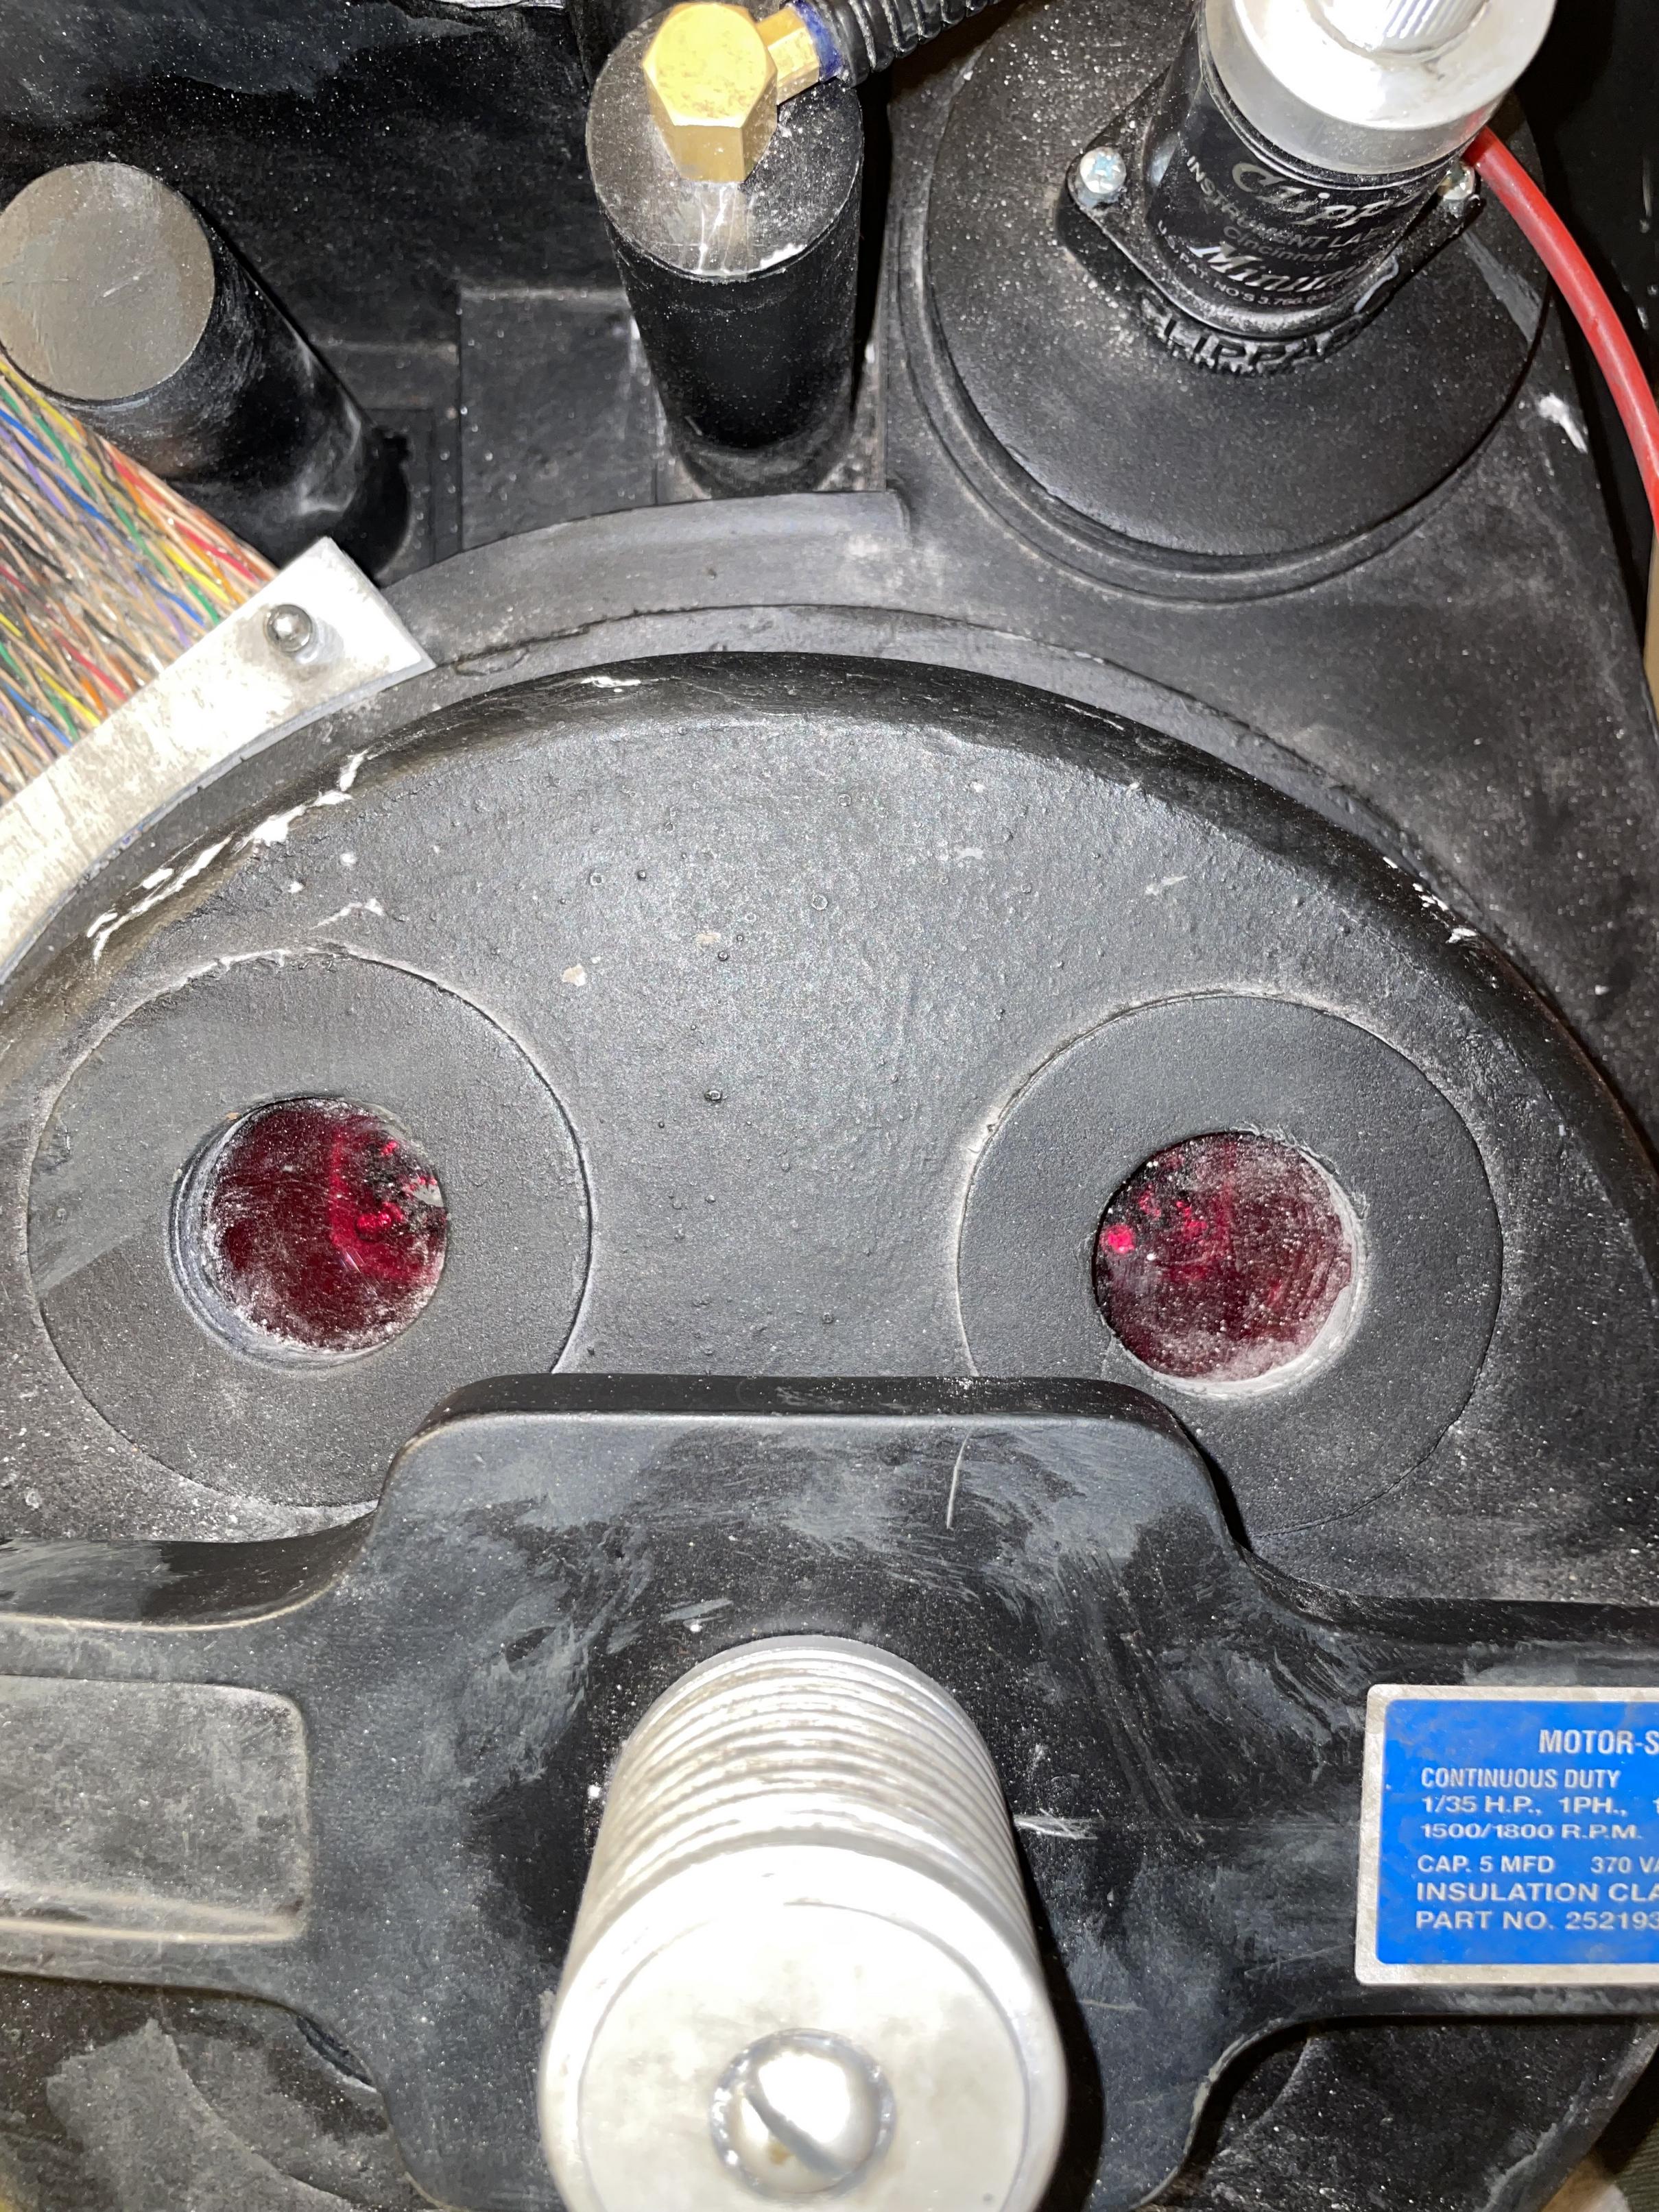
The pack was now technically wearable! It was a great feeling, but it was still technically not done yet. After I packed up and moved all the things I brought to my friend’s place, I took a few days break, and then got back to it. The last few things were the motherboard/alice frame padding, as well as the masking tape reading “Bill M” at the bottom. For the alice frame padding, I for some reason had a pool noodle lying around that wasn’t being used, so I took that stuff and cut it to length. I then spray painted the ends with flat black. I later on removed the masking tape and just sprayed the edges since I was cutting a sheet of black 2mm foam to glue over it.
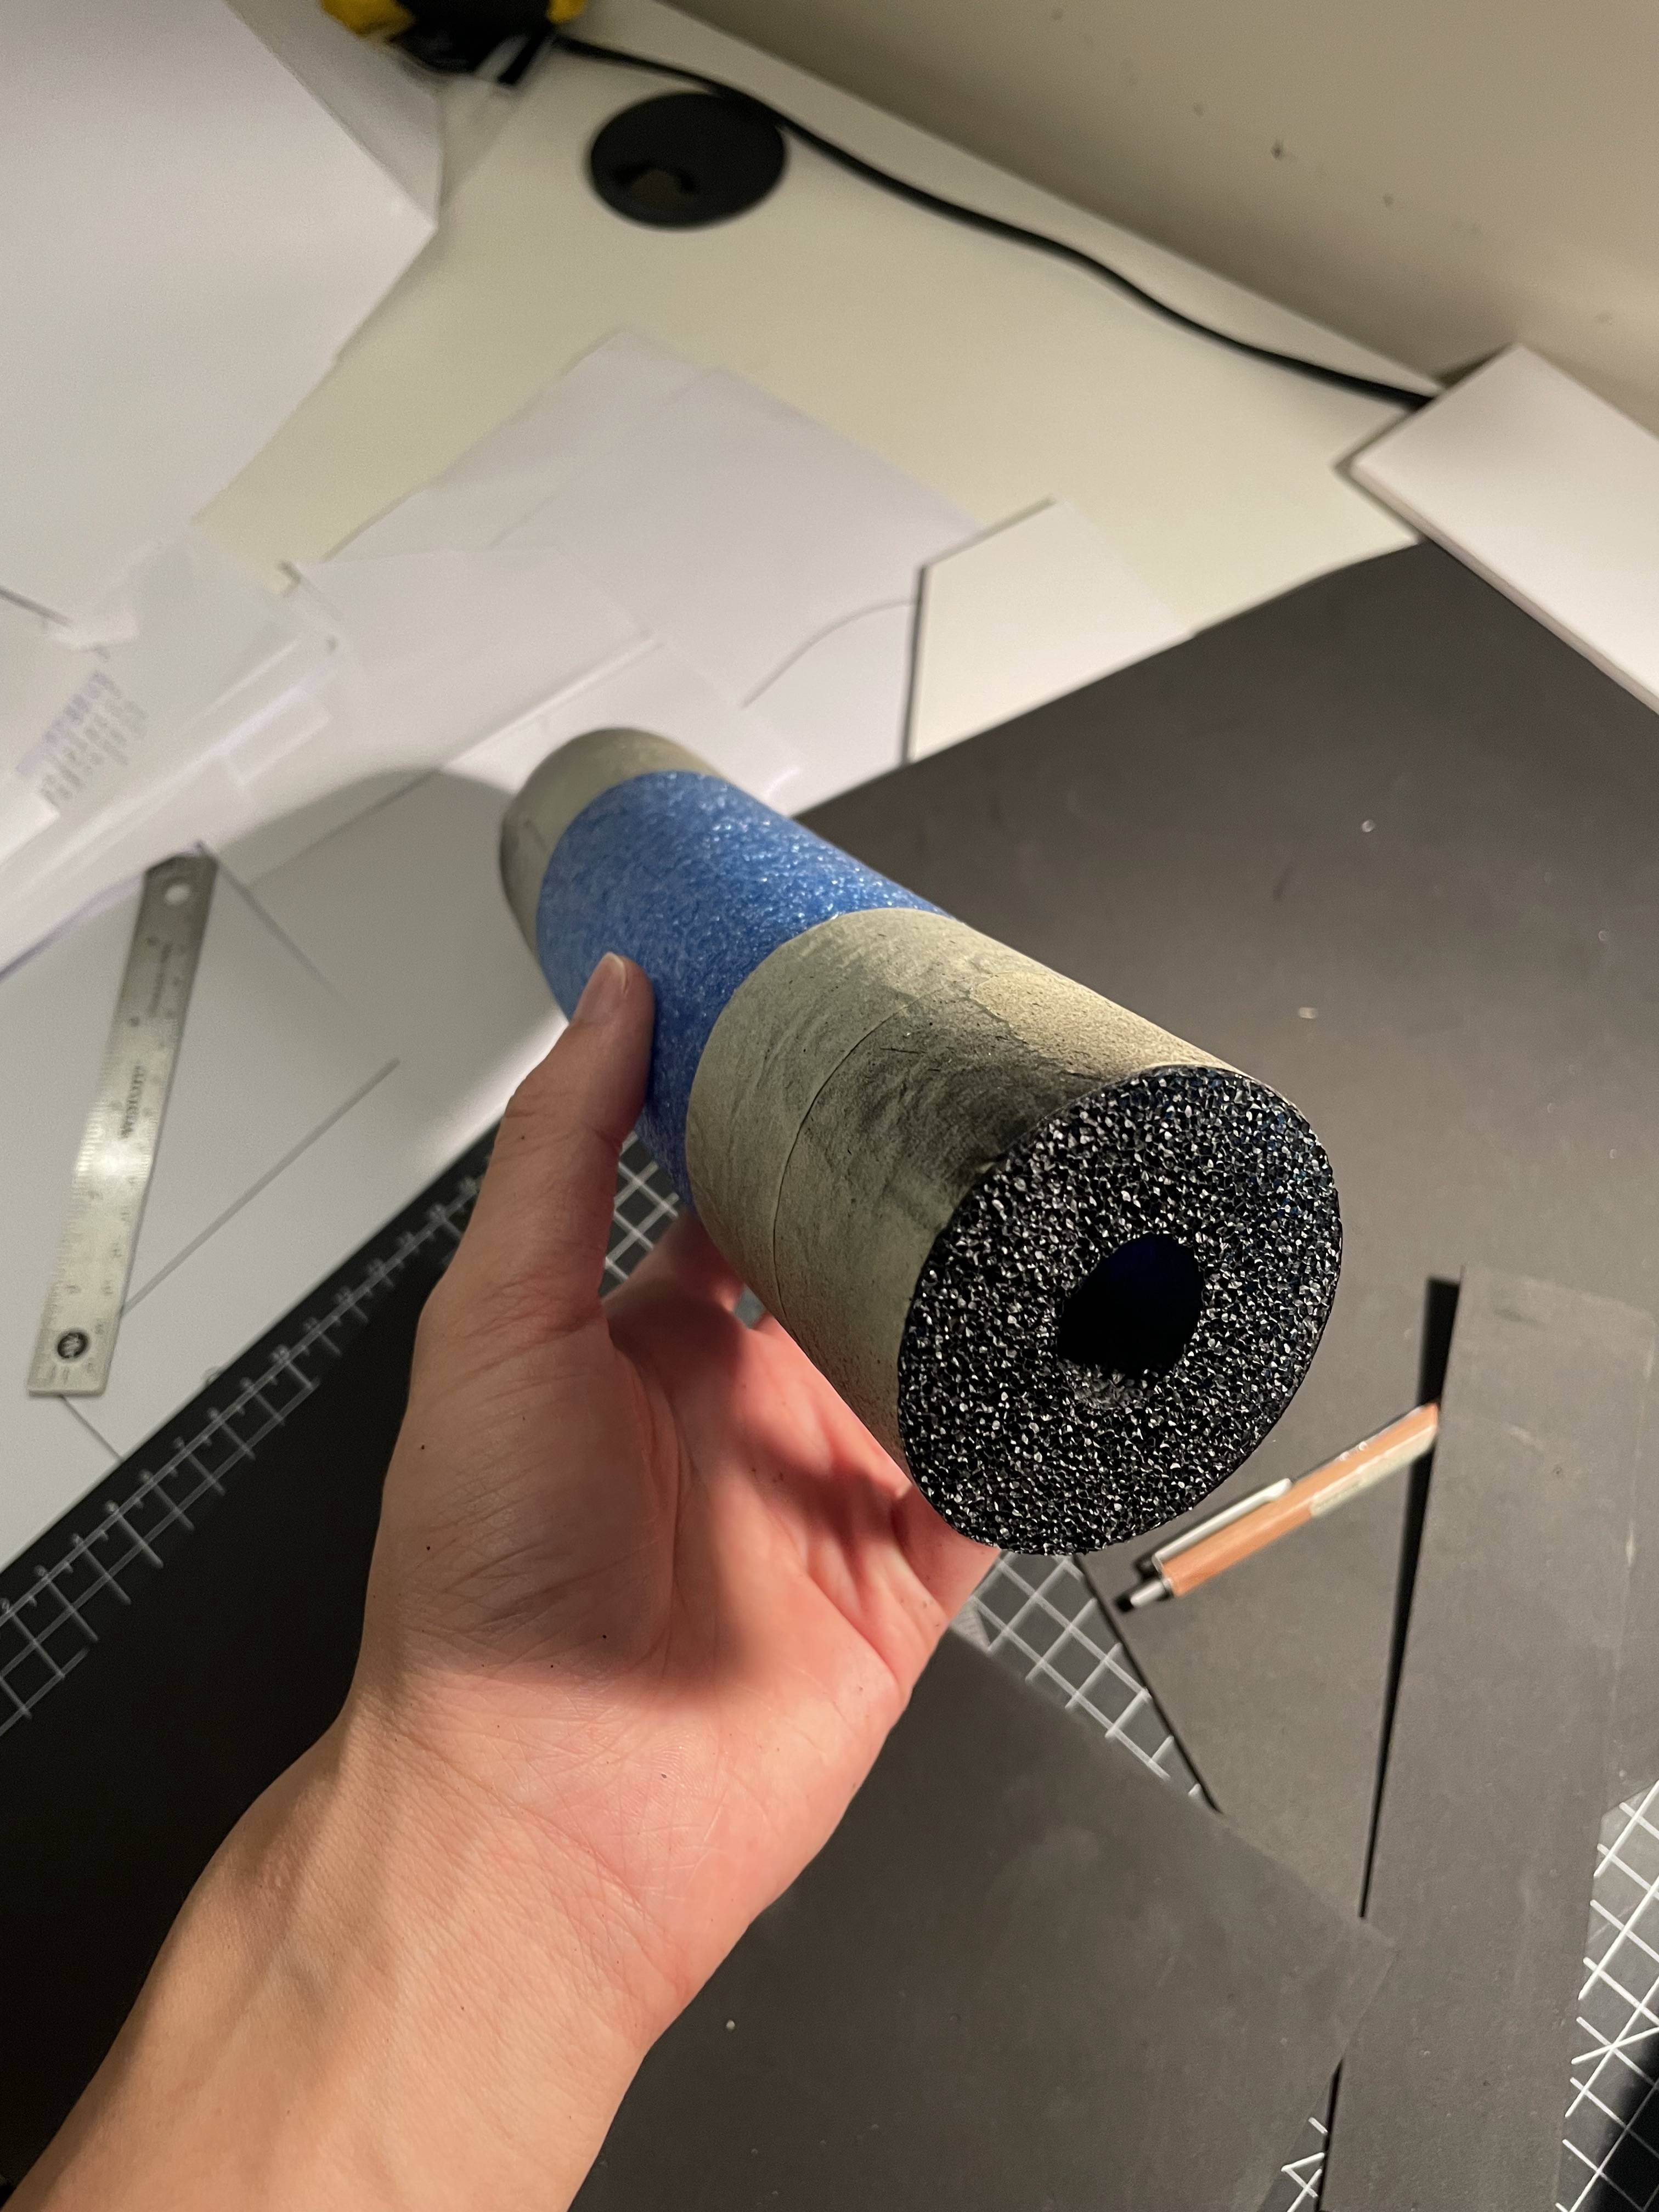
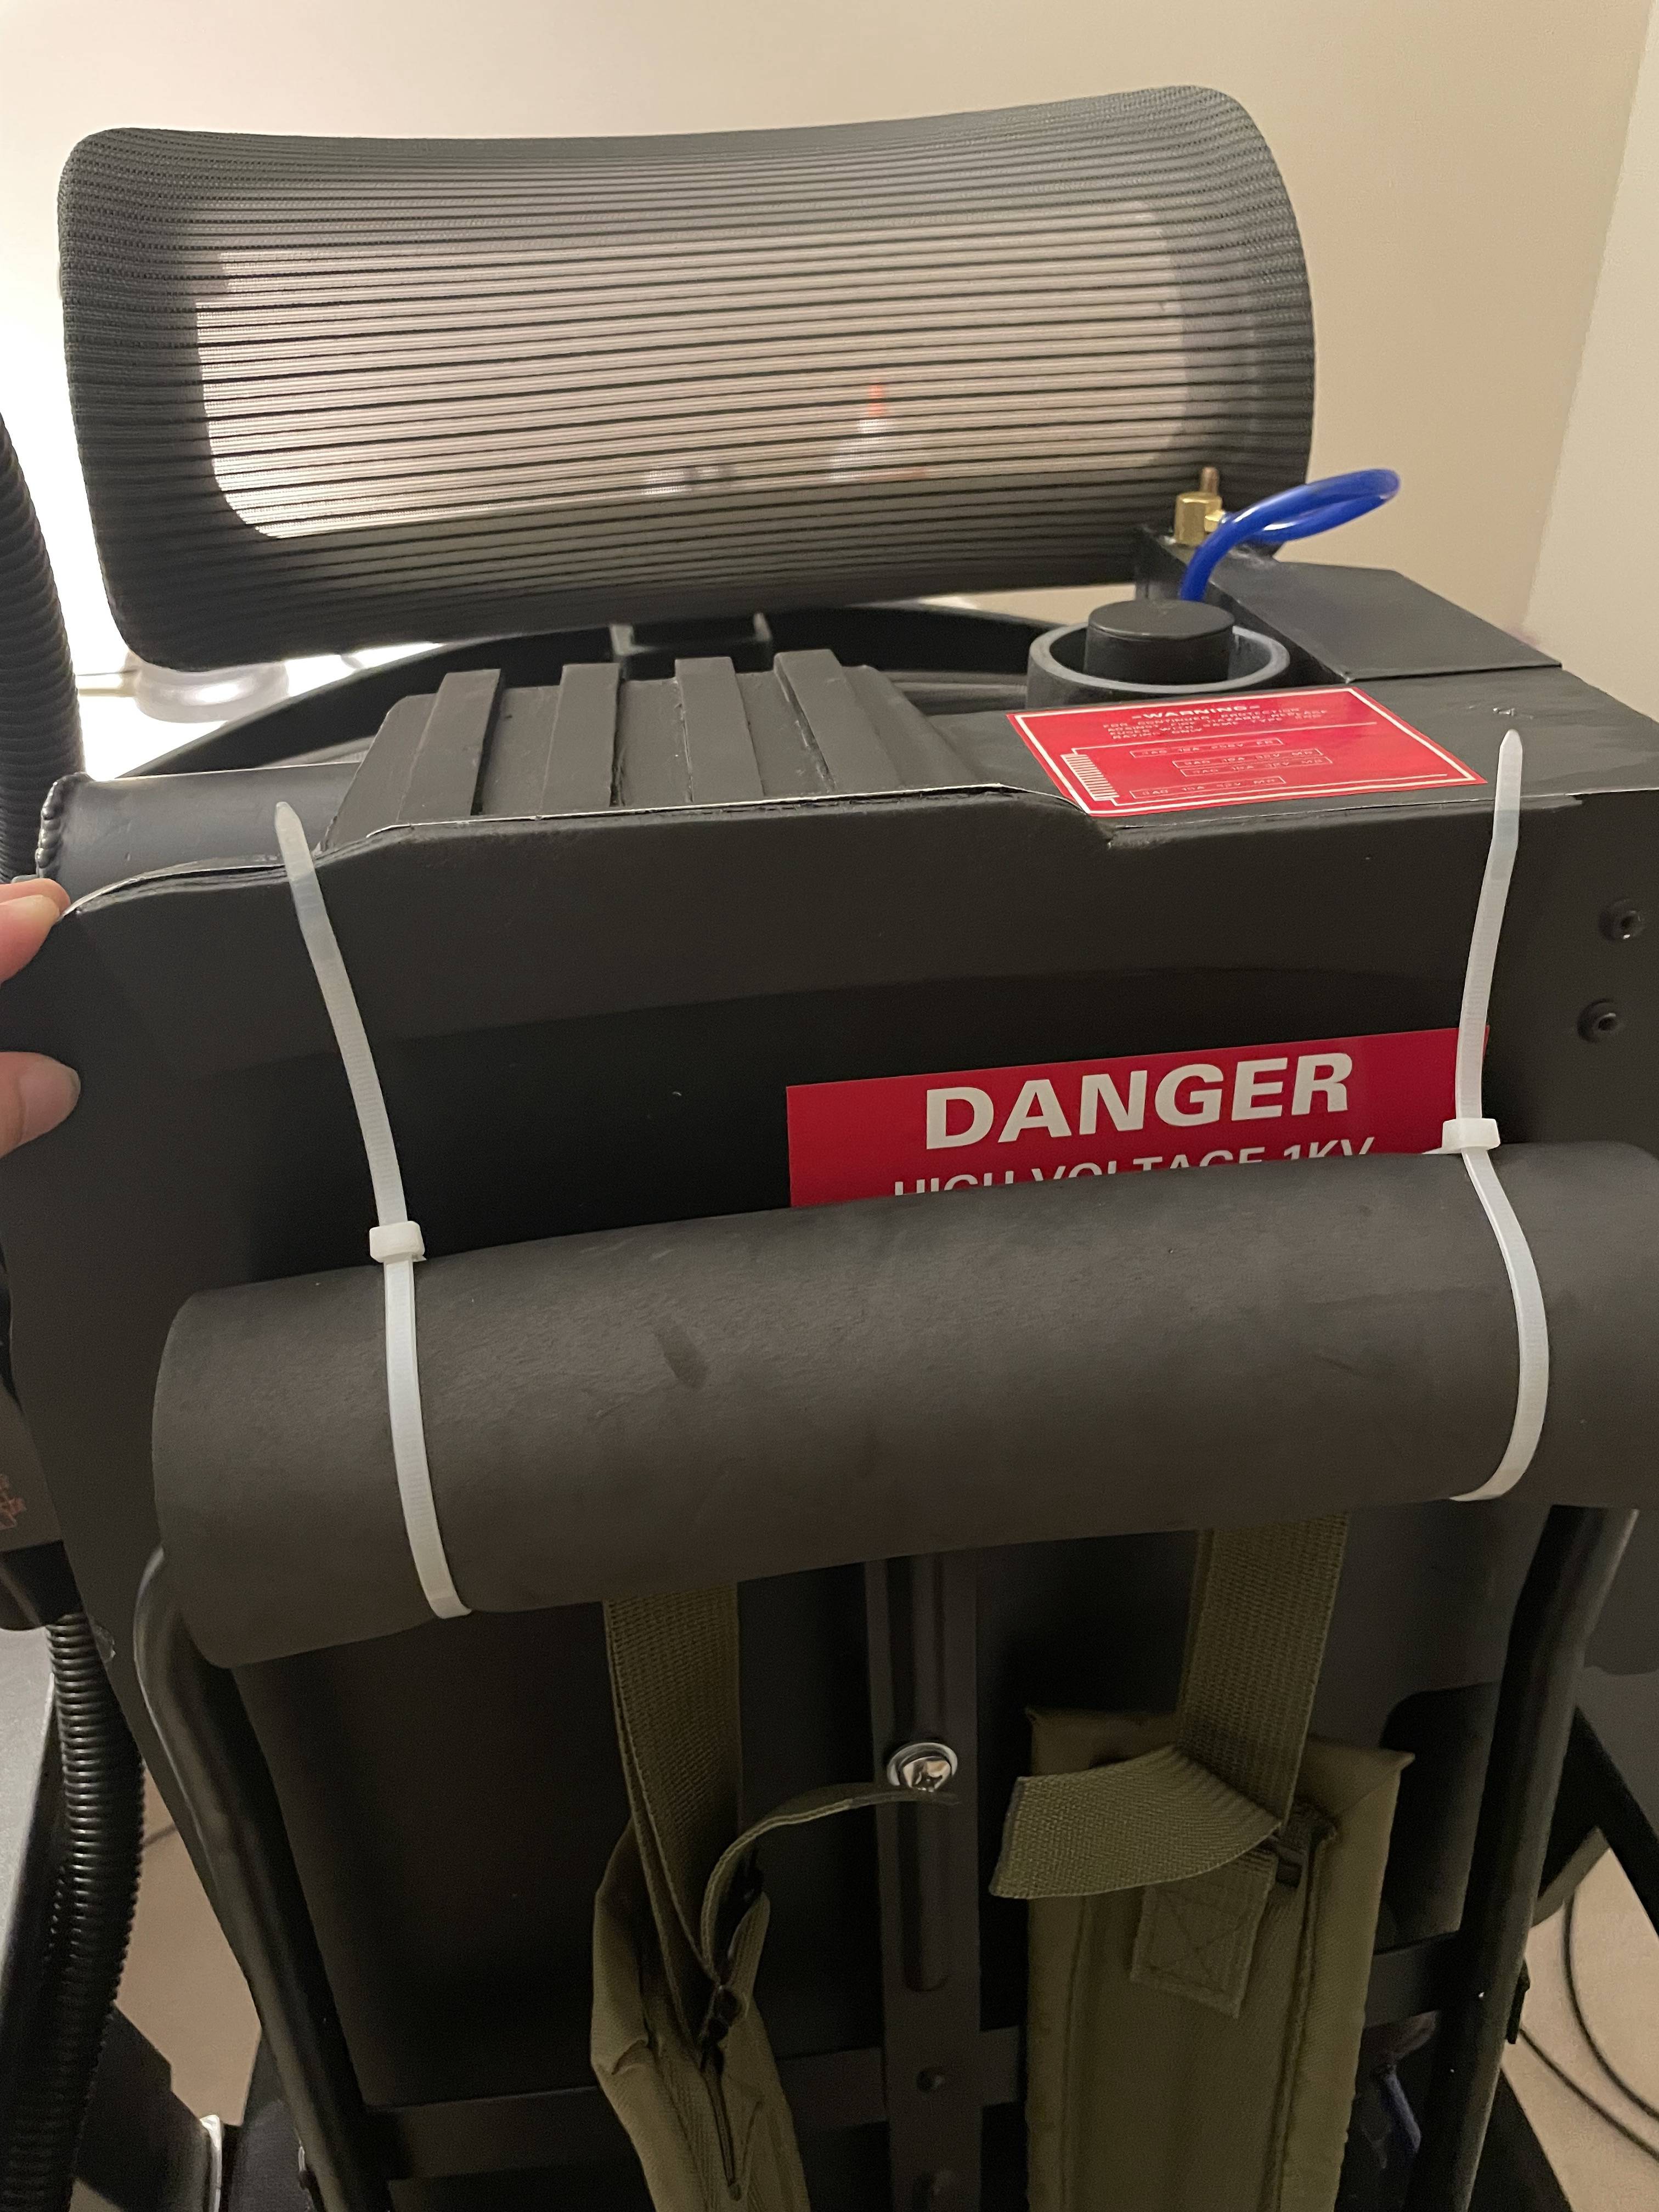
I then cut the slit, and zip tied it on. My alice frame padding is not accurate at all since the real ones used white insulation foam that had gaffer’s tape on it to attach to the frame, but I thought this looks good enough. For the foam protector at the top, I traced a loose paper template and then when I had it down, I traced it onto some 6mm white eva foam I had leftover from my last packs. I then spray painted the eva foam, and glued it onto the motherboard with a gluestick. I then finally wrote “Bill M” on masking tape, stuck it on and the pack was done.
It has been a long time in the making, but we have reached an important milestone in this journey. I was originally intending to build one last pack as my masterpiece, but one thing led to another and here we are. I took everything that was built, and used it to build a pack to work out all the kinks and issues that I may encounter with the REAL piece de resistance. I wanted to take a moment to thank everyone in this community for their support, for being with me on this insane strange journey, and to Chris Bosh who very kindly gave me his 3D model for me to reference measurements from. This pack wouldn’t have came out the way it is today if it weren’t for him. Heres the final pack pictures 


All in all I had so much fun and learned so much from building this pack :D. If theres one thing I didn’t think I would feel though, is that it’s bittersweet now that this thing is done. The feeling that you get from seeing this thing go from foam boards to a shell, to trying to work every day to bolt on a new part or figure something out while assembling it is incredible. This journey is not over though, and I fully intend to use every single bit of knowledge I gained to go further and build an even better pack, but for now, maybe I need a break  Be on the lookout for the next one and thank you all so much again!
Congratulations, that is a piece of art. The fact that you built this up from scratch is absolutely amazing. Again, hats off to you for this amazing accomplishment!