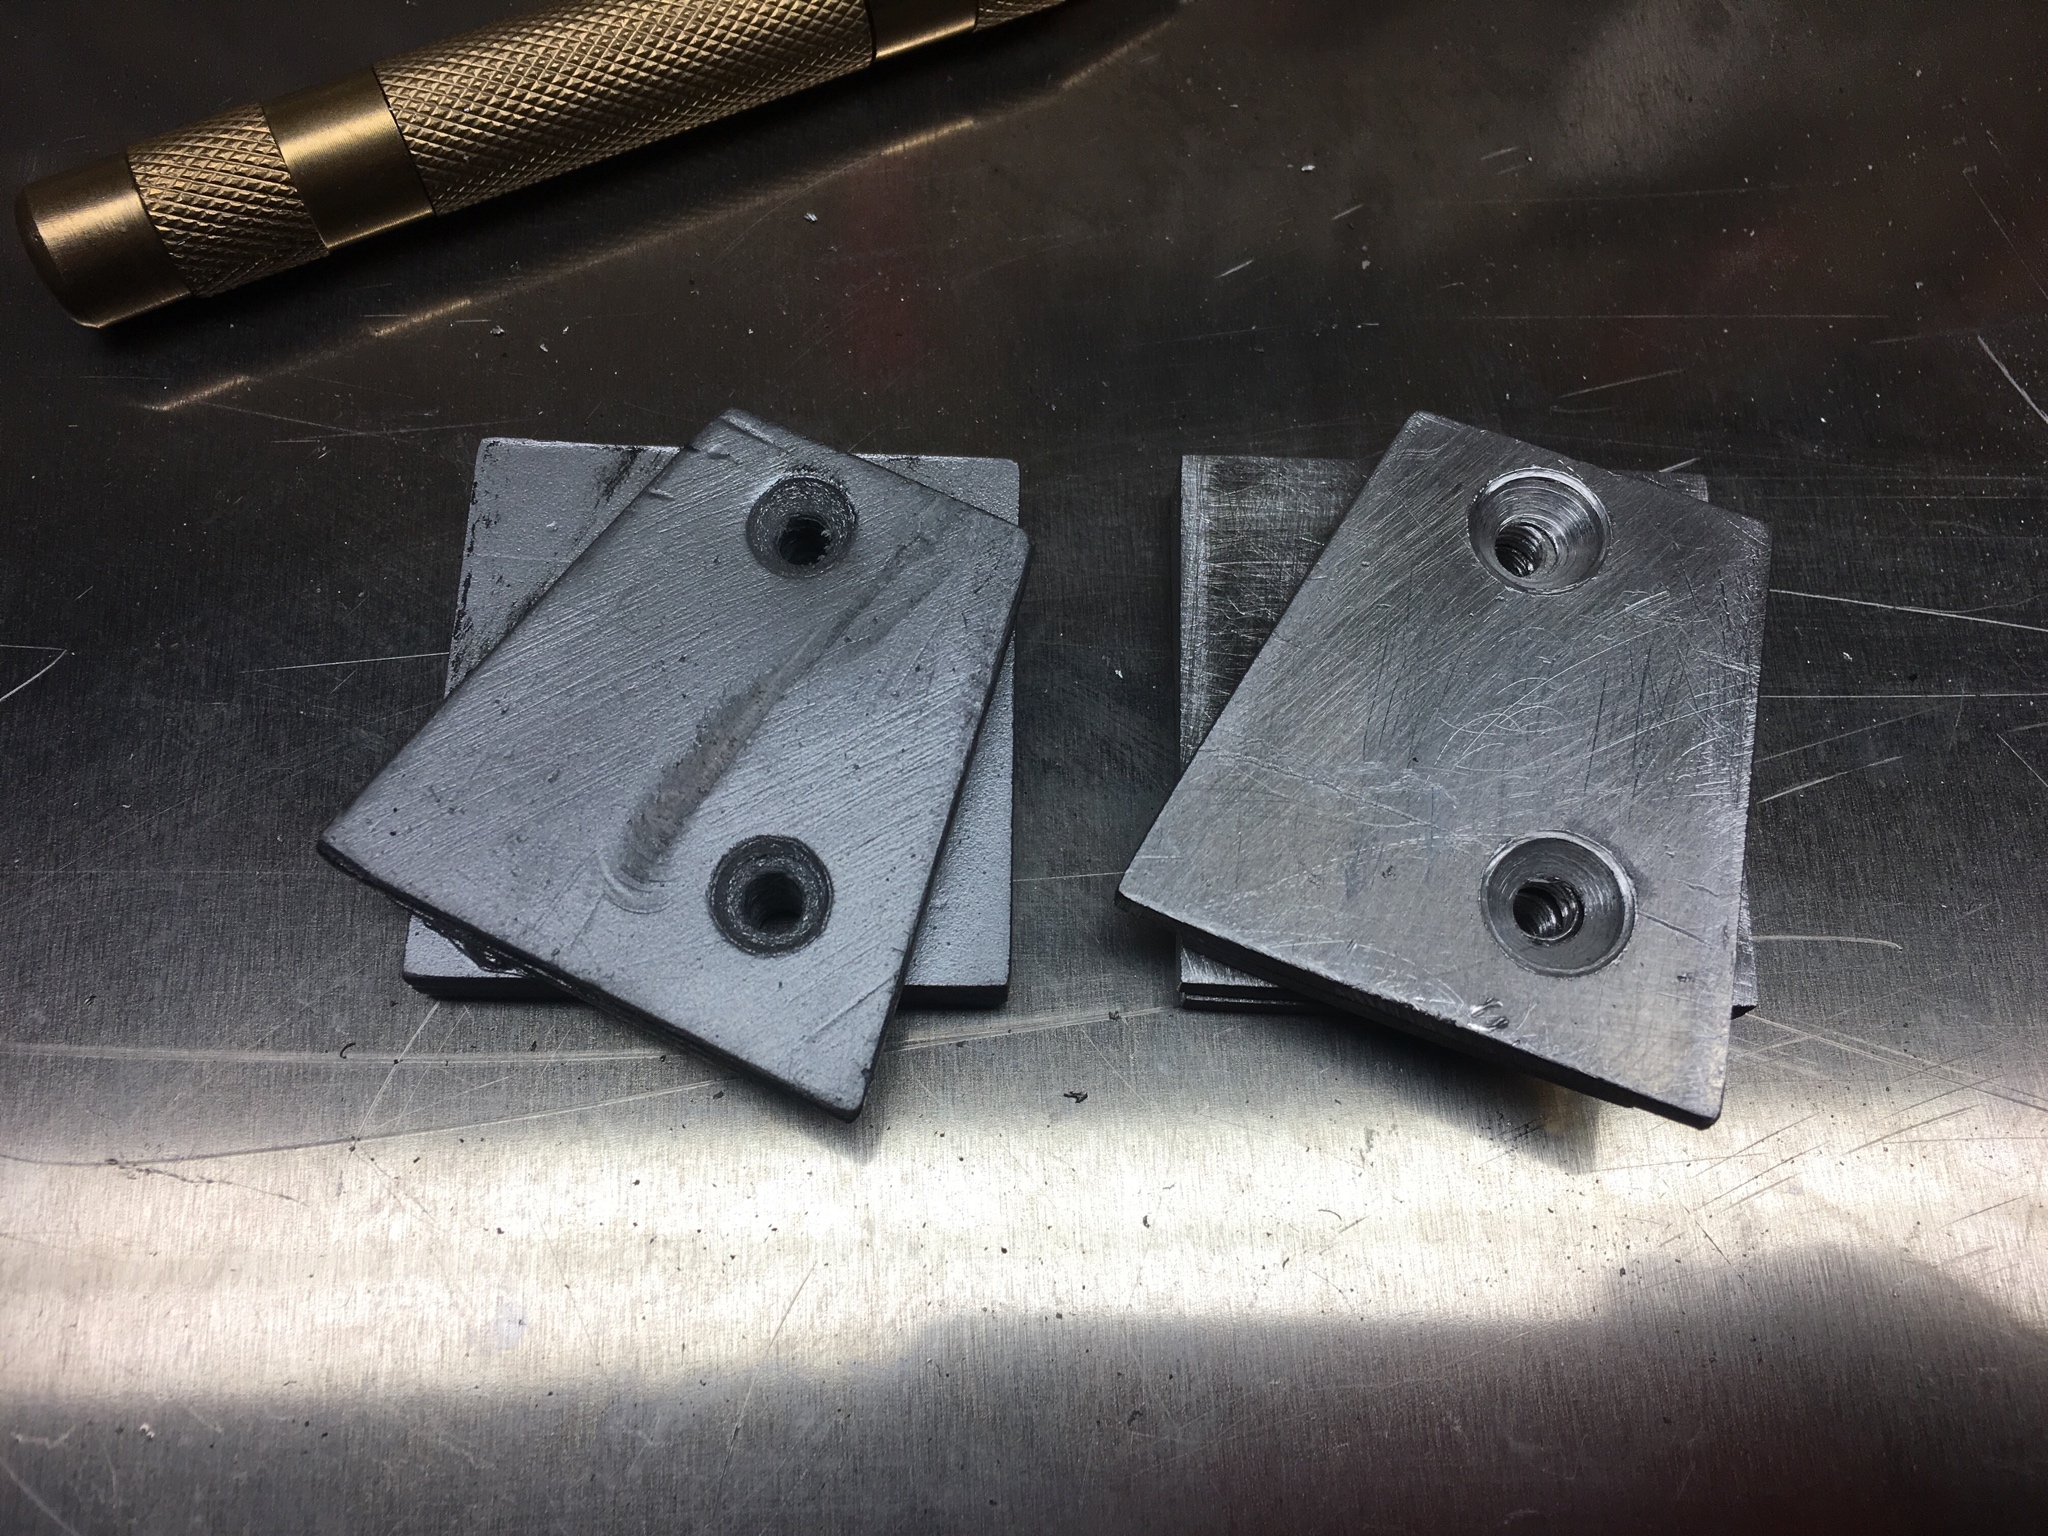
My First Proton Pack - Styrene build

Hey everyone. I’ve been lurking here for a while and finally got around to building my own pack beginning in March of last year. I didn’t know you could build a pack with a sheet of styrene until I stumbled upon Batfly’s build thread and was blown away. After buying $80 worth of plastic and some glue I was on my way!

I’m currently nearing the end of the fabrication phase as there’s not much more I can make myself. I’ve been researching what parts I need to buy and from which has been fun… and daunting.

So here’s a huge one post image dump of my build process. I welcome comments or critiques but please be gentle - it’s my first time.

I started out with the Power cell. seemed like a relatively simple part to build.
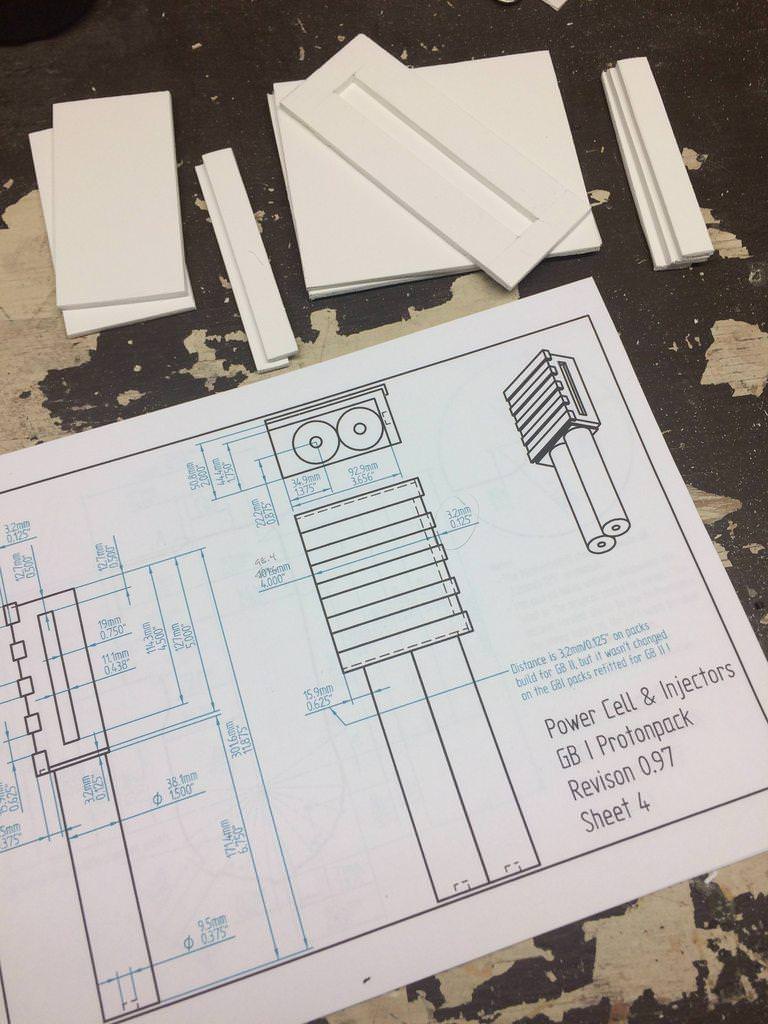
Just a few more pieces to go…
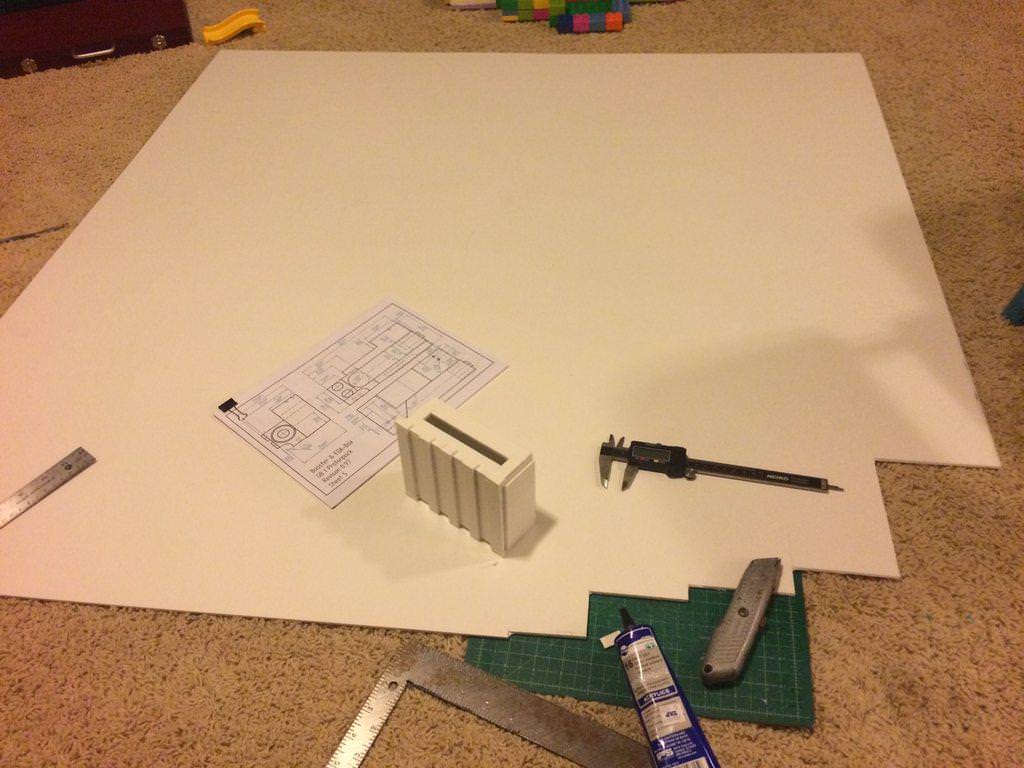
Next up - EDA box. I had to do this one twice cause I miss-measured.
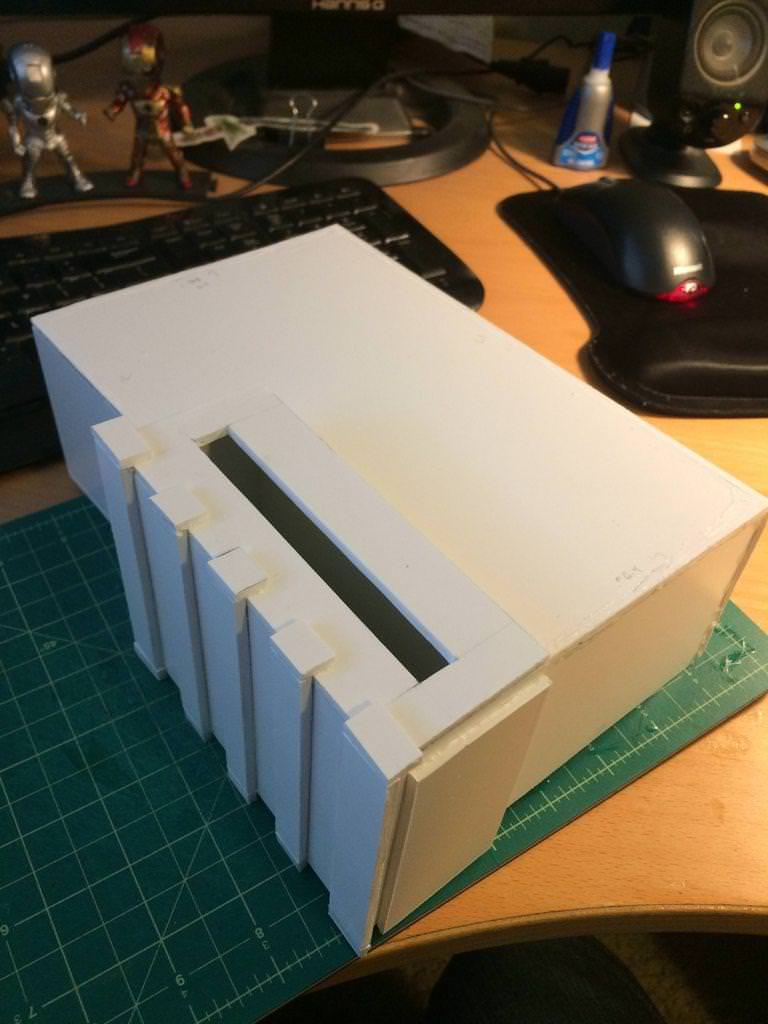
Lots of measuring. Boy did I get my money’s worth out of my digital calipers!
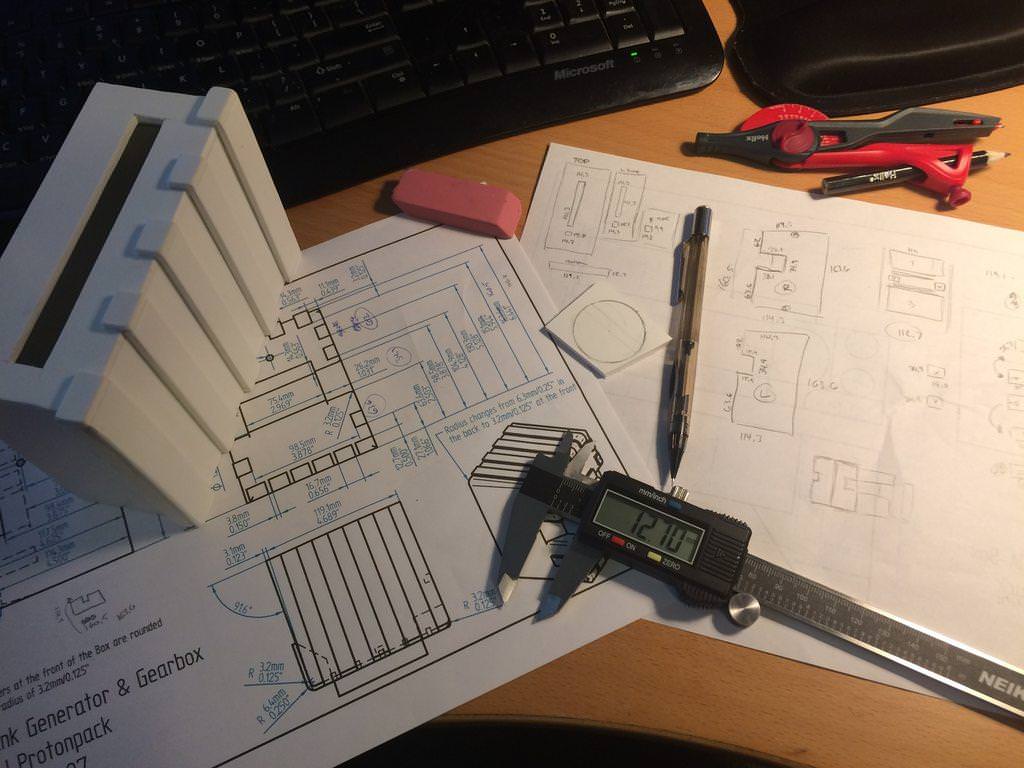
Oh that’s pretty. I’d like to say all my cuts looked as good but that would be a lie.
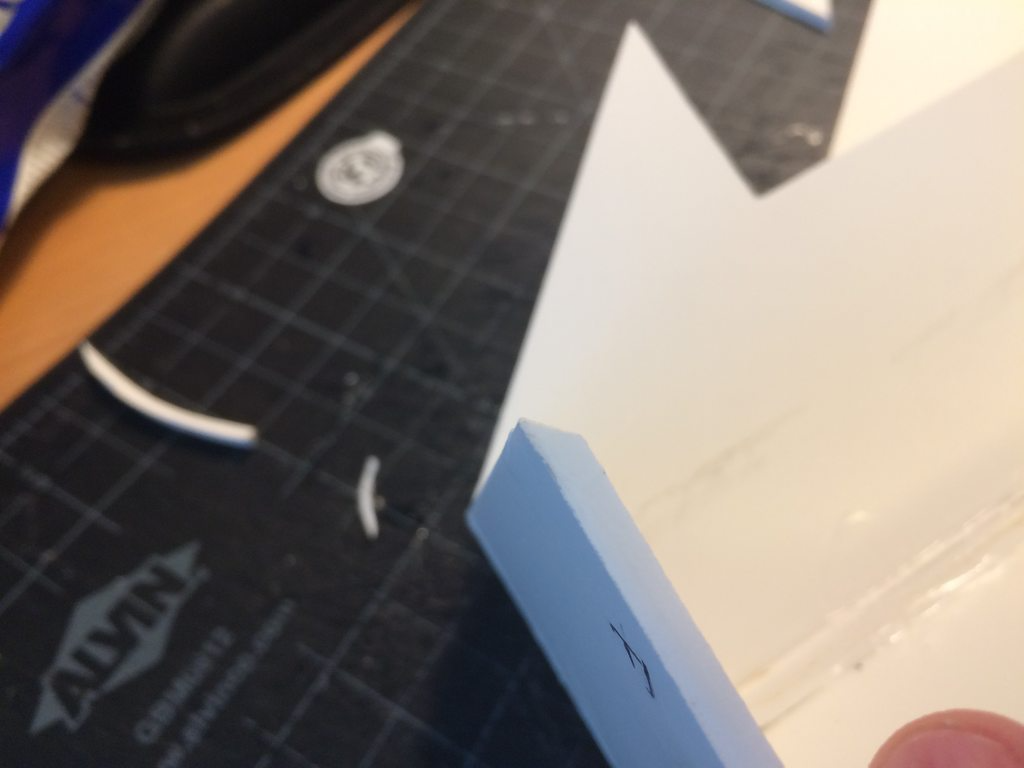
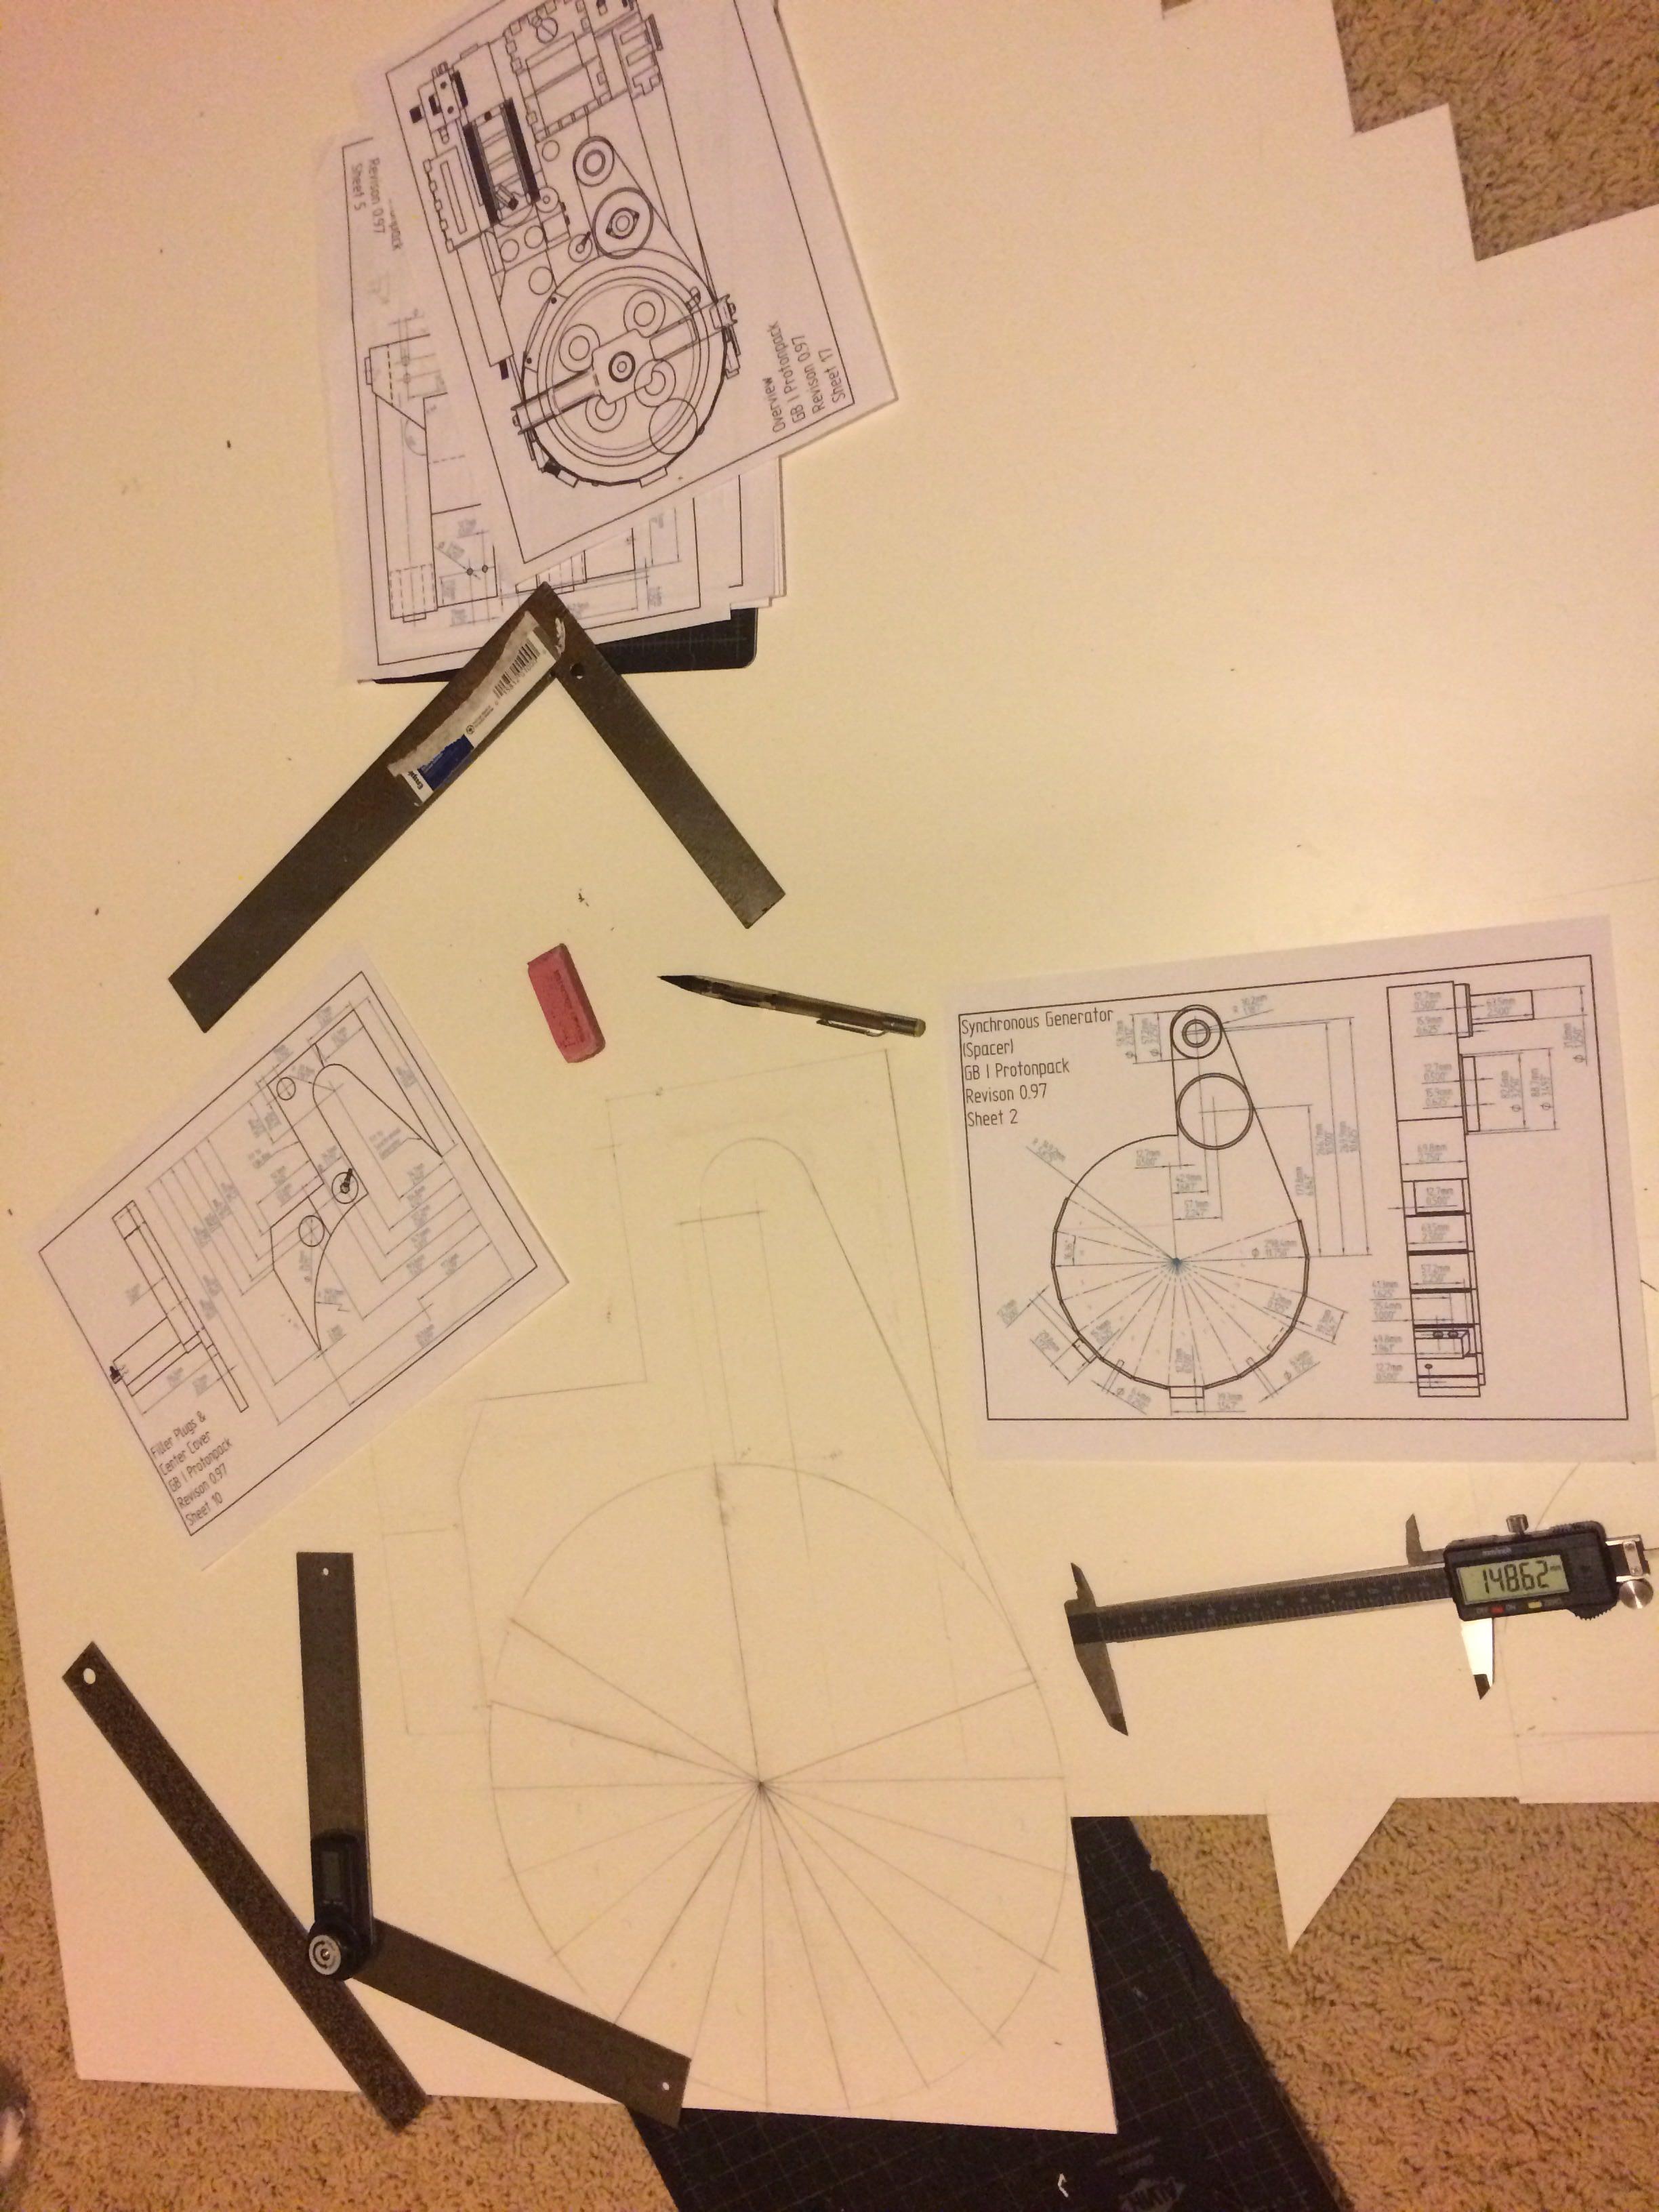
Working on the Millennium Falcon…err Synchronous Generator.
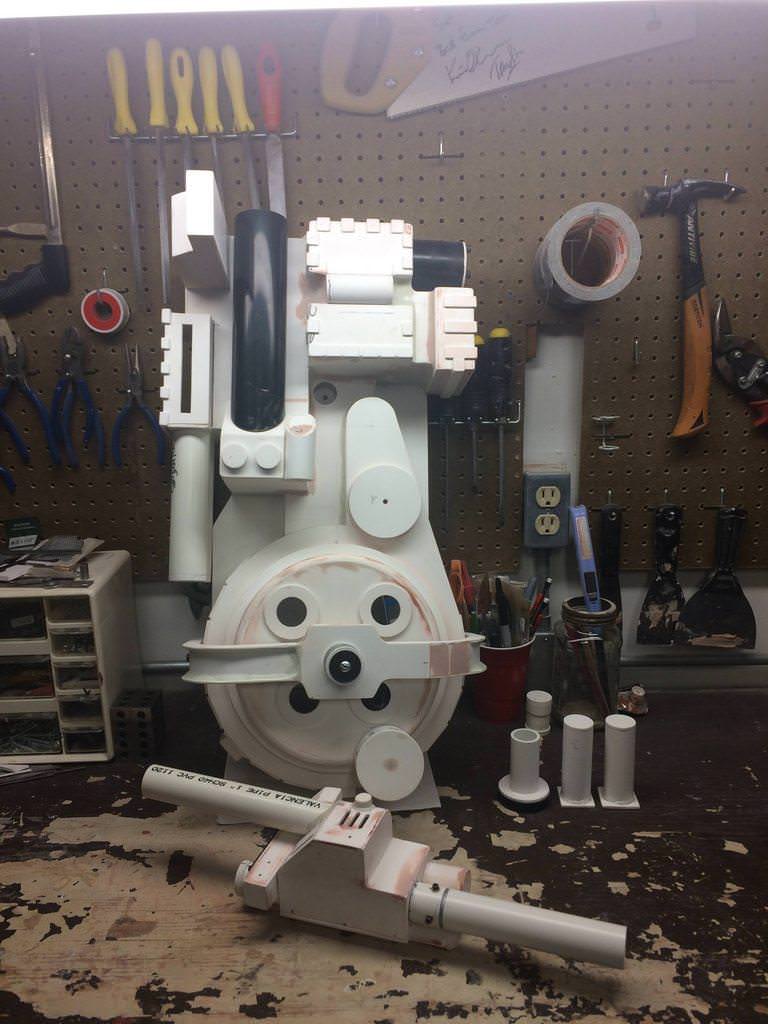
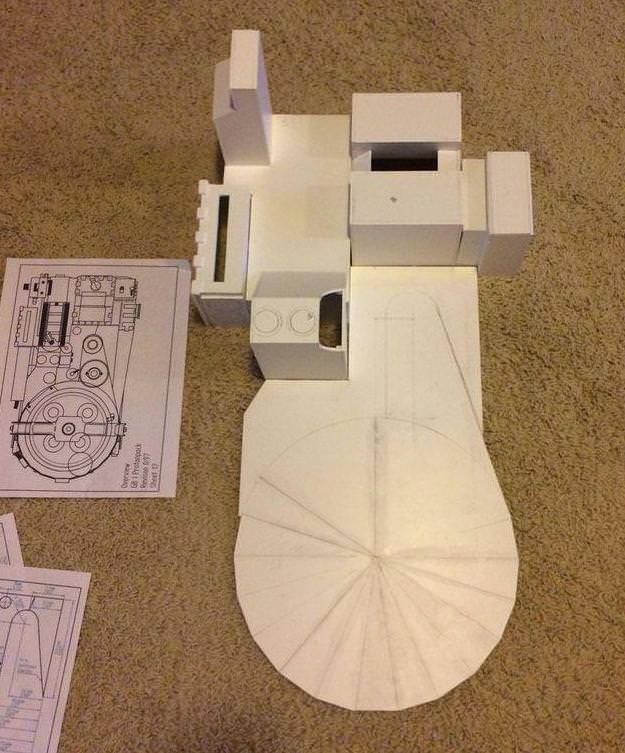
Starting to look like a pack
downloaded a pipe cutting app to help me correctly mark and cut the angle on the booster
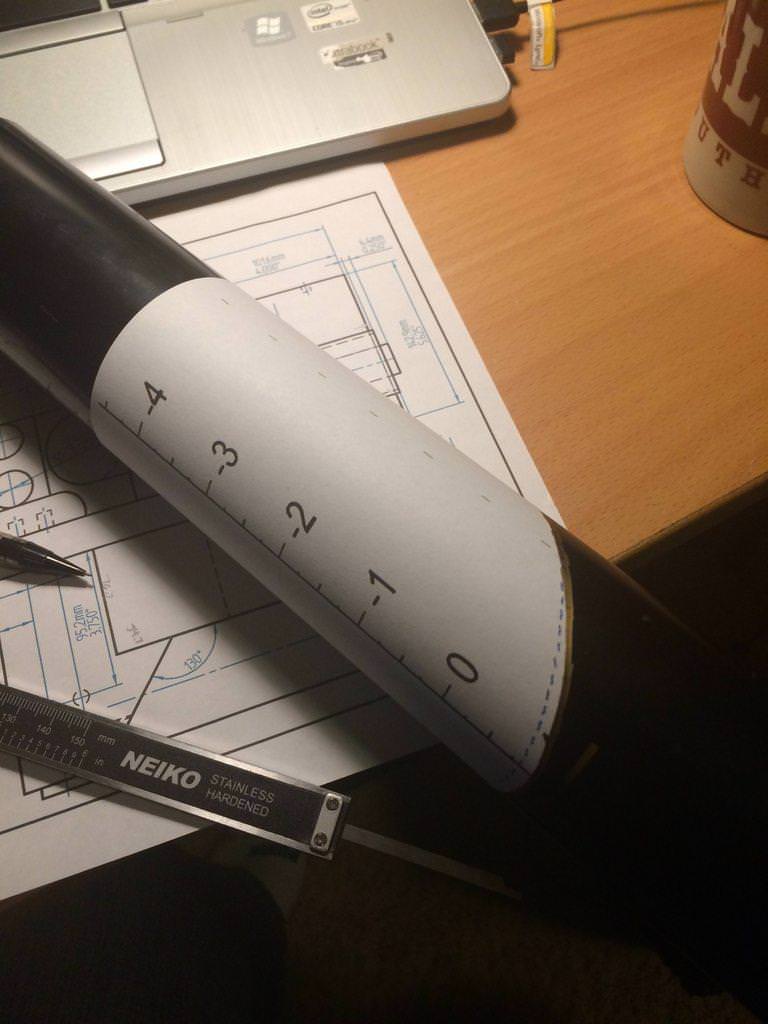
The little nubby thing that goes inside the booster. I’m still working on remembering all the correct names…
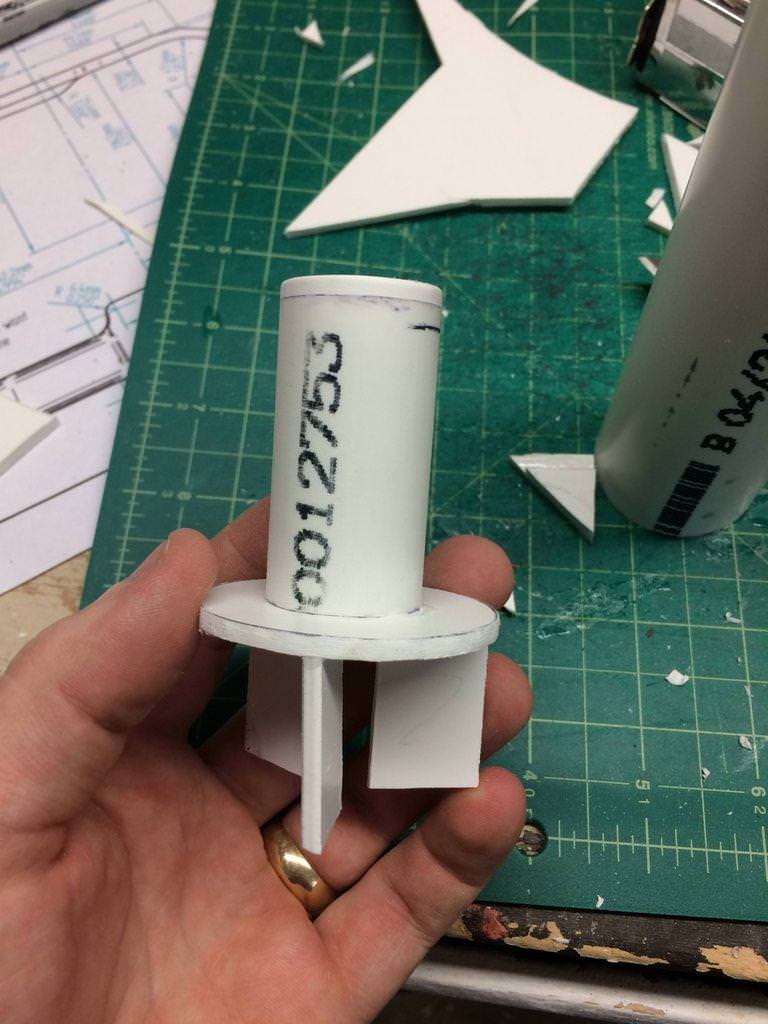
Gearbox nearing completion
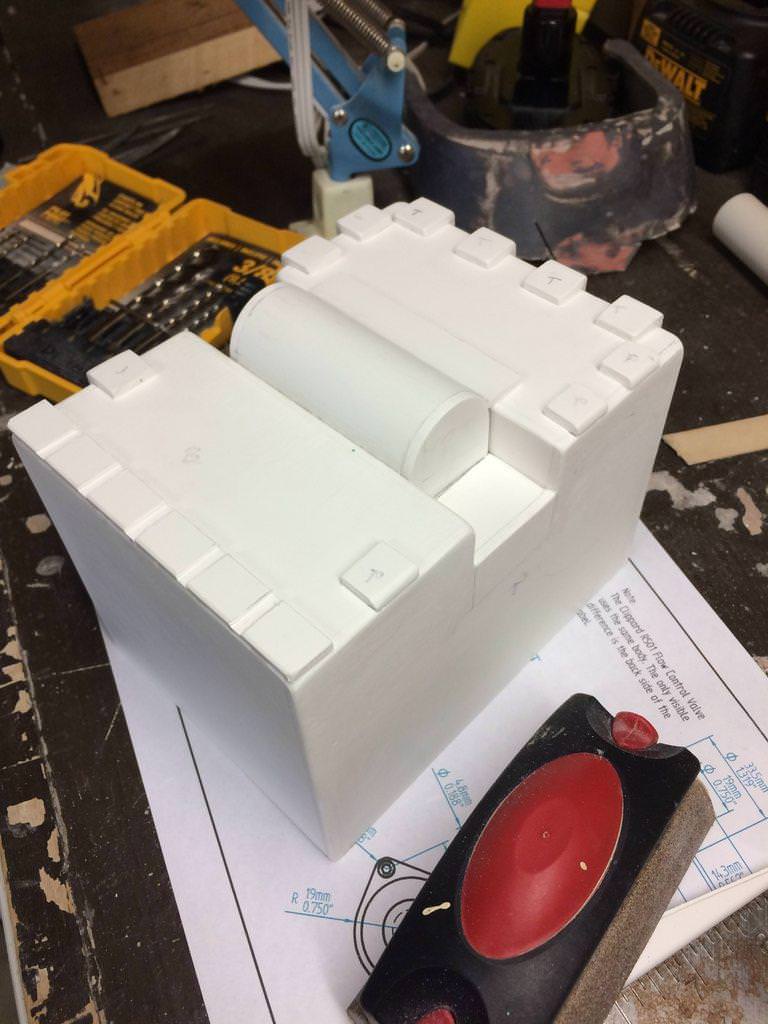
Sanding a styrene proton pack gives you a ghostly complexion.

Center cover done
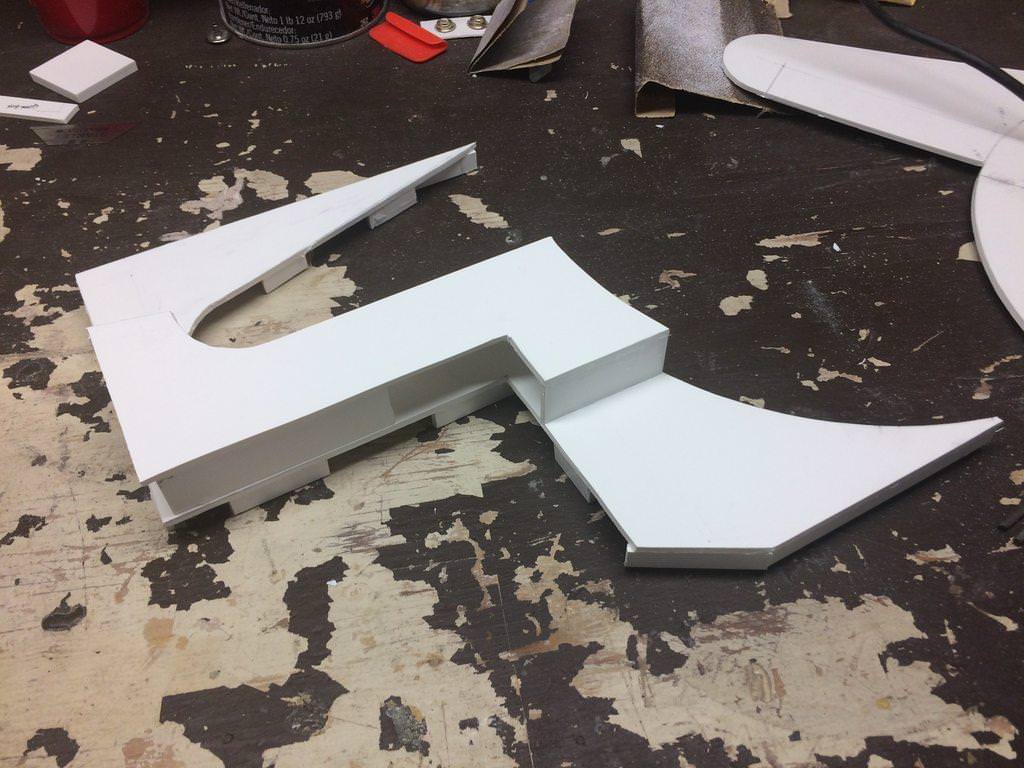
Didn’t take many pics of the Synchronous Generator in-progress sadly

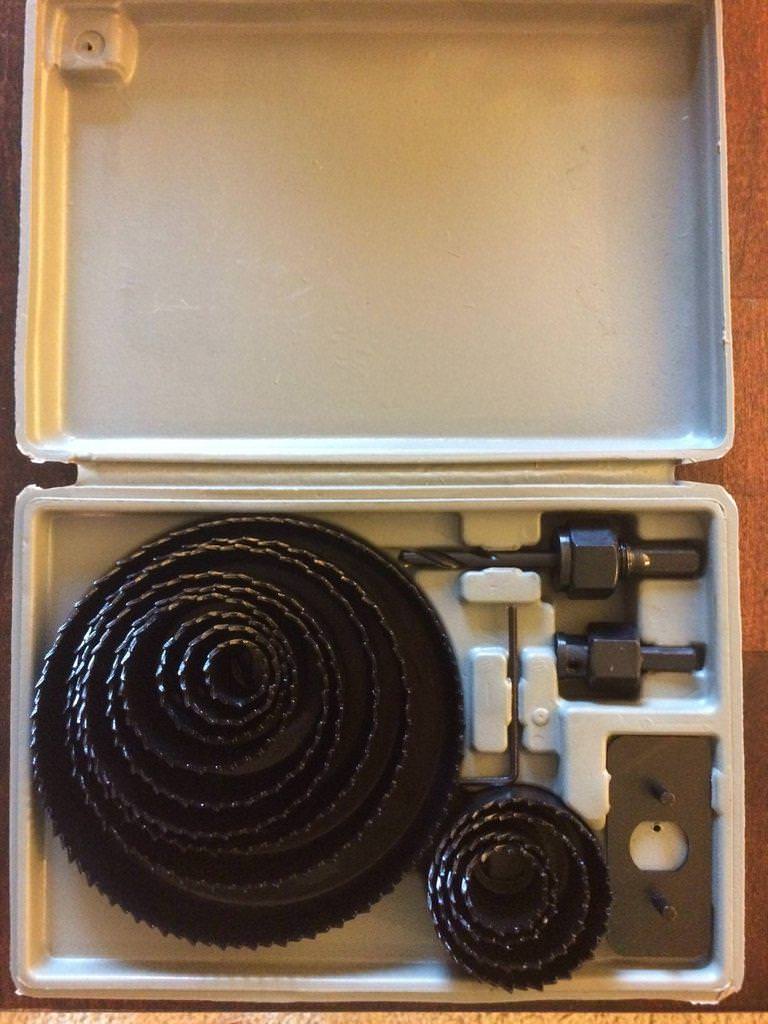
Got me a hole saw set! Also ended up getting a drill press so I could cut out pretty perfect circles
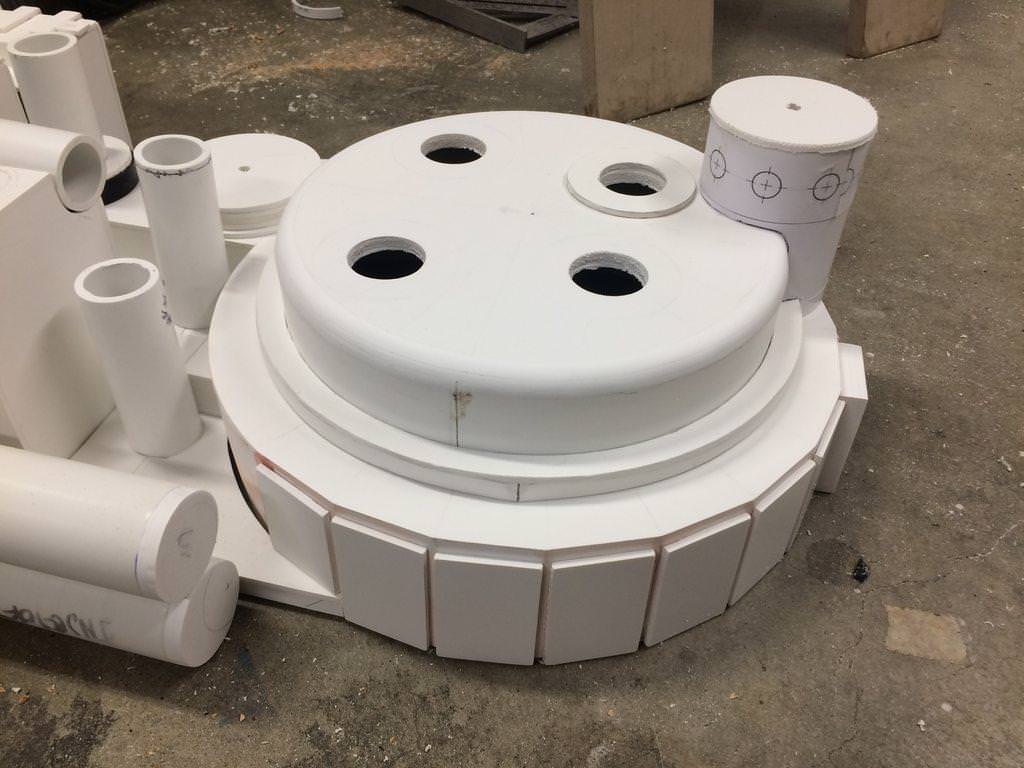
Lots of sanding and drilling later
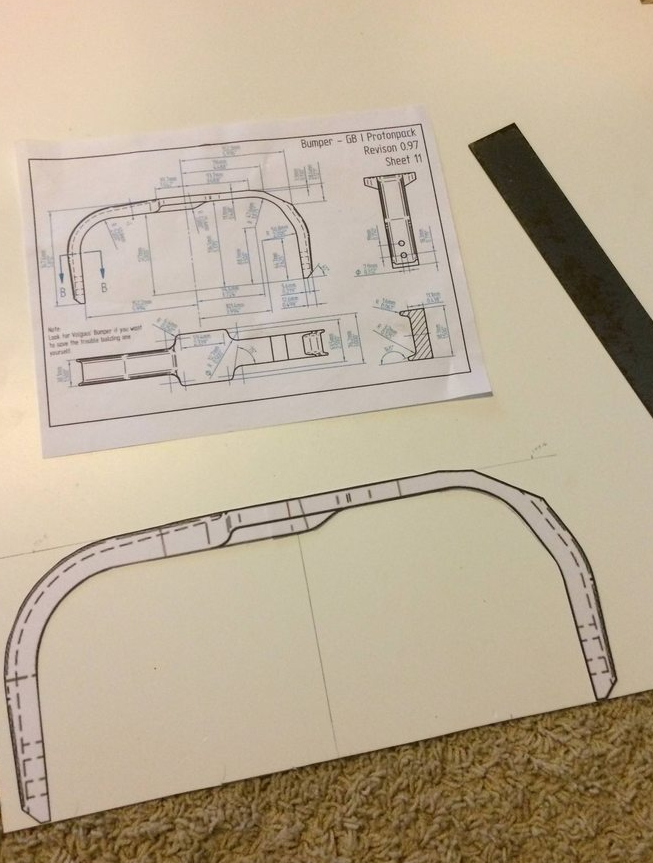
I really didn’t want to make my own bumper because I was sure it was going to be a pain to make… but I also don’t have a lot of money to devote to this project so homemade it is! I found trying to measure and transcribe those measurements to the styrene to be a huge pain and I kept messing up. So I just took Stefan’s plans and scaled them up until they were 1:1 and then I made printed and cut out a template.
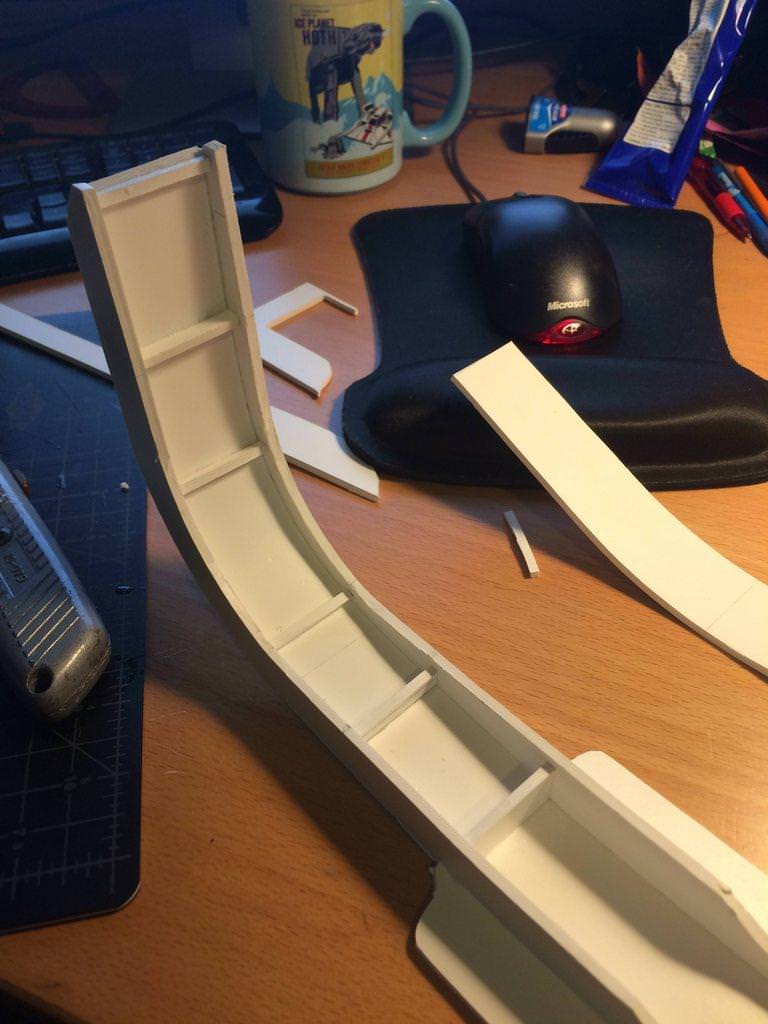
Added some structure support inside the bumper (I really just did this cause Batfly did and his turned out amazing)
Some preliminary sanding/sculpting of the bumper
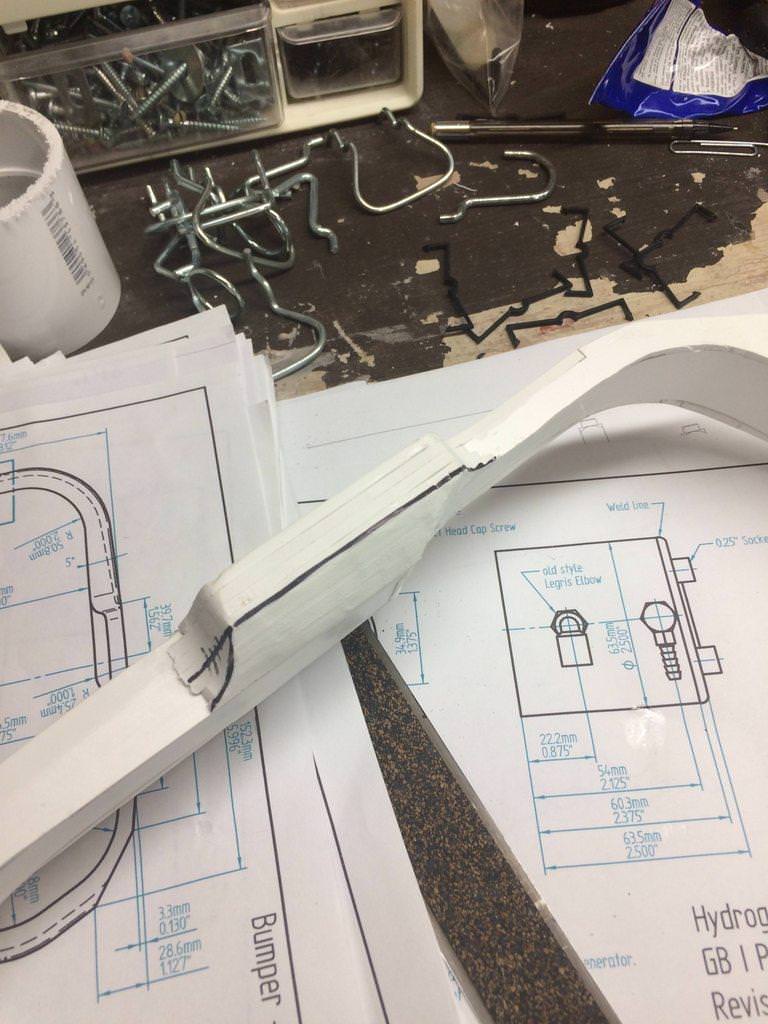
Started gluing parts together. This was both scary and exciting. I think I had been putting it off because I was worried that I’d screw it up and destroy hours worth of work. When I glued pieces together before to make the different sections it somehow felt less permanent and not as troublesome if I mad a mistake. Gluing whole sections together…well in my mind, there was no coming back from that. You were really committed then. thankfully I’ve so far been able to glue the sections together without any major problems! I’m hoping to keep that streak going to the end. Also - you can never have too many clamps.
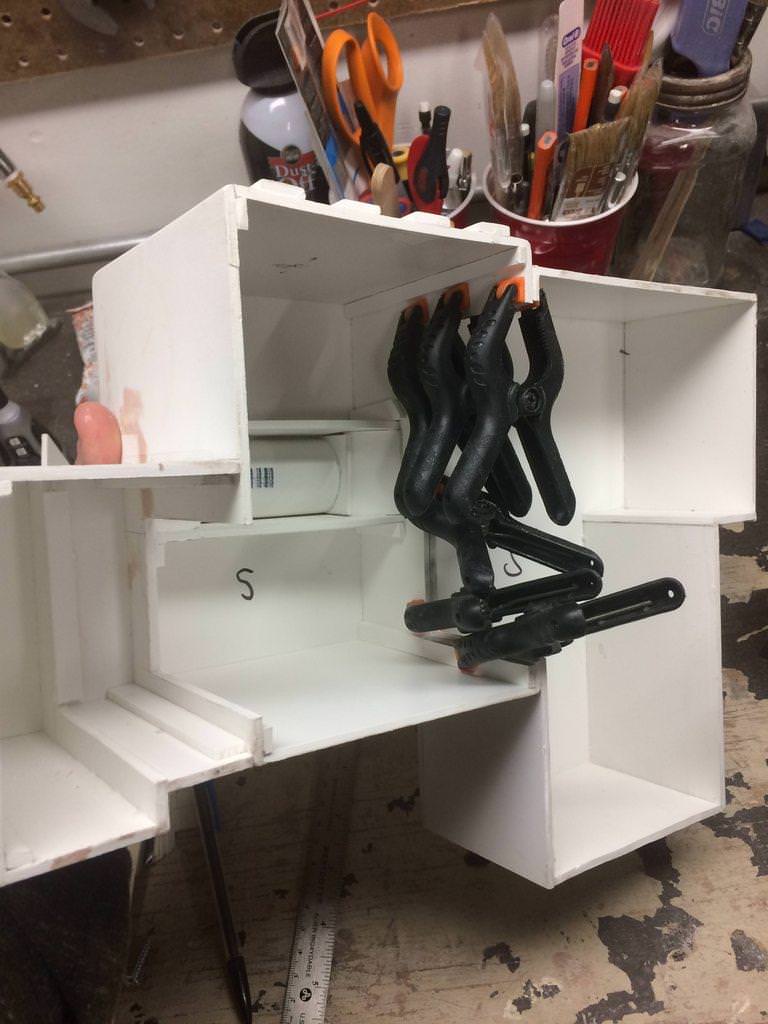
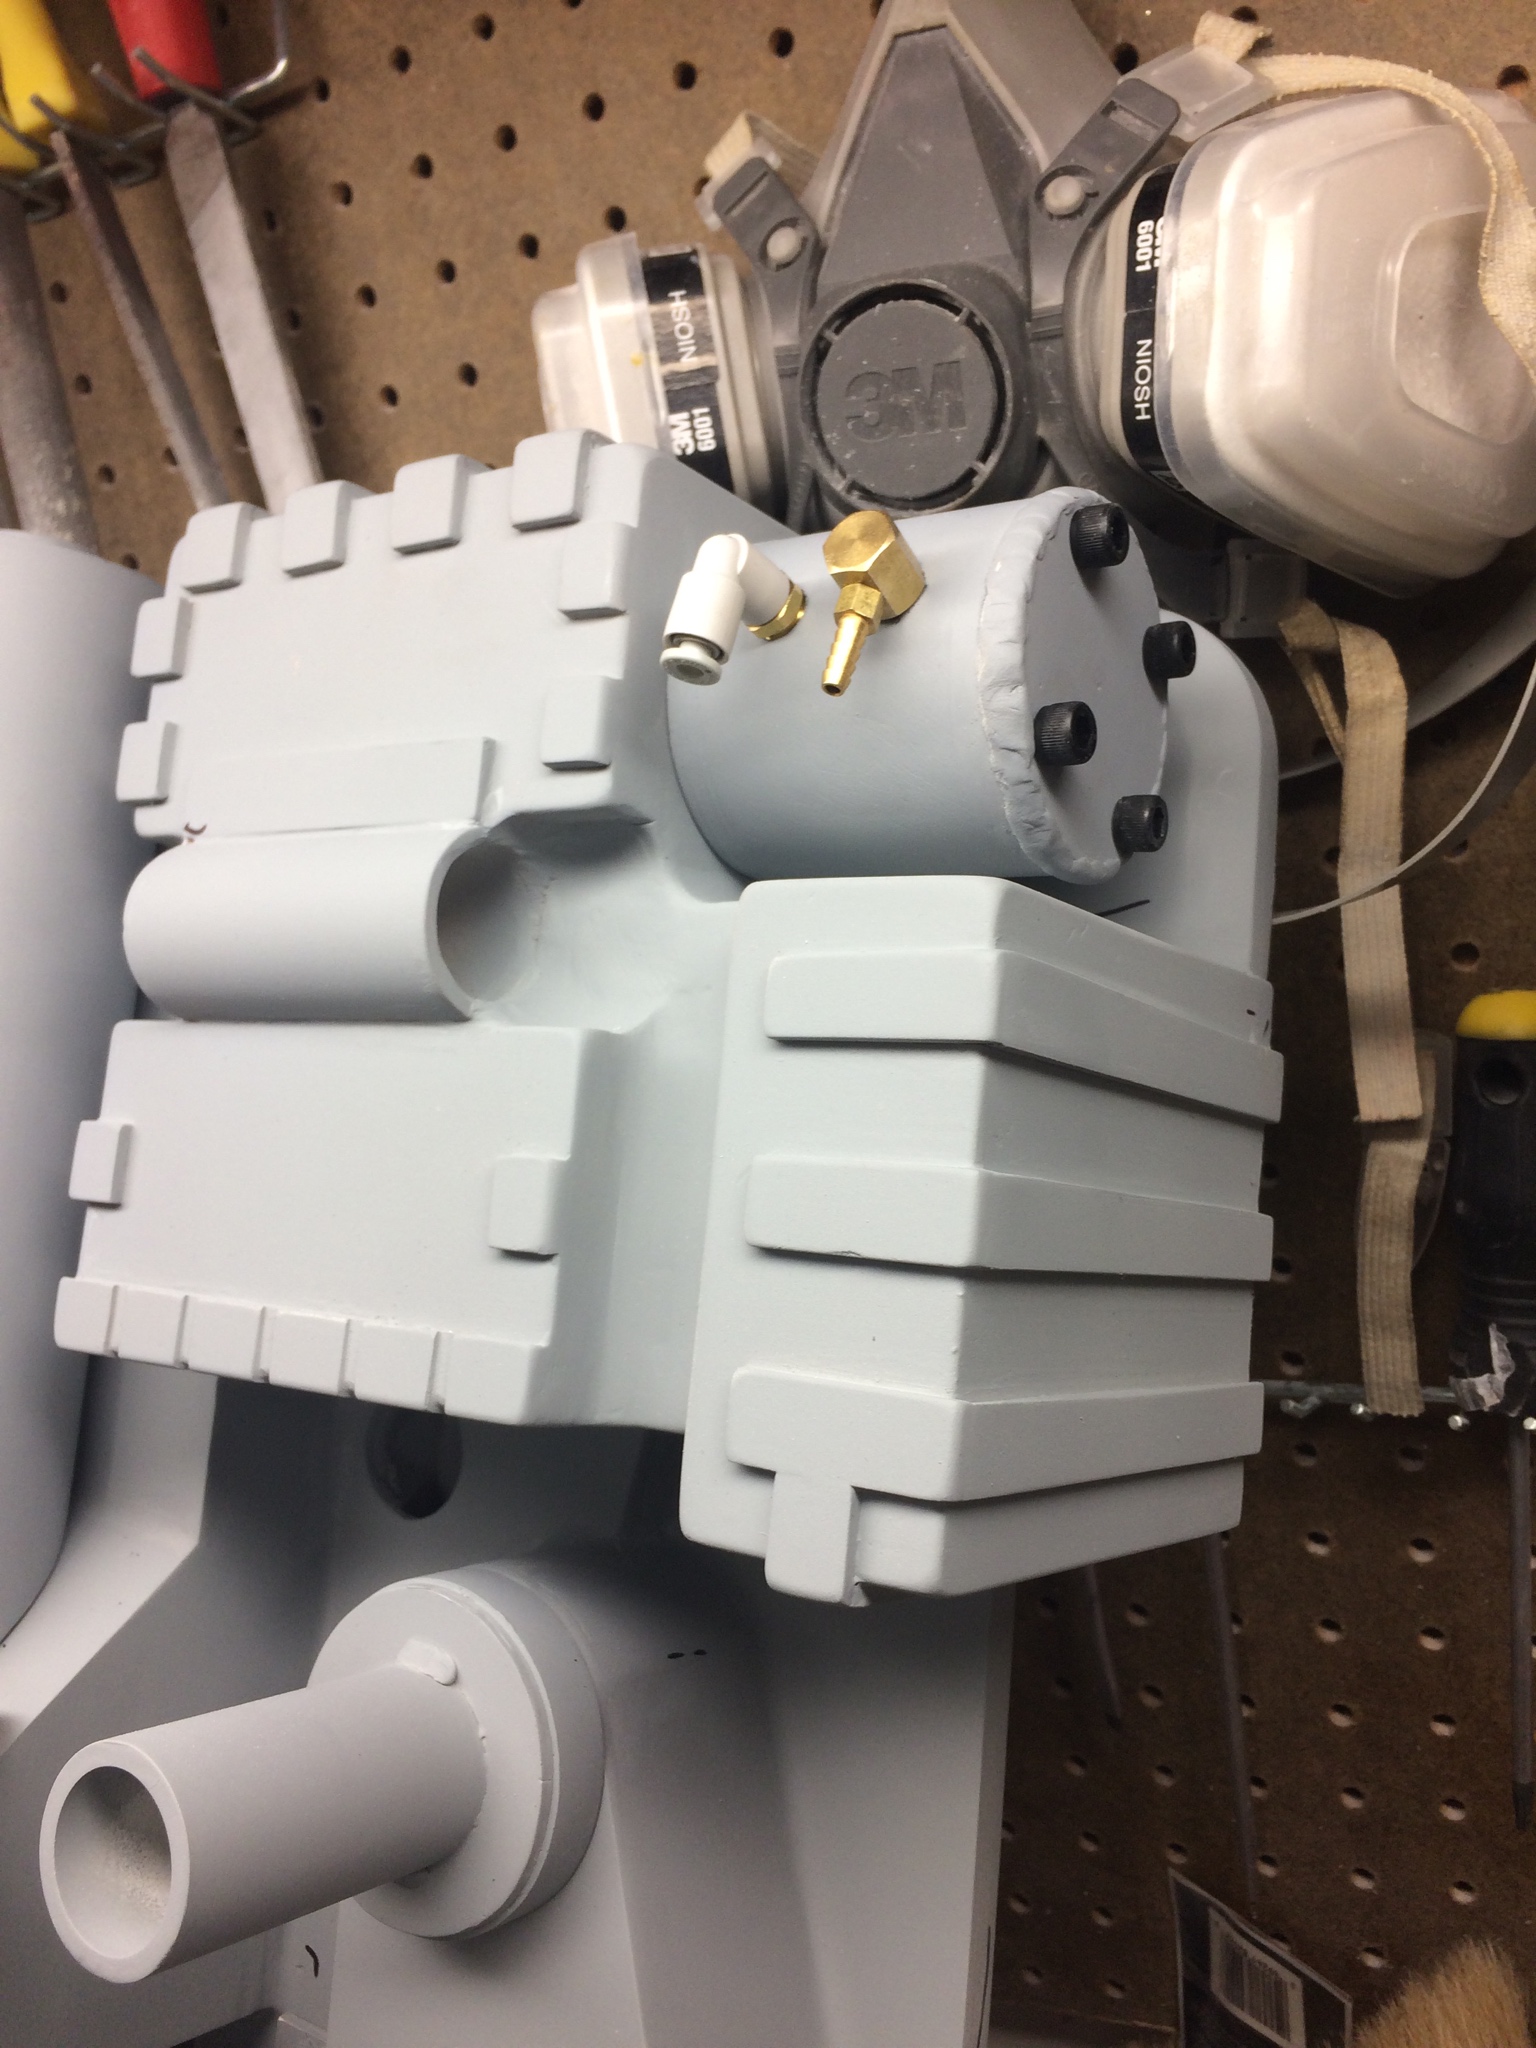
and this is about where I’m at today. The upper portion of the pack is glued together. I’ve started using some plumbers putty to fill in some of the areas where there needs to be a smooth curved transition between parts (like behind the HGA). I’ve been using bondo as well when I feel it’ll do a better job than the putty.
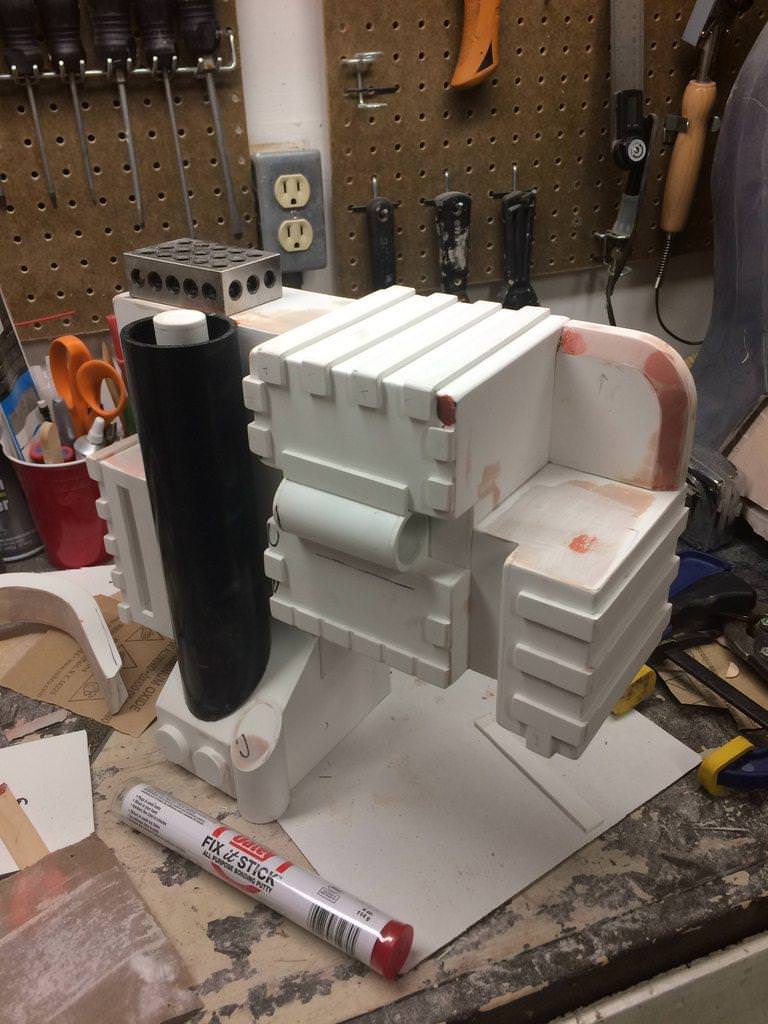
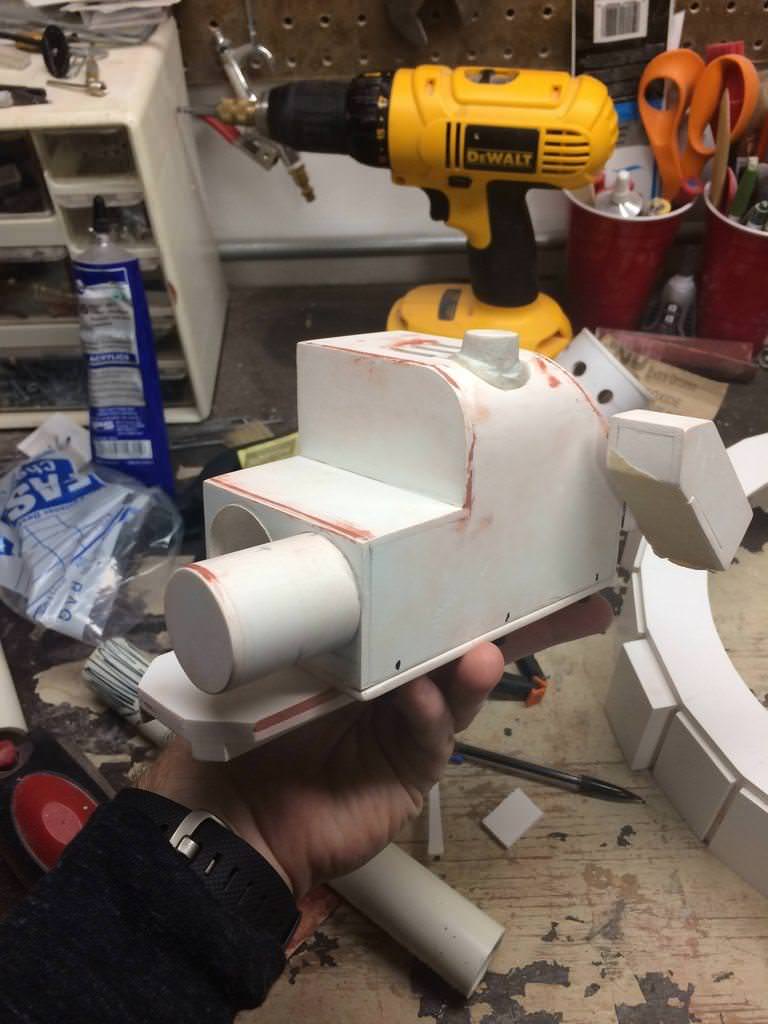
Hopefully as the weather warms I’ll be more excited to get out into my garage and make fast work of the remaining items. thanks for looking at my build!
Awesome scratch building, hats off !

Very, very pretty. Looking forward to your next update.

Looking really nice. Keep it up!

Looks like you are at about the same stage i am…Now that the holiday madness is over I can can get back to work on mine…Grreat Job!!! The Batfly sure is inspiring isn’t he?

An update on where I’m at currently. I’ve realized that I tend to forget to take pictures of the process because I get too excited and just keep building without taking a break to snap a couple pics. Case in point the thrower - I didn’t take any pics of it until I was at this point with it:

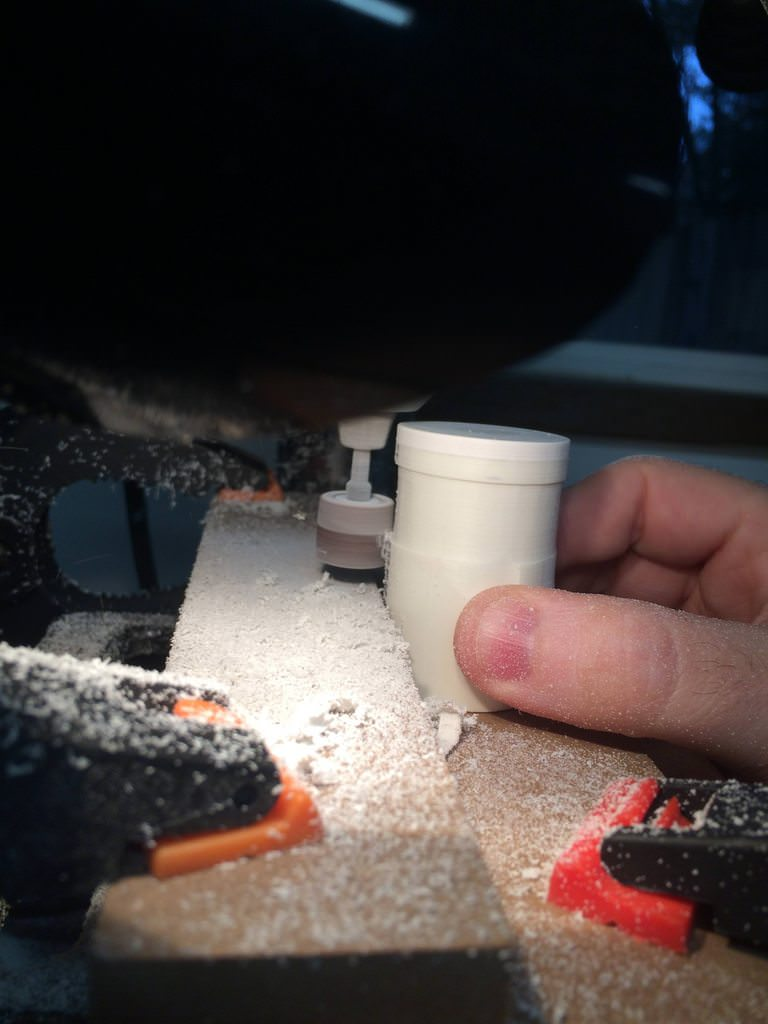
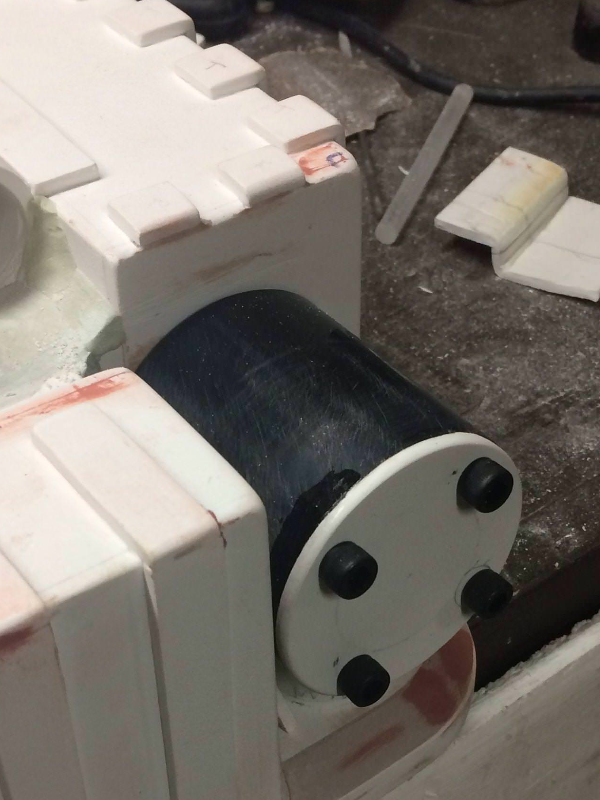
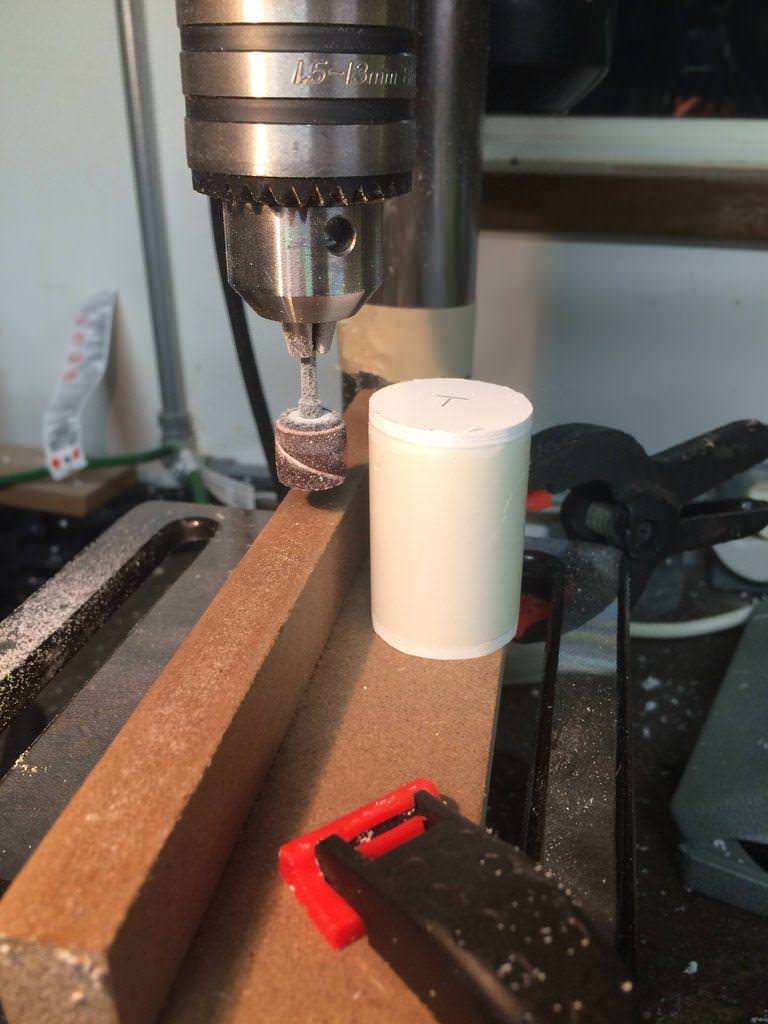
To create the rear cylinder I cut our a piece of PVC pipe to the correct length, minus about 6mm to compensate for styrene caps I glued on to the front and back of the pipe. I then trimmed the styrene pieces using a dremel sanding drum attached to my drill press. I attached a temporary fence to stop the pipe just before it made contact with the sanding drum. This removed all the excess styrene and made it flush with the pipe.

I then dropped the platform of the drill press down to the correct height and moved the fence out a bit so the pipe would make contact with the sanding drum to the depth I wanted. I created a greater depth change in mine than looks to be in the original prop, but I like it. Then all I had to do was turn the pipe until the material was removed all the way around

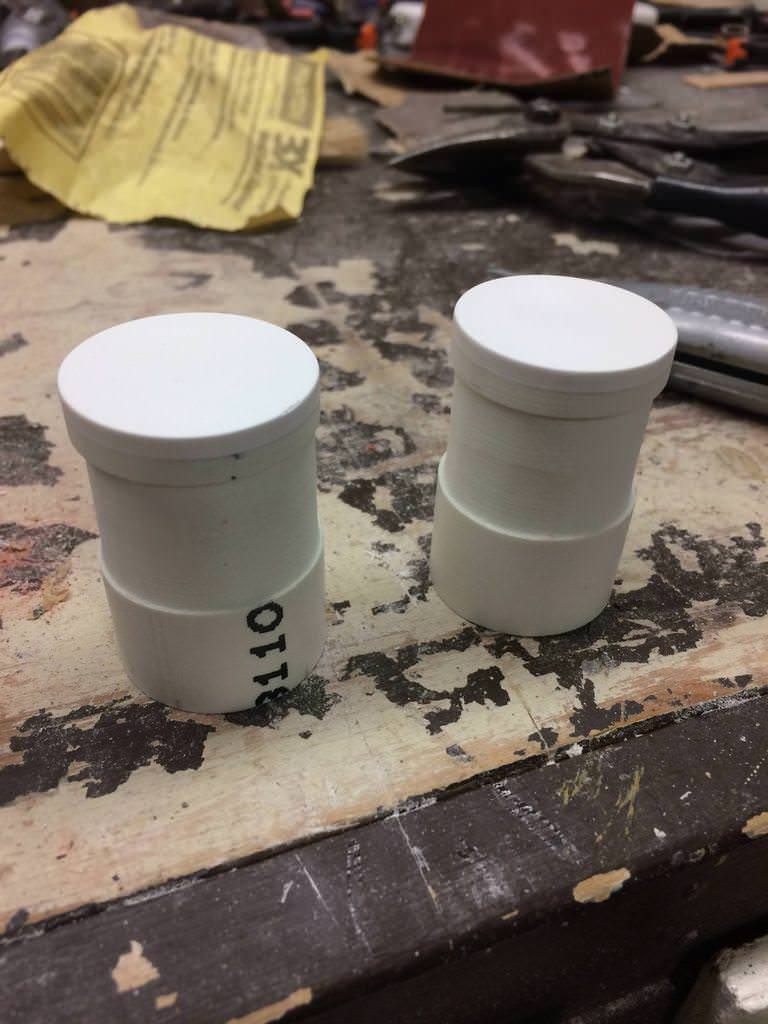
I ended up with these guys. I made two because I’ll be helping build my friends pack when this one is done - also I think it’s Adam Savage who says he always makes at least two of something in the event he wreaks the first one…which I did. I went to cut the flat sections of the cylinder and immediately cut the wrong spot. The second one I cut in the right spots but I didn’t measure the cut lines very well so they were slightly crooked. So I chucked em both and created two more cylinders.

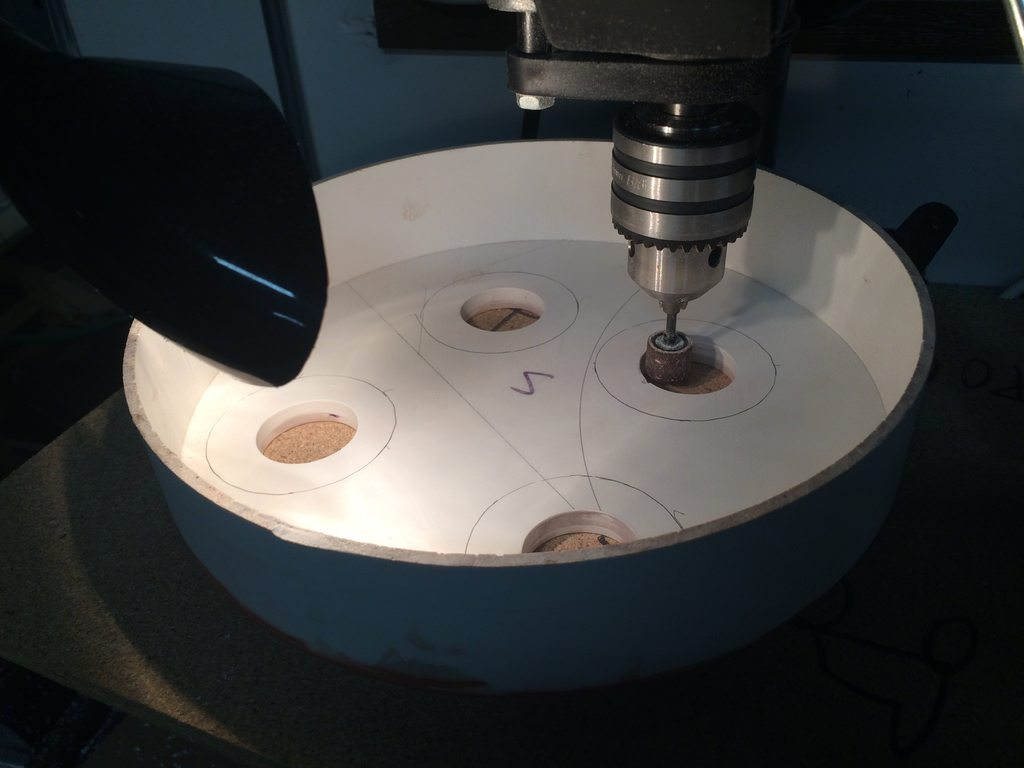
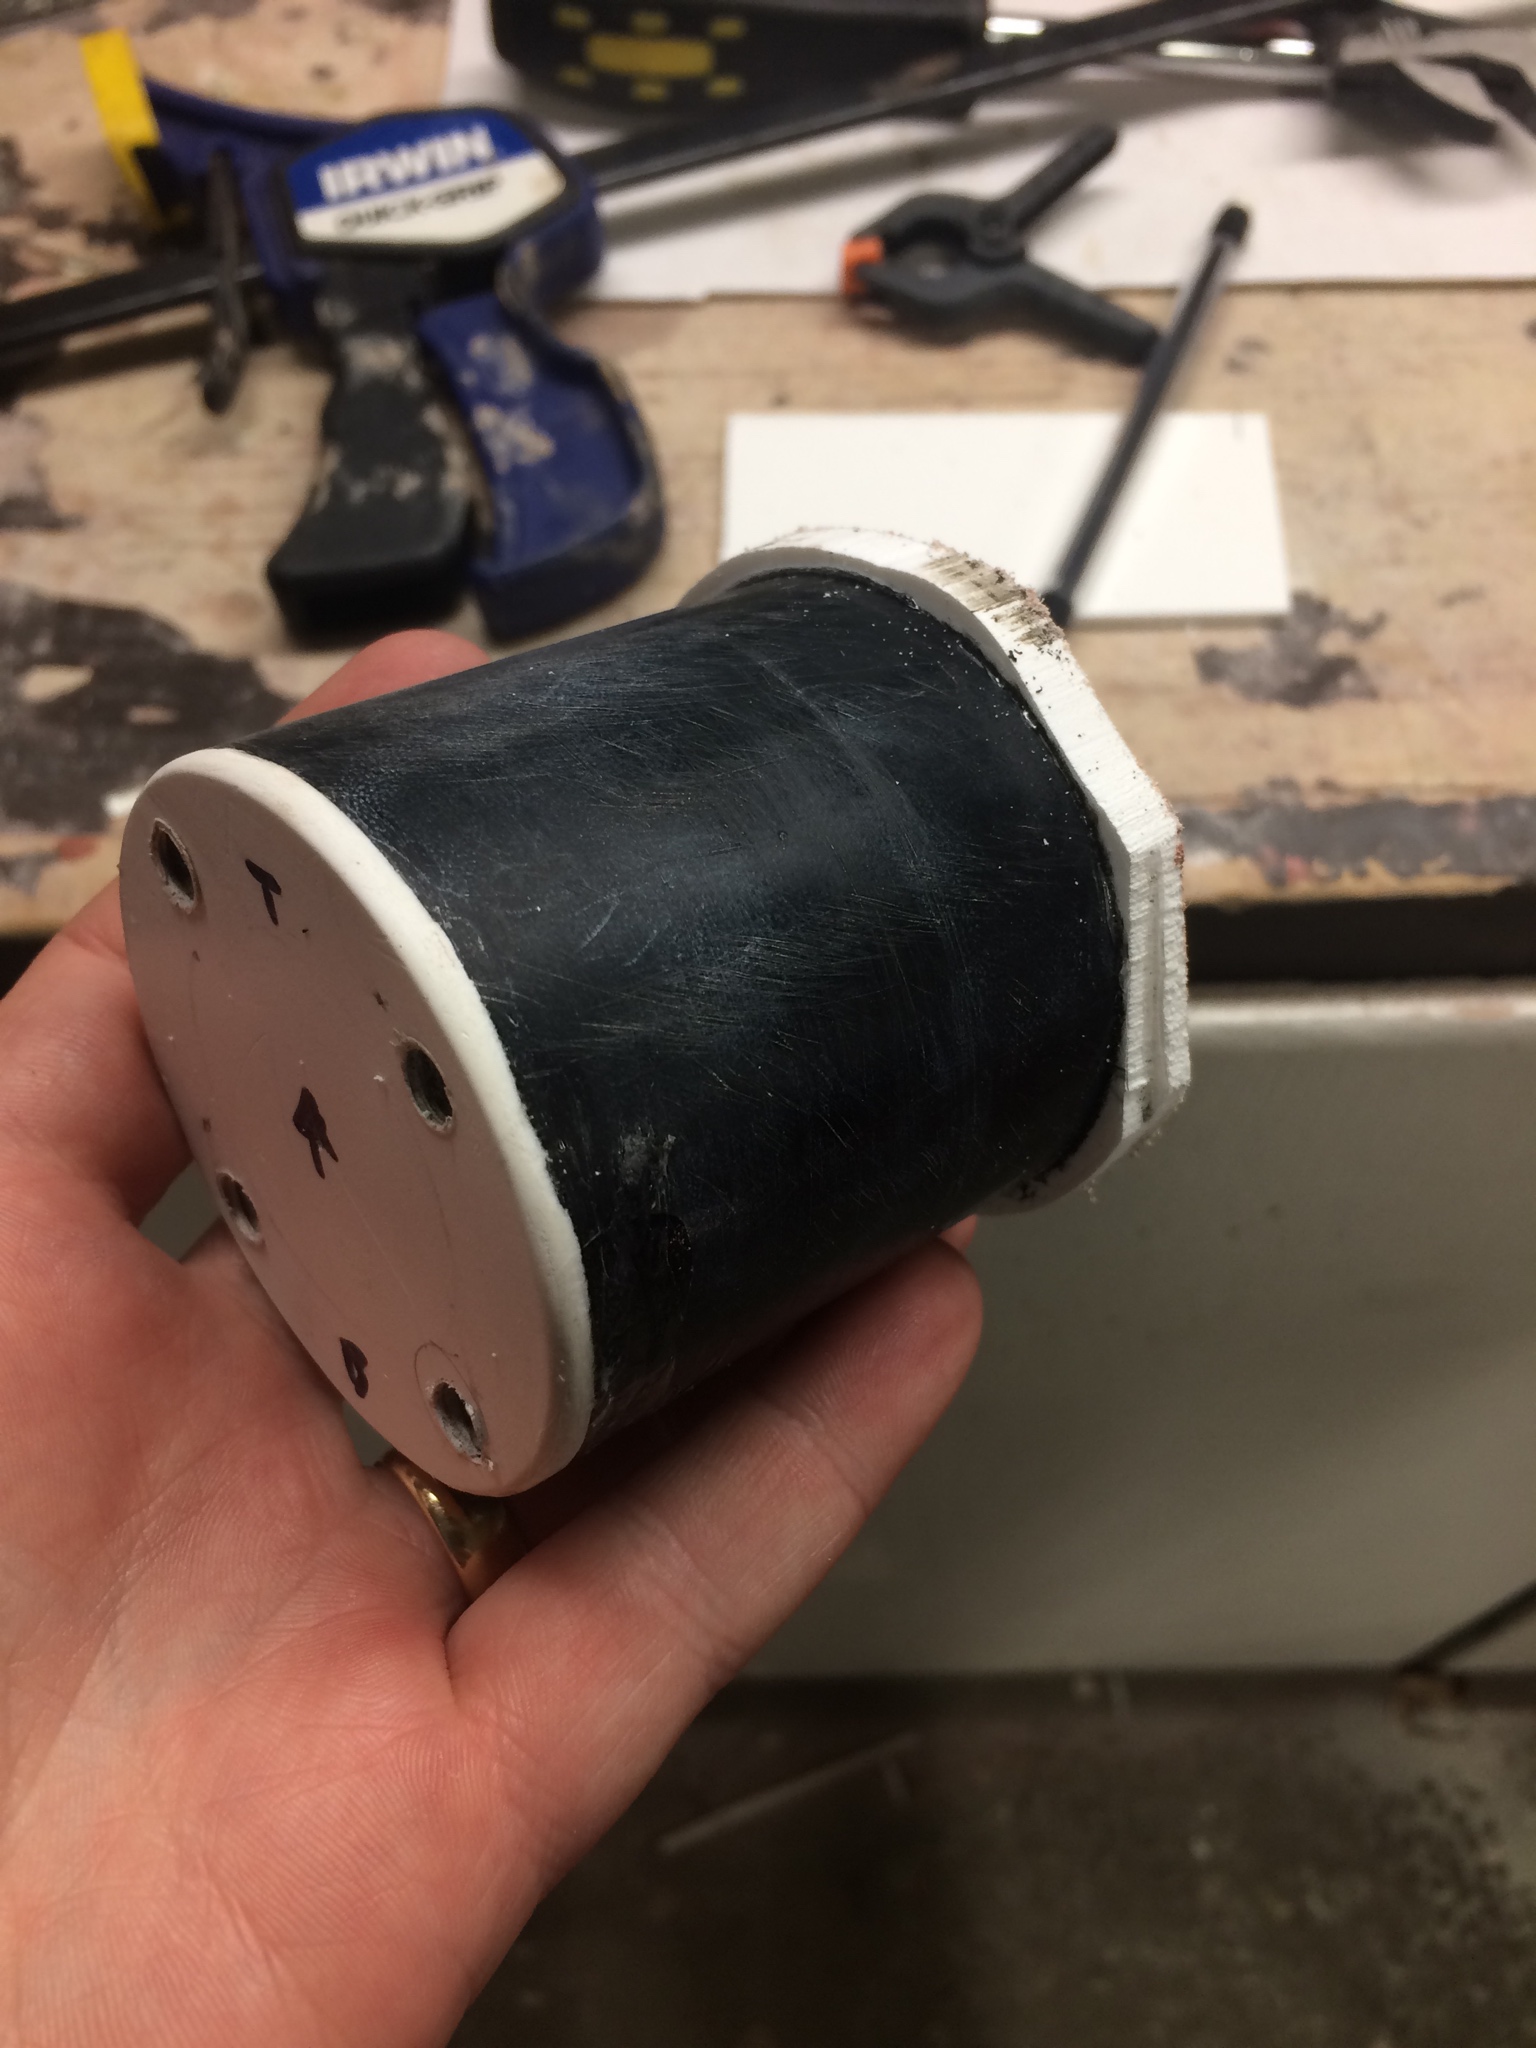
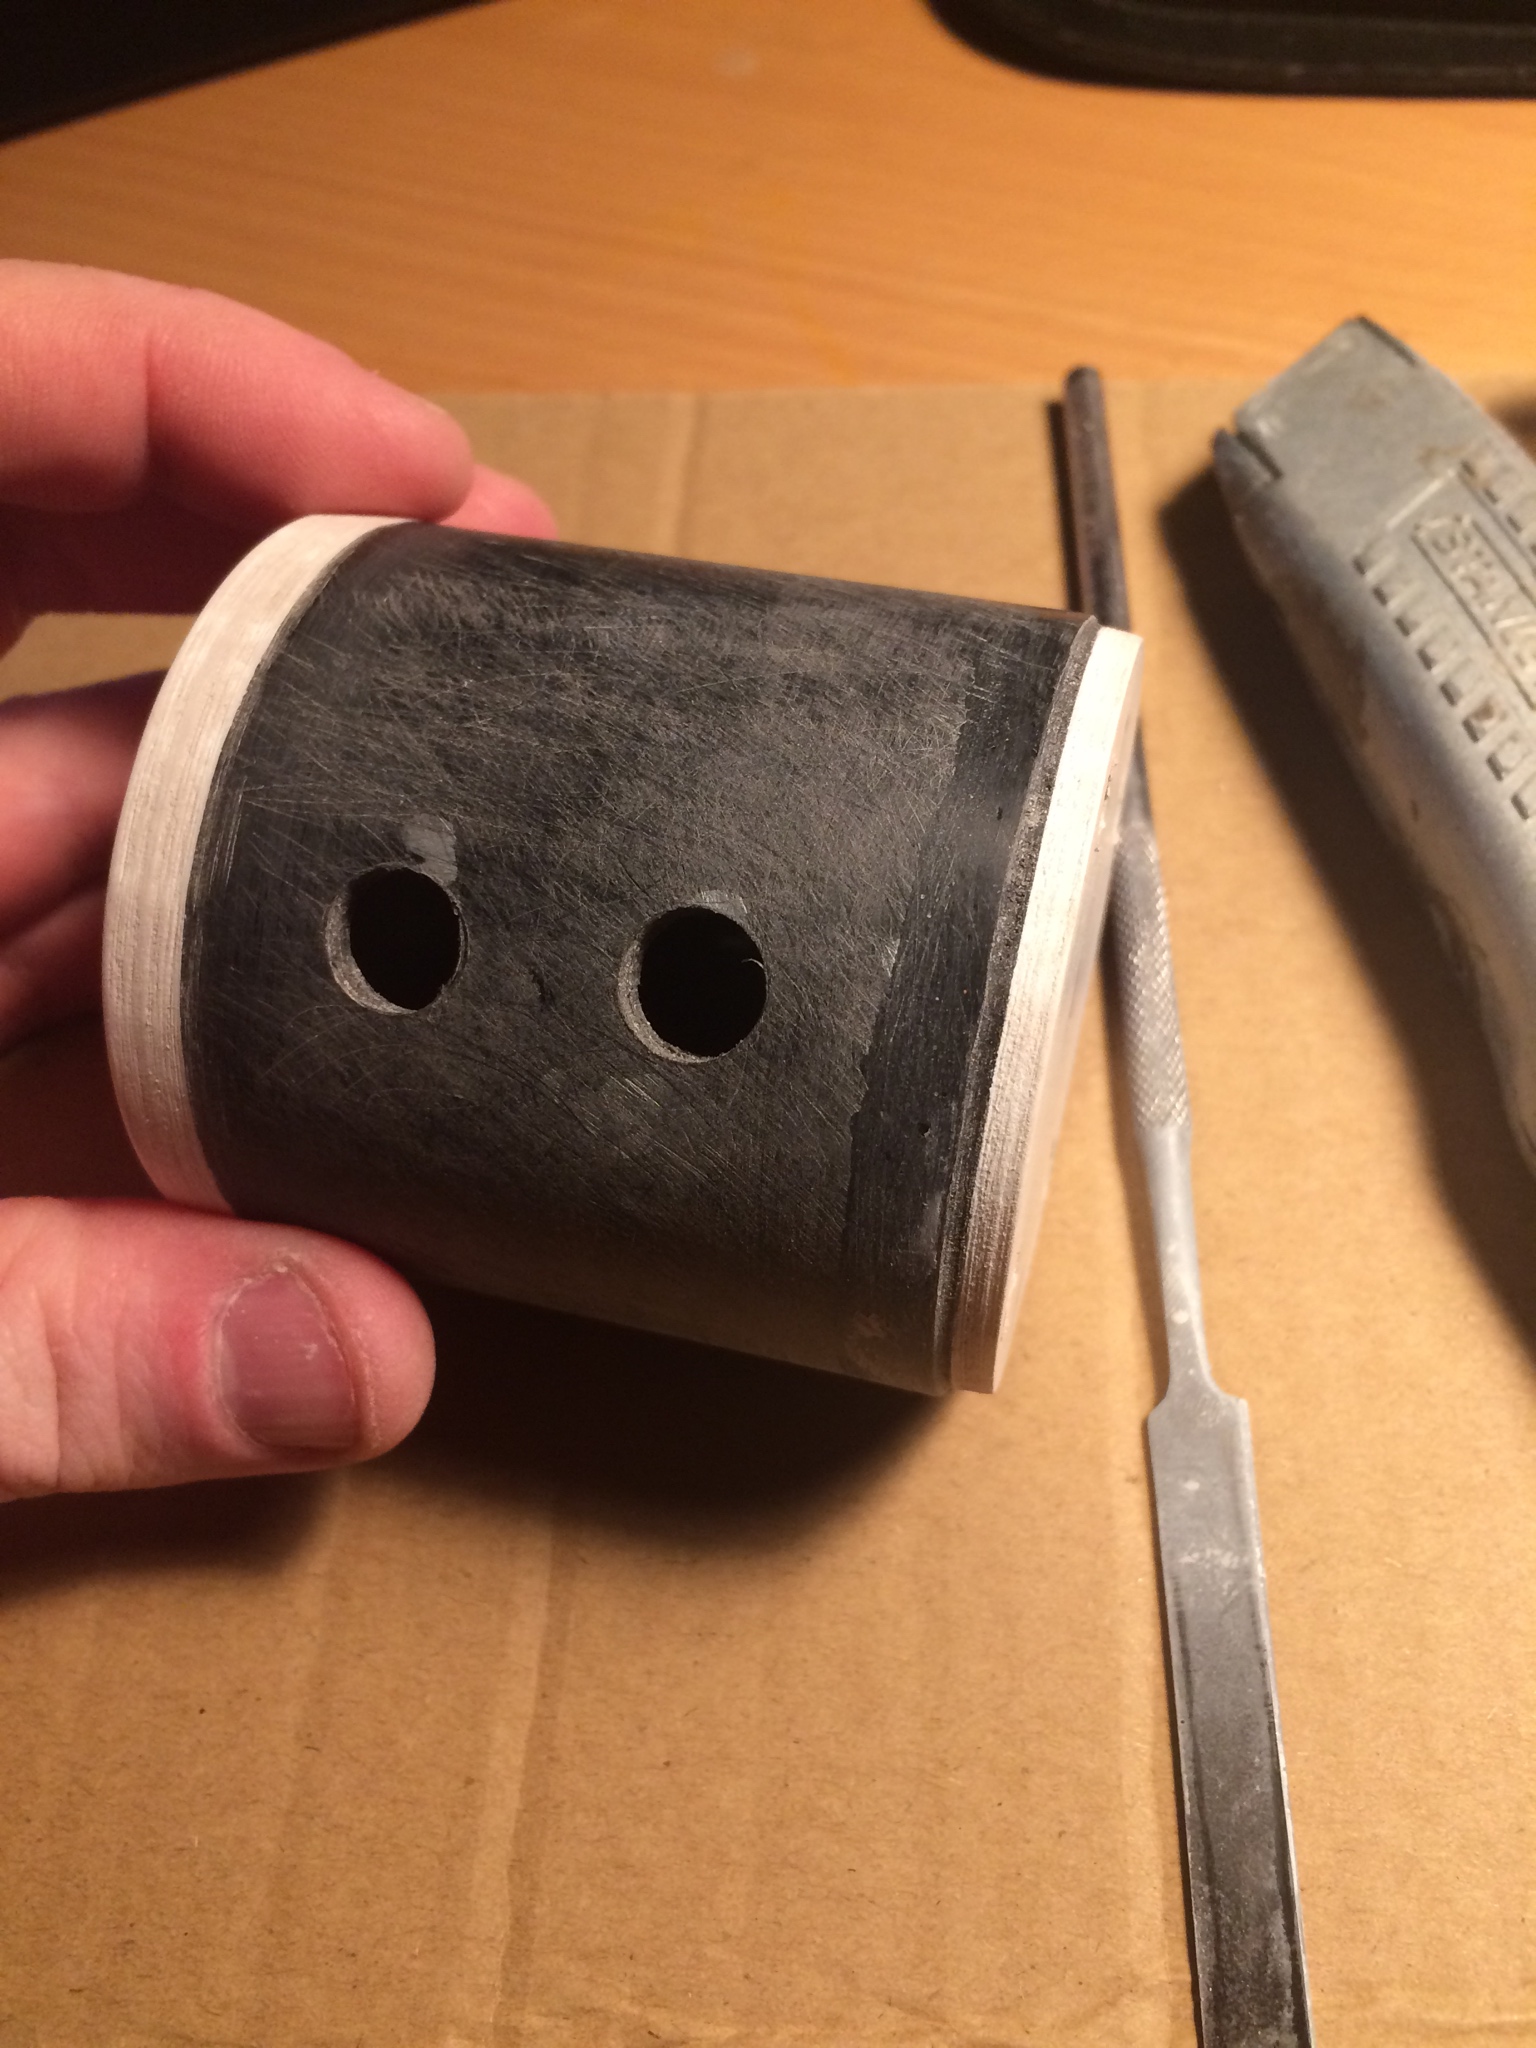
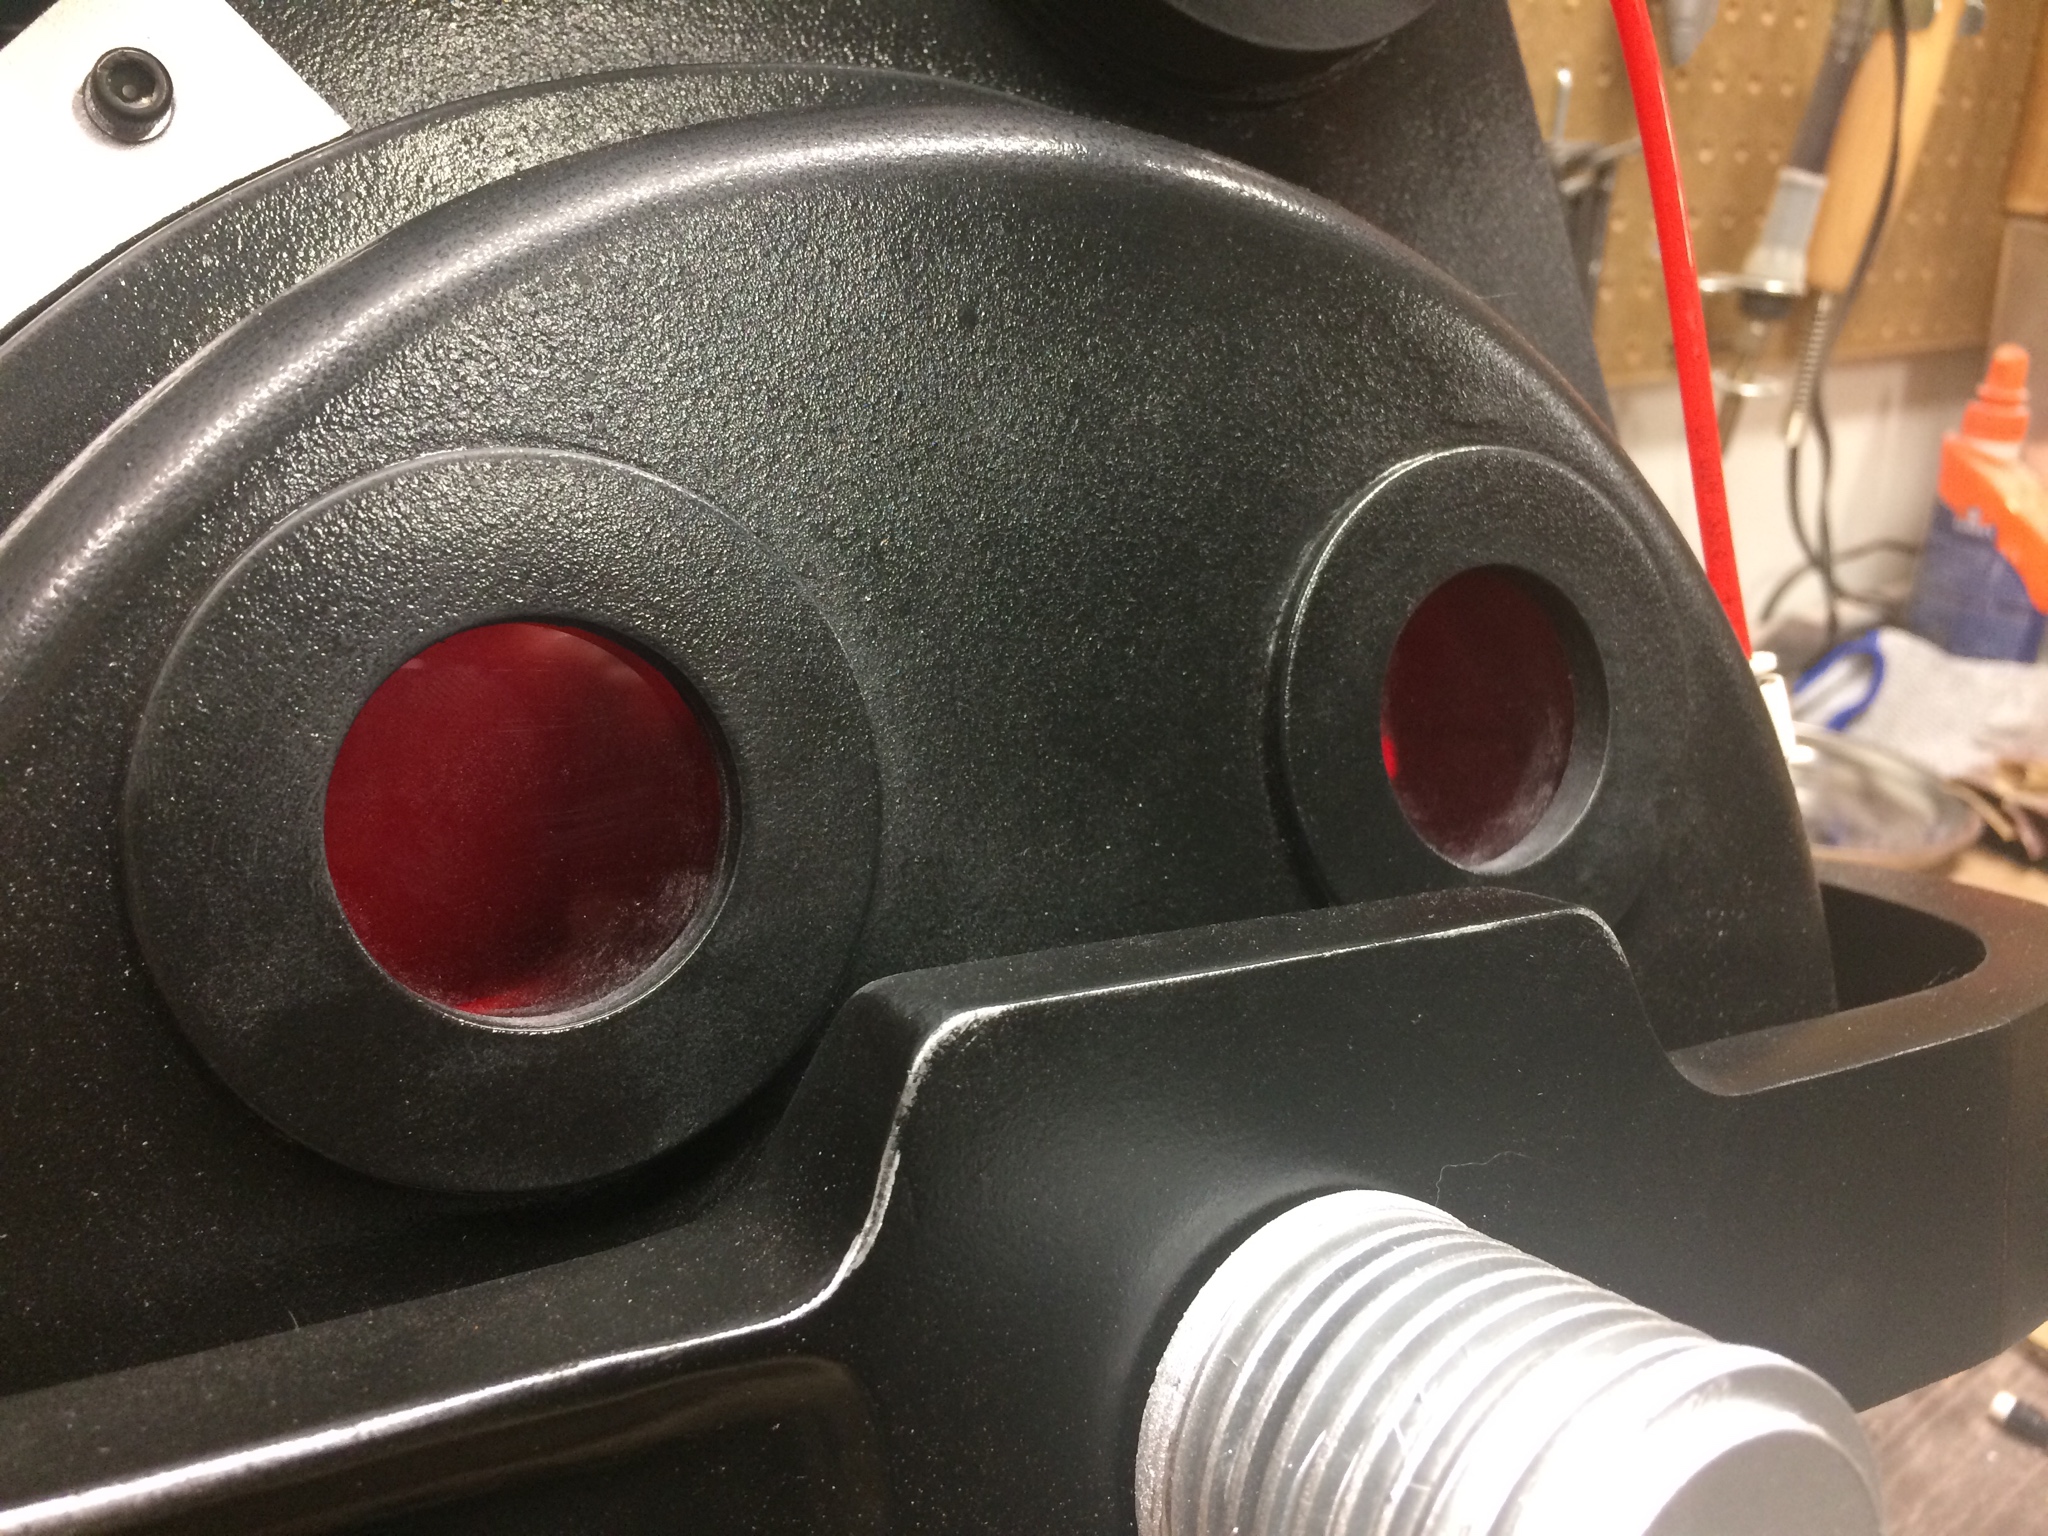
In a similar vain I didn’t like how thick the walls of the cyclotron windows were so I used my handy dandy drill press sander to grind out some of the material:

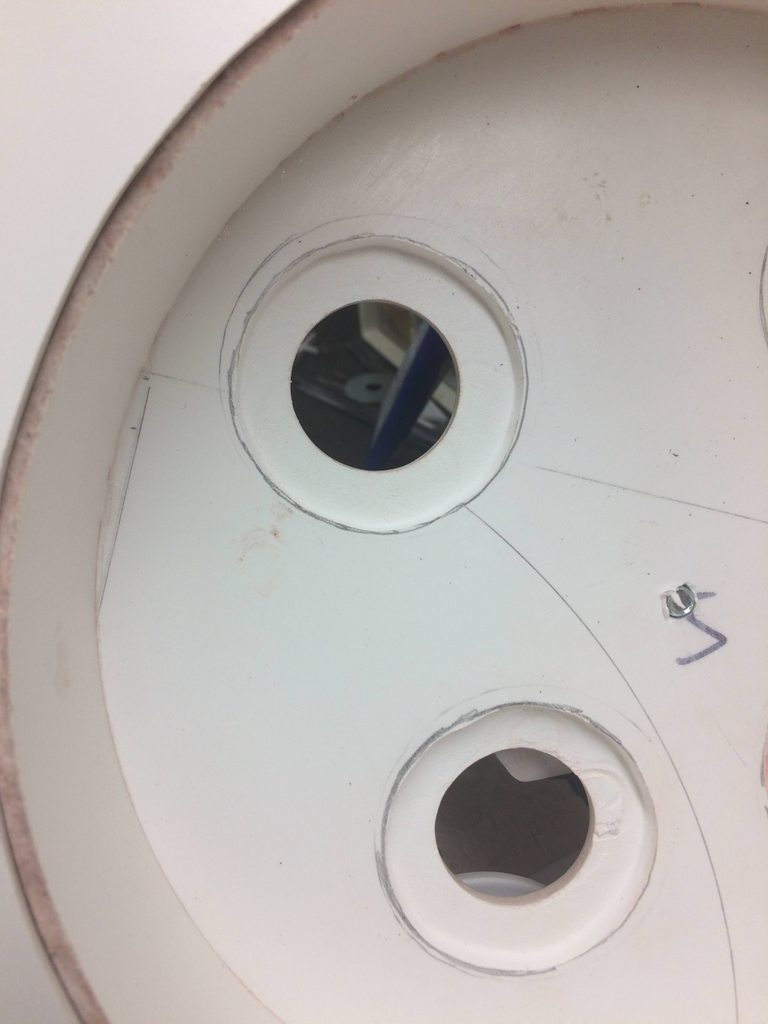
They ended up looking like this. ahh, so much better I think:

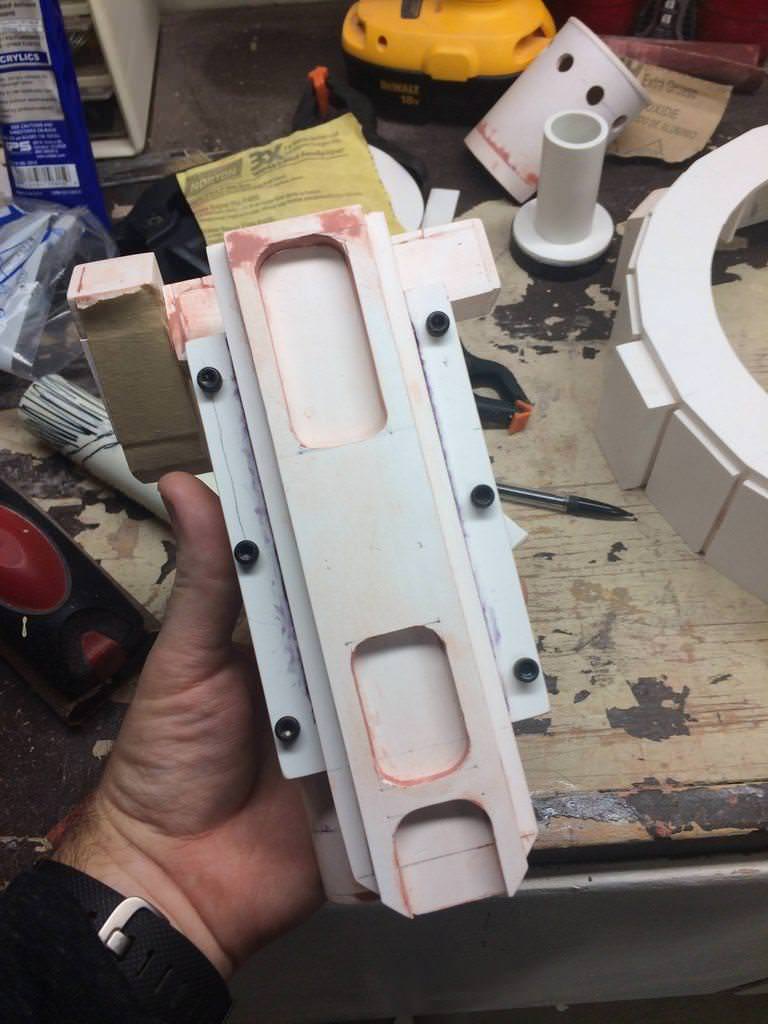
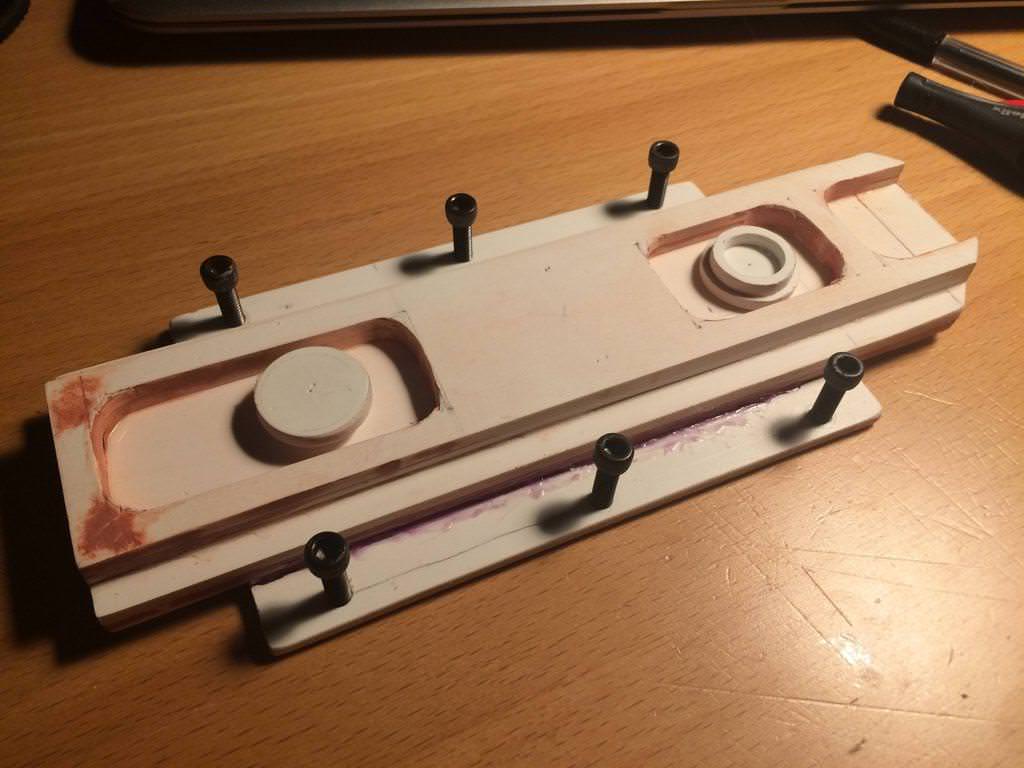
Here’s my gun track in process:

As well as the gun disks:

HGA:

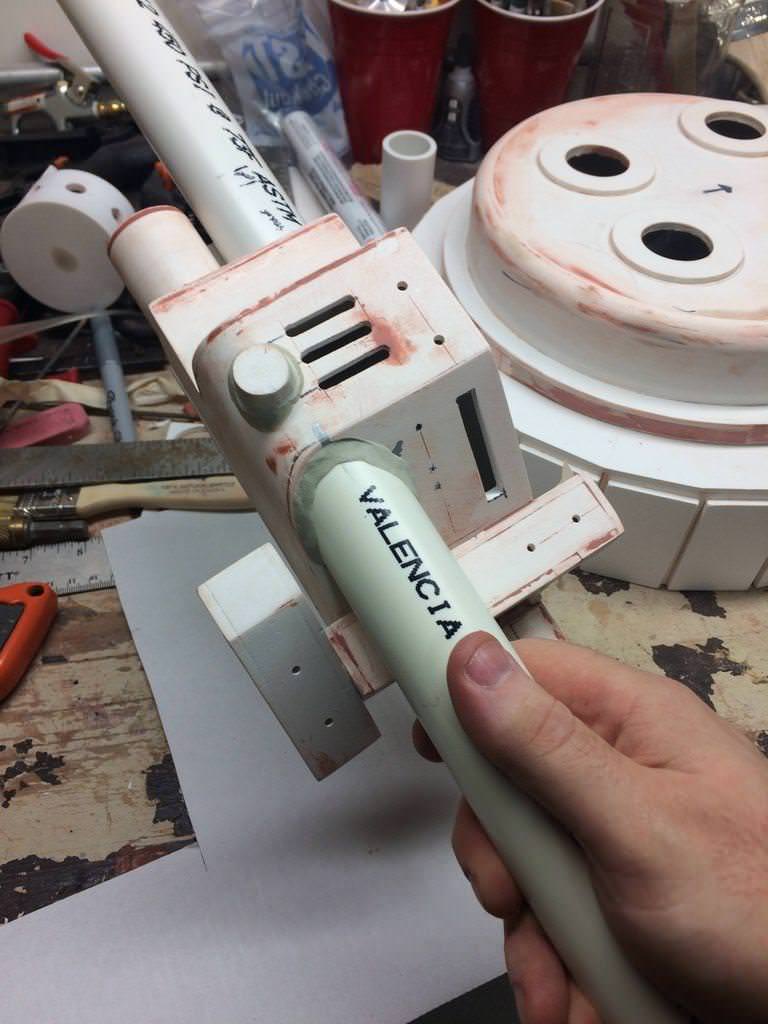
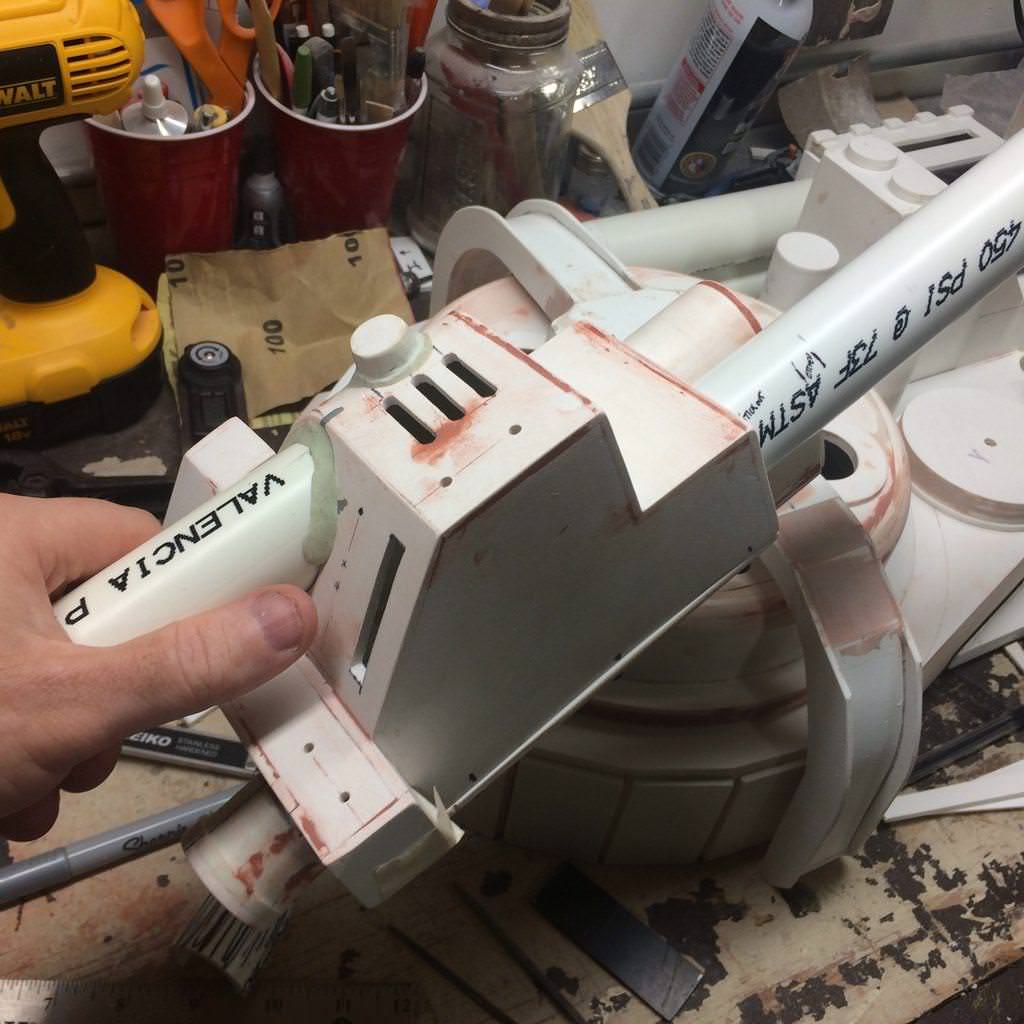
Here’s the gun after installing the handles. The back handle is not perfectly level to the box, it goes ever so slightly up towards the end and it drives me crazy. Not yet crazy enough to rip the part out… though that may still happen. I’m concerned if I do rip it out it’ll tear the box apart in the process.

you can kinda see the angle of the handle in this pic..grrr:

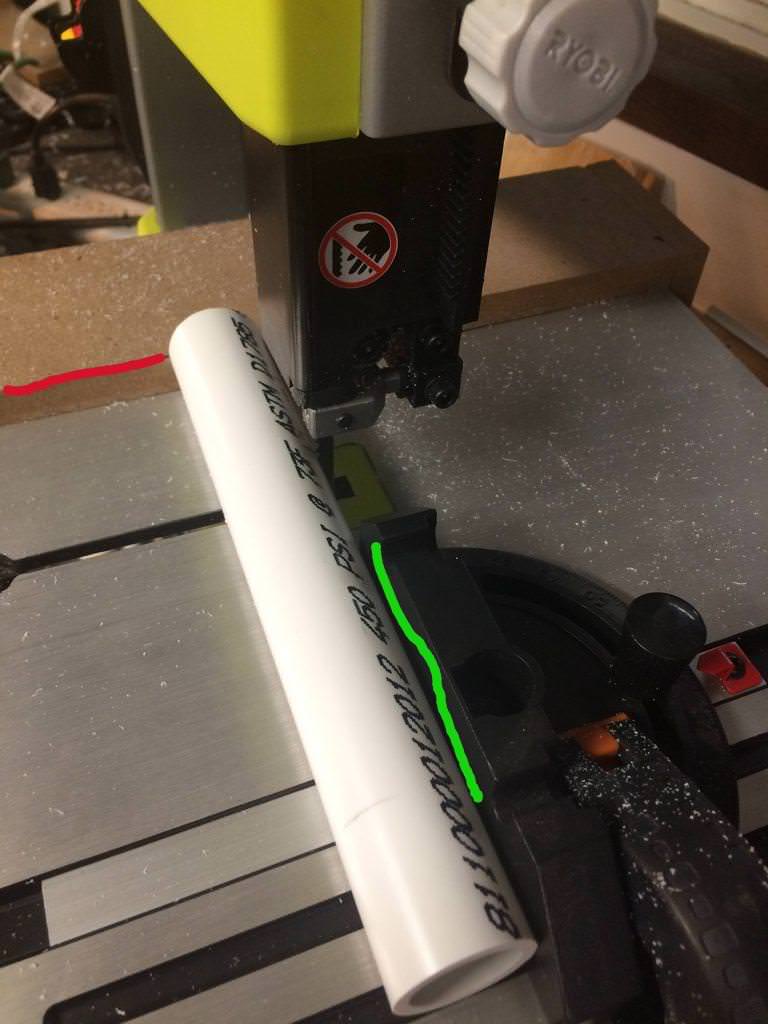
To fake the gap between the front barrel nub and the rest of the handle I create the below setup for my band saw. The green fence kept the pipe from getting cut too deep by the blade while the red kept it in the right location on the pipe. Once I cut a full circle out of the pipe I moved the red fence down just a smidge and cut out another circle, moving my way down the pipe until I had a created a gap big enough to my liking.

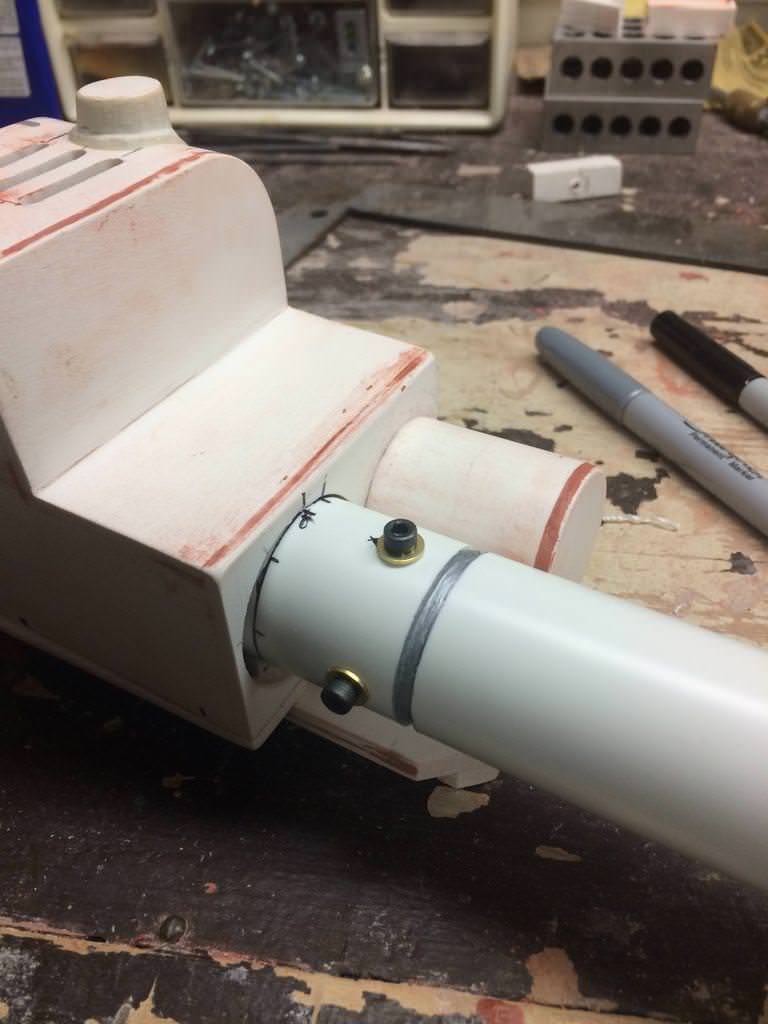
Here is the gap all done. I “painted” it with a silver sharpie just to help me visualize it better

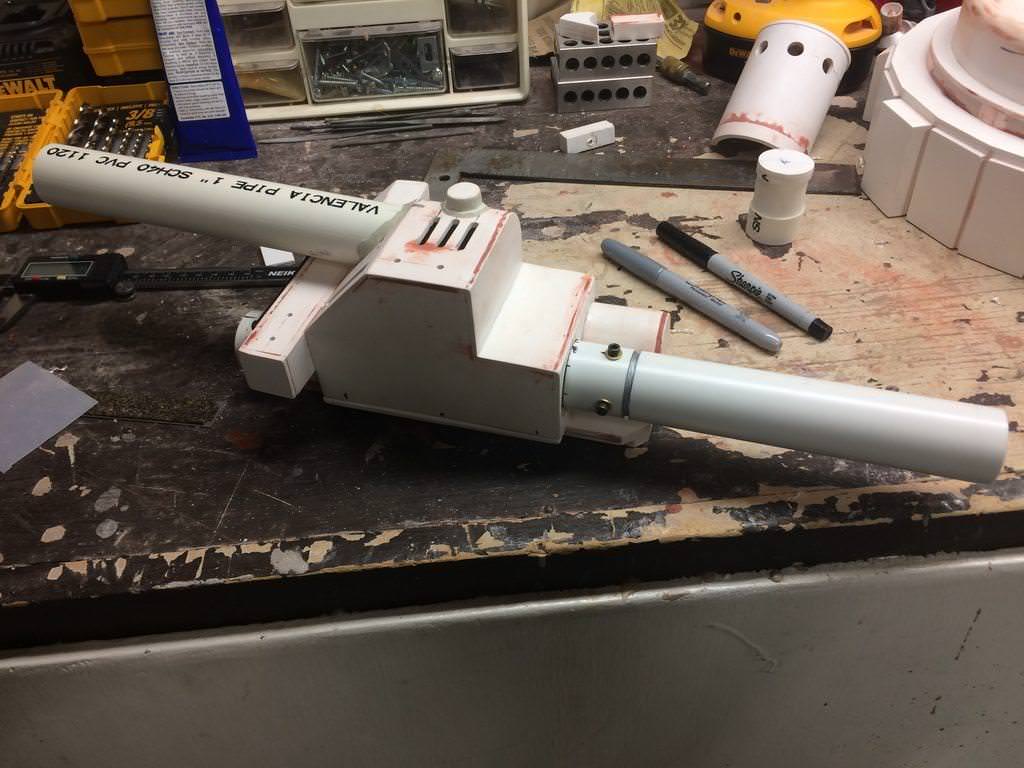
Here’s where the gun is at currently(boy that handle angle bugs me):

Here’s the pack and gun with the three remaining pieces waiting to be screwed in. The pack just needed a bit more putty and sanding in places

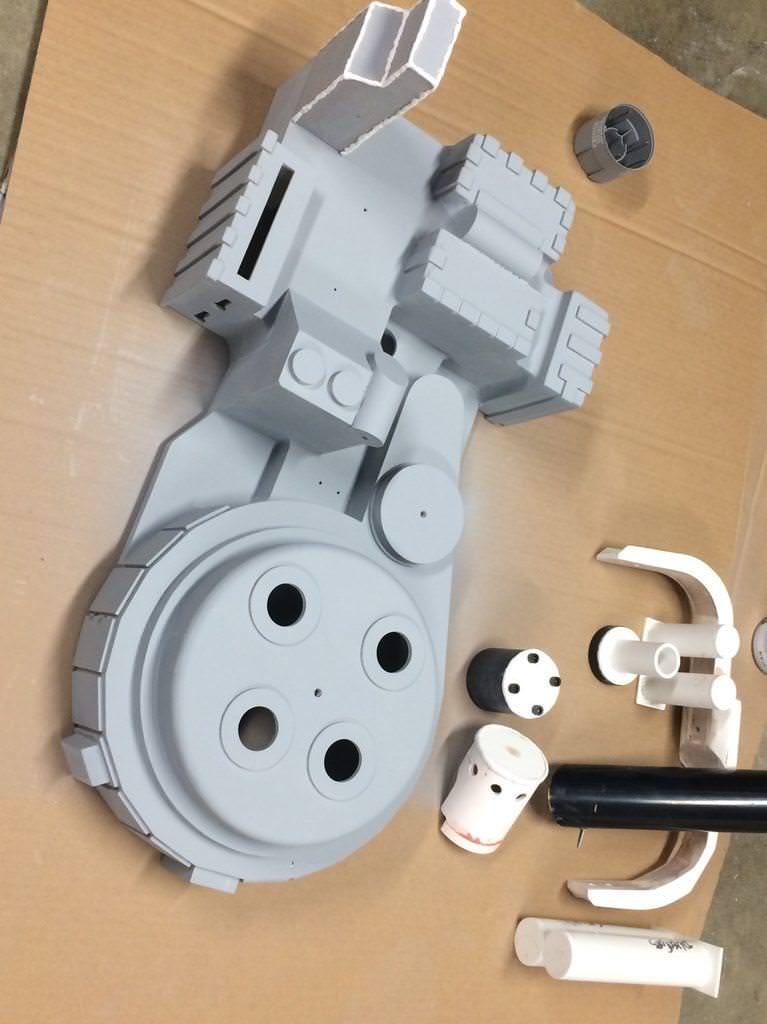
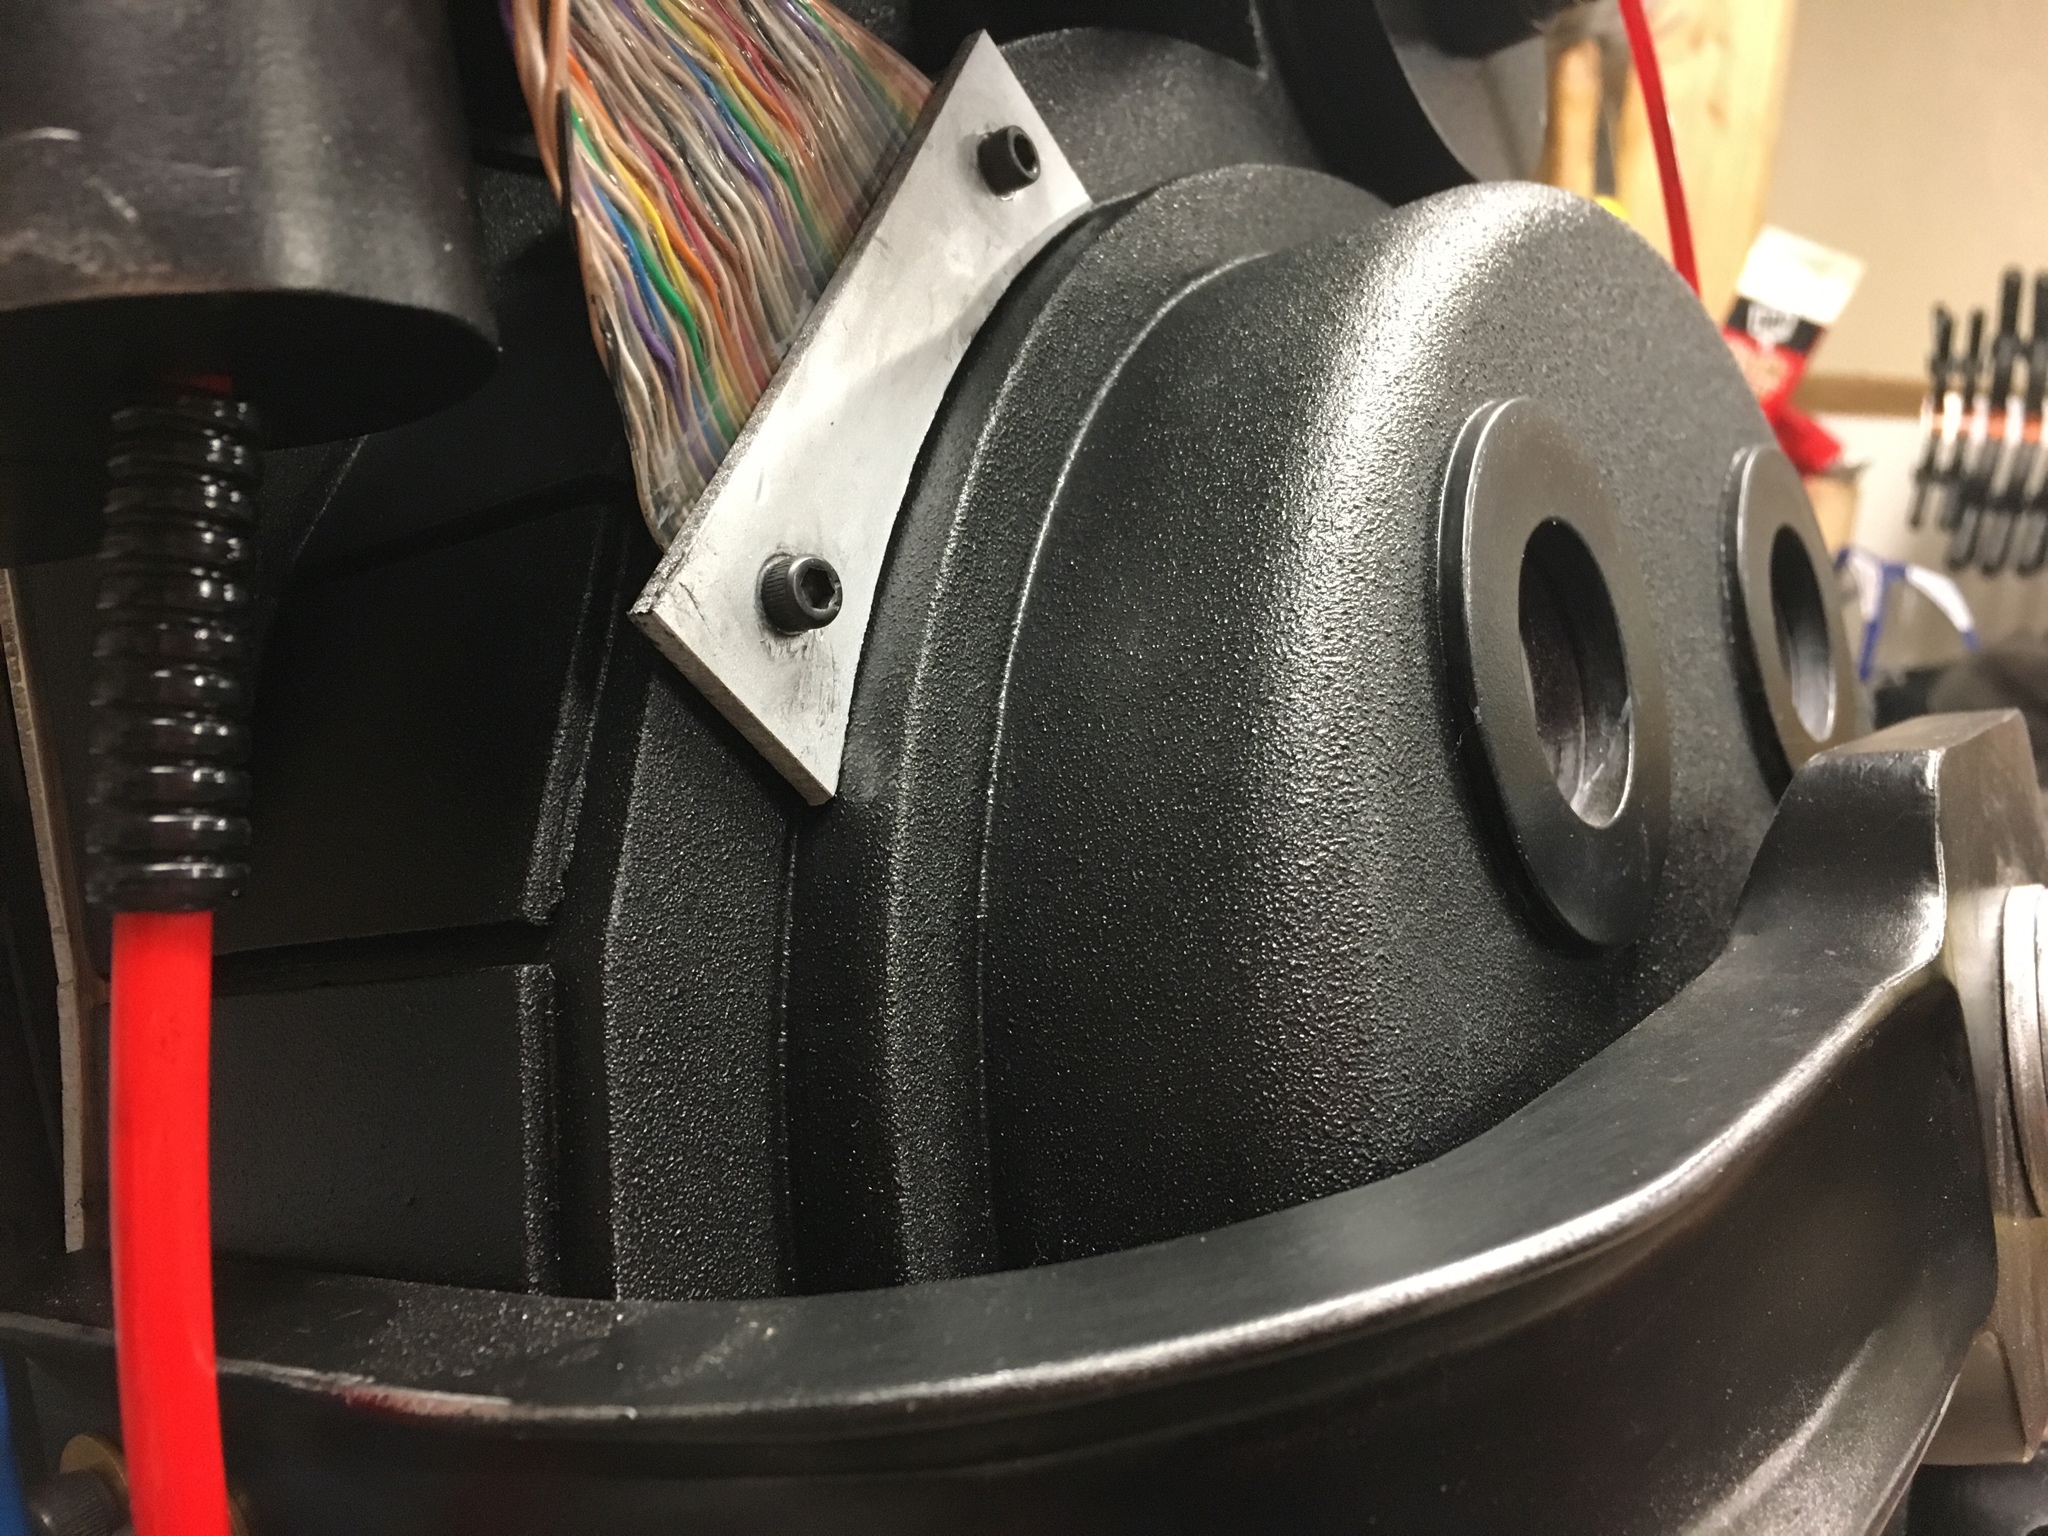
Then last Saturday my buddy came up and after a sanding session we hit the pack with some primer! ■■ boy that thing looks pretty when it’s all one color instead three. As you can see we also started making the welds out of epoxy. So far they’ve turned out pretty good though I may redo the one on the N-filter as I want it to be a little more subtle.

All I’ve done since that pic is add some more spot putty to places the primer revealed were not quite done. I hope to have another update in the next few days. thanks for looking!

Well, this is an extremely late progress update! apologies!

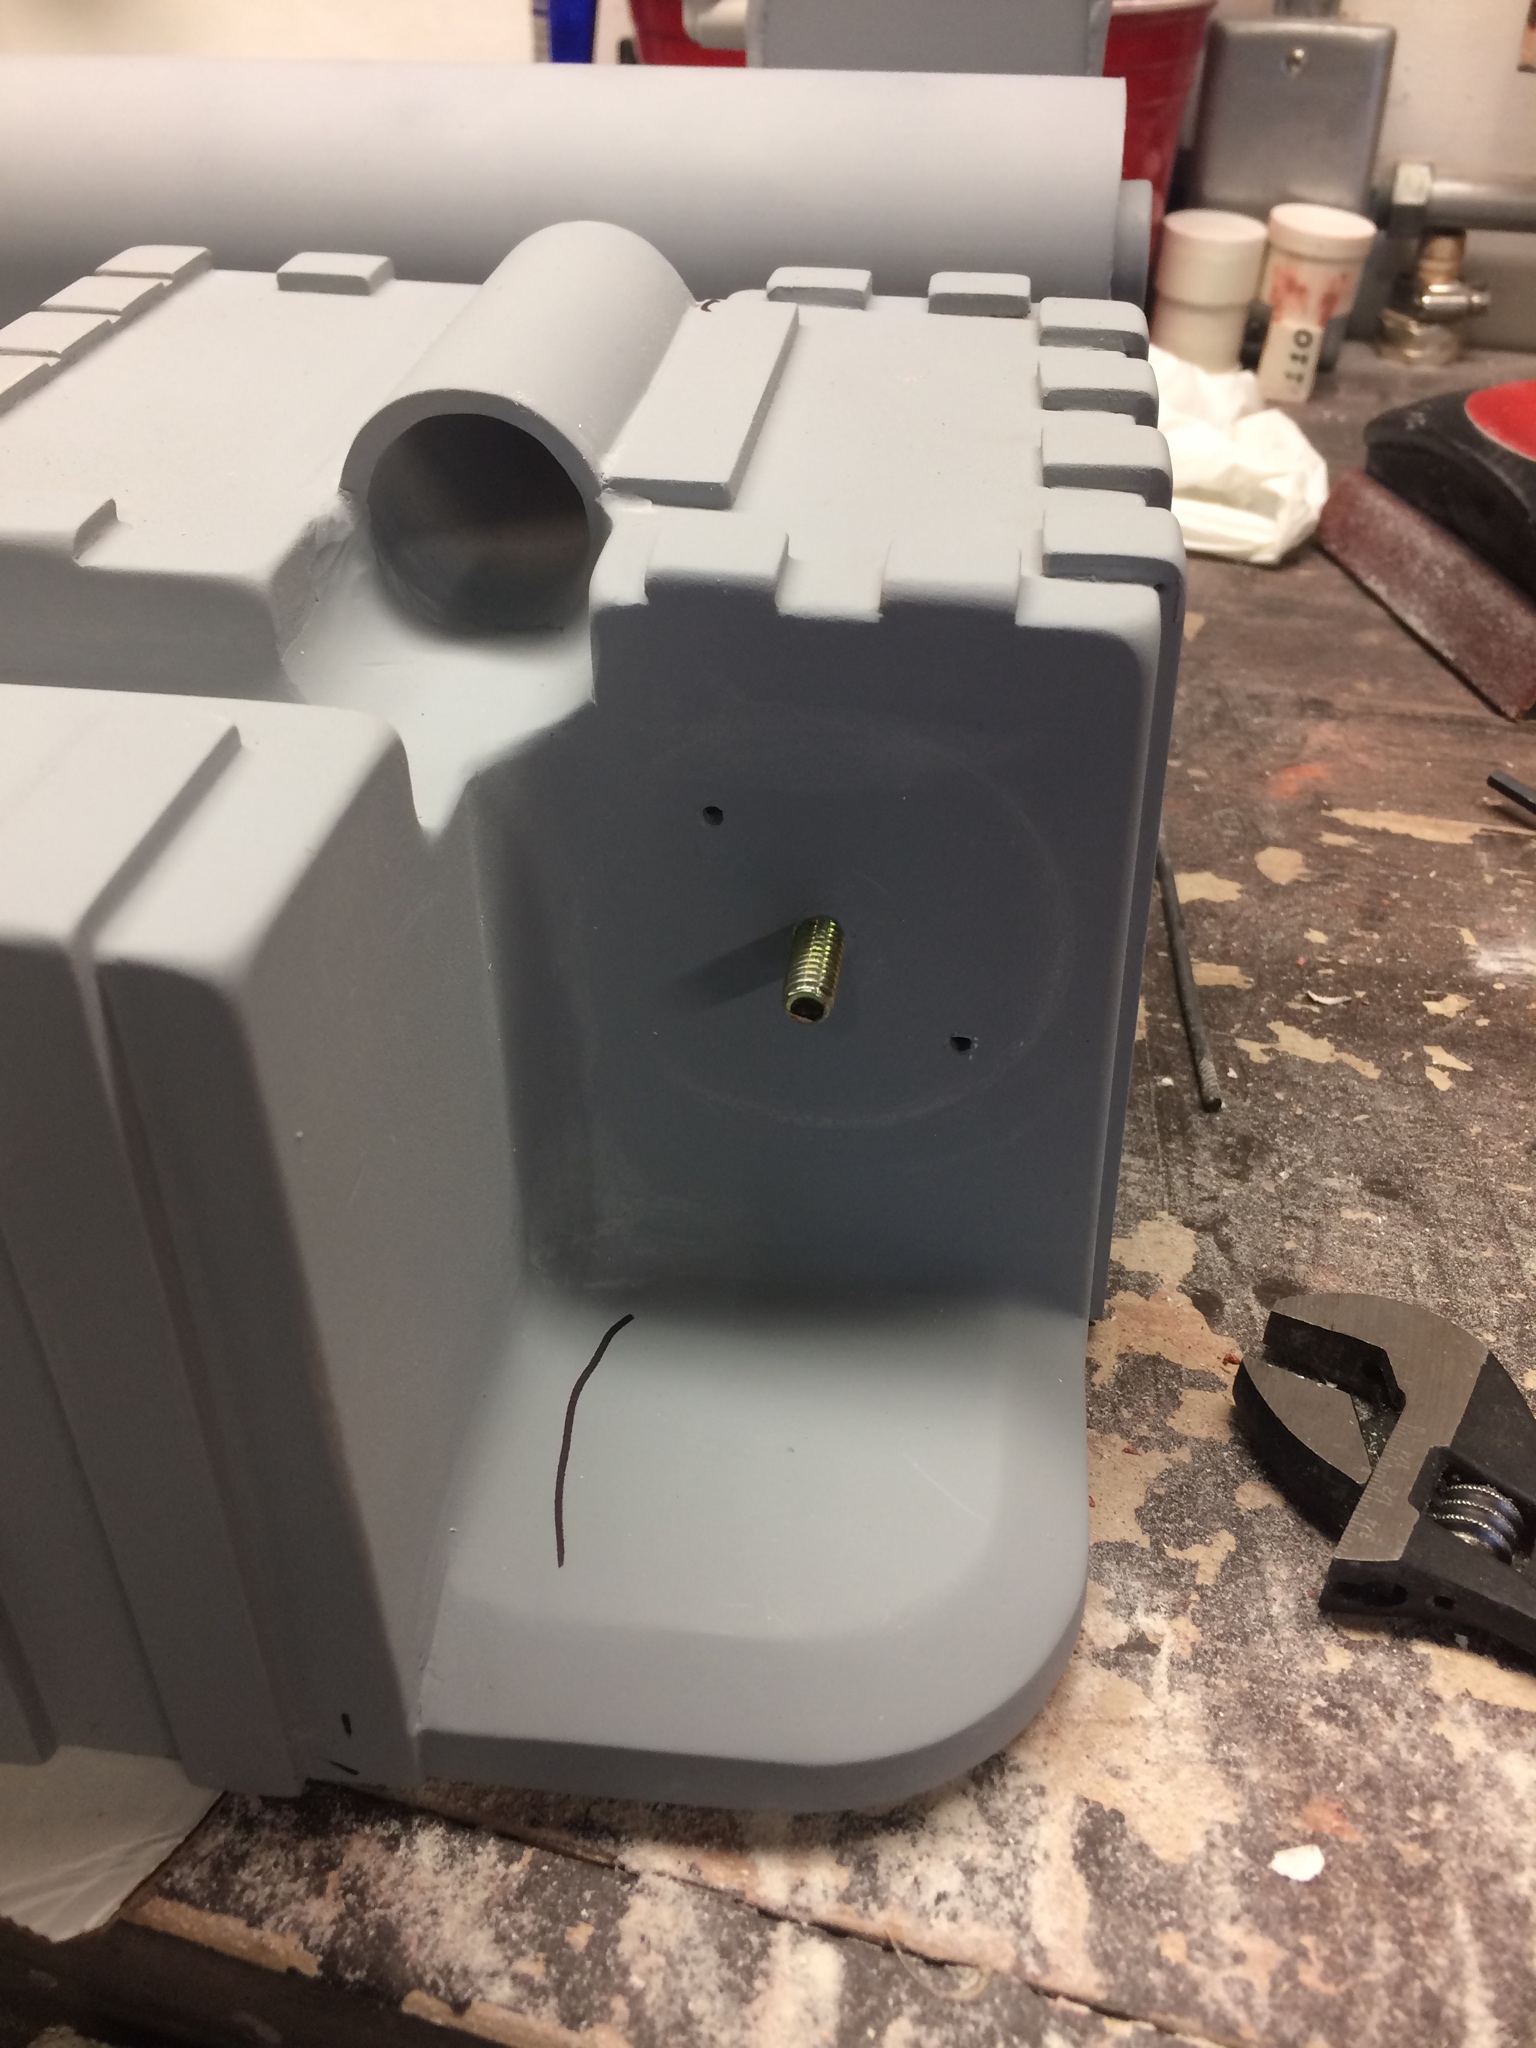
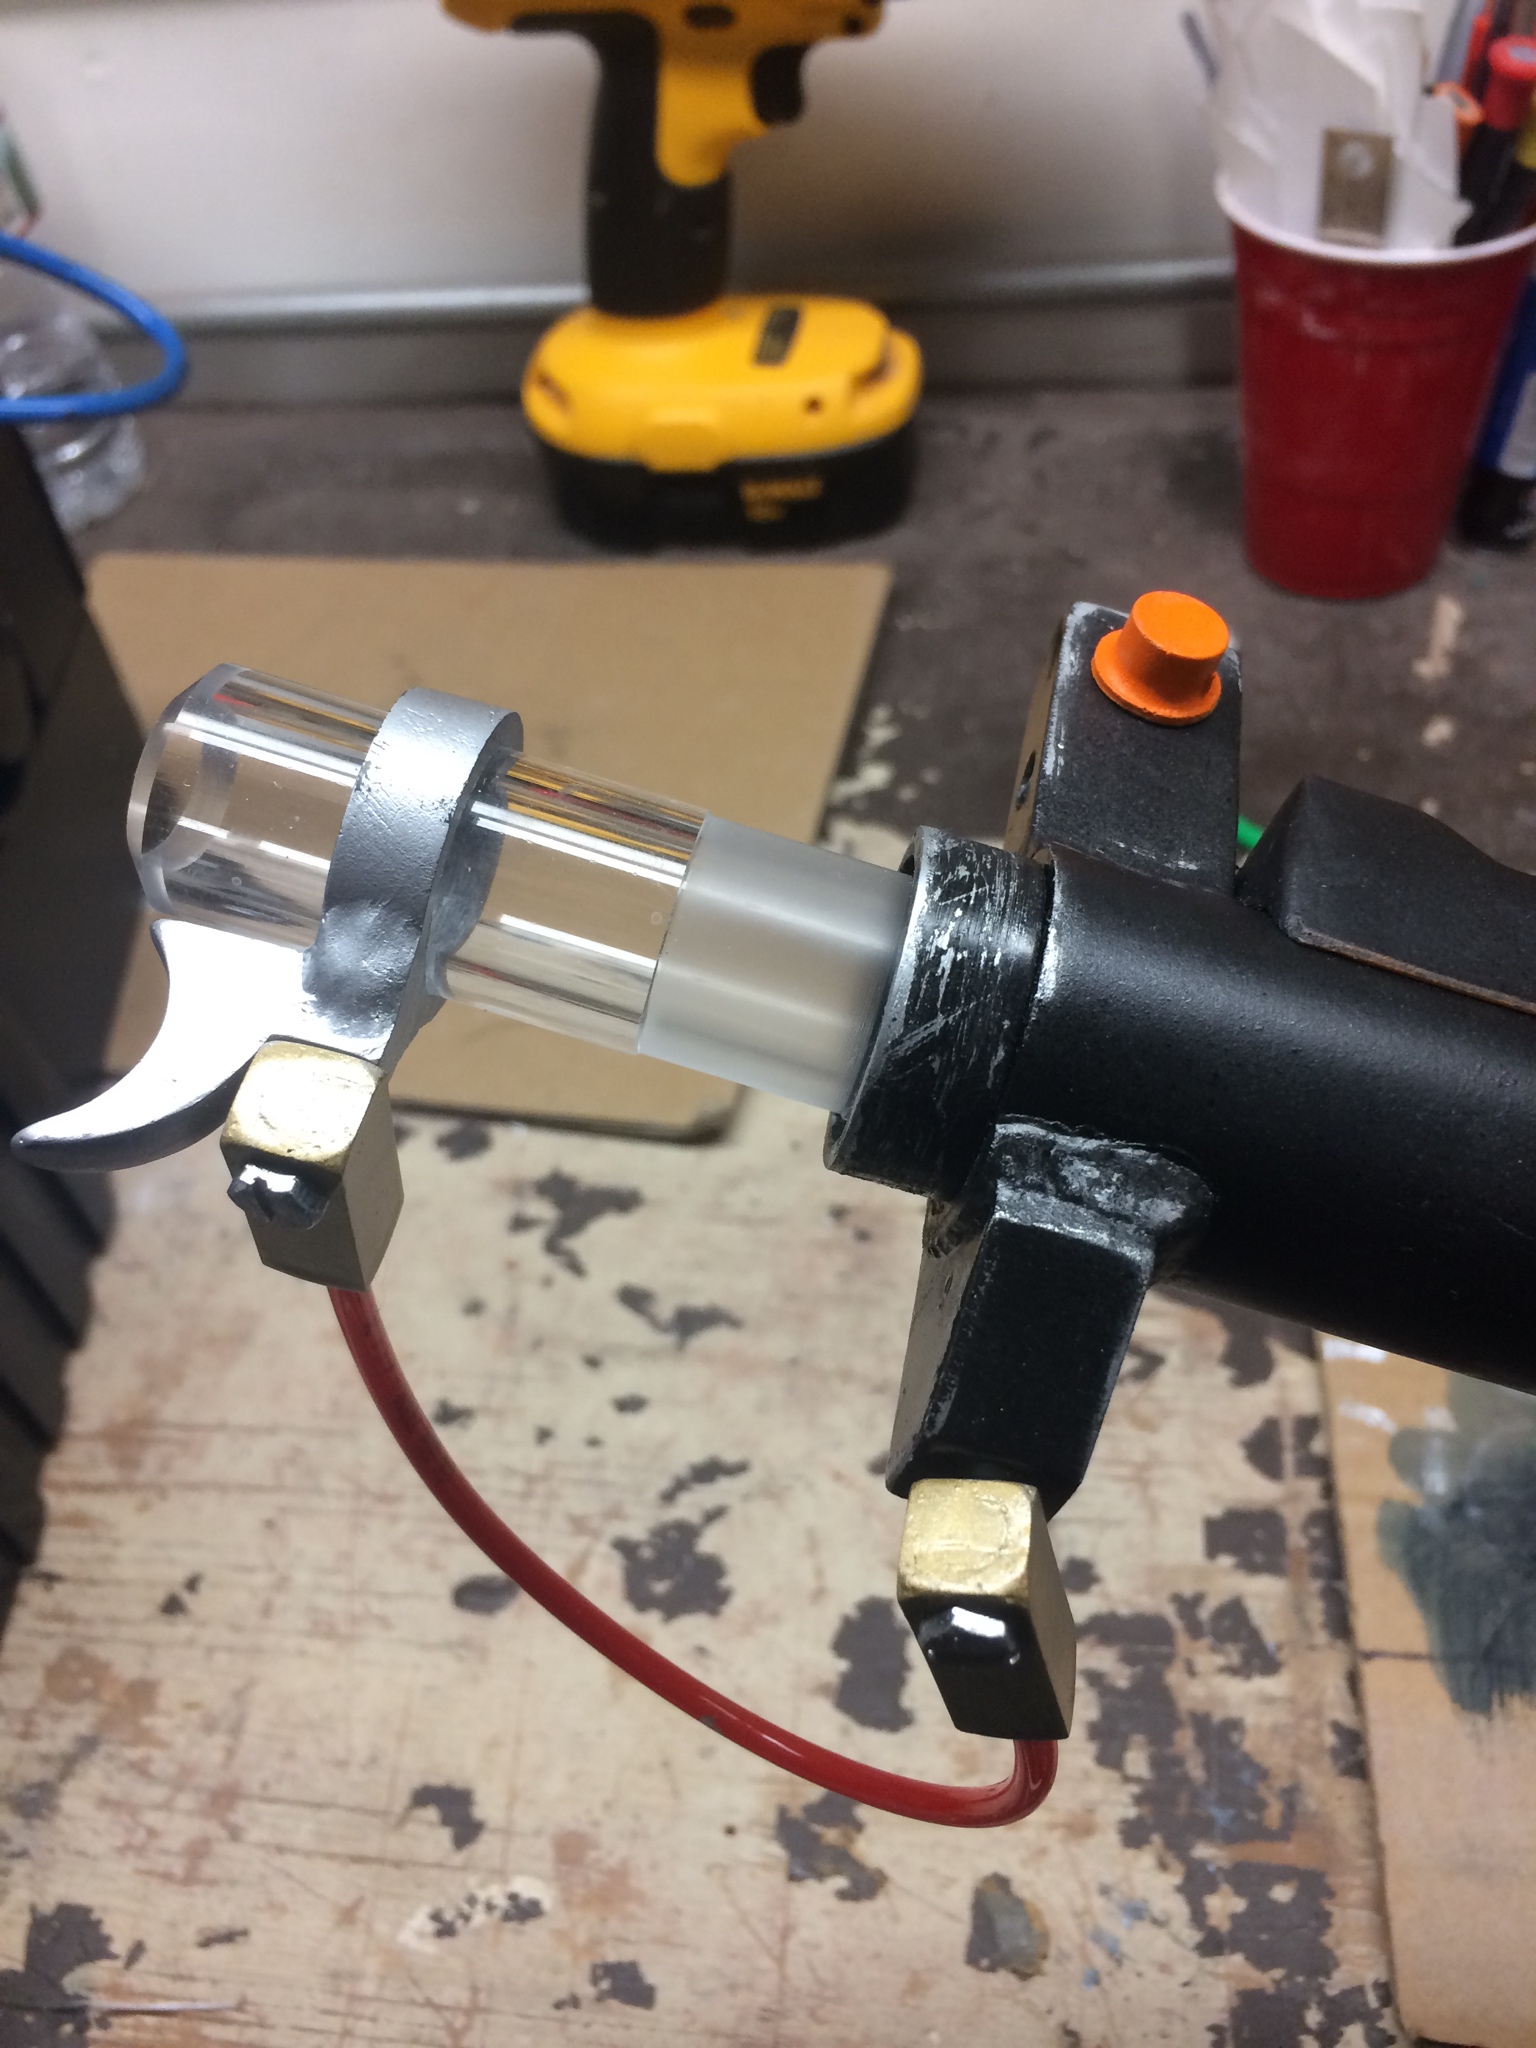
The way the HGA was originally connected to the pack - two screws through some tabs made of plumbers putty which kept popping off - was just too flimsy for me so I ended up removing 6.5mm of pipe and adding the same amount back in the form of styrene. Then I just trimmed the styrene flush to the pipe. I also trimmed back the edge of the HGA so I could create a more flush fake weld

Now I can screw the HGA on and off much like a car’s oil filter

here she is attached

Around this time I noticed that the back handle had a slight upward angle to it. I tried to ignore it but in the end I ripped out the handle, nearly destroying the box in the process, and glued it back in straight. Here’s the before and after - clearly a huge difference :whatever: At least I can live with it now

Here’s the pack with my sweet nick-a-tron parts!

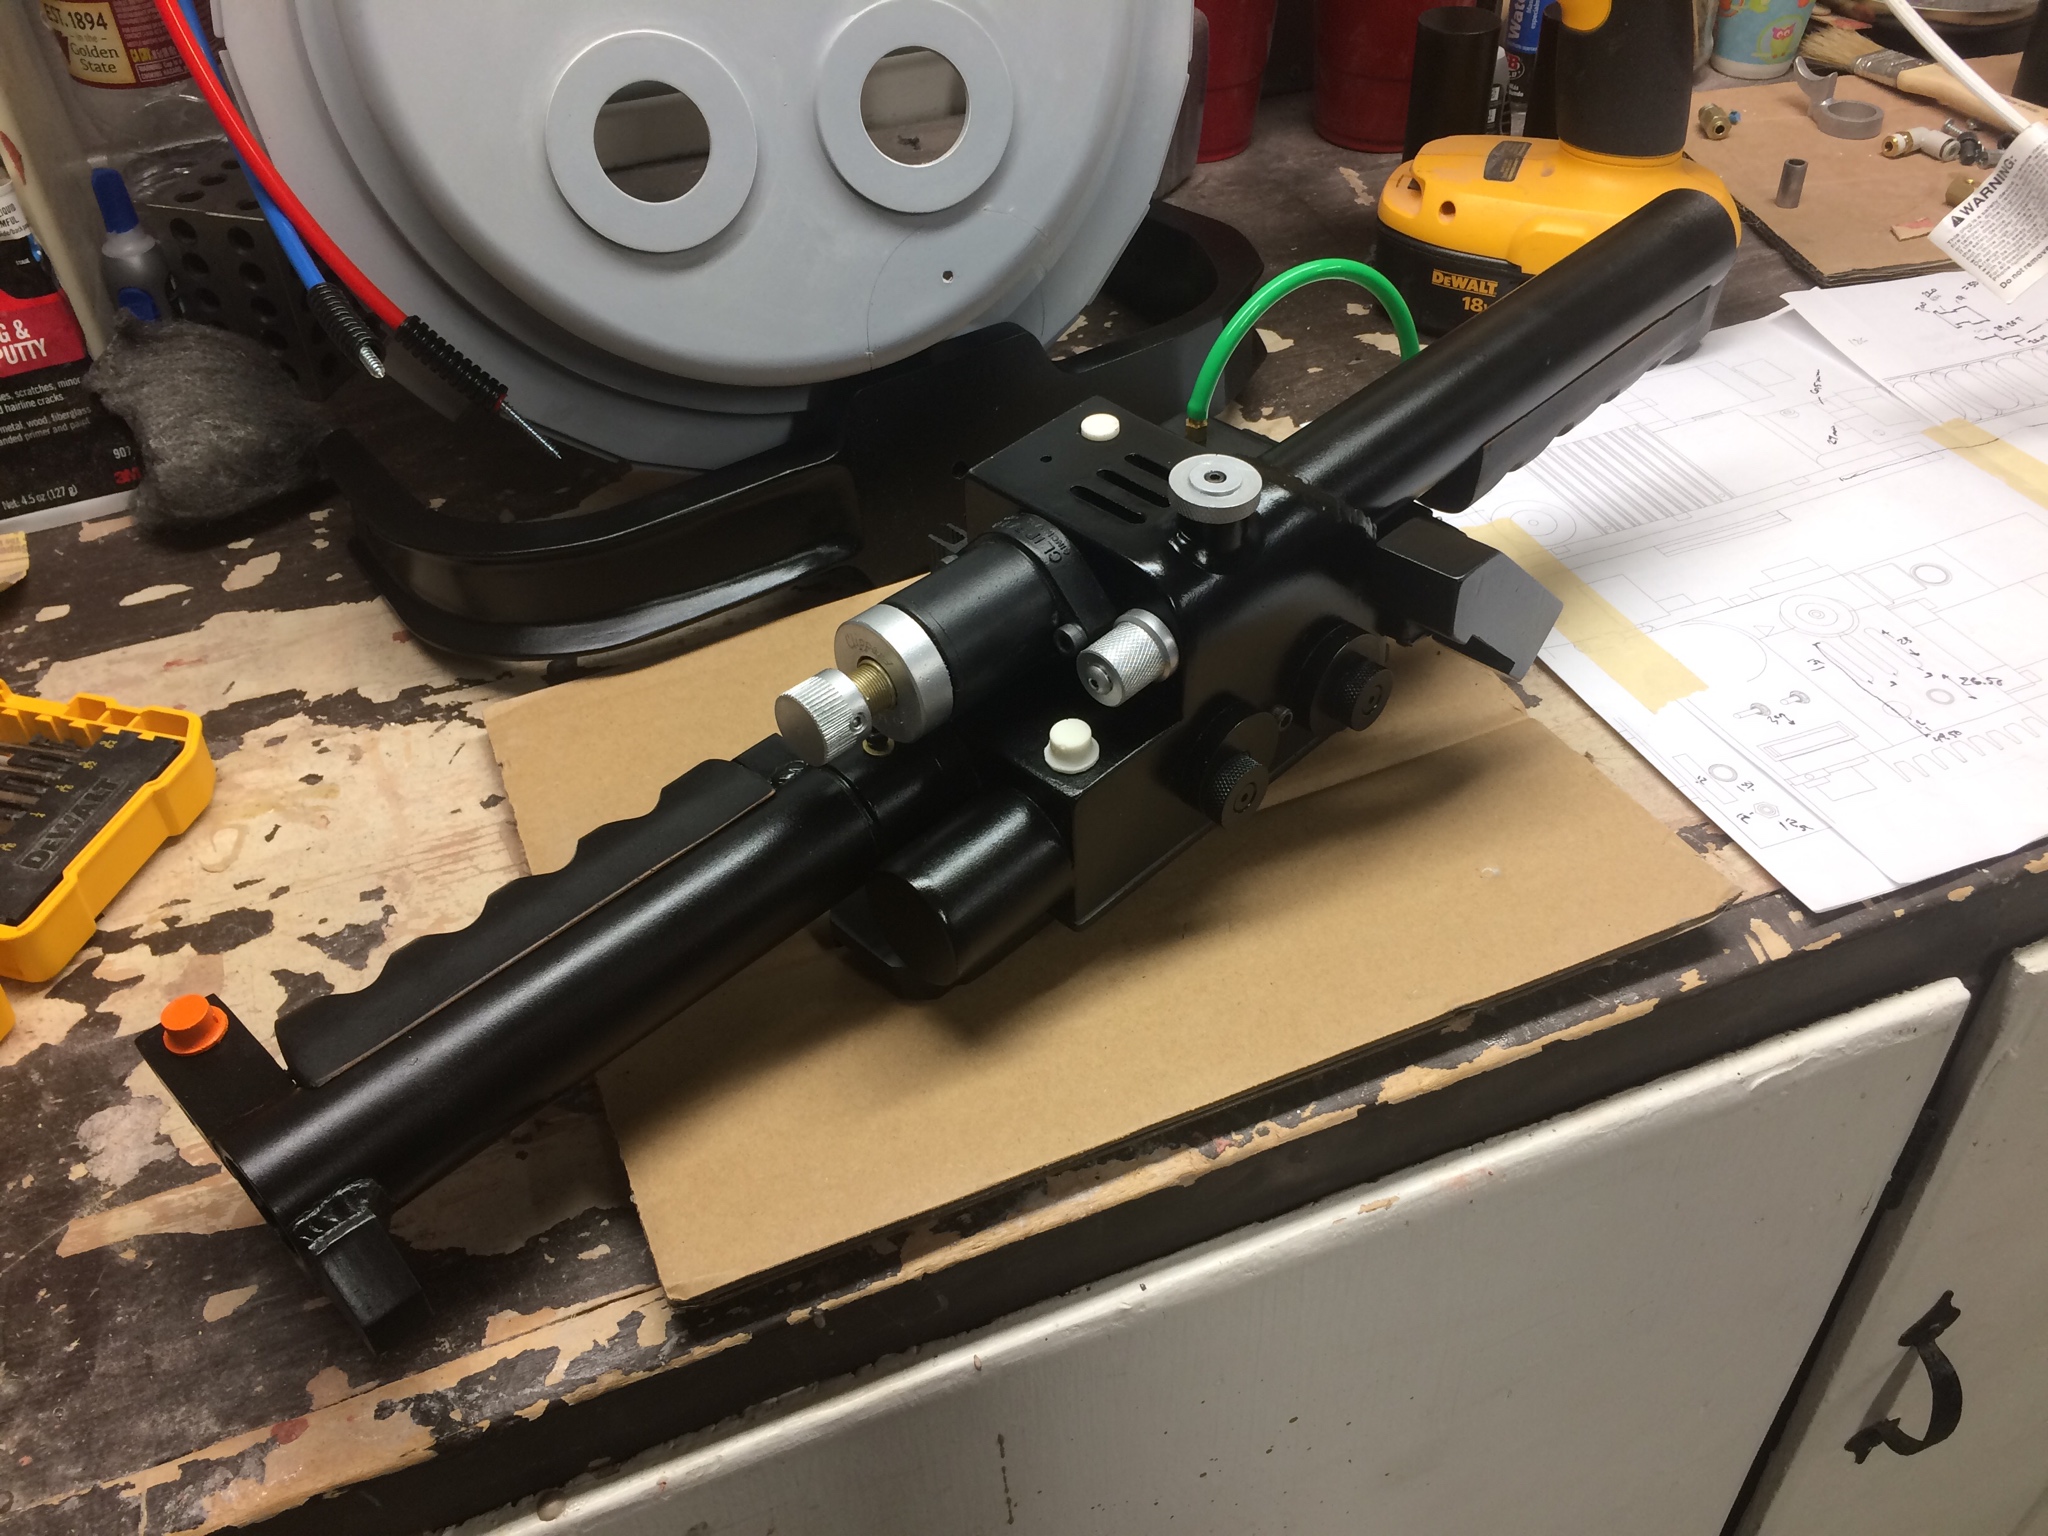
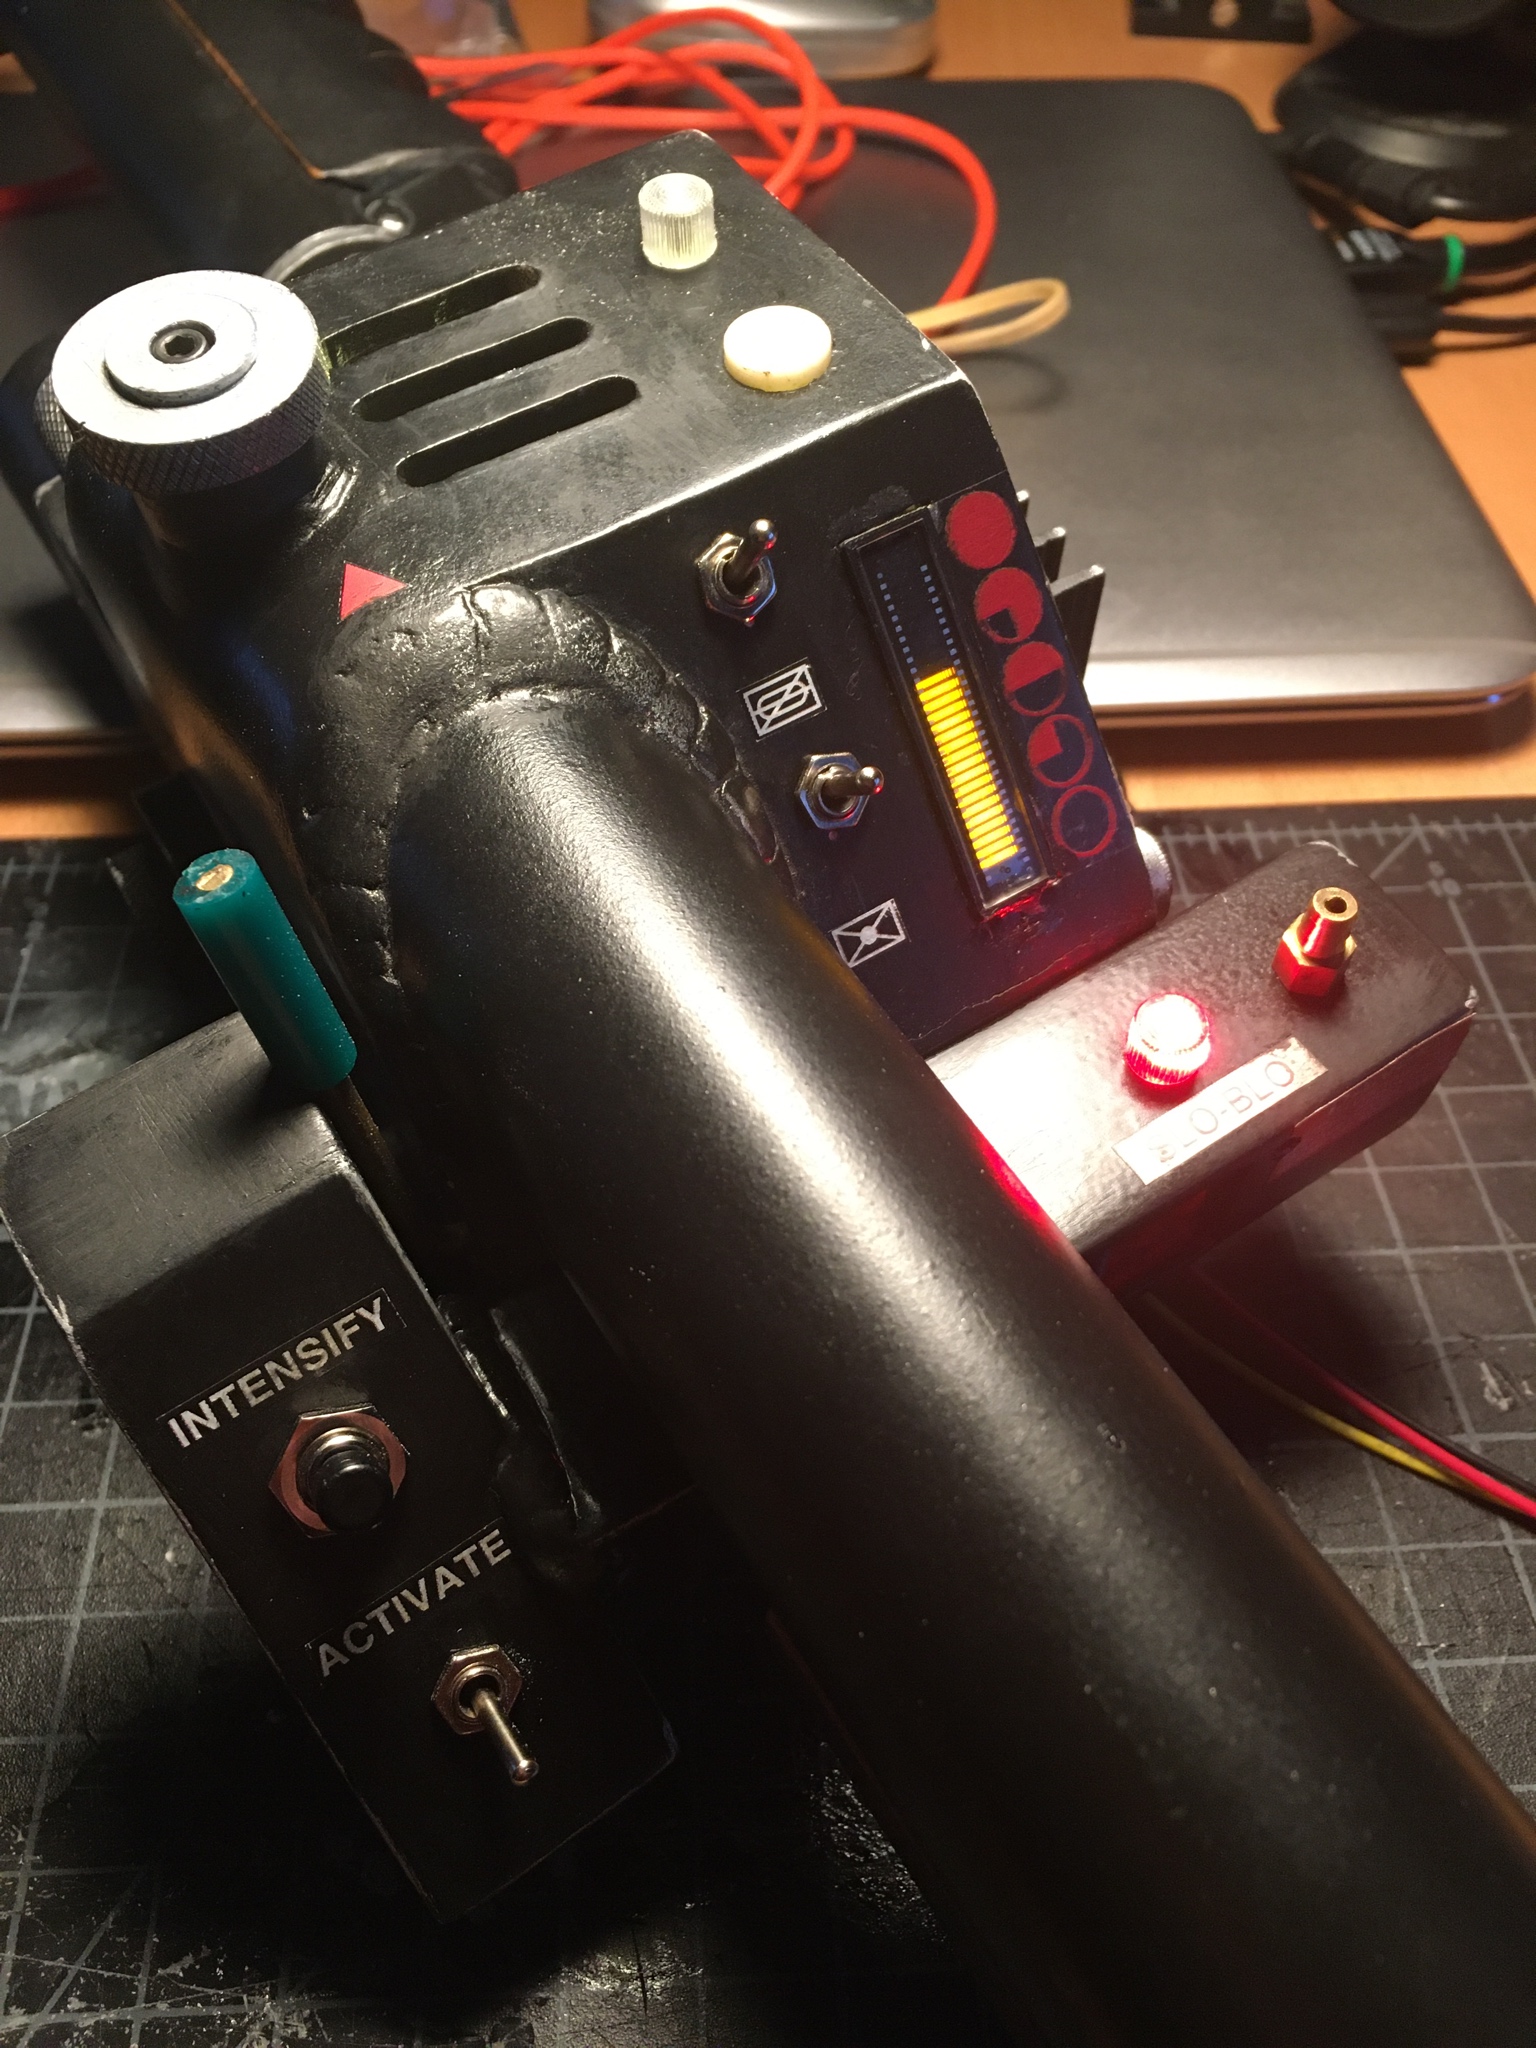
wand with a coat of black paint and greeblies added:

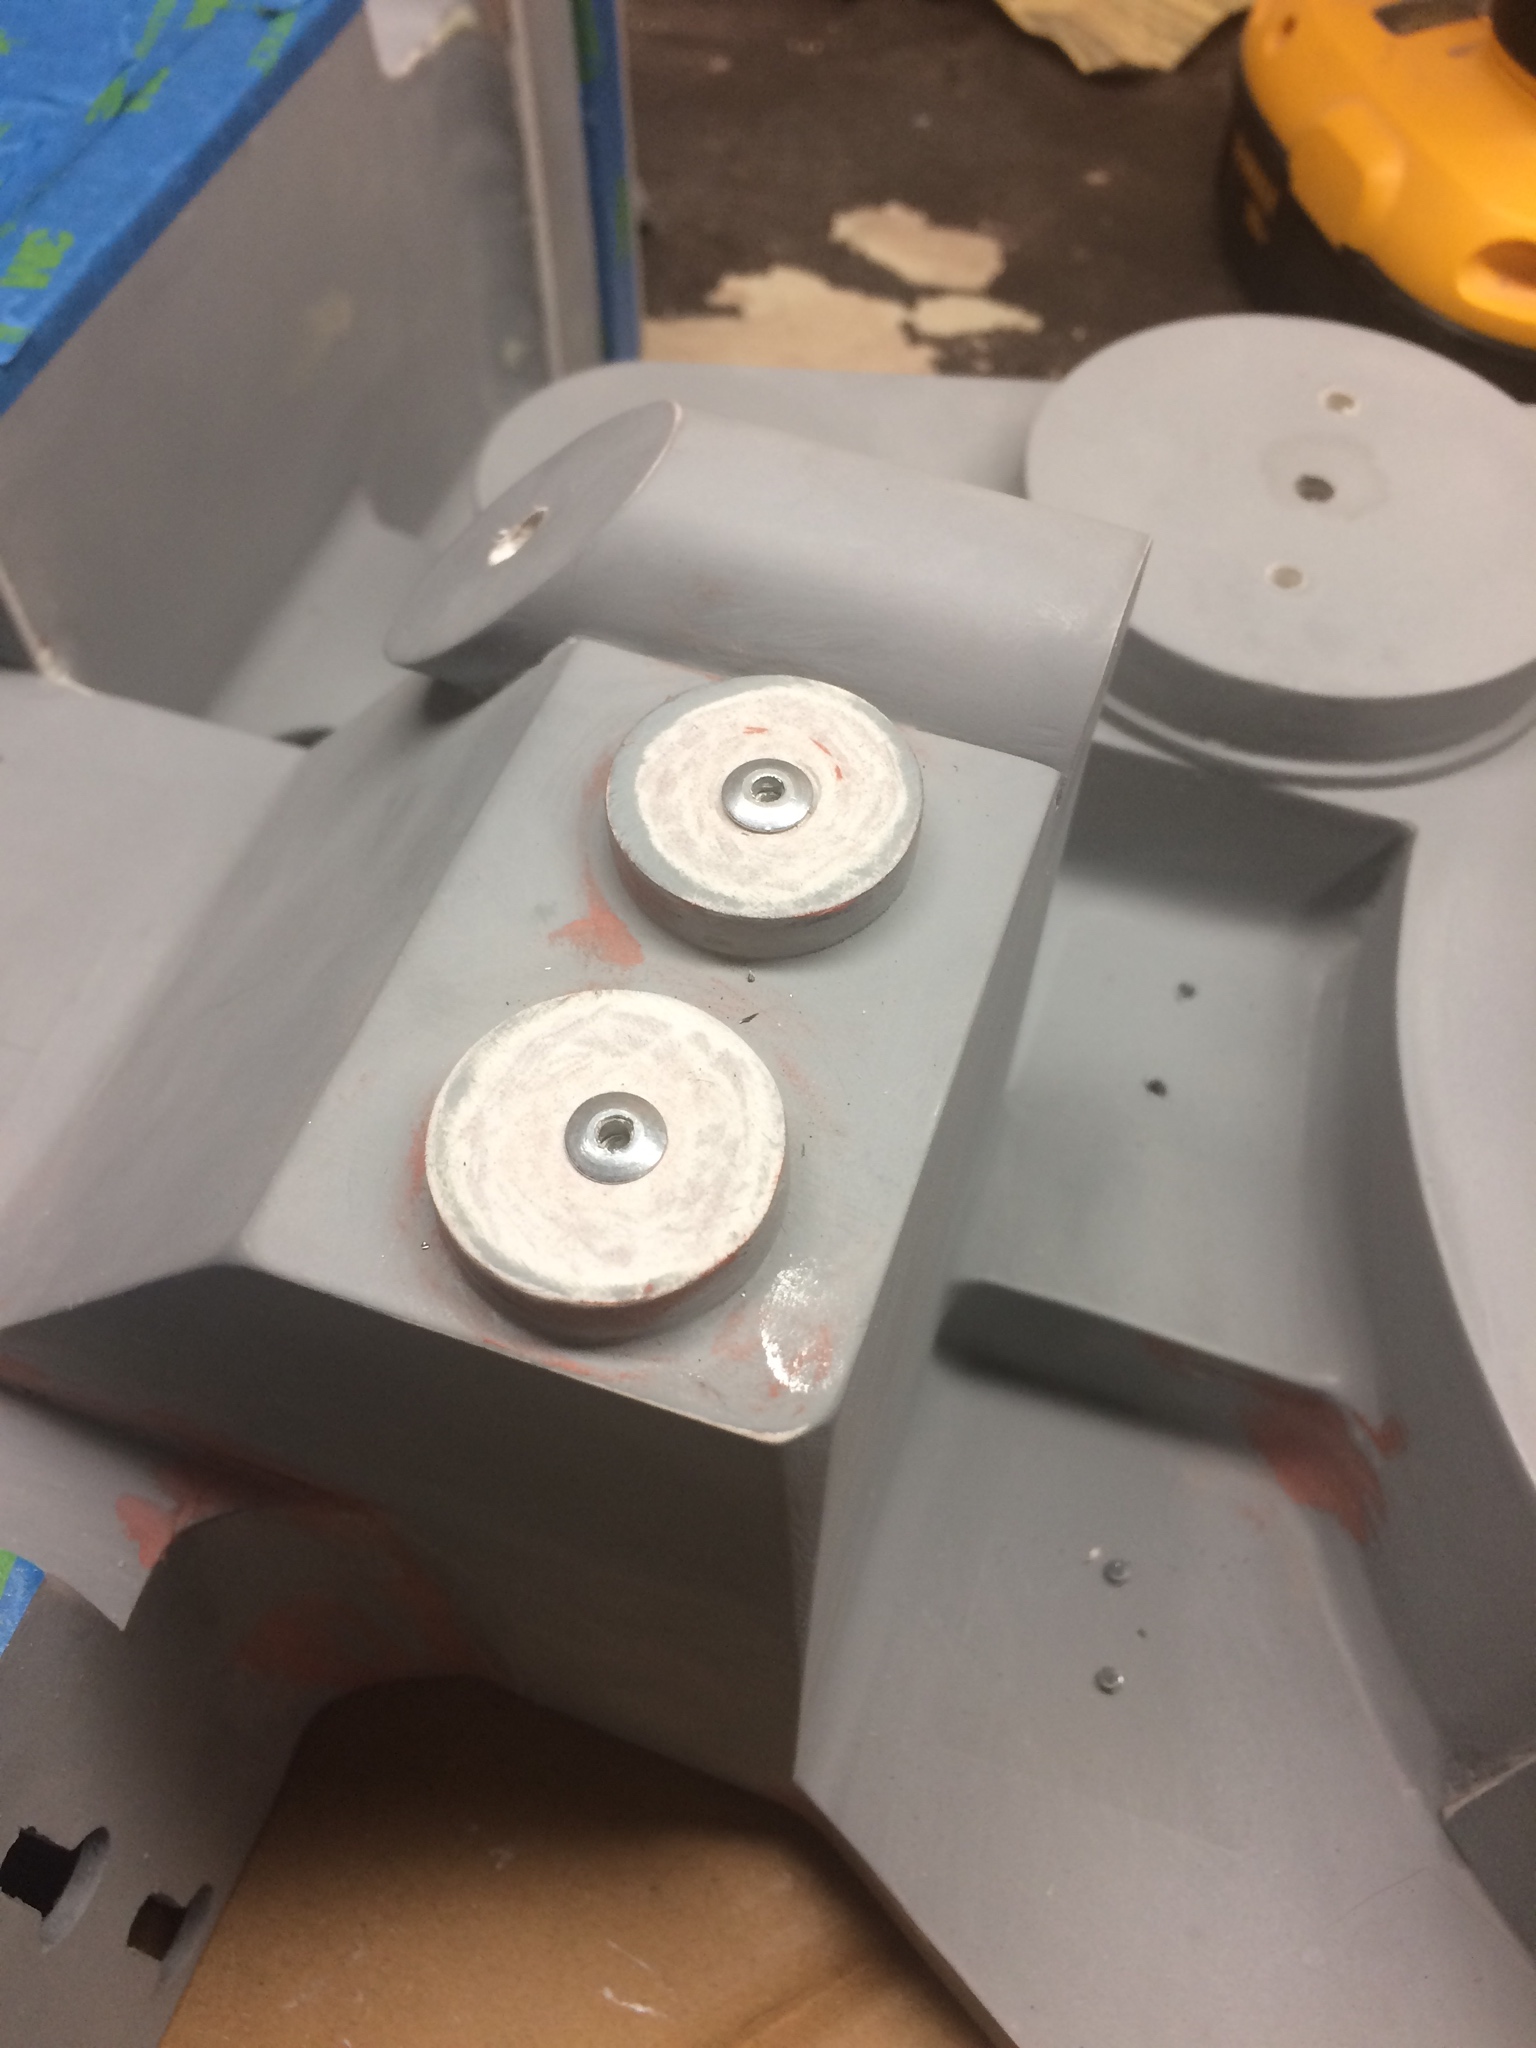
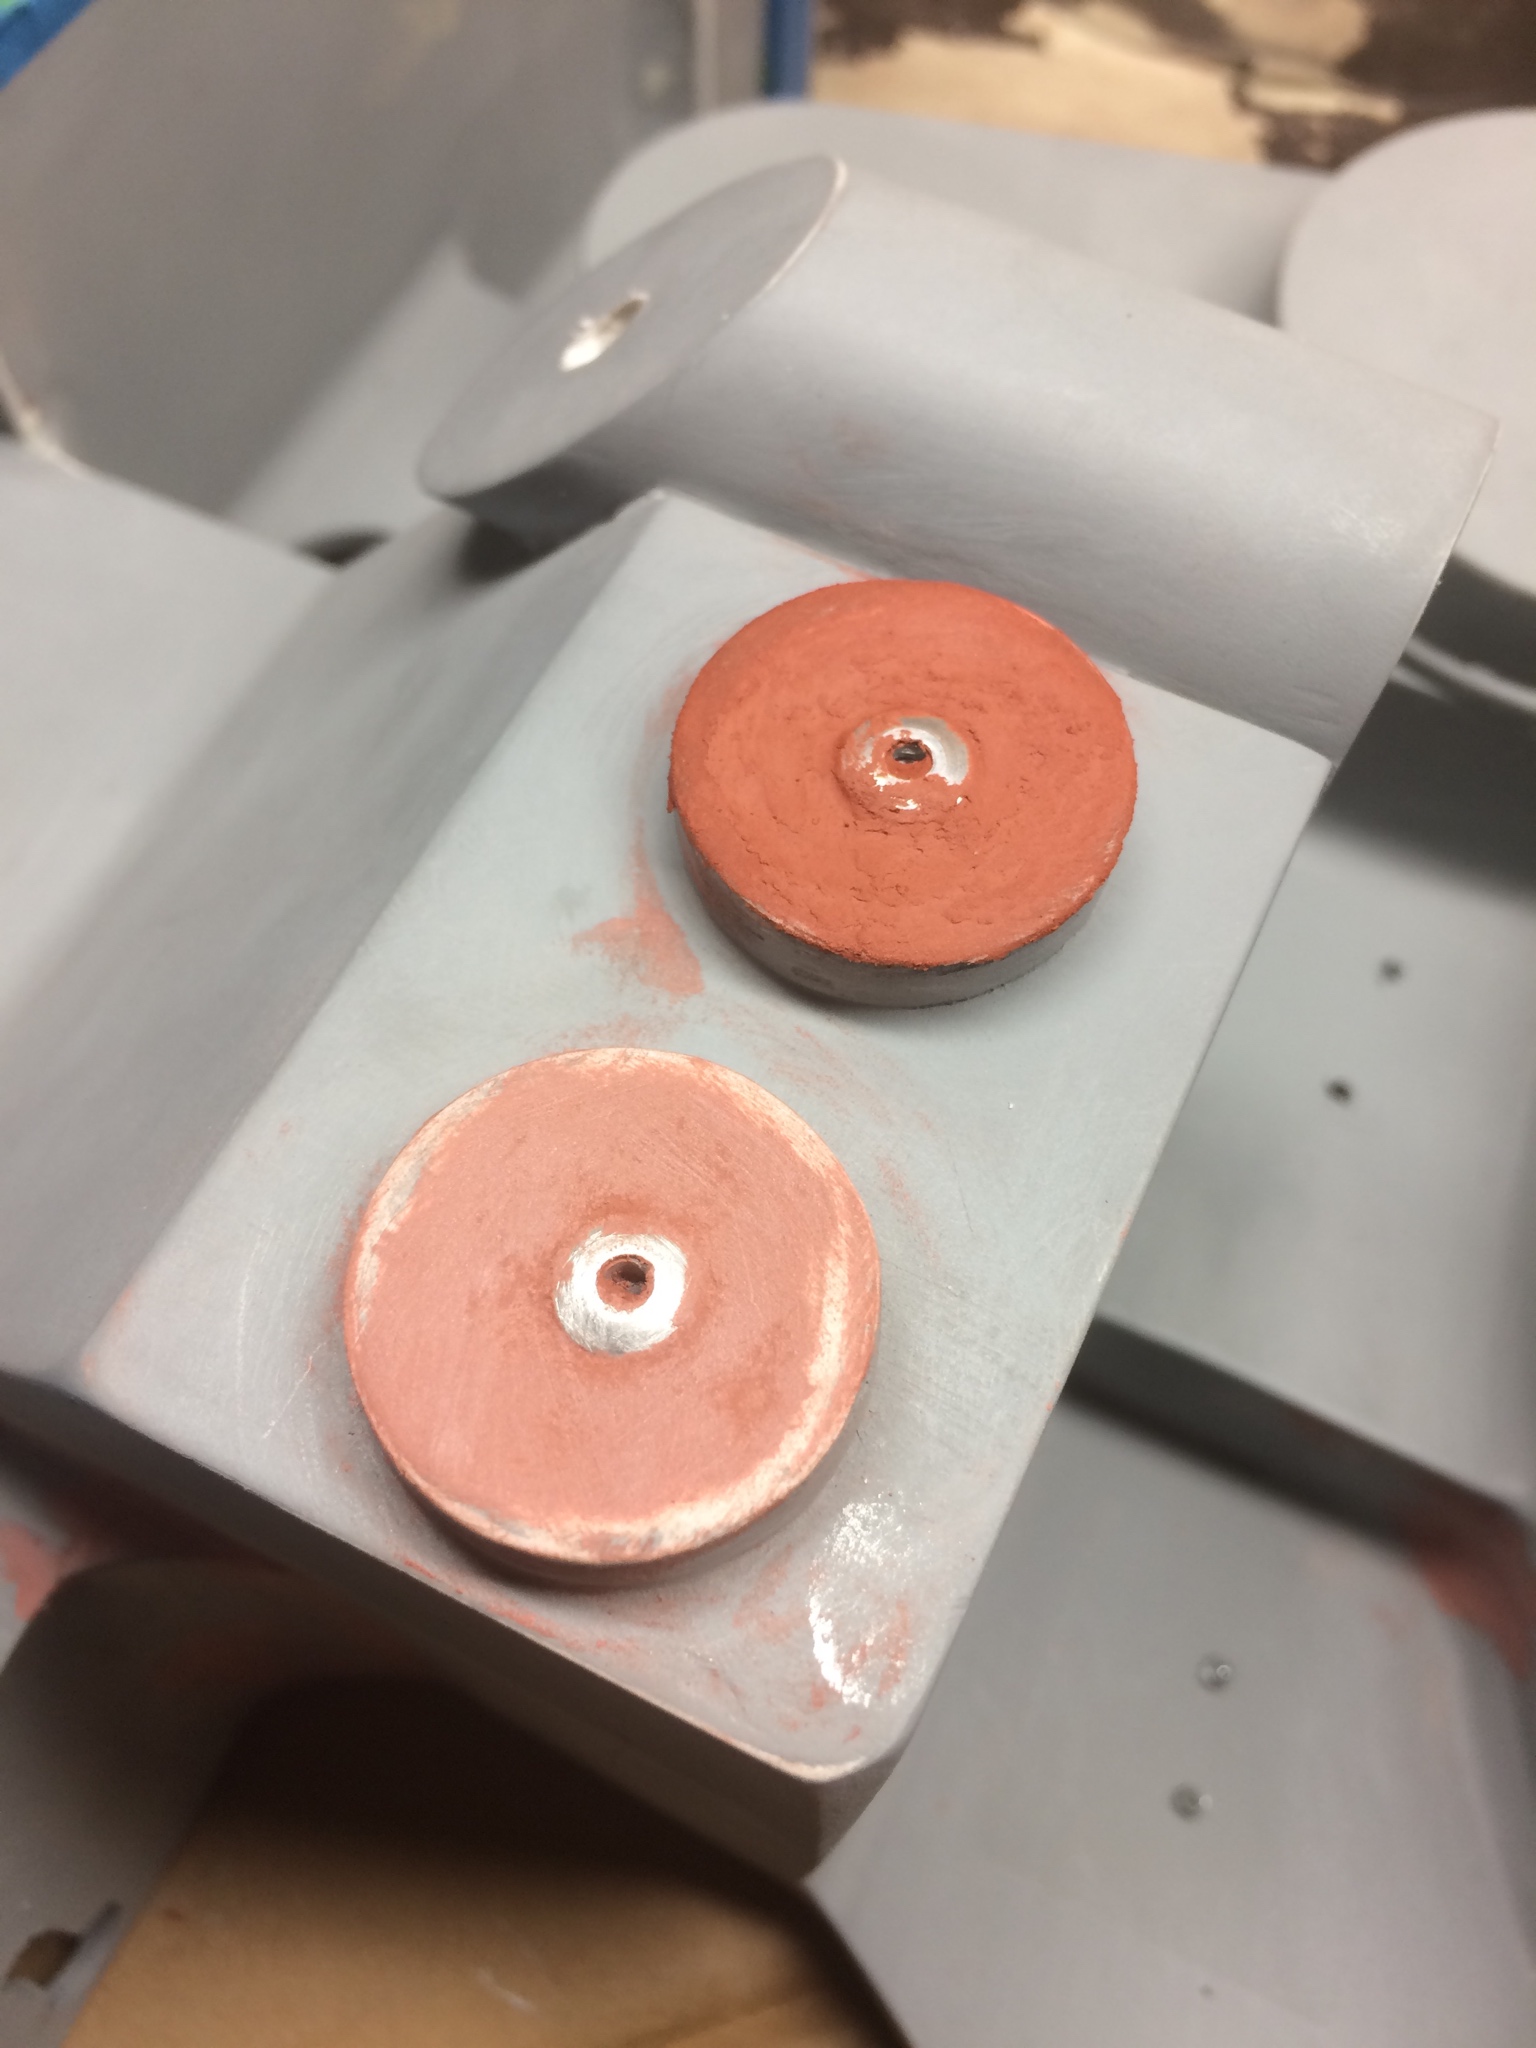
I tried to mimic the rivet on the EDA discs but ended up scraping that idea and just added real rivets in.

little bit of glazing putty on top

Here she is all painted up:

Didn’t get as much texture as I was hoping for but I can live with it:

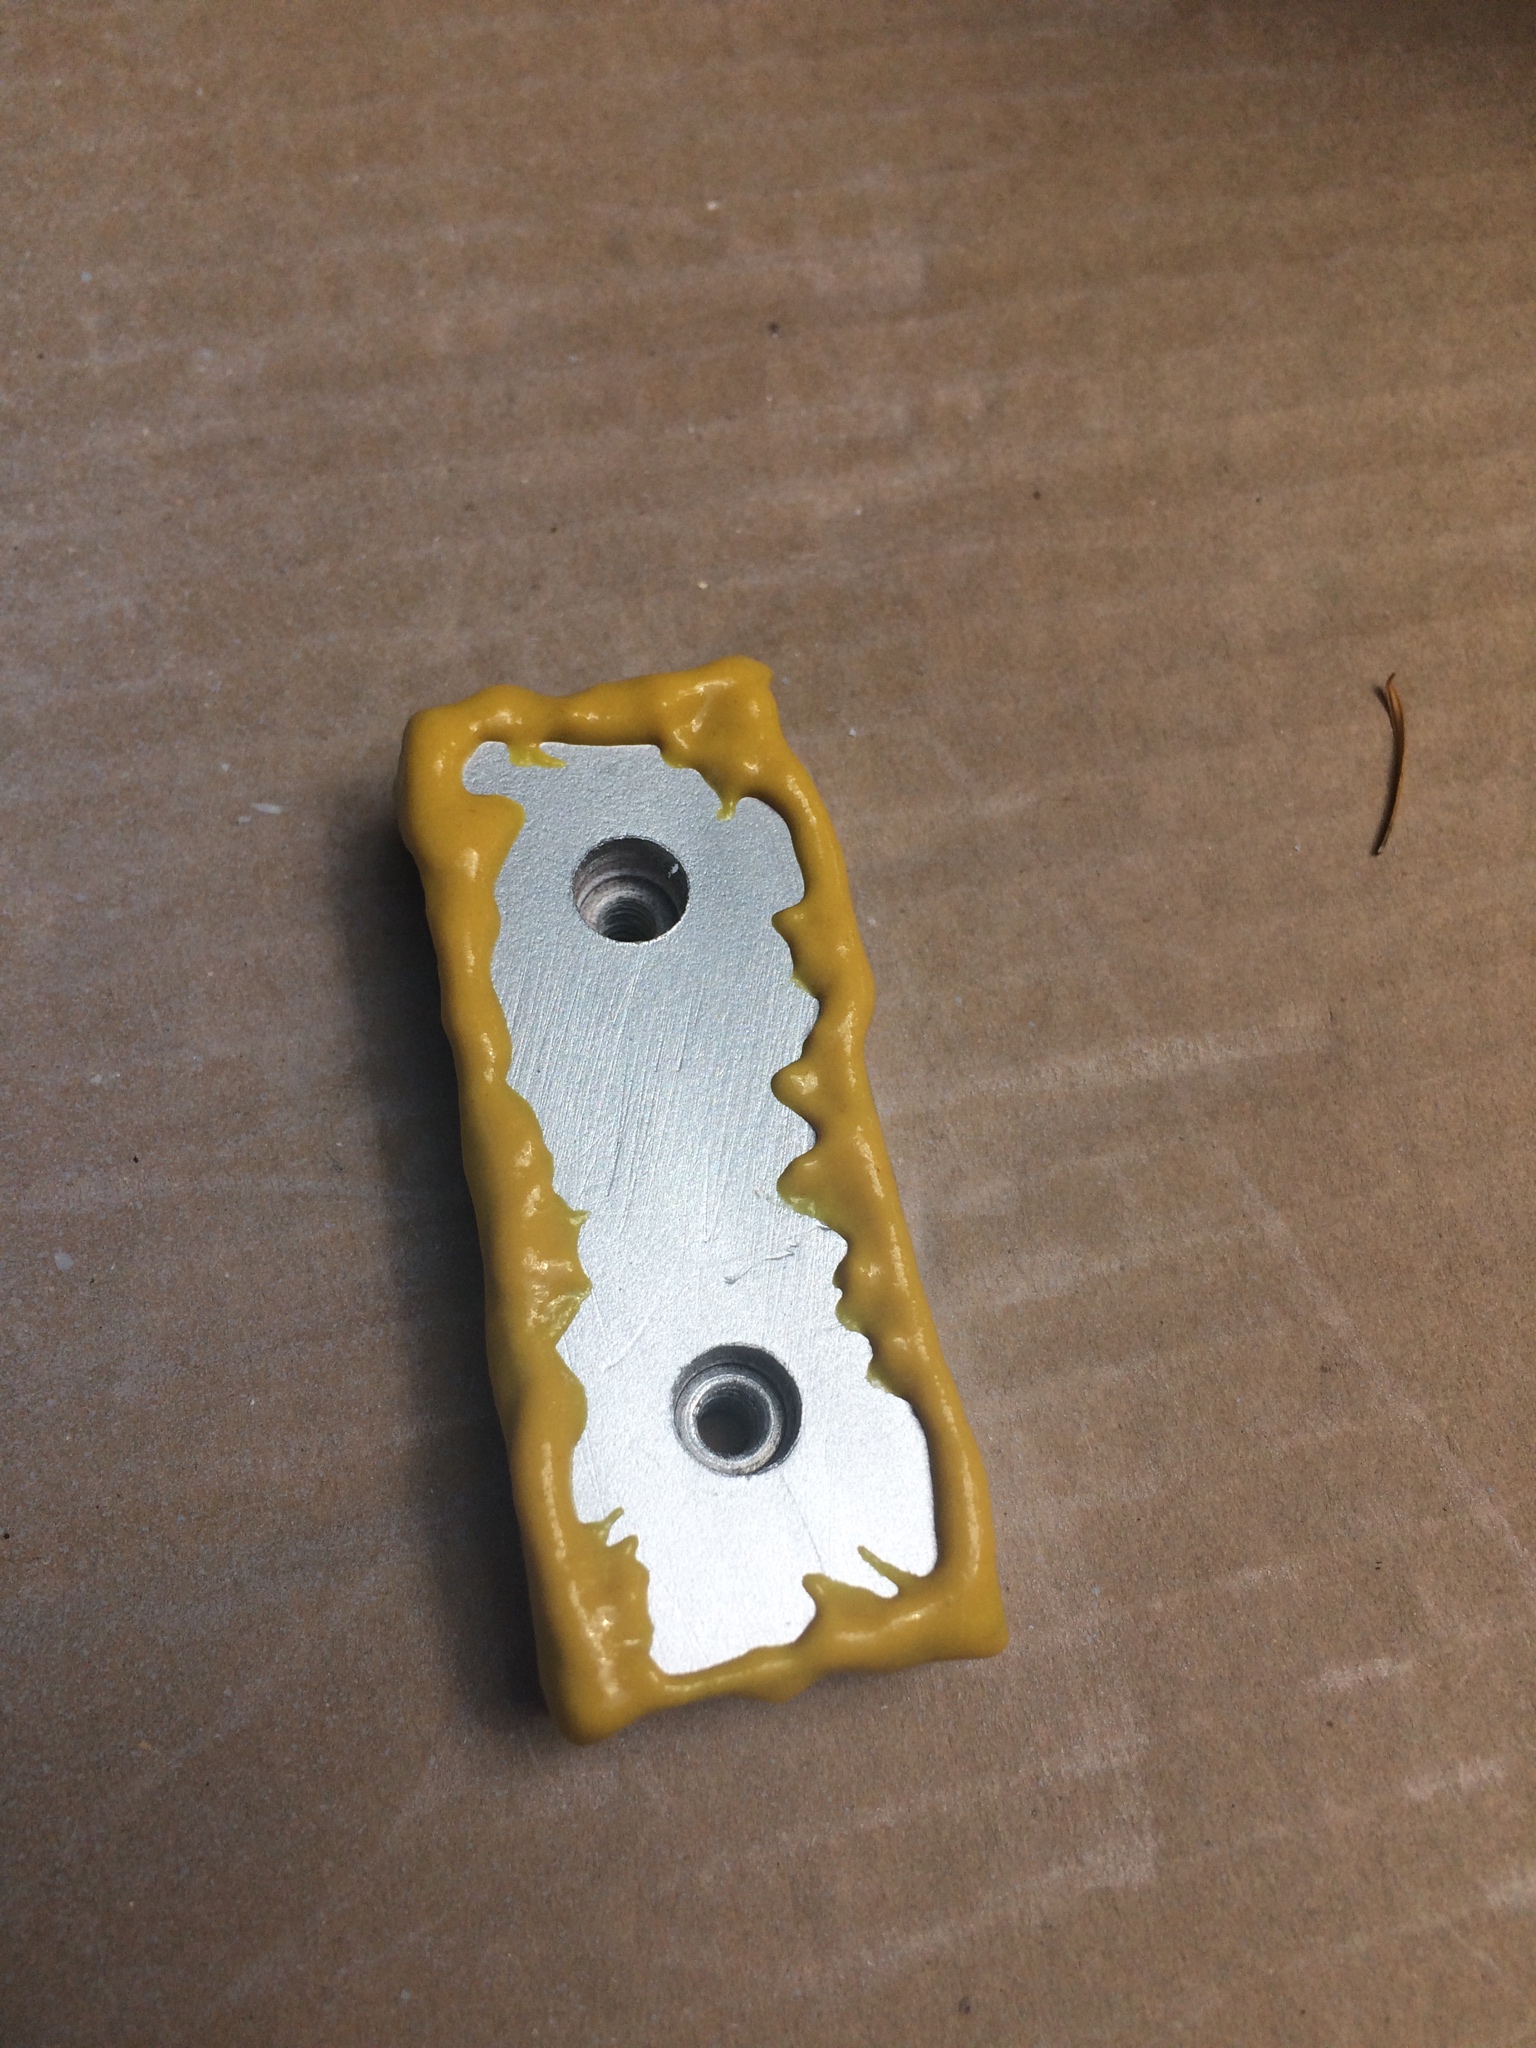
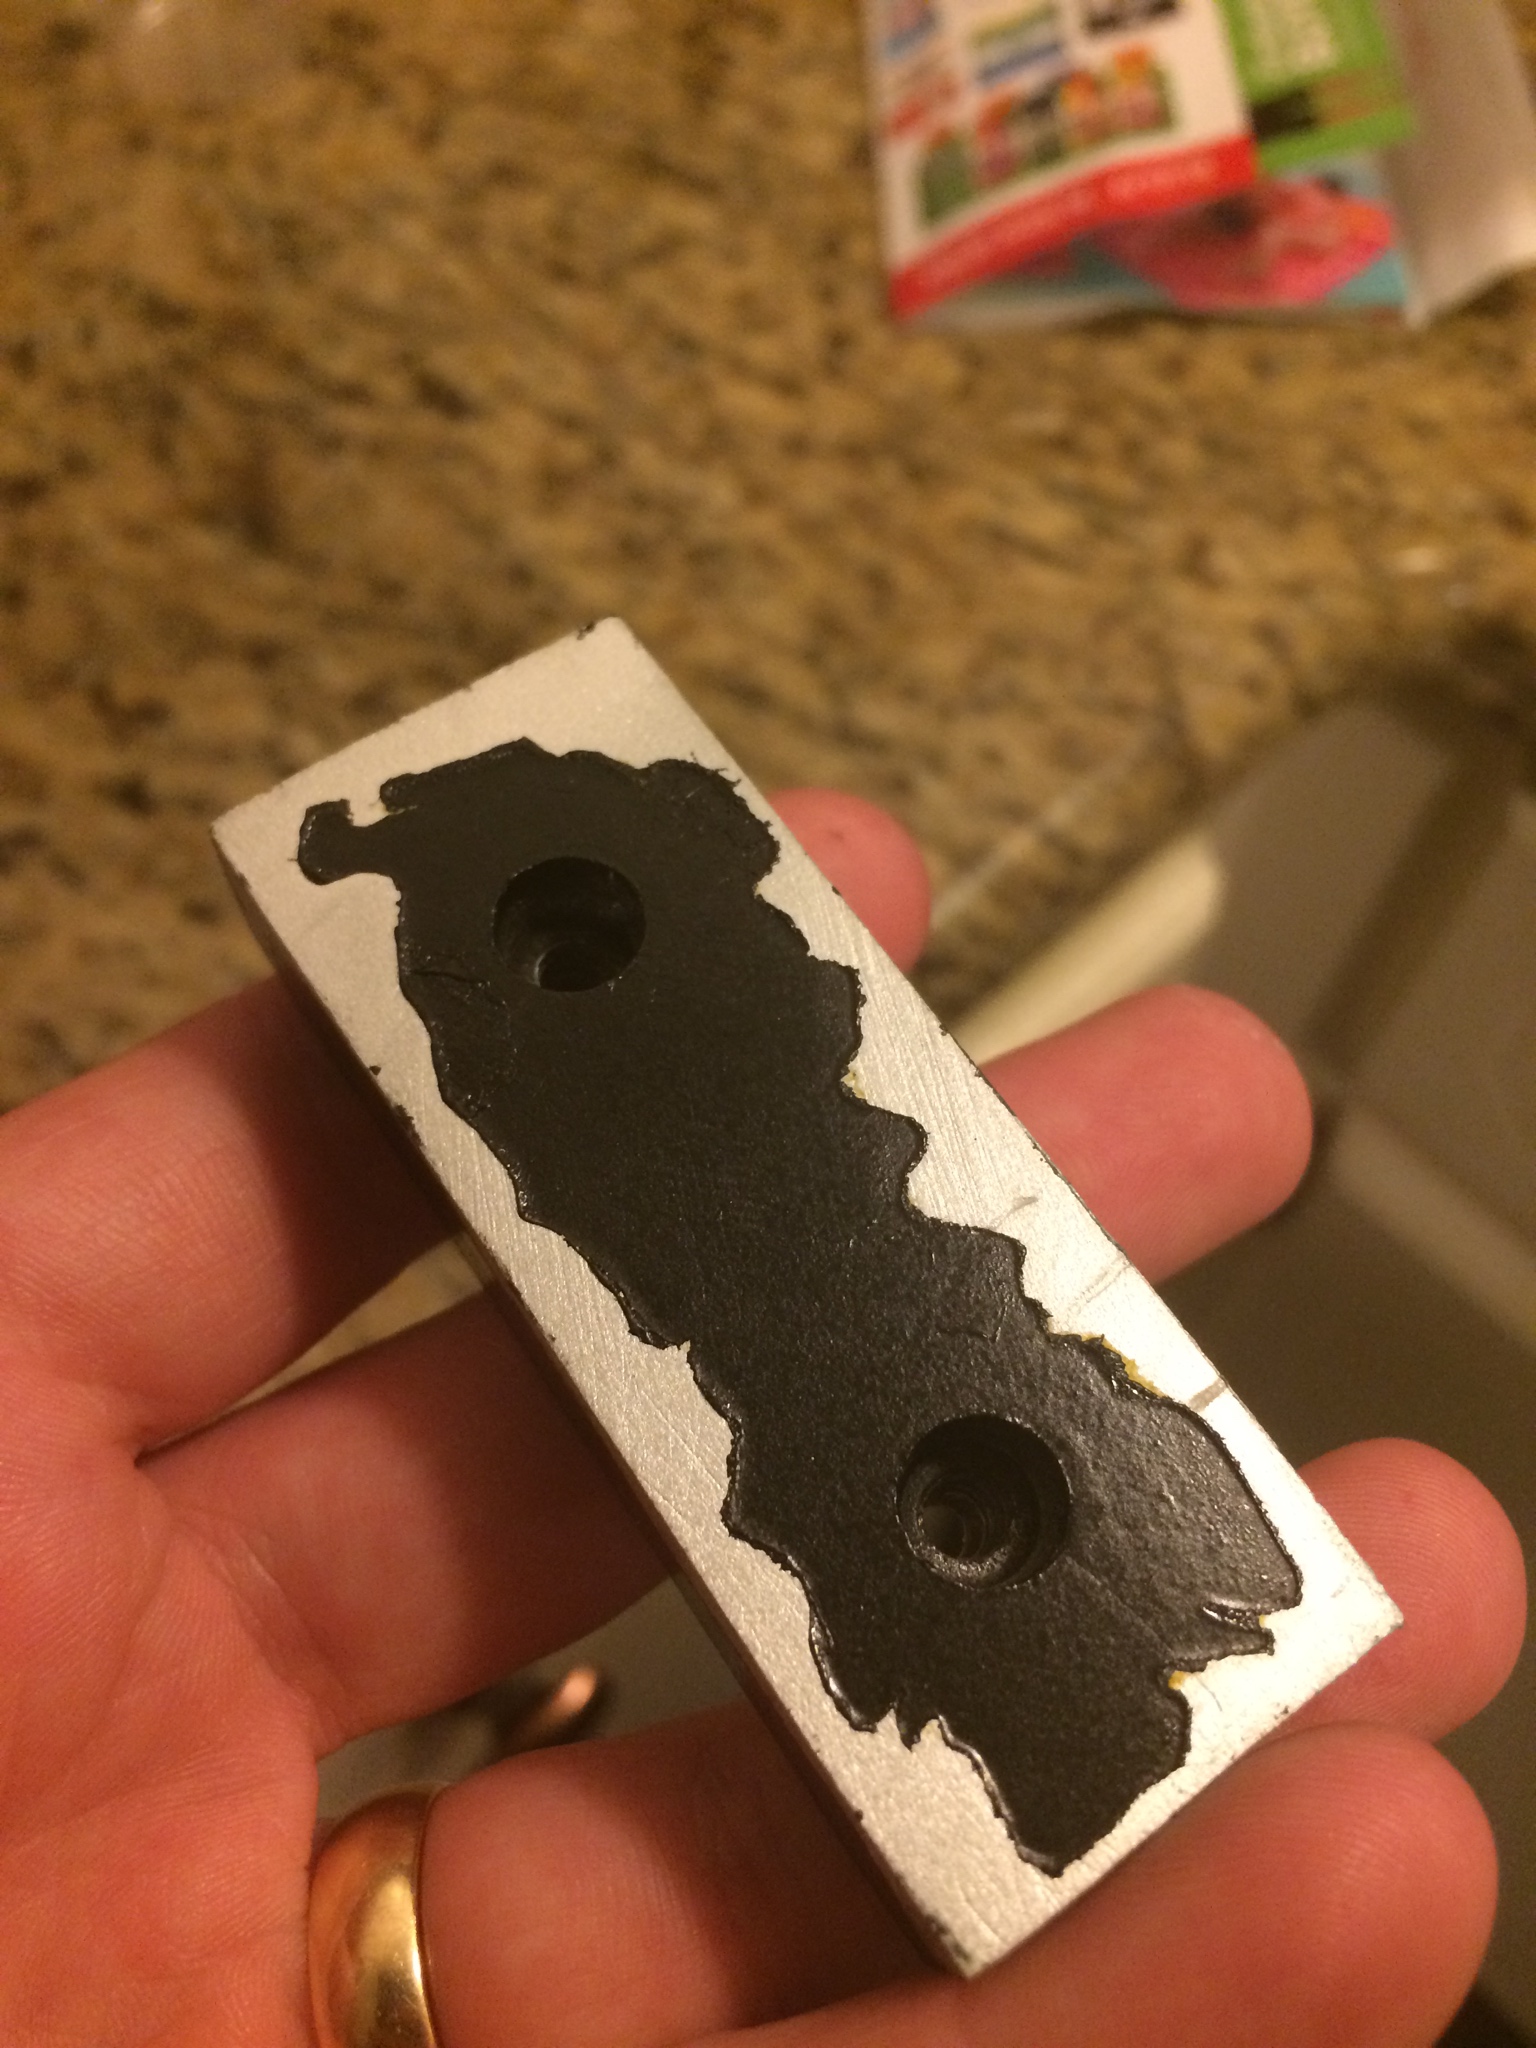
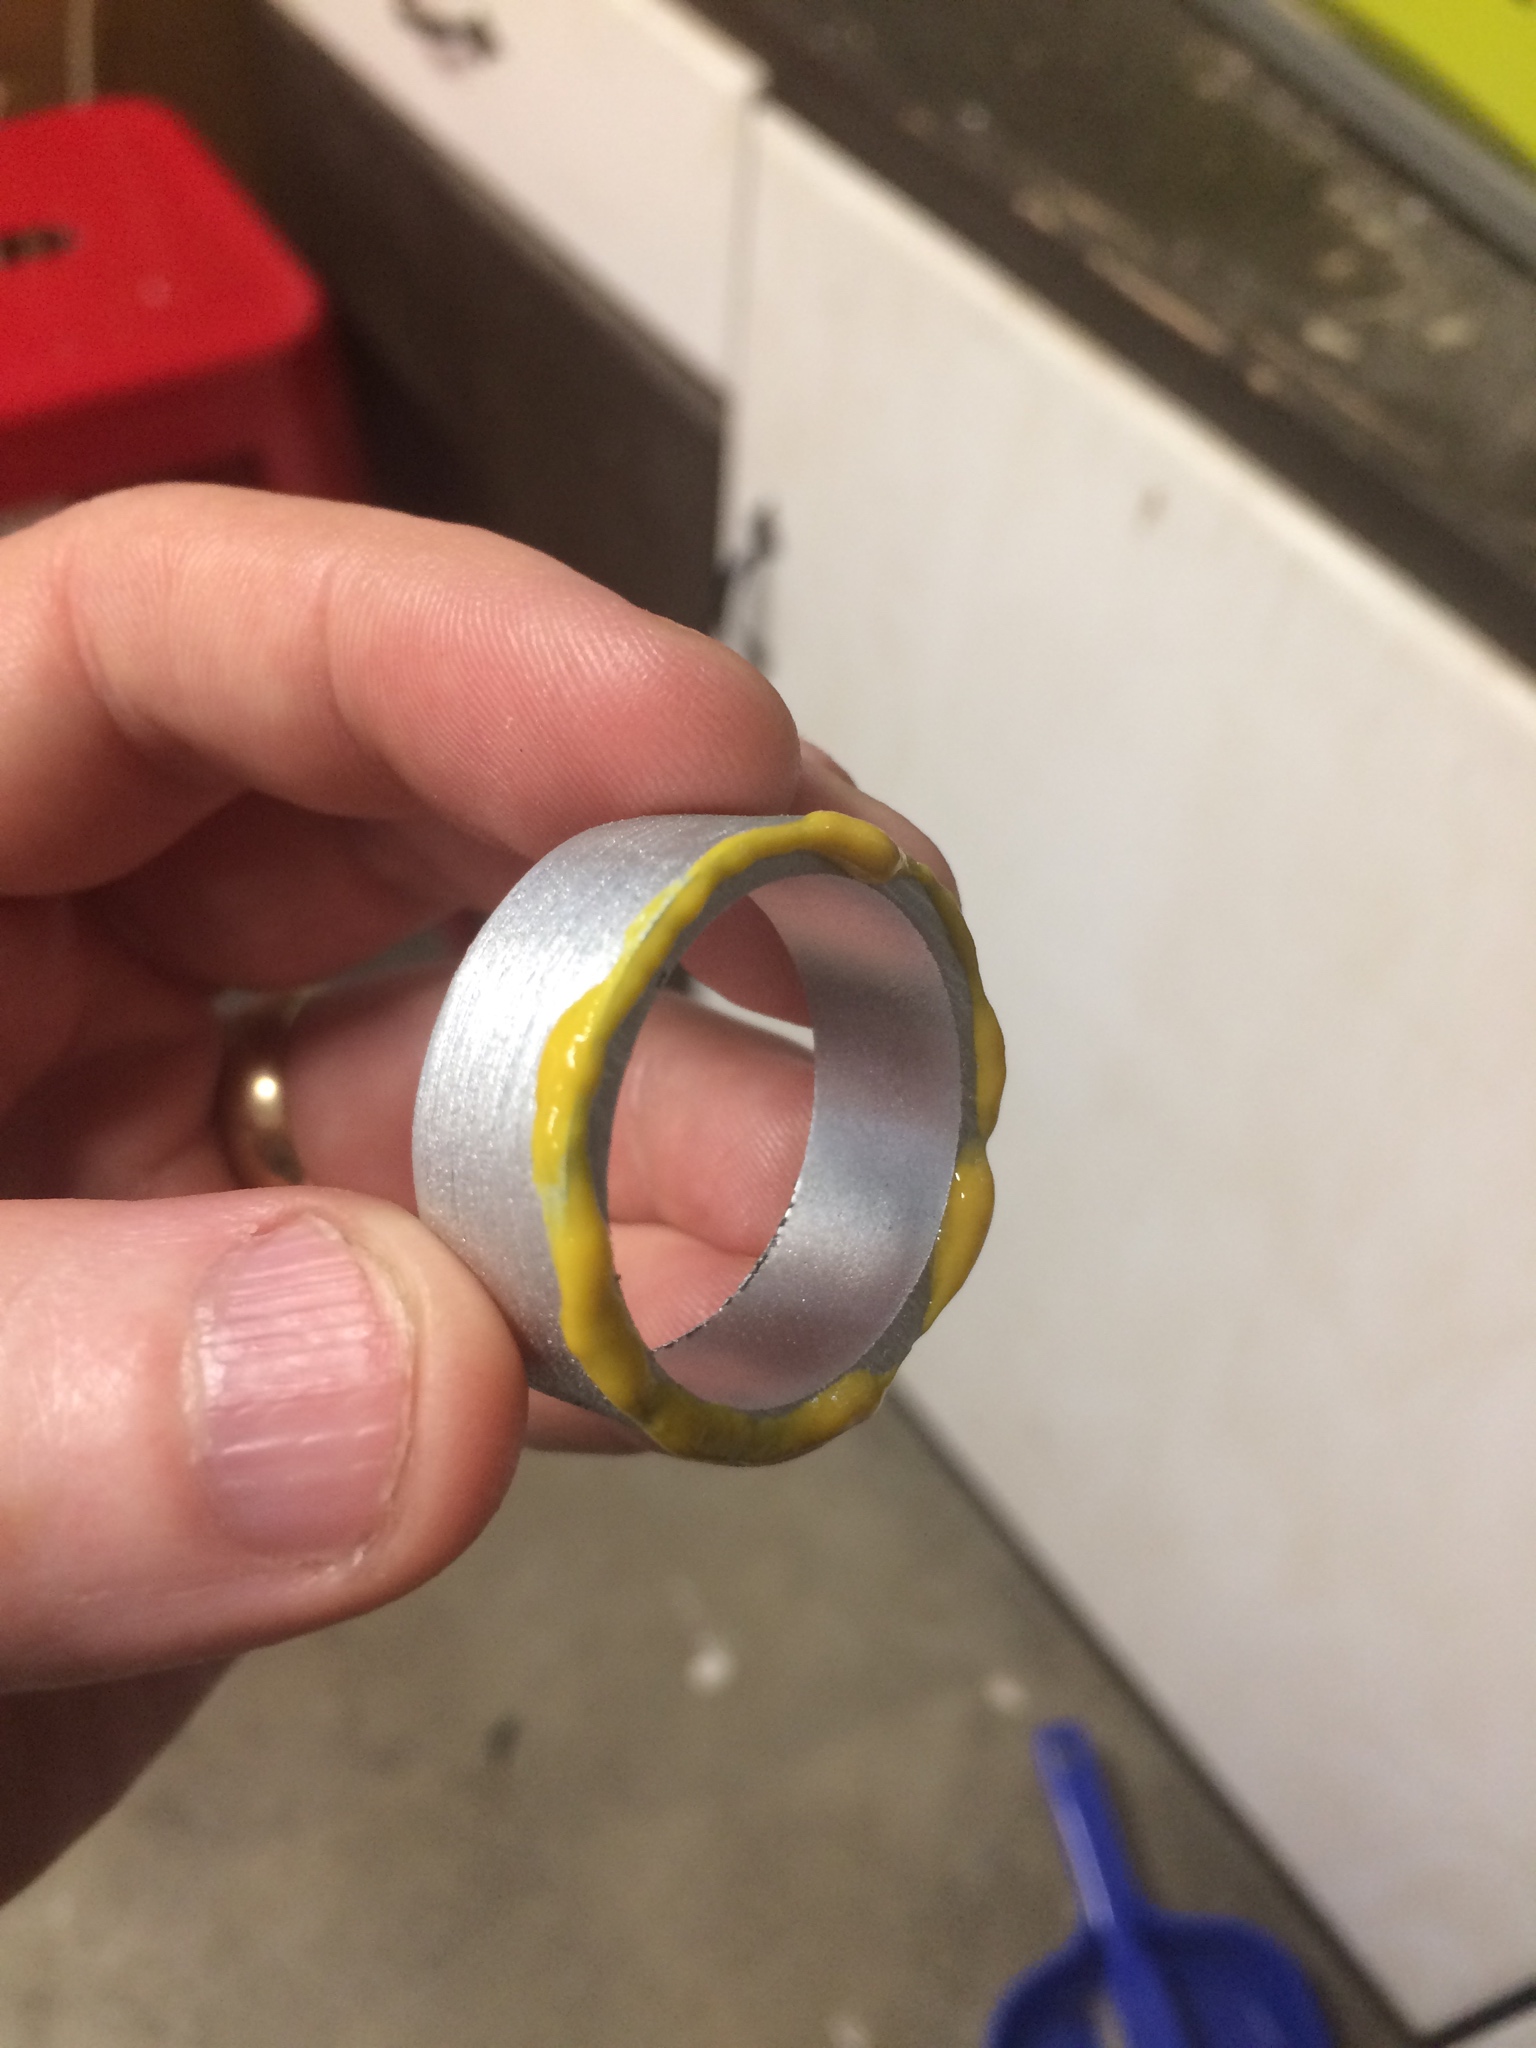
Added some mustard to the edge of the ion arm as a masking agent

worked out alright I think

close up of some added dirt/weathering on the wand

more masking mustard - this tip piece I created by sanding a few mm off the outside of the pipe until I thought it had the correct size difference between it and the front wand pipe. Then I just glued them together

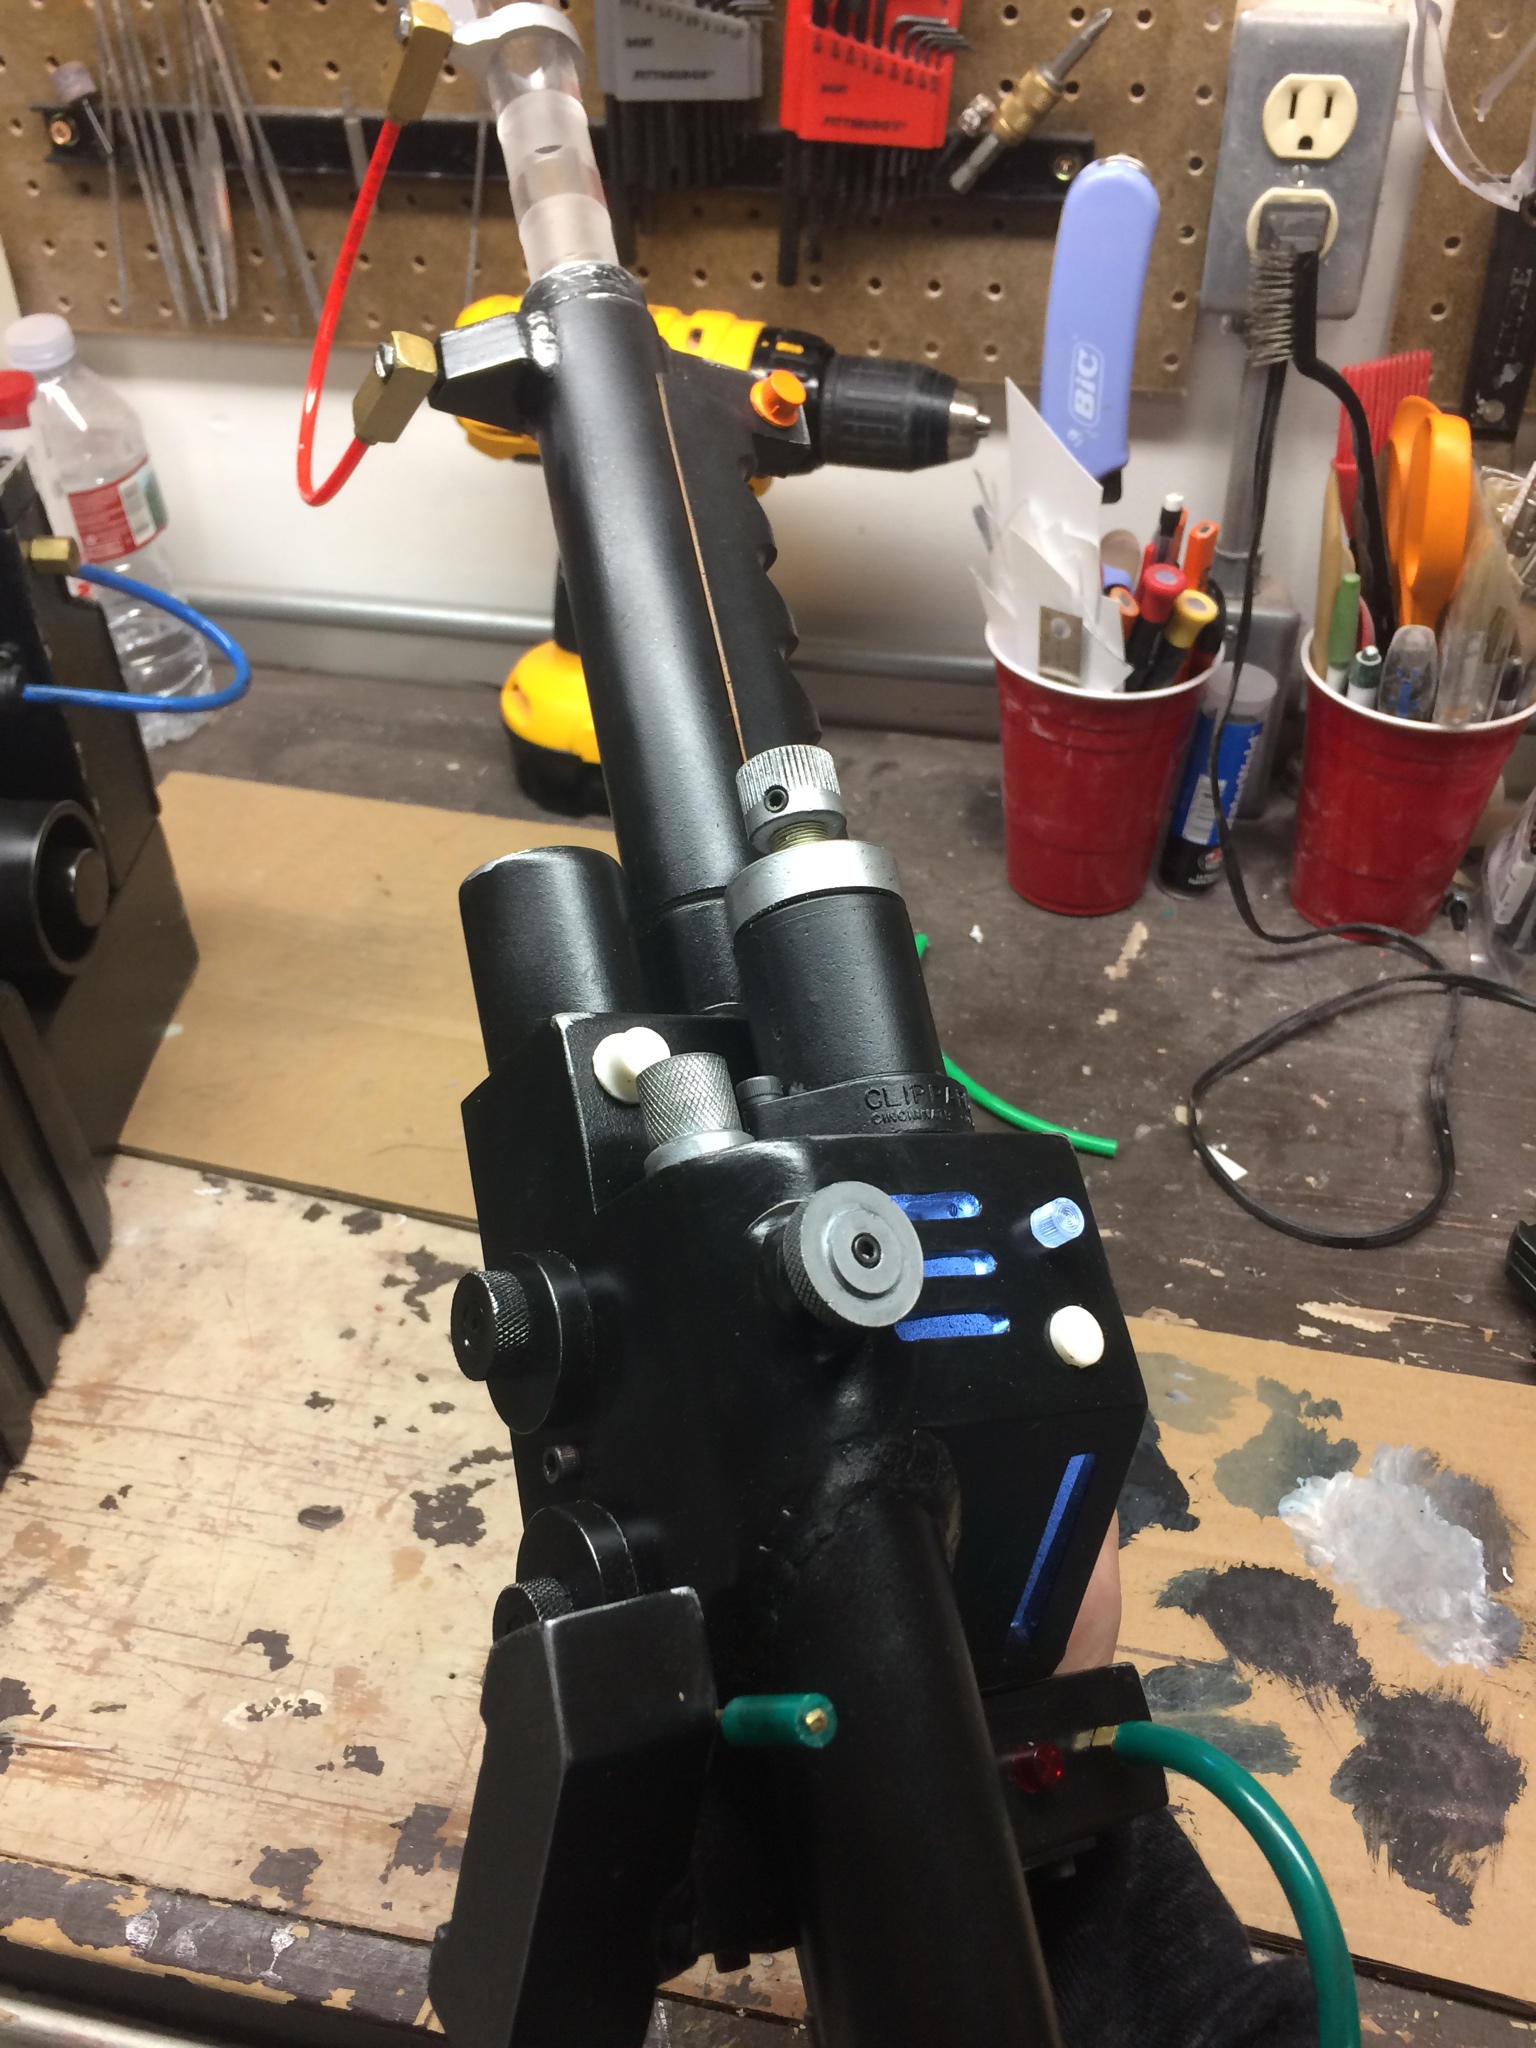
Here’s the wand with a flashlight inside - boy I cant wait to add lights to this thing!

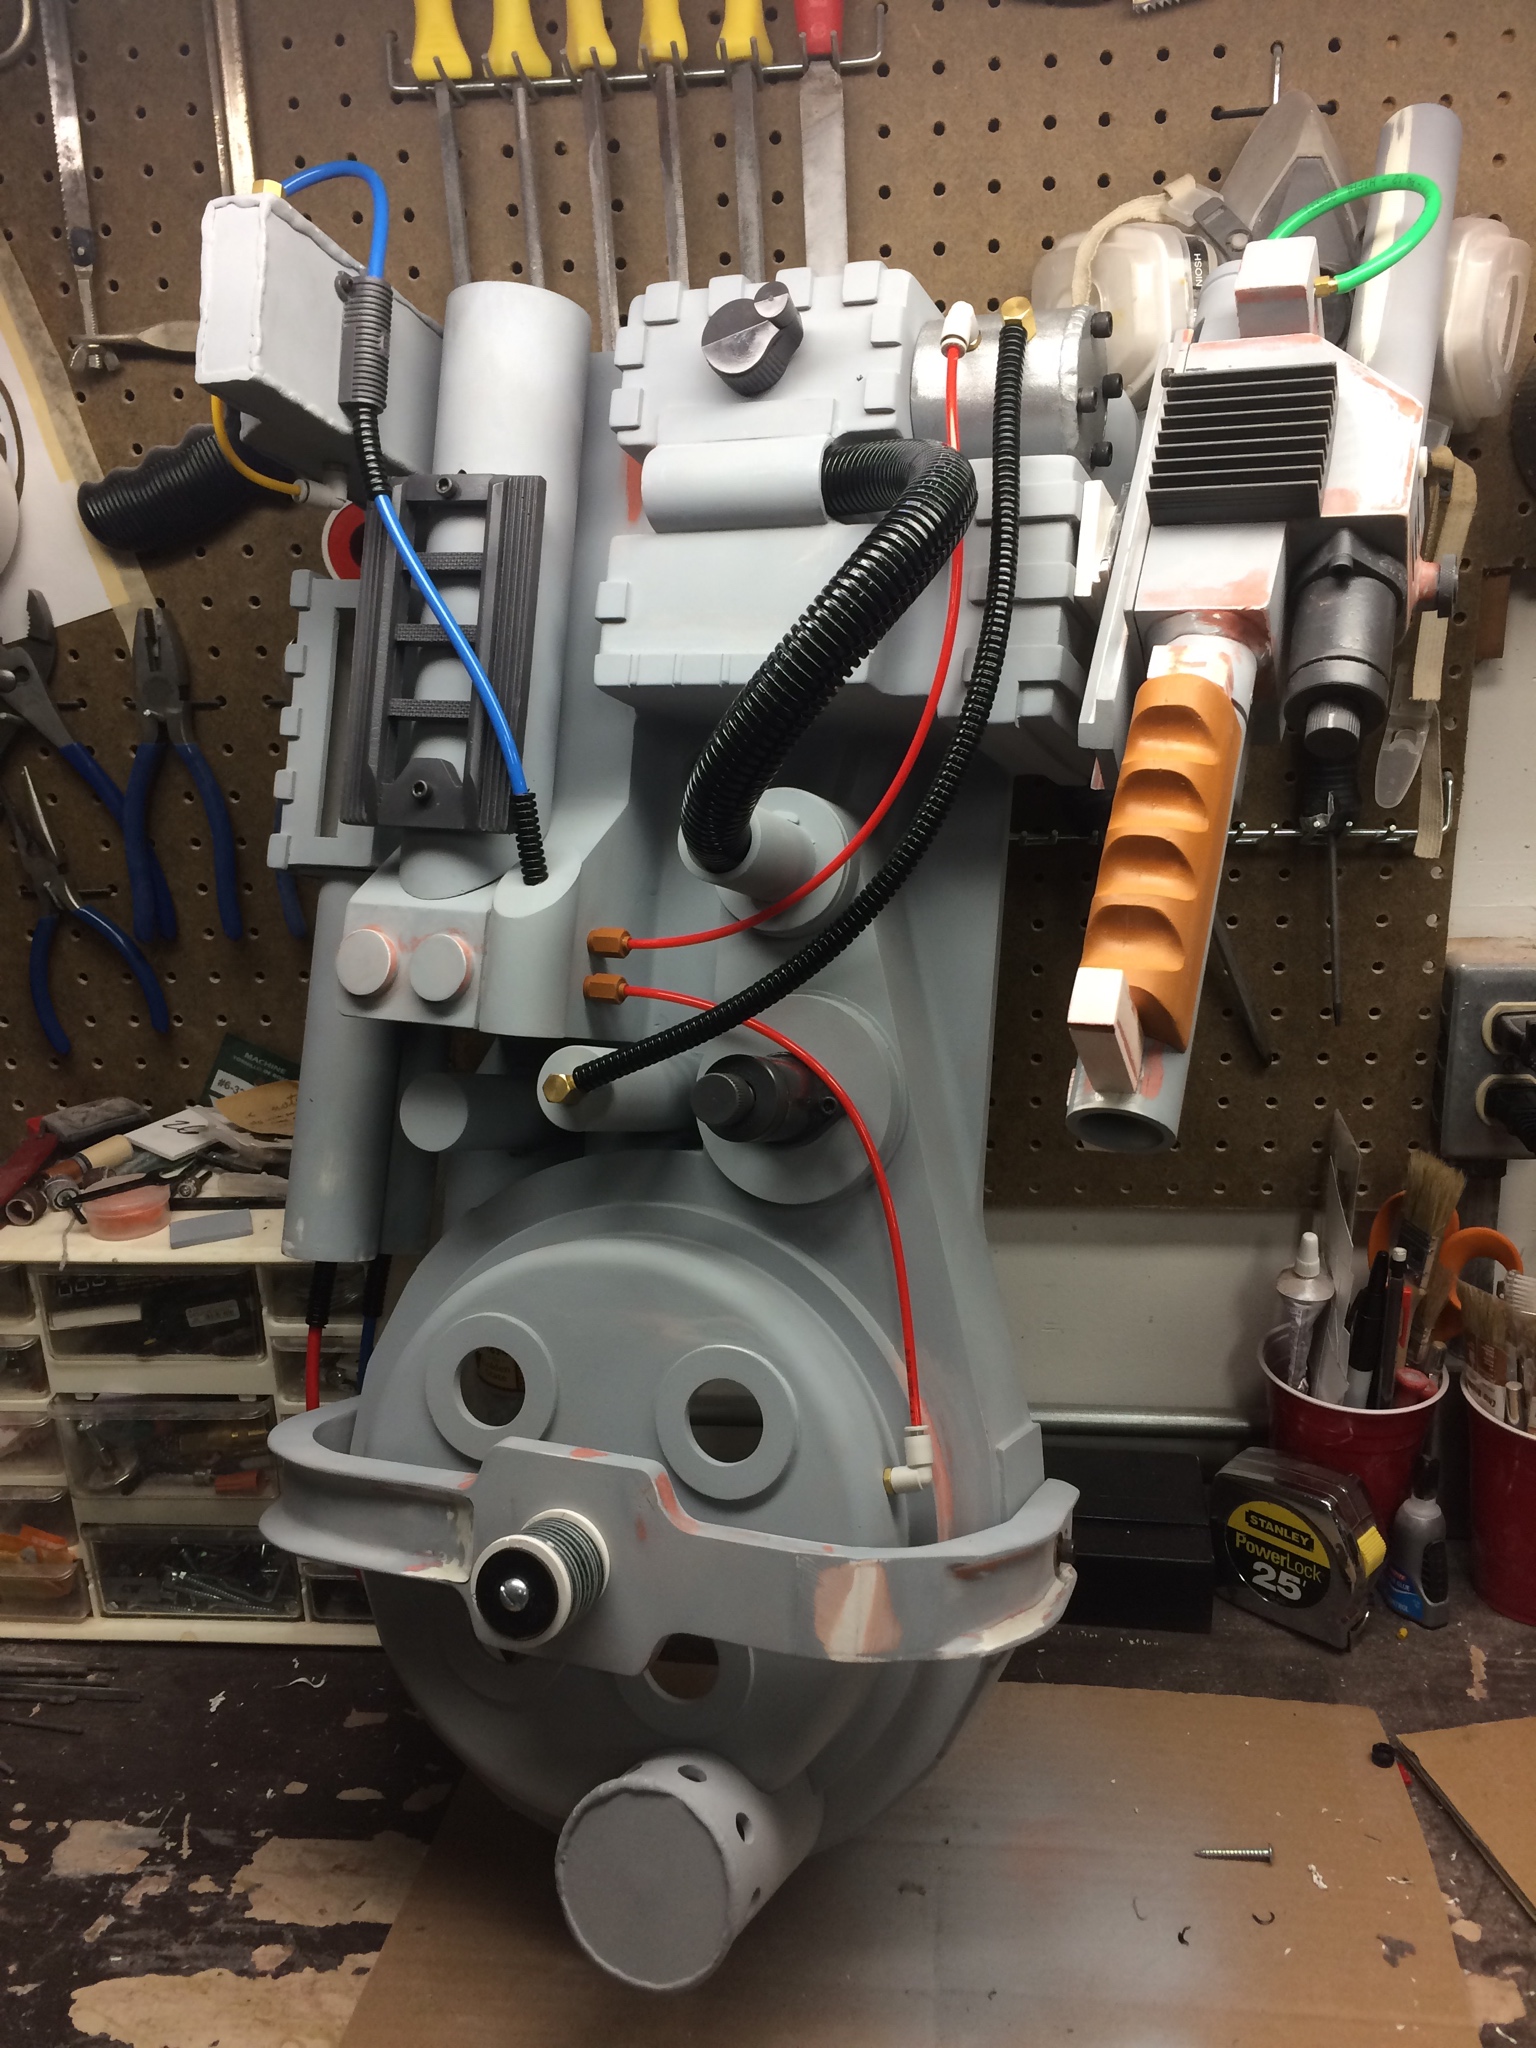
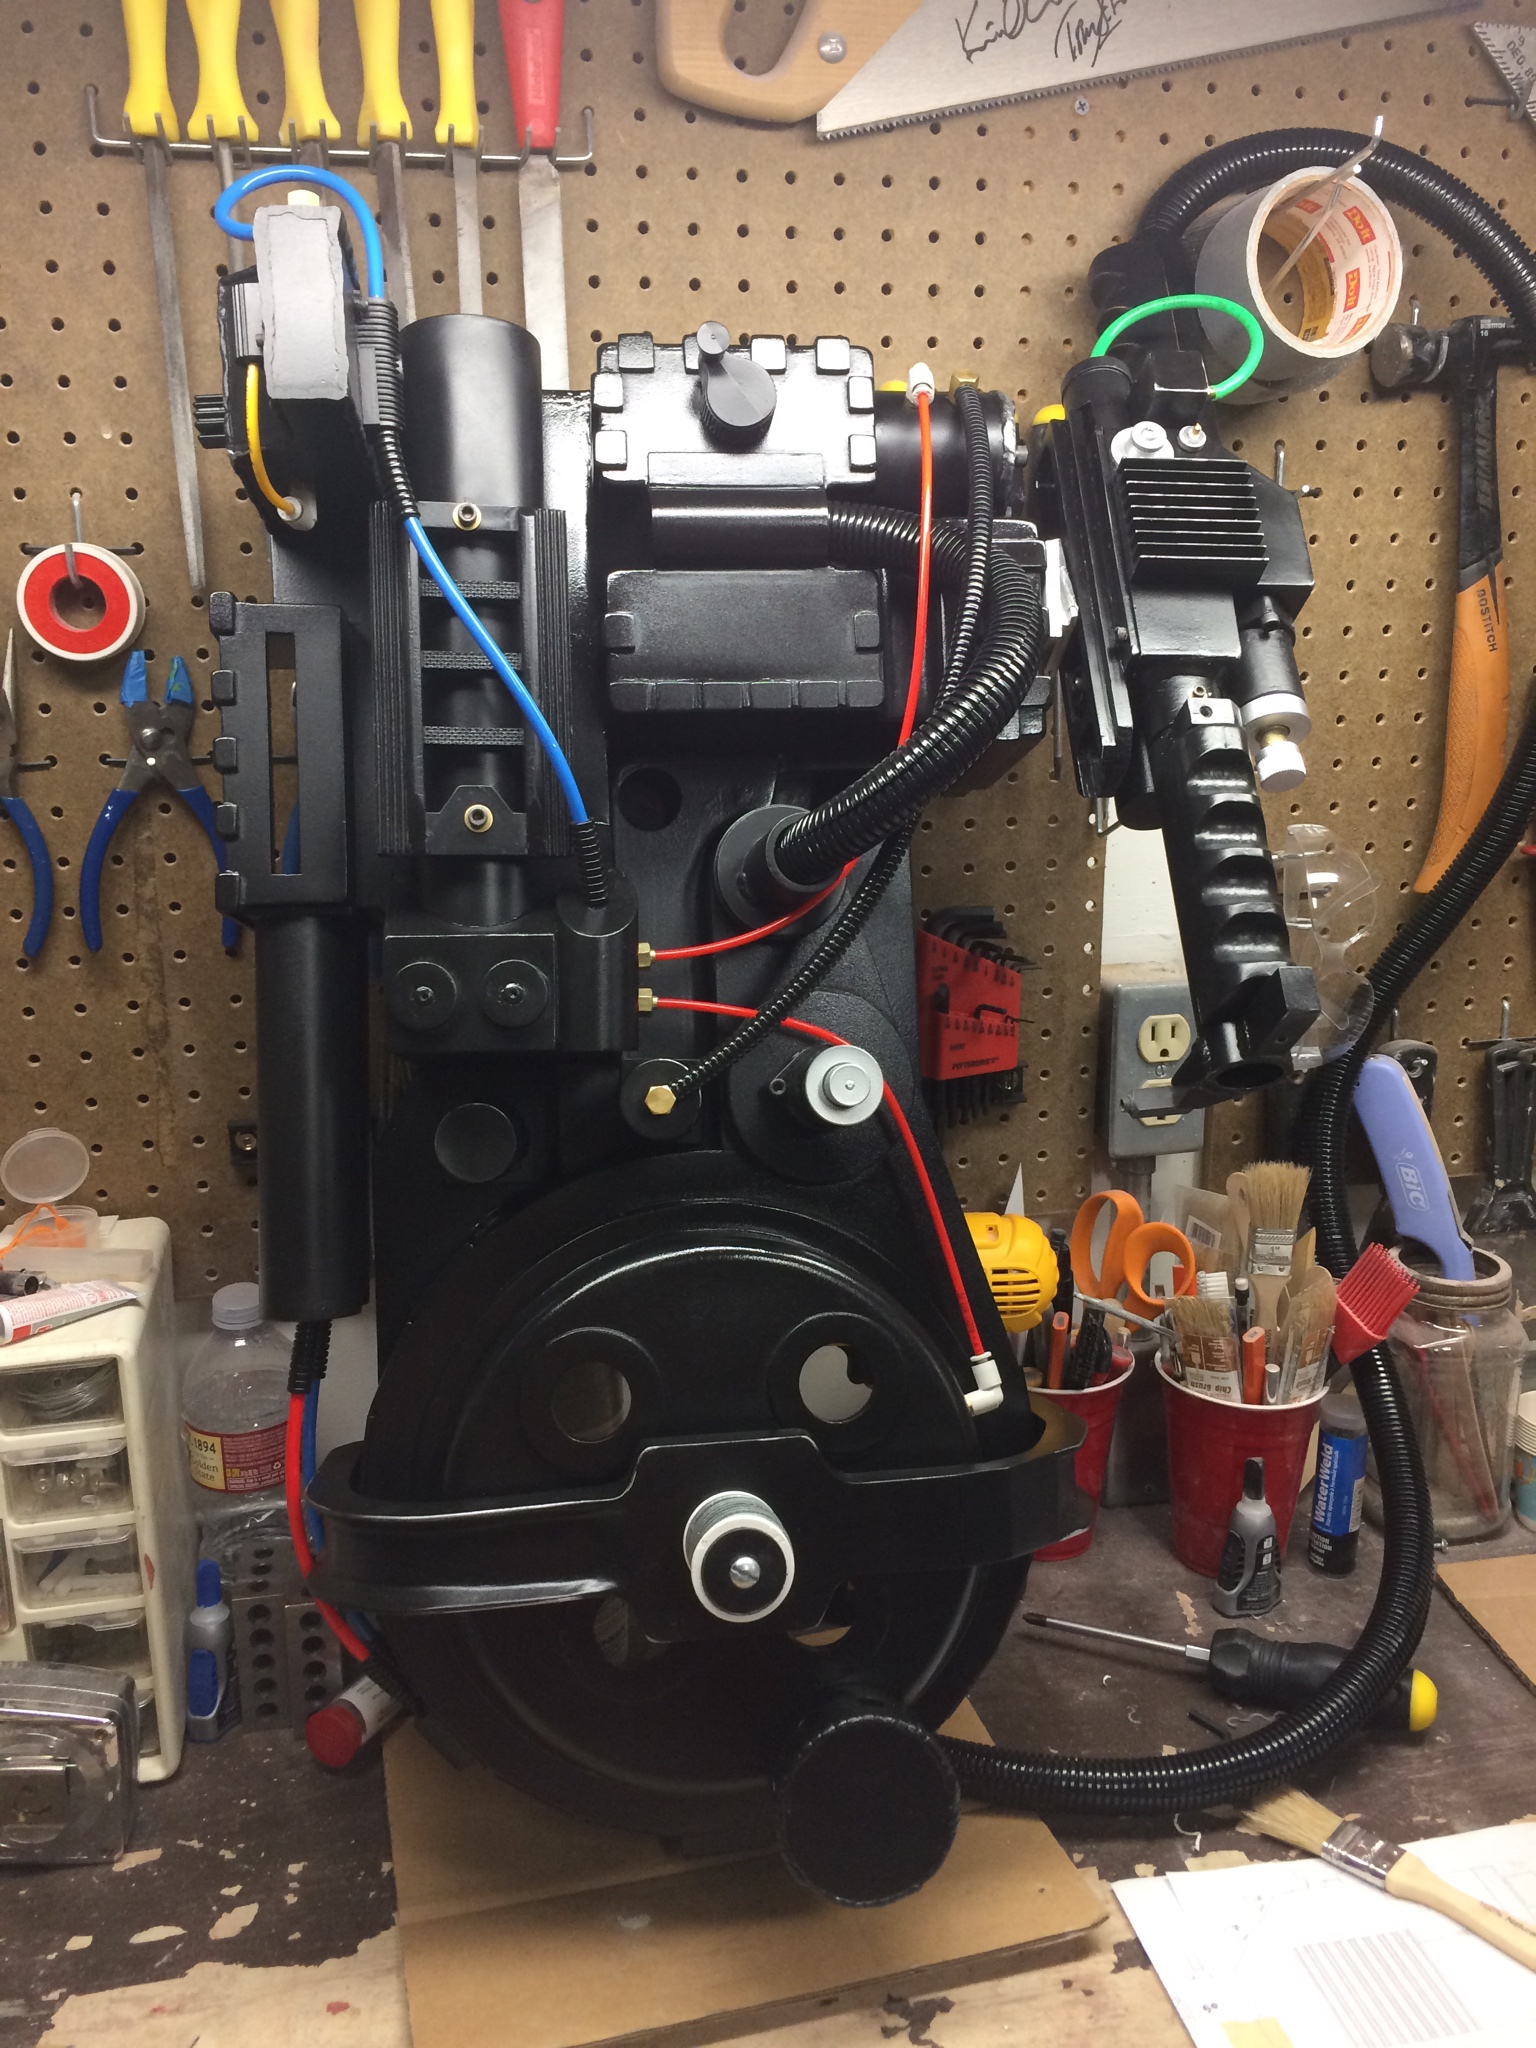
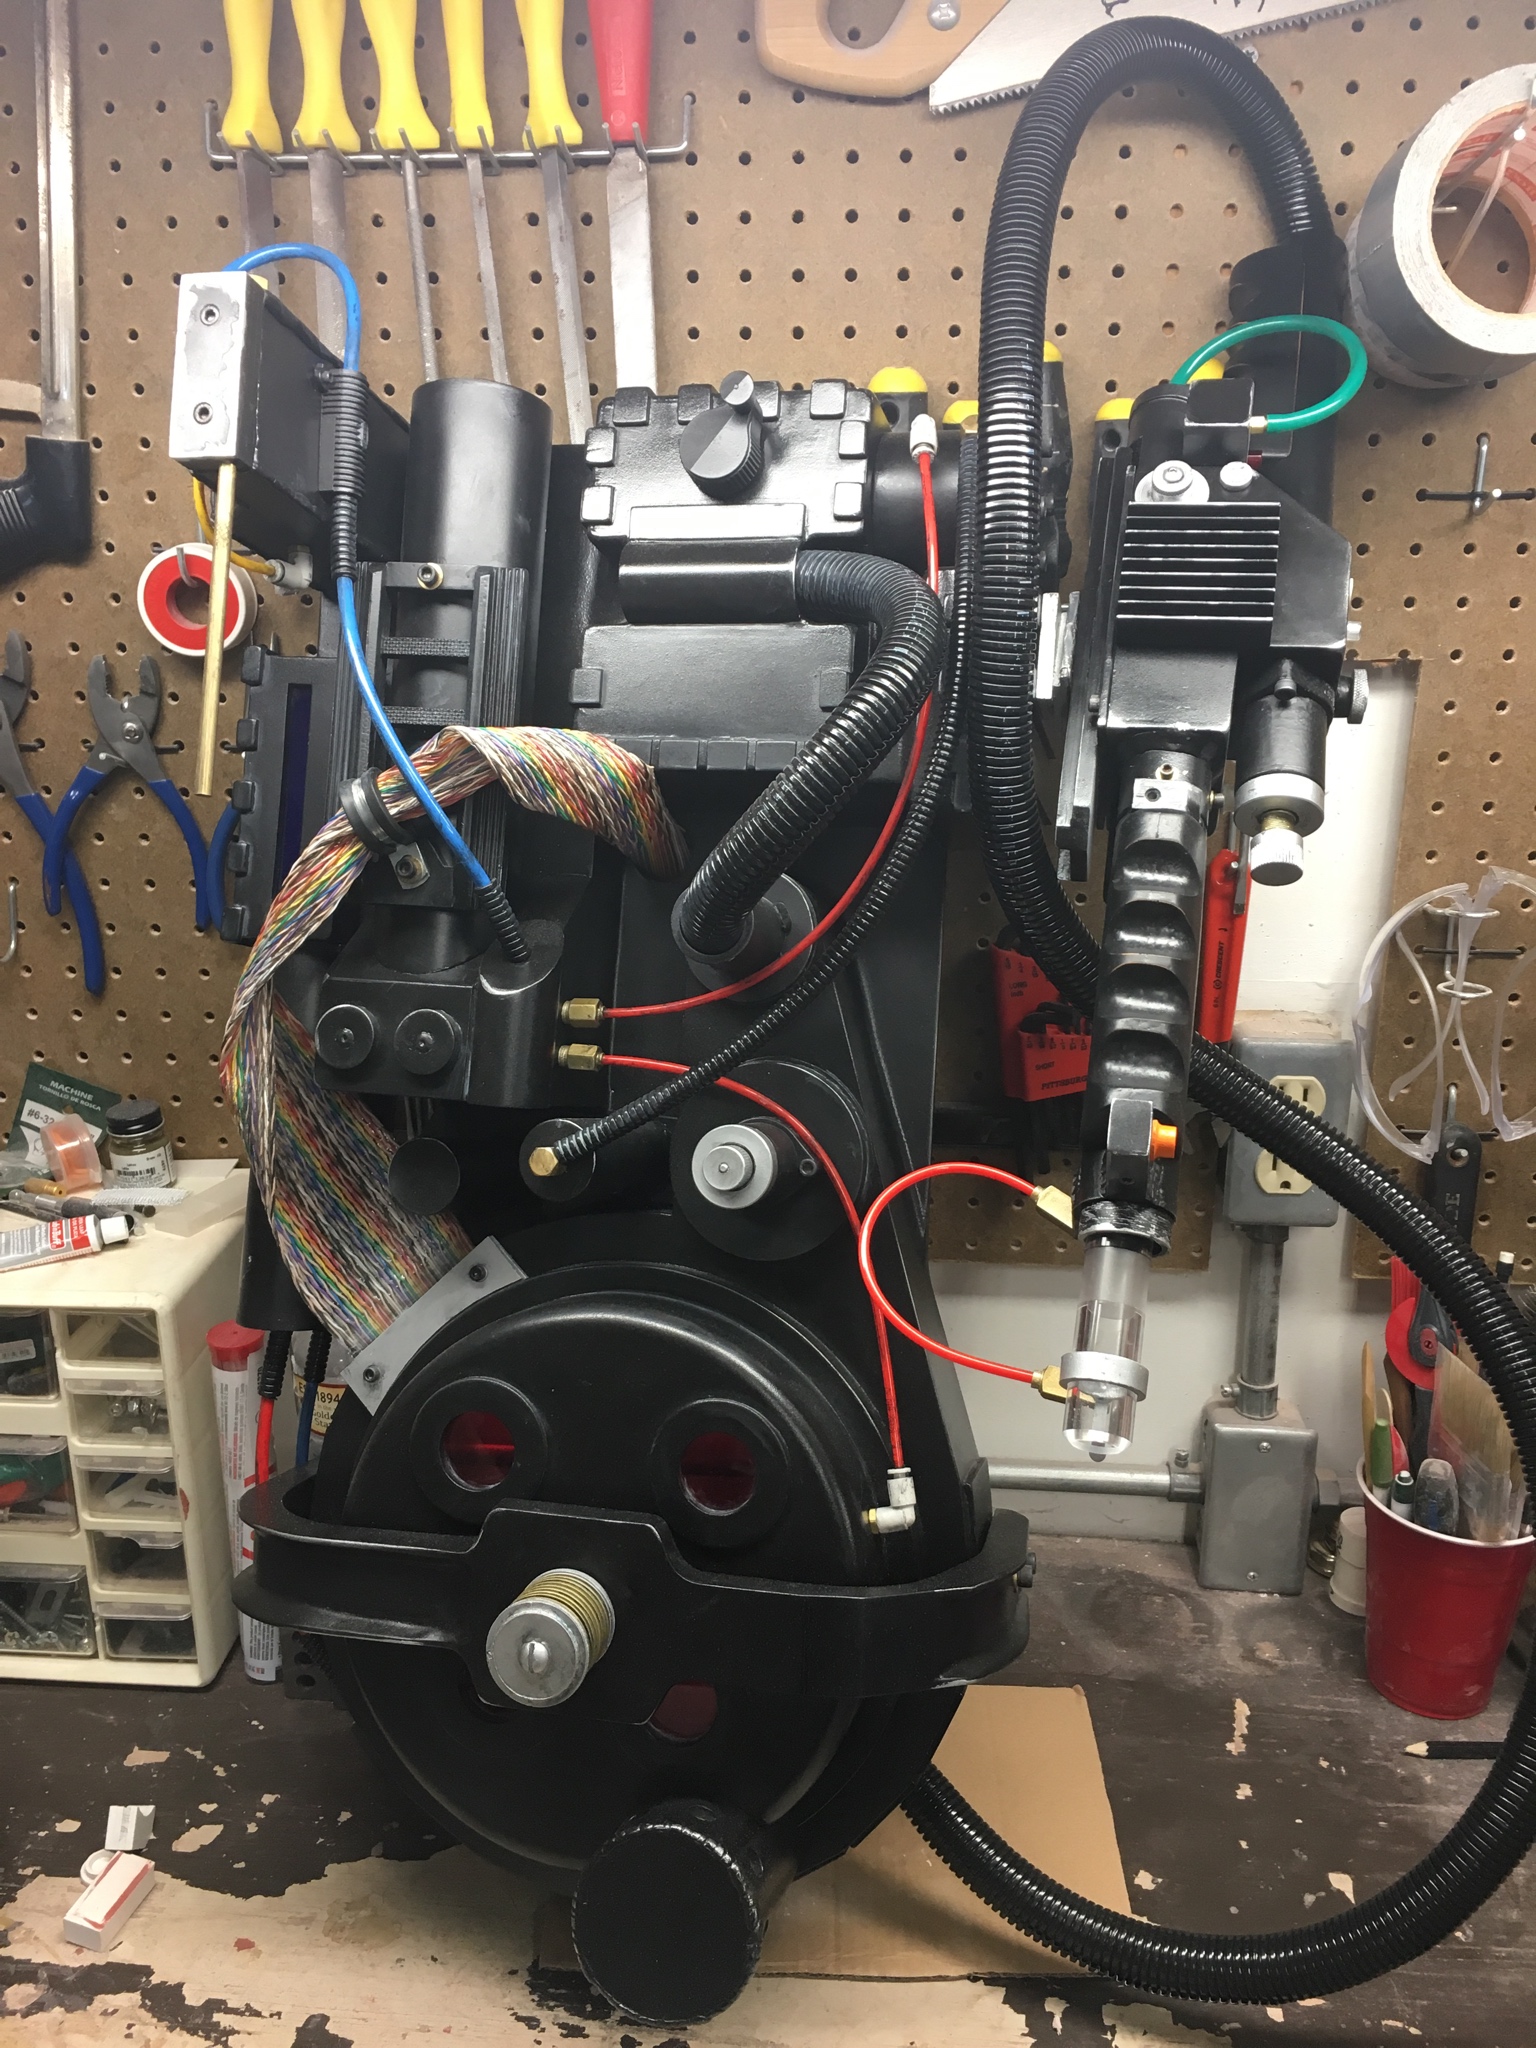
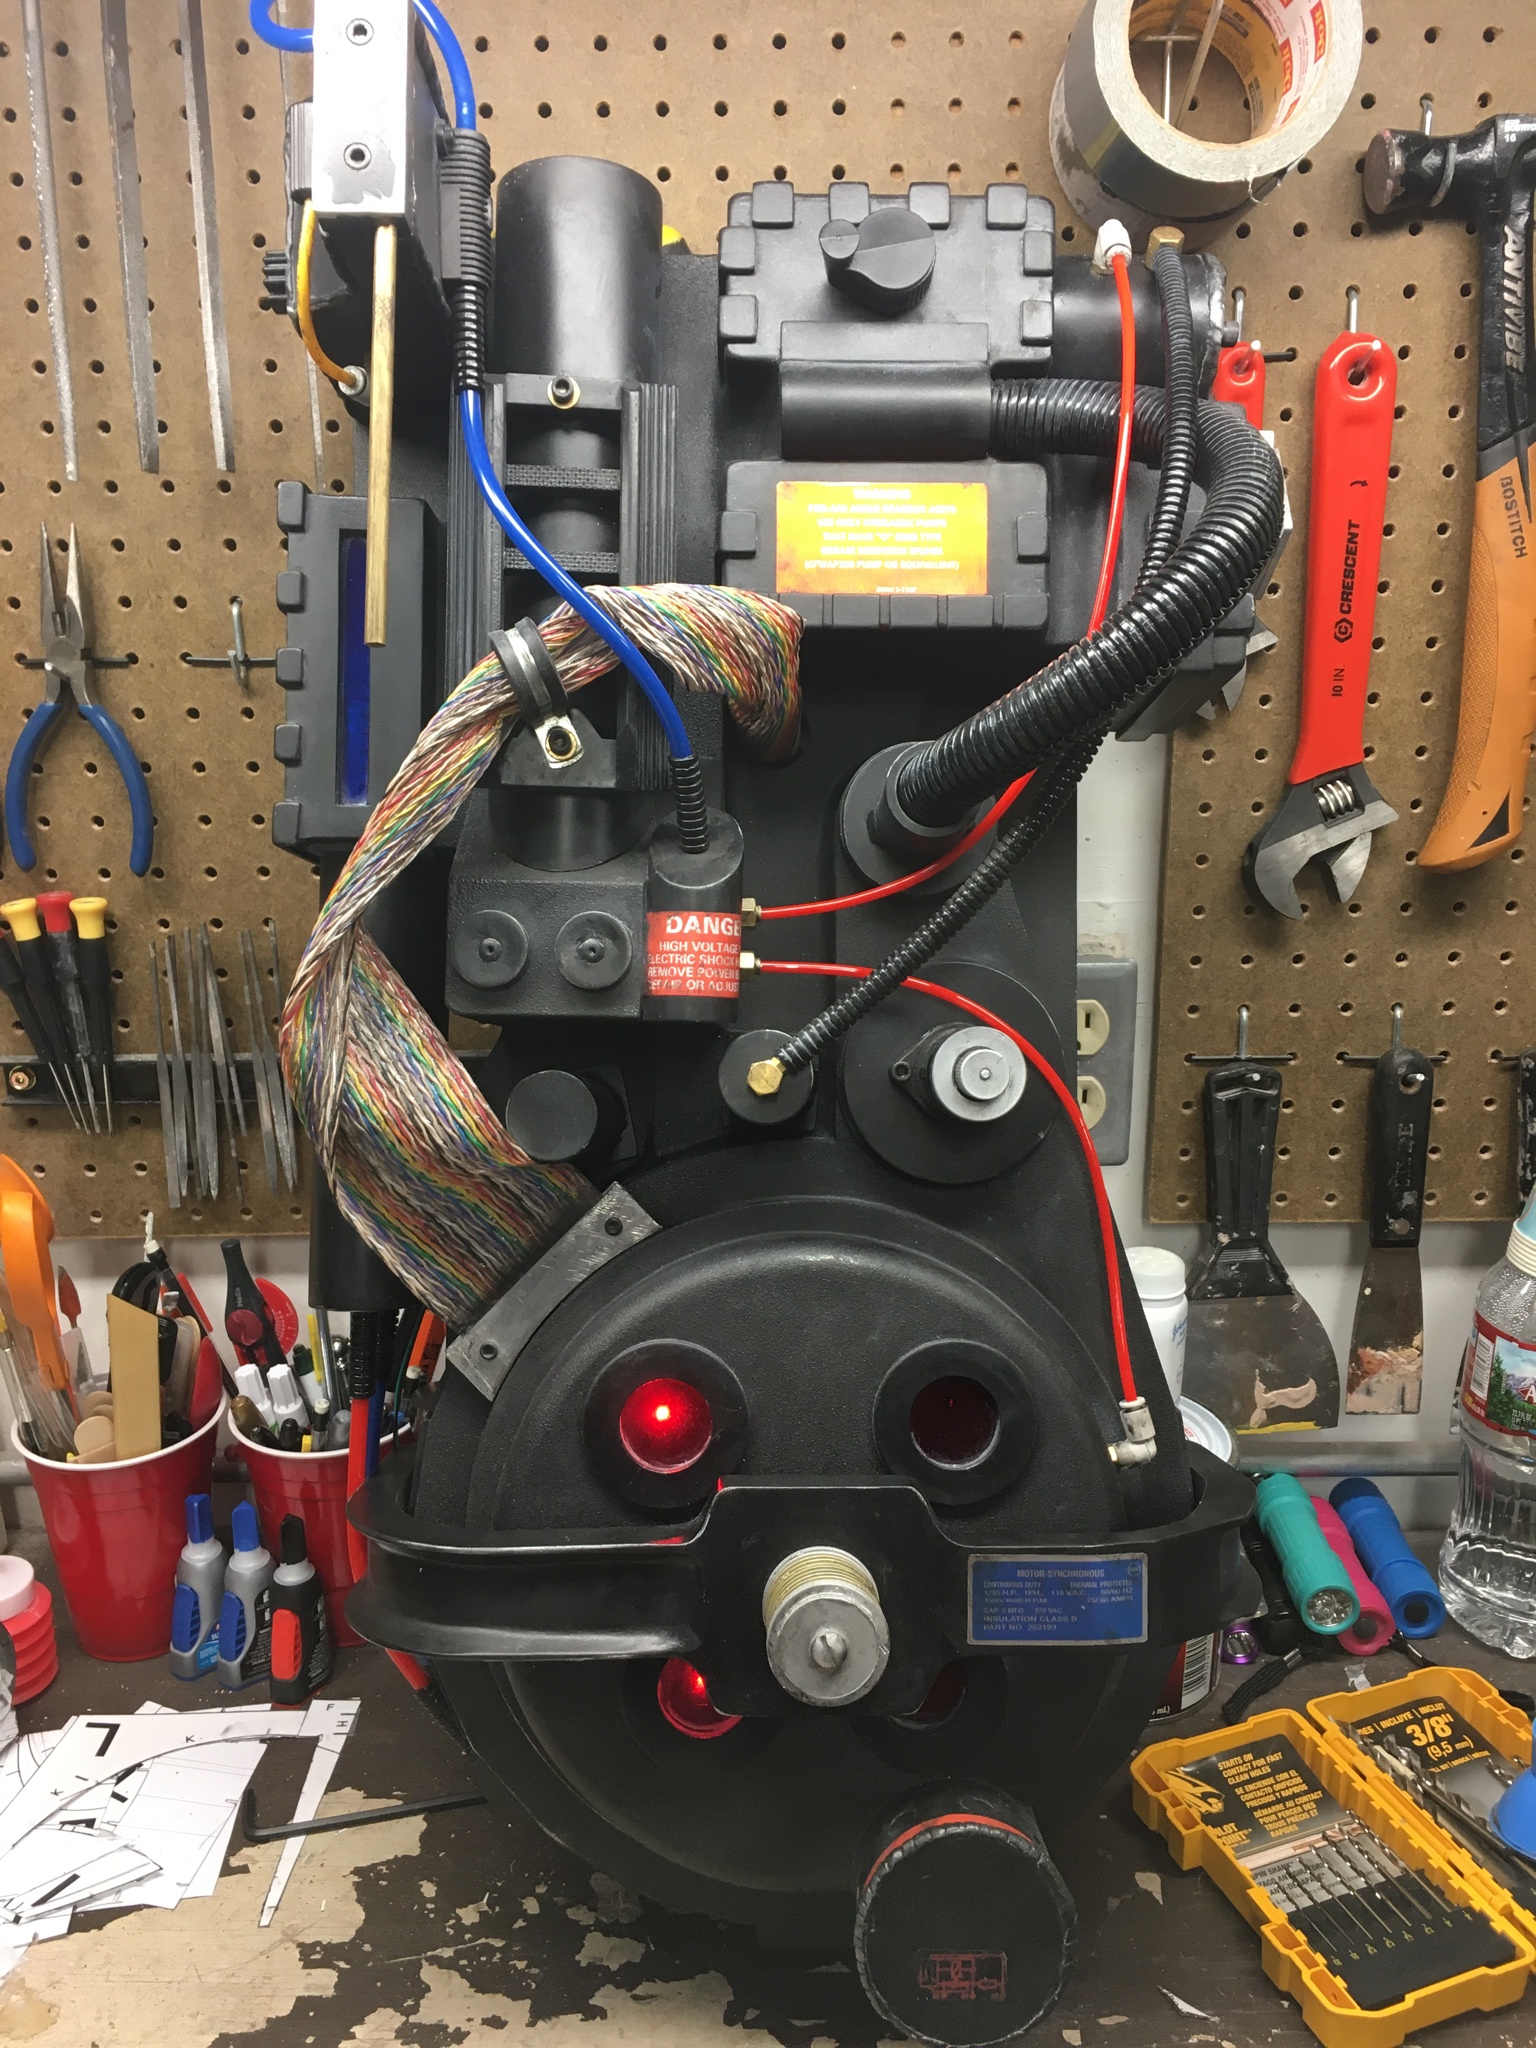
And he’s the nearly completed pack!

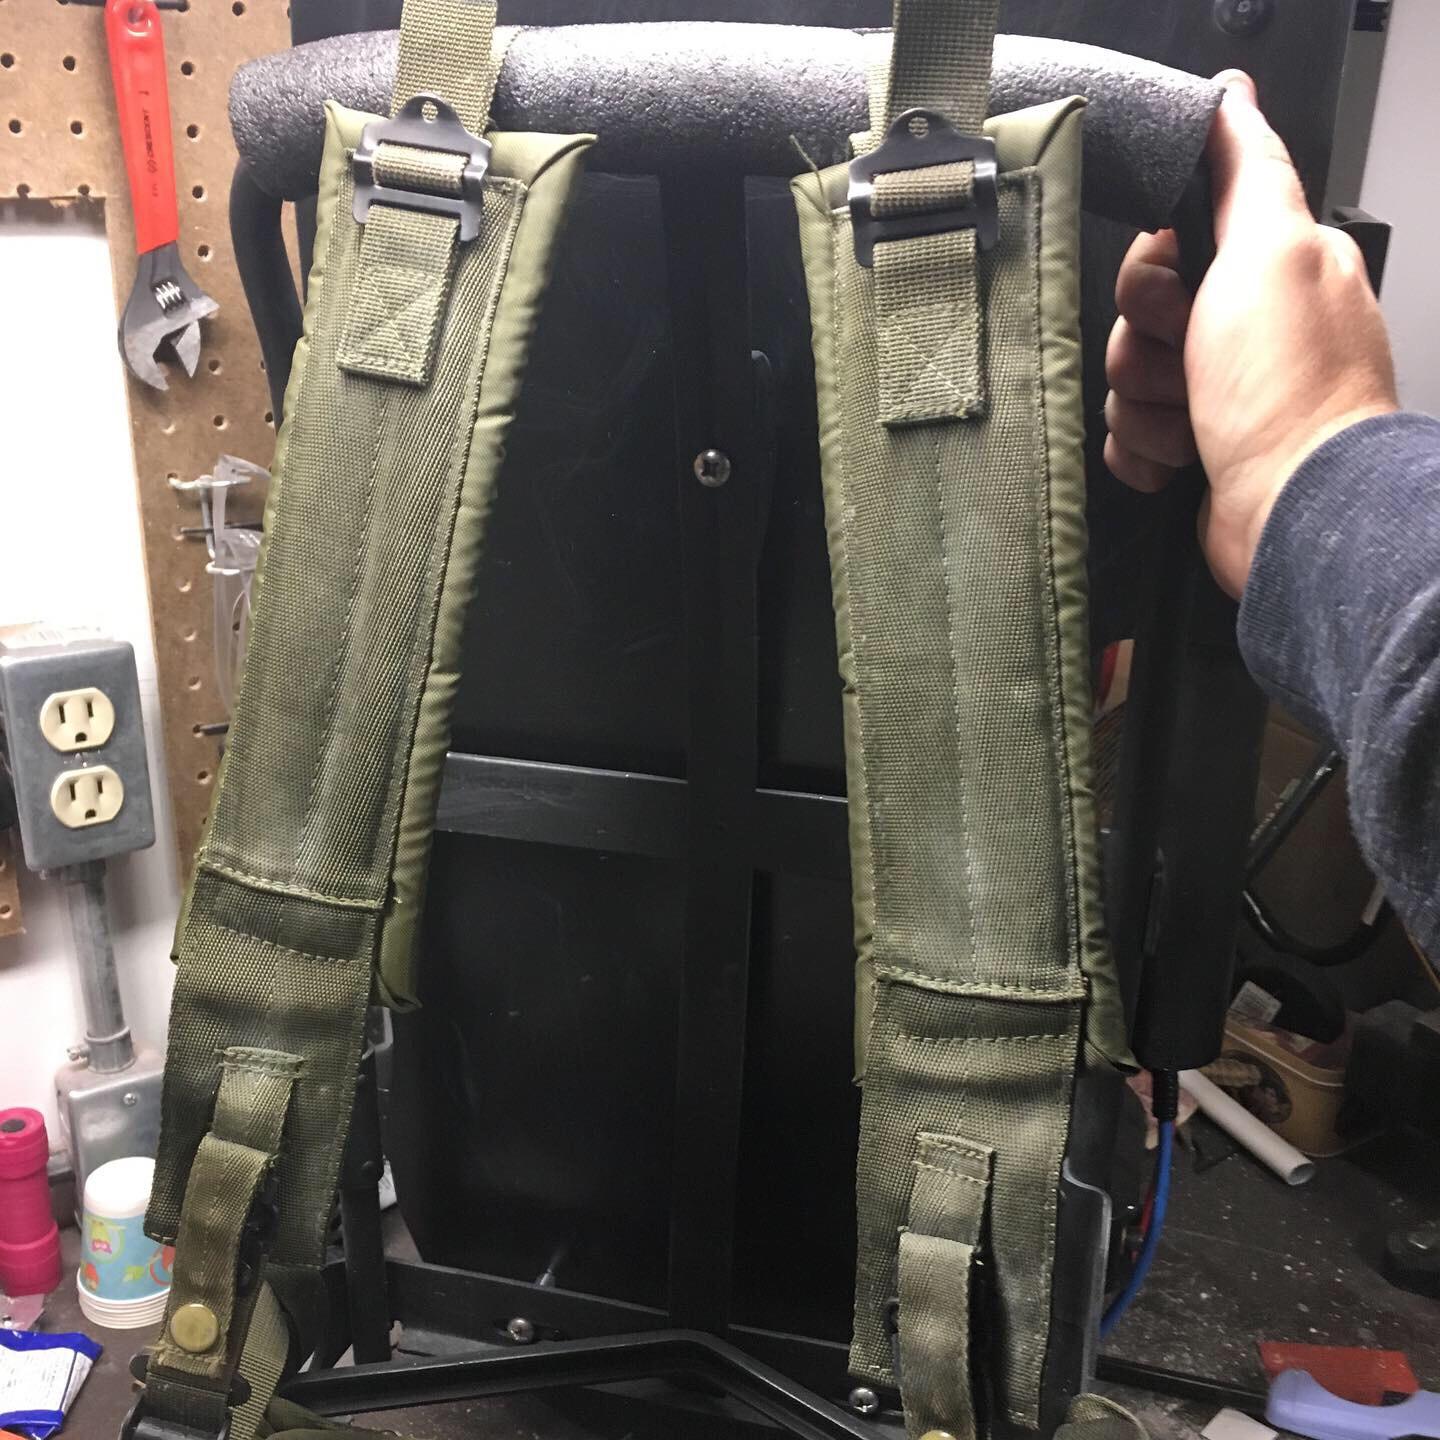
Now I just need to save up more funds to get the motherboard, lights and sound kits, shoulder straps, and labels/stickers. Hoping those metallic labels come back in stock soon!

thanks for looking!

Gorgeous build!

Looks sick!

This…This is just phenomenal, bravo!

Fan-freaking-tastic!!

What an amazing build. I’m starting my first proton pack and would love to know where you were able to source the blueprints you used.

Hi there,

to mee these look pretty much like the famous “Stefan’s plans” - you could find 'em right here at the equipment-plans section :wink:

greetings!

Hey there! Quick update on the current status of my pack. I purchased the light kits for the wand and pack but am still saving up for the soundboard, battery and speaker(s). I still haven’t decided if I should go with 1 or 2 speakers… Feel free to offer your opinions! I’d appreciate it!

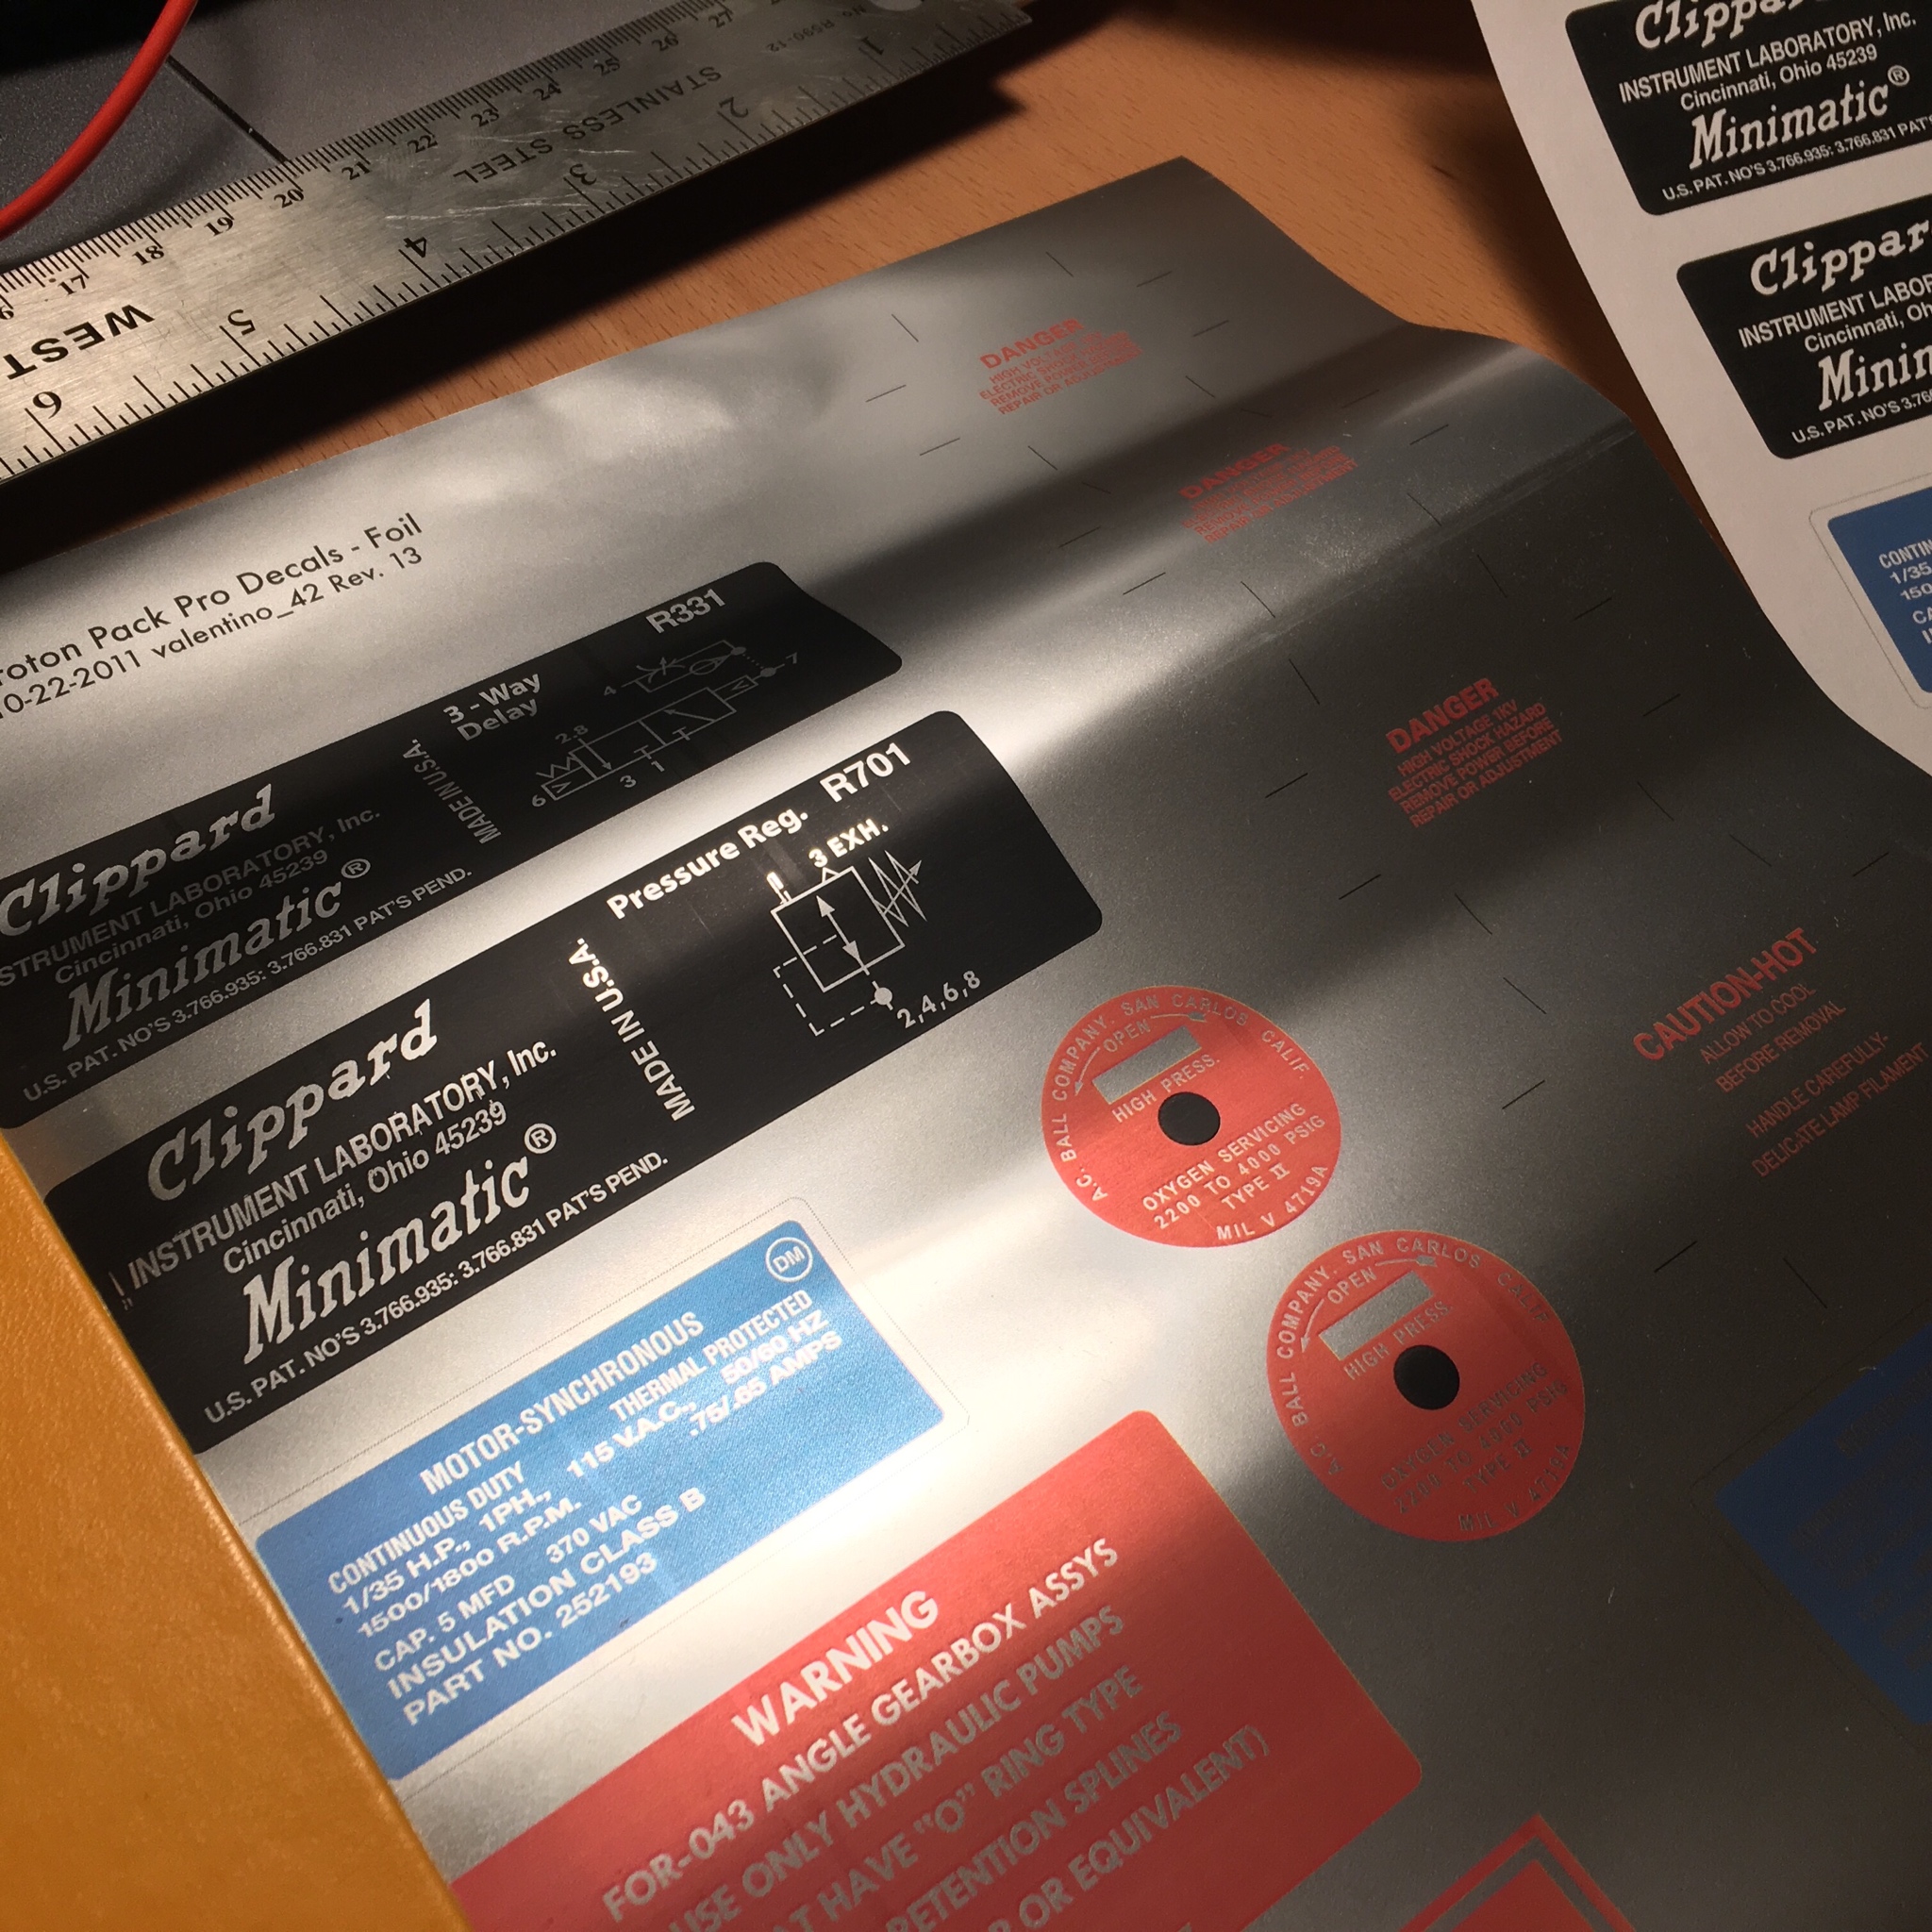
I printed all the aluminum stickers on some foil paper via my laserjet printer. The reds aren’t as vibrant as I’d like but I’ll stick with them until I can upgrade. I’m hoping to try my hand at making the dry-rub decals as the shop has been out of stock of them for a while now.

After testing three different texture rattle cans I opted to go with the Harbor Freight brand truck bed coating one. It turned out ok but not as…lumpy? as I was hoping. It as more of a sandpaper texture rather than that bumpy cast iron look that I was trying for… Oh well… Guess I’ll get that right on the next pack :slight_smile:

I also attempted to weather the pack up a bit. I want it to look used but not forgotten - you know, a dried ectoplasm and marshmallow in the nooks and crannies sort of vibe.

I also replaced my styrene v-hook with an aluminum one. I had some extra bits from the motherboard so I cut them to size and so far they’ve worked great.

As I save up for the remaining electronics I’ve switched over to building a fully styrene ghost trap which I’ll hopefully post on here in the next few days.

thanks for looking!

Epic build!!! Your attention to detail is fantastic! Well done!