I made something of a ‘how-to’ on another forum, and thought I’d copy/paste the construction progress here. I tried my best to get every stage.
My intent was never to make a ‘screen accurate’ pack or costume. While the dimentions are fairly spot on, the cables and fittings and other bits I used are obviously not directly from the films. I did this on as much of a budget as I could, wanted to use what I had/build myself, and to intentionally use my own take on some of the equipment.
This first part is the initial construction was done in '08. When '09 came around, I was penniless and could barely make rent/food, let alone find bits for a ghostbuster costume. So the pack sat in the corner of the living room gathering dust. Bloody global economic downturns.
Also a quick disclaimer, I only speak two languages, English and bad English.
[spoiler]

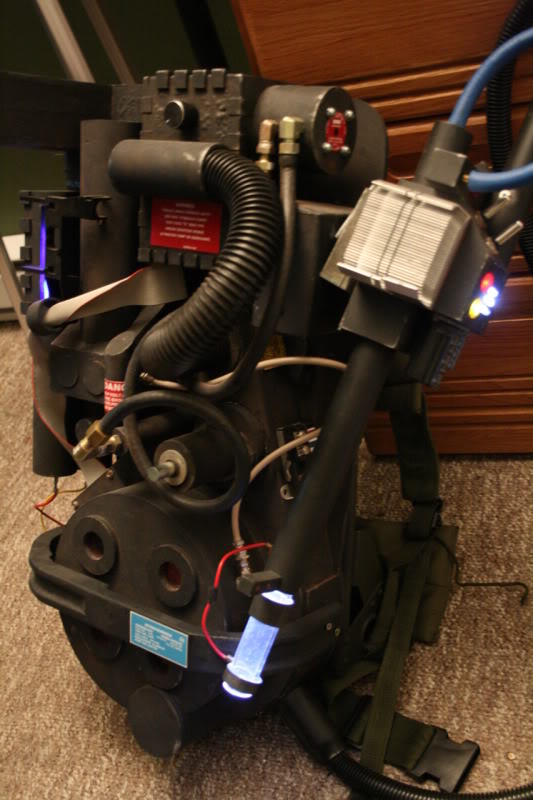
Overview of the pack as it is. Even caught one of the lights partially flaring as it cycles around. The main difference here is that this thing is actually all glued and anchored down. In the last post the thing was just stacked to give an idea of what it’s shaping up to look like. So now I can actually wear it around as a backpack, which is a huge change in how it looks/feels. I forgot to put that small SHIT SHIT
Fake edit: for those paying attention, I just had a freak out as, if you look at the photo, look at the small round piece attached to the side of where the lights are. Notice how it’s in ENTIRELY THE WRONG FUCKING SPOT. Fuck I’m tired, and had to run over to the thing and tear that piece off, fix it, and reglue it before it set in spot forever. PA forums save the day, otherwise I’d have just gone to bed and freaked out tomorrow morning instead. Godamn that was close. As it is, a bit of mild sanding to work off the few spots of remaining glue and it’s good as new. (The n-filter as that small cylinder is called in the plans, is now on the lower right of the pack, where it should actually be)
Another detail prior to me even noticing this screw up:

Though it looks pretty much the same, just on the other side now. Fuck that was scary, this glue I have sets really quick too.
Ok, back on track. This step involved a lot of sanding with 220 grit for the foam, and beveling edges of various parts like the Cyclotron. The zig-zag shaped piece in the middle was what was giving me trouble in my last post - the neck of it was 1cm too wide, and thus none of this stuff would fit properly until I narrowed it down to that one piece. Had to drill an ugly ass hole into this piece to make room for the anchoring bolts to the main board, but I’ll cover that up later.

Detail of the HGA (cylinder with bolts in it), and the Crank Generator (slatted block the HGA is glued to). Turning out alright, just waiting for glue to set so I can sand down the tops of the slats and top them off.

Powercell with slats on, same deal going on. Still trying to figure out the best/easiest and also strongest way of mounting the pvc pipes to this. If you can picture it, dual pipes about 5-7" long are going to hang down from this. I’m guessing just screwing into the sides of them with L brackets or something and be done with it. Still need to hook up a little battery pack and light to go into this thing. I might just give in and buy one of those flashy red bike warning lights, and replace the red cover with a blue one. Save me a few hours of soldering atleast.

A nice surprise arrived in the mail today, the ghostbuster patches came in today! I wasn’t sure about these to begin with, but I ordered these from http://scifigeeks.com/ as you can never tell the exact size or quality from teeny website pictures. Amazingly, they actually are 3" and 4" as you can see! I highly recommend ordering from this site now, these patches look ok here, but are pretty damn sweet in person. Compared to the other websites fare they are actually really nice (unless of course they all order from the same supplier, who knows). Just my impressions anyways, I was seriously worried I spent $20 to have some tattered pieces of junk show up in the mail. But I think I’ll order another 3" to attach to my jacket and snowboard helmet, while the 4" is a good size for the jumpsuit. They’re a little pricey, but I looked around for quite a while, and a lot of the other patches websites looked even dodgier than this one to me.

My workspace! aka dining room table. All the necessities right here. Nuts, bolts, various rulers and glue. That glue? Like 1/4 down and all that’s been used JUST on the pack so far, it’s retarded. Either way glad I spent the $20 on the jug itself, would have been how many bottles of elmers by now otherwise?
Next up for tomorrow (today) as a reminder to myself: Cut out more slats, this time to attach to the base of the cyclotron. Cut out the top and bottom pieces for the Powercell, for whatever reason those are also 1cm off in length. Rummage through my old computer equipment for small sized heatsinks, and possible stop at the auto surplus to get a few small pipe fittings to add as extra bits.
Fuck still can’t believe I nearly screwed up that badly on this thing.
Ugh so I guess this all turned out well enough. I was absolutely terrified to try spraypainting this thing, even though I sealed it four times over with different sealants. And I STILL got some bubbling on areas of the foam which somehow weren’t covered.
Anyways, before:

After:

Not quite coated like it should be, and I went through two cans of spraypaint. And there’s still a lot of obvious spots which need to be gone over a couple times more. Right in the centre it bubbled, which I did not expect at all. That and those glue spots on the bottom circle, fuck, that’s going to need some sanding and repainting. Those tubes also need their toppers, but those are metal pieces which aren’t going on just yet. (attached the tubes with some L brackets and angled screwes)
There’s also going to be a lot of drybrushing metal along some of the edges to give it a more worn look. Once the stickers and metal bits are on there, I think it’ll look a lot more cohesive, as right now an entirely flat black thing isn’t too exciting to look at.[/spoiler]
[/quote]
UP TO PRESENT DAY
I started work on this again for pax this year, which I ended up not going to since I couldn’t afford it. And I get sidetracked with doing all manner of side projects constantly, which either I have tons of paper laying around for drawings or have had for years just laying around until I finish something and get around to it.
See, other things I do:
[spoiler]
[/spoiler]
But anyways, I got a job and some extra money.
So first thing I did when deciding to get around to this again, were Ecto Goggles. I decided not to make screen accurate goggles, I mean everyone and their dog can cut down two bits of pvc pipe, put a microscope lens on the ends and call it done. So I took a bit more liberty with “what if I made a working pair now?”
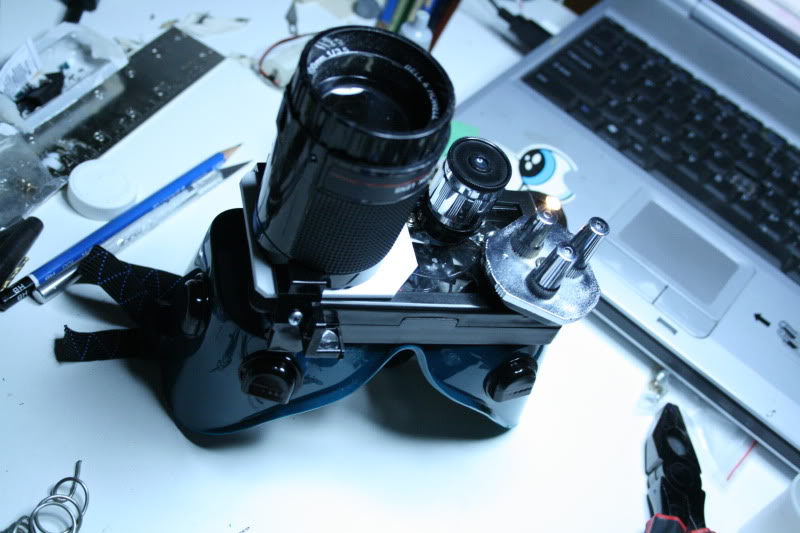

It took several hours, burned and cut myself how many times, to wire these. It was a nightmare, but all the wiring is sandwiched between the plates of acrylic in the goggles, so it’s all fairly well contained. The 3 lenses each have an internal led, with the lamp on the side just needing to turn over to click on, and it’s about as bright as a small flashlight, so it’s great for walking around at night heh.
I wouldn’t suggest spraying/painting these like I did, I masked off the attached parts and used a flat black spray which really doesn’t want to adhere well to the mask (it’s decently attached to the goggles, but reacted weirdly and felt tacky til I painted the pale green over top.)
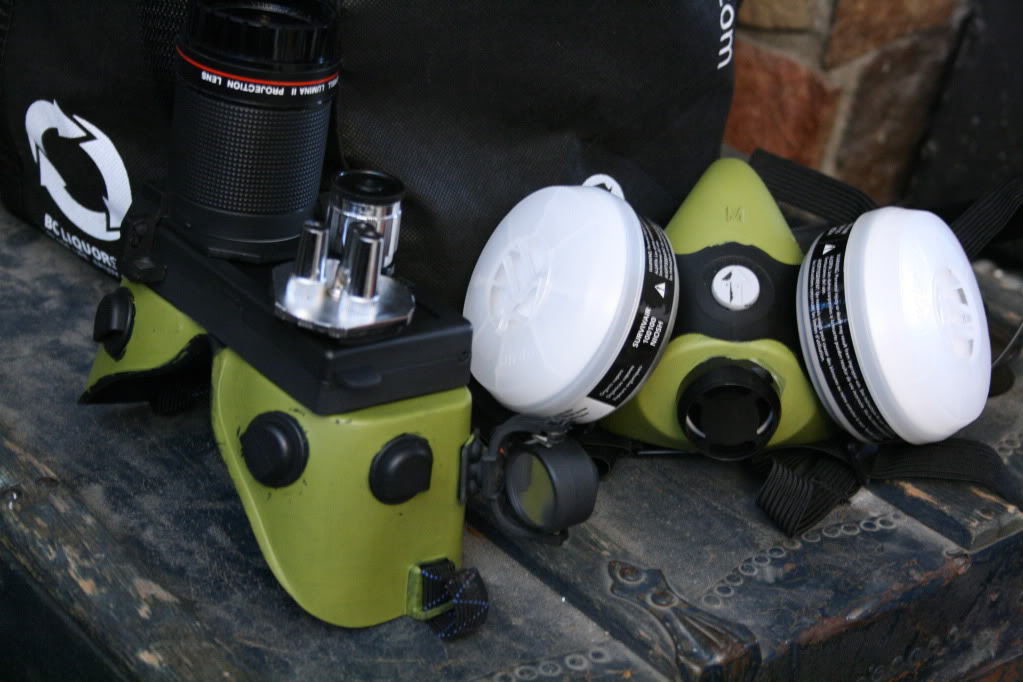
Materials:
Welding Goggles, $15
Old camera lens/used microcope parts, $10
Also junk bits of extra wire, battery pack holder, and “camo green” from citadel paints for the final paintjob.
Encouraged by that turning out relatively well, I then moved onto making the proton gun.
First, I looked online - the ‘kits’ for the gun are upwards of $75 just for the gun body alone, another $80 atleast for the light kit. So I said fuck that, went to the local hobby shop and bought two sheets of sheet styrene for $12 (it was the 2 or 2.5mm thickness)

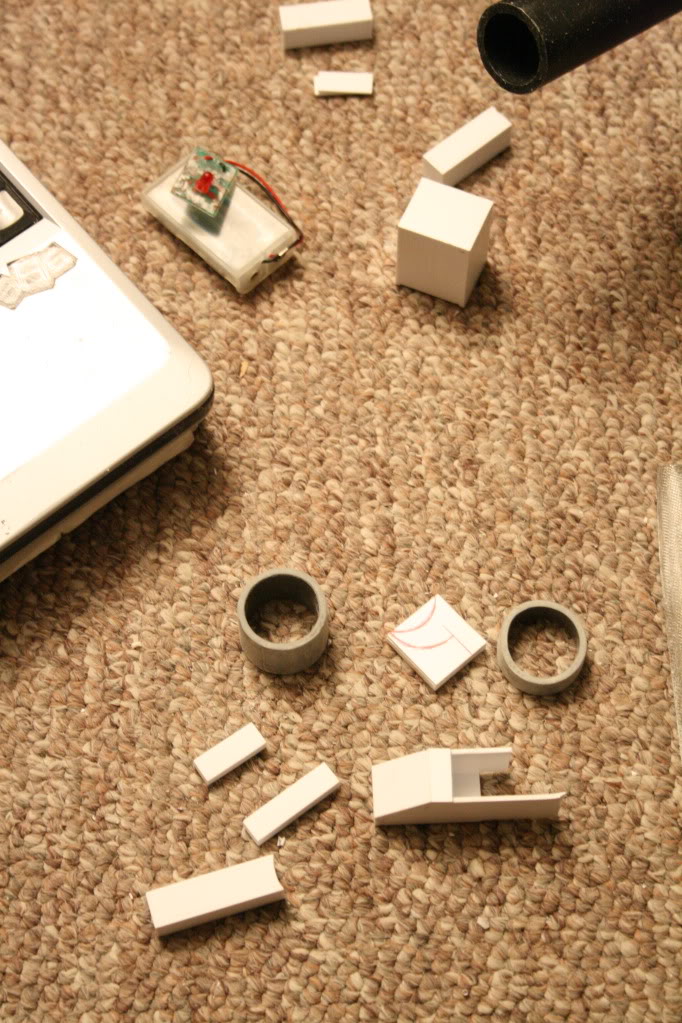
So here we have bits after a lot of careful measuring, re-measuring, giving up and starting over to measure, and then finally cutting the bits for the gun body.

Assembled. Sorta. I put in extra cross-bracing inside to hold the handles in firmly. So far I’ve dropped the thing twice off the table and no damage, so it paid off. The tubes are from the ends rack at RONA, got it for a dollar, and exactly the 1-1/4" size I needed.

Here is a dry fitting of all the switches prior to wiring.

Wiring. Holy shit. By the end of it there are 2x packs of 3 AA’s in series, a stack of watch batteries, two nine volts, and I think I’m going to have to cram another 2 AA’s inside this thing. One tip that you need to keep in mind, is DRAW A SCHEMATIC OF YOUR WIRING. This thing mixes parallel and series for the different circuits, so keeping my shit straight was a huge issue.

Since then I’ve added 3x slats to the top and included another small circuit with two white led’s which light the guns internals as well.
Materials:
2x sheet styrene, $12
5x White, bright, led’s, $7
4x Switches, $20
Capacitors, wire, bought used stereo amp for $10 for parts
Hose, $10
1" diameter Acrylic tube, $15
The last pieces to add now are the gun tips with the clear acrylic tube.
tube
[spoiler]For once the shop Industrial Plastics had exactly what I needed. What I’m going to do with the other 5.5’ after I take off the six inches I need for the gun is beyond me. I do have a GB themed case mod in mind however, and acrylic tubes filled with a green liquid lit with led’s would be a pretty sweet addition.
[/spoiler]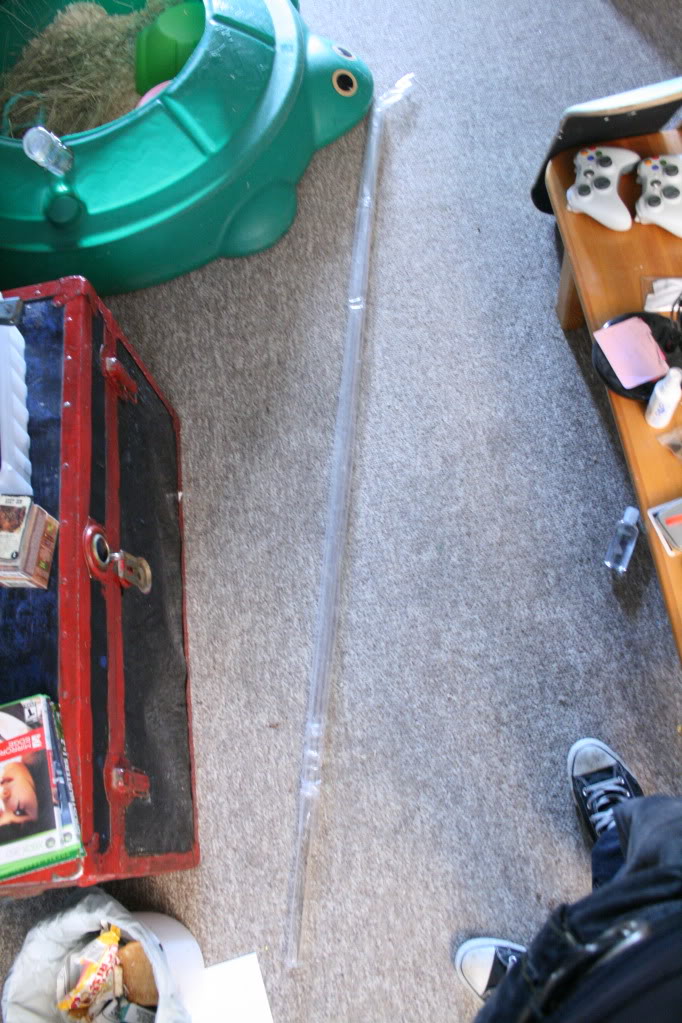
The gun tips are pretty difficult to find photos of, and get dimensions on. Aside from getting dimensions using photoshop, I found an online seller that had a good shot of his tips I could use for reference. This only took like 3 hours to cut/glue/sand, ugh. How I’m going to fit that led and its circuit inside this though I’m still working out.
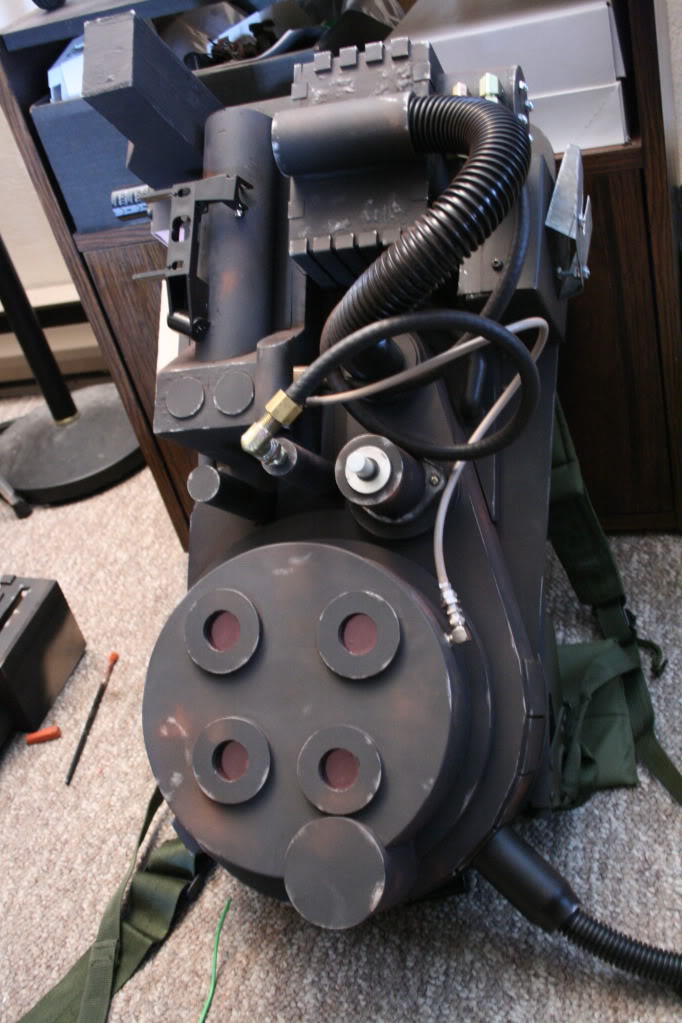
Overall the backpack hasn’t received too much extra work, the most I’ve done is clean up a couple rough spots, and then added more rough spots in turn by weathering the pack. Drybrushed silver along the edges for metal wear, and took a brown chalk which I ground up and flicked on with a brush for getting a slightly rusted/aged look.
The biggest thing I did add to the pack was the gun mount, made from a heavy guage sheet metal I found and bent into a box, then tried making my own gun mount. It…works. It’s certainly not the best method, but there also wasn’t much else I could figure out as working to hold the gun on without a cnc machine to make a custom bracket.
Added tubes, hydraulic fittings, roughly $35
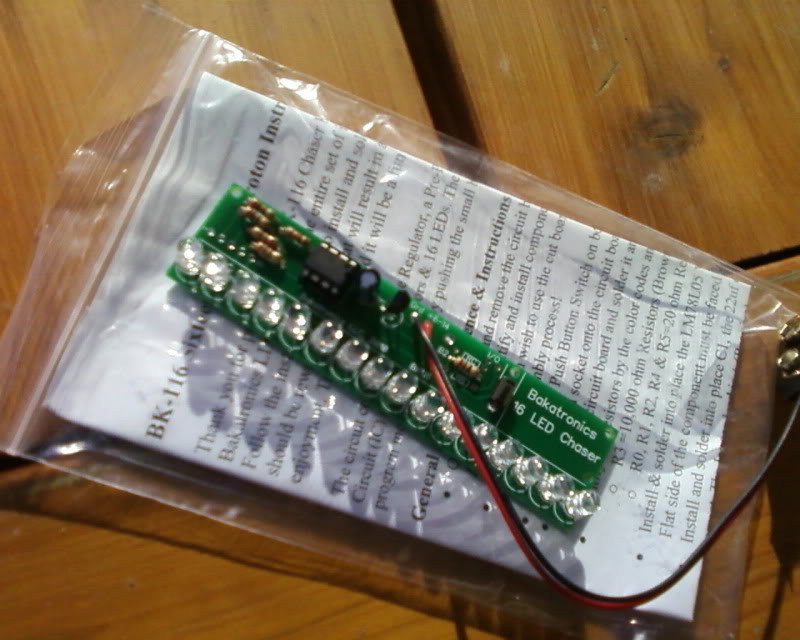
I finally gave in and ordered a led light kit for the chaser effect on the left side of the pack, those blue lights that go up/down. There’s no way I could wire and program my own circuitry to get the effect, so I gave up and spent the $50 on it.
Next up I need to work on finding ribbon cable for the backpack, and construct a ‘bumper’, the piece that fits over the large circular thing “cyclotron”. I’m guessing that’ll be made of wood, I’m running low on plastics and the shaping should be easier out of wood anyways.
It’s hard wearing those huge gloves and operating a camera, but here’s my suit. It’s an actual nomex cwa27p in my size (46L) off ebay. $80 shipped but well worth it, I haven’t seen another one in my size or in the khaki colours since. Made and then sewed my own nametag, put on the patch, it’s pretty much done. It’s close enough I’m not going to sperg out and try dying something which most places say CAN’T be dyed, seeing as you know, the material is nomex. There’s almost no way to make a suit yourself on a budget because of all the zippers and huge amount of work you’d go through for all the pockets.
Also, this one has the fucking captains bars still on it! So sweet.
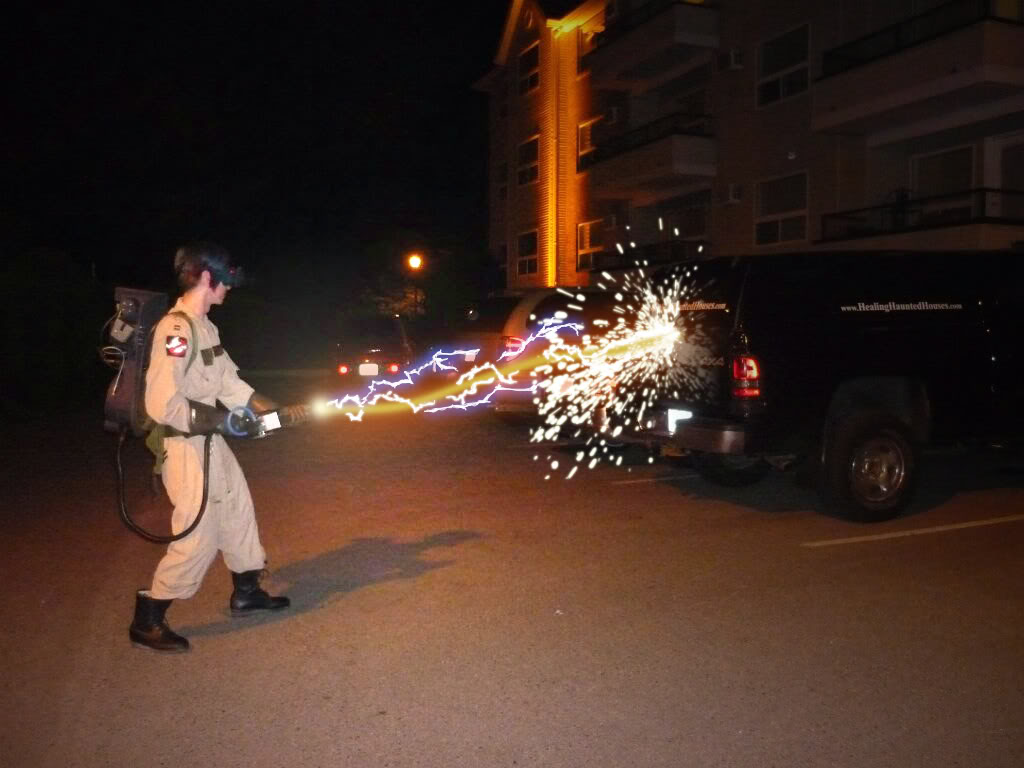
pew pew pew

Forgot to include a pic of the gizmo belt. Not screen accurate - if you see the amount of work that goes into those things for the weird attachment tubes, you’ll see why I didn’t bother. As it is, this is just a circuit board ripped from that stereo amp I bought, some extra cables bolted into it and sewed my own holster and keychain tethers for the ends.
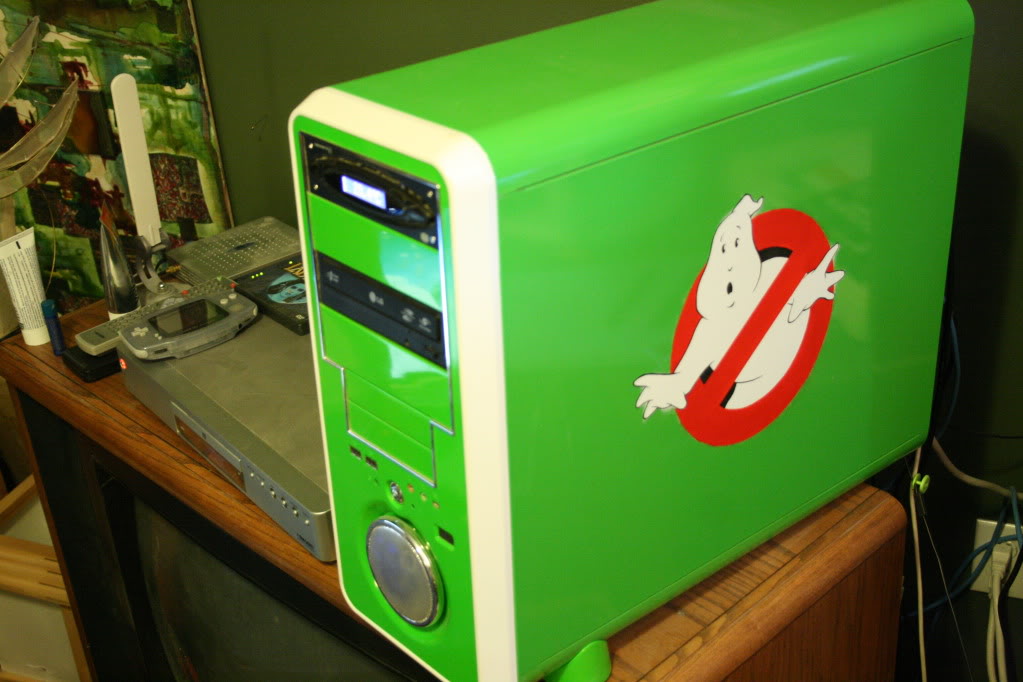
Also my pc case. Waiting for a friend to finish welding me a roof rack for the thing before I start doing more on it.
Gun tips added and tube put in. Don’t even need to glue it, the wires leading to the side indicators snug it in really firmly. Those two new small red led’s flash as well, took forever to re-wire and add those in, wish I had remembered to include the ones for the gun tips when I was doing the entire thing.

And with the lights off to give an idea of how bright it is. I have to tell people not to look directly AT the gun.

An old photo of all the materials/my workspace needed for working on constructing the pack.

Knob for the Crank Generator added. I just took an extra dial from the stereo amp, cut out a hole deep enough to sink the whole thing into the foam by and siliconed it in.

Ok I’ll ramble on my slowww problem solving. I gave up on finding aluminum brackets for the Ion Arm (top left arm that sticks out with a metal block on the end and a copper tube hanging down) and the ribbon cable brackets. Instead I’m just going to build the brackets and metal block out of sheet plastic. Layer it up for the brackets, and just build a small box and paint the things silver. Will be easier to drill holes into that too. (why the fuck didn’t I think of this sooner though? seriously) I should have shots ready to upload later tomorrow with all that done, painted and mounted.
Also, what REALLY pisses me off? Dan Akroyd was here in kelowna on the 22nd signing bottles of crystal skull vodka he’s sponsoring, and I had no fucking clue. I saw later on the 24th that even the local guys here with the blues brothers car were there. But oh no our retarded local ghostbuster is clueless, ugh. Coulda had a SIGNED fucking proton pack! God I’m still pissed at myself.
That’s all for now, waiting on my chaser led, ordered from bakatronics, dodgy looking but I figured I’ll petition paypal if it doesn’t turn out. Site says it shipped on the 21st so here’s to hoping!
Video of what I apparently ordered:
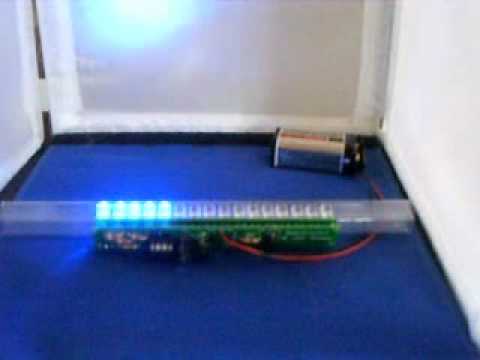
That’s a pretty good idea heh, would be super tiny to add, and I already have several pressure toggle switches.
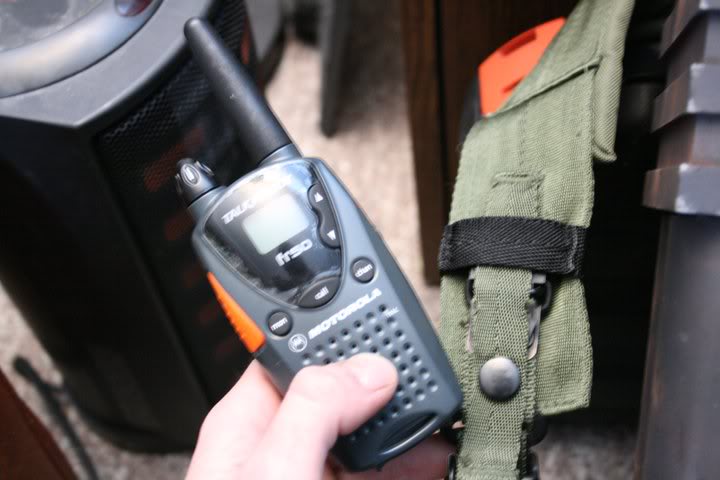
Sewed myself a little strap thing so I can clip on my walkie talkie :3
Gun tips are bloody done, such a pain in the ass, had to make all those tiny boxes out of sheet styrene, and paint it myself.
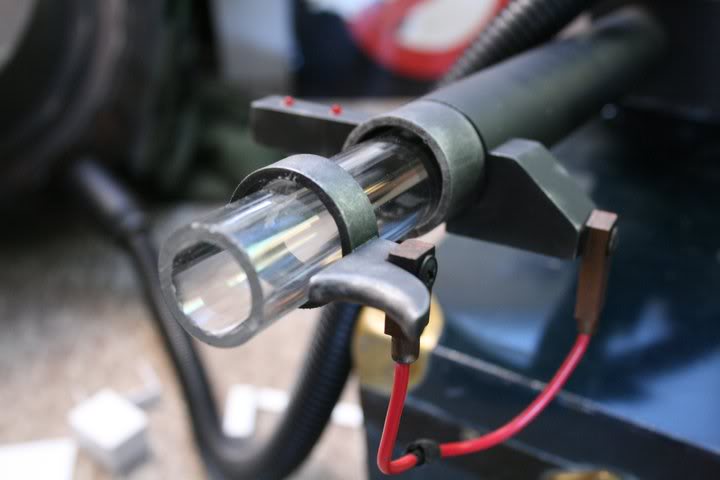
Instead of gluing those pipe bits to the acrylic tube, I just sorta sandwiched a little bit of kleenex underneath to hold them in place haha. That red wire is really stiff though, and superglued on, so nothings coming off/apart anyways.
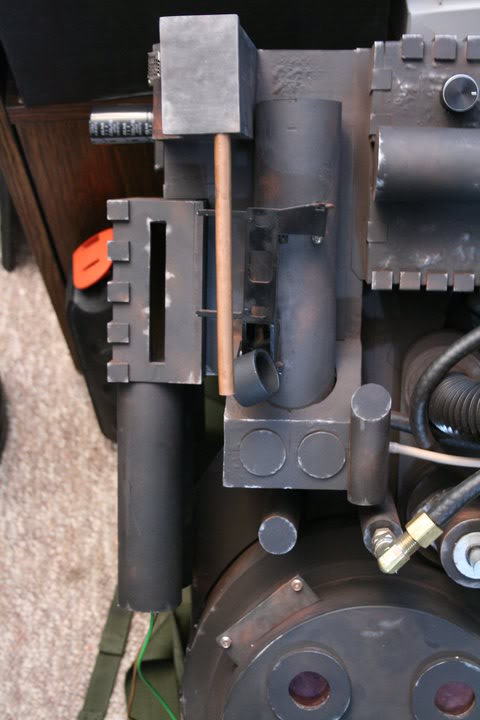
Also got around to making the box for the ion arm and bracket for the ribbon cable, and screwed down a ring for holding the ribbon cable (on that frame stuck to the large pipe). I’m just going to use some regular grey ribbon cable I think, it’s cheapest anyways. Least it’s a real brass rod on the arm though. I’m just waiting for the paint/glue/silicone to dry on those before drilling or doing more to them. Making more damage than progress only because I’m going too fast is really annoying.
and
MY GUN IS DONE! that’s it for construction on the gun! Ahhhhhhhhh can’t believe there are only 3 things left to do on the entire thing.
(3 things being shock mount, bumper, and install the led light kit I ordered - figures a week after I order it, I find plans on building the circuit that does the same thing. Oh well.)
It’s not the best but I’m happy for the practise this has given me. And I’m still fairly proud of myself for sticking to scratch building damn near everything I can, rather than buying pre-built things.