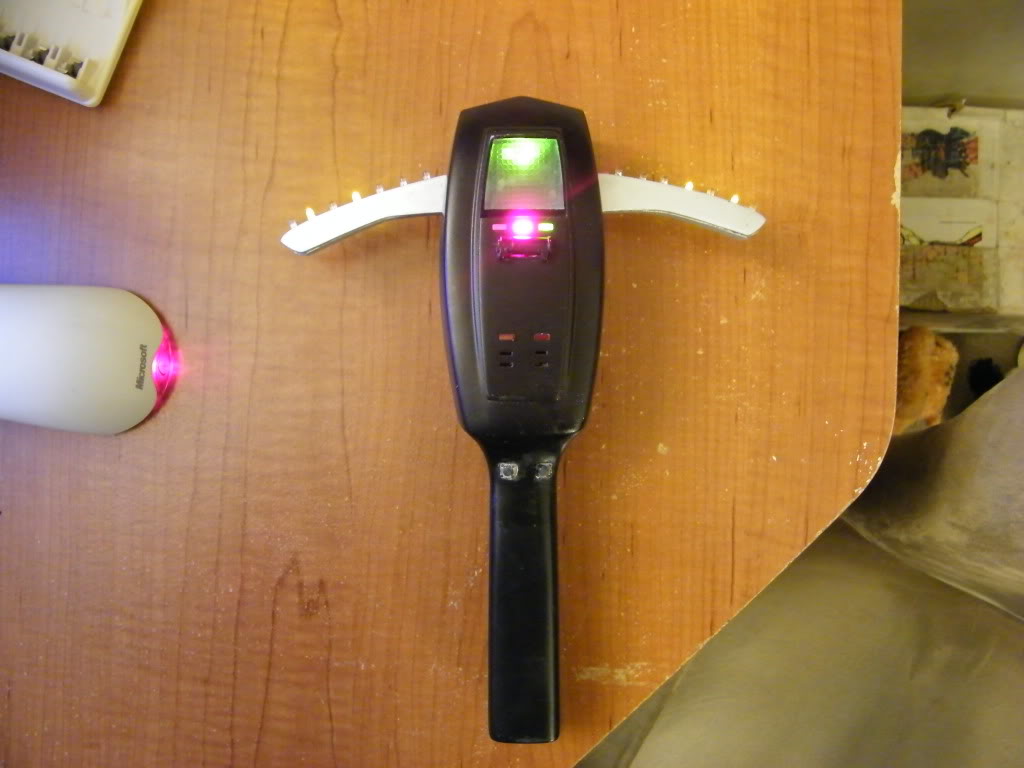
Okay, tutorial time!
First off, if you buy the deluxe kit, uncut wing boards, and a couple of servos, here’s what you get:
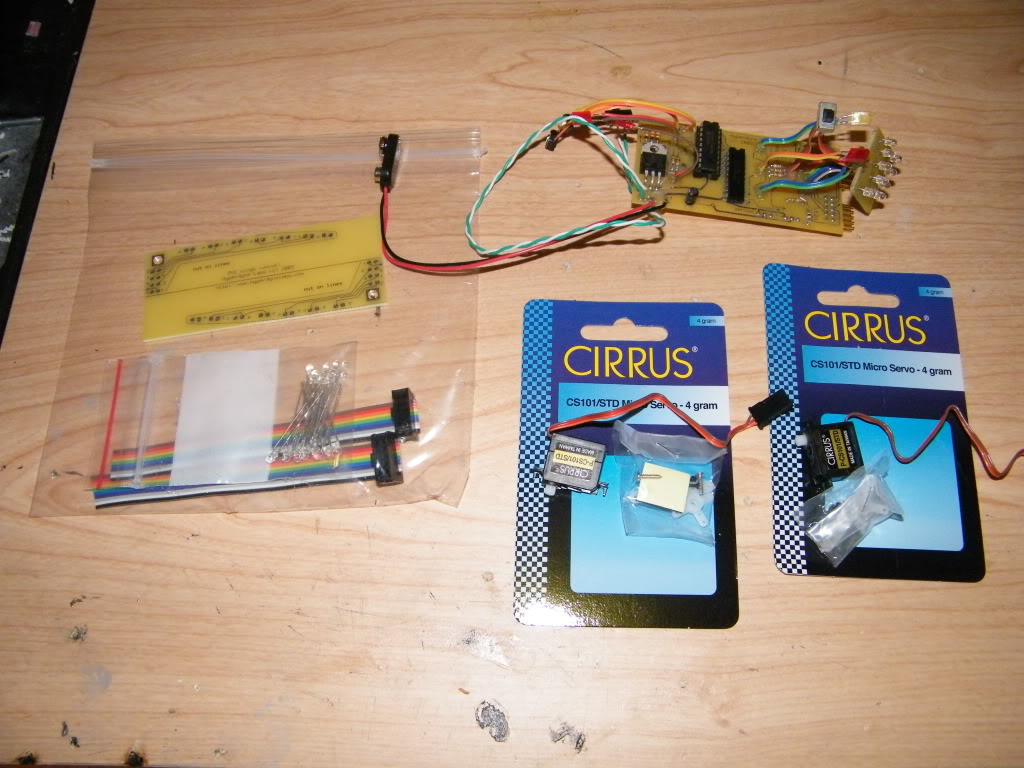
First order of business is to get the wings shaped, since they come like this:

I used my dremel cutting wheel to separate them, then used the grinding wheel to shape them. Here’s them cut apart, with some shaping already done to the top one.
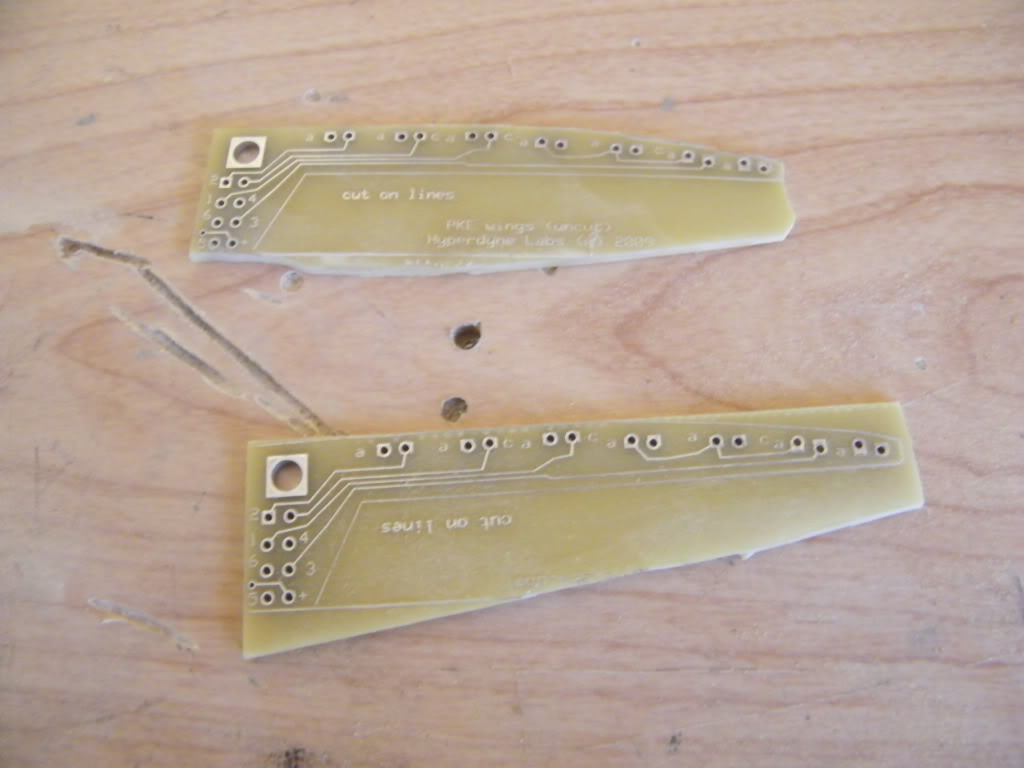
The wings are outlined with trace, try to remove all of the outline trace without hitting the actual wiring traces. The boards are pretty tough and don;t just melt away on the grinding wheel, so it’s actually not that hard to get this done. If you have any of the outline trace, just scrape it up with the tip of an exacto or similar. You don’t have to worry too much about the bottom outline, but you DEFINITELY want to clear off the top outline, since the LEDs could bump against it and short. Then solder the LEDs to the boards, making sure the polarity is correct. Teh positive side will always sit on the side closest to the PKE body.
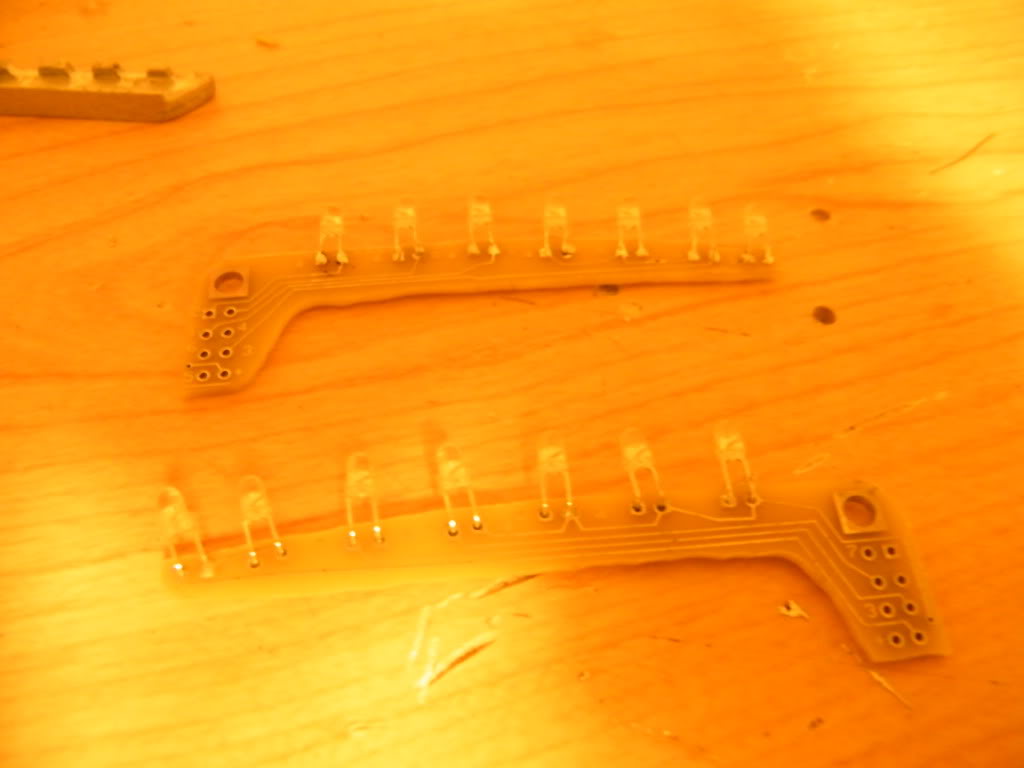
(Sorry for the yellow, the flash washed everything out when I used it)
Now for some reason, a few of my pics got corrupted on the card, so I’m missing my own pics for a couple of steps. However, the instructions that come with the kit are quite helpful. The next order of business is to wire the ribbon cables to the wing boards, and let me just say to wire them up EXACTLY the way you see them in the picture in the .PDF instructions. (See my previous post for my adventure. I got it fixed properly, but I wired them up incorrectly the first time and cost myself an extra 3-4 hours of work cleaning up and rewiring the PCBs.)
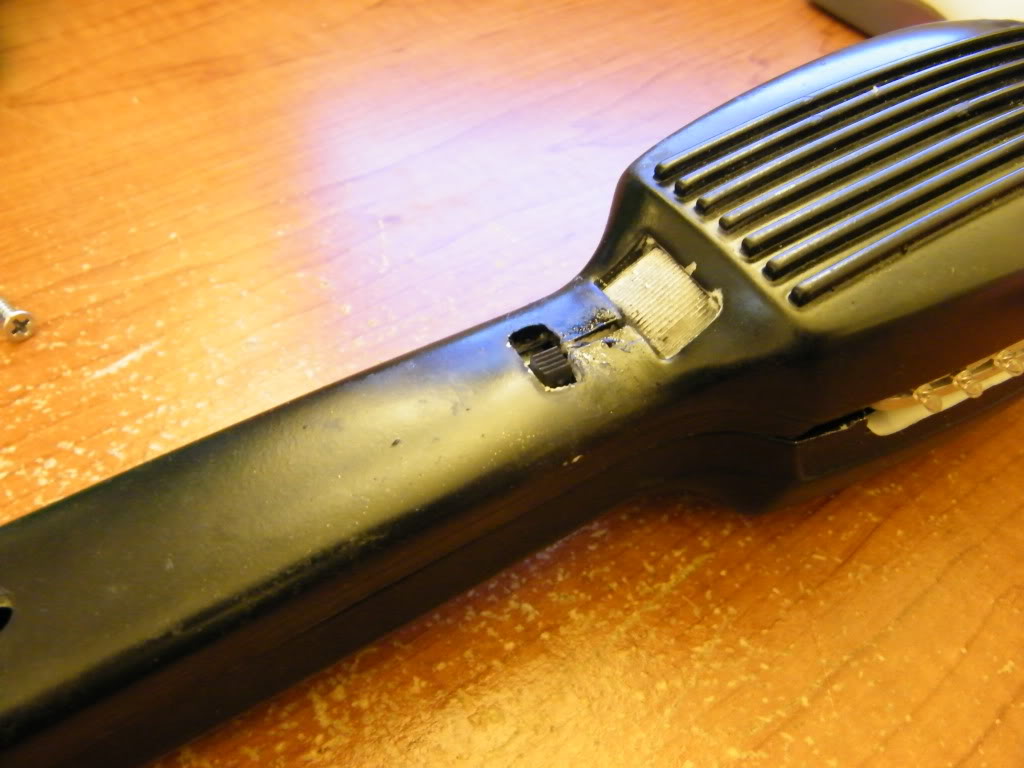
After that it’s simply a matter of assembing the shell. This will vary for person to person; some may find their servos fit without any modification to the inner shell, some of you may have to clean out a bit of the casting to have your servos fit flush. Just take your time and constantly check your fit and you’ll be fine.
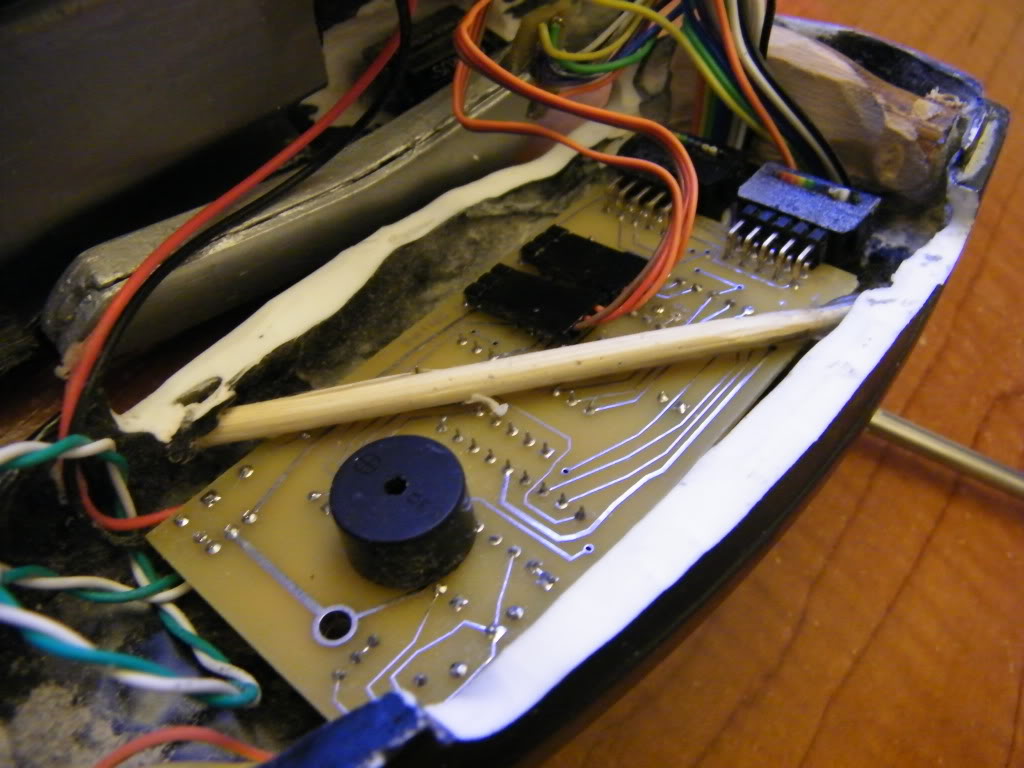
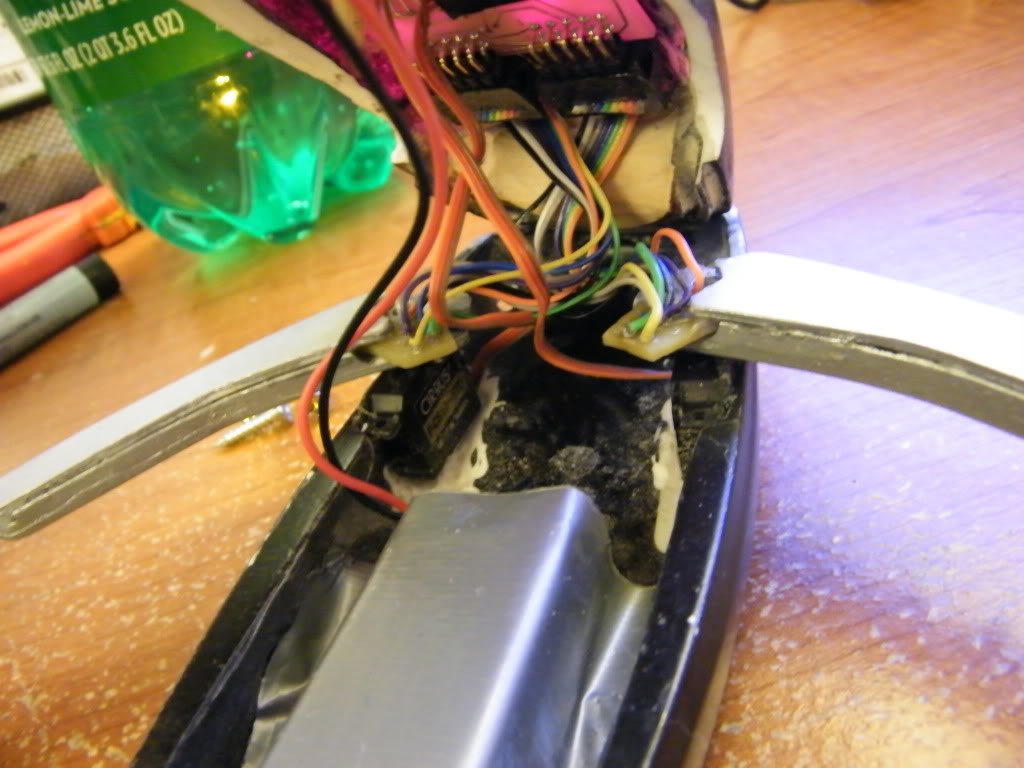
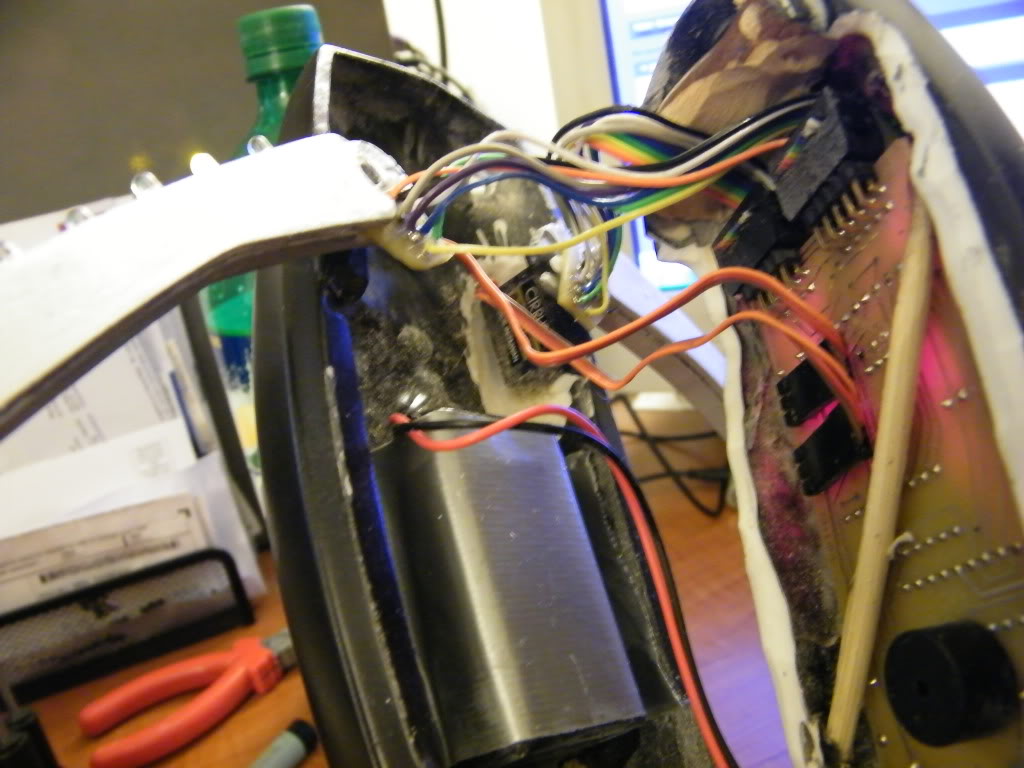
Here’s a quick shot of the inside of mine:
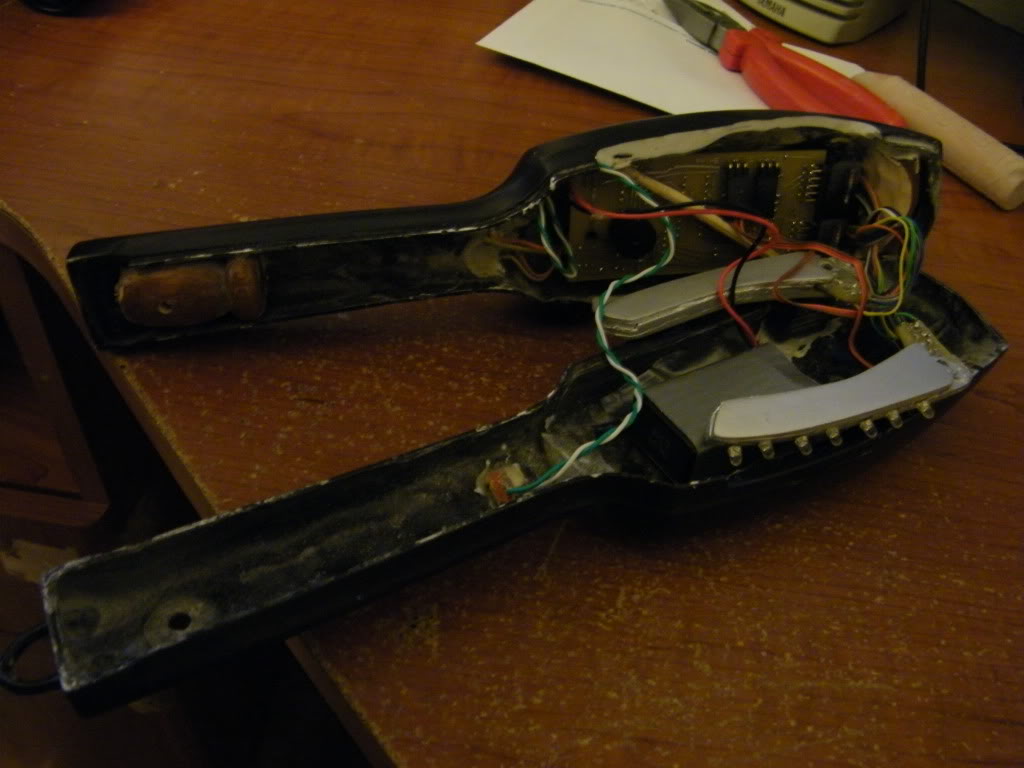
The only thing glued into place are the servos, the on/off switch, and the scrap bits of wood I used in the handle and at the top of the PKE so I could screw the halves together. The board itself is held in place but a length of bamboo skewer wedged under the ridges on the front half of the PKE. Holds everything in place quite handily, and makes it easy to remove if I ever need to. The battery is just duct taped into the body cavity.
And as seen earlier, here’s a video of the finished PKE:
(Anyone know how to get the YouTube embedding to work?)
Good luck!